When you look at the landscape of modern hairstyling, few cuts offer the kind of effortless, high-motion aesthetic that the “flicks” haircut provides for straight hair. It is not just about length or volume; it is about that specific, deliberate curvature of the hair ends that suggests movement even when you are standing perfectly still. Historically, this look traces back to the iconic styles of the mid-sixties and seventies, yet it remains relevant because it addresses the most common frustration for those with pin-straight hair: a lack of natural bounce. If your hair tends to lie flat against your cheeks or shoulders, incorporating flicks—or “flips”—can completely change the geometry of your face and the personality of your look.
Achieving the perfect flicked finish is often misunderstood as a product-heavy process, but it is actually more about precision cutting and thermal manipulation. It is about working with the grain of your hair rather than fighting against its natural tendency to be sleek. When you introduce flicks into a precision cut, you are effectively creating a frame that directs the eye outward, creating an illusion of width and texture that is almost impossible to achieve with a standard blunt cut. Understanding how to execute this style requires moving away from the idea of “perfectly straight” and toward the idea of “contoured straight.”
Whether you are looking for a subtle, professional bend or a bold, retro-inspired aesthetic, the flicked haircut is arguably the most adaptable tool in your styling kit. It works by breaking up the vertical lines of long hair or adding playfulness to a short bob. The secret, as any seasoned stylist will tell you, lies in the weight distribution of the hair layers. You cannot simply flick blunt ends; you need a specific kind of internal texturing that allows the hair to curve without snapping or losing its shape. Let’s explore the various iterations of this style, from the razor-sharp bobs to the soft, layered lobs, to help you understand which variation will actually work for your specific hair density and face shape.
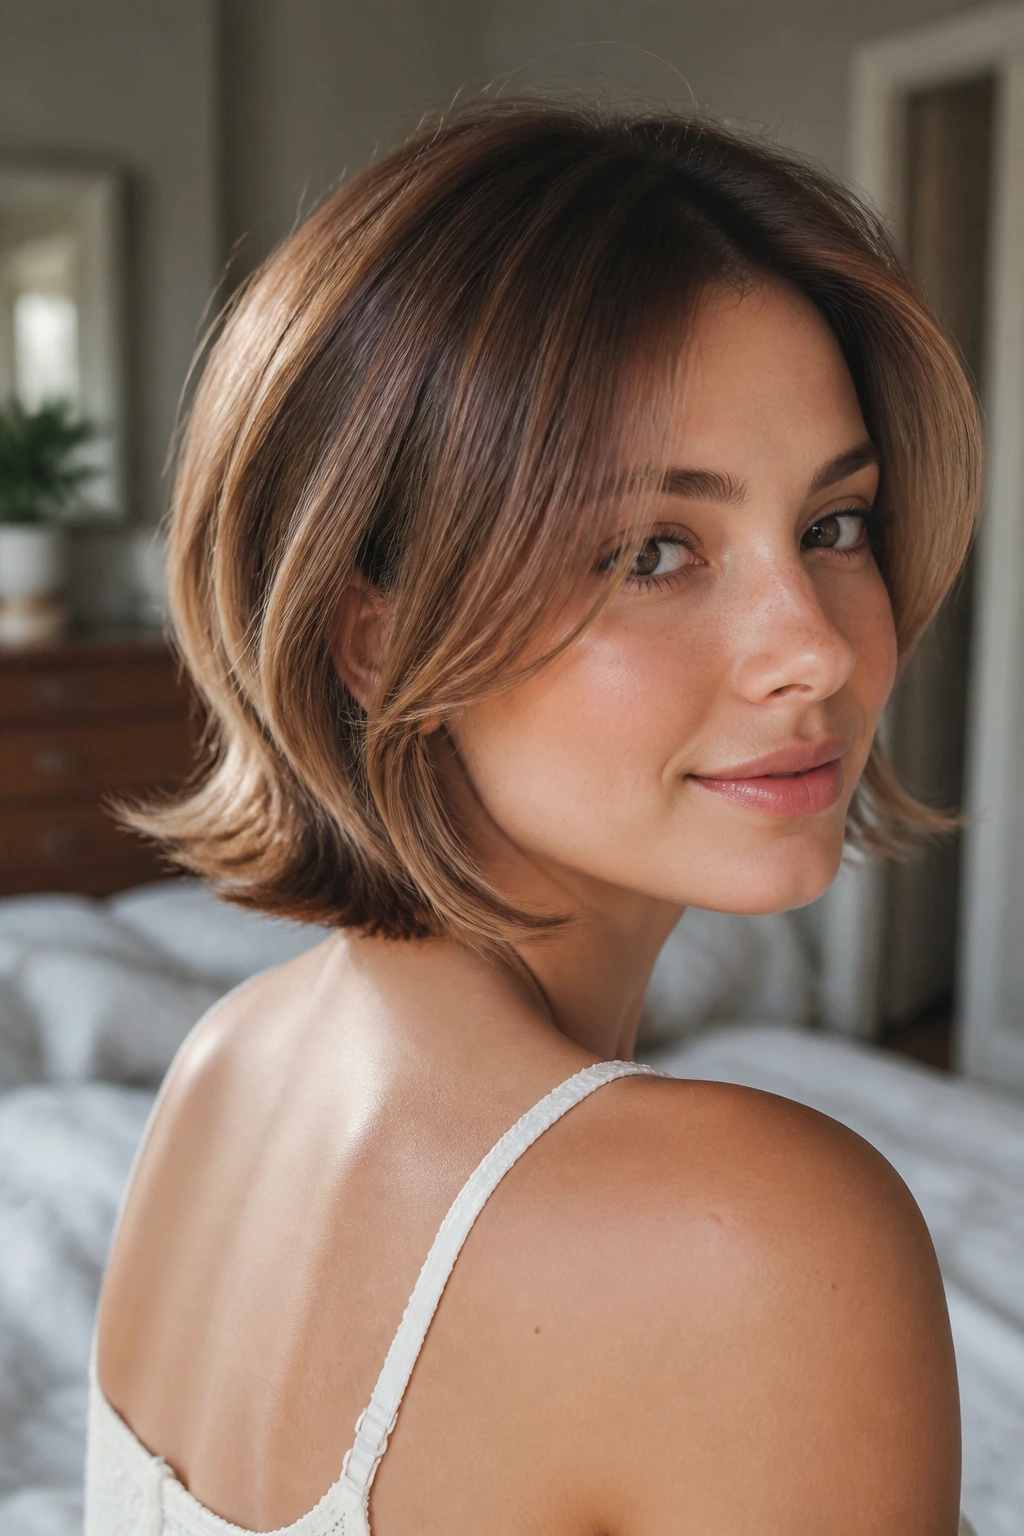
1. The Classic Mid-Length Feathered Flick
This is the quintessential look for those who want movement without losing too much length. By incorporating long, internal layers, you allow the mid-shaft of the hair to remain structured while the ends are thinned just enough to hold a curl away from the face. The key here is to keep the weight focused near the jawline, ensuring that the flick starts right where your face is widest to create a balanced silhouette.
Why This Works for Straight Texture
Straight hair lacks the natural “memory” to curl on its own, so this cut relies on internal weight reduction. When you remove a small amount of bulk from the very tips, the hair becomes lighter and more responsive to heat styling or even air-drying with a light mousse.
How to Style It
- Use a large-barrel round brush while blow-drying, pulling the hair upward and outward at the ends.
- Apply a lightweight, flexible-hold hairspray to ensure the flip stays lifted throughout the day.
- Focus on the face-framing sections first, as these are the pieces that will define the flicked aesthetic.
Pro tip: If you struggle to maintain the flip, use a flat iron and perform a subtle “C” motion at the last two inches of the hair strand; this creates a more permanent, sharp flick than a blow-dryer alone.
2. The Sharp Micro-Bob with Upward Flip
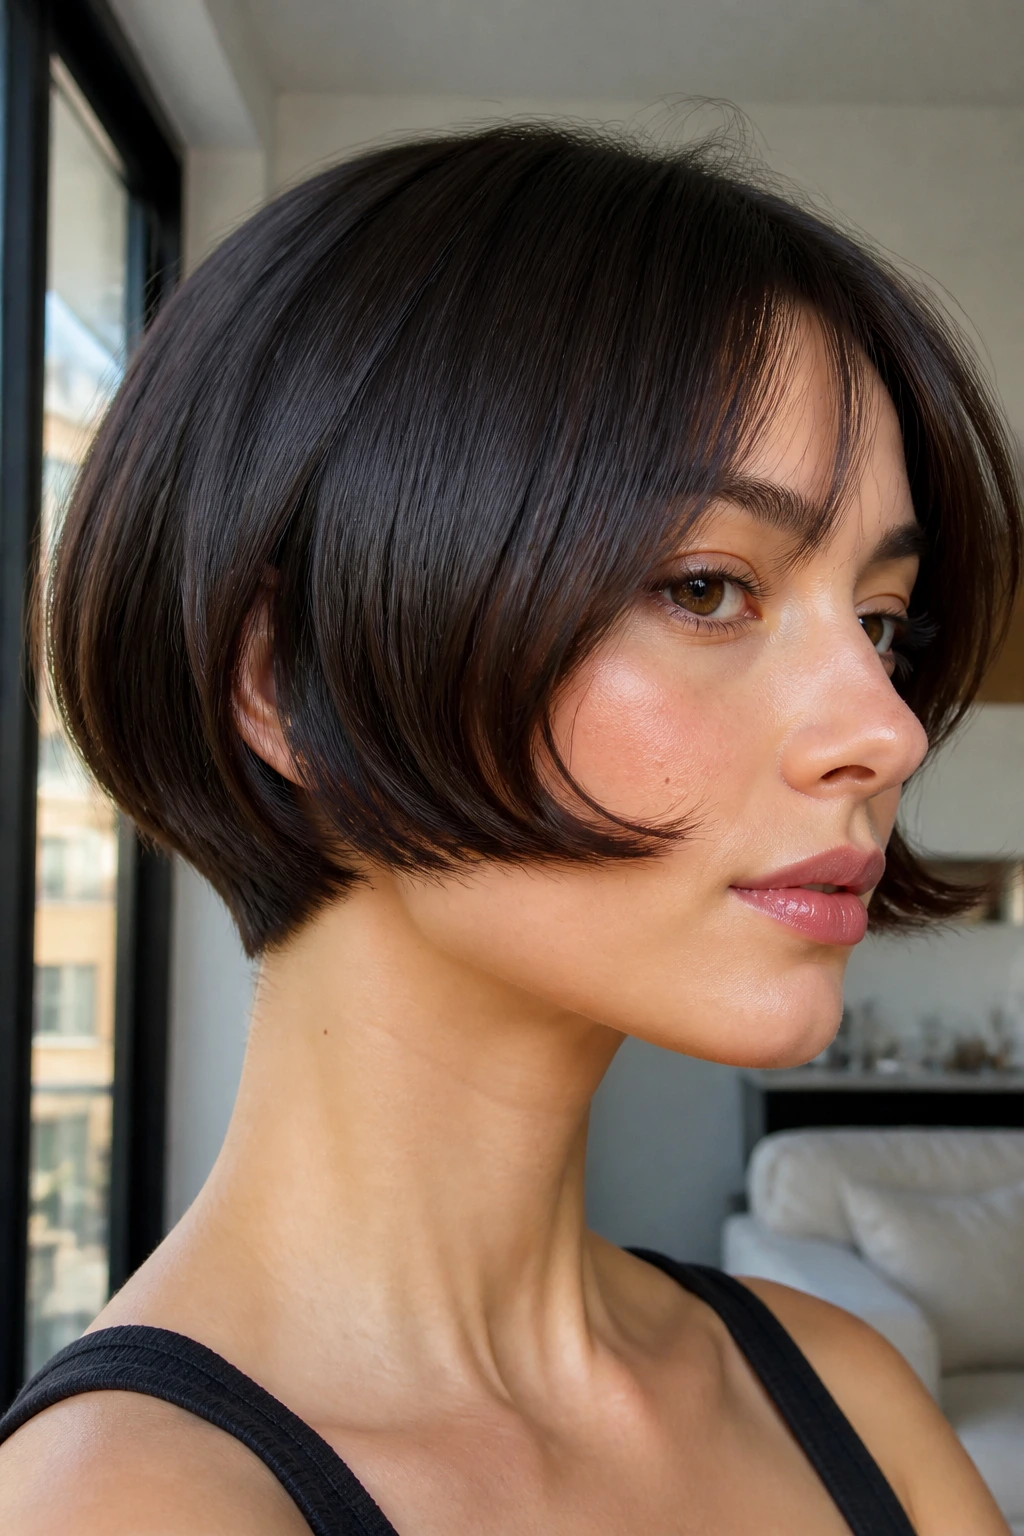
For those with fine, straight hair, the micro-bob is a powerful way to maximize density. When cut precisely at the nape of the neck with an angled, inward-to-outward taper, the hair naturally wants to flick. It creates a bold, architectural look that screams confidence and requires minimal daily maintenance.
The Geometry of the Cut
The secret behind this cut is the graduated back. By keeping the hair at the nape slightly shorter and layering it tightly, you force the longer, crown-level hair to sit on top of it, creating a natural bulge of volume that transitions into a crisp, flicked edge at the cheekbone.
Styling for Maximum Impact
- Keep your hair clean and conditioned with lightweight products to avoid weighing down the roots.
- Use a small-diameter round brush to catch those short, nape-level hairs.
- Finish with a high-shine serum, as this cut relies on the light reflecting off the straight surface to accentuate the shape.
3. The Soft Shag-Inspired Flick
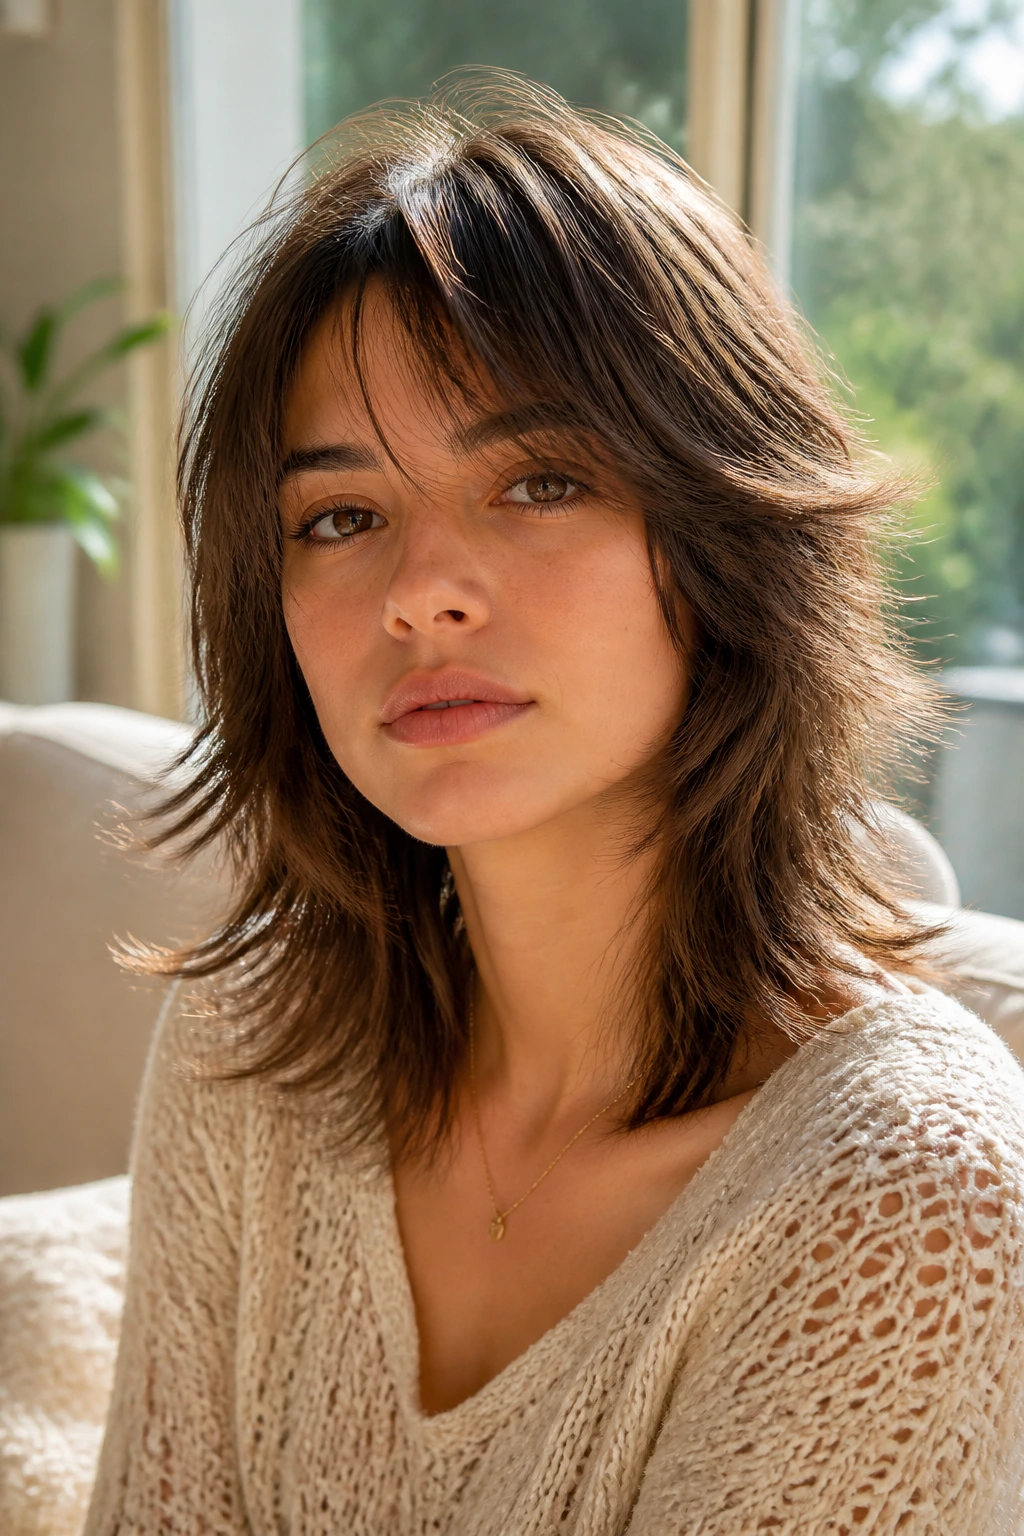
Not all flicks are sharp or uniform. The shag-inspired variation uses choppy, disconnected layers to create a messier, more relaxed flip. This is perfect for someone who prefers a “lived-in” vibe rather than a polished, salon-finished appearance.
Why It Feels Modern
Modern shags are less about the heavy, nineties-style volume and more about soft, shattered ends. By cutting into the hair with a razor, you create ends that are inherently prone to flipping in multiple directions, which gives the hair a natural, windswept look without needing to over-style.
Essential Maintenance
- Air-dry your hair with a texturizing salt spray to encourage those natural flicks to develop.
- Use a matte pomade on your fingertips to pinch and pull out the ends, defining individual flicked pieces.
- This cut grows out gracefully, so you will not find yourself stuck in a awkward phase after six weeks.
4. The 60s-Inspired High-Volume Flip
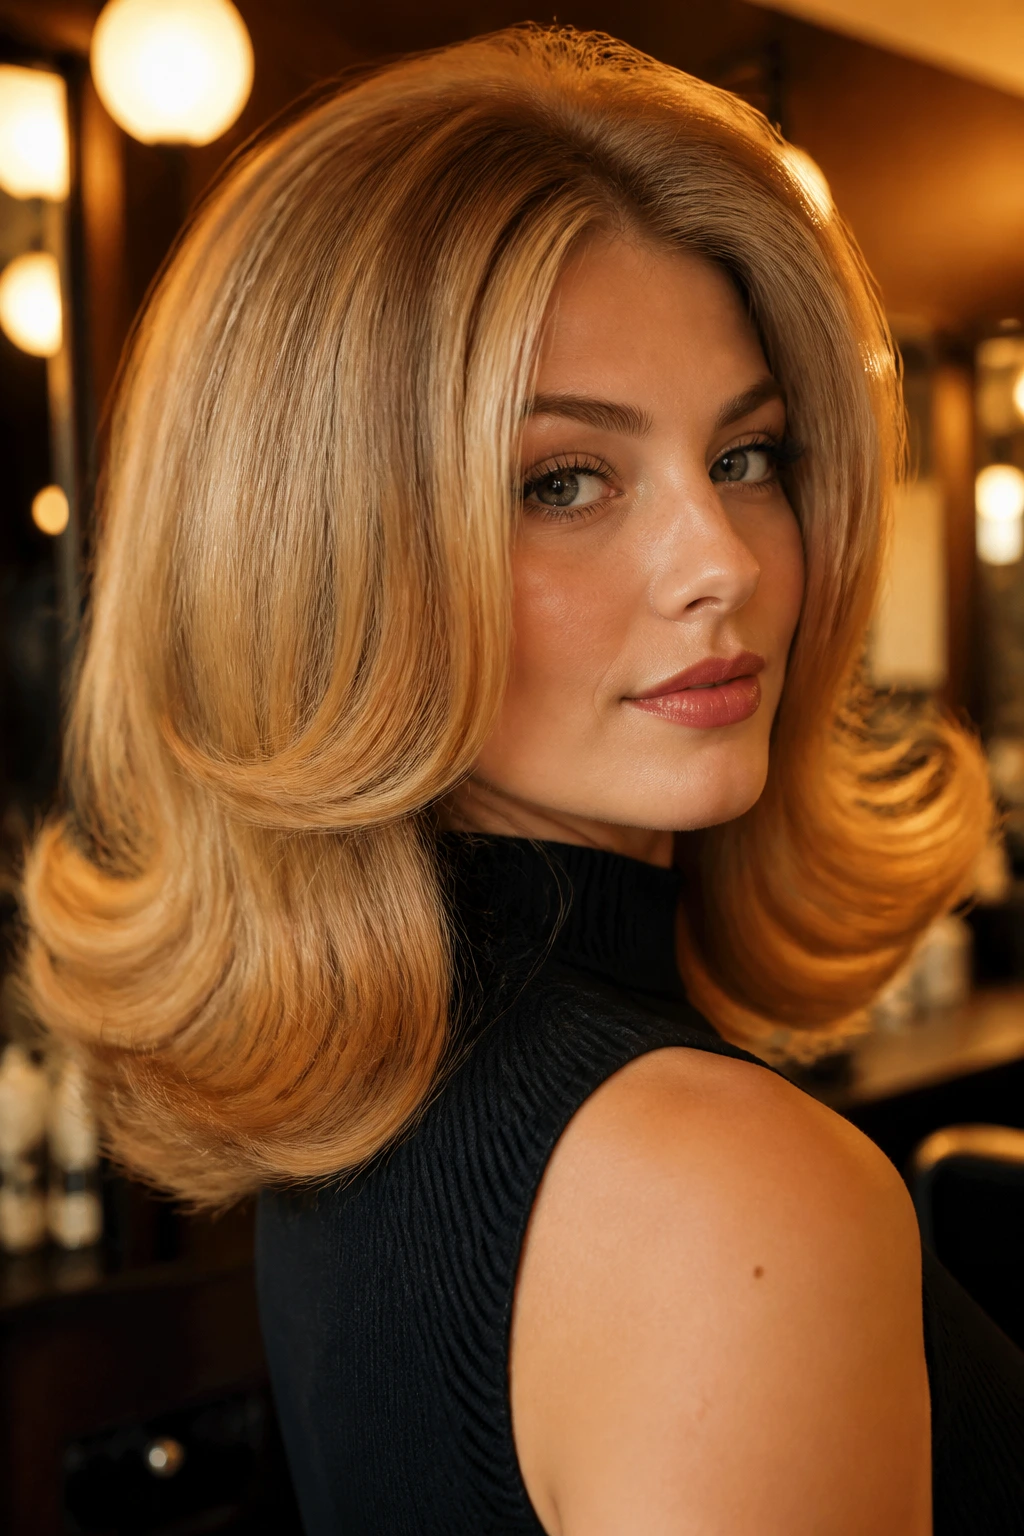
If you are looking for drama, this is the version to emulate. It involves a slightly shorter, rounded cut where the flicks are concentrated at the shoulders, creating a distinct, wide-bottom shape. This is an excellent way to soften the appearance of a narrow or angular jawline.
The Role of Back-Combing
Volume is the partner to the flick. By teasing the crown just slightly, you create a contrast between the flat root area and the flared-out ends, which makes the flick appear intentional rather than accidental.
Choosing Your Tools
- Use a ceramic-coated round brush, which holds heat and helps set the curve of the hair.
- Never skip a heat-protectant spray; the amount of heat required to get a clean, dramatic flip will damage hair over time if you are not careful.
- If you have very long hair, consider using a velcro roller on the ends while the hair is still warm to lock the flip in place.
5. The Asymmetrical Side-Swept Flick
By creating a deep side part and cutting the hair with a longer drape on one side, you create a dynamic, asymmetrical flick. The shorter side flips away from the face, while the longer side grazes the collarbone with a soft, inward-to-outward bend.
Why This Flatters Round Faces
The asymmetry breaks up the roundness of the face, drawing the eyes toward the corners of the mouth and the collarbones. It is a subtle visual trick that makes the face appear slightly more oval and defined.
Styling Strategy
- Flip the hair during the blow-dry process using a paddle brush to direct the hair across the forehead.
- Once dry, use a curling wand only on the very last inch of the hair to exaggerate the flick.
- Leave the rest of the length sleek and straight to emphasize the contrast between the flat hair and the flipped ends.
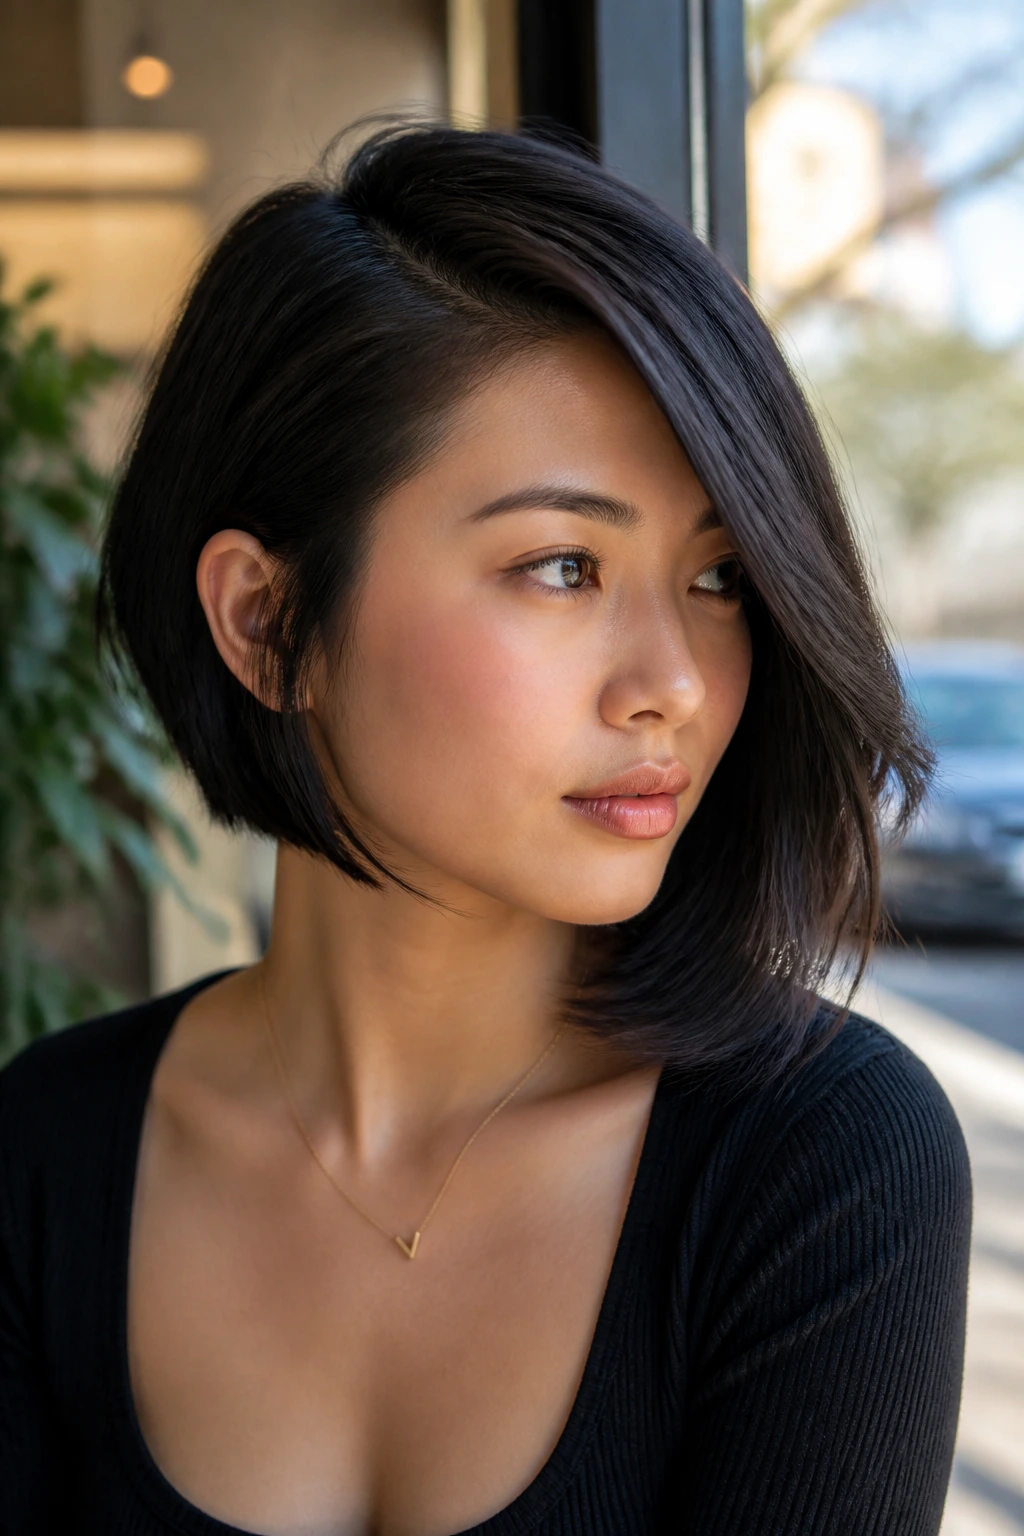
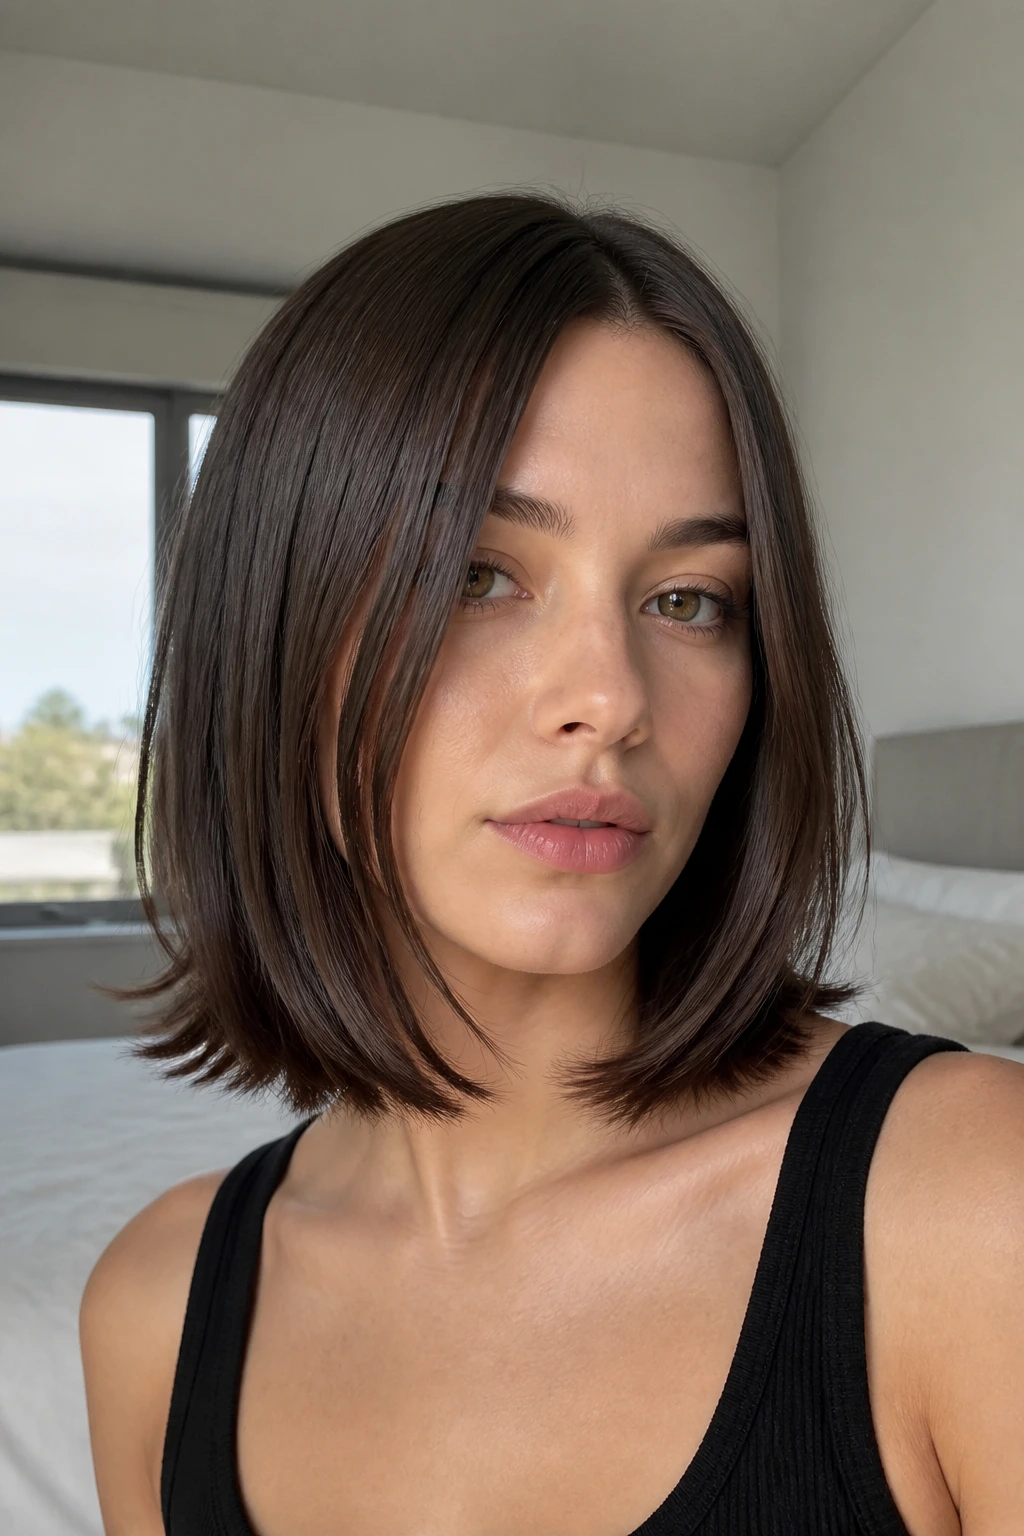
6. The Blunt Lob with Outward Curls
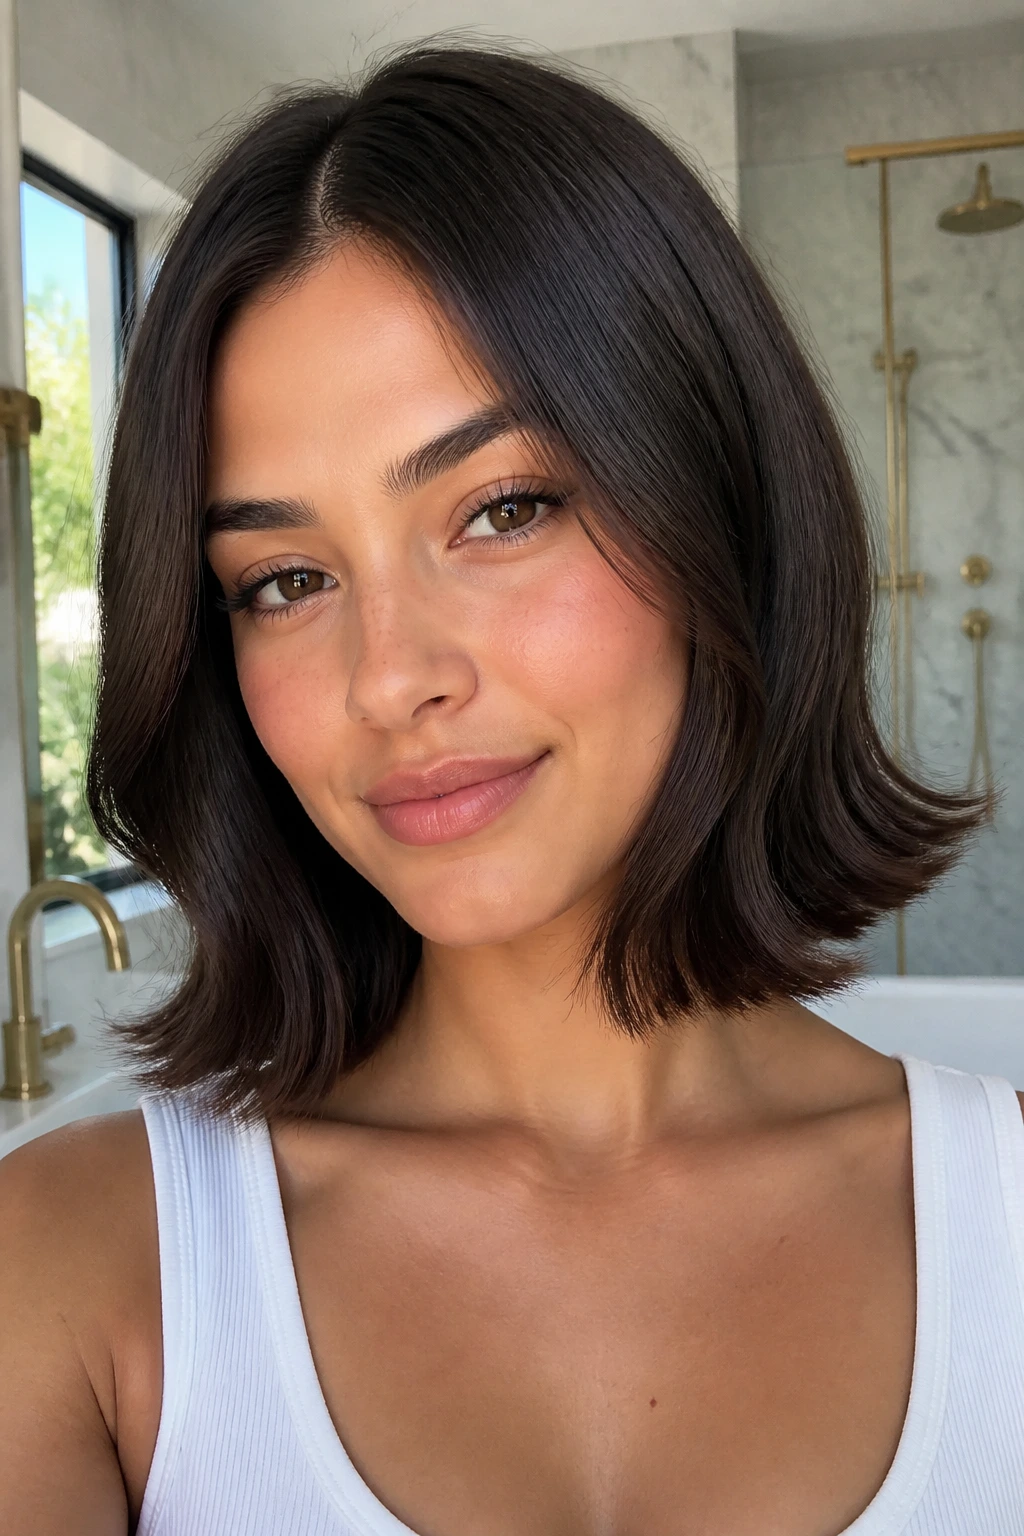
A “lob” (long bob) that falls just above the collarbone is often the most versatile canvas for a flick. When you cut the hair perfectly blunt, you get a clean line, and by curling the bottom layers outward, you achieve a modern take on the traditional flip.
The Importance of Bluntness
The “blunt” aspect is non-negotiable here. If your ends are texturized too heavily, they will not hold the shape of a crisp flick. A solid, healthy line of hair provides the structural weight needed for a high-impact, outward-facing curve.
Daily Care for Long Lobs
- Use a leave-in conditioner on the ends before applying heat, as these are the oldest and most fragile parts of your hair.
- Invest in a high-quality flat iron that allows for temperature control; keep it under 350°F to prevent color fading and split ends.
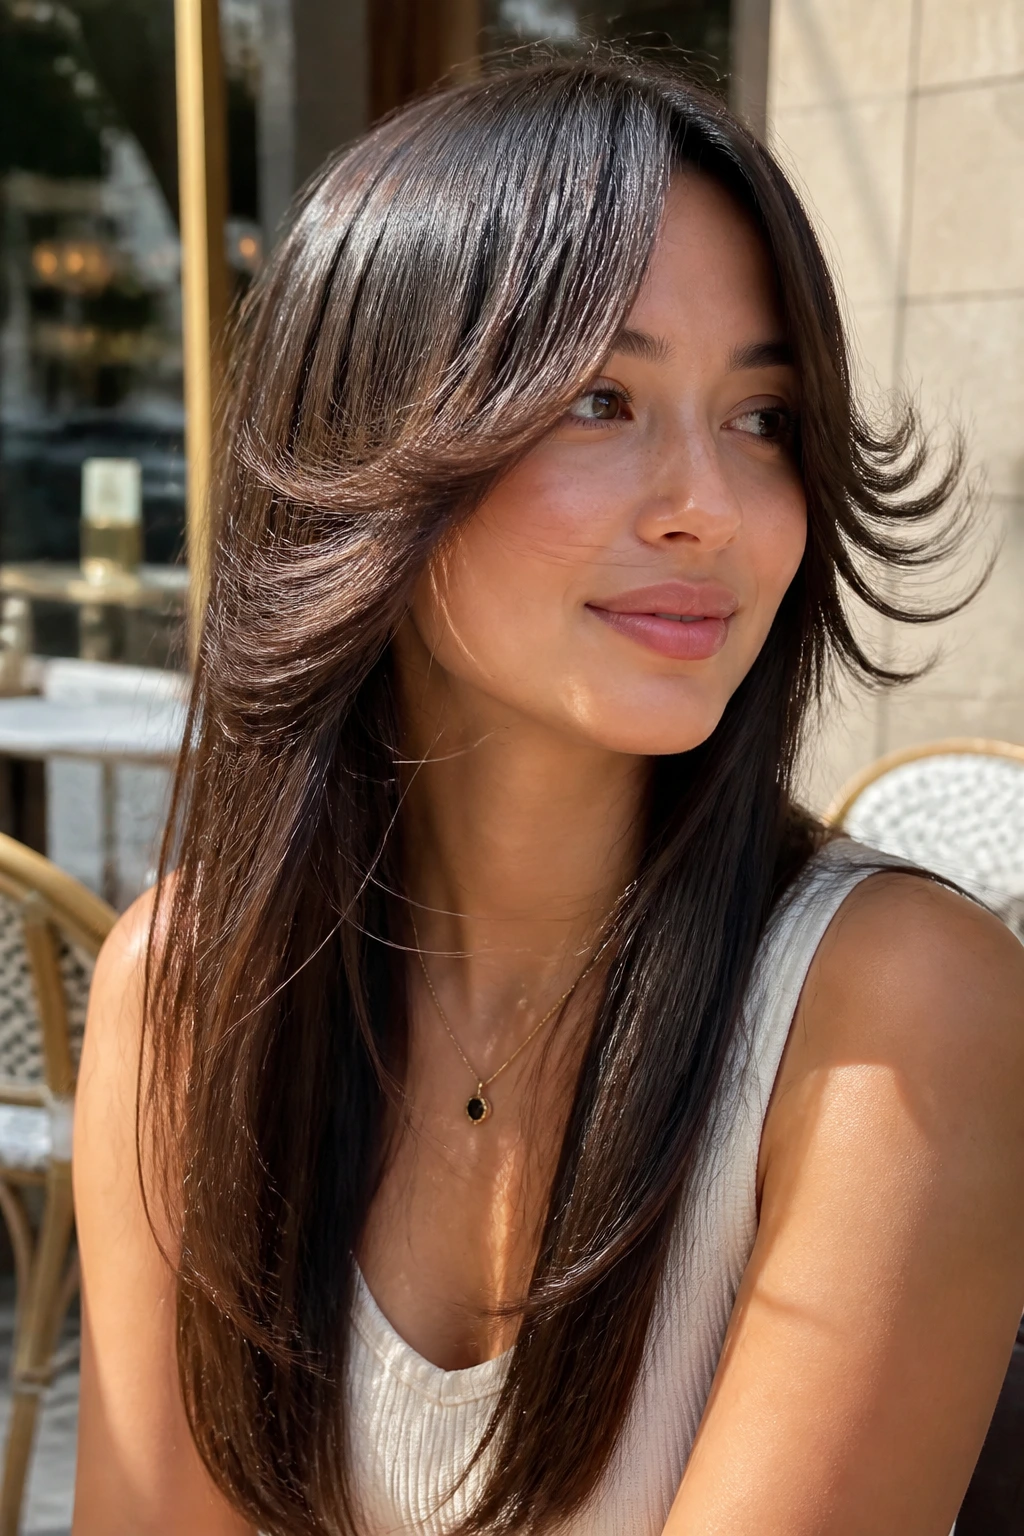
7. The Layered Face-Framing Flip
This style focuses almost exclusively on the front sections of the hair. By cutting layers that start around the chin and increase in length toward the chest, you can style the front pieces to flip outward, creating a “curtain” effect that is both elegant and easy to manage.
Why It’s Low-Maintenance
Since the back of your hair can remain one length or feature only minimal layers, you spend significantly less time styling. You only need to touch up the pieces that directly surround your face to make the entire haircut look intentional and polished.
Pro Technique for Perfect Face-Framing
- Hold your brush vertically rather than horizontally when styling the face-framing pieces.
- Pull the brush toward the back of the room as you blow-dry to ensure the flick creates a clean, open sweep.
8. The Modern Grunge Flick
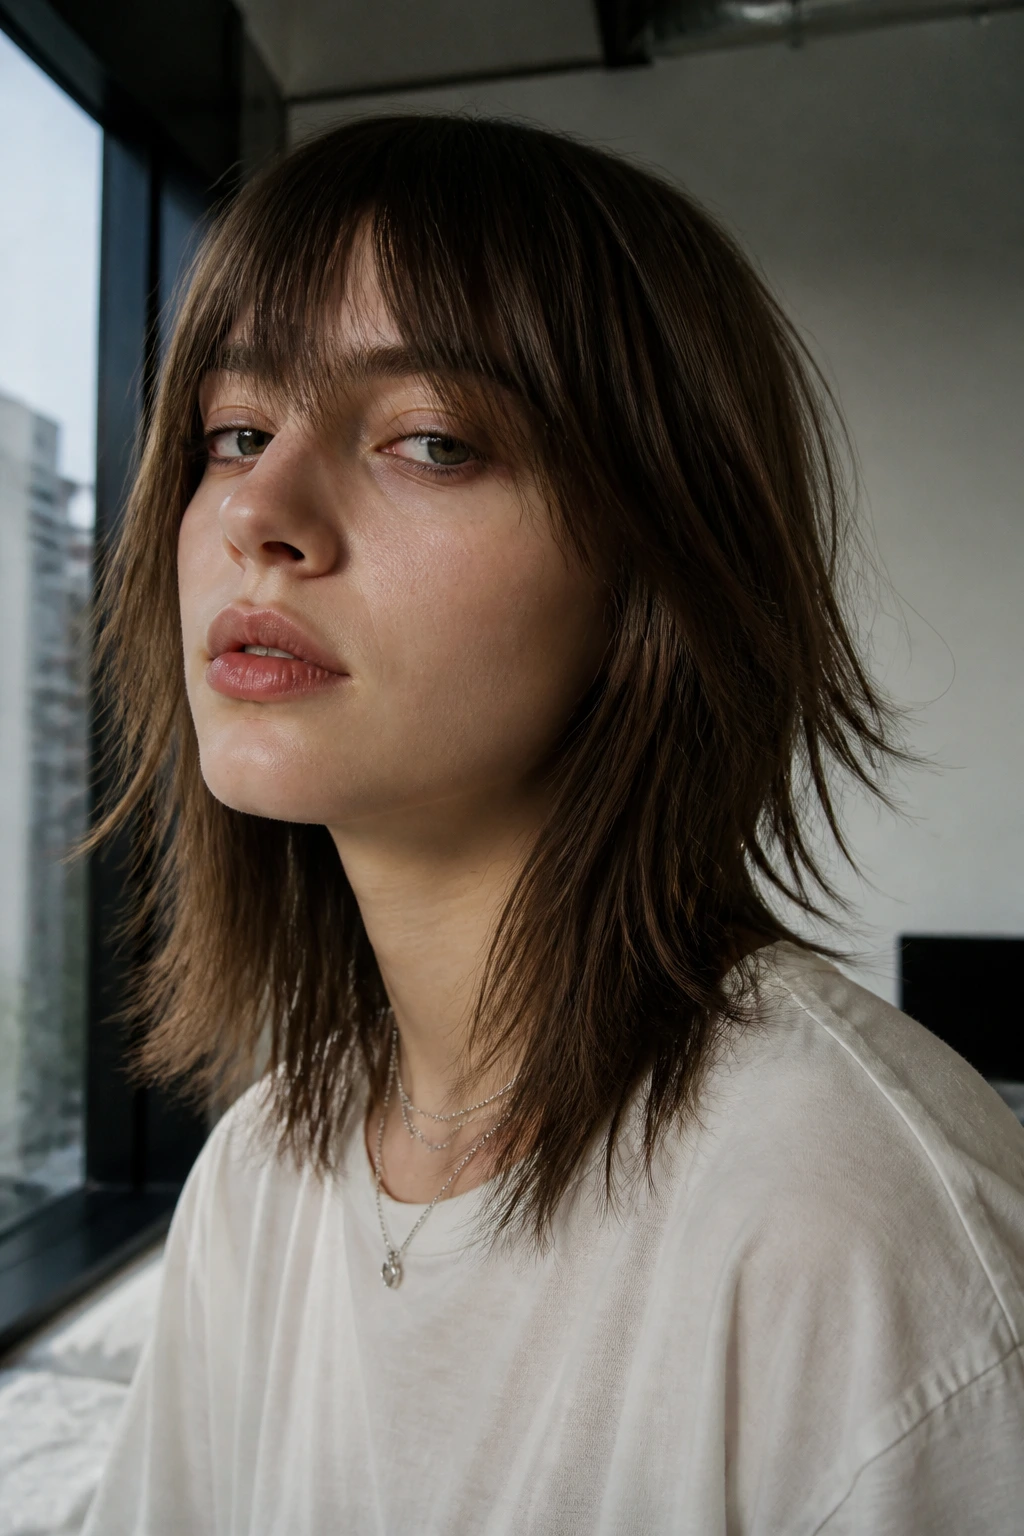
Think of this as the “bedhead” version of the flicked haircut. It involves uneven, razor-cut ends that create an unpredictable, jagged flip. It is a low-effort look that pairs well with minimalist fashion and doesn’t require a precise blowout.
Creating the Texture
The secret here is a dry-texture spray. After your hair is dry, lift sections and spray them from a distance of about 8 to 10 inches. Then, scrunch the hair to add a bit of grit, which helps those jagged ends stay in their flipped position.
When to Choose This Style
- If you have straight hair that feels “limp” or “boring,” the added texture of this cut provides an instant personality injection.
- It is an excellent choice for those who are busy and cannot commit to 20-minute styling routines every morning.
9. The Butterfly Flick
The “butterfly” cut uses a mix of short, face-framing layers and long, flowing back layers. When styled, the flick is created by directing the short layers away from the face while the long layers are allowed to lie flatter.
The Visual Effect
This cut creates the appearance of two distinct lengths, providing both the volume of a short haircut and the elegance of a long one. The flicked layers act like wings, giving the style a light, airy quality that moves beautifully as you walk.
Styling Nuances
- Use a round brush to create a “C” shape with the top, shorter layers.
- Allow the bottom, longer layers to air-dry or style them with a very slight, barely-there bend to maintain the contrast.
10. The Deep-Parted Vintage Flip

This is a high-glamour, retro look. It involves a very deep side part, with the heavier side flipped dramatically away from the eye, and the thinner side tucked neatly behind the ear. It evokes a timeless, Hollywood-starlet vibe.
Getting the “Swoop”
The key is to create a large, voluminous section of hair that can support the weight of the flip. Without that volume, the flip will just look like a bendy strand of hair. Use a volumizing mousse on the roots before blow-drying to create a stable base for the “swoop.”
Pairing with Accessories
- This cut pairs perfectly with a statement earring, as one side of the hair is tucked back to expose the neck and ear.
- A silk headband or a thin, jeweled hair clip can help maintain the deep part if your hair tends to fall forward.
11. The Soft Graduated Bob
A soft graduated bob features a shorter back and longer front. Unlike the sharp, geometric bobs mentioned earlier, the transitions here are blended softly. When the ends are flipped outward, it creates a gentle, rounded aesthetic that is very flattering for those with heart-shaped faces.
Why Soft Blending Matters
By removing the harsh lines of a blunt cut, you make the hair look thicker and healthier. The graduation ensures that the back of the head has a natural, rounded shape, and the front ends can be styled into a soft, inviting flick.
Finishing Touches
- A light-hold wax is better than hairspray for this style; it keeps the hair pliable and soft to the touch.
- Rub a pea-sized amount of wax between your palms and smooth it over the ends to define the flick without making the hair crunchy.
12. The Wispy Bang Flick
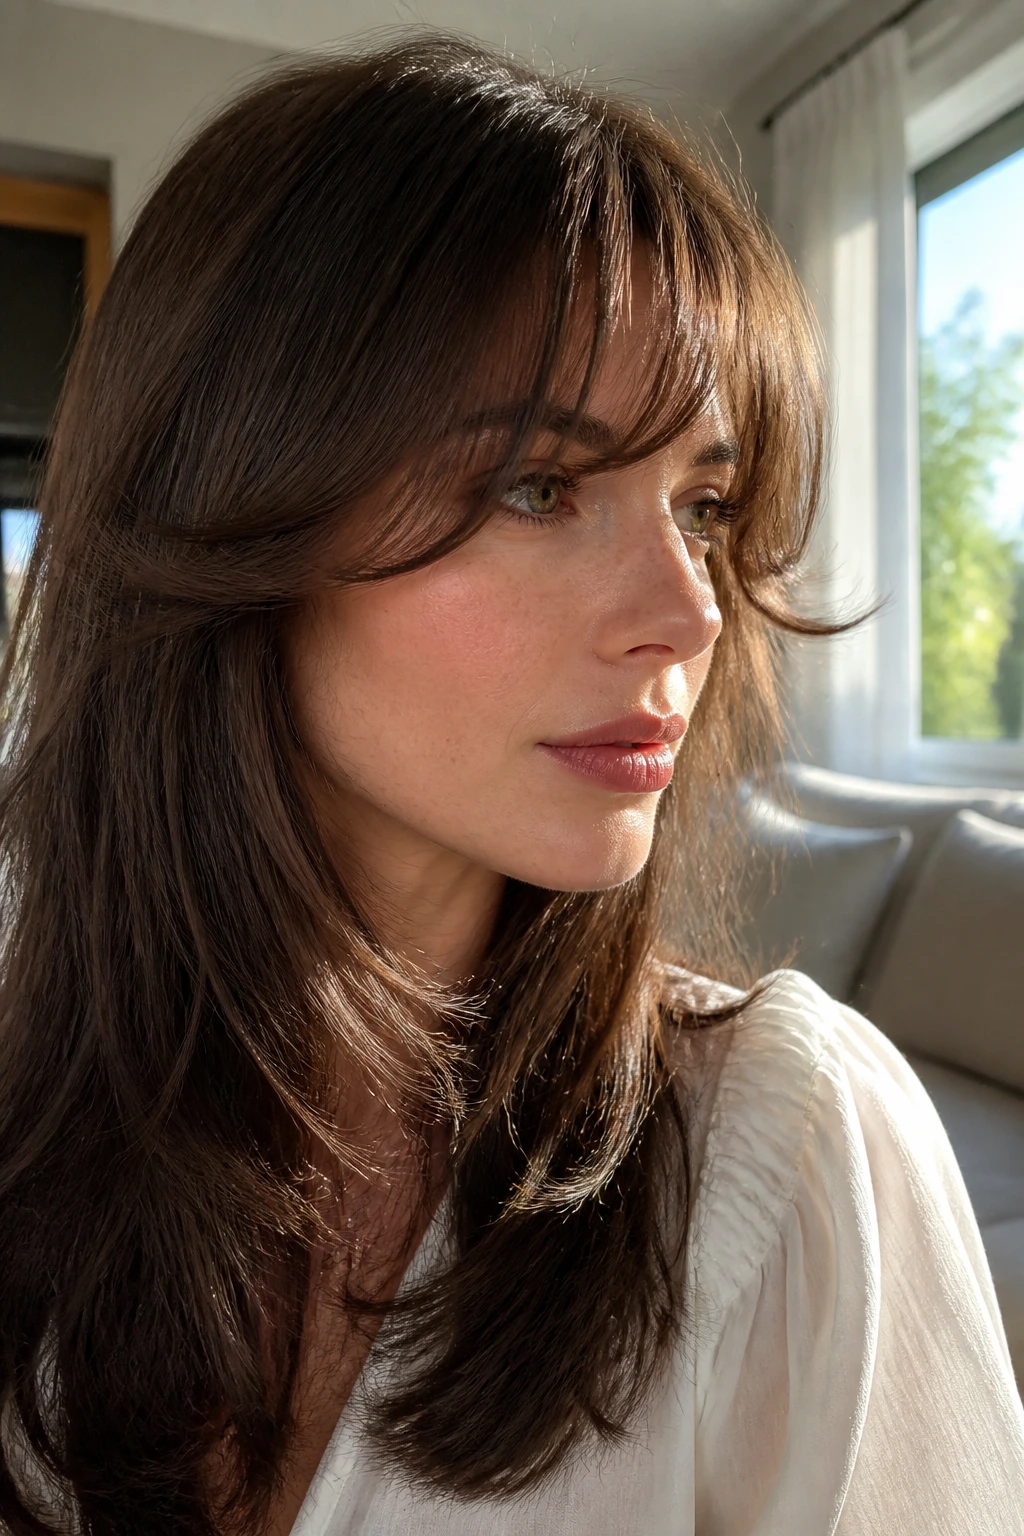
If you wear bangs, you know they can be tricky to style alongside your ends. This version of the flicked haircut incorporates bangs that have their own soft, feathered flip, which echoes the movement of the hair at the ends.
Coordinating the Movement
- Ensure your stylist cuts the bangs with a slight roundness, not a straight-across blunt line.
- When blow-drying, use a small round brush to flick the bangs outward, creating a soft transition toward the temple.
- This creates a cohesive look where the hair moves in harmony from top to bottom.
13. The Sleek Glass-Hair Flip
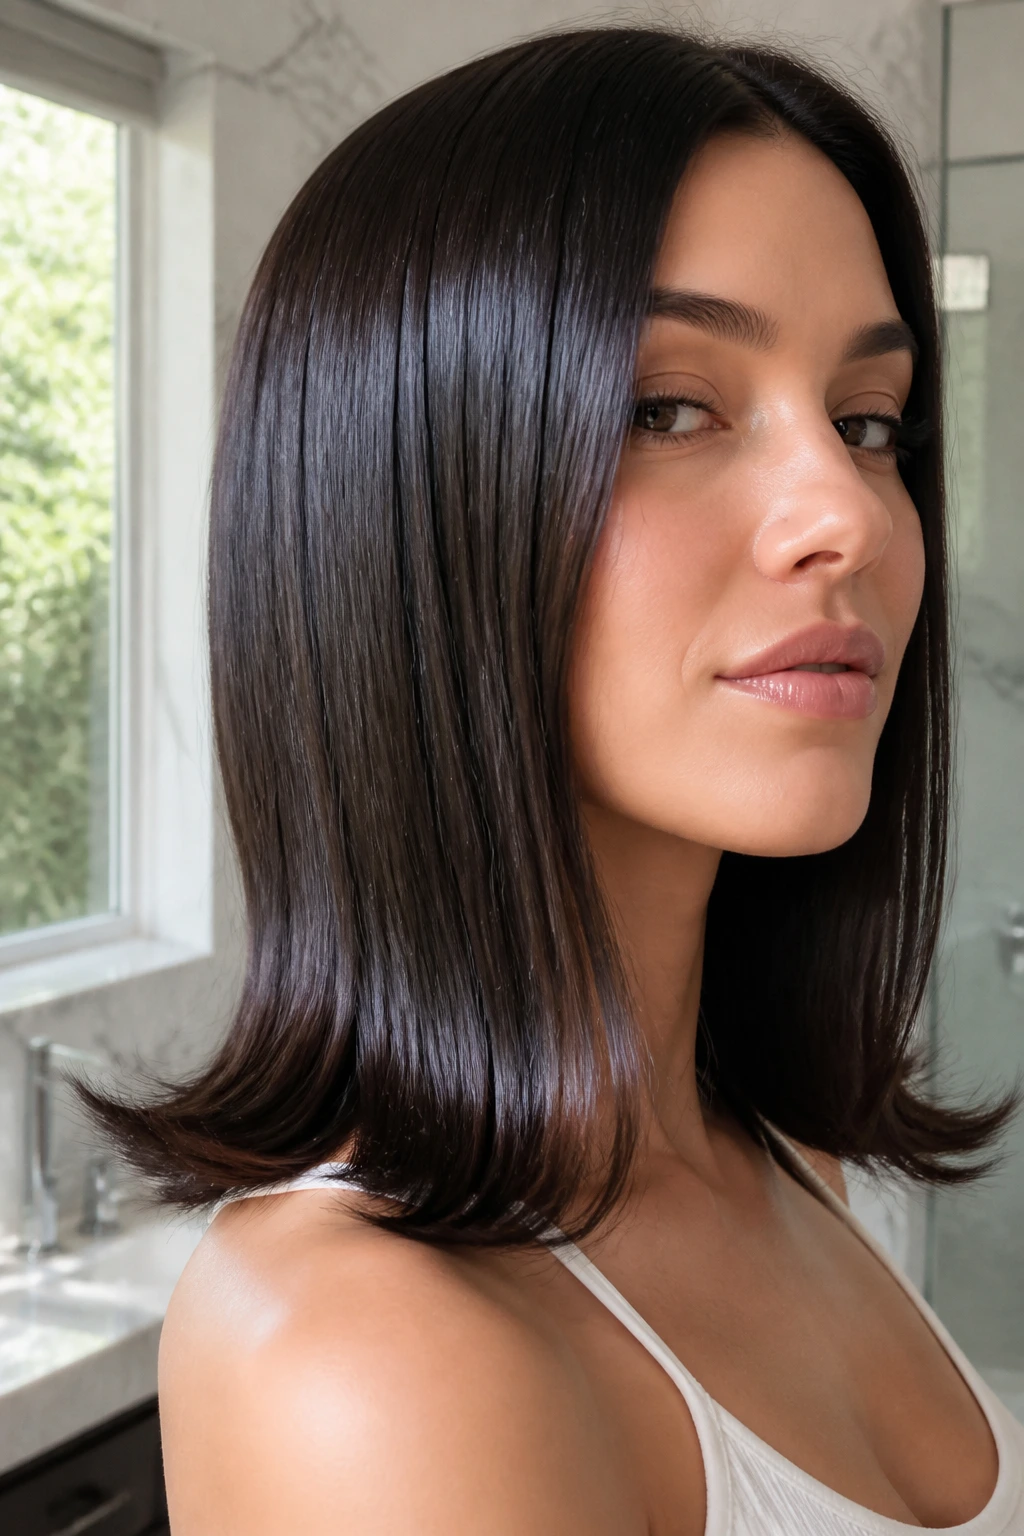
Glass hair is defined by its extreme shine and ultra-straight texture. A flip can be incorporated into this style by using a high-end flat iron to create a very subtle, sharp flick at the very end of the strands. It is a look of total precision.
The Product Secret
- You need a high-quality polishing oil. Apply it sparingly to the ends only.
- Shine sprays are also helpful, but use them after the styling is finished to avoid creating a “wet” look that might clump the hair ends together.
- This style requires a perfectly healthy base, so regular trims to remove split ends are non-negotiable.
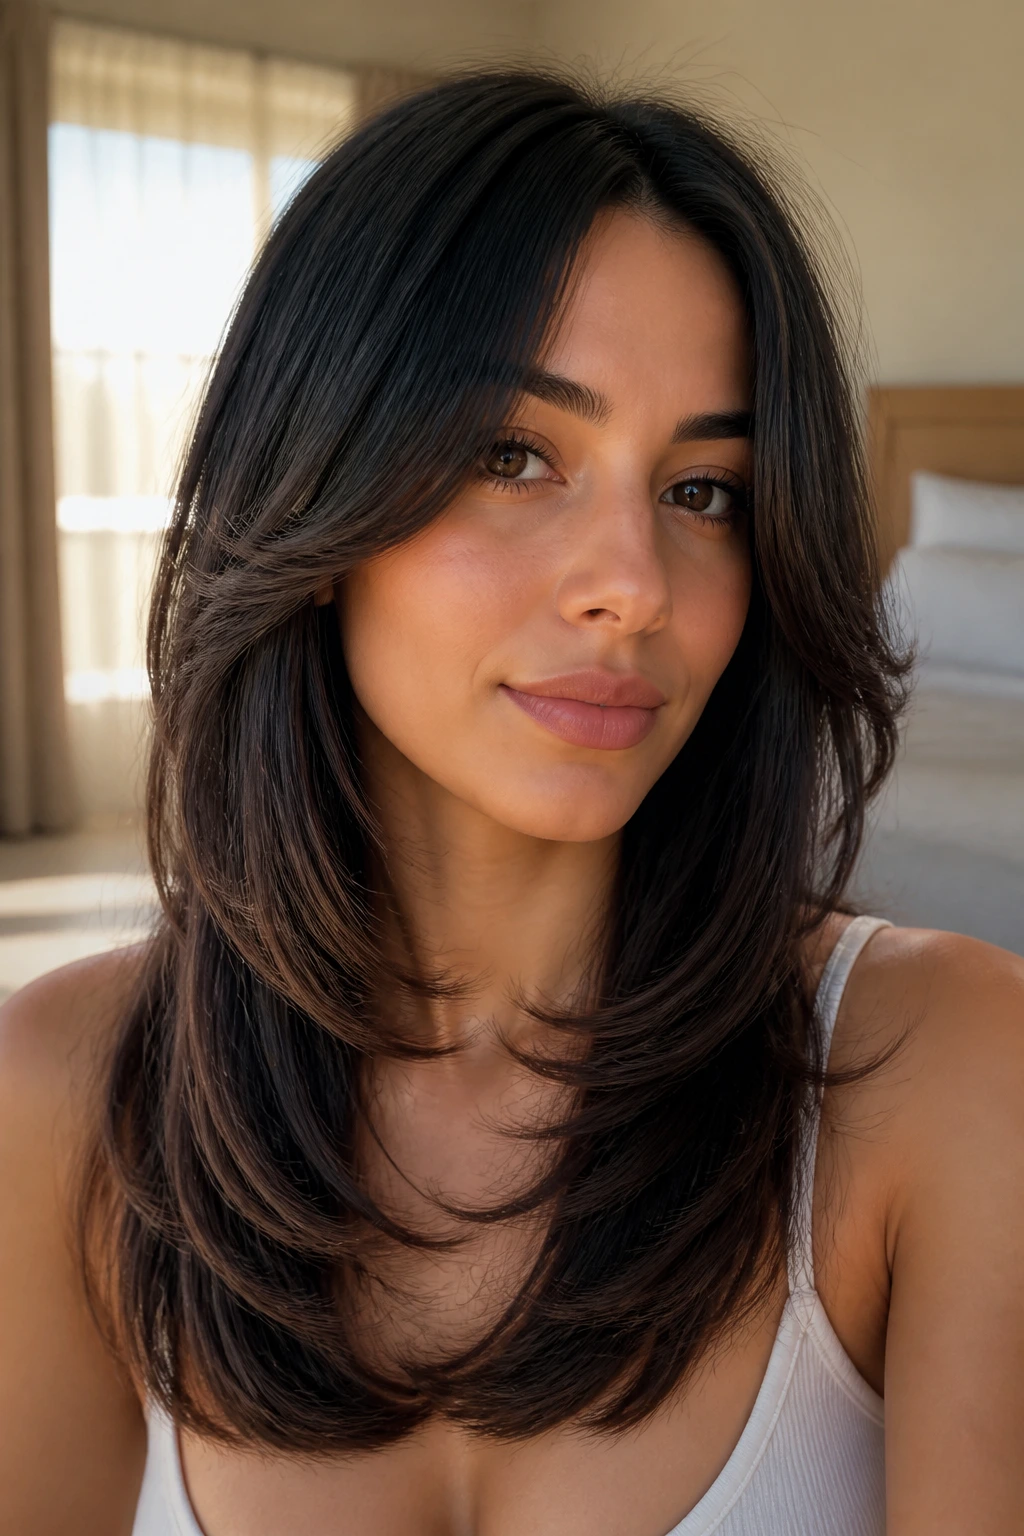
14. The Layered Shoulder-Duster

A shoulder-duster cut is often the most comfortable length because it does not weigh down your shoulders, yet it is long enough to pull back if needed. The flicks here are concentrated on the bottom three inches, giving the hair a sense of bounce and energy.
Why It’s the Ultimate Daily Cut
- It works with professional environments, casual outings, and evening events.
- Because it hits at the shoulder, the hair naturally hits the fabric and creates a flick on its own, meaning you don’t always have to reach for your styling tools.
- It is the most forgiving cut for hair growth, as the layers blend seamlessly as they lengthen.
15. The Minimalist Tapered Flick
Sometimes, less is more. This style involves a straight-across cut that is slightly tapered at the very ends using a thinning shear. This creates a natural flip that doesn’t look like a “style” but rather like your hair just naturally wants to sit that way.
The Professional Look
This is the “I woke up like this” of the haircut world. It looks intentional but not over-styled, making it the perfect choice for someone who values a natural, low-effort aesthetic.
Styling Tips
- Avoid heavy creams or gels.
- Use a light texturizing spray on damp hair, then let it dry naturally.
- Once dry, use your fingers to gently guide the ends away from your face for that soft, natural flick.
Why Hair Preparation Matters
Before you commit to a flicked haircut, you must ensure your hair is in a condition to hold the shape. Straight hair that is extremely soft or freshly conditioned will often lose a flip within an hour. This is where “second-day hair” becomes an asset. If your hair is too slick, use a dry shampoo at the roots and a texturizing powder at the ends. The extra grit gives your hair the “grip” it needs to hold the curve. It is about balancing moisture and texture—a clean, nourished strand is good, but a strand with a tiny bit of build-up is often easier to style.
If your hair is very thick, you may find that the flick doesn’t hold because the weight of the hair pulls the curl straight again. In these instances, talk to your stylist about “invisible layers.” These are layers cut on the inside of the hair section, hidden by the outer layer. They remove the bulk that causes the hair to fall flat while maintaining the appearance of a sleek, solid cut. It is a nuanced technique, but it can be the difference between a hair-flip that falls flat and one that stays bouncy until the end of the day.
Choosing the Right Tools for Your Flick

Your styling tool choice changes the character of the flick entirely. A flat iron creates a sharp, defined edge that looks very modern and polished. A round brush and a blow-dryer create a softer, more rounded curve that looks more “classic” or retro. If you want something in between, a hot brush is a fantastic investment. It offers the ease of a brush with the heat-setting power of a hot tool. Always experiment with the diameter of the brush; for a subtle, professional flick, a larger brush is best. For a tight, dramatic flip, a smaller diameter tool is the way to go.
Never overlook the role of heat protection. While a flicked haircut looks great, the daily application of heat to the most fragile part of the hair—the ends—can lead to breakage. If you find your ends are fraying or splitting, that is a sign you need to dial back the temperature. Using a professional-grade iron with adjustable settings is safer than using a basic one that only has “on” and “off.” You want to be able to hit the hair with just enough heat to set the shape, and nothing more.
Final Thoughts
The flicked haircut is more than just a passing style; it is a way to give your straight hair the movement it desperately craves. Whether you choose the sharp, high-fashion flip of a micro-bob or the soft, sweeping motion of a layered lob, the goal is always to create a silhouette that frames your features and reflects light. Do not be afraid to customize these cuts—that is the beauty of working with a talented stylist. You can take the base shape of a blunt lob and add just enough internal texture to make it uniquely yours.
Ultimately, the best haircut is one that makes you feel confident and requires a level of effort that fits your life. If you are a high-maintenance stylist, go for the sharp, retro flips that demand daily attention and high shine. If you are a wash-and-go person, opt for the wispy, razor-cut layers that encourage a natural, messy flip. Your straight hair does not have to be flat, and it certainly does not have to be boring. Embrace the flick, experiment with your texture, and see how much life a simple curve in your ends can bring to your total look.