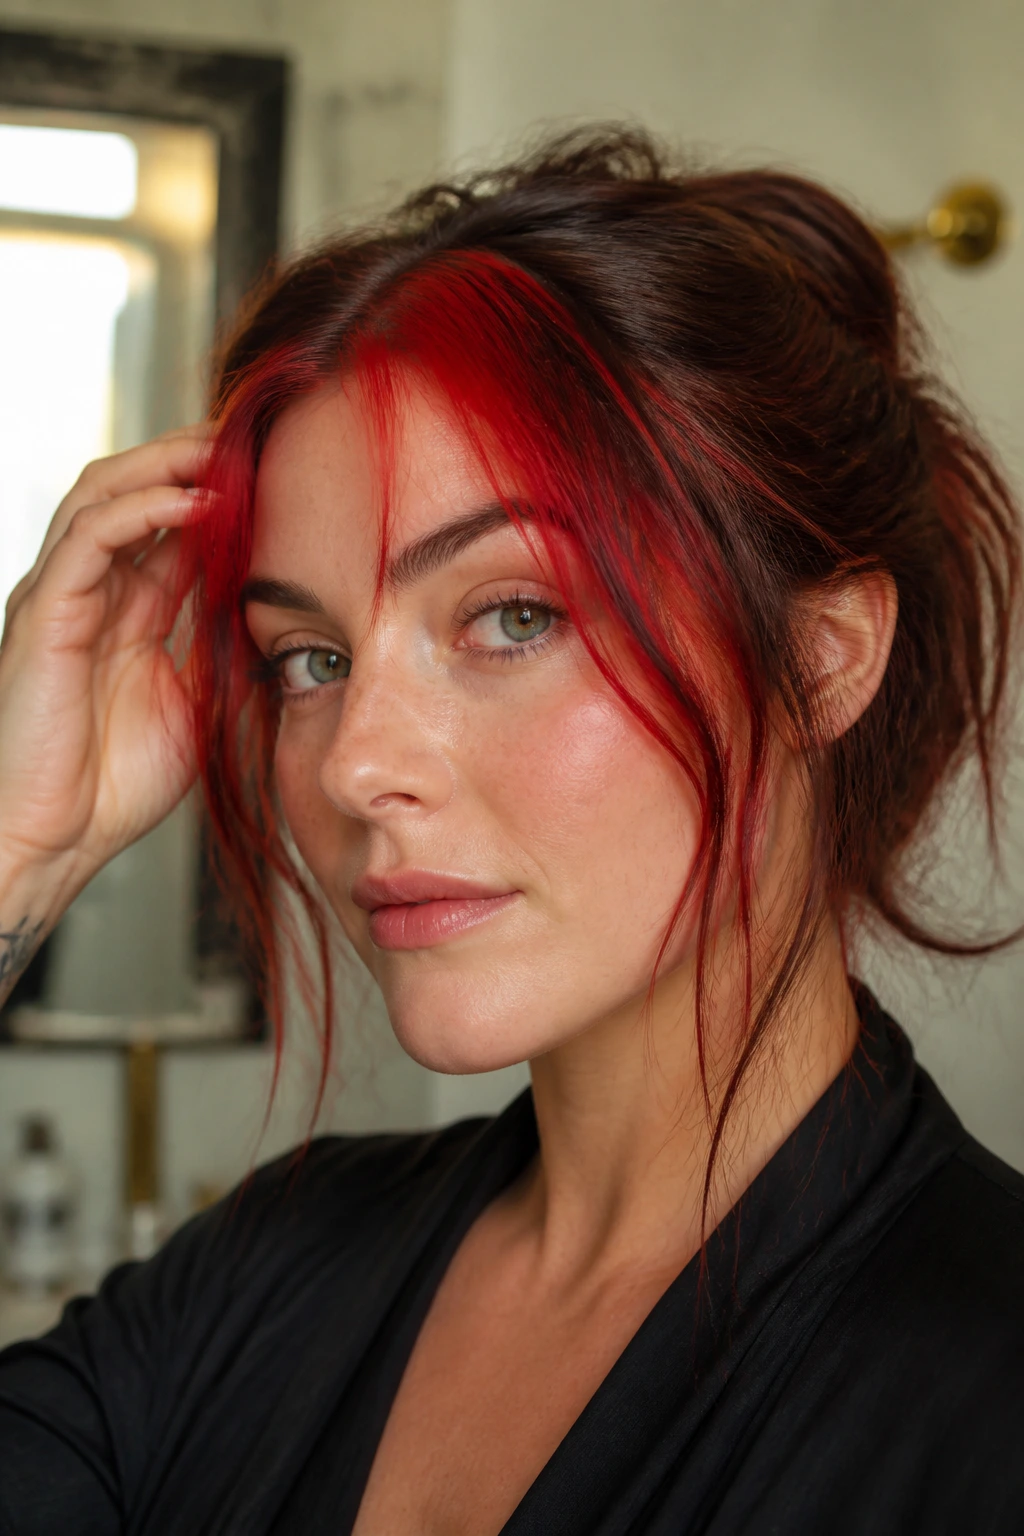
The alarm clock goes off, and your brain immediately starts running a calculation of how many minutes it will take to get ready before you need to walk out the door. If you are anything like me, your hair is usually the biggest obstacle in that mental equation. We all want to look pulled together, yet finding the time for a complex blowout or a flat-iron masterpiece during the morning rush is rarely a reality. That is precisely why the red halo hair look has become a secret weapon for those of us who value style but despise the daily grind of intensive grooming. It is a technique that offers high-impact color placement, framing your face with a concentrated pop of vibrancy, all while leaving the bulk of your hair in a manageable, natural state.
Choosing a red shade is not just about picking a color from a chart; it is about finding the hue that harmonizes with your skin’s undertones while demanding minimal upkeep. Whether you are leaning toward a deep, moody auburn or a daring, neon-adjacent copper, the halo placement—where the color is concentrated around the front hairline and underneath the crown—means your roots can grow out for weeks without looking neglected. You get the drama of a full-head transformation without the tedious root touch-up schedule that usually accompanies bold, bright shades.
Transitioning to this style changes your entire morning flow. Because the focus is placed so strategically, you can toss your hair into a simple clip or a loose braid and still look intentionally styled. The color does the heavy lifting, allowing your natural texture to shine without needing constant intervention from heat tools. Let’s look at how to pull this off effectively, whether you are doing it yourself or visiting a pro, and how to maintain that signature glow.
Understanding the Red Halo Technique

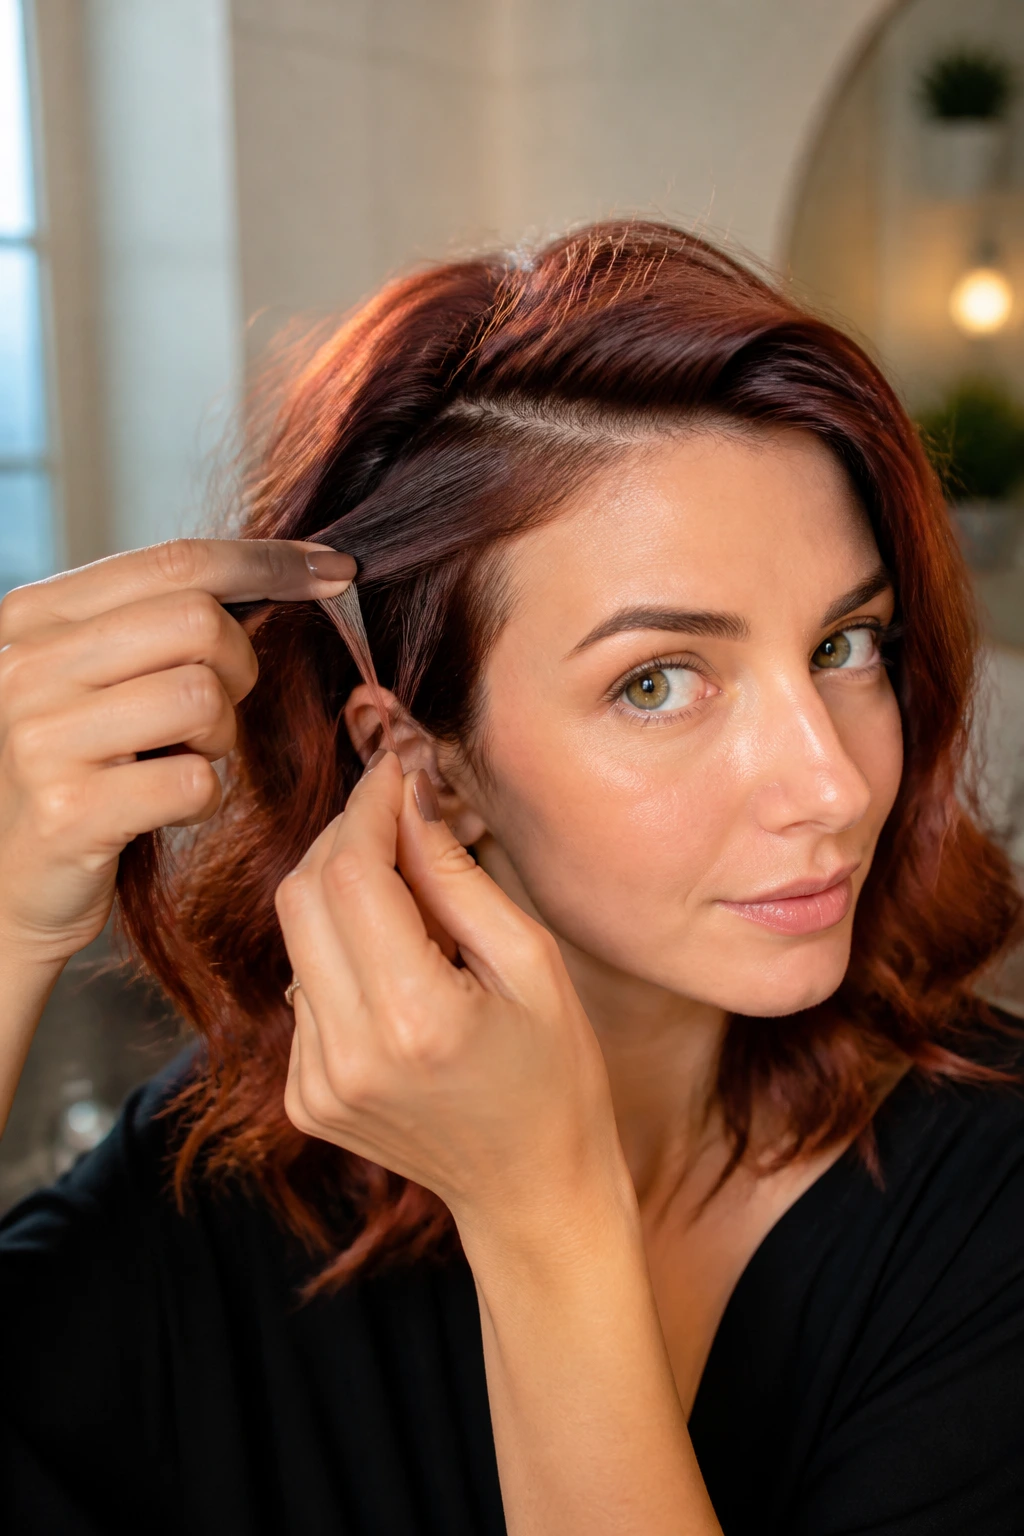
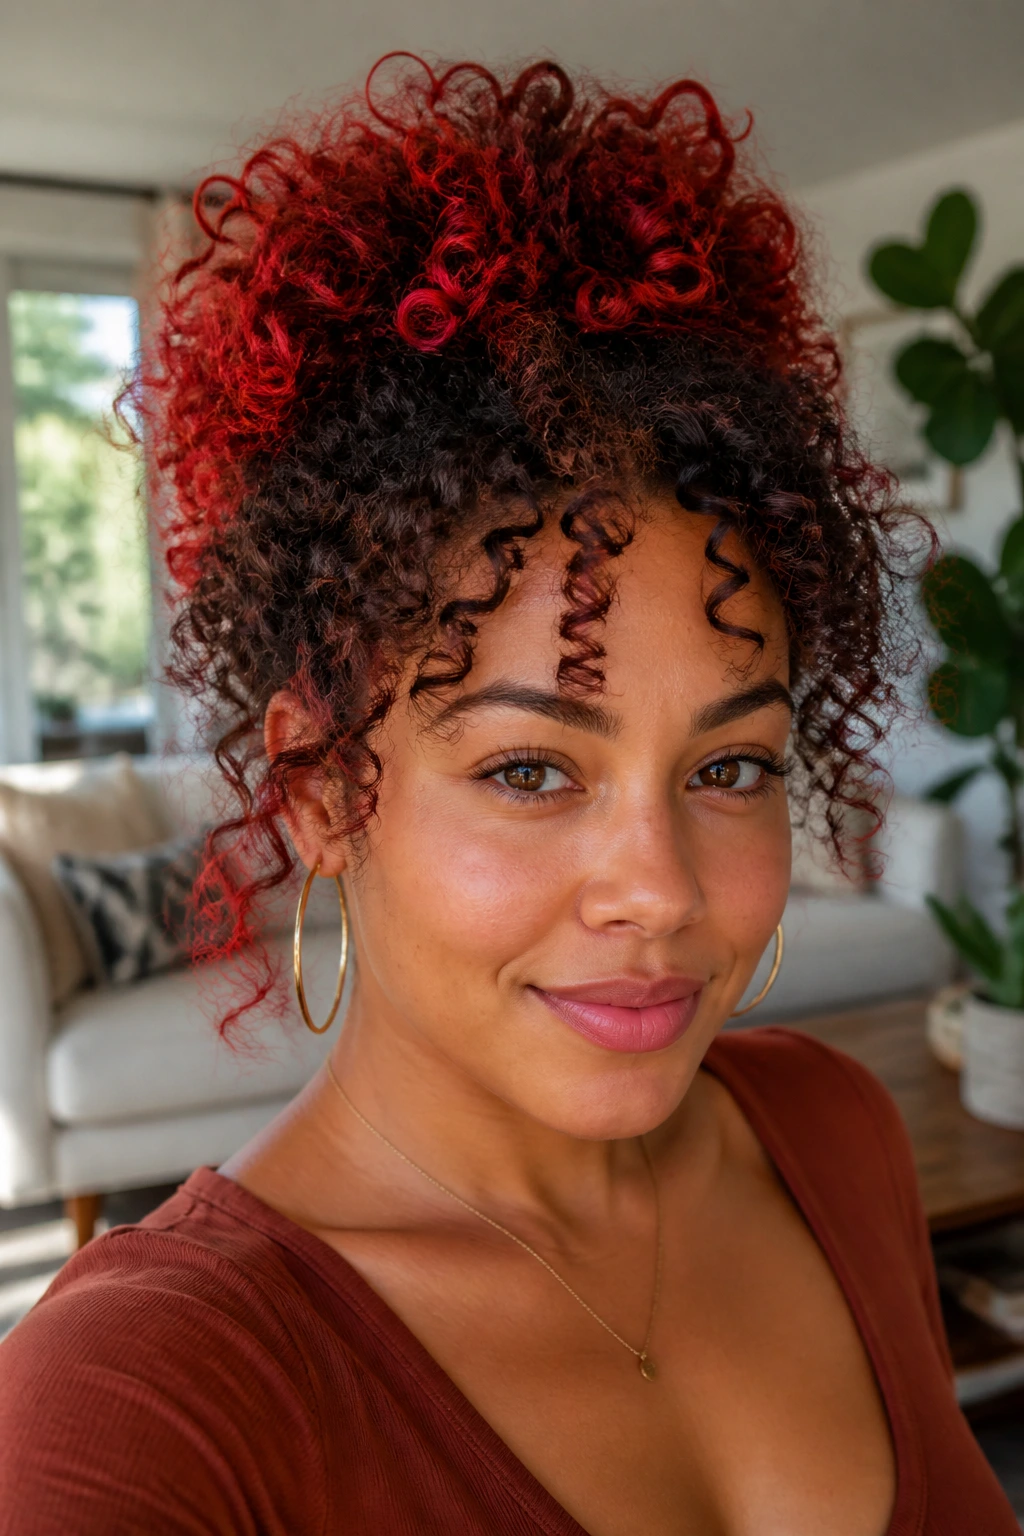
The red halo—also frequently referred to as a “peekaboo” or a “face-frame” color—is essentially about contrast and strategic placement. Instead of saturating every strand, the colorist or home stylist focuses on the front sections and the interior layers of the hair. When your hair is down, it looks like a subtle highlight. When you pull it up or tuck it behind your ears, the bold red hits you instantly.
Why This Placement Saves Time
- Root management: Since the top-most layer of your hair is often left closer to your natural shade, your regrowth line becomes significantly less obvious.
- Low-heat dependency: The style relies on the contrast of the color itself, which means you do not need to spend twenty minutes creating elaborate curls to distract from a messy dye job.
- Versatile styling: You can switch between a professional, subtle look and a bold, fashion-forward appearance just by changing your part or using a hair tie.
The Science of Red Vibrancy
Red pigment molecules are notoriously larger than other hair colors, which explains why they tend to wash out faster. However, in a halo configuration, you are only treating specific sections. This makes deep-conditioning treatments much faster to apply because you are focusing the product only on the colored areas. Spending five minutes on a mask for your front pieces is a luxury you can actually fit into a busy morning.
Choosing the Right Red for Your Skin Tone

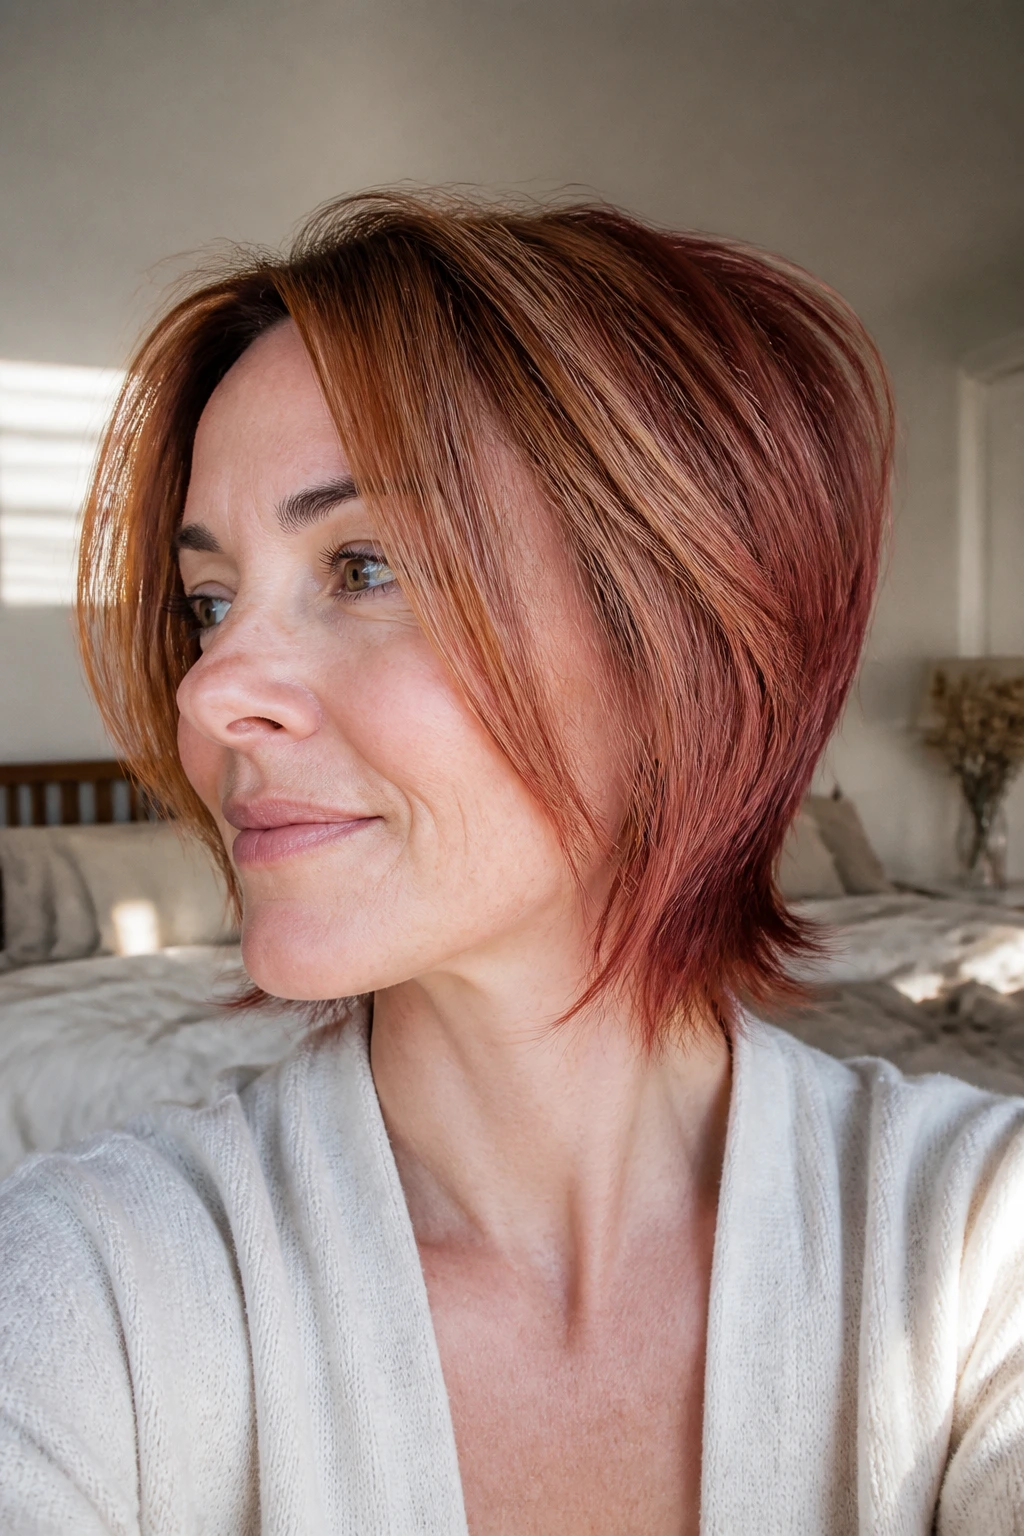
Picking a shade that makes you feel energized is the first step toward confidence. If you choose a red that clashes with your undertones, you will find yourself reaching for concealer and brightening primers every morning—the exact opposite of a “quick” routine. Warm skin tones usually thrive when paired with copper, ginger, or rust-toned reds, as these highlight the golden hues in your face.
If you have cool undertones, think of berries, cherries, or deep, wine-inspired crimsons. These colors lean away from the orange spectrum and prevent your skin from appearing sallow. The goal is to pick a shade that makes your eyes look brighter without requiring a full face of makeup to balance it out. If you are unsure, hold a swatch of fabric against your face in natural light; if the color makes your veins look blue or purple, stay in the cool-red family.
The Secret to Quick Morning Styling

For those mornings when you have exactly three minutes to get ready, the halo cut and color combination is your best friend. Because the red framing your face is the visual focal point, you do not need to worry about volume at the back of your head or perfectly smooth ends. The color draws the eye forward, making it the star of the show.
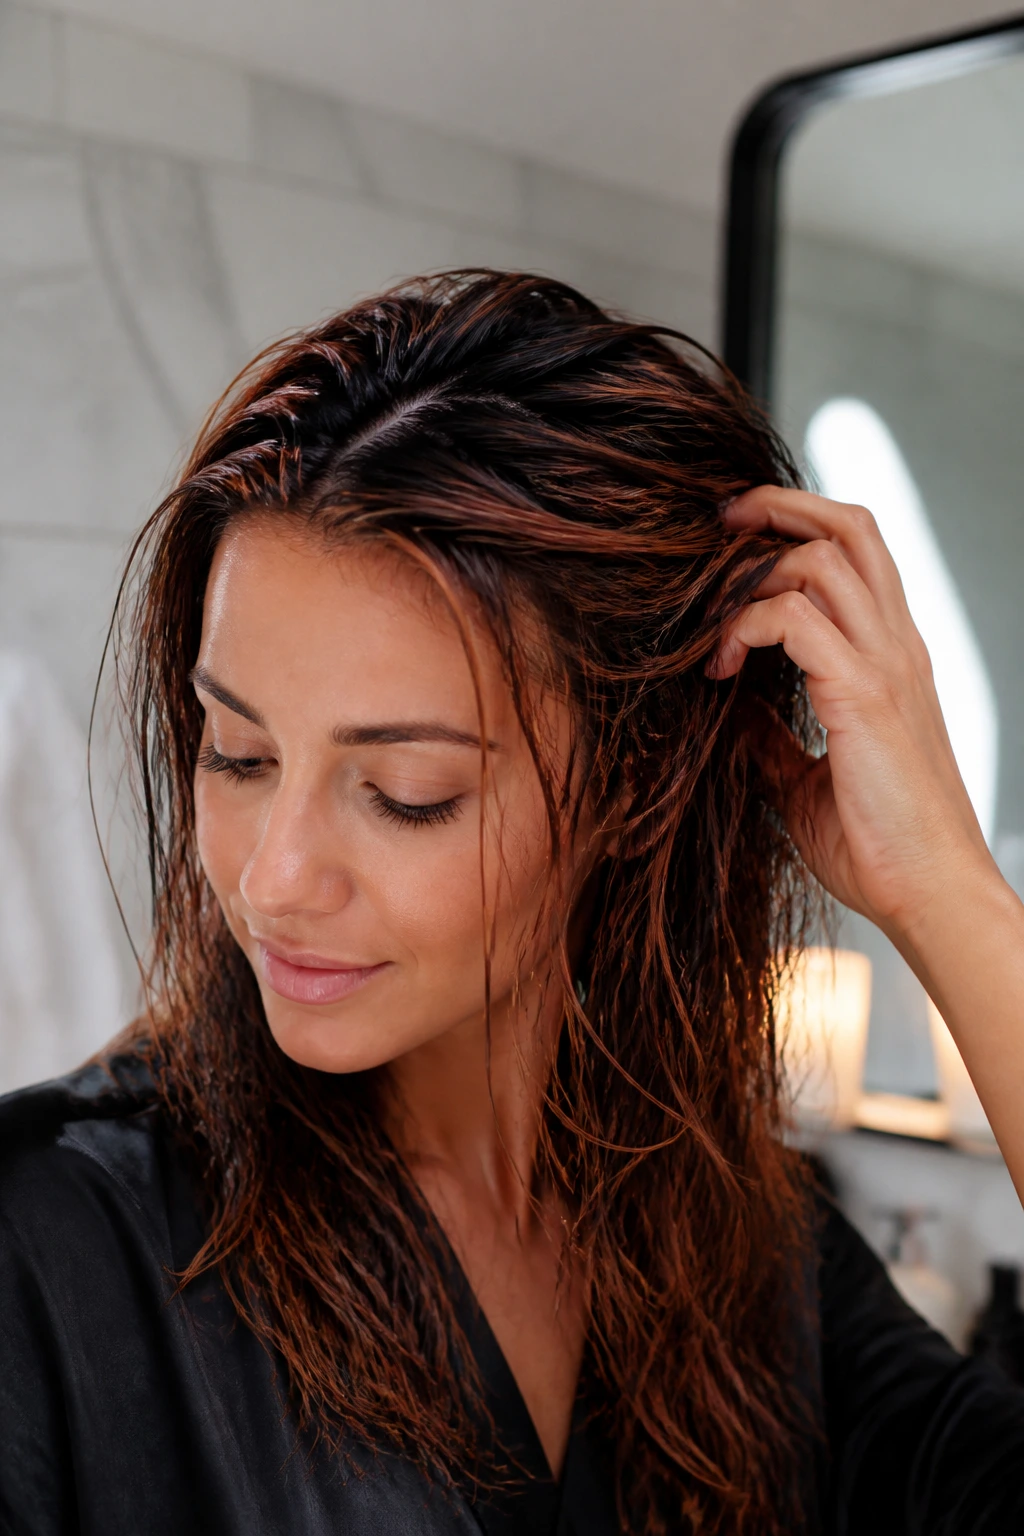
Using Texture to Your Advantage
Instead of fighting your natural waves or curls with a brush, use a lightweight sea salt spray or a mousse that encourages your pattern. Scrunching a product into damp hair takes thirty seconds and allows you to air-dry while you drink your coffee. As the hair dries, the red sections will naturally twist into the rest of your hair, creating a multidimensional effect that looks like you spent much more time on it than you actually did.
Effortless Updos
A simple claw clip is the ultimate tool for this hair look. By gathering the hair loosely and pinning it back, you expose the “halo” of red hidden underneath. It takes about five seconds to execute and creates an effortless, messy-chic look that is acceptable for the office or a casual brunch. The key is to leave a few red-tinted tendrils loose around the face to emphasize the color placement.
Maintenance Strategies for Busy Schedules
Red hair is famously high-maintenance, but the halo approach changes the math. Because you are not processing your entire head every six weeks, the integrity of your hair stays much stronger. Focus your maintenance on keeping the color from shifting toward a dull, flat brown or a brassy orange.
The Weekly Refresh
Invest in a color-depositing conditioner that matches your red tone. This is not a hair dye in the traditional sense; it is a mild conditioner that adds a hint of pigment back into the hair every time you shower. Using this once a week while you shave or wash your face ensures your halo never looks faded. You can skip the salon visit for a toner, saving you precious hours in your calendar.
Washing Habits That Protect Your Investment
- Avoid extreme heat: Use lukewarm water to prevent the red pigment from bleeding out of the cuticle.
- Minimize washing: If you can, stretch your wash cycle to every three or four days. Dry shampoo is your best friend here, as it absorbs the oil that can make red hair look dull.
- Skip harsh sulfates: Look for shampoos that are specifically formulated for color-treated hair to ensure the molecules stay locked inside the hair shaft.
Preparing Your Hair for the First Application
If you are starting from a dark base, the process will take more time, so plan this for a weekend rather than a Tuesday morning. The most common mistake people make is trying to lift the color too quickly, which results in damage and a fried, straw-like texture that is impossible to style on the go.
Start by deep conditioning your hair twice a week for a month before you apply any lightener. Healthy hair holds onto color much longer, meaning you won’t have to re-dye as frequently. When you finally go for the color, make sure to request a bond-builder additive, such as Olaplex, to maintain the structural integrity of your hair. This will ensure that your “halo” remains soft and touchable rather than brittle.
The Role of Accessories in Your Morning Routine

When your hair is colored in a halo, it becomes an accessory in itself. You don’t need heavy styling to make it look great; you just need to frame it. Simple, minimalist accessories can elevate a lazy morning look into something that feels intentional and styled.
Gold-toned barrettes or silk scrunchies pair beautifully with warm, copper-toned reds. They catch the light and emphasize the vibrancy of the color. If you are wearing cool-toned cherries or wines, silver or black accessories tend to look more polished and cohesive. Keep a small stash of these in your bathroom drawer so you can grab one on your way out without thinking too hard about your outfit.
Avoiding Common Color Mistakes
Most of the frustration people feel with red hair comes from “bleeding” or uneven fading. If you are doing this at home, always do a strand test first. The hair around your face is often thinner and more porous than the hair on the back of your head; it will soak up the red dye faster and more intensely, which can lead to a “hot root” or an overly bright, unnatural look near the temples.
Always apply your color to the back sections of your halo first, then work toward the front, leaving the hairline for last. This prevents that front section from sitting in the dye too long. If the front does end up too bright, don’t panic. A quick wash with a clarifying shampoo can usually pull back some of the intensity, though it is better to avoid the issue entirely by watching your clock during the development stage.
Professional vs. DIY Approaches
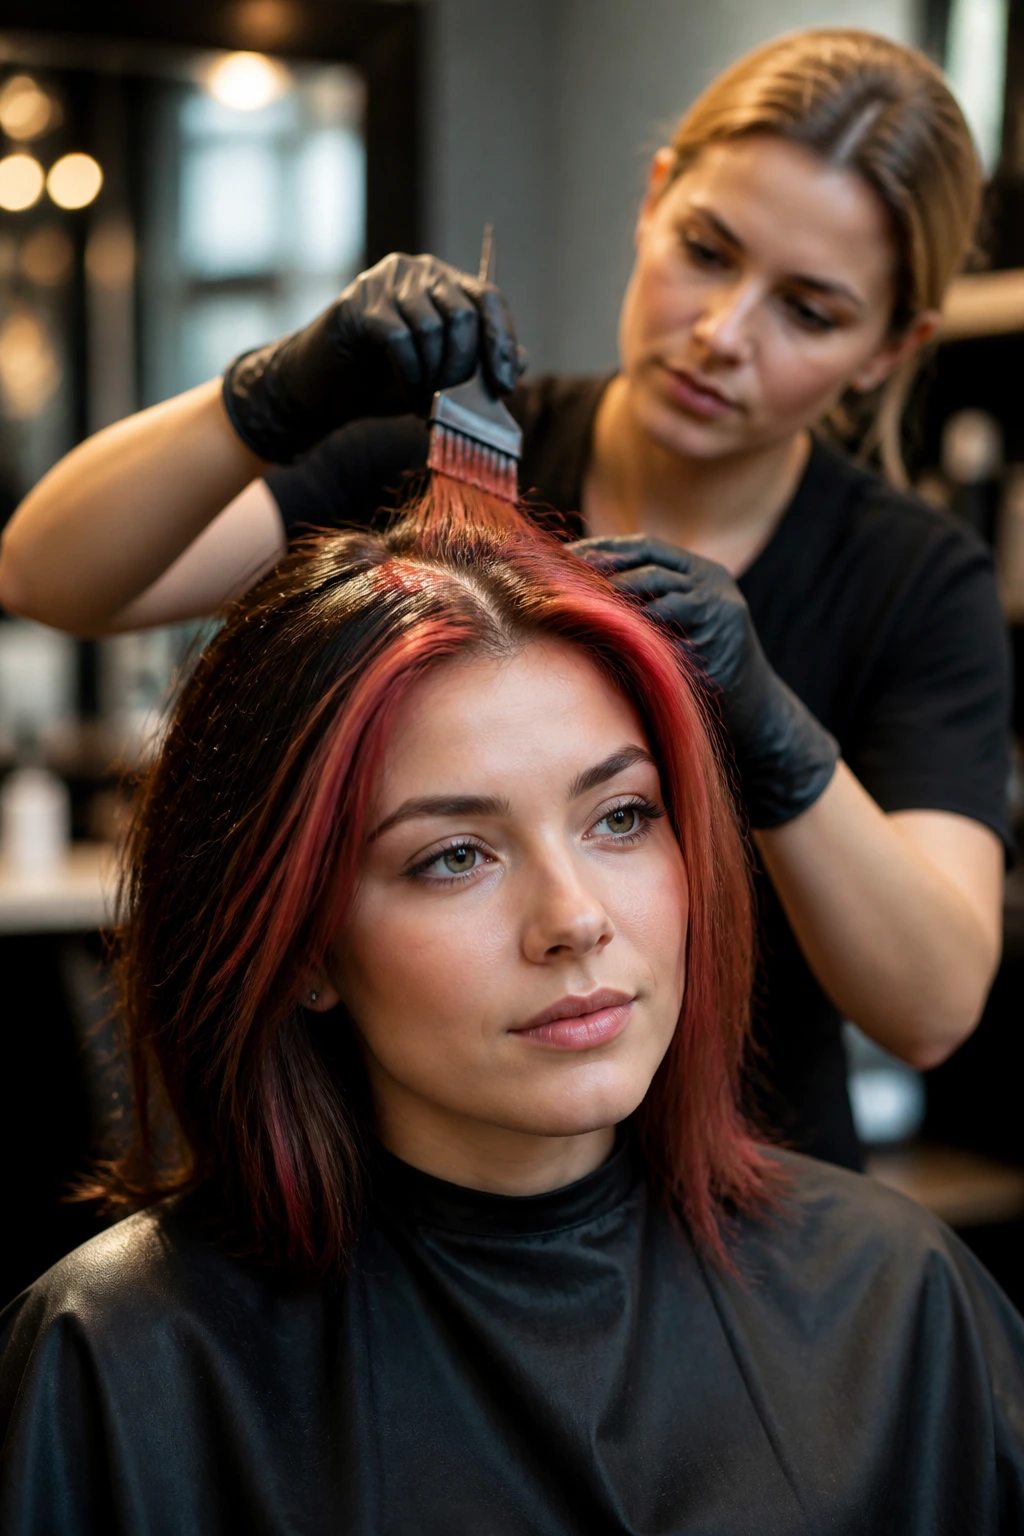
Should you visit a salon or take the plunge at home? If you have virgin hair (meaning no previous dye), a DIY kit can work if you are careful. However, if your hair has been colored previously, you absolutely need a professional. Removing old black or brown dye to make room for a vibrant red is a technical process that requires a delicate balance of lightener and developer.
At the salon, you are paying for the precision of the placement. A good colorist can ensure the halo is perfectly balanced, so it looks like a natural glow rather than a block of color slapped onto your head. Think of the salon visit as an investment in your mornings for the next three months. The time you save not fighting with your hair every day will more than pay for the cost of the service.
Adapting for Different Hair Textures
Whether your hair is pin-straight or tightly coiled, the red halo technique works, but the application changes. For those with straight hair, the line of demarcation between the red and your natural color needs to be blended carefully, perhaps with a soft-root smudge technique, so it doesn’t look like a harsh hat.
Curly hair, on the other hand, hides the transition naturally because the curls create depth and movement. If you have curly hair, you can be bolder with the halo placement. The red will pop and recede as the curls bounce, creating a dynamic effect that looks different every single day. Just be aware that curly hair is often drier; ensure you are using a hydrating, red-pigment-safe oil to keep those curls shiny and defined.
Styling for the Office vs. The Weekend

The versatility of the halo technique is its greatest selling point for busy people. If you work in a conservative environment, you can part your hair down the middle or slightly to one side to hide the red “hidden” sections, leaving only the faintest whisper of copper framing your face. It looks professional and subtle, yet still feels like “you.”
On the weekends, simply swap your part, pull your hair back into a high, messy bun, or let it fall naturally to reveal the full extent of the color. You are essentially getting two distinct looks out of one haircut. The transition happens in seconds, allowing you to adapt to your social calendar without needing a professional blowout.
The Long-Term Growth Phase
Eventually, you will reach a point where you need to decide if you are keeping the red or letting it go. Because this is a halo style, you don’t have the “growing out” nightmare of a full head of bleached hair. If you want to stop, you can either fade it out using a semi-permanent shade that is closer to your natural color, or you can slowly trim the front pieces as they grow past your jawline.
This flexibility makes it a low-risk commitment. You aren’t locking yourself into years of maintenance. If you decide in six months that you want to be blonde or back to brown, the amount of hair you have to treat is minimal. It is the perfect entry point for those who want to experiment with bold color but are afraid of the long-term damage or upkeep.
A Note on Health and Hydration

Red dye is essentially a stain; if your hair is porous or damaged, that stain will grab onto the damaged areas and look muddy. Before you even think about the color, spend a week focusing on protein-moisture balance. Use a protein treatment to fill in the gaps in your hair’s cuticle, then follow up with a deep, emollient conditioner.
Your hair should feel like silk before you apply any color. If it feels rough or tangled, hold off. The red halo works because it is meant to look vibrant and glossy; if the base hair is unhealthy, the red will just highlight the damage. A healthy, shiny halo of red can make you look refreshed and awake, even on the days you didn’t get enough sleep.
The Bottom Line

Ultimately, the best morning routine is the one that lets you sleep an extra twenty minutes. By utilizing the red halo technique, you are front-loading your style. You do the work in the chair at the salon, and for the next few months, you reap the rewards in the bathroom mirror. Your hair becomes a statement piece that requires almost no effort to look good.
Stop fighting your hair. Work with your texture, use the color to provide the drama, and let the rest of your morning be simple. Whether it is a quick claw clip, a messy bun, or just a wash-and-go with a little bit of sea salt spray, you will find that you look polished without the panic. That is the real power of a well-placed red halo—it gives you back your mornings, one vibrant strand at a time.