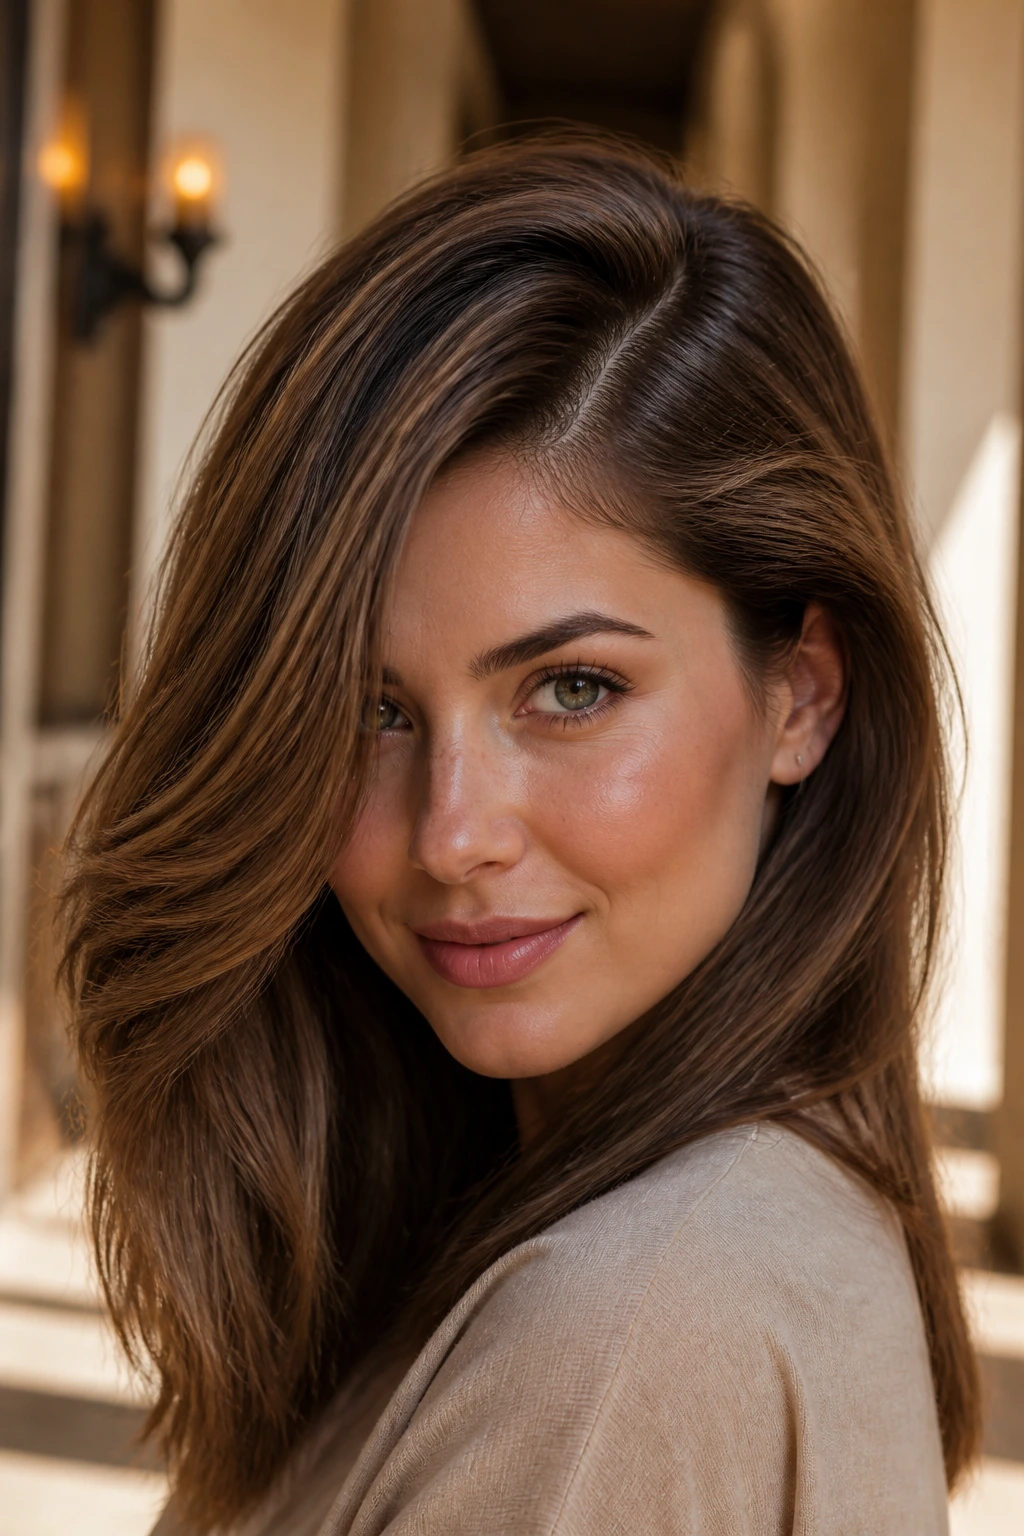
Choosing the right cut for a round face is less about hiding your features and more about balancing them. You are looking for angles, height, and visual elongation. When your face is roughly as wide as it is long, with soft, rounded jawlines and cheeks, the goal is often to create a sense of verticality. Many people fall into the trap of thinking they need to “cover up” their face with a curtain of hair. In reality, the most flattering styles for round faces are those that provide structure, definition, and intentional movement. Whether you prefer a sharp, architectural bob or soft, cascading waves, the key is understanding how to draw the eye up and out rather than letting it settle on the widest part of your cheeks.
1. The Long Layered Shag
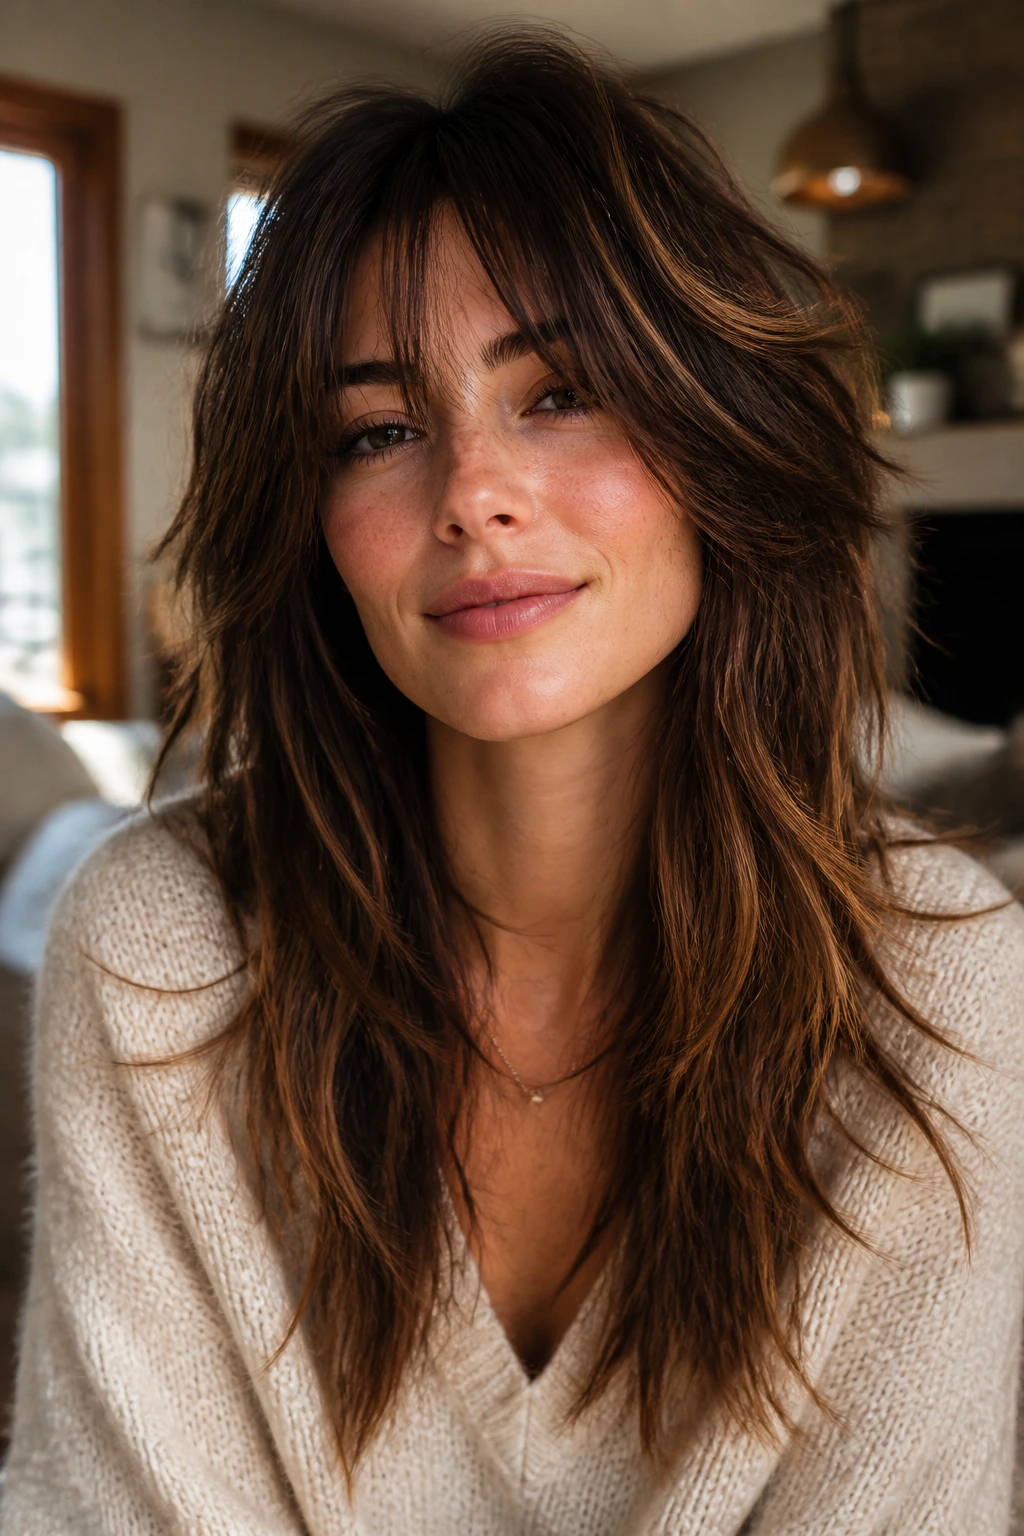
This cut is all about controlled chaos. By incorporating heavy texture and choppy ends, the long shag creates a vertical flow that draws attention away from the width of your cheeks. You want the layers to start around the jawline or collarbone rather than at the cheekbones themselves, which helps to elongate the appearance of the face.
Why It Works for Round Faces
The crown volume is the secret weapon here. When you have extra lift at the roots, you are physically adding height to your silhouette. This breaks up the circular shape of the head and forces the eye to travel upward.
How to Style It for Maximum Impact
- Use a texturizing sea salt spray on damp hair.
- Scrunch the ends while blow-drying to encourage natural movement.
- Avoid using a heavy round brush, which can create too much width.
- Finish with a lightweight pomade to define those choppy, shaggy ends.
Pro tip: If you opt for bangs with this style, keep them curtain-style rather than blunt. A blunt fringe cuts your face in half horizontally, which is the opposite of what you want.
2. The Sleek A-Line Bob
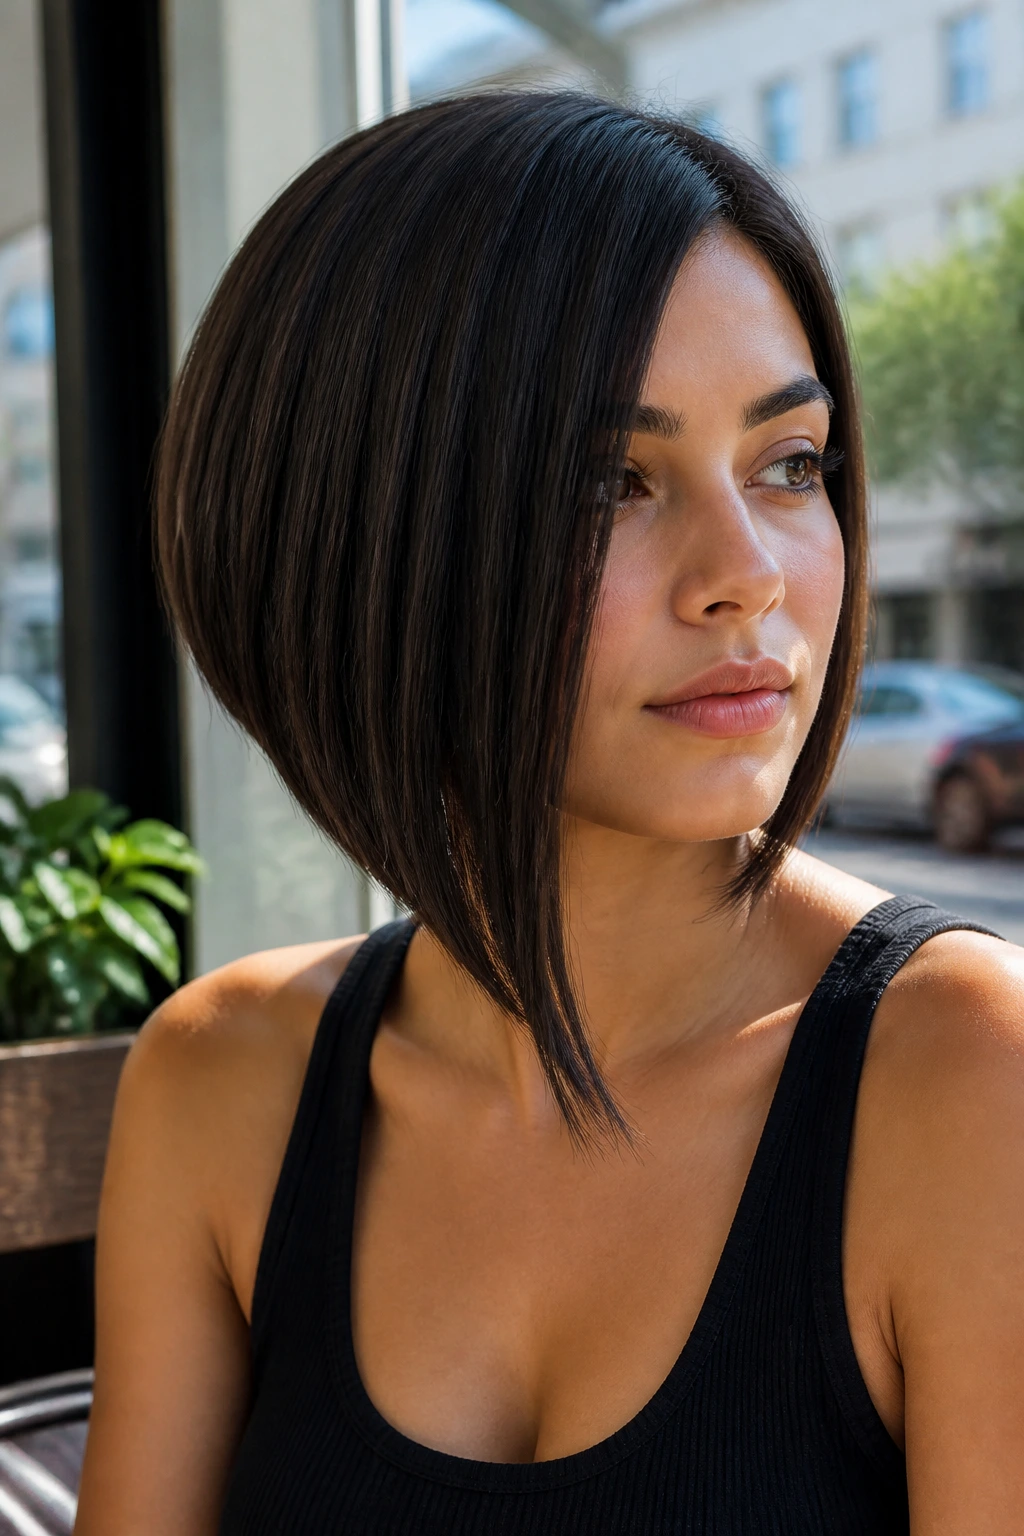
An A-line bob is a classic for a reason. Because the hair is shorter in the back and gradually gets longer toward the front, it naturally creates a downward-pointing triangle shape. This geometry is incredibly effective at “slimming” the look of a face by emphasizing the chin and neck.
The Power of Asymmetry
Asymmetry is a round-face cheat code. By having one side slightly longer or having an angled front section, you disrupt the symmetrical nature of a round face. This forces the viewer to look at the angles of the cut rather than the shape of your head.
Maintenance Considerations
- Expect to visit your stylist every six to eight weeks to keep that sharp angle intact.
- Use a ceramic flat iron to achieve a glass-like finish, which highlights the precision of the cut.
- A heat-protectant serum is non-negotiable for this style, as the ends will be on full display.
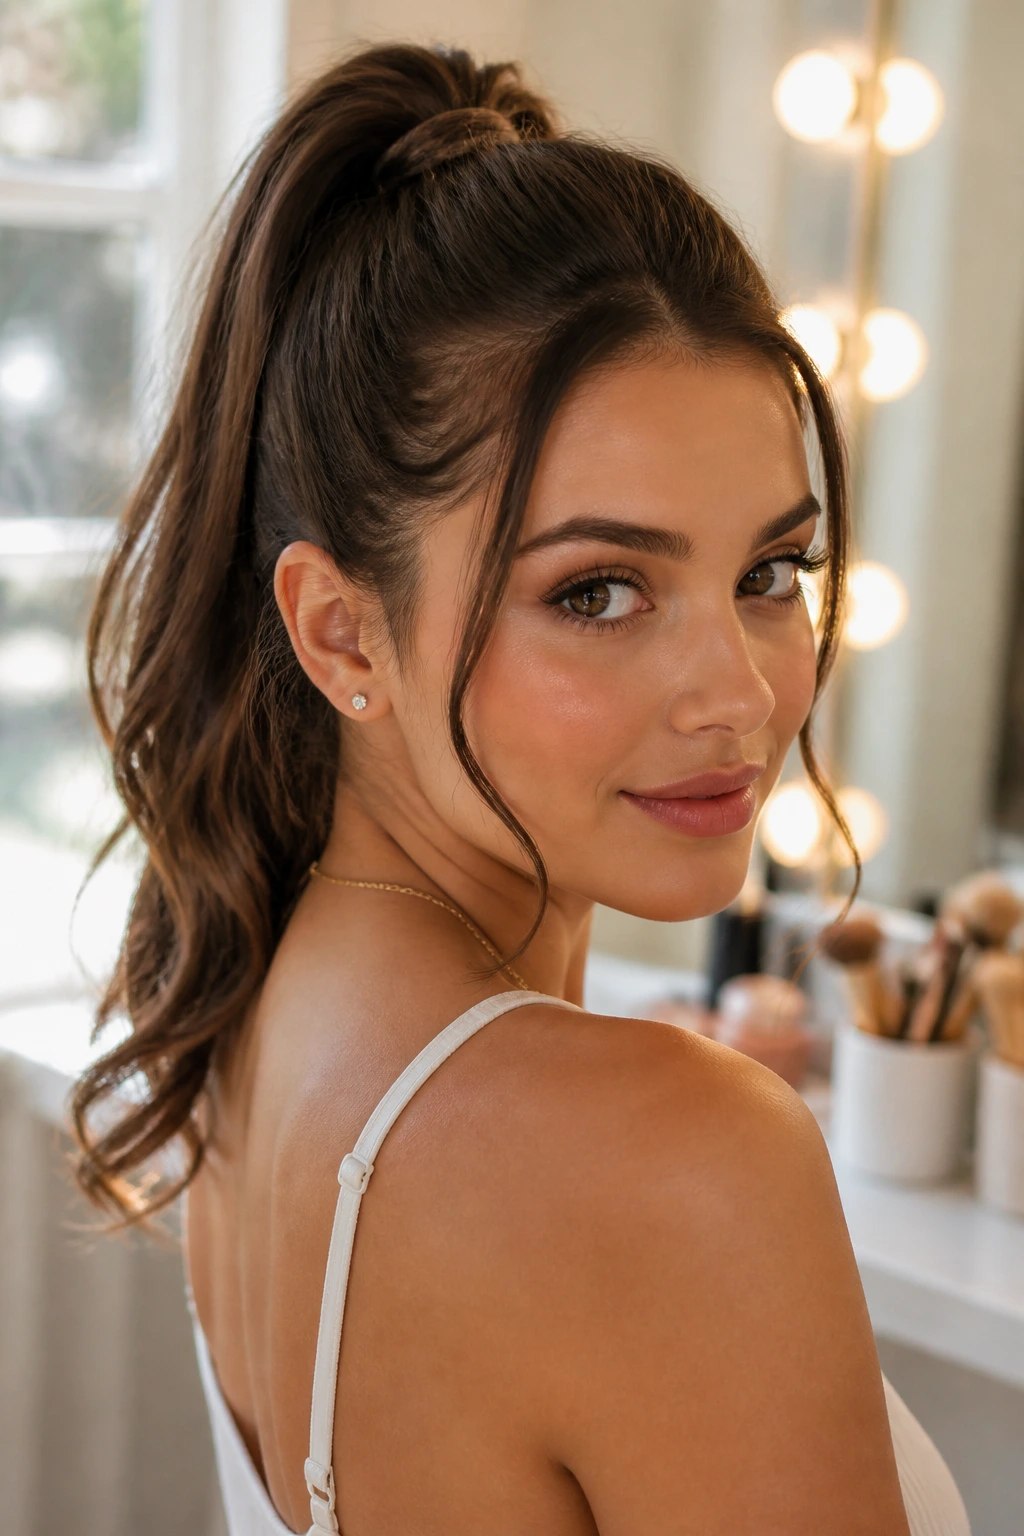
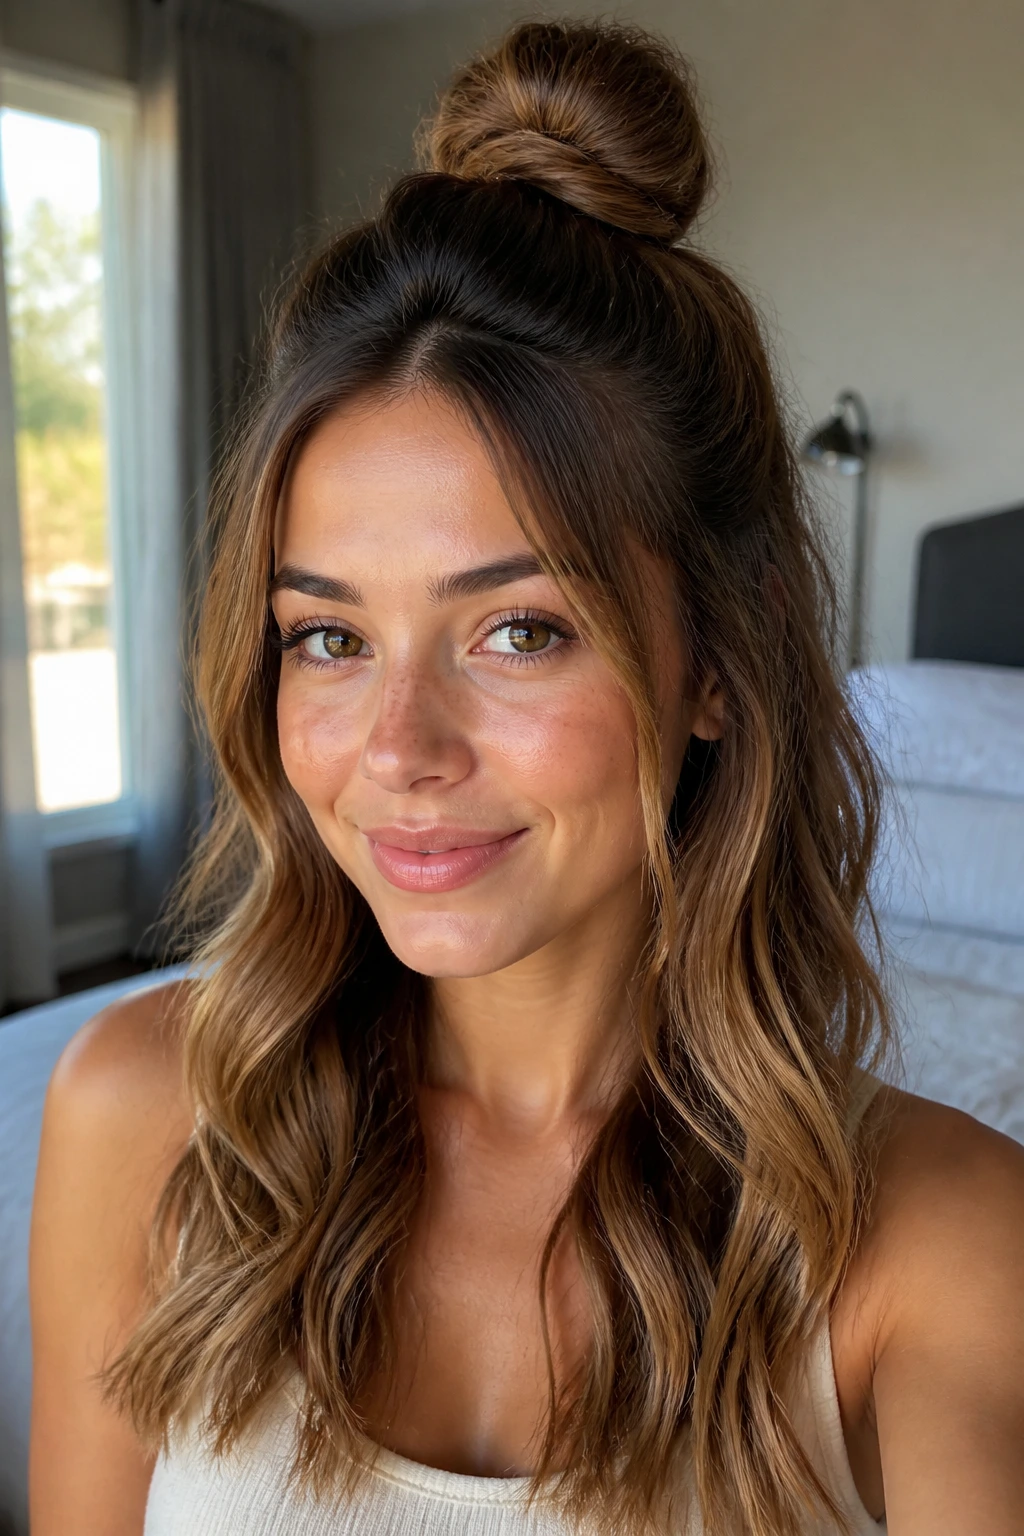
3. High-Volume Top Knot
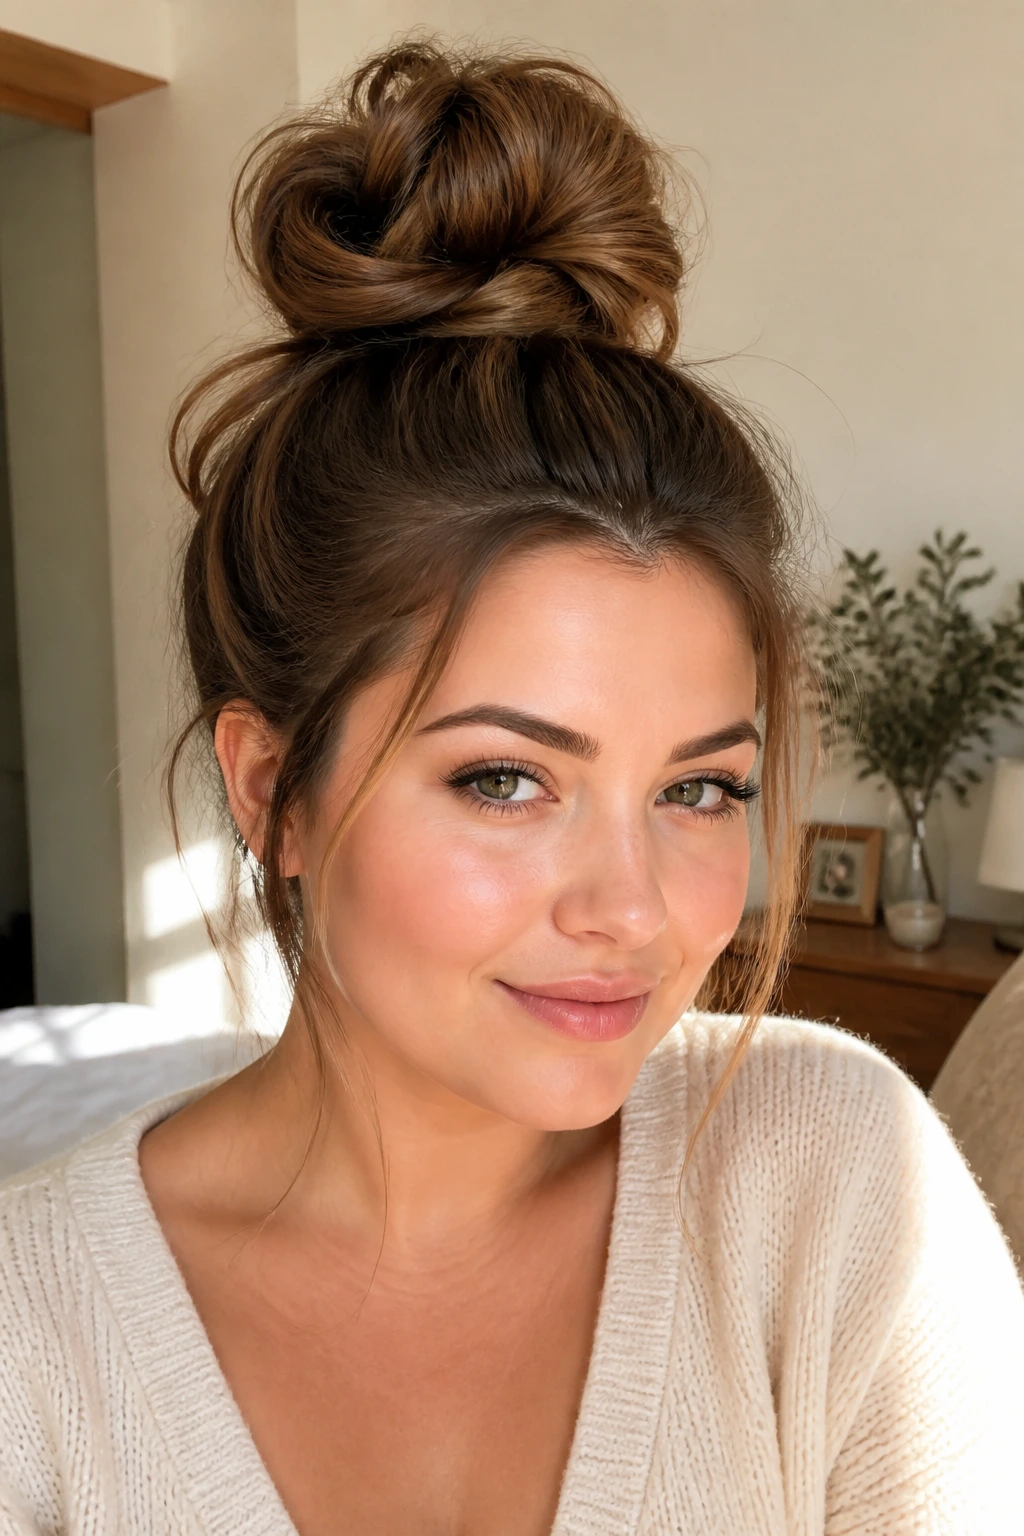
Sometimes, the best way to handle a round face is to embrace the shape entirely and add height where it counts. A high, messy top knot isn’t just for lazy mornings; it’s an intentional styling choice that pulls the hair upward, creating an immediate vertical illusion.
How to Achieve the Look
- Gather your hair at the very top of your head, ensuring it’s pulled tight near the ears to keep the sides streamlined.
- Twist your hair into a loose bun rather than a tight, flat coil.
- Pull a few wisps of hair out around the temples to soften the look, but keep them minimal.
- Secure with a scrunchie or U-shaped pins for a slightly more elevated, sophisticated feel.
Crucial detail: Do not pull your hair back sleekly if it makes your head look like a perfect sphere. Always leave a little volume at the crown to add some lift and “air” to the hairstyle.
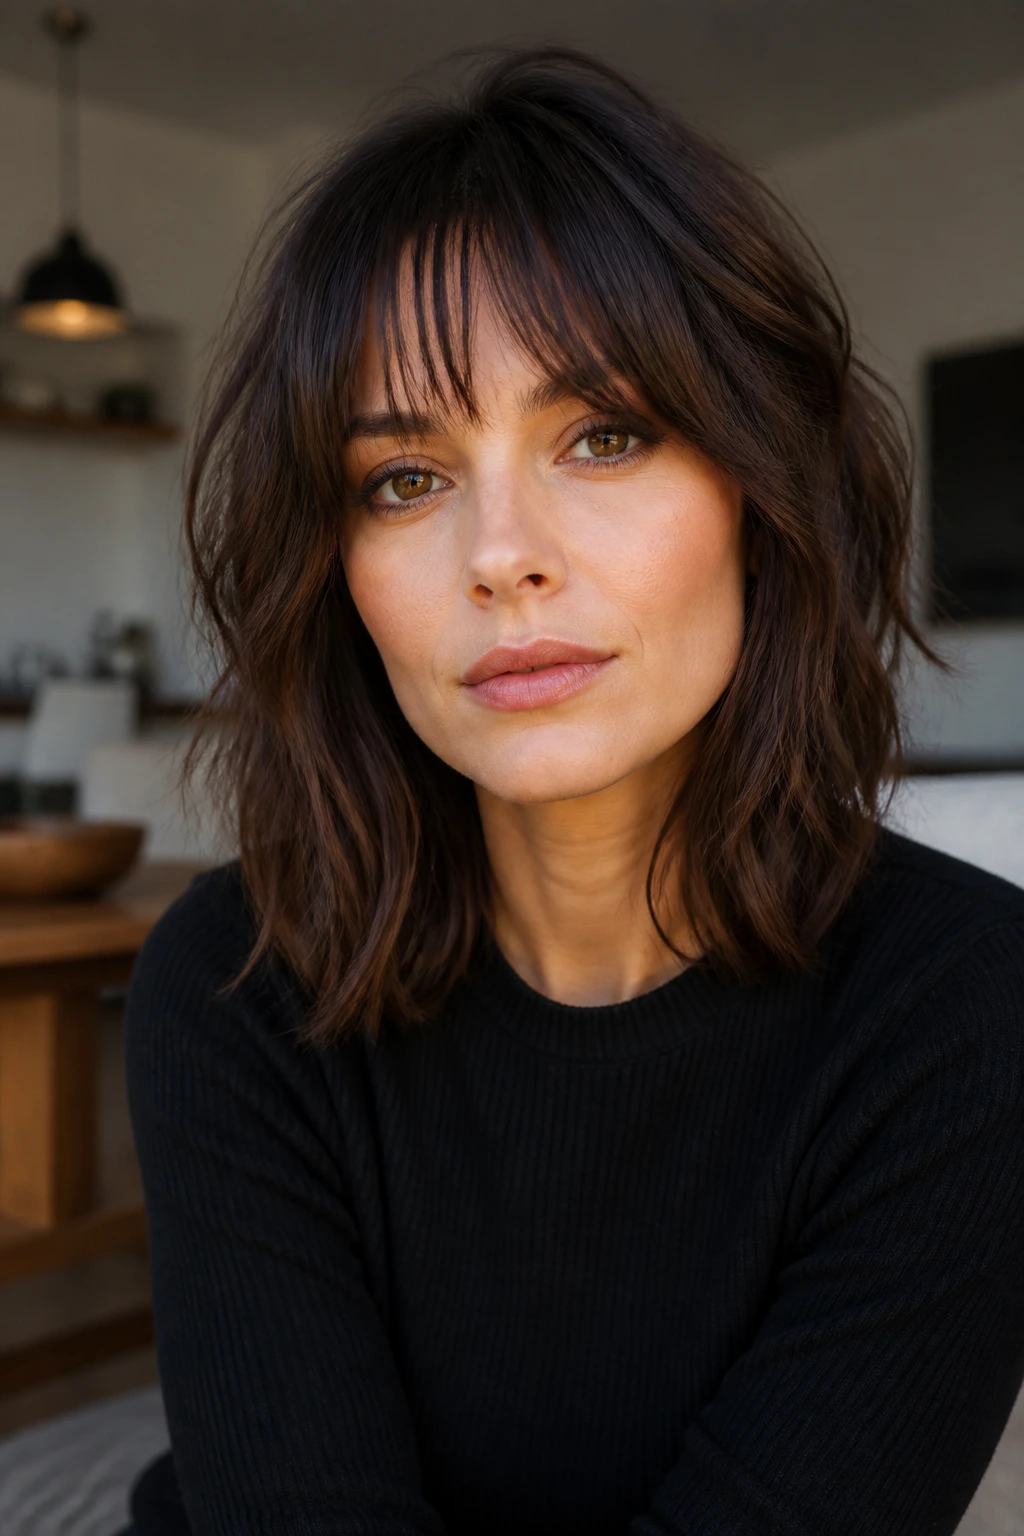
4. Curtain Bangs with Face-Framing Layers
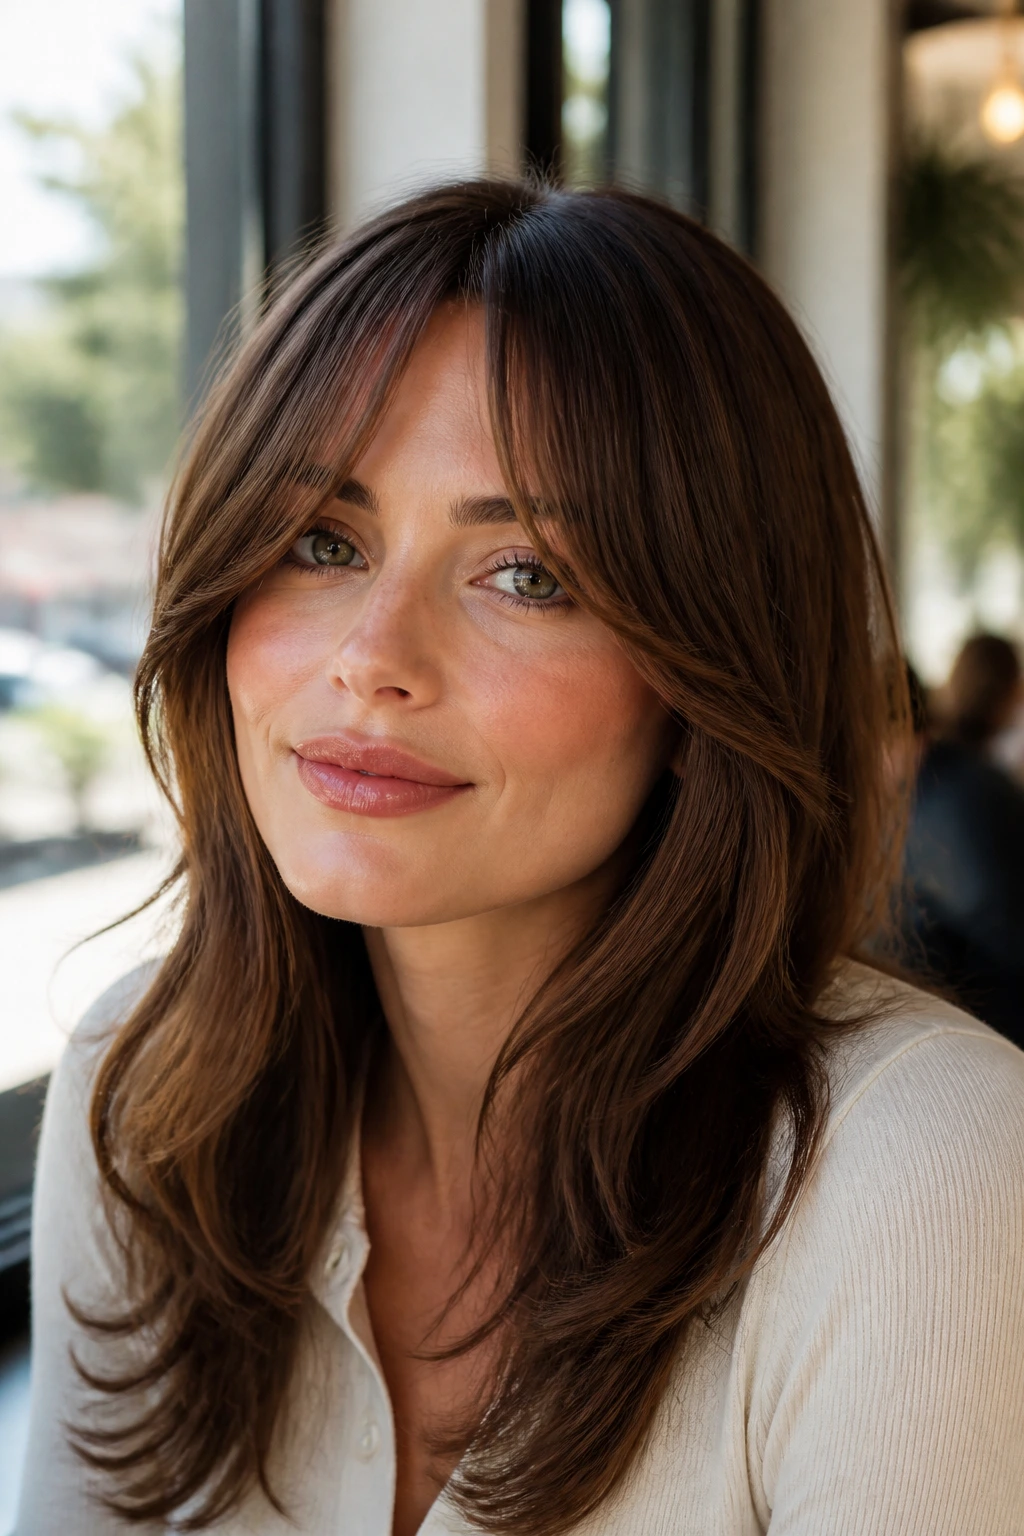
Curtain bangs are universally flattering, but they are particularly good for round faces because they create a soft, inverted “V” shape around your eyes and nose. This draws the eye toward the center of your face rather than the outer edges.
The Mechanics of the Cut
The secret is the length of the bangs. They should start shorter in the middle and blend into longer, face-framing layers that reach toward the jawline. This transition prevents the hair from pooling around the cheeks, which is where many people feel their face is widest.
Styling for Daily Wear
- Use a medium-sized round brush to blow-dry the bangs away from your face.
- This creates a soft sweep that feels airy and light.
- If you have naturally wavy hair, you can simply let them air dry with a bit of styling cream to define the soft curve.
5. The Deep Side Part
Never underestimate the power of a part change. A center part on a round face can sometimes act like a spotlight on the symmetry of your cheeks. A deep side part, conversely, creates a diagonal line across the forehead, which is inherently lengthening.
Creating the Illusion of Depth
When you flip your hair to one side, you essentially cover a portion of your forehead, which creates an asymmetrical frame. This shift in balance makes the face appear more oval. It is the easiest change you can make to your look, requiring zero scissors and no additional product.
The “Flip” Technique
- Use a tail comb to create a clean, sharp part that starts in line with the arch of your eyebrow.
- Use a light-hold dry shampoo at the roots of the “heavy” side to keep the volume standing tall.
- If your hair is prone to falling flat, a tiny bit of volumizing powder at the root of the deep part will keep the shape secure throughout the day.
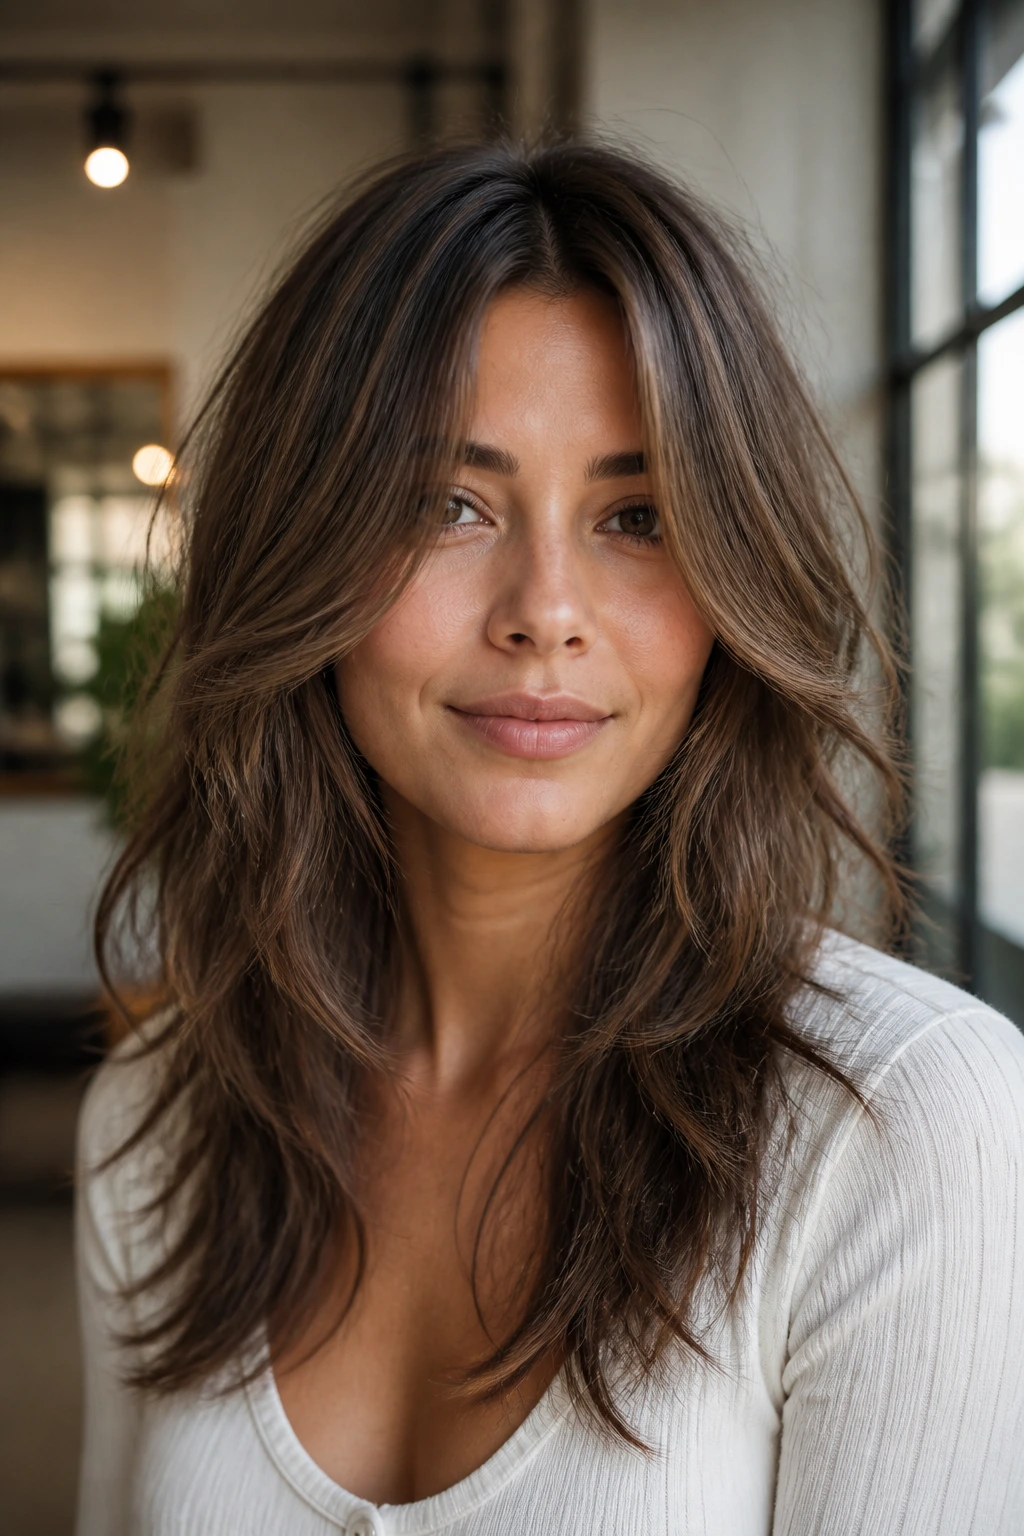
6. Long, Textured Waves
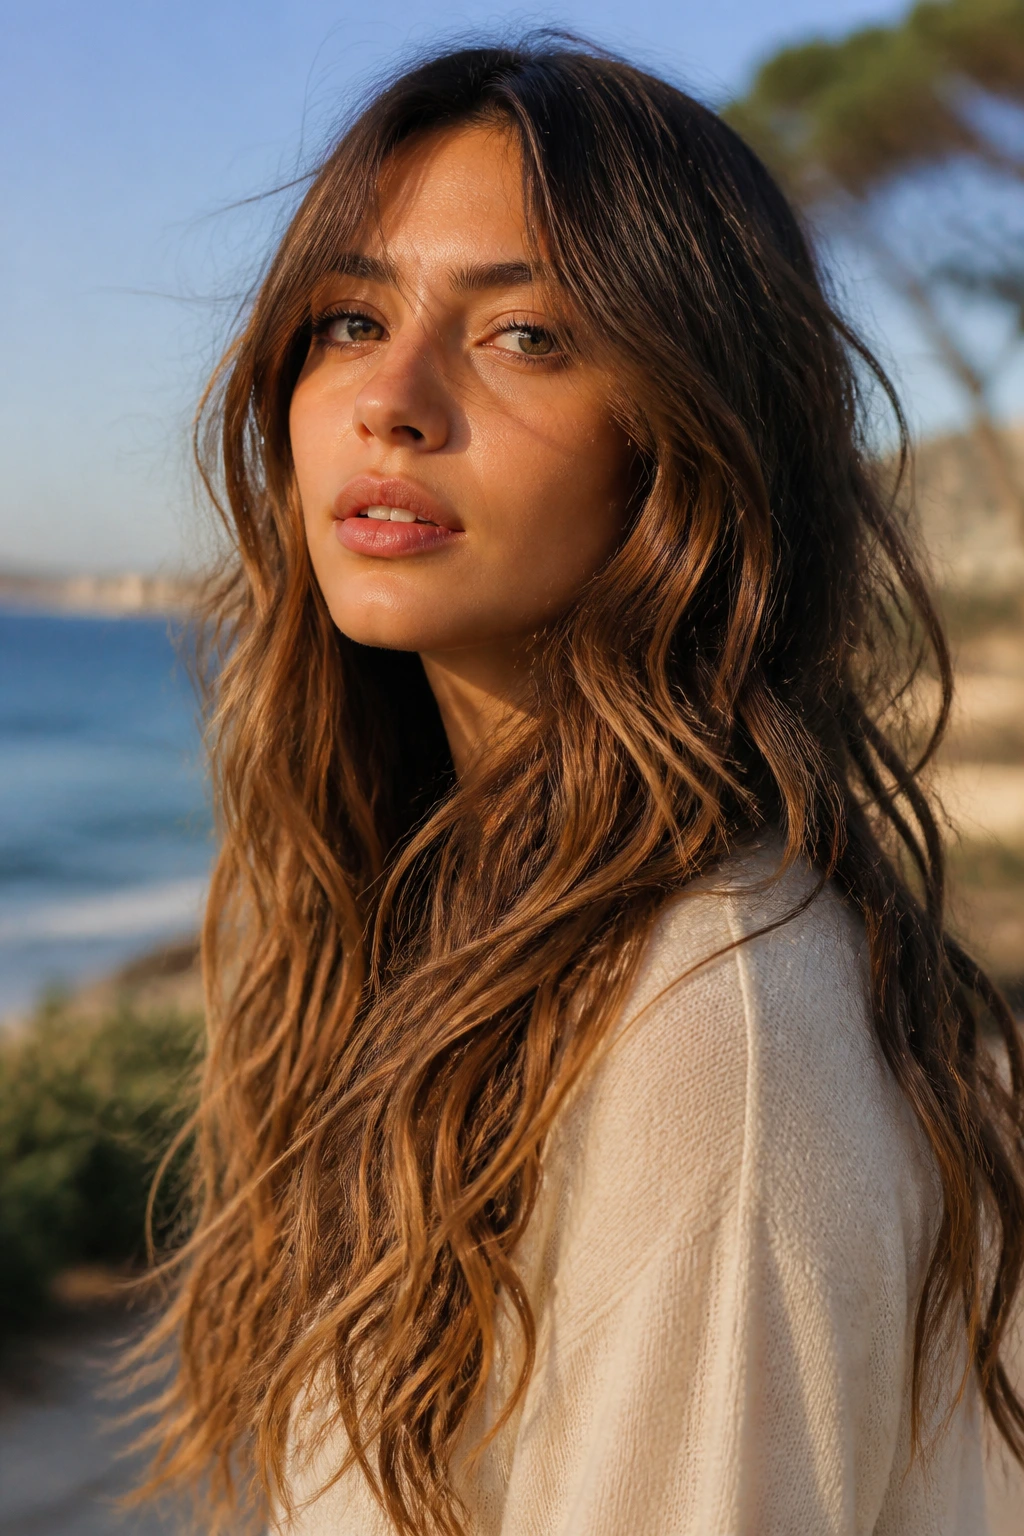
When you have length on your side, you have the opportunity to create movement. Long, wavy hair acts as a frame that draws the eyes downward. The key is to ensure the waves are “loose” and not “tight.” Tight curls, especially if they sit right at the cheek level, can inadvertently add width.
Strategic Wave Placement
Start your waves about two inches below your chin. By keeping the hair sleek near the crown and adding texture toward the bottom, you create a weightless appearance that elongates the face.
Equipment for the Job
- A large-barrel curling wand (1.5 inches or larger) is your best friend.
- Wrap the hair away from your face to keep the features open.
- Gently comb through the waves with your fingers once they’ve cooled to break them up into a soft, lived-in texture.
7. The Textured Pixie with Height
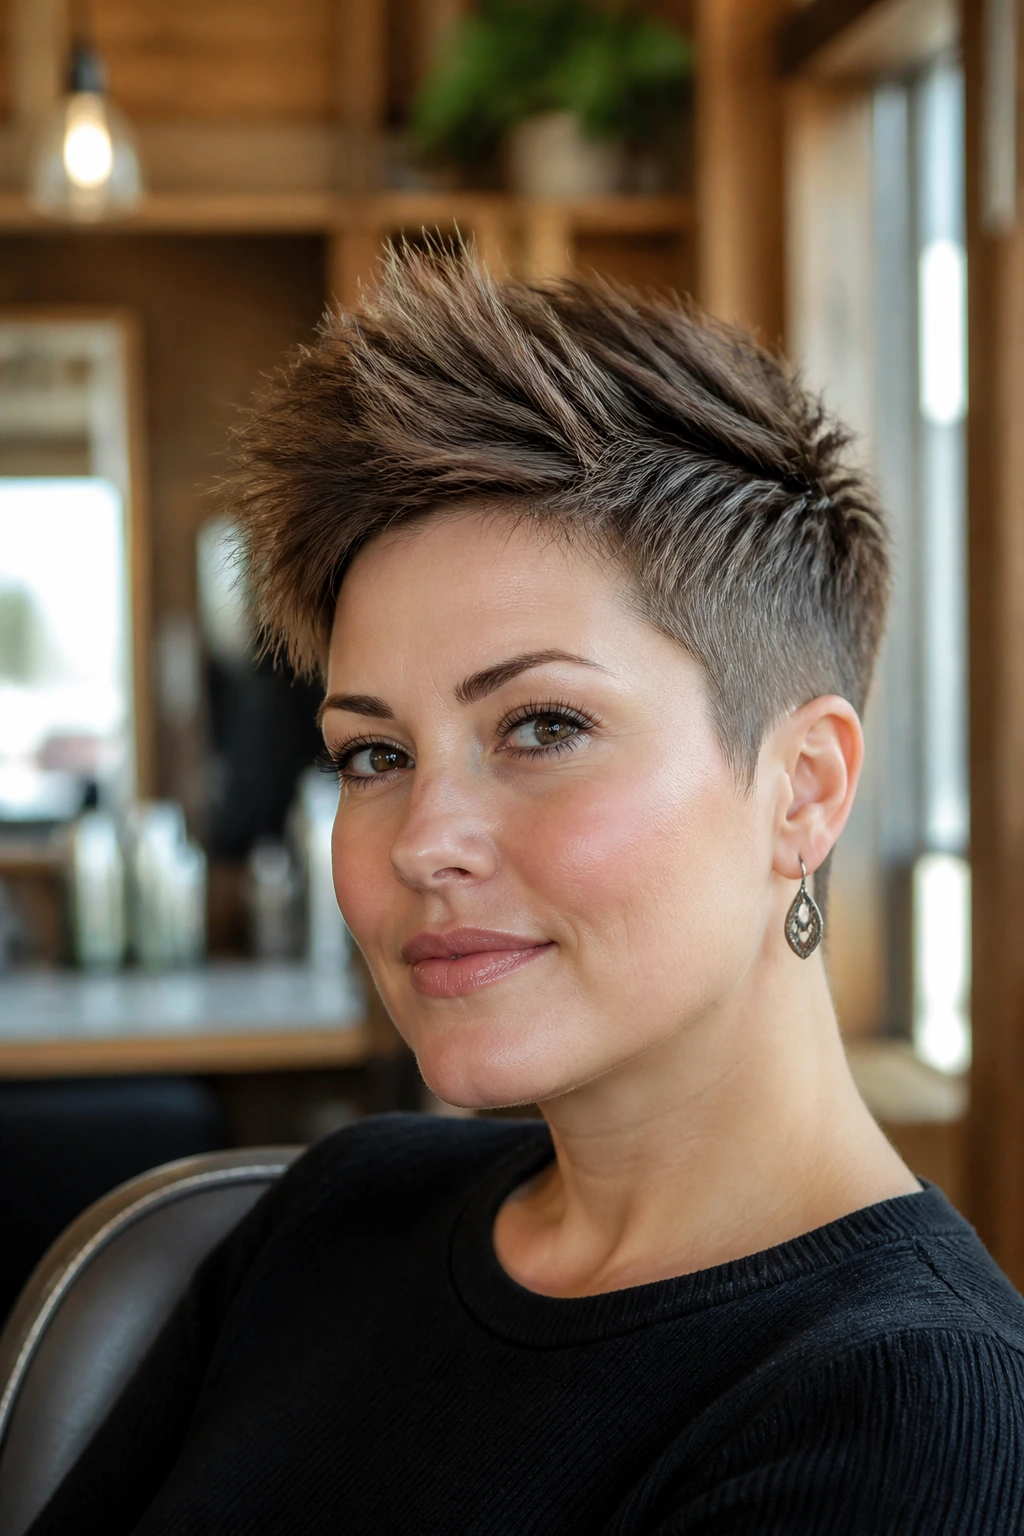
A pixie cut on a round face can be intimidating, but it can look incredibly striking if it’s cut with height in mind. The goal is to keep the sides short and close to the head while leaving plenty of length and texture on top.
Why This Works
By keeping the sides tight, you remove any potential width at the cheek area. By leaving length on top, you can style the hair upward, which adds that much-needed vertical dimension. It’s essentially an architectural style that works with your bone structure, not against it.
Style Variations
- The Spiky Top: Use a matte wax to pull the top section into soft, piecey spikes.
- The Swept Fringe: If you prefer a softer look, sweep the longer top section across the forehead to create that diagonal angle we discussed earlier.
8. Rounded Lob (Long Bob) with Textured Ends
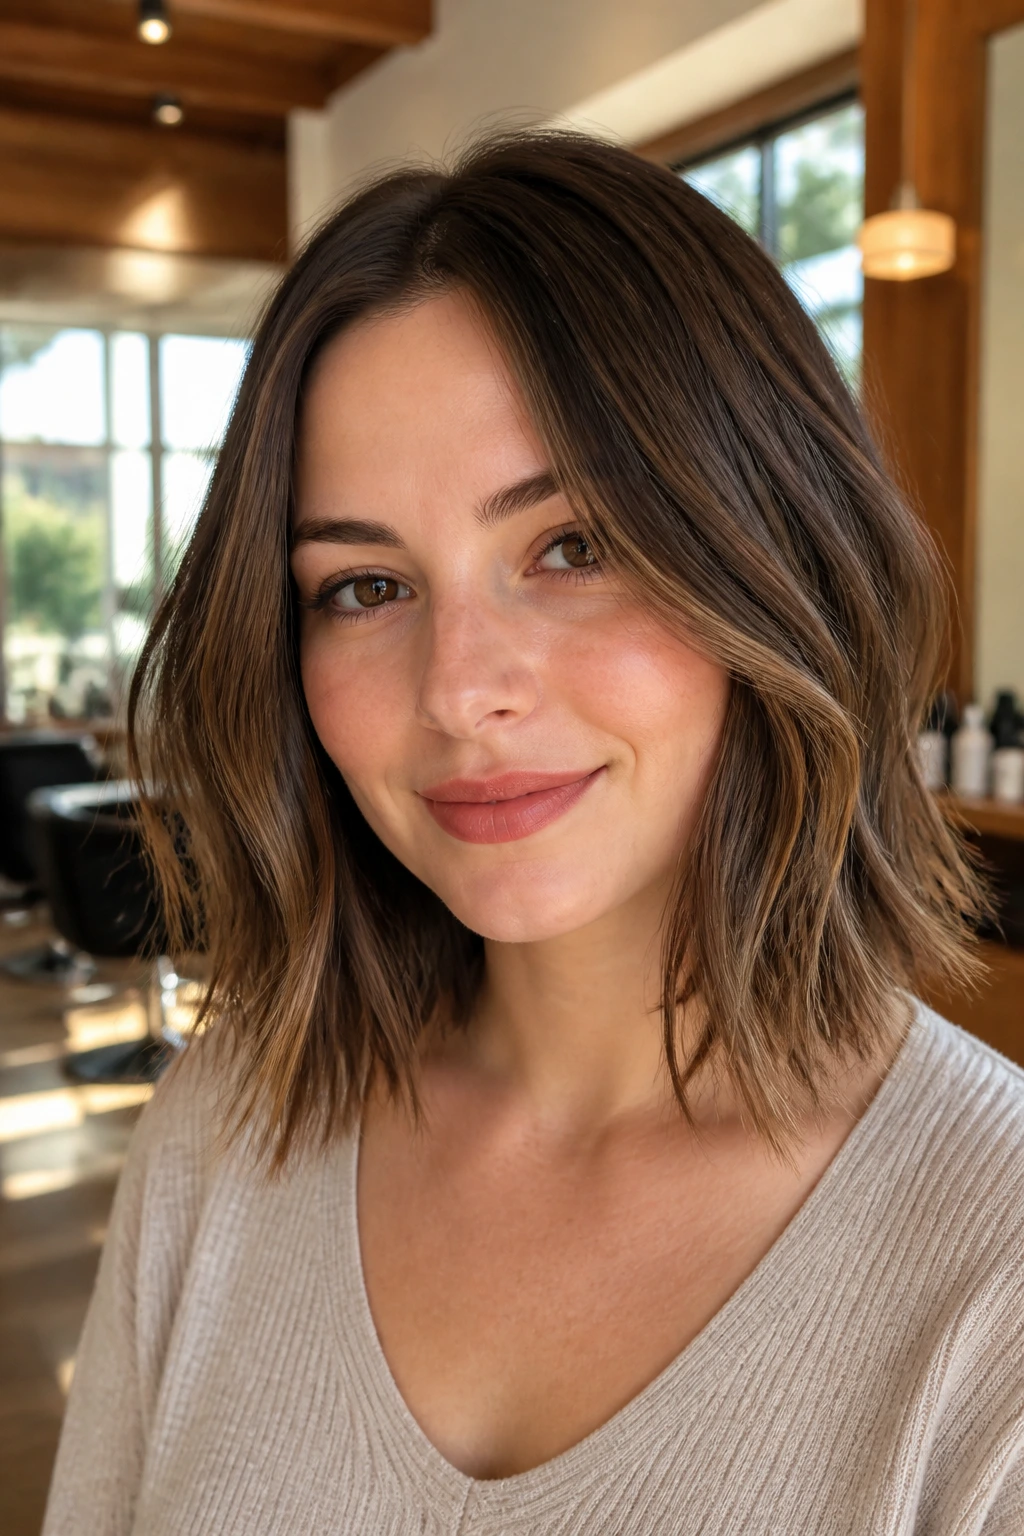
The lob is a staple, but for a round face, the “rounding” of the ends is key. You want the ends to be textured and choppy rather than blunt and heavy. A heavy, blunt line at the chin can create a shelf-like effect, which emphasizes the roundness of the jaw.
The Softening Effect
By feathering the ends or using a razor cut technique, you create a softer silhouette that doesn’t “stop” the eye at the jawline. This allows the hair to blend seamlessly into your shoulders.
Best Hair Types for This Cut
This look excels on hair that has a bit of natural wave or body. If your hair is pin-straight and thick, you may need a small amount of thinning shear work to ensure the ends don’t look too chunky.
9. The High Ponytail with Face-Framing Tendrils
A high ponytail is the ultimate way to visually lift the face. By pulling the hair to the crown, you tighten the skin around the eyes and cheekbones, providing a natural, temporary lift.
The Importance of Tendrils
The biggest mistake people make with this style is pulling all the hair back. Leave two thin, soft tendrils out around the front of your face. These tendrils break up the solid line of the scalp and provide a gentle frame that obscures the edges of the face, making it look smaller.
Step-by-Step Styling
- Apply a smoothing cream to your roots to prevent flyaways.
- Gather your hair into a ponytail at the crown of your head.
- Once secured, gently tug on the hair at the crown to give it a little extra “bump.”
- Wrap a small strand of hair around the hair tie to hide it, which makes the look feel more polished.
10. Shaggy Lob with Wispy Bangs
This style is all about movement. The shaggy lob combines the length of a long bob with the layered, messy texture of a shag. Wispy, see-through bangs allow light to pass through to the forehead, which prevents the heavy “helmet” effect that can plague rounder faces with bangs.
Why It’s Sophisticated
It feels effortless and cool. The layers provide volume throughout the sides, but because they are wispy and textured, they don’t add bulk. This is a perfect wash-and-go style for anyone who wants a low-maintenance, modern look.
Maintaining the Wispy Look
- Use a lightweight mousse on damp hair.
- Let it air dry about 80% of the way, then use a blow dryer to finish the bangs and the crown area.
- Avoid heavy silicones or thick oils, as these will weigh down the wispy layers and make them look greasy.
11. The Modern Shag with Middle Part
Wait, didn’t we say middle parts were tricky? In a shaggy cut, the middle part is actually transformed. Because the hair is layered so heavily throughout, a middle part here creates two long, vertical “curtains” of hair that frame the face on both sides.
Why It’s Effective
This style works because it frames the face rather than covering it. It creates a vertical line that follows the length of your hair, essentially acting as an arrow that points straight down to your shoulders.
Styling Tip
- Use a round brush only on the layers around your face.
- Let the back and sides dry with a bit of curl-defining cream.
- This contrast between a smooth front frame and a textured back keeps the look interesting.
12. Soft Layers Beginning Below the Jaw
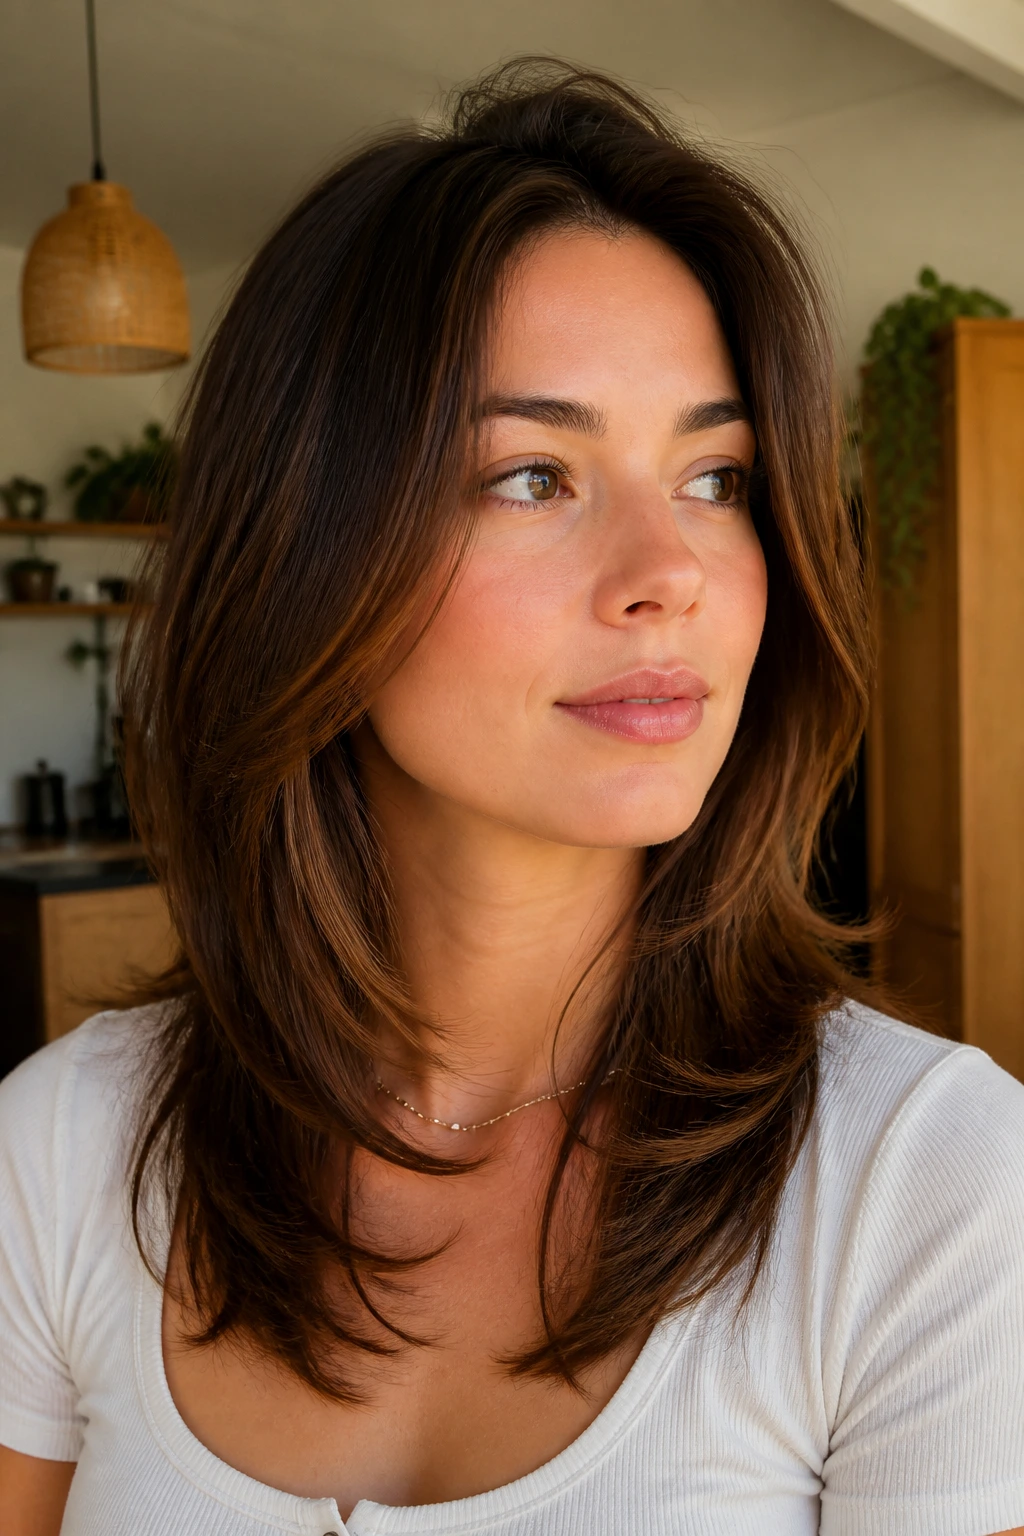
Placement is everything. If you have layers, make sure the shortest layer starts below the jawline. If you have layers that hit right at the chin, you are essentially drawing a line directly across your face at its widest point.
The Logic of Layering
Layers below the chin create a cascading effect. This draws the eye down toward your chest and neck, visually lengthening the distance between your jaw and your shoulders. It is a subtle change that makes a massive difference in how the face is perceived.
Technique for Your Stylist
Ask for “internal layers” or “face-framing layers that begin at the collarbone.” This gives you movement without creating the dreaded bulk at the cheek level.
13. The Half-Up, Half-Down Top Knot
This style is a hybrid of the high ponytail and the loose waves. It gives you the vertical height of a top knot while keeping the face-framing length of long hair.
Benefits of the Style
- It keeps hair out of your face, which is practical.
- The bun on top provides the height boost for your face.
- The loose hair in the back provides the length to keep the face from looking wide.
Styling Variation
Try pulling only the top quarter of your hair into the bun, and leave the sides down. This creates a softer, more romantic look that is perfect for professional or casual settings.
14. Graduated Bob (The “Posh” Cut)

A graduated bob features a shorter, stacked back and much longer, pointed front sections. It is a sharper, more aggressive version of the A-line bob. The extreme length difference creates strong, diagonal lines that essentially “cut” through the roundness of the face.
The Sharp Aesthetic
This cut is unapologetic. Because the front strands fall well below the chin, they create a strong vertical focus. It’s excellent for those who want a professional, clean look that feels very intentional and structured.
Care and Grooming
- This cut looks best when it is smooth. A weekly deep-conditioning mask will keep the hair sleek enough to show off the sharp lines.
- If you have curly hair, this style is still possible, but expect a very different, more voluminous silhouette.
15. The “Swooping” Deep Side-Part Pony
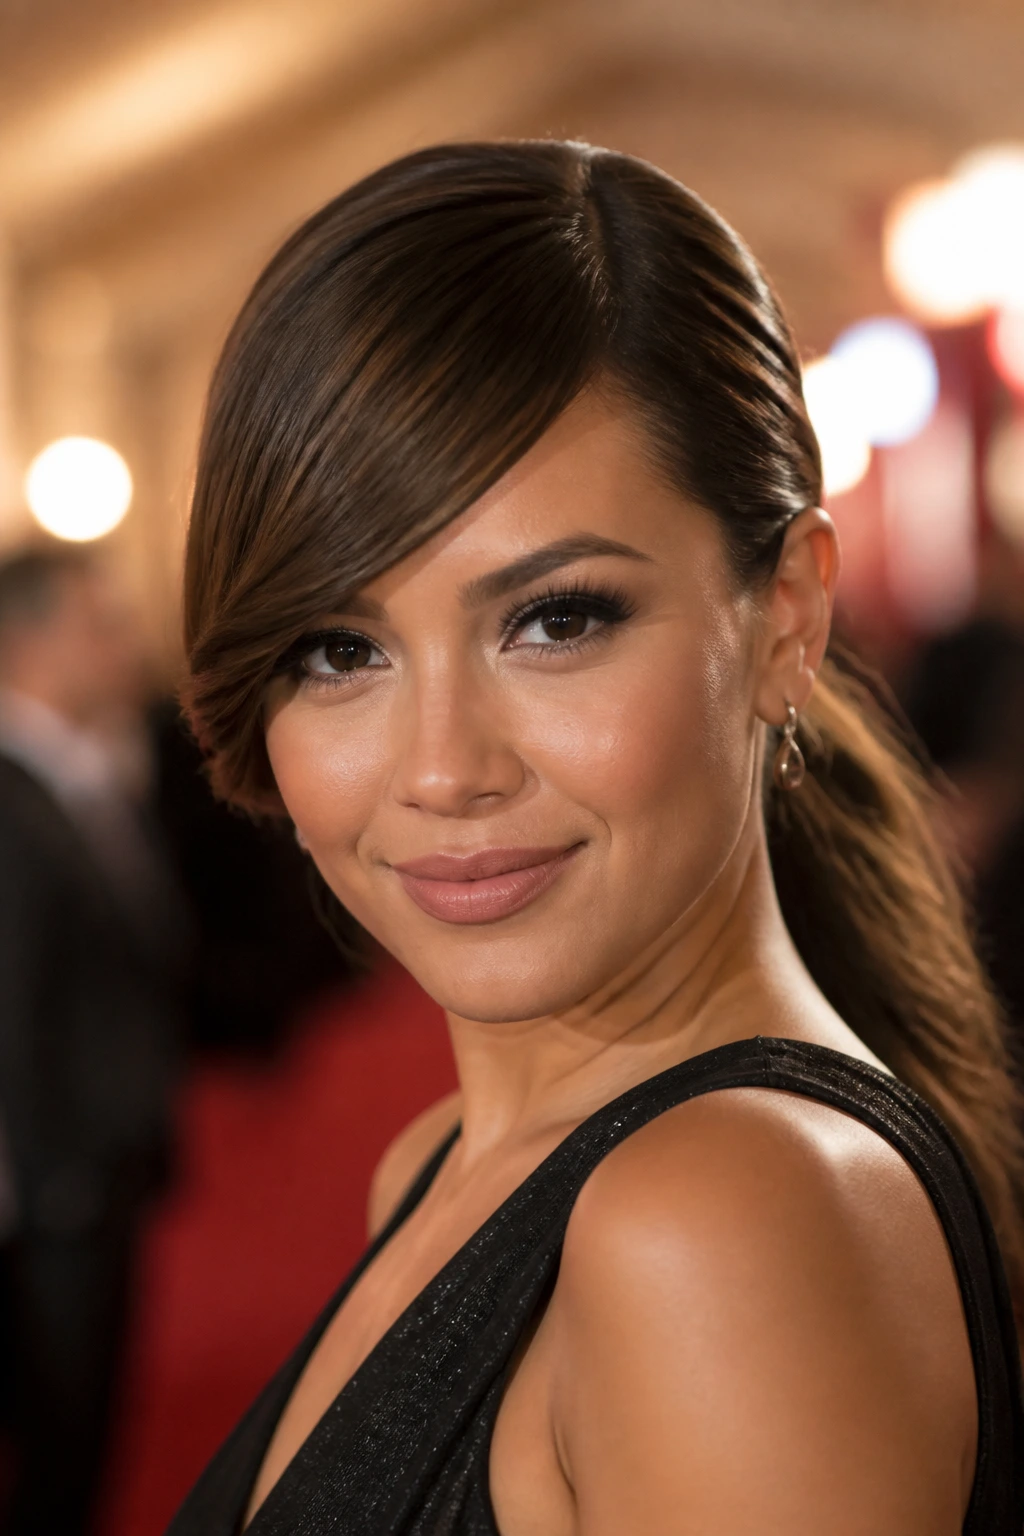
This is a more formal take on the side part. By creating a very deep part and allowing one section of the hair to “swoop” over the forehead before heading into a ponytail, you are creating the ultimate diagonal line.
Why It’s a Red Carpet Favorite
Many people with round faces use this style for events. The swoop obscures the roundness of the forehead and creates a powerful, dynamic shape. It adds glamour and drama while effectively changing the perceived shape of your face.
The Finishing Touch
- A bit of light-hold hairspray is essential for the swoop.
- Use a fine-tooth comb to ensure the part is perfectly straight and clean.
- This creates a contrast between the precision of the part and the softness of the swoop.
Final Thoughts
When choosing a hairstyle for a round face, the golden rule is to prioritize vertical movement and diagonal lines. Your face is already balanced in its circular symmetry, so you are simply adding a bit of visual interest to “stretch” that frame. Whether you choose to go for the structure of an A-line bob or the effortless texture of a long shag, the best hairstyle is the one that makes you feel confident and comfortable in your own skin. Don’t be afraid to experiment with your part, the height of your crown, or the placement of your layers. Hair is inherently temporary, and the best way to find your perfect fit is to try these variations and see which one feels most like you. Trust your instincts—if a style makes your face look open and your features feel prominent, you have found a winner.