Growing out Asian hair is an experience that often feels like a test of patience, especially when you are contending with the characteristic density and straight, often stubborn, cuticle structure that defines the hair type. Many people with East Asian hair textures find that as the length increases, the weight of the hair begins to pull against the roots, leading to that dreaded “flat-at-the-crown” silhouette. Managing the transition from a short crop to long, flowing locks requires more than just waiting; it demands a strategic approach to layers, maintenance, and styling products.
When you transition from a pixie or a bob into longer styles, you enter the “awkward phase” where hair tends to flick outward at the neck or fall into your eyes. This is the moment when most people reach for the scissors, but with a bit of foresight, you can navigate the growth process while maintaining a sense of personal style. The trick is to treat your hair not as a uniform mass, but as a textured material that responds to weight distribution and moisture.
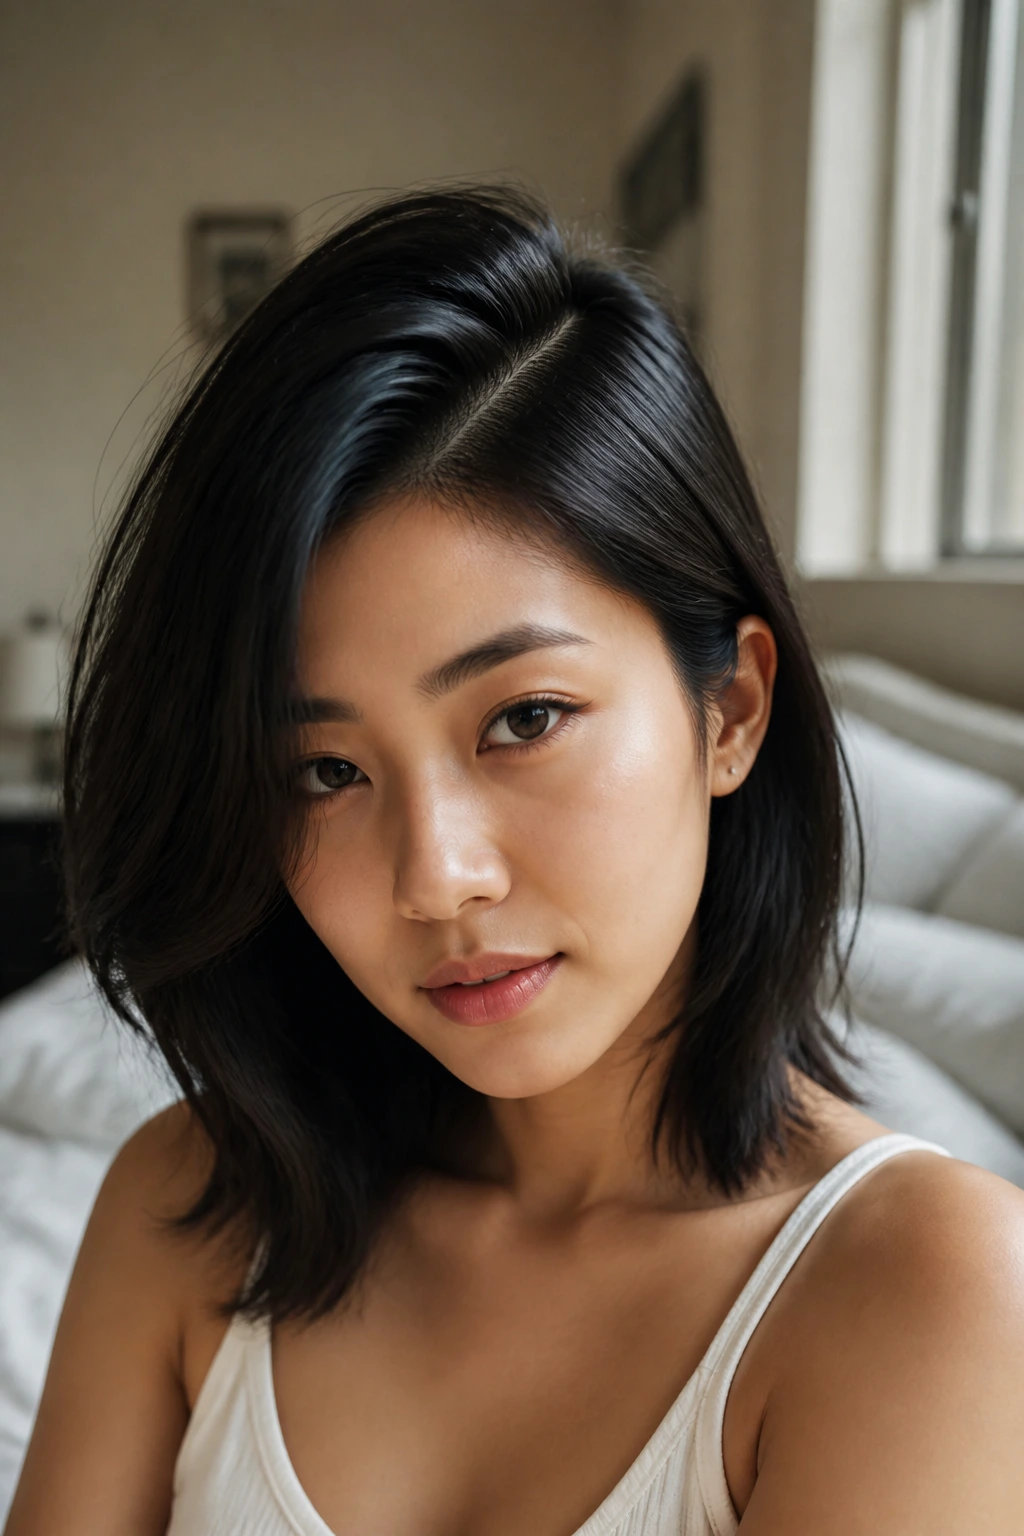
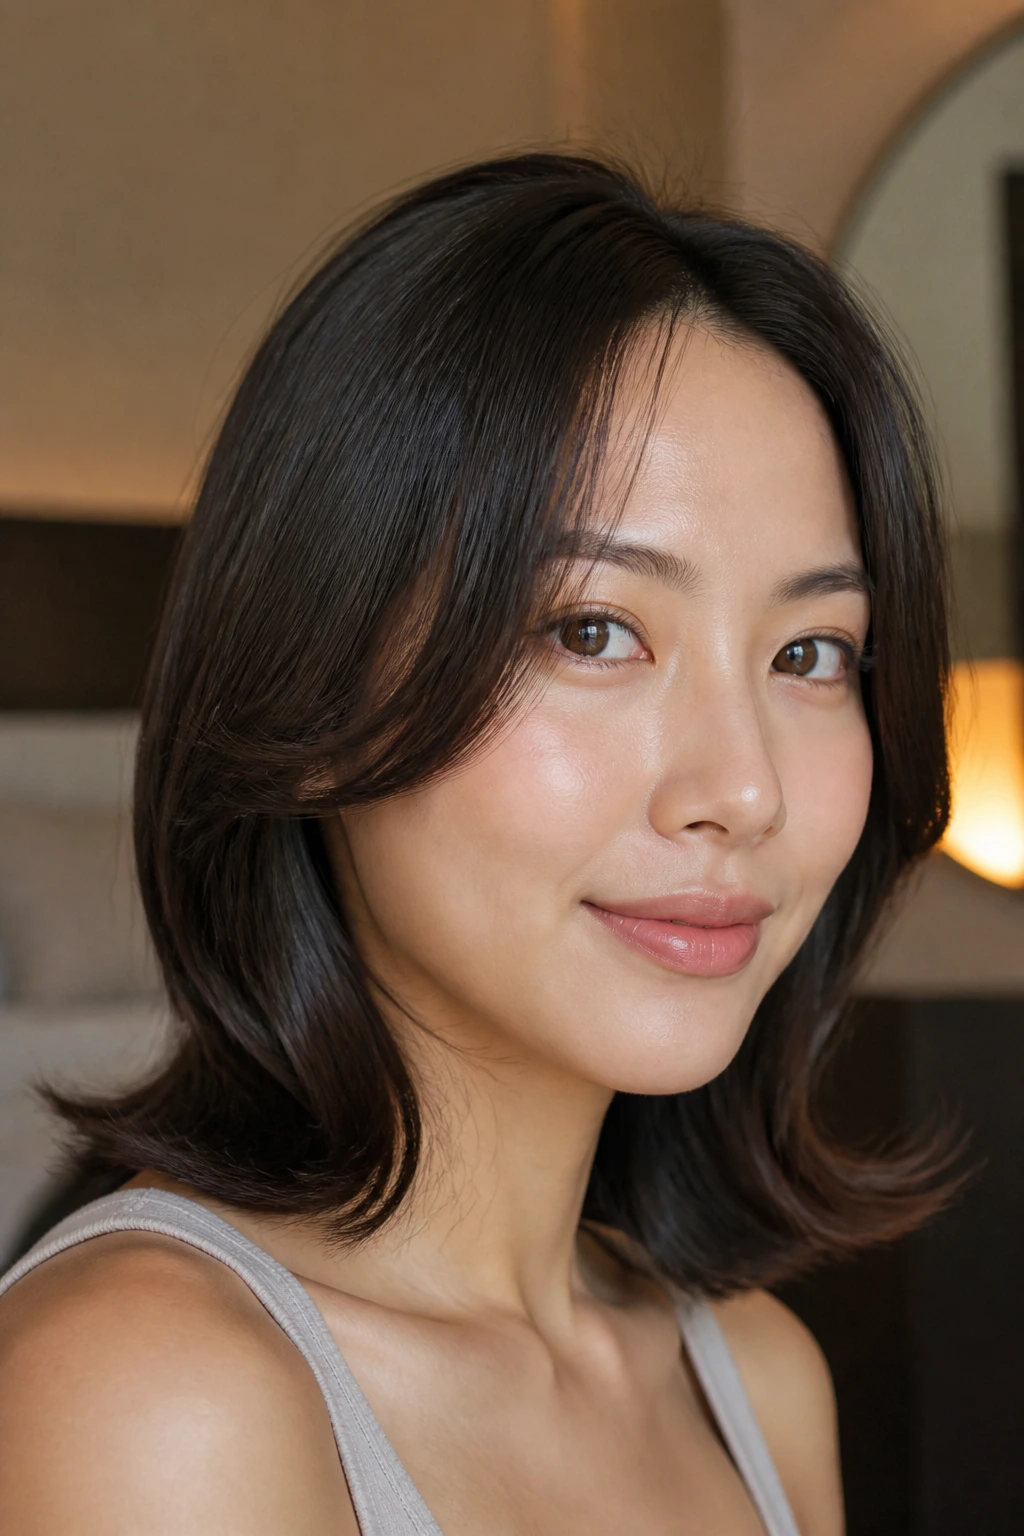
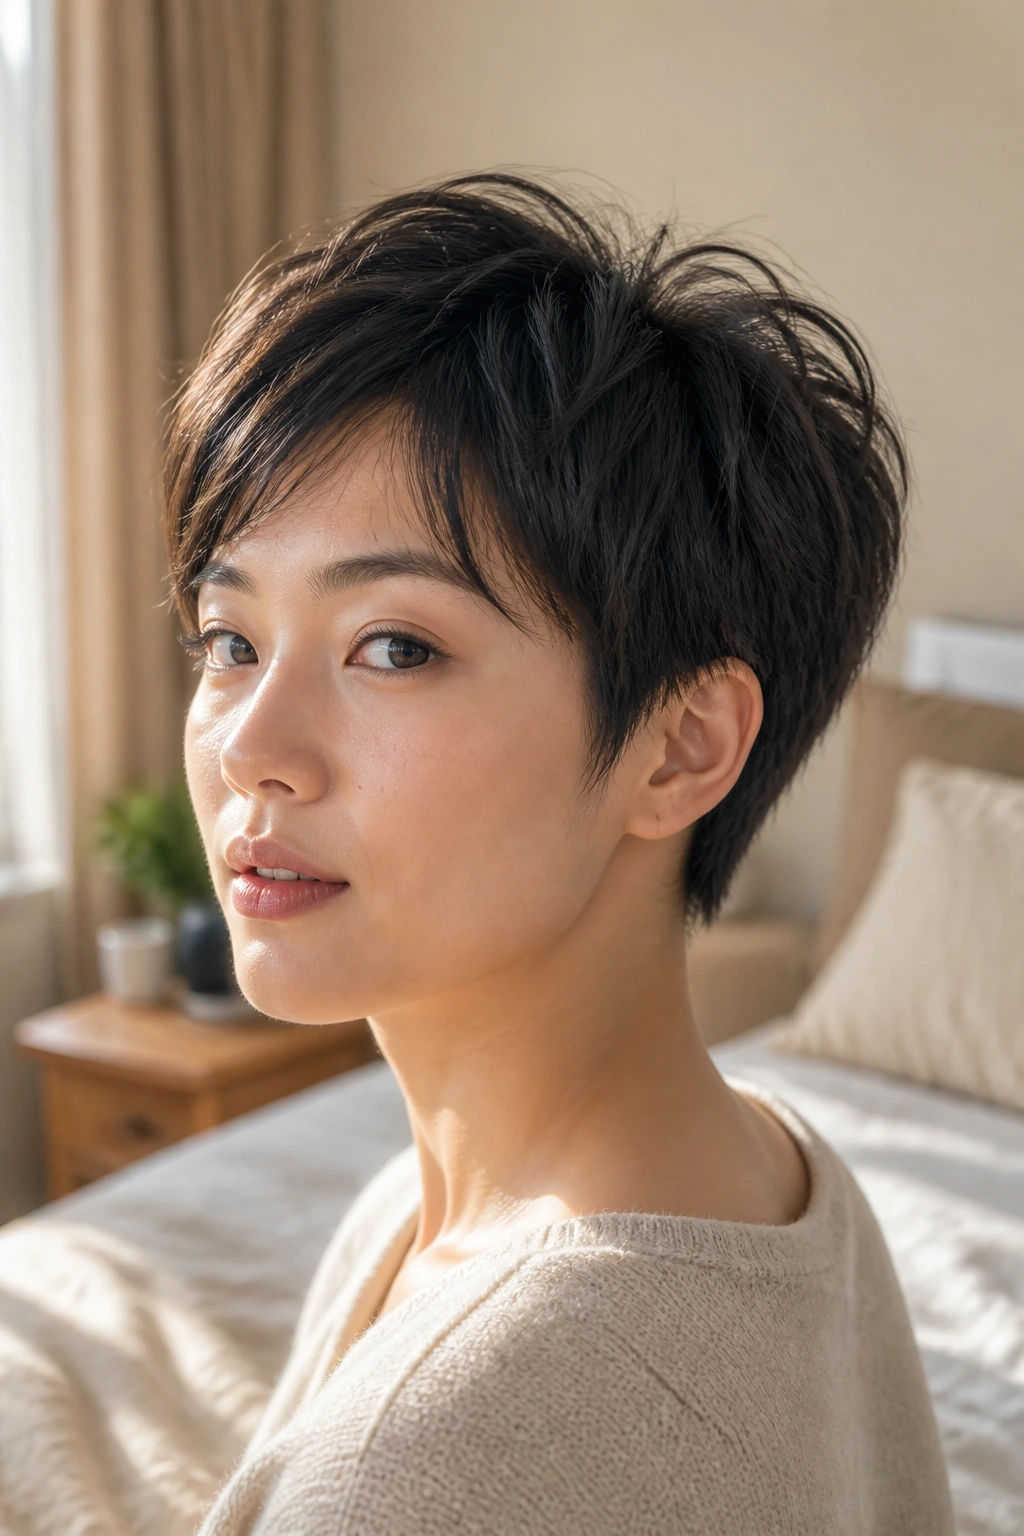
1. The Classic Textured Pixie-Grow-Out
When you decide to move away from a very short cut, the first few months are about managing the transition at the nape of the neck. You want to keep the length at the top slightly longer than the sides to create a soft, rounded shape that doesn’t scream “helmet hair.” This style relies on the natural density of straight hair to hold a slight lift, provided you use a lightweight texture spray rather than a heavy wax.
Why This Style Works for Transitioning
Asian hair often has a high concentration of follicles per square inch, which makes it prone to looking bulky if cut incorrectly. By keeping the nape tapered and the crown piecey, you prevent the “mushroom” effect that occurs when the hair grows out unevenly. This style is surprisingly low-maintenance because it forces you to embrace the natural direction of your growth pattern.
Styling Tips for Texture
- Use a sea salt spray on damp hair to encourage a bit of movement.
- Avoid heavy pomades which can weigh down fine-to-medium strands.
- Use a small amount of texturizing powder at the roots for lift. Pro tip: Focus your blow-drying effort on the roots only; letting the ends air dry helps maintain a more natural, lived-in texture.
2. The Sleek Ear-Tucked Bob

As your hair reaches the chin, the urge to hide behind it becomes a daily reality. The ear-tucked bob is a sophisticated way to manage hair that is in the middle of its growth cycle. By tucking one or both sides behind your ears, you highlight your facial features while keeping the hair out of your direct line of sight.
Managing Density in a Mid-Length Cut
The key to a successful bob is subtle internal thinning. If your hair is particularly thick, ask your stylist for “point cutting” rather than traditional thinning shears. This technique removes weight without leaving harsh, blunt lines that can make Asian hair look brittle.
Maintaining the Shape
- Use a flat iron to give the ends a very slight “C” curve inward.
- A high-gloss serum applied to the mid-lengths adds that characteristic mirror-like shine.
- If your hair is prone to static, keep a small travel-sized spray of anti-static hairspray in your bag. Pro tip: If the hair is too short to stay tucked, use a tiny, clear elastic at the base of the ear to secure a small section of hair—it stays hidden and holds all day.
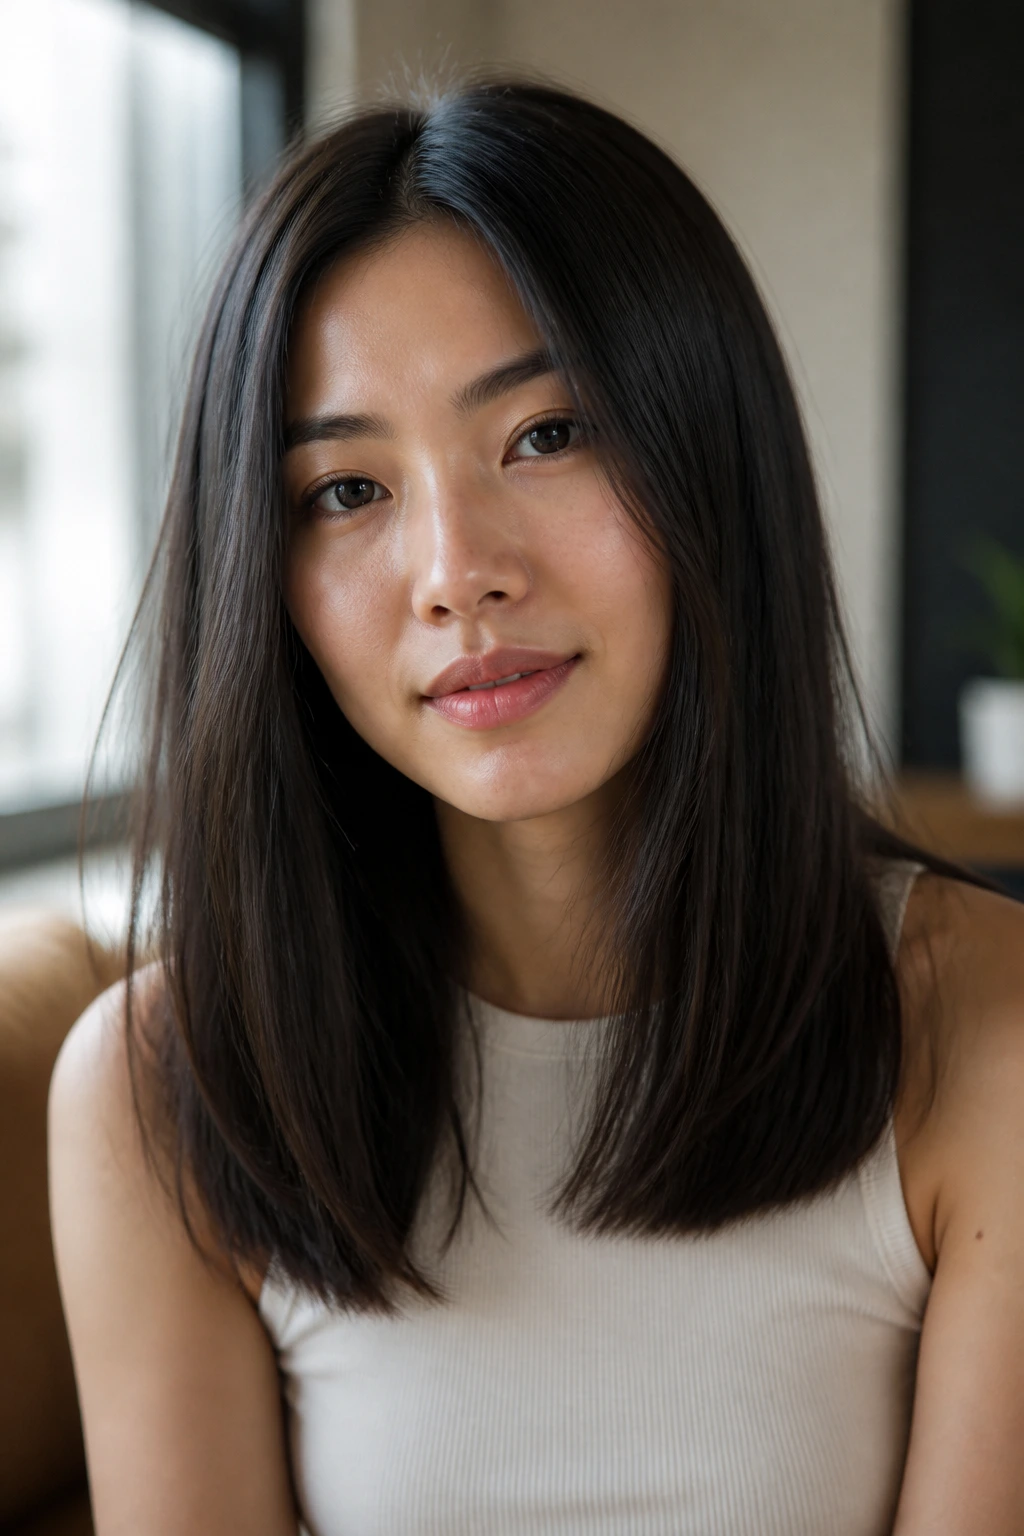
3. The Wispy Face-Framing Lob
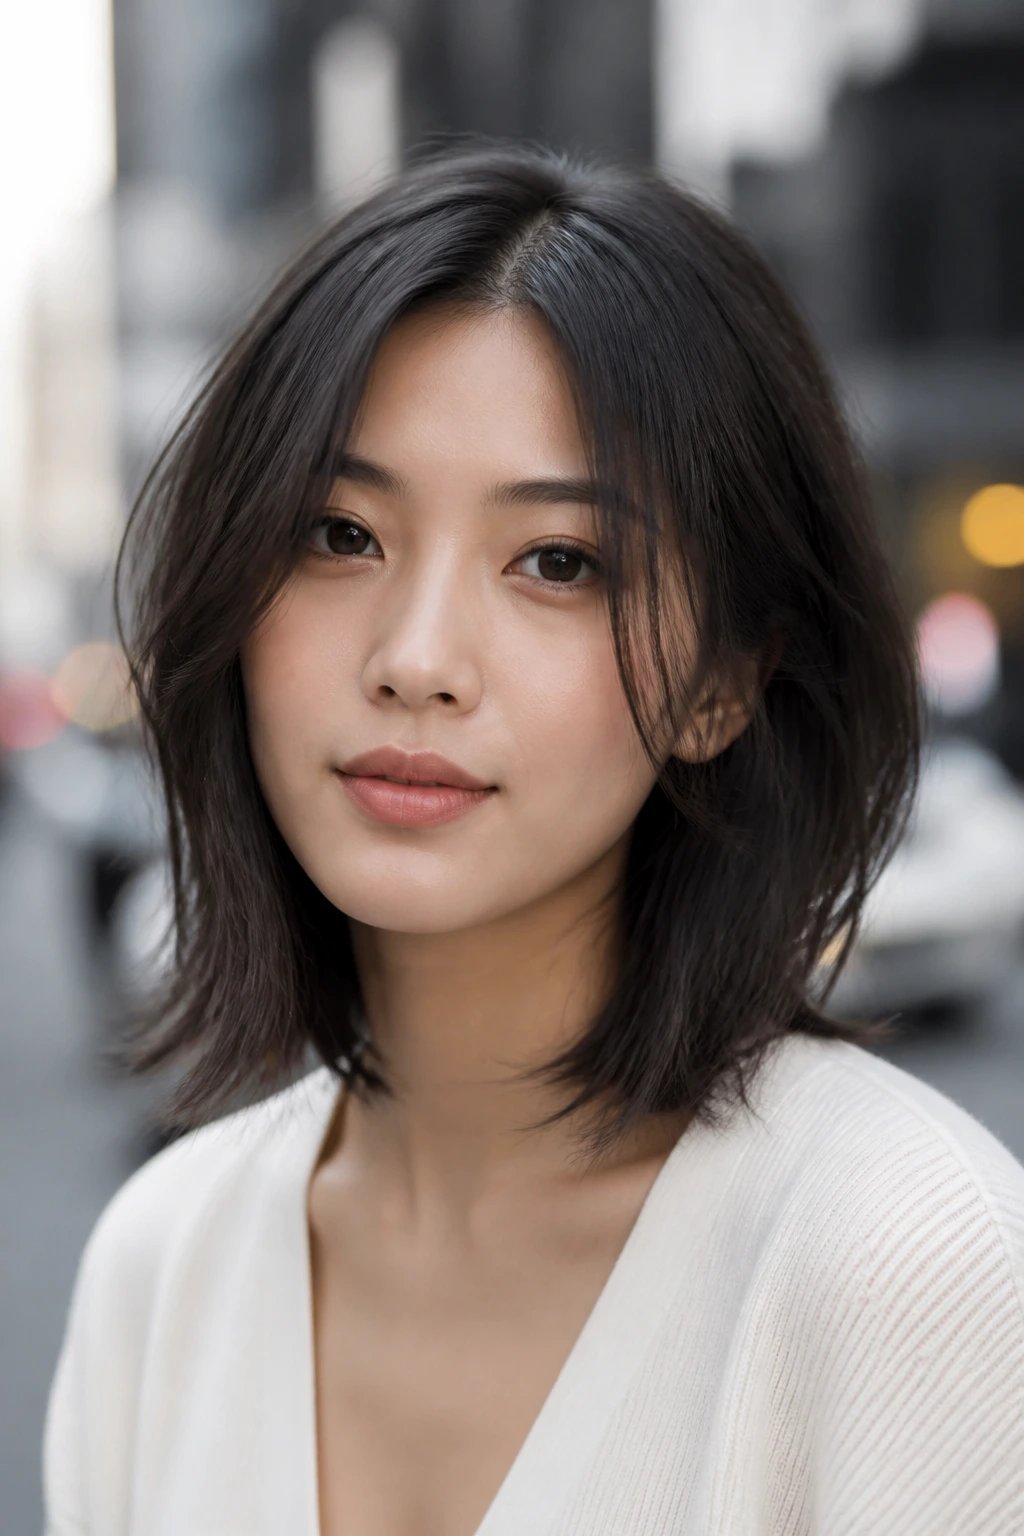
A long bob—or “lob”—is the holy grail for those growing out their hair. It allows for enough length to tie it back, but it remains manageable enough to style in under ten minutes. The addition of soft, wispy face-framing pieces helps to break up the harsh line of a one-length cut.
The Role of Wispy Layers
Wispy layers are perfect for Asian hair because they soften the silhouette without creating too much volume. If you have a rounder face shape, these layers can elongate your features, making the grow-out phase feel intentional rather than accidental.
How to Style the Lob
- Start with a center or slightly off-center part.
- Use a round brush while blow-drying to pull the face-framing pieces slightly away from the face.
- Finish with a light-hold spray to keep the wisps from falling flat against your cheeks. Critical warning: Do not over-layer the back of the head. Keep the length in the back mostly uniform to ensure you retain the weight needed for the hair to drape properly.
4. The Blunt Cut with Hidden Undercut
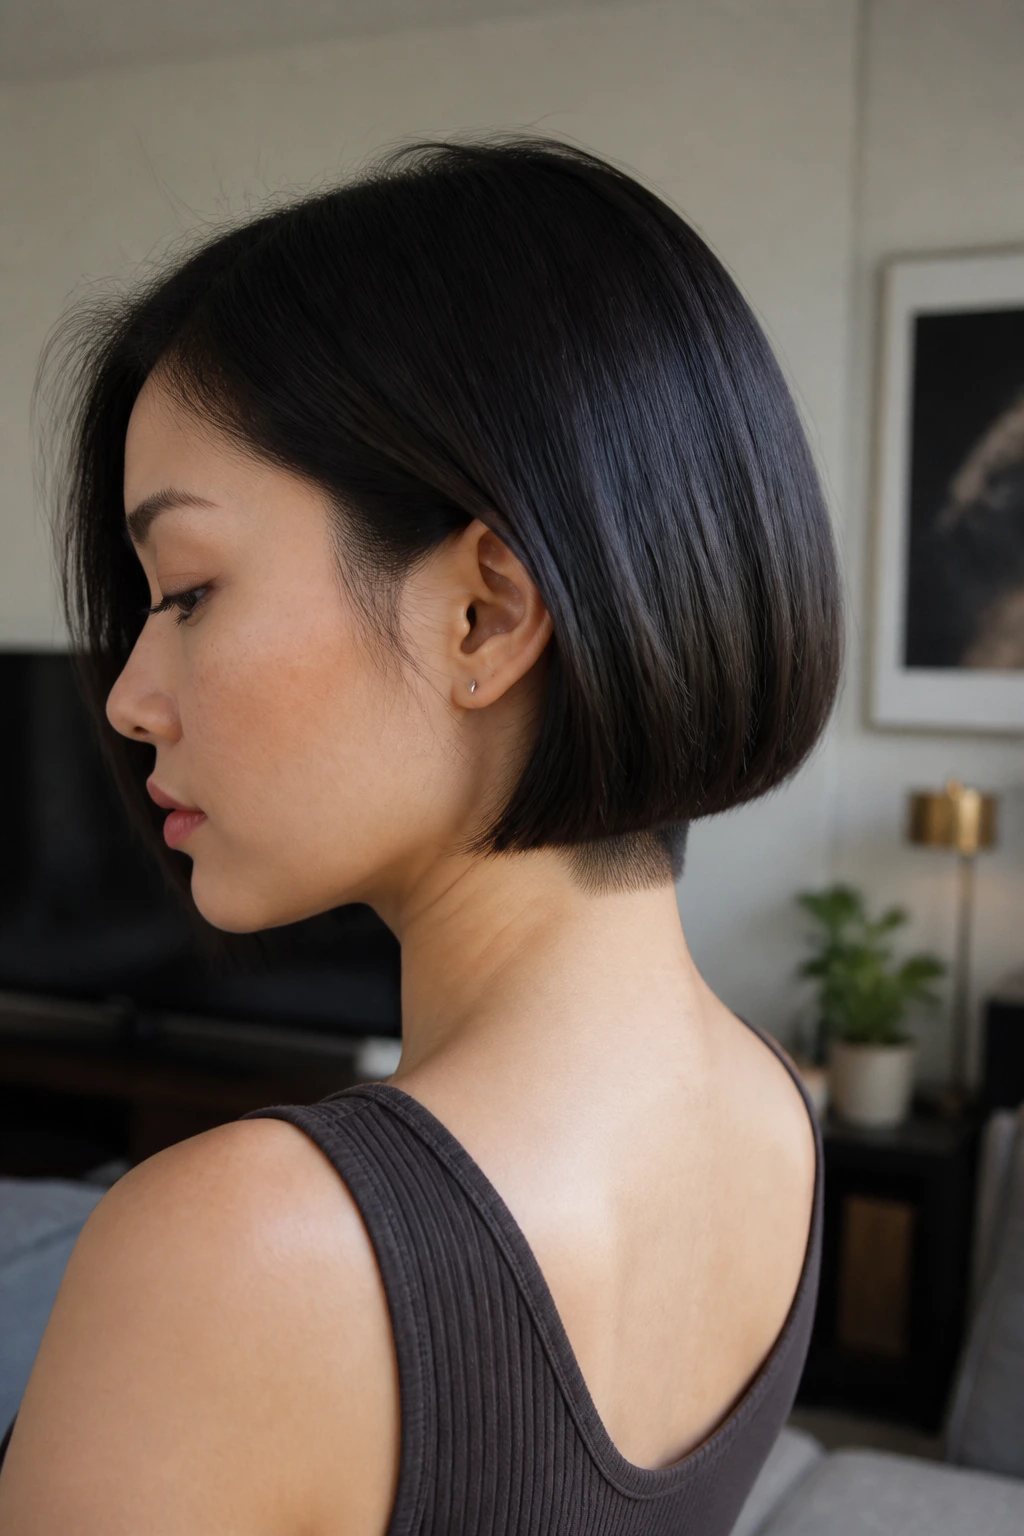
If you are growing your hair out but feel overwhelmed by the thickness, the hidden undercut is an elegant solution. By shaving or tapering a small section at the nape, you remove a significant portion of the bulk, allowing the rest of your hair to lay flatter and smoother as it gains length.
Why It’s Ideal for Growth Phases
This style allows you to keep the overall length while dealing with the “fuzz” that often develops at the neckline. As the top layers grow, they drape over the undercut, meaning you don’t have to worry about the maintenance of the short bit as frequently.
Maintenance and Growth
- You only need to trim the undercut every eight weeks, while the top layers can grow out undisturbed.
- It prevents the hair from getting tangled at the nape during gym sessions.
- It provides a modern, edgy look that contrasts with the feminine length of the rest of the hair.
5. The Curtain Bang Integration
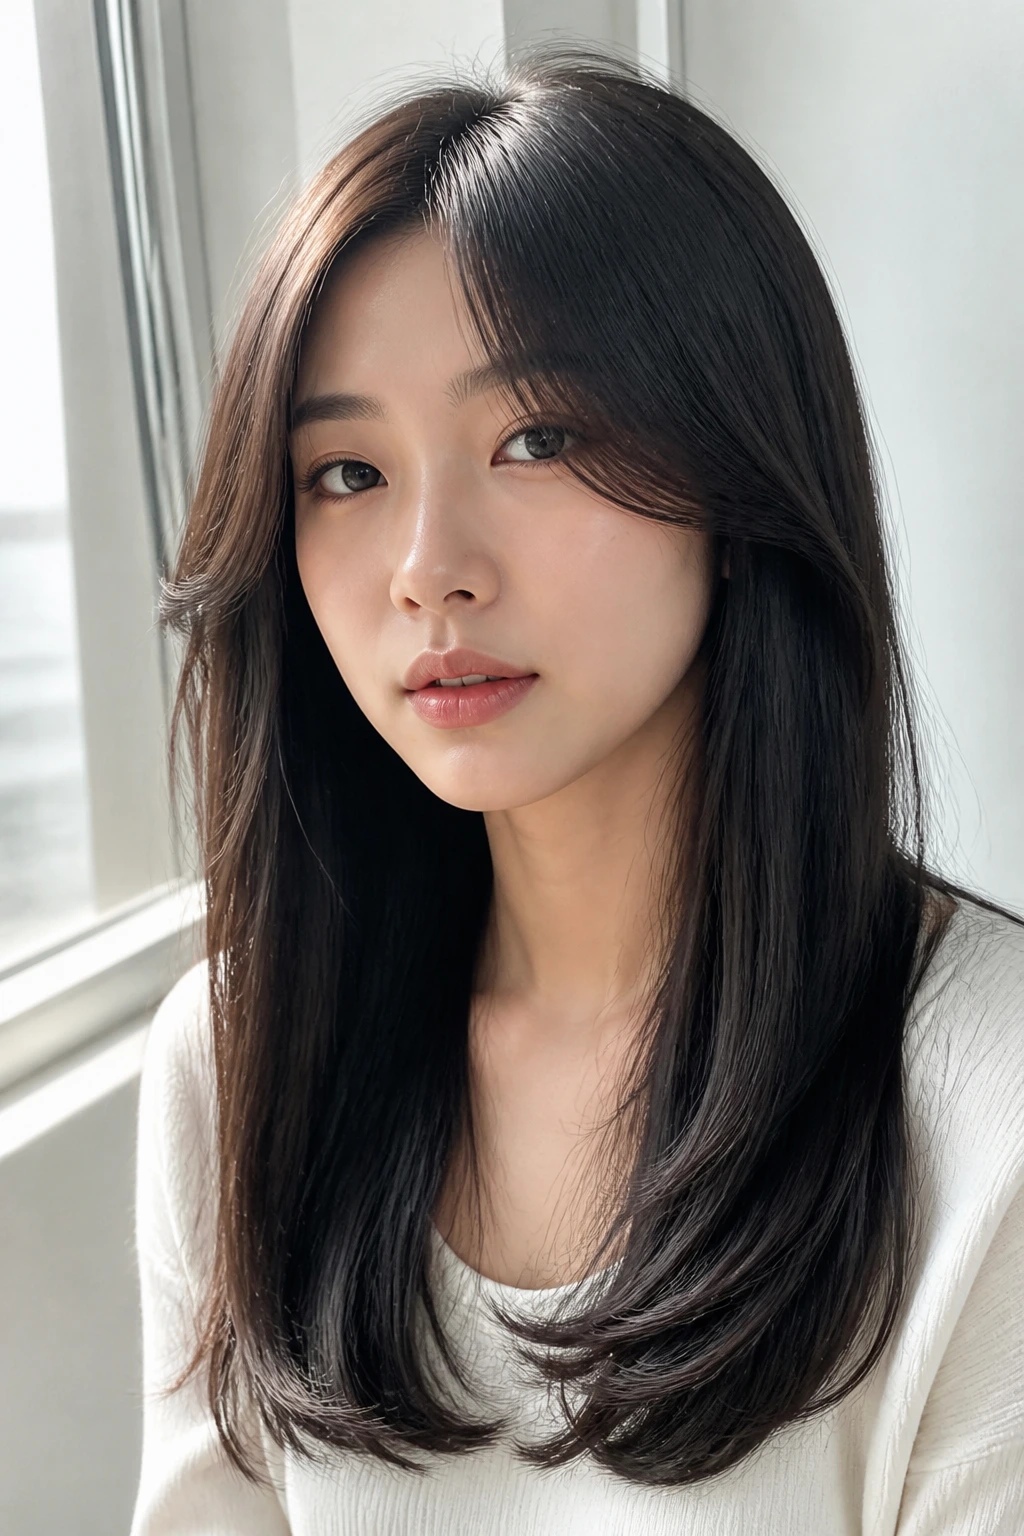
Integrating bangs is the fastest way to refresh your look while waiting for the rest of your hair to catch up. Curtain bangs—which are parted in the middle and sweep outward—are particularly flattering for Asian hair textures, which often possess the sleekness needed to make them lie perfectly flat.
Why They Suit Asian Hair
Straight, thick hair provides the perfect canvas for curtain bangs. They don’t require the constant curling that wavy textures do. Once you get a good cut, they tend to stay in place with minimal intervention.
How to Style
- Use a medium-sized round brush.
- Roll the bangs away from the face while blow-drying.
- Let them cool completely before releasing the brush for maximum volume and the perfect “flick.”
6. The Low-Slung Claw Clip Style
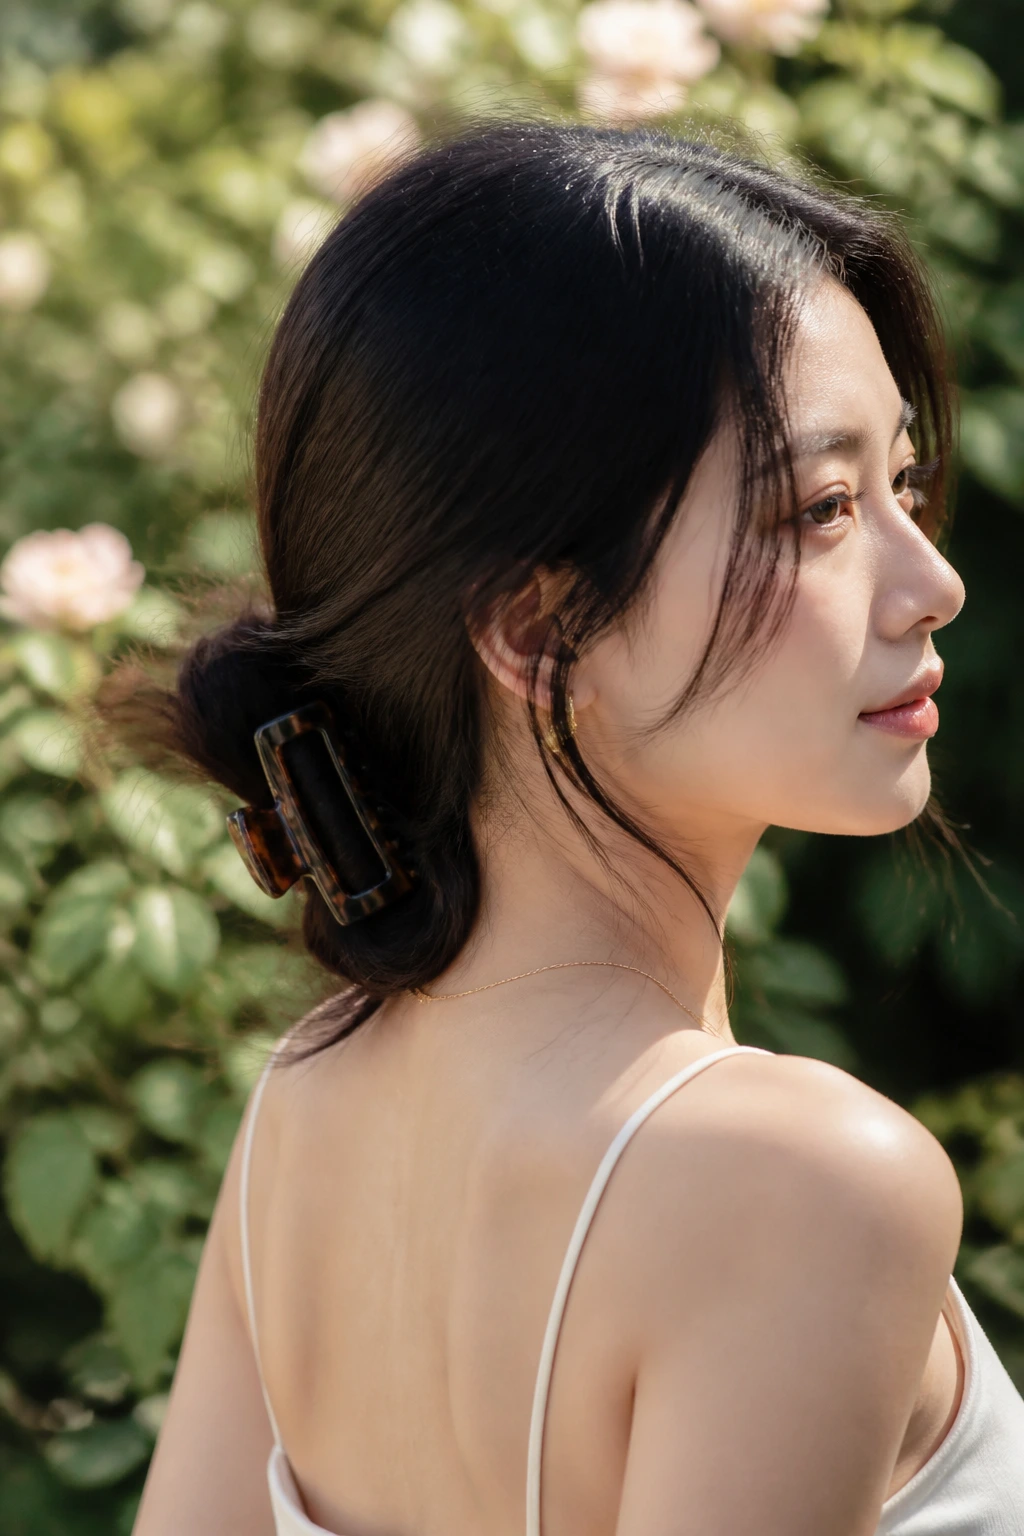
As you reach the mid-back length, the weight of your hair can become significant. The claw clip is not just a trend; it is a structural tool. By gathering the hair into a loose, low-slung clip, you avoid the tension-related breakage that comes from tight ponytails, which is essential when you are trying to preserve every inch of growth.
Protecting Your Hair Roots
Tight elastics are the enemy of growth. Over time, they can cause traction alopecia, especially in areas around the hairline where the hair is often finer. The claw clip distributes the weight across a larger surface area of the scalp.
Choosing the Right Clip
- Opt for cellulose acetate clips rather than cheap plastic; they have more “give” and are less likely to snap your hair.
- Choose a matte finish to prevent the clip from sliding out of fine, straight hair.
- Ensure the teeth are smooth and rounded to avoid scratching the scalp.
7. The Deep Side Part
Sometimes the easiest way to manage a grow-out phase is to change your geometry. A deep side part creates the illusion of volume on one side, which distracts from any unevenness in your hair’s length. It is a simple, no-cut solution that works regardless of whether your hair is chin-length or shoulder-length.
Why the Deep Part Works
Asian hair tends to fall straight down. By flipping a large section over, you force the roots at the crown to lift slightly, creating a natural volume that stays put throughout the day. It is an effortless way to inject some glamour into a standard, growing-out style.
Tips for Success
- Switch your part every few weeks to prevent the hair from becoming “trained” to lie flat.
- Use a light root-lifting spray on damp hair before you blow-dry to give the side flip extra staying power.
- If the hair keeps falling into your face, use a decorative bobby pin to secure the shorter side.
8. The Modern Hime Cut
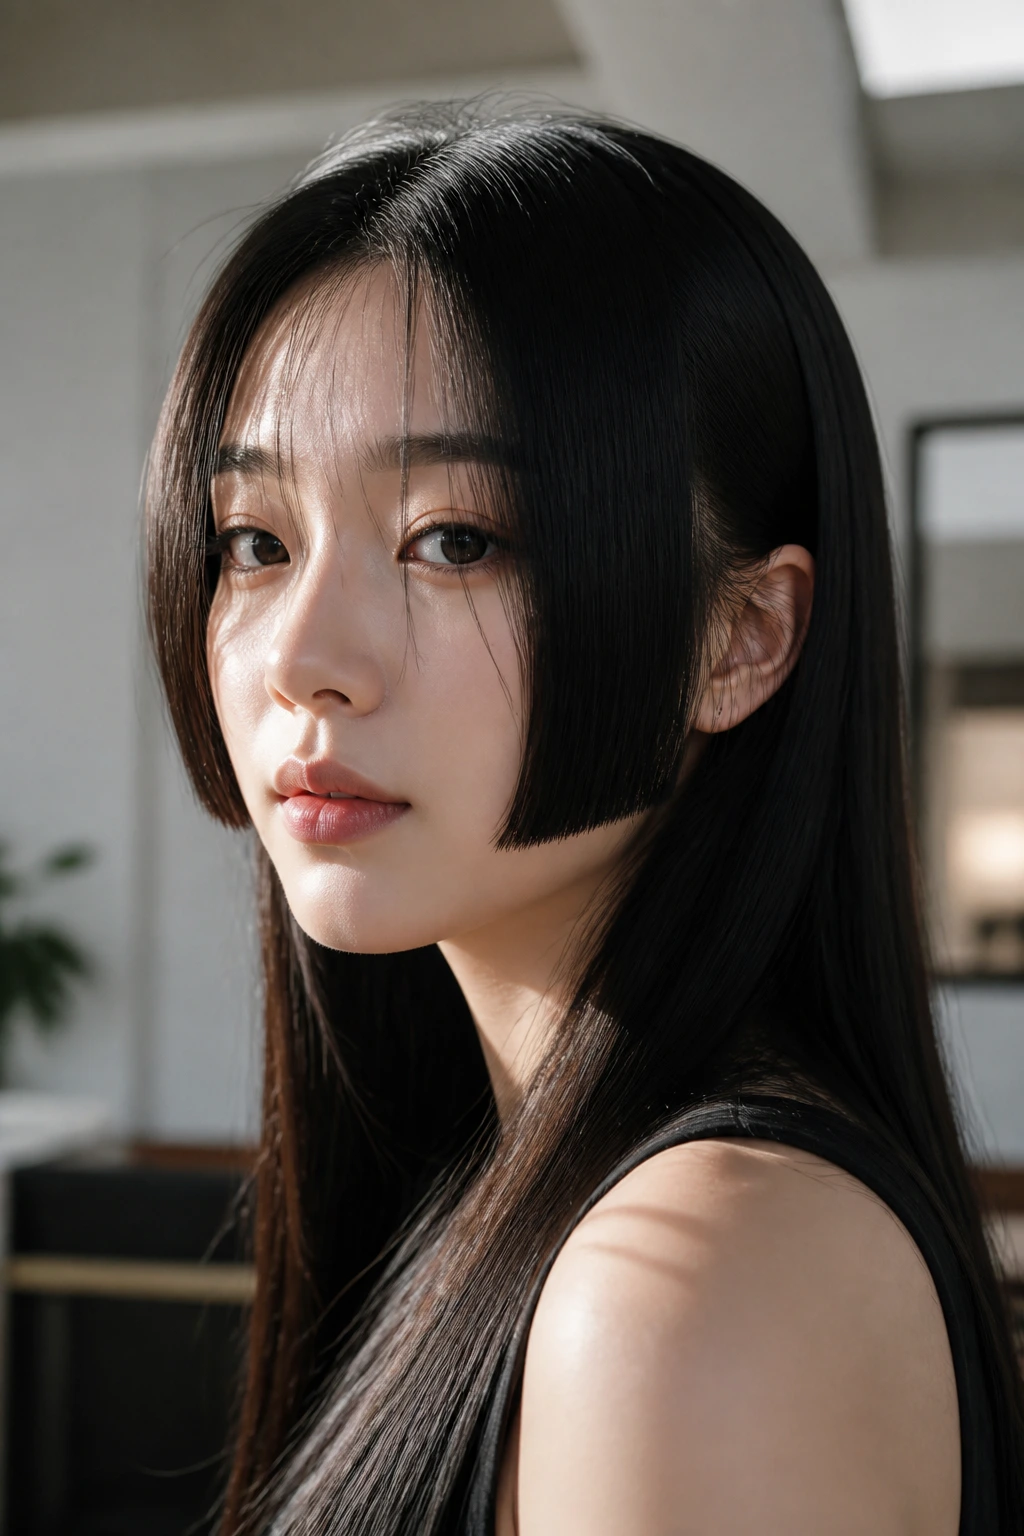
The “hime” cut features shorter, cheekbone-length side pieces that frame the face, while the rest of the hair is left long. As you are growing your hair out, this can be a very intentional way to deal with shorter layers that may have resulted from previous styles. It turns a “bad” growth phase into a deliberate fashion statement.
Styling the Hime Pieces
These side pieces should be kept sleek and straight. Because they are short, they are prone to curling or flipping the wrong way if you sleep on them. You may need to run a flat iron through these specific sections each morning to keep them looking sharp.
Who It Suits
This style is particularly striking on those with dark, glossy hair. It provides a structured, geometric frame that highlights the eyes and jawline, making it an excellent choice if you want to look polished while your overall length is still in transition.
9. The Sleek High Ponytail
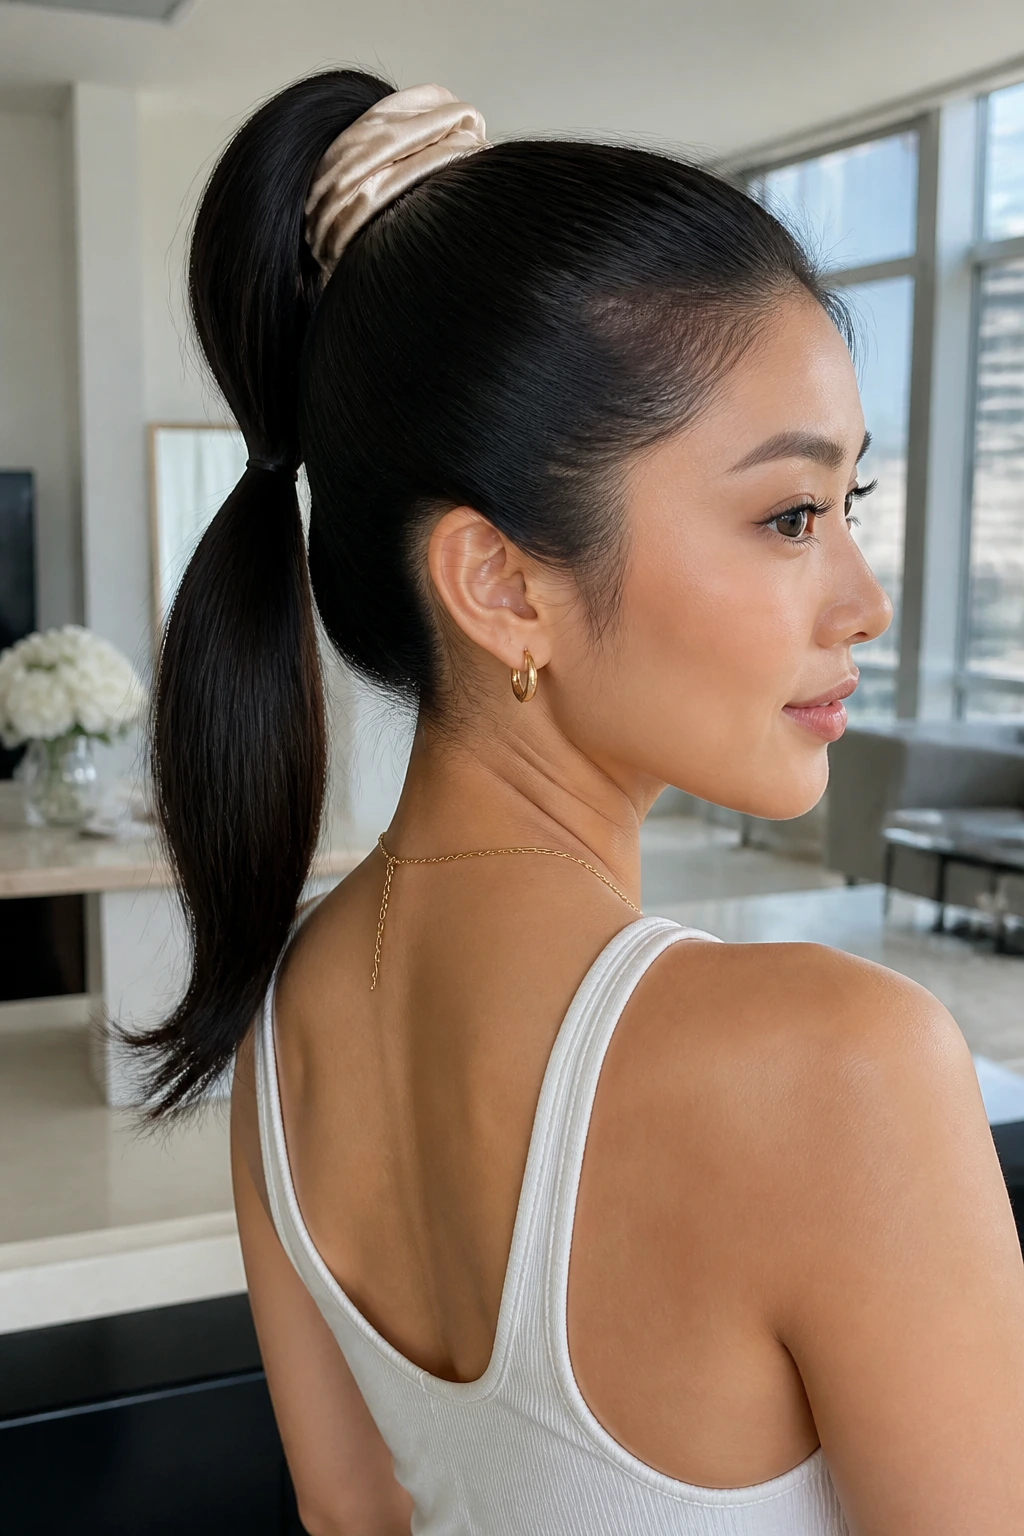
Once you reach shoulder length, the high ponytail becomes your best friend. For Asian hair, which can sometimes look “thin” in a ponytail, the secret is to use a second, smaller elastic to create a “double-deck” effect. This adds volume to the base of the ponytail and keeps it from drooping.
Techniques for the Perfect Pony
- Gather the top half of your hair into a ponytail and secure it.
- Gather the bottom half and join it with the first, securing both with a larger, silk-covered scrunchie.
- This “stair-step” method prevents the hair from sagging throughout the day. Critical warning: Always use a silk or satin scrunchie. Cotton elastics can strip moisture from the hair, leading to breakage—the exact opposite of what you want when growing your hair out.
10. The Half-Up Top Knot
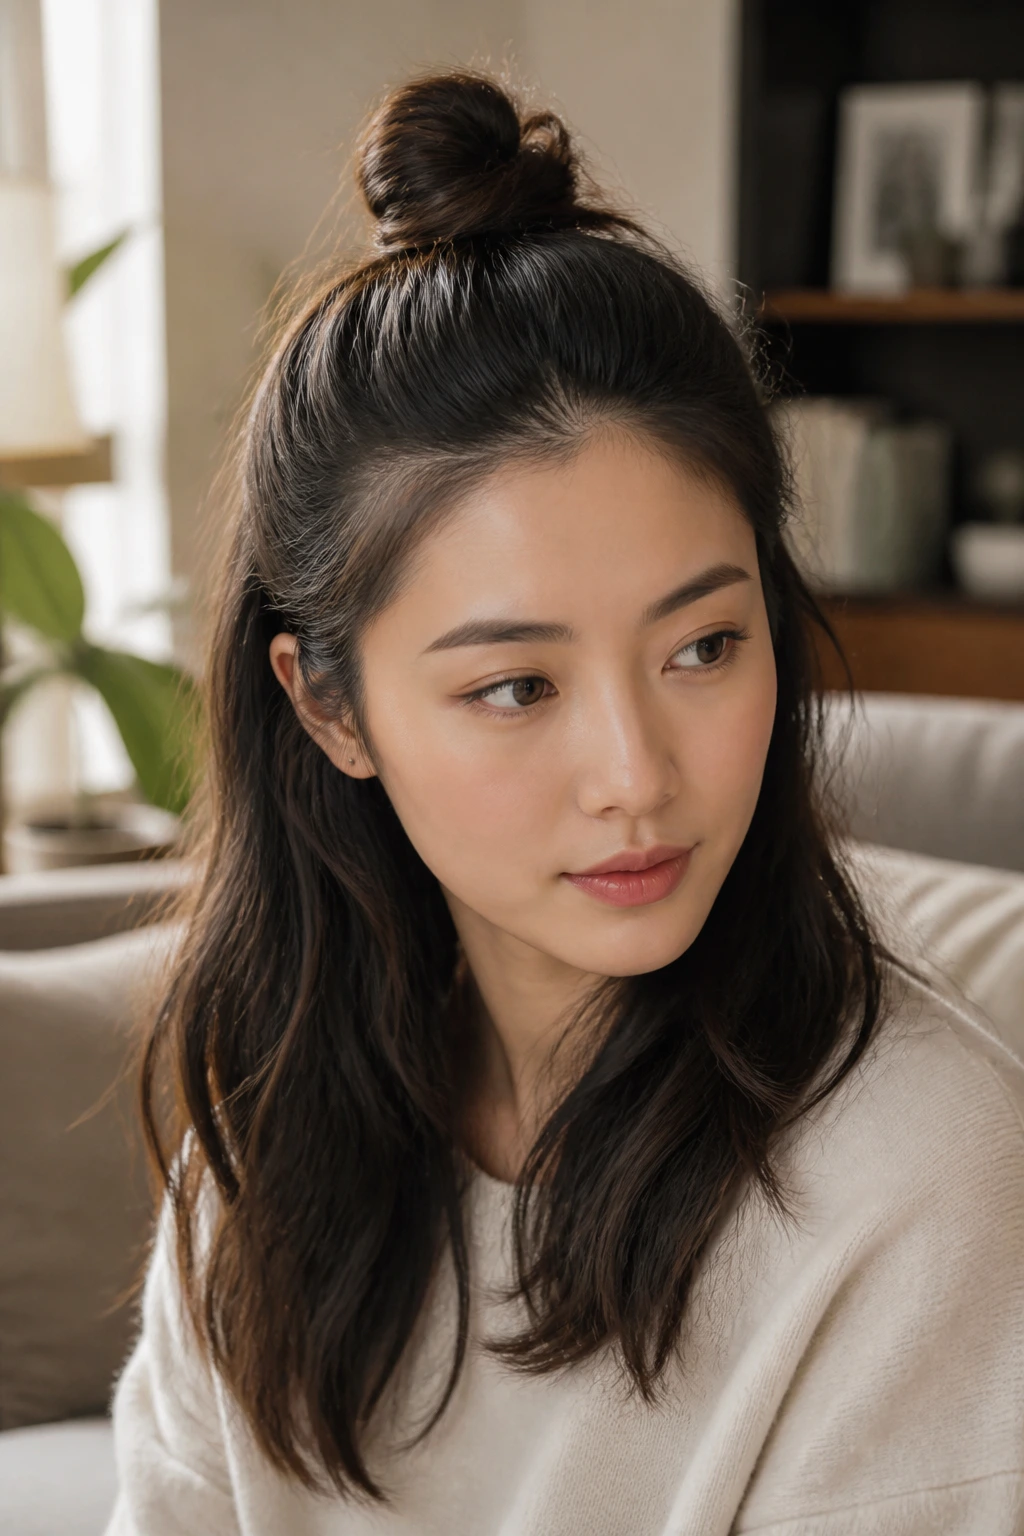
The half-up top knot is the perfect “in-between” hairstyle. It pulls the shorter, annoying pieces away from your face while allowing you to keep the length of the rest of your hair down. It is functional, stylish, and incredibly easy to achieve.
Why It’s Great for Growth
This style is forgiving. Because you are only putting up half of your hair, you don’t need a perfectly smooth transition at the back of the neck. It hides shorter, uneven pieces underneath, making it a great “cheat” style for those days when your hair just won’t cooperate.
Adding Volume
- Tease the roots of the small section you intend to tie up.
- Use a small donut or a “filler” if your top knot looks a bit skimpy.
- Don’t pull the hair too tight; leaving it a bit messy makes the style look more modern and less “gym-ready.”
11. The Soft Blunt Cut
As you reach the one-year mark of your growth, your ends might start to look a bit wispy or thin. A soft blunt cut is the answer. Instead of a severe, razor-sharp edge, ask your stylist to cut the ends bluntly but with a slight texture, so they don’t look like a shelf. This provides the appearance of thicker, healthier hair.
The Importance of Frequent “Dusting”
Even when growing your hair out, you must trim it. Skipping trims allows split ends to travel up the hair shaft, which forces you to cut off more length later. A “dusting”—where the stylist removes only the very tip of the hair—is essential for maintaining the integrity of the strand.
How Often to Trim
- Aim for a light trim every twelve weeks.
- If you notice fraying ends earlier, do not wait.
- Always use professional shears; household scissors can leave jagged edges that encourage splitting.
12. The Braided Headband
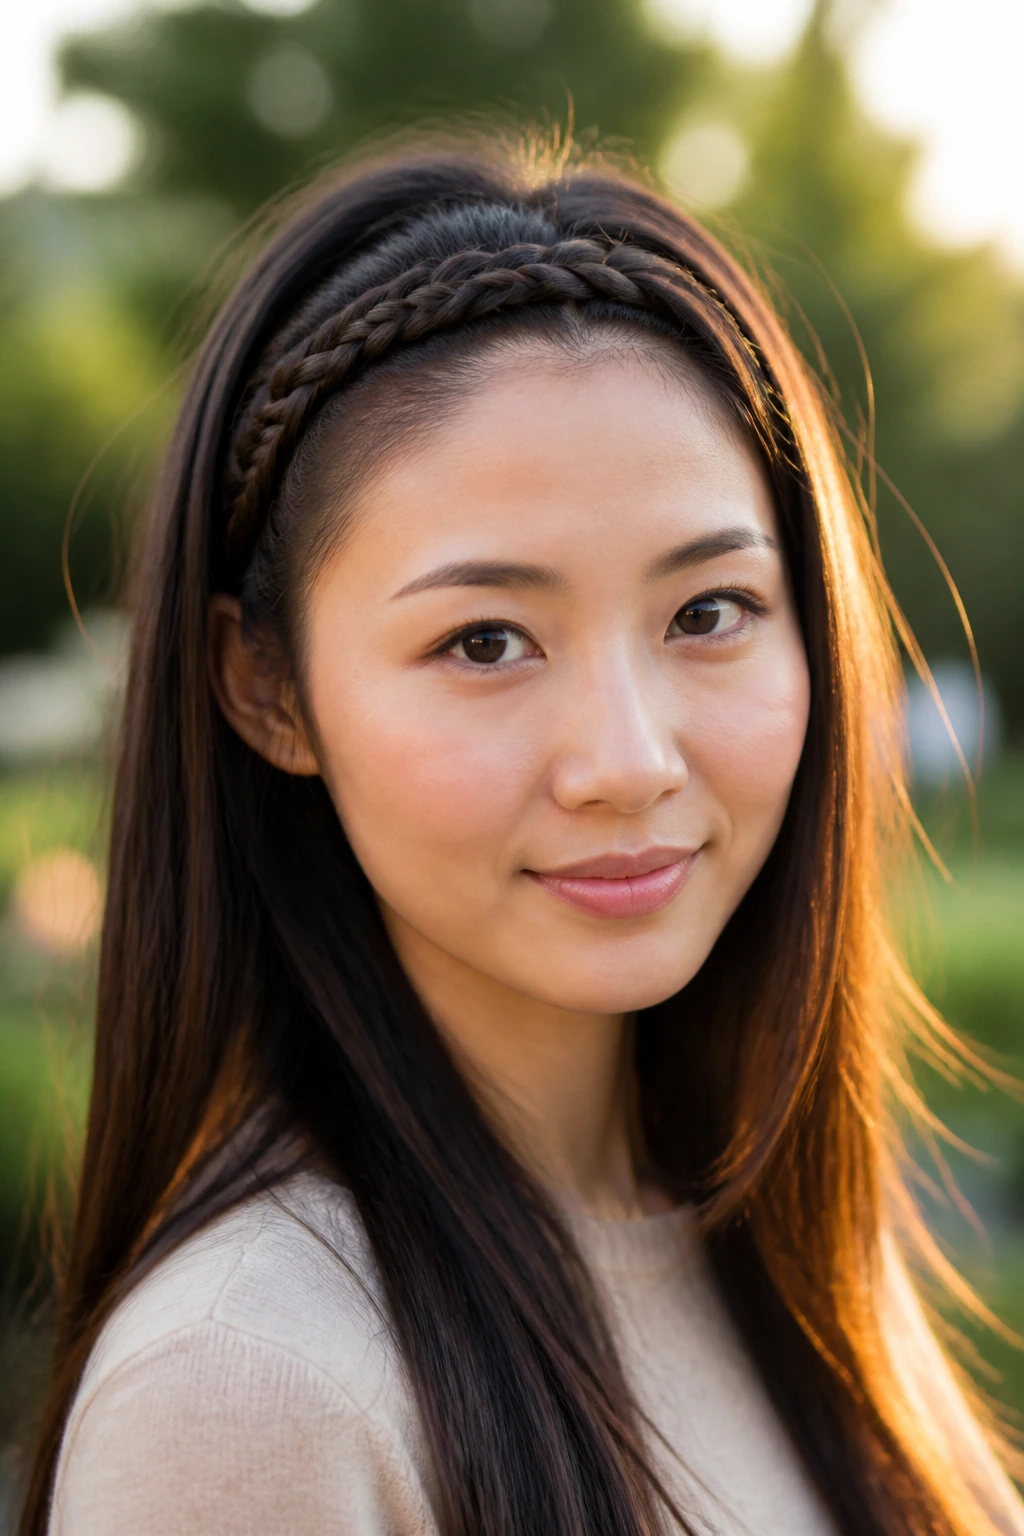
Braids are an excellent way to manage shorter, front-facing pieces that refuse to grow out at the same rate as the back. By braiding the hair along the hairline, you keep the shorter layers out of your eyes while adding an intricate, feminine touch to your look.
Why Braids Hold Well in Asian Hair
Straight, glossy hair has a tendency to be slippery, which can make braids fall out. To combat this, use a dry shampoo or a texturizing spray on your roots before you start braiding. This gives the hair enough grip to hold the braid in place without the need for excessive amounts of pins or hairspray.
Style Options
- Dutch braid: Sits on top of the head for a bolder look.
- French braid: Tucked slightly closer to the scalp for a more subtle finish.
- Twisted braid: If you aren’t confident with traditional braiding, simply twisting two strands together can achieve a similar aesthetic result.
13. The Minimalist Low Chignon
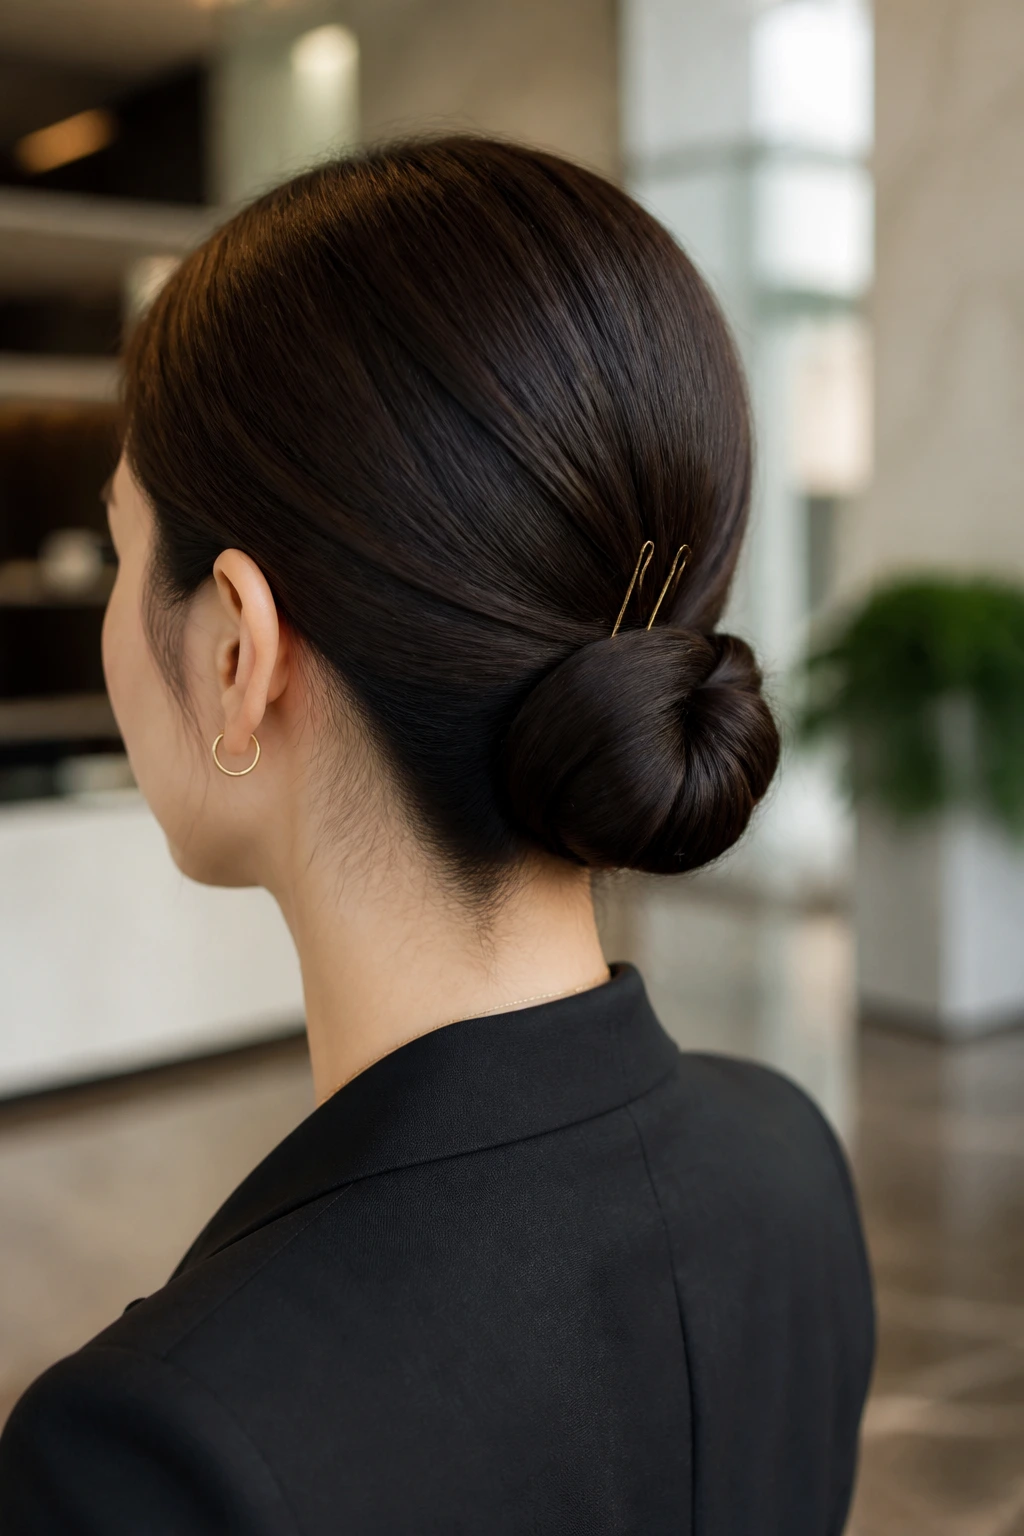
The low chignon is the height of elegance and is surprisingly easy to create once your hair hits the collarbone. It is a mature, refined look that is perfect for professional settings. The key to making it look good is to keep the “bunch” of the hair smooth and tight against the nape.
Creating the Chignon
- Brush your hair back into a low ponytail.
- Twist the ponytail into a tight rope.
- Wrap the rope around the base and secure it with two large U-pins, rather than an elastic.
- Using U-pins creates a softer, more rounded shape than pulling it through an elastic.
Handling Slippery Hair
If your hair is very smooth and keeps sliding out of the pins, spray the pins with hairspray before inserting them. The tackiness will help them grip the hair fibers and keep the chignon secure for hours.
14. The “Pressed-Flat” Straight Style
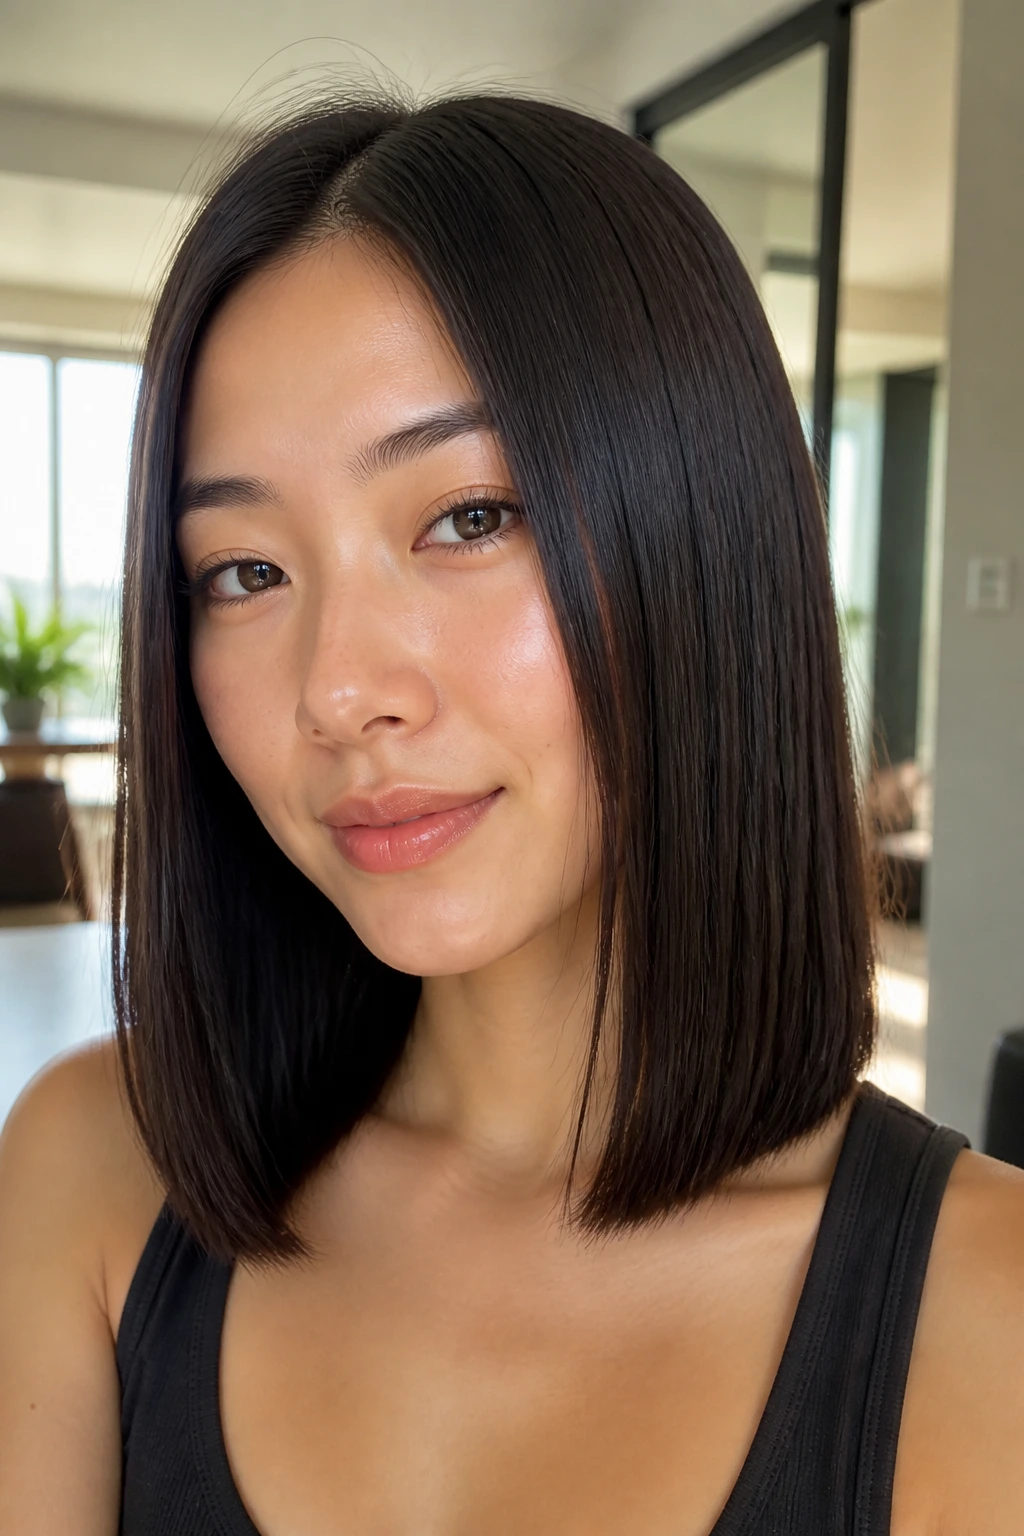
Sometimes, the best way to handle growing hair is to lean into the natural straightness of Asian hair. A bone-straight style is minimalist, chic, and highlights the health of your hair. When your hair is at a medium length, using a flat iron to give it a sharp, clean finish can make the growth look intentional rather than messy.
Maintaining Health During Heat Styling
Heat is a necessity for this look, but it can be drying. Use a heat protectant spray every single time. Look for a product with a “silk protein” or “keratin” base to help reinforce the hair structure as you style it.
Heat Setting Tips
- Keep your flat iron at a moderate temperature—around 320°F (160°C).
- Don’t linger on a single section for more than two seconds.
- Section the hair into small, manageable pieces so you don’t have to go over the same spot twice.
15. The Flipped-Out Ends Look
The “flicked” or “flipped-out” ends look is a stylish nod to the styles of the late twentieth century, and it’s a brilliant way to handle hair that is hitting your shoulders and starting to curl outward on its own. Instead of fighting it, use a round brush to accentuate the flip.
Why It Works for Growth
It turns the most annoying part of the grow-out phase—where the hair hits the shoulders and bends—into the central aesthetic of the style. It is playful, youthful, and works beautifully with the density of Asian hair.
How to Achieve It
- Use a large-barrel round brush.
- While blow-drying, pull the ends of the hair upward and outward rather than curling them under.
- Finish with a light-hold shine spray to keep the ends looking healthy and defined.
16. The Wide-Brimmed Accessory Style
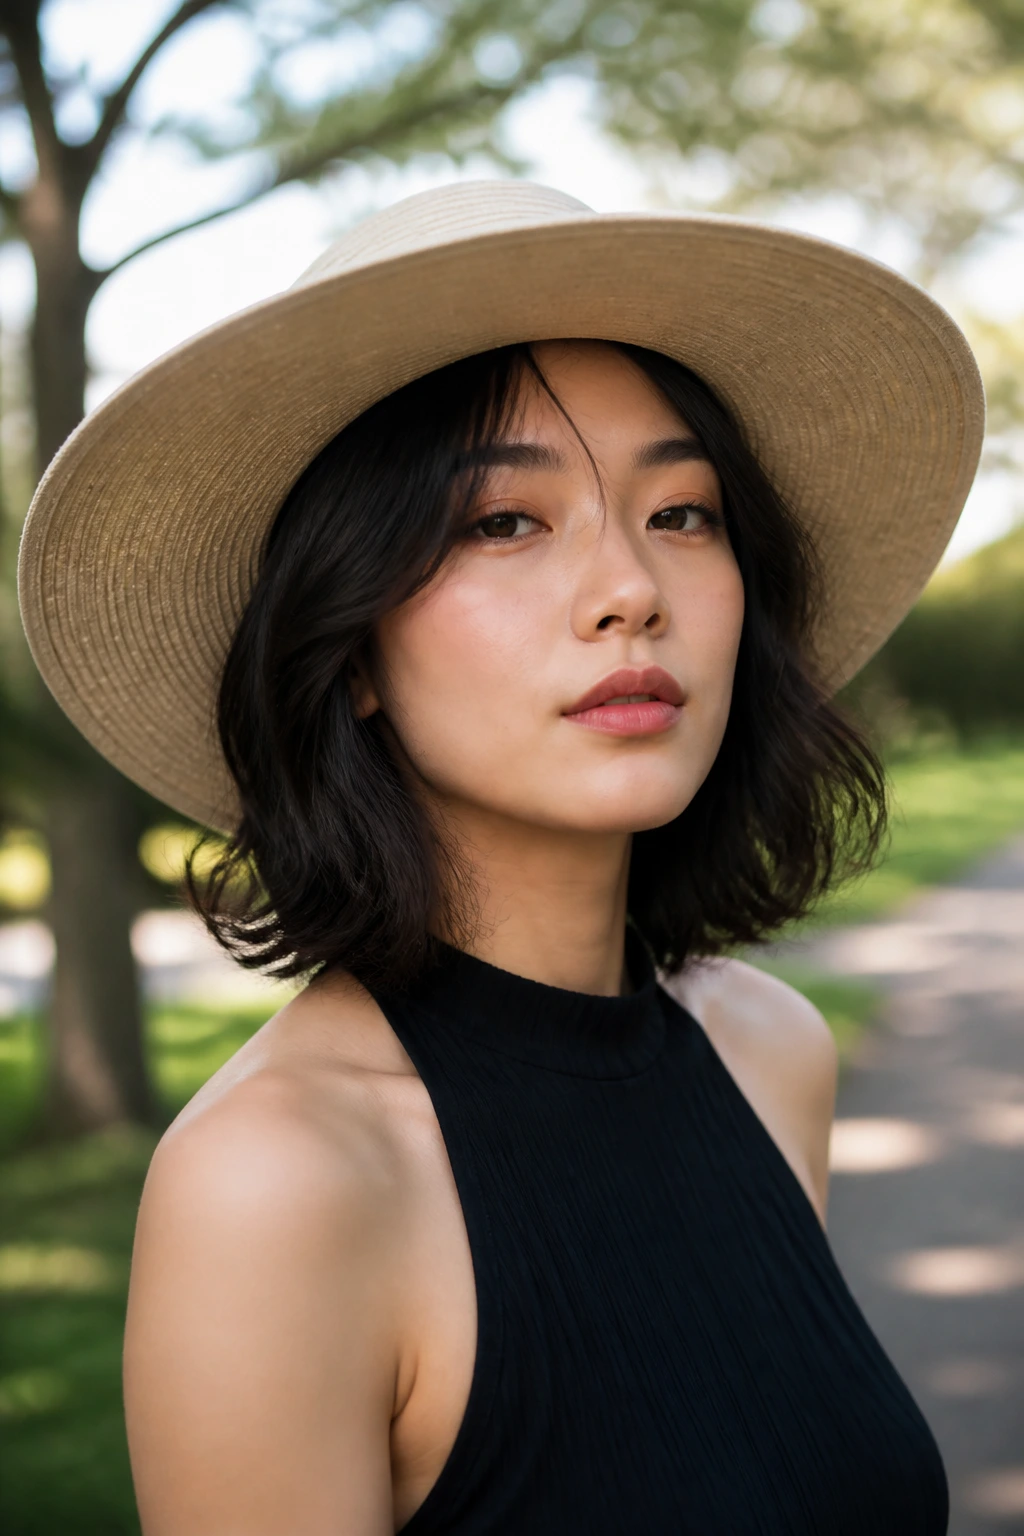
If you are having a particularly bad growth day, an accessory is your best friend. A wide-brimmed hat or a structured headband can pull your hair away from your face and hide the uneven growth pattern entirely. This is a practical, stylish solution that requires zero heat.
Choosing Accessories
- Ensure headbands are lined with silk or velvet to prevent friction.
- Avoid metal accessories that can snag or pull hair strands.
- If using a hat, make sure it fits loosely; a hat that is too tight can cause breakage around the hairline.
The “Hat Hair” Fix
If you take your hat off and your hair looks flat, a quick flip of the hair in the opposite direction of how it was sitting will instantly restore some volume. A touch of root-boosting powder massaged in with your fingertips works wonders to revive the hair after being covered.
17. The “Wet Look” Sleekness
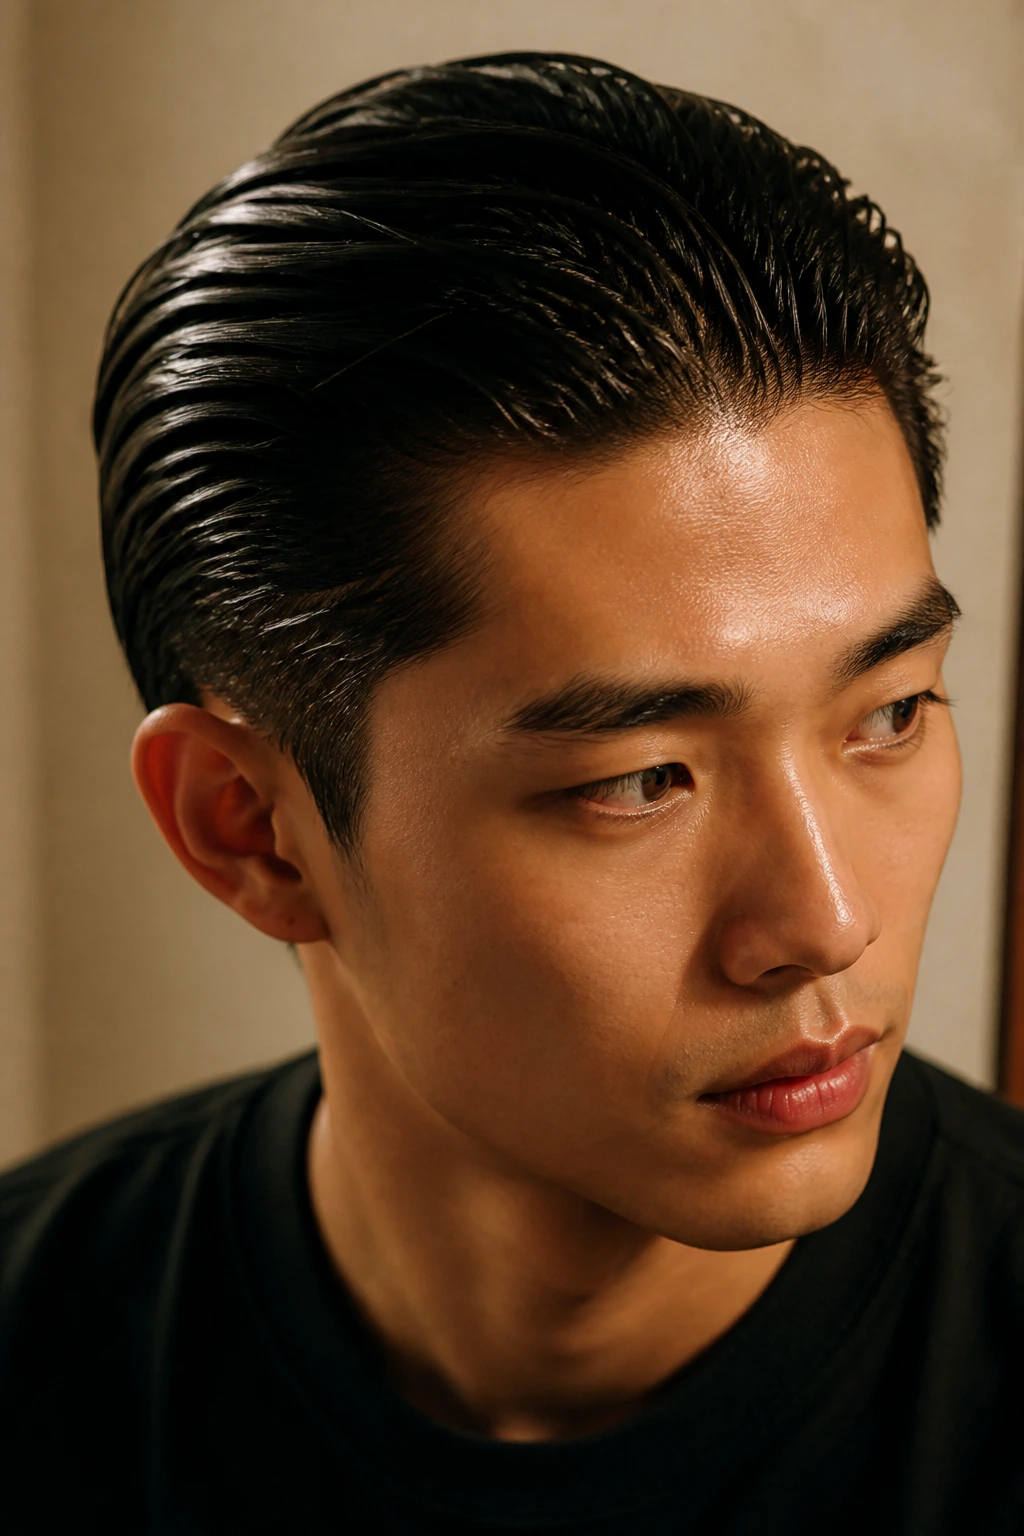
The “wet look” is an incredibly popular approach for those with sleek, straight hair. By using a light, high-shine gel or pomade, you can slick your hair back from the face, making it look as if you have just stepped out of the ocean. It is perfect for formal occasions or when your hair is in that difficult, mid-growth stage.
Selecting the Right Product
Avoid alcohol-based gels, which can make your hair brittle over time. Look for a “water-based” styling gel or a light hair oil that offers hold. The goal is a look that is flexible and shiny, not stiff and crunchy.
Styling for Length
- Apply the product to damp hair, starting at the roots.
- Use a wide-tooth comb to distribute it evenly through the lengths.
- Avoid applying too much product to the very ends, as this can make the hair look oily rather than “wet.”
18. The Loose Beachy Wave
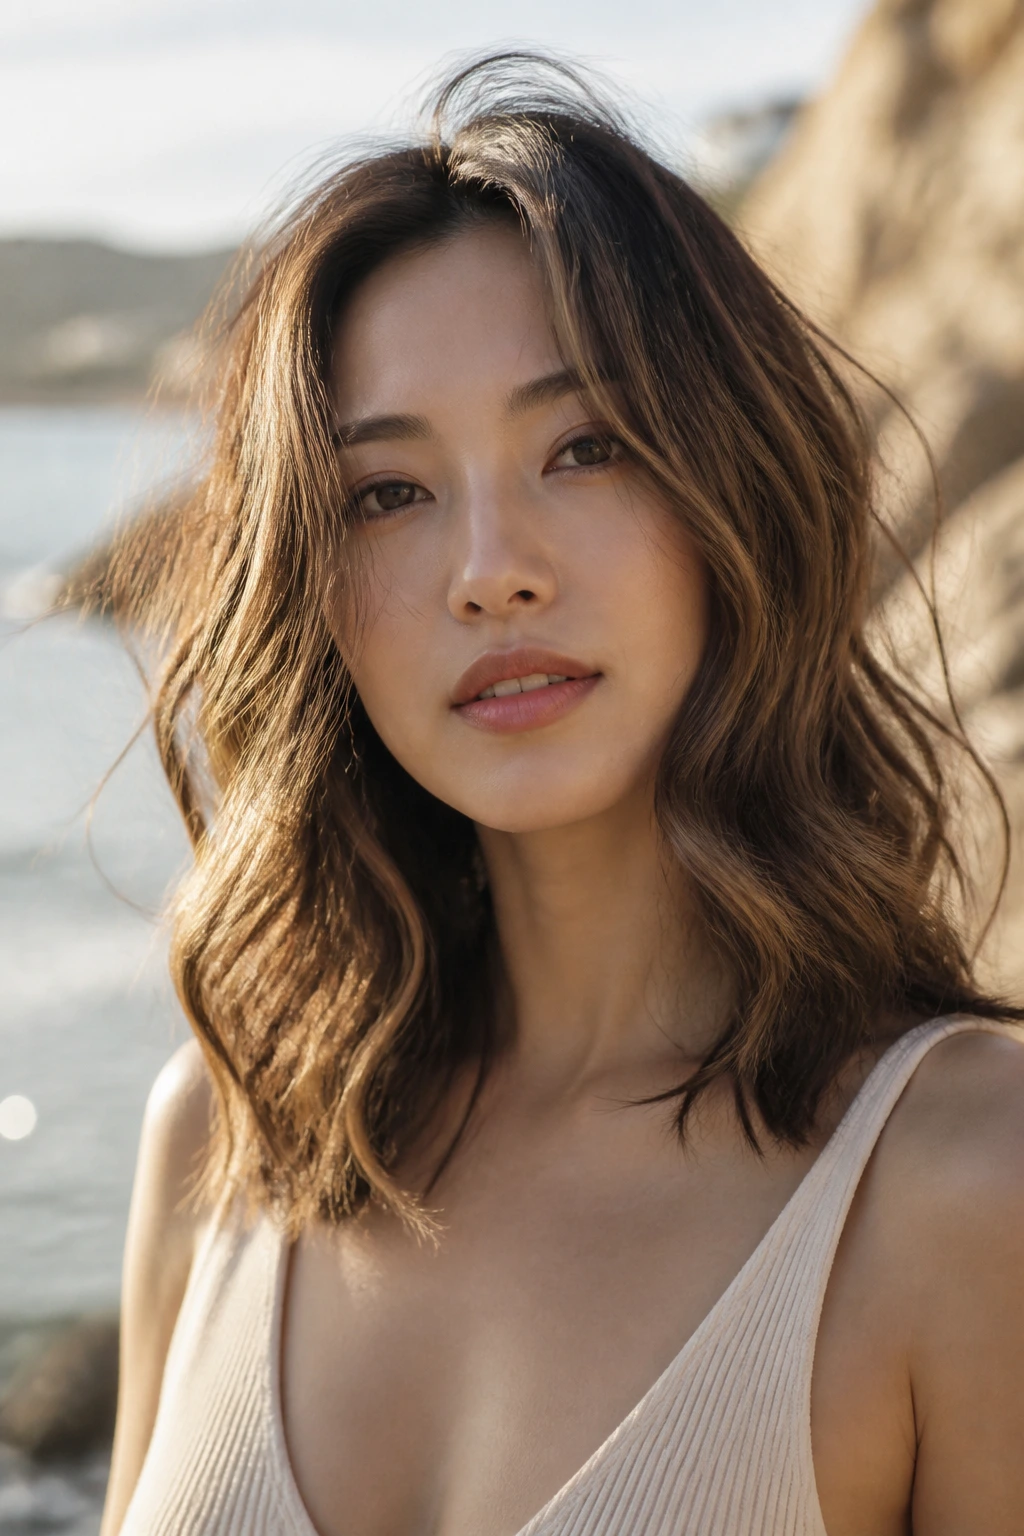
Just because your hair is straight doesn’t mean you can’t have texture. A loose wave created with a large-barrel curling wand adds instant volume and makes your hair look longer by breaking up the silhouette. It’s the perfect way to finish your look once your hair has reached at least shoulder length.
Making Waves Stay
Asian hair is famous for its inability to hold a curl. To keep the waves, you must curl the hair while it is slightly “dirty”—day-two hair holds a curl much better than freshly washed, slippery hair. Use a texturizing spray before you even touch the curling wand.
Final Touches
- Curl your hair in alternating directions.
- Let the curls cool completely before you touch them.
- Run your fingers through the hair gently to break up the waves for that soft, natural feel.
Final Thoughts
Growing out your hair is a journey that requires patience and a healthy dose of experimentation. Because Asian hair is typically straight and dense, your main challenges will always be managing the weight and preventing the hair from lying too flat. By incorporating layers, using the right tools, and avoiding the trap of over-styling with heat, you can make the transition phase just as stylish as the long, flowing mane you are aiming for.
Always remember that your hair type is a strength. The natural shine and smoothness of Asian hair are assets that many spend a fortune trying to replicate. Even when you are struggling with a style that isn’t quite the right length yet, keep your hair hydrated, keep the ends dusted, and don’t be afraid to try a new part or an accessory to keep things interesting. Your hair is an expression of your patience, and the results of a careful, well-maintained growth process are almost always worth the wait.