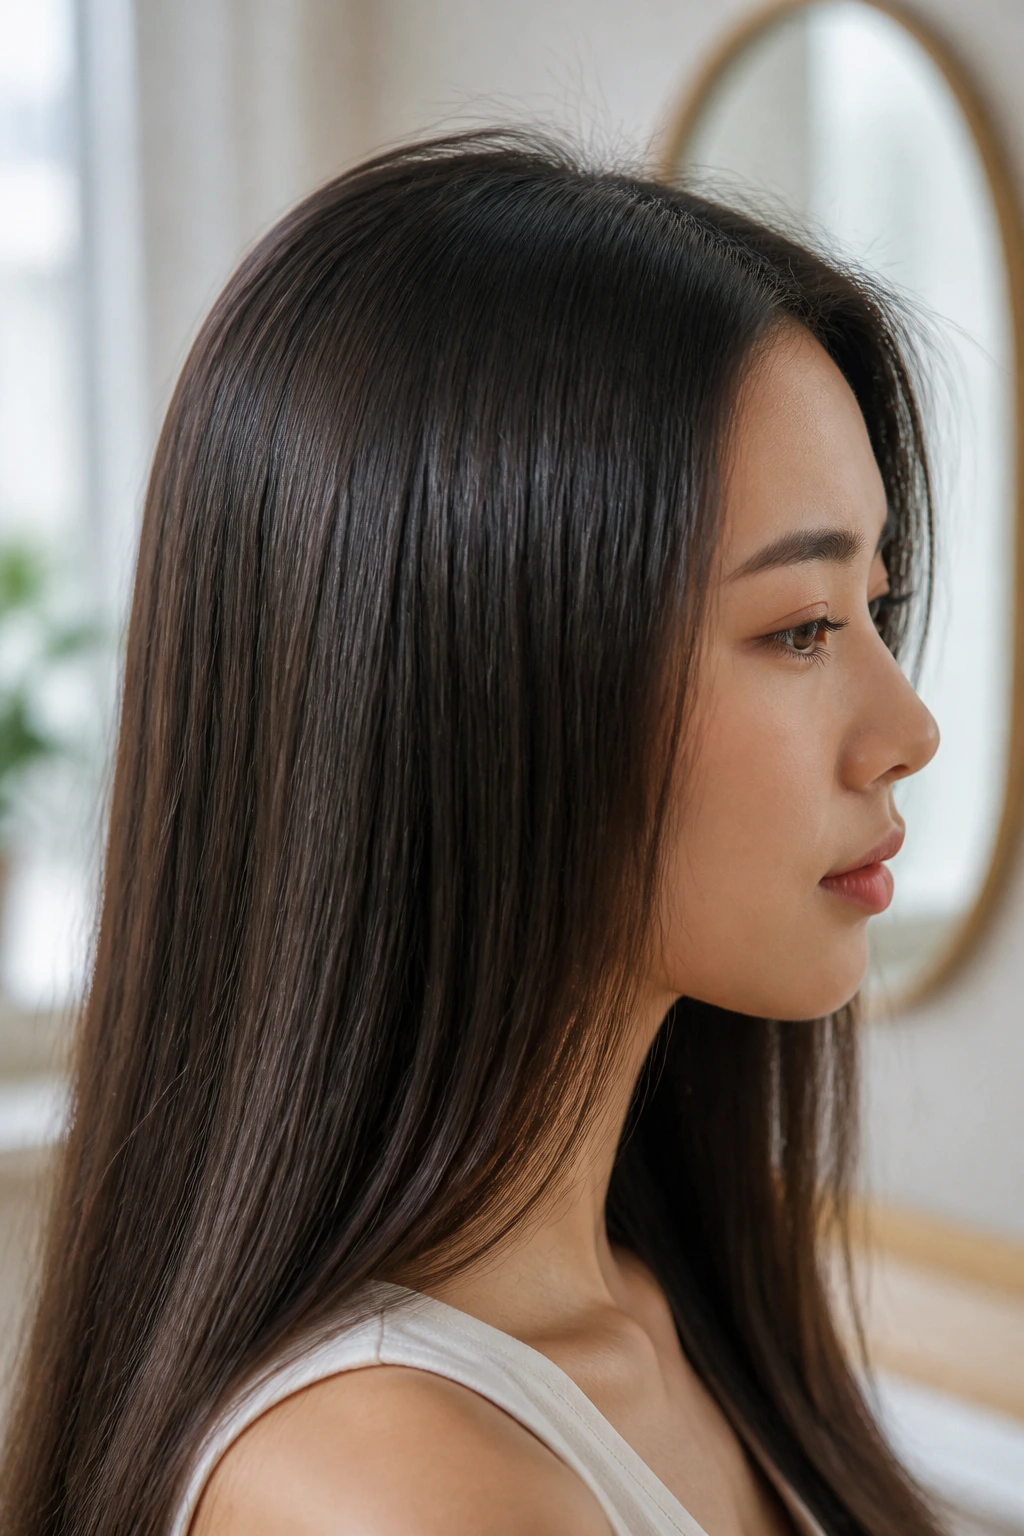
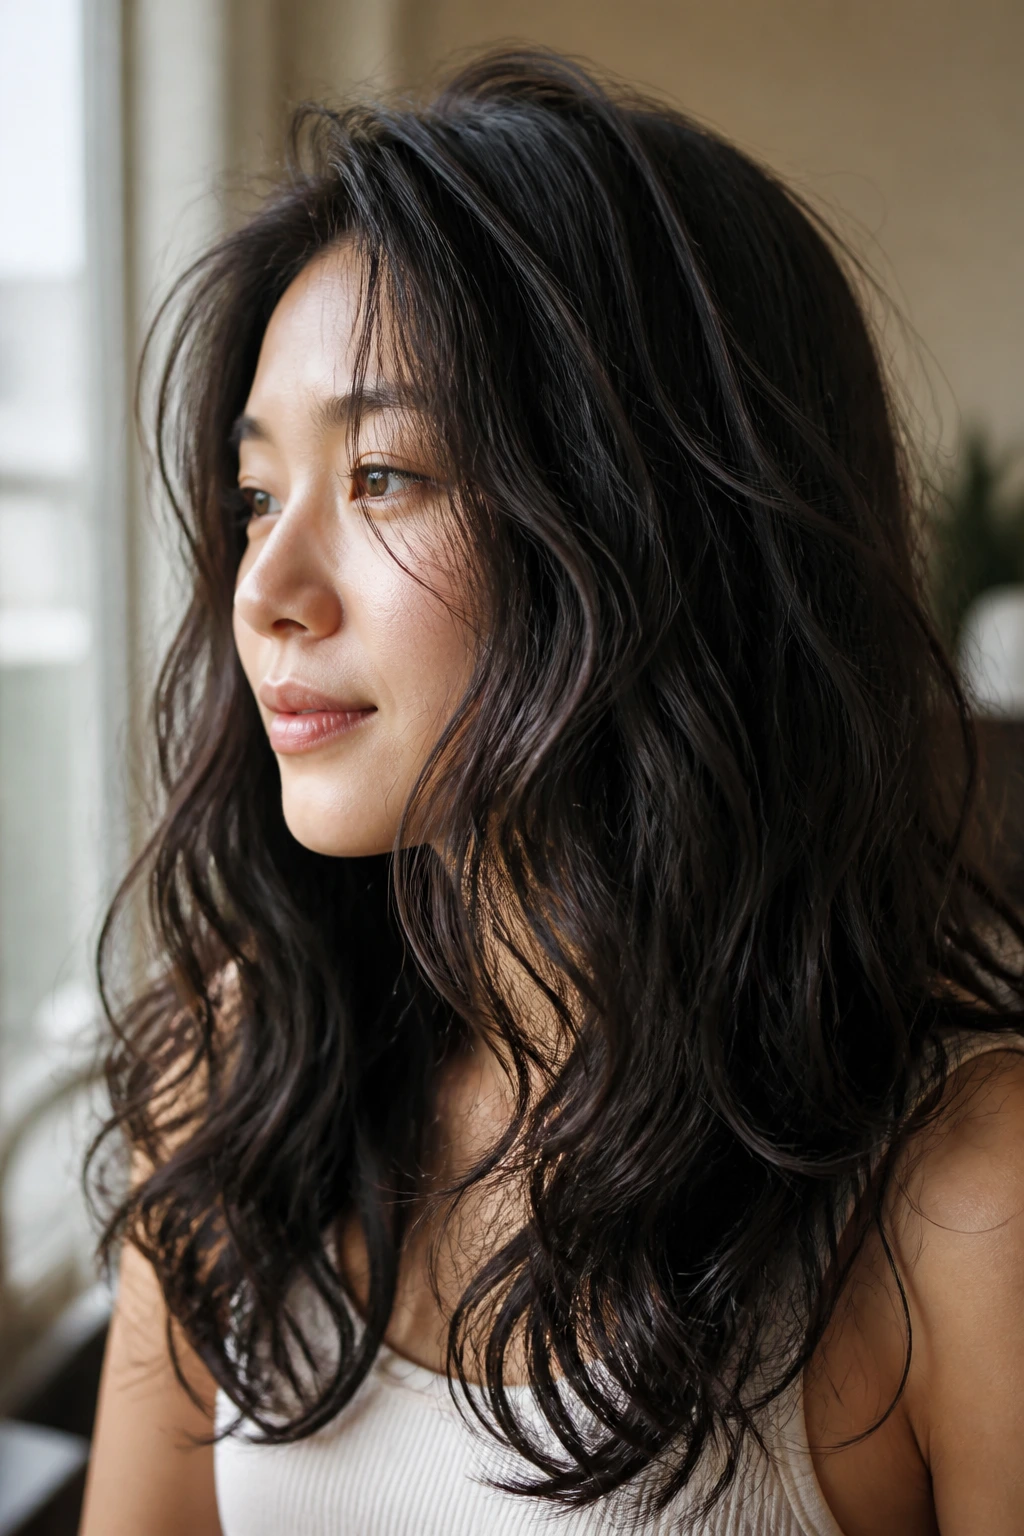
Achieving the perfect curl on straight, sleek hair is often a battle against gravity and texture. Many people with fine, straight hair—frequently found in Asian hair types—find that curls drop within an hour, leaving behind nothing more than a faint, limp wave. It’s frustrating to spend forty minutes carefully wrapping strands around a heating element only to see your hard work vanish before you even step out the door. The secret isn’t just about the heat or the tool itself; it’s about understanding the internal structure of your hair and how to manipulate it to hold a shape.
You are not fighting your hair; you are teaching it to behave differently. Asian hair is typically round in cross-section, which creates that enviable, mirror-like shine, but that same structure resists bending. When you use a curling wand, you are essentially breaking and reforming hydrogen bonds within each strand. If you do not give those bonds time to reset, they will simply snap back to their natural state. By mastering the right prep, the correct temperature, and the proper cooling phase, you can ensure your curls survive from morning until the end of the day.
1. Preparing Hair with the Right Volumizing Mousse
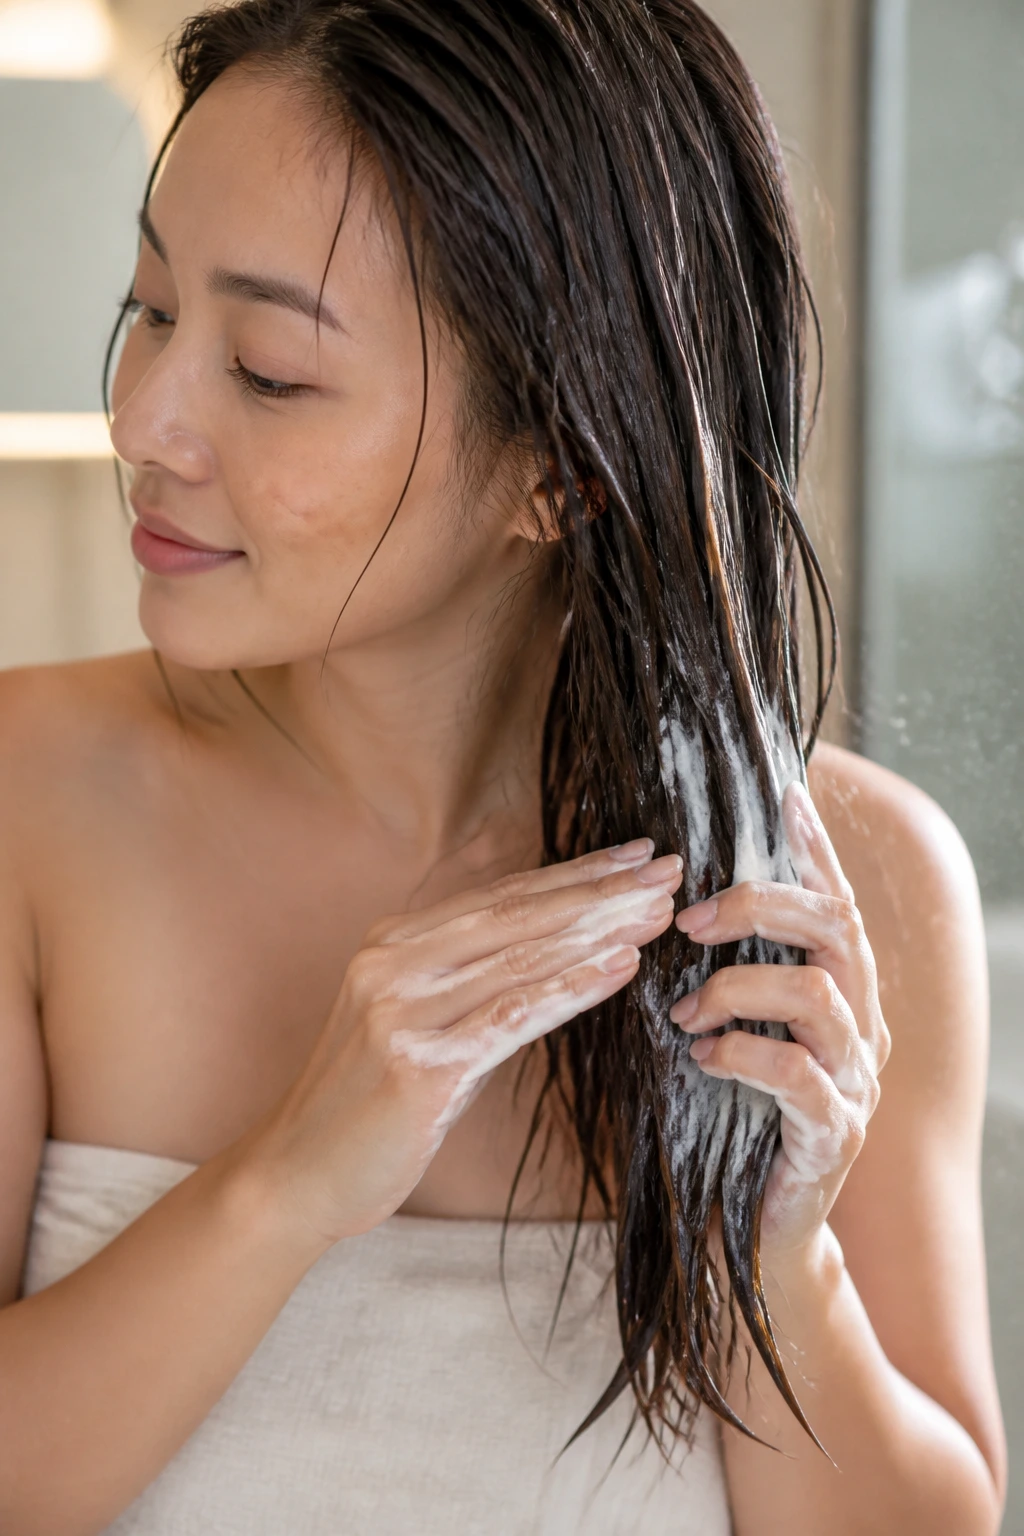
Before the iron ever touches your hair, you need a foundation that provides grip. Straight, slippery strands slide right off a curling wand barrel. A lightweight, alcohol-free mousse is your best defense against premature drooping. Apply it to damp hair, focusing on the mid-lengths and ends, then blow-dry your hair completely.
Why Mousse Works Better Than Heavy Creams
Heavy creams or oils act like lubricants, making hair even smoother and more resistant to holding a curl. Mousse adds a subtle, tacky texture that acts as a scaffold for the hair structure. It makes each strand feel slightly thicker and more cooperative, which is essential for fine hair that tends to fall flat.
How to Apply for Maximum Hold
- Dispense a palm-sized amount into your hands.
- Rake it through from roots to ends, ensuring every strand is coated.
- Use a wide-tooth comb to distribute the product evenly.
- Blow-dry using a round brush to lift the roots, which adds volume and prevents a “pasted down” look.
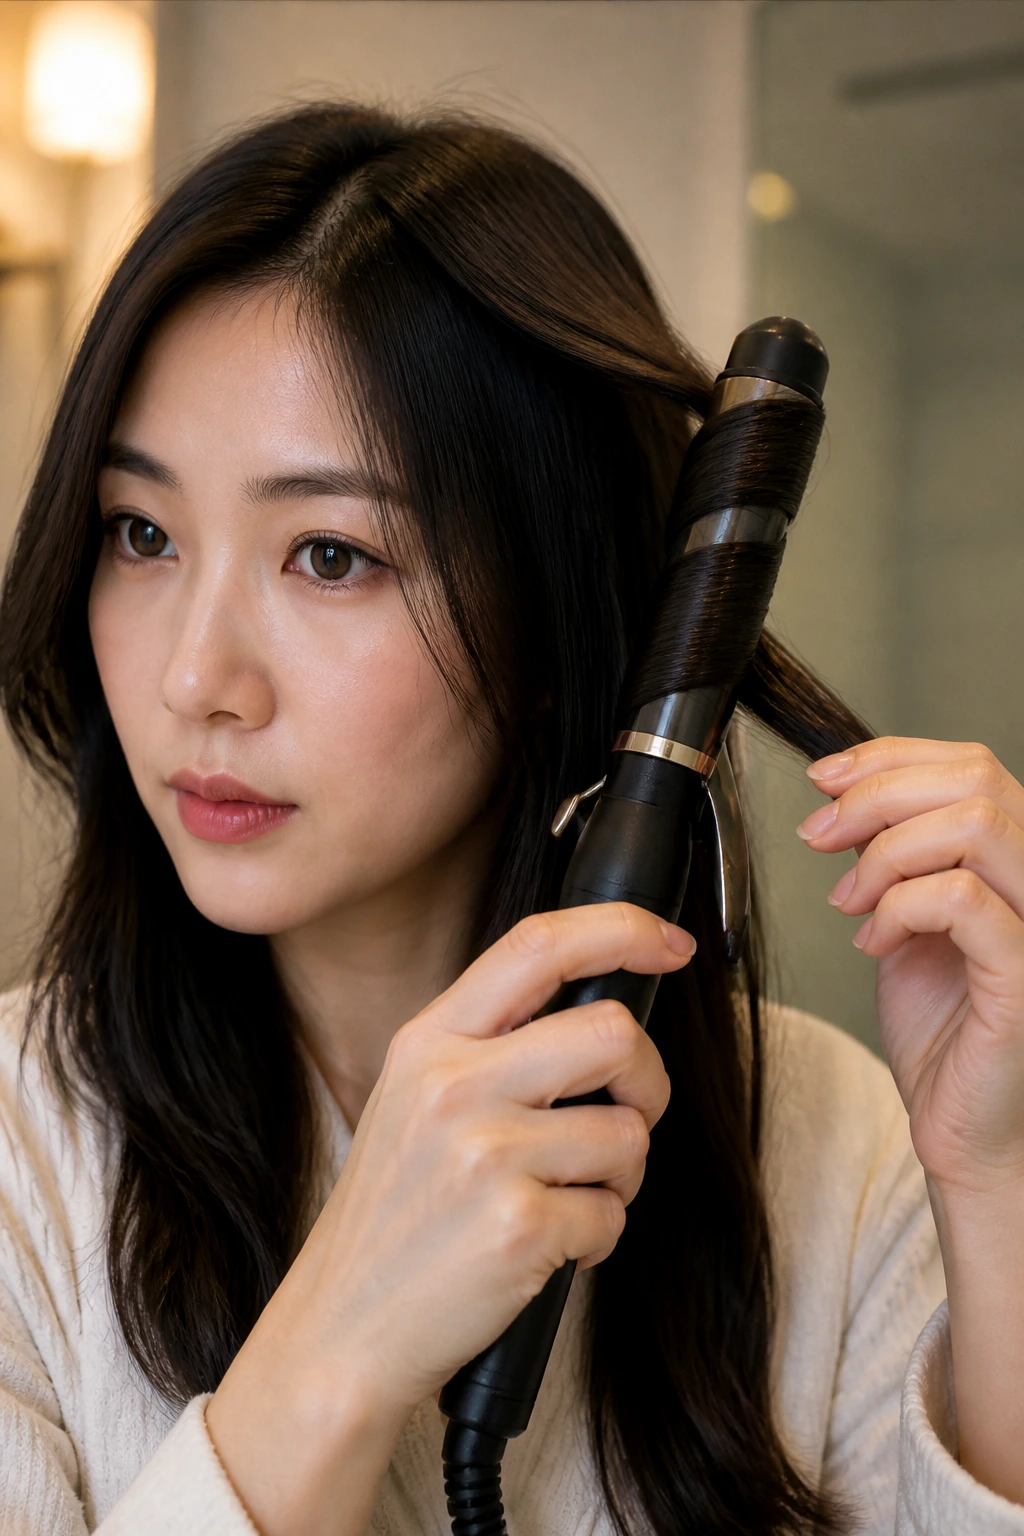
2. Choosing the Ideal Barrel Size for Asian Hair
Not all wands are created equal, and the barrel size dictates how tight your curls will be once they inevitably relax. For most Asian hair types, you want to choose a barrel that is slightly smaller than the size of the curl you actually desire. If you want loose, beachy waves, reach for a 1-inch wand rather than a 1.5-inch model.
Understanding the Relaxation Factor
Straight hair has a “memory” of being straight. As the day progresses, the weight of the hair pulls the curl downward, causing it to loosen. If you start with a 1.5-inch barrel, the curl will likely stretch into a straight line by mid-day. A 1-inch barrel creates a tighter coil that looks natural after an hour of “settling.”
The Material Matters
Ceramic and tourmaline barrels are the standard for a reason. They distribute heat more evenly than metal barrels, which can develop “hot spots.” Uneven heating is a recipe for uneven curl retention; you want a consistent temperature across every inch of the hair being wrapped.
3. The Importance of Proper Heat Settings
There is a common misconception that higher heat equals a better curl. While this might be true for coarse, thick hair, it is a dangerous strategy for fine hair. Most Asian hair is relatively fine in diameter, meaning it can be scorched easily.
Finding the Safe Zone
Set your wand to between 300°F and 350°F. Anything above 375°F is pushing your luck and risks irreversible damage to the cuticle, which eventually makes the hair look dull and frizzy. You want enough heat to reshape the bonds, but not enough to fry the keratin proteins that give your hair its strength.
Signs You Are Using Too Much Heat
- Your hair smells slightly burnt while curling.
- The ends look brittle or split after only a few uses.
- The hair feels “crispy” rather than soft and bouncy.
- If you notice these signs, lower the temperature immediately. A longer hold time at a lower temperature is always safer than a quick blast of scorching heat.
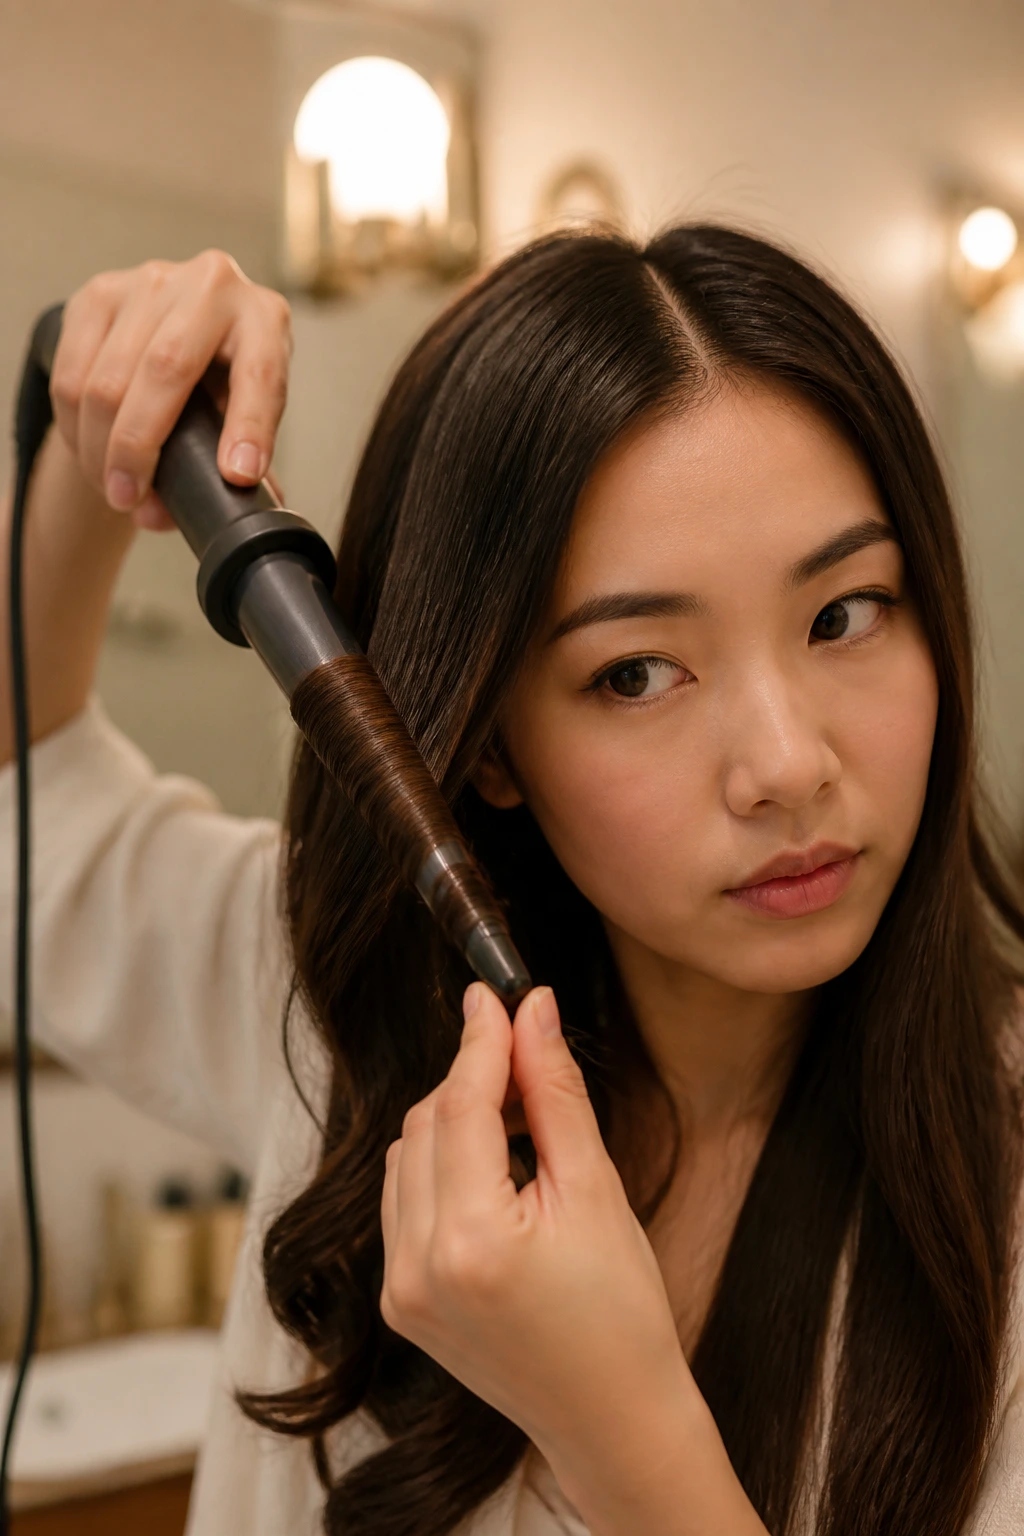
4. Mastering the Sectioning Technique
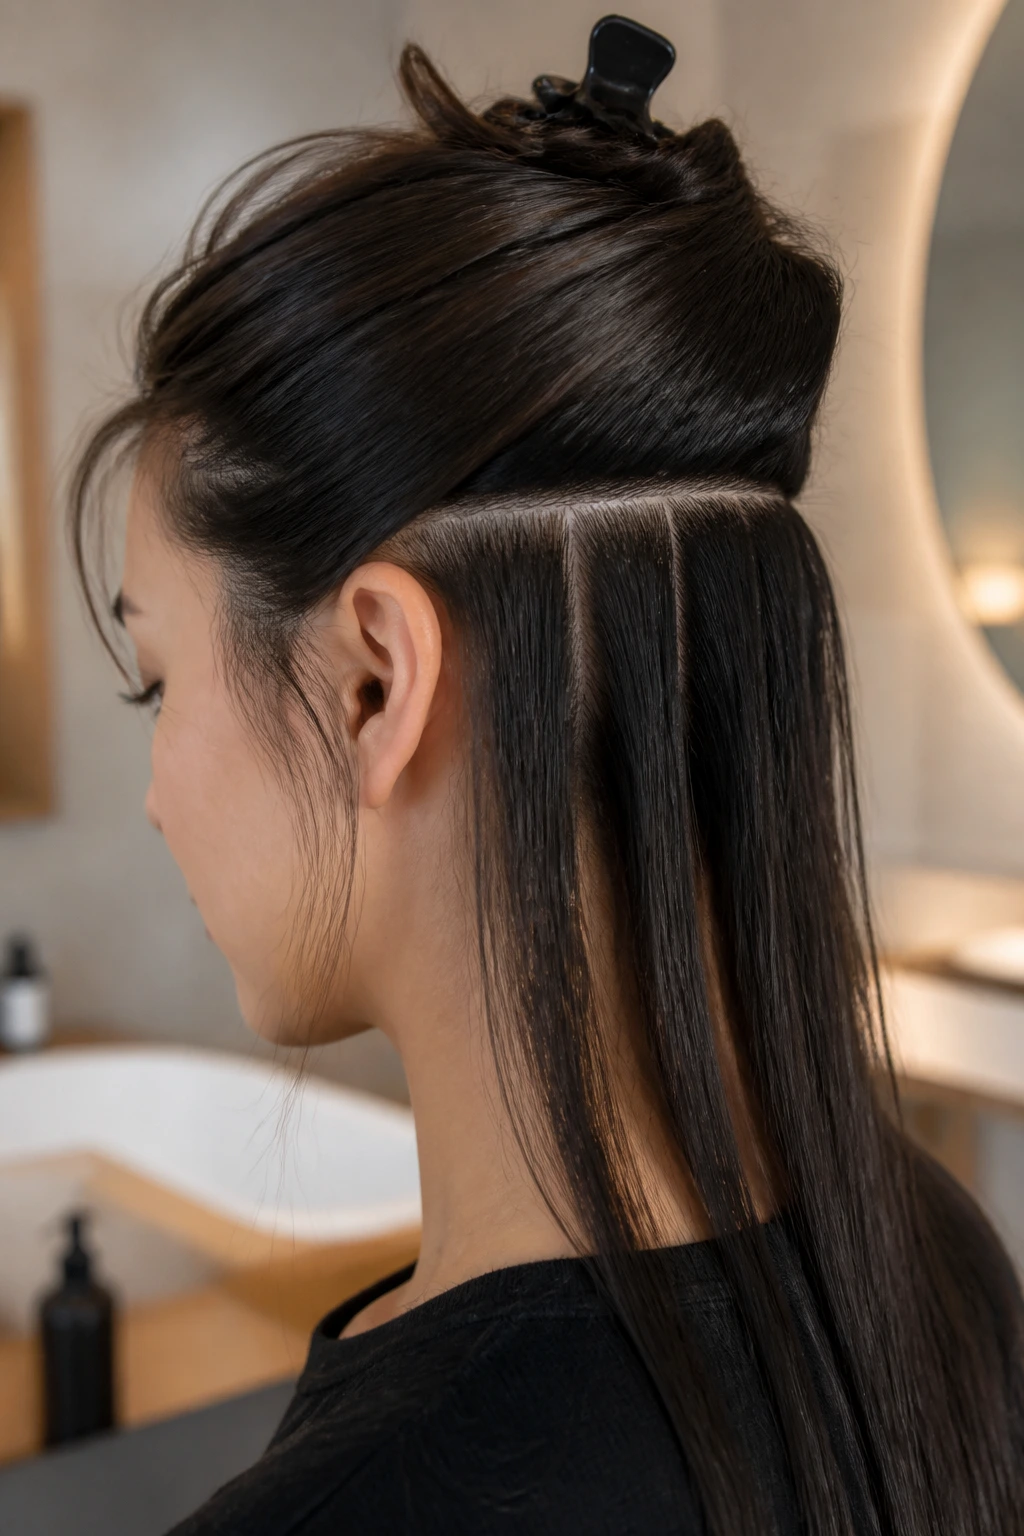
Curling your entire head in one go is a recipe for disaster. You will inevitably miss spots, and the sections in the middle of your head will be much larger than the ones on the outside, leading to inconsistent results. Grab a pack of alligator clips and take the time to divide your hair into manageable quadrants.
Why Sectioning Ensures Longevity
When you take thin, uniform sections, the heat from the wand penetrates the entire thickness of the strand. If you grab a clump of hair that is too thick, the hair on the outside of the wrap gets hot, but the hair touching the barrel doesn’t get enough energy to change its shape. This leads to curls that are limp on the inside and fried on the outside.
How to Section Like a Pro
- Divide your hair into two sections, top and bottom, using a horizontal part.
- Clip the top section away entirely.
- Work in 1-inch wide vertical slices on the bottom layer.
- Keep the iron close to the head but never touching the scalp to avoid burns.
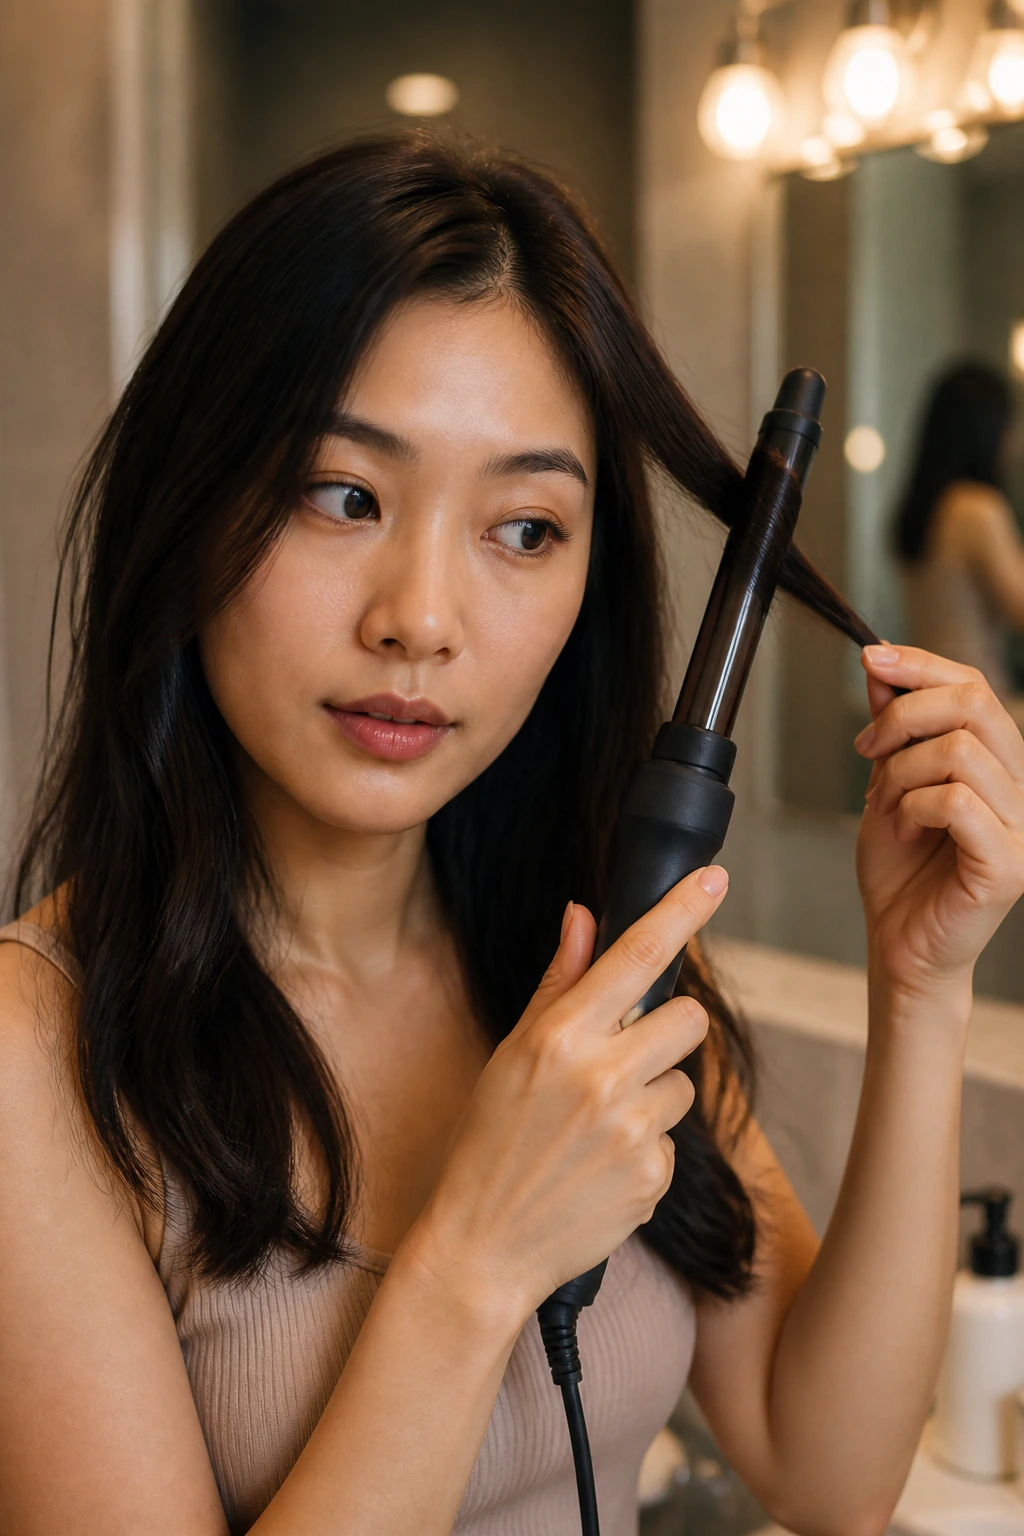
5. The Technique of Wrapping Without a Clamp
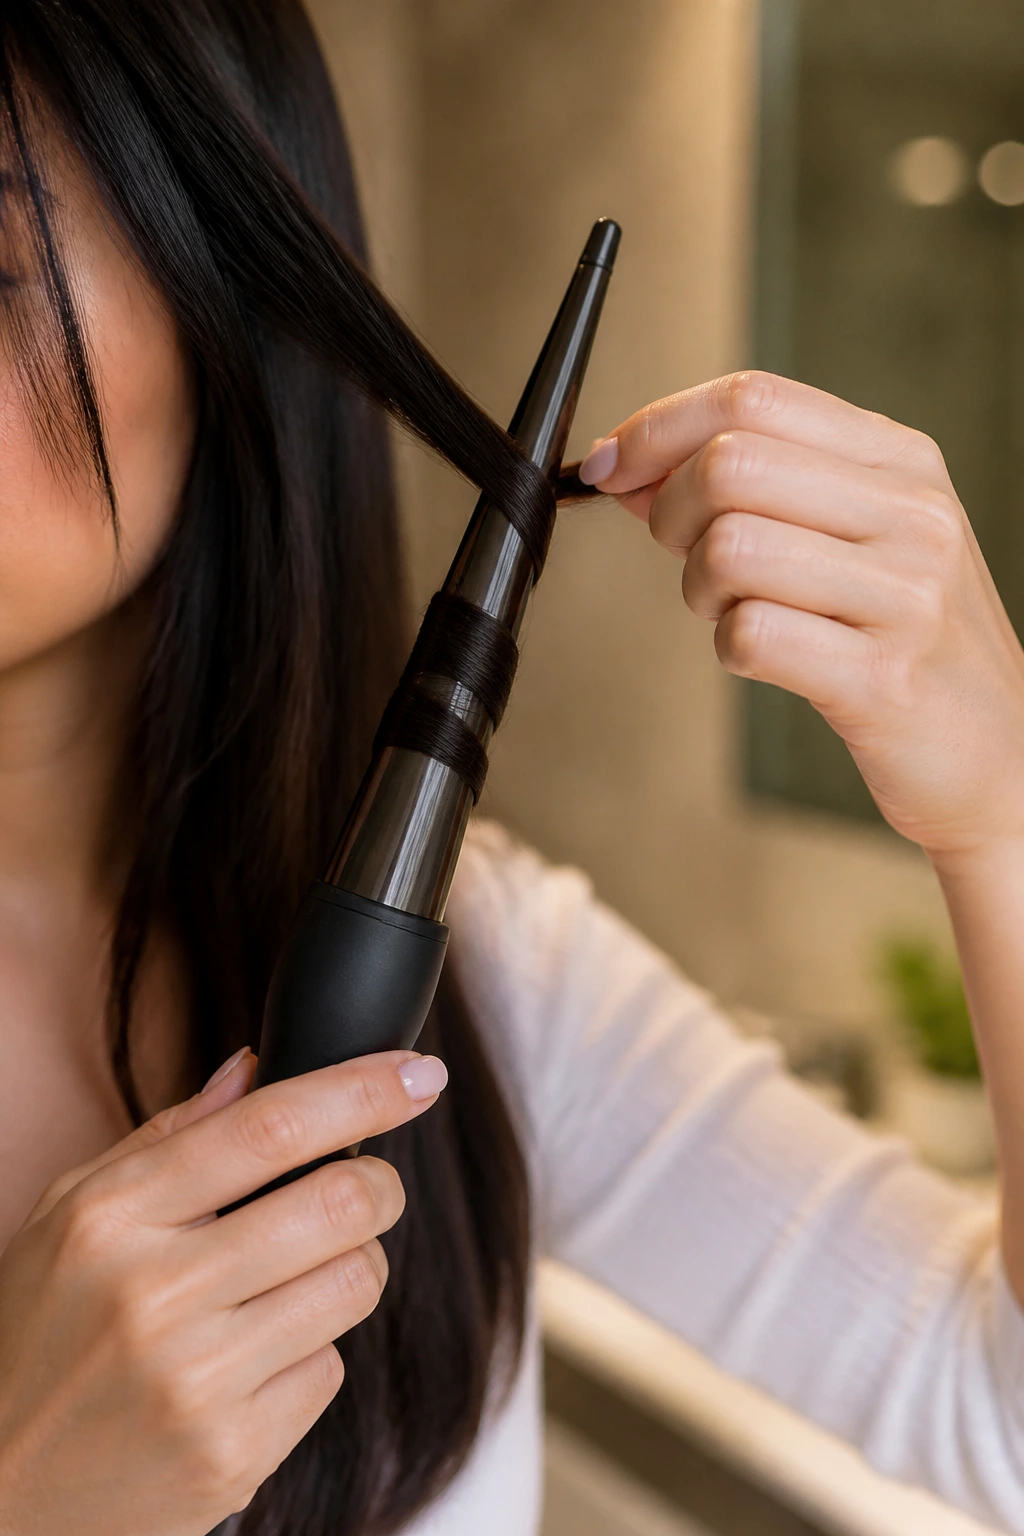
Using a wand—the kind without a spring-loaded clamp—is significantly better for achieving a professional look than using a traditional curling iron. A clamp often leaves a “kink” or a dent at the bottom of the hair, which looks unnatural. Wrapping the hair manually around a tapered or straight barrel results in a smooth, seamless transition.
Direction of the Wrap
For a face-framing effect, wrap the hair away from your face. When you wrap toward the face, the curls can sometimes crowd your features. By wrapping sections away from the hairline, you open up the face and create a more polished, glamorous silhouette that feels intentional.
Maintaining Tension
Keep the hair taut as you wrap it. If the hair is loose against the barrel, the heat transfer will be inefficient. Use your gloved hand to hold the ends of the hair flat against the barrel for the duration of the heating time. This ensures the heat is distributed across the entire section.
6. How Long to Hold the Hair on the Wand
Five to eight seconds is the sweet spot. If you hold the hair for longer than ten seconds, you are likely overheating the hair, which leads to damage and dryness. If you hold it for less than five seconds, the heat won’t have time to penetrate the core of the hair shaft, and the curl will fail to “set.”
The Sensory Test
You should be able to feel the heat radiating through the hair. Once you feel the heat coming through the strand, hold for two additional seconds and then release. This ensures that the innermost part of the hair section has reached the required temperature to undergo a structural change.
Timing by Section
- Front sections (near the face): Hold for 5 seconds to keep them soft.
- Back sections: Hold for 7-8 seconds as these sections are often thicker or more resistant to heat.
- Always check the ends of your hair; they are the most fragile and should spend the least amount of time on the iron.
7. The Cooling Phase: Why You Must Never Touch
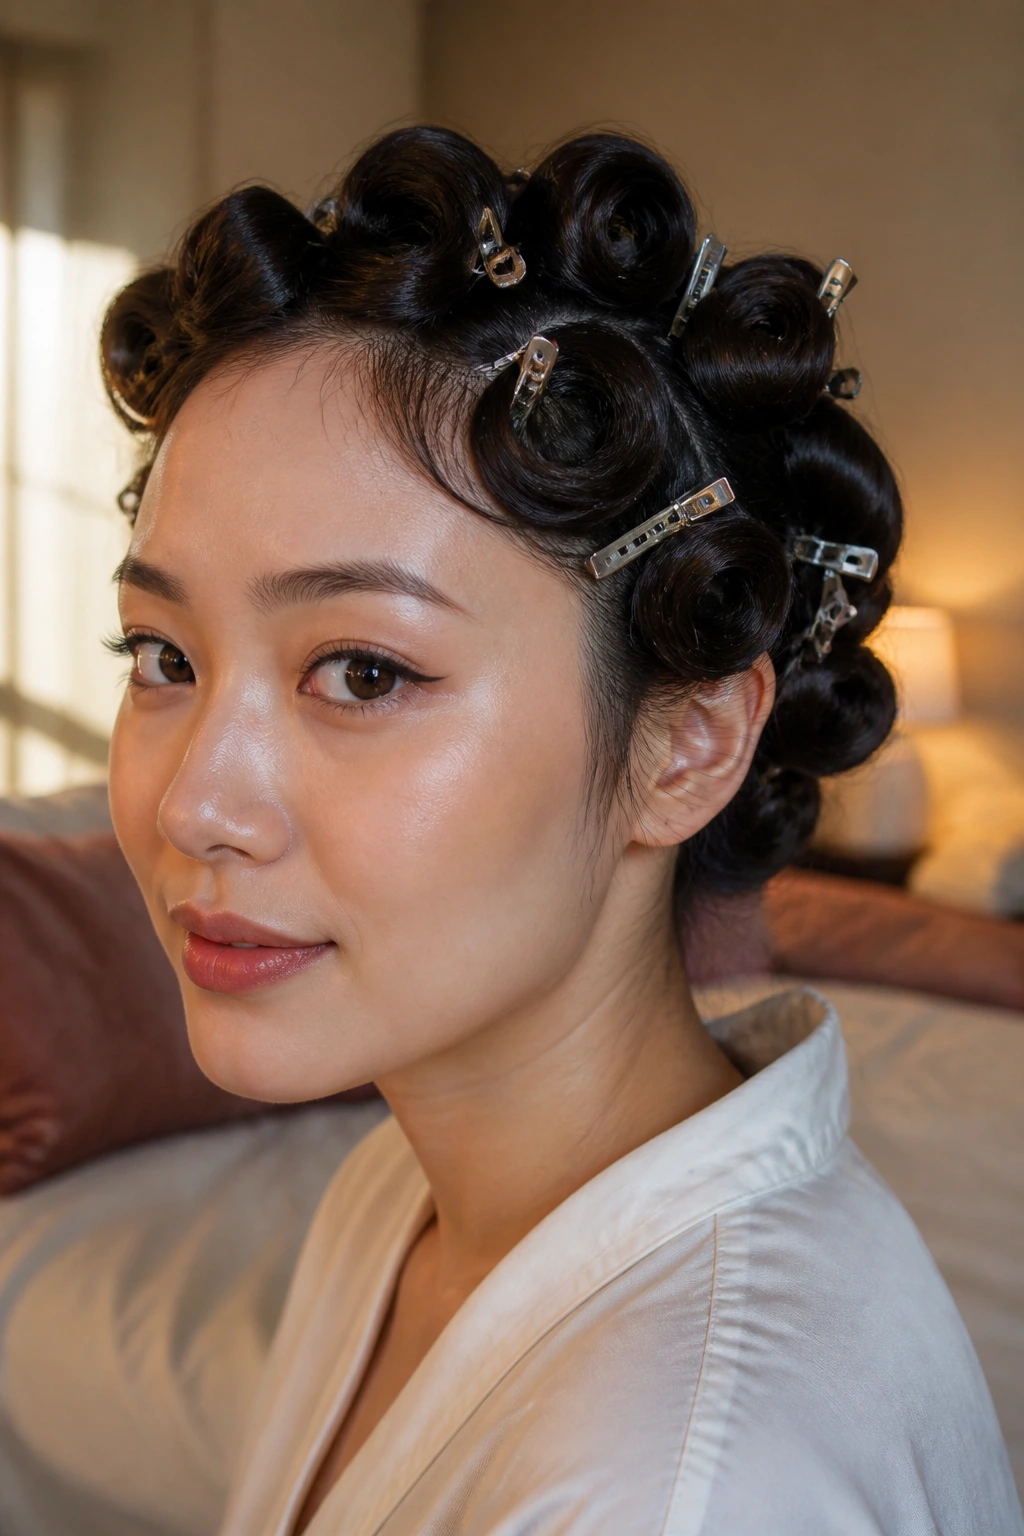
This is the single most important tip for those with straight hair: do not touch the curl until it is cold. When you release the hair from the wand, it is still hot and pliable. If you comb through it, brush it, or even aggressively shake it while it is warm, you are effectively “combing out” the curl before it has had a chance to set into its new shape.
Letting Gravity Work for You
Pin each curl to your head while it cools if you want maximum hold. You can use a small duckbill clip to catch the curl in its coiled shape against your scalp. This keeps the hair in a tight spiral while the hydrogen bonds reform in the cool air. It takes about five minutes for a section to fully cool, but the payoff is a curl that stays all day.
The Physics of Setting
Think of hair like a candle. When it is warm, it is malleable; when it cools, it becomes rigid. If you want a curl that stays, you must allow the hair to reach room temperature in its curled configuration. Skipping this step is the primary reason most people fail at curling their hair.
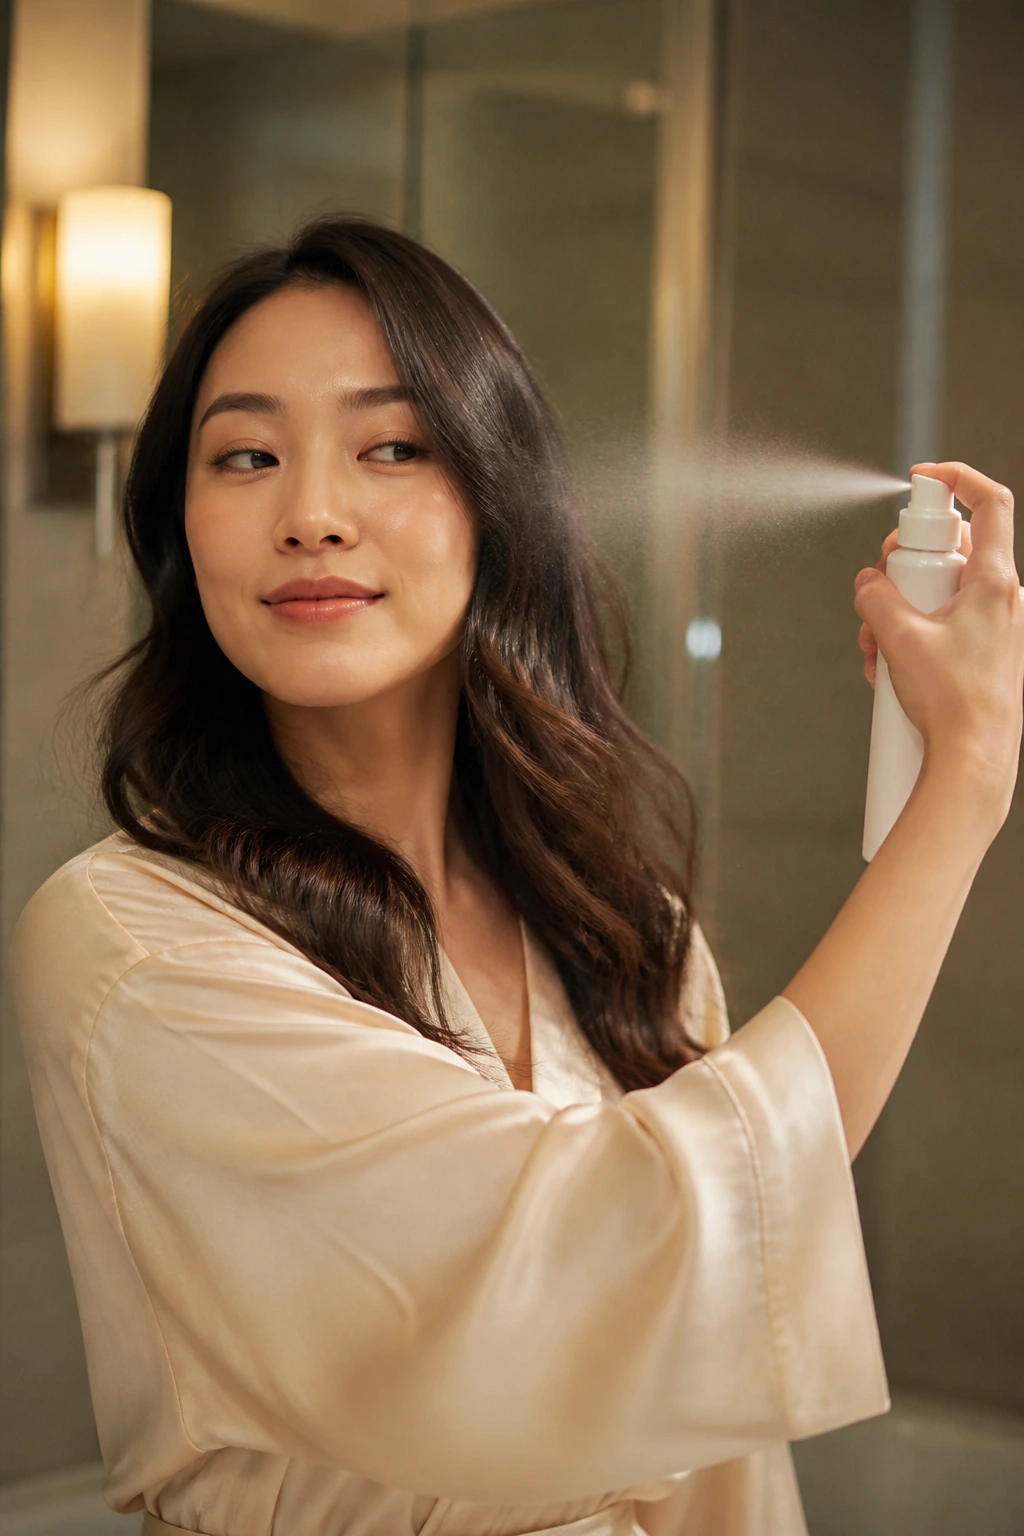
8. Using Dry Shampoo for Extra Grip
Even if your hair is freshly washed, a light dusting of dry shampoo can provide the extra “grit” needed to hold a curl. Dry shampoo contains starches that absorb natural oils and provide a textured surface for the hair to grip. This creates a bit of friction that prevents the hair from sliding down the barrel of the wand.
Applying Before You Curl
Spray the dry shampoo into your roots and mid-lengths before you begin sectioning. Rub it in with your fingers to ensure it isn’t visible, and then brush it through. This creates a matte, grippy base that is vastly superior to the soft, slippery texture of freshly conditioned hair.
The Best Type of Dry Shampoo
Look for a spray that specifies “texture” or “volumizing” rather than just “oil-absorbing.” Some dry shampoos are too fine and powdery, making hair look dull. A texture spray adds a slight tackiness that helps the curl hold its shape without weighing down the hair.
9. Breaking Up the Curls with Your Fingers
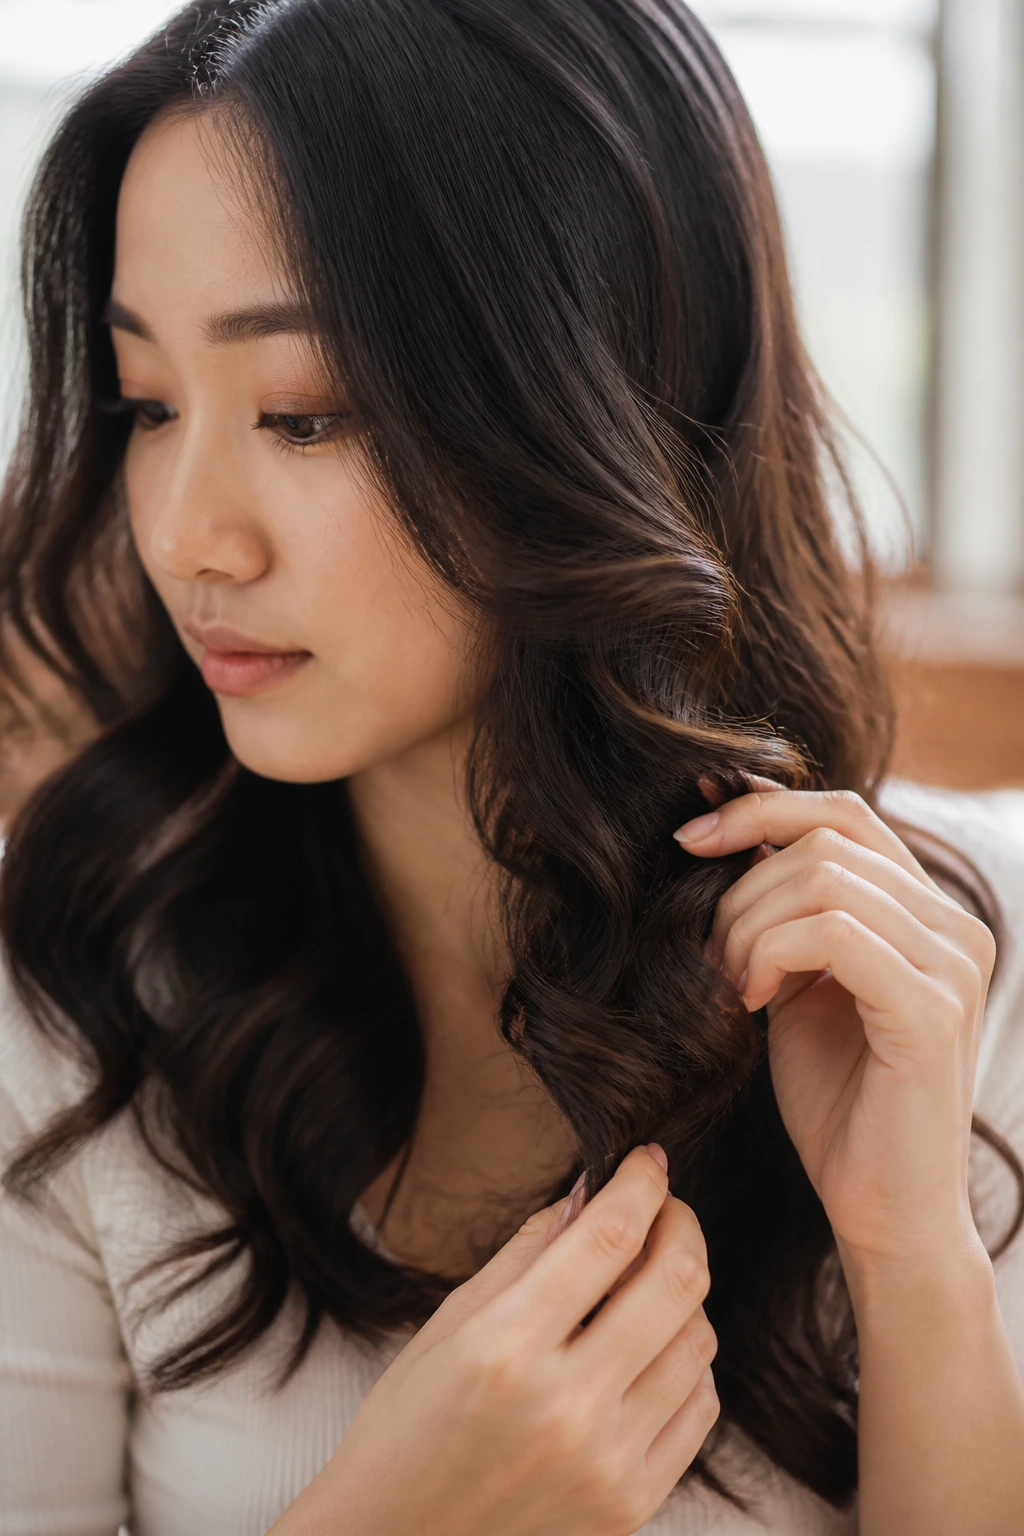
After your hair is entirely cool, it’s time to style it. Avoid using a paddle brush, which will immediately stretch out your hard work. Instead, gently rake your fingers through your hair to break up the individual coils. You can also flip your hair upside down and shake it out to add instant, effortless volume.
Maintaining the Structure
If you want a more defined, “bombshell” look, just give your hair a quick shake and leave it. If you want a softer, more modern wave, use your fingers to pull down on the ends of the curls slightly. This stretches the tight spiral into a more relaxed, wavy shape that looks like it grew out of your head that way.
The “S” Shape Technique
If your curls look too round, pinch the mid-lengths and push upward slightly. This helps reform the hair into an “S” wave, which is often more flattering for Asian hair types. It adds a bit of softness that counteracts the structured, “rodeo-curl” look some wands can accidentally produce.
10. The Final Finishing Mist
Not all hairsprays are created equal. Avoid heavy, sticky sprays that create a hard shell, as the weight of the product will actually pull your curls down. Instead, choose a light, flexible-hold hairspray that provides protection against humidity. Humidity is the enemy of a long-lasting curl, causing straight hair to swell and return to its natural shape.
Spraying from a Distance
Hold the can at least 12 inches away from your head. This ensures a fine mist lands on your hair rather than a concentrated wet spot. If you spray too close, you risk making the hair damp, which will cause the curls to drop instantly.
The “Finger-Spray” Trick
If your curls struggle to hold, spray your fingertips with the hairspray and then gently run them through the ends of your hair. This gives you targeted control without coating your entire head in a heavy, weighing product. It keeps the hair bouncy and light while adding a layer of protection.
11. Avoiding Common Mistakes That Ruin Retention
Many people unknowingly sabotage their own efforts. One of the most common mistakes is curling hair that is not 100% dry. Even a tiny bit of moisture left in the core of the hair will turn into steam when it hits the 300°F wand, essentially boiling the hair from the inside out and preventing the curl from holding.
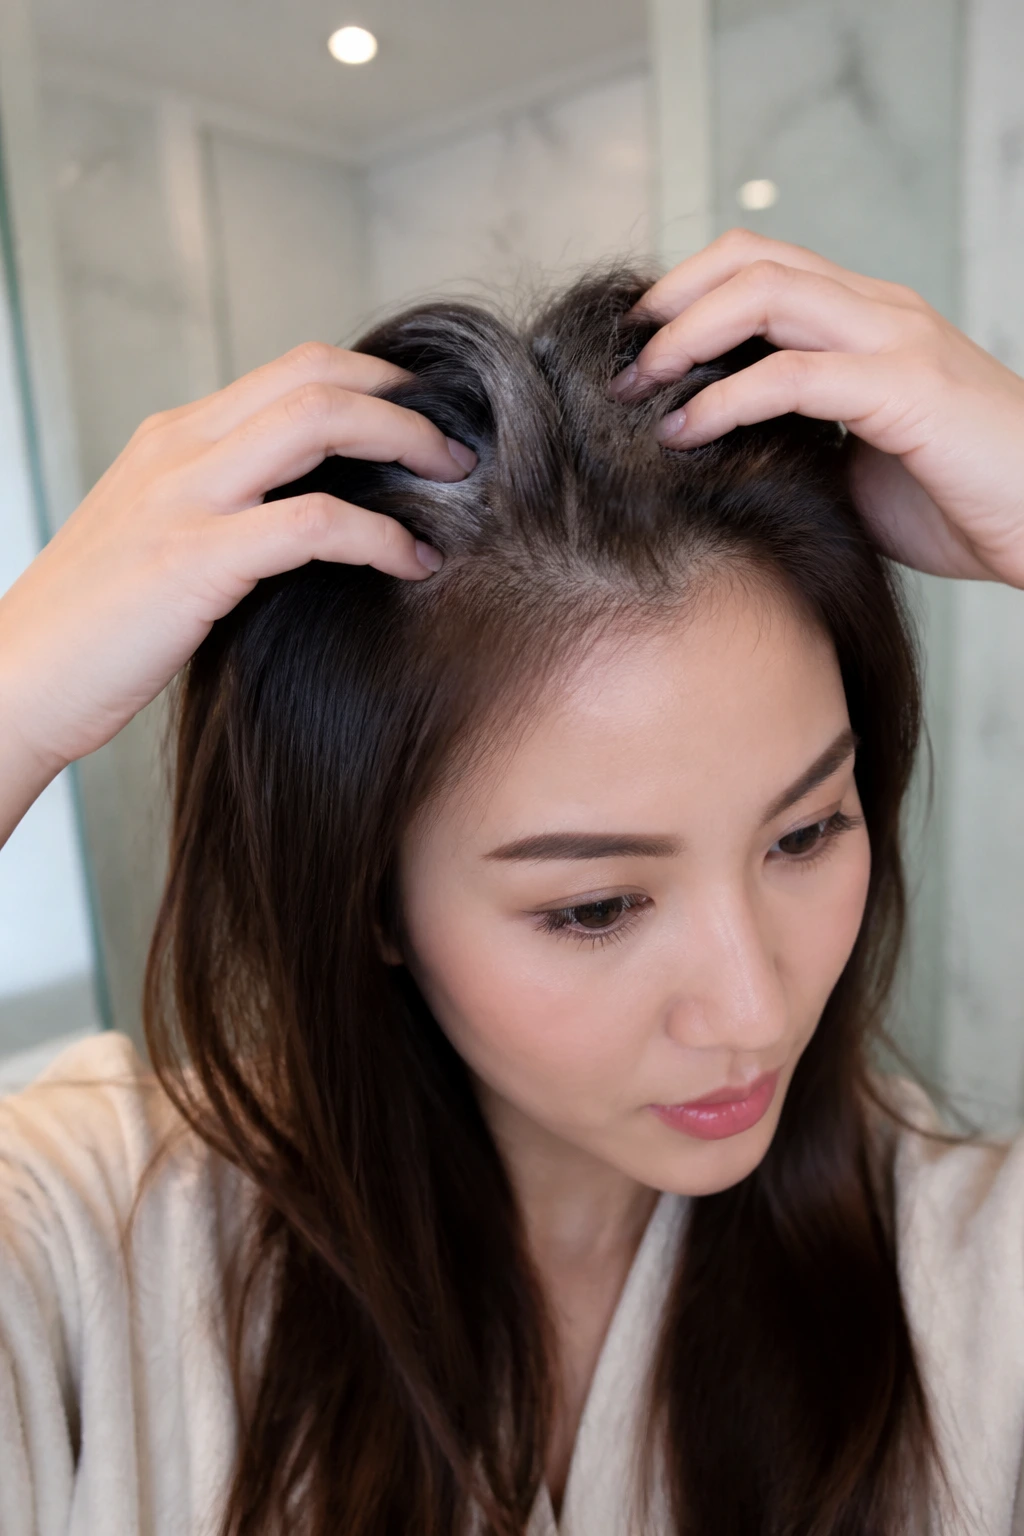
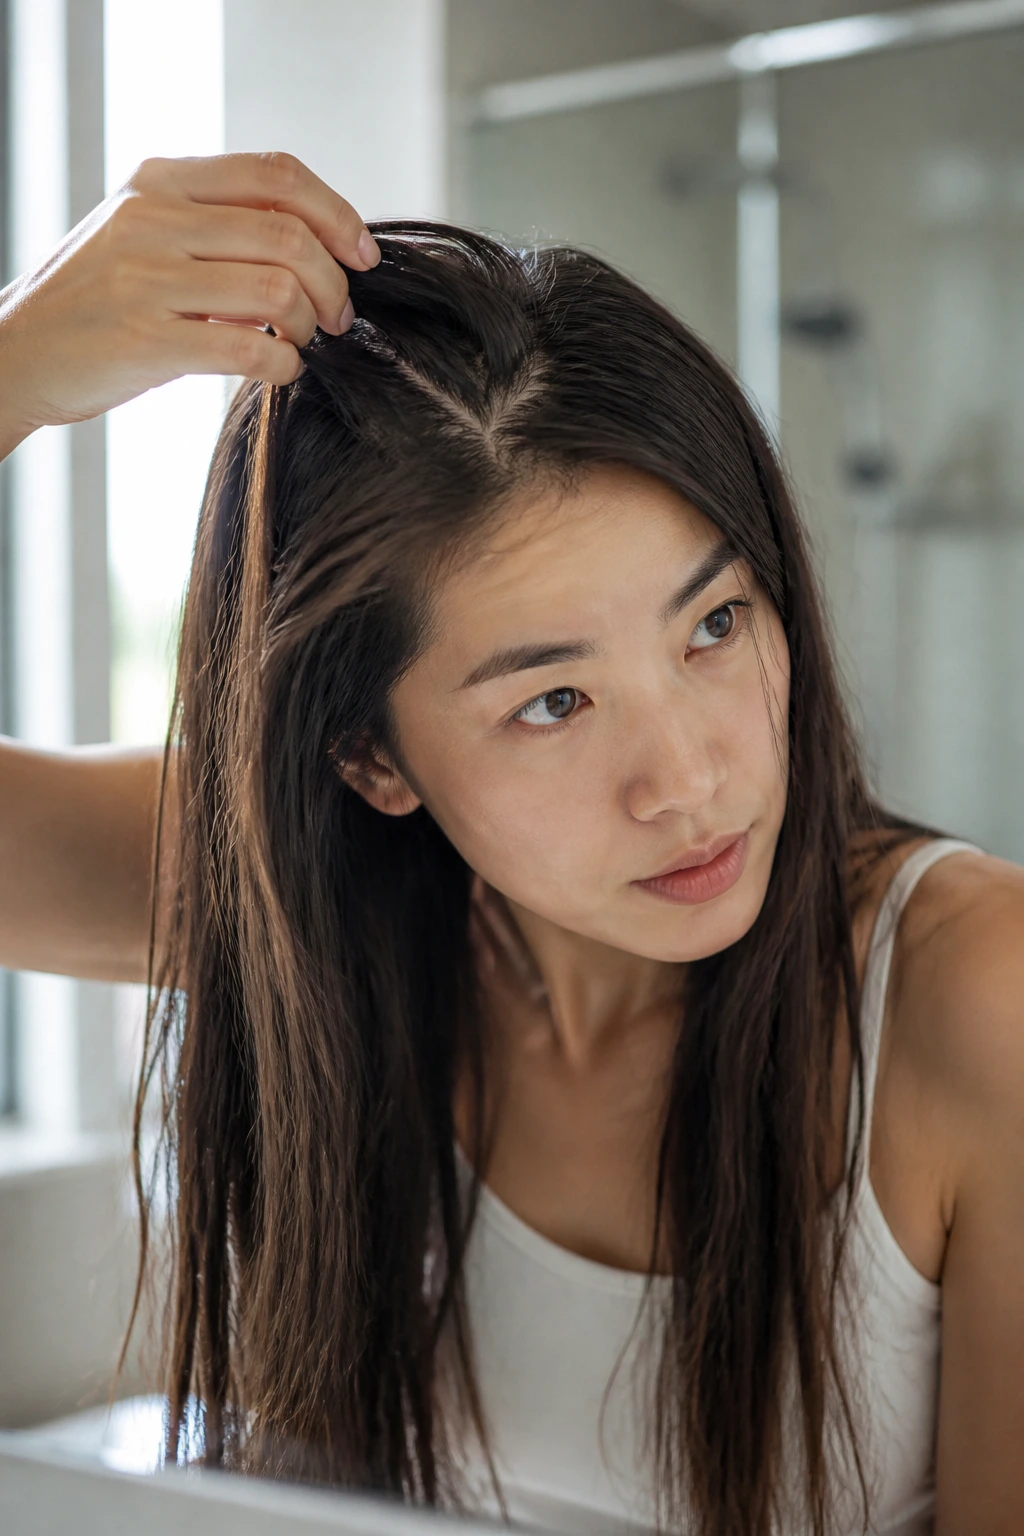
The Moisture Check
Before you pick up the wand, run your fingers through your hair near the roots and the nape of your neck. If it feels cool, it’s still damp. Give it another minute with the dryer. Curling damp hair is a lose-lose situation—it creates frizz and ruins your curl pattern within minutes.
Over-Brushing
Stop brushing your hair after you have finished the styling process. Every time you run a brush through, you are creating static and pulling the hair flat. Use your fingers or a wide-tooth comb to adjust your hair, and keep your hands off as much as possible throughout the day.
12. Considering Permanent or Semi-Permanent Options

If you find that your hair truly refuses to hold a curl despite all the proper techniques, it might be time to accept that your hair structure is exceptionally stubborn. A professional perm can be an excellent option for Asian hair, provided you choose a modern, “digital” perm rather than the harsh perms of the past.
Digital Perms Explained
Digital perms use heat and specific chemical solutions to permanently change the hair bonds, resulting in soft, voluminous waves that look like they were styled with a wand. They last for several months and are a popular service in salons specializing in Asian hair.
The Commitment Factor
Unlike a wand, which is a daily choice, a perm is a long-term commitment. It requires specialized care, such as using sulfate-free shampoos and regular deep conditioning treatments, to maintain the health of the hair. Speak with a stylist who understands the texture of your hair before making this leap.
13. Understanding the Impact of Layering

If your hair is one length, it is heavy. That weight is a constant force pulling your curls downward. Ask your stylist for long layers or “face-framing” layers to remove some of that excess mass. Lighter hair holds a curl significantly better because there is less weight dragging it toward the floor.
The Illusion of Thickness
Layers don’t just help with curling; they also add movement. When you curl hair that has layers, the shorter pieces bounce more easily, creating a sense of volume that is difficult to achieve with blunt-cut hair. It makes the process of curling faster and the end result look much more dynamic.
When to Avoid Layers
If your hair is extremely fine and sparse, be careful. Too many layers can make your hair look thin or “stringy.” Aim for strategic, long layers that preserve the density of your ends while removing enough weight to facilitate movement and curl retention.
14. Managing Frizz and Flyaways
Asian hair is often very smooth, but when it is heat-styled, it can develop flyaways due to the cuticle being lifted by the high temperatures. A tiny amount of shine serum or finishing oil—about the size of a pea—warmed between your palms can smooth these down. Use it only on the very ends, avoiding the roots entirely.
Preventing Frizz Before It Starts
The best way to prevent frizz is to maintain the integrity of the hair cuticle. Use a heat protectant spray every single time you use your wand. This creates a barrier that keeps the hair cuticle smooth and prevents the heat from “blowing out” the scales of the hair shaft.
Choosing the Right Oil
Look for lightweight oils like argan or jojoba. Avoid heavy oils like coconut or castor, which can be too dense for fine hair and will cause the curls to clump together and look greasy. You want a product that adds shine, not a product that adds weight.
15. The Role of Humidity and Environment

Even if you follow every rule, a humid day is a tough opponent. If you live in a climate with high humidity, your hair will try to absorb moisture from the air, which causes it to swell and revert to its straight state. This is why finishing products with anti-humidity properties are essential.
Humidity-Blocking Sprays
These products are formulated to coat the hair shaft and repel water molecules. If your hair is prone to falling flat the moment you step outside, look for a finishing spray that explicitly mentions “anti-humidity” or “climate control” on the label.
Carrying a Refresh Kit
If you are heading out for a long day, carry a small bottle of texturizing spray in your bag. If you feel your curls starting to drop, a quick mist at the roots and a little scrunching with your hands can help revive the shape. It isn’t a perfect fix, but it can get you through a social event or a long work day.
16. Nighttime Care for Your Curls
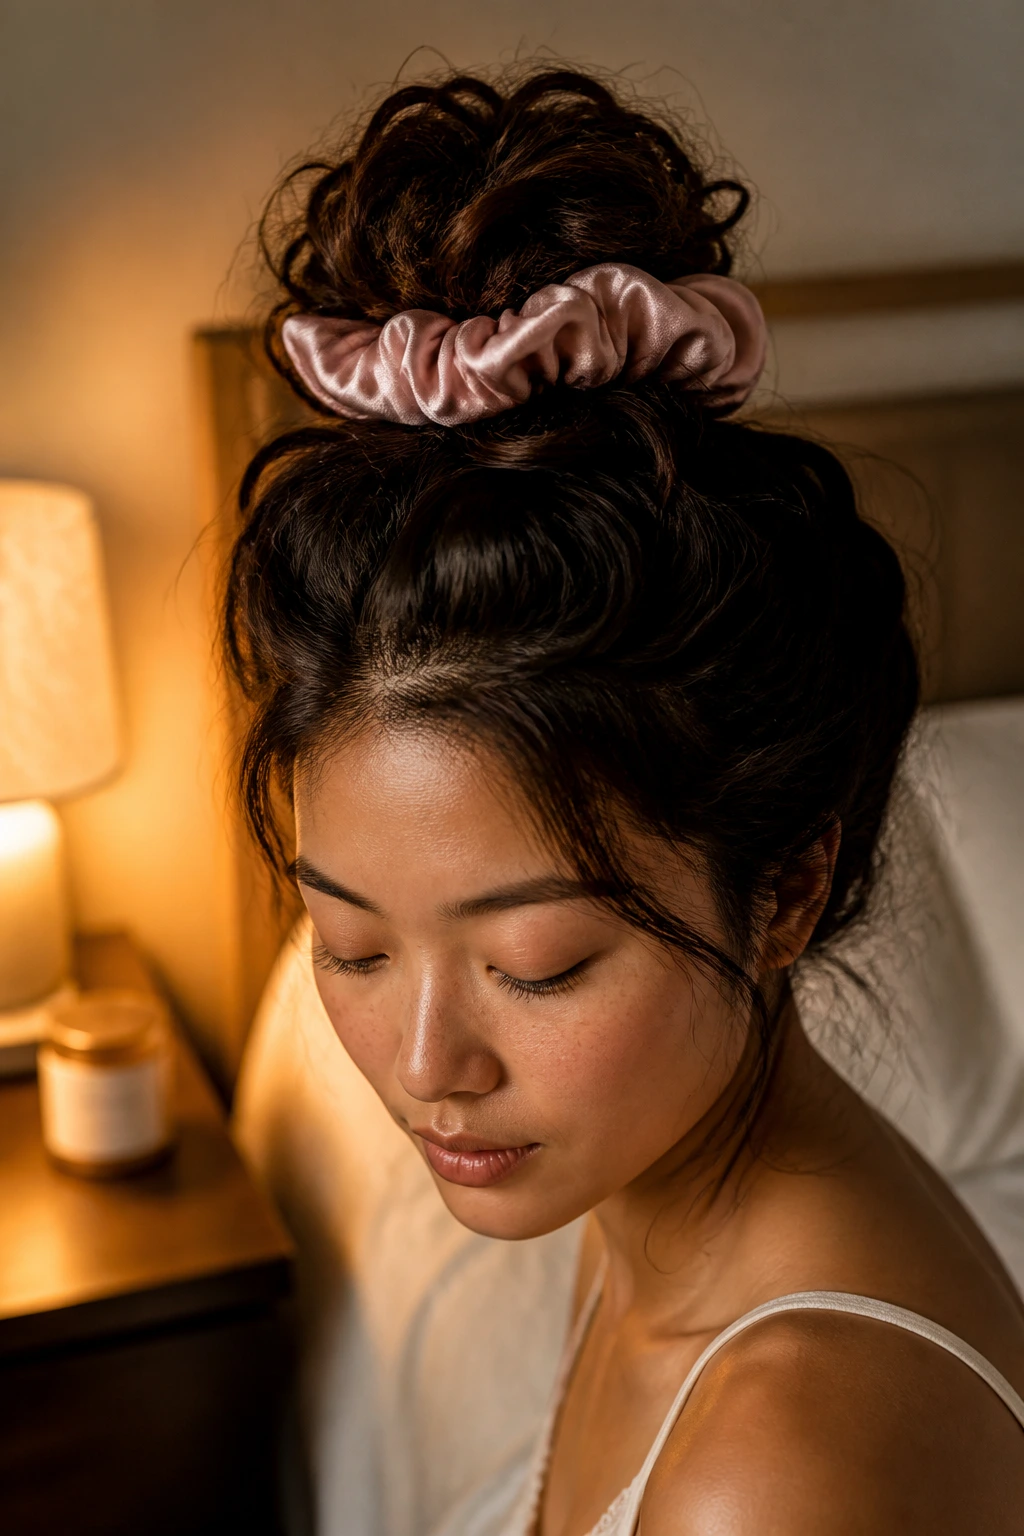
If you want to keep your curls for a second day, how you sleep is critical. If you lie on your hair, you will crush the curls and create flat spots. A loose “pineapple” bun—where you gather your hair at the very top of your head with a silk scrunchie—is the best way to protect your style while you sleep.
Why Silk Scrunchies Are Better
Traditional hair ties create tension and can leave a permanent kink in your hair. A silk or satin scrunchie is gentle and won’t snag or pull, preserving the texture you spent so long creating. It also helps prevent the friction that causes frizz while you move around at night.
Refreshing in the Morning
In the morning, simply take your hair down, shake it out, and use your fingers to reshape any sections that look a bit flat. You might need to touch up one or two pieces with the wand, but you should never need to re-curl your entire head. The goal is to extend the life of the style, not to repeat the process.
17. The Importance of Hair Health

You cannot get a beautiful, springy curl out of damaged, dry hair. If your hair is brittle from years of bleaching or excessive heat use, it won’t be able to hold a shape. Focus on restoring protein and moisture through weekly hair masks, which will make your hair more elastic and resilient.
Elasticity Is Key
Healthy hair has “spring.” When you pull on a strand, it should stretch and return to its original shape. Damaged hair will either snap or stretch without returning. Focus on deep conditioning treatments that contain ingredients like keratin, wheat protein, or silk amino acids to rebuild the structure from within.
Cutting the Damage
Sometimes, the best thing you can do for your curls is to trim off the dead ends. If your ends are frayed and split, no amount of product or styling technique will make them look good. A fresh cut can make your hair feel thicker, healthier, and much easier to work with when it comes time to curl.
18. Embracing the Natural “Relaxation”
Finally, accept that your hair is going to change throughout the day. A curl that looks like a tight spiral at 8:00 AM will inevitably look like a soft, romantic wave by 4:00 PM. This isn’t a failure; it’s just the nature of fine, straight hair. Aim for the “day two” look, which is often more natural and lived-in than the “fresh off the iron” look.
Focusing on Texture Over Perfection
When you stop chasing perfect, Instagram-style ringlets, you stop being disappointed when they loosen. Focus on the volume and the movement. If your hair has body, it looks beautiful, even if the curls aren’t as tight as they were when you first finished.
Enjoying the Process
Curling your hair is a skill, and like any other, it takes practice. You will get better at sectioning, at holding the wand, and at timing the heat. Eventually, you will be able to do it in half the time with twice the confidence. Just remember to be patient with yourself and your hair; it is a learning curve, but it is one that yields excellent results.
Final Thoughts
At the end of the day, using a curling wand on Asian hair is about mastering the art of controlled heat and patience. By prioritizing prep work, cooling time, and the right tools, you move away from a “hope for the best” approach to a deliberate styling strategy. The goal is to work with the natural properties of your hair rather than fighting against them, creating a look that is both durable and soft.
The most important takeaway is that your hair needs time to set. If you take away nothing else, remember that the cooling phase is not an optional suggestion; it is the absolute foundation of your style. Once you respect the physics of the hair bond, you will find that those beautiful, bouncy curls are not just possible—they become a reliable part of your daily routine.