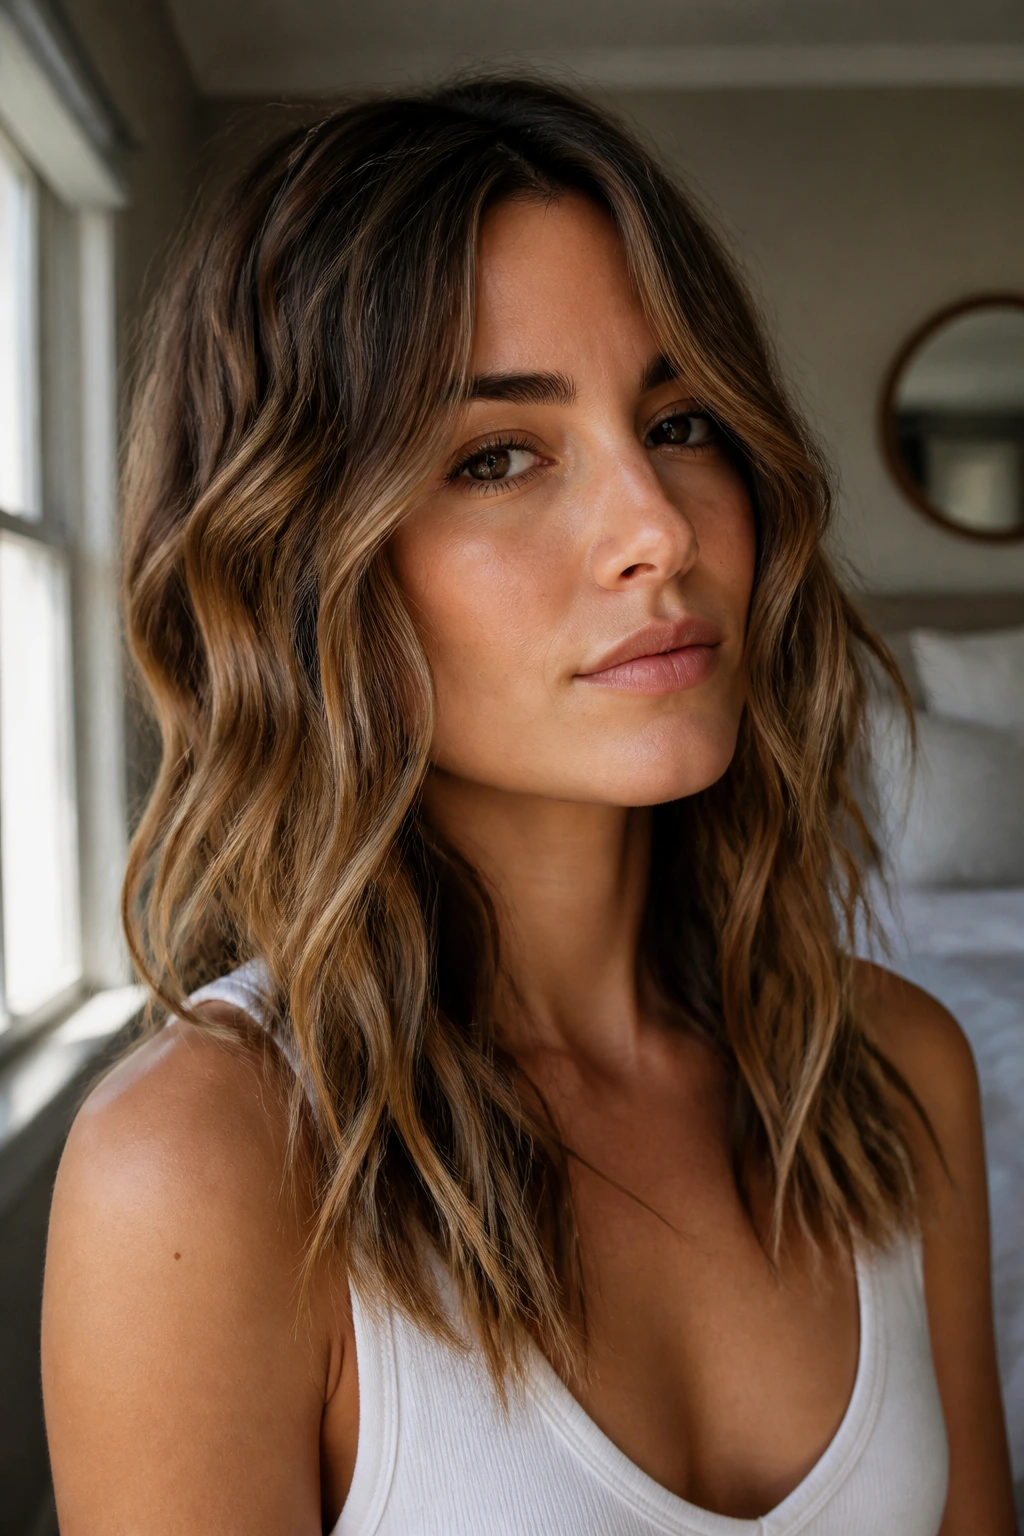
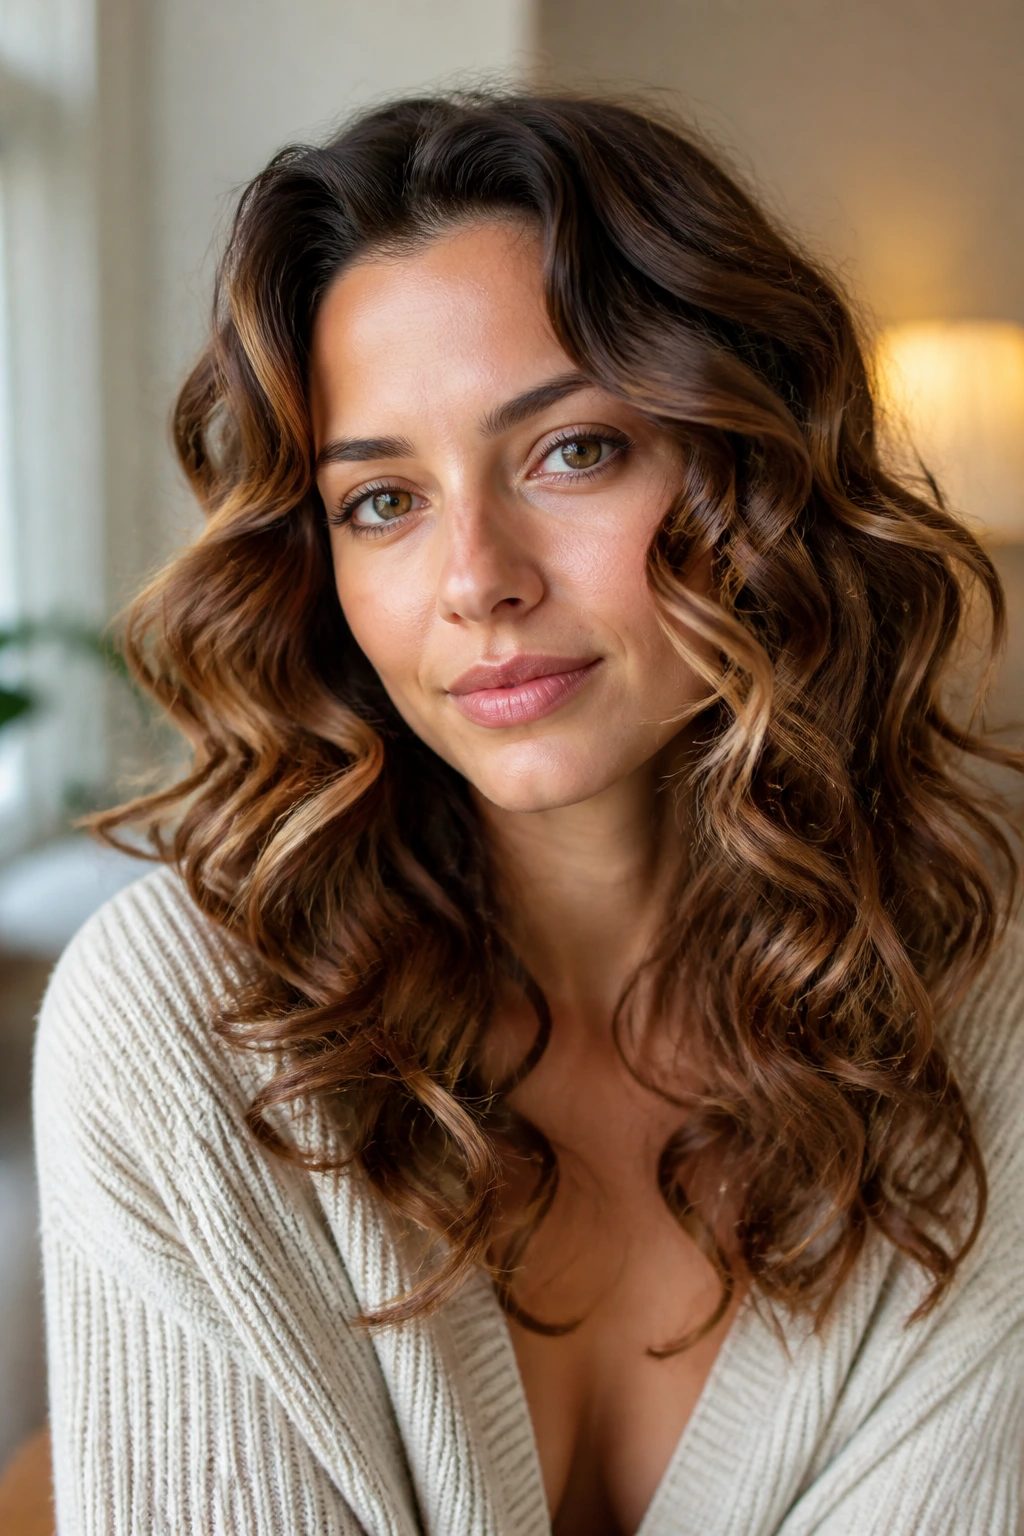
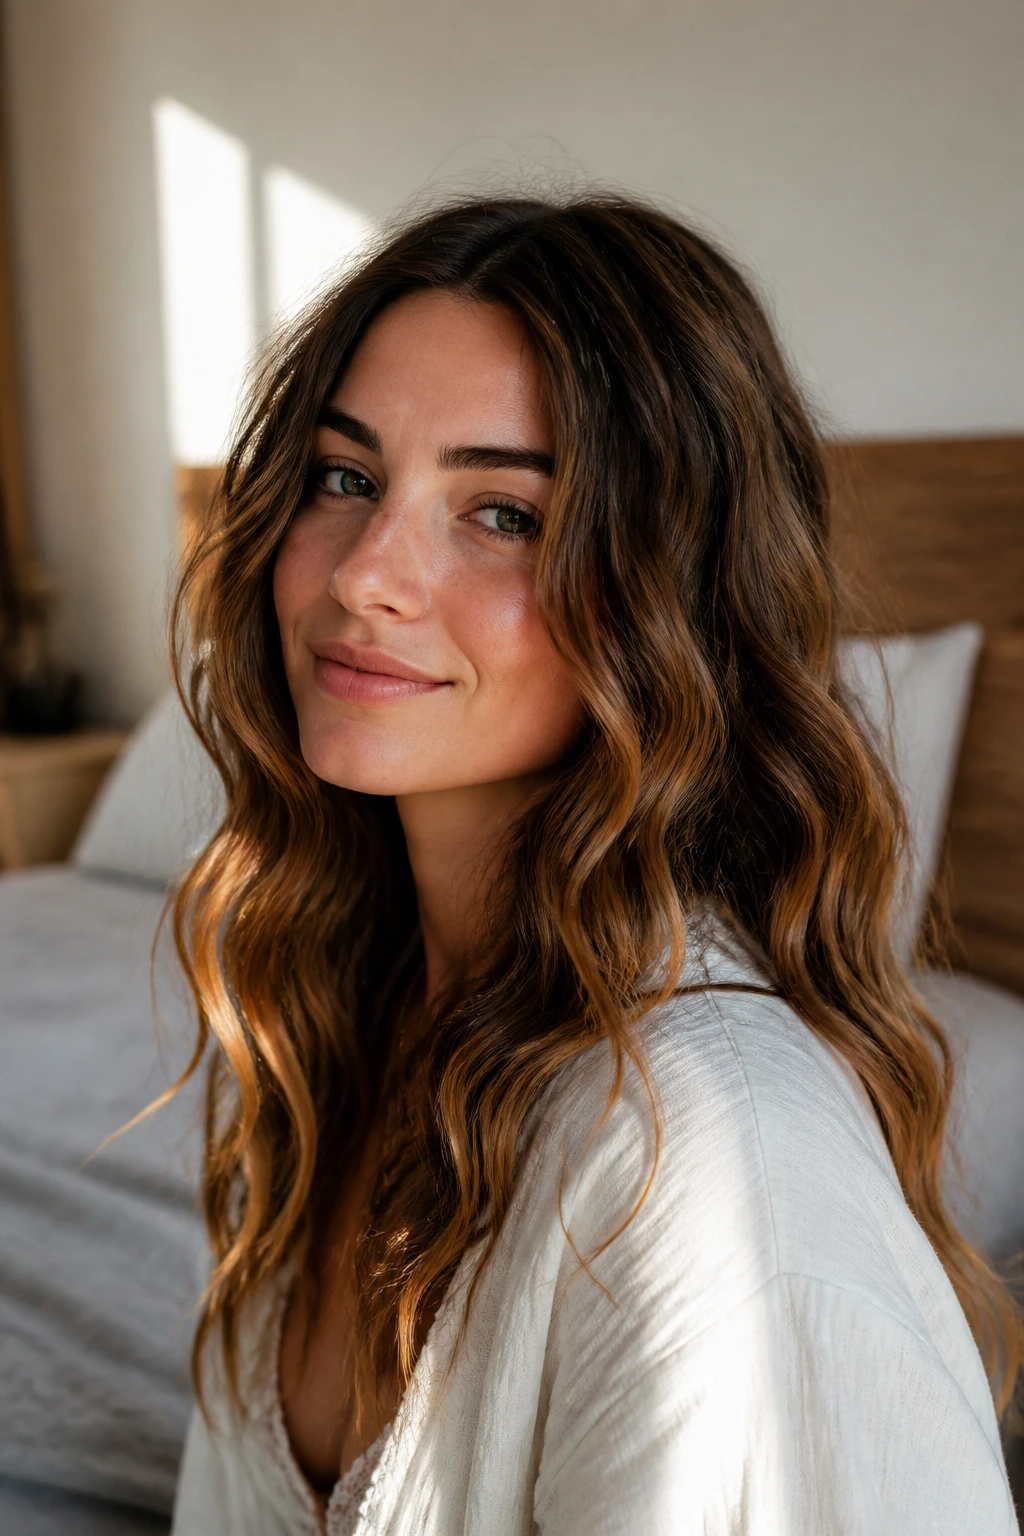
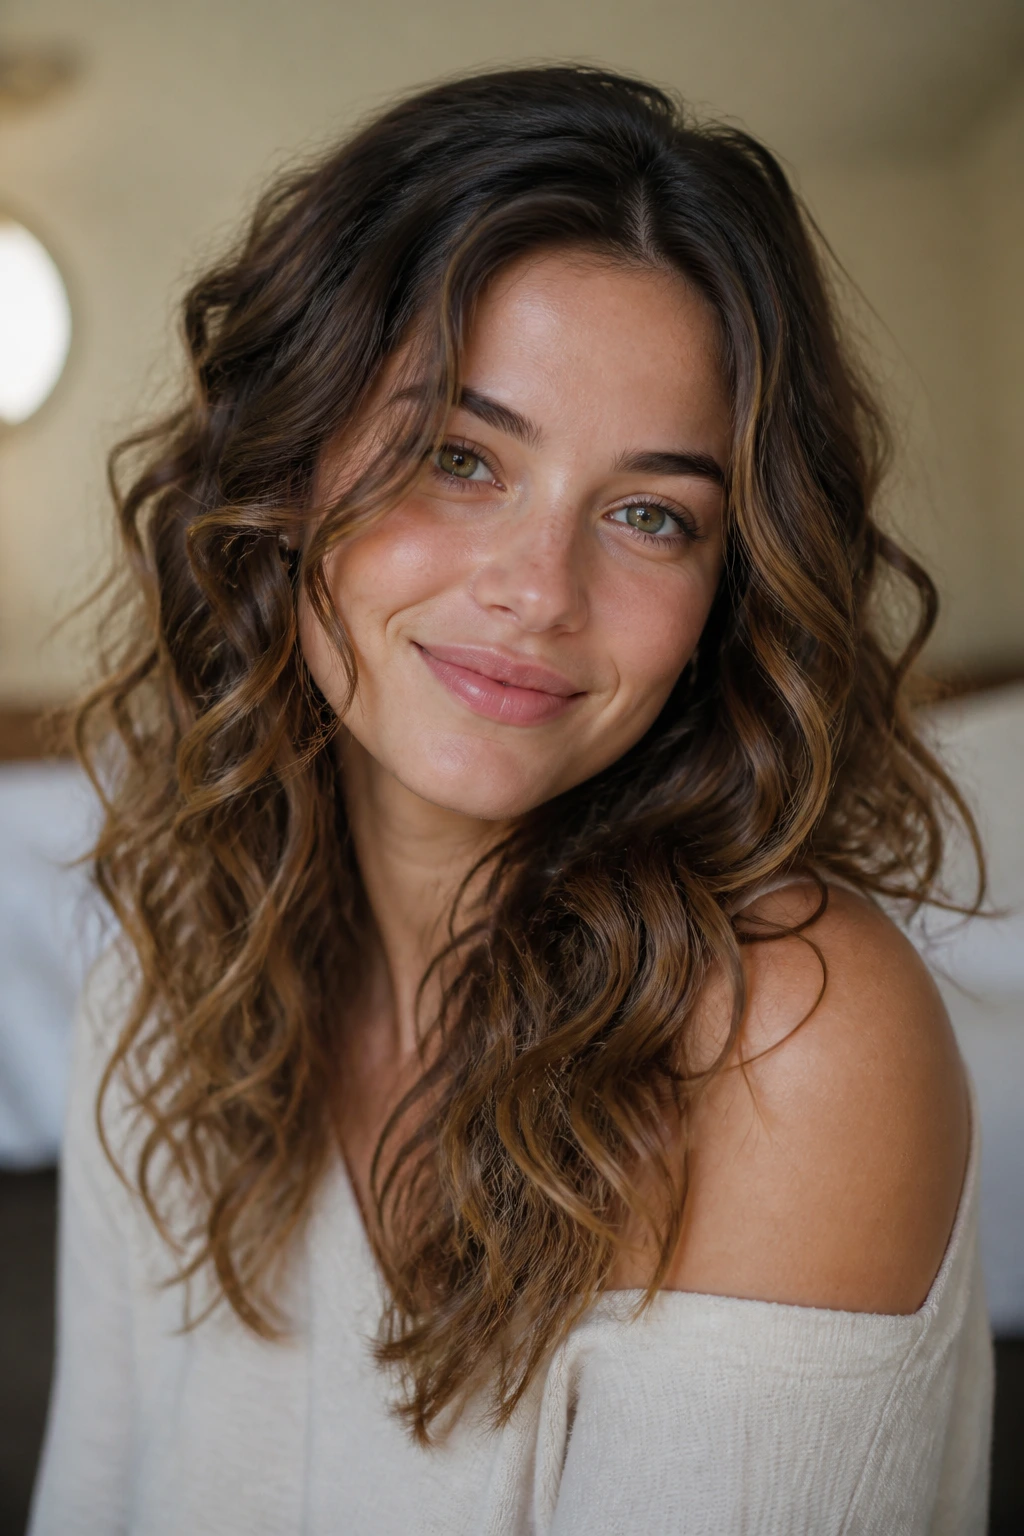
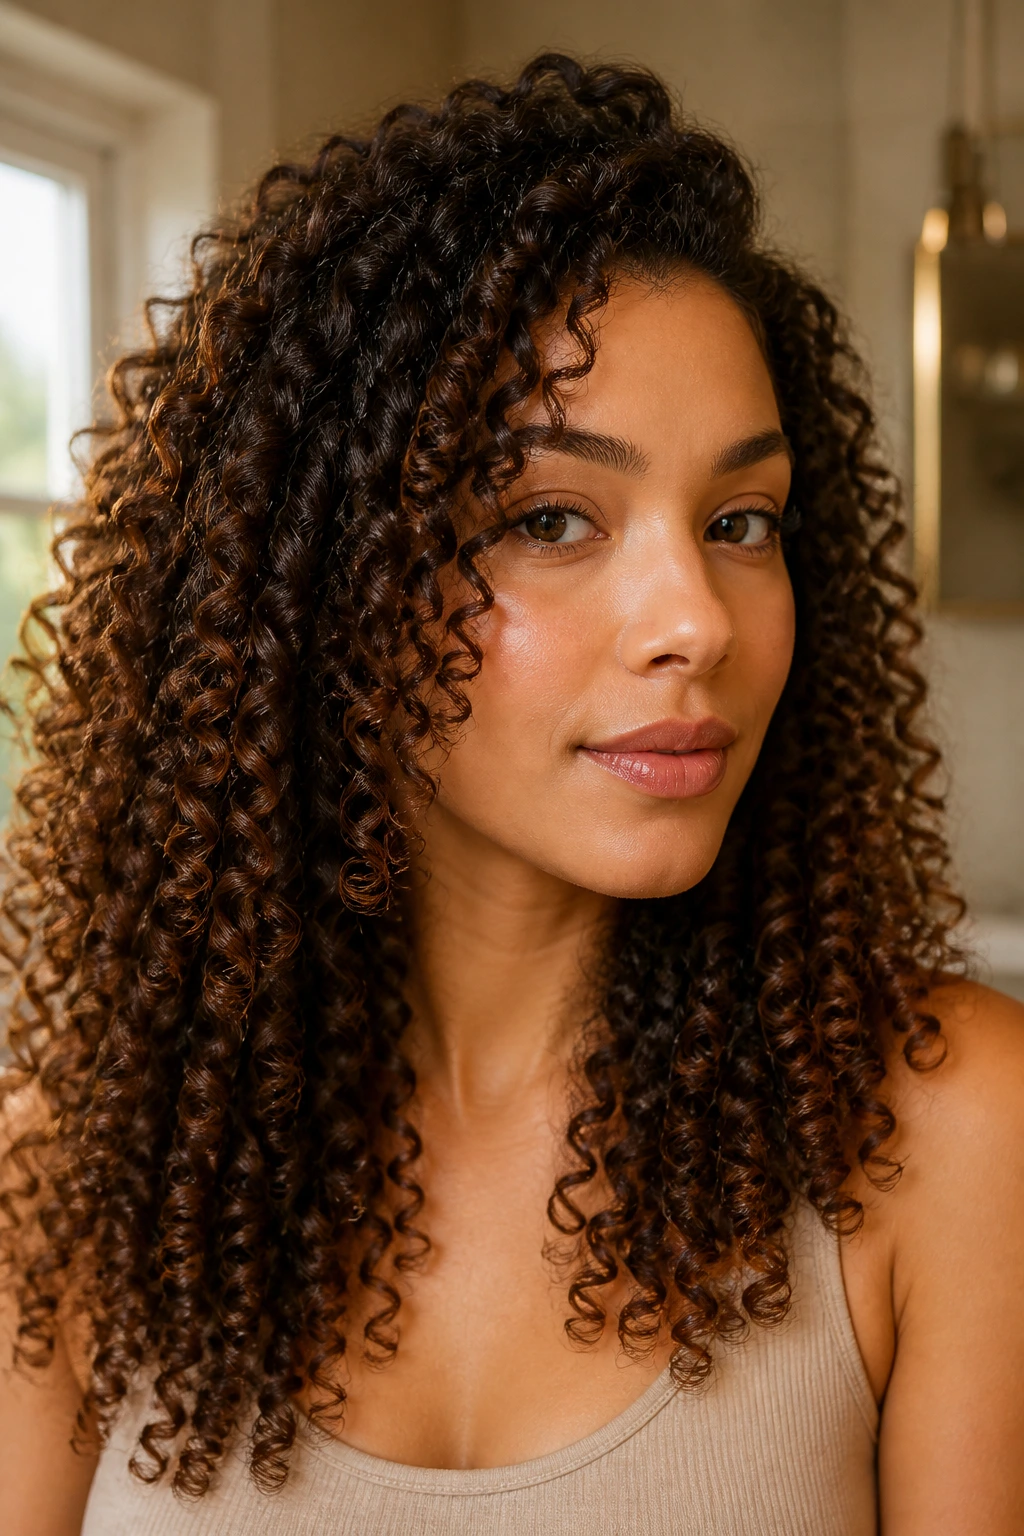
Most people think curling hair is a binary choice: you either have tight, corkscrew curls or you have straight strands. In reality, the space between those two extremes is vast. Mastering the right technique can shift your entire look from a frantic morning scramble to a polished, effortless aesthetic. Whether you are dealing with stick-straight hair that refuses to hold a style or thick, coarse locks that resist heat, the difference usually lies in the mechanics—not just the tool you reach for.
You do not need a professional stylist to get salon-quality waves. You just need to understand how different barrel sizes, heat settings, and wrapping motions interact with your specific hair texture. When you approach styling with intentionality—rather than just clamping and praying—your results will last significantly longer and look much healthier. Here are twenty-two distinct ways to style your hair, ranging from heat-free overnight methods to high-speed thermal styling.
1. The Classic Clamp-and-Twist
This is the most common technique for a reason: it’s fast. You clamp the hair halfway down the shaft, twist the iron away from your face, and pull down. It creates a soft, beachy wave that looks lived-in and natural. Keep your ends out of the clamp for the last inch or so to ensure they stay straight, which gives the style that modern, undone finish. If you twist toward the face, you get a tighter, more retro-glam silhouette.
2. The Flat Iron Ribbon Curl
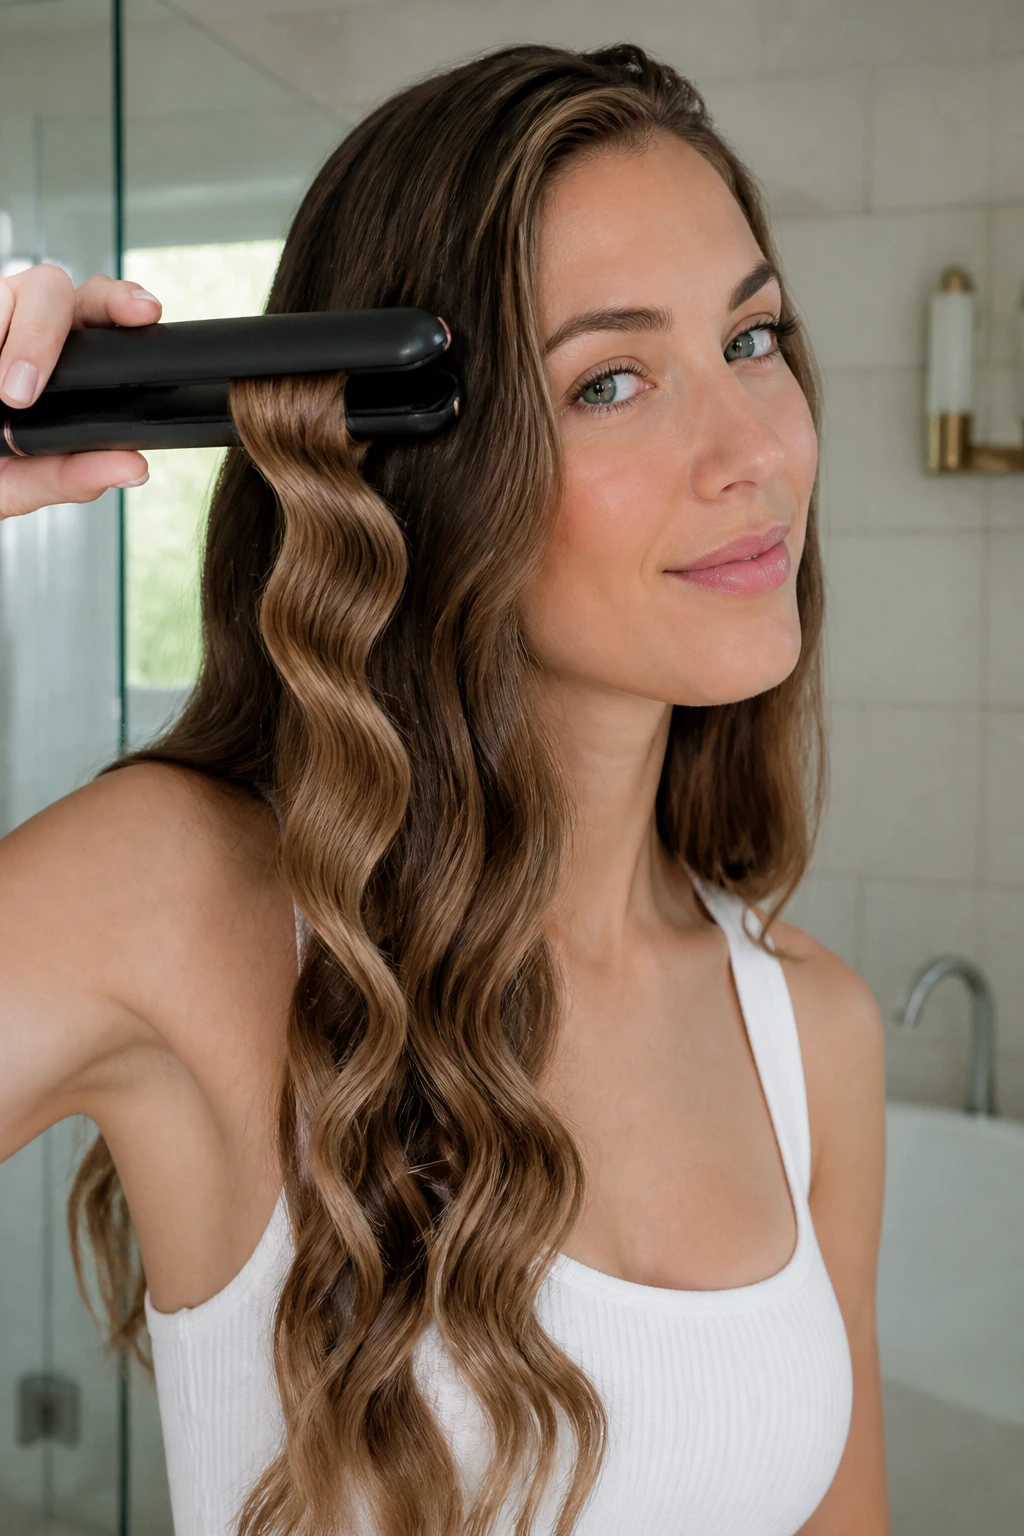
Many people struggle with curling wands, but a standard flat iron is actually a more versatile tool for soft, polished waves. By clamping a section of hair near the root and rotating the iron 180 degrees as you glide downward, you create a smooth ribbon effect. This technique is superior for hair that is prone to frizz because the plates smooth the cuticle as they heat the strand. Go slowly, but keep the iron moving—if you pause, you will leave a permanent crease in the hair.
3. The Overnight Silk Heatless Wrap
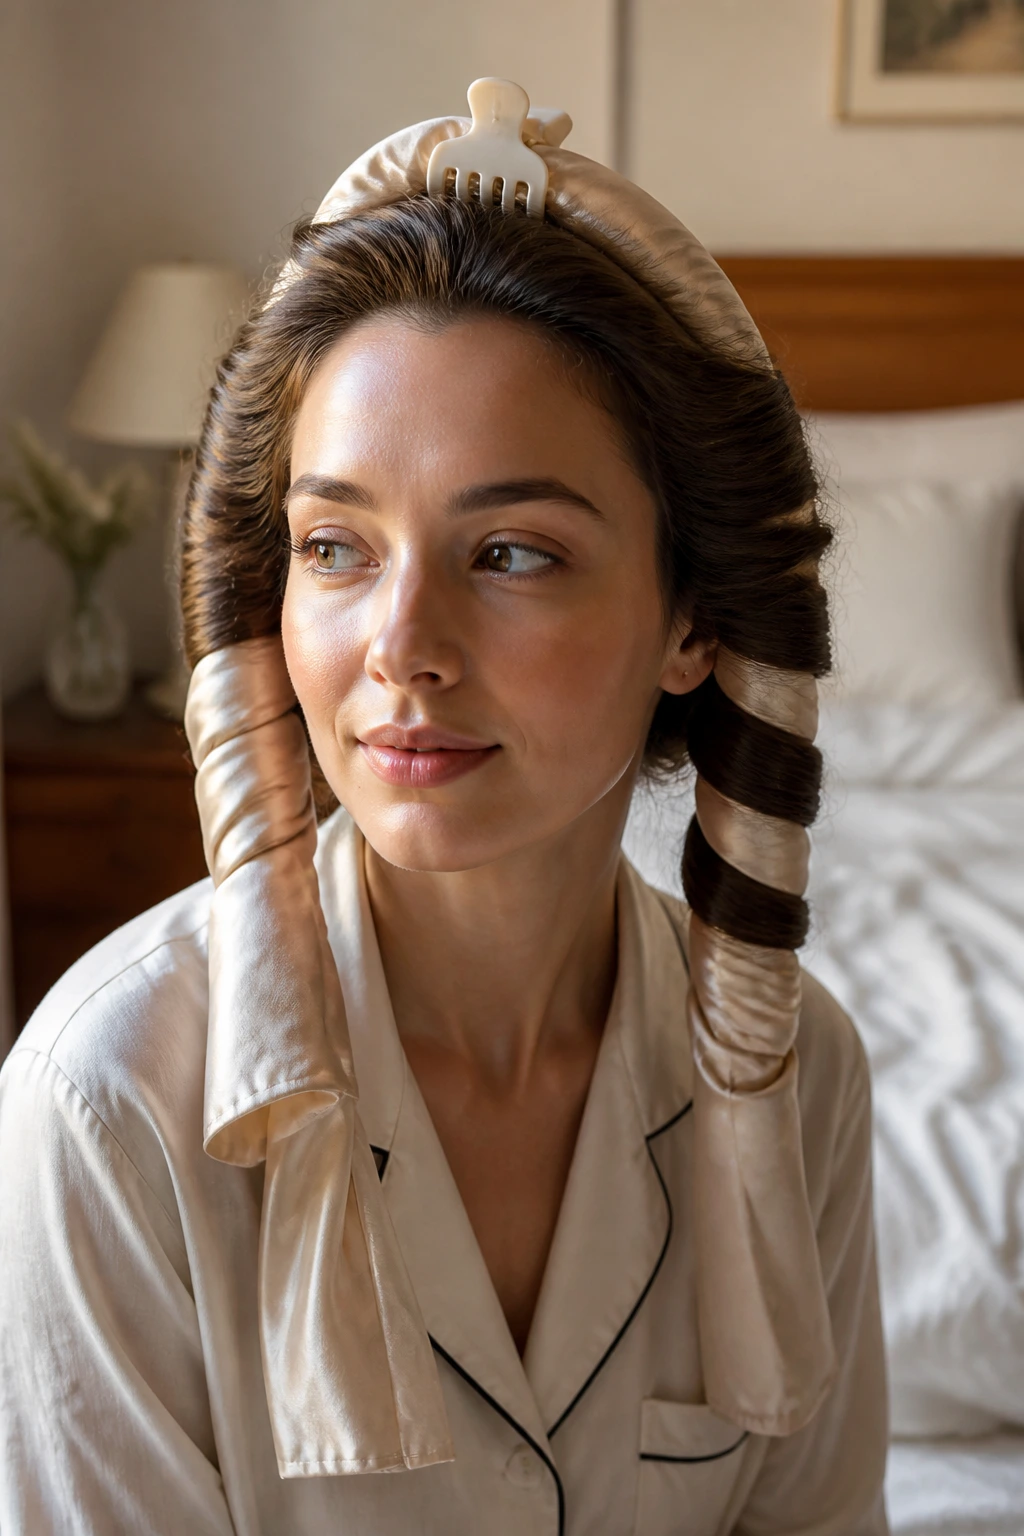
If you want to save your hair from heat damage, a silk or satin heatless curling rod is the gold standard. You dampen your hair slightly, secure the rod at the top of your head with a claw clip, and wrap sections around it in a downward spiral. Sleep on it, and in the morning, you will have bouncy, uniform waves. The key here is the tension—too loose, and the curls will be undefined; too tight, and you might struggle to sleep comfortably.
4. The Marcel Iron Finger-Roll
Marcel irons are specialized tools used by professionals because they lack a traditional spring-loaded clamp. You control the clamp with your thumb, which gives you much more precision over the tension. Once the hair is heated, you release the clamp and manually catch the curl in your palm, letting it cool in that spiraled shape. This “setting” process is the secret to curls that actually stay in place for days rather than hours.
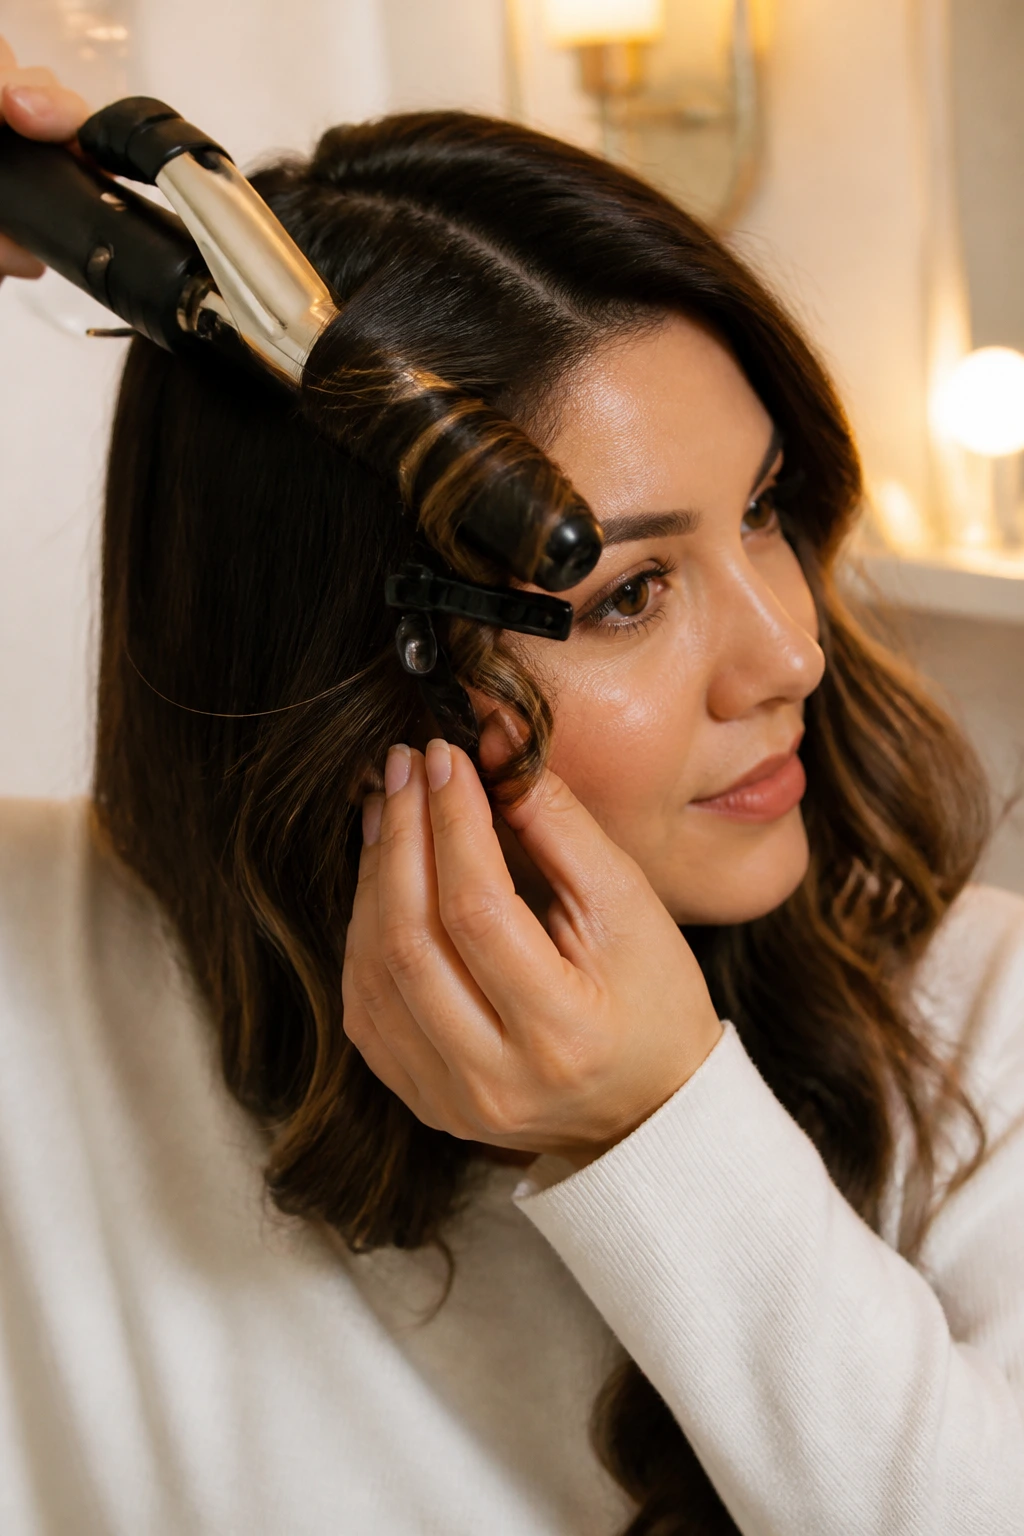
5. The Vertical Wand Spiral
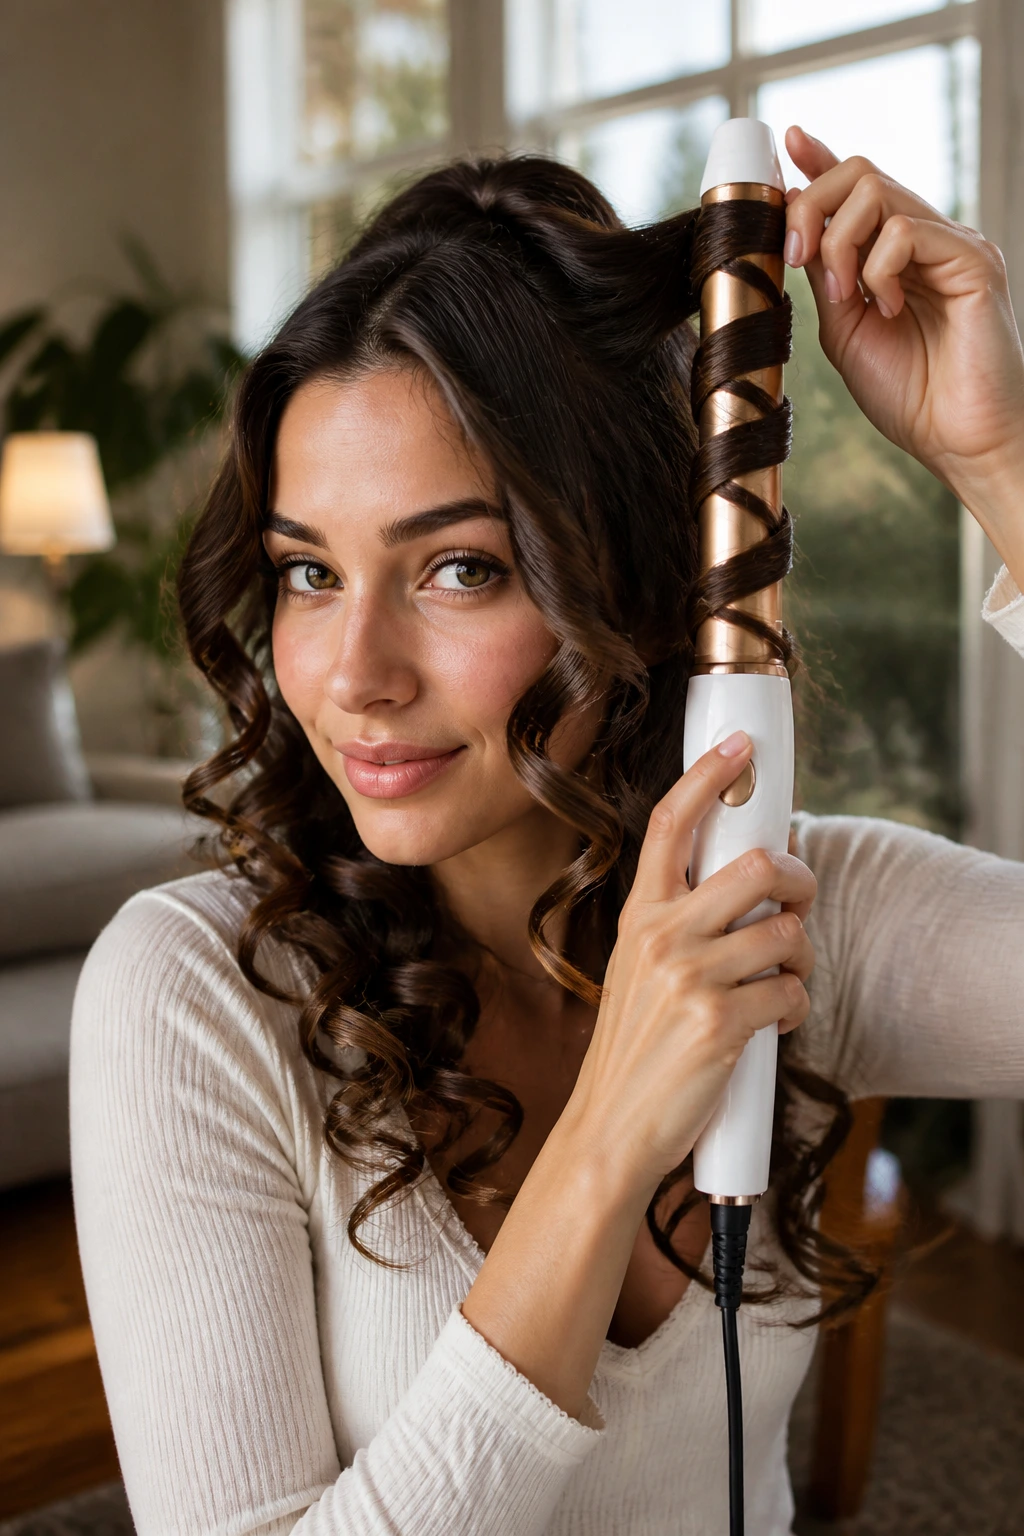
For a more modern, voluminous look, keep your curling wand held perfectly vertical. Wrap the hair flat against the barrel so that the strands do not overlap, which ensures even heat distribution. This technique produces a consistent, uniform spiral that looks sophisticated rather than “beachy.” Start your wrap near the root if you want maximum volume, or stick to the mid-lengths if you prefer a subtle, bohemian wave.
6. The Diffuser Scrunch for Natural Texture
If you have a natural wave or curl pattern, put the iron away and reach for your blow dryer. Apply a light mousse to damp hair, flip your head over, and use a diffuser attachment to gently “scrunch” the hair upward toward the scalp. Do not move the dryer around too much while the hair is drying, or you will introduce unwanted frizz. This is the best method for enhancing the natural bounce and definition of your hair without heat-induced structural damage.
7. The Three-Barrel Waver
The deep-waver tool creates that distinct “mermaid” look that a standard curling iron simply cannot replicate. The trick is to overlap the barrel with the previous wave you just created. This ensures there are no straight patches between the ripples. Because the tool is quite wide, it is best for people with shoulder-length hair or longer; on shorter hair, it can look a bit too uniform or “crimped.”
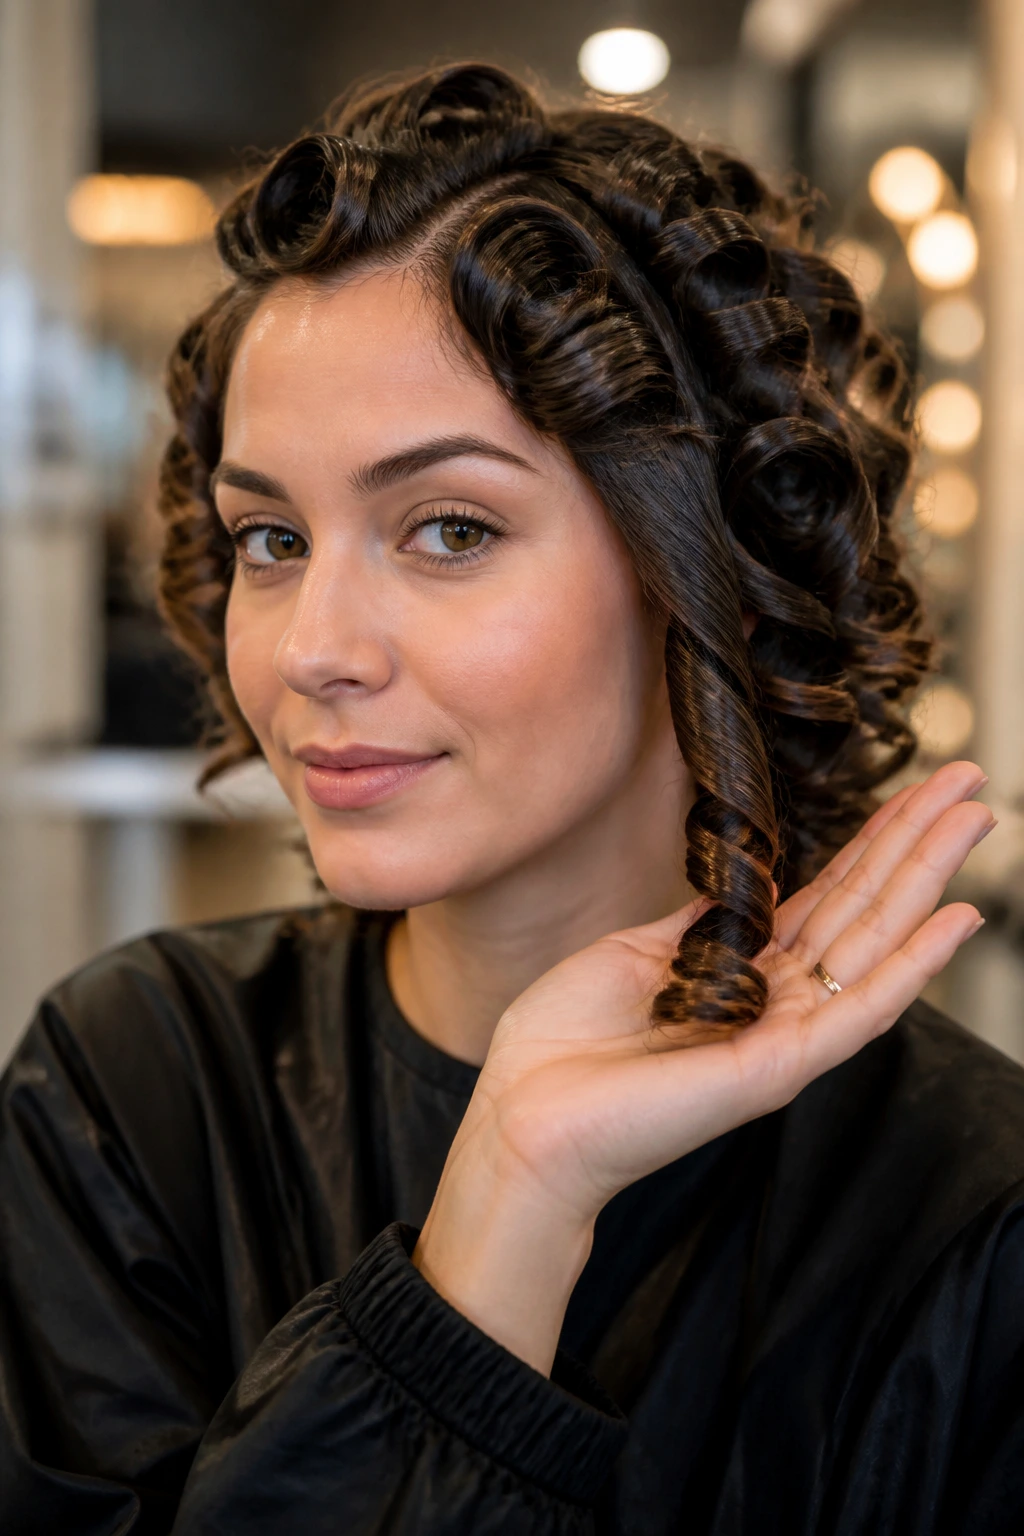
8. The Pin-Curl Set
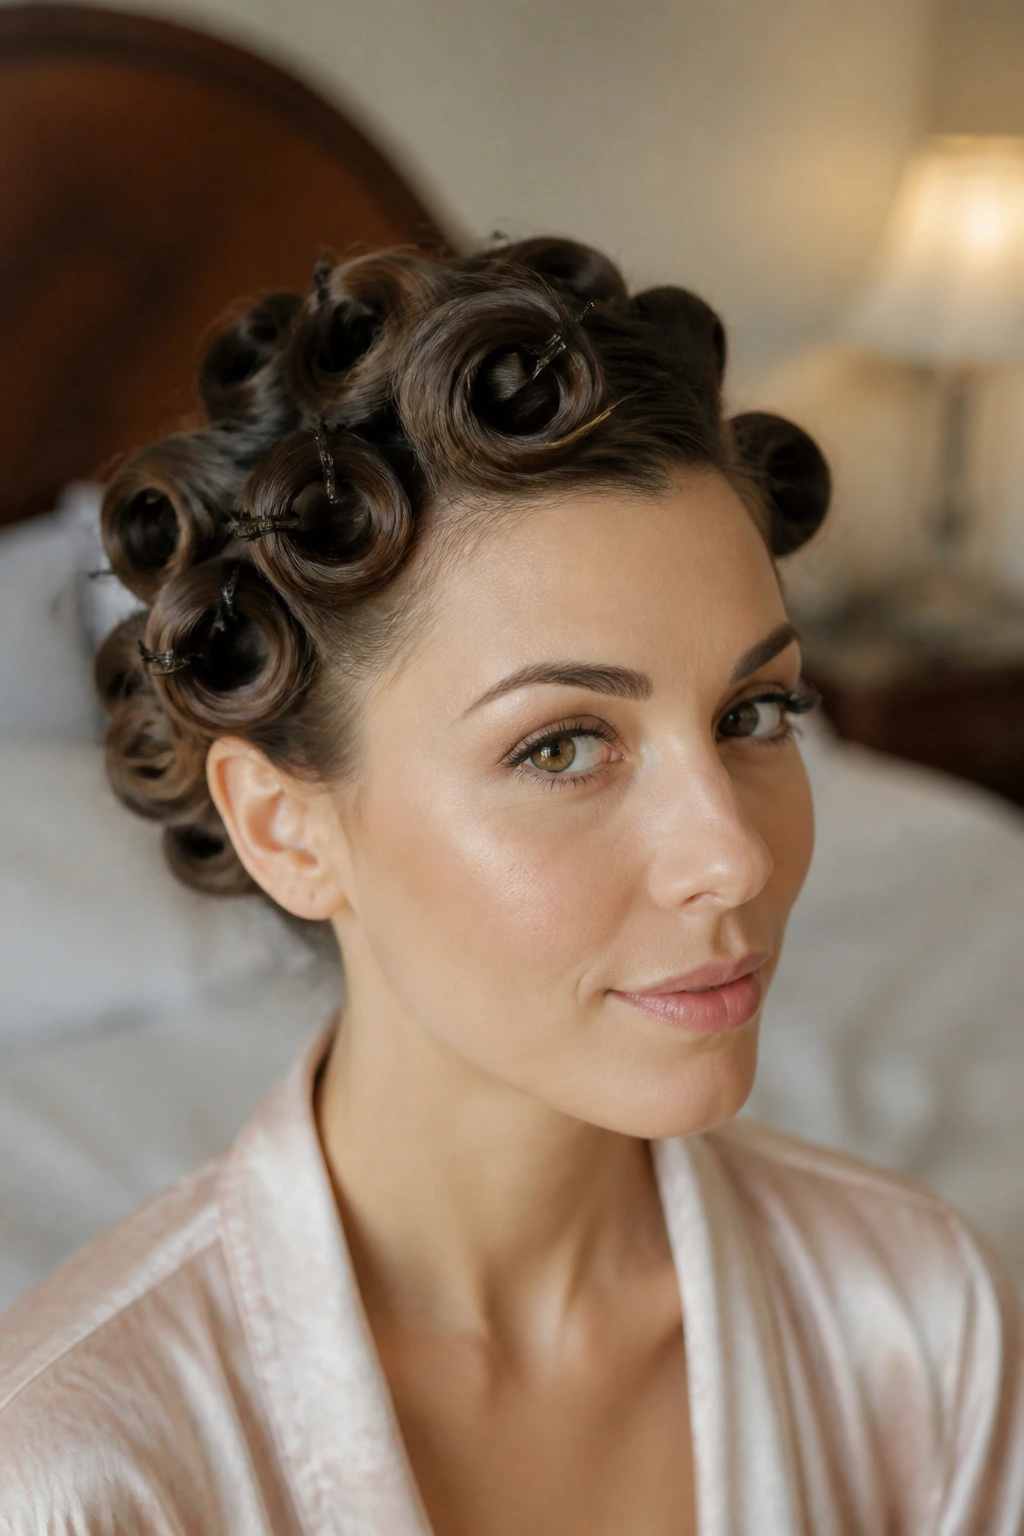
This is the vintage technique that makes curls last through almost anything. After curling a section of hair with a wand, do not let it drop. Instead, roll the warm hair into a loop, secure it against your scalp with a bobby pin, and let it cool completely. Once the hair is cold, the cuticle is locked in the shape of the curl. Unpinning them creates a much tighter, more structured curl that can be brushed out into soft, Hollywood-style waves.
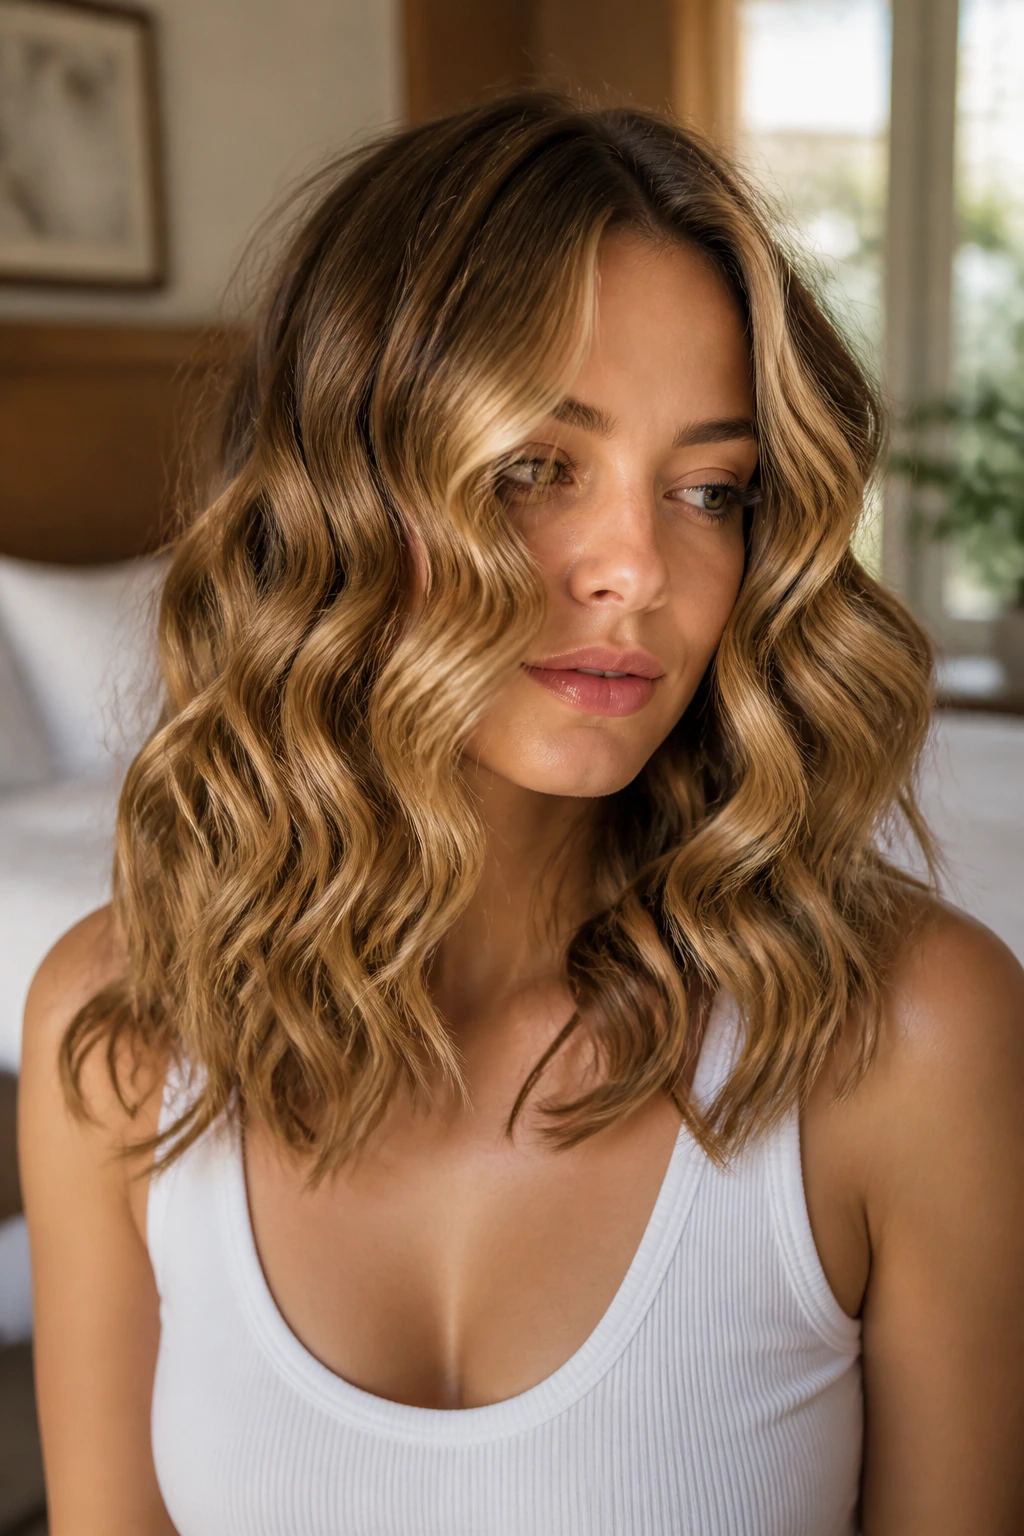
9. The Alternating Direction Technique
One of the most common mistakes people make is curling every single section of their hair in the same direction. This causes the curls to clump together into one giant, unified mass. By alternating the direction—one curl toward the face, the next away—you ensure the curls sit separately. This creates significantly more volume and a much more natural, messy appearance that looks like you spent hours on your hair.
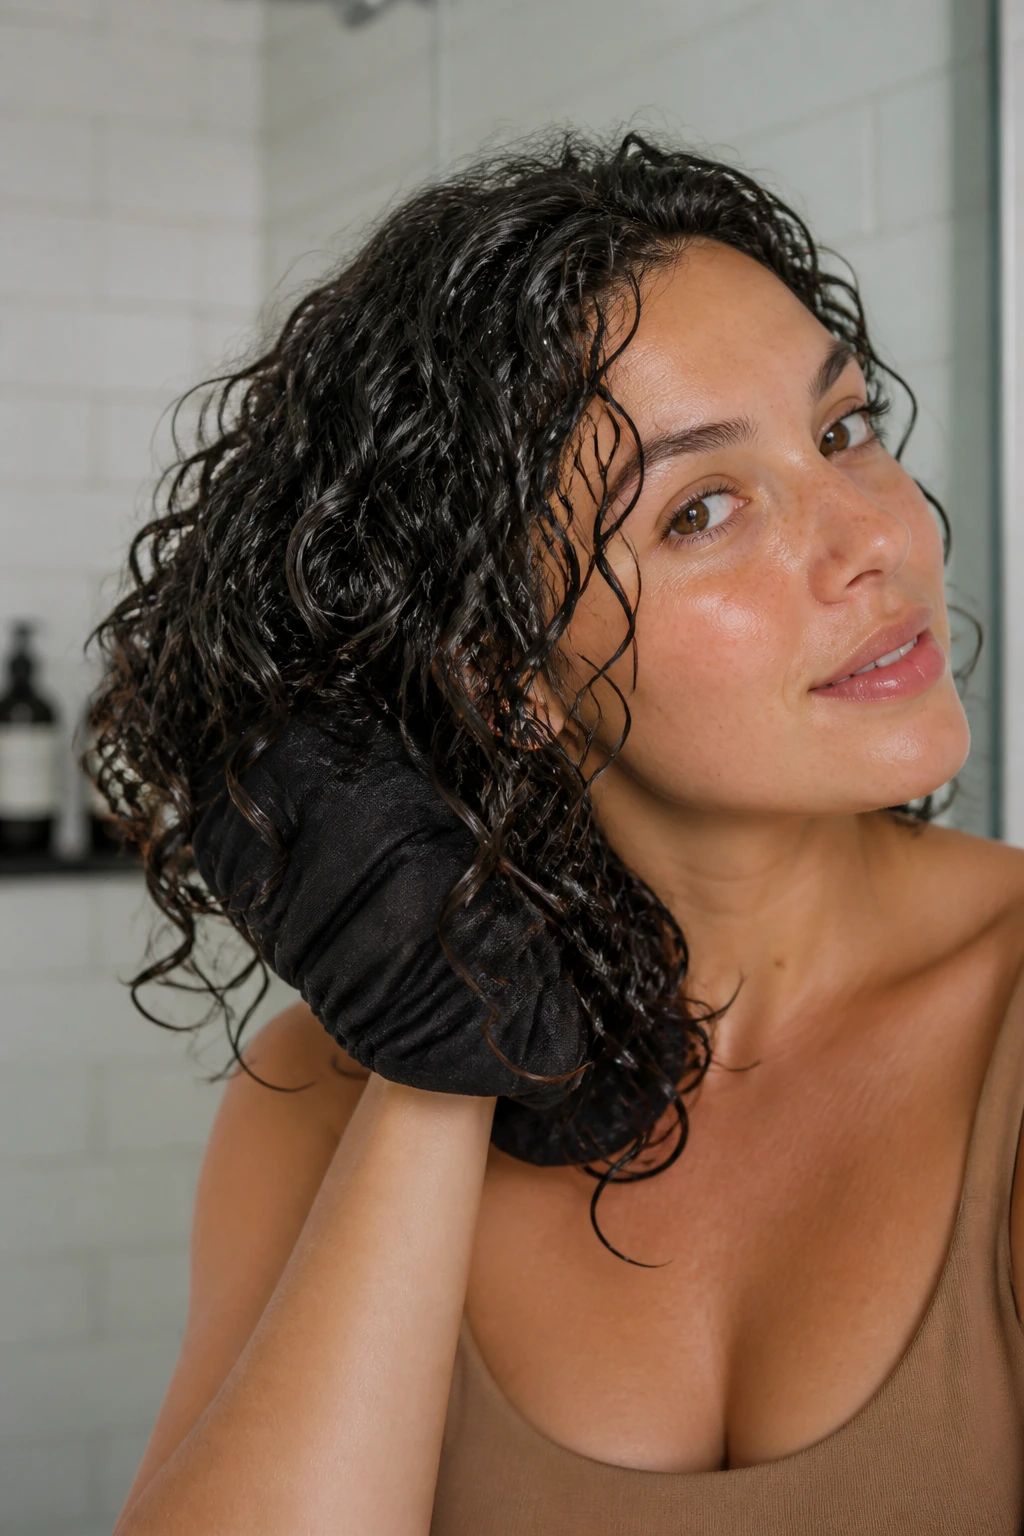
10. The Braided Heatless Wave
This is an excellent option for those with long hair who want a beachy texture without any styling tools. While your hair is damp, braid it into two or four sections, depending on how tight you want the wave. The tighter the braid, the more “crimped” the wave will be when you take it down. Sleep on it, and in the morning, gently pull the braids apart. Use a wide-tooth comb to soften the lines if the texture looks too uniform.
11. The Horizontal Barrel Wrap

If you are looking for volume, start your curling iron wrap horizontally. By holding the barrel parallel to the floor, you create a curl that has more “lift” at the roots. This is perfect for those with fine or thinning hair who struggle to get any height at the crown. After the curl cools, lift the root section and give it a quick blast of hairspray to hold that horizontal structure in place.
12. The Tapered Wand Soft Bend
Tapered wands, which are thinner at the tip than the base, allow you to create natural-looking, tapered curls that mimic the way hair grows. You can wrap the hair closer to the base for a bigger curl or toward the tip for a tighter one. This is the best technique for a “I woke up like this” look because the varying sizes of the curls make the style look organic. It feels much less rigid than a standard one-inch iron.
13. The Two-Step Flat Iron Flip
For a more modern, “cool-girl” style that is popular right now, focus on the ends. Use your flat iron to create a slight bend in the mid-lengths of the hair, but leave the ends perfectly straight. This contrast between the bent middle and the blunt end is a hallmark of current, stylish hair looks. It’s quick, it looks intentional, and it saves you the trouble of dealing with frizzy or fried hair tips.
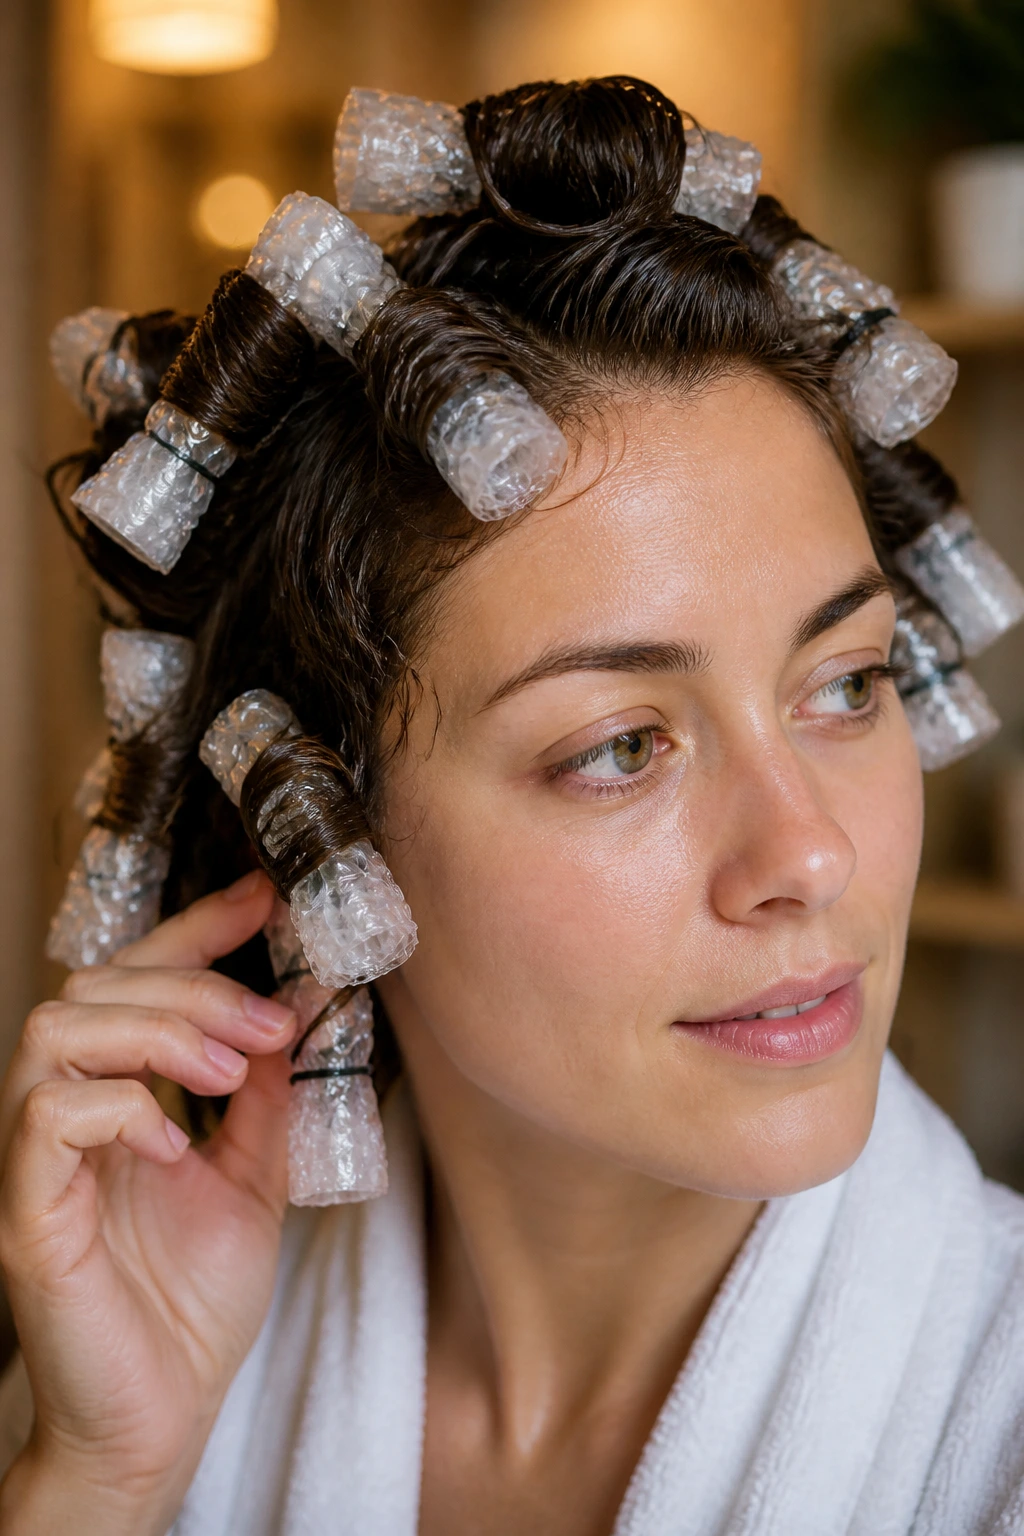
14. The Velcro Roller Set

Velcro rollers are the unsung heroes of volume. After blow-drying your hair with a round brush, roll the still-warm sections into large velcro rollers. Leave them in while you finish your makeup or get dressed. When you take them out, your hair will have incredible lift, shine, and soft movement. This technique is far gentler than heat styling and provides a finish that looks like a professional blowout.
15. The Twist-and-Pull Method
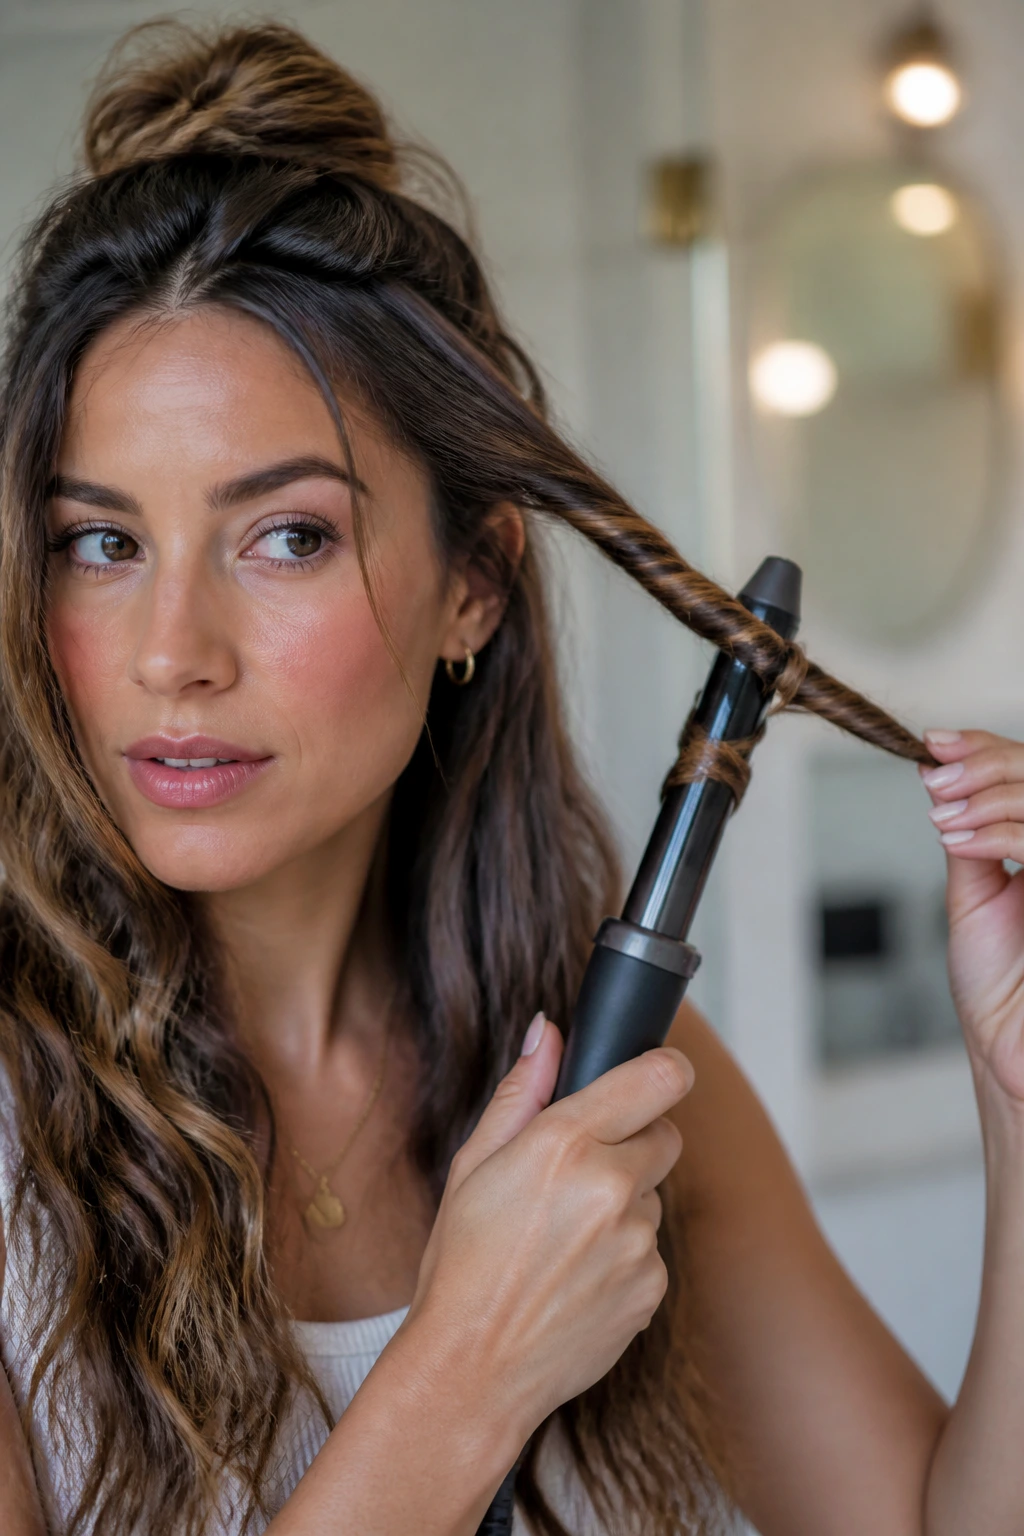
Take a small section of hair and twist it tightly like a rope before wrapping it around your curling wand. Because the hair is twisted, the heat hits the strands unevenly, creating a textured, almost tousled look. It’s perfect for summer months or for anyone aiming for a “surfer” aesthetic. The more chaotic your twists are, the better the final result will look; perfection is the enemy here.
16. The Sleep-in Scrunchie Method
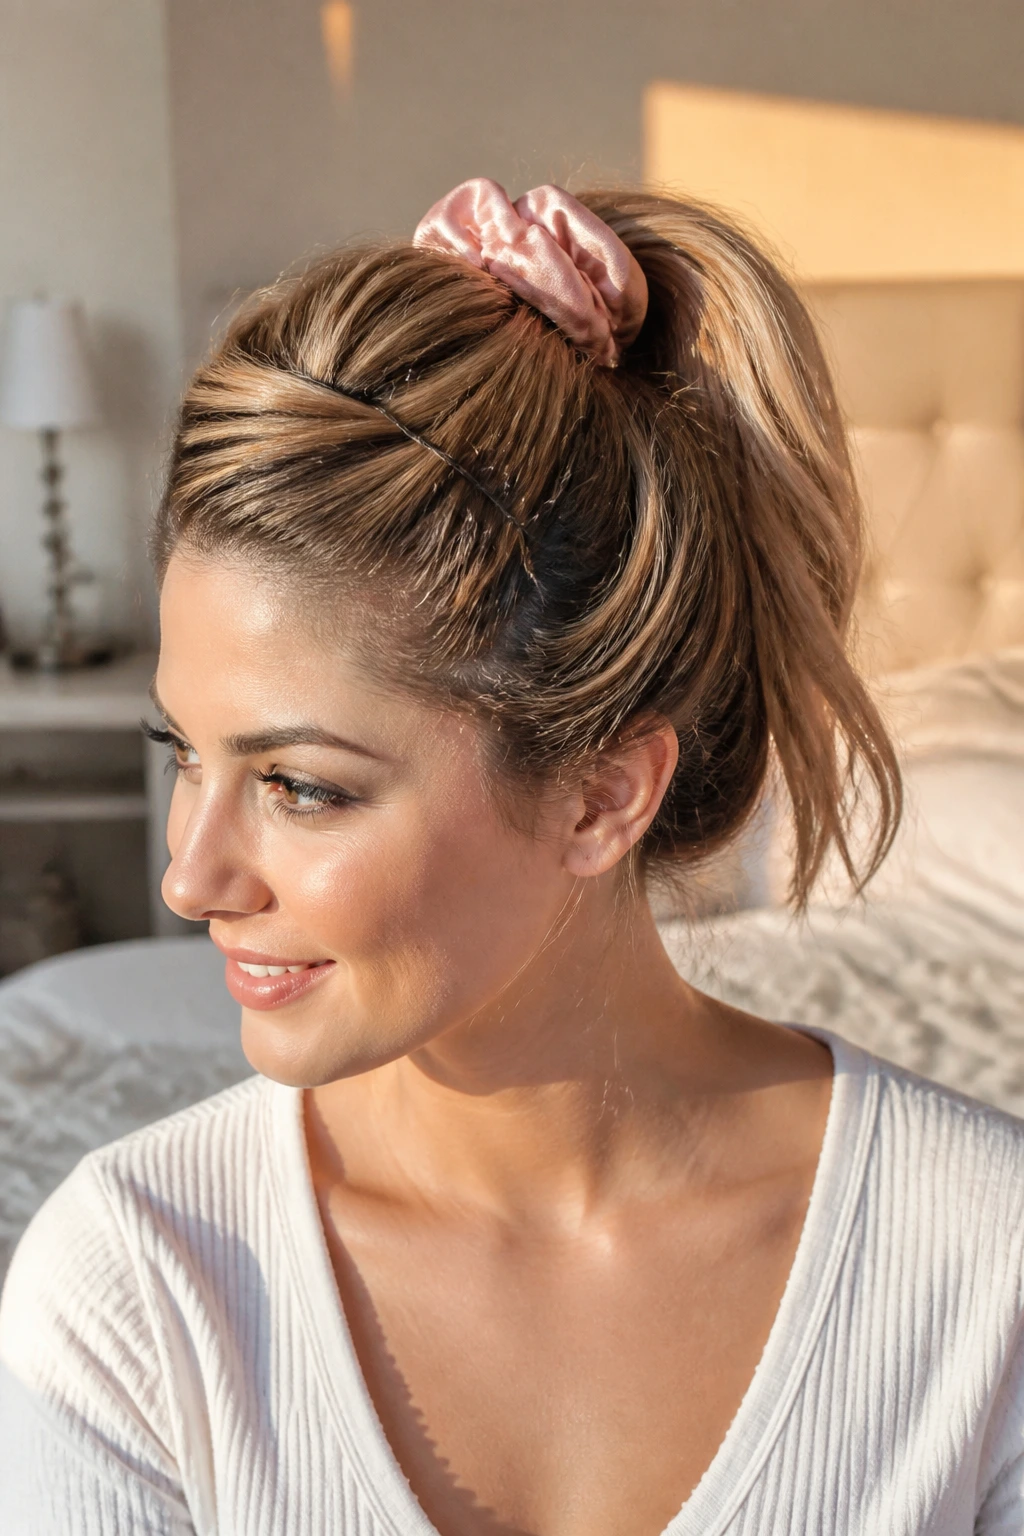
This is a softer, more comfortable version of the heatless rod wrap. Gather your hair into a high ponytail on top of your head using a soft silk scrunchie. Then, divide the ponytail into two or three sections and wrap them loosely around the base of the scrunchie, securing the ends with bobby pins. You wake up with soft, flowing waves that start further down the hair shaft. It’s an ideal technique for anyone who doesn’t want curls right at the roots.
17. The Bubble-Wrap Curl
This is a quirky but highly effective DIY technique. Take small squares of bubble wrap, roll them into cylinders, and wrap your damp hair around them. The bubble wrap provides a soft, cushioned surface that prevents kinks while the hair dries in a coiled shape. It creates a very soft, natural-looking curl that feels exceptionally bouncy. It’s a bit time-consuming, but the results are surprisingly high-quality.
18. The “Pop” Method for Volume
If your hair is heavy and falls flat within minutes, use the “pop” method. Curl the section, and while the hair is still wrapped around the iron, pull the iron out, but keep the curl compressed in your hand for ten seconds. Then, “pop” it into a clip to cool. This extra step of keeping the hair compressed is vital. It creates a much stronger structure than simply letting the curl fall immediately.
19. The Small-Barrel Tight Coil
Using a thin, half-inch wand allows you to create tight, ringlet-style curls. These are great for adding texture to a short bob or for creating a look that is meant to be brushed out into a voluminous cloud. If you do use this technique, ensure you have a high-quality finishing oil on hand; tight curls can look dry if they aren’t properly hydrated after the heat application.
20. The Paper Towel Rollers
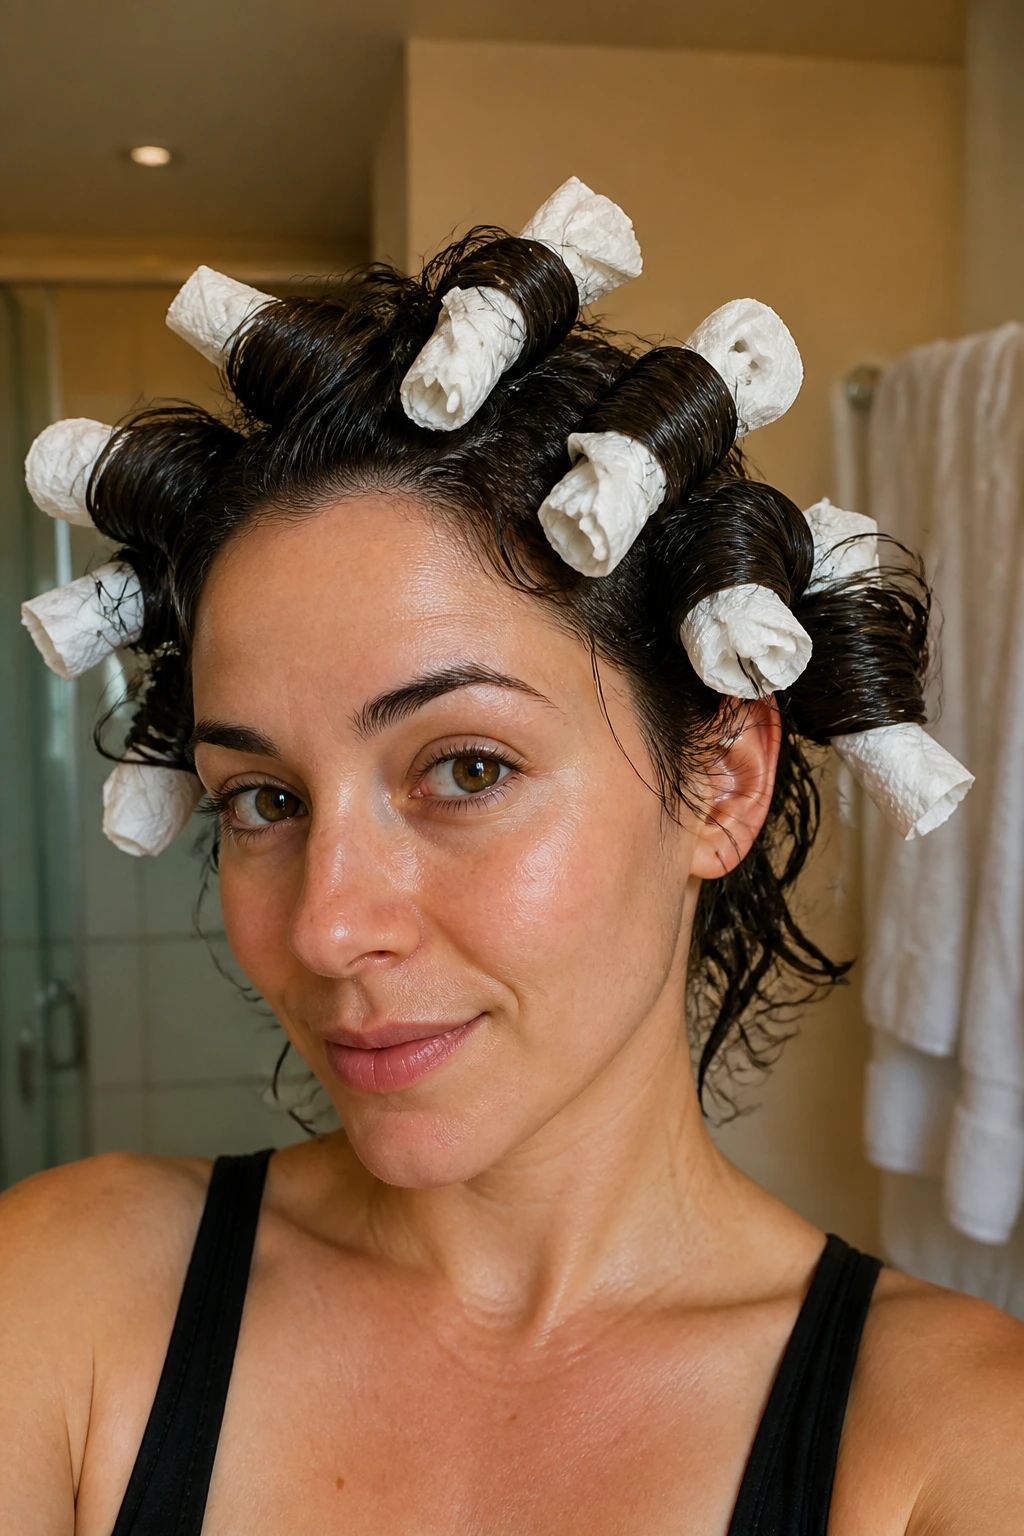
Don’t have rollers? You can use folded paper towels. Dampen your hair, fold a paper towel into a strip, wrap your ends around the center, and roll upward toward the scalp. Tie the ends of the paper towel together to secure it. It sounds strange, but paper towels absorb the excess moisture from your hair as it dries, which actually helps the curl form more tightly. It is a fantastic, zero-cost way to get beachy waves overnight.
21. The Half-Twist Technique
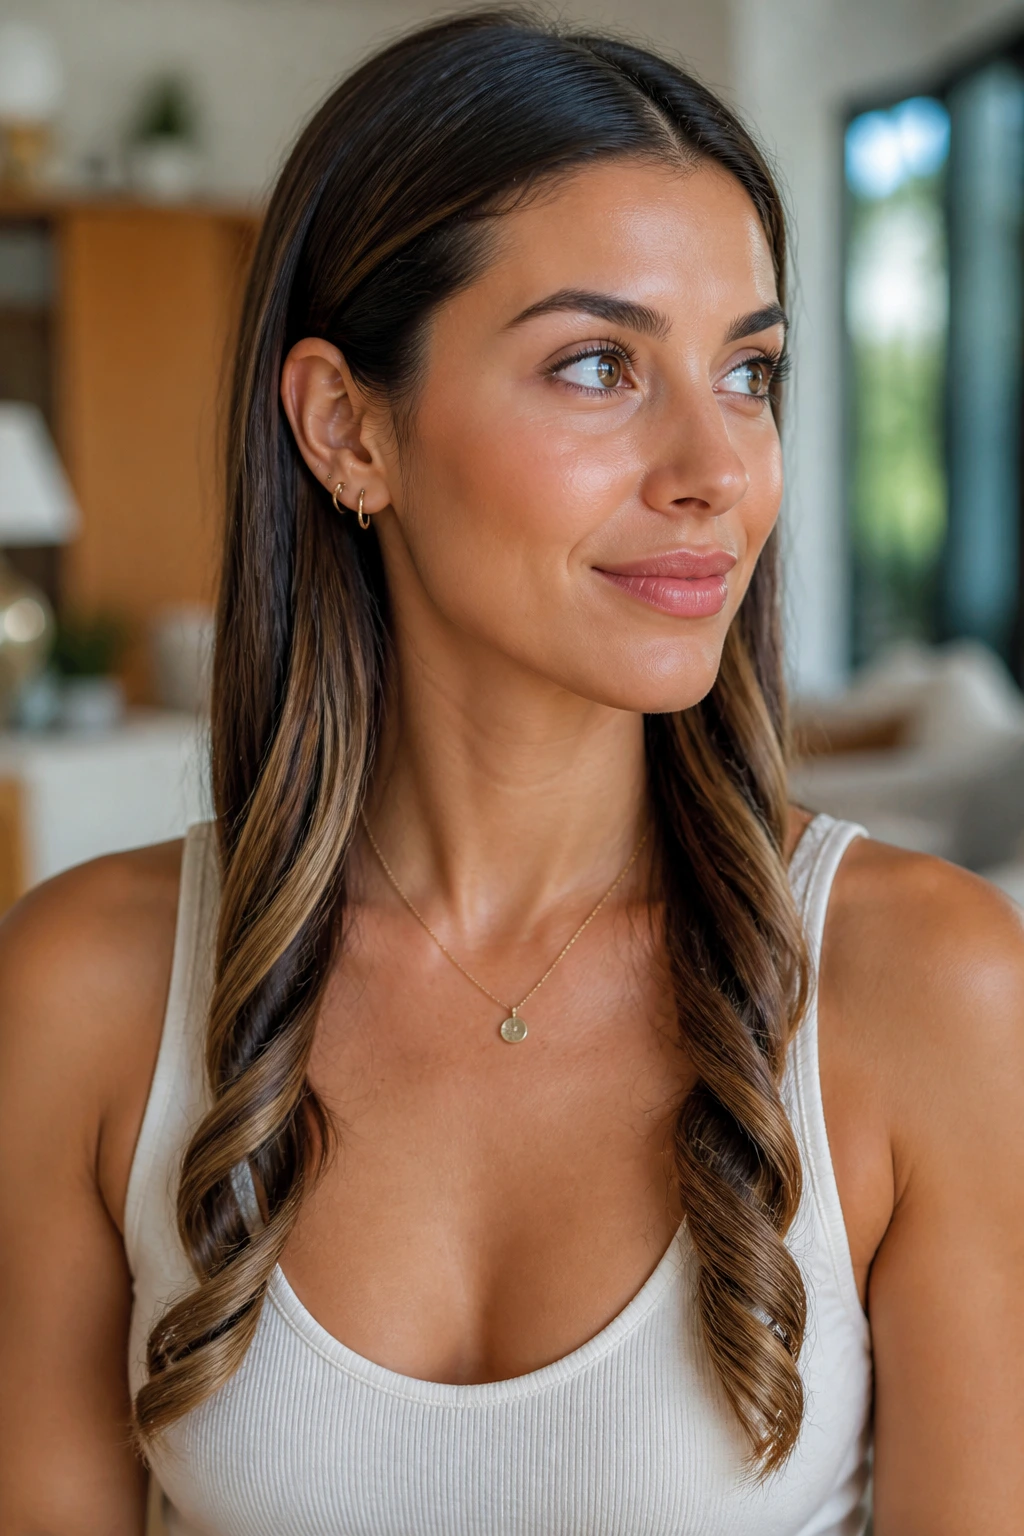
Instead of twisting the entire strand, twist only the bottom two-thirds. This leaves the hair at the root and near the top of the head relatively straight and sleek. This is a very flattering style for those with rounder face shapes, as the straightness at the top prevents the hair from looking too wide or puffy. It creates a modern, streamlined shape that works just as well in a corporate office as it does on a weekend.
22. The Deep-Root Teasing Finish
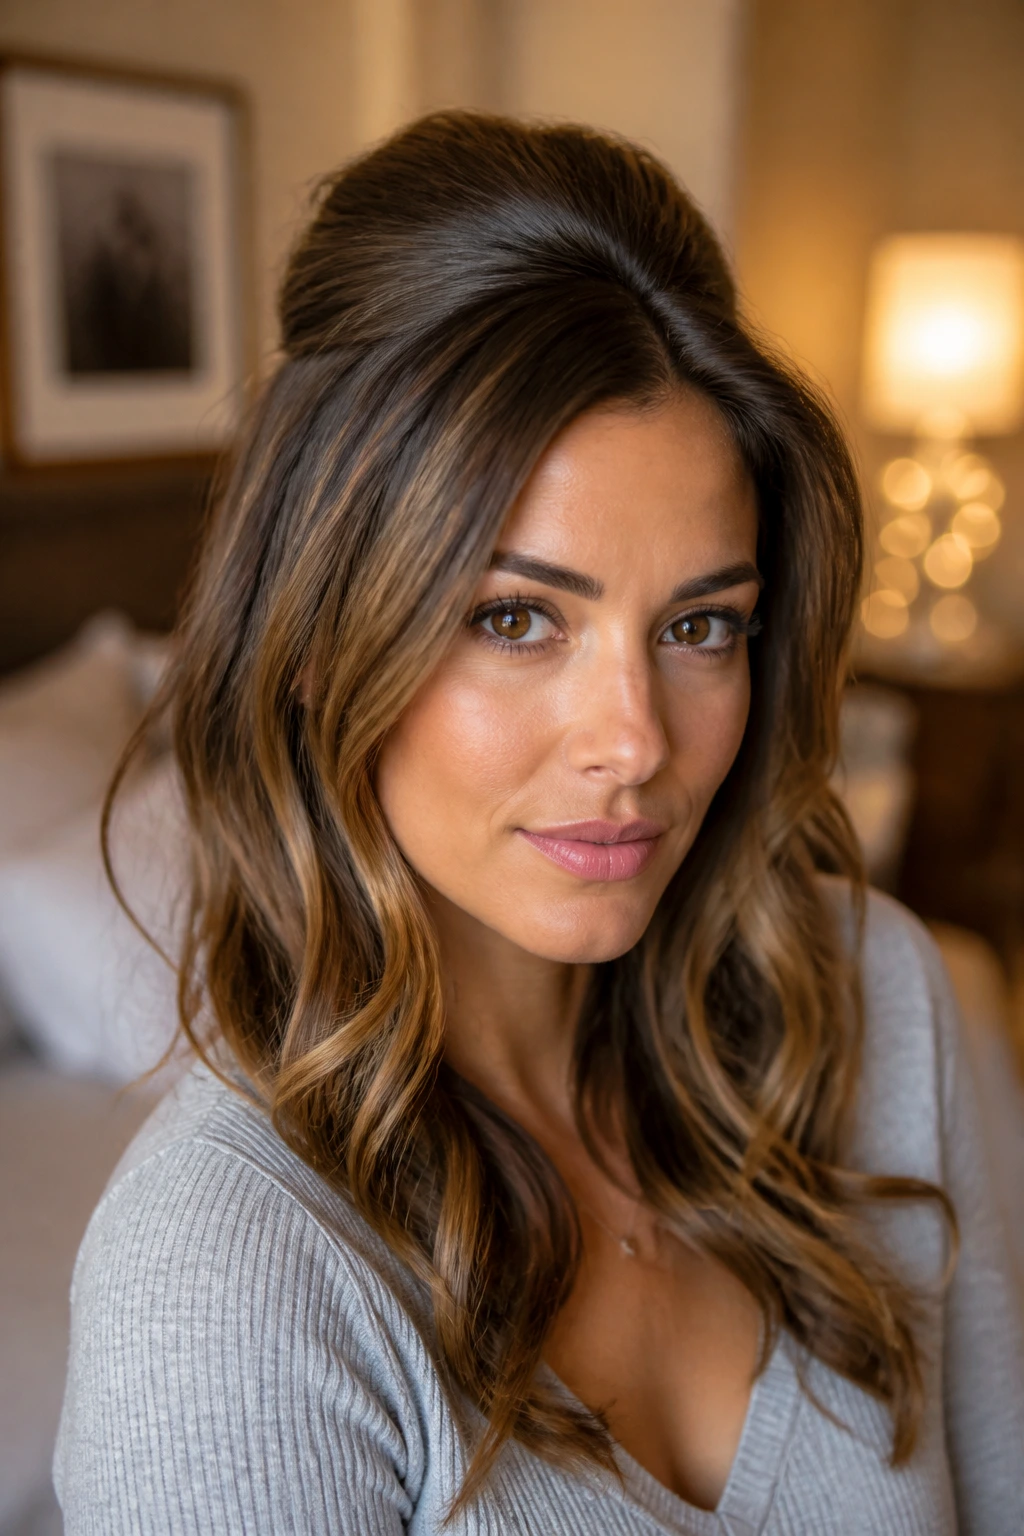
No matter how you curl your hair, the final step should often be the roots. Once your curls have cooled and you’ve brushed them out, take a fine-toothed comb and gently tease the hair at the crown. This adds that crucial bit of height that separates a “done” style from a “professional” style. Always tease from underneath the top layer of hair so that you can smooth the top over to hide the backcombing.
Final Thoughts
The most important factor in your success with any of these techniques is the cool-down phase. Heat changes the structure of your hair, but cooling sets that change. If you tug, brush, or shake out your curls while they are still warm, you are effectively destroying the work you just did. Be patient. Let the hair return to room temperature before you start pulling it apart with your fingers or a comb.
Additionally, remember that hair health dictates how well your curls hold. If your hair is overly damaged, it will struggle to maintain a curl regardless of the technique. Regular trims and deep-conditioning treatments will pay dividends when it comes to your styling routine. Stick to these methods, vary your approach based on the occasion, and you will find that a “good hair day” becomes the rule rather than the exception.