Curls are a temperamental, high-maintenance, and absolutely glorious feature to work with. If you have them, you already know that a simple haircut isn’t just about length; it is about architecture, weight distribution, and managing how those coils decide to behave on a humid morning. Most people treat curly hair as a monolith, but anyone who has spent years in the chair knows that a 3B ringlet requires an entirely different approach than a 4C coil or a loose 2C wave. When you find the right cut, you don’t fight your texture—you lean into it.
The secret to a great curly look is understanding your shrinkage and density before the first snip of the shears. You have to decide if you want to emphasize the bounce or elongate the pattern. These choices change everything from which products you reach for to how you refresh your hair on day three. Below are twenty distinct ways to shape, style, and define your hair, moving from classic silhouettes to modern, expressive cuts that celebrate the wild nature of textured strands.
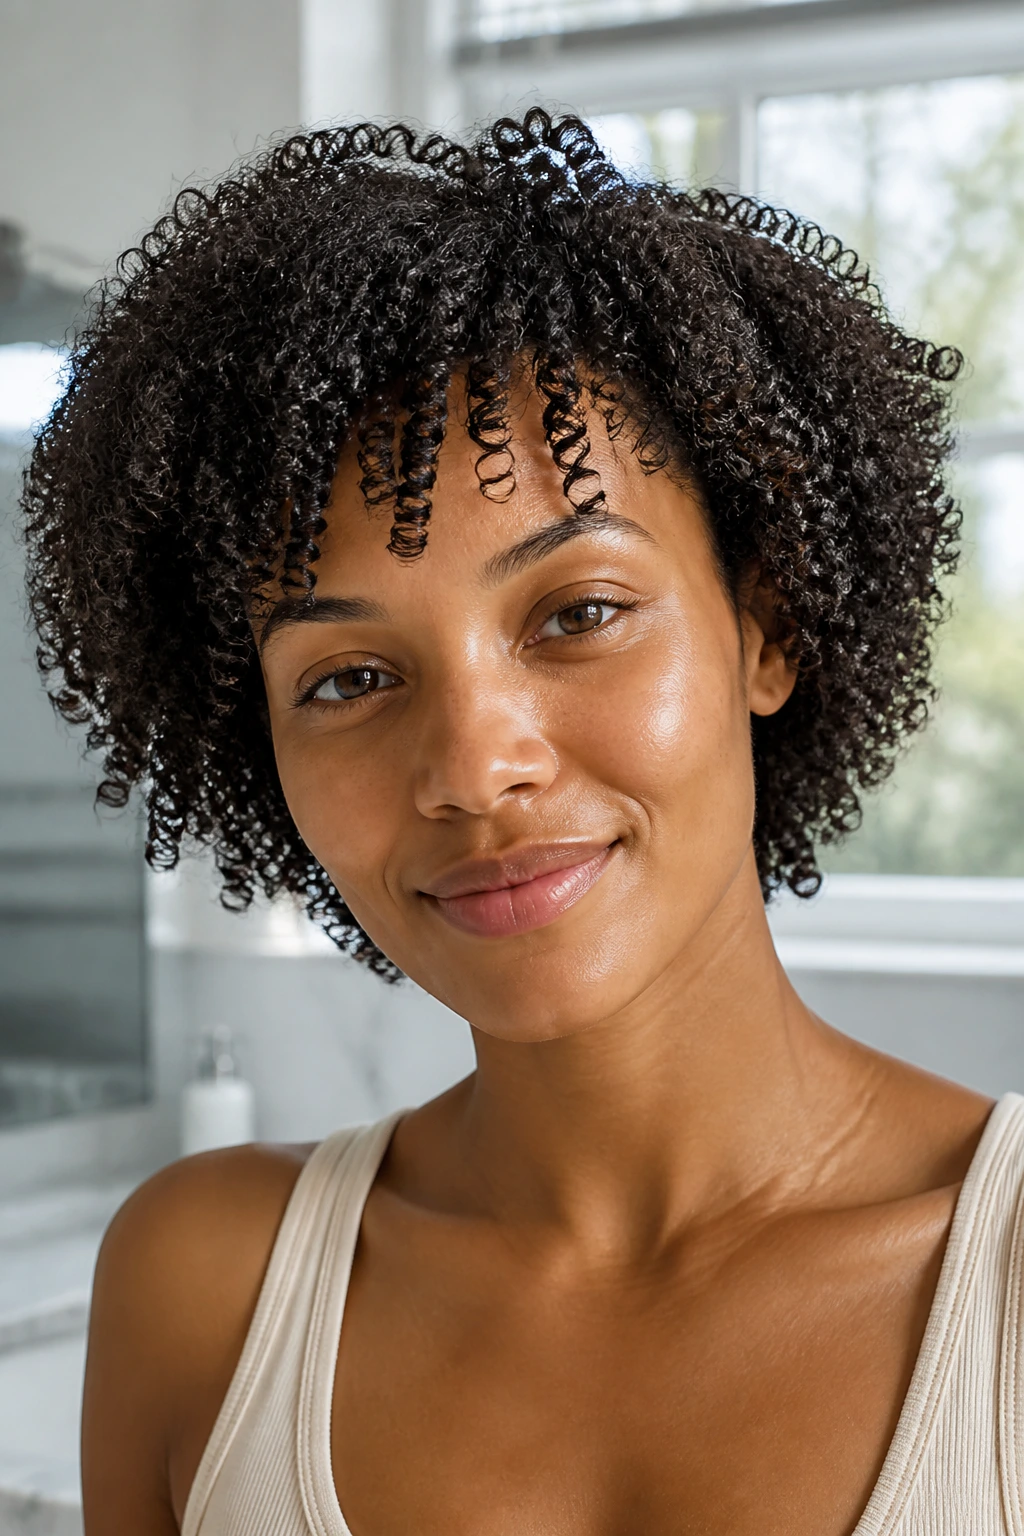
1. The Classic Rounded Afro
This is the gold standard for high-density, tight-coiled hair. By cutting the hair into a perfect sphere, you remove the “triangle effect”—that dreaded situation where the bottom grows out faster than the top, pulling your hair into a flat, weighed-down shape. The key is consistent layering that follows the natural curvature of the scalp. You want to maintain length at the crown while keeping the perimeter tight and structured.
Why It Works for Tighter Textures
The rounded silhouette relies on the hair’s internal structure to hold its shape without needing a gallon of heavy gel. It celebrates the volume of the hair rather than trying to suppress it. You will find that this cut actually grows out gracefully because there are no harsh lines to lose their shape over time.
Maintenance Tips
- Use a wide-tooth pick to gently lift the roots at the crown for maximum height.
- Apply a light-hold styling cream to damp hair to ensure the ends don’t frizz when you go for that rounded, soft finish.
- Schedule trims every ten to twelve weeks to keep the sphere’s edges crisp and even.
2. The Pixie Cut with Tapered Sides
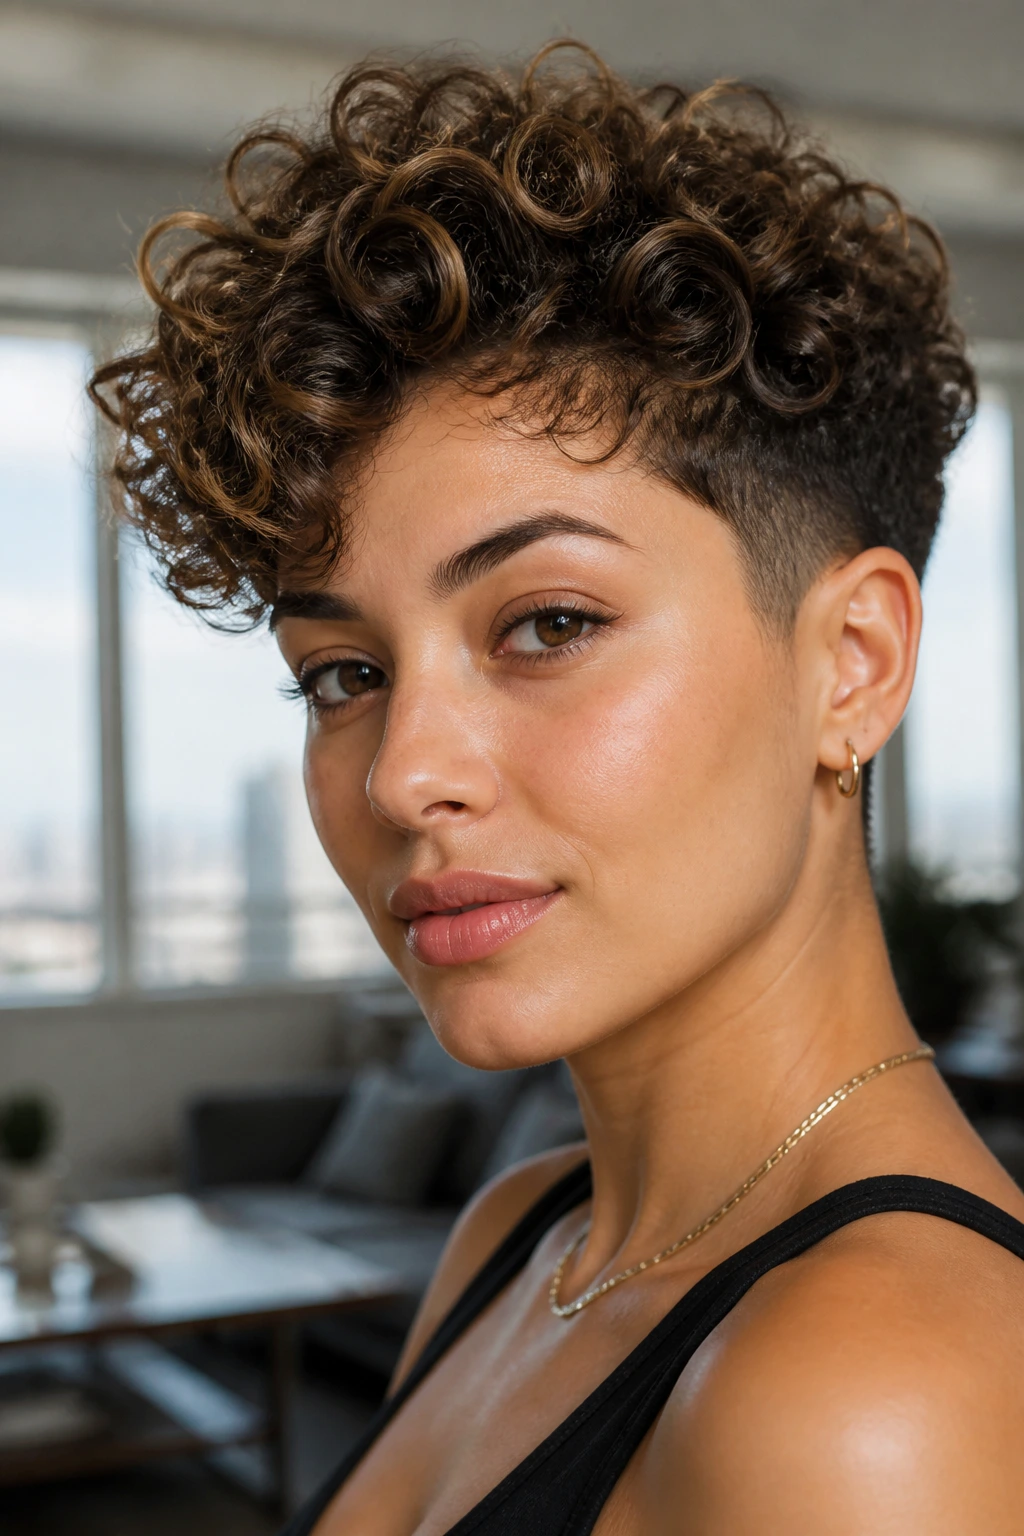
When you are ready to stop worrying about day-to-day detangling, the curly pixie is your best friend. This cut involves buzzing or tightly tapering the sides and back while leaving a generous amount of length and volume on top. It is a bold, sculptural look that draws immediate attention to the eyes and cheekbones.
Sculpting Your Texture
The beauty of this style is how it handles different curl patterns. If your hair is on the tighter side, the pixie looks architectural and neat. If your curls are looser, it provides a messy, “just-got-out-of-bed” aesthetic that is incredibly chic.
Styling the Top
- Use a curl-defining foam for the longer sections on top so they don’t look heavy or greasy.
- A dab of edge control can help you sweep the sideburns or nape area into a sharp, clean finish.
- If the top starts to get too poofy, use a small amount of oil to smooth the surface without sacrificing your curl definition.
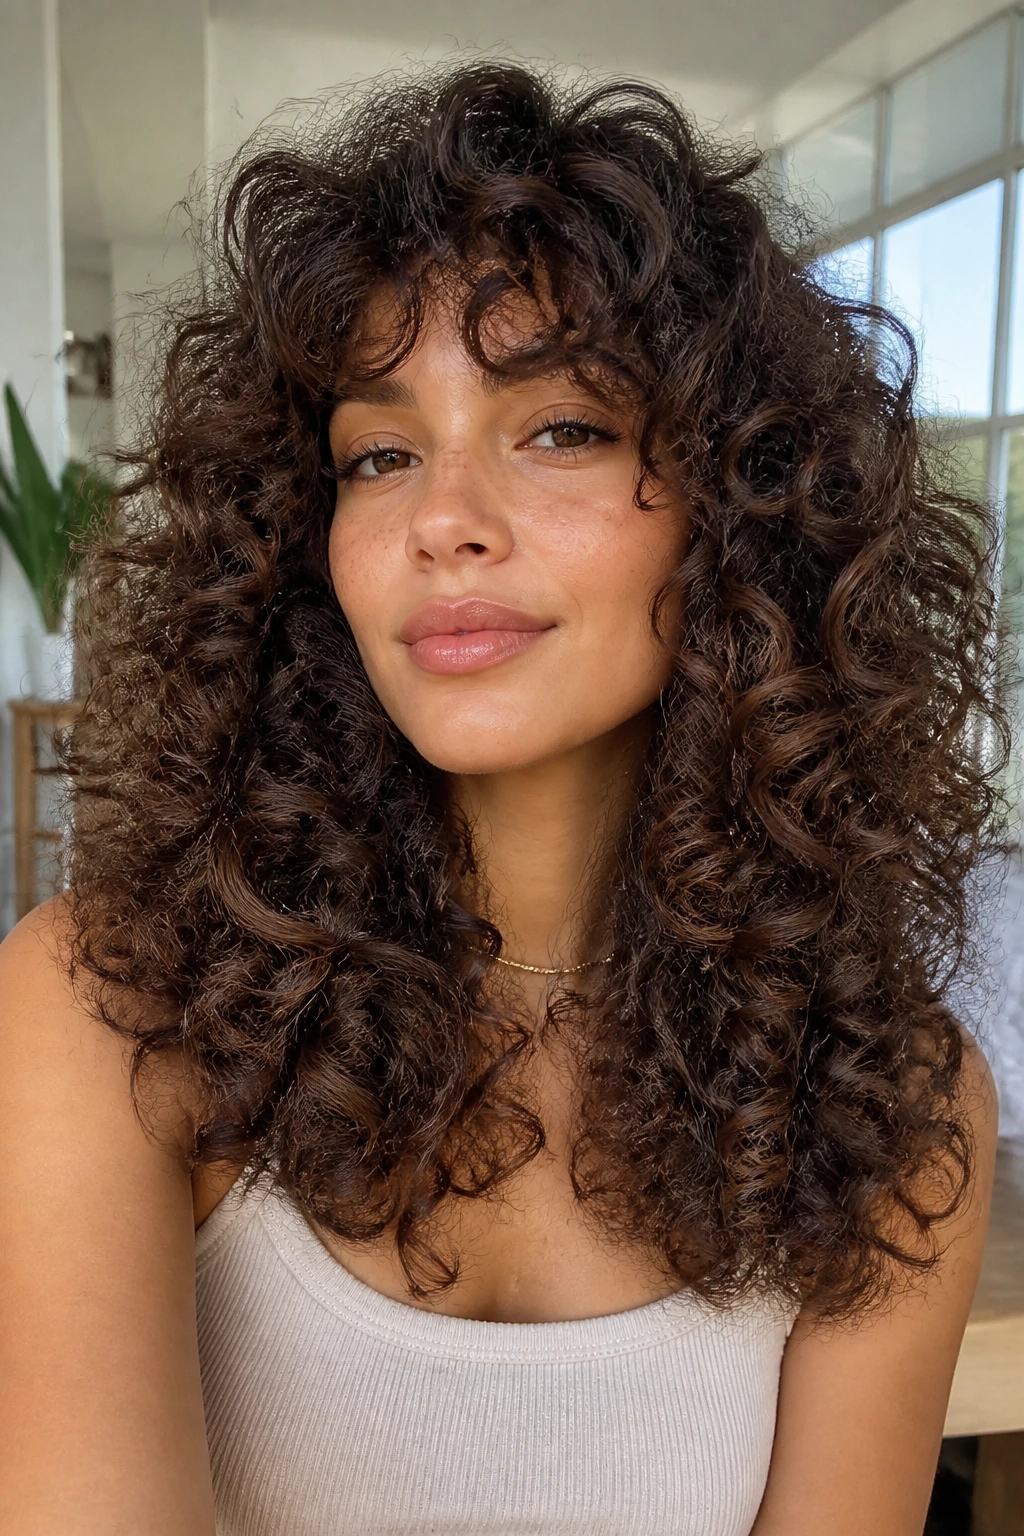
3. The Long Layers with Face-Framing Pieces
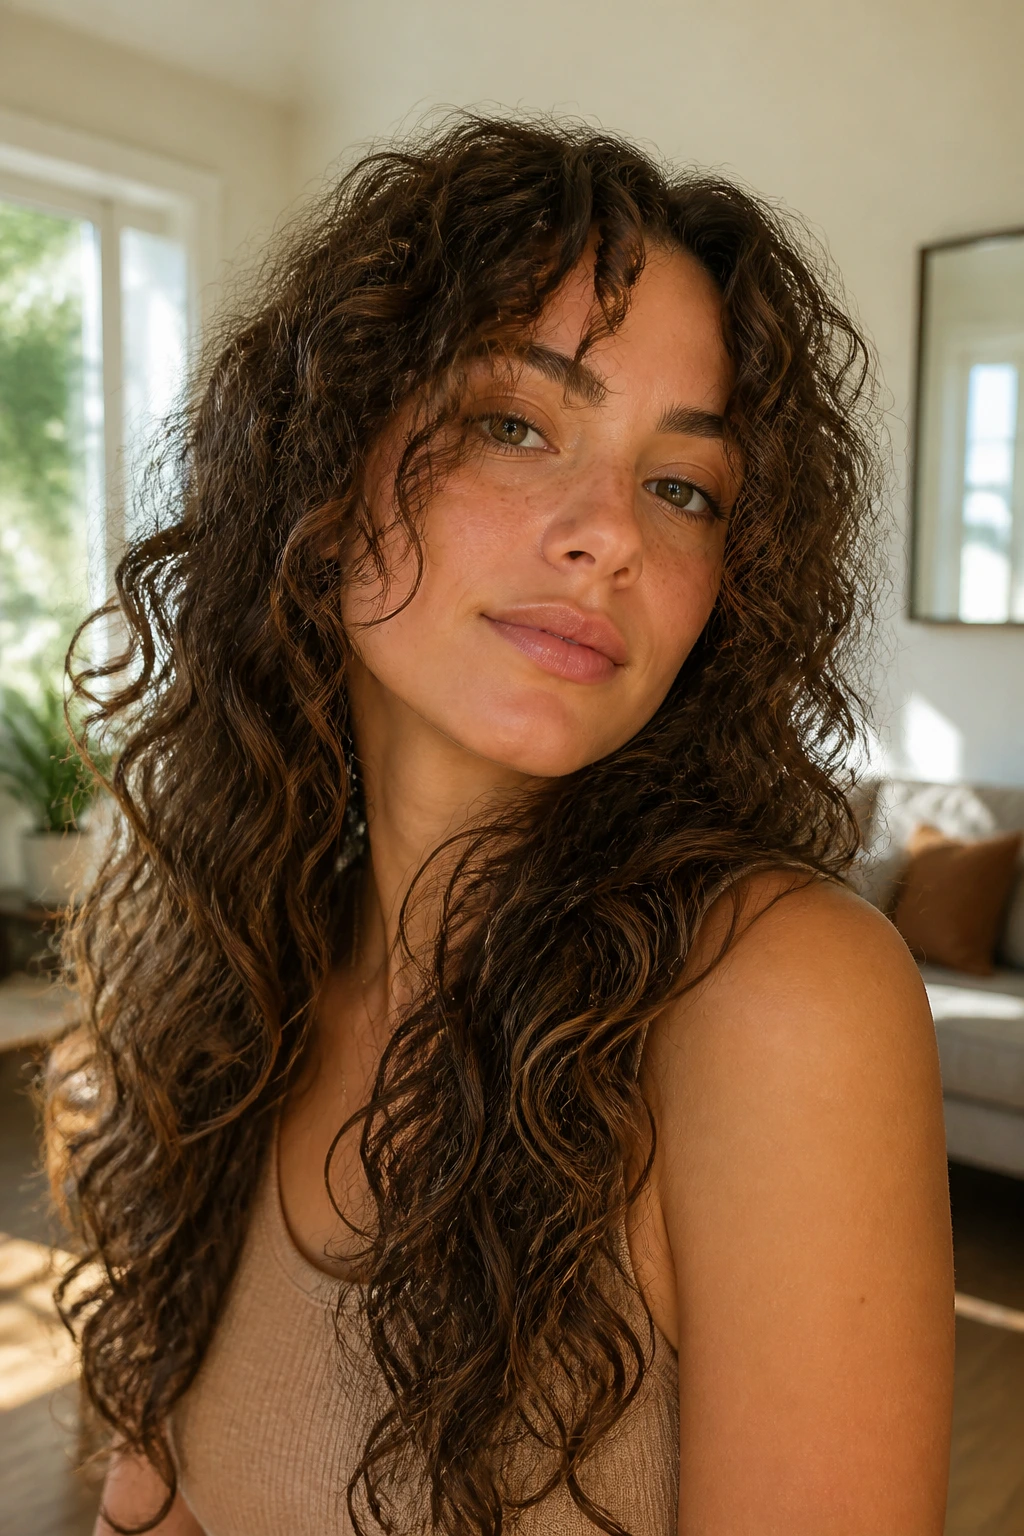
If you have spent years growing your curls out, you might be terrified of losing length. Long, internal layers are the solution. By cutting hidden layers underneath the main canopy of hair, you take out the excess bulk that pulls your curls down into a flat, stringy mess. This allows the curls at the top to spring up and retain their shape.
How to Prevent the Triangle
Always ask your stylist for “invisible” layers. This means they are cutting into the hair at different depths, not just chopping off the ends. Face-framing pieces, or “curtain” curls, help draw attention inward and prevent the hair from looking like a giant, solid curtain that overwhelms your features.
Best Styling Practices
- Flip your head upside down when applying your leave-in conditioner to encourage volume at the roots.
- Avoid heavy butters if you have fine hair, as they will make these long curls feel weighed down and stringy by the end of the day.
4. The Deep Side-Parted Bob
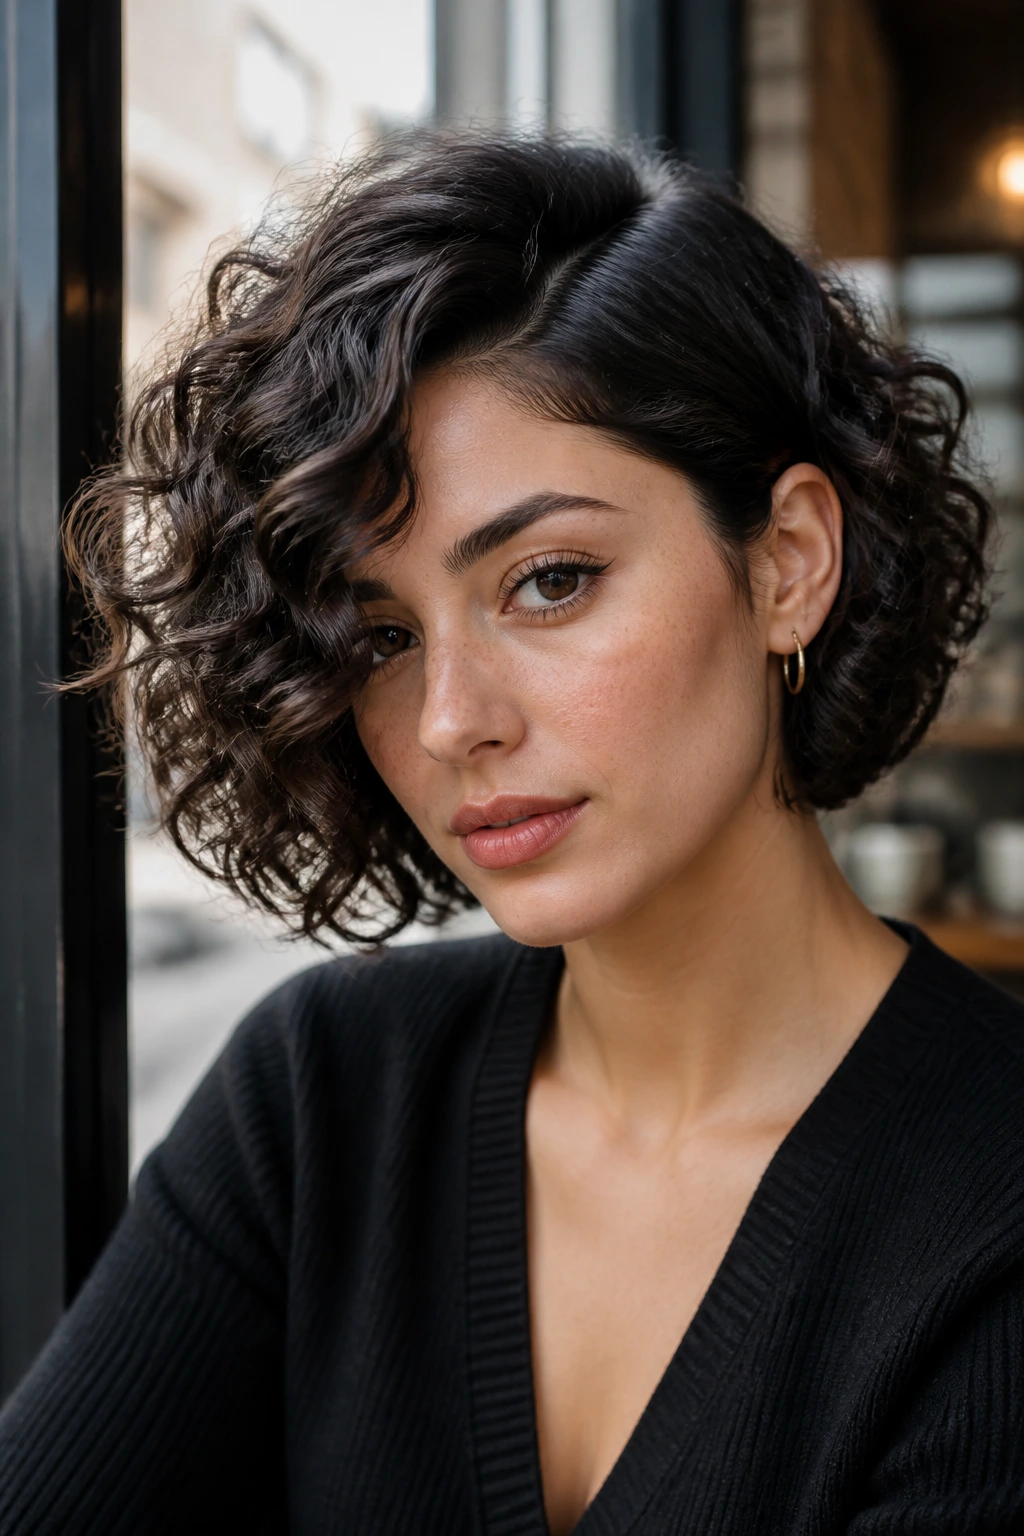
There is something incredibly sophisticated about a curly bob that stops right at the chin. A deep side part adds instant drama and asymmetry, which breaks up the visual weight of the hair. It is a perfect transition cut if you are trying to cut off chemical damage or simply want a fresh, sharp aesthetic.
Achieving the Perfect Line
The blunt edge of a bob is what makes it look expensive and intentional. When your hair is dry and fully defined, ask for a “dusting” on the ends to ensure that the line is crisp. Do not let anyone thin out the ends of a curly bob, or you will lose that beautiful, healthy-looking weight that keeps the hair from flying around uncontrollably.
Styling for Symmetry
- Use a small curling wand to touch up any pieces around the face that refuse to curl in the direction of the part.
- Keep a bottle of light-hold hairspray in your bag; you will need it to hold that dramatic swooping motion of the side part once the humidity hits.
5. The Shaggy Mullet
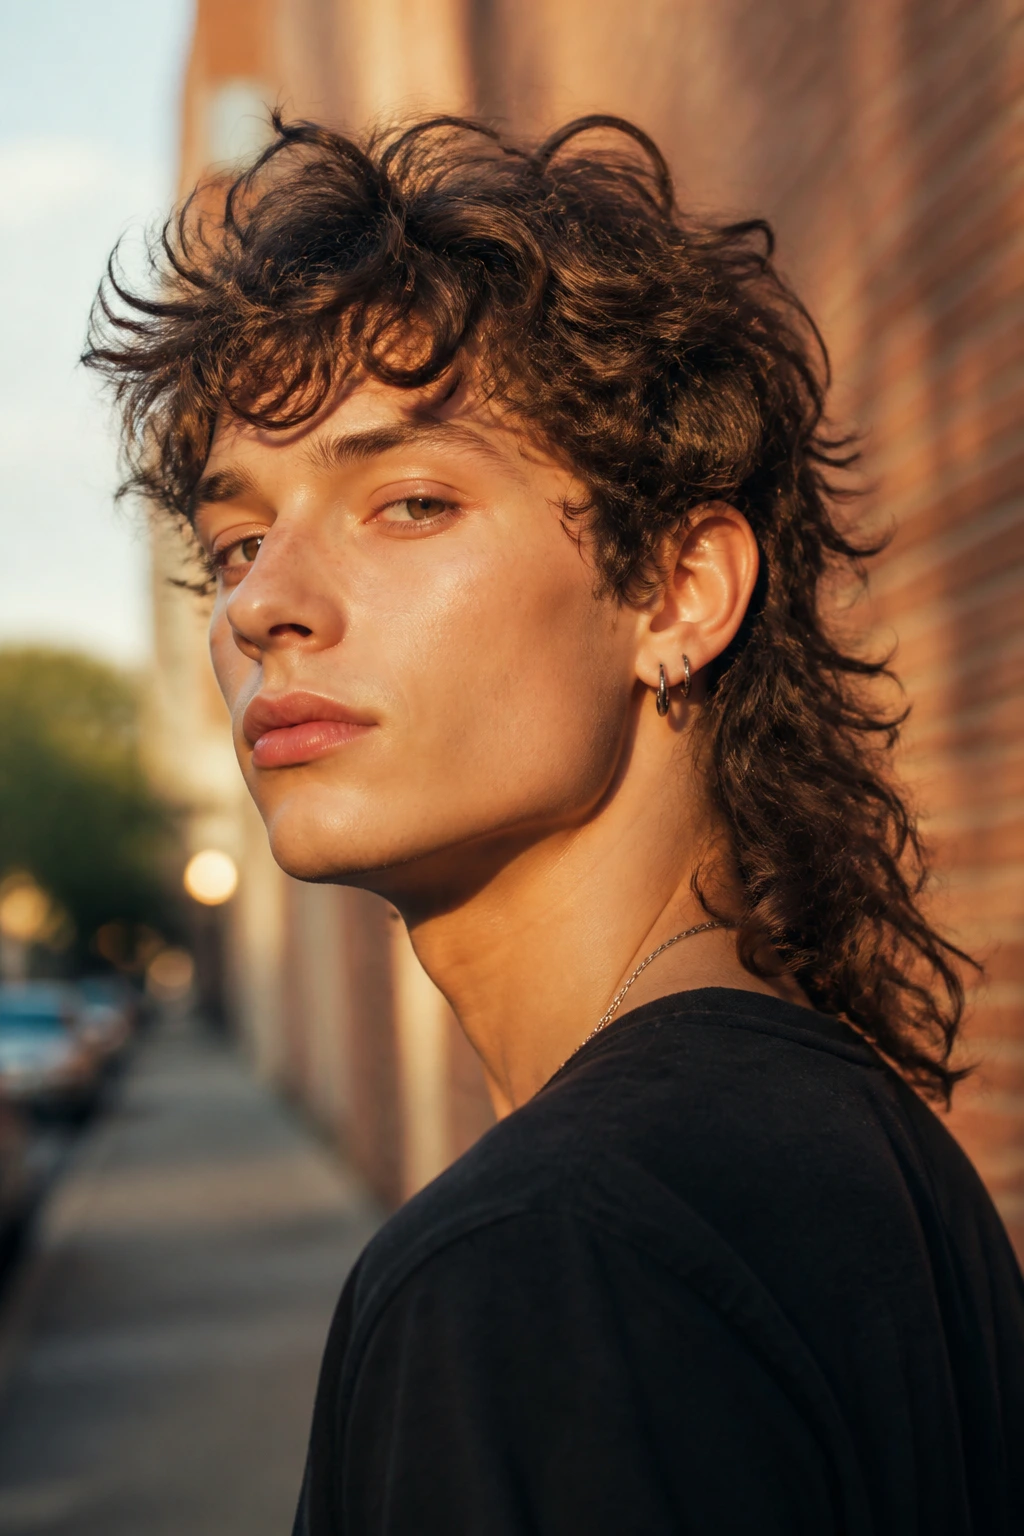
The modern shag is having a moment, and it happens to be the best way to wear curly hair if you love a bit of edge. This style features shorter, choppy layers at the crown and longer, wispier layers toward the neck. It is a throwback to the seventies, but with much more attention to curl texture.
Why It’s a Low-Maintenance Choice
This cut is supposed to look a little bit messy and lived-in. You don’t need to spend an hour diffusing your hair to perfection; the more texture and “wildness” you have, the better it looks. It works exceptionally well for 2C to 3A curl patterns that might otherwise look a bit flat or boring in a standard one-length cut.
Tips for Success
- Use a texturizing spray on the ends to encourage that piecey, rock-and-roll vibe.
- Don’t over-wash. This cut looks better on second or third-day hair when the natural oils have had a chance to build up and settle into the layers.
6. The Undercut with Patterned Shaving
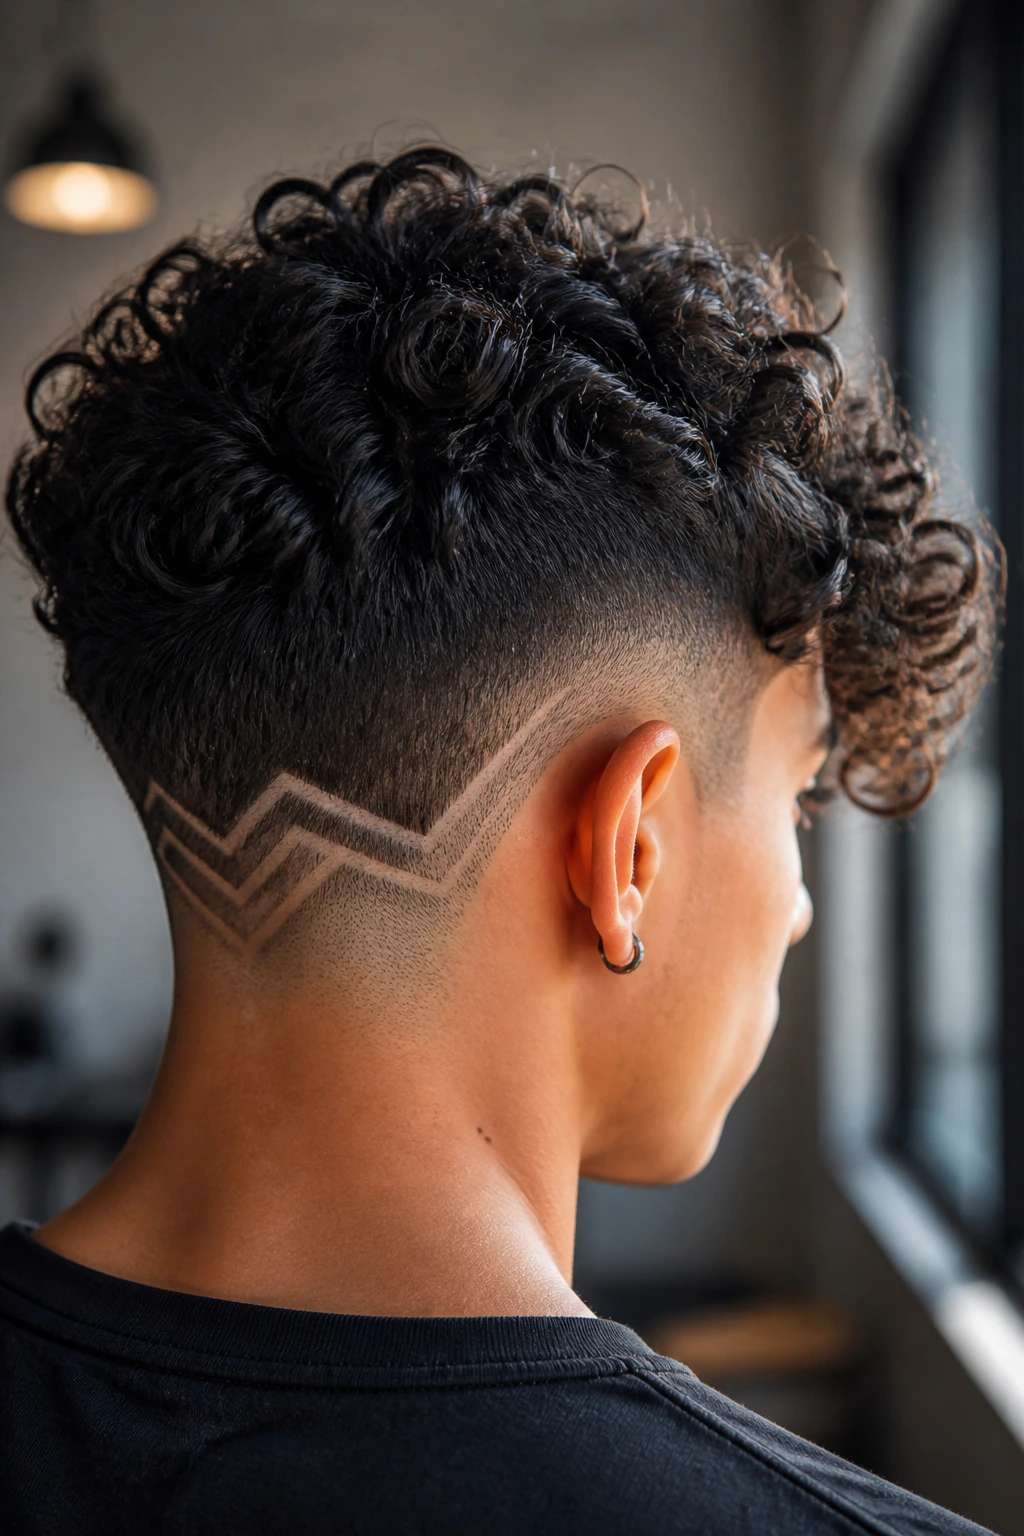
If you want to reduce the overall density of your hair without sacrificing the length on top, an undercut is the most functional style you can choose. By buzzing the hair at the nape of your neck—or even up to the temples—you remove a massive amount of weight. This makes the hair much easier to wash, condition, and dry.
Expressing Your Personality
The space created by the undercut is basically a blank canvas. Many people choose to have their stylists shave lines, geometric patterns, or even intricate floral designs into the undercut. It adds a hidden layer of detail that you can choose to show off with a high ponytail or hide with your natural canopy.
Care Considerations
- If you opt for designs, remember that they will require maintenance every two to three weeks to keep the lines sharp.
- The skin on your nape is sensitive, so keep it hydrated with a light, non-comedogenic lotion to prevent irritation from the sun or friction.
7. The Half-Up Top Knot
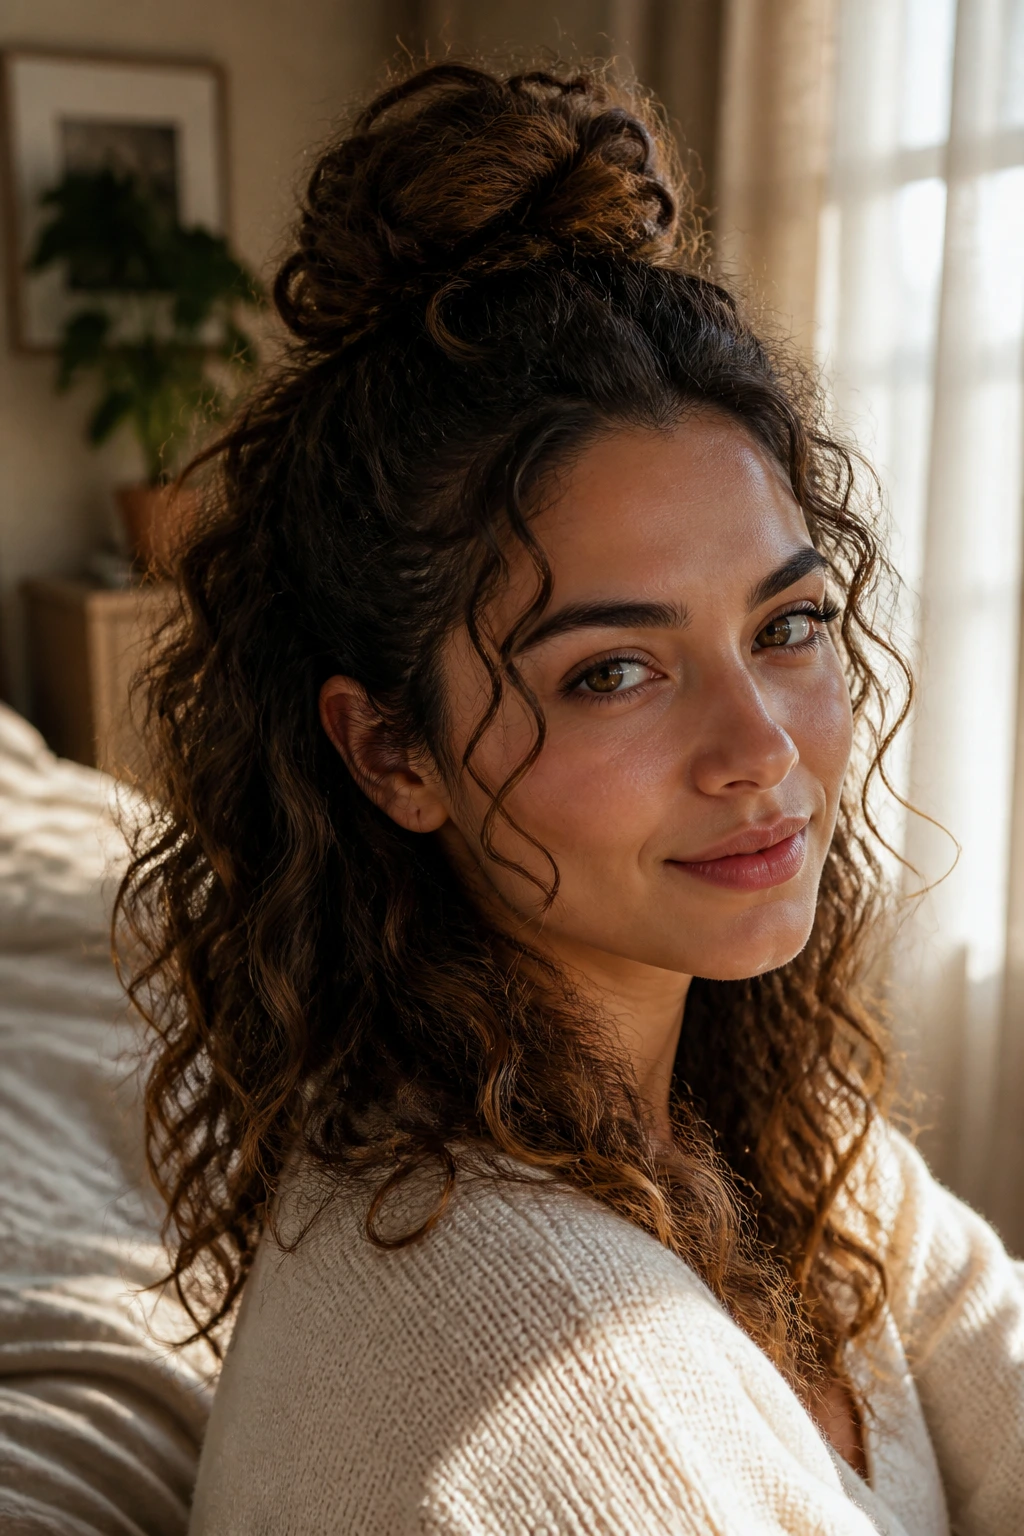
This is less of a cut and more of a styling technique that works for almost any hair length beyond a chin-length bob. By taking the top section of your hair and gathering it into a loose, messy bun on the crown, you allow the bottom layers to hang free, showing off your length while keeping your hair out of your face.
Balancing Volume and Control
The trick is not to pull the hair too tight. You want some volume at the roots. If you pull it back until your eyes feel like they are being stretched, you lose that soft, curly aesthetic. Leave a few stray curls hanging around your temples to frame your face.
Essential Accessories
- Use a silk or satin scrunchie instead of a traditional elastic hair tie. Traditional ties cause friction that leads to breakage and frizz, which is the last thing you want on your crown.
- If you want a more polished look, pin the bun in place with decorative gold or wooden hair forks.
8. The Modern Fro-Hawk
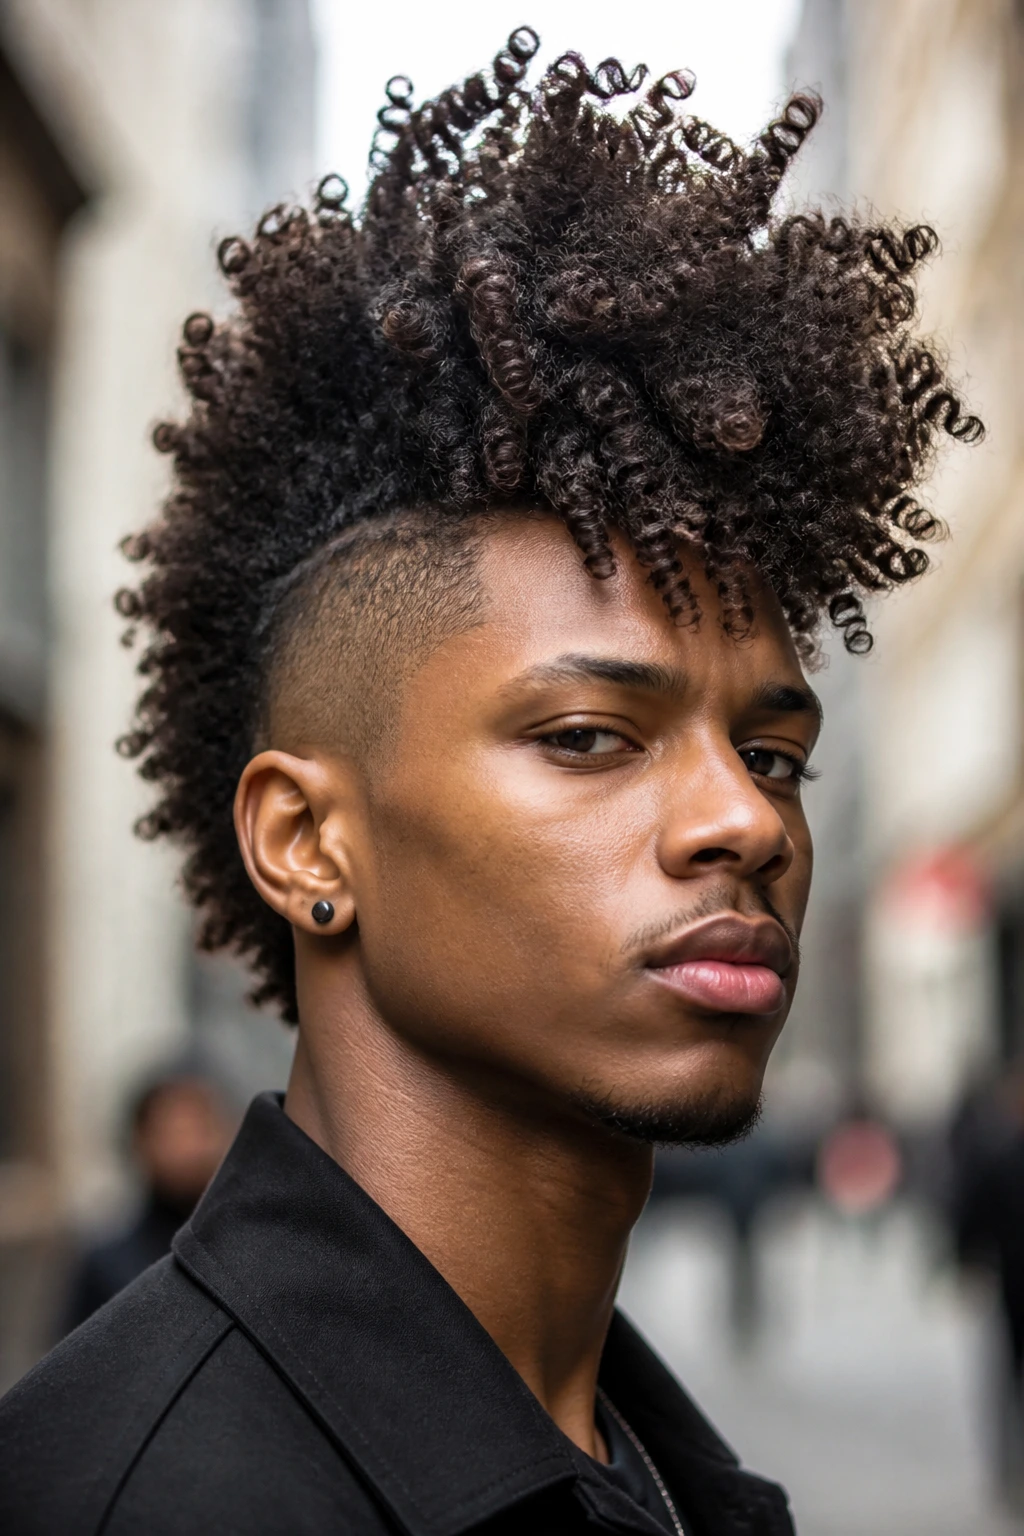
A fro-hawk is the perfect way to embrace a punk aesthetic while maintaining your volume. You essentially keep the sides tight—either braided, slicked down with heavy gel, or tapered—and pull all the volume toward the center of your head, creating a tall, dramatic crest of curls.
How to Build the Height
You will need a strong-hold gel or a pomade to keep the sides held down. For the center, use a pick to fluff the hair outward. You are essentially creating a gravity-defying mountain of curls. It is not an everyday look for most, but it is an incredible statement style for events.
Styling Advice
- Use an edge brush to polish the edges of the sides so they look smooth and deliberate.
- If your hair is too soft, don’t be afraid to use a bit of hairspray to lock the sides in place before you step out the door.
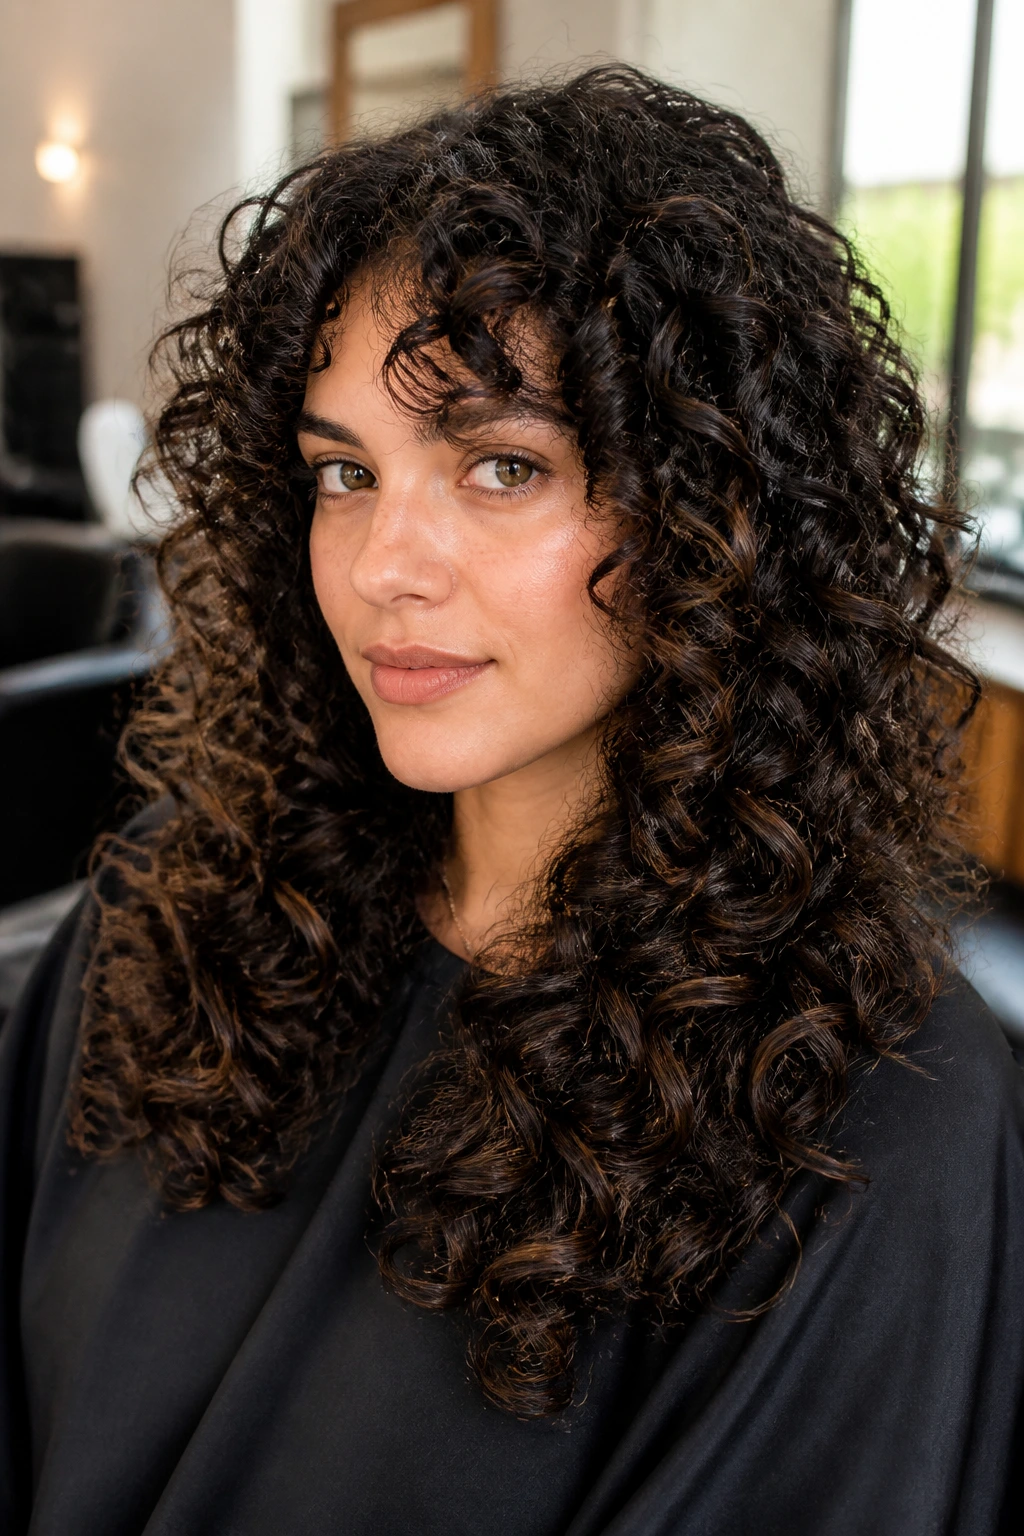
9. The Long and Layered Shag
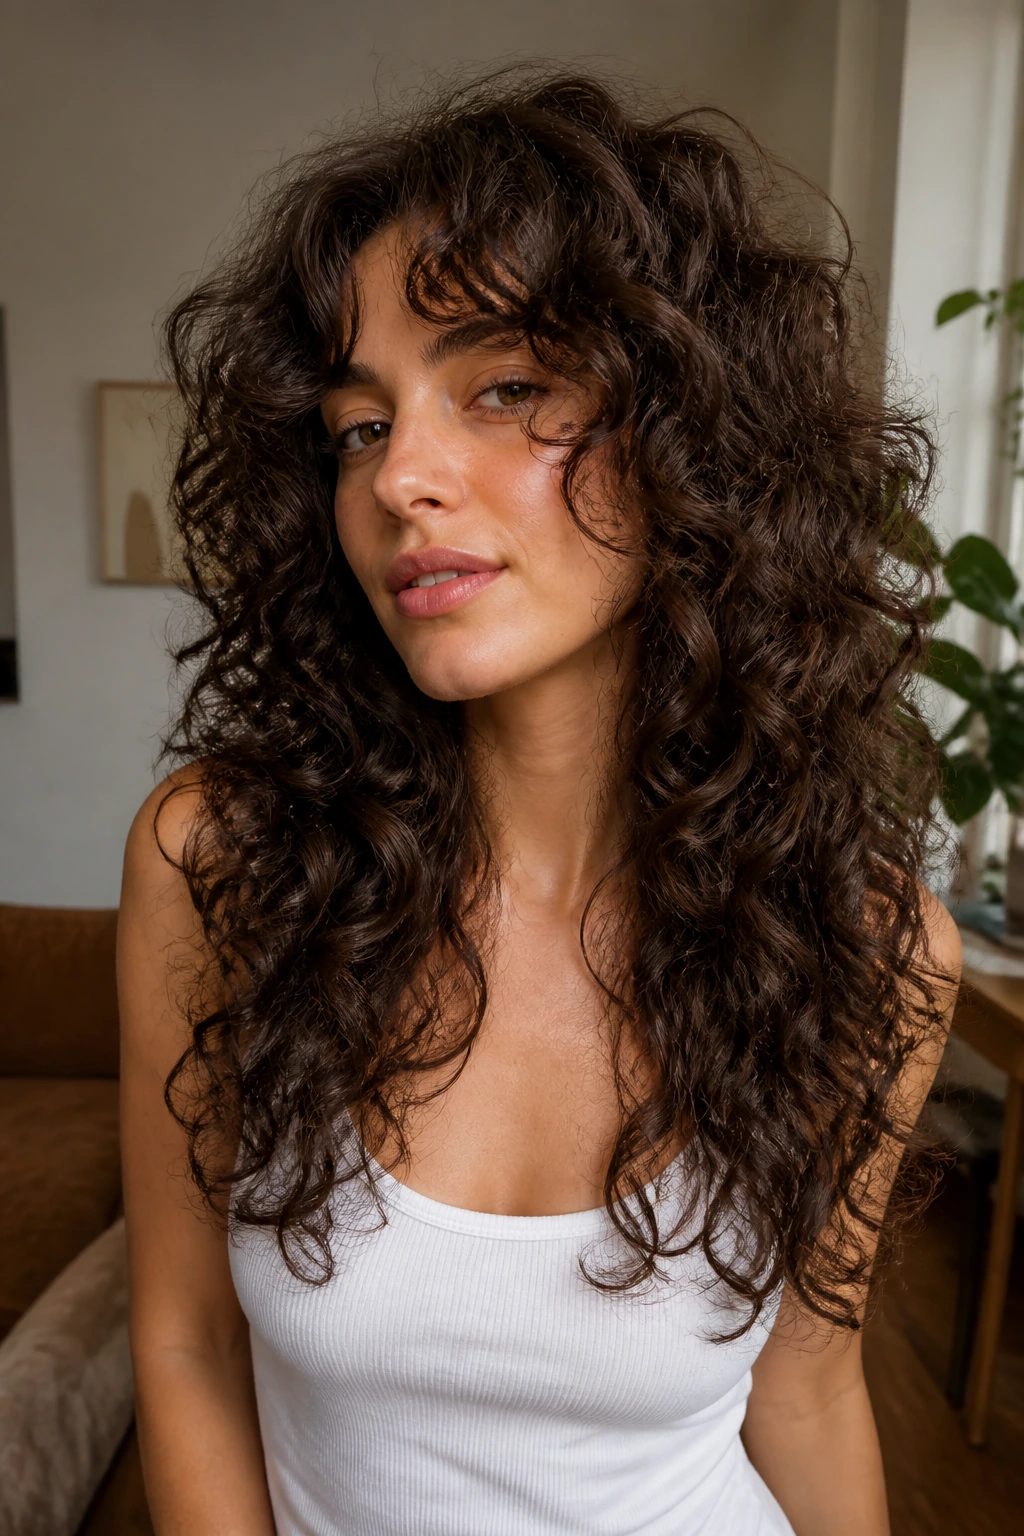
Similar to the short shag but designed for those with significant length, this cut keeps the bottom layers long while adding heavy, face-framing layers around the cheeks and jaw. It creates a beautiful cascading effect that highlights the different sizes of your curls.
Managing the Volume
With longer hair, the shag can quickly become overwhelming if you don’t keep the internal weight managed. Ask for “debulking” in the interior sections of the hair to ensure that the volume stays concentrated where you want it rather than turning into a shapeless, heavy mop.
Product Pairings
- A leave-in conditioner is mandatory here. Long curly hair is prone to dryness at the ends.
- Use a wide-tooth comb in the shower while your hair is saturated with conditioner to ensure the layers are evenly distributed.
10. The Slicked-Back Wet Look

This style is purely about texture and shine. Using a high-quality, alcohol-free styling gel, you smooth your hair away from your face and allow the remaining length to fall in a wet-looking, defined curl pattern. It is the ultimate style for a humid day when you know your hair is going to be unruly anyway.
Why This Style Lasts
The gel provides a “cast” that locks in the moisture. Even if it is drizzling outside, your hair is protected by a layer of product. You don’t have to worry about the curls expanding or losing their shape because they are already set in a rigid, glossy state.
The Application Method
- Apply the product to soaking wet hair. Do not towel-dry first.
- Use a fine-tooth comb to ensure the product is distributed evenly from root to tip, especially along the hairline where you want that sleek, polished look.
11. The Curly Fringe
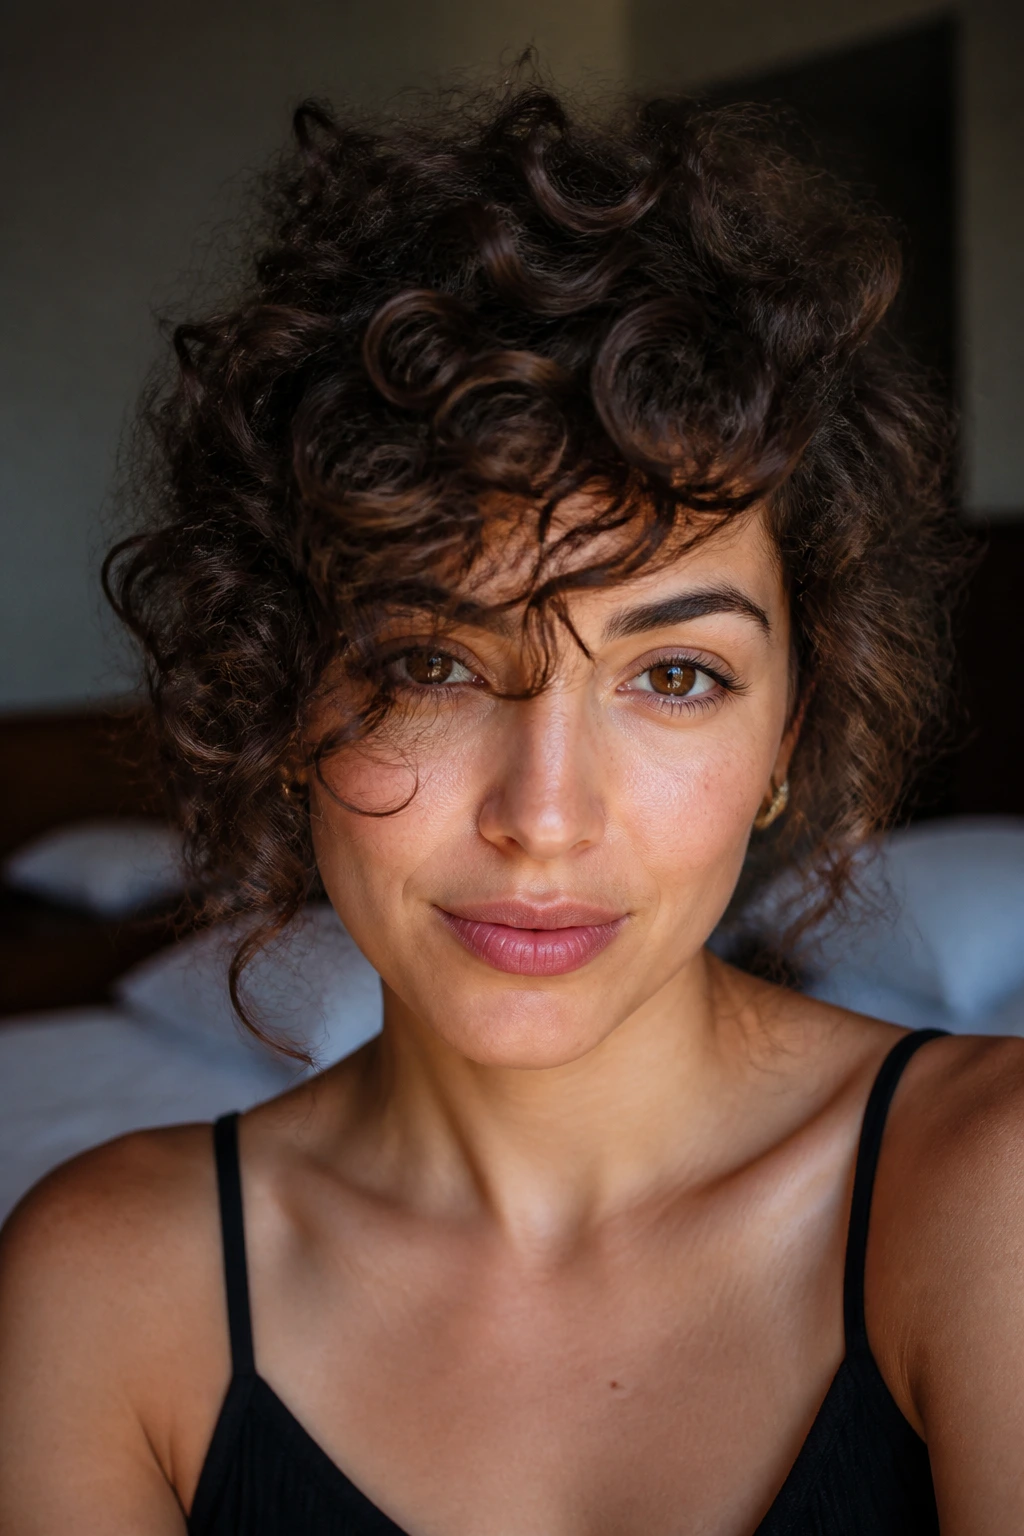
Many people are terrified of bangs when they have curly hair, but a well-cut curly fringe can change your entire look. The trick is cutting them while the hair is dry and in its natural, shrunken state. If you cut them wet, they will bounce up three inches higher than you expect, and you will be left with a look you didn’t ask for.
Customizing Your Bangs
Depending on your curl pattern, you might want wispy, see-through bangs or a thick, solid row of curls. For tighter curls, go for a slightly longer, soft-layered bang that you can push to the side or wear straight forward. For looser waves, a heavier fringe looks purposeful and retro.
Styling the Fringe
- Use a small amount of curl cream on your fingers to individually define the curls in your bangs.
- If they start to look frizzy, mist them with a little bit of water and re-coil them around your finger for five seconds.
12. The Low-Slung Ponytail
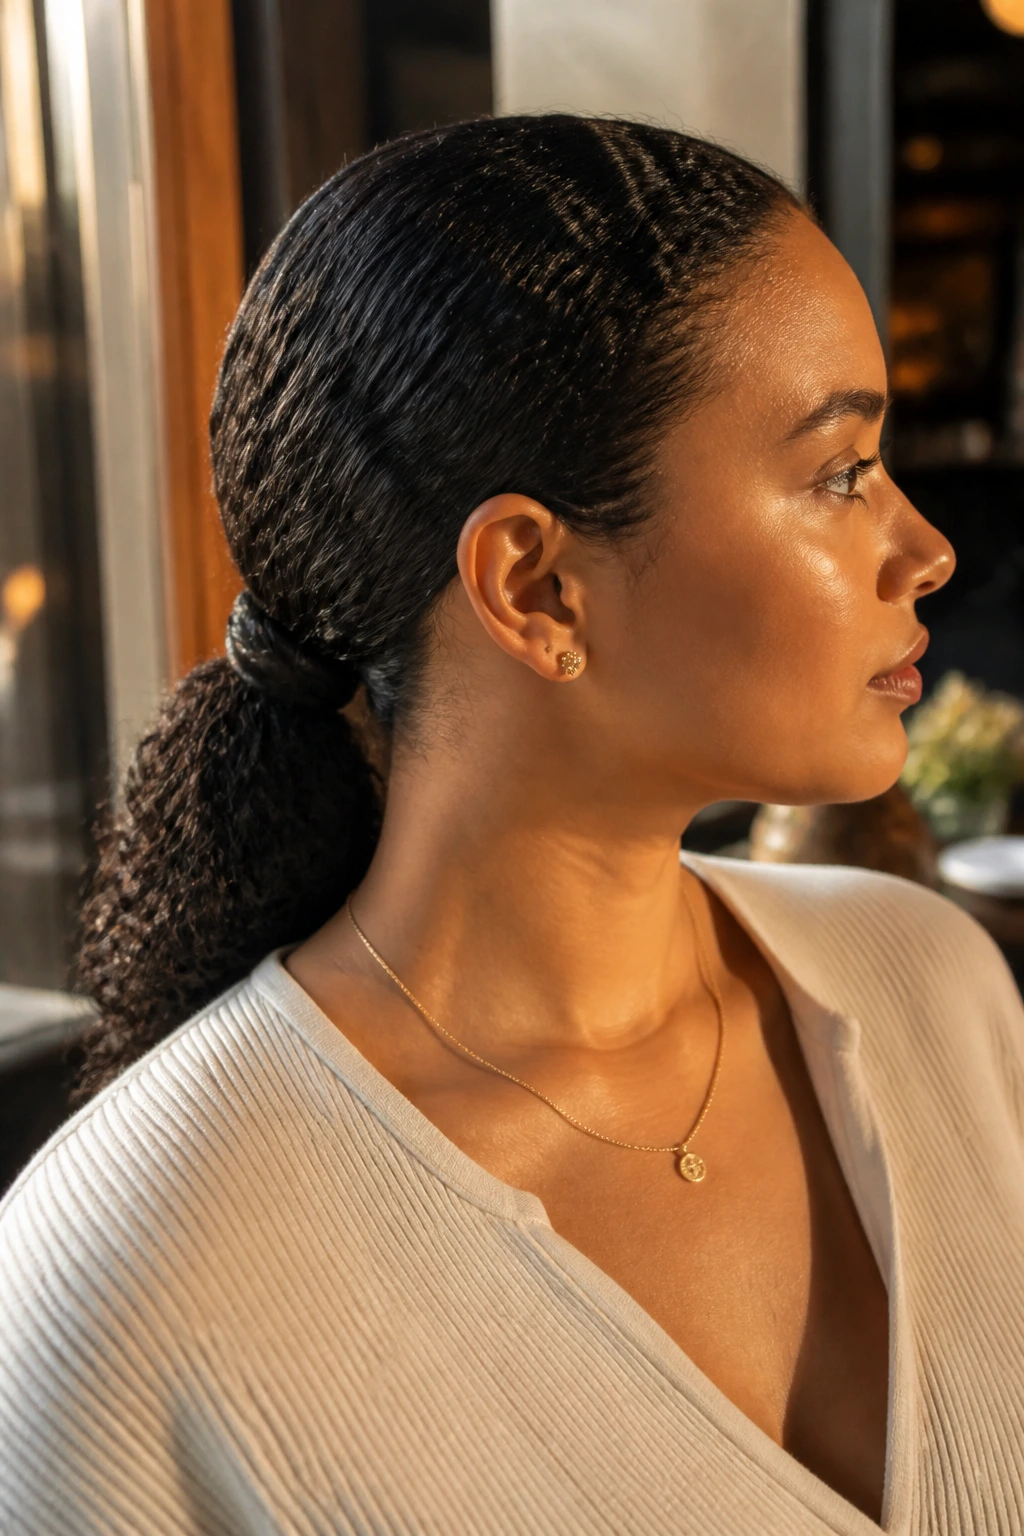
There is a misconception that curly hair always needs to be big and wild. Sometimes, the most elegant choice is a sleek, low-slung ponytail at the nape of the neck. It tames the volume and allows the curls to fall like a cascading silk scarf down your back.
The Secret to the Base
Don’t just gather your hair and tie it. Take a small section of hair from the underside of the ponytail, wrap it around the elastic, and pin it underneath. This hides the band and makes the entire style look like it was professionally done.
Maintenance
- Use a serum or light oil on the lengths of your ponytail to make them look uniform and shiny.
- If you find that your hairline is too frizzy, use a toothbrush with a bit of gel to smooth the flyaways back into the base.
13. The Two-Strand Twist Out
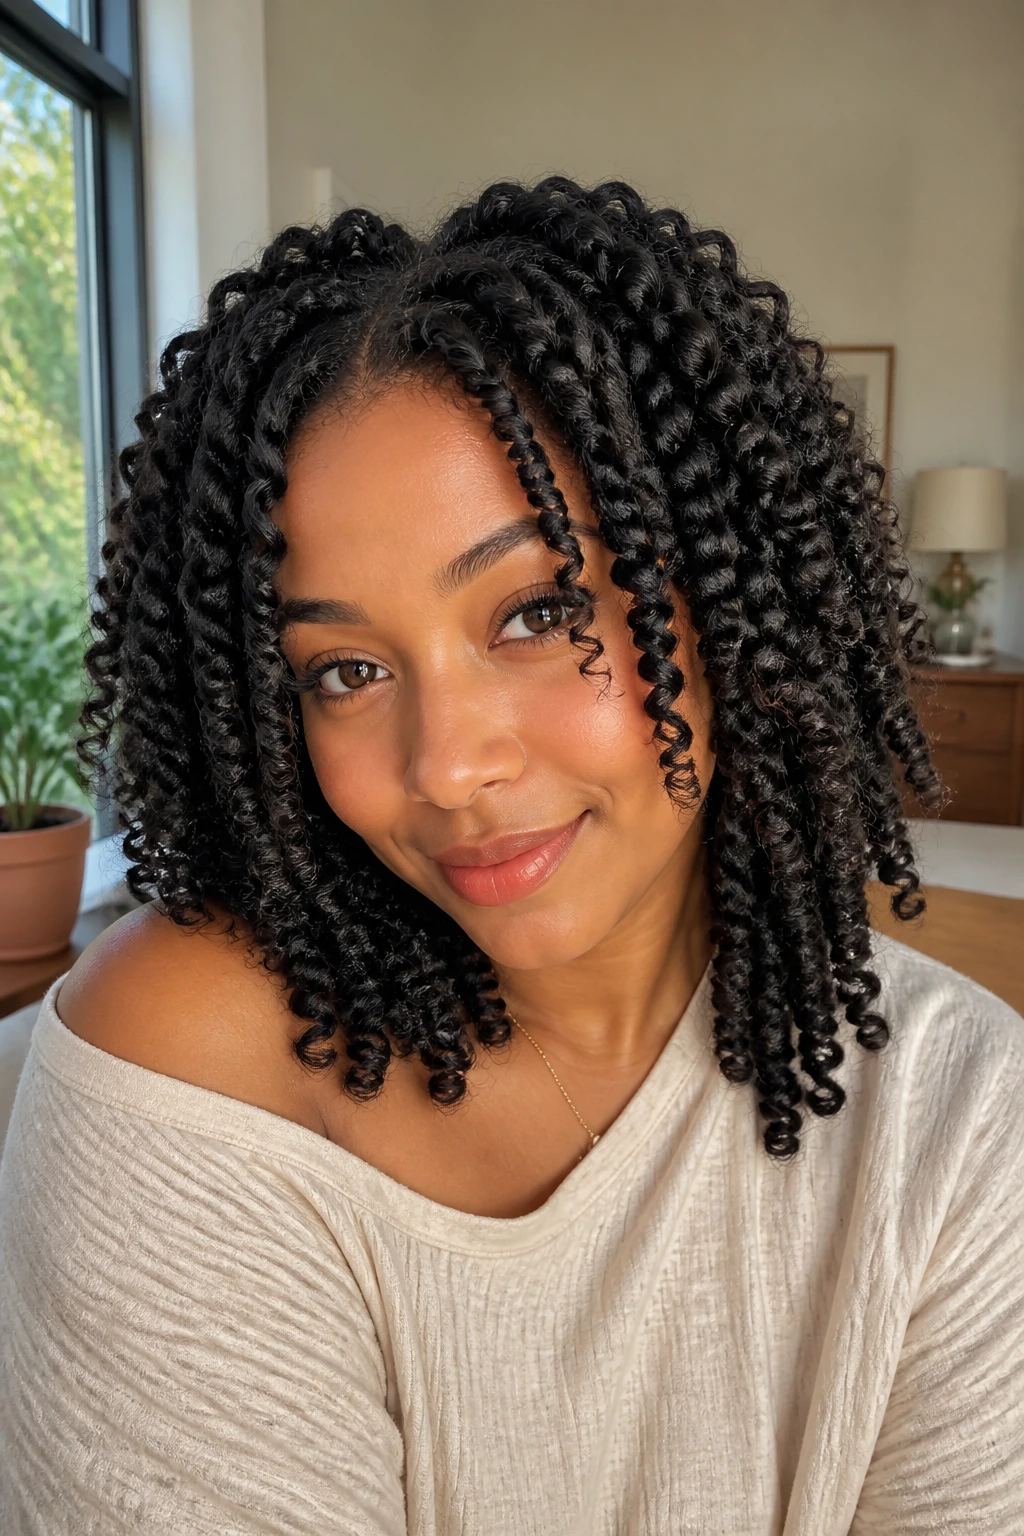
This is more of a technique than a cut, but it results in a specific look that is highly desirable for 3C and 4-type hair. By twisting damp hair in sections and letting it dry completely before unraveling, you get a beautiful, elongated, and highly defined result that lasts for days.
Why It’s Better Than a Wash-and-Go
A wash-and-go is lovely, but the twist-out provides a more uniform curl pattern. You are essentially “training” the hair to coil in a specific way. The result is consistently shaped ringlets that are less prone to matting because they have been organized into neat sections.
Tips for Longevity
- Protect your hair at night with a satin bonnet or pillowcase.
- To refresh the look, mist it lightly with water and use a light oil to prevent friction when you fluff it up in the morning.
14. The Asymmetrical Bob
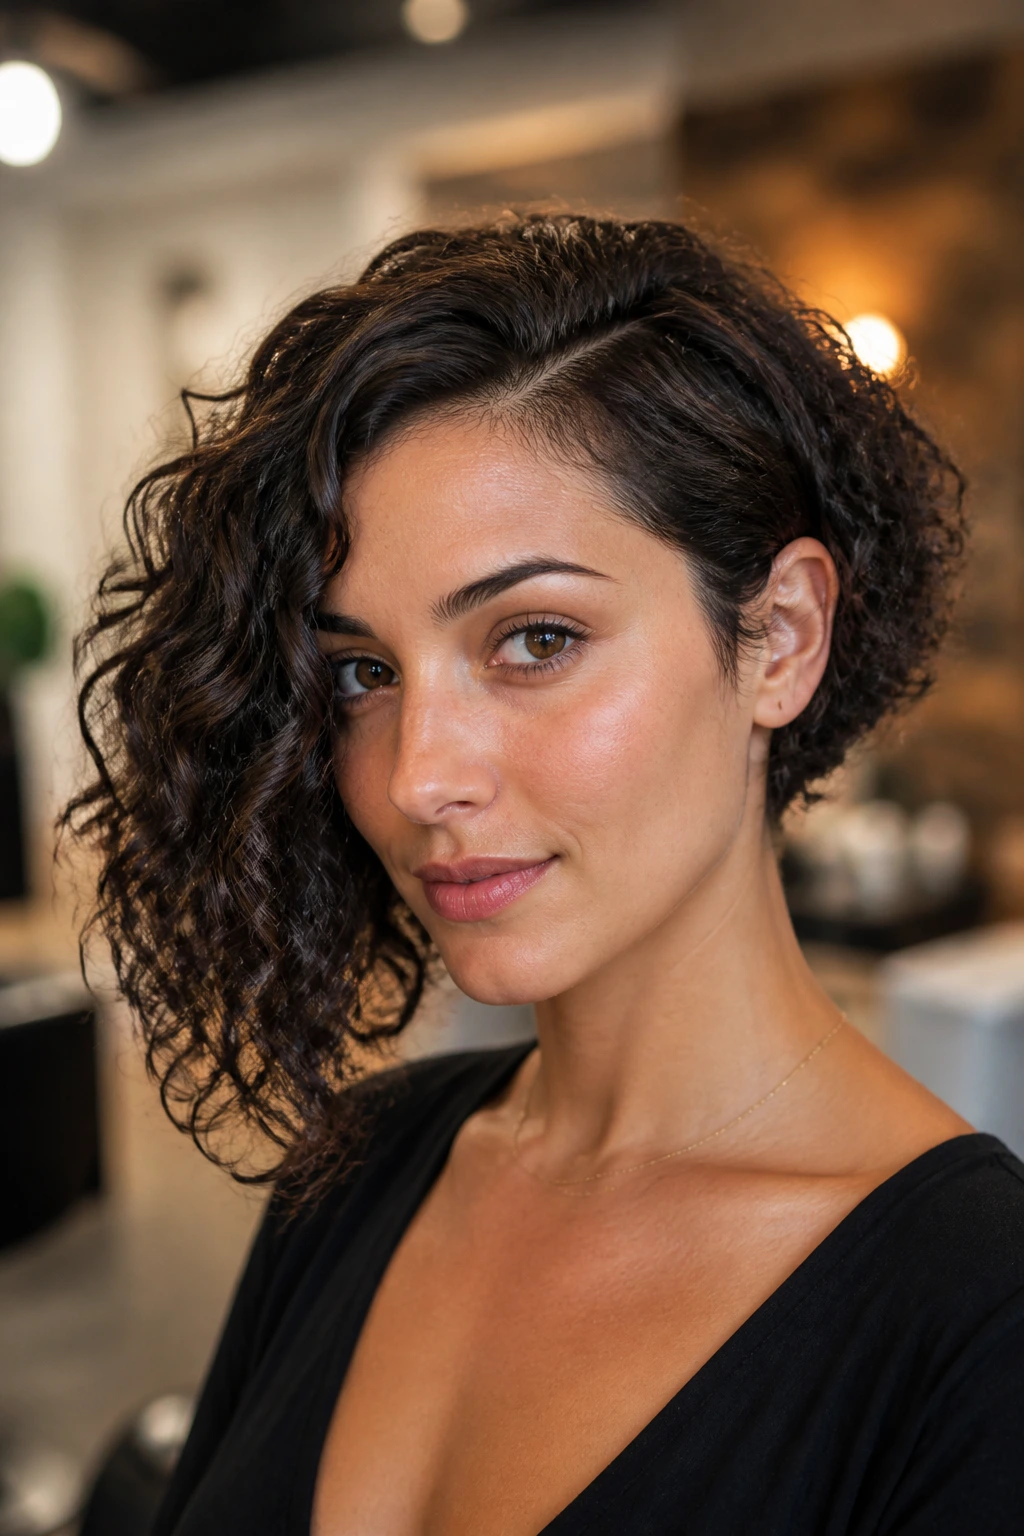
If you have a strong jawline, an asymmetrical bob—longer on one side than the other—can be incredibly flattering. It creates a dynamic, architectural silhouette that looks great whether your hair is full of volume or sleekly defined.
Balancing the Lengths
Make sure the transition between the short side and the long side is seamless. A jagged, uneven cut here will look like a mistake. Ask your stylist to use a point-cutting technique where the hair is cut at an angle to create a soft, flowing graduation from the short side to the long side.
Styling for Interest
- Try tucking the shorter side behind your ear and using a statement earring to draw focus to that side.
- Use a bit of volume mousse on the long side to keep it from looking flat compared to the short, bouncy side.
15. The Half-Moon Layers
This is a specific cutting technique that removes weight from the mid-lengths and ends. By creating a “half-moon” shape in the interior of the hair, you ensure that the curls at the top of your head have room to move and breathe without being squashed by the weight of the bottom layers.
Who Needs This Cut
If you have very thick, coarse curls that tend to get stuck in a triangle shape, this is your solution. It doesn’t look layered from the outside, so you keep that long-hair look, but it feels infinitely lighter and bouncier.
The Result
Your hair will have significantly more swing. Instead of a solid block of hair, you will notice individual curls moving independently as you walk. It makes the hair feel “healthy” and “alive.”
16. The Curly Top Knot
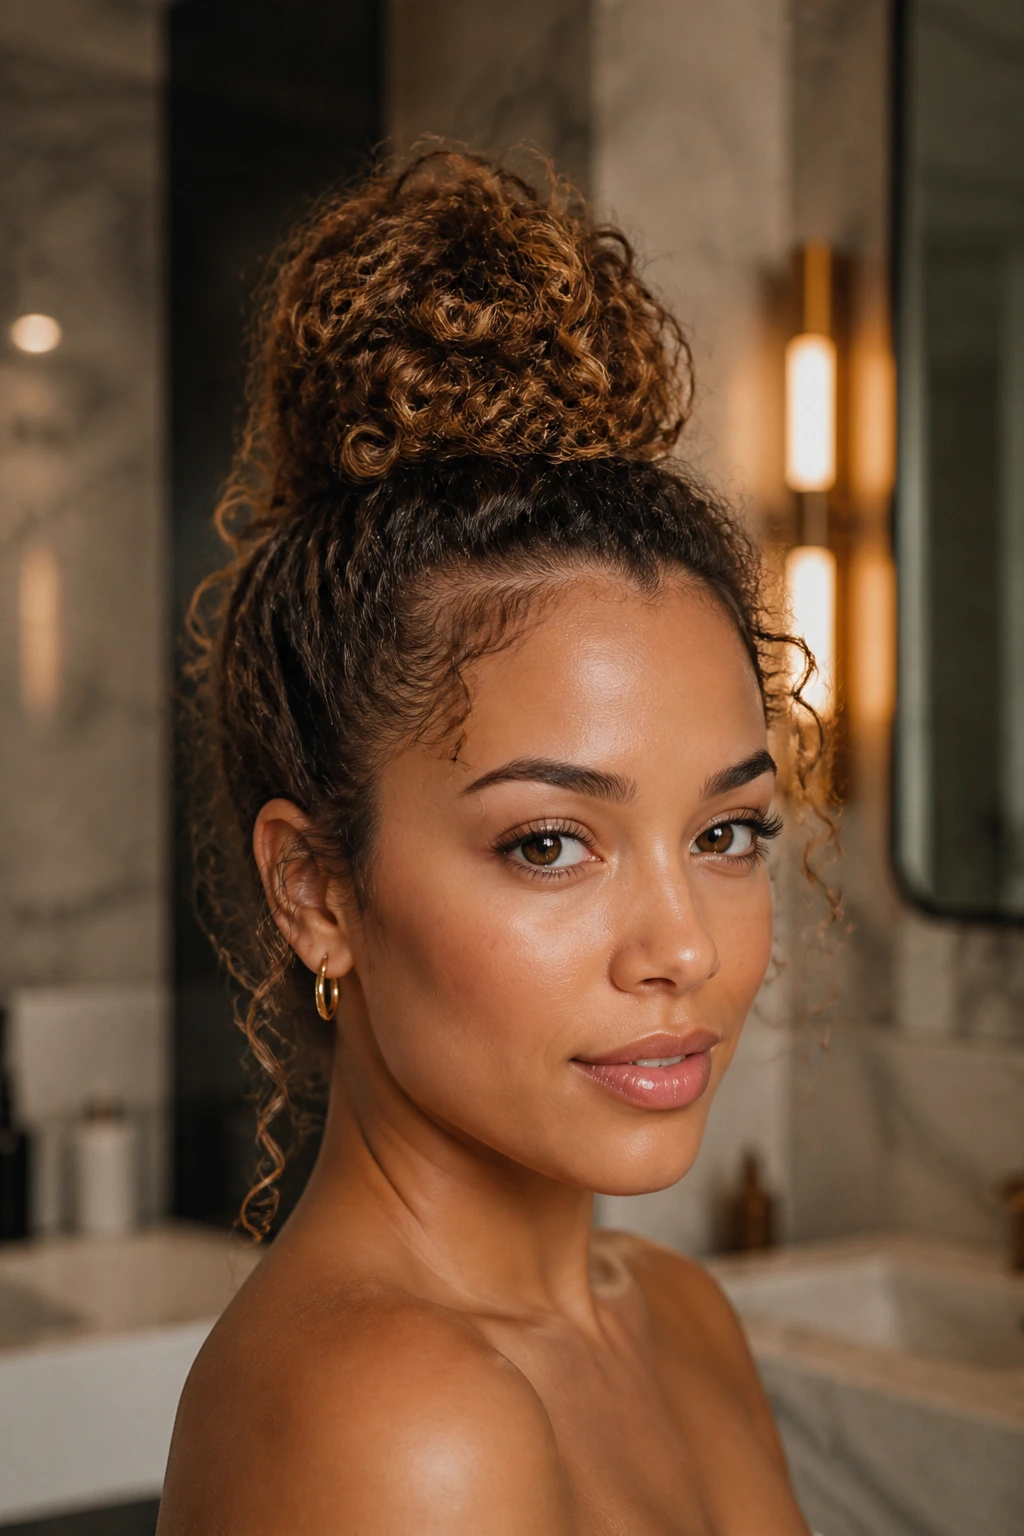
For those days when you just cannot deal with your curls, the top knot is the ultimate savior. But don’t settle for a messy, loose bun. A polished, curly top knot, where you leave a few tendrils hanging down around your ears, looks chic and purposeful.
How to Achieve the Look
Gather your hair high on the crown. Use a gel to smooth down the sides, and then pull your hair through an elastic. Don’t pull the ends all the way through; loop them to create a bun. Use bobby pins to secure any stray curls that don’t fit into the bun itself.
Final Touches
- If your hair is too thin to create a full bun, use a hair donut that matches your hair color as a base to wrap your curls around.
- Add a velvet scrunchie for a touch of texture contrast.
17. The Blunt-Cut Lob

A “lob” or long bob is arguably the most versatile haircut in existence. It hits right at the collarbone. It is long enough to pull back into a ponytail if you are working out, but short enough that it doesn’t weigh you down during the day.
The Power of the Blunt Edge
The blunt cut is crucial here. Do not layer the ends too much. You want a heavy, solid line that frames your face and gives you a sense of structure. This look is fantastic for 2C to 3A curls that need a bit of discipline to keep from looking fuzzy.
Styling the Lob
- Use a diffuser to dry the hair while flipping your head upside down. This builds the necessary volume at the roots so the blunt edges don’t look like a helmet.
- Apply a texturizing cream while the hair is still damp to encourage those curls to clump together.
18. The Crown Braid with Loose Curls
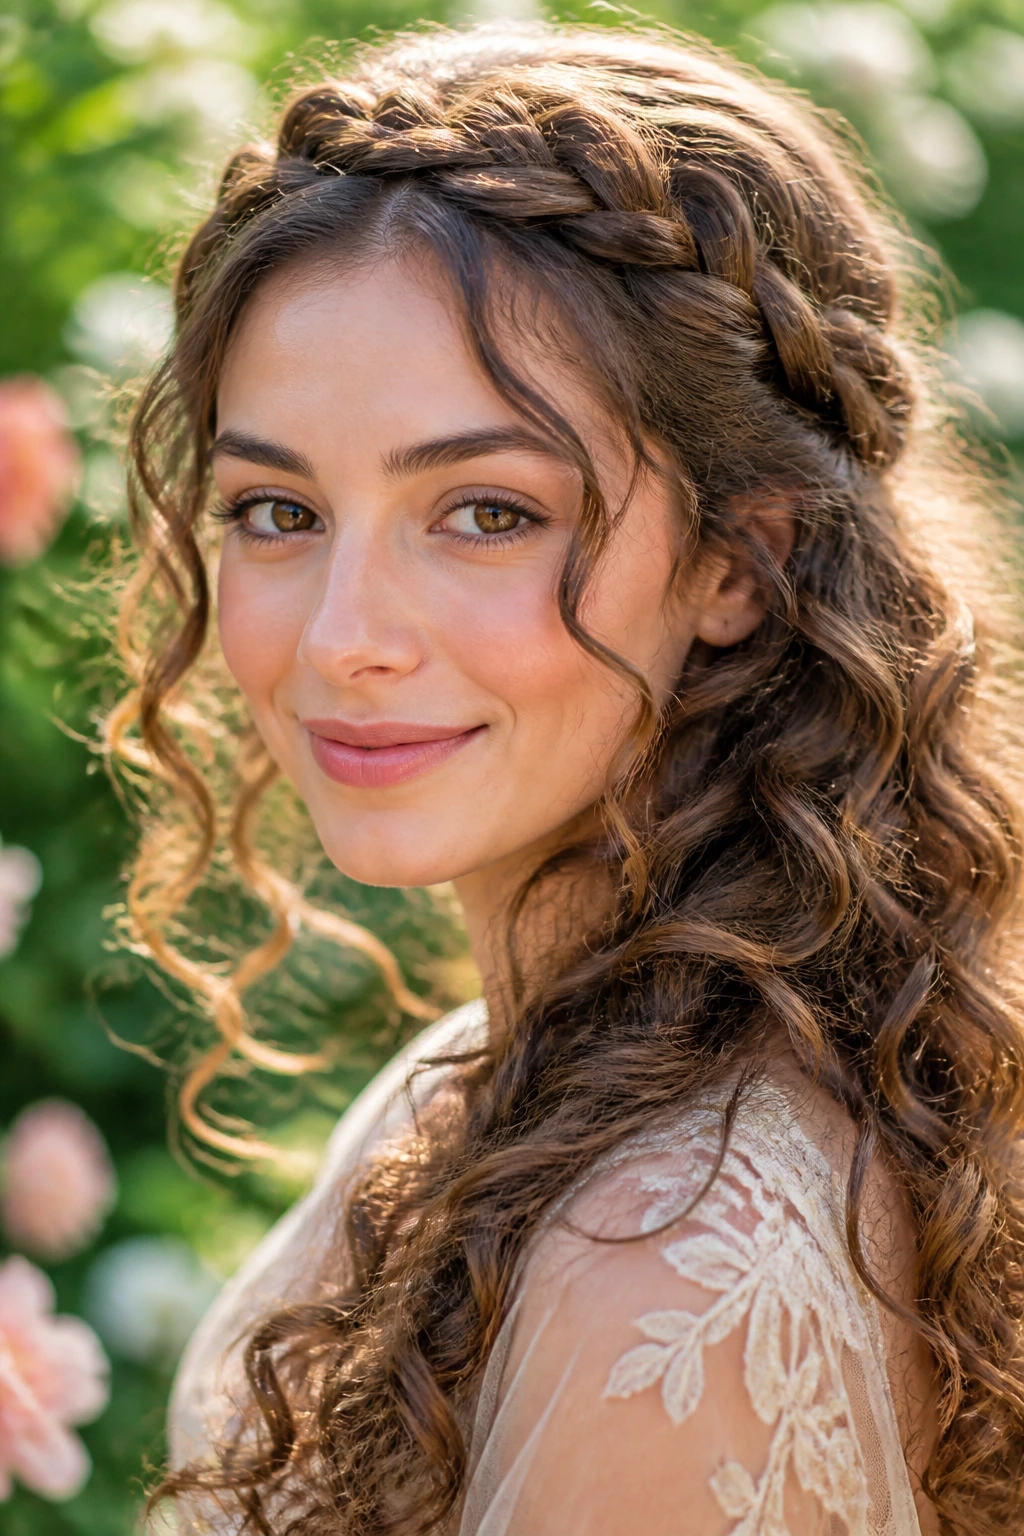
This is a romantic, ethereal style that works by braiding the hair along the hairline and leaving the rest of the curls to flow down the back or side. It is perfect for weddings or any event where you want to feel a bit more formal while still celebrating your texture.
Managing the Braid
The braid acts as a natural headband. It keeps the hair off your face, which is incredibly useful during warmer months. You can do a simple three-strand braid, or if you are feeling ambitious, a Dutch or French braid for more dimension.
Adding Volume
- Gently pull on the edges of your braid once you have secured it to give it a softer, more “lived-in” appearance.
- Let the curls around your face hang loose and free. Do not tuck every single piece into the braid.
19. The Spiral-Cut Layers
Unlike standard layers, spiral cuts follow the rotation of your curls. This is an advanced technique where the stylist looks at how your individual ringlets are coiled and cuts at an angle that respects the direction of the spiral. It prevents the ends from turning outward or looking jagged.
Why This is an Investment
Finding a stylist who is trained in spiral cutting is a game-changer. They will likely dry-cut your hair, meaning they shape it while it is in its natural state, curl by curl. It is the most precise way to ensure that your haircut looks good for months on end.
Maintenance
- Since the cut is personalized to your curl pattern, you won’t need as many styling products to get your hair to sit correctly.
- Be prepared to pay a premium; this is a specialized service that takes time and specific artistic knowledge.
20. The Natural Wash-and-Go
This is the ultimate test of a great haircut. If your hair looks good with nothing more than a bit of leave-in conditioner and some air-drying time, you know you have the right cut. It is simple, honest, and allows your natural hair to be exactly what it is.
The Importance of the Cut
To make a wash-and-go look intentional, you need a cut that provides shape even when the hair is wet. This usually means a good set of layers and perhaps some softening around the face. If you have a solid foundation, the wash-and-go is not just an “lazy” style—it’s a power move.
How to Master It
- Find a product that provides both moisture and hold.
- Do not touch your hair while it dries. This is the biggest mistake people make. The more you touch it, the more you break the curl clumps, leading to frizz. Let it dry completely before you do any fluffing at the roots.
Final Thoughts

When you stop fighting your natural hair, the possibilities for expression are endless. Whether you go for a sharp, asymmetrical bob that highlights your jaw or a voluminous afro that celebrates your density, the best cut is the one that makes you feel like you aren’t doing any work. Remember, curl patterns are not static; they change based on your health, your hydration levels, and even your environment.
The most important takeaway is to find a stylist who understands the science of coils. A bad cut on curly hair is nearly impossible to hide, but a great cut is a roadmap for your morning routine. Don’t be afraid to try shorter lengths, and never underestimate the power of a few strategically placed layers. Your curls have their own personality, and the right style is just a way of letting that personality take the lead. Take your time, experiment, and keep your hair hydrated. Everything else is just a matter of finding the right silhouette for your face.