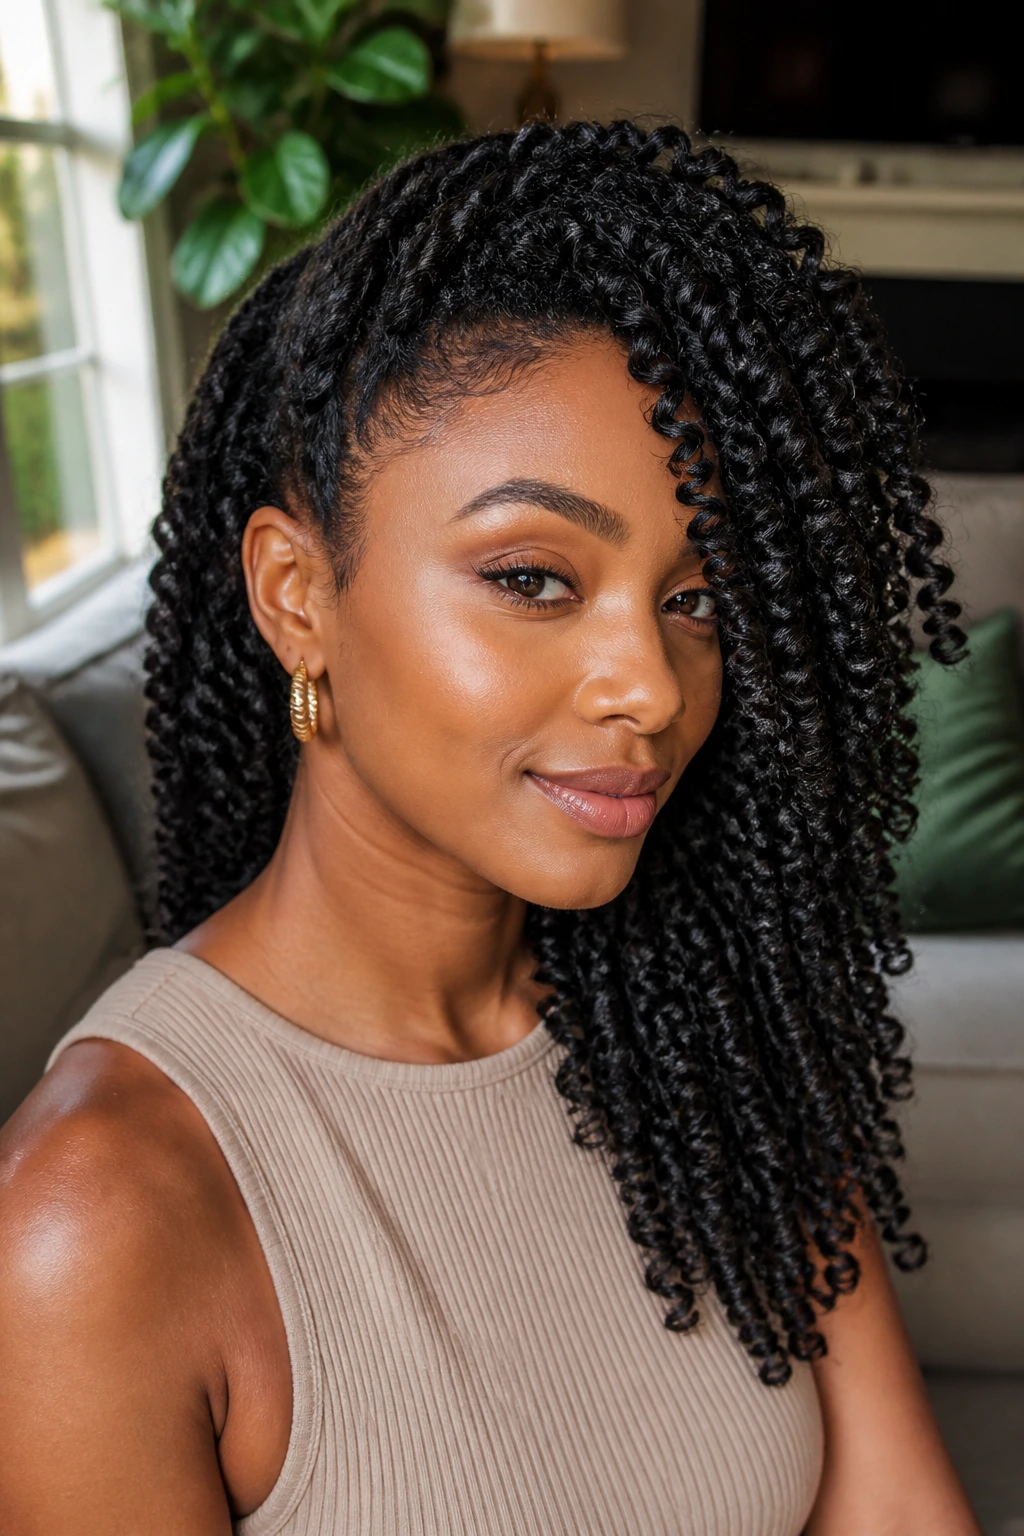
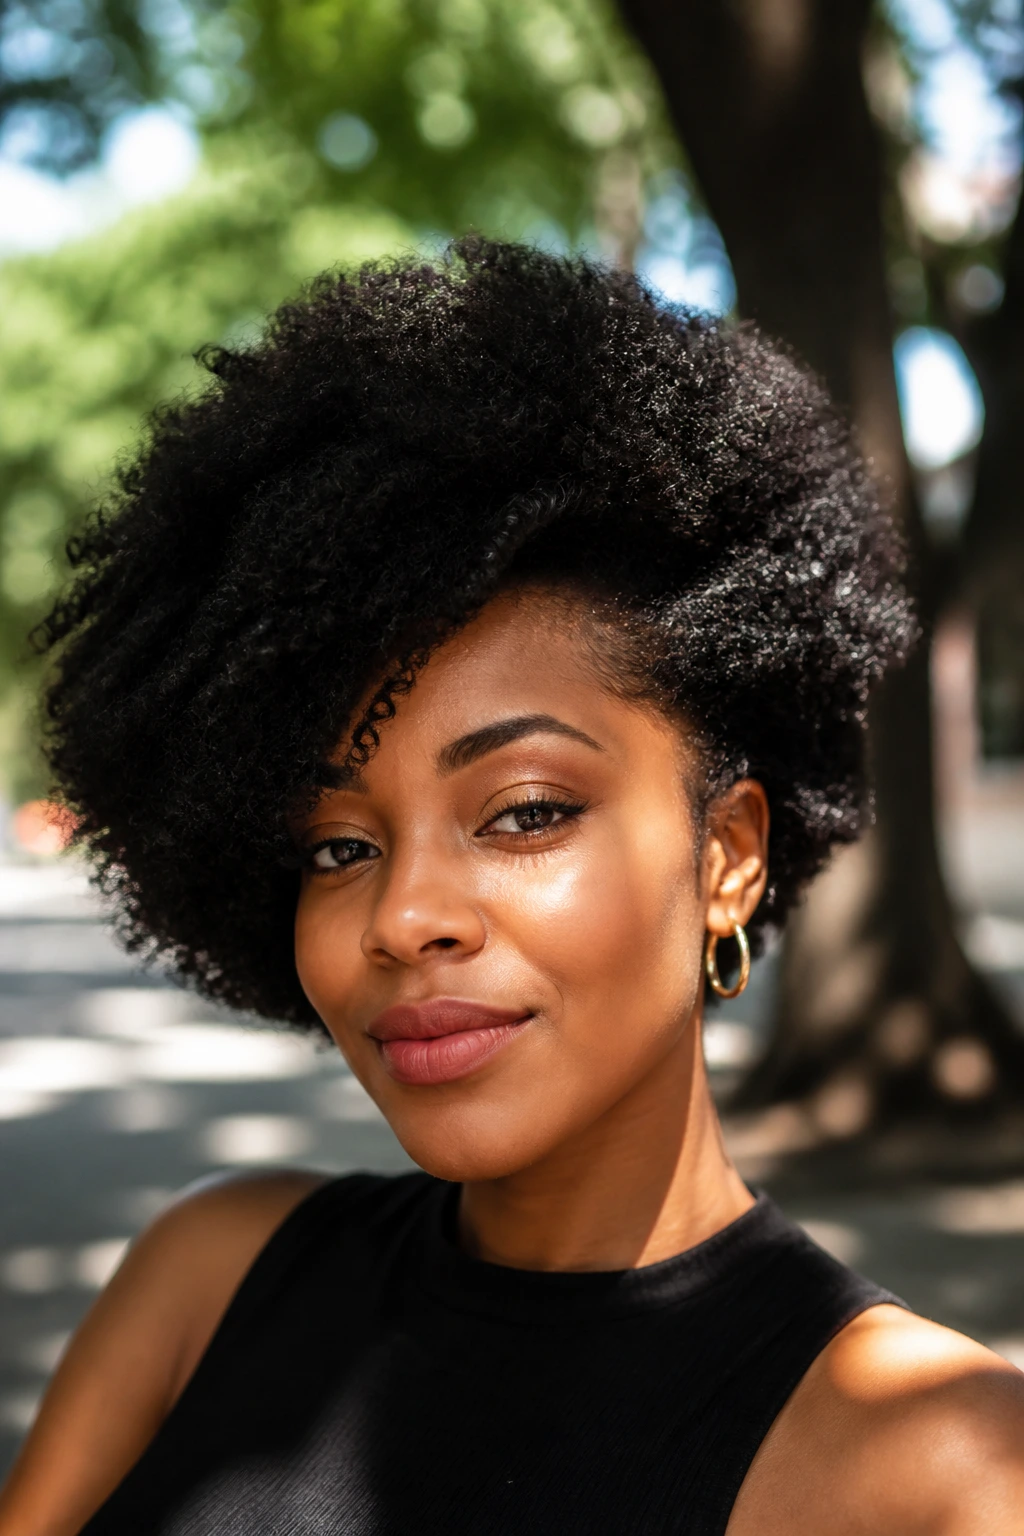
The art of the side-swept look is a masterclass in balance. It transforms the natural landscape of your curls into a dramatic, asymmetrical statement that frames the face in a way a center part simply cannot. Whether you are working with tight, springy coils or loose, voluminous waves, shifting the weight of your hair to one shoulder introduces a sense of elegance that works for a boardroom presentation just as well as it does for a gala. This style is not merely about pulling hair to the side; it is about respecting the integrity of your curl pattern while manipulating volume to create a sophisticated silhouette.
Finding the right execution depends entirely on your hair’s natural texture and the specific length you are working with. While many assume this style requires excessive heat, the most durable and healthy versions rely on the architecture of your natural growth. Let us walk through the most effective ways to achieve this look, focusing on hair health, styling longevity, and the subtle techniques that keep your curls looking intentional rather than accidental.
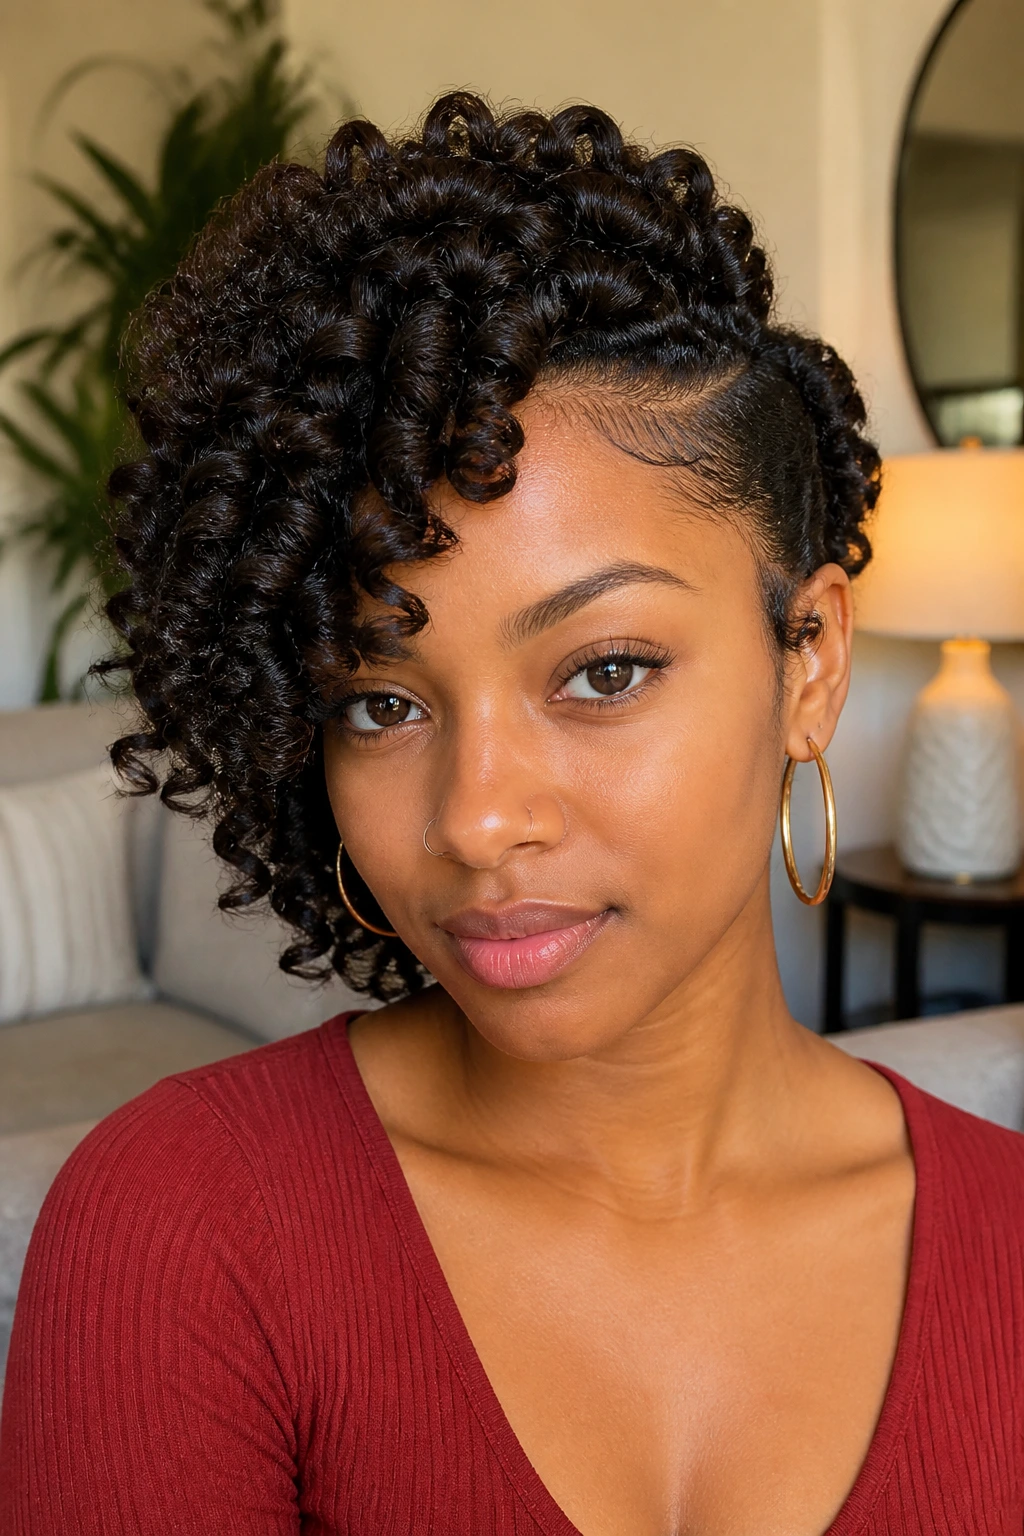
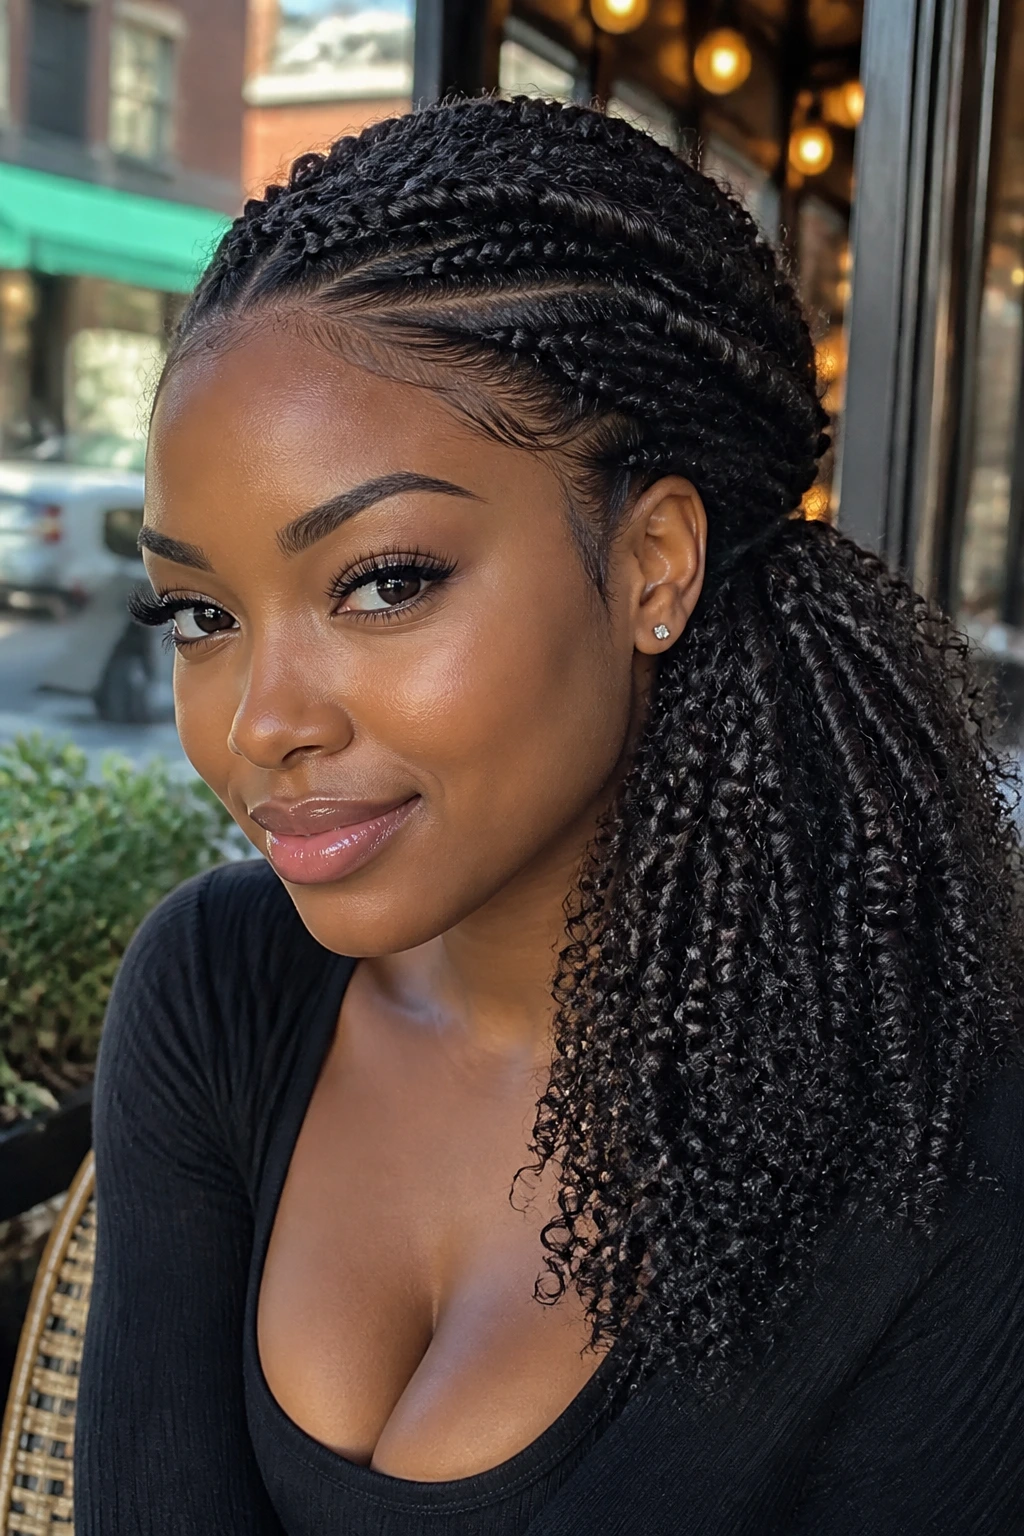
1. Deep Side-Parted Defined Coils
Starting with a dramatic side part is the quickest route to an instant side-swept aesthetic. By using a tail comb to carve out a sharp, clean line just above the arch of your eyebrow, you force the hair to cascade across the forehead and onto one shoulder. This technique is particularly effective for those with 4C texture who want to showcase the density of their hair while keeping the face clear on one side.
Why This Style Works for Tight Textures
When your hair is densely packed with tight coils, a deep part acts as a visual guide. It tells the eye exactly where the volume should live, preventing the hair from appearing uniform or “box-like” around the face. The result is a sculptural look that feels intentional and high-fashion.
How to Achieve the Shape
- Begin on freshly washed, conditioned hair while it is still damp.
- Apply a high-hold curling custard or gel from root to tip, ensuring each section is saturated to prevent frizz.
- Use a rattail comb to create a deep diagonal part, starting from your temple and pulling toward the crown.
- Use bobby pins at the nape of the neck on the side with less hair to pull it snugly against the scalp, creating a “faux-undercut” effect.
Pro tip: Diffuse the side with more hair while pushing the curls upward toward the center of your head to maximize height and volume.
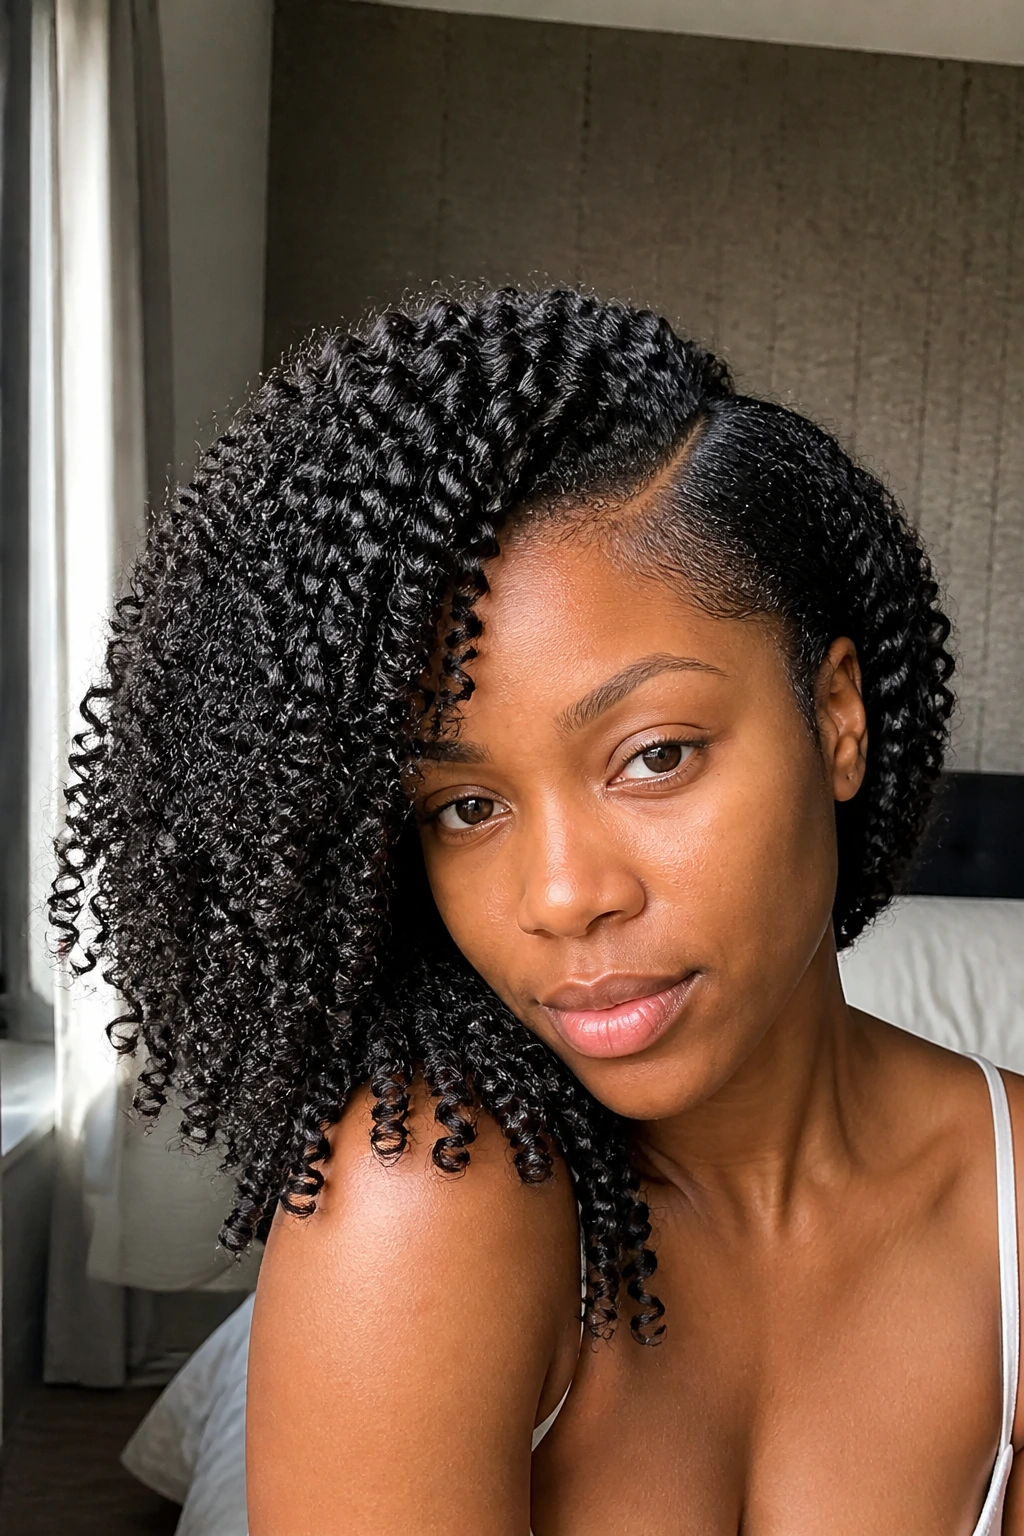
2. Voluminous Two-Strand Twist Out
The beauty of the twist out lies in the texture it creates—ribbons of defined curls that hold their shape for days. When you pin these twists to one side, you are essentially creating a lush, cascading curtain of hair. This method is perfect for those who want a soft, touchable look that doesn’t feel overly stiff or gel-heavy.
Managing the Volume
A common hurdle with twist outs is the “triangle shape,” where the hair grows out rather than down. To counter this when sweeping your hair to the side, focus on pinning the base of your curls near the ear. This anchors the weight and forces the curls to drape down your shoulder rather than puffing out at the top.
Maintaining the Style
- After unraveling your twists with a bit of lightweight oil, do not shake your hair too vigorously.
- Gather the hair at the nape of the neck on your preferred side and secure it with a large decorative clip or a series of hidden hair pins.
- Use your fingers to gently pull on the curls near your hairline to create a soft, rounded sweep across the forehead.
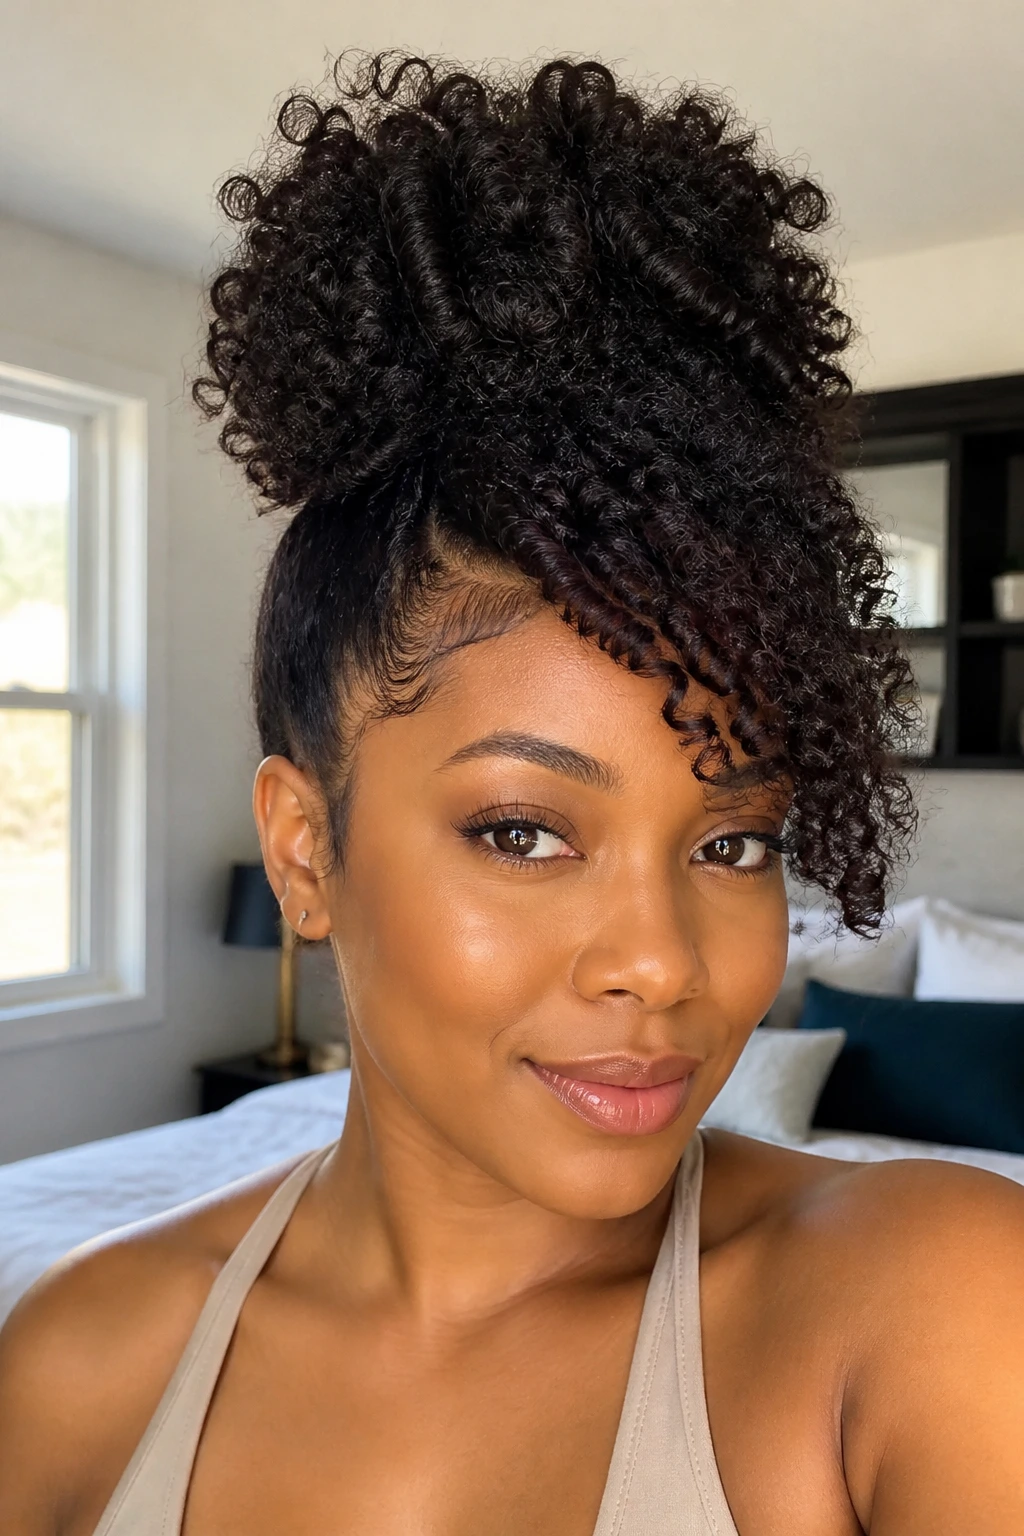
3. High-Puff Side Sweep with Beaded Accents
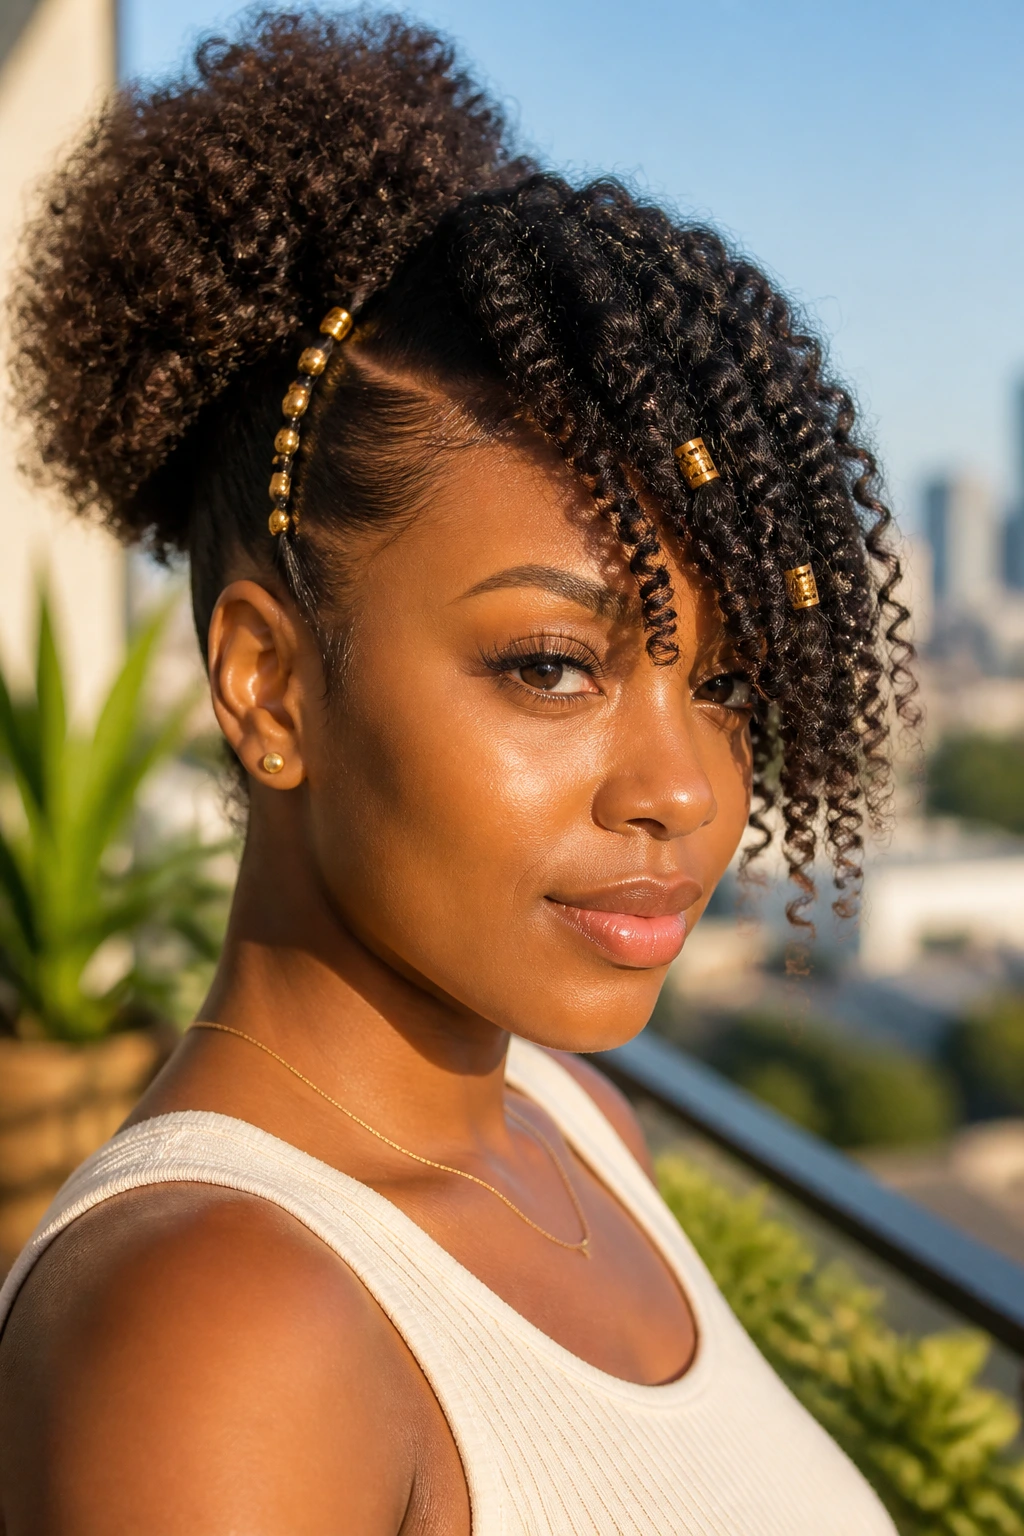
For those days when you need your hair out of your face but still want to make an impression, the side-swept puff is the answer. By gathering your hair into a ponytail that sits just behind your ear, you create a chic, elevated look that highlights your facial features and allows for personal expression through accessories.
The Power of Accessories
Adding gold cuffs, wooden beads, or metallic rings to the base of your puff or along the loose curls of the sweep itself adds a layer of refinement. These small details break up the monotony of dark hair and provide a focal point that draws the eye.
Why It Stays Secure
The structure of a high puff relies on a sturdy hair tie that can handle the weight of your curls. If you find your hair slipping, use two hair ties connected by a bobby pin—hook one pin into the base, wrap the elastic around, and hook the second pin on the opposite side. This “anchor” technique keeps the puff from drooping.
4. Soft Wand-Set Cascading Curls
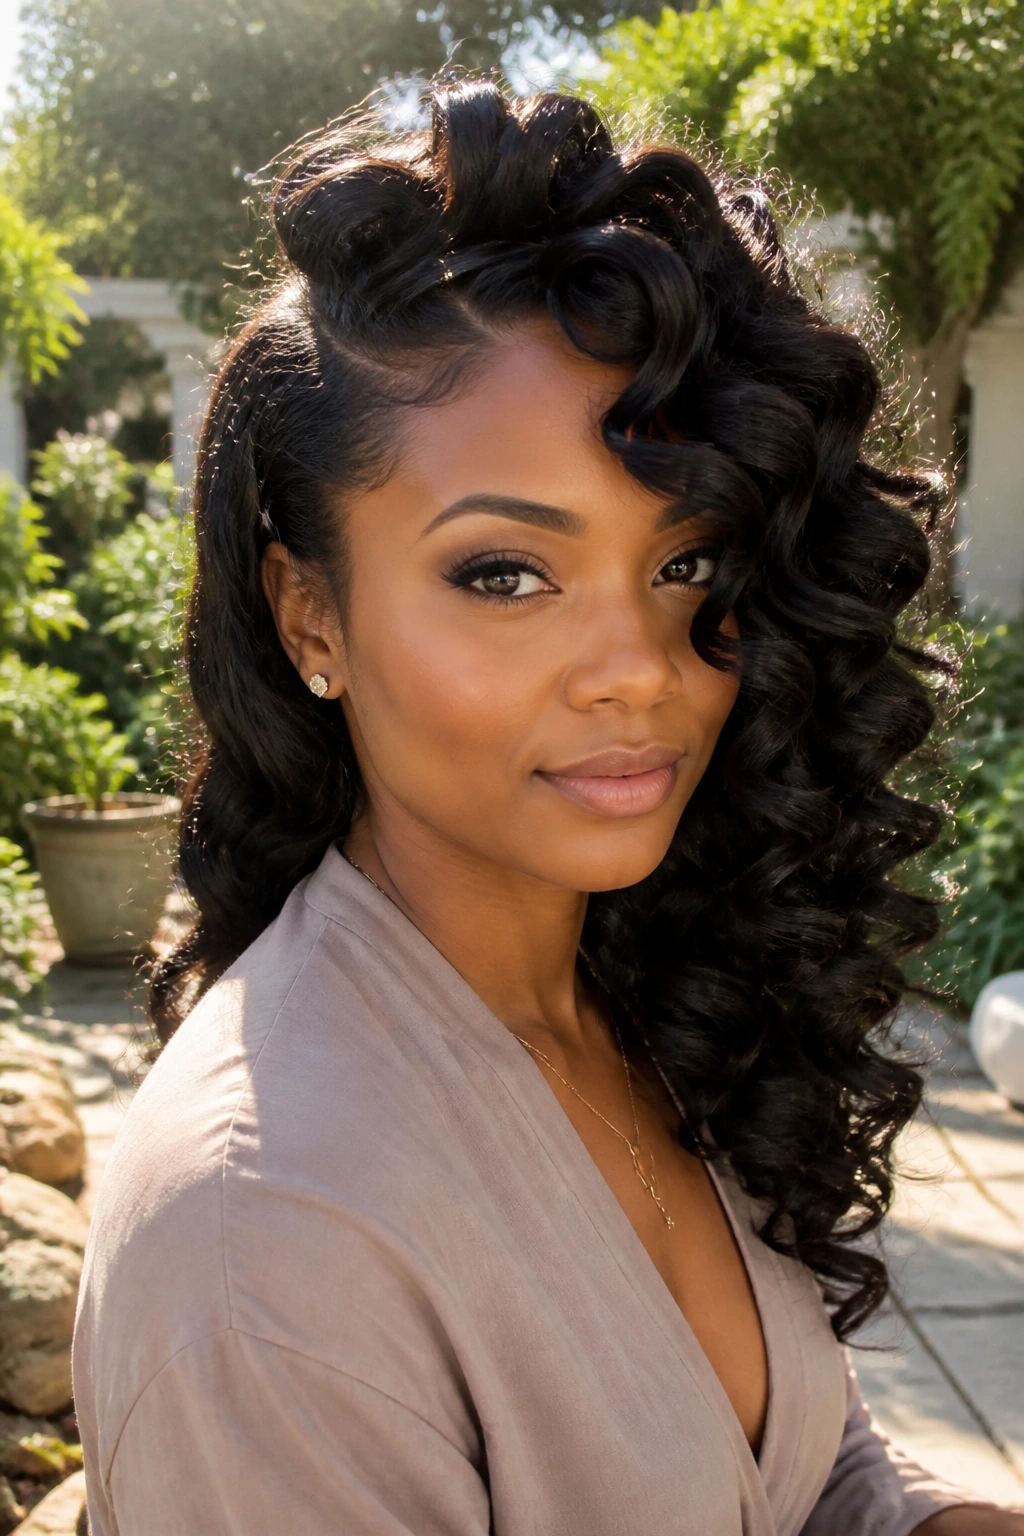
Sometimes your natural curls need a little bit of encouragement to follow the side-swept path, especially if your texture is more prone to shrinkage. A light wand set can provide the uniformity needed to create a seamless sweep that looks like it belongs on a magazine cover.
Choosing the Right Tool
Select a ceramic-coated wand with a barrel size that matches your natural curl pattern. A 1/2-inch wand is excellent for tight spirals, while a 1-inch barrel works better for looser, elongated waves. Always apply a heat protectant spray—never skip this—to maintain the sheen and health of your hair.
The Technique for Longevity
After wand-curling sections, pin each one to your head with a duckbill clip while it cools. This step is critical. Cooling the hair in the curled position sets the shape, ensuring that by the time you sweep your hair to the side, the curls retain their bounce and don’t succumb to humidity or weight.
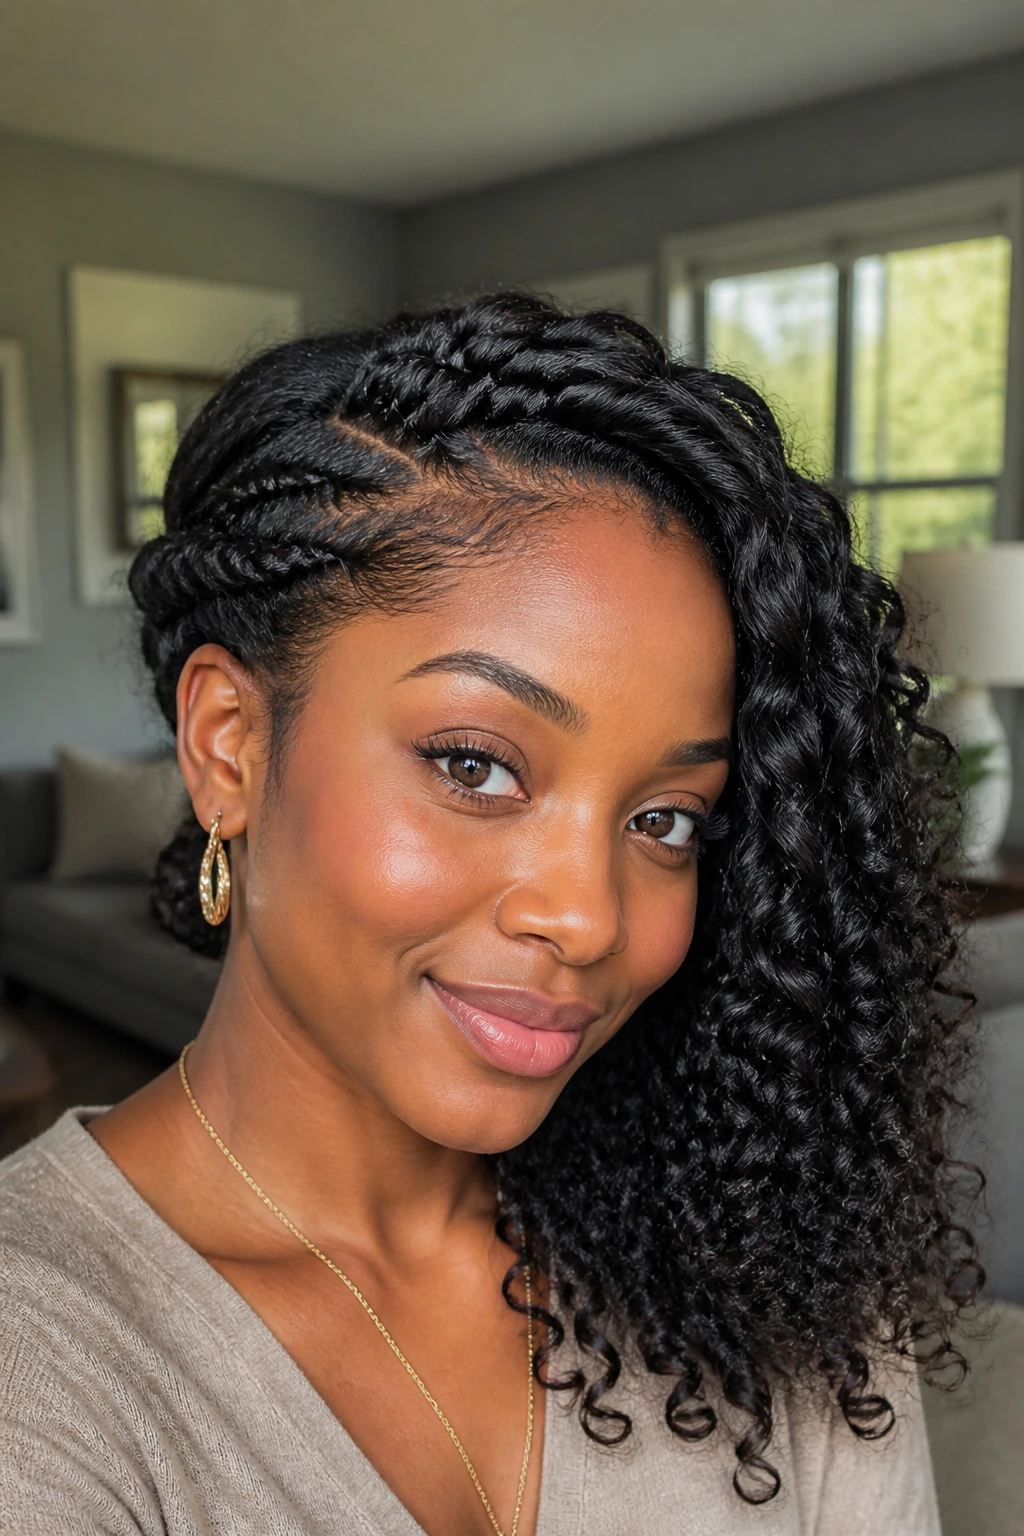
5. Sleek Side-Swept Goddess Braids
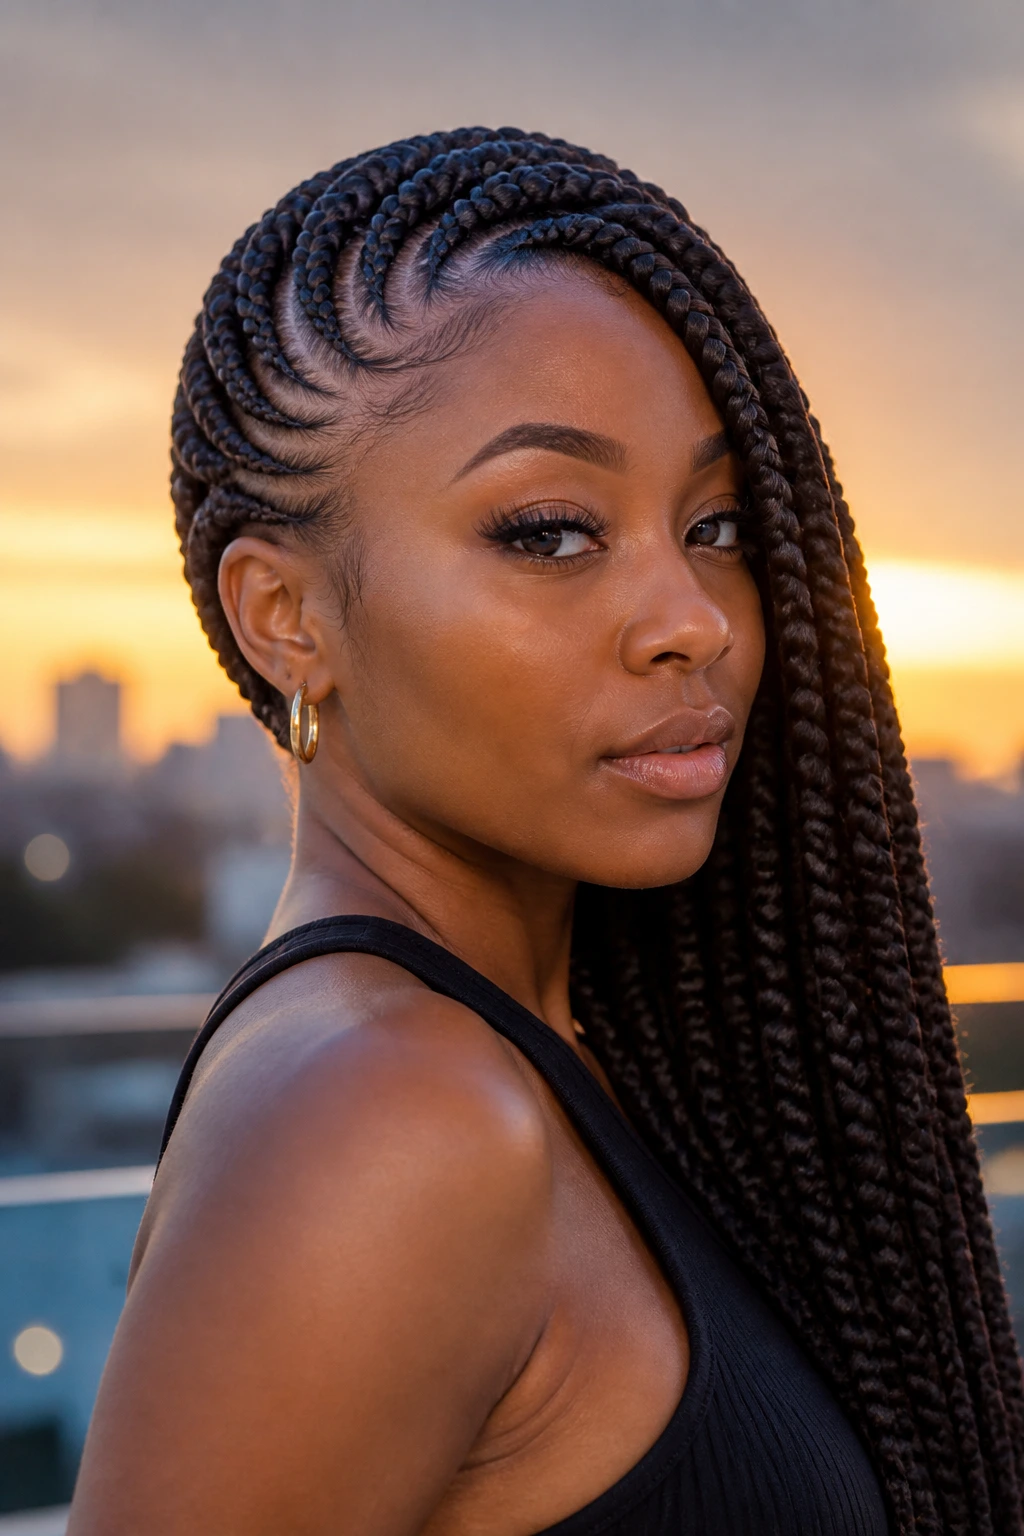
If you prefer a protective style that offers the side-swept look without the daily maintenance, goddess braids are an exceptional choice. By braiding the hair in an asymmetrical pattern that leads toward one side, you create a permanent sweep that frames your profile perfectly.
Why This Protective Style Excels
Goddess braids allow you to incorporate extensions for extra length and volume, which enhances the “swooping” effect. By adding loose, curly ends to the braids, you maintain the softness of the curls while benefiting from the durability of the braided base.
What to Watch For
Ensure your braider does not pull too tightly at the hairline. Since this style involves sweeping the hair, there is naturally more tension on the edges. Ask for a “feed-in” technique at the start of the braid to ease the pressure on your follicles.
6. The Vintage-Inspired Finger Wave Sweep
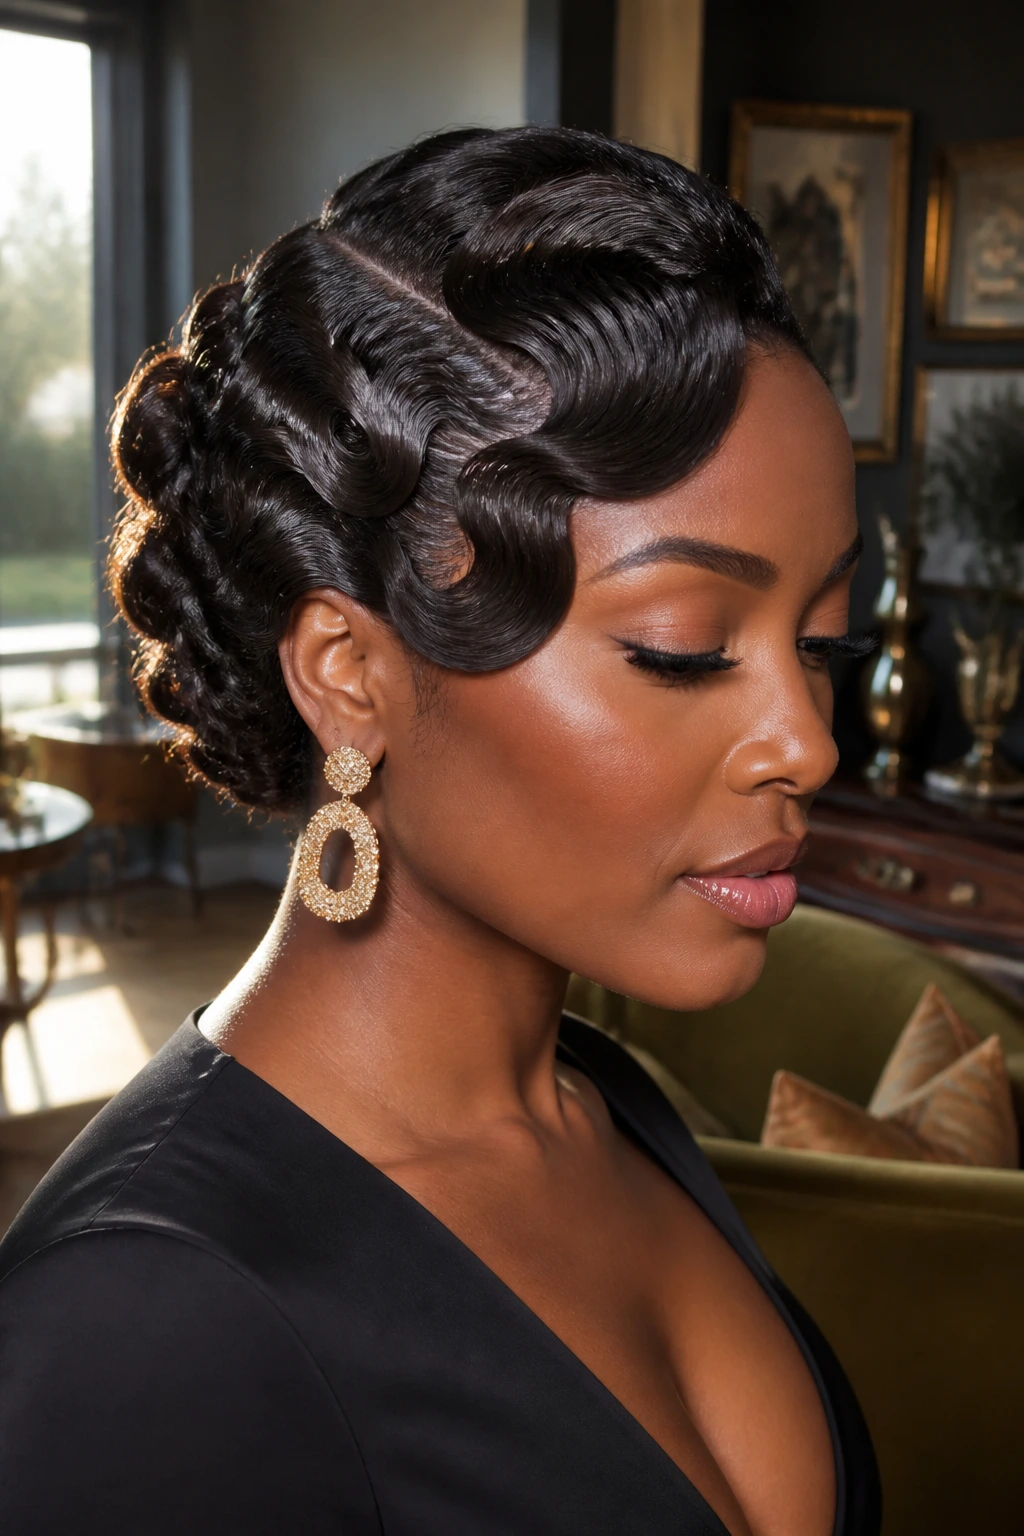
Drawing inspiration from classic jazz-age aesthetics, the finger wave side sweep is all about precision and gloss. While it sounds intimidating, modern tools and edge control products have made this much more accessible for textured hair.
The Role of Edge Control
You will need a high-quality, non-flaky edge control gel. Apply a small amount to your hairline and use a fine-tooth comb to sculpt the curls into waves that hug your temple before transitioning into the rest of your hair.
Creating the Wave
- Apply a styling mousse to wet hair.
- Use your index finger to create an ‘S’ pattern in the hair, holding it in place with a flat metal setting clip.
- Allow the hair to dry completely—under a hooded dryer if possible—before removing the clips.
- Gently brush through with a boar-bristle brush to soften the look while keeping the wave structure intact.
7. Short Tapered Cut with Voluminous Side-Sweep
A tapered cut—where the sides are short and the top is long—is practically designed for a side sweep. You already have the weight focused at the crown, so styling is simply a matter of directing that hair to fall across your forehead.
Balancing the Length
Since the sides are short, you don’t have to worry about hair getting in your eyes or weighing down your head. This style is incredibly light and allows for maximum experimentation with hair color or highlights, which can add depth to the sweep.
Daily Maintenance
A quick spritz of water and a leave-in conditioner is usually enough to revitalize the curls on top. Use your hands to rake the product through from back to front, “training” the curls to lay in the direction you prefer.
8. Locs Swept to the Side with Gold Hardware
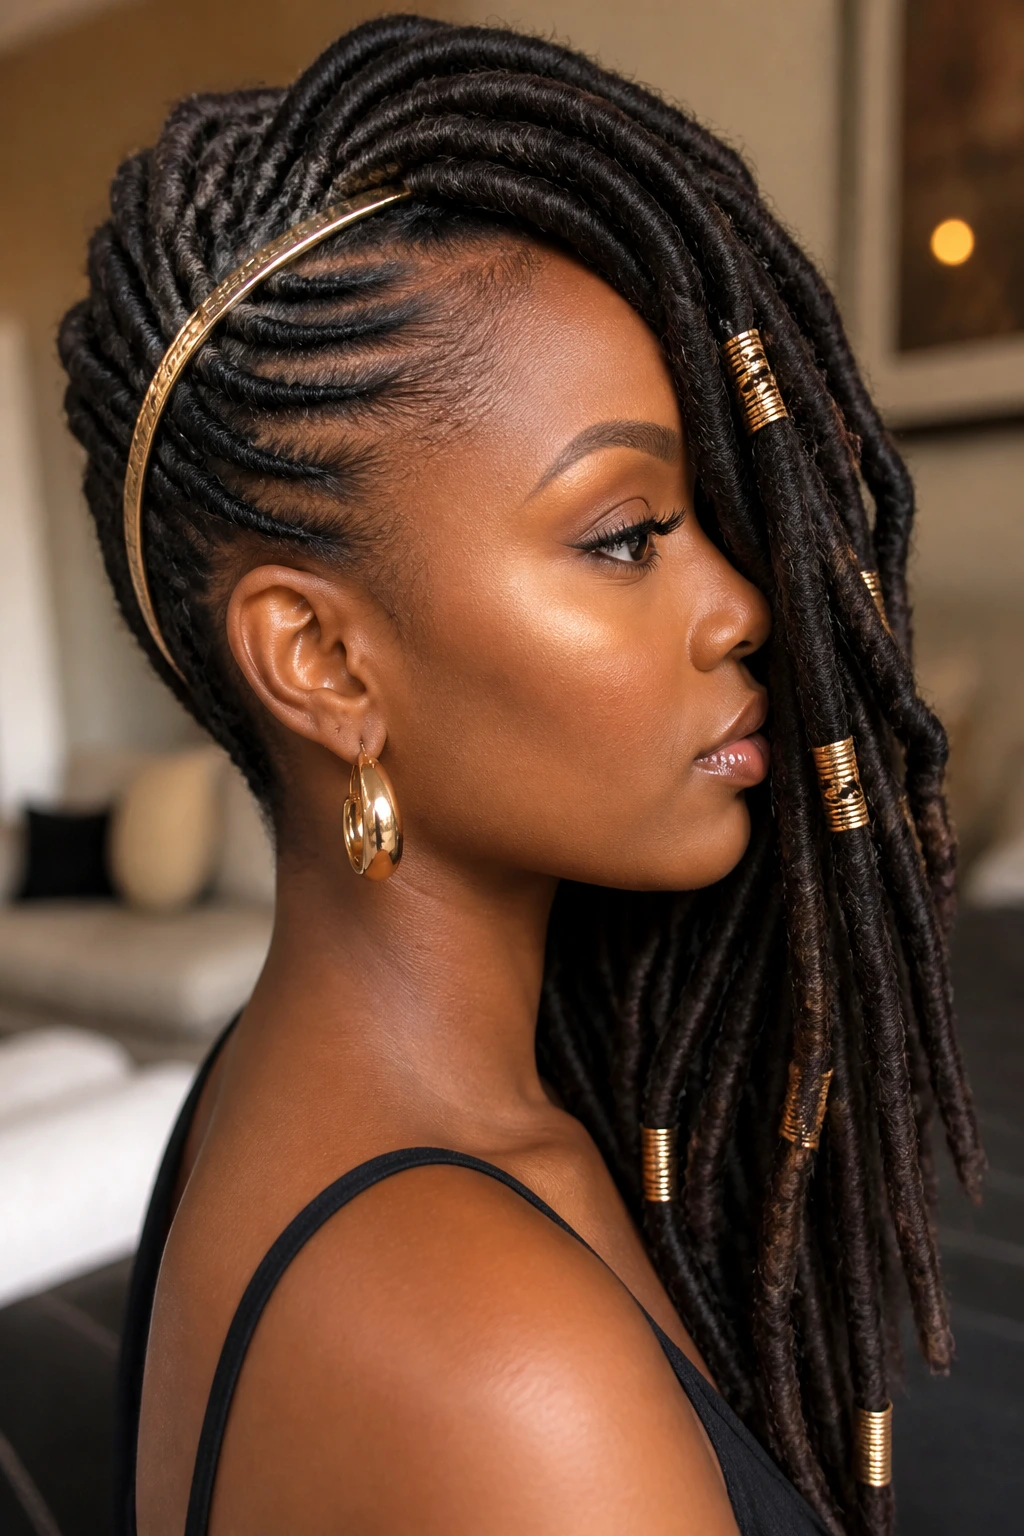
Locs carry a significant amount of weight, which makes them perfect for a heavy, dramatic side sweep. Because locs are already structured, they stay exactly where you place them. You can use large, decorative hair pins or even a wrap-around headband to secure the mass of your locs to one side.
Why This Stays in Place
The weight of the locs provides its own tension, keeping the style anchored throughout the day. To add variety, you can braid the front few locs before sweeping them over, which creates a tighter, more polished look near the face.
Adding Hardware
Gold clips, rings, and decorative thread look spectacular against the deep, rich tones often found in natural locs. Do not be afraid to mix sizes; three small rings often look more intentional than one large, solitary charm.
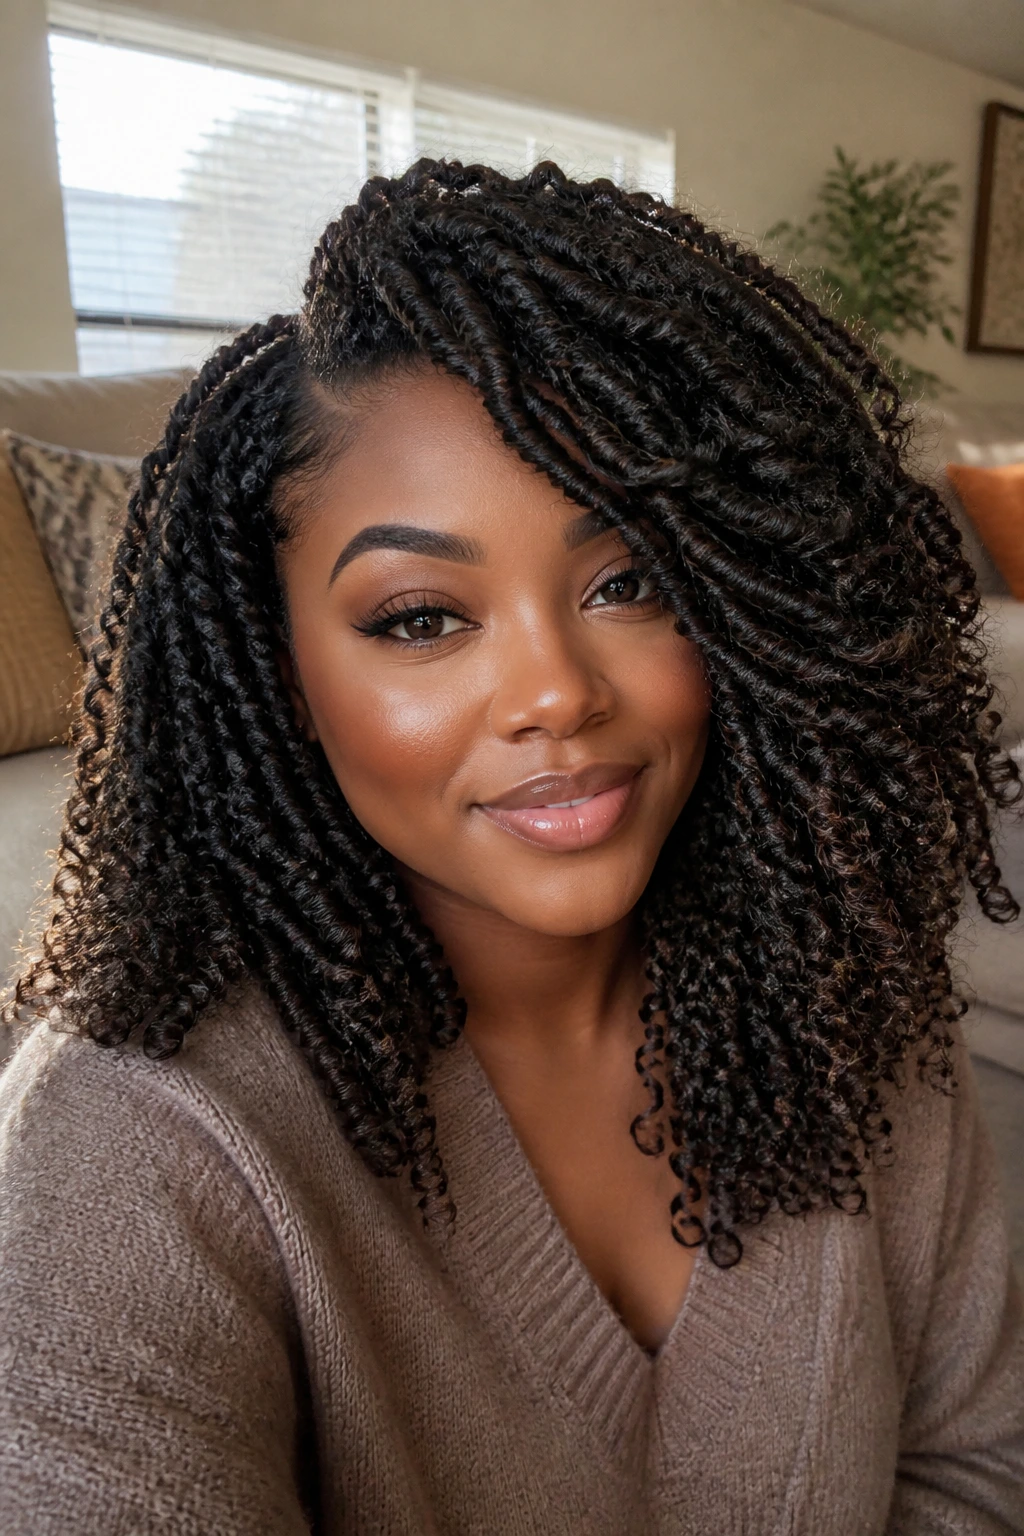
9. Loose Bohemian Waves with Side Braided Detail
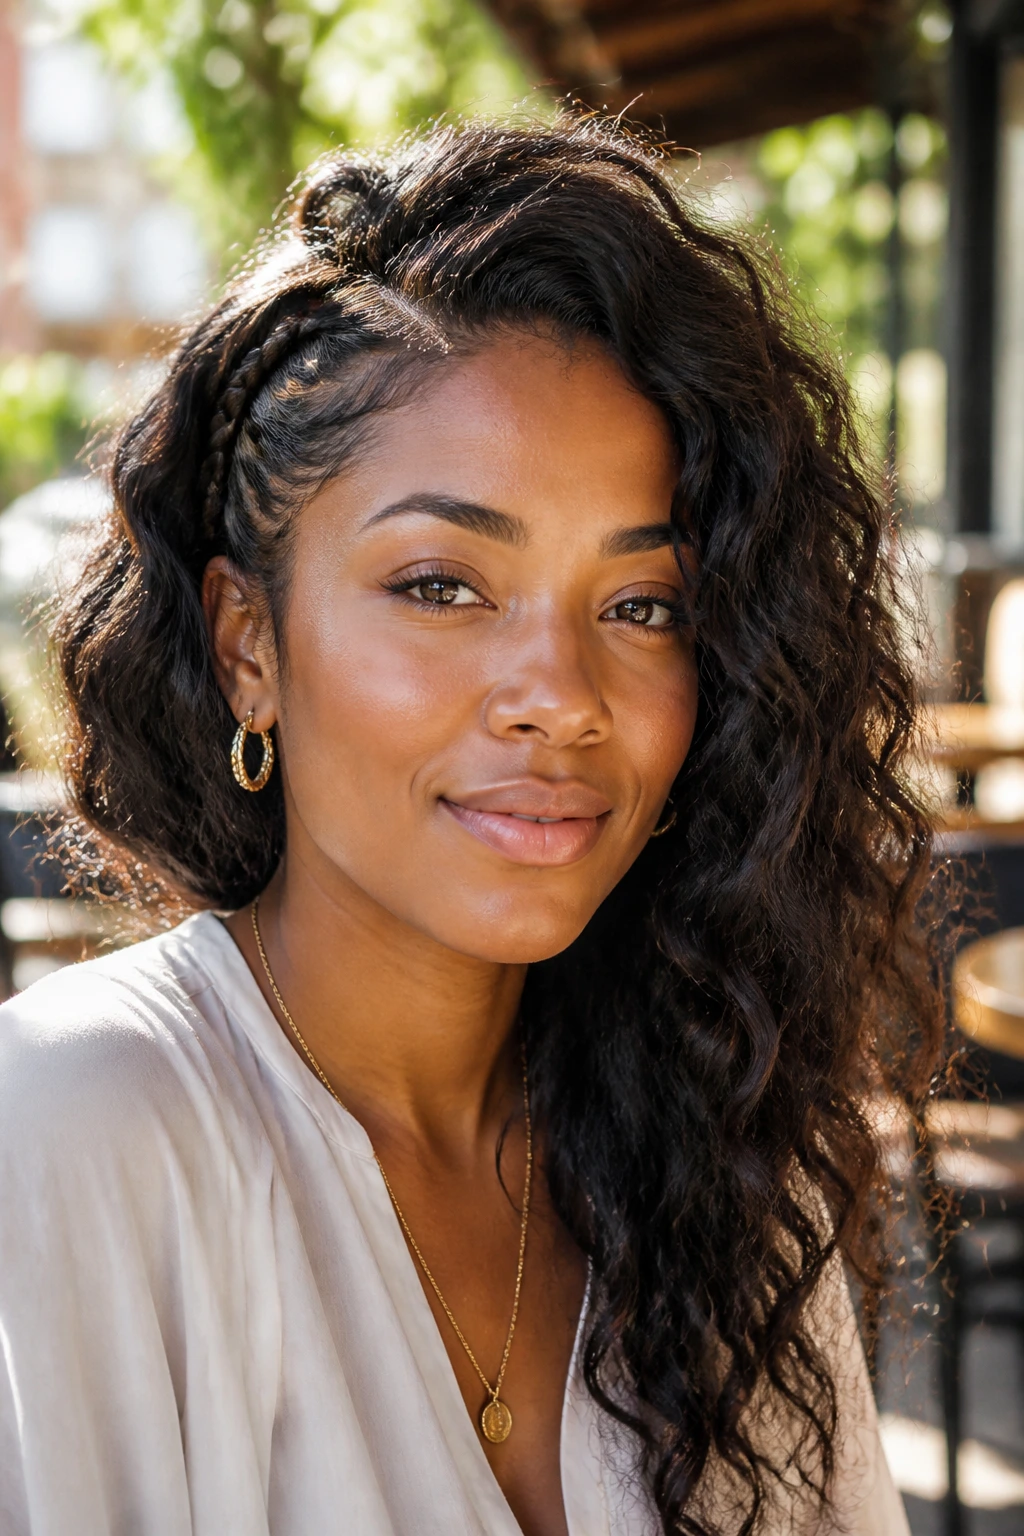
If you want the side-swept look but don’t want to lose the casual, “undone” feel, try adding a small French braid along the hairline that feeds into the sweep. This keeps the hair pulled back from your face while leaving the bulk of your curls loose and free.
The Casual Aesthetic
This style is best achieved with a “wash-and-go” set. The loose texture of your natural curl pattern is actually the goal here. The braid serves as a functional accessory that provides the necessary tension to hold the hair to the side.
How to Execute
- Braid a 2-inch section of hair from your part down toward the ear.
- Secure the end with a tiny clear elastic.
- Use a few bobby pins to tuck the tail of the braid underneath the loose curls on the side of your head to hide it completely.
10. The Asymmetrical Afro Sweep
The “fro” is a symbol of strength and volume, and it can absolutely be styled into a side-swept masterpiece. This look is about playing with shape and proportions to create a beautiful, lopsided halo.
Sculpting the Halo
Use a hair pick to tease the hair at the roots on the side you want to be the “sweep.” This provides the height needed to create a soft, rounded curve that moves across the forehead.
Adding Dramatic Contrast
If you have a shorter length on one side, consider fading it or keeping it very short while allowing the other side to remain full and expansive. The contrast between the faded side and the cascading curls of the sweep is striking.
11. Bantu Knot-Out with Side Placement
A Bantu knot-out produces a distinctive, tight, and bouncy curl that lasts. When you take the knots down, you are left with high-volume hair that is perfect for a side-swept look.
Achieving the Definition
The size of your knots determines the size of your curls. For a side-swept look that feels sophisticated, go for smaller knots, which create a more uniform, “ringlet” style of curl that looks polished when swept to the side.
Why This Texture Works
The tight, uniform texture of a knot-out helps the hair hold its side-swept shape without needing excessive pinning. The hair effectively “locks” into itself, allowing for a more natural flow.
12. Pineapple Updo with a Side-Swept Fringe
The pineapple is a classic way to protect curls while sleeping, but it also doubles as a stunning daytime look. By adjusting the placement to the side rather than the center, you transform a sleep-protection method into a high-fashion updo.
Setting the Fringe
Leave a few curls out of the top knot to create a side-swept fringe. This adds softness to the face and prevents the updo from looking too severe or pulled back.
Managing Edges
For this look, ensure your edges are laid with a light touch. Since the hair is gathered into a puff, a sharp, clean hairline balances the chaotic, voluminous beauty of the curls in the pineapple.
13. Crochet Braids with Side-Swept Layers
Crochet braids offer endless possibilities for volume and length. Opt for pre-curled hair that already has layers built-in. When installed correctly, the hair should fall naturally to one side with minimal effort.
Why Layers Matter
When you have a lot of hair from a crochet installation, it can feel overwhelming. Layers help distribute the weight, making a side sweep much more comfortable and natural-looking.
Choosing the Right Hair
Select synthetic or human hair blends that mimic your specific texture. If you have 4A coils, look for hair labeled “kinky-curly.” If you have 3C waves, look for “deep wave” or “loose curl” patterns.
14. Natural Twist-Out with a Floral or Fabric Accessory
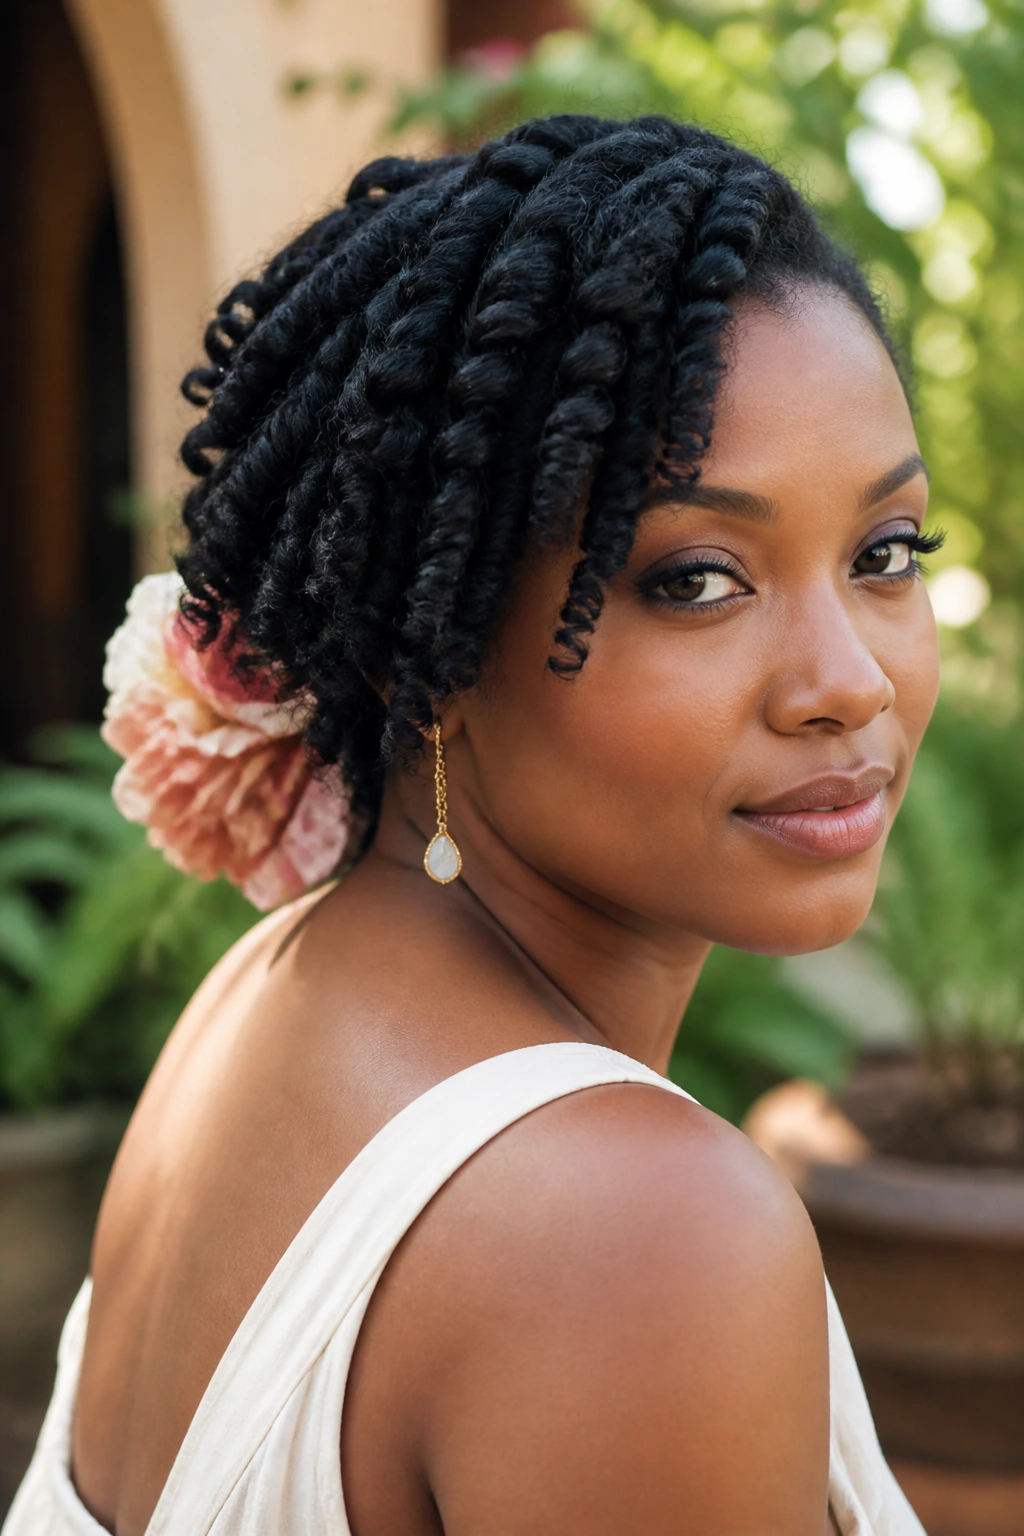
A simple side-swept twist-out becomes an event-ready style when you add a large flower, a silk scarf, or a decorative barrette at the anchor point. This is the ultimate “low-effort, high-reward” style.
The Importance of Placement
Place your accessory exactly where the hair gathers at the nape of your neck. This hides the pins and creates a beautiful, focal point that elevates the look.
Choosing Materials
Silk and satin scarves are not only stylish—they are gentle on your curls. They won’t cause breakage or frizz, making them the superior choice for hair accessories.
15. The “Wet and Wavy” Side Sweep
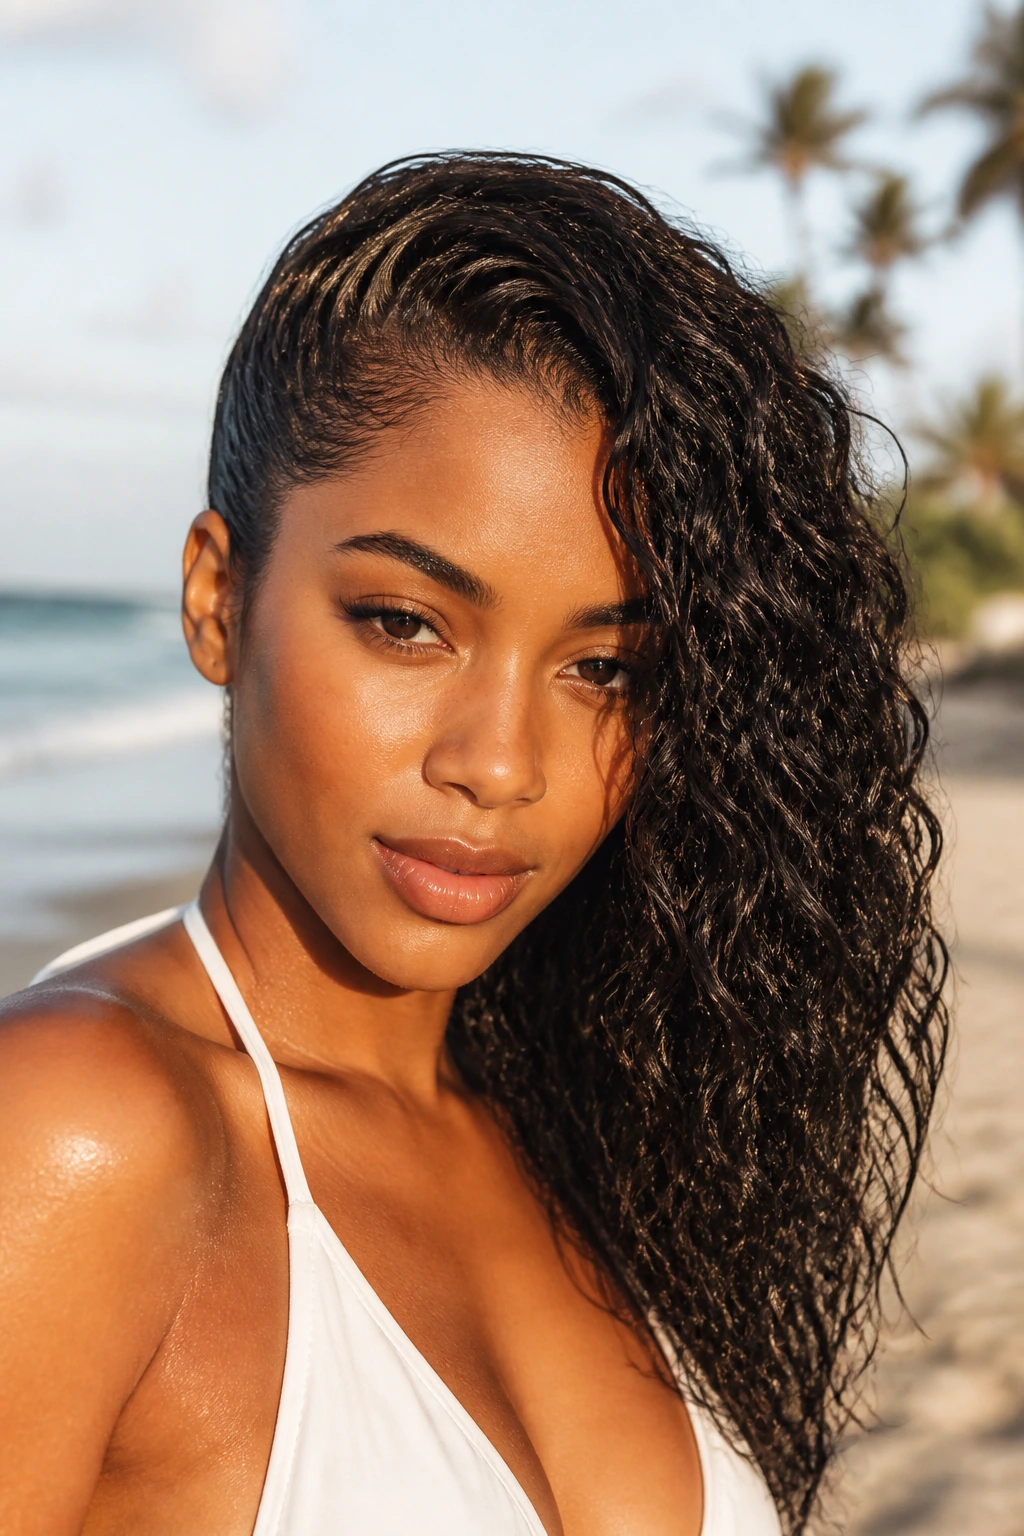
If you are aiming for a sultry, beach-ready look, the wet and wavy aesthetic is unmatched. Using a product like a light styling mousse or a glycerin-based leave-in, you can keep your curls looking perpetually hydrated and “fresh from the water.”
Maintaining the Wet Look
- Use a water-based product to avoid build-up, which can make your hair look greasy rather than glossy.
- Avoid oil-heavy products until the very end, as they can weigh down the curls and lose that “wet” bounce.
- A light mist of water throughout the day will help refresh the shine if your curls start to dry out.
16. Sculpted Side-Swept Fro-Hawk
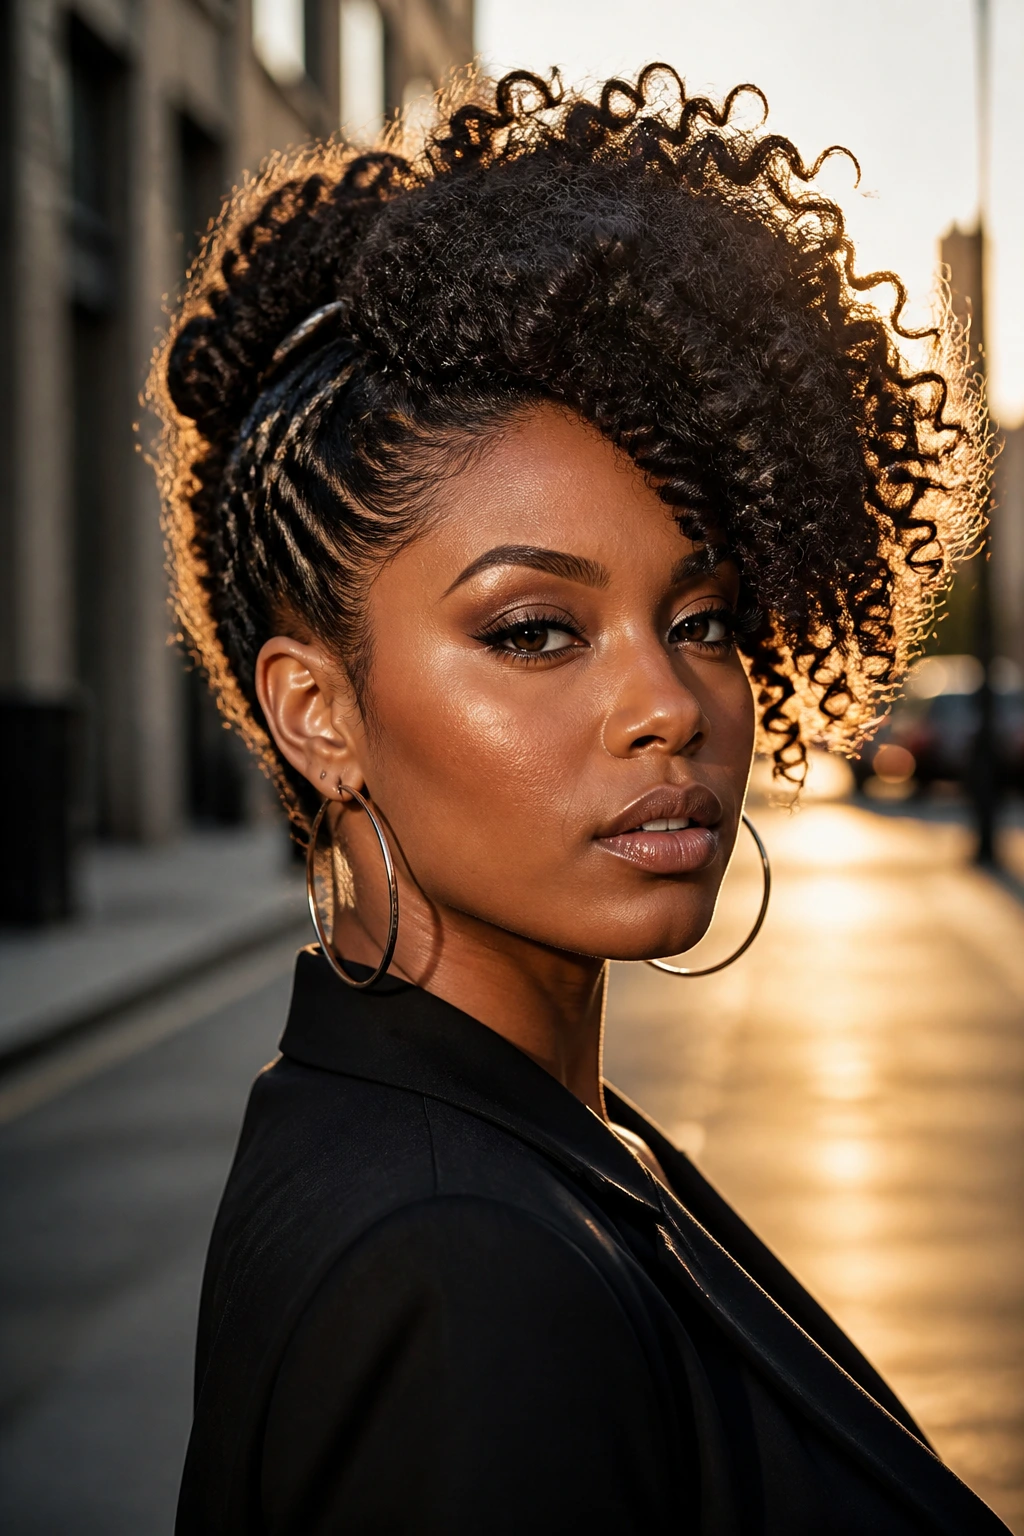
A fro-hawk is inherently asymmetrical, making it a perfect candidate for a side-swept interpretation. Instead of spiking the middle straight up, direct the volume toward one side to create a sweeping, dramatic silhouette.
Techniques for Height
Use a wide-tooth comb to gently tease the hair at the base of the “hawk” to ensure it stays elevated. This provides the structure that allows the curls to sweep over without collapsing.
The Role of Pins
Use sturdy, large-gauge bobby pins to keep the sides tight against the head. The tighter the sides, the more dramatic the sweep appears by comparison.
17. The Twist-and-Pin Side Crown
This technique involves twisting the hair from your forehead toward the ear, pinning it as you go. It creates a “crown” effect that stops halfway, leading into a loose, side-swept section.
Why This Style Is Functional
It is excellent for keeping hair out of your eyes without requiring a full updo. The twists provide a secure structure that holds the hair back, while the loose ends maintain the beauty of your natural curl pattern.
How to Keep It Smooth
Use a small amount of shea butter on your fingers when twisting. This keeps the twists smooth and free of flyaways, ensuring a clean, polished look from the hairline back.
18. Side-Swept Braided Ponytail
Combine two styles by braiding the front section of your hair to one side, then gathering the remainder—along with the braid—into a low, side-swept ponytail.
Enhancing the Texture
Once your hair is in the ponytail, fluff the curls with a pick. The braid provides the structure and polish, while the messy, full ponytail adds the volume.
The Transition
Ensure the braid flows seamlessly into the elastic band. You can wrap a small piece of hair around the elastic to hide it, which elevates the ponytail from casual to chic.
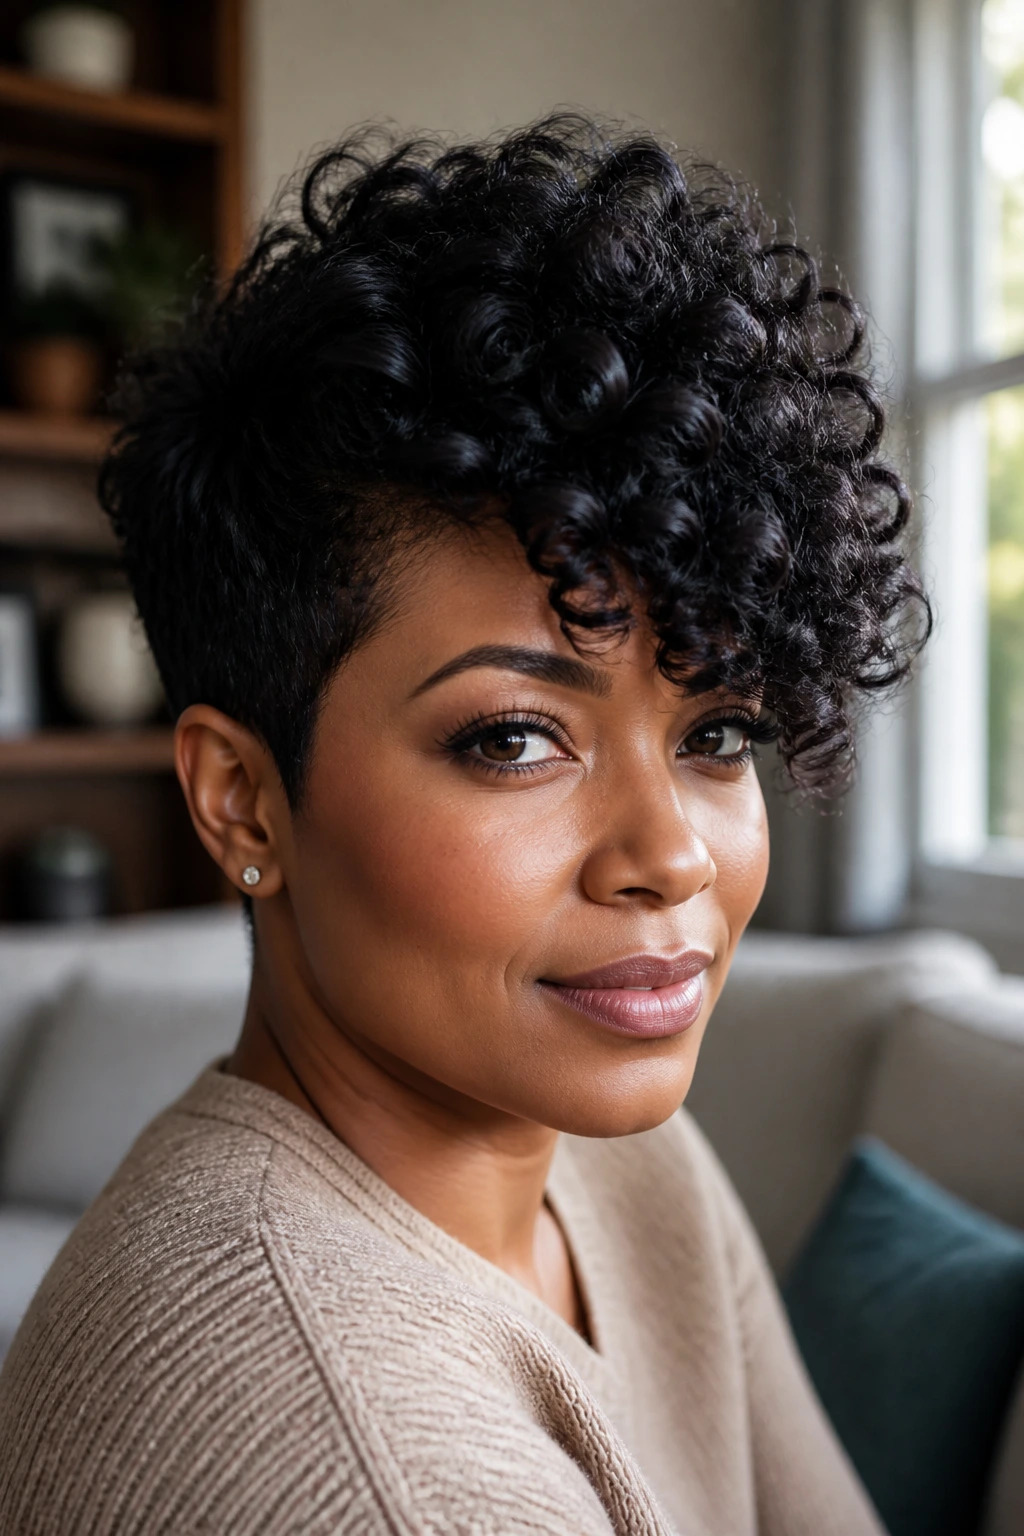
19. The Deep Side-Parted Pixie Curl
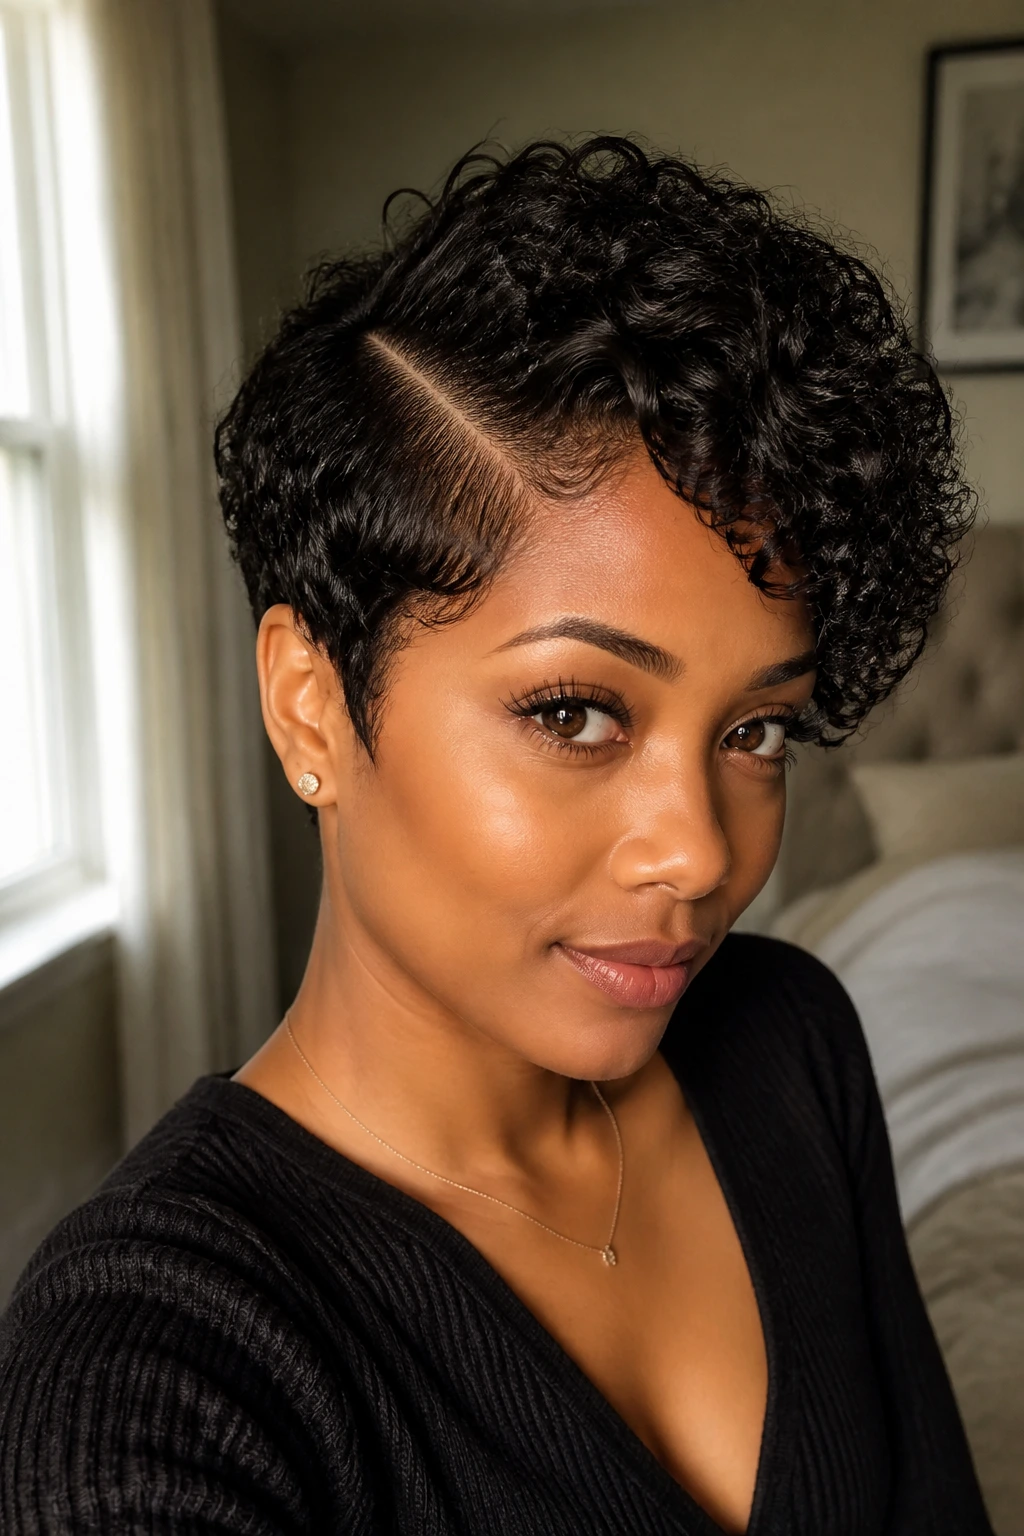
For those with very short, tight curls, the pixie cut is a timeless option. Sweeping the top length over to one side creates a look that is both edgy and incredibly feminine.
Defining the Curls
Use a tiny amount of styling foam on your fingertips to define the individual curls on top. This prevents the hair from becoming one solid mass and showcases your unique pattern.
Maintenance Tips
Short cuts require more frequent trimming to maintain the shape, but they offer the easiest maintenance in terms of daily styling. A quick refresh with a spray bottle in the morning is all you need.
20. Side-Swept Space Buns (Asymmetrical)

Space buns are usually worn in the center, but shifting them to one side creates a playful, modern, and youthful look. This style is perfect for more casual settings.
Balancing the Buns
You can create one large bun on the side with more hair and a smaller, tighter bun near the nape of the neck on the side with less hair. This asymmetry is visually interesting and very stylish.
Why It Works for Curls
The natural texture of your curls gives the buns a fuller, fluffier appearance that is much more interesting than the slicked-back versions seen on straight hair.
21. Romantic Side-Swept Chignon
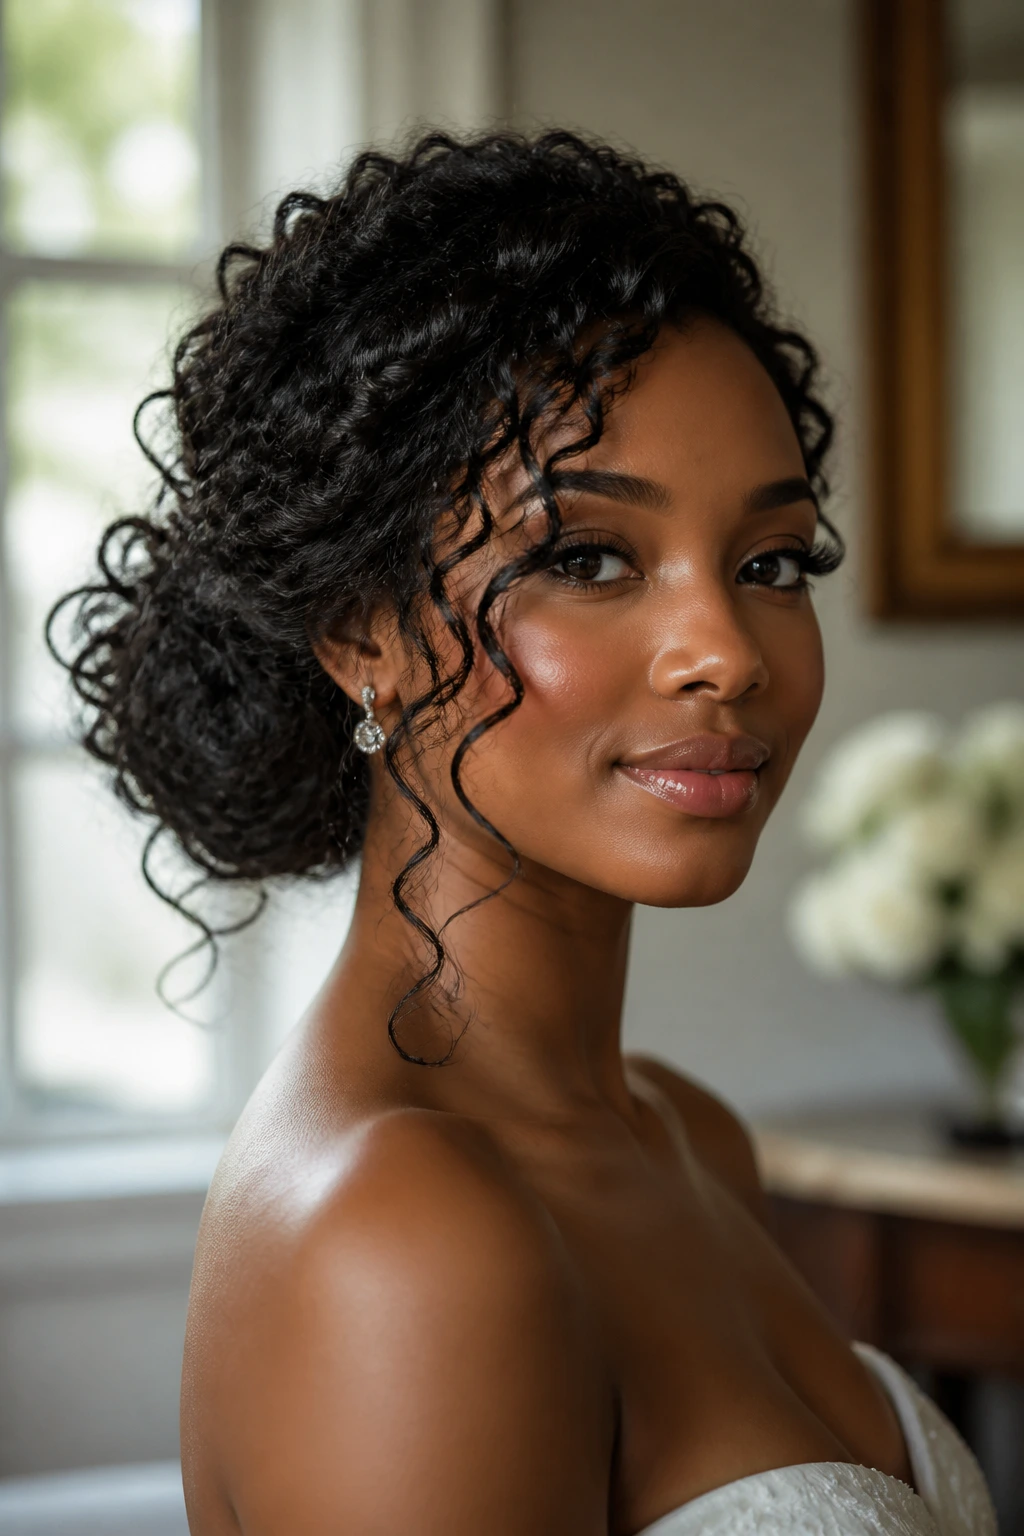
The chignon is the height of elegance, and a side-swept version is the perfect choice for formal occasions. Gather your curls into a loose, low bun on one side, allowing a few tendrils to frame your face.
The Softness Factor
The key to a romantic chignon is the “looseness.” Do not pull your hair back tightly. Allow the curls to remain bouncy and soft, pinning them in place with U-shaped hairpins rather than tight elastics.
Finishing Touches
A decorative hair comb or a small cluster of pearls tucked into the bun adds a touch of sophistication that is perfect for weddings or dinner parties.
Final Thoughts
Mastering the side-swept look is less about rigid rules and more about understanding the natural weight and volume of your hair. Each of these twenty-one variations offers a different take on the classic sweep, allowing you to adapt your curls to any occasion. Whether you opt for a sleek, finger-waved approach or a voluminous, undone twist-out, the goal is always the same: to frame your face and let your natural texture take center stage.
Remember that healthy curls are the foundation of any great style. Keep your hair moisturized, handle it with care when detangling, and don’t be afraid to experiment with different parting techniques. The side sweep is one of the most versatile tools in your styling arsenal, and with a little practice, it will become your most reliable go-to look. Just remember to work with your curls, not against them, and the results will always be breathtaking.