



Imagine waking up with a canopy of beautiful, messy waves, only to find your bangs sticking straight up like a startled cockatoo. It is a common struggle. Wavy hair has a mind of its own, especially when cut short around the face. Rain, humidity, or just sleeping on the wrong side of the pillow can turn a soft fringe into a frizzy, uncooperative mess that refuses to lay flat. Instead of fighting your natural texture with a flat iron and risking heat damage, you can lean into the wave.
That is where the magic of a French braid comes in. By weaving those short front sections back into your main length, you create a style that is both practical and deeply textured. The natural bends and curves of wavy hair actually make it the perfect candidate for braiding. Straight hair slips and slides out of plaits, but waves have built-in traction. They hold together without needing a gallon of stiff hairspray.
Over the years of working with different hair types, I have found that braided bangs are the ultimate workaround for awkward growth-out phases, sweaty workouts, or humid summer days. You do not need to be a professional stylist to master these looks. A basic three-strand over-under technique is usually all it takes to keep your hair out of your eyes while highlighting your natural curl pattern.
The natural texture of wavy hair changes the way a braid behaves. Let’s look at why this texture is your biggest advantage.
How Natural Waves Create Grip and Volume in a French Braid
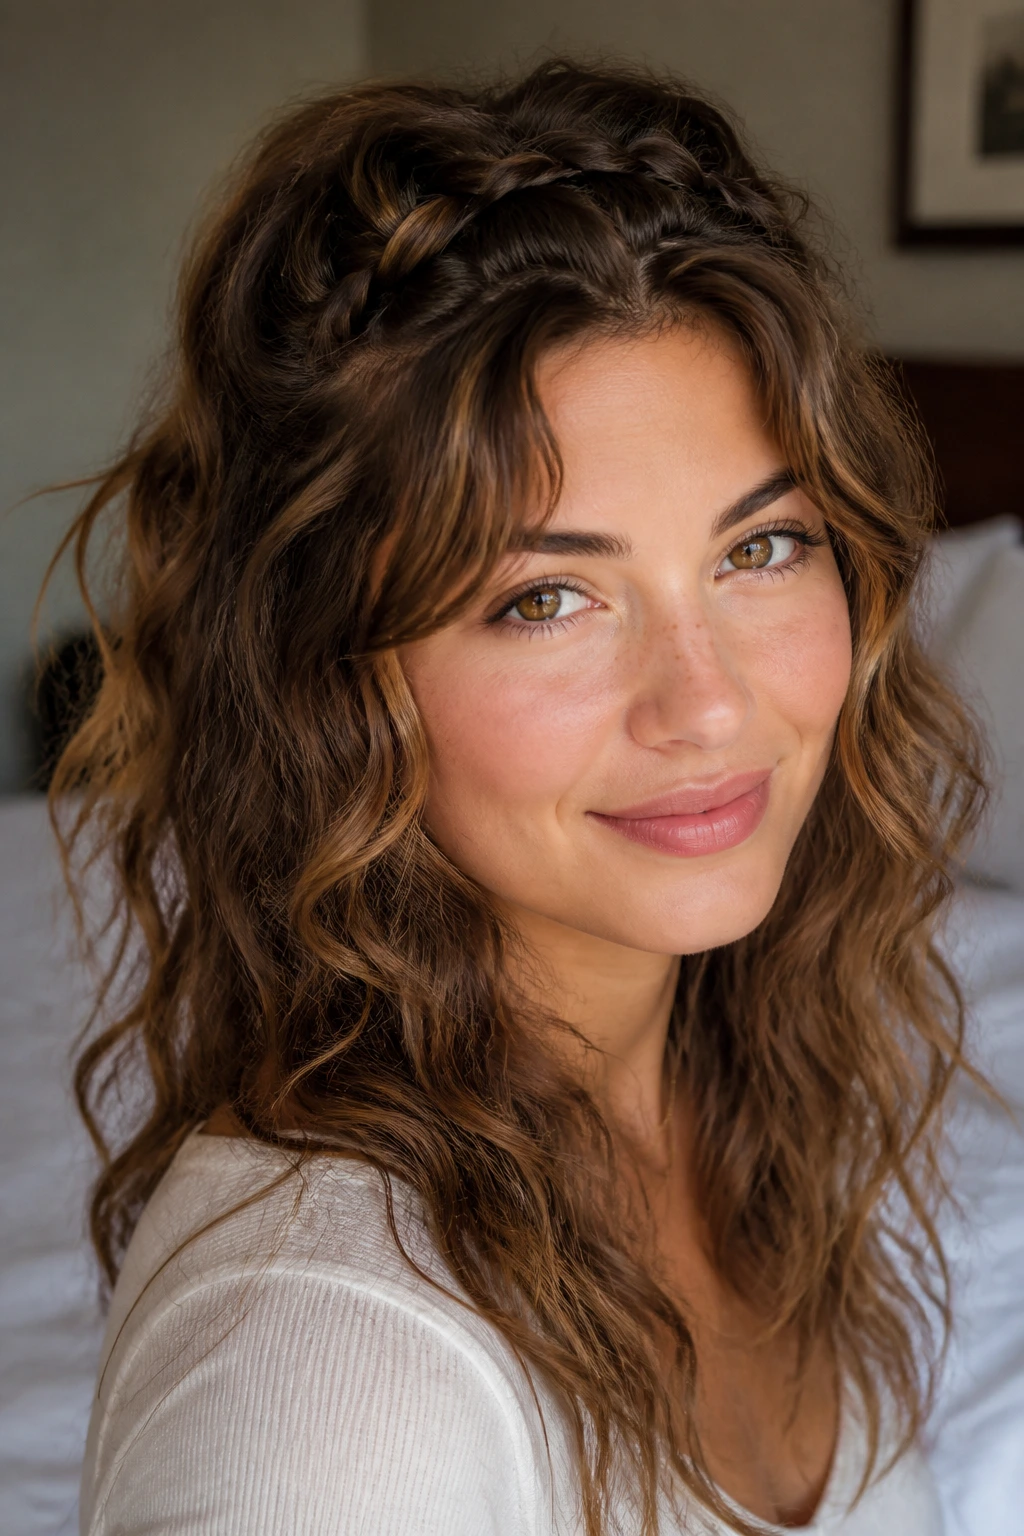
If you have ever tried to braid freshly washed, pin-straight hair, you know the frustration of watching the strands slide right out of your fingers. Wavy hair is entirely different. Each strand has a slightly oval shape rather than a round one, which creates natural friction along the hair shaft. This roughness is a braider’s best friend. It gives the hair “tooth,” meaning the strands cling to one another and stay locked in place far longer.
This texture also means you get automatic volume. A French braid on flat hair can look thin and closely plastered to the skull. On wavy hair, the bumps of the braid lift naturally off the scalp, creating a thicker, more dimensional look. You do not have to pull and tug at the braid to make it look full; your natural waves do that work for you.
However, this texture also means you must handle your hair differently during the braiding process. You cannot pull too tight, or you will flatten the wave pattern and cause unnecessary frizz. The key is to guide the hair gently into place, letting its natural shape dictate the flow of the braid.
Essential Tools for Braiding Wavy Fringe
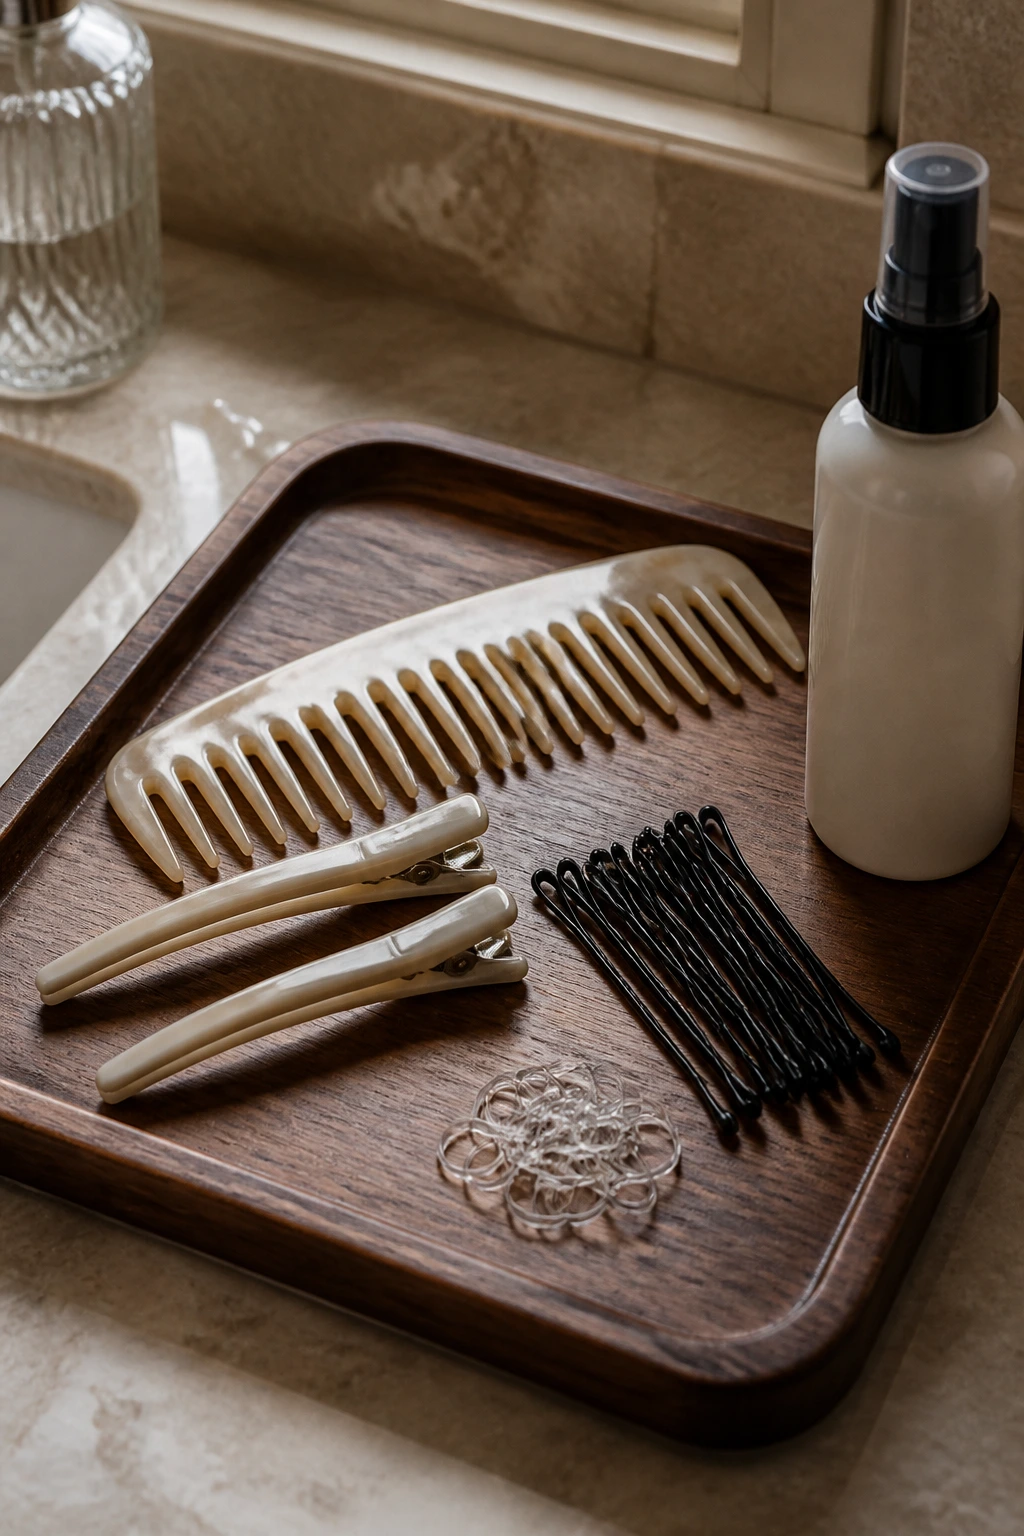
You do not need a massive vanity full of high-end gadgets to get these looks right. In fact, using too many products can weigh your waves down and make them look greasy rather than textured. Keep your kit simple and focus on tools that work with your hair’s natural moisture levels.
- A wide-tooth comb: Never use a fine-tooth comb on dry wavy hair. It breaks up the wave clumps and creates a cloud of frizz. Use a wide-tooth comb or just your fingers to section off your bangs.
- Creaseless clips: These are crucial for holding the rest of your hair back while you work on the front section. They won’t leave a weird dent in your waves.
- Matte bobby pins: Shiny metal pins tend to slide out of wavy hair. Matte-coated pins have a slightly rough surface that grips the hair and stays put.
- Clear elastic bands: Get the small, stretchy kind that do not snag. If you have dark hair, use black or brown elastics; if light, stick to clear.
- A light texturizing spray: Look for something that offers a soft hold without leaving a crunchy residue. Sea salt spray works well if your hair is naturally oily, but a lightweight dry shampoo is better if your scalp runs dry.
Now, let’s explore the best ways to style your wavy fringe with a French braid.
1. The Classic Side-Swept French Braid
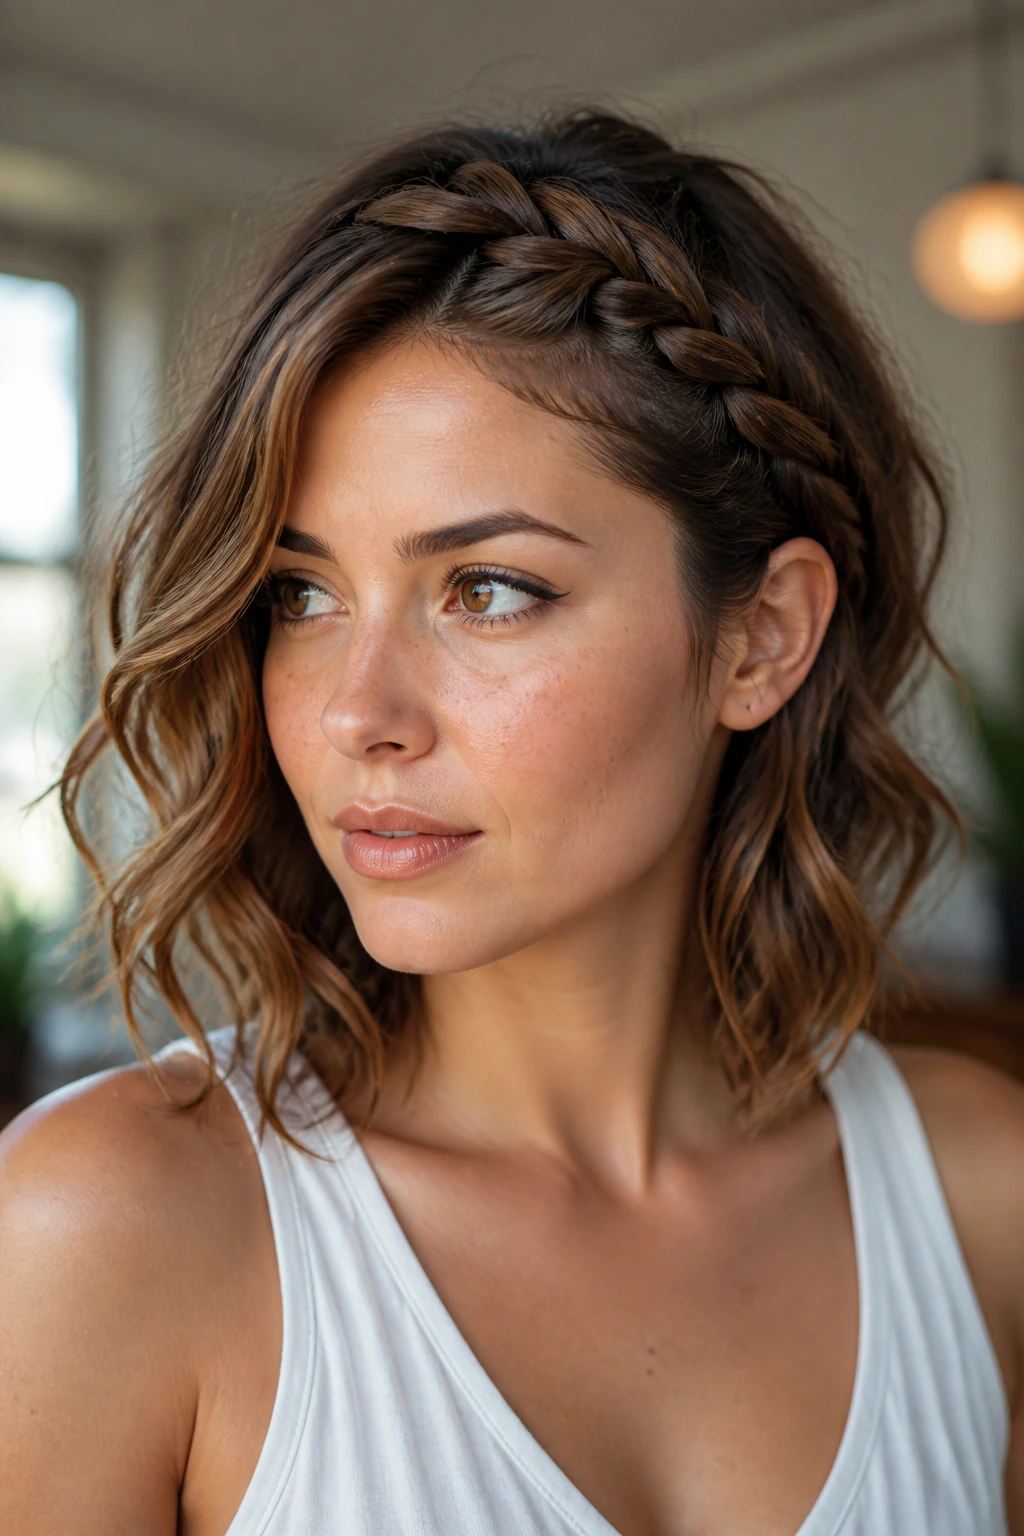
The classic side-swept French braid is the starting point for anyone testing out braided bangs. It begins at a deep side part and moves diagonally across the forehead, gathering the short fringe and securing it just above the ear. It is a soft, romantic look that keeps the hair completely out of your face while letting your natural waves frame the opposite side of your head.
Why It Works for Uneven Bangs
If you are growing out a curtain fringe or a blunt cut, the length of your bangs is likely uneven. A diagonal sweep is the most forgiving pathway for these varying lengths. The longer pieces near the temples naturally lock in the shorter pieces from the front, preventing them from poking out of the braid like tiny needles.
Step-by-Step Styling Path
- Use your fingers to create a deep side part on your preferred side, aligning it with the arch of your eyebrow.
- Separate a three-inch wide section along the hairline, pinning the rest of your hair back with a creaseless clip.
- Divide the front section into three equal strands and begin a French braid, crossing the side strands over the center strand.
- Add a tiny sliver of hair to each strand from the hairline and the part line as you move toward your ear.
- Once you reach the top of your ear, finish with a standard three-strand braid for an inch, then secure it with a matte bobby pin.
Pro tip: Gently slide two fingers under the loops of the braid and tug outward to loosen the weave, which makes the braid look twice as thick.
2. Double Dutch-French Halo Crown
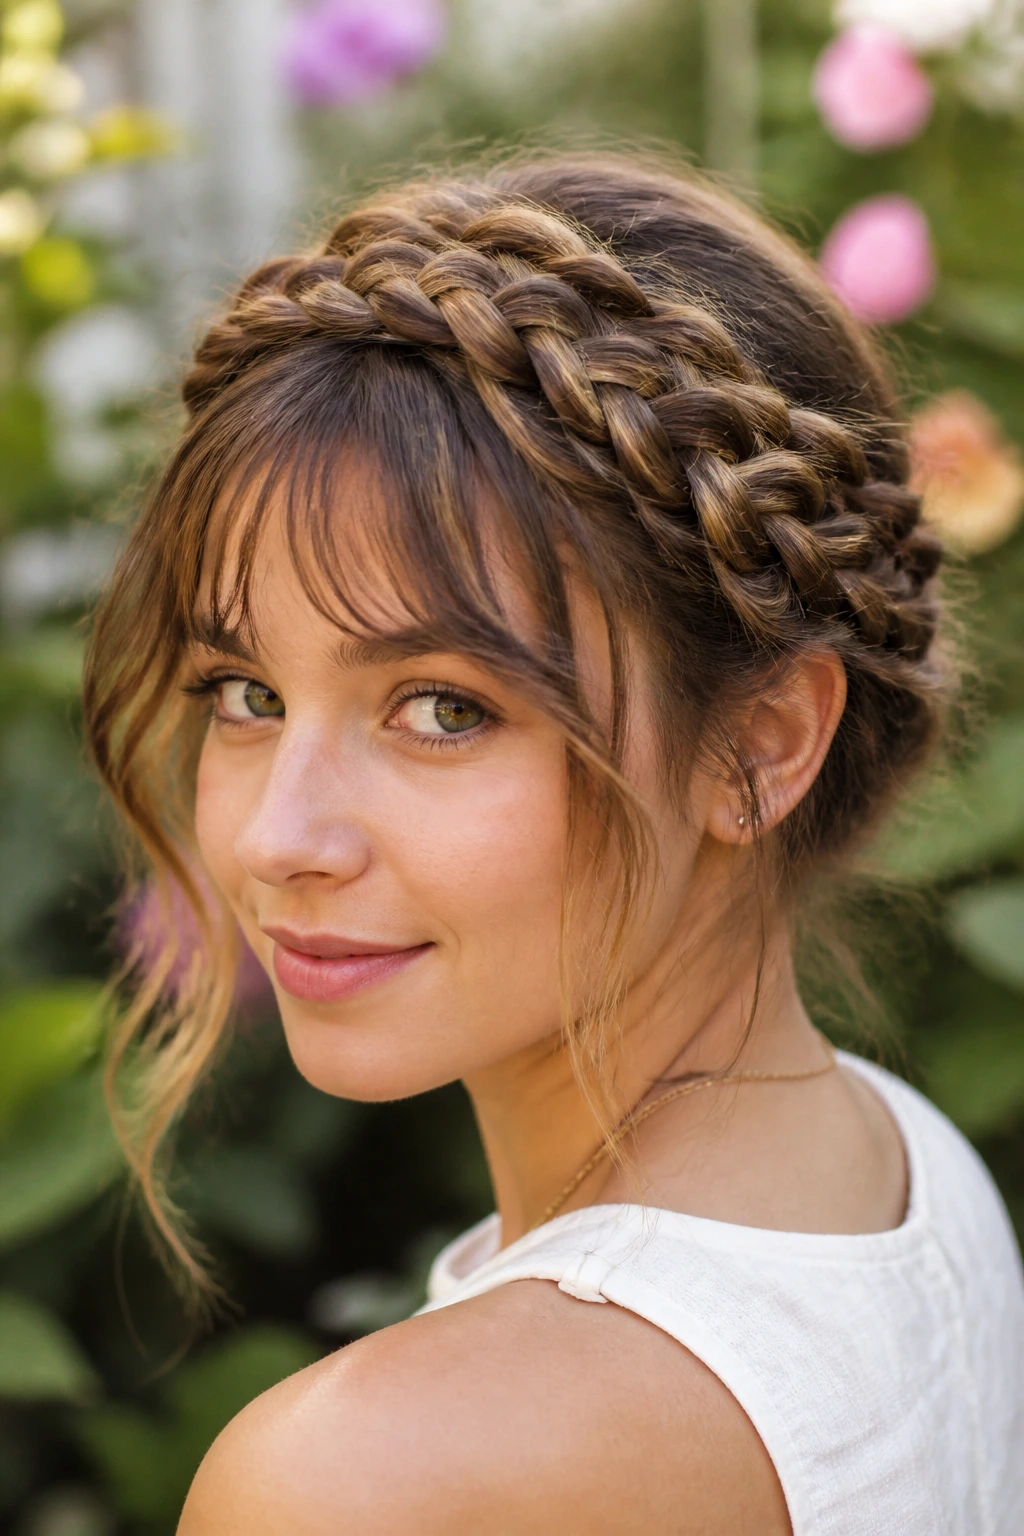
A full halo crown look does not actually require waist-length hair to pull off. By dividing your hair into two separate braids starting right at the center part, you can create a gorgeous frame that wraps around your head, even if your hair only reaches your shoulders. This style splits your bangs down the middle, weaving each side back along the hairline to meet at the nape of your neck.
The trick here is to use a “Dutch” braiding technique—where you cross the strands under the center rather than over—combined with standard French sectioning. This makes the braid sit on top of the hair like a raised 3D ribbon, highlighting the natural texture of your waves. It is an excellent choice for second-day hair because the secure weave hides any greasy roots while using your natural oils to keep the braid smooth.
To keep this from looking too rigid, let a few curly tendrils escape near your ears. You can do this by using the tail of a comb to gently wiggle a few short strands free after the braids are secured. This softens the jawline and keeps the overall vibe casual and relaxed.
3. Mini French Braid Accent with Loose Waves
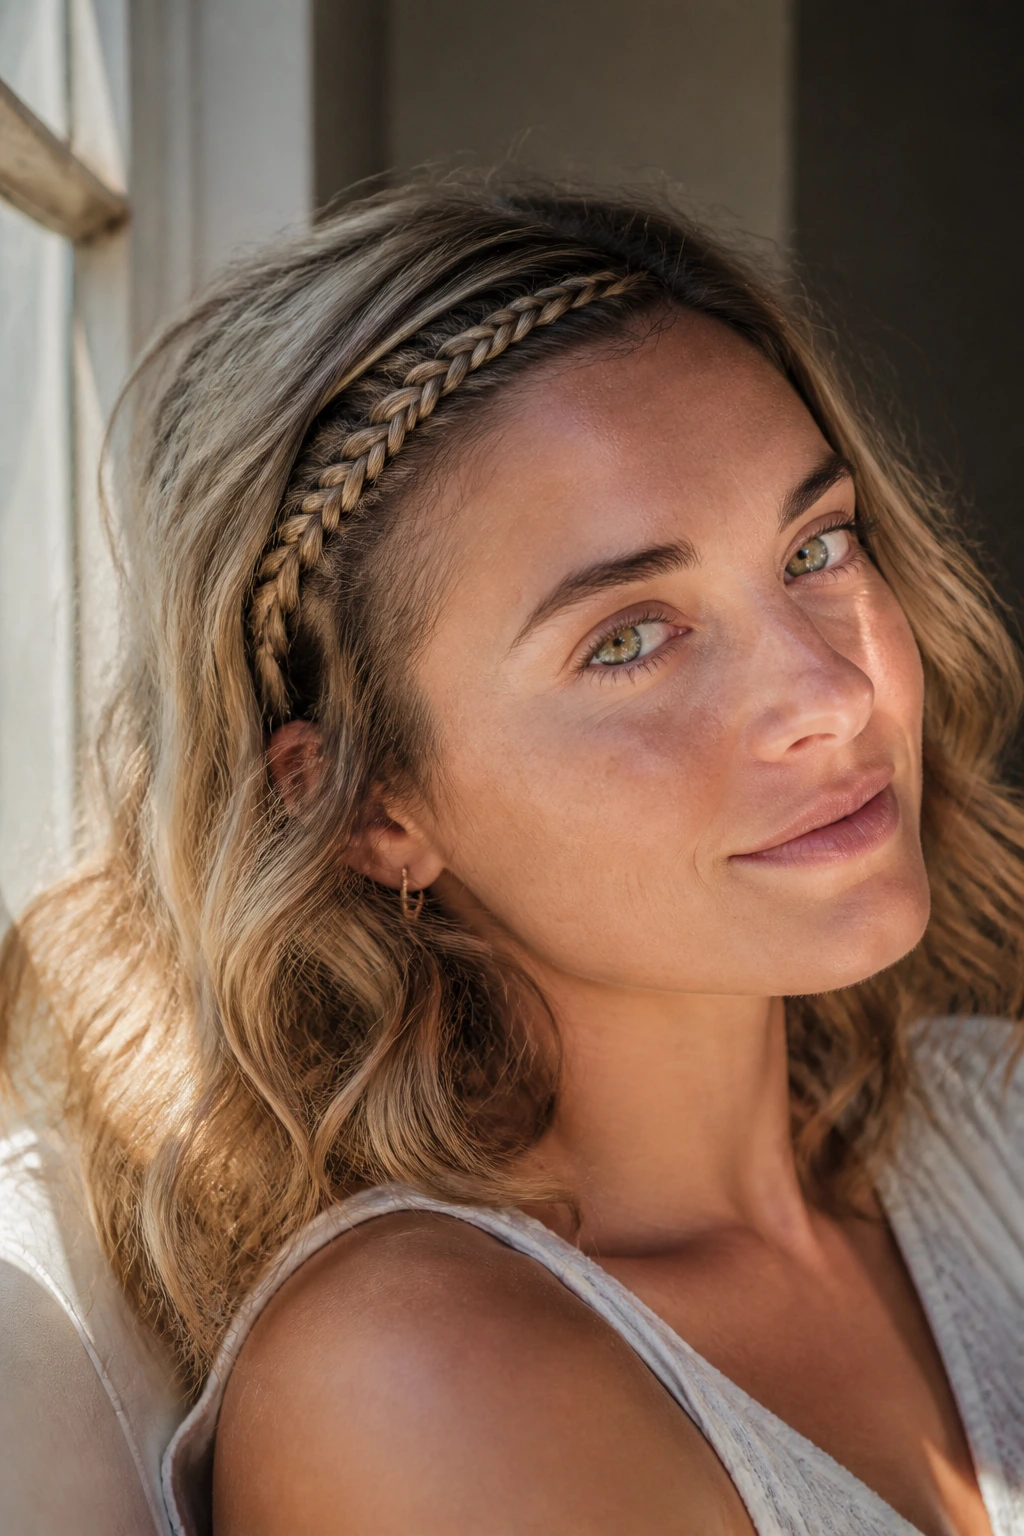
Do you want the benefits of a braided fringe without hiding all of your front layers? The mini French braid accent is designed for exactly this situation. It uses a very small, half-inch section of hair right along the part line, leaving the rest of your bangs and face-framing waves to fall naturally.
This style acts as a subtle headband, keeping the hair from falling forward into your eyes when you bend over, but keeping the overall look loose and airy. It is particularly great for fine, wavy hair because it does not rob your main length of much volume. You get the neatness of a braid alongside the wild, free-flowing beauty of your natural texture.
The contrast between the tight, structured braid and the wild waves behind it is what makes this look so appealing. It feels effortless because it is. You are only braiding a tiny fraction of your hair, which takes less than two minutes once you get the rhythm down.
How to Style the Accent Braid
First, identify where your hair naturally parts and grab a small, half-inch section right next to the line. Split this into three tiny strands and braid tightly down toward your temple, only adding hair from the very front of the hairline. Once you reach the temple, stop adding hair and finish with a simple plait. Slide a bobby pin vertically up through the end of the braid to hide it beneath your loose, wavy side layers.
4. Bohemian Messy French Braid Headband
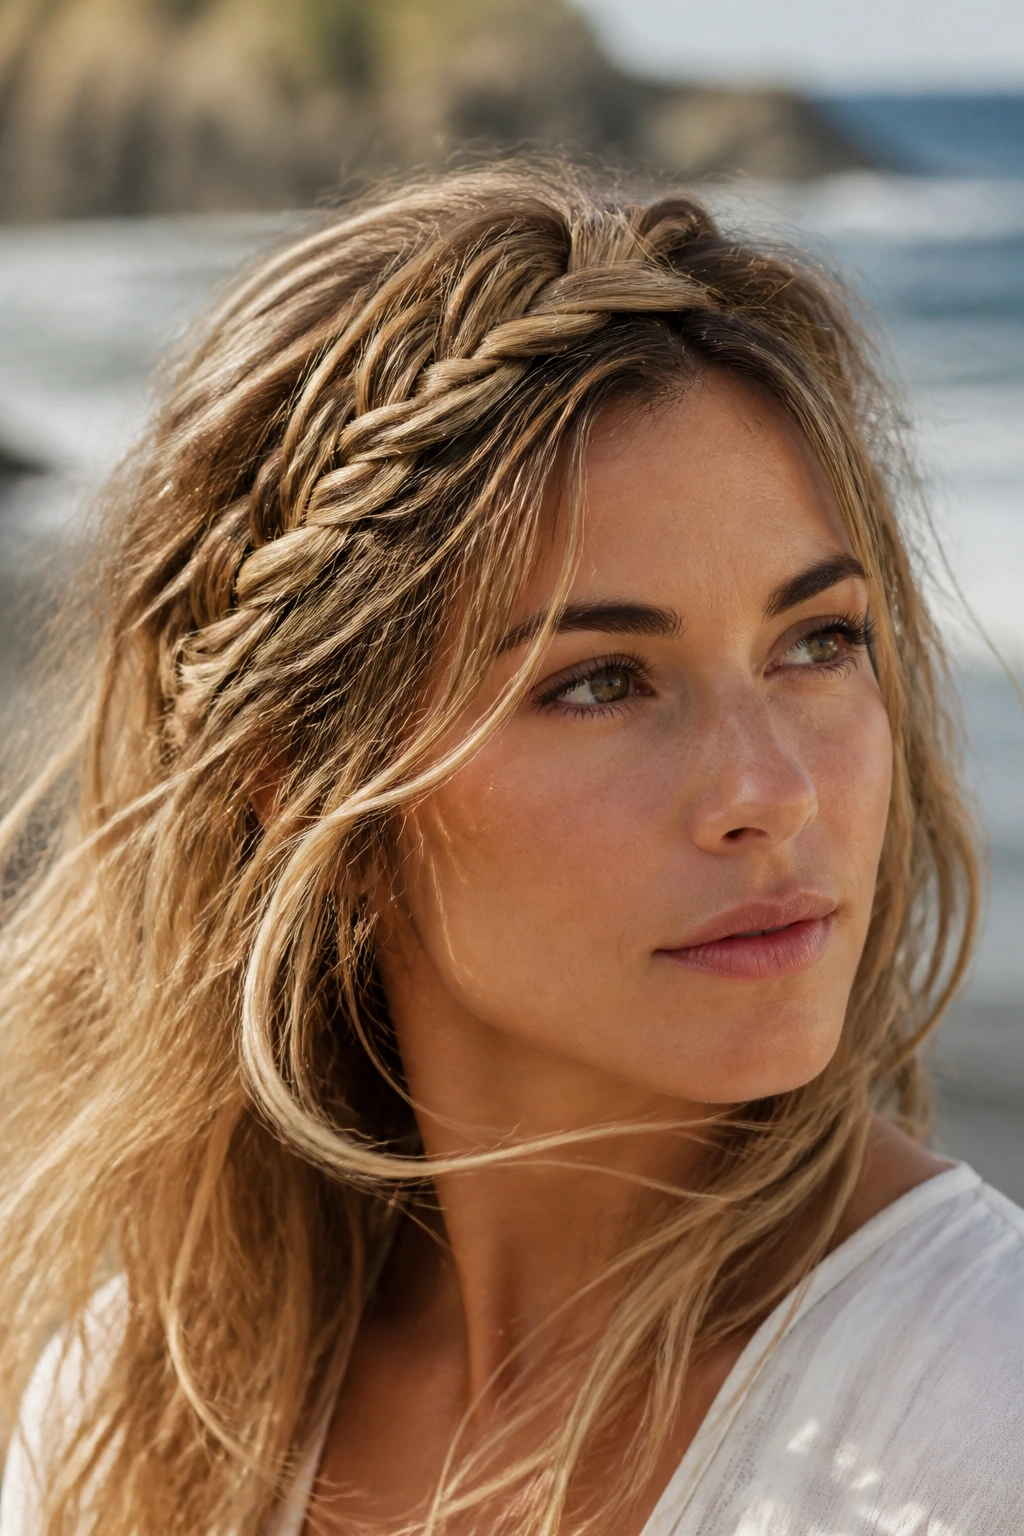
Imagine walking along a windy beach; your hair is blowing everywhere, and you are constantly brushing strands out of your mouth. A bohemian messy headband braid is the perfect defense against this exact scenario. It acts as a physical barrier across the top of your head, catching all those short flyaways and holding them secure.
This style works by running a thick braid from one ear all the way over to the other, mimicking the shape of a traditional plastic headband. Because wavy hair has natural volume, this braid sits high on the head, looking almost like a woven crown. It looks best when it is not too perfect, so do not worry if a few waves escape or if the part lines are slightly crooked.
- Start at the ear: Begin the braid just above your left ear, pulling hair from the forehead area as you work your way across the top of your head.
- Keep it loose: Avoid pulling the strands tight as you cross them. A loose grip allows the natural wave to show through within the braid itself.
- Secure behind the opposite ear: Use a clear elastic to tie off the braid once you reach the right ear, then tuck the tail under your loose waves and pin it down.
This style is a lifesaver for outdoor events where you want to look put together but know you will have to contend with wind or humidity.
5. Tight French Micro-Braid Along the Hairline
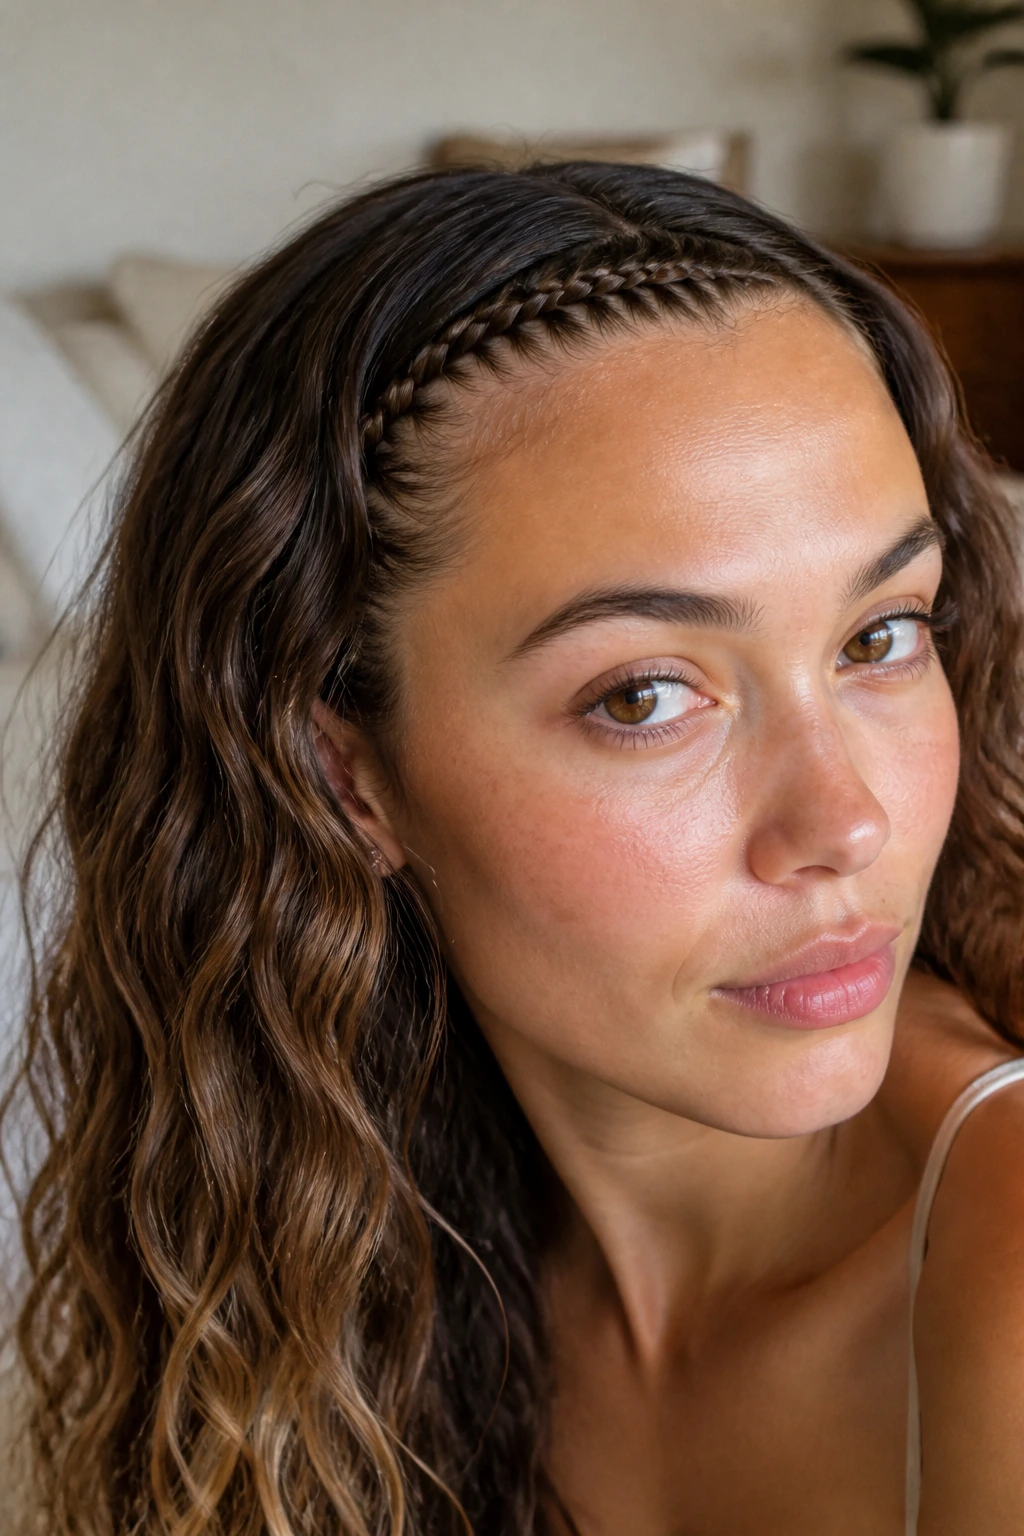
For a sharp, modern look that contrasts beautifully with wild waves, try a tight micro-braid run directly along the hairline. This style is incredibly secure and acts almost like a natural headband, holding back even the shortest baby hairs. You start at your part and weave a very thin, tight braid that hugs the curve of your forehead closely. It requires a bit of finger dexterity because you are working with tiny sections of hair, but the result is a clean, graphic line that frames your face.
The secret to getting this micro-braid right is to apply a tiny drop of hair oil or serum to your fingertips before you begin. Wavy hair can be slippery when sectioned so small, and a touch of oil helps keep the strands distinct and frizz-free. As you braid, keep your hands as close to your scalp as possible to maintain a flat, neat profile. This is not a style you want to pancake or loosen; its beauty lies in its tight, neat precision.
Once you reach the temple, you can transition the braid into a loose wave that blends back into the rest of your hair. This creates a striking visual gradient: a tight, structured braid at the front that dissolves into a cloud of soft, voluminous waves at the back. It is a fantastic option for active days, keeping your face completely clear of hair while still letting you show off your length.
6. Voluminous French Braid Pompadour
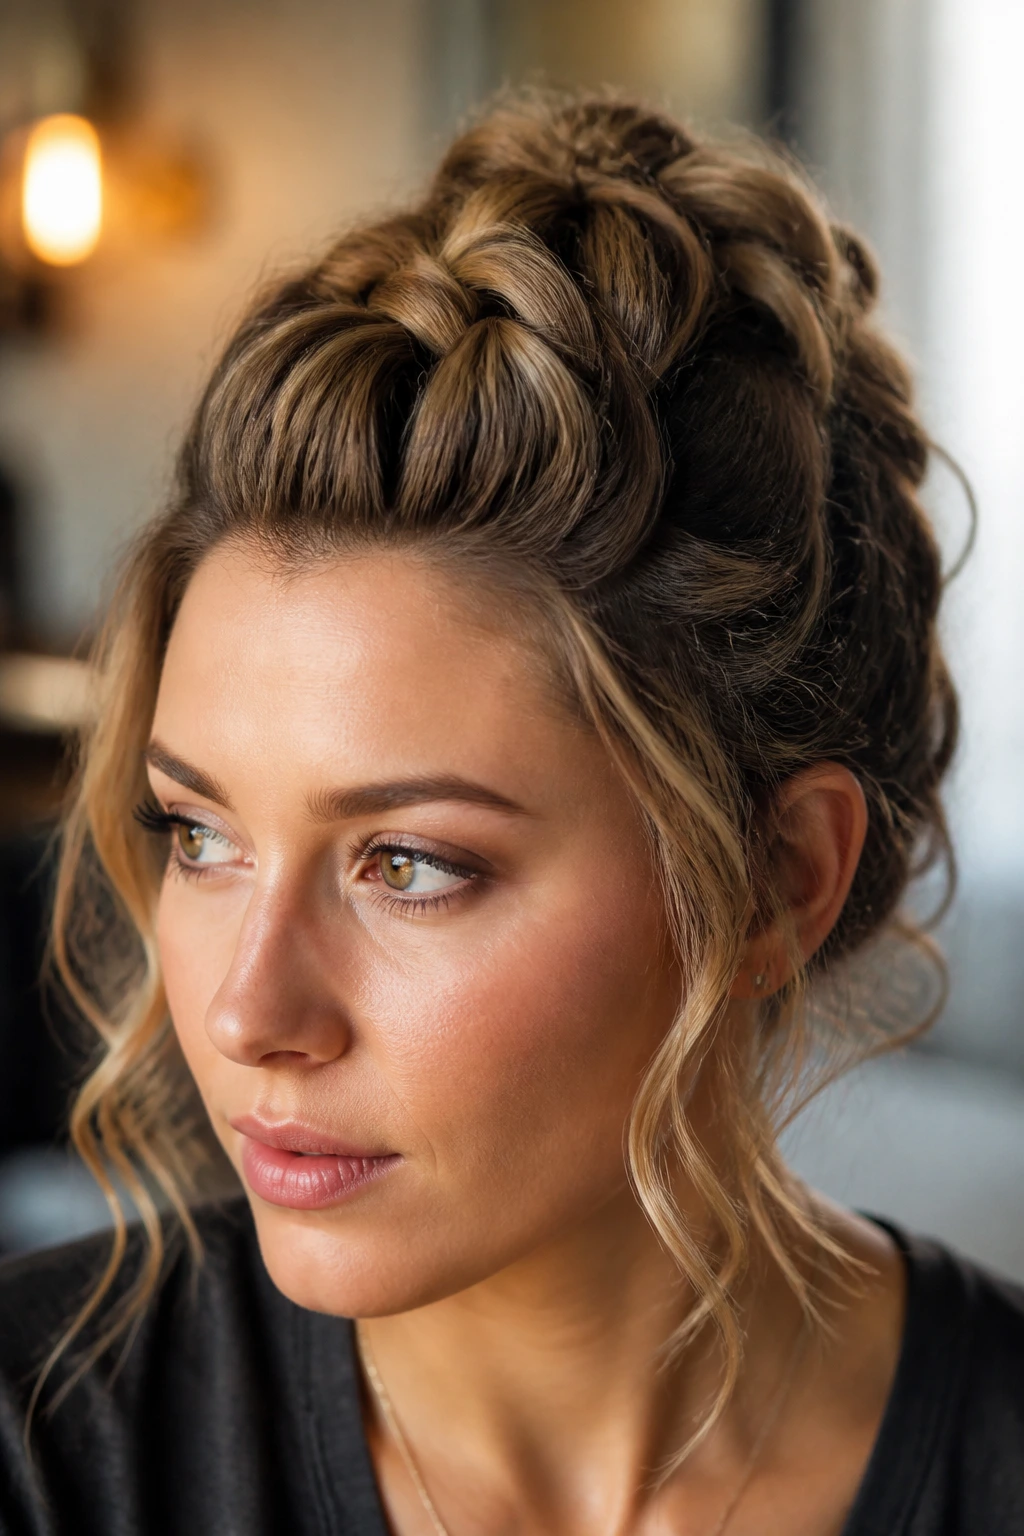
Unlike side-swept braids that redirect your bangs to one side, the voluminous French braid pompadour pulls your bangs straight back from your forehead, creating height and drama at the center of your head. This style doesn’t frame your face; instead, it opens up your features completely by lifting the hair up and away, securing it at the crown of your skull.
The key difference here is the direction of the braid. You are working from the forehead straight back toward the crown, adding hair from both sides of your face as you go. This creates a raised, central ridge of hair that acts like a soft, feminine faux-hawk. It is an excellent choice for anyone with a round or heart-shaped face because the height at the top of the head naturally elongates your silhouette.
If you have fine waves that tend to go flat at the roots, this is the style to try. The braiding action itself forces the roots to stand upright, giving you a boost of volume that lasts all day. I recommend spraying the front section with a bit of dry shampoo before you start to give the roots extra lift and hold.
7. Part-Line Split French Braided Bangs
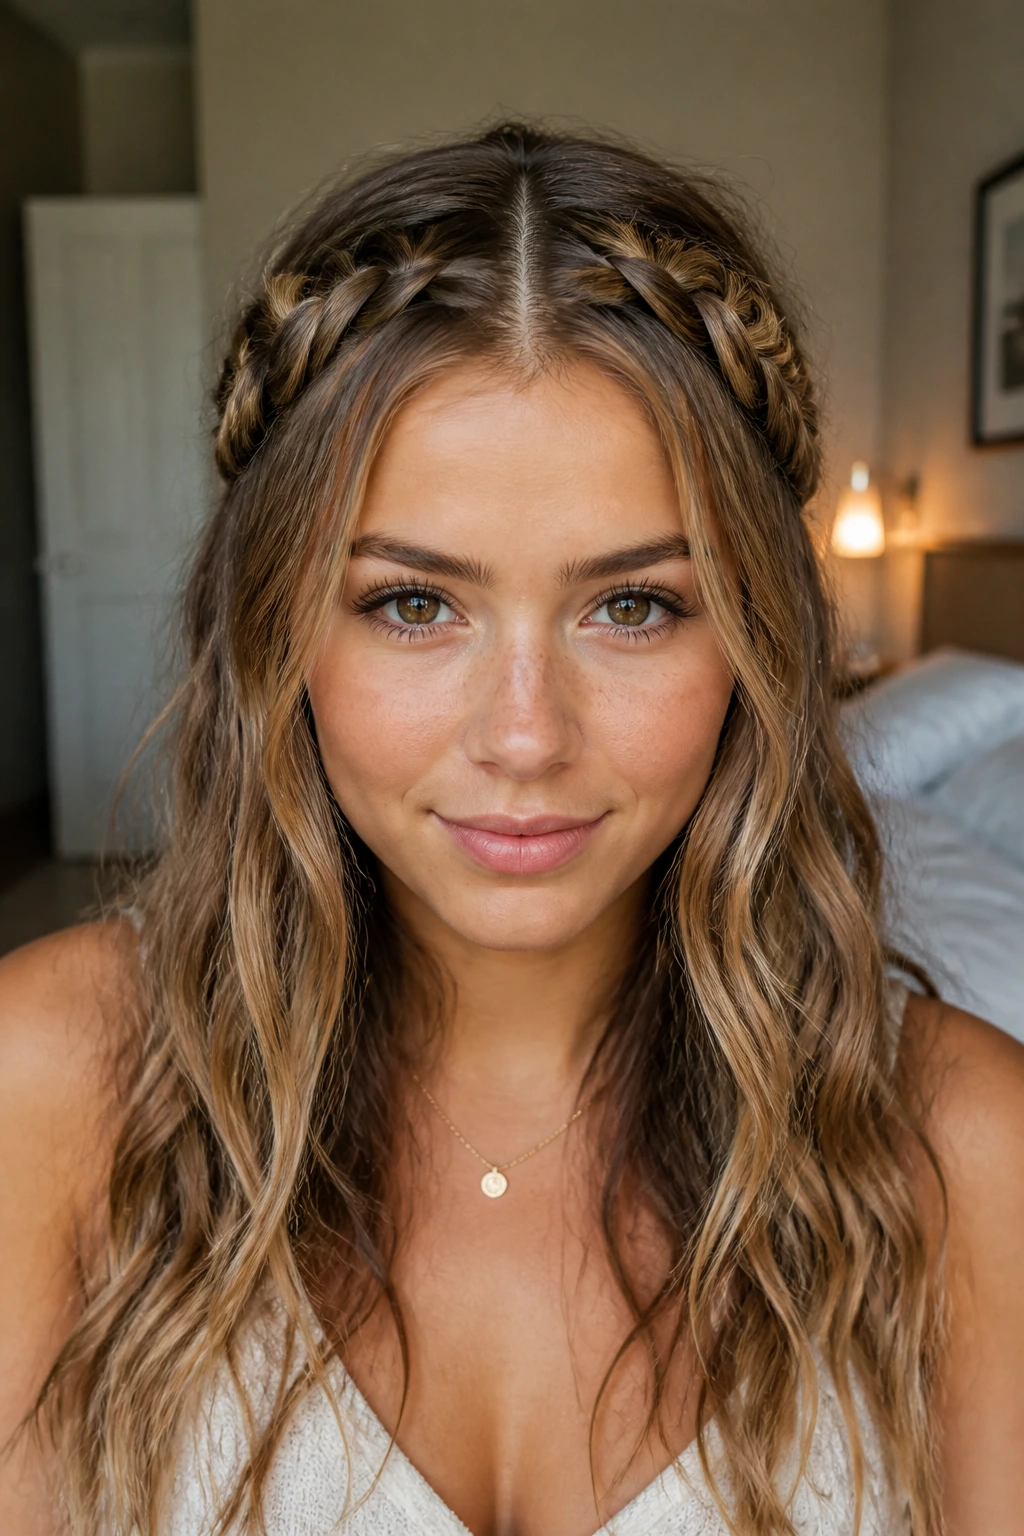
The part-line split French braid divides your bangs down the exact center, creating two symmetrical braids that curve outward toward your temples. This style is highly balanced and gives a beautiful, symmetrical frame to your face. It is a wonderful alternative to straight-across bangs, especially during the warm summer months when having hair on your forehead can feel hot and sticky.
The Symmetry of the Split Braid
By splitting your bangs, you distribute the weight of your hair evenly on both sides of your face. This is particularly helpful if you have very thick, heavy wavy hair that tends to feel front-heavy. The two braids act like curtains, pulling the weight away from your forehead while keeping your natural wave volume at the sides of your head.
How to Map the Split
- Start with a clean center part, using the bridge of your nose as a guide to ensure it is perfectly straight.
- Clip the left side of your hair back so it does not get in your way while you work on the right side.
- Take a small triangle of hair at the front of the right side and begin a French braid, moving down and away from the center line.
- Add hair only from the top part line and the front hairline to keep the braid running parallel to your brow.
- Tie off the braid with a small elastic at the temple, then repeat the exact process on the left side.
Pro tip: Use a tiny dab of matte pomade on your fingertips to keep the center part line looking clean and sharp as you braid.
8. Waterfall-Style French Braid Fringe
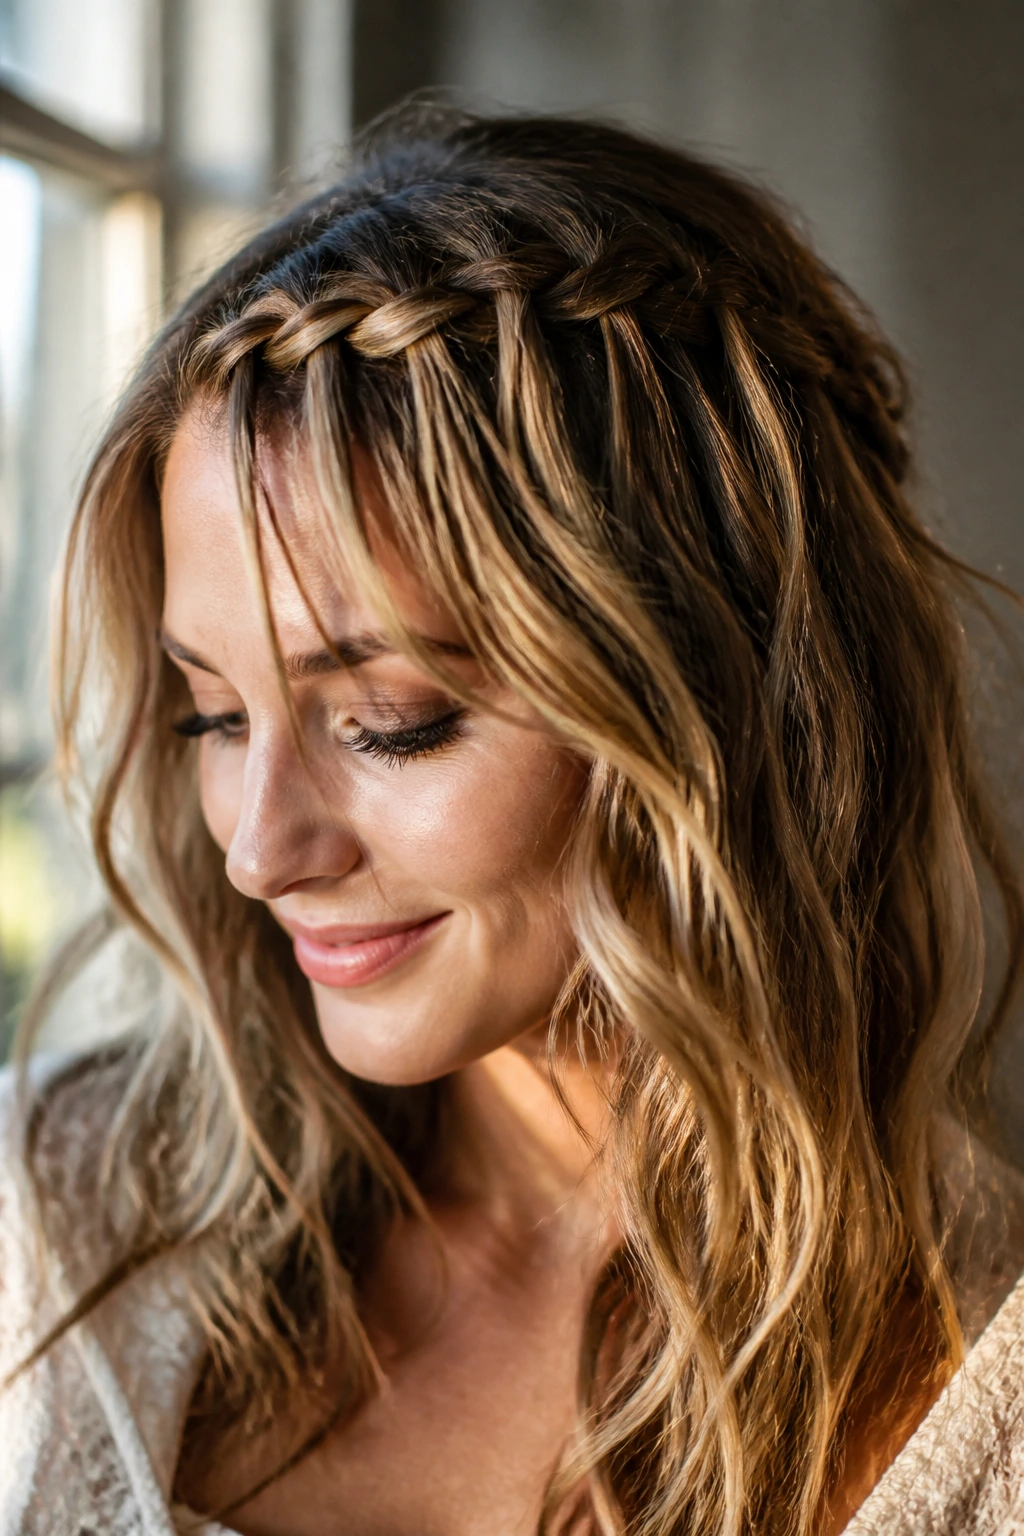
The waterfall braid is actually much easier to master on wavy hair than on straight hair. This is because the cascading strands that you “drop” from the braid blend into your natural wave pattern, making any minor tension mistakes invisible. In a waterfall braid, you start a standard French braid along the hairline, but instead of keeping all three strands, you drop the bottom strand and pick up a new one right behind it.
This creates a beautiful woven effect across your forehead where strands of hair seem to cascade out of the braid like water over a cliff. It keeps the top section of your bangs secure while letting the rest of your hair flow freely. It is an intricate-looking style that never fails to draw compliments, yet it takes only a few minutes once your fingers learn the “drop-and-pick-up” motion.
To make this look its best, make sure your dropped strands are roughly the same thickness. This keeps the spacing of the waterfall consistent across your forehead. It is a stunning look for semi-formal events or outdoor gatherings where you want a style that looks detailed but still feels soft and romantic.
9. Thick French Lace Braid with Face-Framing Tendrils
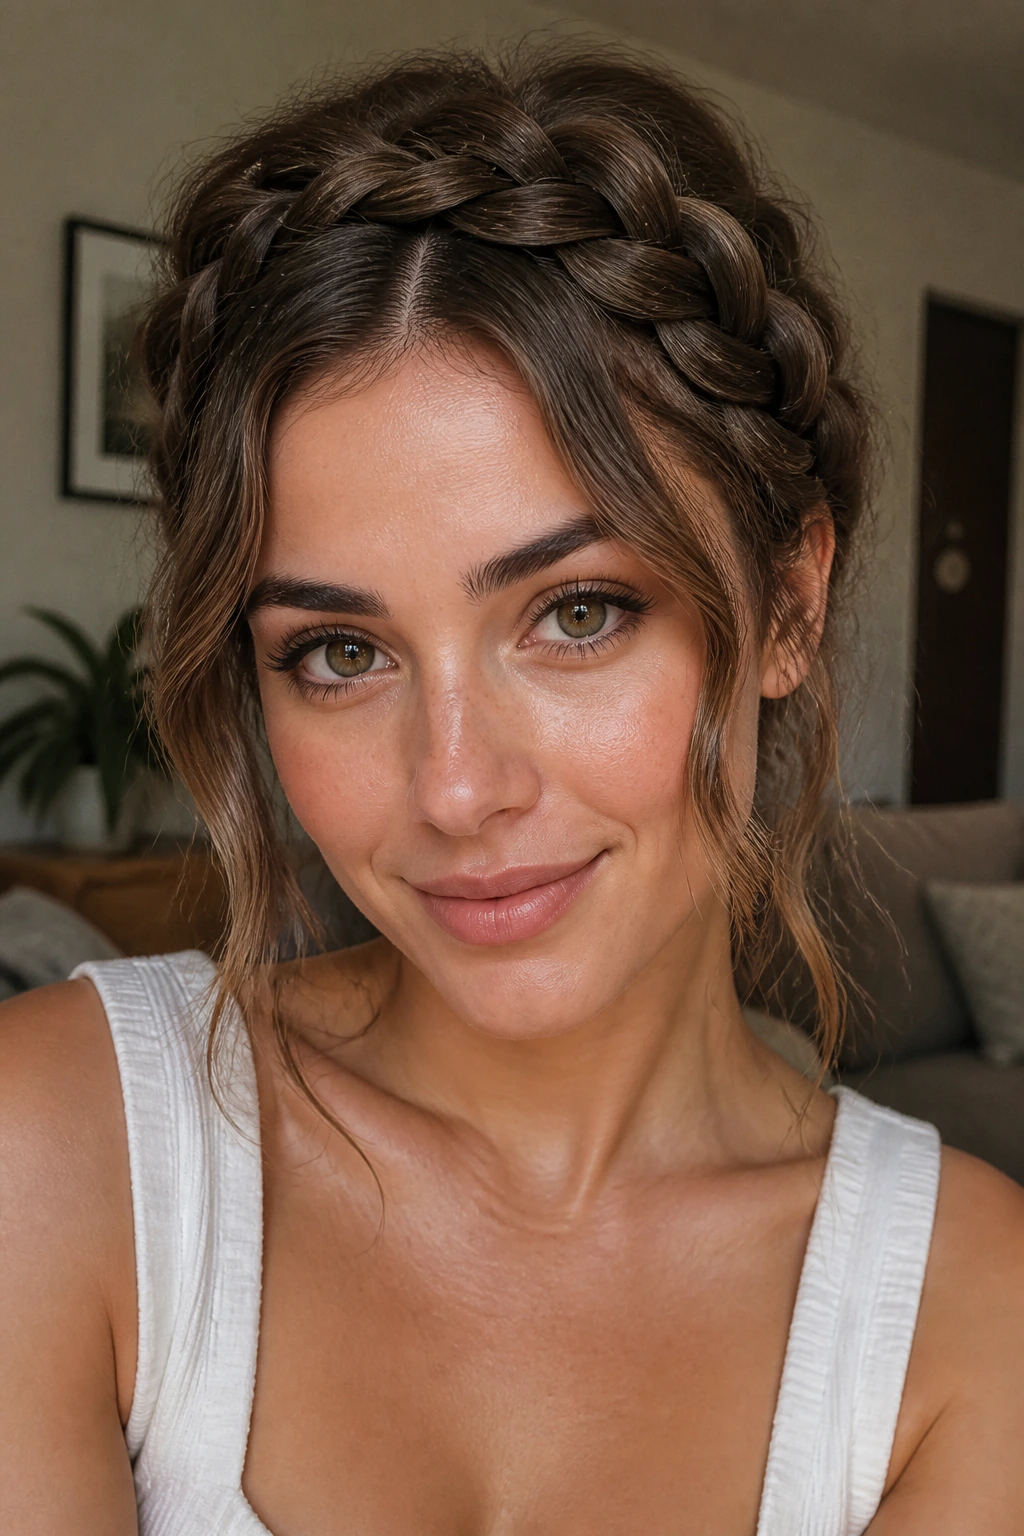
Do you love the look of a thick, chunkier braid but worry it will make your face look too bare? The thick French lace braid with face-framing tendrils offers the perfect solution. A lace braid is a variation of the French braid where you only add hair from one side—in this case, the top of your head—leaving the hairline side untouched to let soft, wavy tendrils escape.
By only adding hair from the top, the braid sits like a beautiful border along your forehead, while a soft curtain of waves slips out from underneath to frame your cheeks. This gives you the structure of a braid with the face-softening benefits of loose bangs. It is an incredibly flattering look for square or angular face shapes because the loose tendrils soften the jawline.
This style relies on the natural bounce of your waves. If your tendrils look a bit limp after braiding, you can scrunch them with a tiny bit of water or curl cream to revive their shape. The goal is a look that is structured yet soft, deliberate yet relaxed.
How to Style the Lace Braid
Create a deep side part and separate a thick section of hair along your hairline. As you begin braiding across your forehead, add new sections of hair only from the crown side of the part. Leave the bottom edge of the braid untouched, allowing small wisps of hair to naturally fall forward around your eyes and temples. Secure the end of the braid behind your ear with a couple of crossed bobby pins.
10. Angled Temple-to-Crown French Braid
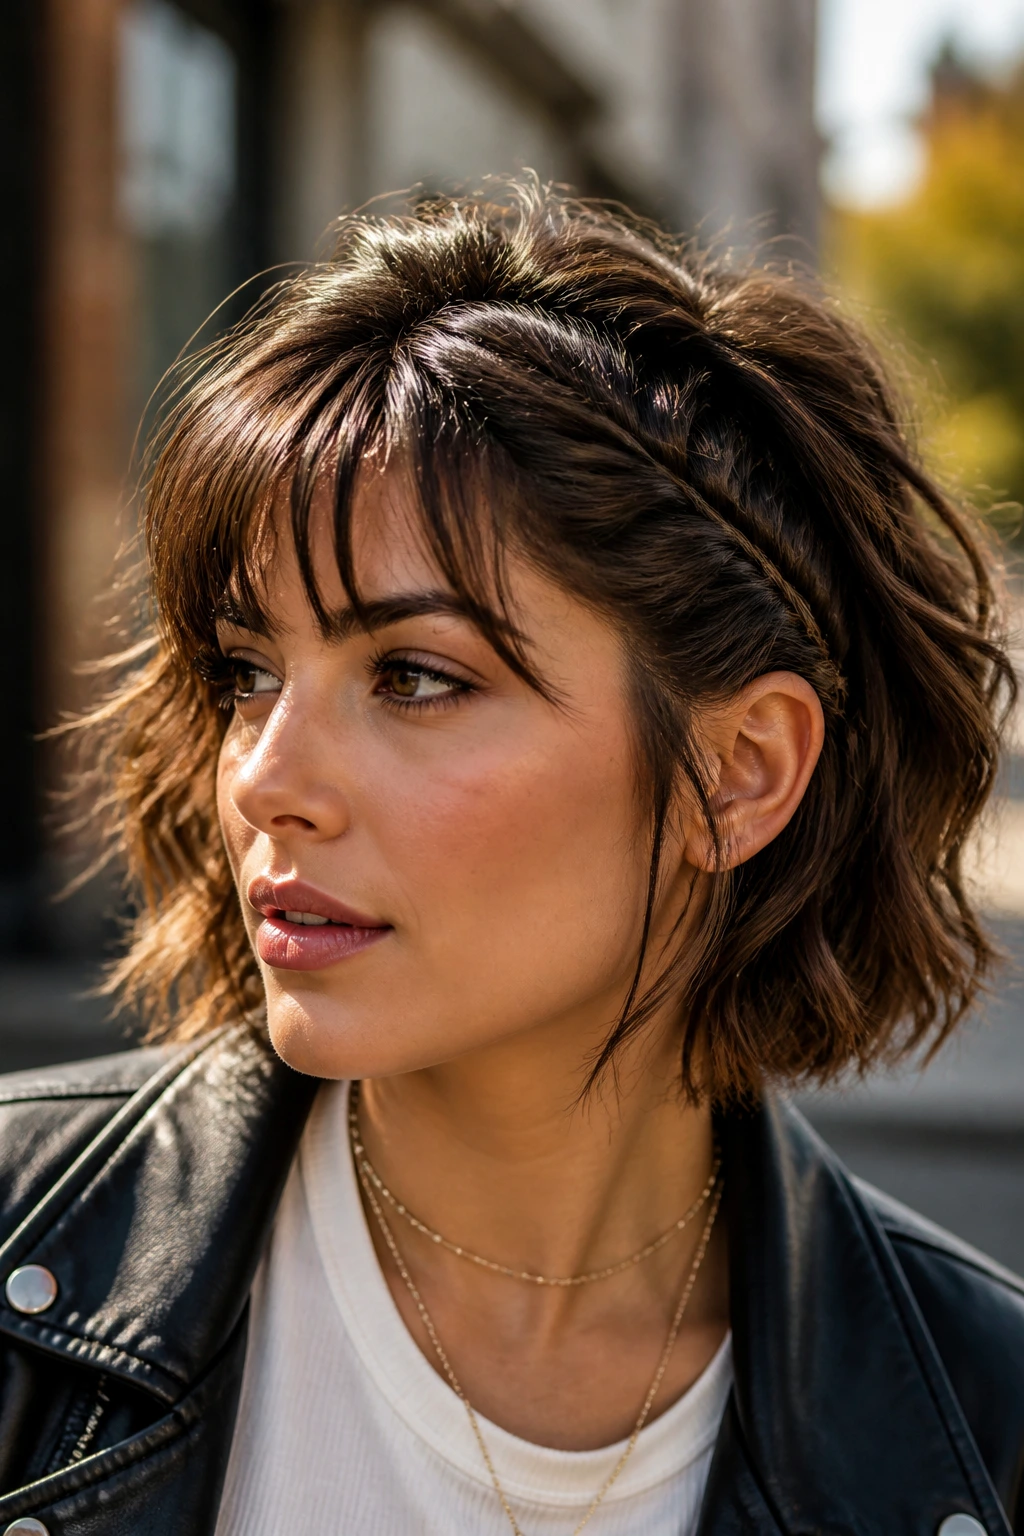
Imagine you are heading out the door for a busy day of errands; you want a look that is slightly edgy but completely effortless. The angled temple-to-crown French braid fits this vibe perfectly. Instead of running along your hairline, this braid starts at your temple and moves diagonally upward and backward toward the crown of your head, creating an asymmetrical sweep.
This style works by reversing the traditional direction of braided bangs. By pulling the hair up and back at an angle, you create a lifted, swept-back look on one side of your face while letting the other side bounce with natural wave volume. It is a dynamic, modern silhouette that looks fantastic with casual wear like a denim jacket or an oversized sweater.
- Section diagonally: Create a part that starts at your temple and runs diagonally back toward the center crown of your head.
- Braid upward: Begin the French braid at the temple, adding hair from both sides as you move up and back along the part line.
- Secure at the crown: Tie the braid off with a clear elastic at the crown, then let the remaining tail blend into your back waves.
This upward angle provides a natural lifting effect to the face, highlighting your cheekbones and eyes.
11. Messy Fishtail-French Hybrid Braid
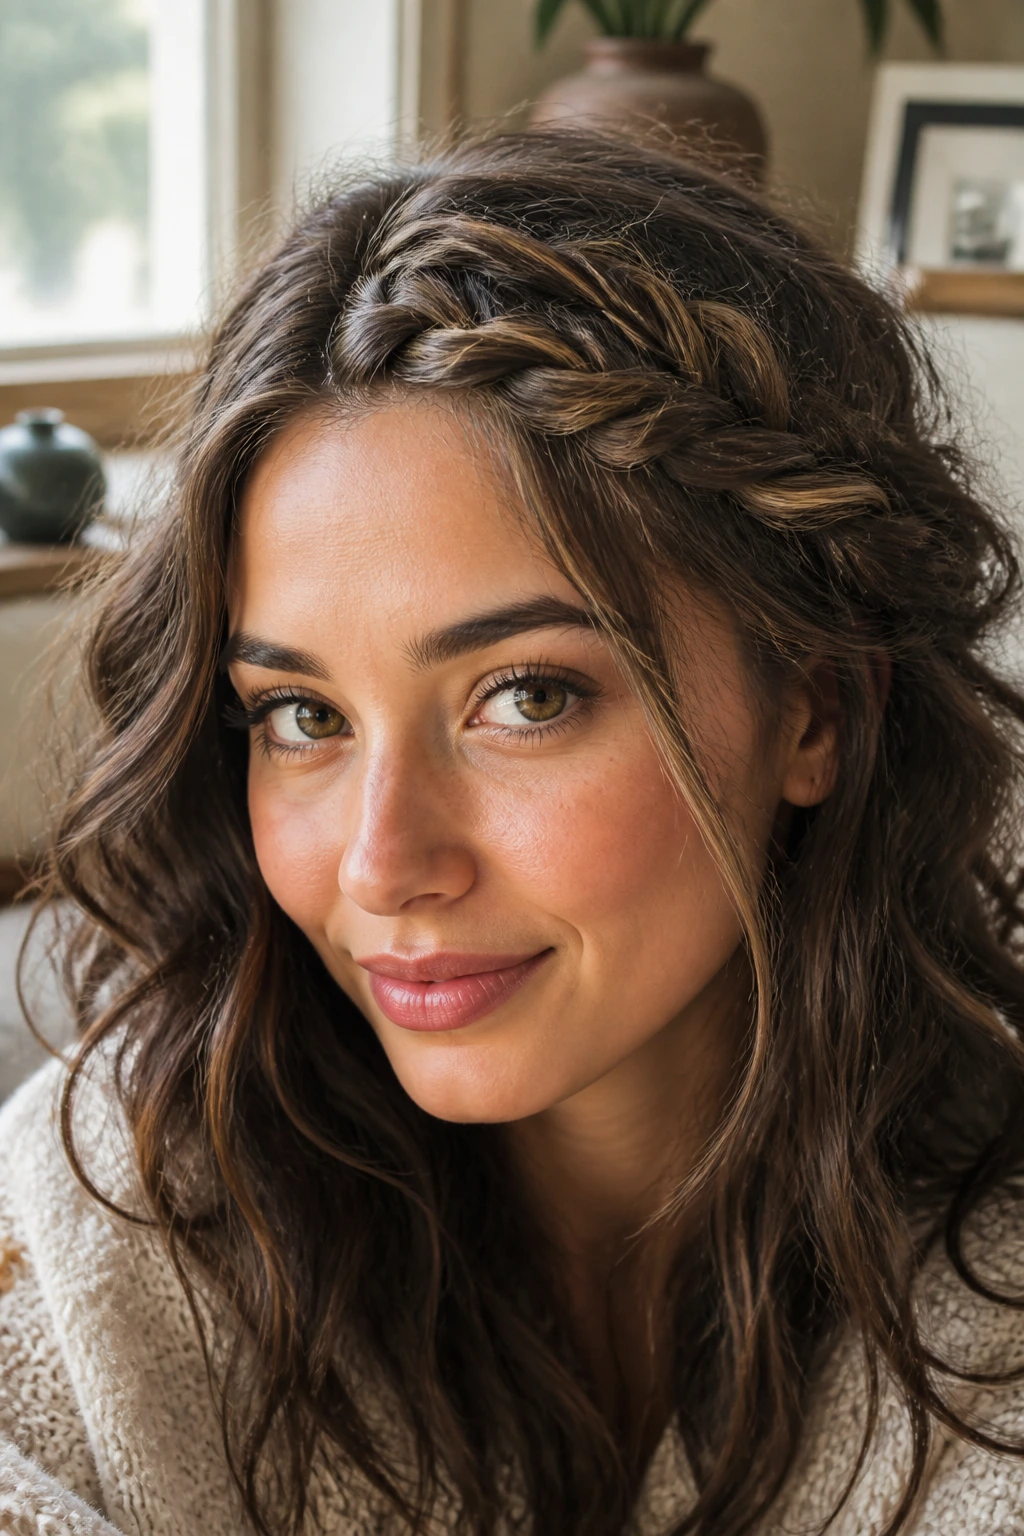
If you are tired of the traditional three-strand braid, the messy fishtail-French hybrid is a gorgeous way to shake things up. This style combines the classic two-strand weaving pattern of a fishtail braid with the scalp-hugging technique of a French braid. It results in a highly textured pattern that looks like a beautiful herringbone ribbon running across your forehead. Because wavy hair has natural bulk and texture, this hybrid braid looks incredibly rich and full, far more so than it would on straight hair.
To achieve this look, you must work with very thin strands of hair to make the herringbone pattern visible. You start at your part with two small sections, then cross a tiny sliver from the outer edge of one section over to the other, adding a small amount of loose hair from the hairline as you go. It is a slower process than a standard French braid, but the stunning texture is well worth the extra minute of braiding time.
Once the braid is secured, the real magic happens when you deliberately mess it up. Run your thumb lightly against the direction of the braid to rough up the texture and create a halo of soft frizz. This gives the style a lived-in, effortless feel that matches the relaxed nature of wavy hair. It is a look that actually gets better as the day goes on, making it perfect for long events.
12. Reverse French Braid (Dutch Braid) for High-Volume Waves
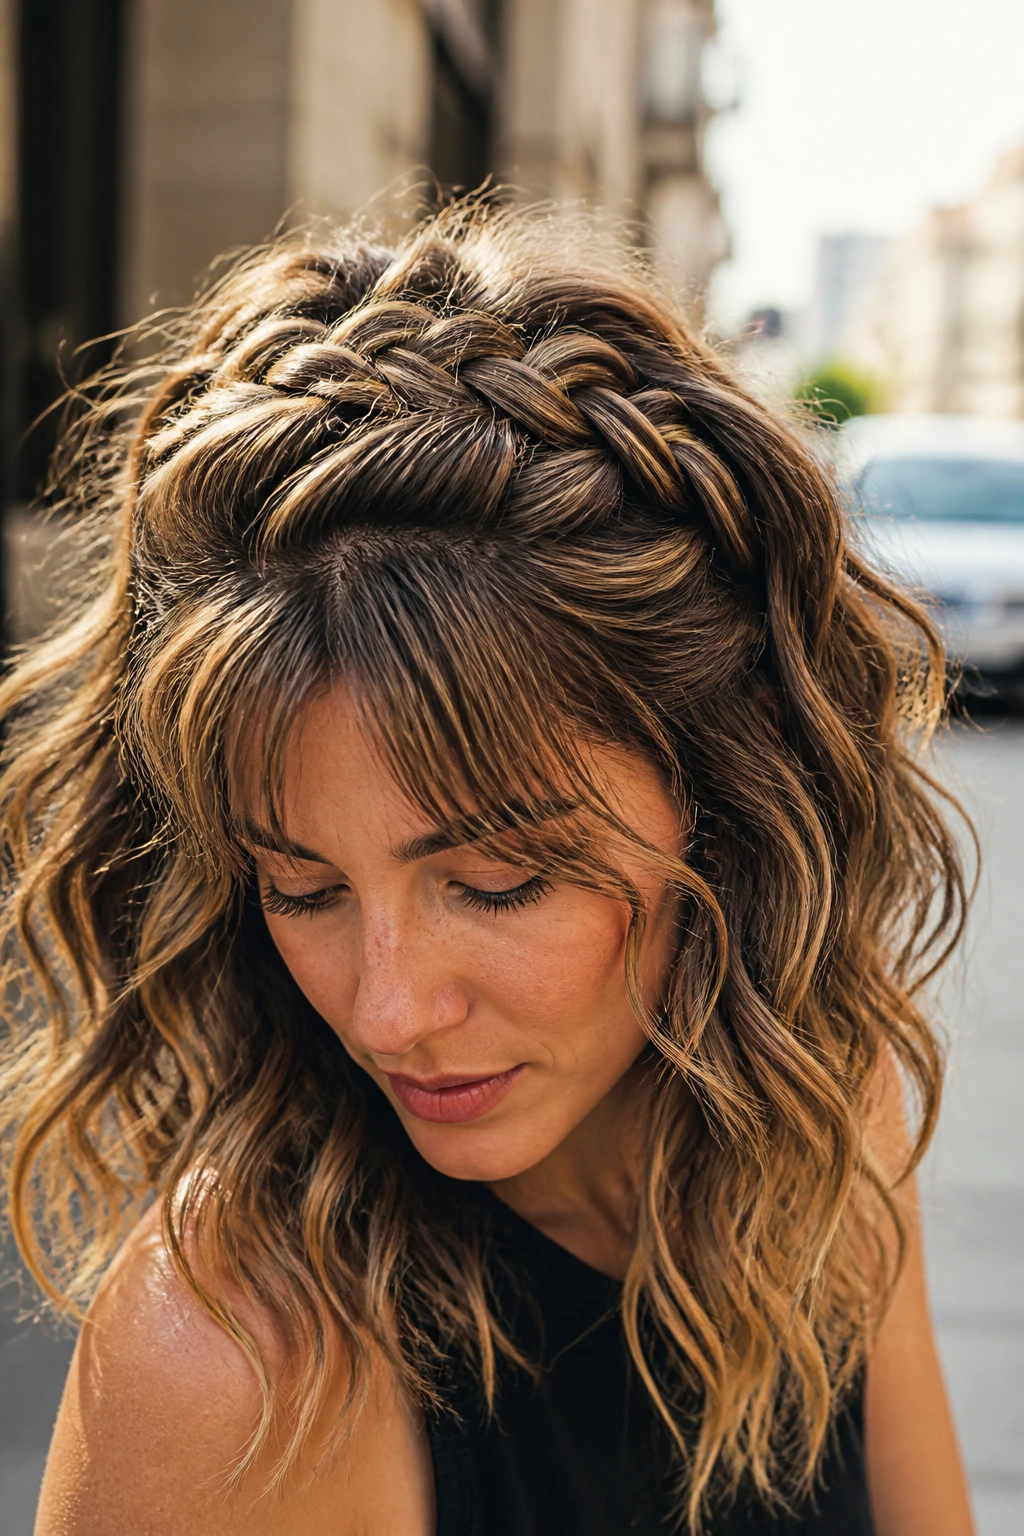
Unlike a traditional French braid where the strands are crossed over each other, a reverse French braid—commonly known as a Dutch braid—crosses the strands under the center. This minor change makes a massive difference in how the finished style looks. A French braid blends into the rest of your hair, while a Dutch braid sits prominently on top, looking like a thick, raised rope of texture.
This style is ideal for those with thick, high-volume waves because it has the visual weight necessary to stand out against a full head of voluminous hair. A standard French braid can sometimes get lost in a sea of thick waves, but a Dutch braid holds its own, creating a clear, dramatic focal point across your hairline.
I recommend using this style when you want a bold, graphic look. It is particularly great for showcasing highlights or multi-toned hair color, as the raised under-over weave catches the light and highlights different shades beautifully. Secure it behind your ear and let your natural waves explode with volume behind it.
13. Sleek-Front French Braid with Textured Crown
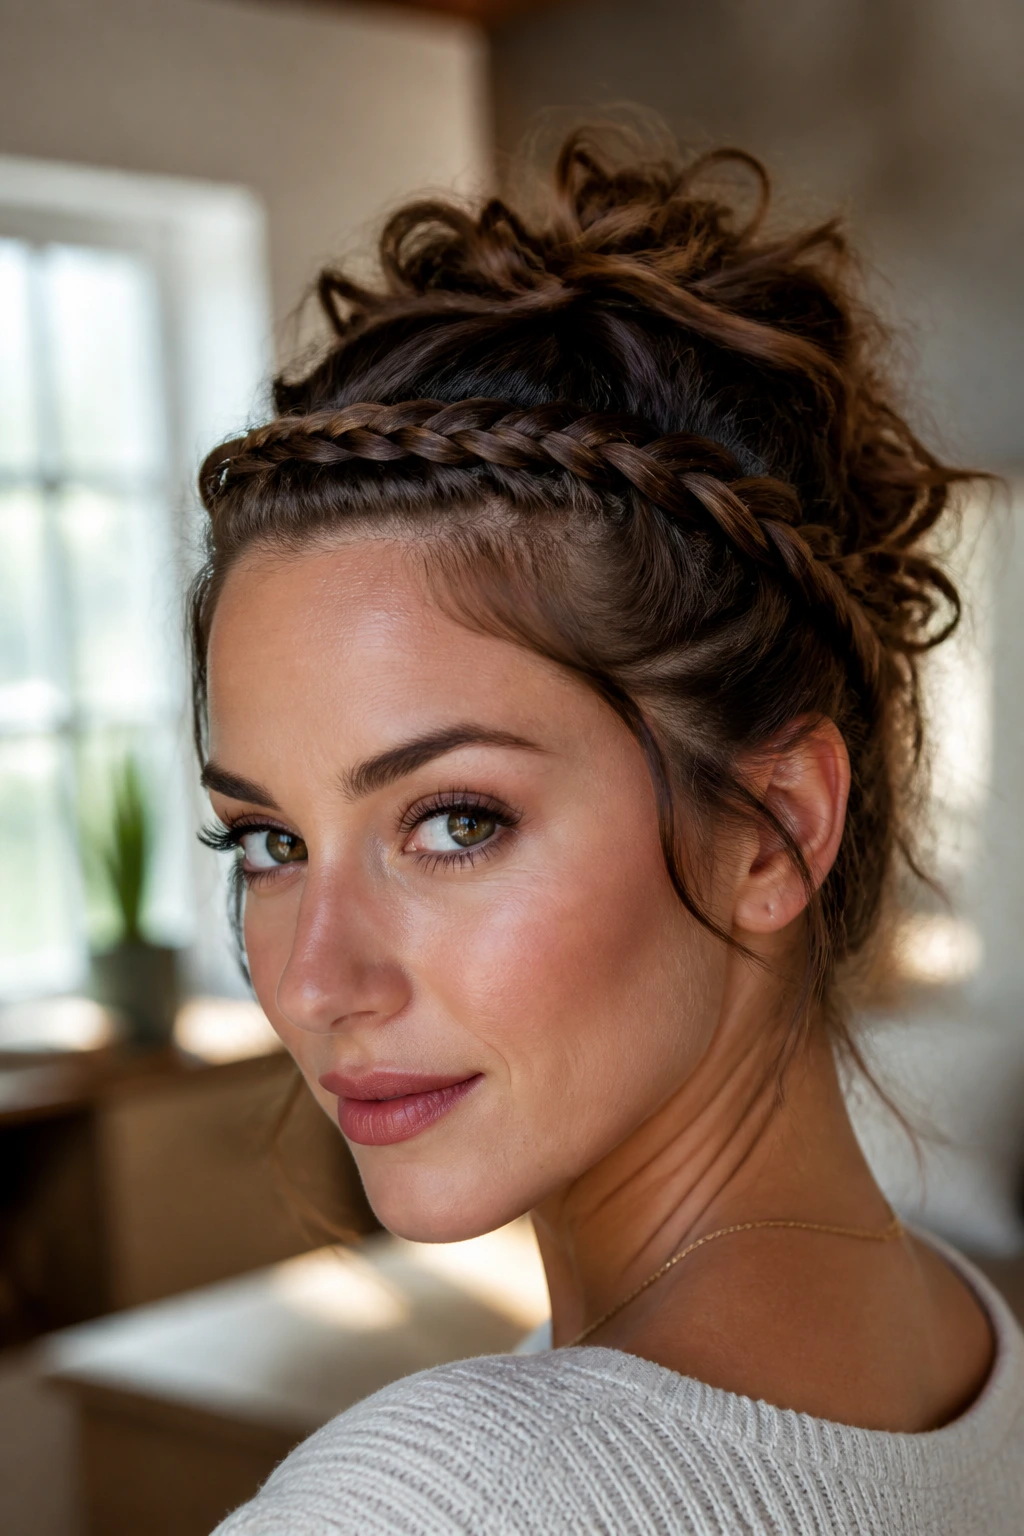
The sleek-front French braid with a textured crown is all about the beauty of contrast. It combines a tightly pulled, neat braid along the forehead with a voluminous, messy crown right behind it. This creates a polished, clean face-frame while preserving the wild, untamed energy of your natural waves throughout the rest of your hair.
The Power of High-Contrast Styling
By styling the front of your hair sleek and the back voluminous, you get the best of both worlds. The tight braid keeps flyaways under control and ensures your eyes and brows are fully visible, while the textured crown gives the style height and a modern, relaxed silhouette. It is a great look for formal occasions where you want to look neat but still feel like yourself.
Step-by-Step Styling Path
- Apply a small amount of styling gel or pomade to your hairline to flatten any baby hairs before you start.
- Begin a tight French braid right at your temple, keeping your hands close to your scalp to maintain high tension.
- Feed very small, precise sections of hair into the braid as you move across your forehead.
- Once you reach the opposite side, pin the braid down securely behind your ear, hiding the pins under your loose hair.
- Gently tease the crown of your hair with your fingers to build height and volume right behind the neat braid.
Pro tip: Use a clean toothbrush sprayed with hairspray to smooth down any stubborn flyaways along the braid line.
14. Half-Up French Braid Top Knot for Wavy Hair
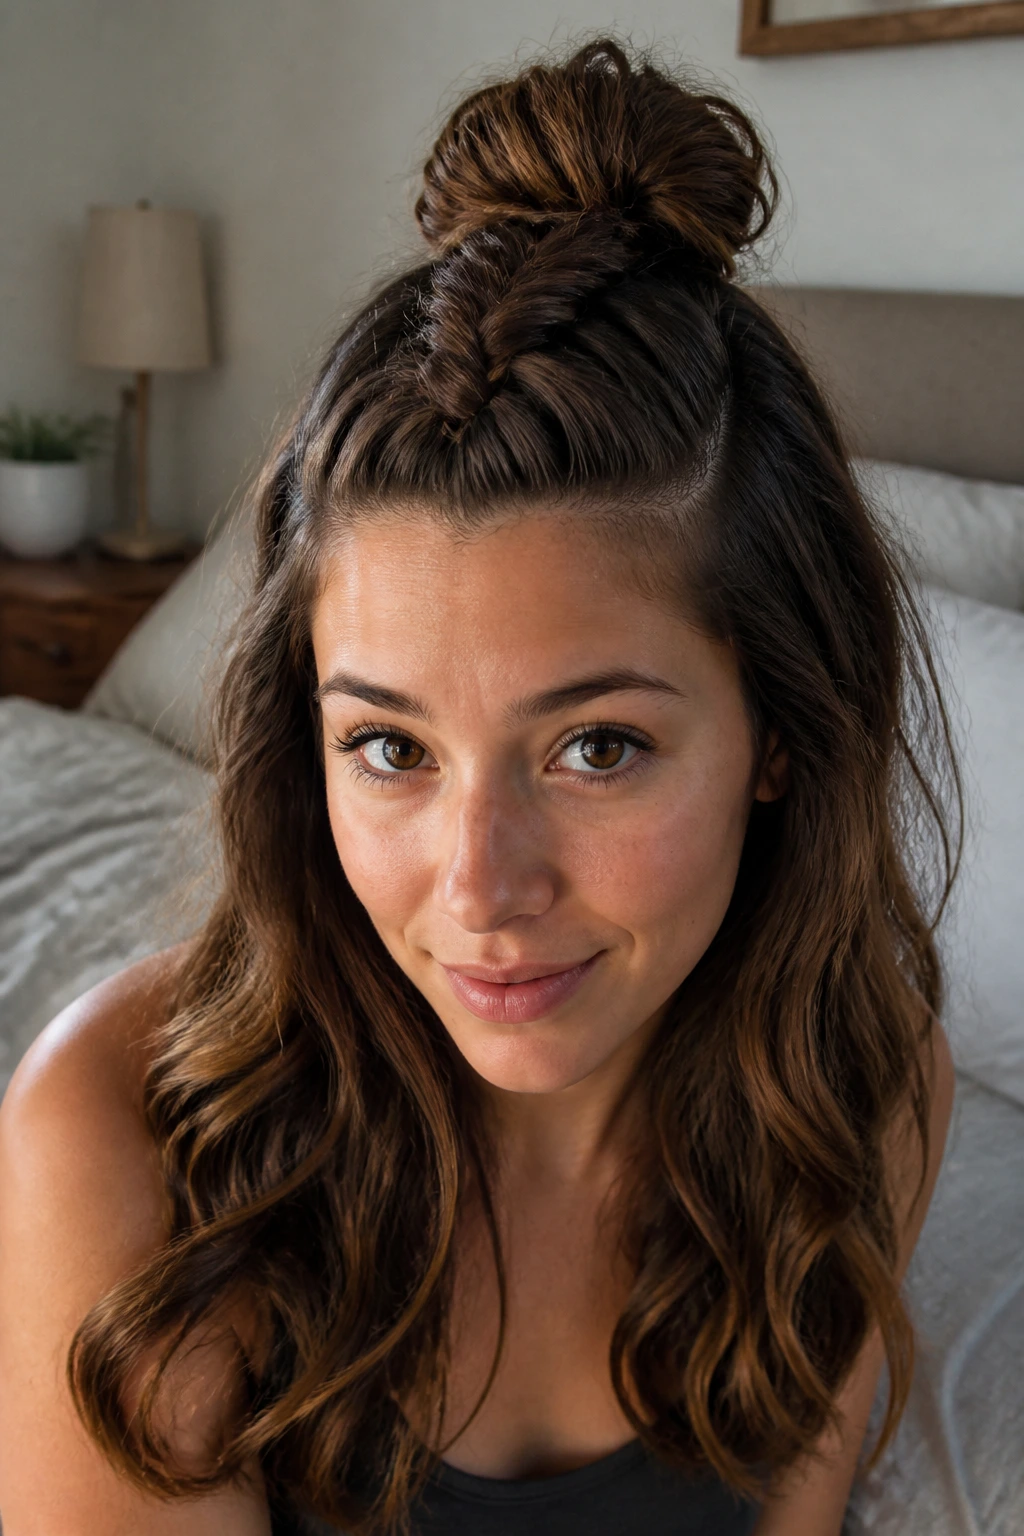
You do not need to choose between a top knot and letting your waves flow free. The half-up French braid top knot combines these two popular styles into one fun, playful look. You start by French braiding your bangs straight back from the center of your forehead, then gather that braided section along with the top half of your hair into a messy bun at the crown of your head.
This style is incredibly practical for wavy hair because it clears the heaviest section of hair away from your face while letting your natural waves cascade over your shoulders. The braid adds a touch of detail and structure to what would otherwise be a simple messy bun, making the overall look feel more intentional and styled. It is an excellent option for third-day hair when the roots are starting to lose their bounce but the lengths still have great texture.
To make the top knot look its best, do not worry about making the bun perfect. Let a few loops of the bun fall loose, and use a couple of bobby pins to secure it in a relaxed, circular shape. The juxtaposition of the structured French braid leading into a wild, messy bun is what makes this style so chic.
15. Zig-Zag Parting French Braided Bangs
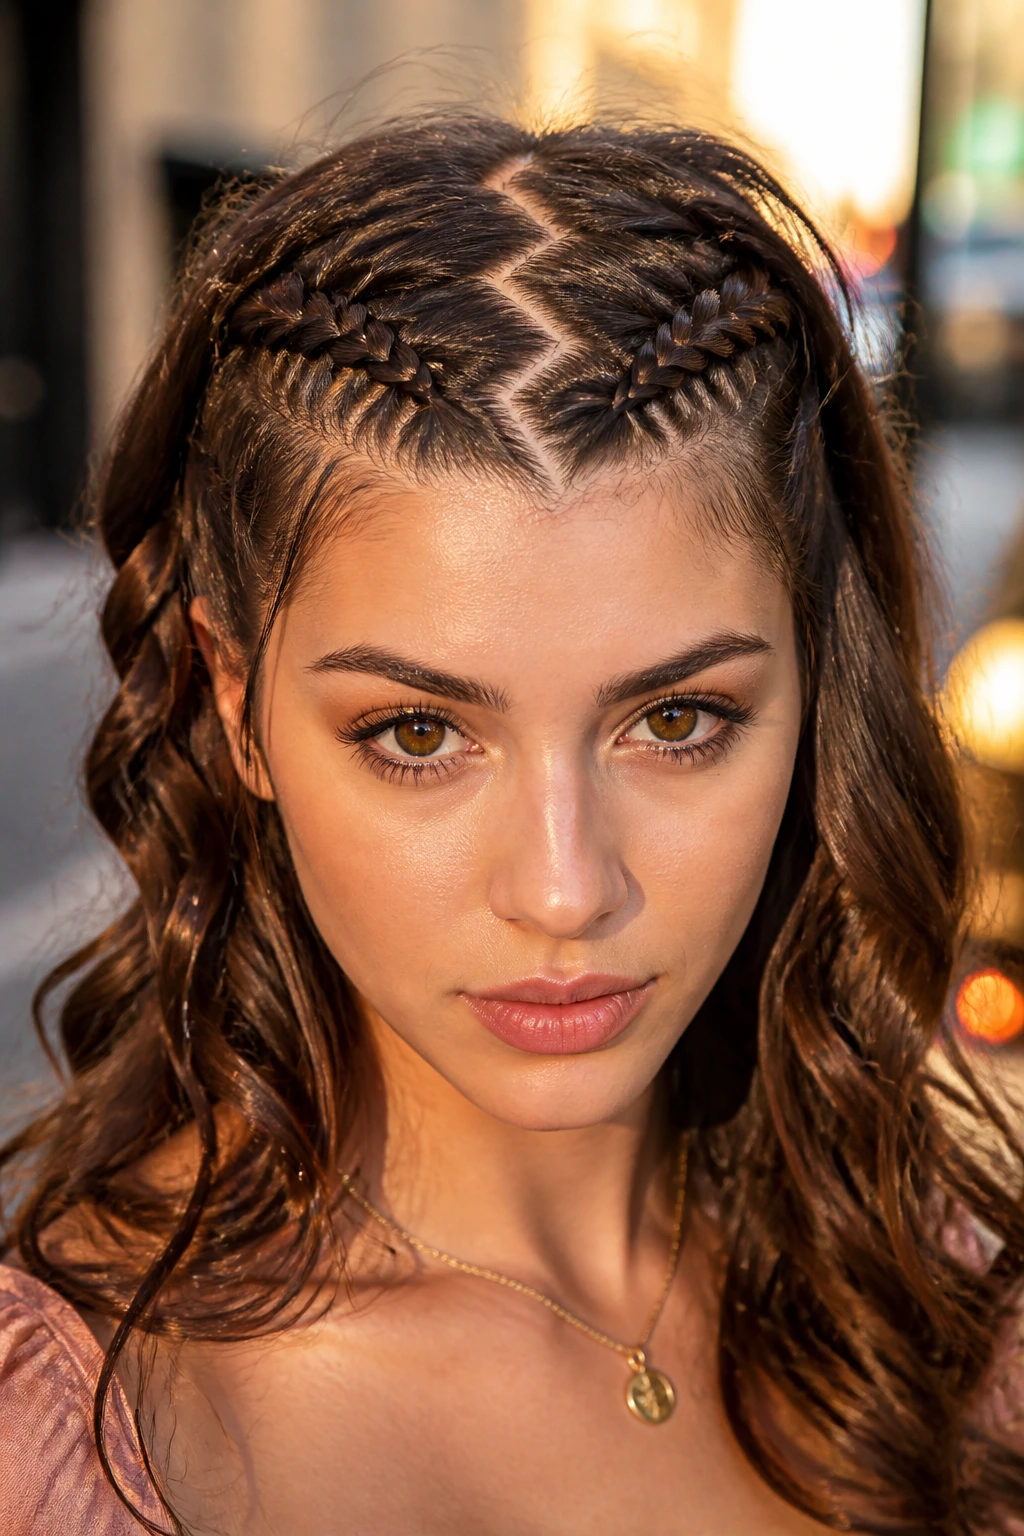
Are you bored of standard straight parts and looking for a way to add some graphic detail to your hair? The zig-zag parting French braided bangs style uses a sharp, geometric part line to create a unique visual pattern before the braiding even begins. This style splits your bangs in a jagged line, then weaves each side back into a neat French braid.
This look is highly creative and adds a touch of playful energy to your daily routine. The zig-zag part breaks up the hair in an unexpected way, which can actually help disguise sparse areas along the hairline or part
