



Getting vintage curls and structured rolls to stay put on smooth, heavy hair can feel like fighting gravity. If you have straight, low-porosity Asian hair, you already know this frustration. You spend an hour with a curling iron, only for the waves to drop into straight lines before you even leave the house. Traditional hot tools often fail because they only heat the outer layer of the thick, round hair shaft without truly reforming the hydrogen bonds.
Historically, women did not rely on intense, dry heat to shape their hair. They used wet sets, setting lotions, and strategic pinning. This is the secret to making retro styles work. Because wet hair is highly malleable, letting it dry slowly in a specific shape locks in the structure on a structural level. When you try these 22 Easy Vintage Hairstyles for Asian Hair, you are working with historical techniques designed for durability, shine, and structural hold.
You do not need a professional stylist or a collection of complicated tools. Most of these looks require nothing more than a fine-tooth comb, some duckbill clips, a good setting spray, and a box of sturdy bobby pins. Let us look at how you can adapt these beautiful, classic silhouettes for your specific hair texture.
1. Classic 1920s Finger Waves for Asian Hair
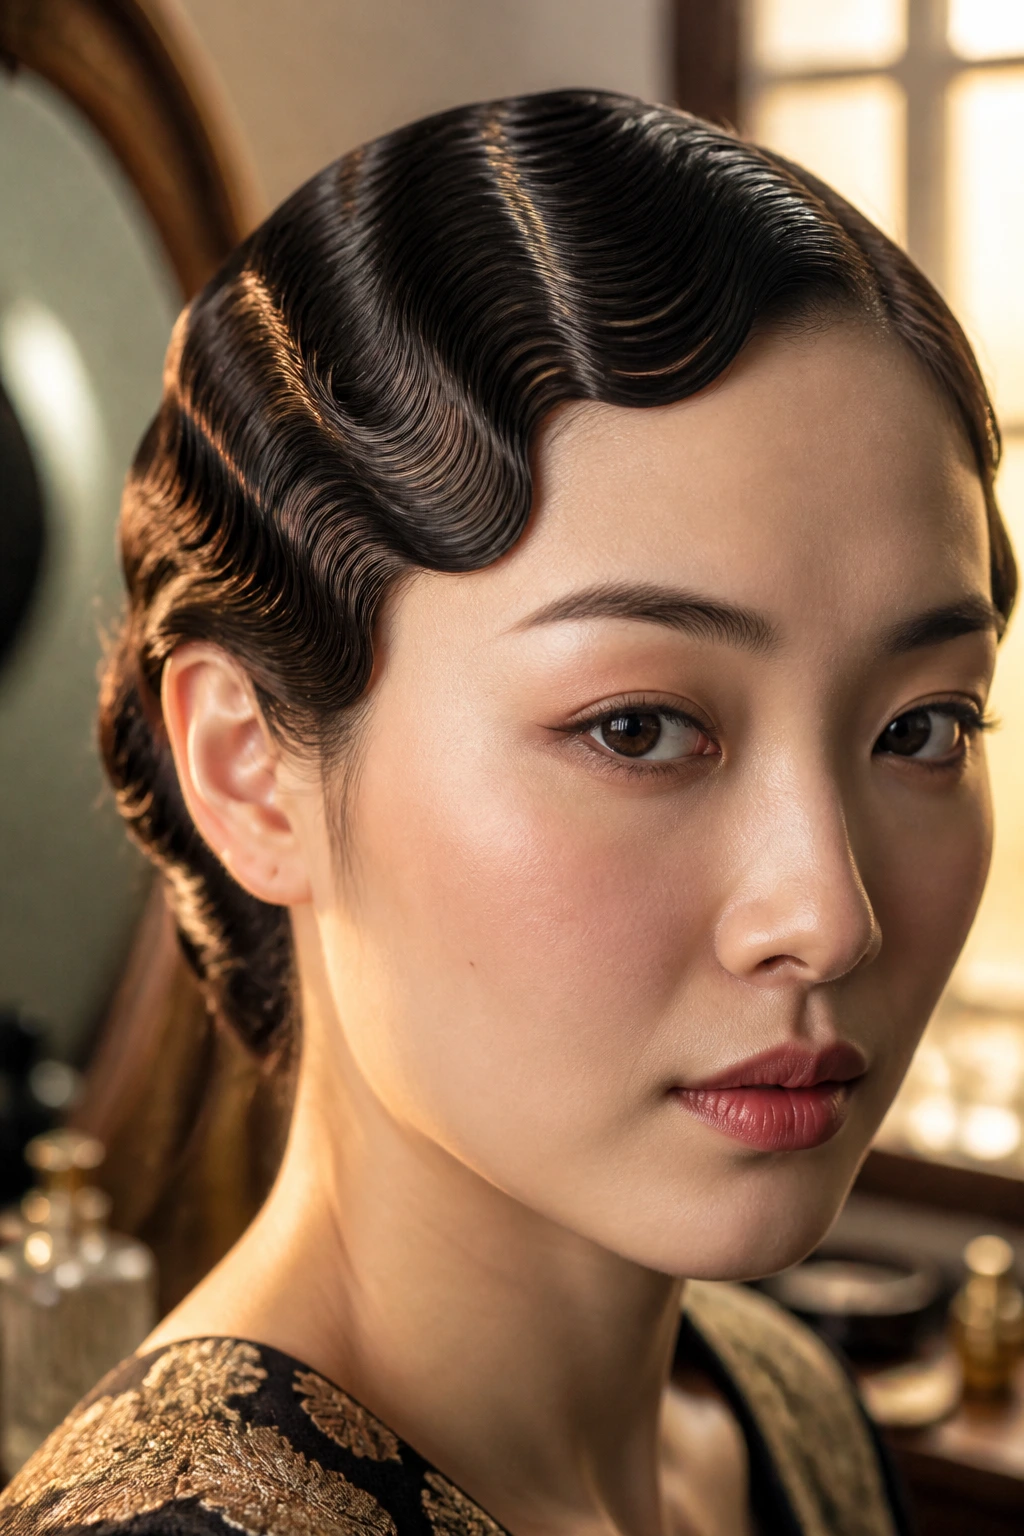
This style embraces the flat, graphic lines of the Art Deco era. Finger waves work beautifully on straight, dark hair because the smooth surface reflects light, showing off the deep ridges of the wave pattern. Instead of using a curling iron, you mold the damp hair directly against your scalp using a heavy-holding gel.
Why Finger Waves Hold on Straight Hair
Unlike barrel curls that try to pull the hair outward, finger waves sit flat against the head. This removes the weight factor that usually pulls curls down. By using your fingers and a fine-tooth comb to push the hair into “C” shapes while wet, you set the hair in its most stable position.
How to Create the Waves
- Start with wet, freshly washed hair and apply a generous amount of strong-hold styling gel from root to tip.
- Create a deep side part using the arch of your eyebrow as a guide.
- Place your non-dominant middle finger parallel to the part, about an inch down, and comb the hair backward, then push it forward to create a ridge.
- Clamp the ridge with a long metal wave clip or duckbill clip to secure the shape.
- Repeat this process down the side of your head, alternating the direction of the comb to build an “S” pattern. Pro tip: Let the hair dry completely before removing the clips—touching damp gel will instantly ruin the crispness of the ridges.
2. The 1940s Victory Roll Accent
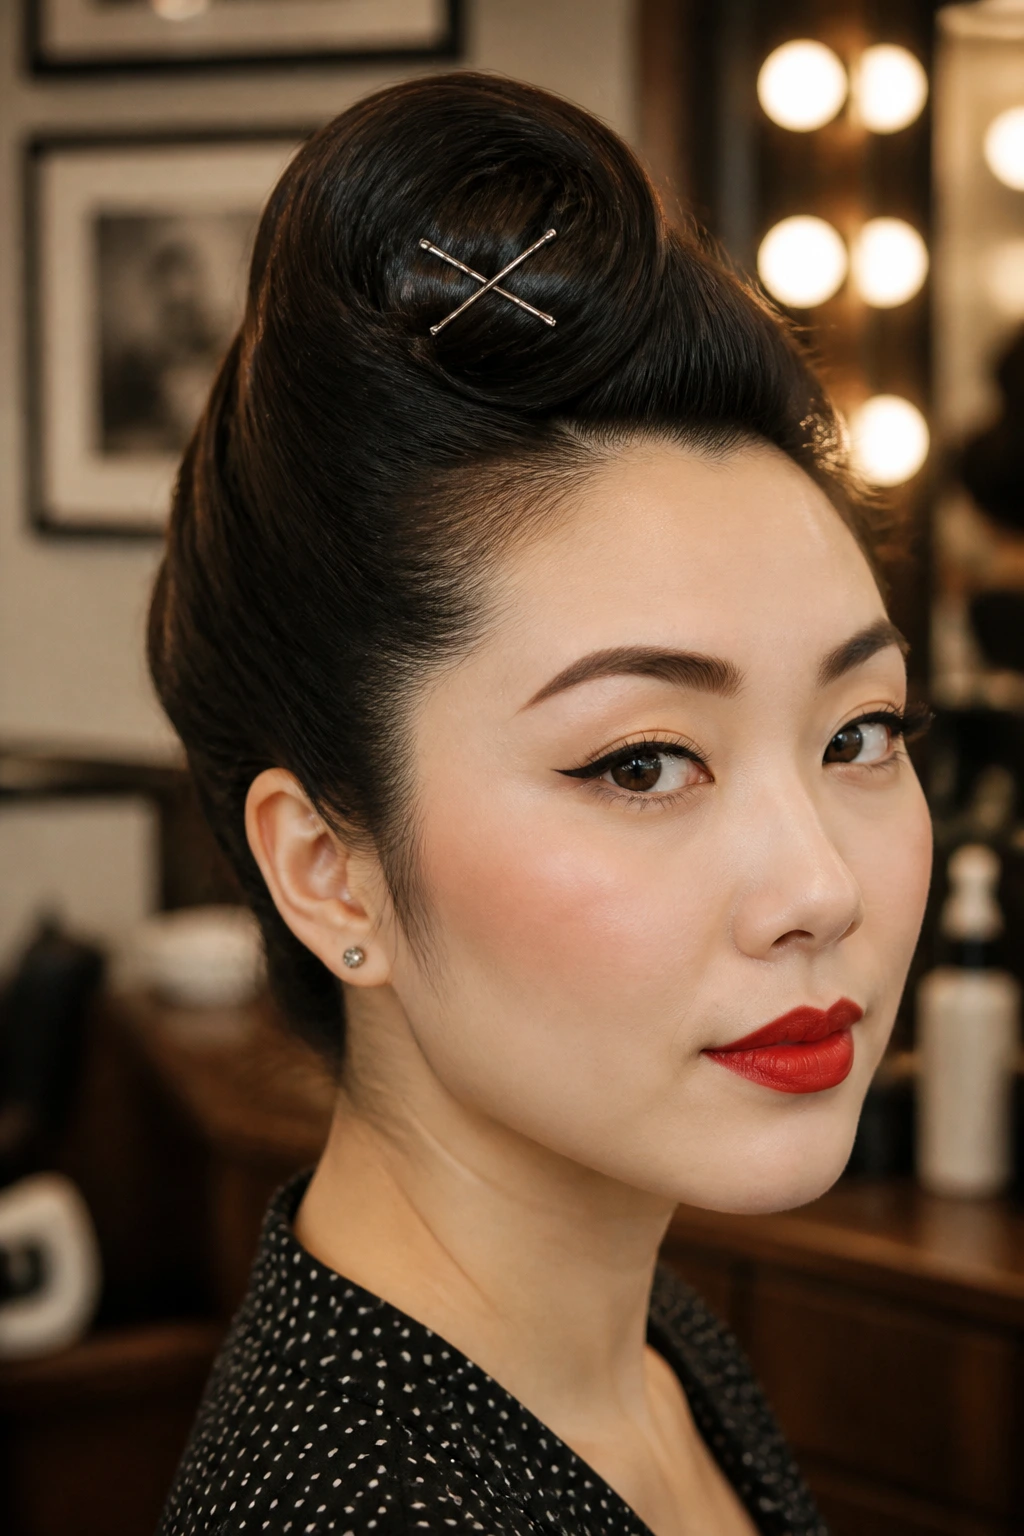
Victory rolls do not require hours of teasing if you use the right structural base. The iconic rolled wings of the 1940s were designed to keep hair out of women’s faces while they worked, meaning they are incredibly secure once pinned. For thick Asian hair, the trick is avoiding a massive, heavy roll that slides down and instead creating a smaller, tighter roll that sits high on the head.
To make this style stay, work on second-day hair that has some natural grip. Take a three-inch section of hair from the top front of your head, comb it straight up, and mist it with a light working spray. Smooth the front surface with a soft-bristle brush, then wrap the ends around your fingers, rolling the hair downward toward your scalp to form a hollow tube.
Slide a bobby pin through the center of the roll, anchoring it flat against your head. Use two pins in an “X” shape for extra security. If your hair is particularly slippery, spray the bobby pins with dry shampoo before sliding them in—the powdery texture stops them from sliding out of smooth hair.
3. The Classic 1950s Pageboy Cut
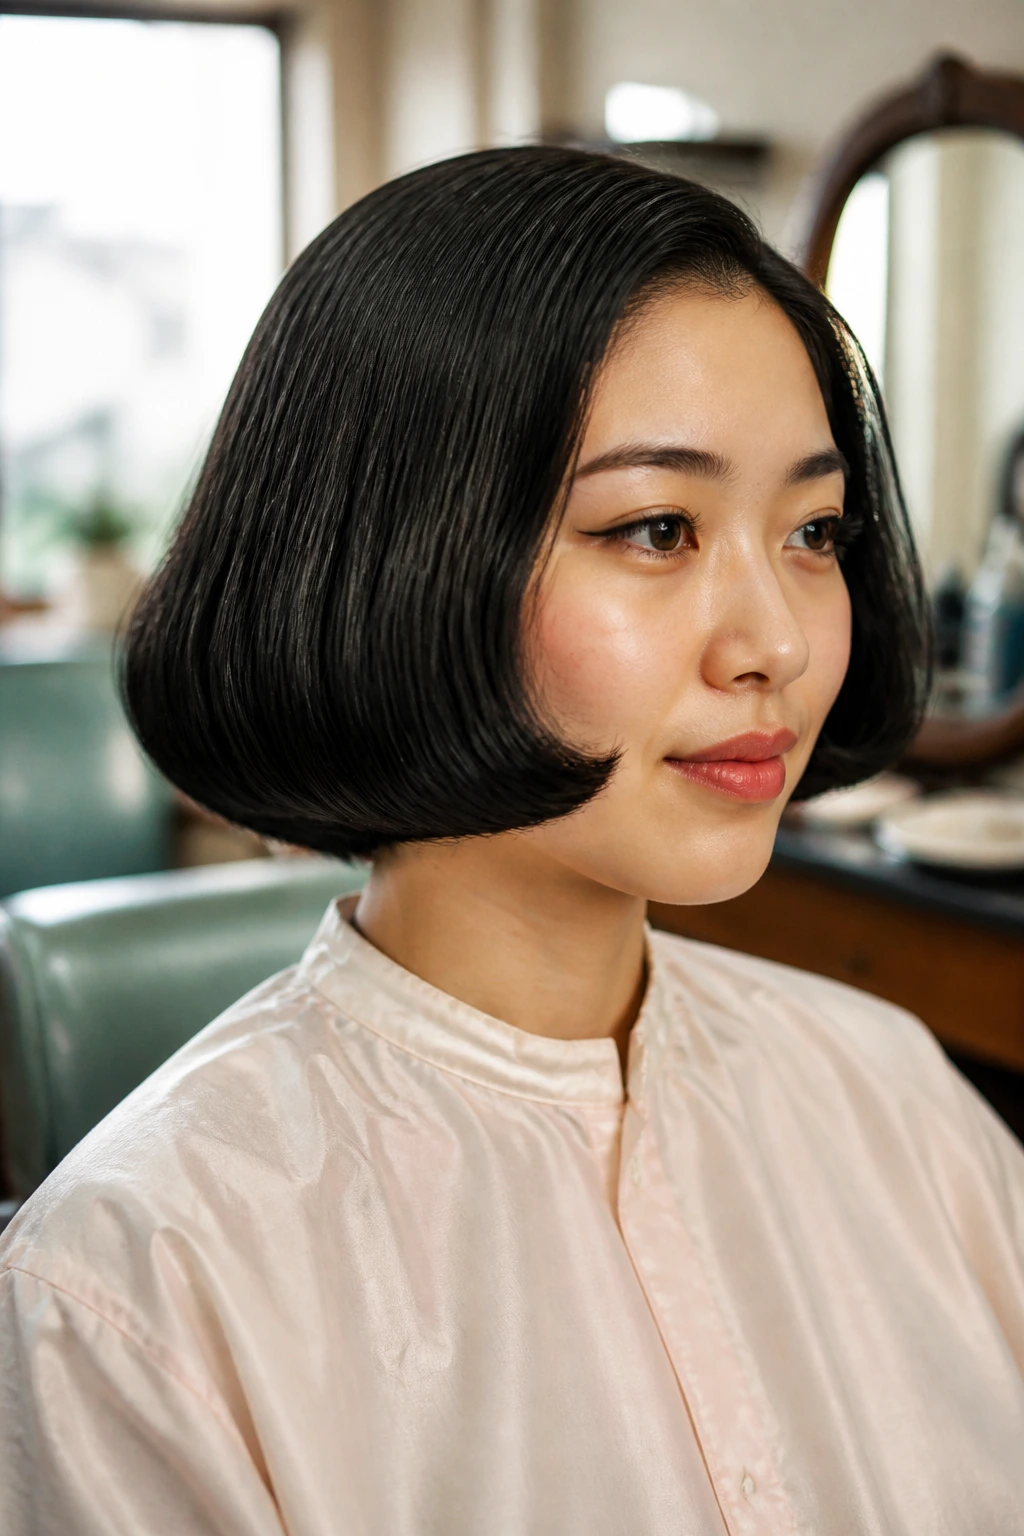
Why did the pageboy become such a staple for mid-century women? It is because the style relies on a smooth, unbroken curve that frames the jawline. For straight hair, this is one of the easiest vintage looks to pull off because your hair already wants to lay flat. The only challenge is getting the ends to curl inward neatly and stay there.
This silhouette features a smooth crown and ends that roll under in a thick, uniform wave. If you have a bob or medium-length hair, you can achieve this without a curling iron by using large foam rollers on damp hair. The weight of your hair actually helps pull the top smooth, while the rollers shape the bottom edges into that classic under-turned tuck.
How to Style the Turn-Under
To get that clean, rolled edge, blow-dry your hair using a large round wooden brush. Keep the tension tight. Once the hair is warm, roll the brush all the way to the scalp and let it cool for thirty seconds before releasing. Finish with a smoothing cream to tame any flyaways and give the hair a high-shine, glass-like finish.
4. The Retro Gibson Girl Updo
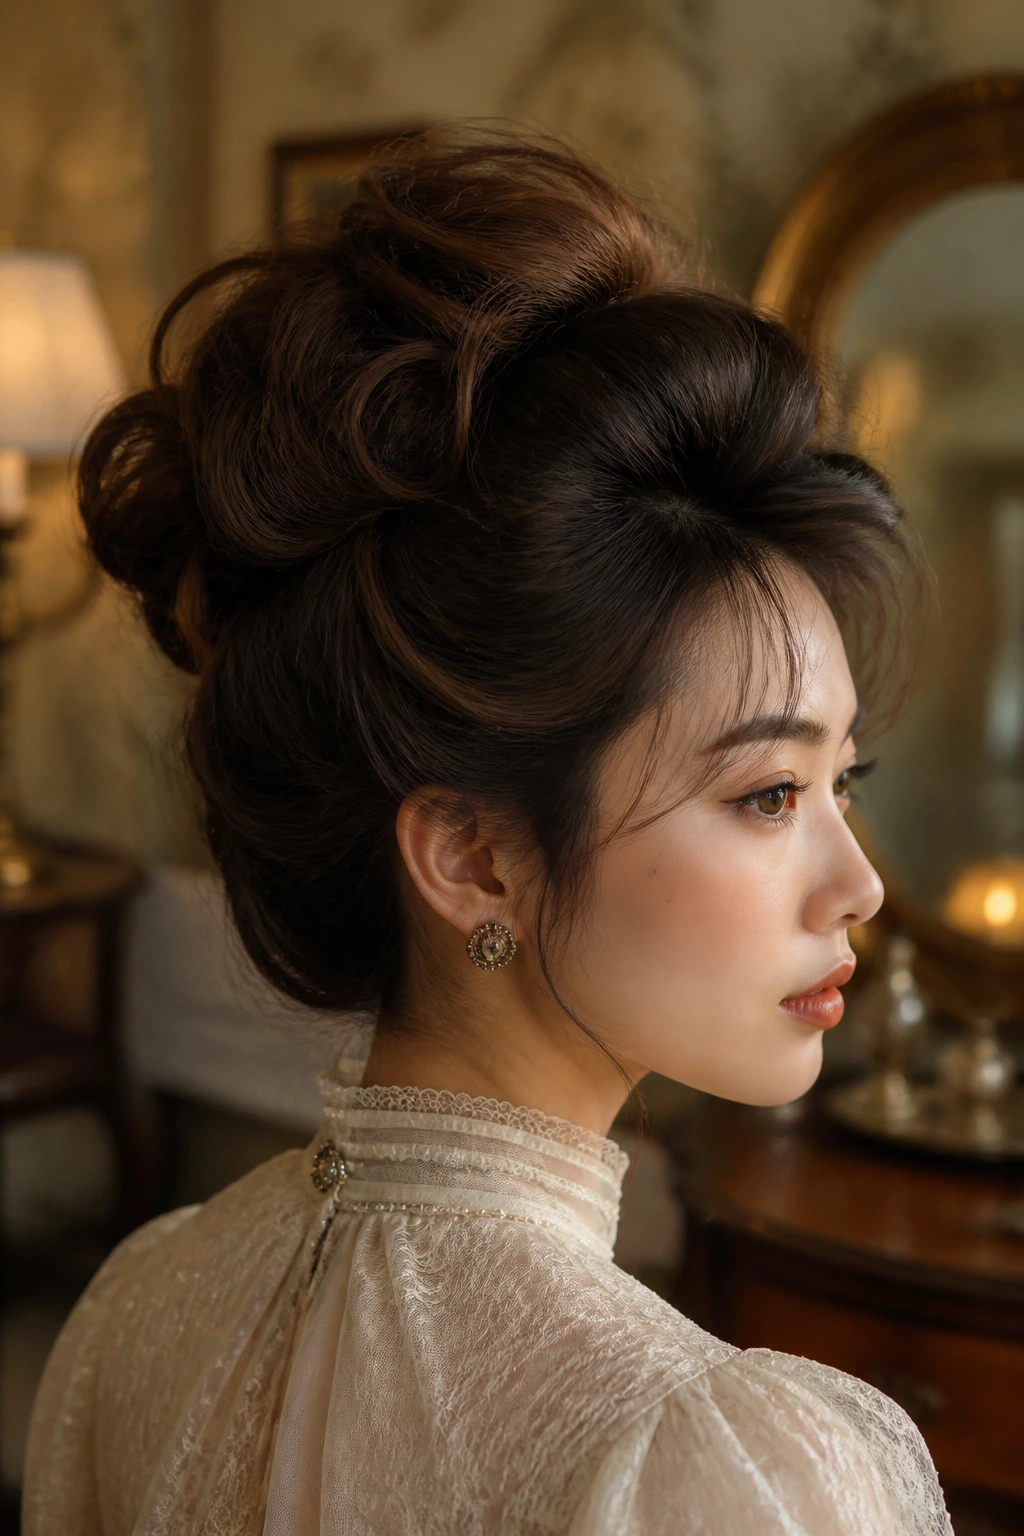
Imagine stepping out on a breezy day without worrying about your hair falling into your eyes. The Gibson Girl updo, popular in the early twentieth century, is the ultimate soft, voluminous style that works surprisingly well on thick hair. It creates a halo of soft volume around the face while keeping the back neatly pinned.
The secret to this look is the “pouf.” Because straight Asian hair can be heavy, we use a hidden support structure—often called a hair rat—to hold up the weight. You can make one easily by rolling up a mesh hair donut or using saved hair from your hairbrush encased in a hairnet.
Key Details to Master the Pouf
- Part your hair into two sections: a front horseshoe-shaped section and a back section.
- Place the mesh support at the crown of your head and pin it securely with hairpins.
- Smooth the front section of hair up and back over the support, covering it completely.
- Gather the remaining hair at the back into a loose, messy bun or simple twist. This style does not need to look perfect. In fact, a few loose tendrils around the ears add to the romantic, antique feel of the look.
5. The 1960s Bouffant Half-Up
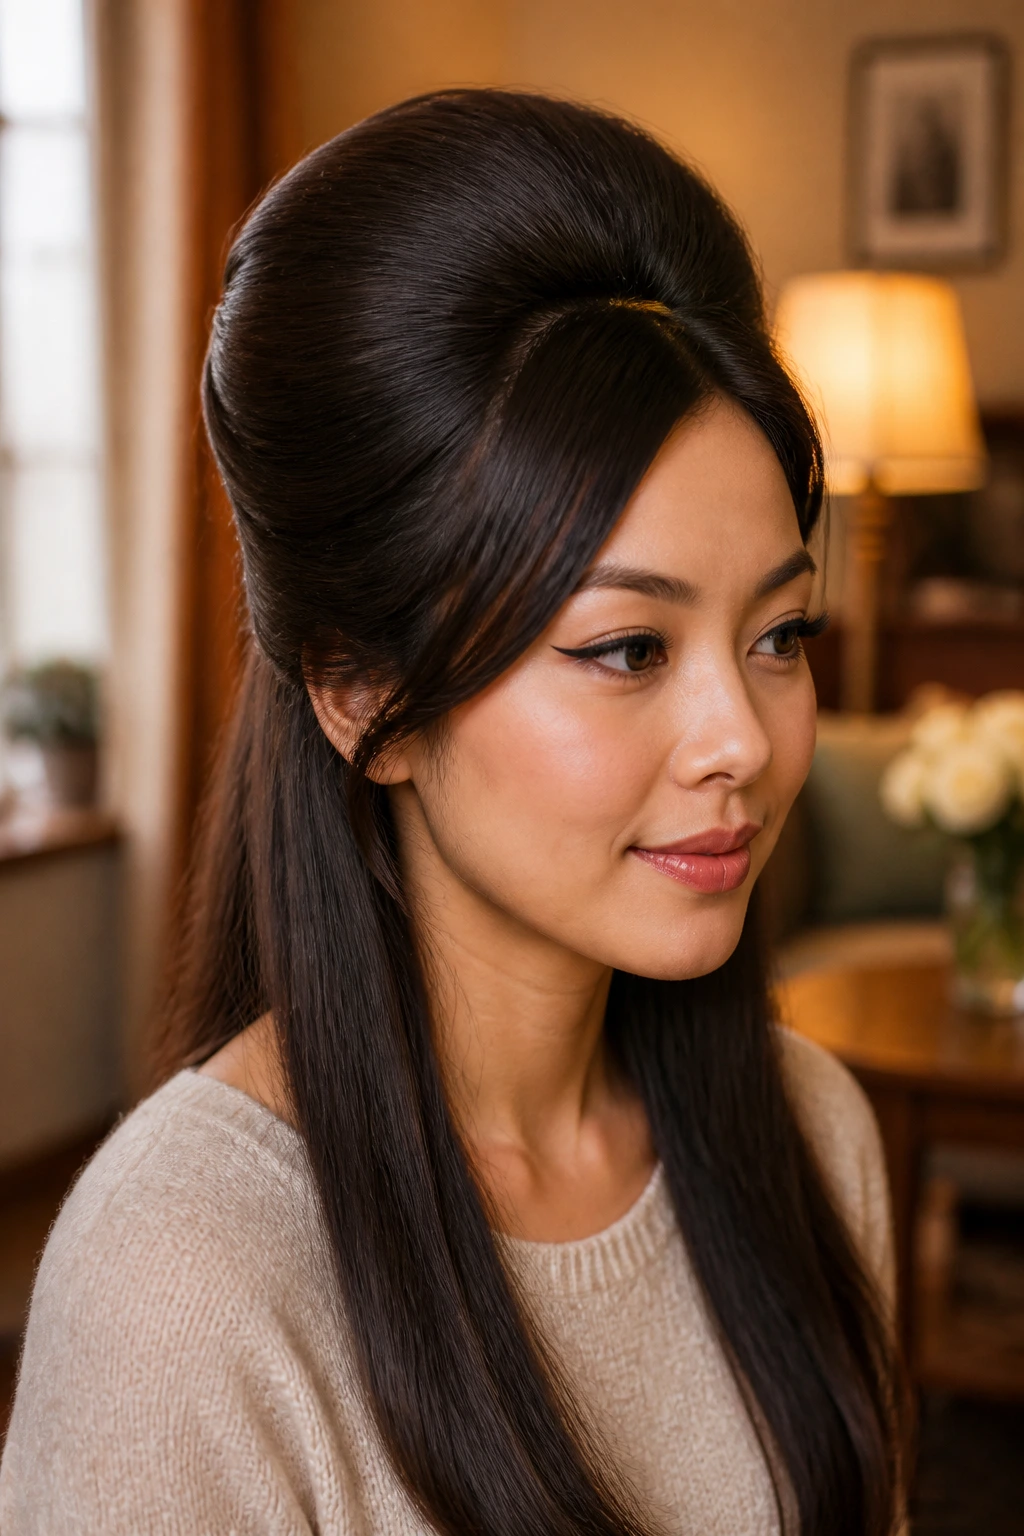
The mid-1960s brought us dramatic height, and the half-up bouffant is perhaps the most wearable version of this trend. If you have thick, heavy hair, a full beehive can feel heavy and hot. By keeping the lower half of your hair down, you distribute the weight while still enjoying that iconic retro volume.
To build the height at the crown, you must master the art of backcombing. Take a section of hair at the crown, hold it straight up, and insert a fine-tooth comb about three inches from the roots. Push the comb downward to the scalp in short, firm strokes. Repeat this three or four times until you have a dense cushion of hair at the base.
Do not worry if it looks like a bird’s nest at first. Once you have backcombed the entire crown section, take a soft boar-bristle brush and gently smooth the top layer of hair backward. Be careful not to brush out the tangled cushion underneath; you only want to smooth the outer surface.
Gather the smoothed sides and the back of the volumized section, pinning them at the back of your head with two bobby pins crossed over each other. The remaining hair should fall straight down your back. This contrast between the high, structured crown and the smooth, straight length looks incredibly striking.
6. The Sleek 1930s Faux Bob
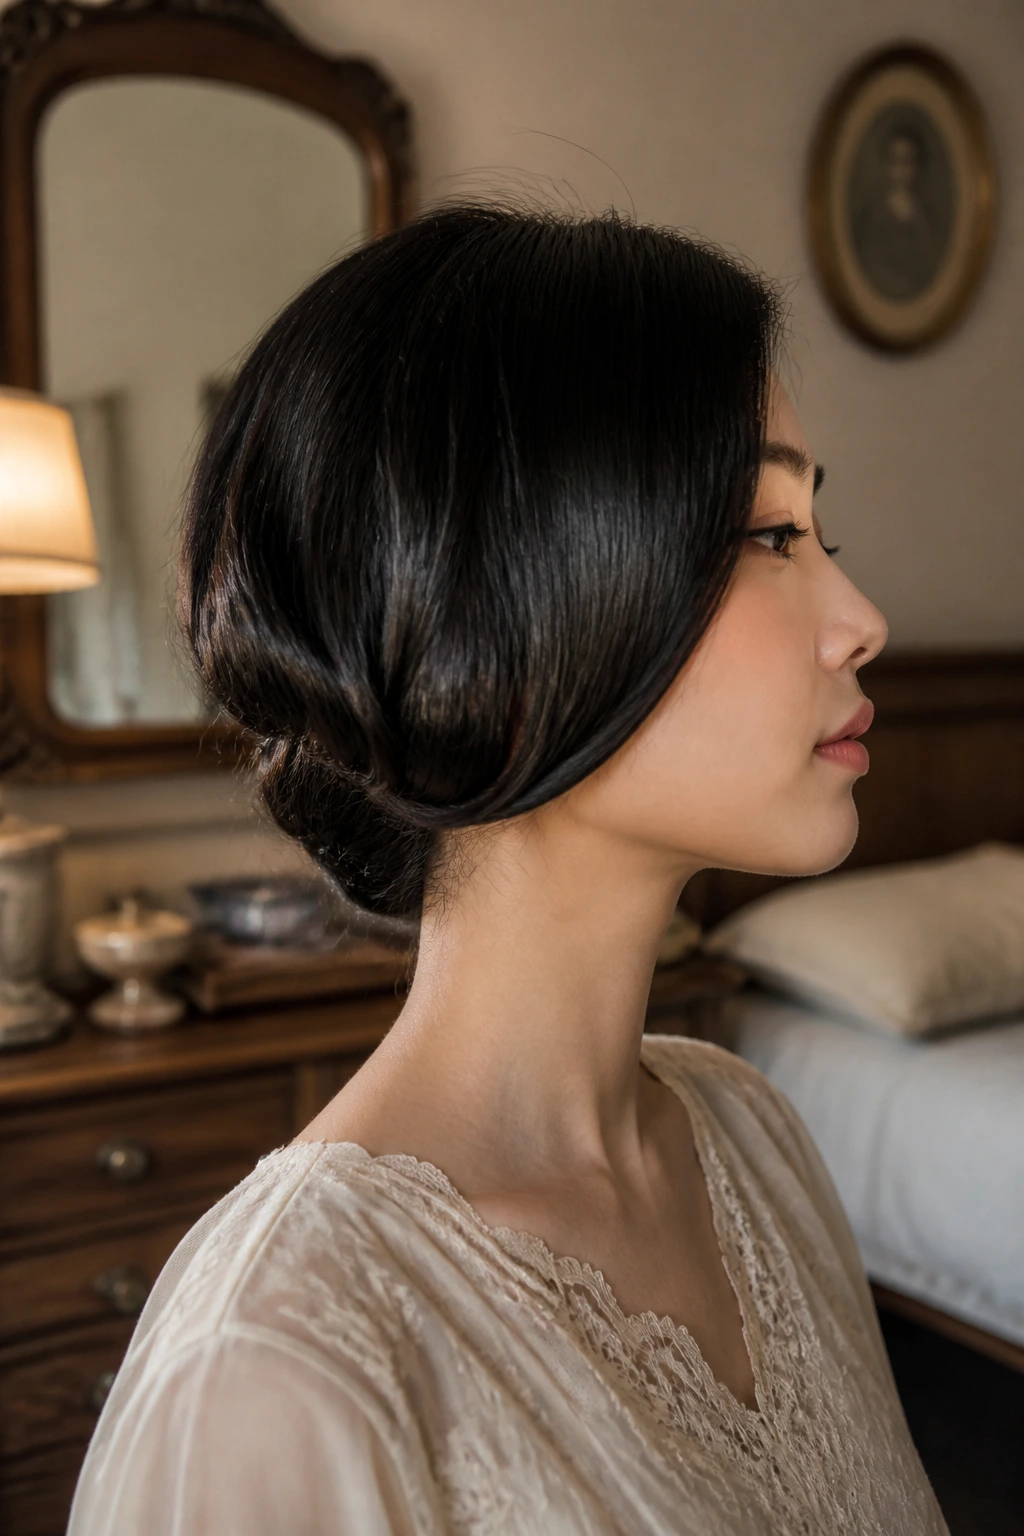
Unlike the bouncy, round bob of the 1920s, the 1930s faux bob is softer, longer, and features waves that hug the face. If you have long hair but want to experiment with a vintage short look, this is the perfect solution. You do not need to cut a single strand of your hair to get this classic look.
What makes this style different is the way we hide the length. We braid the lower section of the hair and pin it flat against the back of the head, creating a solid anchor. Then, the top layers are draped over the braid and pinned underneath, mimicking the appearance of a chin-length bob.
This look is best for those with fine-to-medium hair density, as very thick hair can create a bulky, unnatural bulge at the back of the neck. To prevent this, split your hair into two low braids, wrap them tightly around each other, and pin them as flat as possible against your scalp.
I highly recommend prepping your hair with a wave-enhancing spray before styling. A few soft waves around the face help hide the transition where the hair folds under, making the illusion of a short haircut completely convincing.
7. The Pin-Up Bandana Roll
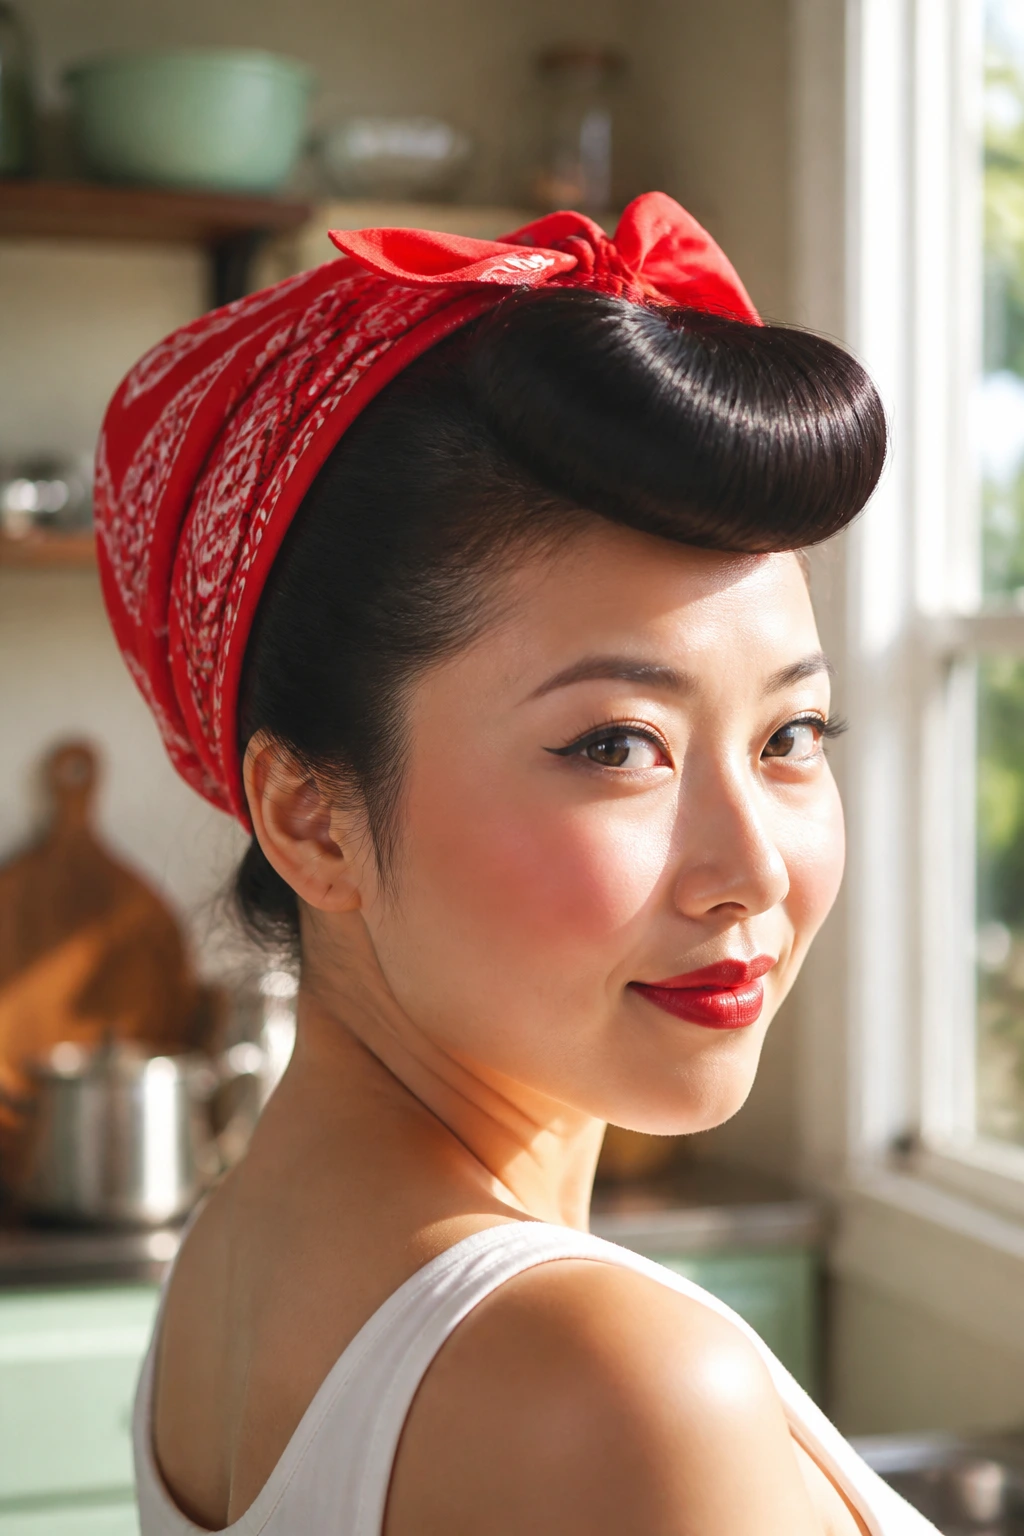
Perfect for casual days or hot weather, this style combines practical hair protection with classic mid-century style. It features a bright bandana tied around the head, with the front hair rolled into a neat bumper or curls. It is a fantastic option if you want to skip washing your hair for an extra day.
The Power of Accessories
The bandana acts as both a visual focus and a physical stabilizer. It covers the back of the head, meaning you only need to style the front section of your hair. This saves time and minimizes the amount of styling product you need to use.
How to Assemble the Look
- Section out a triangular piece of hair at the front of your head, from the temples to the crown.
- Roll this front section downward around a foam roller, or wrap it around your fingers to create a large roll, pinning it flat.
- Fold a square cotton bandana diagonally into a triangle, then roll it into a band about two inches wide.
- Wrap the bandana around your head from the back of the neck, tying it into a neat knot just behind your front roll. Pro tip: Use small bobby pins behind your ears to keep the bandana from sliding forward on smooth hair.
8. The 1950s Hollywood Wave: A Stunning Vintage Hairstyle for Asian Hair
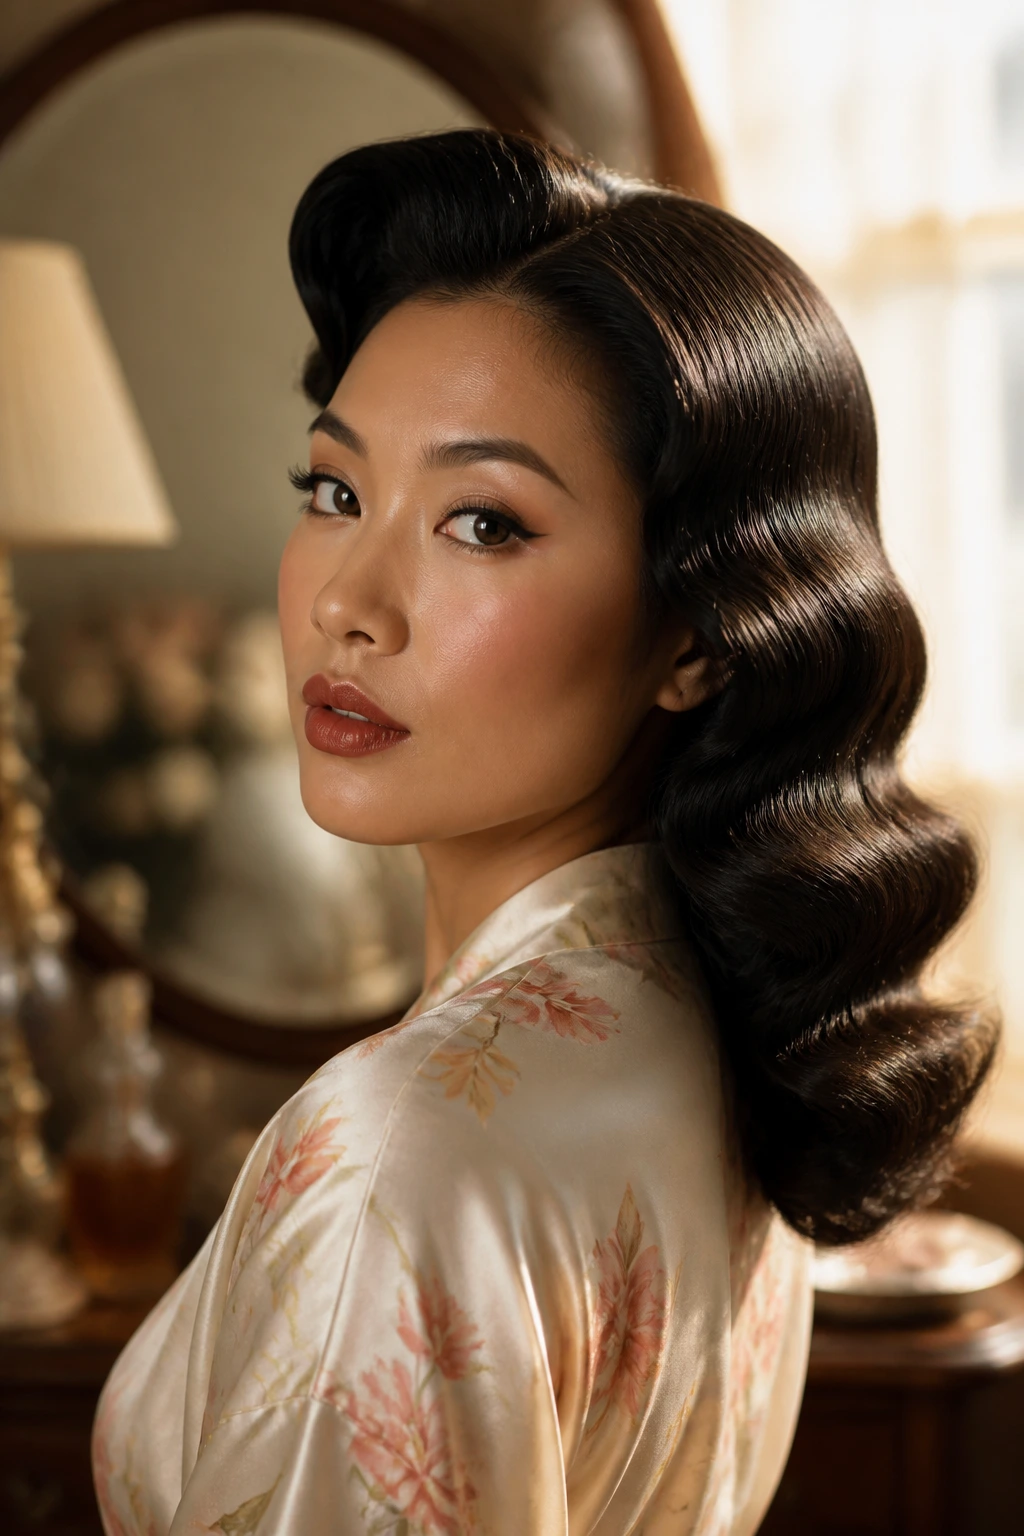
The secret to those perfect, undulating red-carpet waves is not the curling iron—it is the brush-out. Many people make the mistake of leaving their curls as tight, separate spirals, which looks modern rather than vintage. To get that authentic 1950s look, you must brush through the curls until they merge into a single, cohesive wave pattern.
To start, apply a setting lotion to damp hair and blow-dry it smooth. Next, curl your hair using a one-inch curling iron, wrapping all sections in the exact same direction—either all toward your face or all away from it. This is crucial because if you curl in different directions, the waves will fight each other instead of locking together.
Once the curls have cooled completely, take a boar-bristle brush and brush through them firmly. Do not panic when the hair looks frizzy at first. Keep brushing, and you will see the curls begin to join together into a beautiful, glossy wave. Use a tiny drop of hair oil on your palms to smooth down any flyaways.
9. The Retro Bubble Ponytail
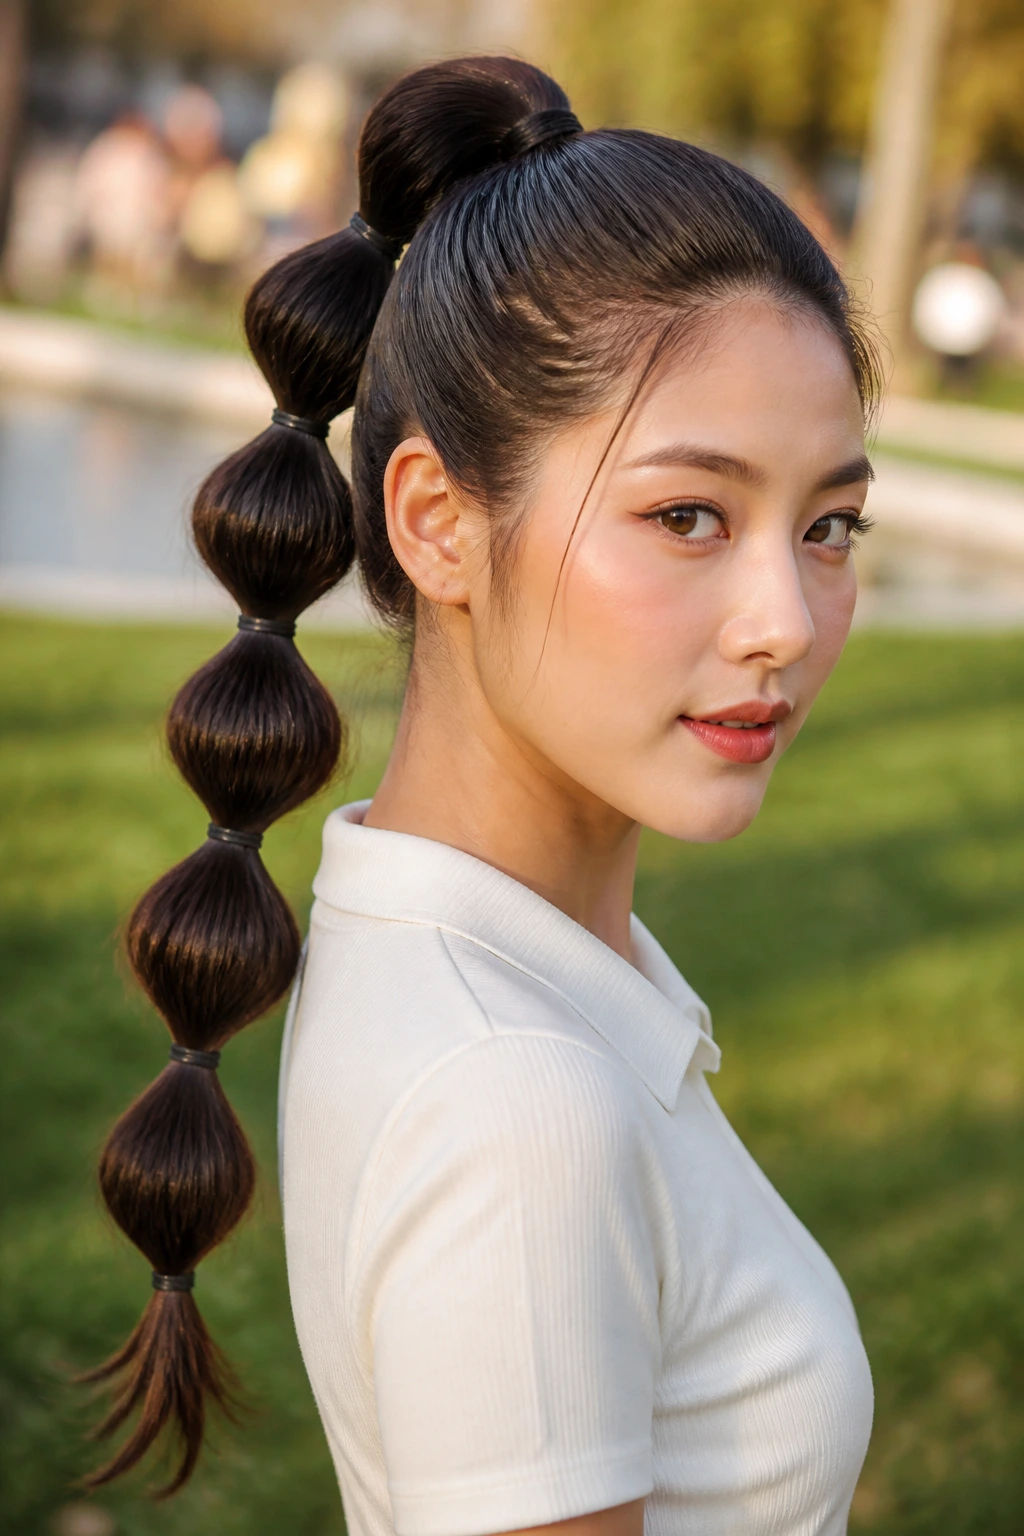
Why does the bubble ponytail feel so modern yet distinctly retro? This look, which gained popularity in the late 1960s, uses small elastic bands to segment a high ponytail into rounded bubbles. On straight, thick hair, this style is exceptionally durable because the weight of the hair is secured at multiple points down the length.
Each “bubble” is created by pulling the hair slightly outward between the elastics, creating a rounded, spherical shape. Because Asian hair has high elasticity and strength, these bubbles hold their shape beautifully without needing a mountain of hairspray. It is an ideal style for long hair on windy days.
How to Create Clean Bubbles
Pull your hair into a high, sleek ponytail and secure it with a sturdy hair tie. Wrap a small piece of hair around the band to hide it. Moving down the ponytail about three inches, place another small elastic. Gently pinch the sides of the section between the two bands and pull them outward to form a bubble, then repeat the process down the length.
10. The 1970s Shag-Style Flicked Ends
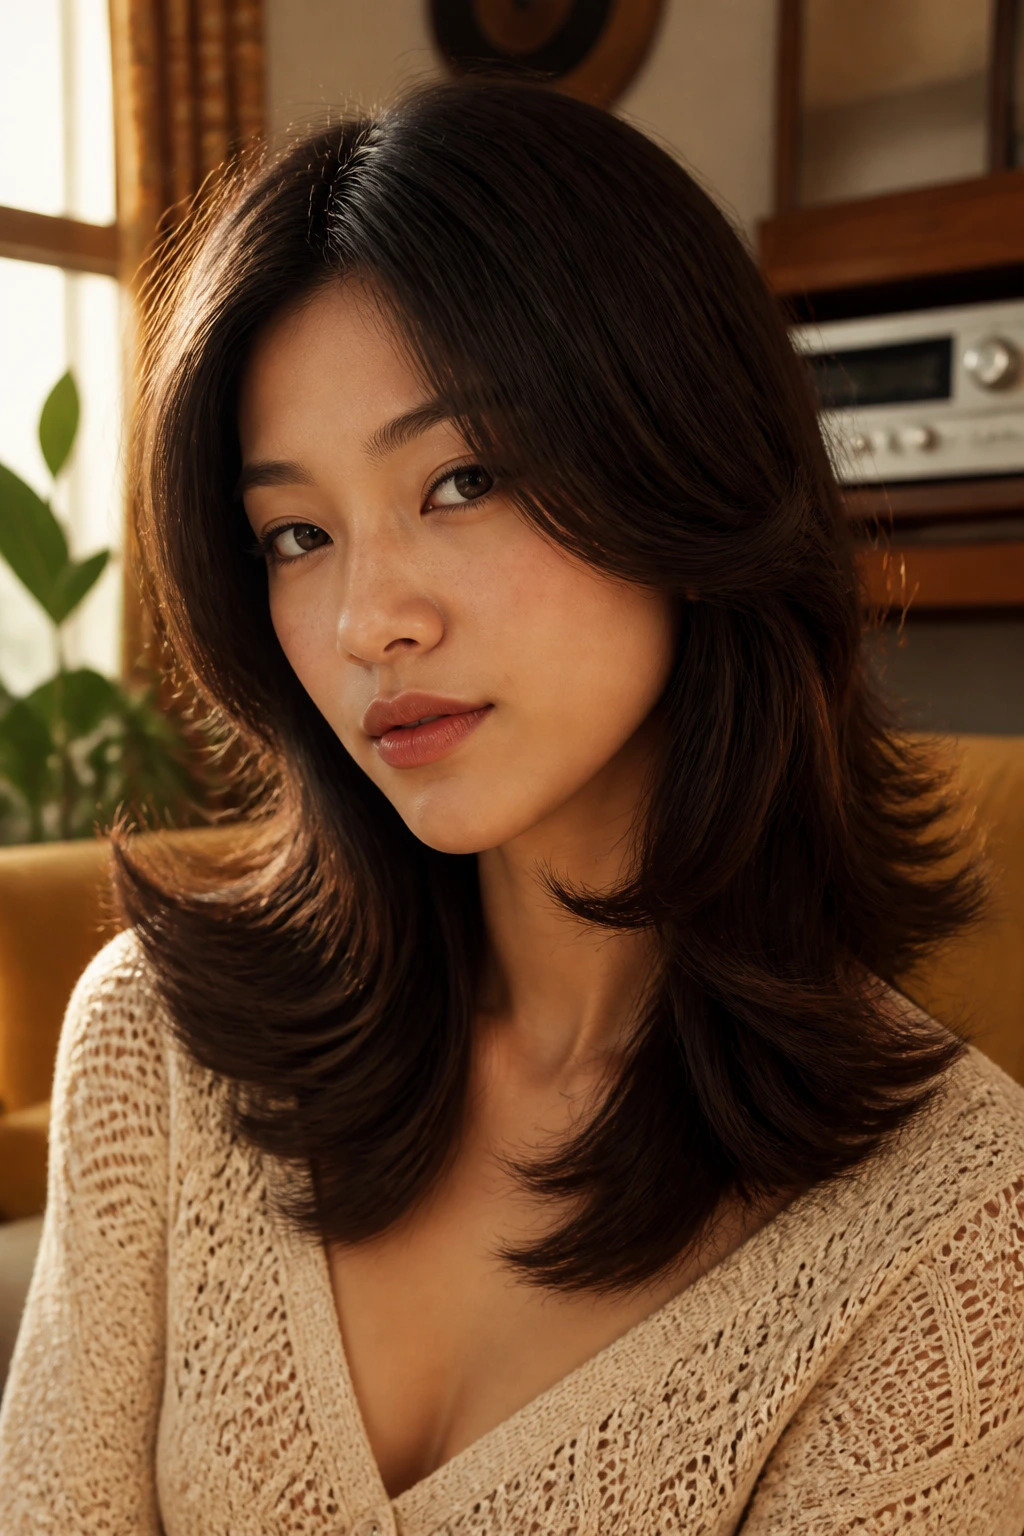
Imagine the effortless, wind-swept look of retro icons from the 1970s. This style is all about movement, texture, and layers that flick outward away from the face. While Asian hair naturally wants to lie straight down, a flat iron can easily train the ends to flip upward with the right technique.
The mechanism here is simple thermal setting. By applying heat to the ends of the hair and holding them in a curved position until they cool, we force the hair proteins to reform in that flipped-up shape. It is a fantastic way to add life to a simple, medium-length haircut.
Tips for the Perfect Flip
- Prep your hair with a heat protectant spray to prevent damage to the cuticle.
- Run a flat iron down a two-inch section of hair, and as you reach the bottom, rotate your wrist outward in a 180-degree turn.
- Hold the ends in that curved position for a few seconds as they cool down.
- Spray the flipped ends with a flexible-hold hairspray to maintain the bounce. This look works best on layered haircuts, as the different lengths create a beautiful, staggered waterfall of flips.
11. The Edwardian Pompadour Pinned Bun
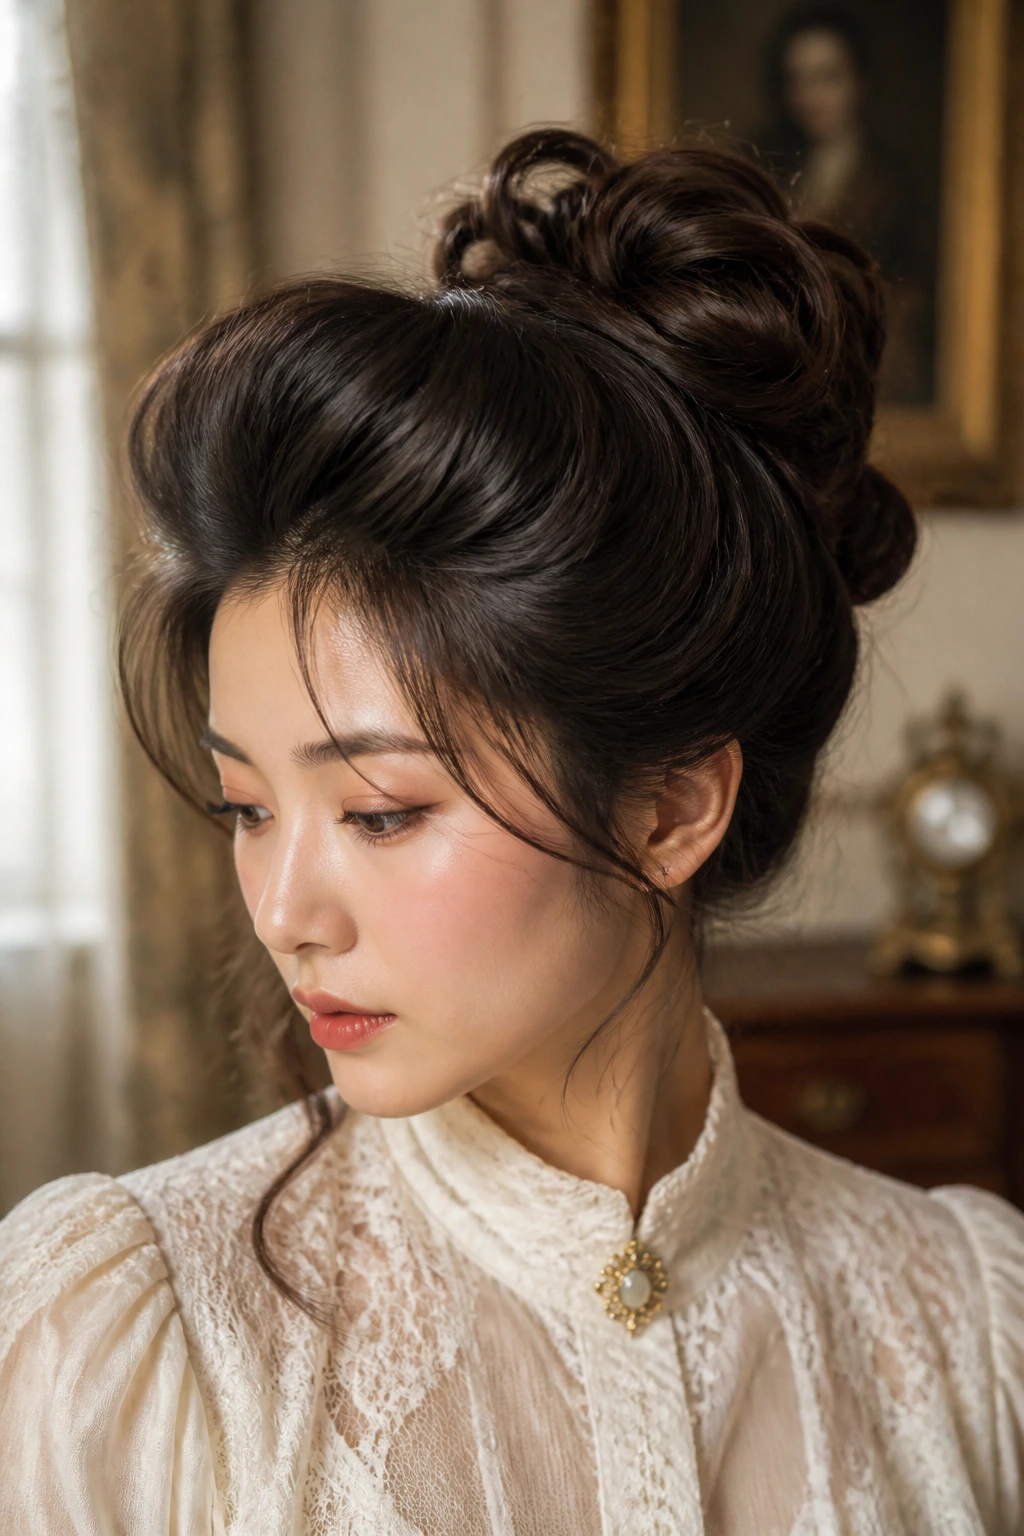
Step back into the early 1900s with a style that is soft, regal, and full of natural volume. The Edwardian pompadour involves brushing the hair up and away from the face, letting it billow out slightly before securing it in a neat bun at the crown. It is an exceptionally comfortable style because it distributes the weight of thick hair evenly across the top of the head.
To begin, bend forward and brush all your hair toward the front of your head. This gets the roots pointing upward, which is key for volume. Stand up and gently smooth the outer layer back, keeping that volume at the front. Do not pull the hair tight; let it sit loosely against your scalp to create that soft, rounded shape.
Gather the hair at the high crown of your head and twist it into a loose bun. Secure it with long, U-shaped hairpins rather than modern elastic bands. U-shaped pins allow the bun to sit comfortably on your head without pulling too tight, which keeps the overall look soft and romantic.
If your hair is very smooth, you might find that the pompadour wants to flatten over time. To combat this, you can slide a lightweight comb or a hidden hair padding under the front section before pinning. This gives the hair a physical frame to rest on, ensuring your style stays lifted throughout the day.
12. The Vintage Scarf Wrap Updo
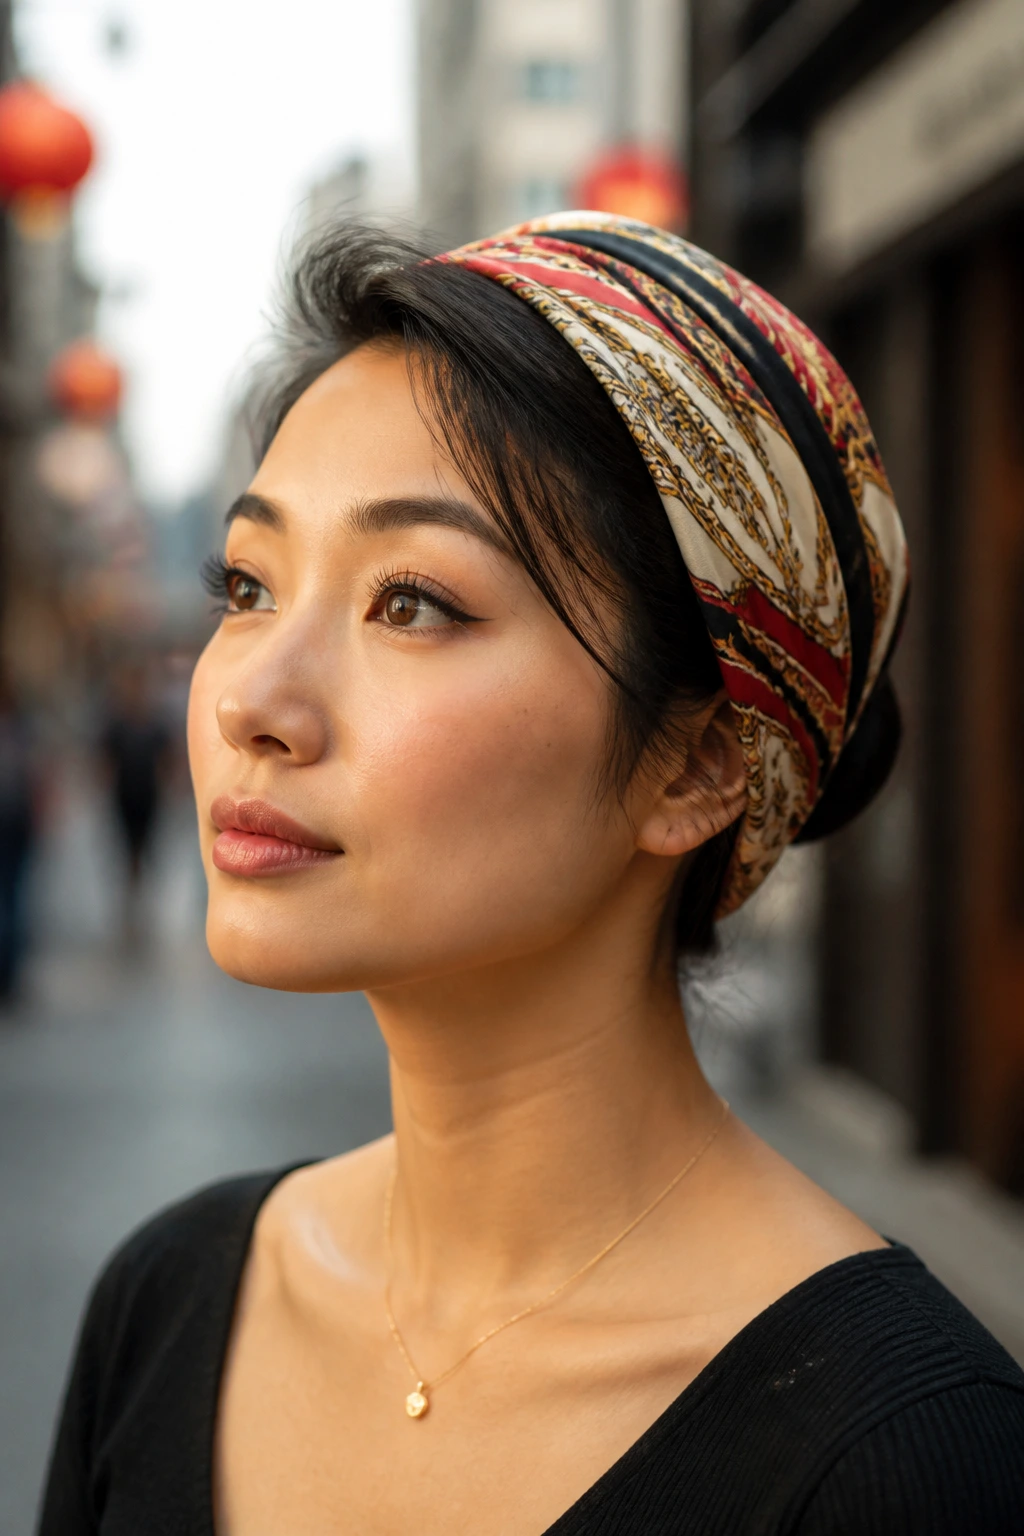
Compared to complex braided updos, the vintage scarf wrap is incredibly fast and forgiving. It uses a silk or satin scarf to encase the hair, leaving only the front portion visible. This is a brilliant way to look polished on days when your hair refuses to cooperate or when you are short on time.
The major difference between this and a standard headband is that the scarf actually holds the weight of your hair. You tuck the length of your hair into the folds of the scarf at the back, securing it in a pocket of fabric. This removes any strain on your scalp and protects your ends from friction.
This style is best for medium-to-long hair, especially if you have thick, heavy hair that normally causes headaches when worn in a high bun. By wrapping the weight in a scarf, you distribute it evenly around the circumference of your head.
I highly recommend using a square silk scarf folded into a triangle. Place the long edge at the nape of your neck, bring the corners to the top of your head, and tie them into a neat bow. Tuck any loose hair ends into the back fold and secure the fabric with a few bobby pins.
13. The 1940s Bumper Bangs
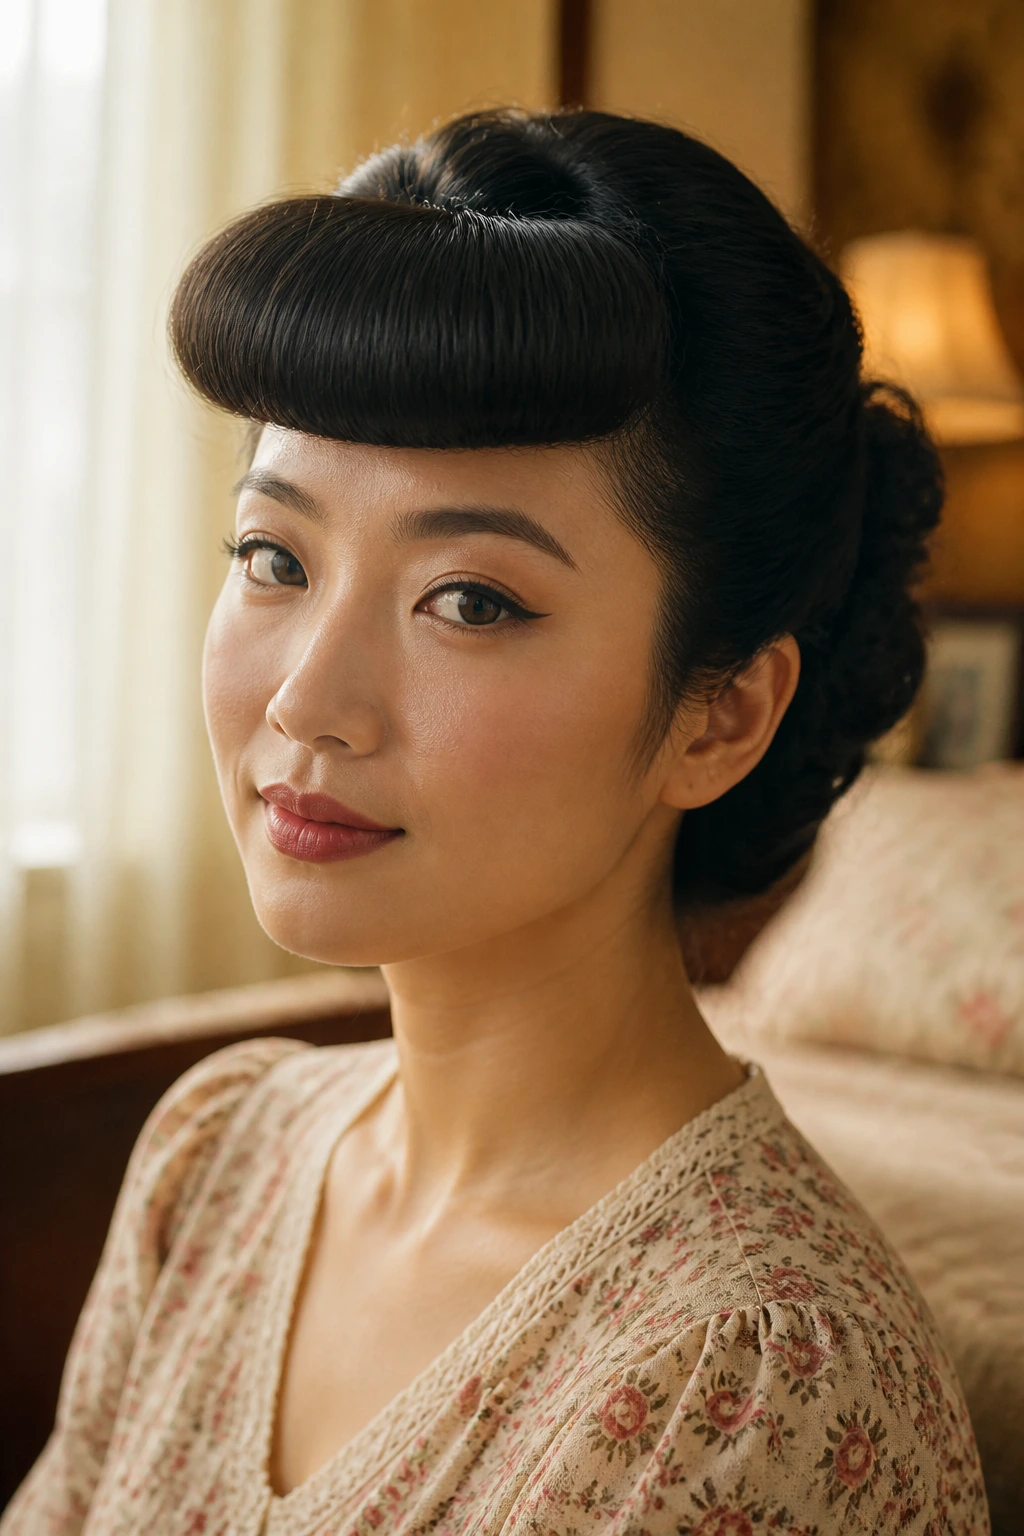
This classic pin-up style features a smooth, horizontal roll of hair that sits across the forehead, mimicking a thick fringe. It is a wonderful way to experiment with the look of bangs without actually cutting your hair. On straight Asian hair, the bumper bang looks incredibly neat and structured.
The Mechanics of the Roll
The bumper bang relies on tension and an internal support structure to keep its round shape. We use a foam hair roller or a small mesh noodle as a form, wrapping the front section of hair around it and pinning it flat against the forehead. This keeps the roll perfectly circular and prevents it from collapsing.
How to Roll Your Bangs
- Section off a piece of hair from the front hairline, about three inches wide and two inches deep.
- Comb the section straight up, smoothing out any tangles or bumps.
- Place a foam roller at the ends of the hair and roll it downward toward your forehead, wrapping the hair tightly around it.
- Once the roller reaches your scalp, secure it by sliding bobby pins through the sides of the foam and into your hair. Pro tip: Gently spread the hair across the roller with your fingers to cover the foam entirely before pinning it down.
14. The Sleek Gatsby Pixie Wave
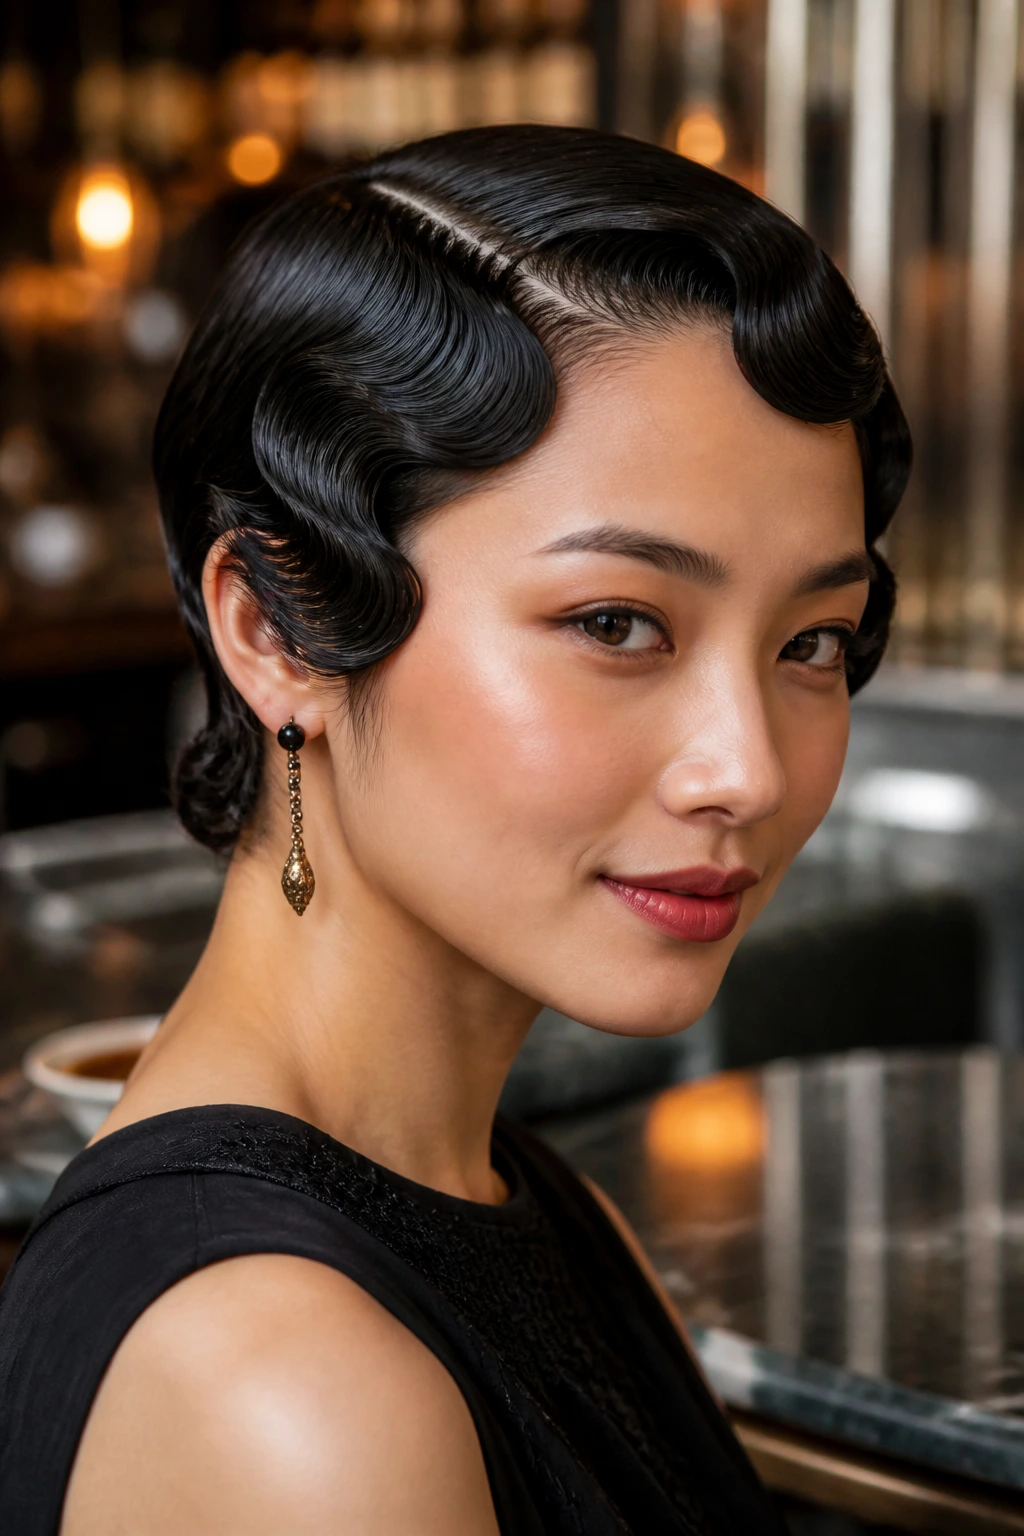
Short hair can be just as versatile as long hair when it comes to vintage styling. The Gatsby pixie wave brings the glamour of the 1920s to modern short haircuts. It uses deep, wet-set waves to add texture and elegance to a classic pixie, turning a simple cut into a striking evening look.
To achieve this on short, straight hair, you will need a strong-hold pomade or a wet-look gel. Apply the product generously through damp hair, ensuring every strand is coated. Use a fine-tooth comb to create a deep side part, then comb the hair flat against your head.
Using the side of your finger as a guide, comb the hair forward and then backward to create a wave ridge, clamping it with a flat metal clip. Repeat this along the side of your head. Once the hair is dry, gently mist it with a high-shine spray to give it that authentic, glossy, lacquer-like finish.
15. The Retro High Ponytail with Flip: An Easy Vintage Hairstyle for Asian Hair
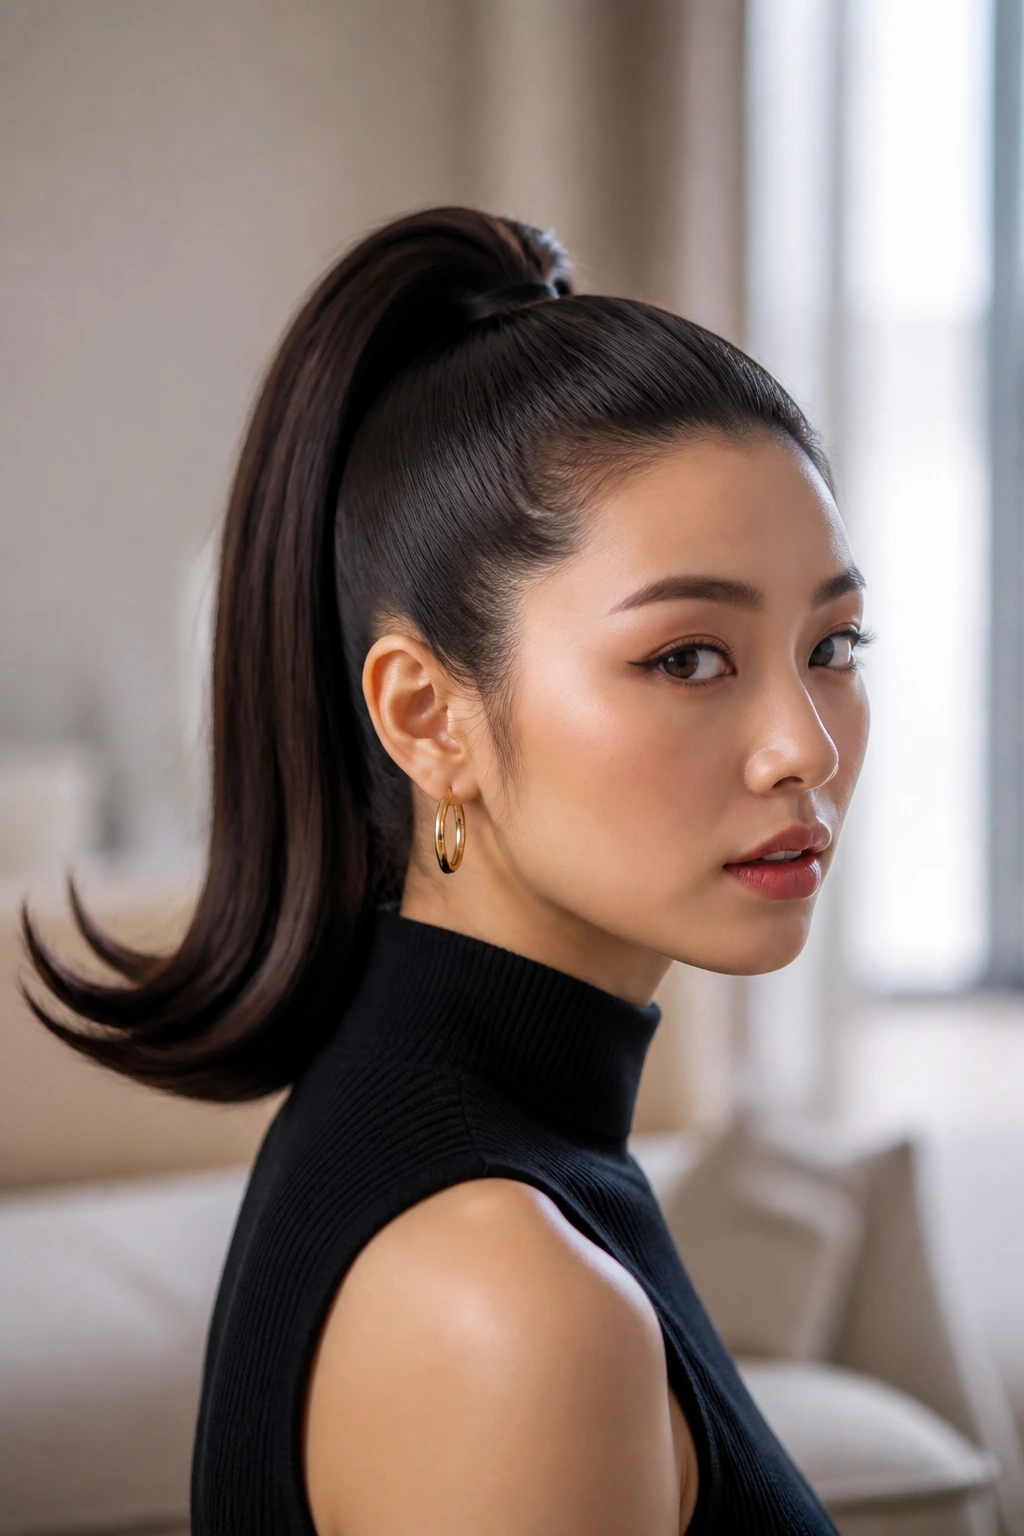
Why does this simple ponytail feel so incredibly chic? The high ponytail with a flipped end was the defining style of the early 1960s, worn by students and movie stars alike. On straight, heavy Asian hair, this style is a dream because your natural texture makes the ponytail look incredibly smooth and sleek, while the flipped ends add a touch of playfulness.
The key to this look is the high, secure placement of the ponytail. It should sit right at the crown of your head, pointing slightly upward. This lifts the face and creates a beautiful silhouette. The ponytail itself remains perfectly straight until the very ends, which flip upward in a sharp, clean curve.
Styling the Perfect Flip
Gather your hair into a high ponytail and secure it tightly with an elastic band. Smooth the ponytail with a small amount of hair serum. Use a flat iron on the bottom two inches of the ponytail, curving the iron upward and outward to create the flip. Let the hair cool completely, then spray with a strong-hold hairspray to lock the curve in place.
16. The 1940s Poodle Hairdo
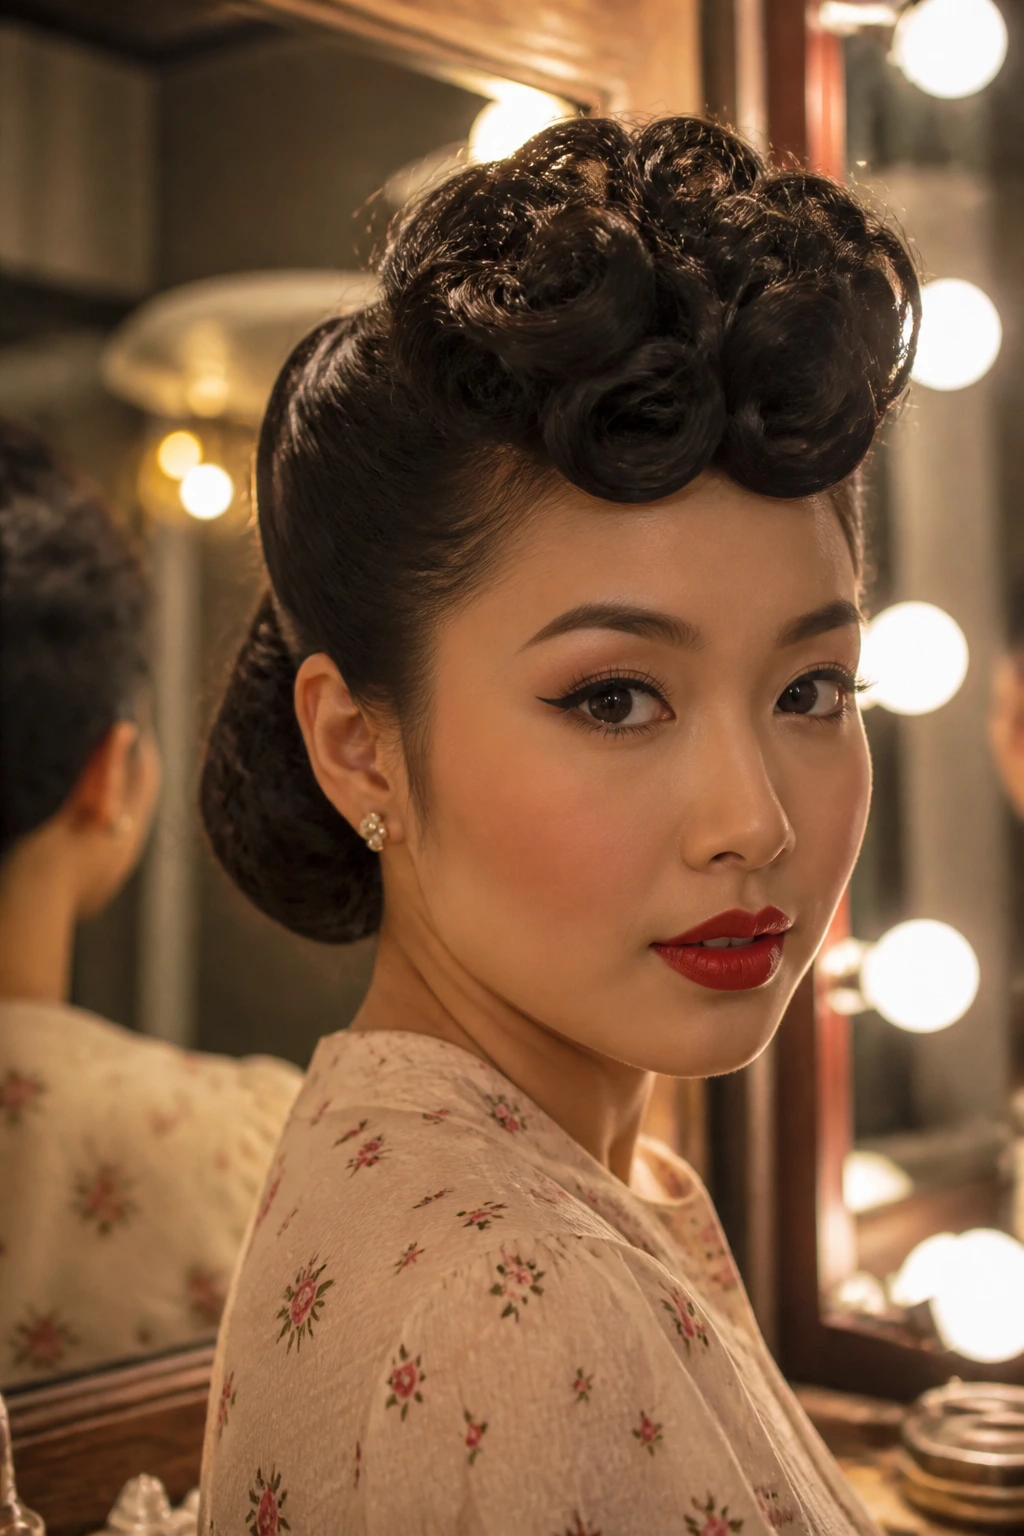
Imagine having all your curls piled high on the front of your head, creating a beautiful, voluminous crown. The 1940s poodle style was popularized by actresses who wanted to show off their curls while keeping the back of their hair sleek and tidy. It is an excellent choice for a formal event.
The mechanism of this style is a contrast between a tight, flat back and a soft, curly front. We pull the back and sides of the hair flat against the scalp using combs or pins, directing all the length to the top front of the head where it is curled into tight ringlets.
How to Secure the Curls
- Section your hair, leaving a large portion at the top front of your head.
- Brush the sides and back of your hair straight up toward the top section, pinning it flat with bobby pins.
- Curl the top hair into tight ringlets using a small-barrel curling iron or sponge rollers.
- Pin each curl individually to the top of your head, keeping them clustered together like a poodle’s coat. This style is incredibly secure and frames the face beautifully, making it perfect for showcasing vintage earrings.
17. The 1960s Beehive Bun
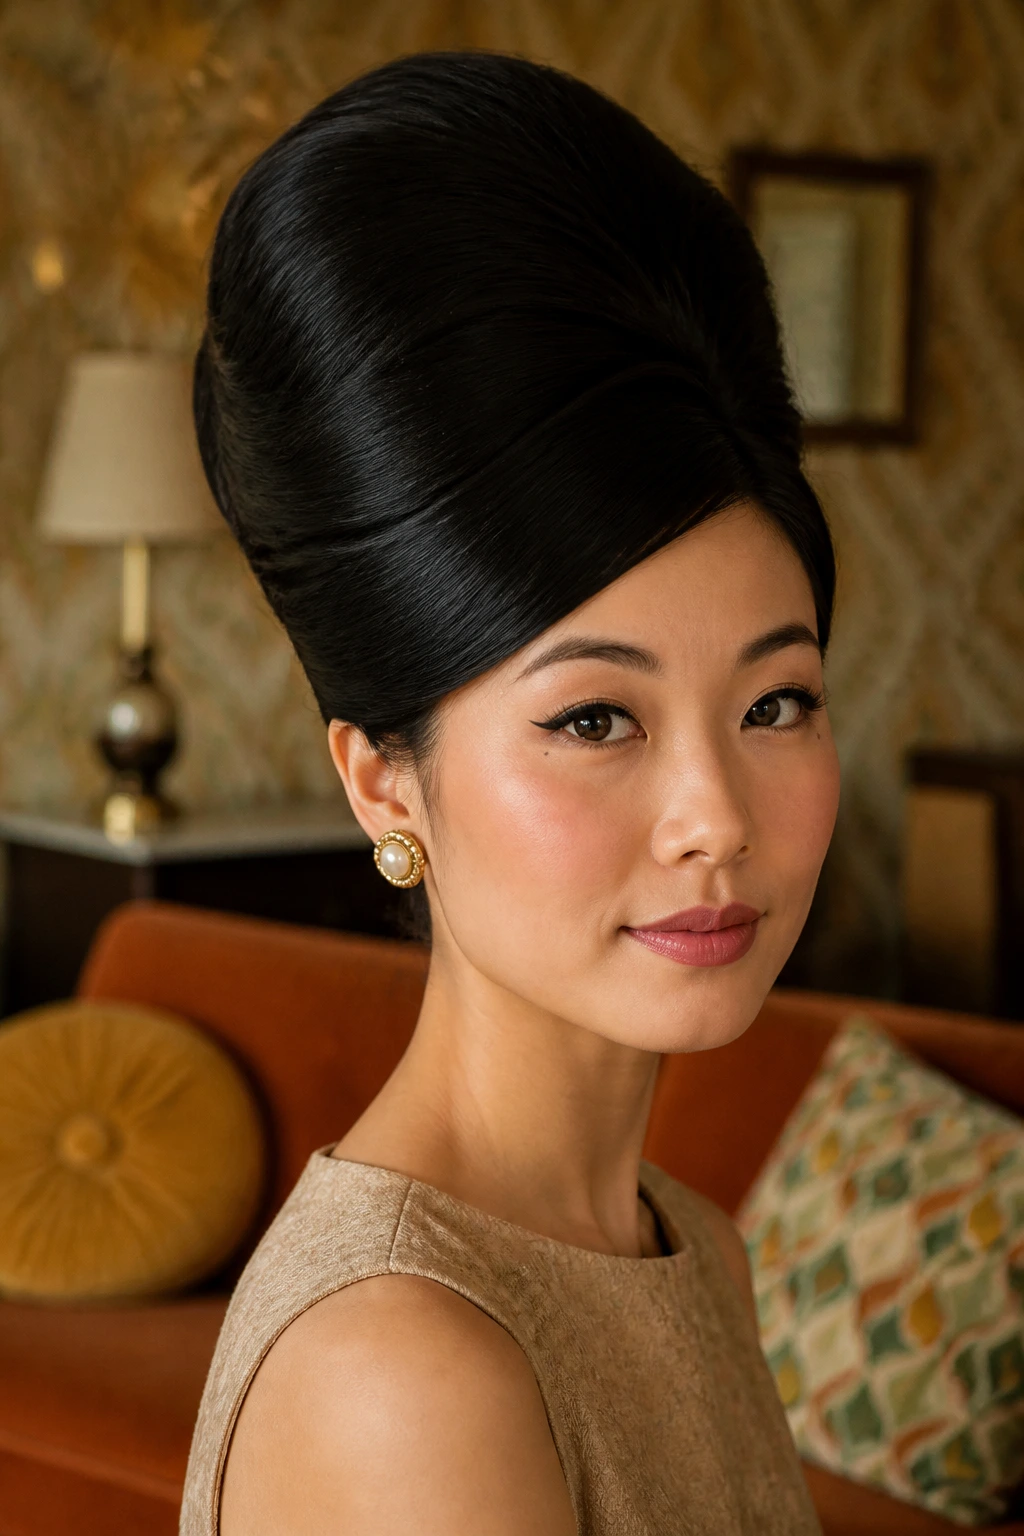
For ultimate mid-century drama, nothing compares to the beehive. This iconic style involves building massive volume at the crown and smoothing the hair into a tall, rounded cone. While it looks intimidating, you can easily adapt this for daily wear by creating a modified, slightly lower version.
To build the height without using a mountain of hairspray, we use a technique called “teasing.” Take a section of hair from the crown, hold it straight up, and run a teasing brush down the back of the section toward your scalp. Do this until you have a dense, soft cushion of hair.
Smooth the front and sides of your hair over this teased cushion, wrapping them around the back of the head. Secure the hair with bobby pins along the center seam. By pinning the hair in a vertical line at the back, you create a sturdy spine that supports the weight of the high crown.
Finish by spraying the entire style with a firm-hold hairspray. Keep the spray bottle about ten inches away from your head to avoid wetting the hair, which can cause the tease to deflate. A light, dry mist is all you need to keep the height locked in all day.
18. The Retro Side-Swept Pin Curls
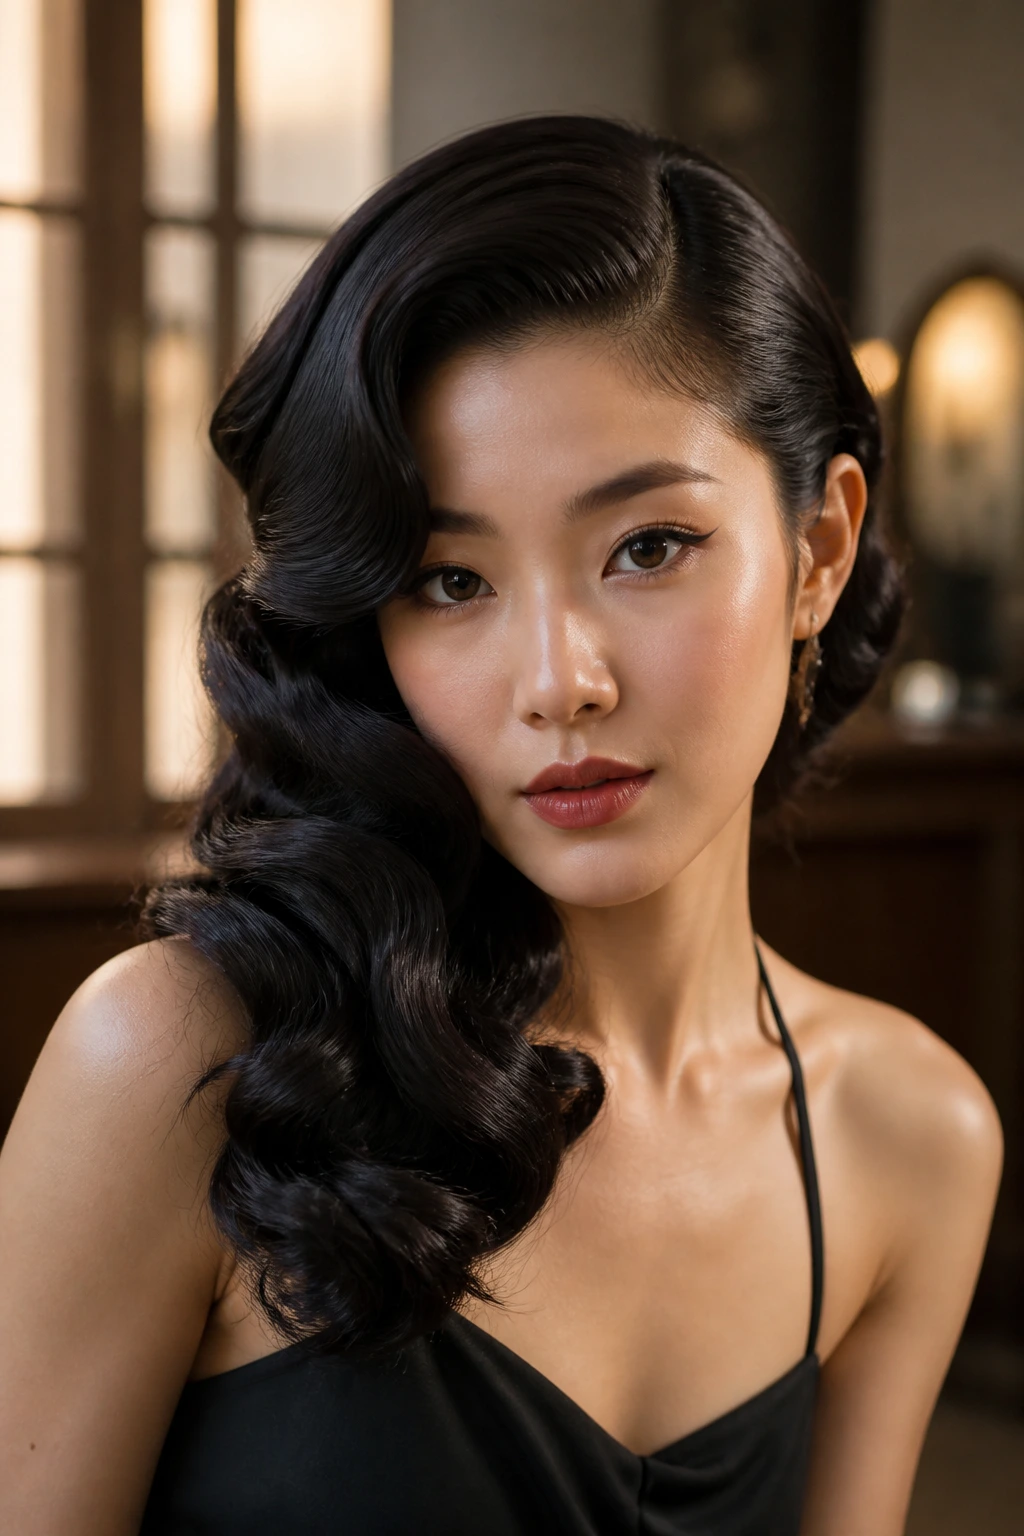
Compared to modern beach waves, retro pin curls are much more structured and sit closer to the face. This side-swept style drapes beautifully over one shoulder, creating an elegant, asymmetrical look that is perfect for formal occasions. It is a timeless look that never goes out of style.
The primary difference is that we set the curls using flat pins while the hair is damp. This creates a flat, compact curl at the roots that blooms into soft waves at the ends. It avoids the bulky volume at the crown that modern curling irons often produce, keeping the silhouette sleek.
This style is best for medium-to-long hair with a smooth texture. Because straight hair naturally reflects a lot of light, the side-swept waves will have a beautiful, glossy shine that highlights the classic shape of the curls.
I highly recommend parting your hair on the opposite side of your usual part. This creates natural volume at the roots without needing to tease, helping the hair sweep dramatically across your forehead before falling into the waves.
19. The 1930s Marcel-Wave Bob
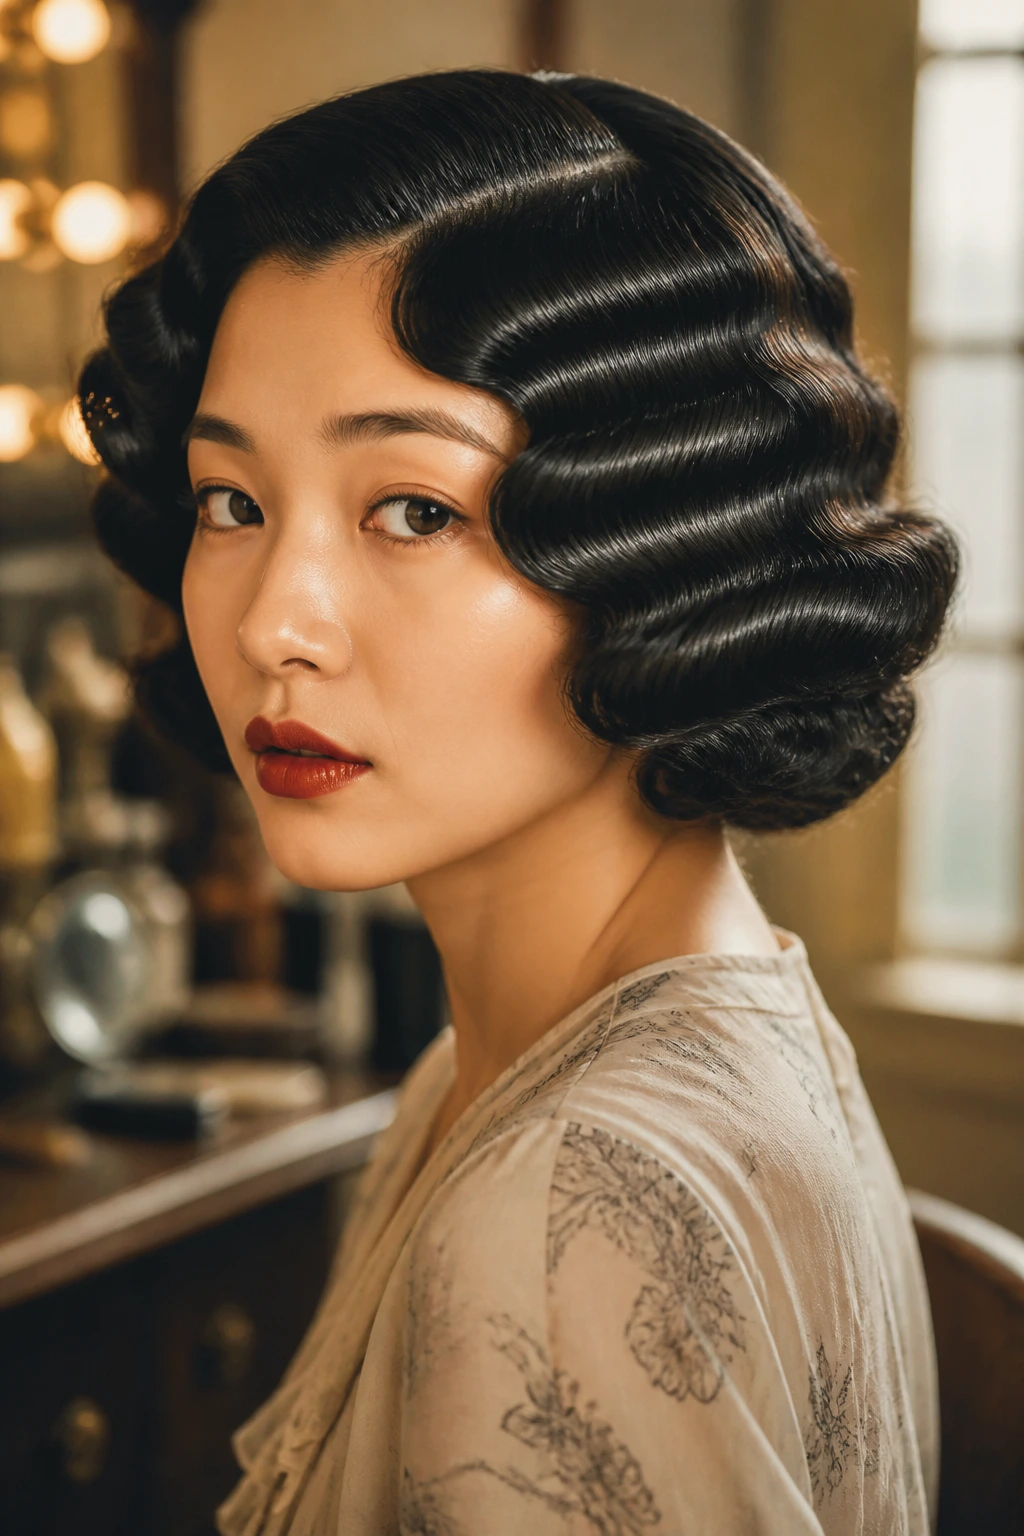
The Marcel wave features deep, horizontal ridges that wrap around the head, popular during the 1930s. It is a softer, more romantic version of the 1920s finger wave. On straight, dark hair, this style looks incredibly striking because the light catches the top of each wave ridge.
Setting Waves with Heat
Historically, Marcel waves were created using heavy, fire-heated irons. Today, we can achieve the same look safely using a modern three-barrel waver or by wet-setting the hair with wave clamps. The wet-set method is gentler on your hair and results in longer-lasting waves.
Steps for the Perfect Wave
- Apply a setting lotion to damp hair and comb it smooth.
- Use a fine-tooth comb to push the hair into horizontal ridges, securing each ridge with a long metal wave clamp.
- Let the hair dry completely, either naturally or under a hood dryer.
- Remove the clamps and gently brush through the waves with a soft-bristle brush. Pro tip: Apply a tiny drop of hair oil to your fingertips and run them along the ridges to emphasize the wave pattern.
20. The Mod Center-Parted Flip
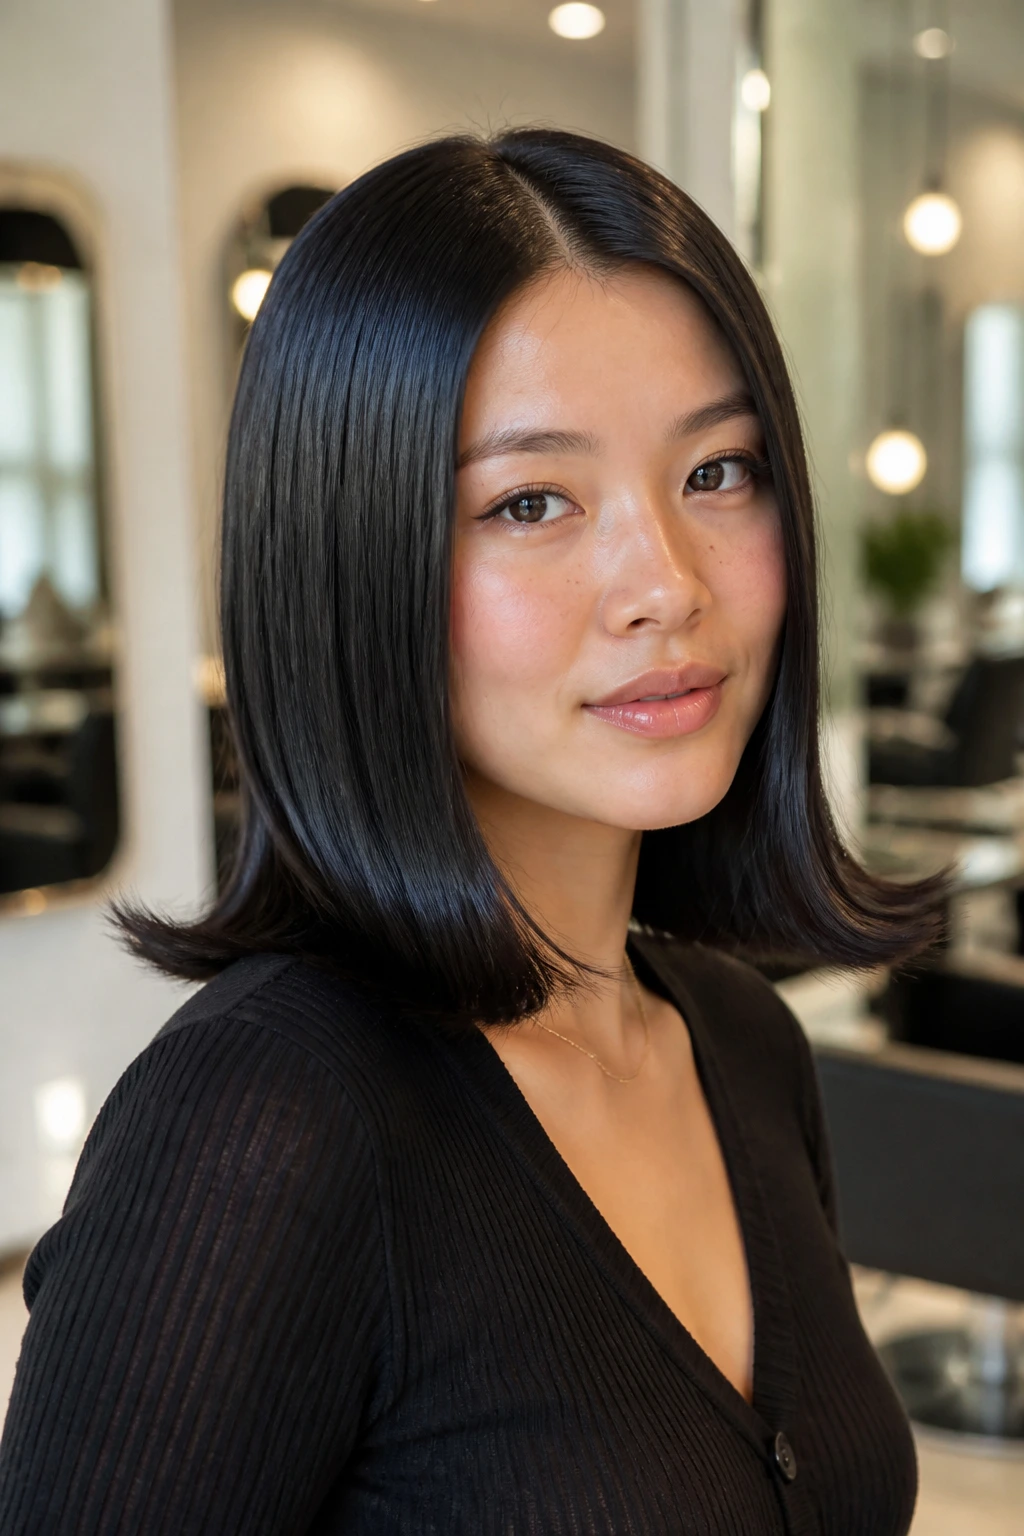
You do not need volume at the crown to make a 1960s style look authentic. The Mod center-parted flip is flat, sleek, and graphic, relying on a sharp center part and ends that flip outward. It is one of the easiest vintage styles to achieve on naturally straight Asian hair because the top half of the look requires zero styling.
To start, create a perfectly straight center part using a rat-tail comb. Blow-dry your hair straight down, keeping it as flat to your head as possible. Use a smoothing cream to ensure there are no flyaways or natural cowlicks disrupting the sleekness of the crown.
Once the hair is dry, use a flat iron on the ends. Clamp the iron about two inches from the bottom of each section, and pull it downward, sweeping the iron upward in a sharp “U” shape at the very end. This creates a crisp, graphic flip that contrasts beautifully with the flat, straight top.
21. The Victorian Ribbon-Laced Braid
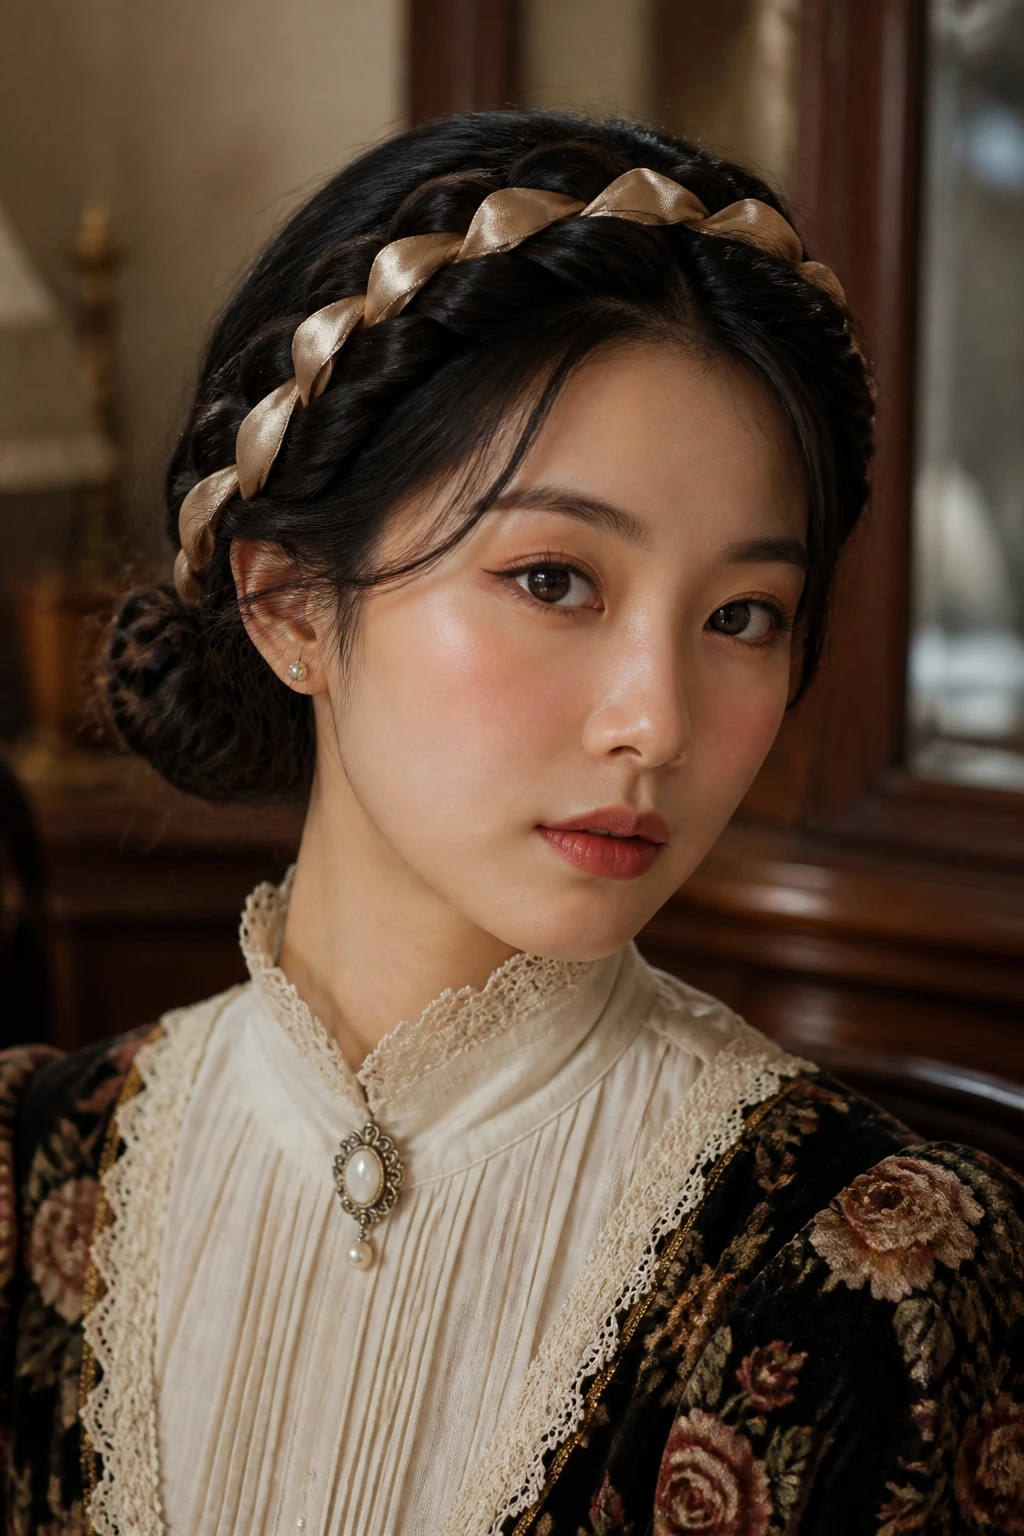
Why should we look to the Victorian era for hair inspiration? Victorian styles are incredibly romantic and practical, using braids and ribbons to keep long hair secure. On thick, dark hair, weaving a contrasting colored ribbon through a braid adds a beautiful pop of color and visual interest.
This style involves weaving a silk ribbon directly into a classic three-strand braid, then wrapping the braid into a neat bun at the back of the neck. The ribbon acts as both an ornament and a structural tie, keeping the braid from unraveling even if your hair is very smooth.
How to Lace the Ribbon
- Secure a long silk ribbon to a bobby pin and slide it into the base of your ponytail.
- Divide your hair into three strands, combining the ribbon with one of the outer strands.
- Braid your hair normally, keeping the ribbon flat against the hair as you cross the strands.
- Secure the end with a small elastic, then wrap the braid into a low bun and pin it securely. By using a ribbon that contrasts with your hair color, you make the intricate details of the braid stand out.
22. The 1950s French Twist with Bouffant
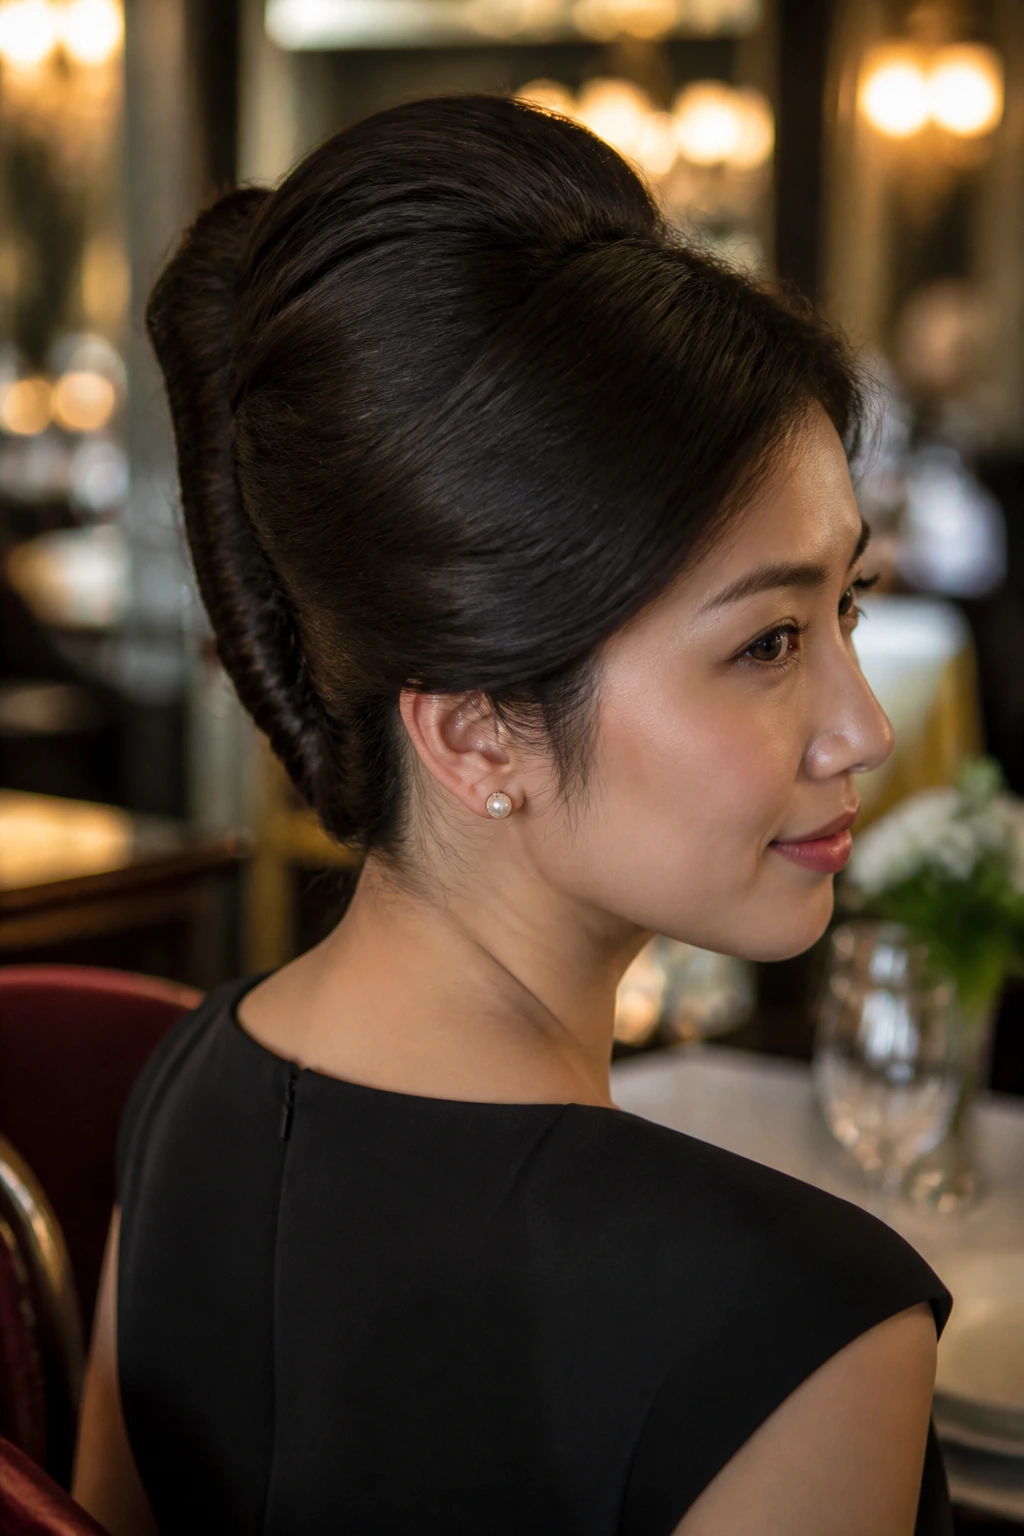
Imagine entering a formal dinner with a hairstyle that looks effortlessly elegant from every angle. The French twist is a classic updo that sweeps the hair back and rolls it into a neat seam at the back of the head. Adding a soft bouffant at the crown gives it a distinct mid-century feel.
The mechanism of the French twist is all about folding. We brush all the hair to one side, secure it with a vertical row of bobby pins, and then roll the hair back over the pins to create a smooth, hollow roll.
Mastering the Roll
- Brush all your hair to the left side of your head and pin it vertically down the center of your scalp.
- Gather the hair and roll it back toward the right, covering the bobby pins completely.
- Slide hairpins into the roll from right to left, catching both the roll and the vertical pins underneath.
- Gently tug the crown section upward to create a soft, rounded bouffant. This style looks best when kept neat and smooth, so finish with a generous mist of high-spray to keep every hair in place.
The Bottom Line
Vintage styling is not about fighting your hair’s natural tendencies. It is about understanding the physics of your hair and using historical techniques—like wet sets, pin curls, and structural padding—to make those classic shapes work for you. Smooth, straight hair is actually a massive advantage for these styles, as it provides a naturally shiny, neat surface that elevates the graphic lines of retro looks.
Do not be discouraged if your first attempt at a finger wave or victory roll feels a bit clumsy. Vintage hair is a skill that requires practice and patience. Start with the simpler styles, like the high ponytail flip or the bandana roll, and build your confidence from there. Once you master the basic techniques of tension, pinning, and setting, you will find that these timeless silhouettes are surprisingly easy to recreate and wear every single day.
