Mastering the art of heat styling on textured hair requires a delicate balance of moisture, tension, and heat management. You are not just changing the shape of your hair; you are temporarily altering its internal structure, and if you ignore the basics, you run the risk of heat damage that could take years to fully recover from. This isn’t about rushing through a routine to get out the door. It is about understanding the specific needs of your hair type—whether your curls are tightly coiled, zigzagged, or somewhere in between—and using the right tools to achieve a polished look without sacrificing your health.
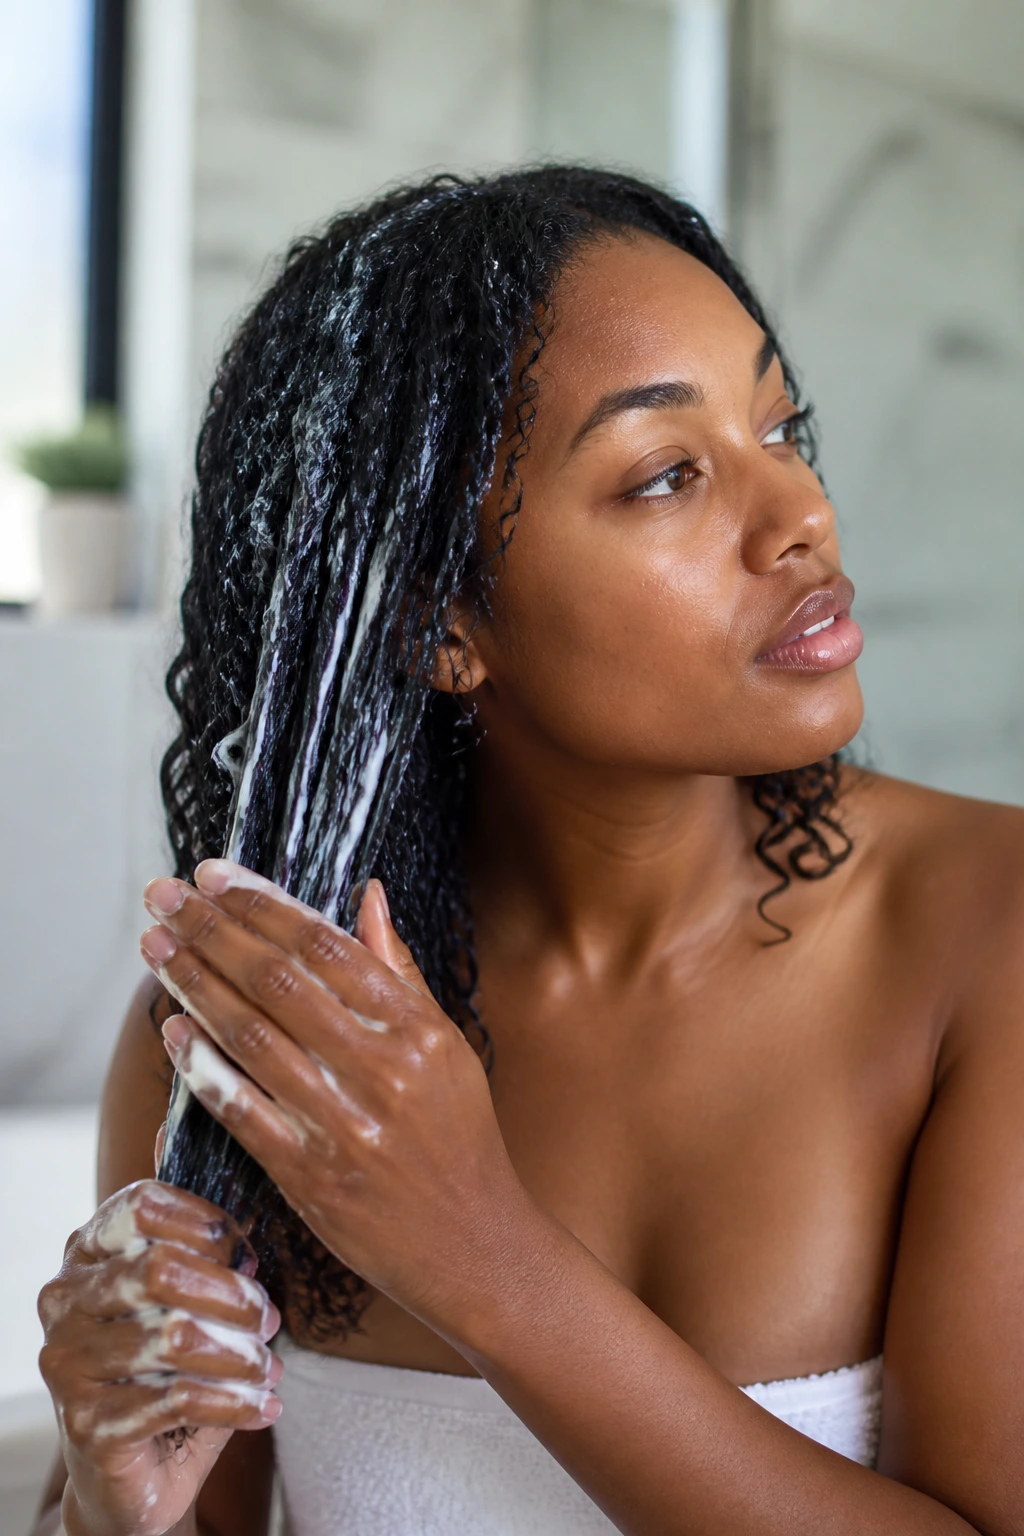
1. The Importance of a Deep Conditioning Base
Before your hair even encounters a curling iron, it needs to be fortified. Heat styling is inherently drying, which is why starting with a moisture-heavy foundation is non-negotiable. Aim to deep condition with a product rich in fatty alcohols and plant-based oils about three days before you plan to style. This ensures your strands are elastic and resilient enough to handle the stress of high temperatures. If your hair is brittle when wet, do not even reach for the heat. Let it air dry in protective twists until the cuticle is strong enough to withstand the thermal pressure.
2. Master the Tension Technique
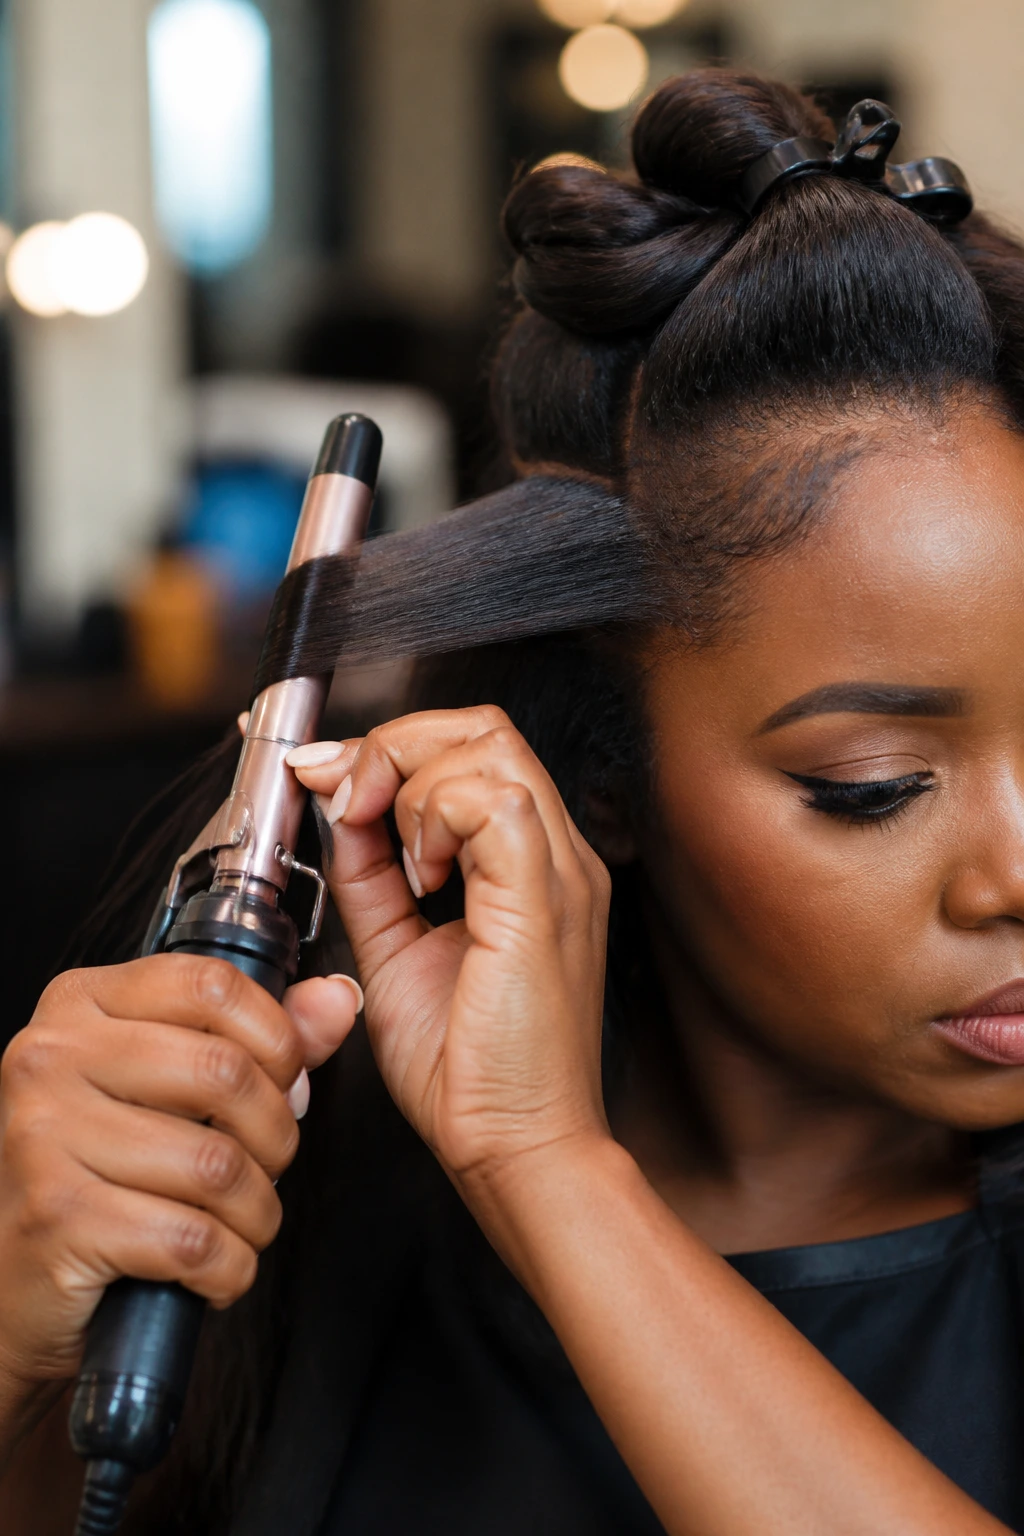
Tension is the secret bridge between a frizzy mess and a salon-quality curl. When you section your hair, use a fine-tooth comb to smooth each piece before wrapping it around the iron. You want the hair to lay flat against the barrel, not bunched up or tangled. If the hair isn’t smooth as it wraps, the heat will lock that frizz into the shape of the curl. Think of it like ironing a shirt; you wouldn’t just throw the garment onto the board in a pile, right? You pull it taut. Apply that same logic to your hair sections.
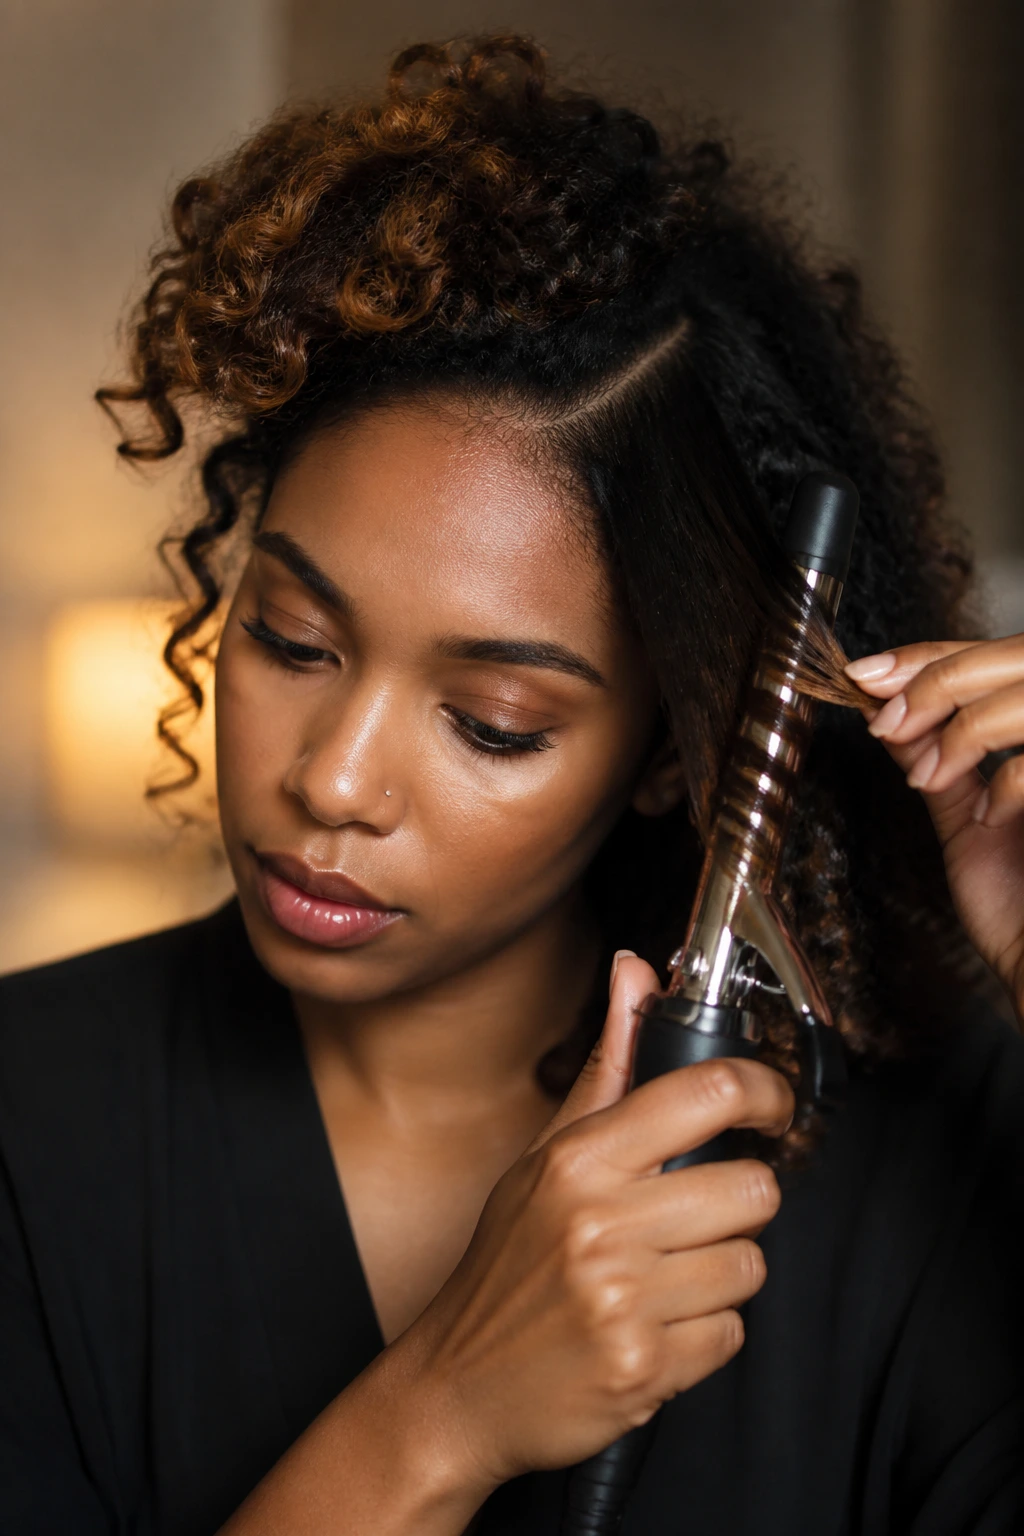
3. Selecting the Correct Barrel Material
Tourmaline-ceramic barrels are the standard for a reason. They emit negative ions that neutralize the positive charge in your hair, which helps to smooth the cuticle and minimize static. Avoid plain metal barrels if you can, as they tend to have hot spots that can singe textured hair in seconds. If you have thicker or coarser hair, look for a barrel with adjustable digital heat settings. Being able to set the exact temperature is far more important than the brand name on the handle.
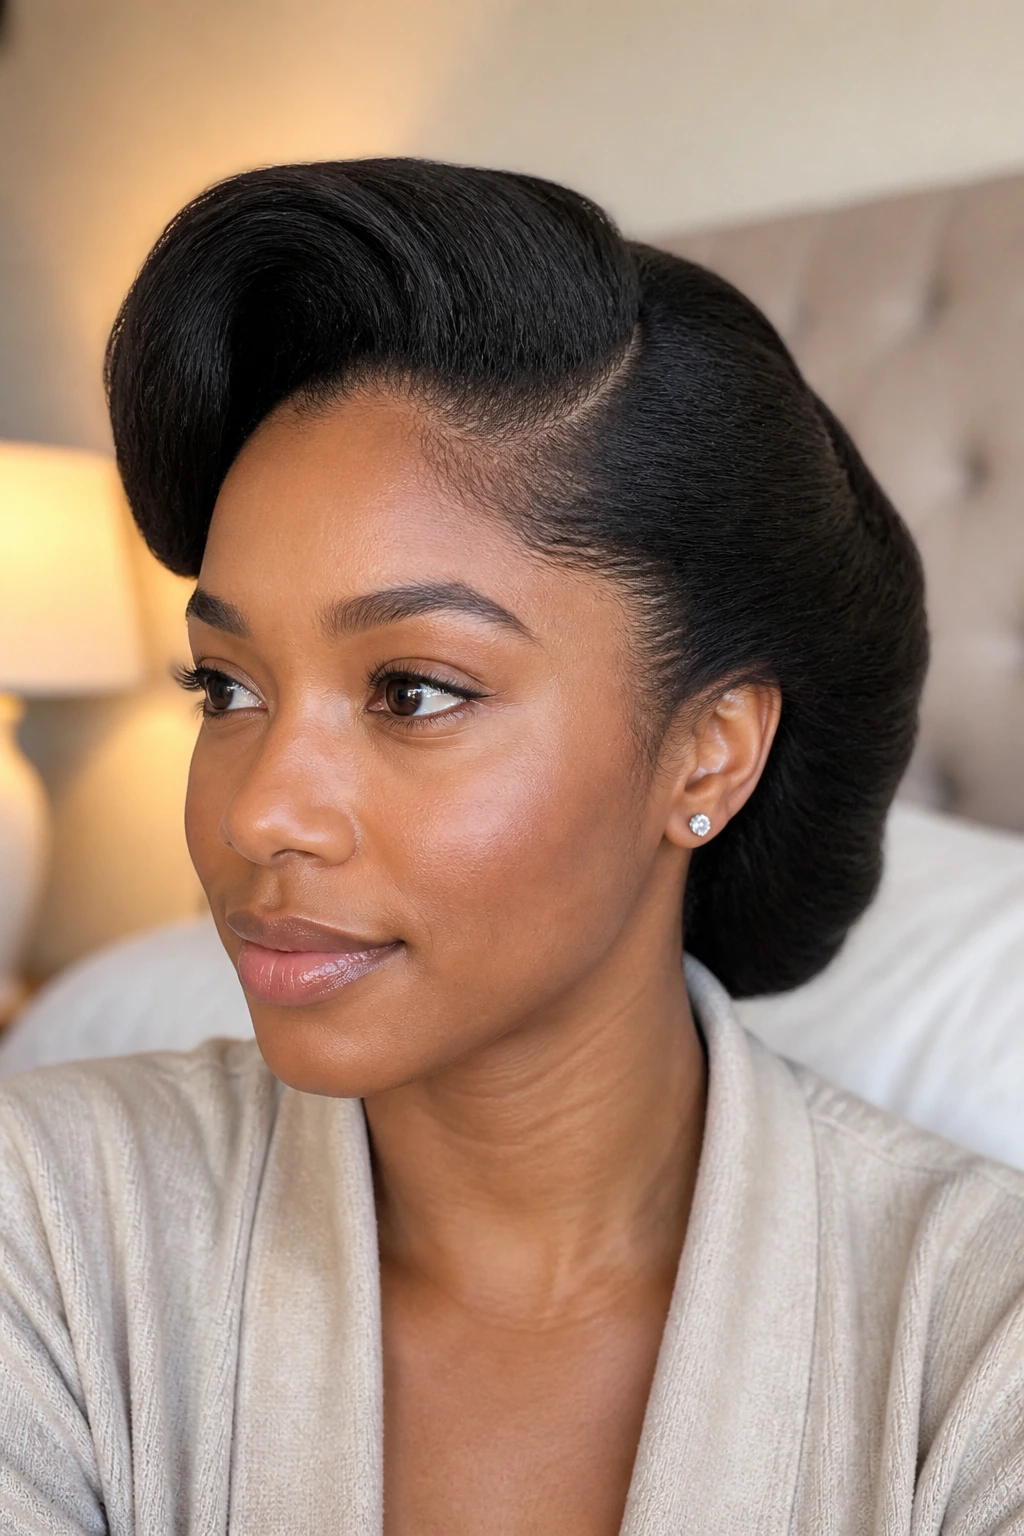
4. The Magic of the Silk Press Prep
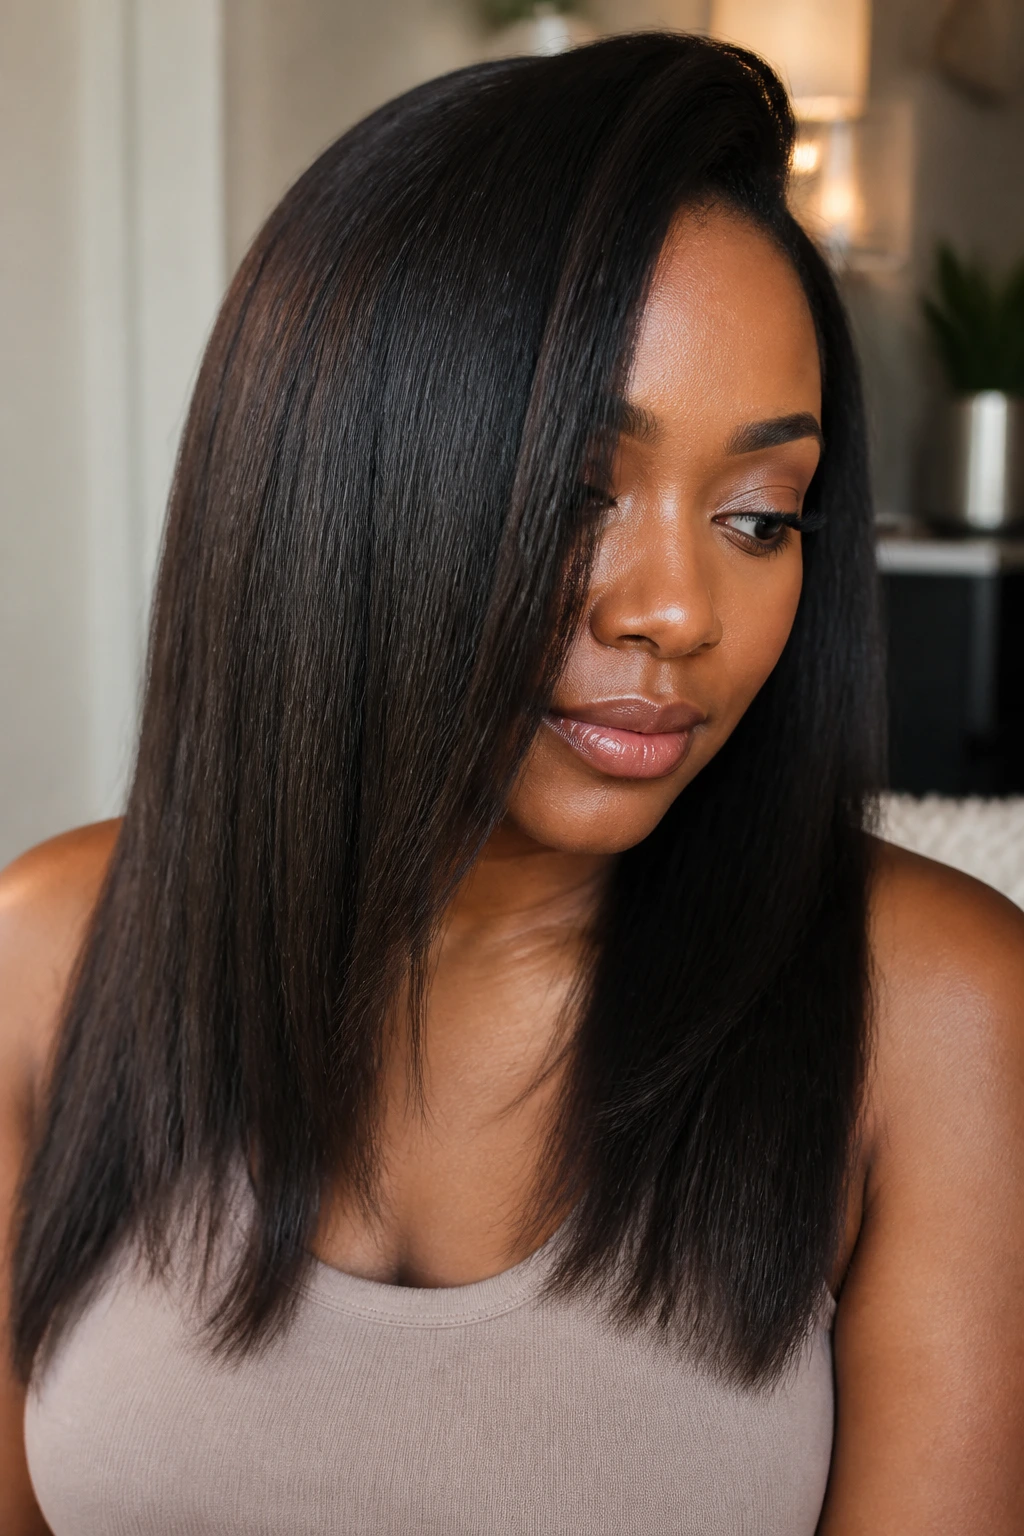
If you are looking for a sleek, bouncy curl, your hair needs to be as straight as possible before you wrap it. A proper silk press—using a flat iron with a single pass—removes the natural crimp pattern. When you curl hair that has been properly straightened, the result is smooth, uniform, and less prone to reverting back to its natural texture halfway through the day. If you try to curl hair that still has significant “poof” at the roots, the curl will look uneven and likely lose its structure within a few hours.
5. Controlling the Heat Threshold
Many of us fall into the trap of using the highest heat setting, thinking it will give us a better curl in less time. That is a fast track to heat damage. Textured hair is often more porous and sensitive than other hair types. For most, 350°F to 375°F is the sweet spot. If you find you need 400°F or higher to get your hair to hold a curl, your hair is likely suffering from moisture loss or buildup. Lower the heat, increase the duration of time on the barrel, and focus on the health of the strand rather than the speed of the style.
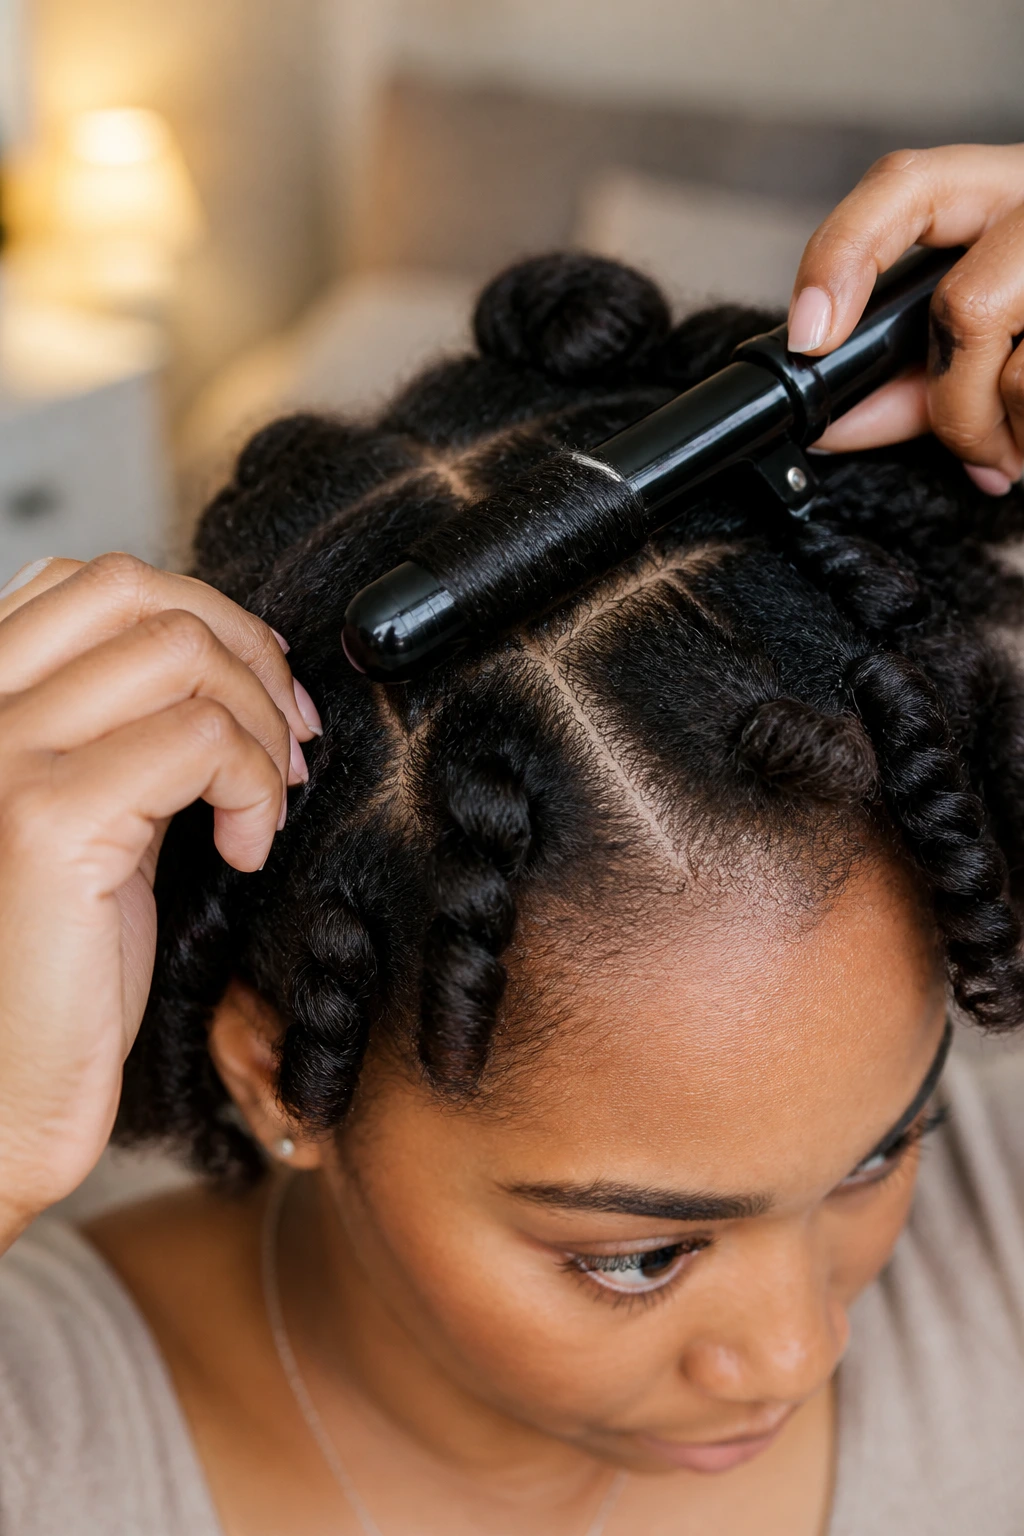
6. Sectioning for Consistency
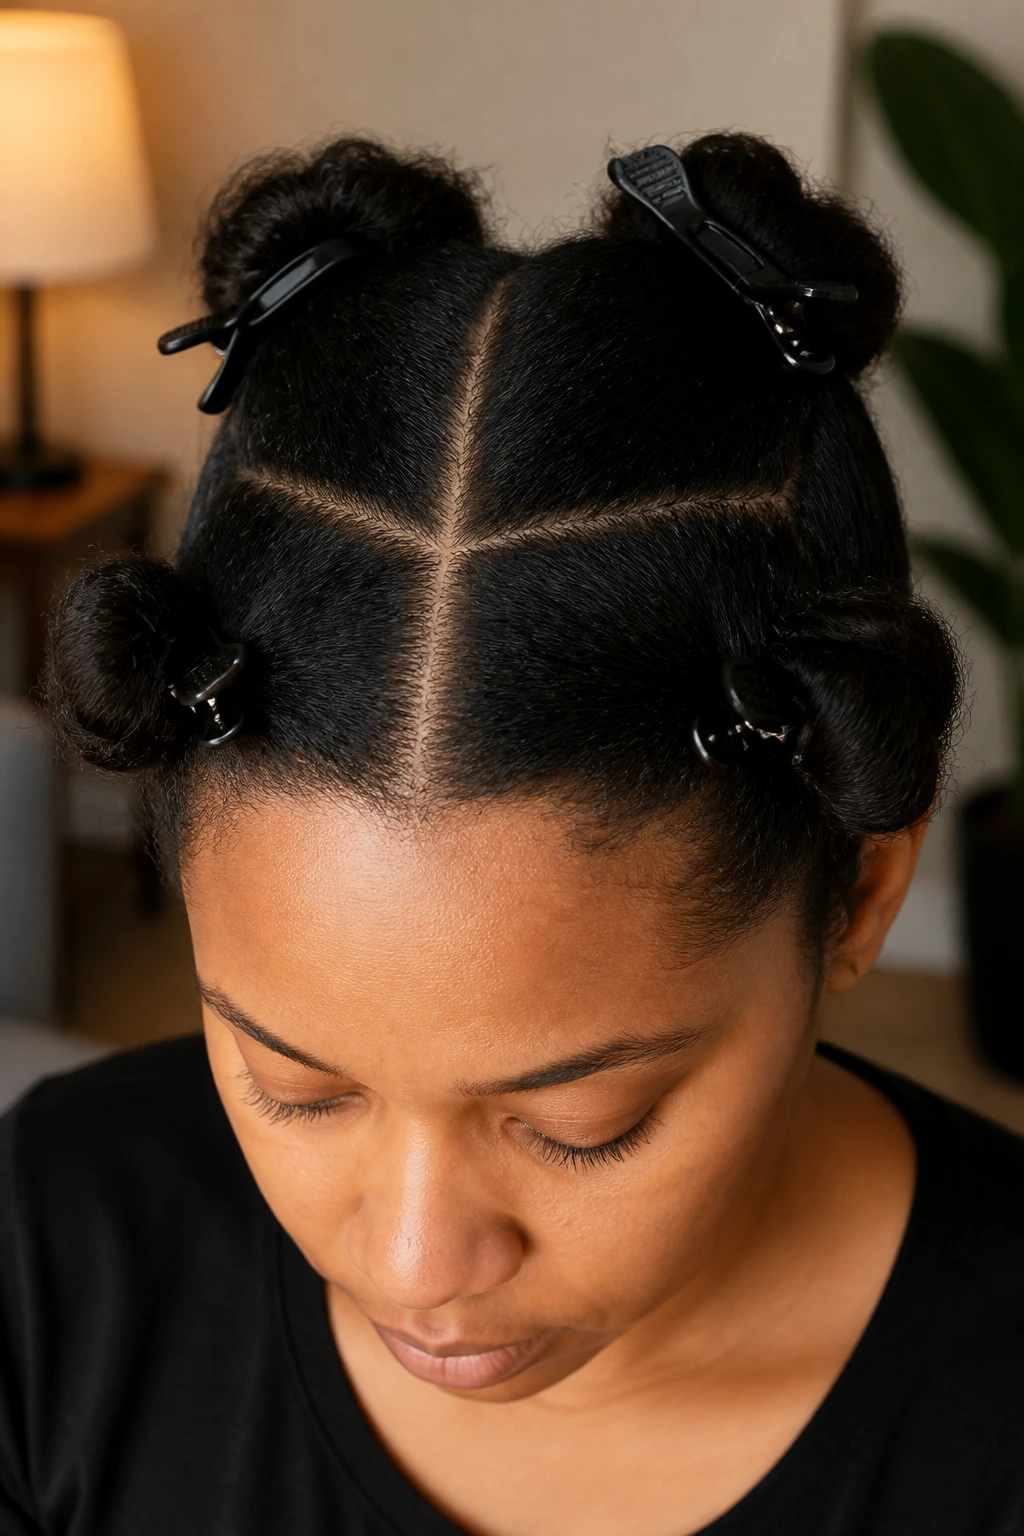
Dividing your hair into quadrants is essential for a professional finish. Use sturdy alligator clips to secure the hair you aren’t working on. If you grab random chunks of hair, you will inevitably have some curls that are too tight and others that are limp because the section was too thick for the iron to heat through. A good rule of thumb is to take sections no wider than the barrel of your iron. This ensures that every strand gets equal exposure to the heat, creating a uniform look across your entire head.
7. The Cool-Down Phase
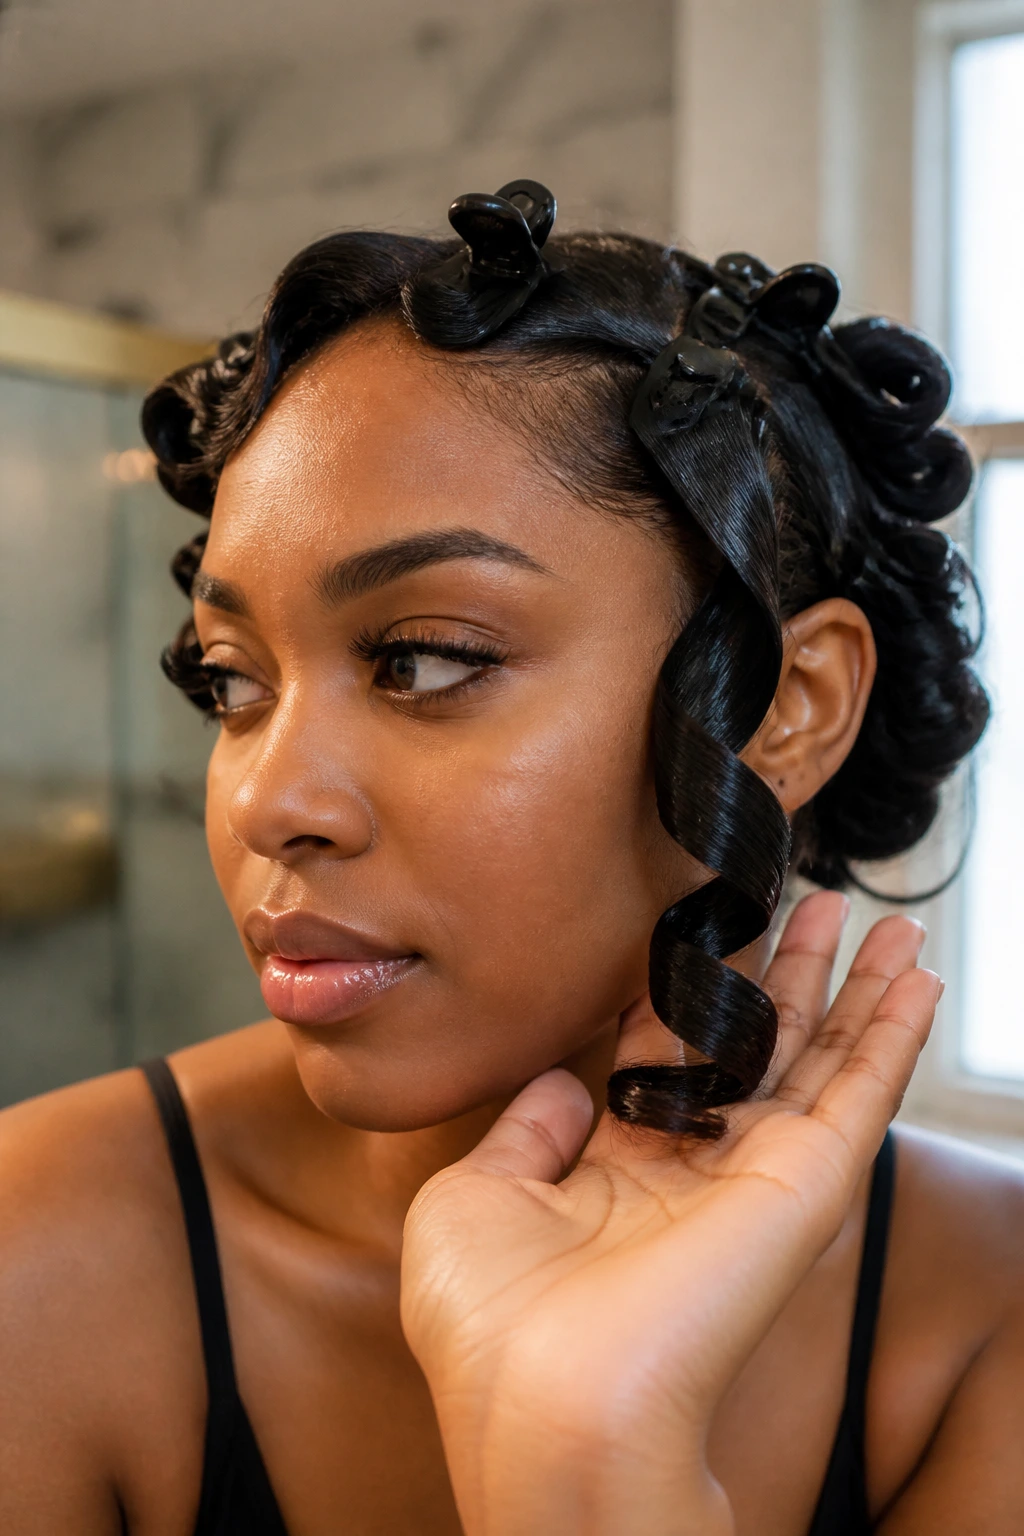
This is the step most people skip, yet it is the most vital for longevity. When you release a curl from the iron, it is at its most vulnerable. If you pull at it or brush it while it’s still hot, you are basically undoing all your hard work. Let each curl sit in your hand for a second before pinning it up to cool. If you have the patience, use duckbill clips to pin each curl to your scalp until the entire head is cooled. This “sets” the shape as the hair molecules transition from a high-heat state back to a stable one.
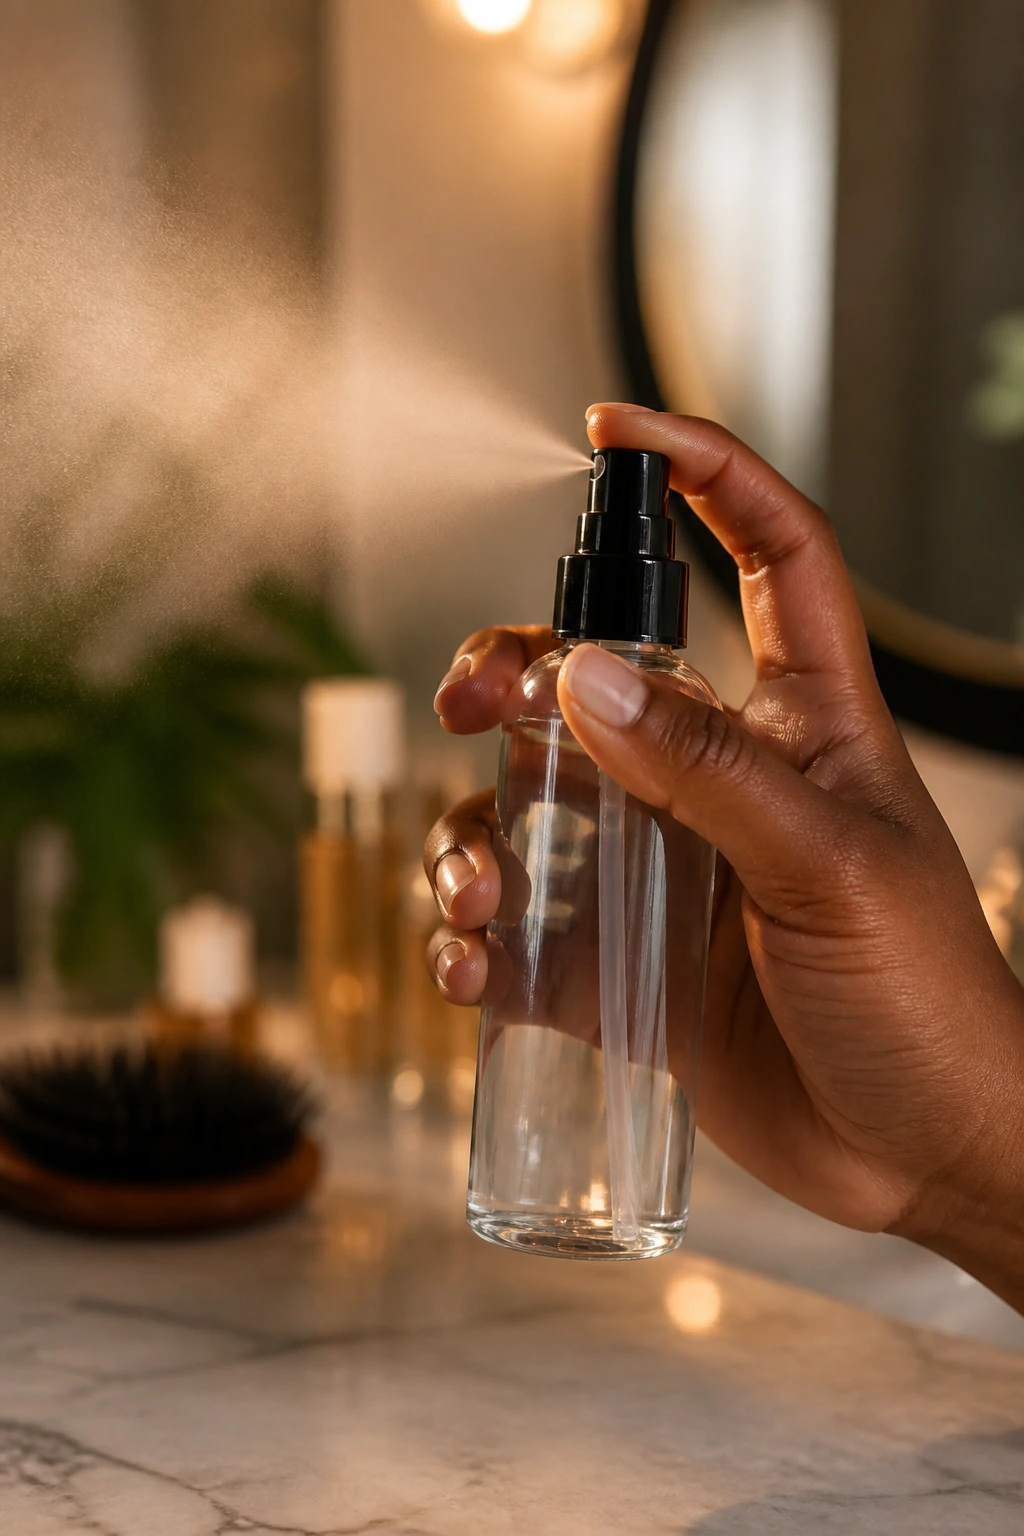
8. Avoiding Product Buildup Before Styling
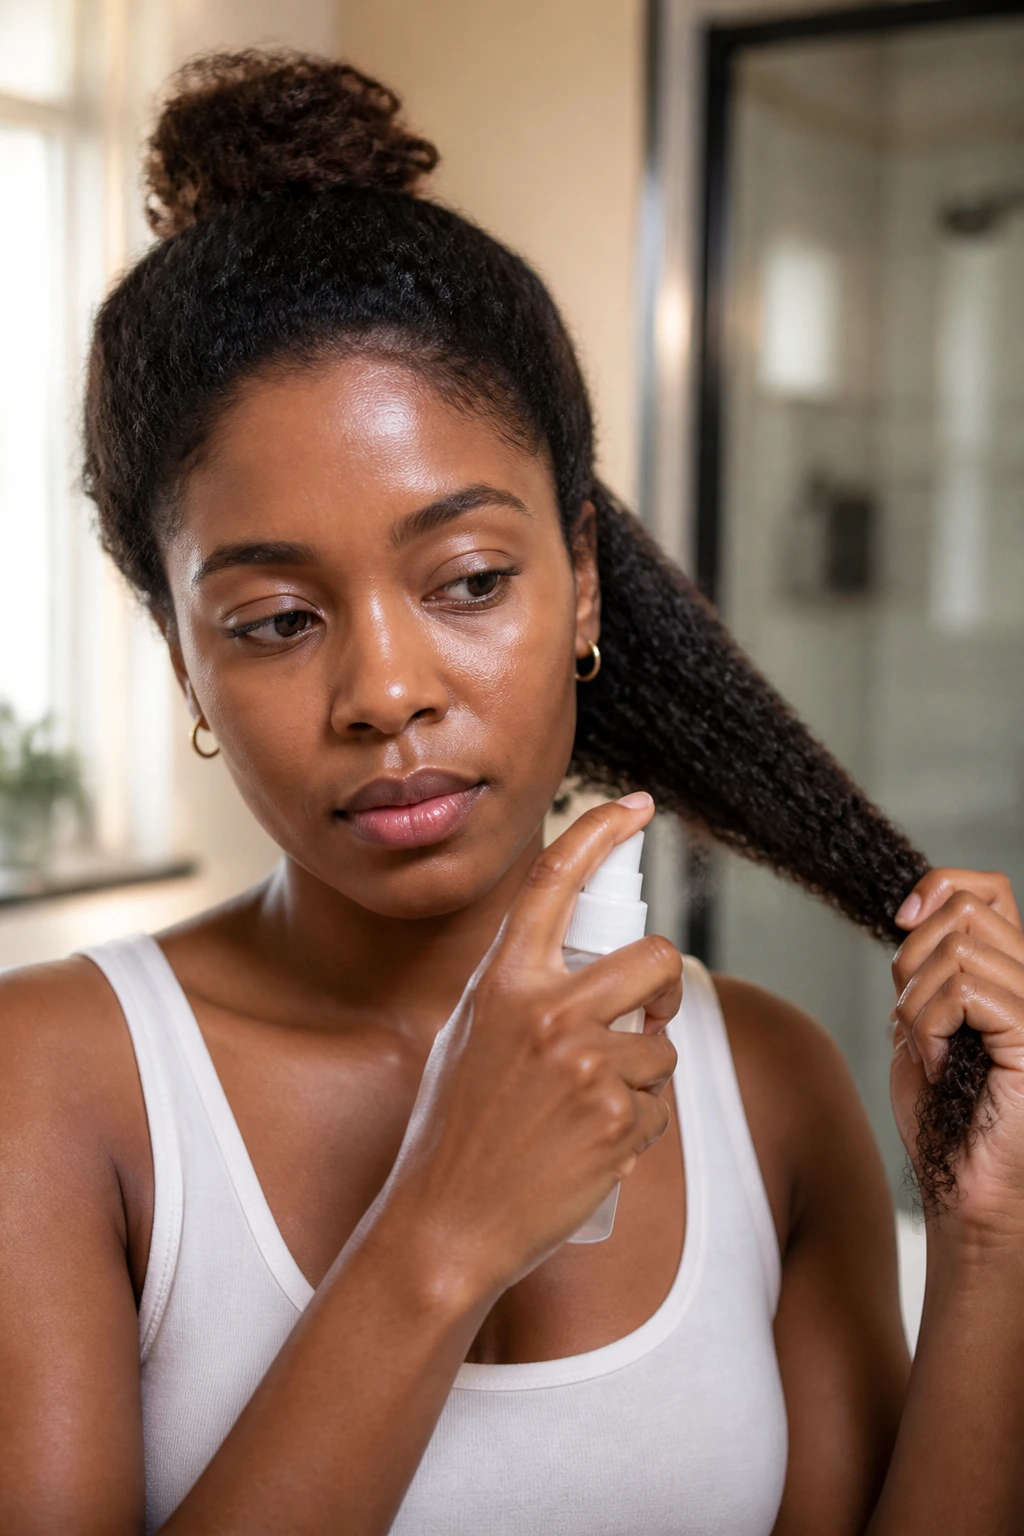
Do not load your hair with heavy oils or thick butters right before you heat style. These products can essentially “fry” your hair when the iron hits them, leading to smoke, burnt odors, and brittle ends. Use a lightweight, silicone-based thermal protectant spray that is designed to create a barrier between the metal and your hair. If you notice your iron hissing, stop immediately. That is a sign that there is too much moisture or product on the strand, and you are steaming your hair rather than curling it.
9. Understanding Barrel Sizing
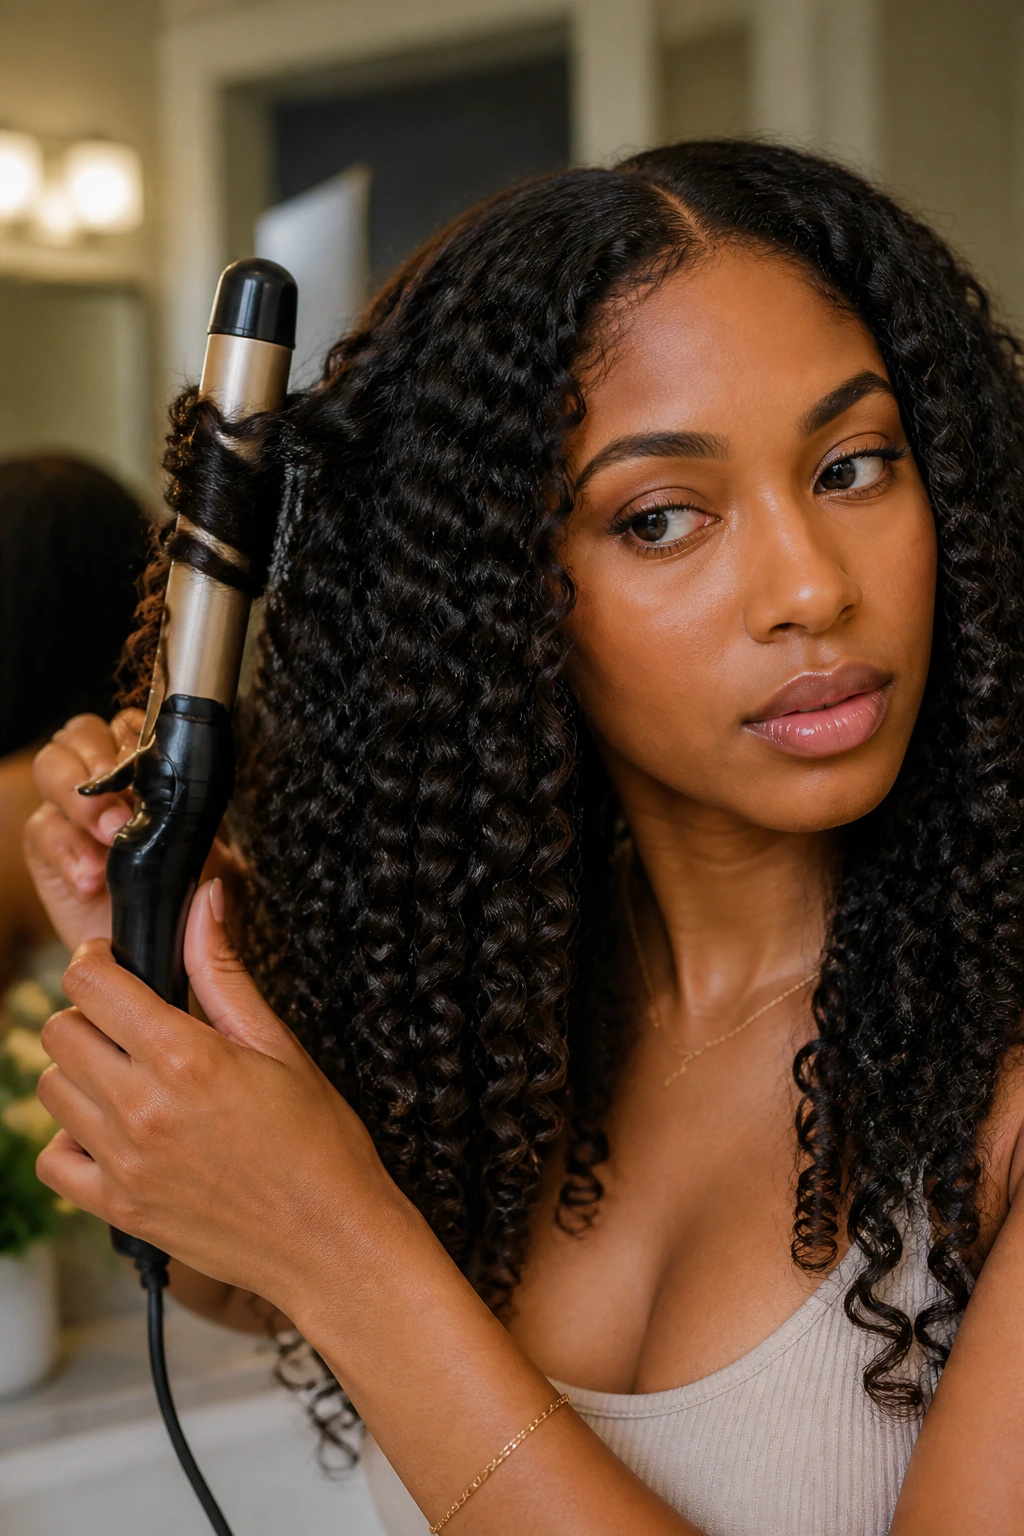
The size of your iron dictates the character of your hair. For tighter, more defined ringlets, stick to a 3/4-inch or 1-inch barrel. If you are aiming for loose, voluminous waves, move up to a 1.25-inch or 1.5-inch barrel. Remember that as your hair relaxes throughout the day, those tight curls will drop and become more elongated. If you want a specific “day two” look, curl your hair a bit tighter than you think you want it to look initially.
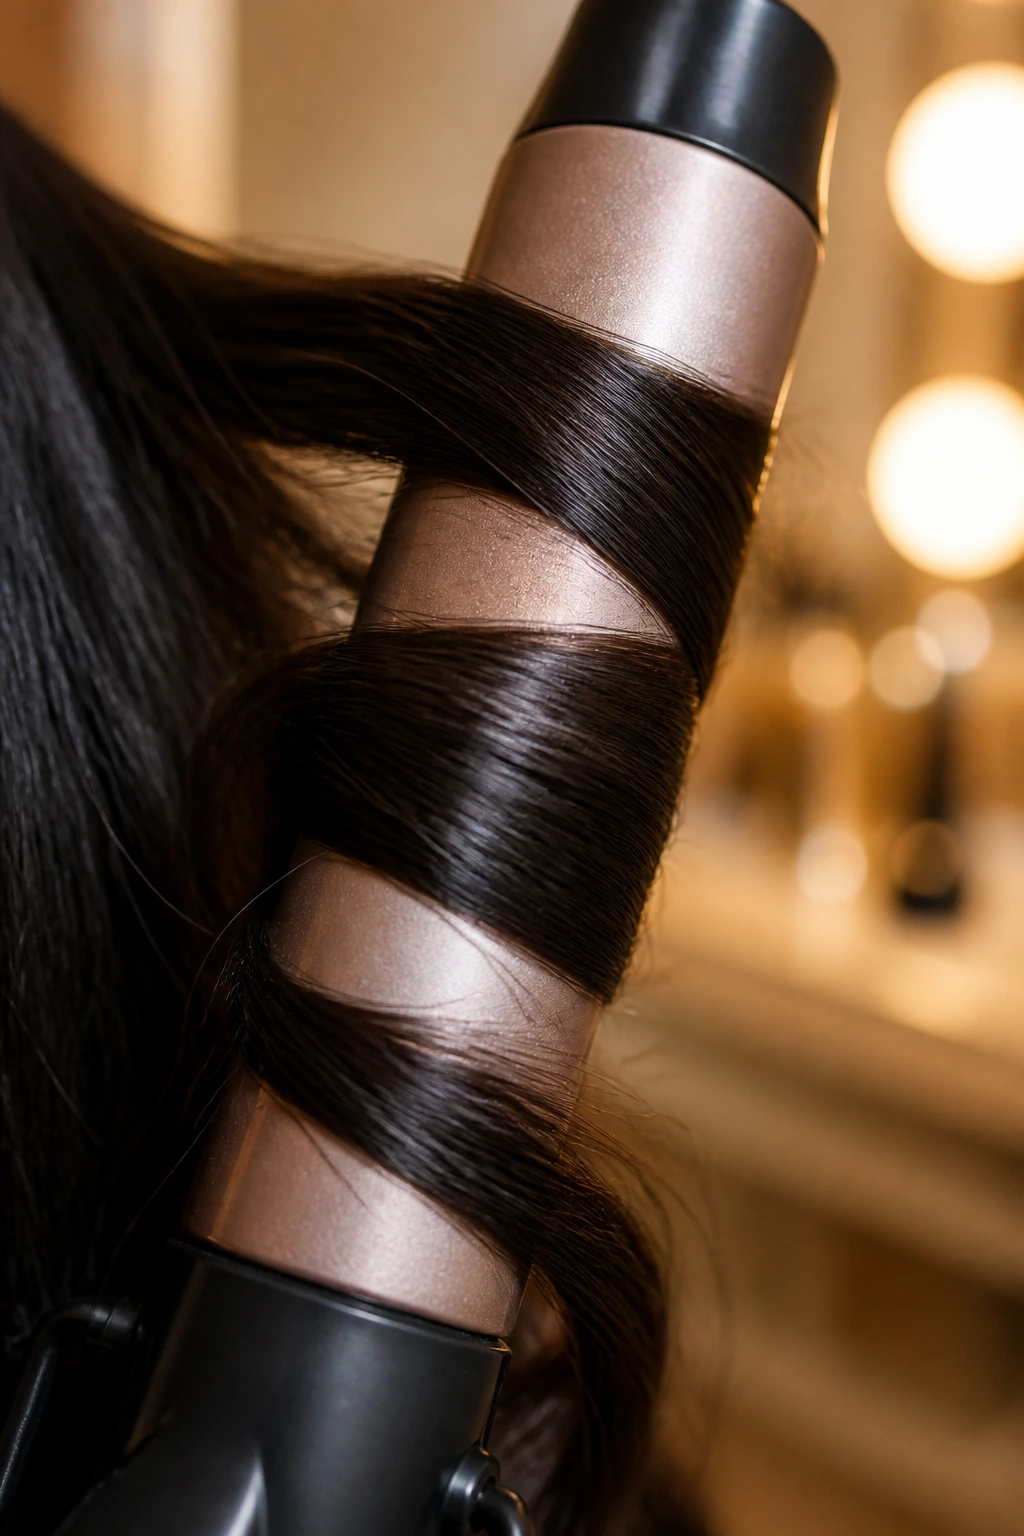
10. The Direction of the Wrap
Uniformity comes from direction. If you wrap some pieces toward your face and others away, your hair will have a chaotic, tangled look. Decide on a direction—usually away from the face for a more open, glamorous aesthetic—and stick to it consistently. For the pieces framing your face, wrapping away from the eyes helps to keep the hair out of your line of sight and gives a more polished, intentional silhouette.
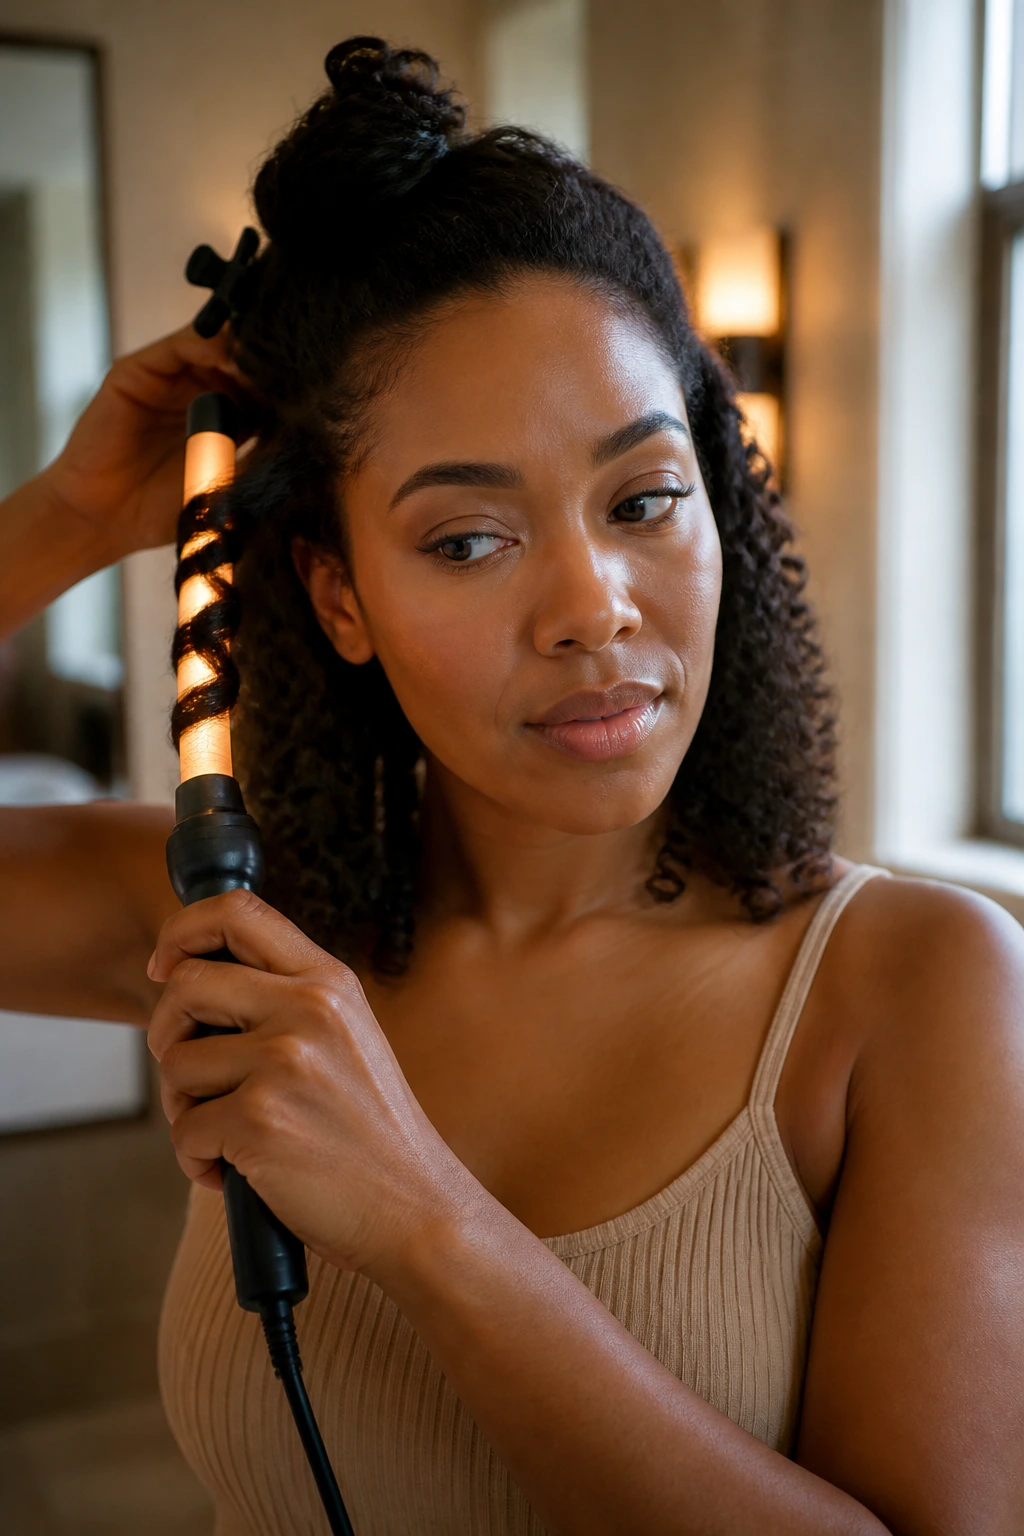
11. Managing the Crown Area
The hair at the crown of your head is often the most fragile and the most prone to frizz. Because this is the most visible area, it needs extra care. Use smaller sections here and be mindful of the root. You don’t need to get the iron right up against your scalp, especially if you have sensitive skin or if your hair is delicate. Start your curl about an inch or two from the root to maintain volume without flattening your hair against your head.
12. Refreshing Day-Two Curls
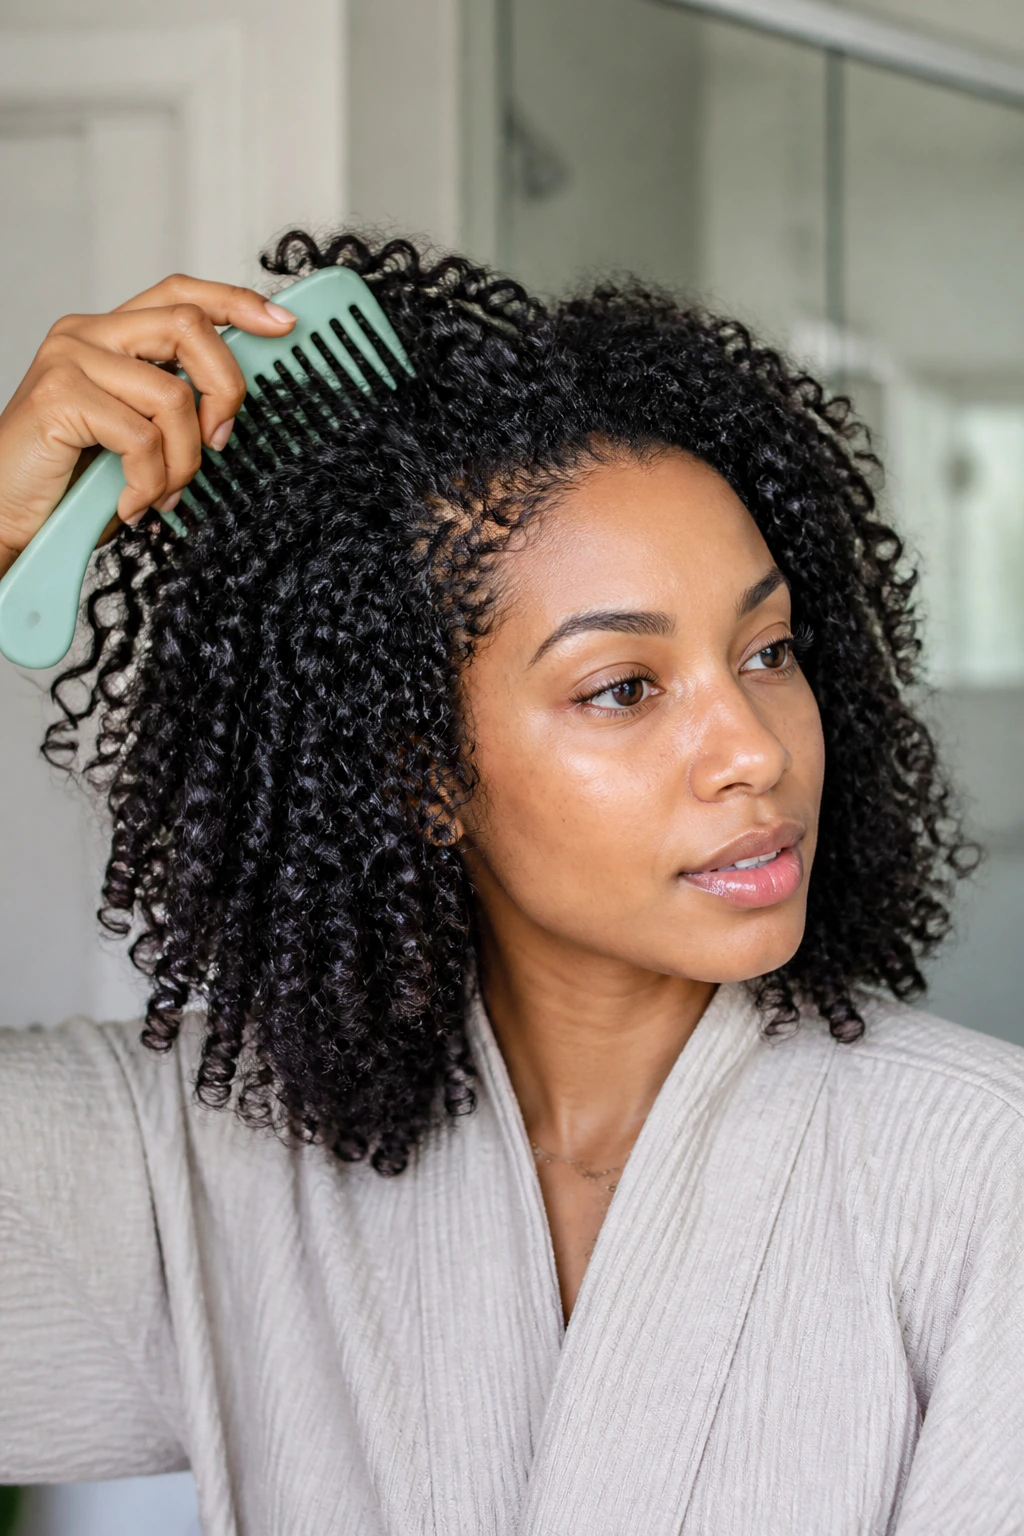
Do not re-heat your hair every single morning. If your curls have fallen, use a wide-tooth comb to gently fluff the roots and then use a light holding spray. If you must use heat to touch up, only focus on the pieces that have lost their shape. Use the lowest heat setting possible and don’t hold the hair on the iron for more than two or three seconds. A quick tap of heat is usually enough to reset the bounce without causing additional damage.
13. The Role of Satin Pillowcases
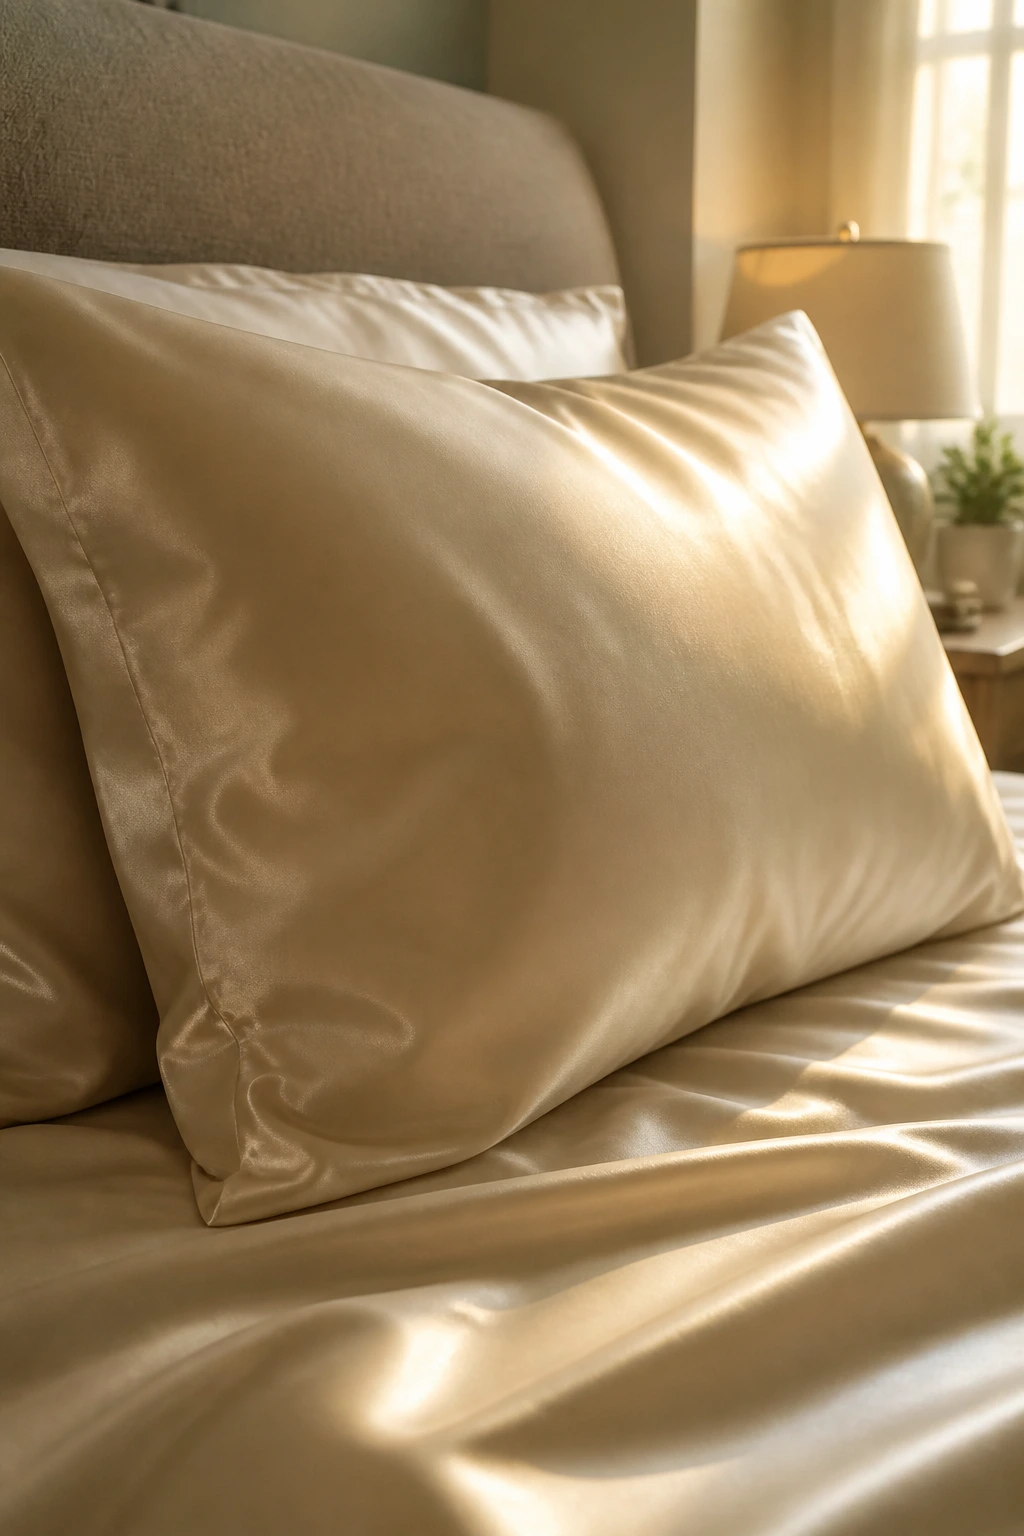
If you want your curls to last through the night, a cotton pillowcase is your enemy. Cotton is abrasive and pulls moisture from your strands, causing friction-induced frizz. Switch to a satin or silk bonnet or pillowcase. The smooth surface allows your hair to glide rather than rub against the fabric. When you wake up, a quick shake of your head is usually all you need to restore your volume, sparing you the need for a total restyle.
14. Testing for Porosity
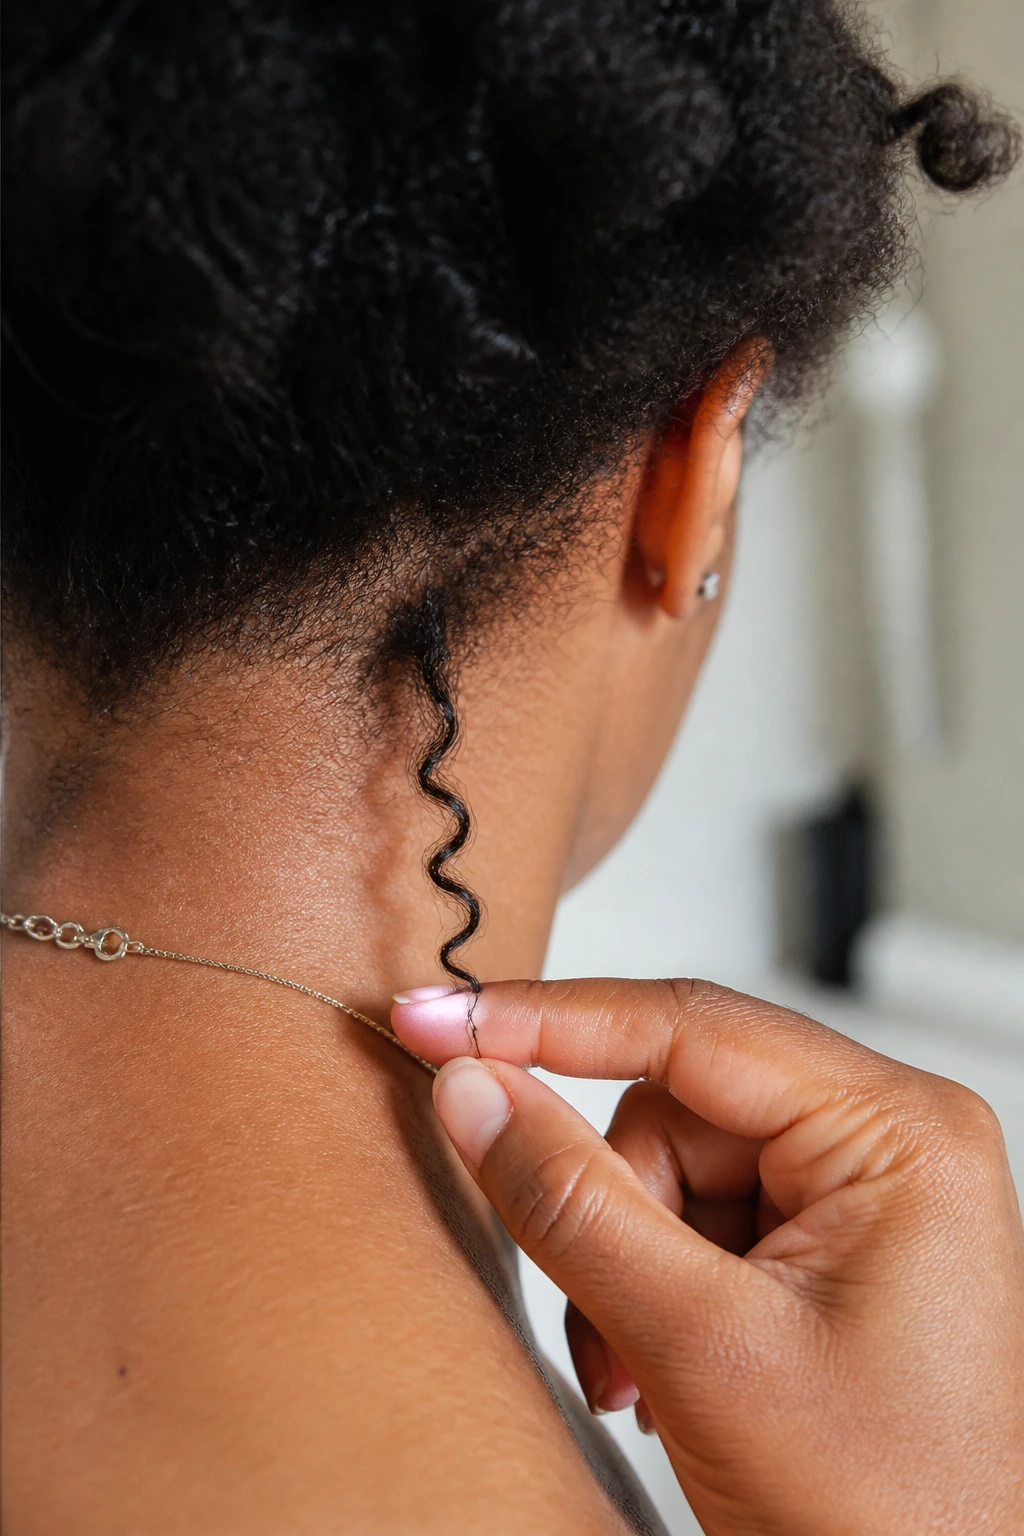
Before you commit to a full heat style, perform a simple strand test. Take a small, hidden section of hair—like the hair at the nape of your neck—and curl it. If the hair looks dull, feels crunchy, or doesn’t hold the shape after a few minutes, your hair’s porosity might be compromised. This is a clear signal that you should skip the heat and focus on protein treatments or deep hydration. Never prioritize the style over the long-term integrity of your hair.
15. The Importance of Professional Trims
No amount of high-end styling tools will make split ends look healthy. If your ends are frayed, the curl will look thin and uneven. A fresh trim ensures that the curl pattern is consistent from root to tip. You should be getting your ends dusted every three to four months. When your ends are clean and blunt, the curls hold together better, look thicker, and reflect more light, giving you that healthy, glossy shine we all chase.
16. Using the Right Brush for Volume

Once your curls are cool and you’ve removed the pins, you have a choice: do you want tight definition or big, voluminous curls? If you want volume, use a wide-tooth comb or a pick to lift at the roots. Avoid using a dense paddle brush unless you are looking to create a soft, brushed-out wave. For textured hair, a brush often leads to excessive poof rather than defined curls. Use your fingers to gently separate the curls if you want a more natural, lived-in look.
17. The Humidity Factor
Humidity is the natural enemy of a thermal style. If you live in a damp climate, you need an anti-humidity serum or spray. These products act as a shield, preventing the hair from absorbing moisture from the air. Apply a tiny amount to your palms, rub them together, and smooth it over the surface of your hair after you’ve finished styling. A little goes a long way; too much will weigh your curls down and make them look oily.
18. Why You Should Avoid Metal Clips
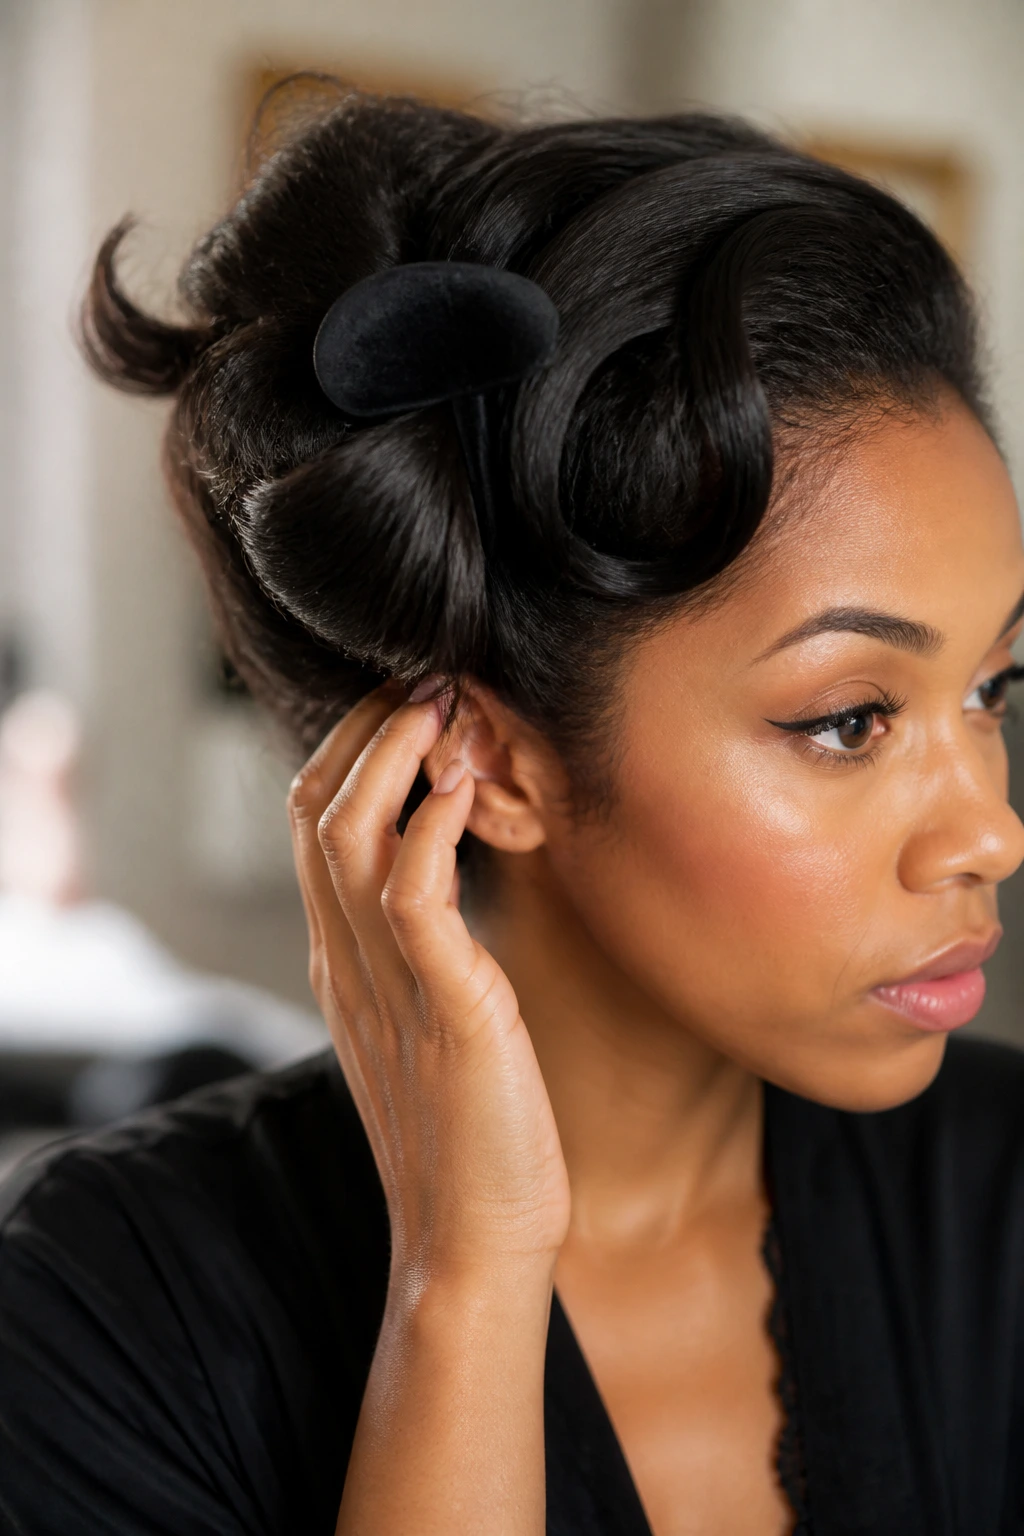
When pinning your hair for cooling, avoid metal clips. They can snag the hair, lead to breakage, and sometimes react with the heat still radiating from the strand, creating a hot spot. Use plastic, alligator-style clips or velvet-covered clips. These are gentle, hold the hair securely without tension, and are much easier to remove without pulling out any of your hard-won curls.
19. Monitoring the “Scent” of Your Hair
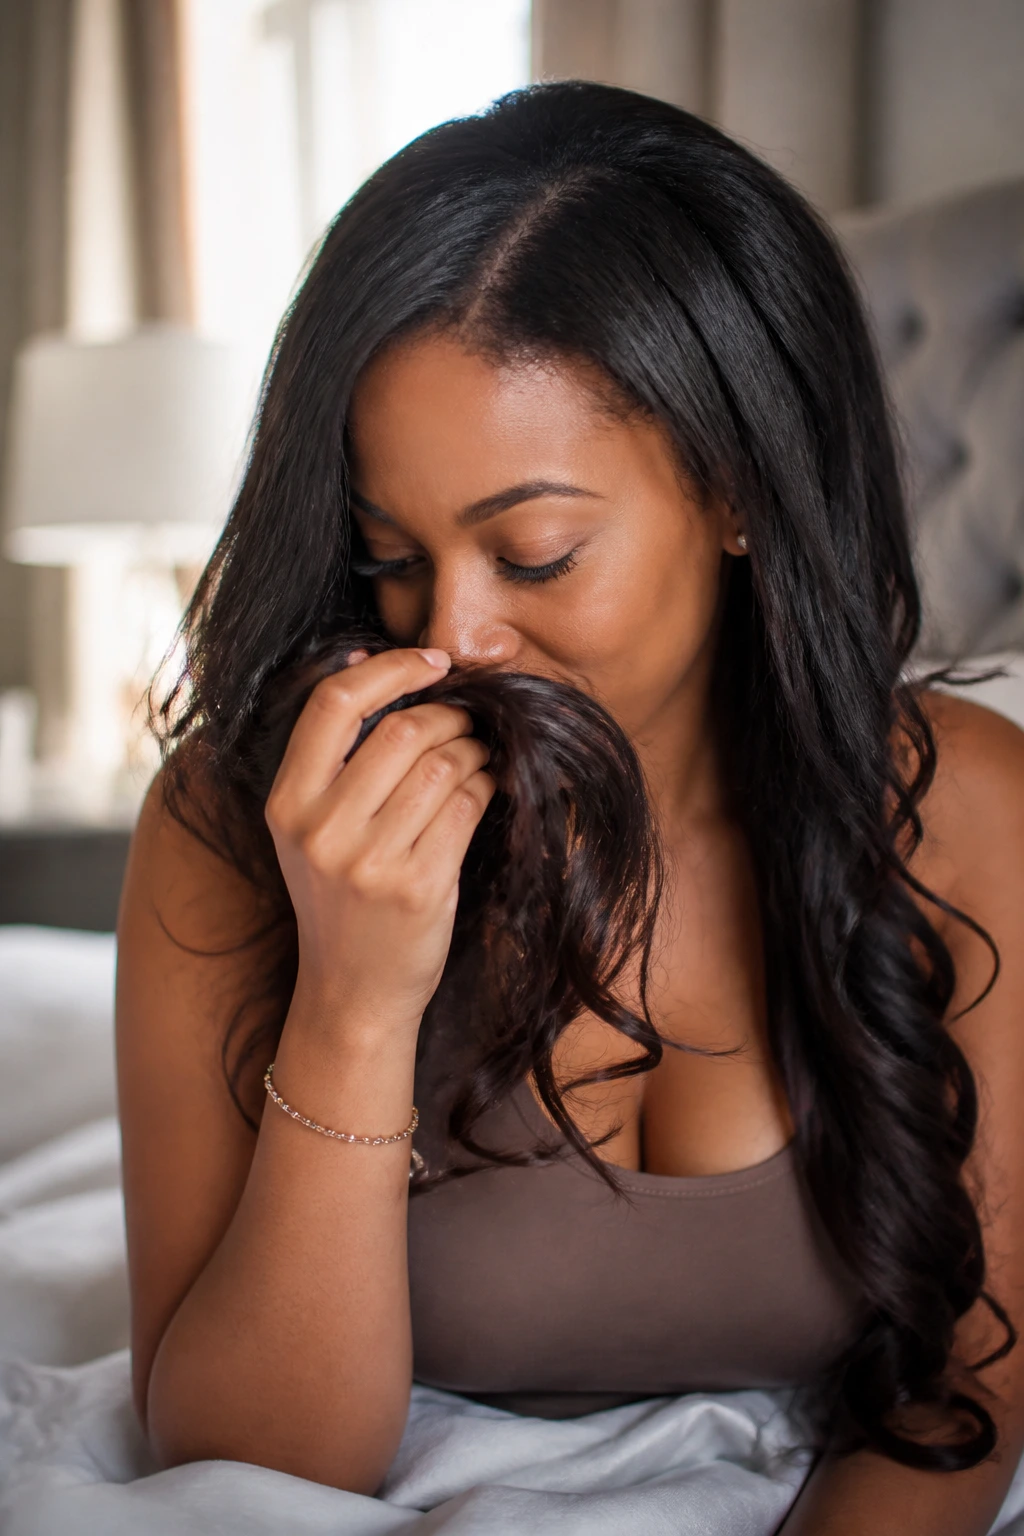
Your hair should never smell like it’s burning. If you get a whiff of a chemical or burnt scent, your heat is far too high, or you have product buildup that is overheating. Stop and check your tools. Ensure your iron is clean; sometimes hairspray or oil residue collects on the barrel, which then burns when the iron is turned on. A clean tool is a safe tool. Keep a microfiber cloth nearby to wipe down the barrel periodically.
20. The Difference Between Irons and Wands

Curling irons with a clamp are great for beginners because they provide tension from start to finish. Curling wands, which have no clamp, are better for a more natural, beachy wave. If your hair is prone to slipping off the tool, choose the clamp. If you have the manual dexterity to wrap the hair smoothly and hold it without burning your fingertips—or if you are comfortable using a heat-resistant glove—the wand can provide a very uniform, consistent curl pattern.
21. Selecting a Holding Spray
Not all holding sprays are created equal. Avoid anything with a high alcohol content, which will strip the moisture from your hair and cause the curl to frizz almost instantly. Look for sprays labeled “flexible hold” or “light hold.” You want your hair to move, not look like a statue. If you need extra security, use a spray that contains nourishing oils like argan or jojoba to provide a bit of luster along with the hold.
22. Practicing Patience with Your Technique
The first time you try to master a complex curling technique, you might not get it perfect. That is completely normal. Heat styling is a skill that improves with muscle memory. Pay attention to how your hair reacts to different temperatures and how long it holds the shape. Over time, you will learn the exact rhythm that works for your specific hair texture, allowing you to get the results you want in less time and with less stress on your hair.
Final Thoughts
Achieving beautiful curls is less about the price of your tools and more about the care you put into your hair beforehand. By prioritizing moisture, choosing the right heat thresholds, and being gentle during the cooling process, you can enjoy the versatility of heat styling without compromising the health of your coils. Remember that the goal is always to work with your hair’s unique texture, not against it. When you treat your hair as a living, breathing part of your overall look, the results speak for themselves.