Waking up before the sun hits the windowpane is hard enough without having to wrestle with a flat iron or a curling wand. When you are staring down a long day of classes, you need a hairstyle that looks intentional but doesn’t require a master’s degree in cosmetology to achieve. Whether your hair is stick-straight, wavy, or already has a bit of texture, the goal is to find those reliable, low-effort styles that hold up from first period through after-school practice.
You don’t need a high-end salon kit to make this happen. Most of the time, the best curls for school are the ones that happen while you sleep or take just a few minutes of heat styling before you grab your bag. It is about working with the natural behavior of your strands rather than forcing them into a shape they don’t want to stay in. Let’s walk through the most effective ways to get that effortless curl without burning your morning schedule to the ground.
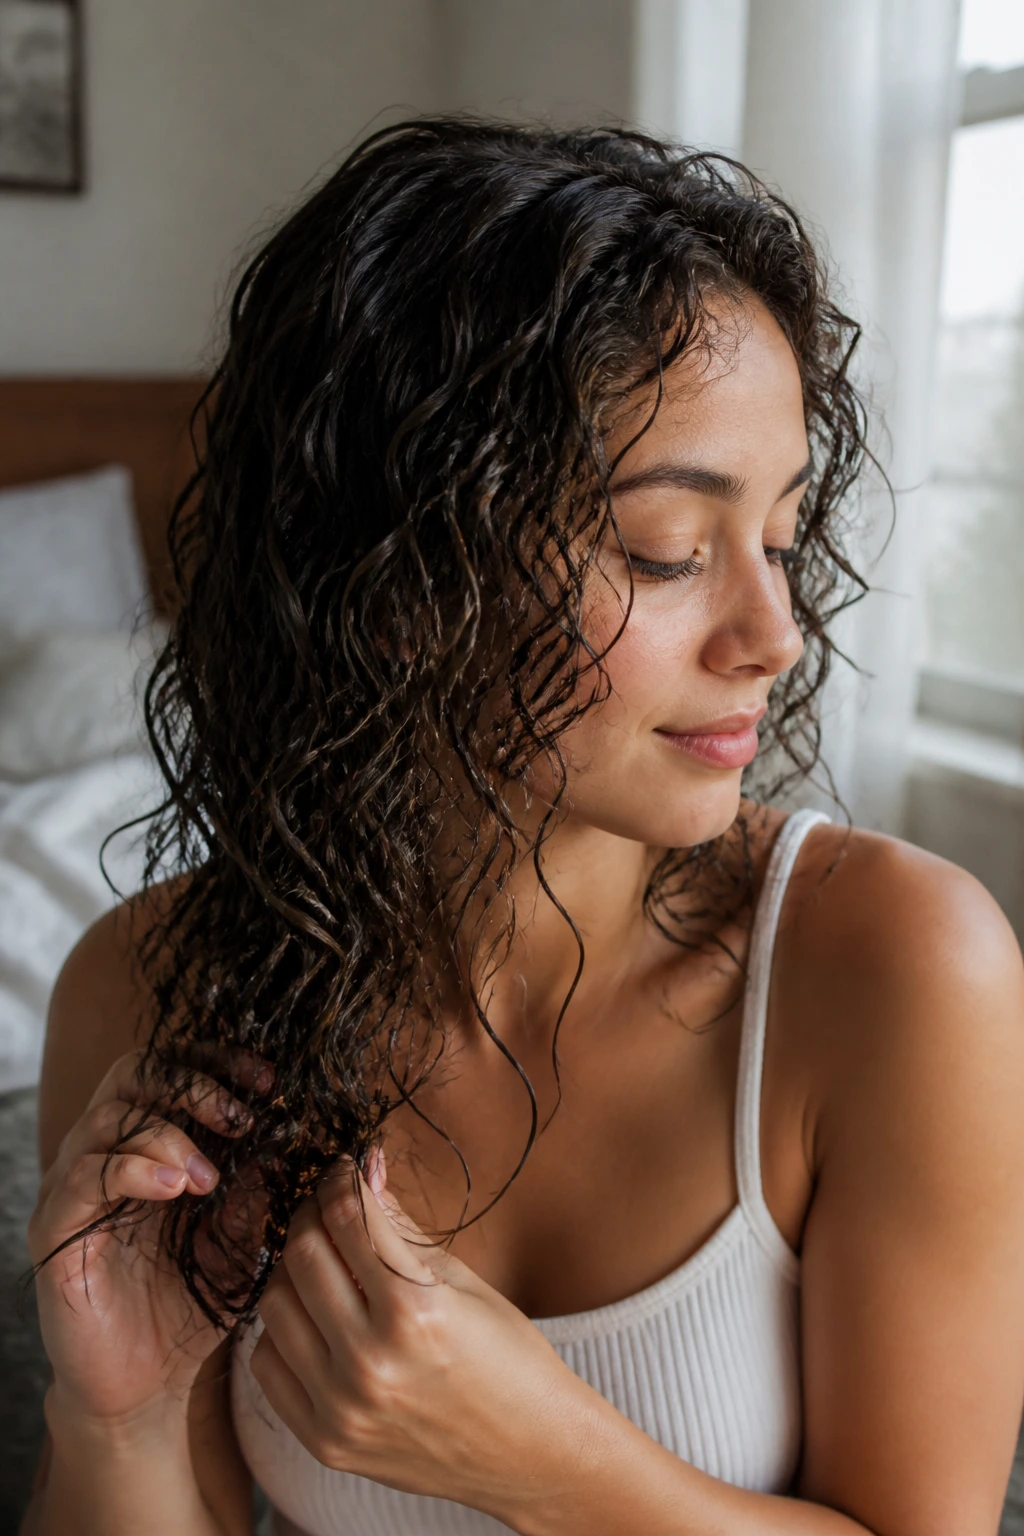
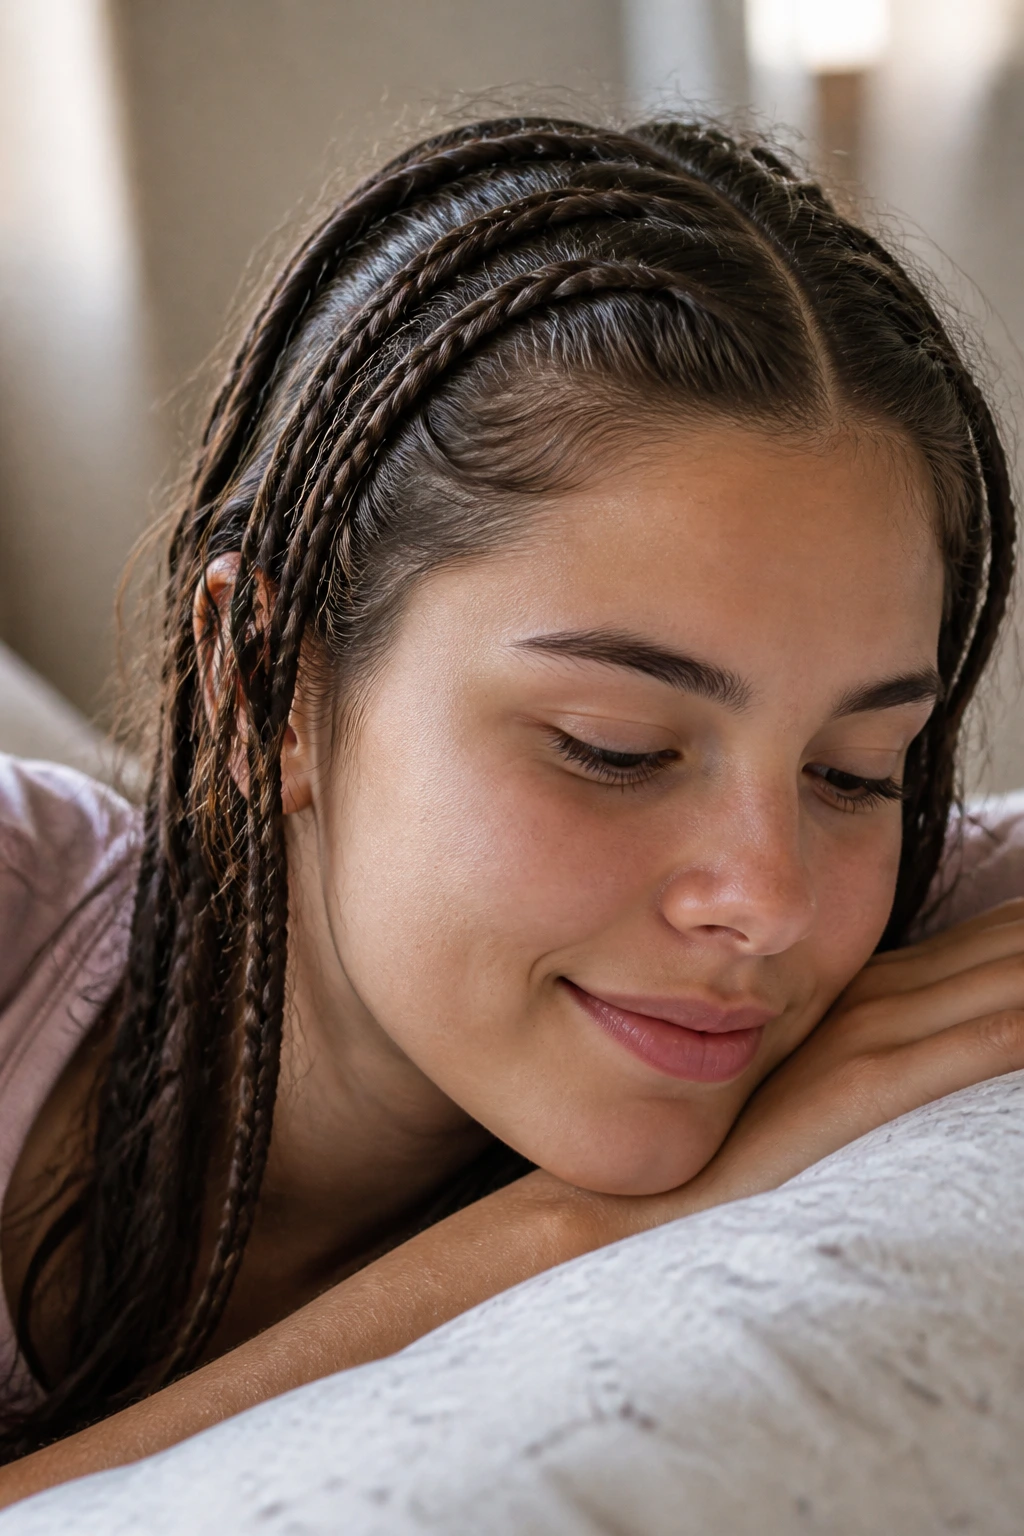
1. The Classic Overnight Braids
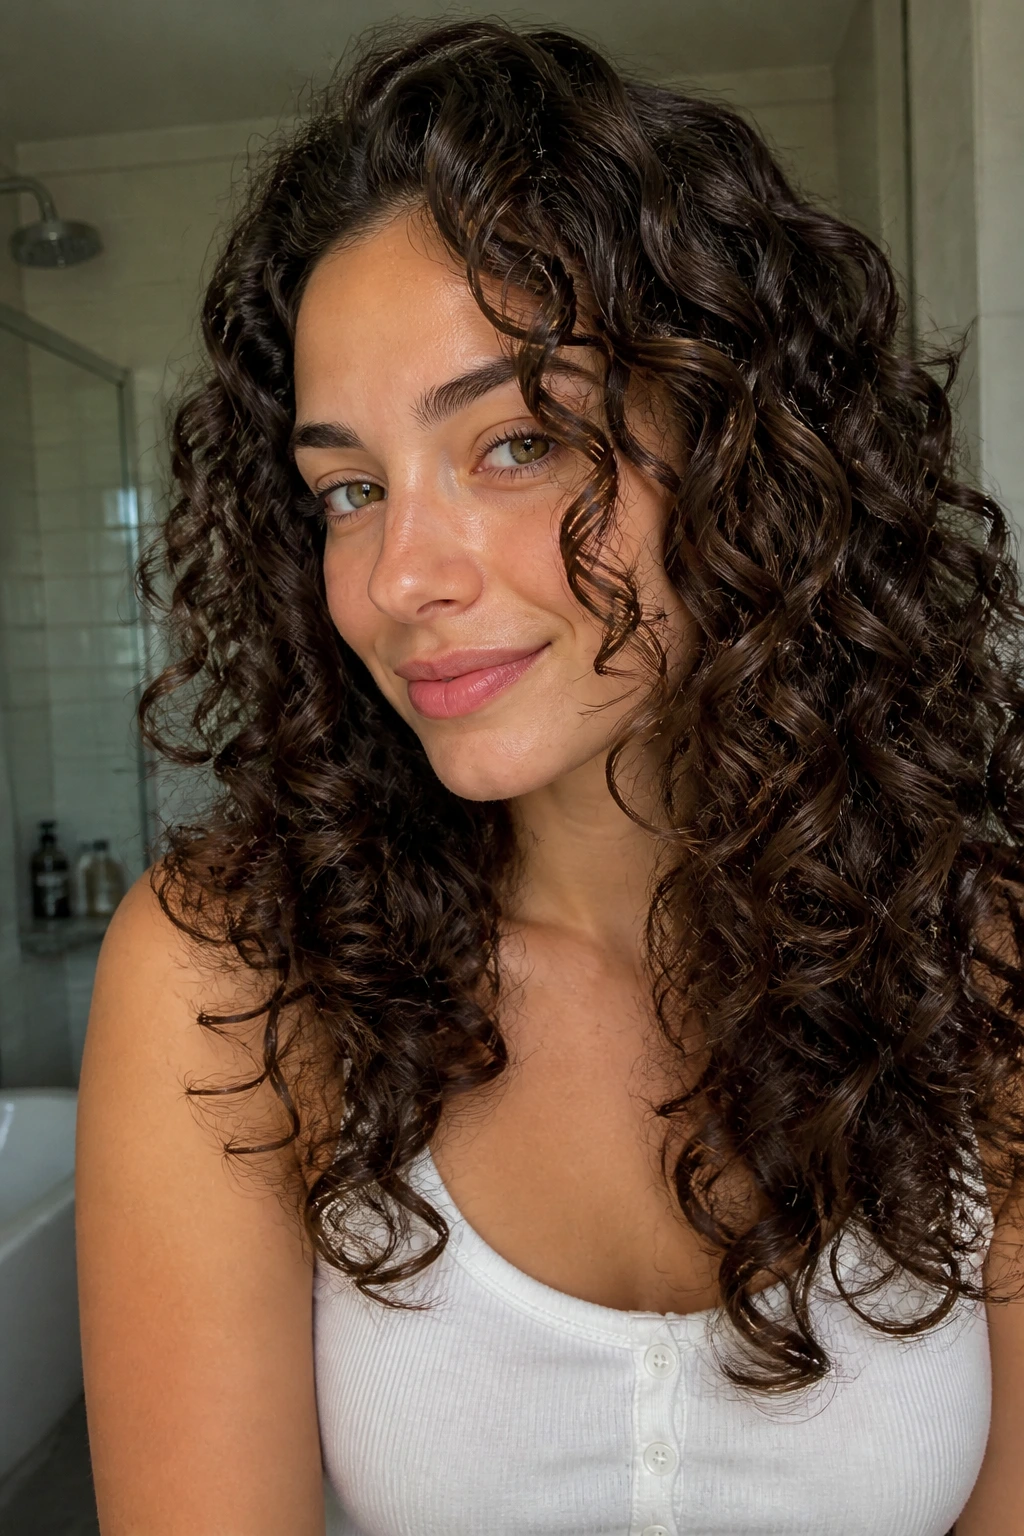
This is the gold standard for school hair because it is essentially a “set it and forget it” technique. You braid your damp hair before bed, and by morning, you have uniform, beachy waves that feel soft and look natural. The size of the braids dictates the final look: smaller, tighter braids result in a crimped, voluminous texture, while two loose French braids create a more relaxed, polished wave.
How to Get the Best Results
- Work with damp hair: If your hair is soaking wet, it won’t dry by morning and you’ll wake up with a frizzy mess. Aim for about 80% dry.
- Use a leave-in conditioner: A tiny amount of product helps keep the frizz down and ensures the waves look smooth instead of dry.
- Secure ends gently: Avoid tight elastic bands, which leave deep creases. Use silk or satin scrunchies instead.
- Shake, don’t brush: Once you take the braids out, use your fingers to separate the sections. Brushing through will turn your hair into a giant puff.
2. The Headband Tuck Method
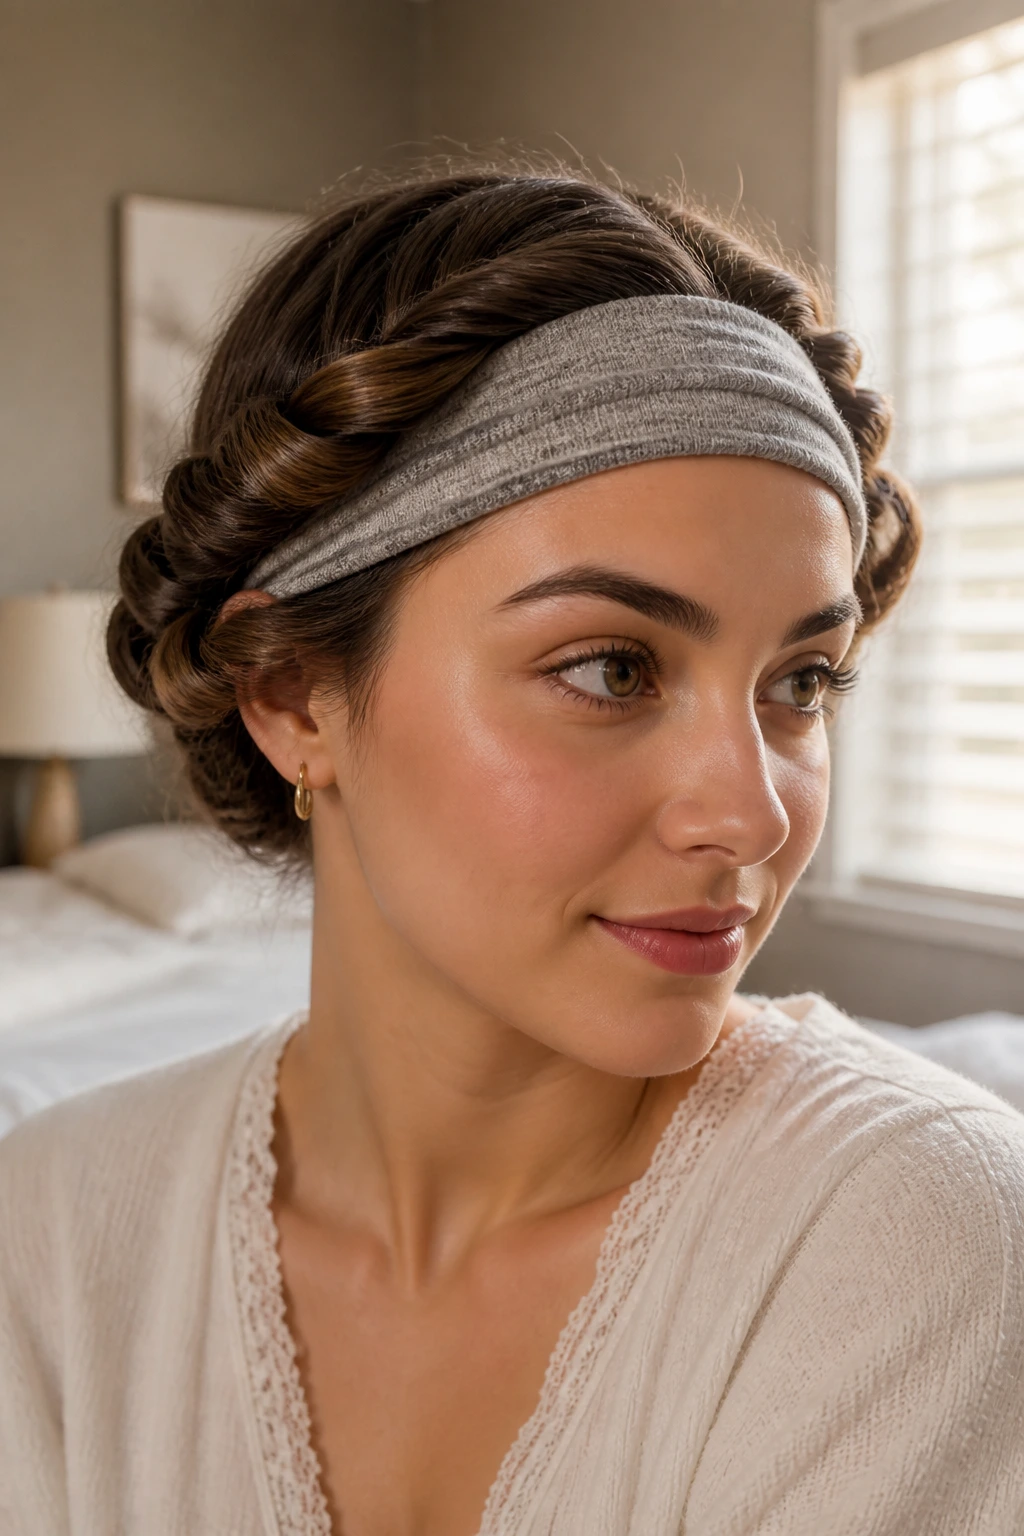
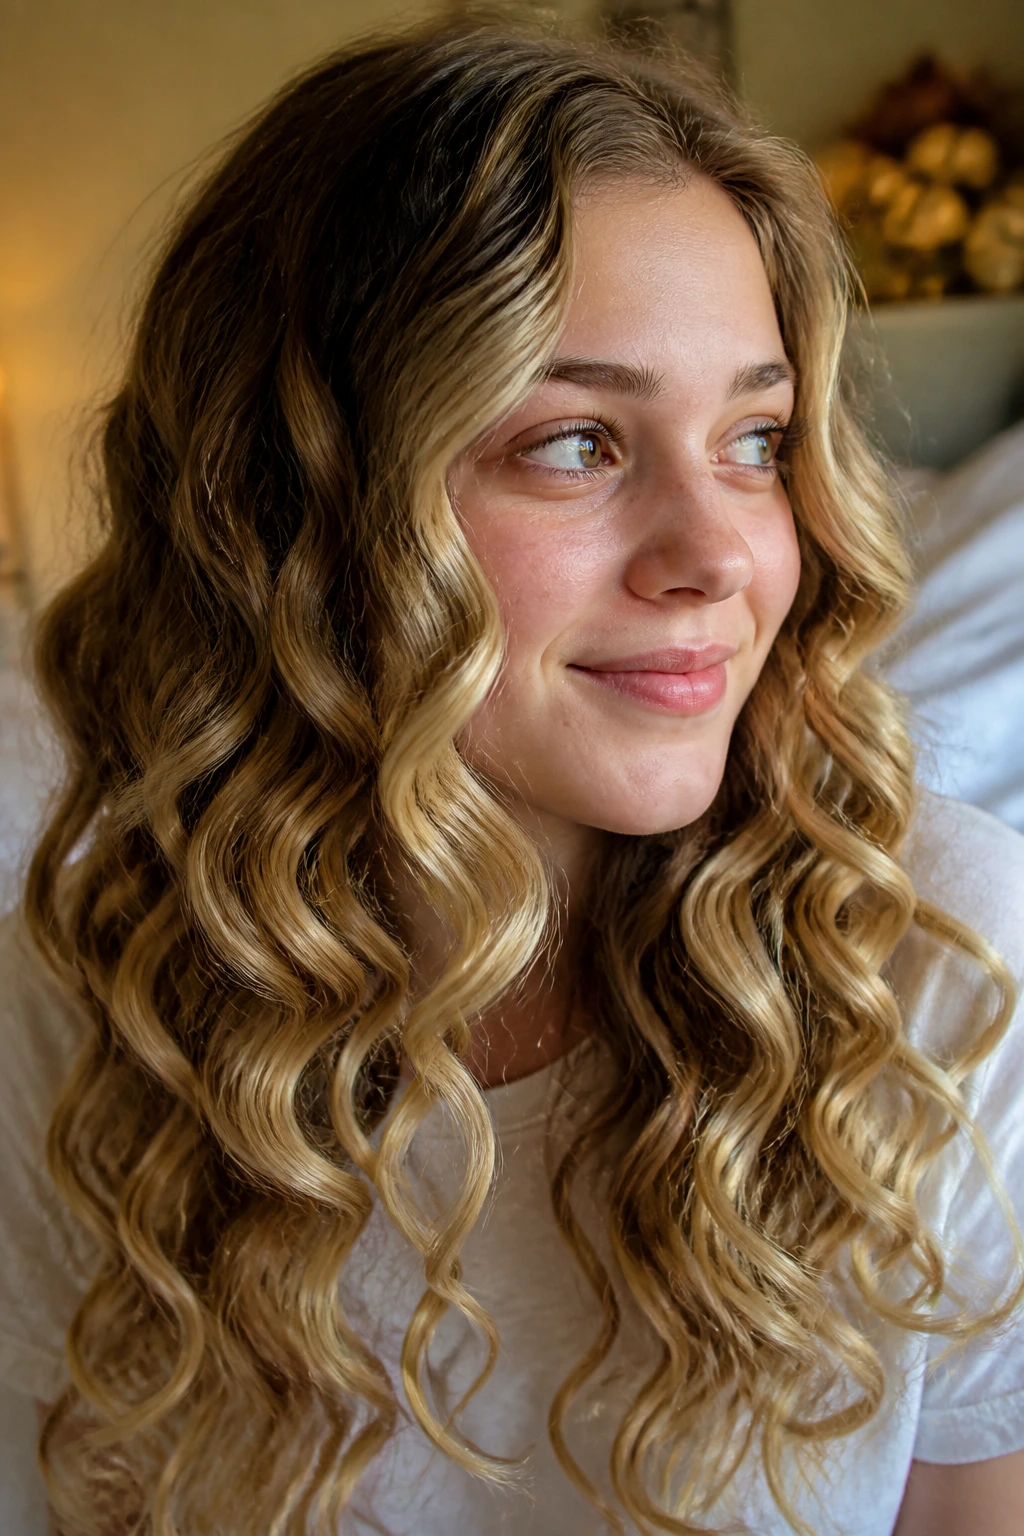
If you want curls that look like you spent an hour with a barrel iron but you actually spent ten minutes before bed, this is your best friend. You place a stretchy fabric headband around your head like a crown, then take sections of damp hair and tuck them over and under the band. It creates a soft, vintage-style wave that frames the face beautifully.
Why This Works for Early Mornings
This technique keeps the hair pinned against your head, so it’s comfortable to sleep in. When you pull the headband off in the morning, the hair has been heat-set into a curl pattern that lasts much longer than air-drying. Because the hair is wound around the fabric, it doesn’t get frizzy from friction against your pillowcase. Pro tip: If your hair is prone to slipping, mist it with a very light texturizing spray before you start tucking.
3. The Belt of a Bathrobe Curl
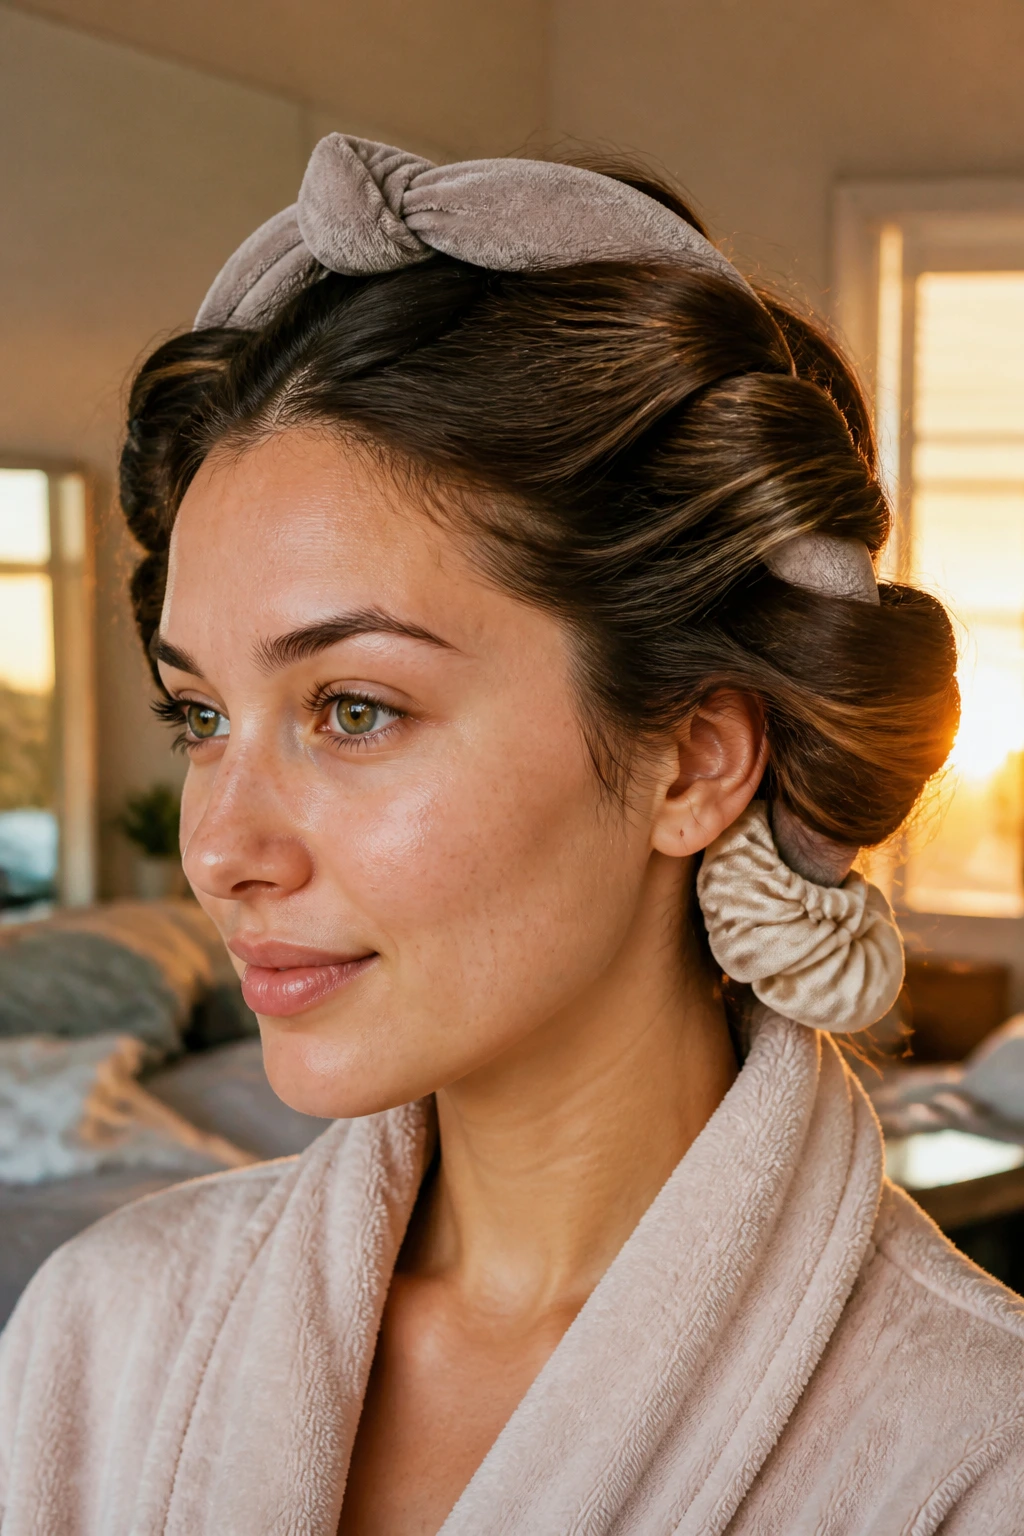
It sounds like a social media trend, but there is a reason this method is everywhere. By wrapping your hair around a soft, padded object—like a clean bathrobe belt—you create large, voluminous bouncy curls without any heat damage. You simply drape the belt over the top of your head, divide your hair into two sections, and wrap each side around the belt, adding more hair as you go down.
Managing the Wrap
You want to make sure the tension is even on both sides. If you wrap one side tighter than the other, you will end up with mismatched curls in the morning. Secure the ends with a soft scrunchie. The beauty of this style is how it keeps the curls off your face, making it one of the most comfortable options for a full night of rest. When you undo it, you get a blowout-style look that is perfect for presentations or school photos.
4. Heatless Sock Curls
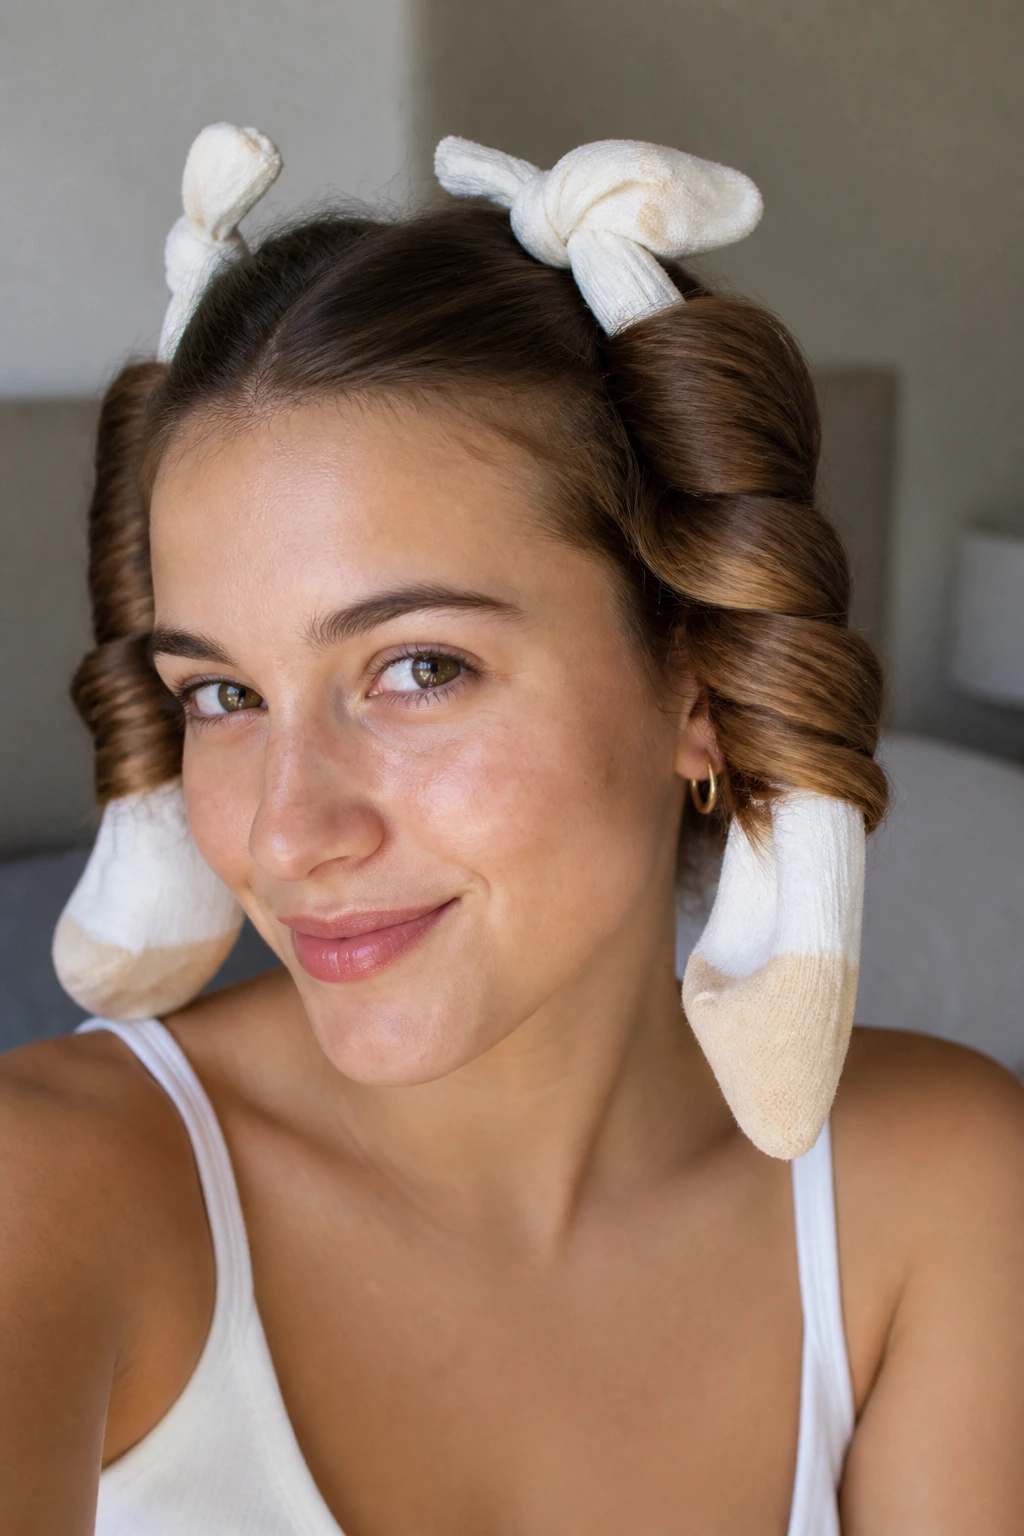
If you don’t have a bathrobe belt handy, a pair of long, clean cotton socks works just as well. This is essentially the same principle as the belt method but on a smaller scale, which actually gives you more control over the size of the curls. You use two socks, tied together at the top, and wrap your hair around them from the top down.
Why Use Socks Instead of Irons
- Zero heat damage: You are preserving the health of your cuticle.
- Easy to replace: If you lose a sock, you have a drawer full of replacements.
- Customizable: Use thinner socks for tighter, more defined curls or thicker tube socks for a loose, brushed-out look.
5. Twist-and-Pin Buns
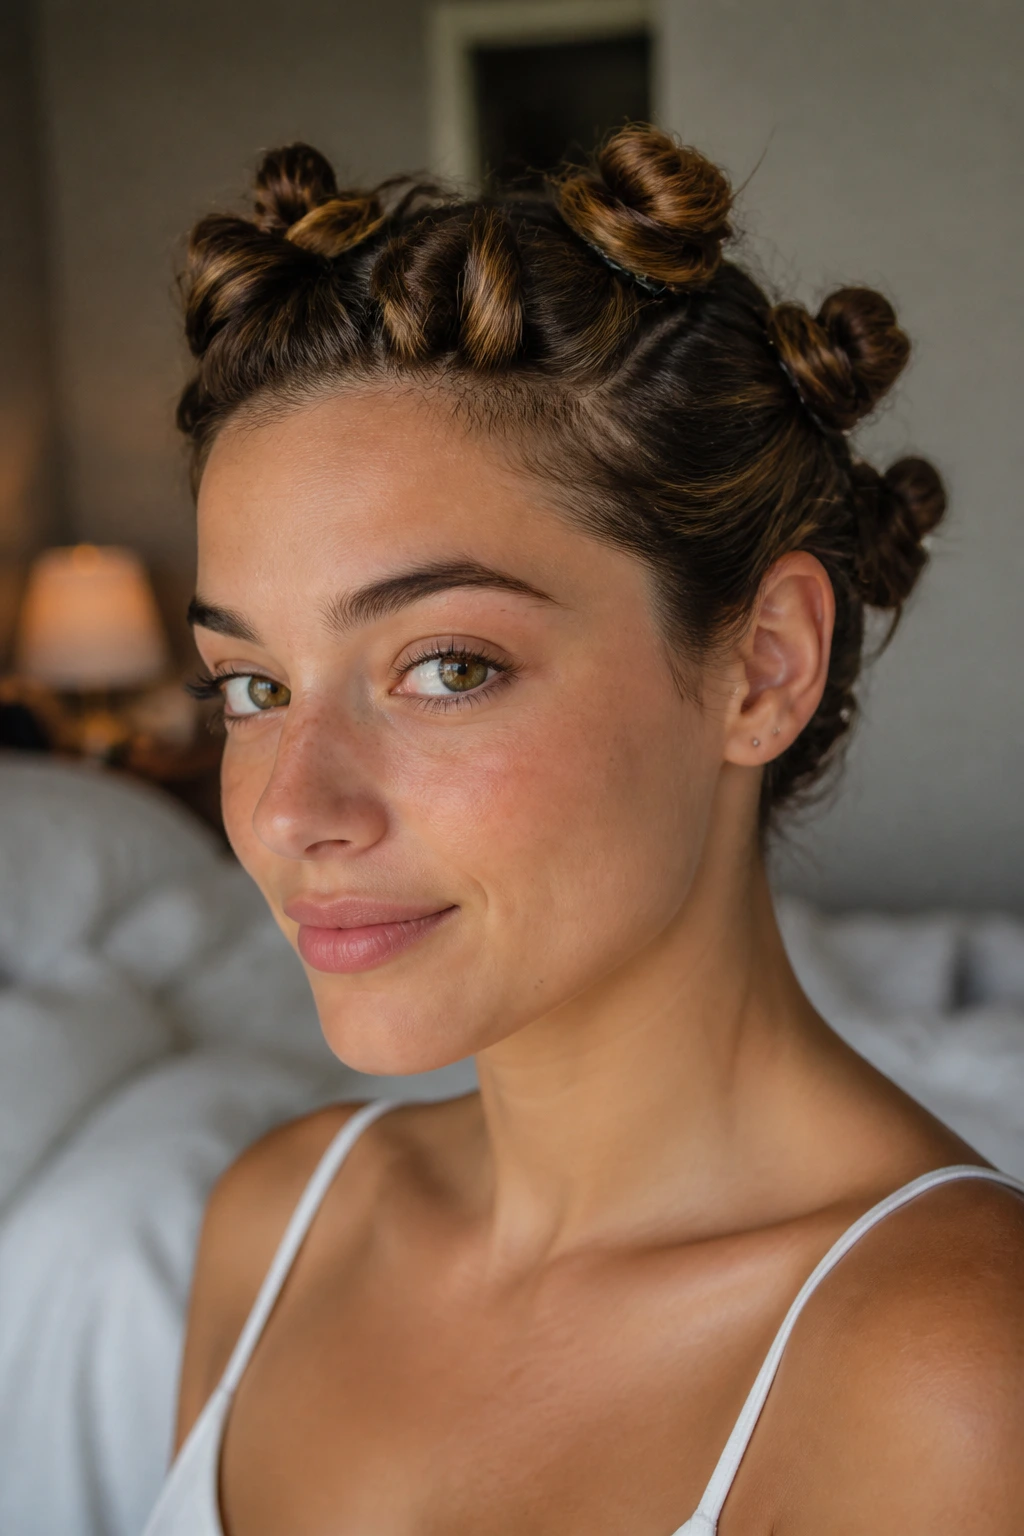
This is a great option for those days when you have slightly damp hair and need to get out the door fast. Divide your hair into four or six sections, twist each section away from your face, and coil them into small buns secured with bobby pins. The more buns you make, the tighter and more defined your waves will be when you take them down.
Making It Look Polished
Since you are pinning these buns, you can place them strategically to keep your hair out of your eyes while it dries. Try to keep the twists tight at the root; this gives your hair a lift at the crown, which prevents that flat-at-the-roots look that often happens with overnight styles. When you take them down, flip your head over and shake the roots to add even more height.
6. The Pencil Curl Technique
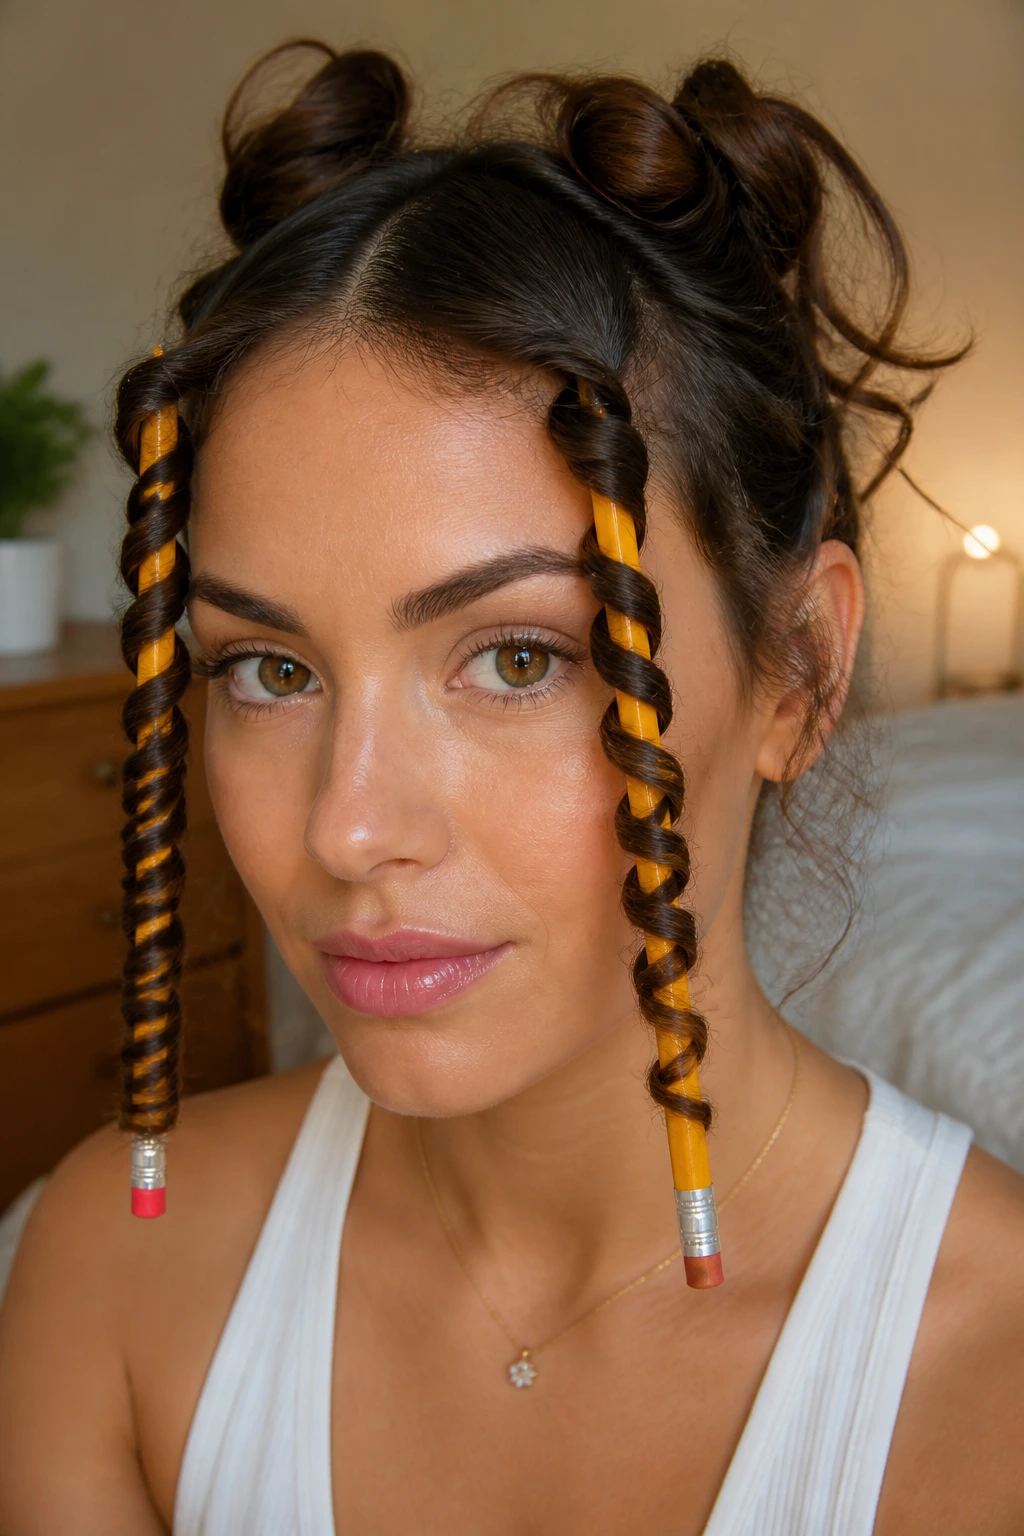
Need a tight, spiral curl that mimics a perm or a small-barrel curling iron? Use a regular pencil. Take a very small, one-inch section of damp hair and wrap it around the pencil starting at the root. Hold it for a few seconds if you are using a flat iron to heat-set it, or let it sit if you have time for it to air-dry.
Best Use Cases
This is not an all-over style—it takes too long for the whole head. Instead, use this for face-framing pieces or to add a few spiral curls to the bottom layers of your hair for added dimension. It gives you that playful, bouncy look that stays put, especially if you add a tiny spritz of light-hold hairspray.
7. Flexi-Rod Sets

Flexi-rods are long, bendable foam sticks that allow you to wrap your hair and then bend the rod to hold the hair in place. They are excellent for creating uniform curls from root to tip. You can sleep in them if you use the thin versions, or just wear them while you eat breakfast and get dressed for the day.
Getting the Tension Right
You must wrap the hair smoothly around the rod. If you bunch the hair up, you will get a messy, uneven texture. Start at the ends, roll upward toward the scalp, and then bend the ends of the rod to lock the hair in place. The result is a high-shine, frizz-free curl that looks like you walked out of a salon.
8. The Triple-Barrel Waver
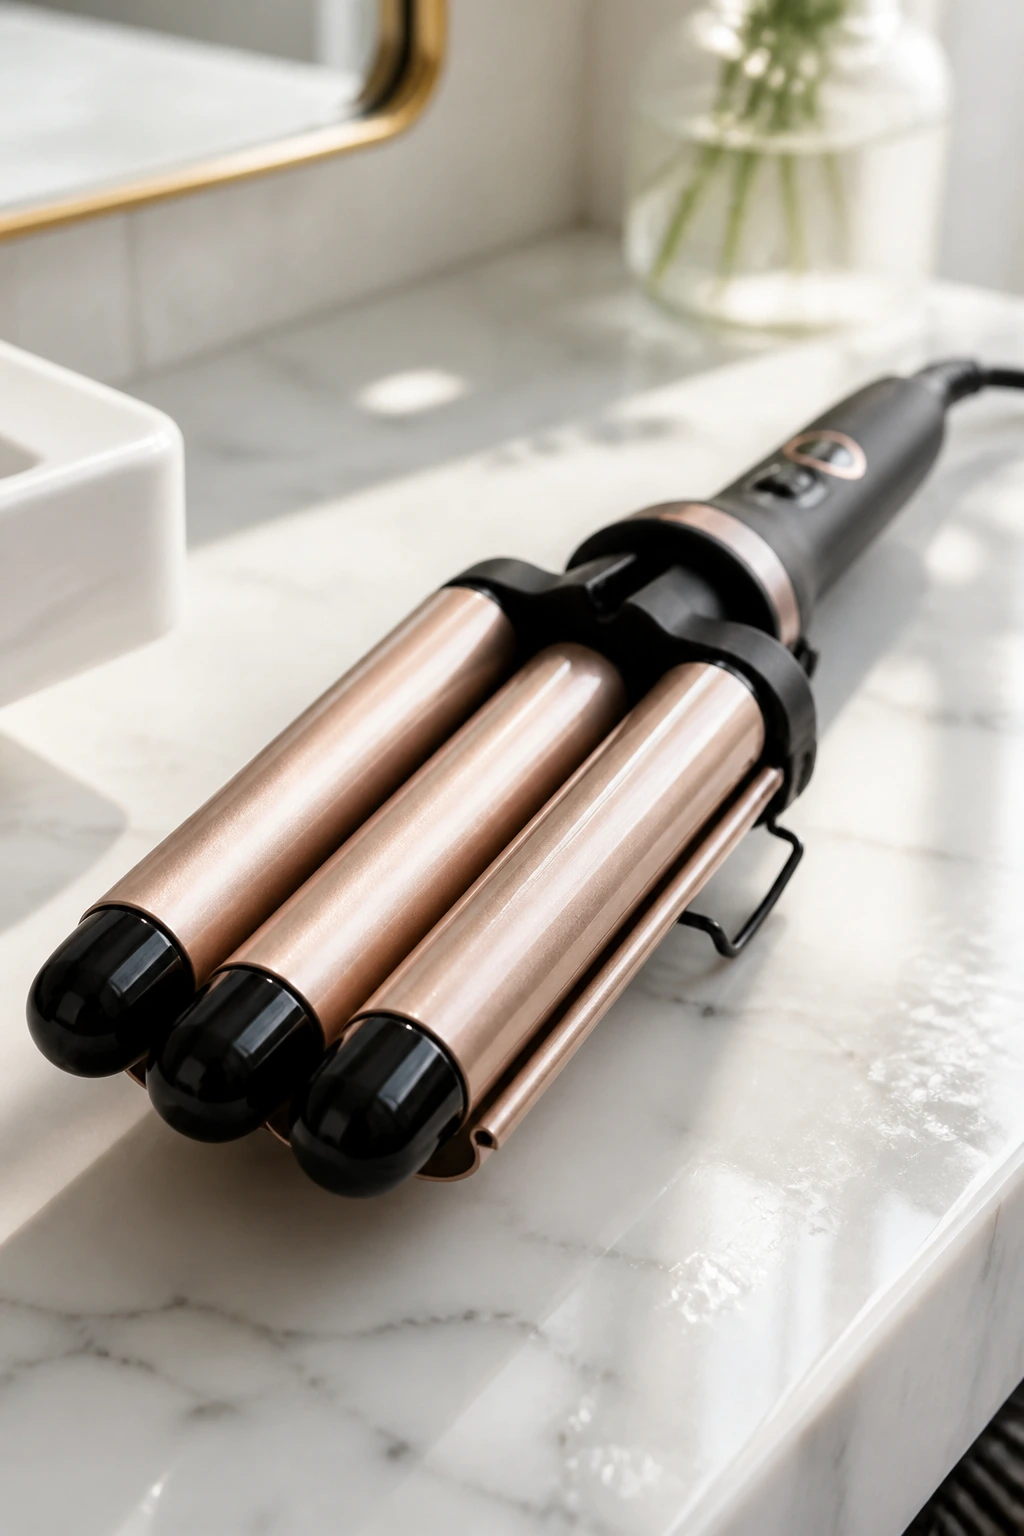
If you have a bit of time in the morning and want a specific, crimped-wave look, a triple-barrel waver is the fastest tool in your arsenal. Unlike a single iron, which requires you to wrap hair multiple times, the triple-barrel tool creates three waves in one clamp.
Preventing the “Shelf”
The biggest mistake people make with a waver is creating a horizontal line or “shelf” where the iron meets the hair. To avoid this, always overlap the last wave you created with the first barrel of your waver. This creates a continuous, flowing wave pattern that looks seamless. Crucial: Always use a heat-protectant spray beforehand; because you are clamping large sections, the heat can be intense.
9. Wand Curls with Alternating Directions
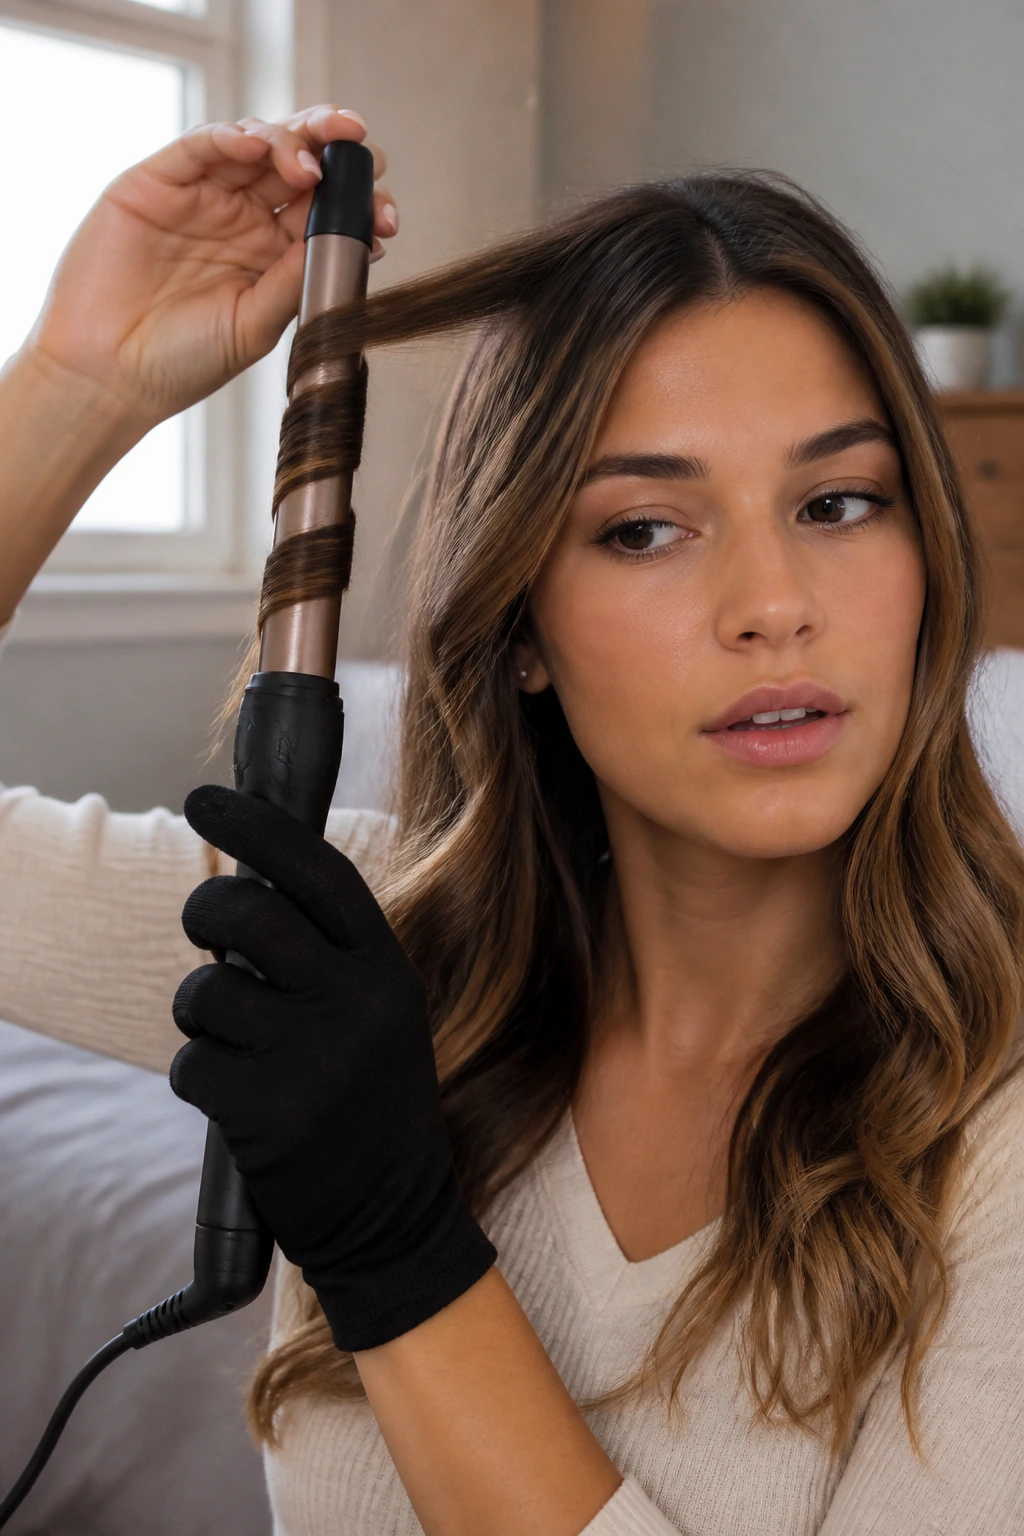
Using a wand is often faster than a traditional clamp iron, but many students create a “uniform” look that feels too rigid. By alternating the direction you wrap the hair—one section toward your face, the next section away—you create a messy, beachy texture that looks much more natural and modern.
Protecting Your Hands
Wands get hot, and it is very easy to burn your fingers when working quickly in the morning. Many wands come with a heat-resistant glove, and if yours didn’t, use it. A small burn can ruin a good morning. Keep the iron on a medium setting; you do not need 400 degrees to get a curl that lasts through math class.
10. The Flat Iron Flip
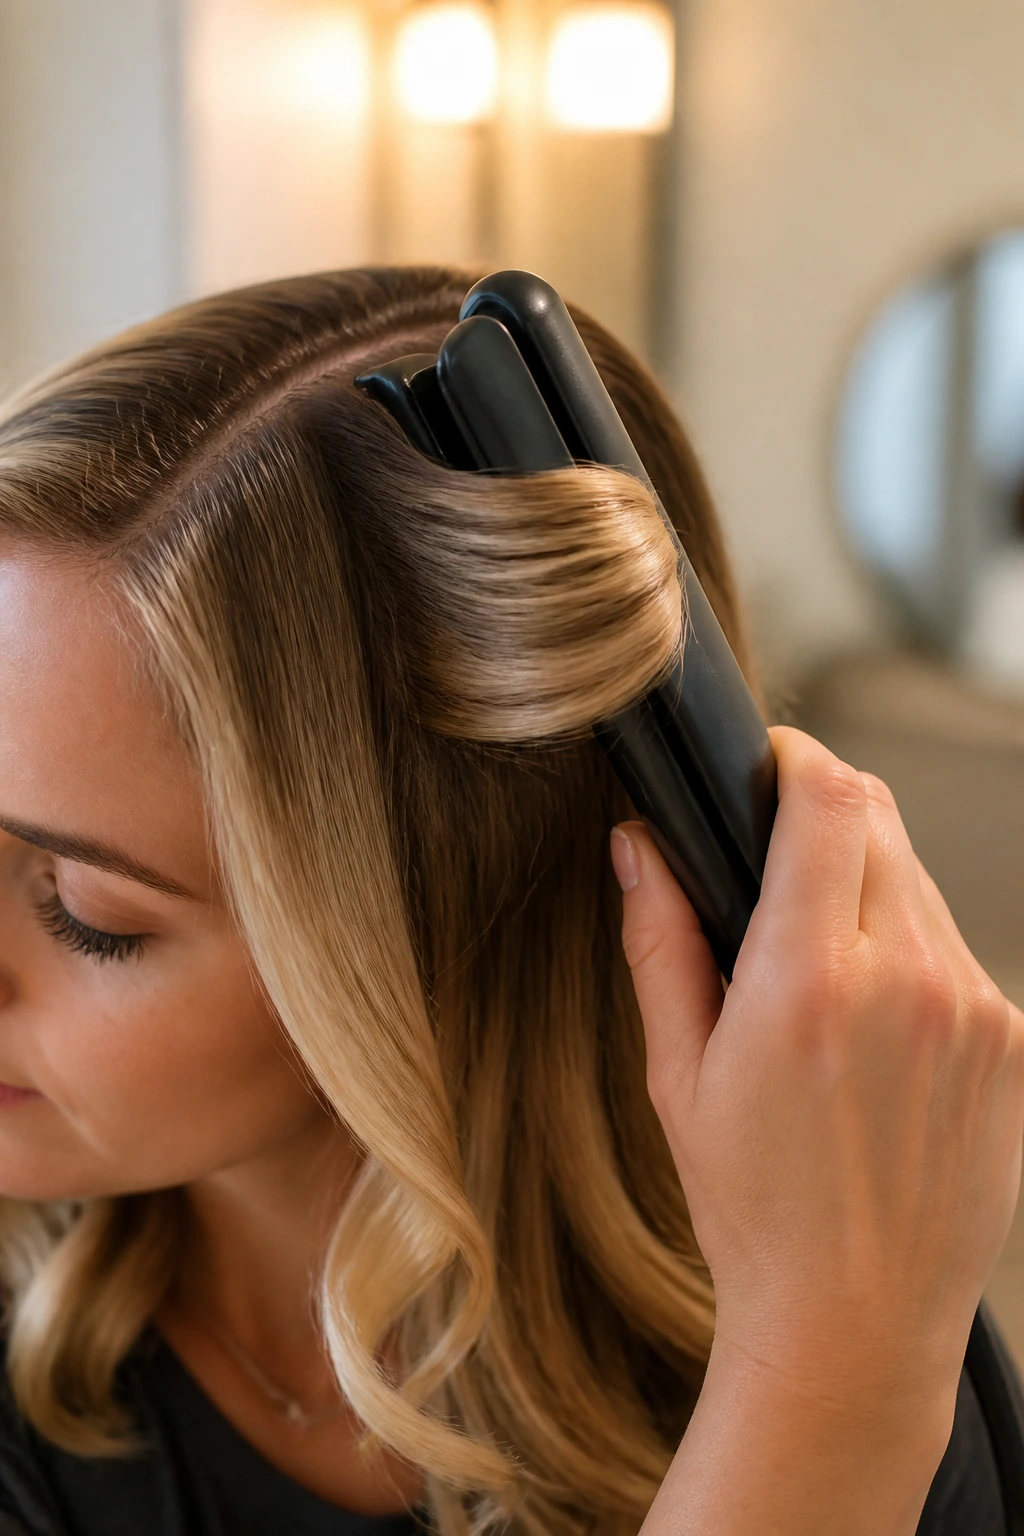
You don’t need a curling iron to get curls; a flat iron works wonders if you know how to rotate it. Take a section of hair, place the iron near the root, and perform a 180-degree turn as you pull the iron down toward the ends. The speed of your pull determines the tightness of the curl.
Practicing the Motion
- Slow pull: Tighter, more defined ringlet.
- Fast pull: Loose, gentle wave.
- The trick: If you pull too hard or stop the motion midway, you’ll get a sharp bend in your hair. Keep the iron moving in one continuous, smooth stroke.
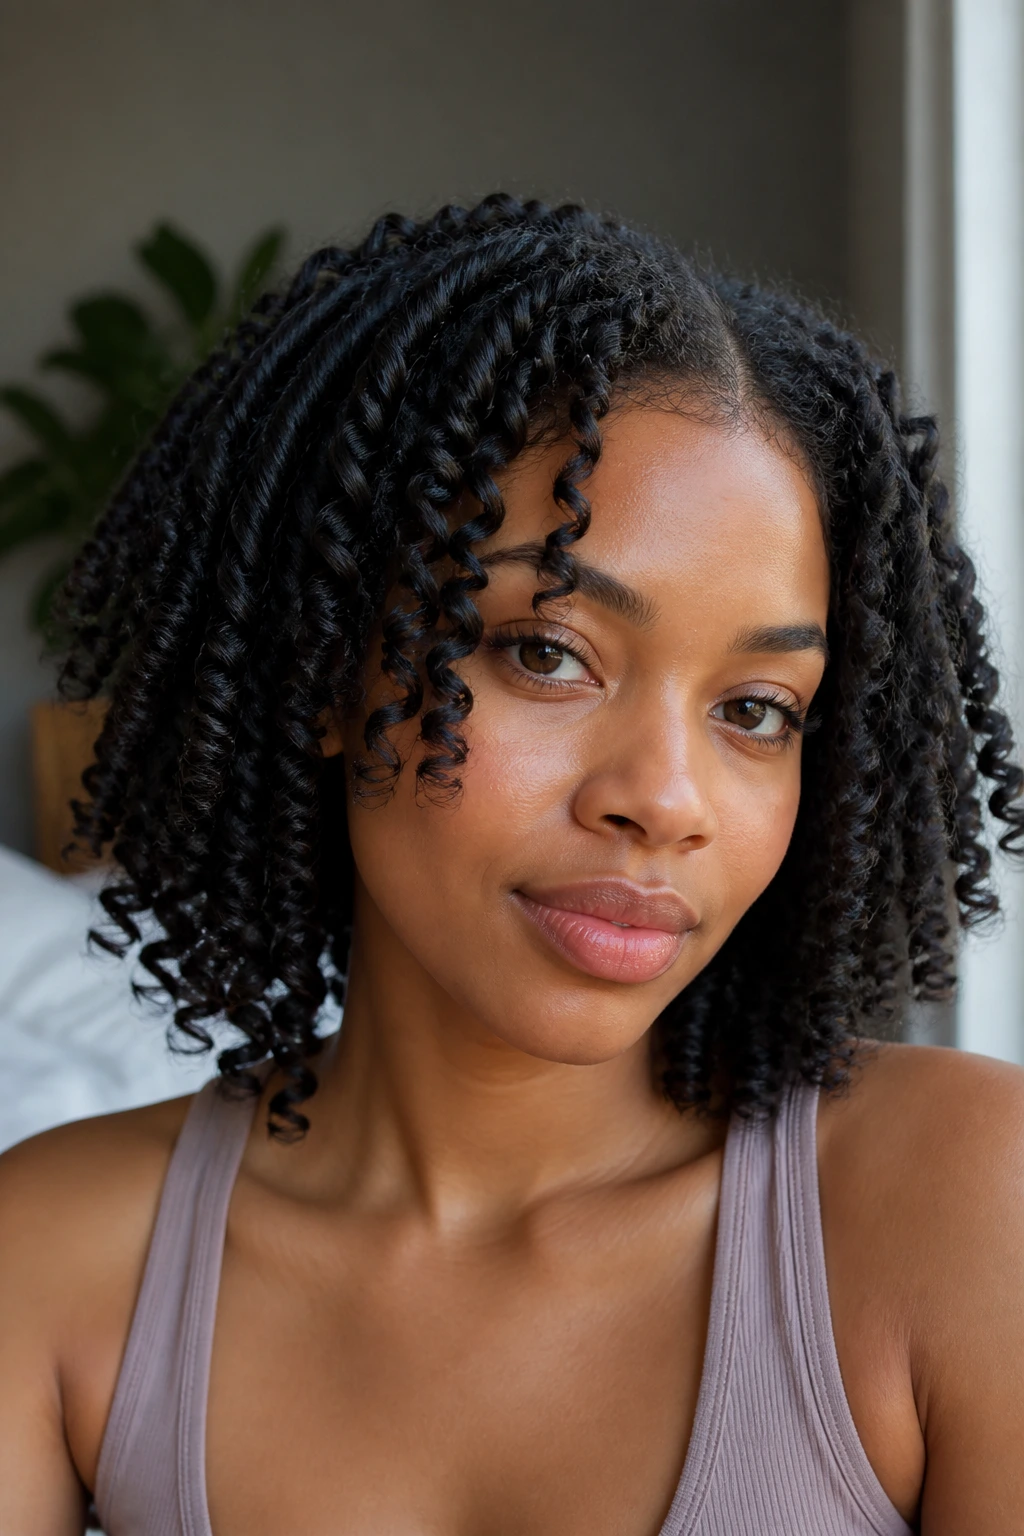
11. Bantu Knots
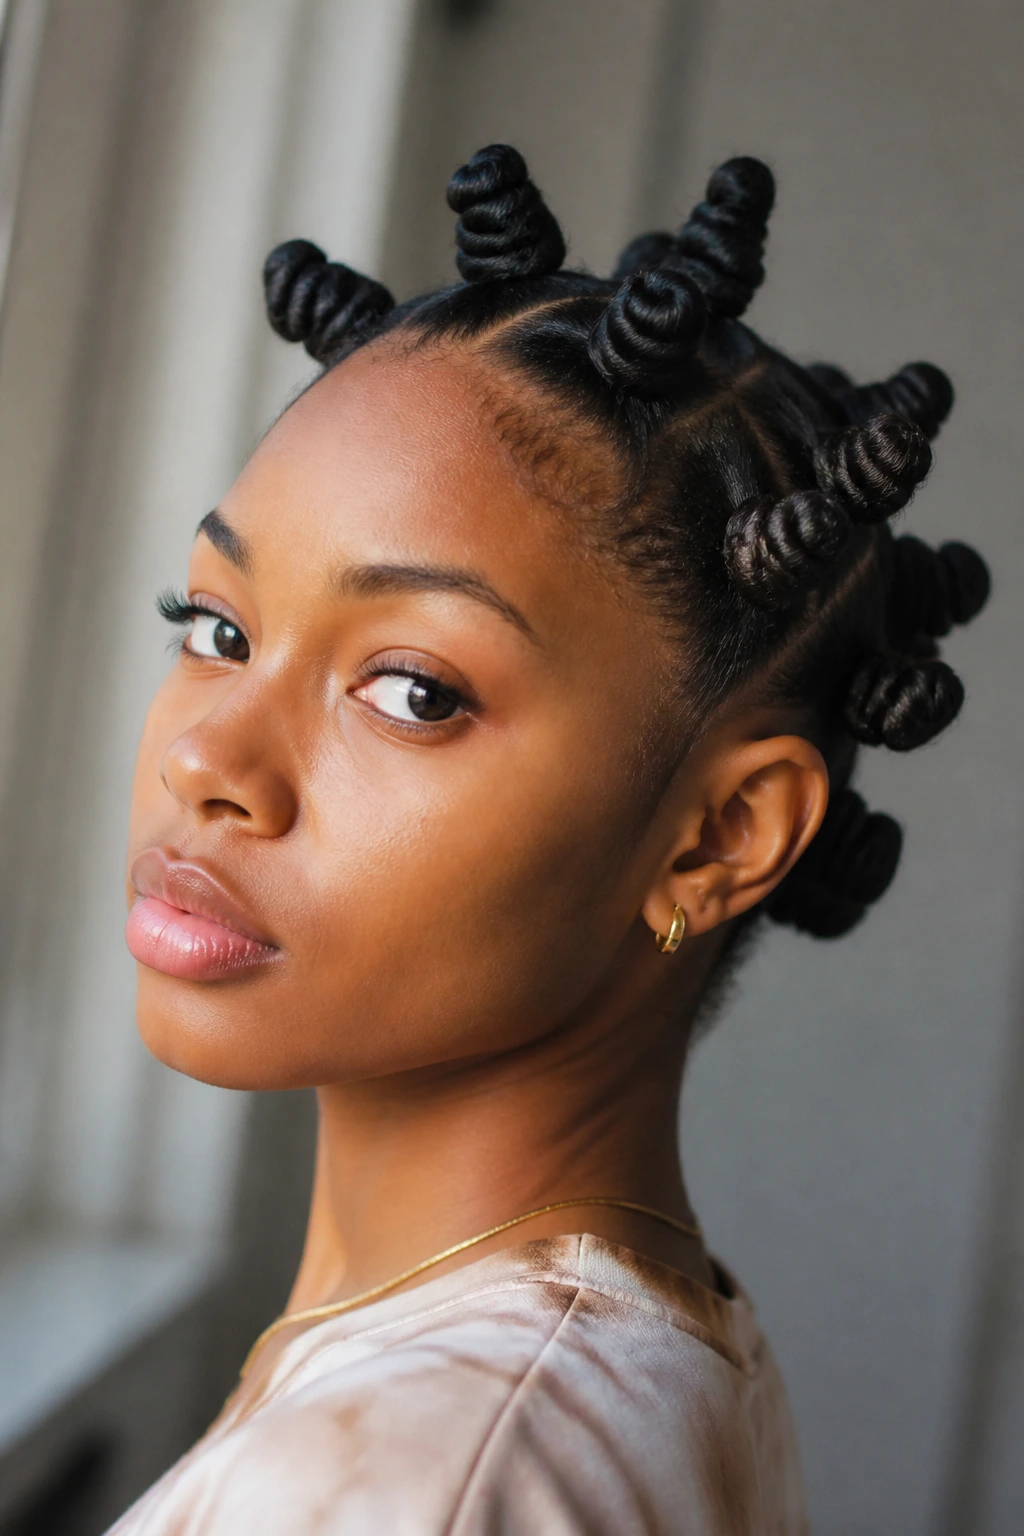
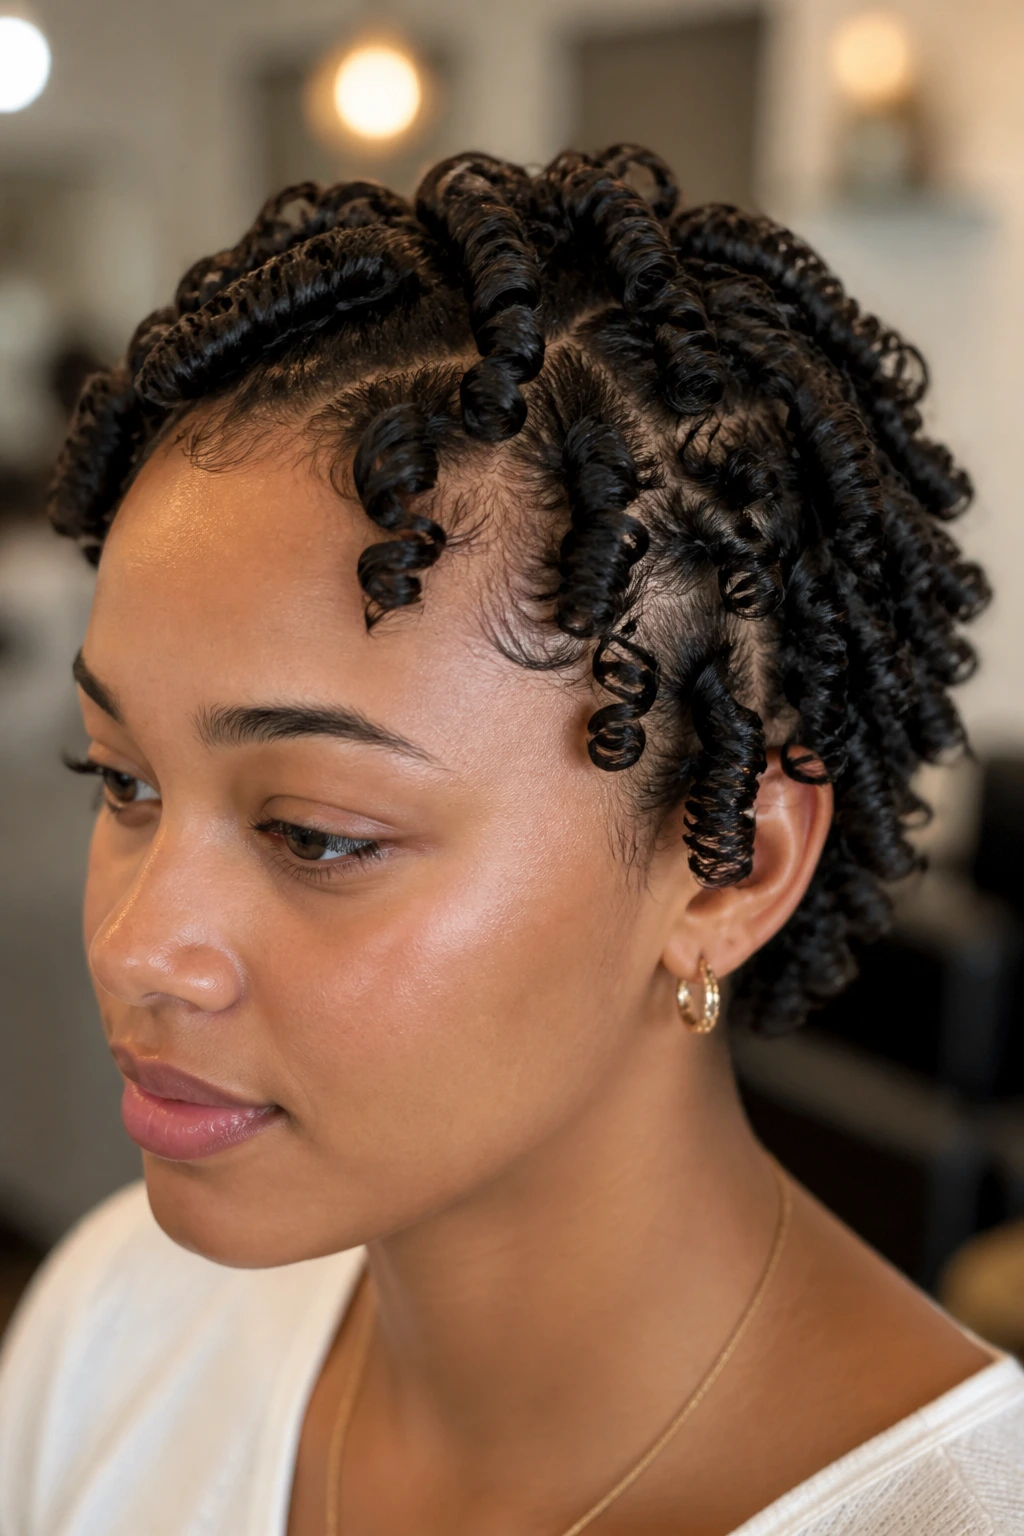
Bantu knots are a great way to create heatless, voluminous curls that are very durable. Section your hair into small squares, twist each section until it starts to coil on itself, and then wrap the twist around the base to form a tiny bun. Secure with a hair tie.
The Benefit of Texture
This technique is particularly effective for those with thicker hair or hair that struggles to hold a curl. Because the hair is twisted tightly, it locks the shape in. When you release the knots, the curls will be quite tight, so be prepared to let them “settle” for about 10 minutes before you style them with your fingers.
12. Soft Foam Rollers
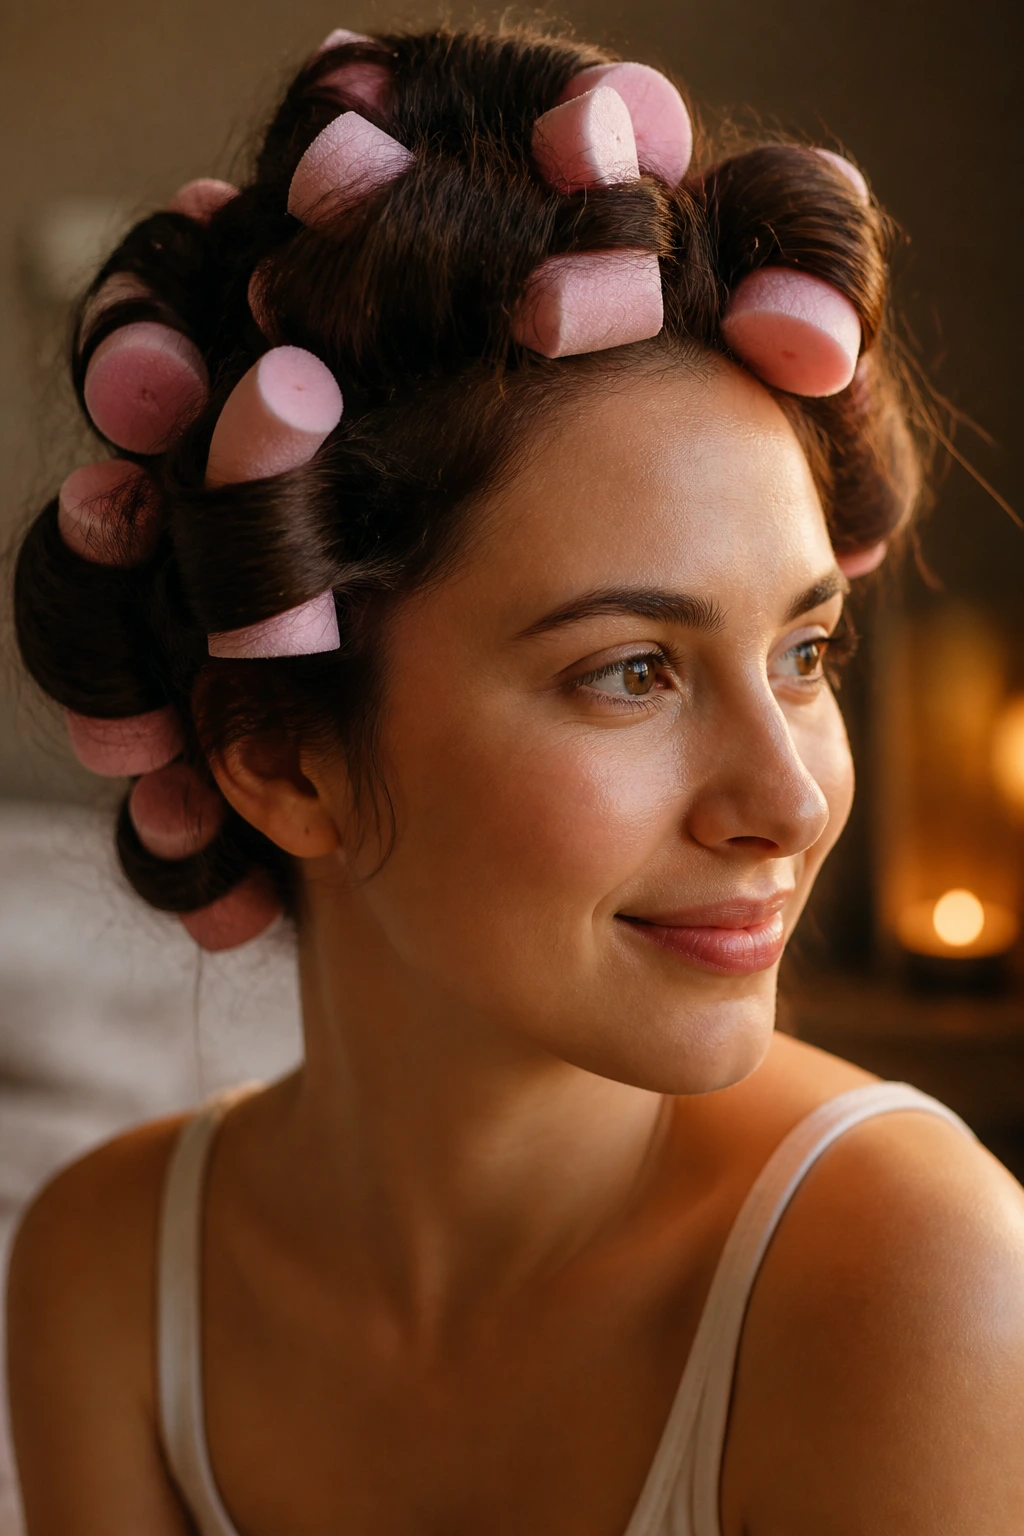
Foam rollers have been around for generations, and there is a reason they haven’t disappeared. They are incredibly gentle on the hair and allow you to control exactly how much volume you want at the root. Using larger rollers will give you a blowout effect, while smaller ones provide a classic curled look.
Staying Comfortable
If you decide to sleep in these, use the soft-foam variety. Avoid the plastic ones with the snap-on lids; they are impossible to sleep on and will make your night miserable. Simply roll your hair up while it is slightly damp, secure the foam clip, and head to bed. You’ll wake up with a head full of volume.
13. The Half-Up Spiral
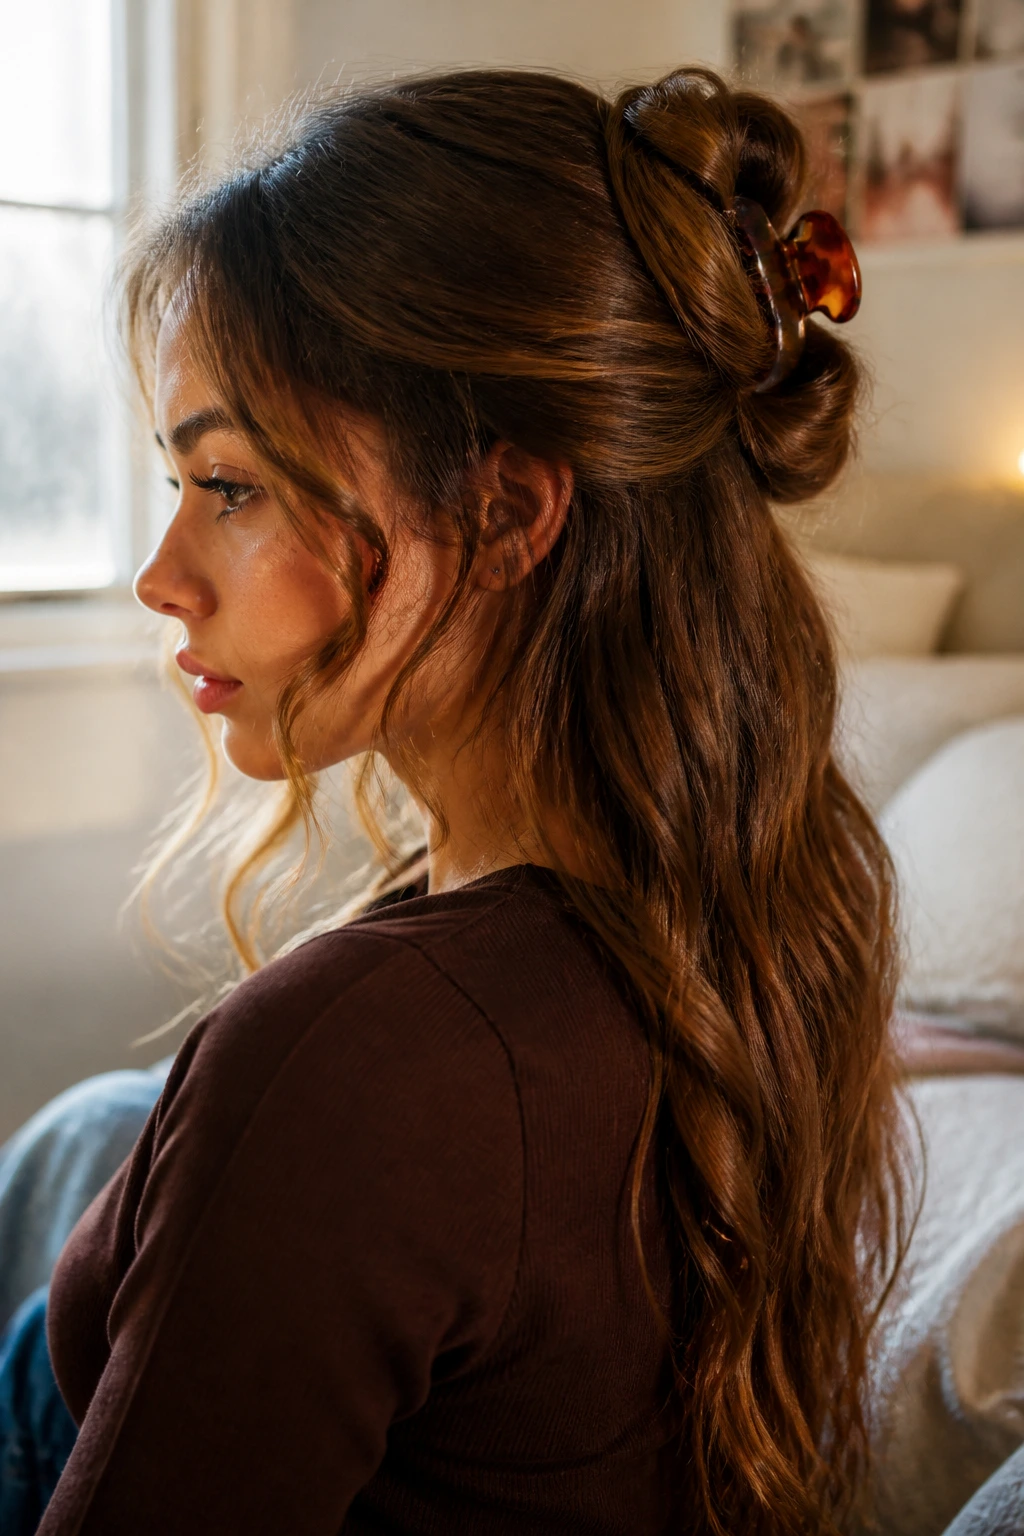
Sometimes you don’t need the whole head curled; you just need a bit of interest. Curled strands in a half-up style add a touch of formality to a standard school outfit. Curl just the sections you intend to pull back, then gather them into a loose knot or clip.
Choosing Your Clip
A claw clip is the perfect accessory here. It is gentle on the hair and creates a more relaxed aesthetic than a tight elastic. Because the rest of your hair remains straight, the curls serve as an accent rather than the main event, saving you significant time in your morning routine.
14. Crimping for Volume
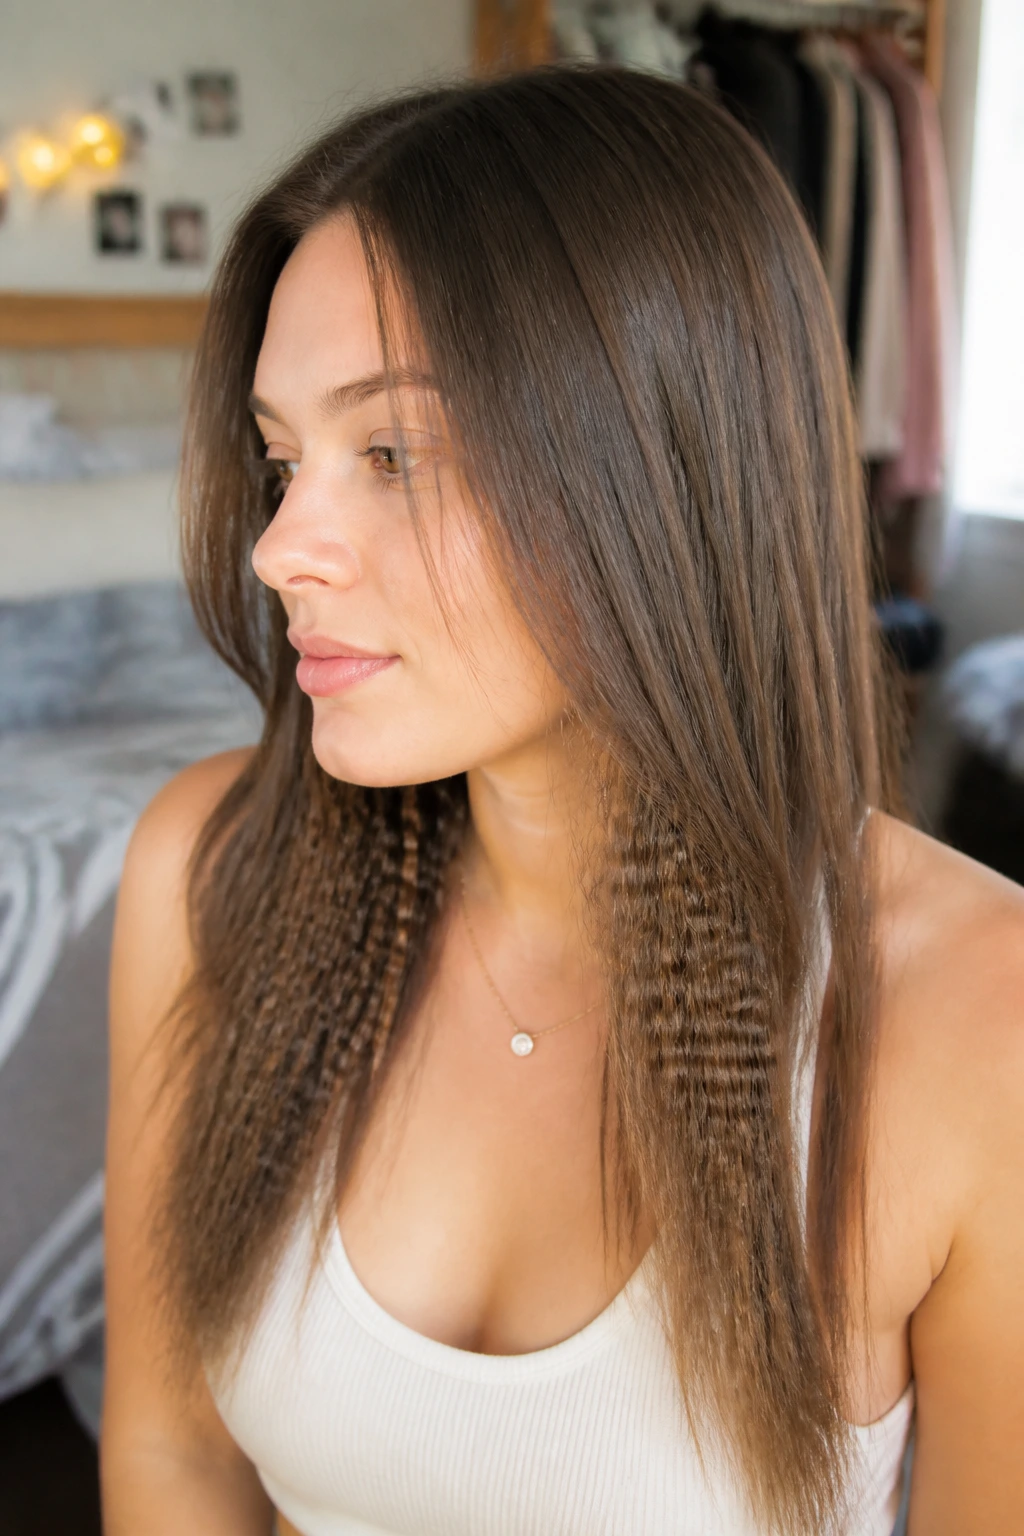
While the full-head crimp is a very specific aesthetic, “stealth crimping” is a secret weapon for fine hair. Use a small crimping iron only on the bottom-most layers of your hair, close to the scalp. This creates a dense foundation of texture that pushes the top layers of your hair up and out, making your hair look significantly thicker.
Subtle Texture
Nobody needs to see the crimped texture—it’s just there to act as a support system for your hair. You can then go over the top layers with a loose wave or just leave them straight. It adds a level of intentionality to your style that feels like you spent a lot more effort than you actually did.
15. The Diffuser Scrunch
If you have naturally wavy or curly hair, stop fighting it with heat tools. Instead, wash your hair at night, apply a curl-defining cream, and let it air-dry to about 50%. In the morning, use a diffuser attachment on your blow dryer to “scrunch” the ends of your hair upward toward your scalp.
The Power of Air
The diffuser distributes the heat evenly and mimics the way your hair would dry naturally, but much faster. Do not touch your hair while you are diffusing; let the air do the work. This will give you defined, frizz-free curls that look healthy and natural.
16. Paper Bag Curls
This is a classic “old school” trick that creates surprisingly consistent curls. Cut a brown paper grocery bag into long strips. Take a small section of damp hair, place the end in the center of the paper strip, roll the hair up toward the scalp, and tie the ends of the paper strip together.
Why This Works
The paper holds the hair in place securely without the use of metal clips or harsh rubber bands, preventing breakage. It’s an inexpensive, effective way to get heatless curls overnight. It does take a bit of practice to get the hang of rolling, but once you get a rhythm, it’s remarkably fast.
17. Finger Coils
This is the best technique for those who want defined curls without any tools at all. On wet hair, apply a generous amount of styling gel or mousse. Take a small section of hair and twirl it around your index finger until it reaches the scalp. Slide your finger out gently so the curl remains intact.
Maintenance
Do not touch the coils while they are drying. The more you move them, the more frizz you will create. Once the hair is 100% dry, you can gently break the “gel cast” by scrunching the hair with your hands. This leaves you with beautiful, springy curls that can last for days.
18. Braided Headband
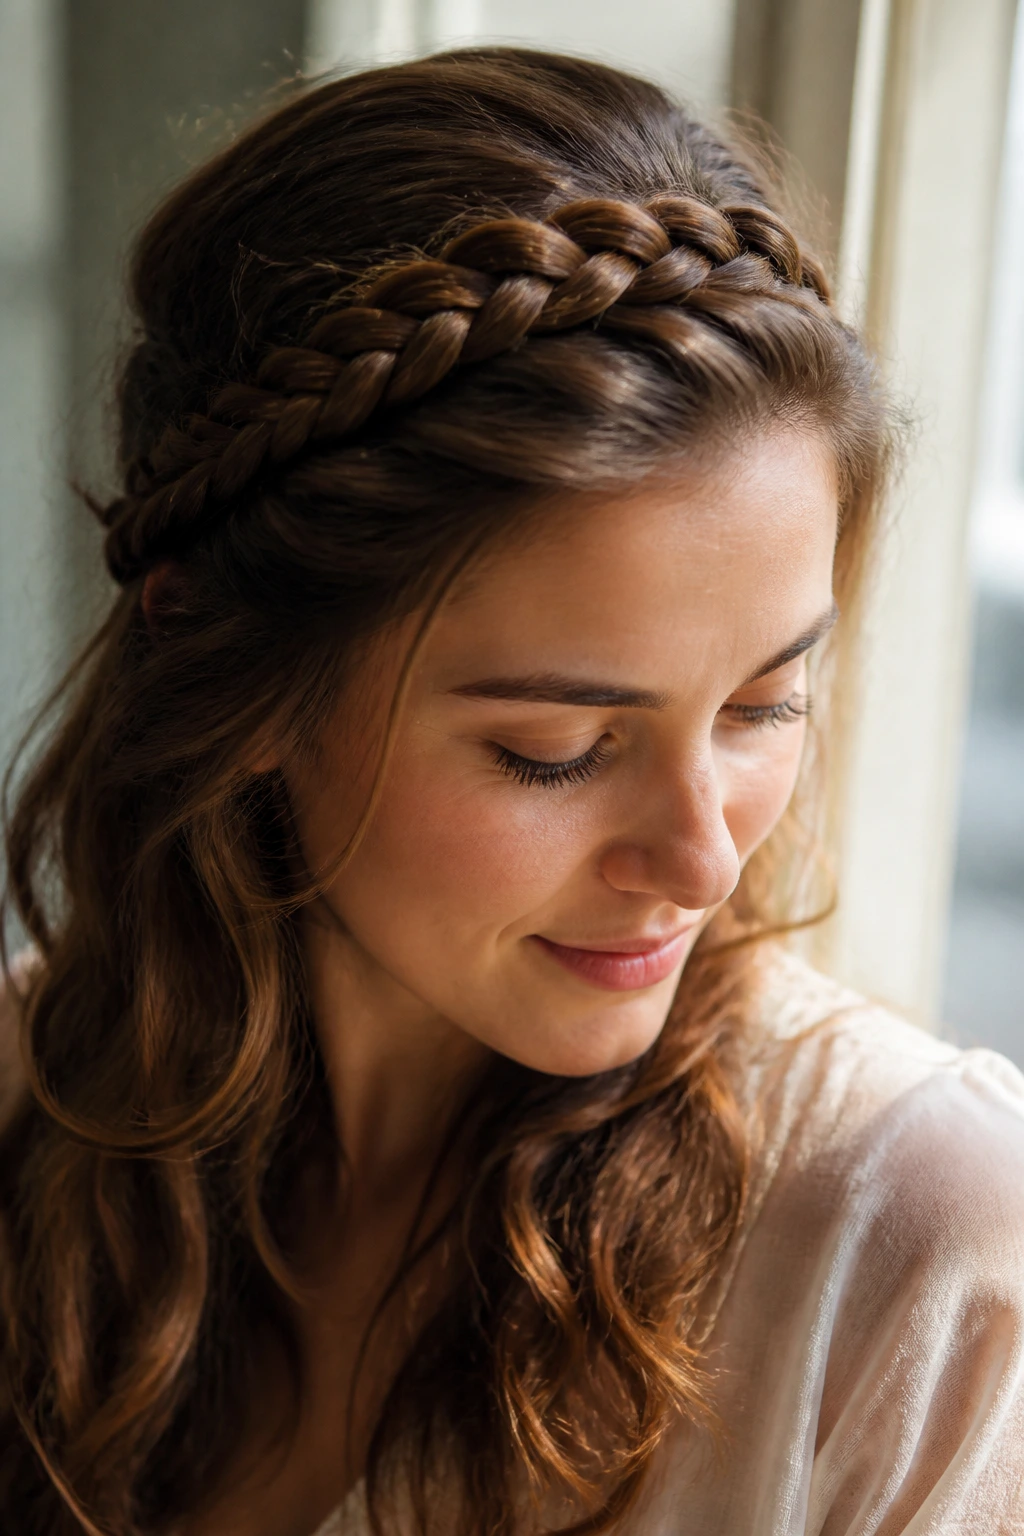
This creates a very soft, “boho” wave pattern. Braid a small section of hair near your part and incorporate it into a larger braid that wraps around the side of your head like a headband. This keeps the hair off your face for school while simultaneously curling the side sections.
Effortless Style
This style is great because it functions as an accessory. You don’t need to worry about styling your hair further once you take the braids down, as the texture will be consistent throughout. It works best on damp hair allowed to dry throughout the morning.
19. The “Twist-Out” Method
Similar to bantu knots but less tight, a twist-out involves sectioning your hair into two-strand twists. You simply take two sections of hair and wrap them around each other until you reach the ends. Secure with a tiny rubber band.
Texture and Definition
The tighter the twist, the more defined the curl will be. When you remove the twists, you can separate the strands to create as much volume as you want. This method is incredibly versatile because you can adjust the number of twists based on how much time you have.
20. Velcro Rollers for Volume

If you aren’t looking for a tight spiral but rather a “bouncy blowout” look, large velcro rollers are your best friend. They are easy to use and provide a gentle curl that is synonymous with professional styling. Use them while you are getting ready for school—putting on makeup, brushing your teeth, or picking out your outfit.
Setting the Shape
If you have a blow dryer, give the rollers a quick blast of heat for 30 seconds and let them sit until they are completely cool. The cooling process is what locks the curl into place. When you pull them out, your hair will have a dramatic, voluminous curve that lasts all day.
21. The Silk Scarf Wrap
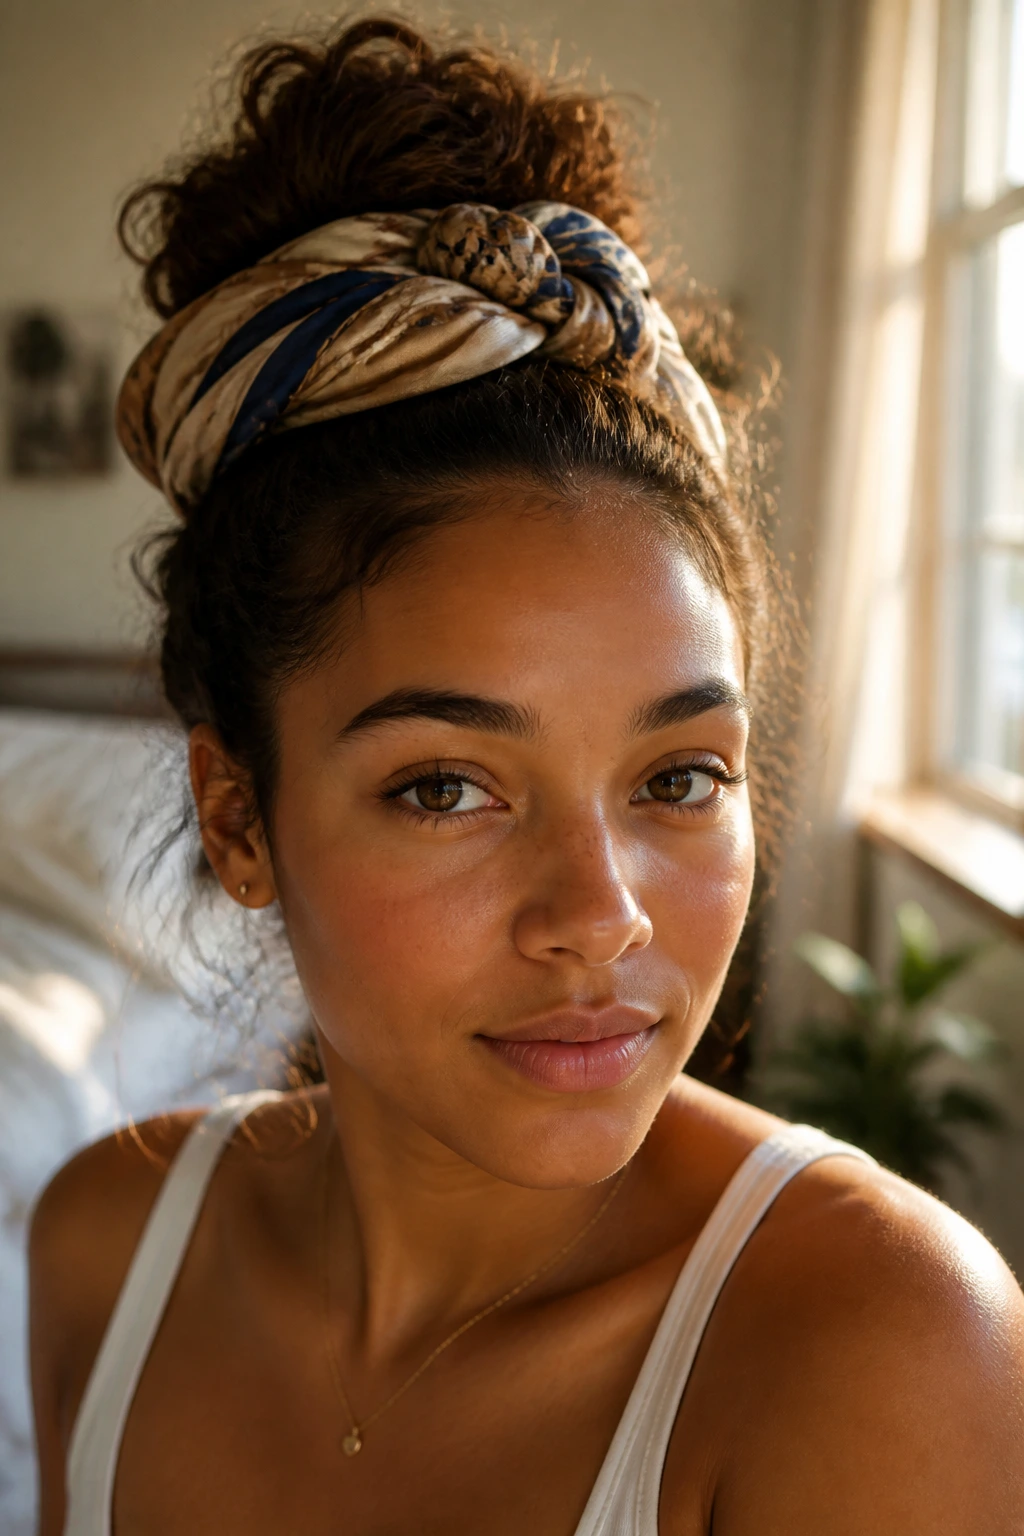
This is an ancient method for keeping curls smooth while protecting the hair from friction. Take a silk scarf and wrap your damp or styled hair into a loose bun on top of your head, then wrap the scarf around it.
Protecting the Ends
The silk prevents your hair from losing moisture and keeps your ends protected, which is essential for healthy-looking curls. It also helps prevent the dreaded “morning bedhead” look, ensuring that your hair is ready to go as soon as you undo the wrap.
22. Pin Curls

This is a more precise version of the twist-and-pin method. You wrap small sections of hair around your finger to form a circle, then secure the circle against your scalp with a flat hair clip.
Why This is Better Than Others
Pin curls allow you to control the exact shape of the curl. Because the hair is held flat against the scalp, it is incredibly comfortable for sleeping. It’s also the most effective way to ensure that your curls are uniform across your entire head, which is difficult to achieve with some of the more “random” techniques.
23. The “Two-Bun” Blowout
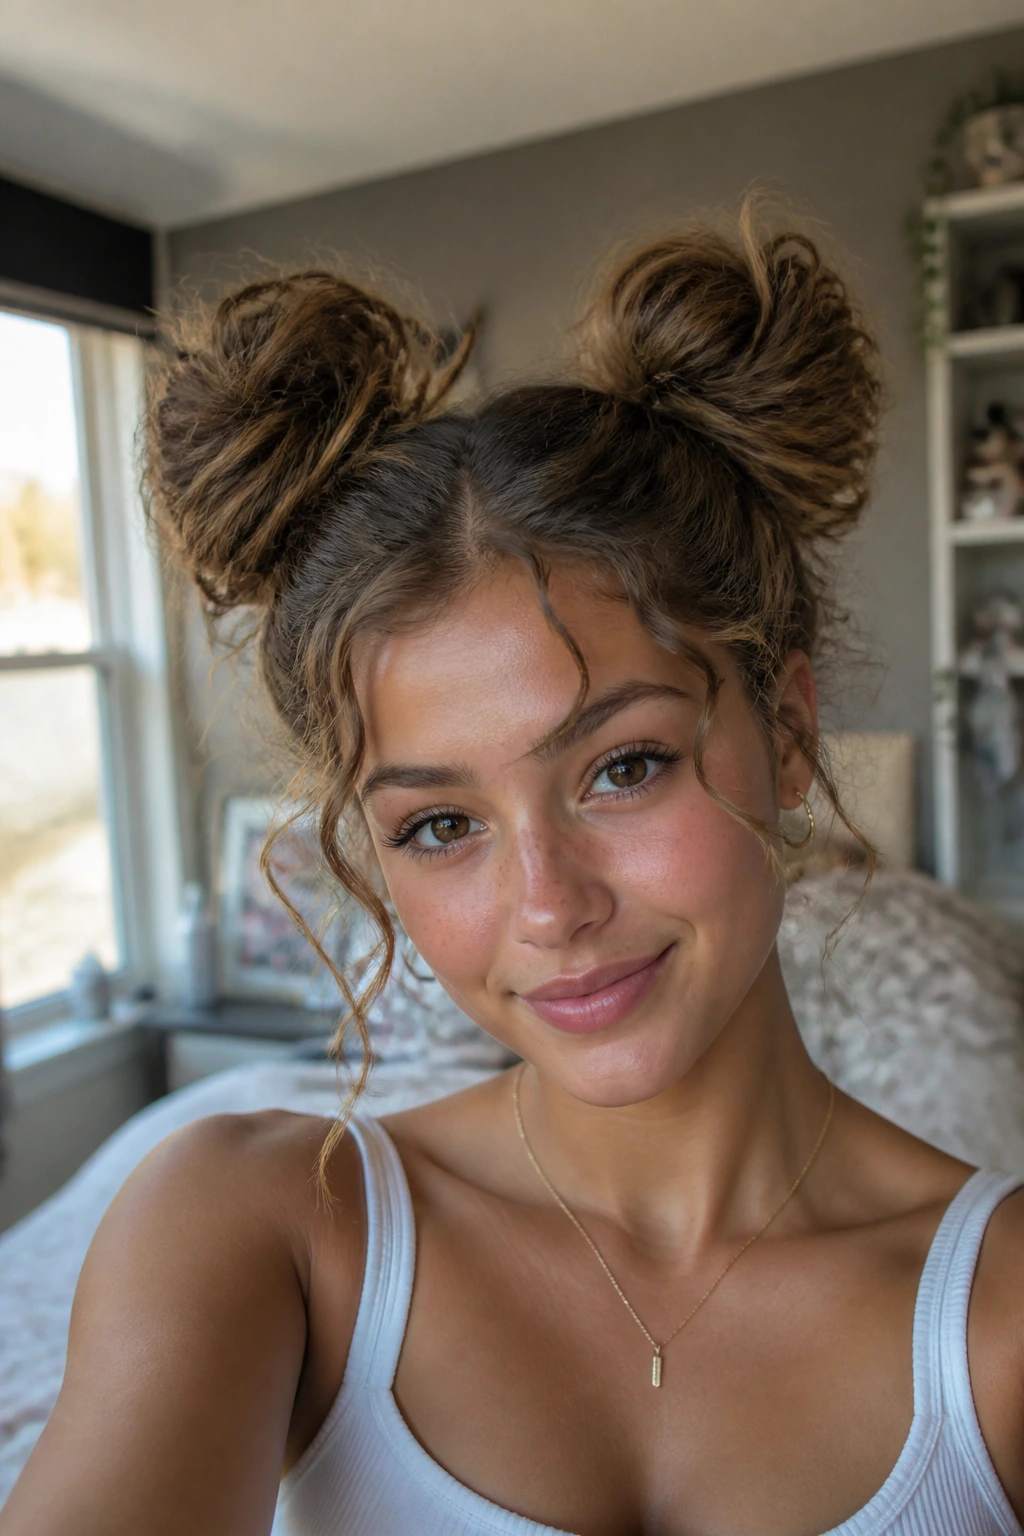
For a quick, voluminous curl, pull your hair into two high, messy buns on either side of your head. Don’t worry about making them perfect—the goal is to create a soft, bouncy texture. Leave them in while you get ready and take them down right before you head out the door.
The Final Touch
When you take them down, use a dry shampoo at the roots to give the curls a bit of “grip” and height. This is a very casual, school-appropriate style that hides any lack of volume or texture, giving you a fresh, energetic look without the use of heat tools.
24. Ribbon Curls
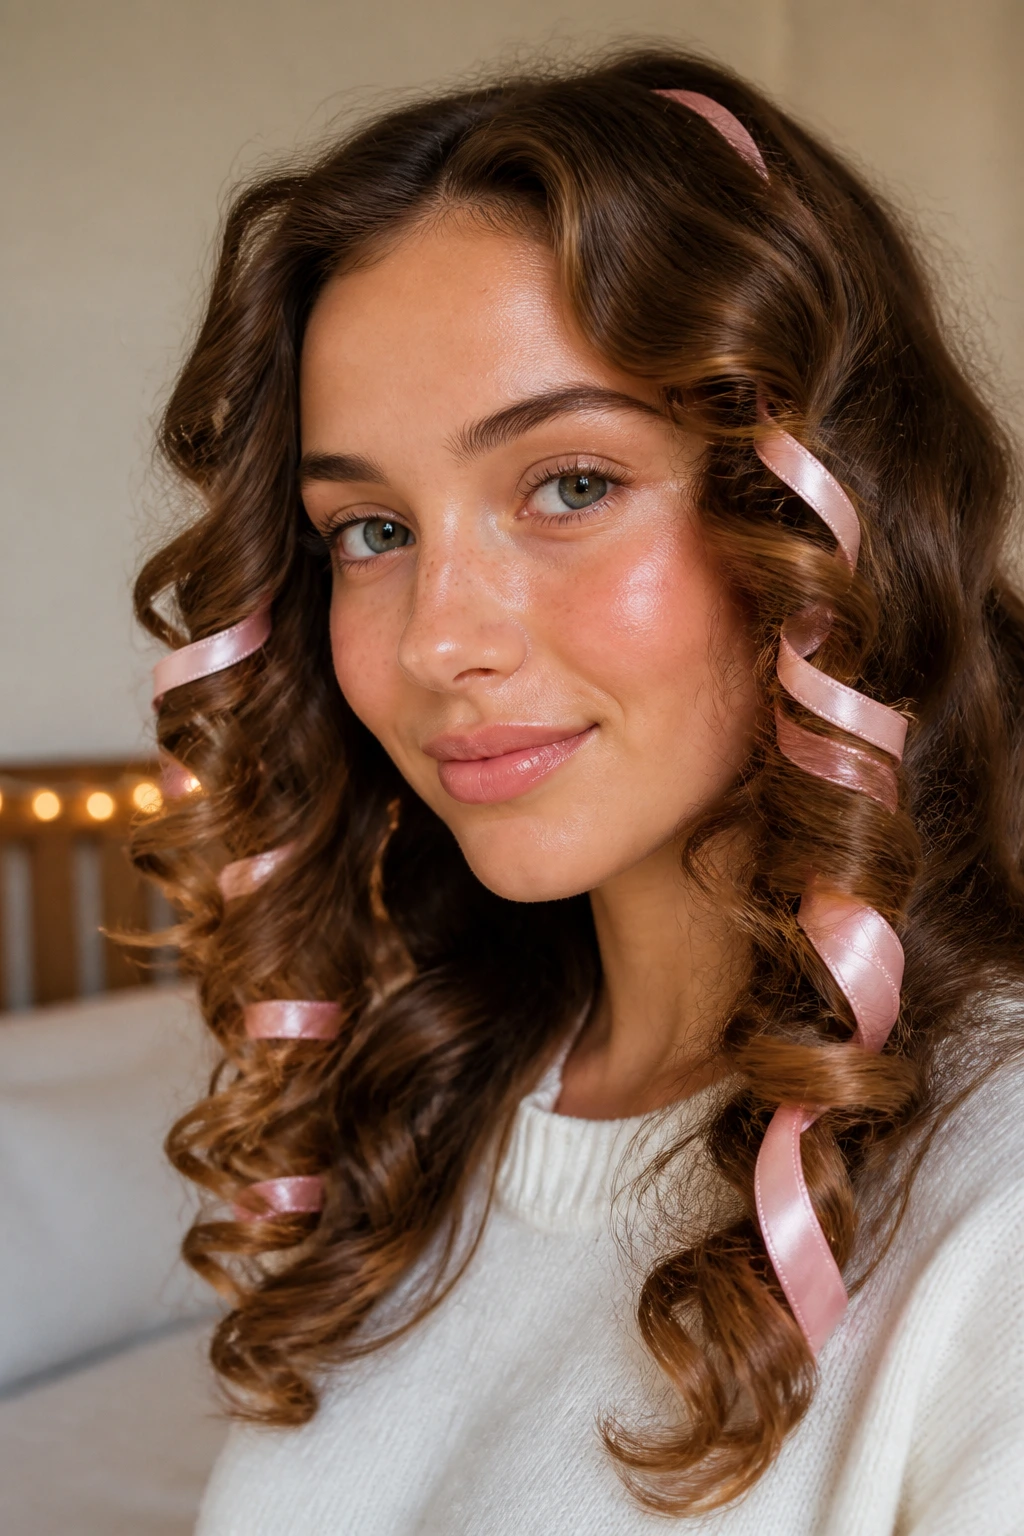
If you have some spare ribbon or strips of fabric, you can use them exactly like the paper bag method. The fabric is soft, flexible, and very easy to tie, which makes it perfect for secure, overnight styling.
Personalizing the Look
Depending on the fabric you use, you can get different textures. Silk ribbon will leave the hair smooth and shiny, while cotton fabric will give it more grip and a bit more volume. It’s an inexpensive way to experiment with different curl sizes without buying new tools.
25. The Air-Dry Scrunch
Sometimes, the best curling technique is just letting your hair do its thing. Apply a small amount of curl-enhancing mousse to your damp hair and scrunch it upward with your hands. Let it dry naturally while you go about your day.
Honoring Natural Texture
Embracing your natural pattern is often the most stylish choice. It’s consistent, easy, and minimizes the wear and tear on your strands. If you have fine hair, look for a lightweight, foam-based product; if you have thicker, coarser hair, a cream-based product will provide more control.
Final Thoughts
The secret to curling your hair for school isn’t about finding the most expensive iron or the most complex tutorial—it is about finding the one technique that fits into your morning routine and sticking to it. Whether you are a fan of the overnight braid or you prefer a quick blast with a triple-barrel waver, consistency is what builds the habit.
Remember that your hair health is just as important as your hairstyle. If you find yourself using heat tools every single day, incorporate one or two “heatless” nights into your week to give your strands a break. Start small, try one of these techniques tonight, and see which one gives you the look you want without the stress. You’ll be surprised at how much time you reclaim when your hair is already styled the moment you wake up.