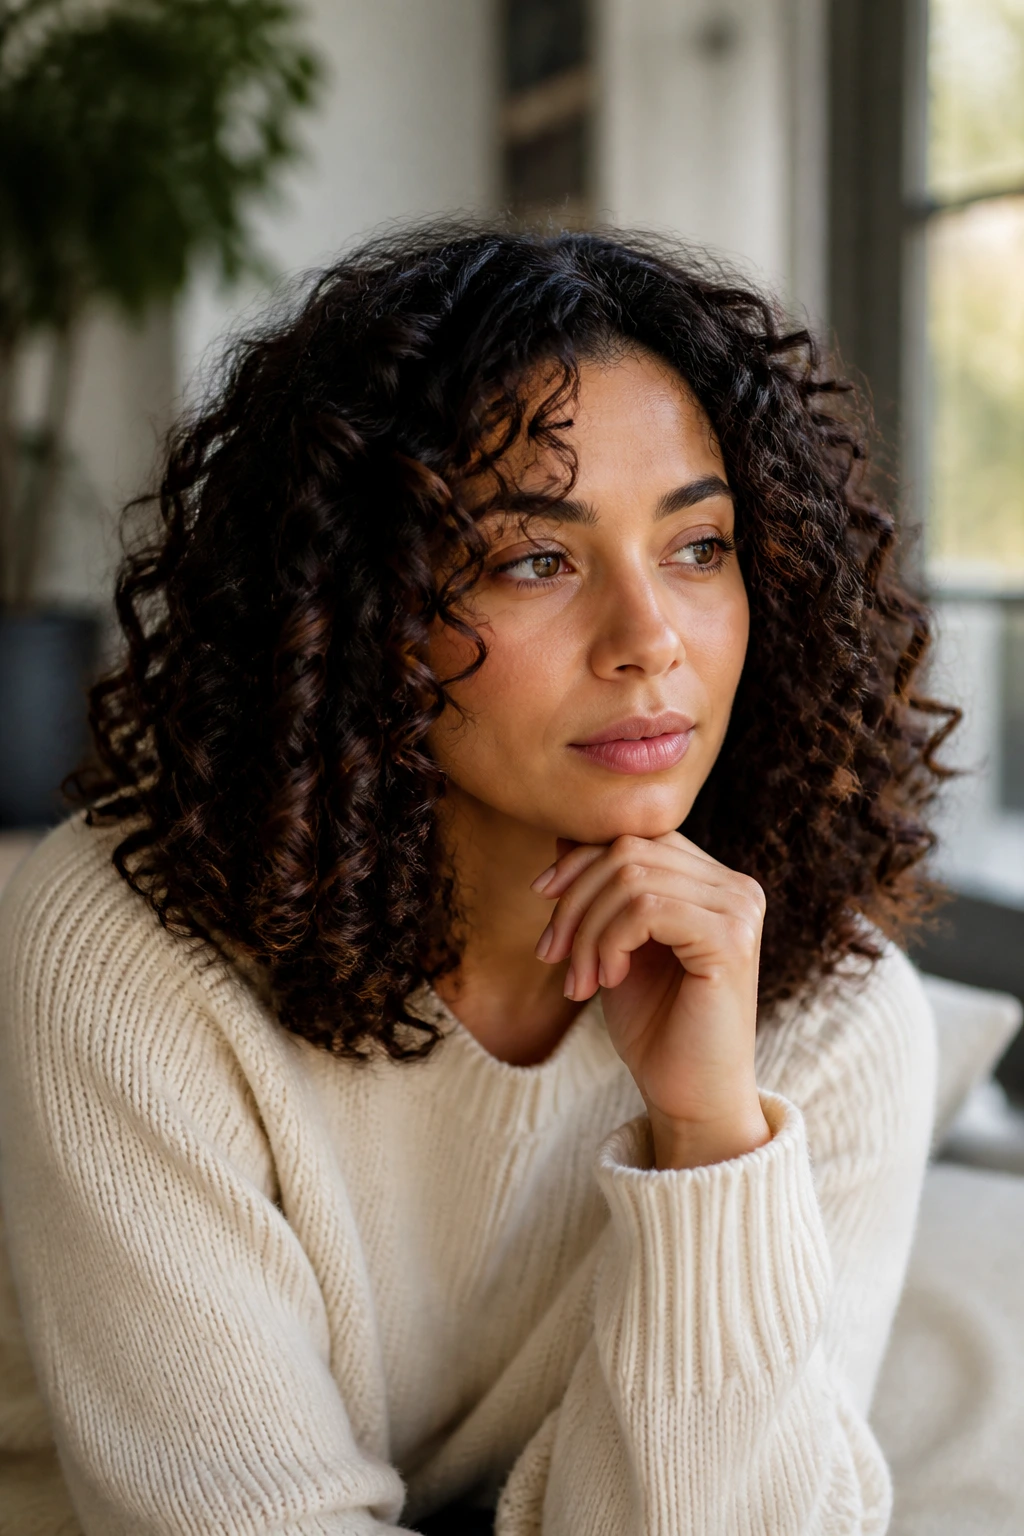
Shoulder-length curls occupy a unique space in the hair world. They are long enough to provide the weight required to stretch a tight coil, yet short enough to avoid the dreaded “triangle head” that often plagues those with dense, springy textures. When you hit that collarbone-skimming mark, something happens to the architecture of your hair. You stop fighting gravity and start working with your natural volume. It is a sweet spot that feels intentional, manageable, and endlessly versatile.
Finding the right cut is only half the battle, though. Once you have made the chop, the daily rhythm of styling, hydrating, and preserving those curls becomes the defining factor in whether you love the look or spend every morning wishing for a ponytail. Let’s look at the best ways to wear, style, and care for this specific length.
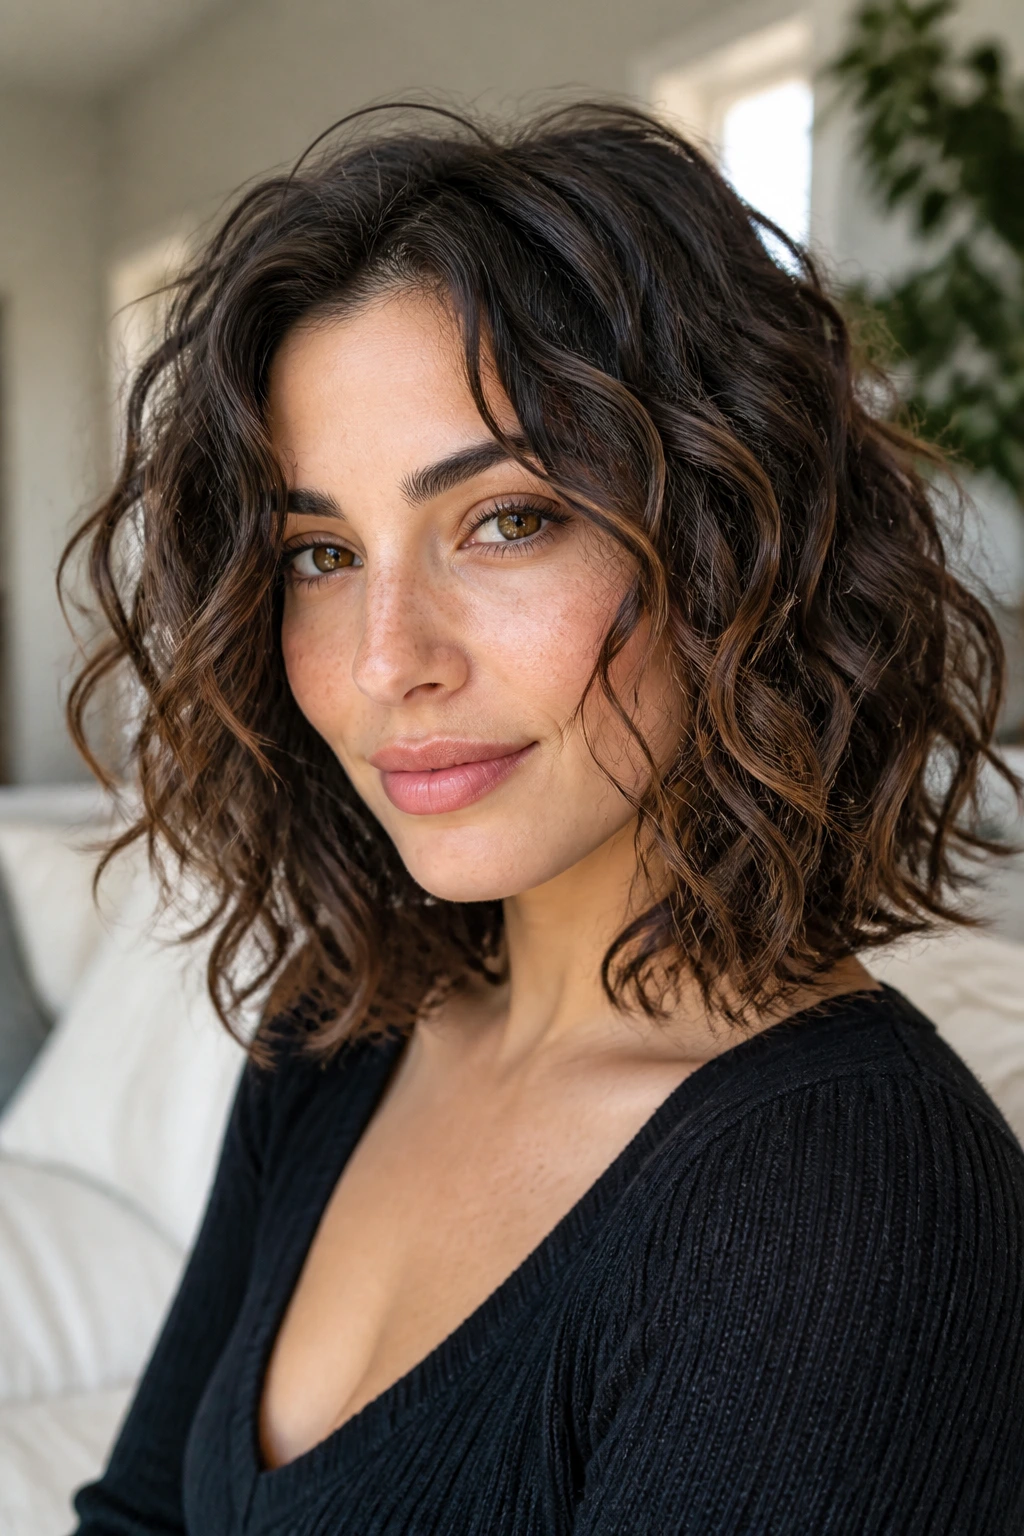
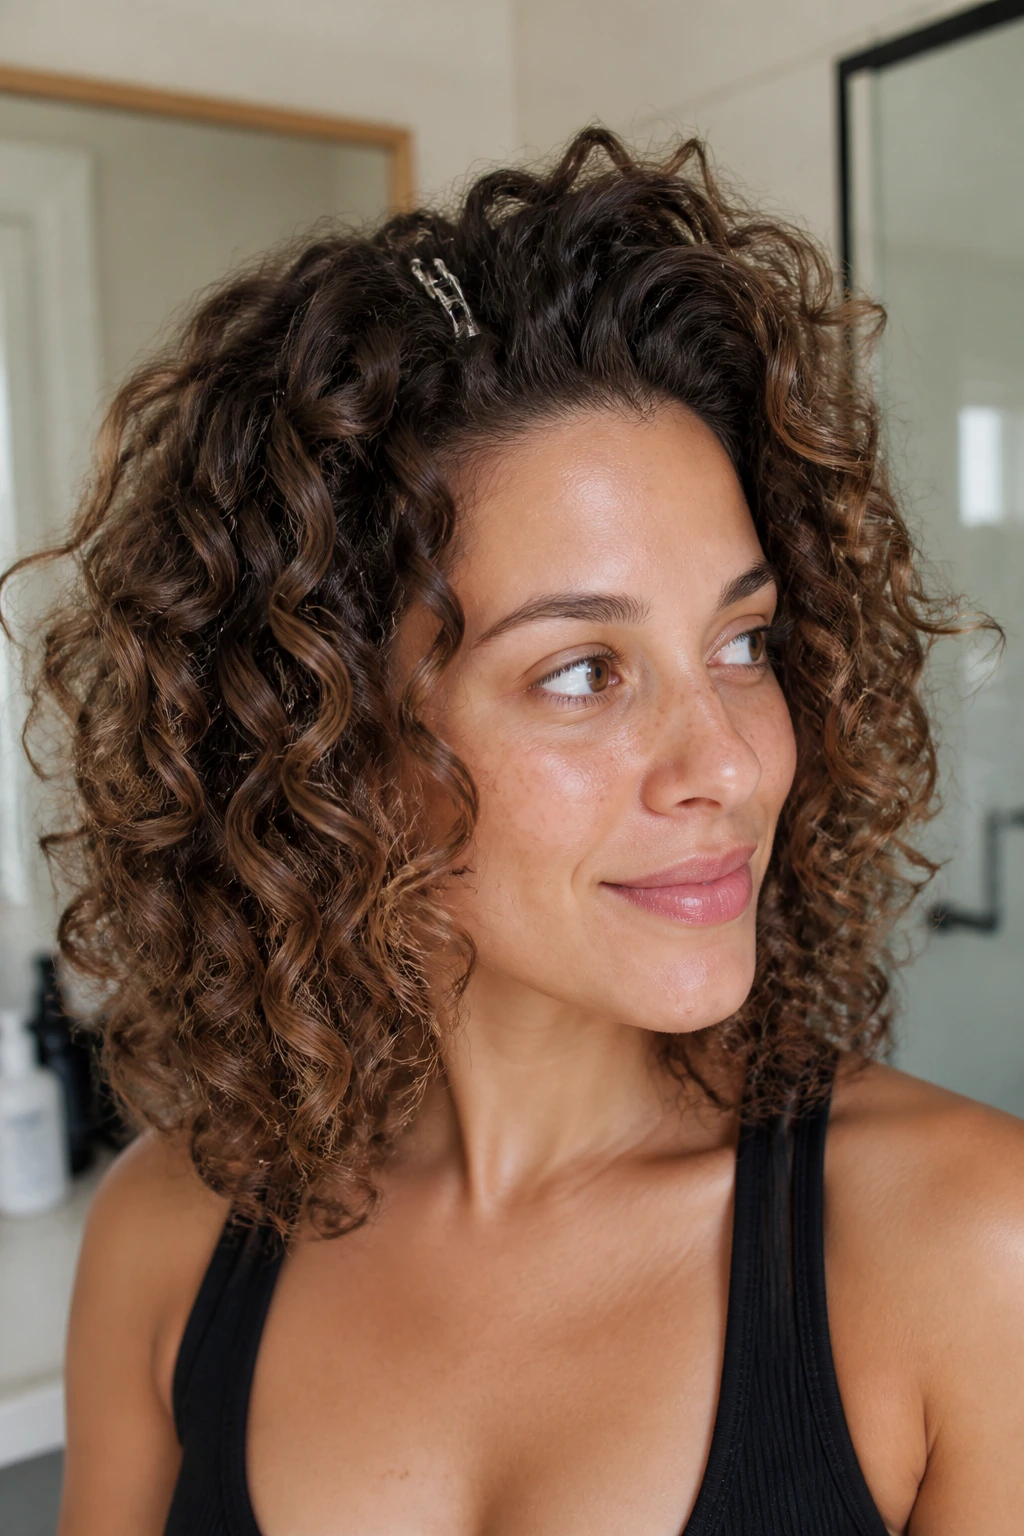
1. The Classic Rounded Layers
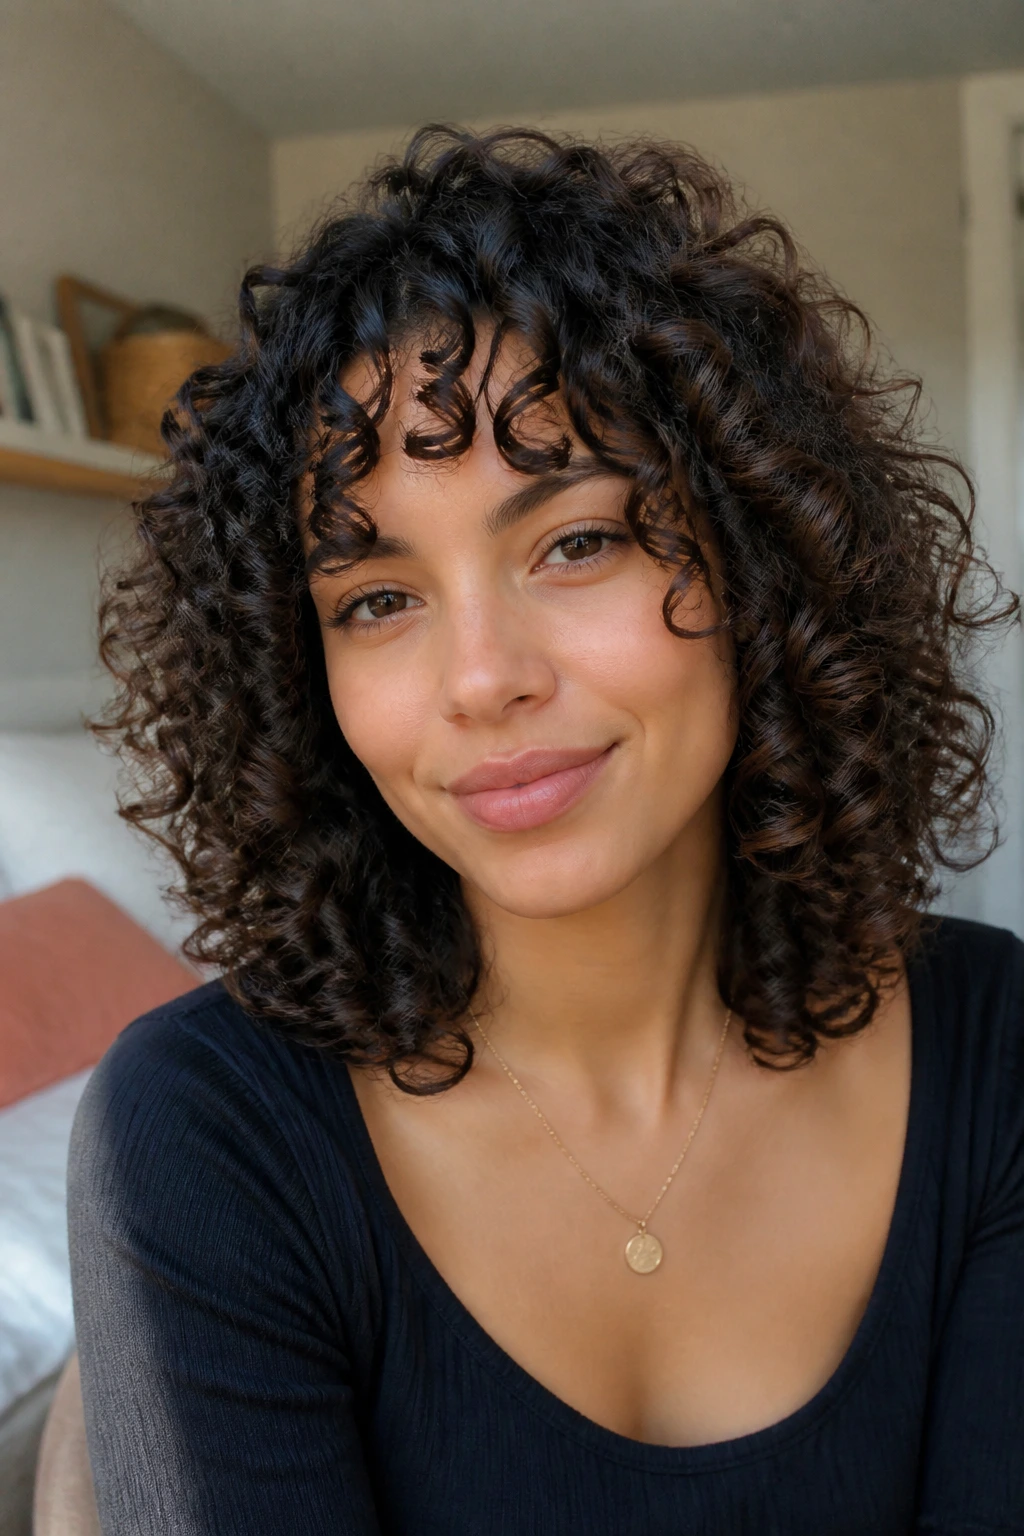
A rounded shape is the holy grail for shoulder-length curls. By cutting the layers to follow the natural contour of your head rather than falling flat, you encourage the curls to stack vertically. This prevents the hair from widening at the bottom and keeps the bulk near the roots where it belongs.
Why This Shape Works
When your hair is uniform in length, the weight pulls the curls straight at the top, leaving you with a flat crown and a frizzy, voluminous base. By incorporating internal layering, you remove just enough weight to allow those top curls to spring back to life. You are essentially building a pedestal for your curls to stand on.
Styling the Rounded Look
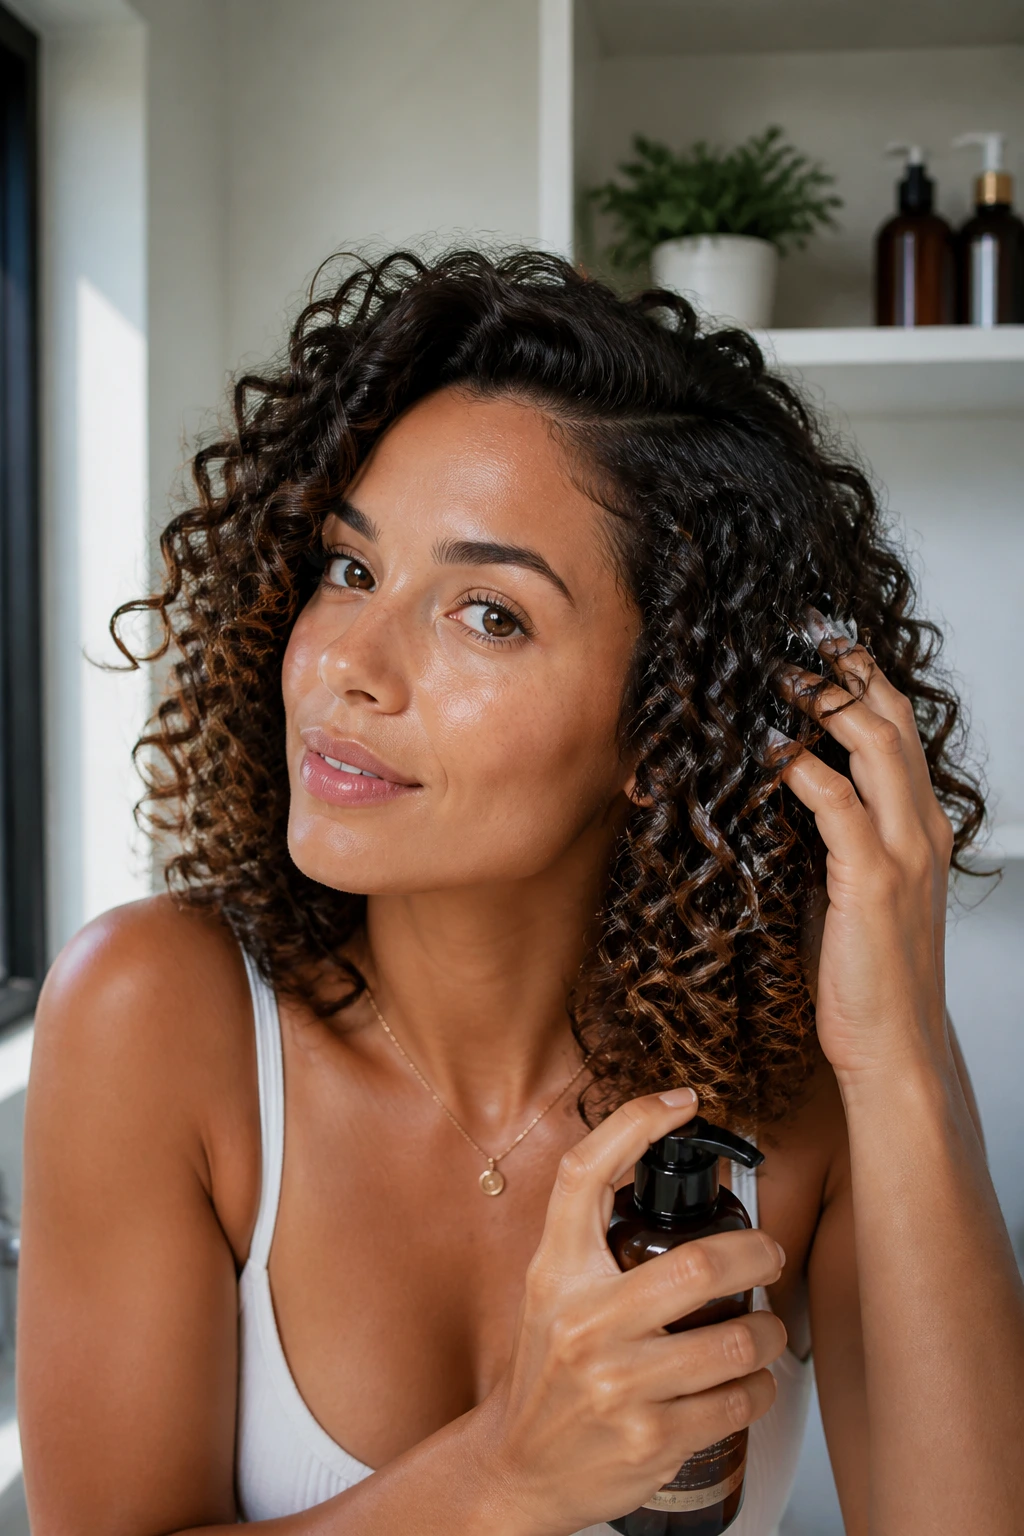
To get the best result, focus your product application while your hair is soaking wet. Use a prayer-hands technique to smooth the cream from root to tip, then gently scrunch upward toward the scalp. This creates a tight, uniform spiral that will hold its shape as it dries.
Pro tip: Use a diffuser on a low-heat, high-speed setting, holding it steady at the root for 30 seconds before moving. Do not touch your hair while it is drying, or you will create instant frizz.
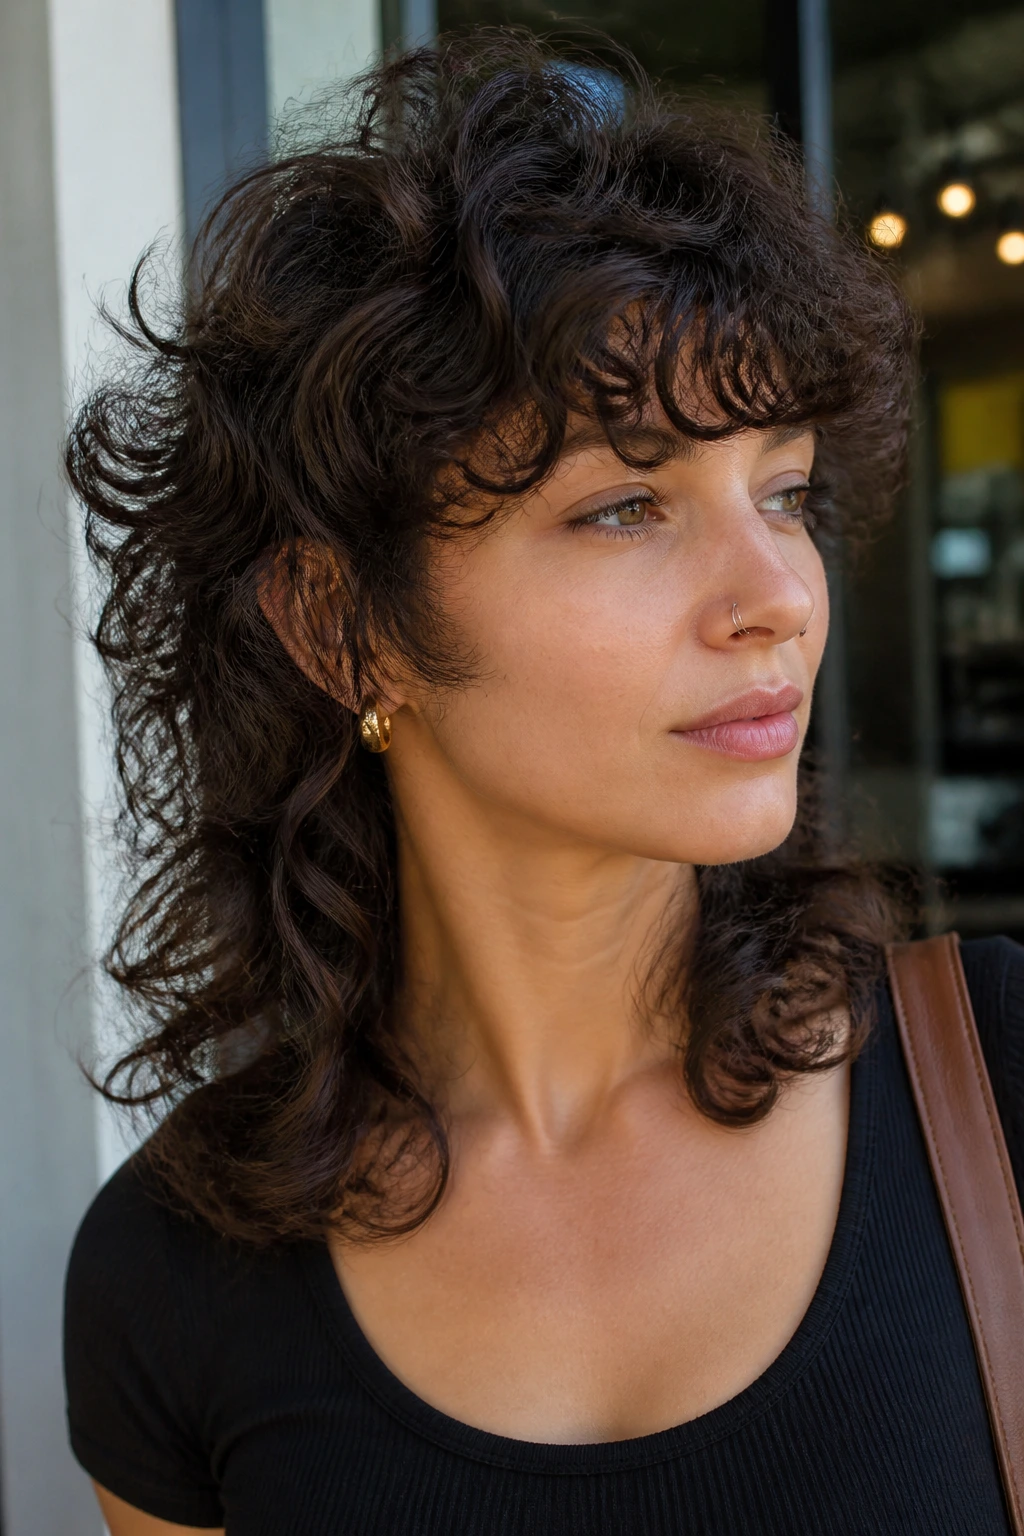
2. The Deva-Cut Shag
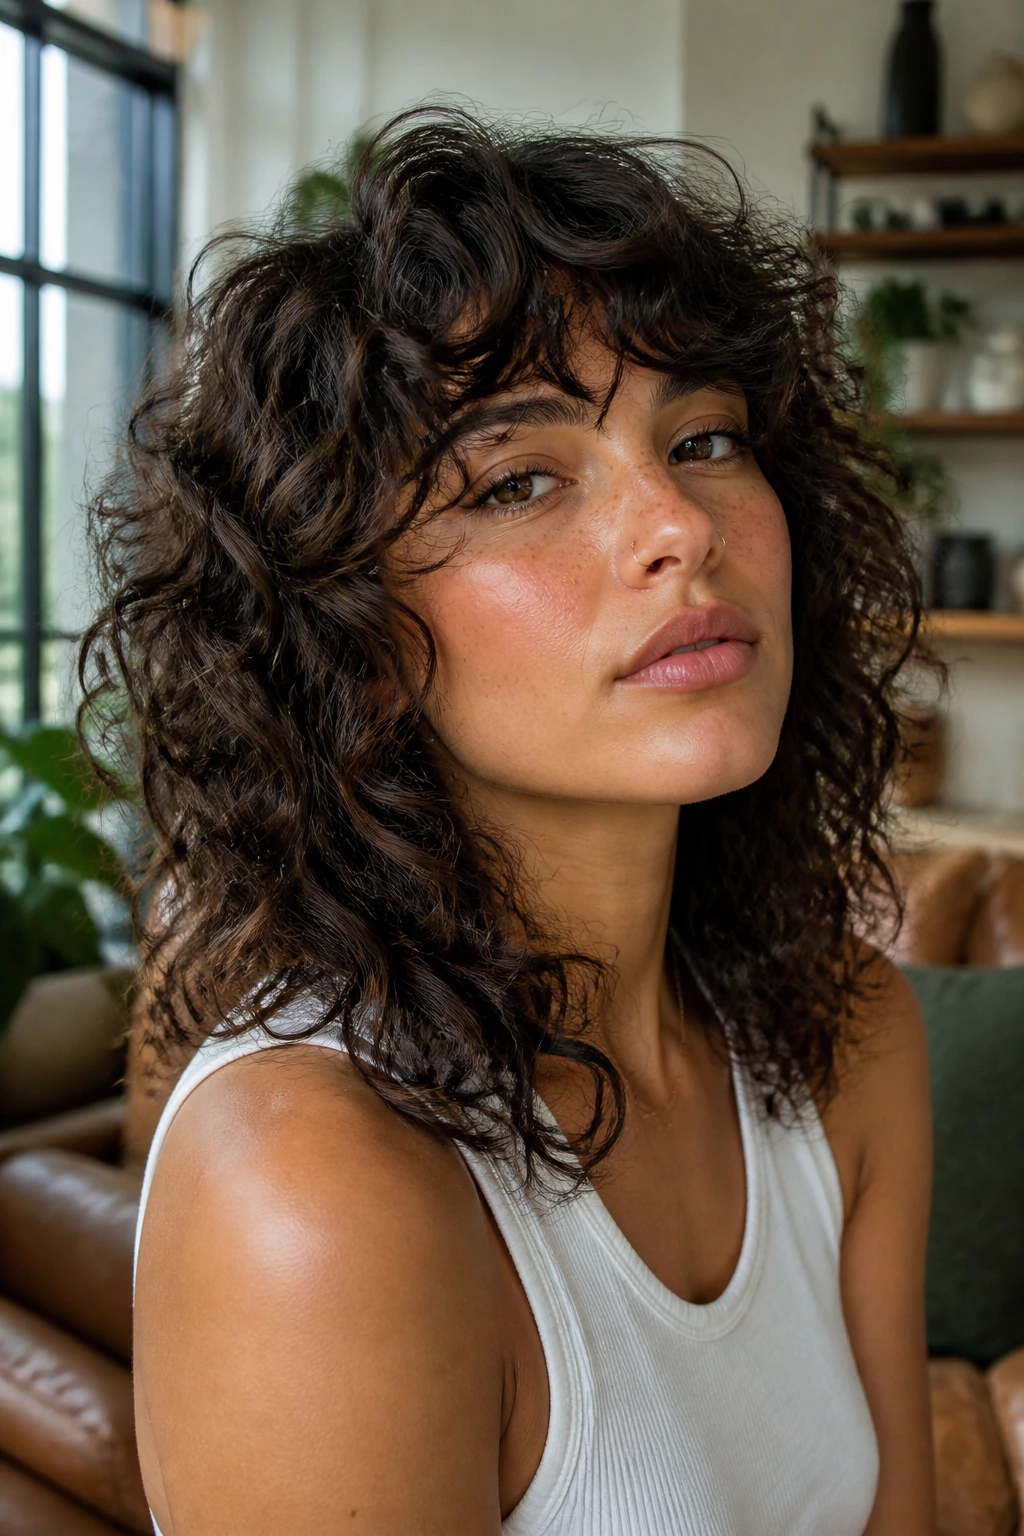
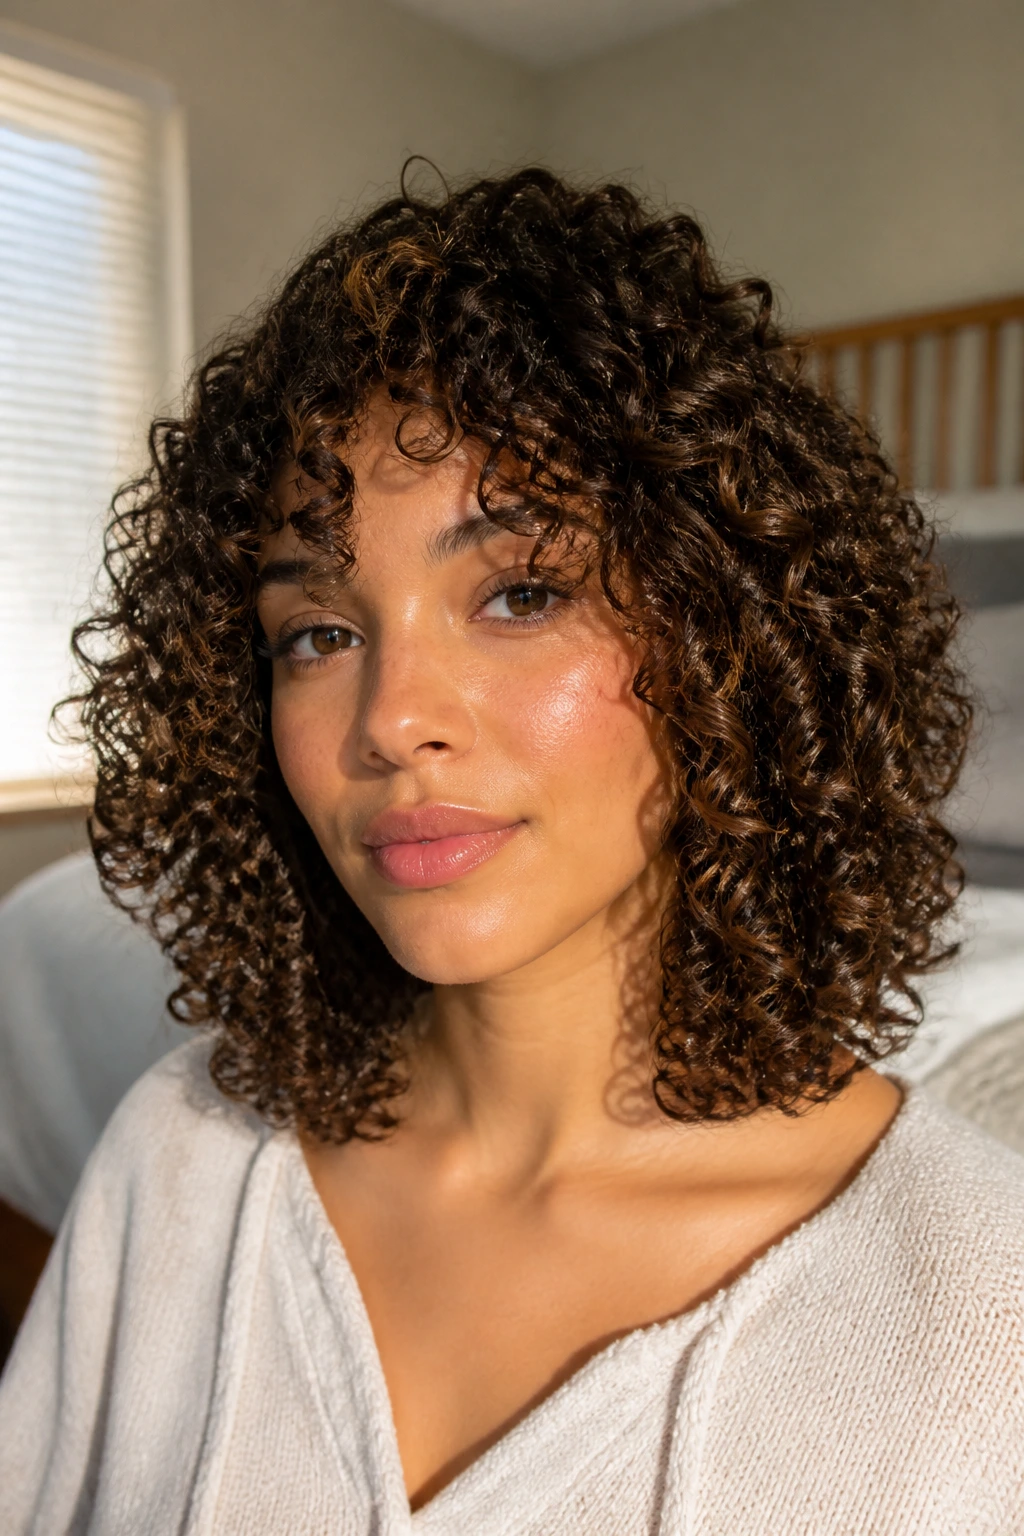
The shag has moved well beyond its straight-hair roots, and it is a powerhouse for curly hair at the shoulder. With heavy bangs and choppy, varied layers, this cut leans into the natural messiness of curls. It looks better the more “undone” it appears, making it a perfect low-maintenance choice.
Benefits of the Curly Shag
If your hair tends to be thin or lacks natural lift, the short, choppy layers of a shag will give you a major volume boost. By removing weight throughout the crown, you allow the tightest parts of your curl pattern to react to the lack of tension. It essentially forces your hair to be bouncier.
Maintenance and Growth
One of the most important things to know is that this cut is heavily dependent on a stylist who understands curly textures. Do not walk into a standard salon expecting a classic shag; ask for a “curly-by-curly” cutting technique. It grows out relatively well, but you will need a trim every ten to twelve weeks to keep the bangs from obscuring your vision.
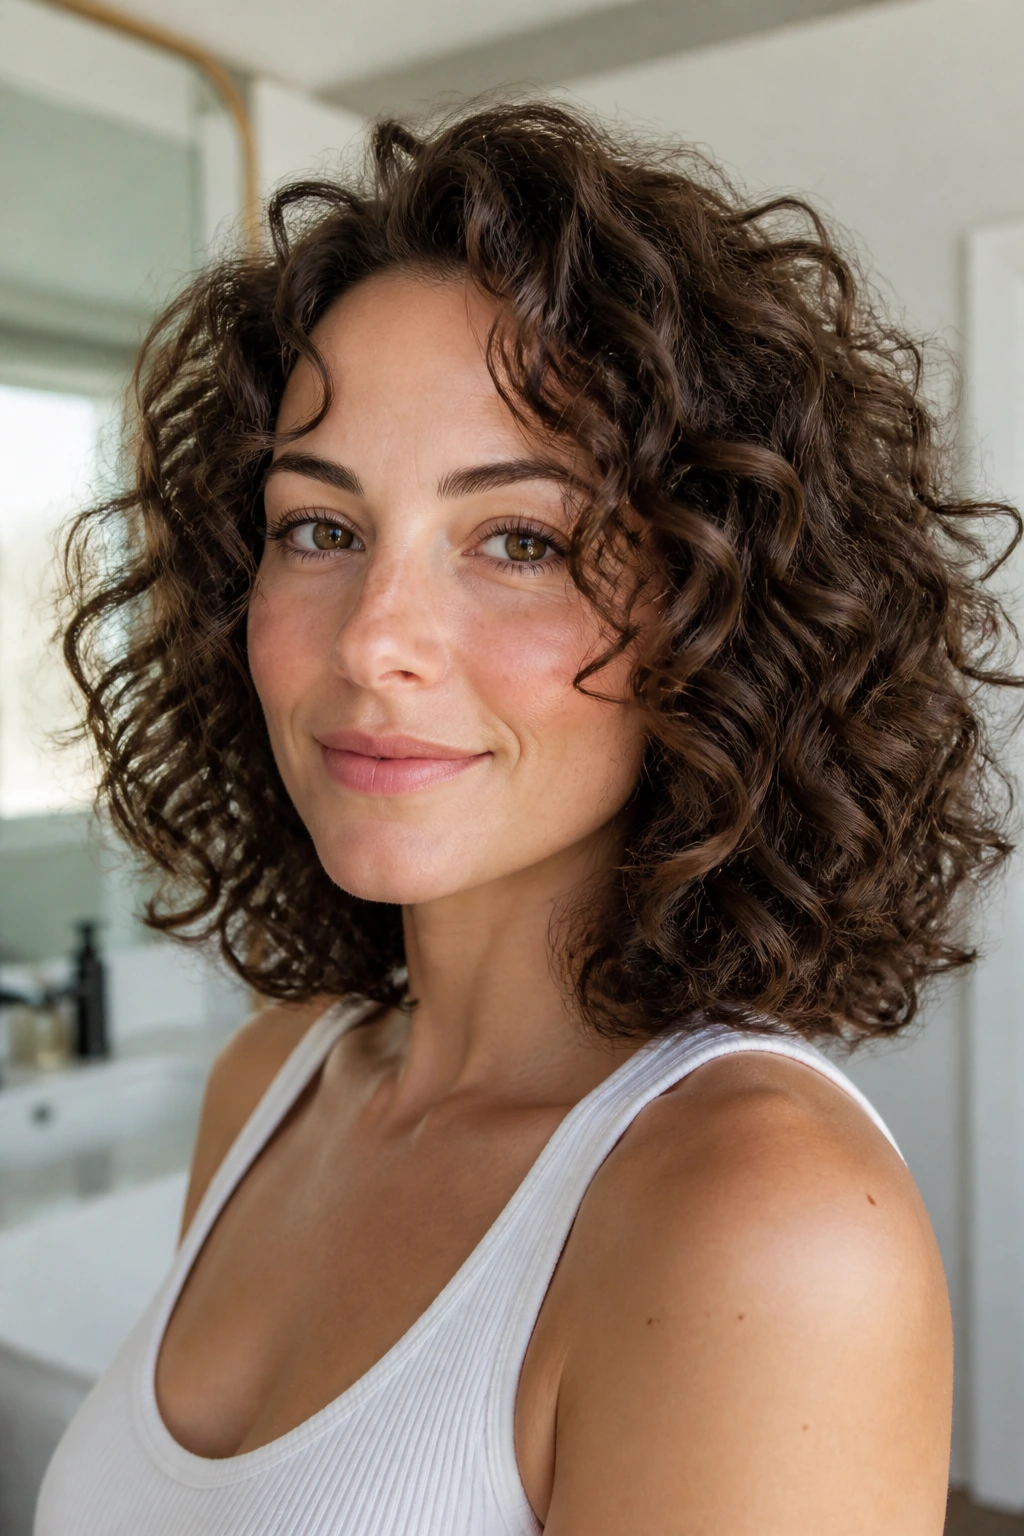
3. The Blunt Collarbone Bob
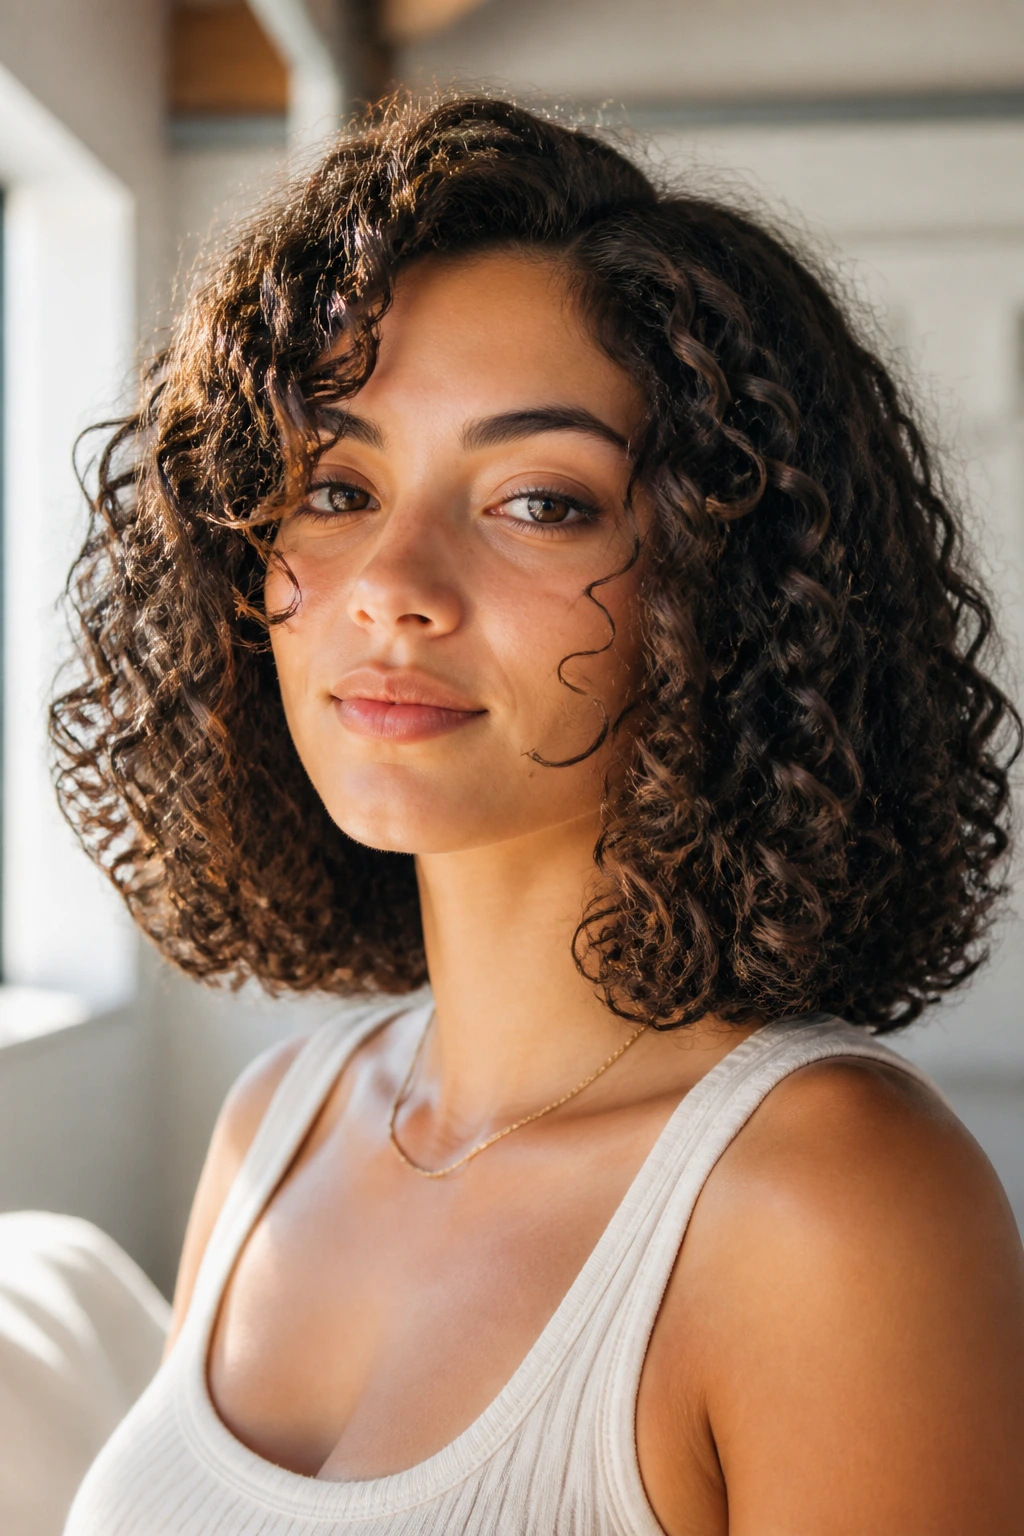
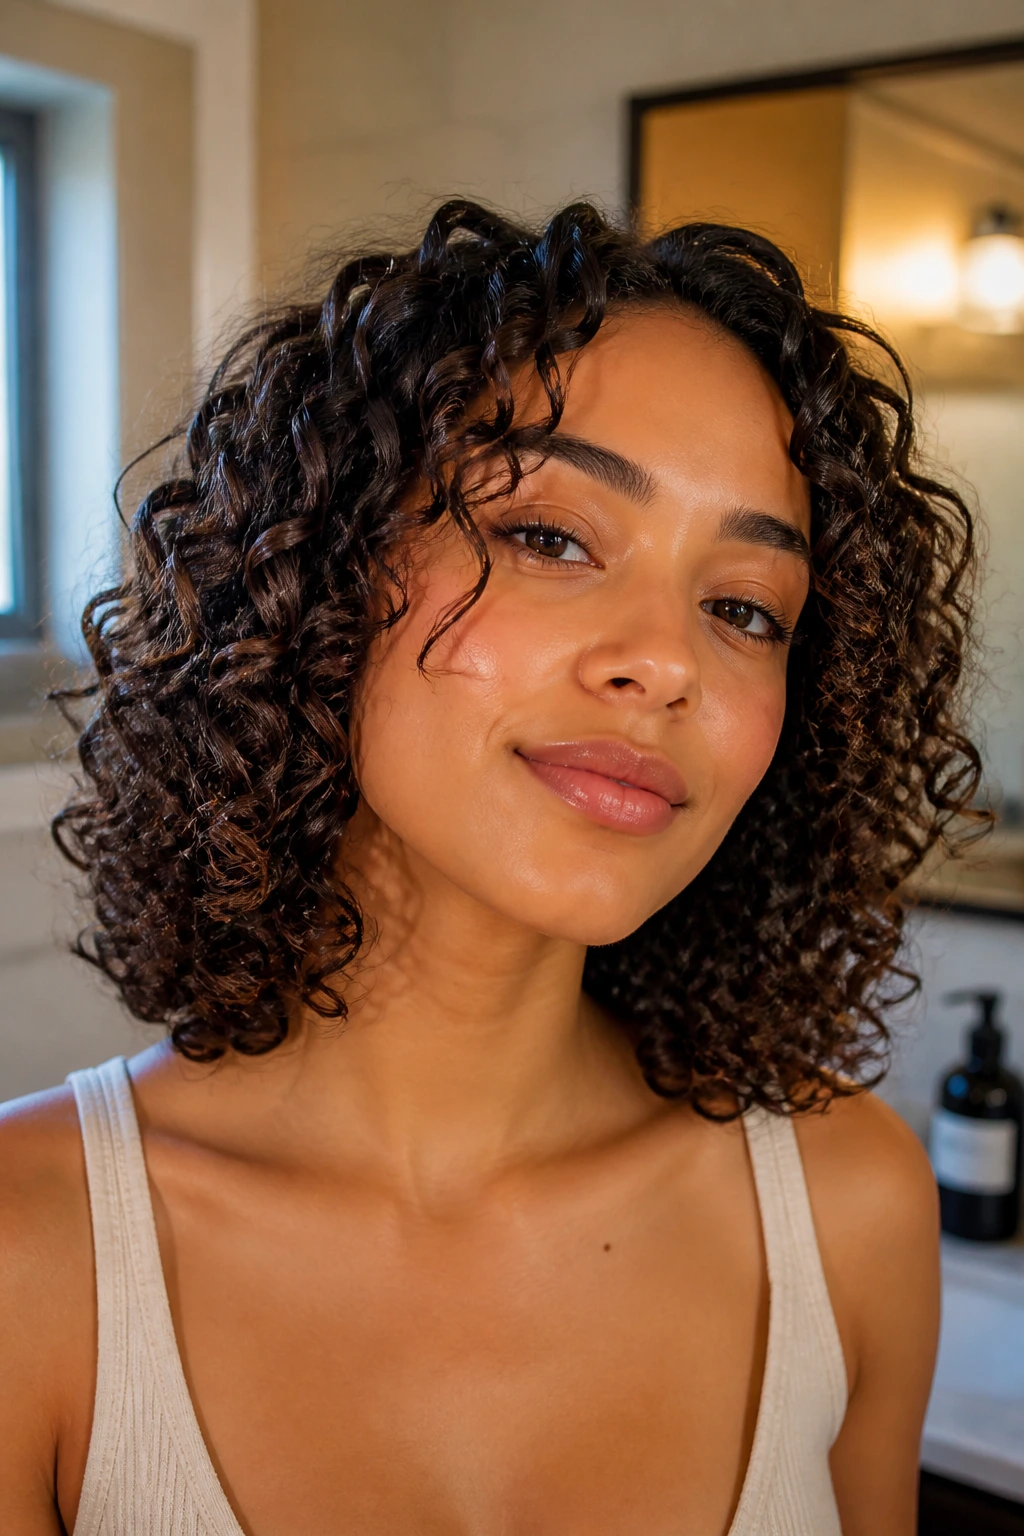
If you want to lean into the elegance of your curls, a blunt bob that hits right at the collarbone is a striking, modern choice. Unlike a shag or a layered cut, this style relies on weight to pull the curl slightly looser, resulting in a sophisticated, uniform wave pattern.
Why You Might Want the Blunt Look
It is significantly easier to style than heavily layered cuts. Because the ends are blunt, you have a solid “curtain” of hair that stays defined all day. It looks intentional whether you wear it completely air-dried or slicked back with a bit of gel.
Who It Suits Best
This style works wonders for those with a loose wave or a S-pattern curl. If you have extremely tight, dense coils, a blunt cut can be intimidating because it forces all the volume to the ends. If you fall into that tighter texture category, ask your stylist to “ghost layer” or “invisible layer” the inside so you get the blunt look without the mushroom effect.
4. The Deep Side-Part Sweep
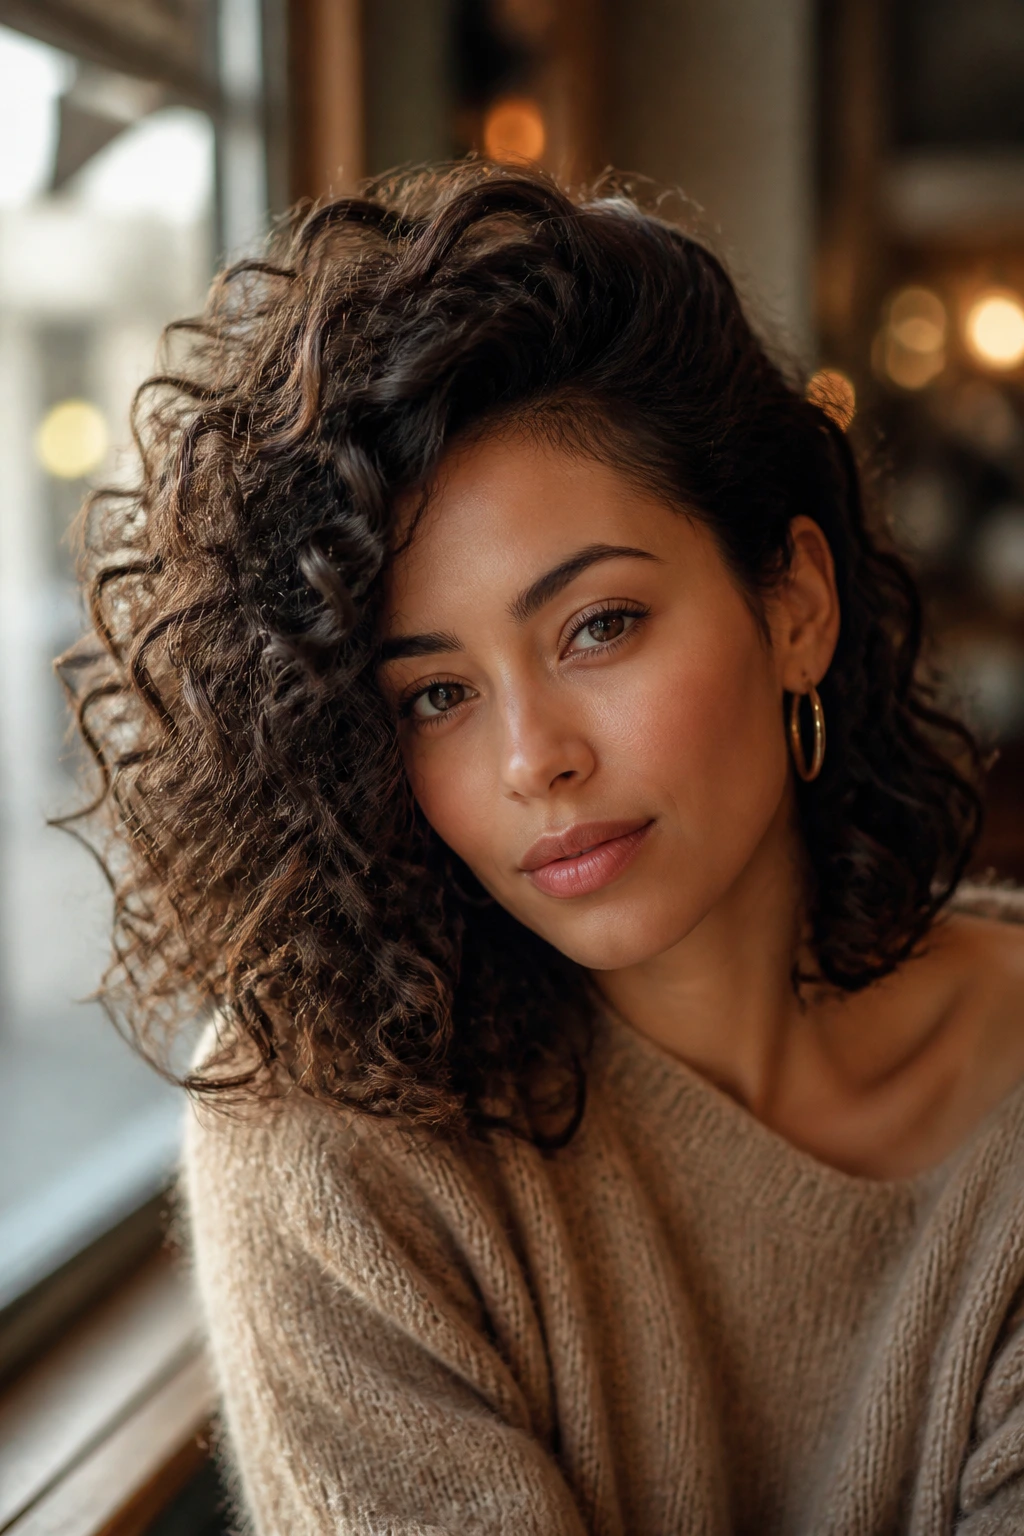
Shoulder-length hair is the perfect length for a dramatic side part. Flipping your hair to one side adds an immediate, non-permanent volume boost to your crown. It draws the eye upward and gives you a bit of “movie star” flair without requiring any permanent styling changes.
Mastering the Flip
The secret to a side part that stays put is to change it while your hair is still damp. After washing, flip your hair to the side opposite of where you want it to eventually lay. Let it air dry about 60%, then flip it back over. This “forces” the roots to dry in a lifted position, creating a permanent-looking volume boost.
When to Use Pins
Sometimes your hair just wants to fall forward into your face. Use a decorative gold or tortoise-shell barrette to clip the shorter side behind your ear. It keeps your hair out of your eyes and shows off your profile, while the extra-large clip acts as a structural anchor for the volume on the other side.
5. The Curly Lob with Face-Framing Pieces
The “lob” or long bob is perhaps the most requested length in modern hair history, and for good reason. It is the bridge between short and long. Adding face-framing pieces—sometimes called “curtain bangs”—softens the look and allows you to play with different textures right around your eyes.
How to Style the Framing Pieces
These pieces can be fickle. If they aren’t styled correctly, they can look like “antennae” sticking straight out. Use a smaller amount of product on these sections than you do on the rest of your hair. Too much product will weigh them down, causing them to go limp by midday.
Why It’s a Great Transition Style
If you are currently sporting long hair and feel terrified about losing your length, this is your safest bet. It gives you the “fresh” feeling of a shorter style while still being long enough to tie back into a bun when you are having a bad hair day or heading to the gym.
6. The Diffused Volumizer
You do not need a fancy cut to look good if your drying technique is on point. Diffusing is the process of using a specialized attachment on your hair dryer to circulate air around the curls without blowing them apart. It is the quickest way to get a “salon” finish at home.
The Science of Airflow
When you air dry, the weight of the water pulls on your curls, often stretching them out and creating a “stringy” look. A diffuser lifts the hair away from your scalp, allowing the curls to set in their tightest, most hydrated form. It also speeds up the process from three hours to thirty minutes.
The “Hover” Method
Start by hovering your diffuser around your head without touching the hair. This sets the product and creates a “cast” (the hard, gel-like shell that locks in definition). Once the hair is 50% dry, you can begin to gently push the curls upward into the diffuser bowl to encourage extra spring.
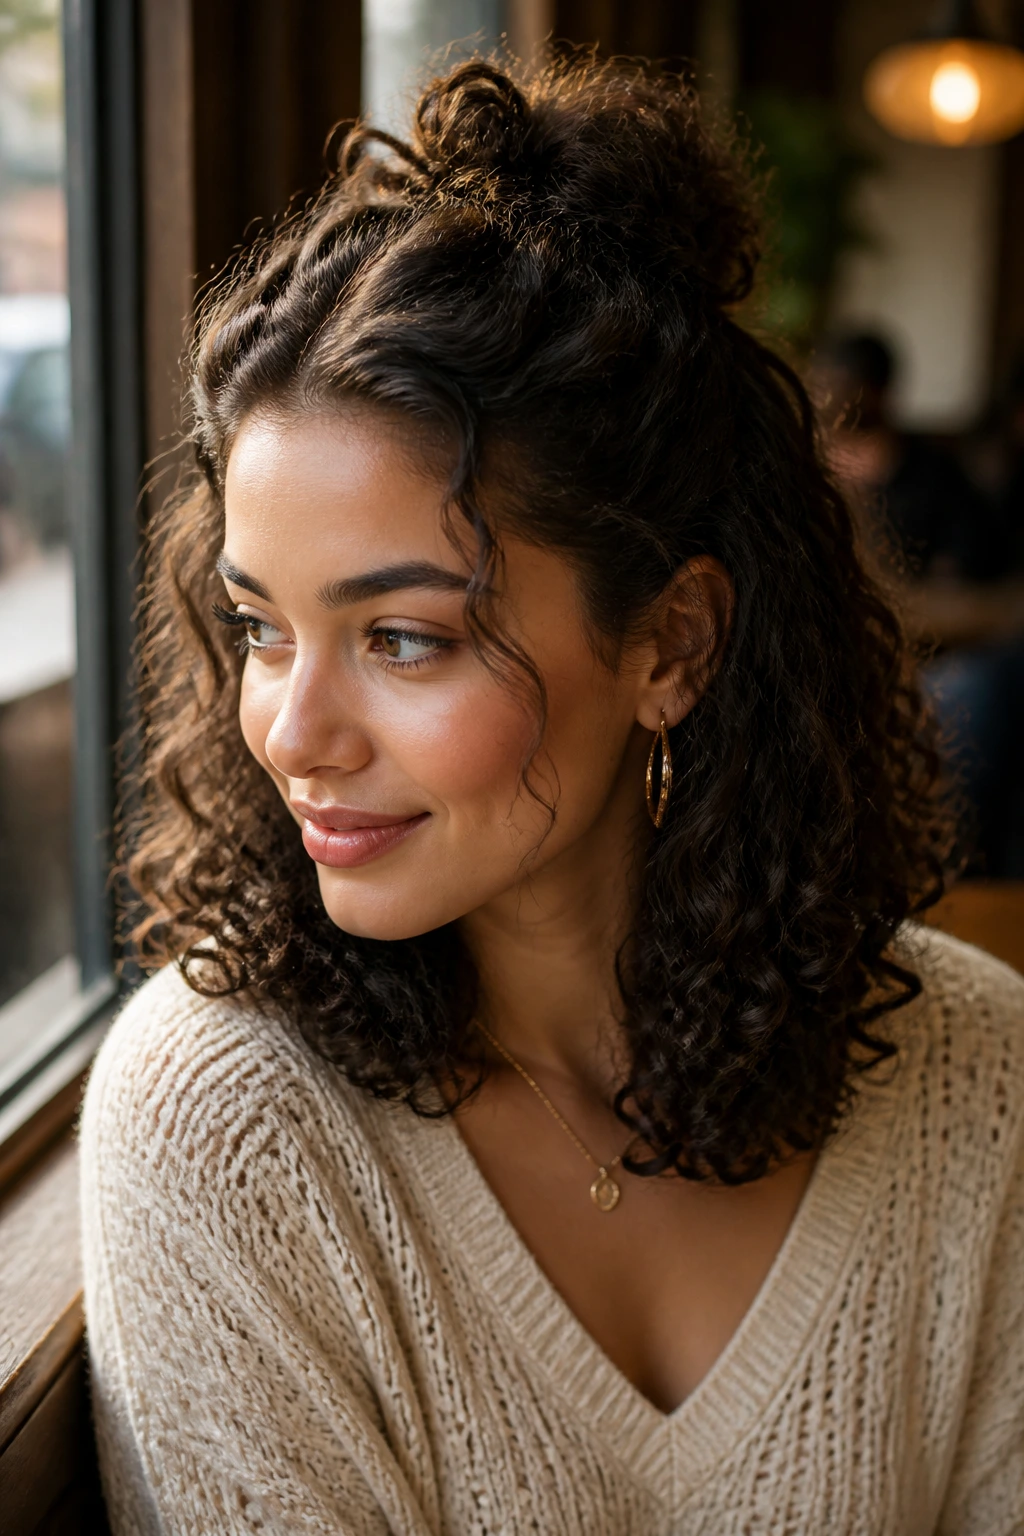
7. The Half-Up, Half-Down Topknot
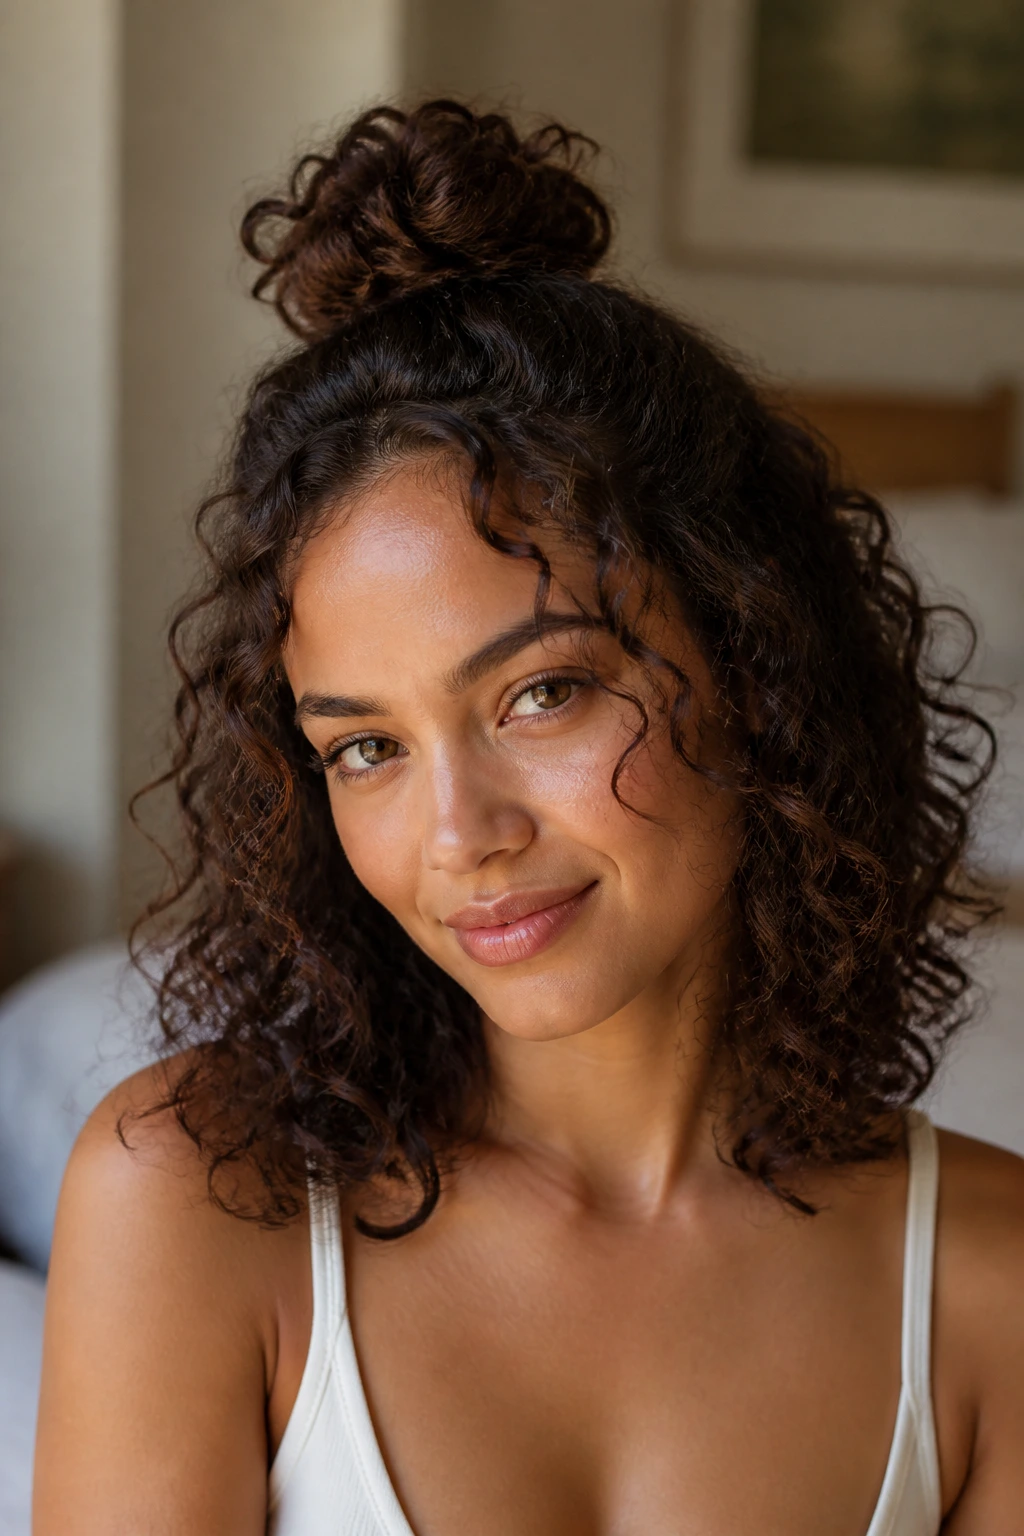
This is the ultimate second-day style. Since shoulder-length hair has just enough bulk, you can pull the top half into a messy knot and leave the bottom half flowing. It is an effortless look that keeps hair off your face while still showing off your pattern.
Avoiding the “Tight-Scalp” Look
Pulling your hair too tightly will cause breakage at the hairline and give you a harsh, pulled-back appearance. Use a satin or silk scrunchie instead of a traditional elastic band. These materials glide over your curls rather than snagging them, which is critical for preventing breakage.
Adding Accessory Detail
If you want to dress up the topknot, try winding a silk scarf around the base. It hides the scrunchie and provides a pop of color. The key here is to keep the knot itself loose and slightly chaotic. If it looks too perfect, it loses that relaxed, cool-girl energy.
8. The Curly Fringe
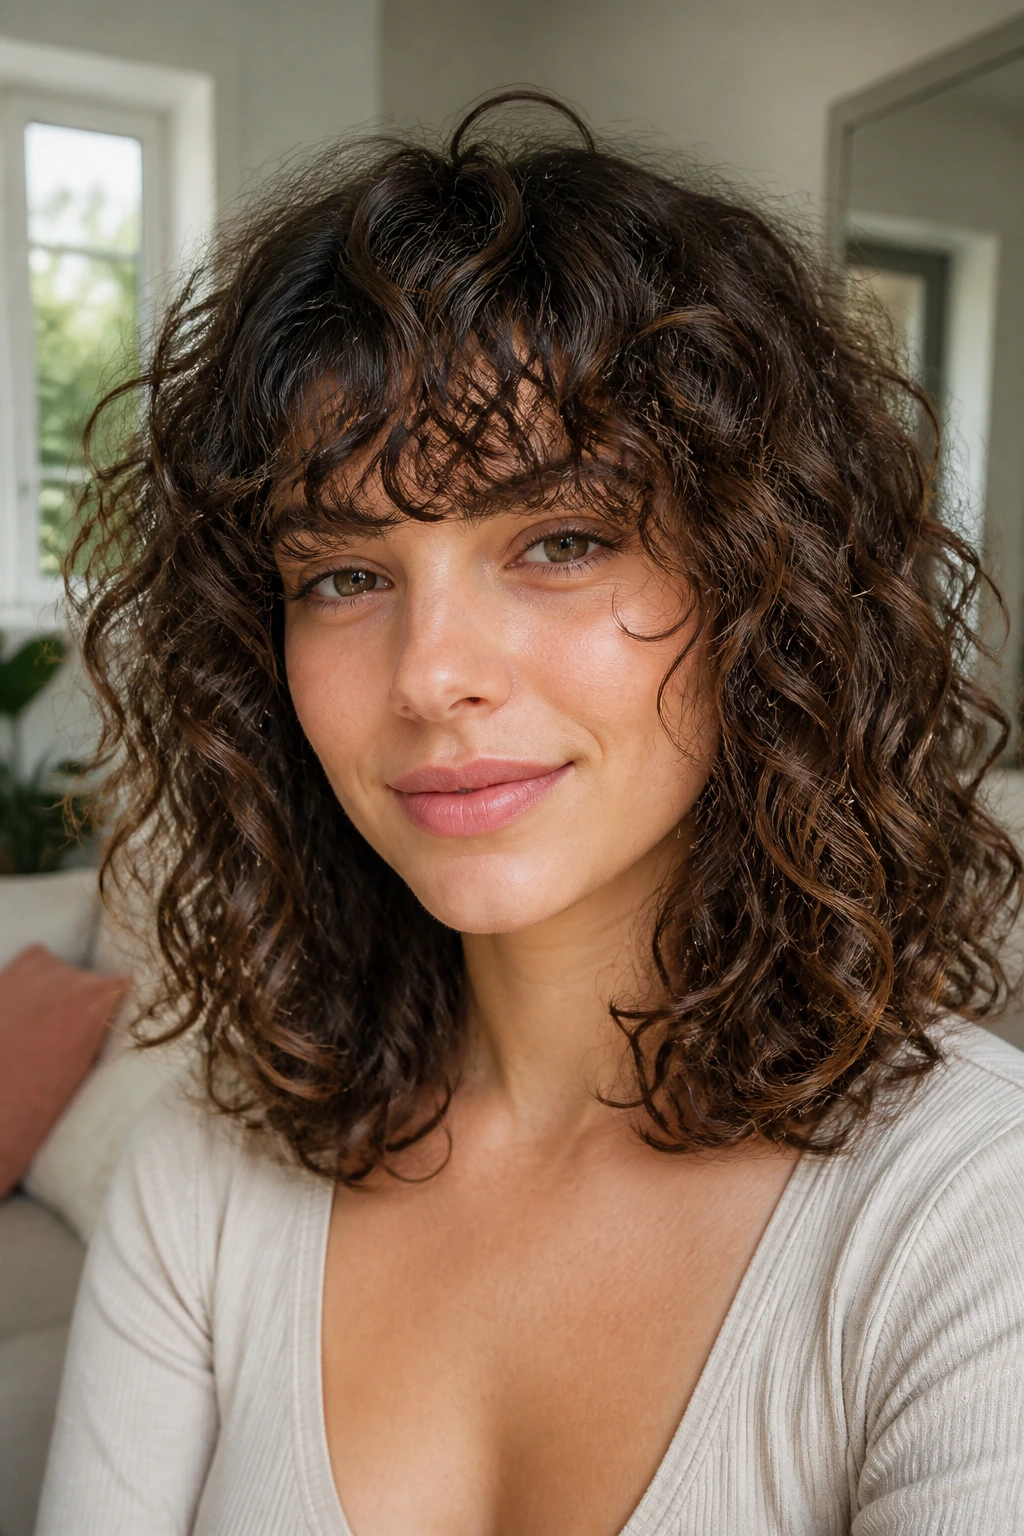
Bang-loving curlies often fear the “fro-bang,” but at shoulder length, a fringe is incredibly balanced. Whether you go for a blunt, heavy look or soft, wispy tendrils, bangs can completely change the personality of your haircut.
Why It Works at This Length
Because your hair isn’t excessively long, the bangs don’t look disconnected from the rest of your head. They blend into the shoulder-length layers, creating a cohesive, retro-inspired aesthetic that feels very intentional.
The Maintenance Reality
You will need to trim your bangs more often than the rest of your hair. Learn to do a “dusting” trim at home. Always cut your hair while it is dry and in its natural curl state. If you cut it while wet, you will almost certainly end up with bangs that are too short once they dry and shrink up.
9. The Low-Maintenance Pineapple
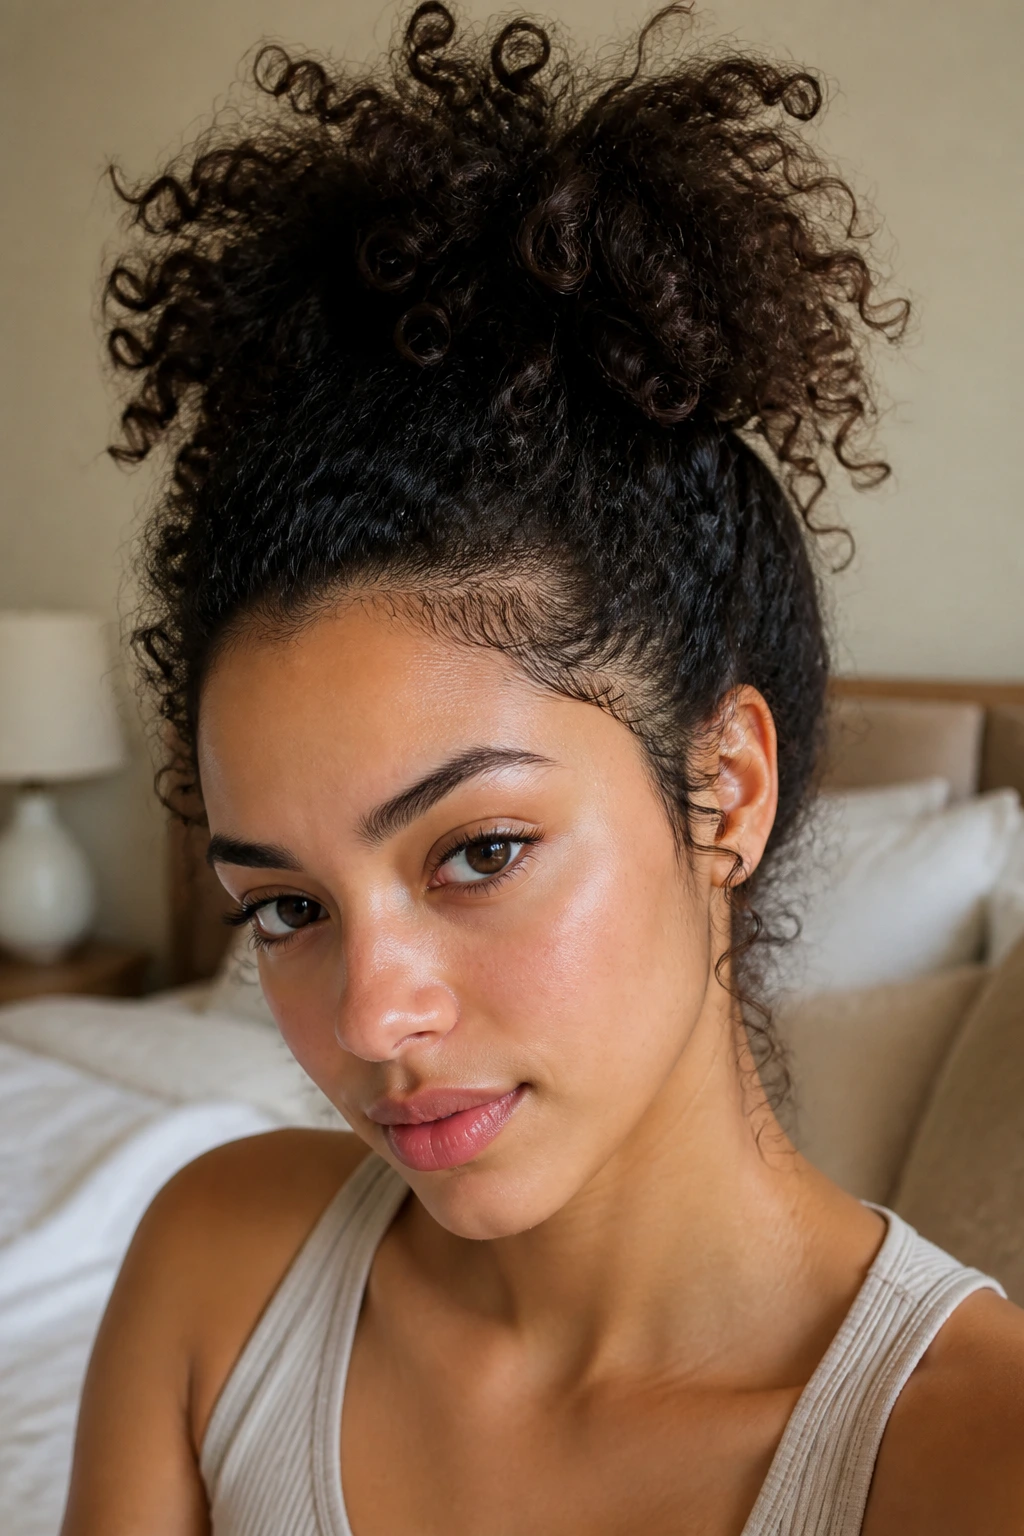
For those who want to wake up with their curls intact, the “pineapple” is the gold standard. By gathering your hair at the very top of your head in a loose, high ponytail, you protect the curls from being crushed against the pillow.
How to Build the Pineapple
Use a loose silk scrunchie. You are not trying to create a polished ponytail; you are trying to keep your curls vertical. Tilt your head forward, gather your hair at the crown, and secure it with one single loop.
Why It’s Better Than a Bonnet
Bonnets are great, but they can be uncomfortable and prone to sliding off during the night. The pineapple works by using gravity. Even if you toss and turn, the curls at the top of your head are rarely compressed, meaning you wake up with volume at the roots rather than flattened, matted sections.
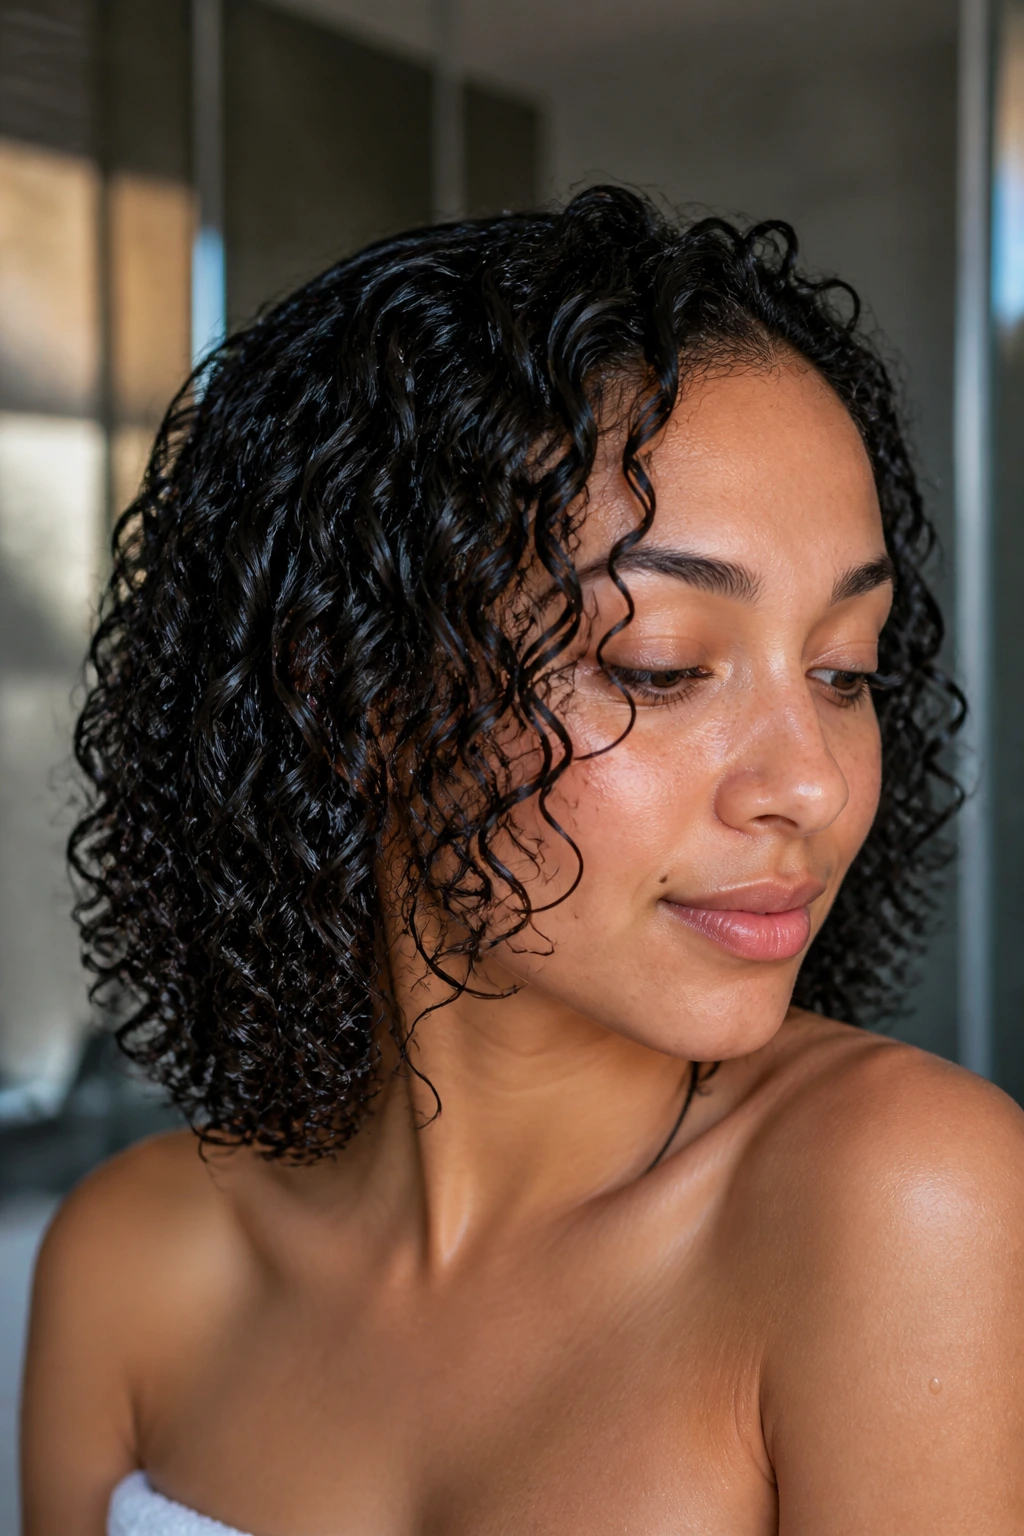
10. The Slicked-Back “Wet” Look
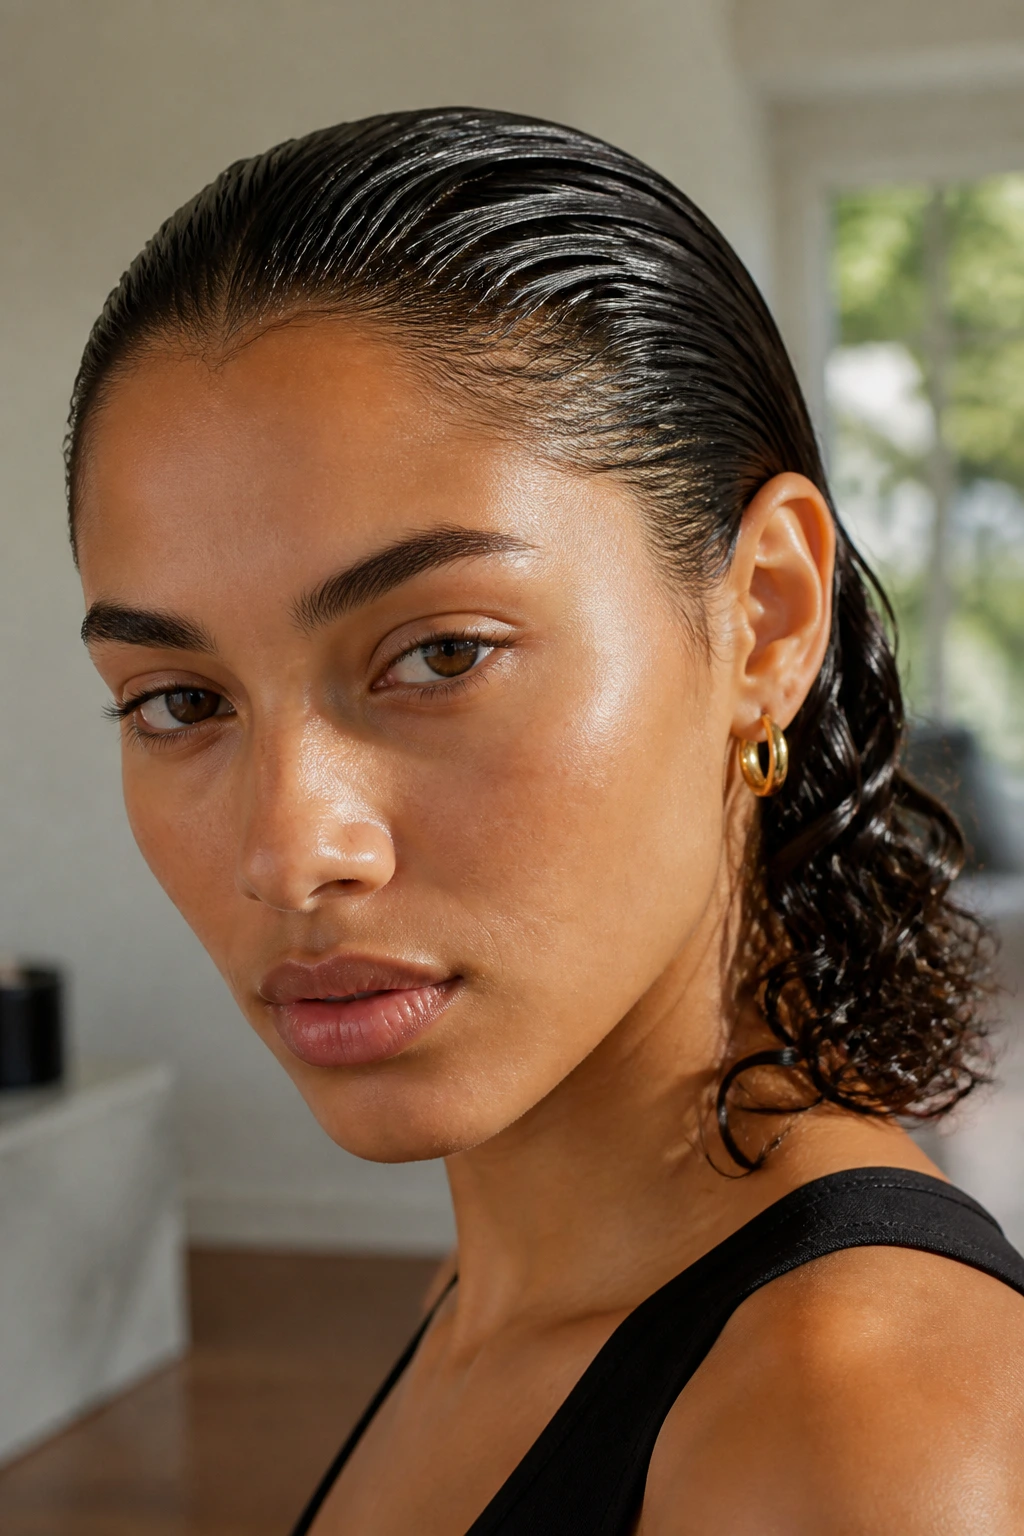
This is a high-fashion, low-effort style that looks like you spent an hour on it. By using a strong-hold gel on damp hair and combing it back, you create a sleek, dramatic shape that contrasts beautifully with the curly ends left loose at the nape.
The Gel Application
You need a gel with a high hold factor—look for ones that dry hard. Smooth it over the top layers with a boar-bristle brush, making sure to work it through the roots thoroughly. Once the top is sleek, stop messing with it. Let it air dry completely so the gel cast hardens.
Finishing the Style
If you want a bit of softness, use a drop of lightweight oil to break the cast on the ends only, leaving the top slick and shiny. This look is perfect for dinner dates or occasions where you want your face to take center stage, but your hair still needs to show off your texture.
11. The Diffused Roots for Volume
If your curls are naturally flat at the crown, you have a volume problem. No matter how much product you apply, the weight of your hair will always pull it downward. The solution isn’t more product—it’s root lifting.
The Root Clipping Technique
This is a game-changer. Use small, flat metal clips to lift your roots while your hair is damp. Place the clips right at the scalp where you want extra height, “locking” the curl in a lifted position.
Why This is Better Than Teasing
Teasing your hair causes severe damage to the cuticle and creates a frizzy mess. Root clipping is a mechanical way to create height without disturbing the integrity of the curl pattern. It takes an extra five minutes, but the result is a salon-worthy blowout shape that lasts all day.
12. The Modern Mullet/Wolf Cut
It sounds bold, but a “wolf cut” on curly hair is essentially a blend of a shag and a mullet. It features shorter layers at the top and back, with longer, sweeping layers that fall around your shoulders. It is edgy, fun, and extremely popular for those who want their hair to feel like a statement piece.
Managing the Edginess
This style thrives on texture. Use a sea salt spray or a texture paste to rough up the layers. You don’t want your curls to look perfectly uniform here—you want them to look lived-in and wild.
Why It Suits Shoulder Length
When you have this cut, the length becomes your best friend. It keeps the “mullet” from looking too short or severe, providing just enough hair to frame your shoulders beautifully. It is a great choice if you are bored with traditional, symmetrical cuts and want something that feels like it has real movement.
13. The Half-Moon Bun
Unlike a traditional topknot, the half-moon bun is a softer, looser style that tucks the hair back without being tight. Take two small sections from the front, twist them loosely, and pin them at the back of your crown to create a relaxed, romantic look.
Why It Works for Shoulder Length
Your hair is the perfect length to avoid having a giant, heavy bun at the back. It stays secure without needing twenty bobby pins. This look is incredibly flattering for wedding guests or casual brunch outings where you want to look “done” but not “styled.”
Keeping the Texture Alive
Use a texturizing spray before you twist the sections. This gives the hair enough grip so that your bobby pins don’t slide out throughout the day. It also creates a soft, hazy finish that looks very soft and touchable.
14. The Headband Trick
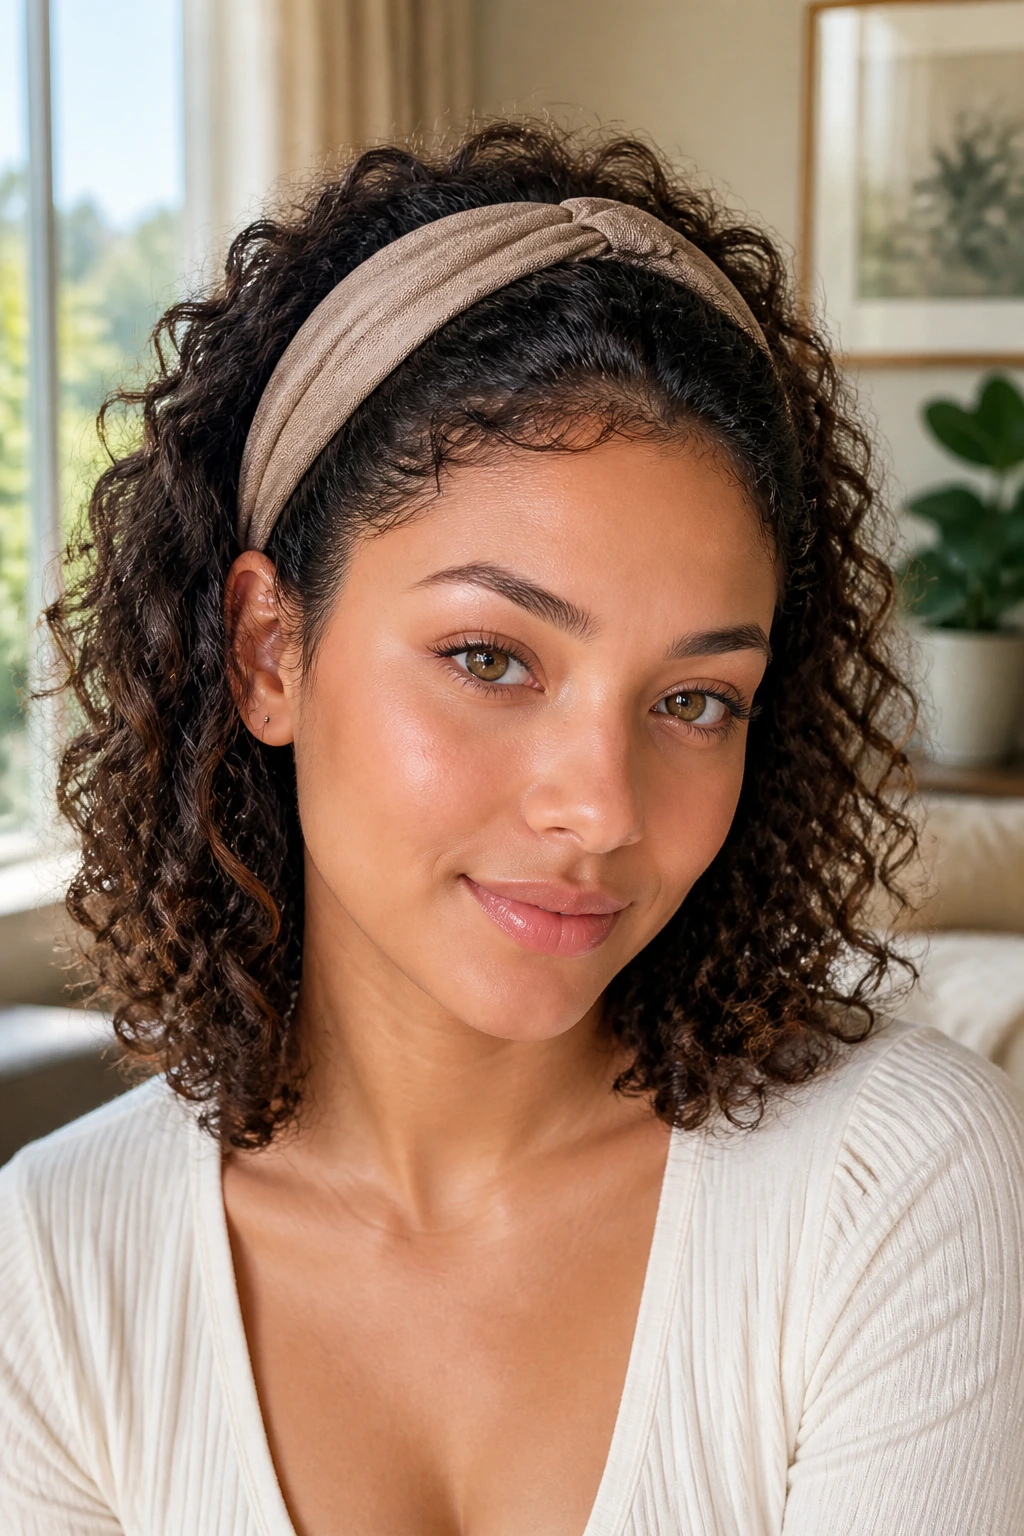
When you are two days past your wash day, a headband is your best friend. It pulls the hair back, hides flat roots, and allows the rest of your hair to keep its natural, messy volume.
Choosing the Right Material
Avoid plastic or metal headbands with teeth—they will break your curls and cause major tangles. Go for fabric, silk, or velvet headbands. They are much gentler and often look more intentional, like an accessory rather than just a tool to keep hair back.
The “Volume-Ahead” Method
Push your headband forward just a bit after you put it on to create a small “poof” of volume at the crown. This prevents the headband from giving you a flat, helmet-like look. It makes the style look voluminous and intentional rather than like you are just trying to hide your hair.
15. The “T-Shirt” Drying Technique

If you are still using a terry-cloth towel to dry your hair, you are essentially creating frizz on purpose. The texture of a standard towel is too rough, and the heat-trapping nature of the cotton will disrupt your curl pattern the second you touch your hair.
Switching to Microfiber or Cotton
Use an old cotton T-shirt or a dedicated microfiber hair towel. Simply wrap your hair in it and leave it on for about ten minutes—a process often called “plopping”—before letting your hair air dry. This removes excess moisture without “roughing up” the hair strands.
Why it Matters
When you use a standard towel, you create micro-friction. This lifts the cuticle of your hair, leading to frizz that no amount of product can fix. A T-shirt creates a smooth drying environment, allowing the curls to set without disturbance.
16. The Importance of Deep Conditioning
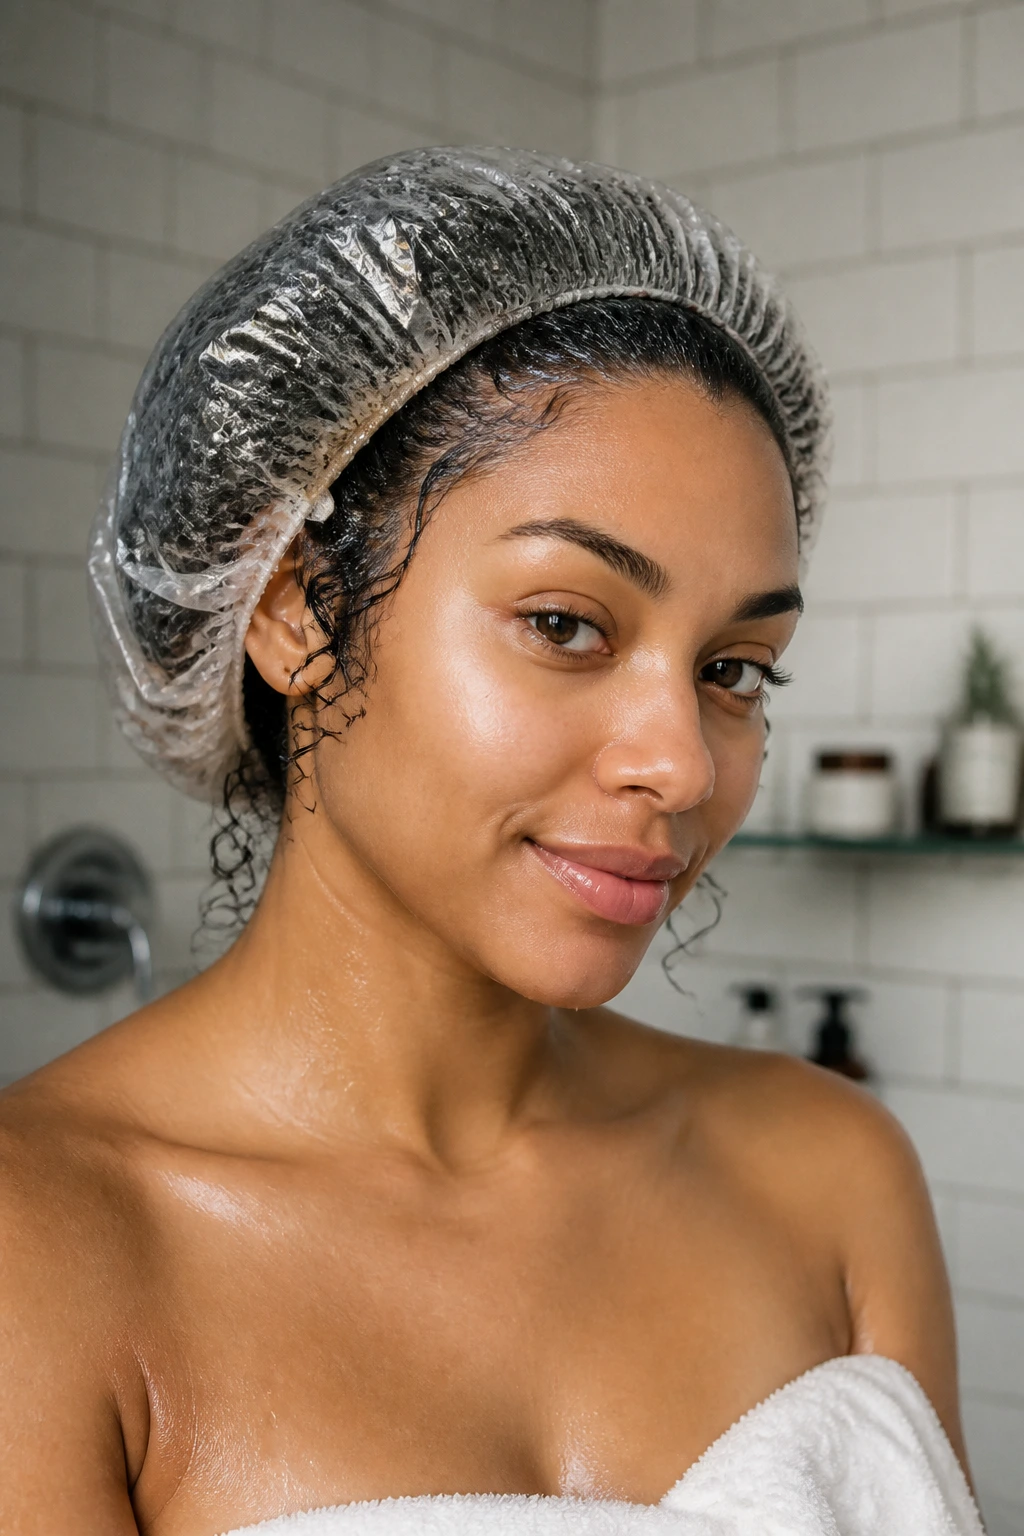
Shoulder-length curly hair is often older hair—meaning the ends have been around for a while. Because oils from your scalp don’t travel easily down a spiral, those ends are often the driest part of your body.
Frequency Matters
You should be deep conditioning at least once a week. Apply the mask to your hair, put on a shower cap, and let it sit for at least twenty minutes. The heat from your head will help the product penetrate the hair shaft rather than just sitting on top of it.
Choosing the Right Ingredients
Look for masks with shea butter, avocado oil, or keratin. If your hair feels “gummy” or overly soft, you need protein. If it feels brittle and snaps when you pull it, you need moisture. Learn to identify the difference, as both are crucial for maintaining healthy, bouncy curls.
17. The “Refresh” Morning Routine
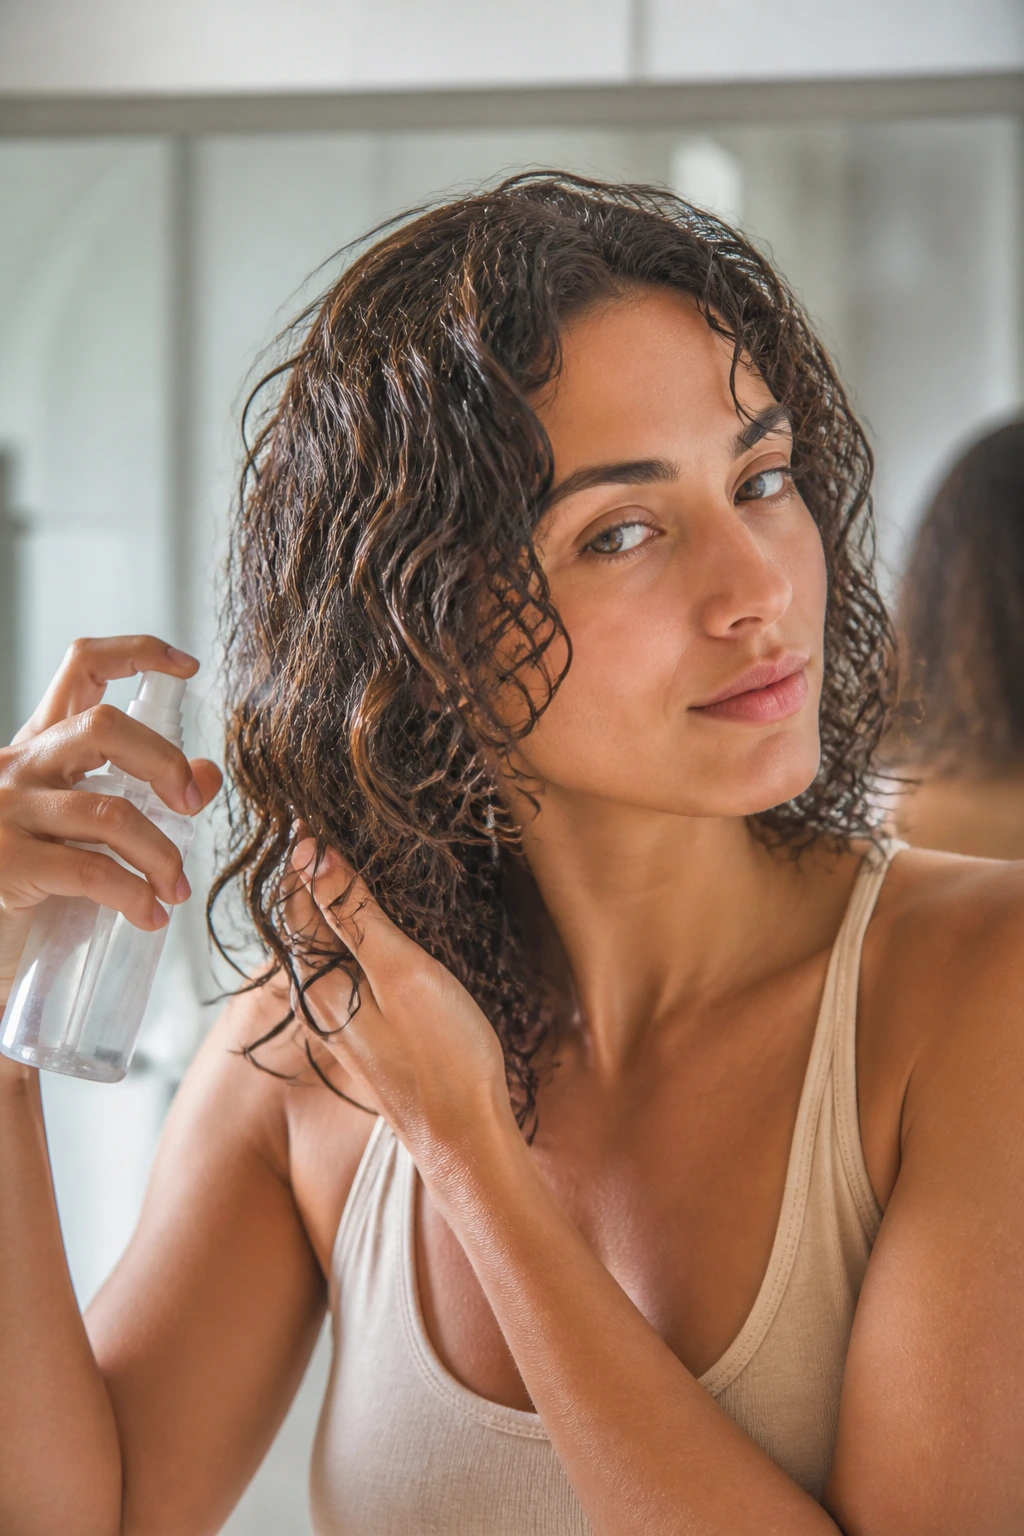
Nobody wants to wash their hair every day. A “refresh” is the act of reviving your curls on day two or three without a full wash. The secret is to keep it simple—don’t get your hair soaking wet, or it will never dry in time for work.
The Spray Bottle Method
Mix a small amount of your leave-in conditioner with water in a fine-mist spray bottle. Lightly spritz your hair, then “re-scrunch” the curls with your hands. This reactivates the product that is already in your hair.
The “Prayer Hands” Fix
If you have a few wonky, frizzy sections, dampen your fingers and smooth them over those specific curls using the prayer-hands technique. Follow up by twisting the curl around your finger for ten seconds. This gives it a fresh, defined look that blends perfectly with the rest of your hair.
18. The Seasonal Shift in Products
Your hair needs will change based on the humidity and temperature of your environment. In the warmer months, you might need a lighter, gel-based product to prevent your hair from collapsing in the moisture. During colder, drier months, you will likely need heavier creams to combat static and dryness.
The Humidity Factor
If you live in a humid climate, look for products that contain “humectant-free” or anti-humectant ingredients. These help seal the hair against the excess water in the air, preventing the hair from absorbing moisture and expanding into a frizz ball.
The Dry Weather Factor
In the winter, your hair becomes a magnet for static. Switch to a hydrating oil that you can smooth over your hair once it is dry. This provides a protective barrier that keeps your curls defined and minimizes the flyaways that static causes.
19. The “Ghost Layer” Technique

If you have really dense, coarse hair, you likely deal with weight issues. A ghost layer—or invisible layer—is a cutting technique where the stylist removes bulk from the inside of the hair sections without changing the exterior length or shape.
Why This Beats Standard Layers
Standard layers can sometimes leave your hair looking “choppy” if your stylist isn’t careful. Ghost layers allow your curls to sit flatter and smoother against your head without sacrificing the uniform, “finished” look of a blunt cut.
Who Should Ask for This
Anyone with hair that feels “heavy” or “bottom-heavy.” It is particularly effective for shoulder-length hair, where the weight can easily make the hair look like a pyramid. It is a subtle change that yields a massive difference in how your curls sit.
20. Avoiding the “Triangle” Shape
The triangle shape happens when hair is cut straight across or with very few layers, causing the bottom to puff out while the top stays flat. To avoid this, you need to ensure your hair has enough internal movement.
The Solution: Graduated Layers
Ask your stylist for graduated layers that start around the chin. This forces the hair to stack properly, creating a rounded or oval shape that complements the face rather than dragging the eye down.
Keeping the Crown Lifted
If you find your hair is still forming a triangle, use root clips while your hair is drying (as mentioned in point 11). Sometimes the shape isn’t a problem with the cut; it’s a problem with the roots not having enough lift.
21. Choosing Between Gel, Cream, or Mousse
The product debate is endless, but here is a simple guide: Creams provide moisture and softness, gels provide hold and definition, and mousse provides volume and lightness. Shoulder-length hair usually thrives on a cocktail approach.
The Cocktail Method
Start with a nickel-sized amount of curl cream for hydration. Follow it with a gel to “lock” the definition. This gives you the best of both worlds—soft, manageable hair that still looks defined at the end of the day.
The Mousse Exception
If you have very fine, thin hair, skip the cream and the gel. Go straight for a high-quality mousse. It will give you the hold you need without the weight that would eventually make your hair go flat.
22. The “Hand-Off” Rule
Finally, the most important rule of all: Don’t touch your hair while it is drying. Every time you touch a damp curl, you are breaking the gel cast, causing the hair fibers to separate and creating frizz.
The Waiting Game
Once you have applied your product and scrunched, step away from the mirror. Do not comb it, do not tuck it behind your ears, and do not play with it. Wait until the hair is 100% dry and the cast is hard.
Breaking the Cast
Once it is completely dry, use a small drop of hair oil on your palms and gently scrunch the hair to “break” the cast. This turns that crunchy, gel-like texture into soft, bouncy, defined curls. This is the moment where the style truly comes together.
Final Thoughts
Shoulder-length curls are arguably the most versatile hair length you can have. They allow you to experiment with layers, fringes, and updos without the overwhelming maintenance of waist-length hair. The secret to mastering this length is not in finding the one “perfect” product, but in understanding how your specific curl pattern interacts with gravity and moisture.
Don’t be afraid to try new techniques, like root clipping or the pineappling method, even if they feel like extra effort at first. As you refine your routine, these steps will become second nature. Treat your curls with patience, avoid the temptation to over-style them while they are drying, and you will find that this length isn’t just manageable—it is a joy to wear.