Many people assume that achieving the perfect, bouncy curl requires an expensive salon visit or a high-heat tool that eventually fries the hair. Yet, one of the oldest methods in the book—pin curls—remains the secret weapon for those of us with Latina hair. Whether your hair is fine, thick, wavy, or spiraled, pin curls offer a way to create defined, frizz-free texture without a single drop of heat damage. This technique isn’t just about vintage aesthetics; it’s about giving your natural hair the structure it needs to hold a style for days.
The beauty of pin curls lies in their versatility. You can use them to stretch out tight coils, add volume to limp waves, or create those classic, polished ringlets that define many traditional Latina hairstyles. Because Latina hair often carries a unique blend of textures—sometimes dry at the ends but oily at the roots—mastering the art of wrapping and setting allows you to control where the volume sits and how the pattern behaves. By working with damp hair and a bit of setting lotion, you aren’t just styling your hair; you are training it to sit exactly how you want it to look the next day.
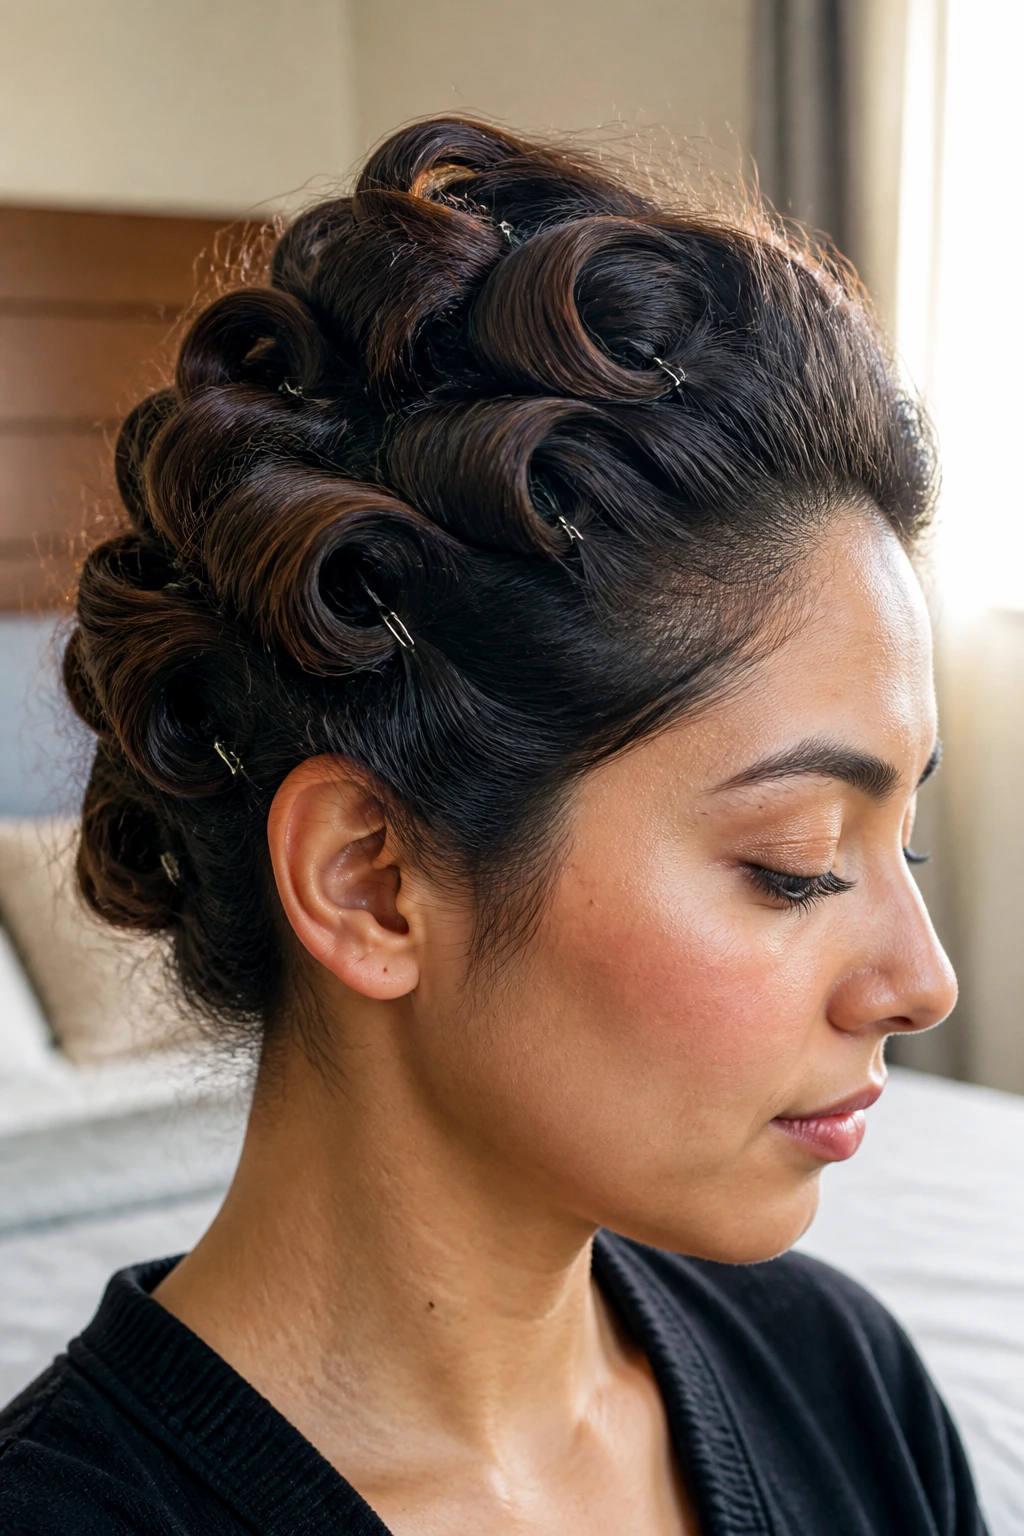
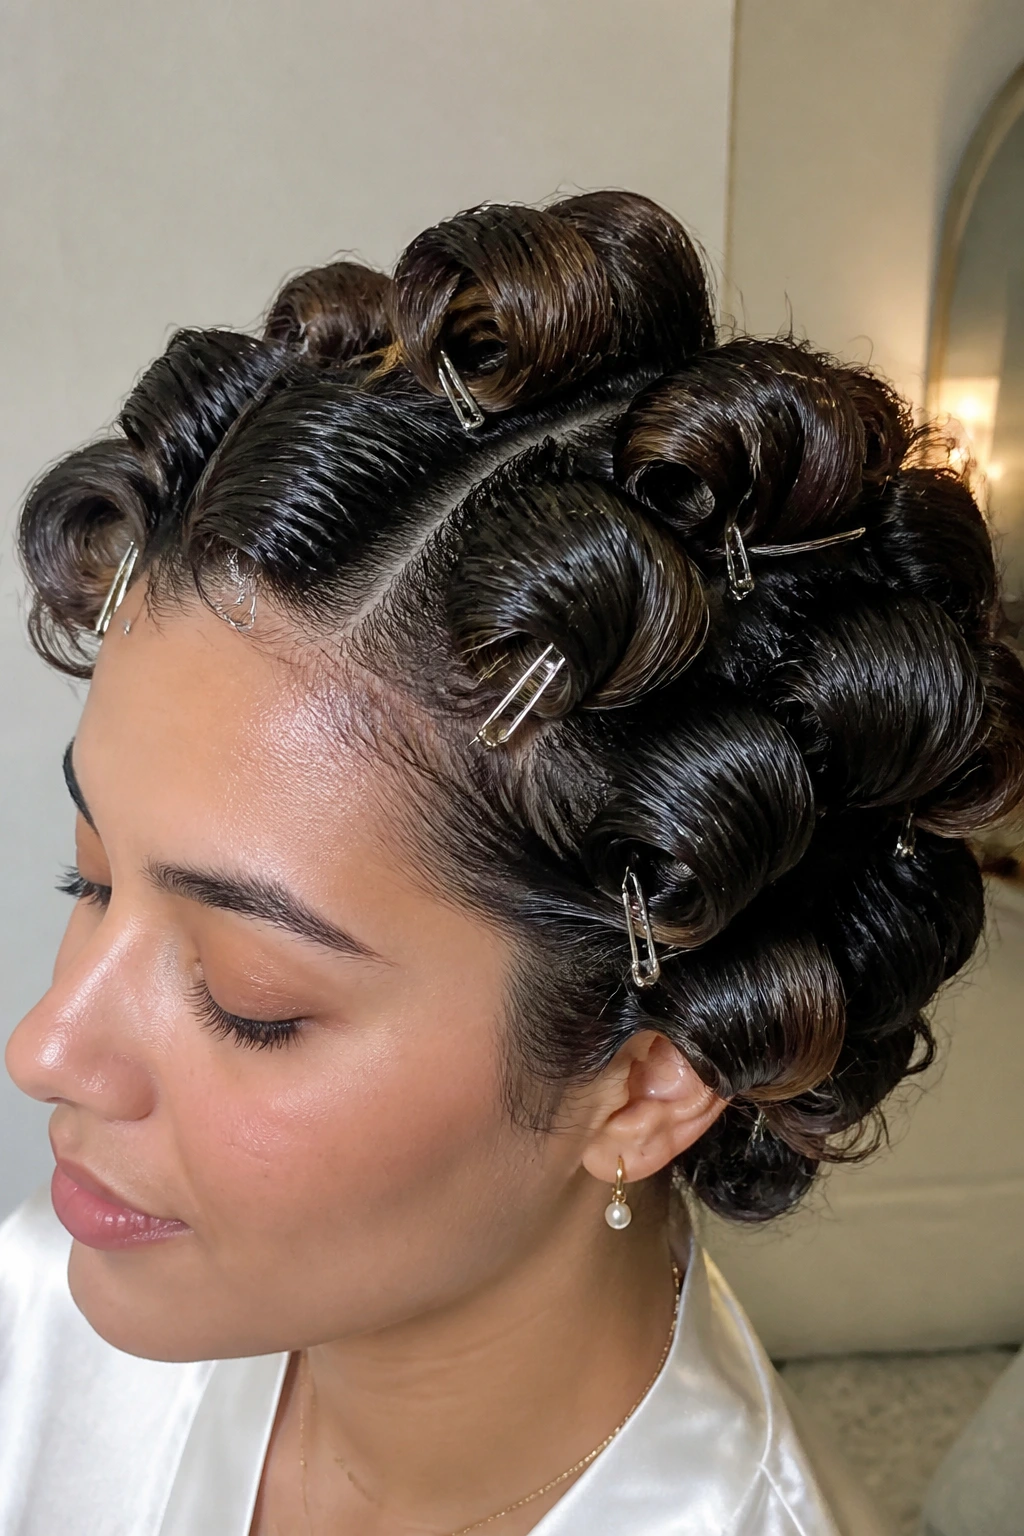
1. Classic Smooth Roll Pin Curls
This is the foundational technique. You start by taking a small, one-inch section of damp hair. Wrap the end of the hair around your index and middle finger, rolling it toward the scalp. Once you reach the root, slide your fingers out and hold the loop flat against your head. Secure it with two bobby pins placed in a cross pattern to prevent slipping. This method provides the most uniform, traditional wave pattern suitable for formal gatherings or a night out.
Why This Works for Thick Textures
Thick, dense hair can be heavy, making it difficult to maintain a curl pattern all day. By using the classic roll, you distribute the tension evenly across the hair shaft. This encourages the hair to stay coiled as it dries, locking in the shape for longer periods.
Pro Tips for Success
- Always use a lightweight foam wrap to ensure the curl holds without feeling crunchy.
- If your hair is particularly long, double-roll the hair around your fingers to keep the loop small and tight.
- Ensure the hair is completely dry before removing the pins; otherwise, the weight of the damp hair will cause the curl to drop immediately.
2. Twisted Ribbon Pin Curls
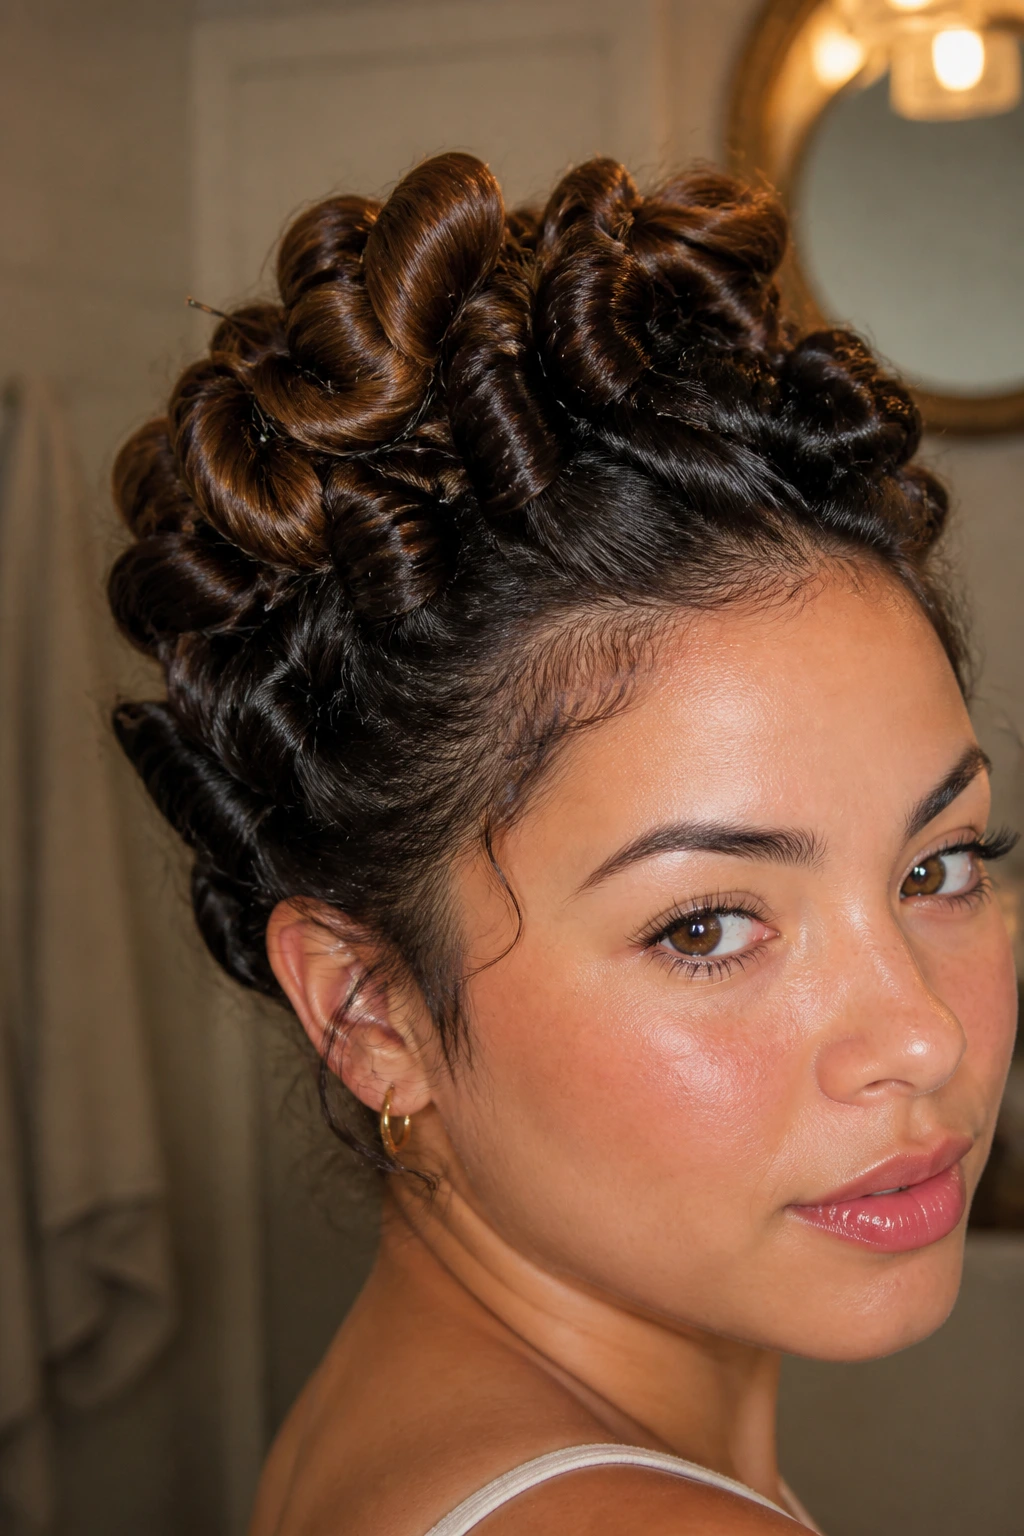
For a more modern, slightly textured look, the twisted ribbon method is a game changer. Instead of rolling the hair into a perfect loop, you twist the section of hair until it starts to coil back on itself, then wrap that rope-like strand into a pin curl. This creates a springier, more natural-looking coil that mimics the look of a wand-curled style.
Achieving the Perfect Spiral
The twist adds a bit of tension that mimics the natural spring of textured hair. When you unravel the pin curl after the hair is dry, the strand retains that tiny, corded texture, giving you incredible definition that lasts through humidity and wind. It’s an ideal way to add bounce to hair that tends to fall flat near the crown.
3. Flat-Pinning for Volume
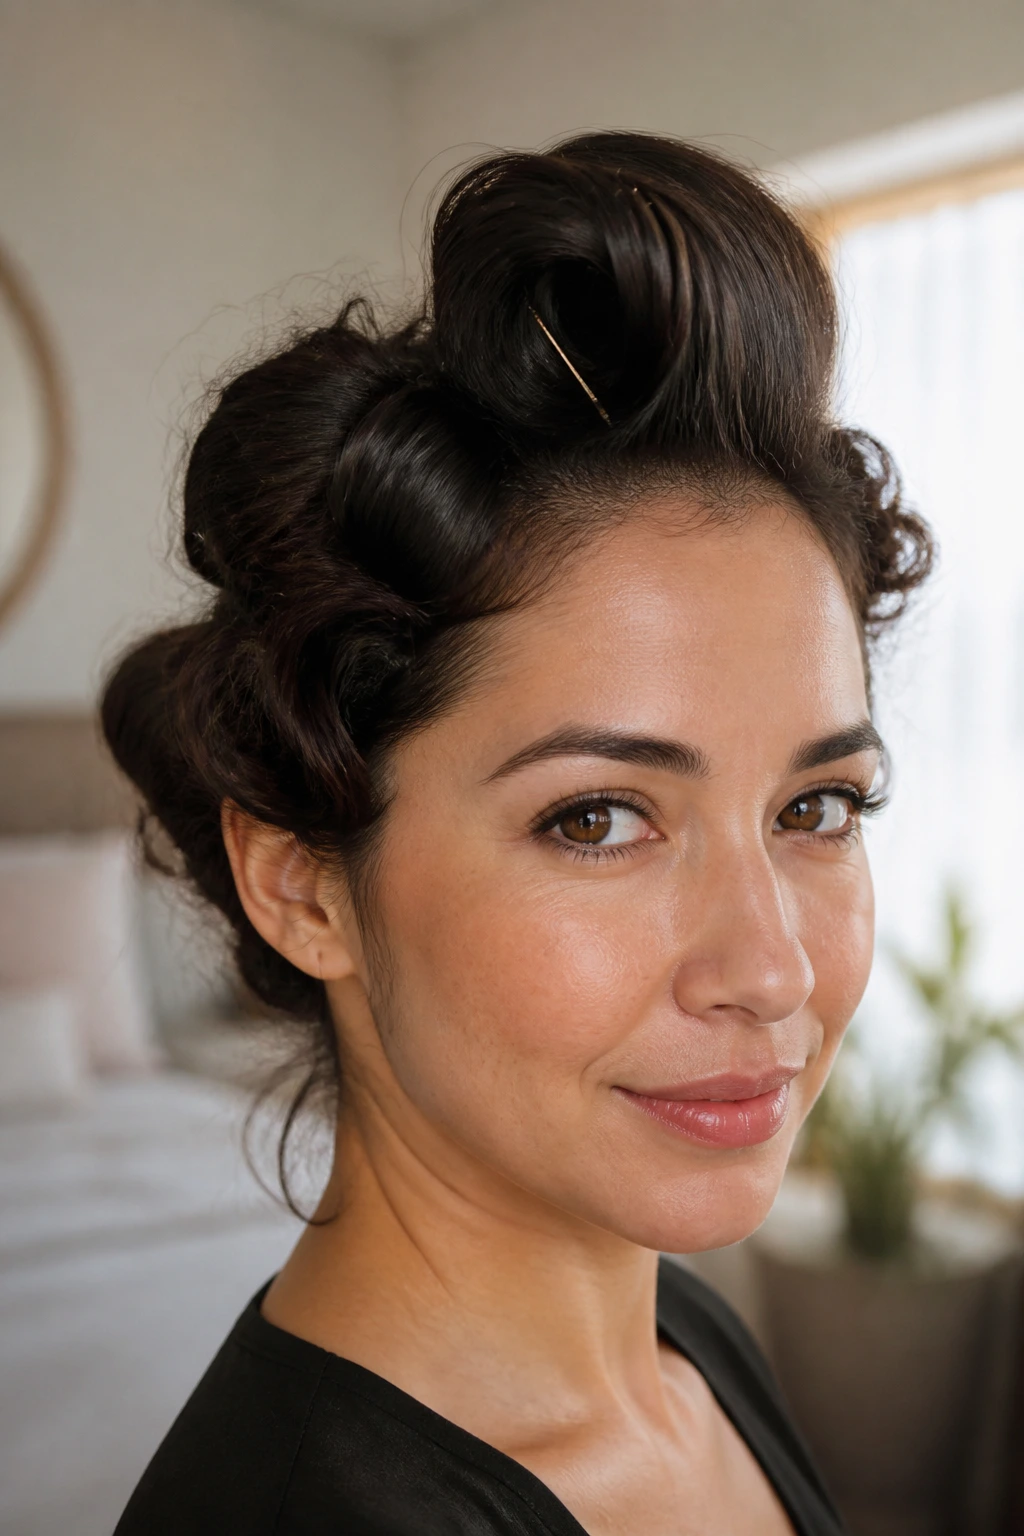
If your goal is root lift rather than tight ringlets, flat-pinning is your best friend. You gather a larger section of hair at the crown, roll it toward the scalp, and pin it so the roll sits vertically. By pinning the roll upright, you force the hair to stand away from the scalp as it dries.
Why You Should Use This Method
- Great for short layers that need height.
- Eliminates the flat, “helmet” look often associated with thick hair.
- Allows for better airflow to the scalp, which speeds up the drying time for dense, coarse textures.
4. Finger-Coil Pin Curls
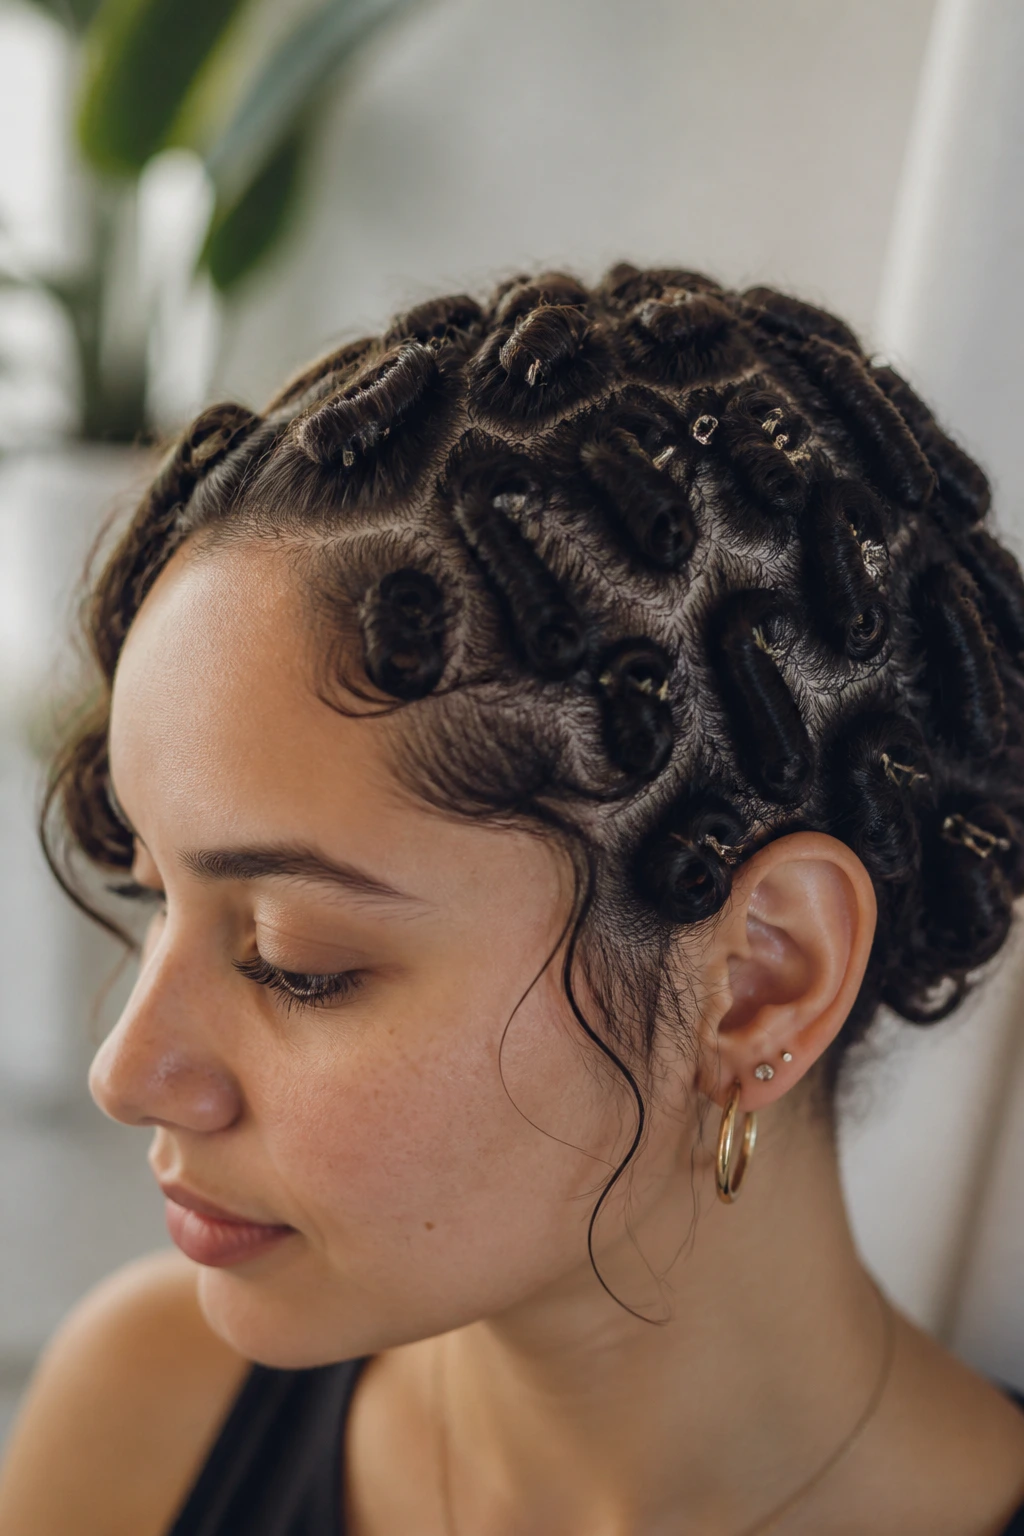
Sometimes called “shingle” pin curls, this method is specifically for those with tighter curl patterns who want to define each individual spring. Apply a generous amount of curl cream to soaking wet hair. Wrap a tiny sliver of hair around your finger, slide it off, and pin it flat against your scalp.
The Resulting Texture
This is a high-effort, high-reward technique. You are essentially creating “corkscrew” curls that look like they were styled for hours. It’s perfect for weddings or family parties where you need your hair to stay perfectly defined for the duration of the event.
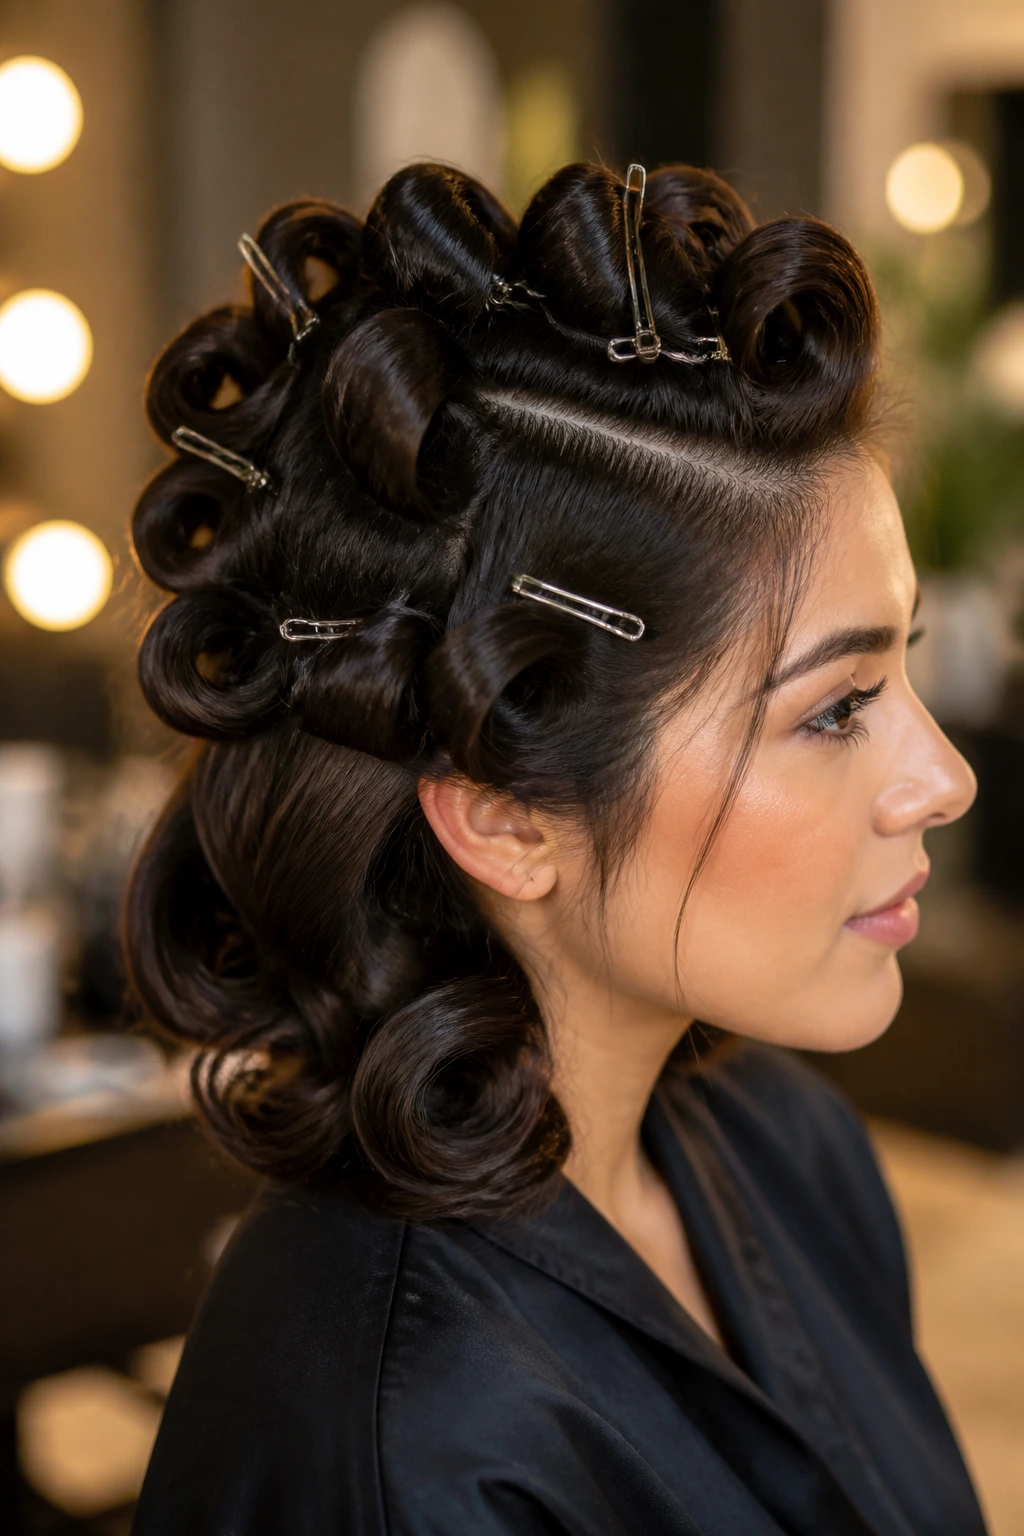
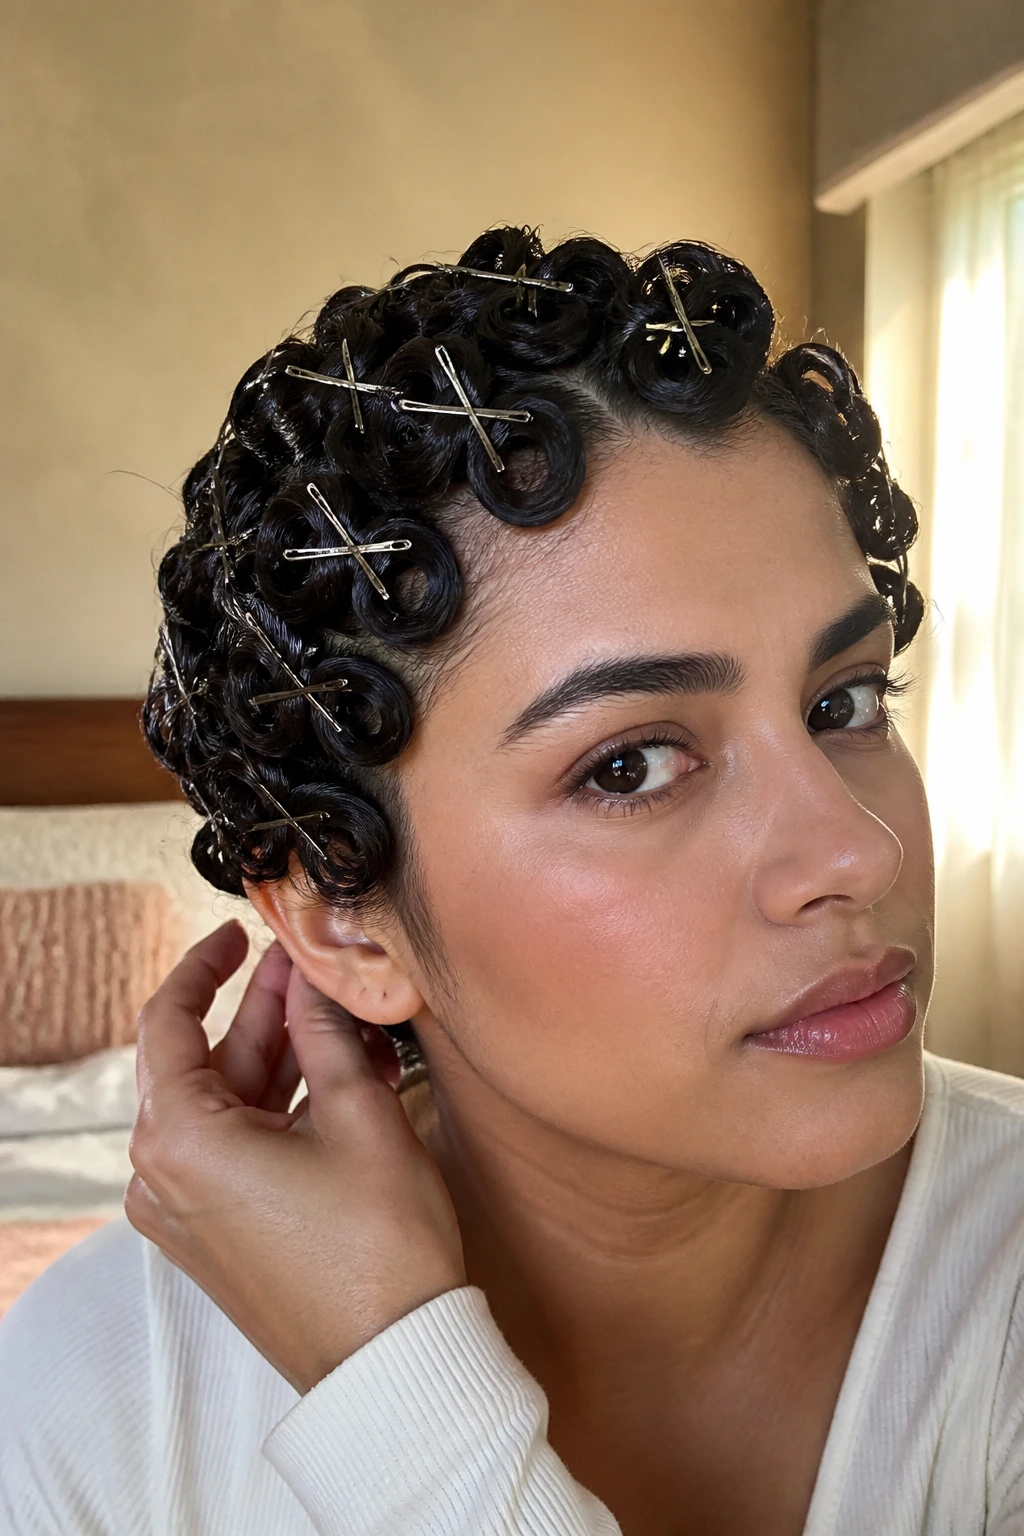
5. Crisscross Bobby Pin Security
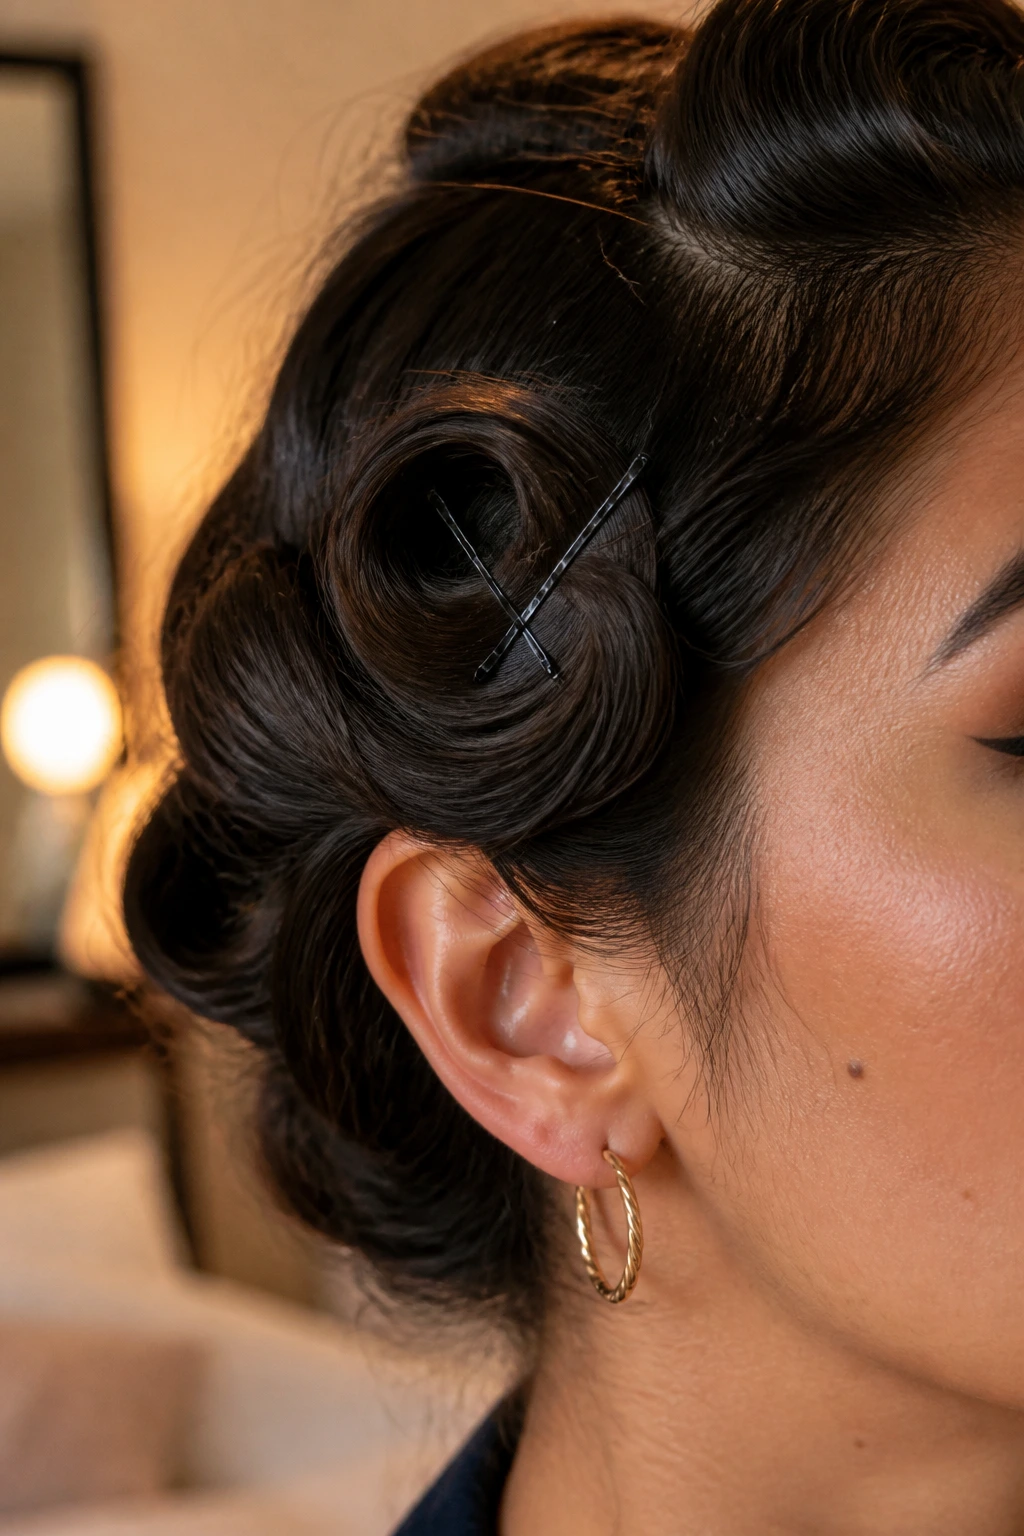
Regardless of the roll method you choose, the way you pin matters. Most people stick one pin through the roll and call it a day, but this is why curls slide out or create a weird dent. Instead, use two pins to create an “X” or cross pattern through the base of the curl.
Avoiding the Dent
To ensure your hair doesn’t get that annoying pin mark, place the flat side of the bobby pin against your scalp. If you have fine hair, look for “no-slip” rubber-coated pins that offer a better grip without requiring you to pull the hair too tight.
6. The “S-Wave” Pin Curl
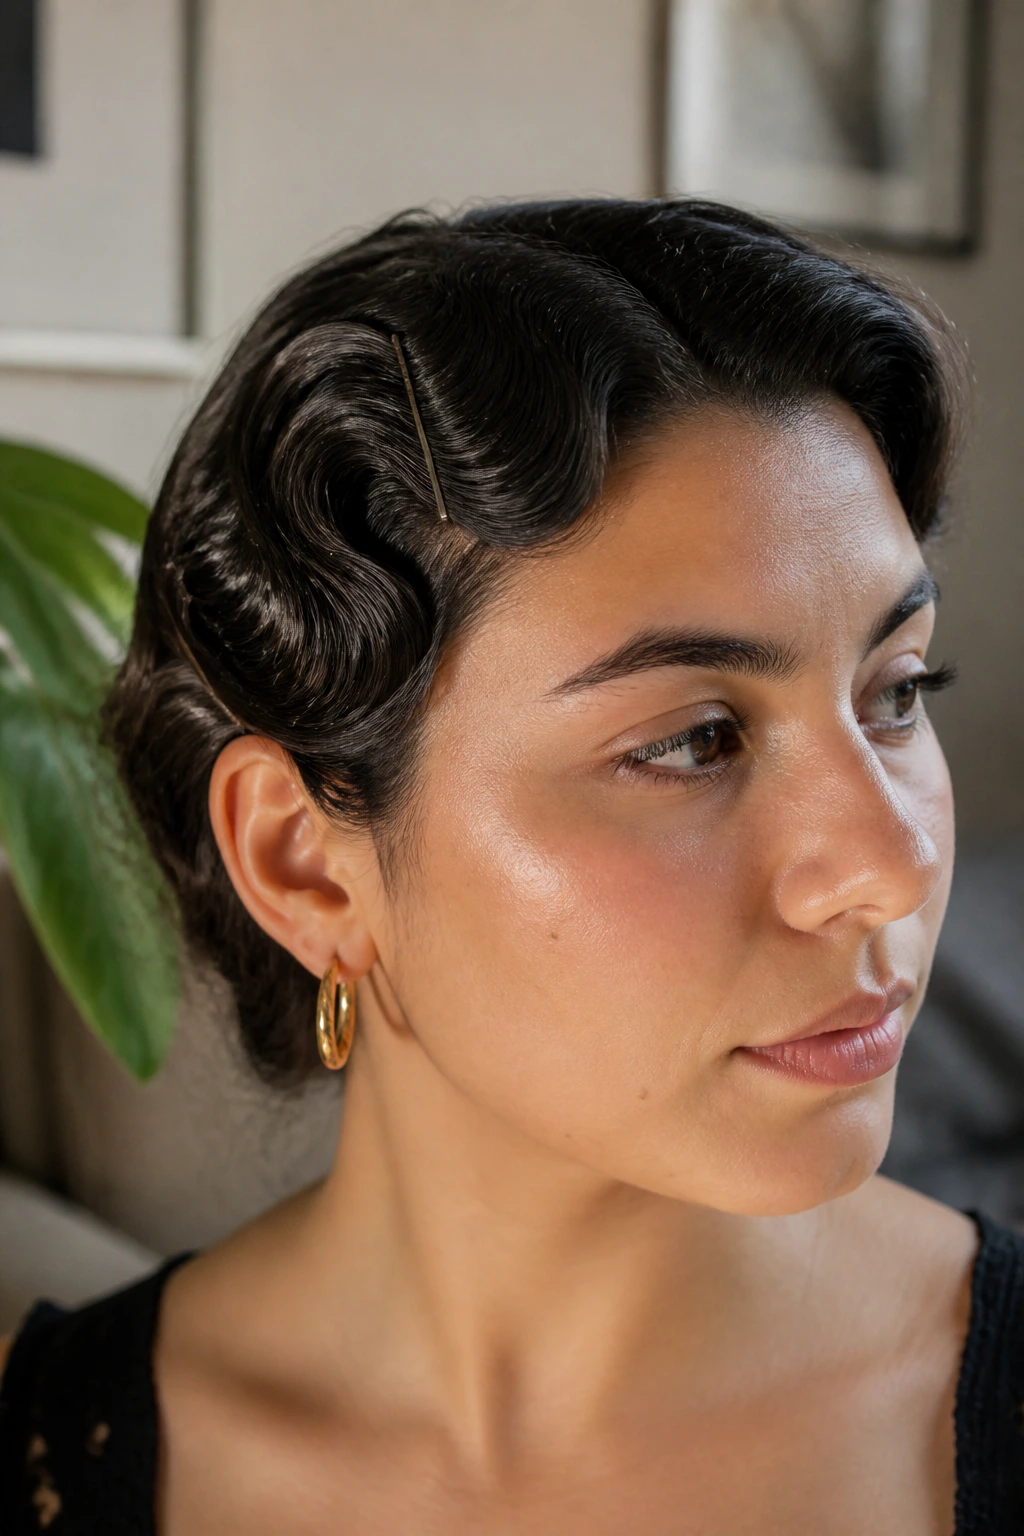
For a vintage, Hollywood-inspired vibe, you don’t want a full ringlet. You want an S-wave. To achieve this, create a pin curl but flatten it so it forms an oval shape rather than a tight circle. When you pin this down, the hair takes on a soft, undulating wave shape rather than a bouncy ringlet.
Who This Style Suits Best
- People with layered cuts looking for a soft, face-framing effect.
- Those attending events where a polished, “old-money” aesthetic is required.
- Anyone with medium-length hair that needs to look sophisticated without excessive volume.
7. The Side-Swept Volume Set
If you wear a side part, you know the struggle of keeping that volume on the heavy side. Pin curls can solve this instantly. Take the front section of your hair—the part that you want to frame your face—and pin curl it in the direction you want the hair to fall.
Managing the Part
Pinning the hair away from your face while it dries trains the roots to grow in that direction. Once the hair is fully dry, brush it out with a boar-bristle brush, and that front section will naturally swoop back, creating a voluminous, glamorous look that requires zero heat.
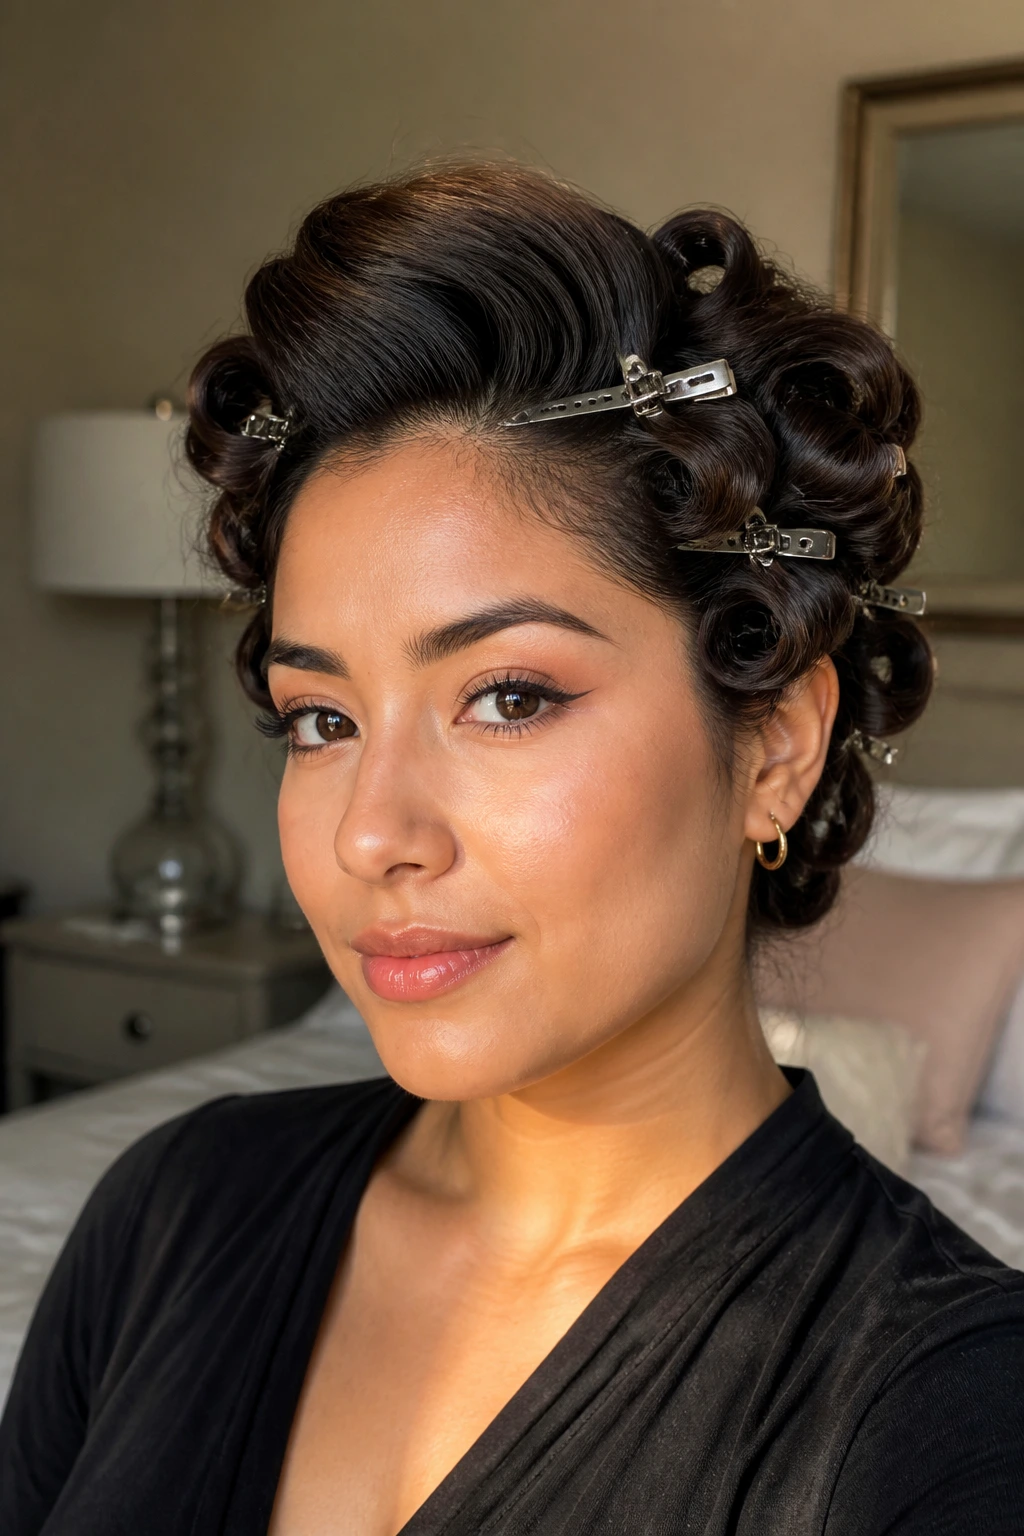
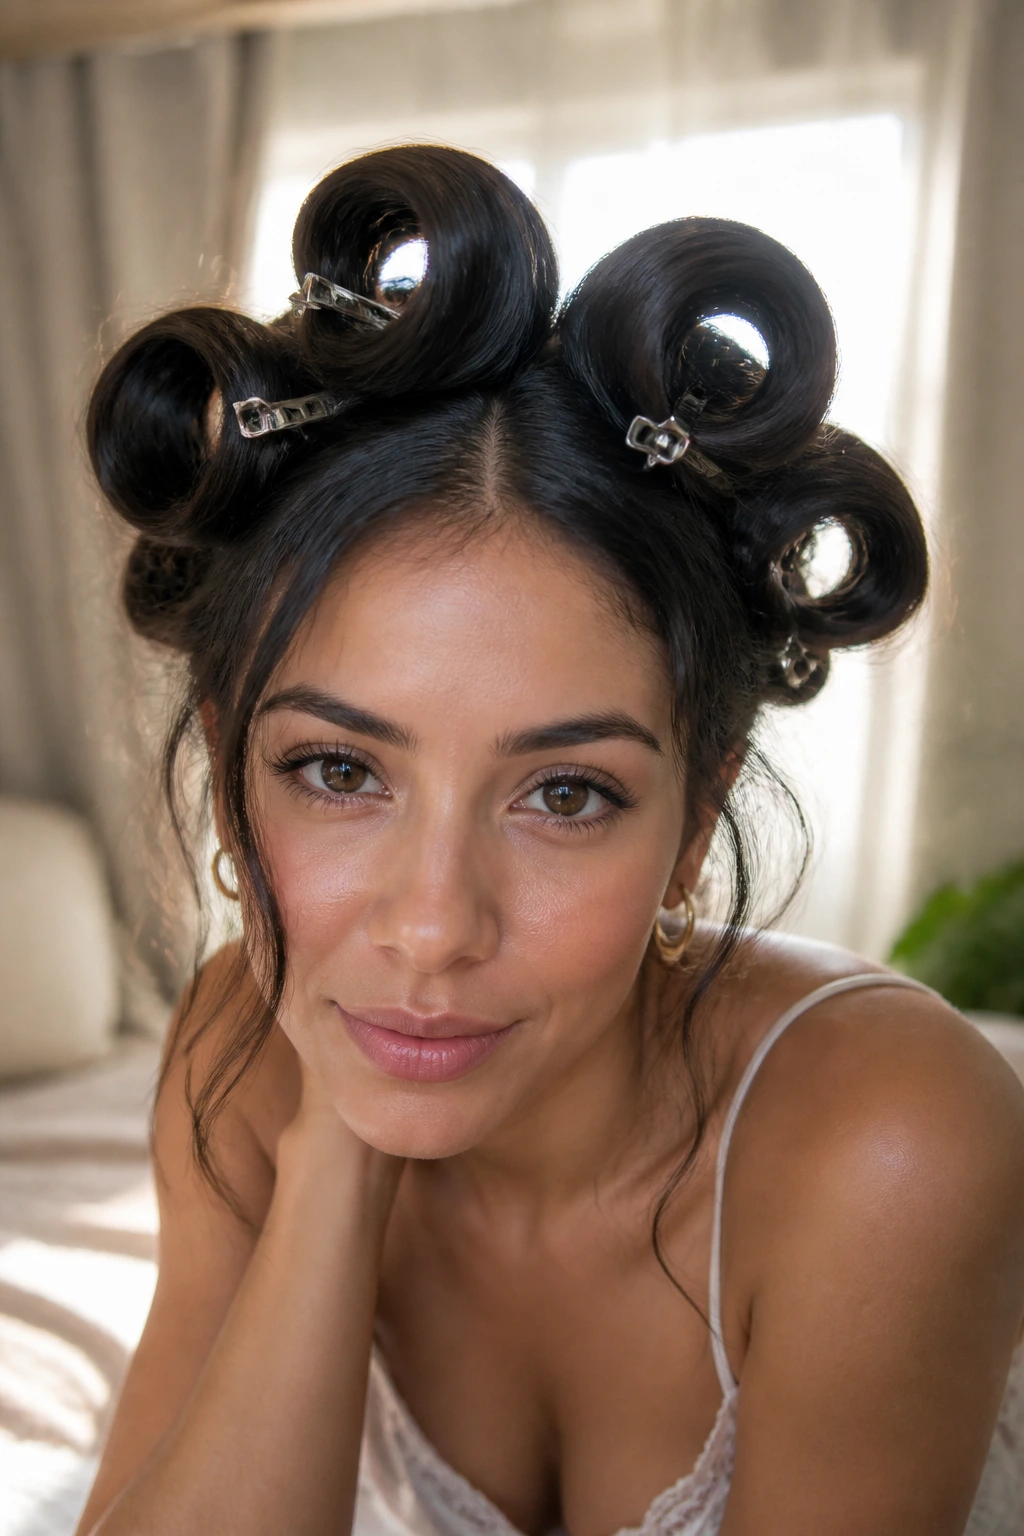
8. Large-Barrel Pin Curls
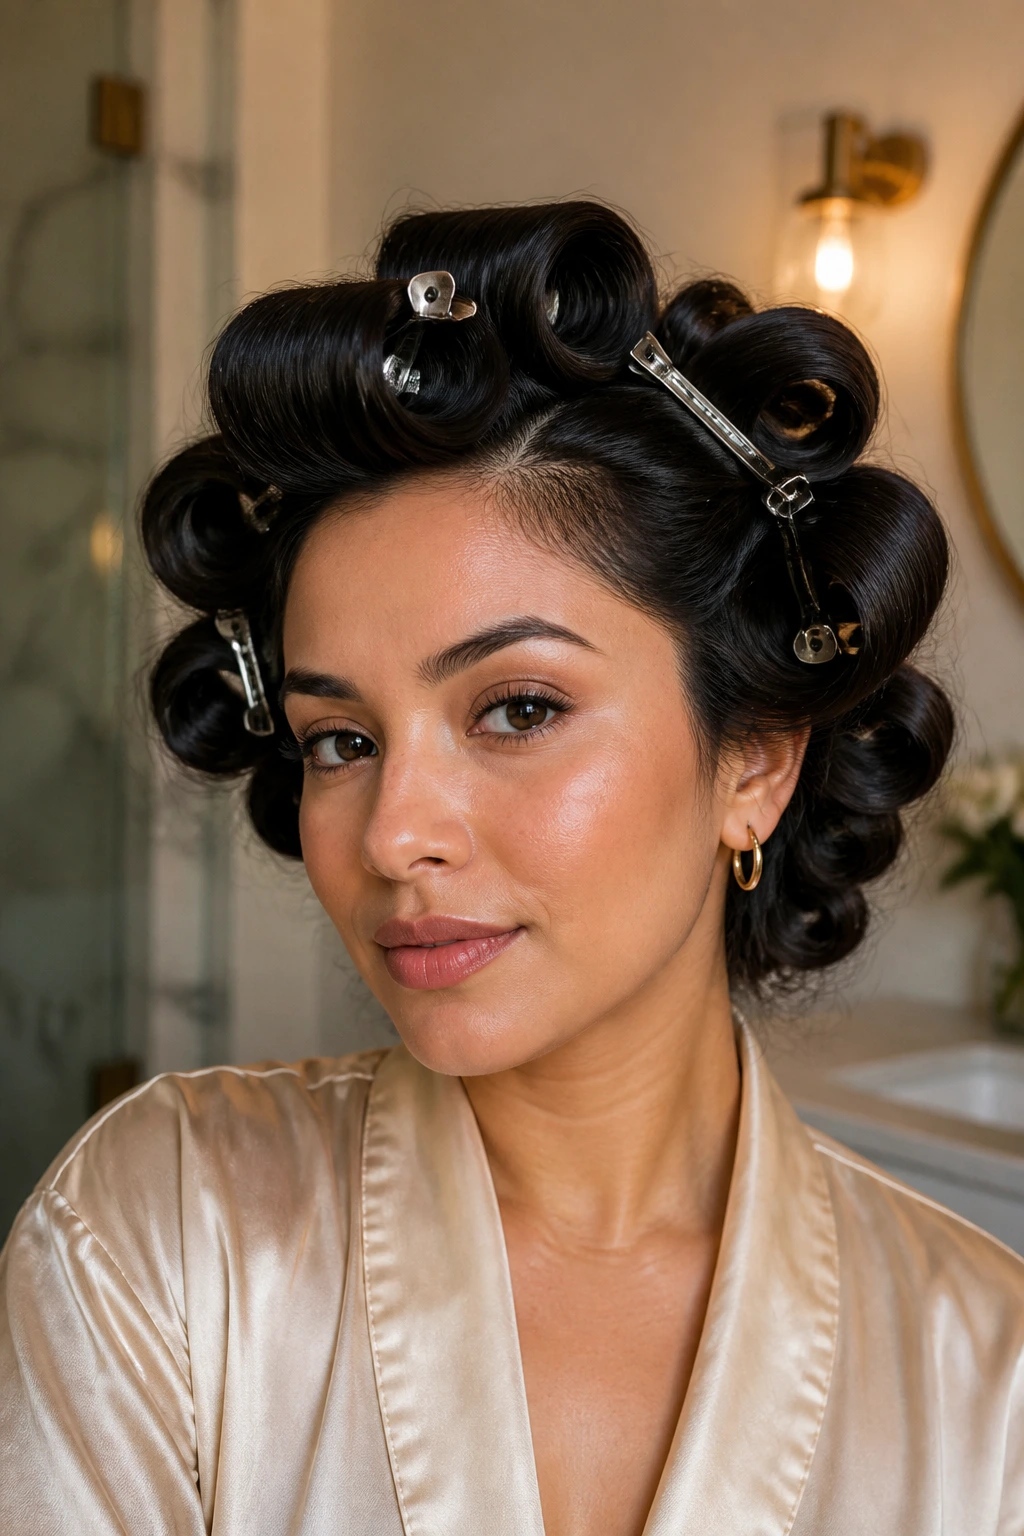
Not all pin curls need to be tiny. If you use larger sections of hair—about two to three inches wide—you can achieve soft, voluminous waves. Use large hair clips instead of bobby pins to keep the larger sections in place, as standard bobby pins likely won’t hold the weight of so much hair.
The Trade-off
Larger sections mean a faster setting time but less hold. This is a great “quick” version of the method for days when you don’t have five hours to let your hair set. Just be sure to use a stronger-hold mousse to compensate for the larger surface area.
9. Pin Curls on Dry Hair
While setting wet hair is the standard, you can definitely do pin curls on dry hair if you’re in a hurry. However, you must use a light misting of water or a leave-in spray. The moisture is what allows the hair to reform its shape.
The Heat Option
If you’re in a total rush, wrap the dry, slightly misted hair into pin curls and run a flat iron over the pin-curled section for three seconds. This is the one instance where heat is acceptable—the pin acts as a barrier, and the iron simply “locks” the shape. Let it cool completely before taking the pins out.
10. The Crown Lift Technique
Many of us experience a sag at the top of the head as the day progresses. The crown lift uses four large pin curls placed directly on top of the head. By pinning them so they lean forward slightly, you create a natural lift that stays put.
Maintenance Tips
- Sleep with a silk bonnet to keep these top pins in place.
- In the morning, leave them in while you get ready, and only take them out right before you walk out the door.
- This trick is specifically useful for those with heavy, long hair that pulls down from the scalp.
11. Pin Curls for Bangs

If you have fringe or bangs, they can be the hardest part of your hair to style. Pin curl them forward—don’t roll them back! By pinning them in a soft, forward-facing roll, you ensure they don’t look like a 1950s costume piece but rather a soft, rounded sweep.
Why Forward Pinning Wins
Forward pinning prevents the “pouf” that makes bangs look shorter than they actually are. It preserves the length and keeps the ends soft, which is essential for a flattering frame around the forehead.
12. Using Flexi-Rods as Pin Curls
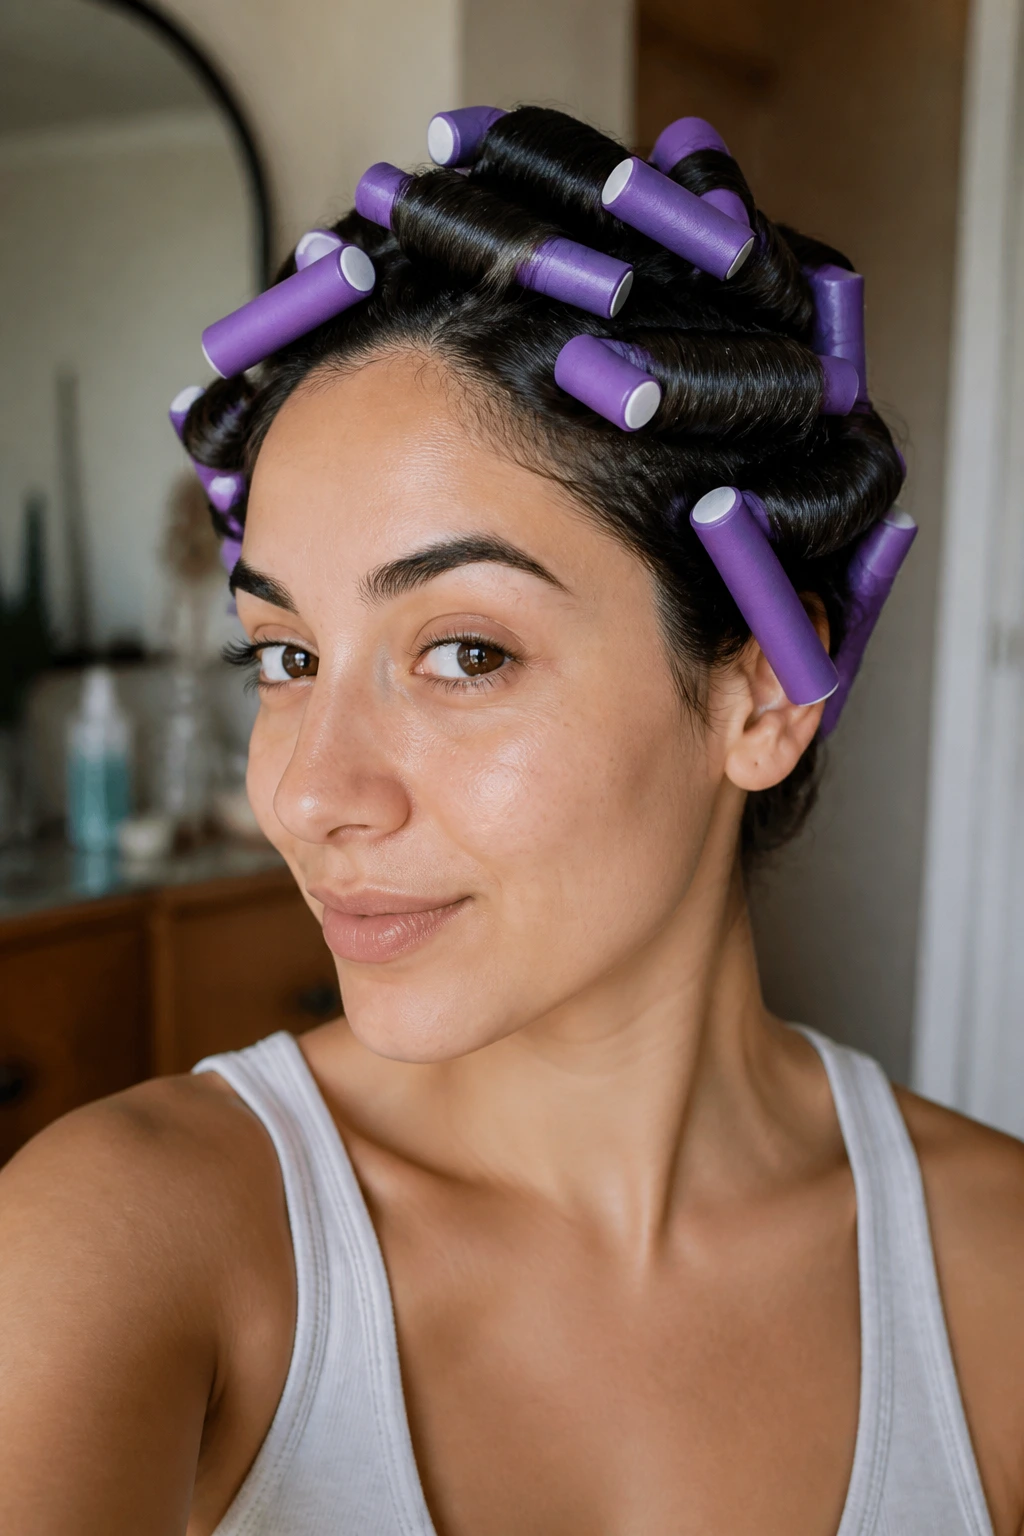
Sometimes the metal bobby pins are just too uncomfortable to sleep in. Flexi-rods serve as the perfect alternative. You can twist the hair around the rod and bend it to secure it. They achieve the exact same effect as a pin curl but are cushioned, making them significantly more comfortable for overnight sets.
Choosing the Right Size
- Small rods for tight, coil-like curls.
- Large rods for soft, beachy waves.
- Mix and match sizes to create a more natural, lived-in hair texture.
13. Directional Setting
Where you place your pins dictates where the volume goes. If you pin the hair toward the back of your head, the finished style will have a “swept back” appearance. If you pin toward the face, you’ll get more volume around the eyes and cheeks.
Why Direction Matters
Latina hair textures often vary in growth direction. If you have a stubborn cowlick, pin the curl directly over the cowlick in the direction you want the hair to lay. The weight and drying time of the pin curl will physically force the hair to follow your lead.
14. The “End-Heavy” Set
If you have long, straight ends but wavy roots, try the end-heavy pin curl. Roll the hair only halfway up the shaft, leaving the roots untouched. This creates a style that is smooth and sleek near the scalp but full of bounce and body at the bottom.
Who Needs This Style
This is perfect for professional settings where you want a clean, polished look on top but don’t want your hair to look flat or lifeless at the shoulders.
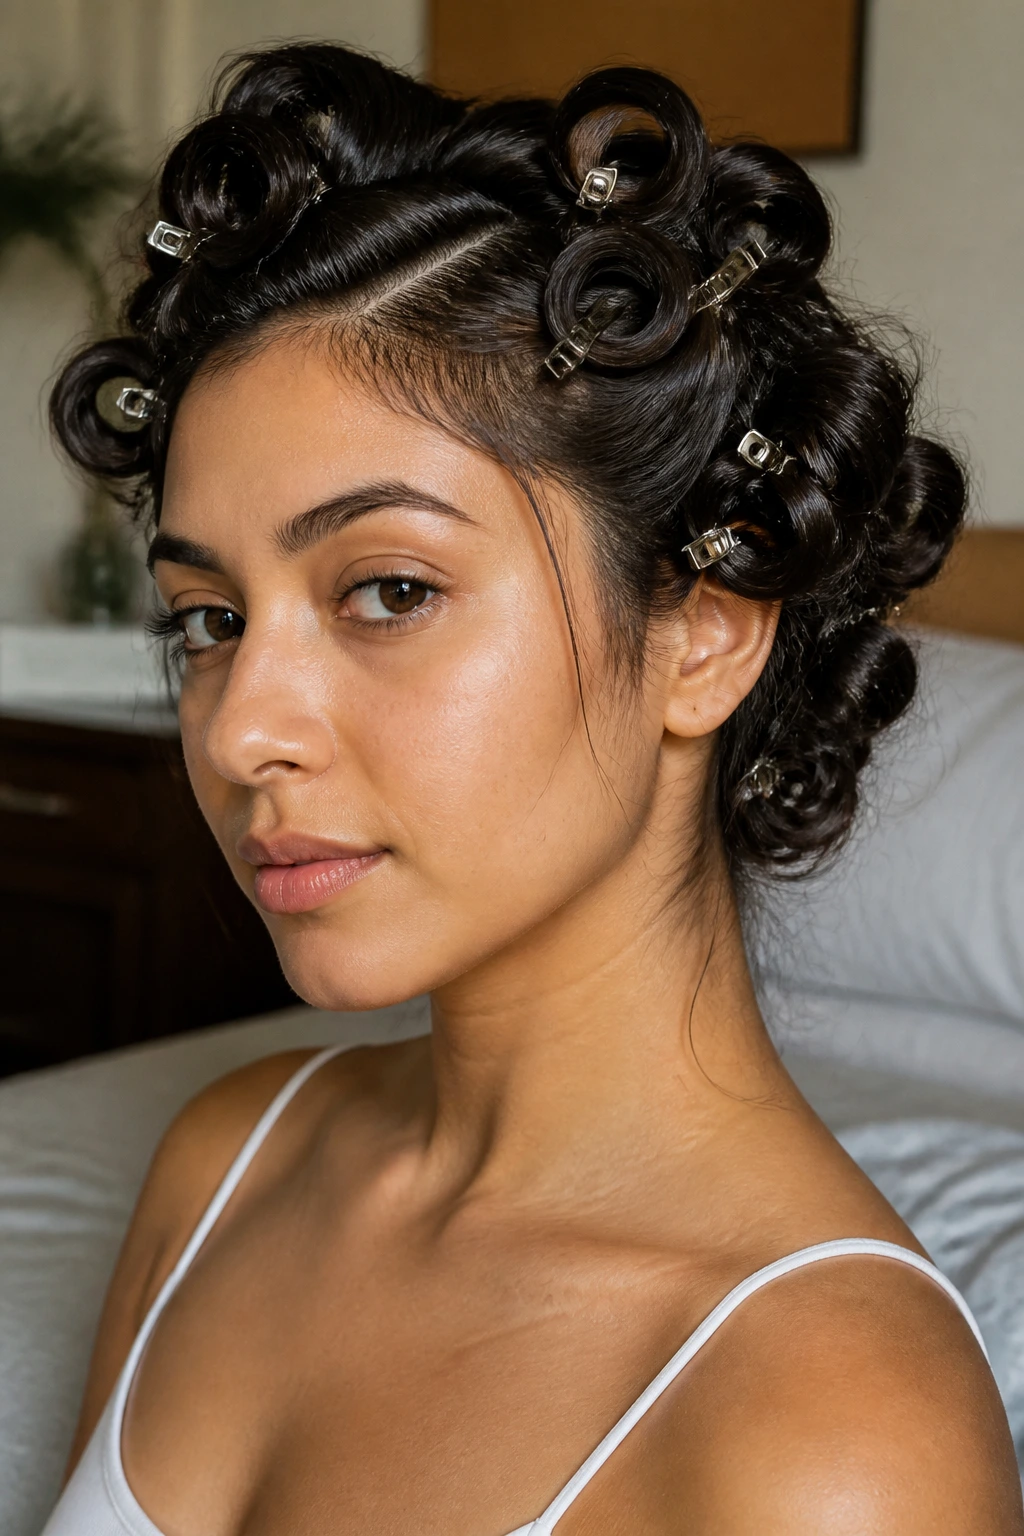
15. The Triple-Layer Pin Set

For maximum density, split your head into three horizontal sections: bottom, middle, and top. Pin curl each section separately. By focusing on distinct layers, you ensure that the hair underneath—which is often the thickest—gets just as much definition as the hair on top.
Why Layering Matters
Most people get lazy at the nape of the neck. By creating a specific, layered setting pattern, you avoid that uneven look where the front of your hair looks great and the back looks like a tangled mess.
16. The Sleep-Friendly Set

Sleeping on bobby pins can be brutal. If you plan to set your hair overnight, use “flat” metal clips or silk-covered hair ties. Instead of traditional pins, wrap the hair and secure it with a small square of fabric tied around the base of the curl.
Staying Comfortable
- Tie your hair up in a silk scarf to prevent the pins from digging into your scalp.
- If you must use bobby pins, ensure they are placed horizontally, not vertically, to minimize the “poking” sensation while lying down.
17. The Humidity-Proof Set
If you live in a humid climate, your curls are prone to frizzing within minutes of stepping outside. To prevent this, use a light coat of anti-humidity serum before you roll the hair into the pin curl. The serum is “set” into the hair as it dries.
Why This Technique Excels
Unlike hairspray, which sits on top of the hair, a serum worked in during the setting phase creates a barrier for every single strand. When you finally take the pins out, your hair is protected from the inside out.
18. The “Brush-Out” Secrets
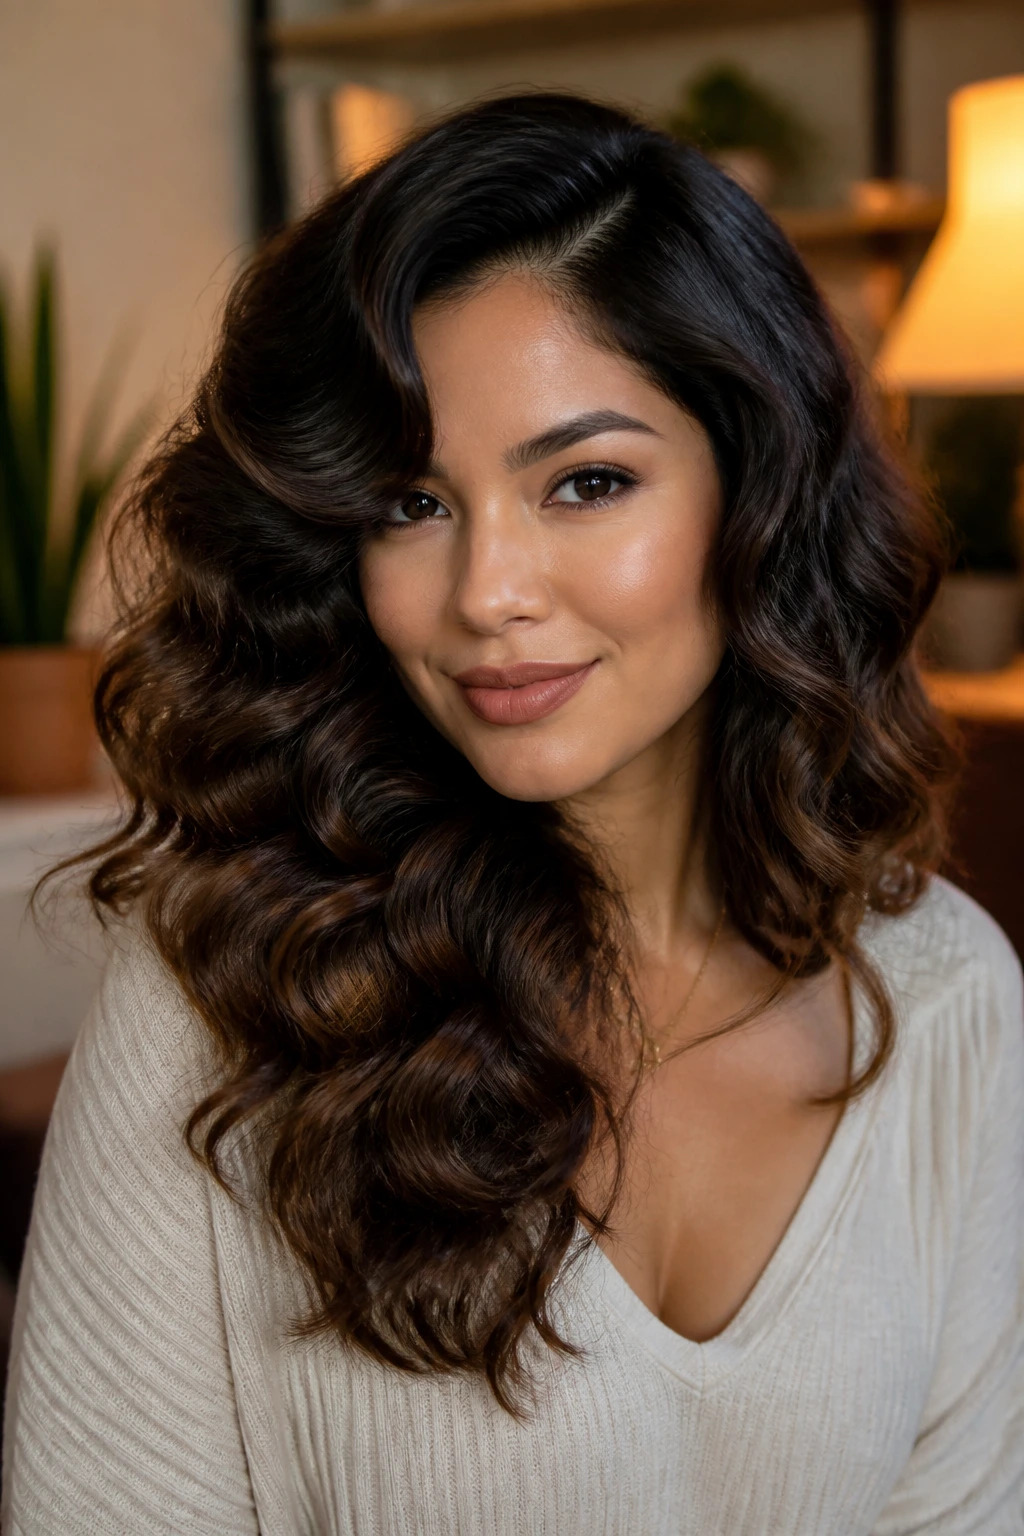
Once the pins are removed, your hair will look way too tight—like you’re wearing a wig. Don’t panic. The brush-out is the final, most crucial step. Use a wide-tooth comb for a more defined look, or a boar-bristle brush if you want a soft, blended, vintage wave.
The Cardinal Rule
Never brush the hair while it is still damp or even slightly cool from the drying process. The hair needs to be room temperature and fully set. If you brush too early, you break the bond of the curl and introduce instant frizz.
19. Defining the Ends with Oil
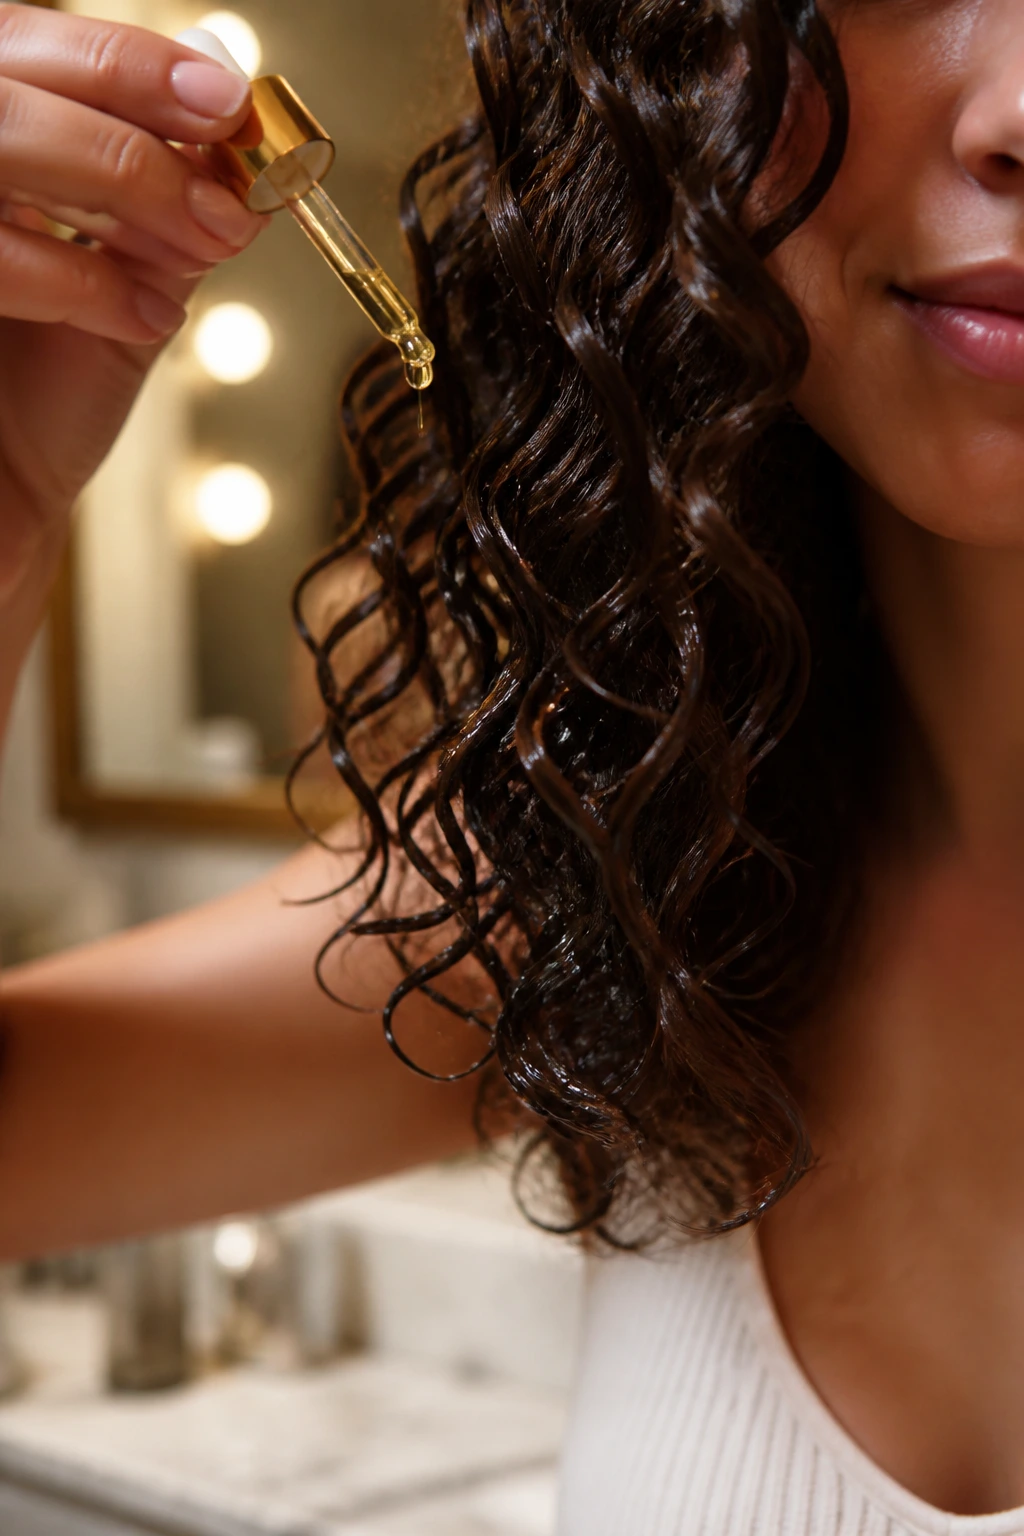
After you’ve brushed your curls out, the ends might look a little dry, especially on thicker or coarse Latina hair textures. Take a single drop of lightweight argan or jojoba oil, rub it between your palms, and lightly pat the ends of your hair.
The Finishing Touch
This doesn’t just add shine; it weighs the ends down just enough to prevent the hair from “growing” or expanding throughout the day. It’s the difference between a messy, poofy look and a salon-quality finish.
20. Refreshing the Set
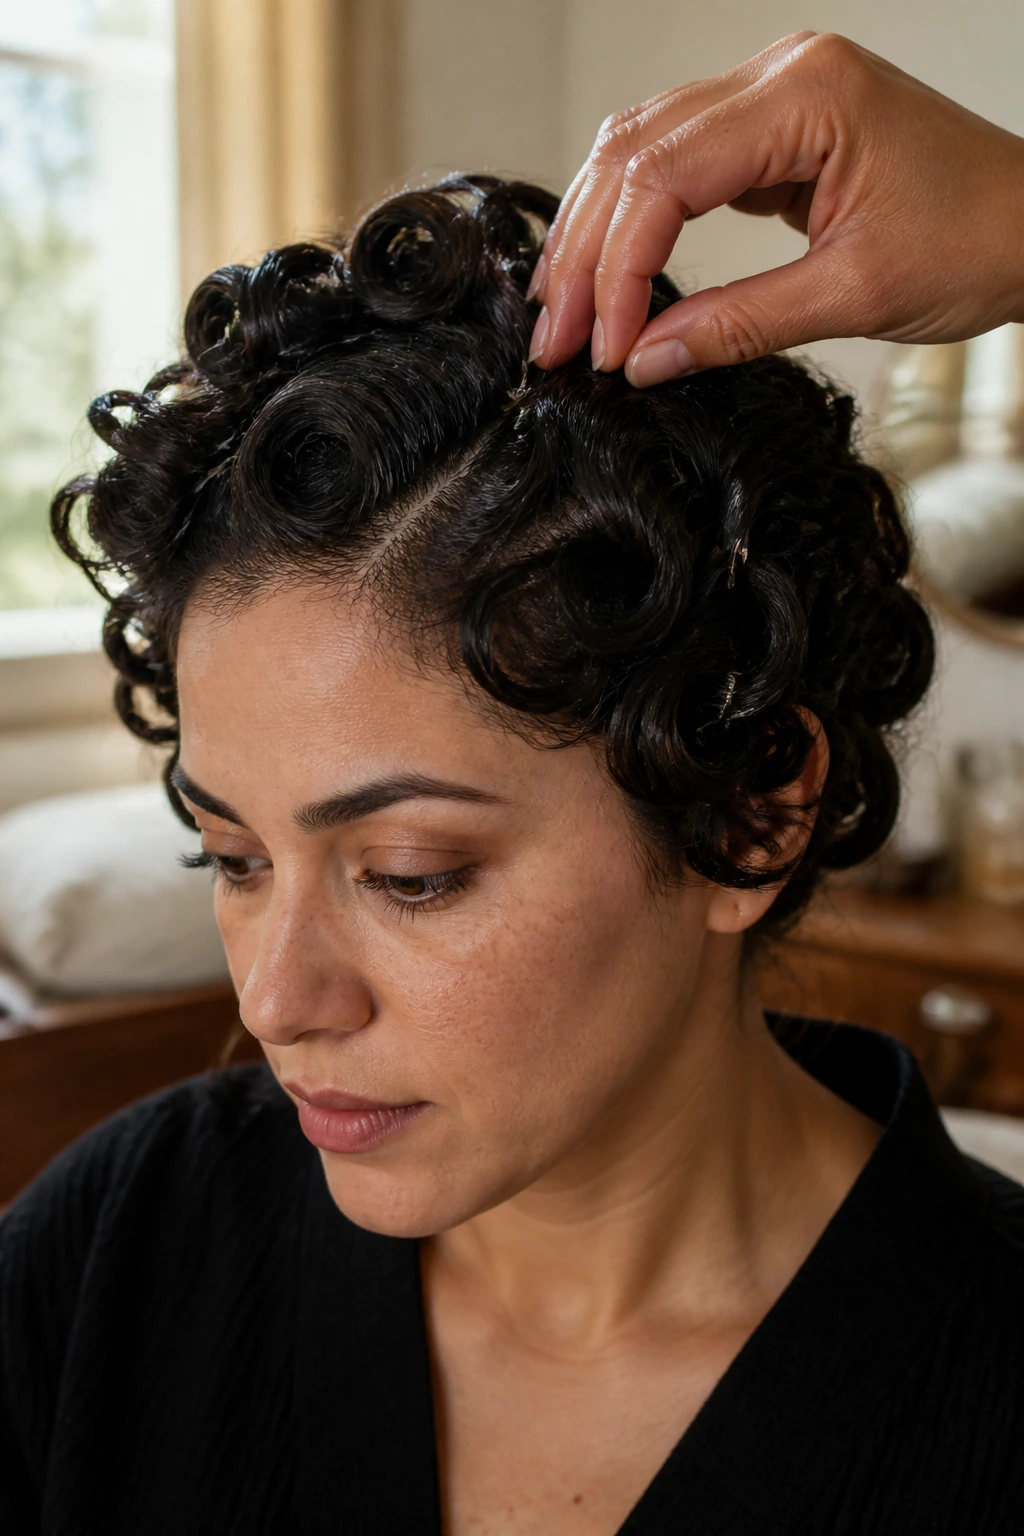
Pin curls aren’t just for the first day; they are a multi-day system. If your hair starts to lose its shape on day two or three, re-pin just the top layer and the front face-framing pieces. A ten-minute refresh with slightly dampened hands can make your style last for several additional days.
Why This Saves Time
By only refreshing the high-visibility areas, you skip the need for a full wash-and-style session. It keeps your hair healthy, limits the need for heat, and ensures you always look put-together, regardless of how busy your schedule becomes.
Final Thoughts
Mastering the pin curl is less about following a rigid set of rules and more about understanding what your hair needs to hold a shape. Because Latina hair can range from straight to tightly coiled, there isn’t one “right” way to pin—there’s only the way that works for your specific density and texture. Start by experimenting with different section sizes and pin placements, and pay attention to how your hair responds after it is fully dry.
The best part of this method is the time it gives back to you. While you might spend twenty minutes pinning your hair, you’re saving yourself hours of heat-styling or frantic touch-ups over the course of the week. Remember that the secret isn’t just in the pins, but in the patience to let the hair dry completely. Once you embrace that rhythm, you’ll find that a perfect, bouncy, and healthy-looking head of hair is actually quite simple to achieve.