If you have spent any time with a head full of ringlets, coils, or waves, you know that the “curly girl” label is often a heavy coat to wear. We are told there is one right way to hydrate, one sacred sequence of products, and a specific set of rules for how to behave in public. Forget that. The truth is that curly hair is not just a style choice or a texture category; it is a structural force that demands a unique dialogue between your hands and your hair. When you stop trying to force your curls into submission and start treating them like the architectural marvels they are, everything changes. This collection of looks isn’t about what is trendy for the month; it is about finding the silhouettes, shapes, and textures that honor the actual physics of your hair.
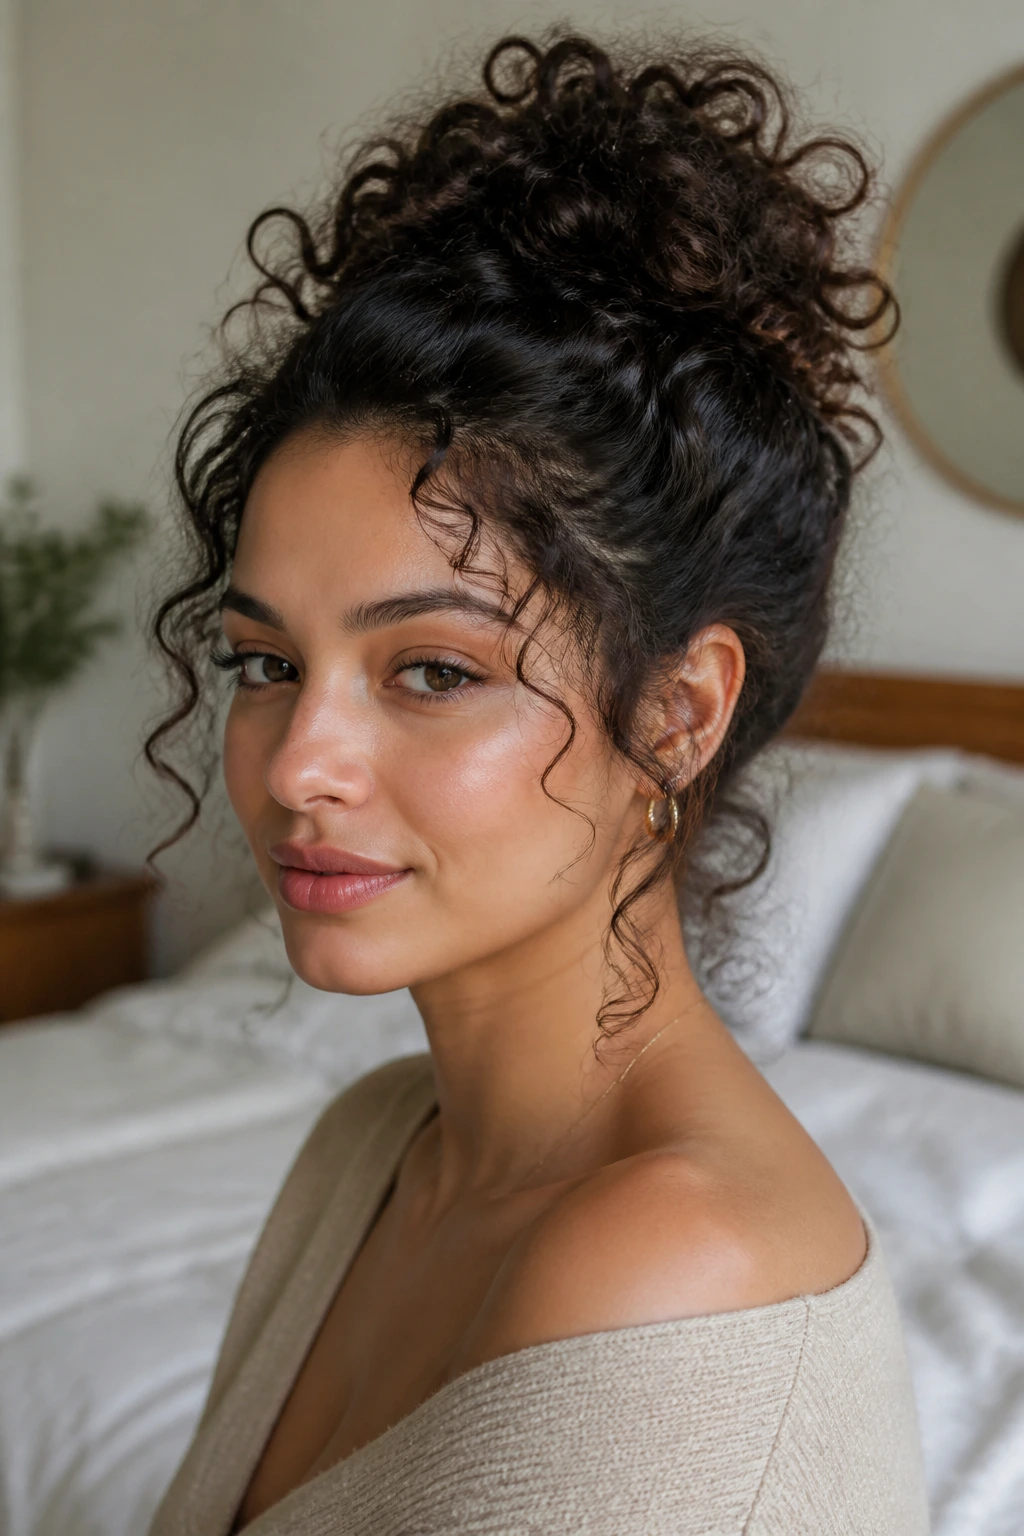
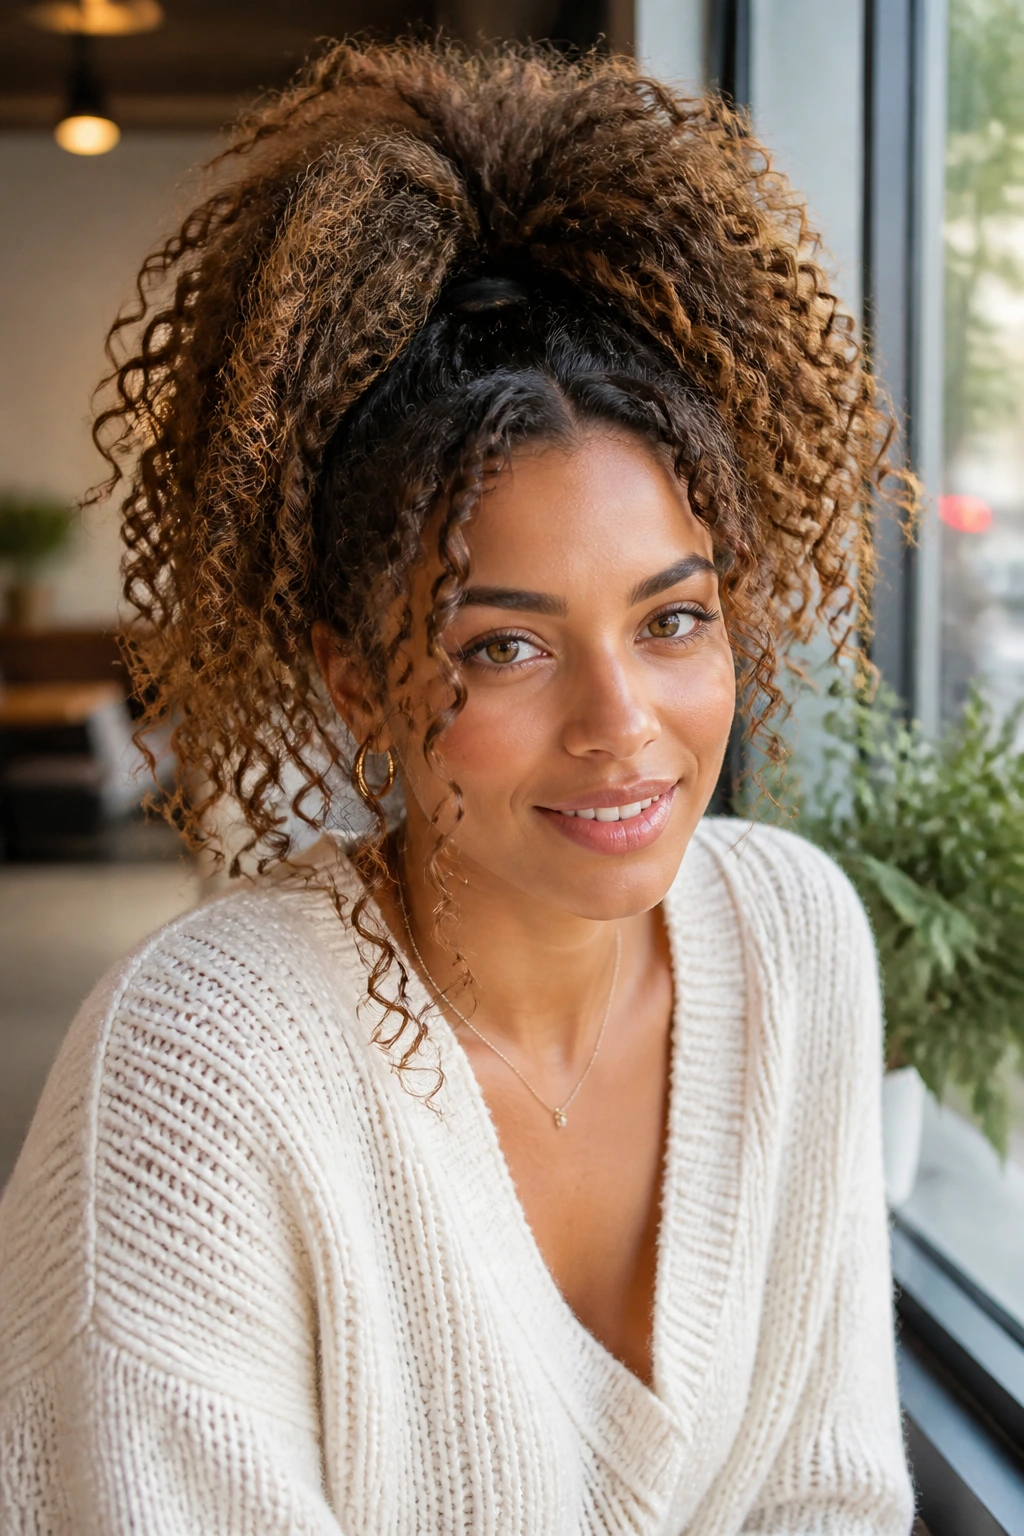
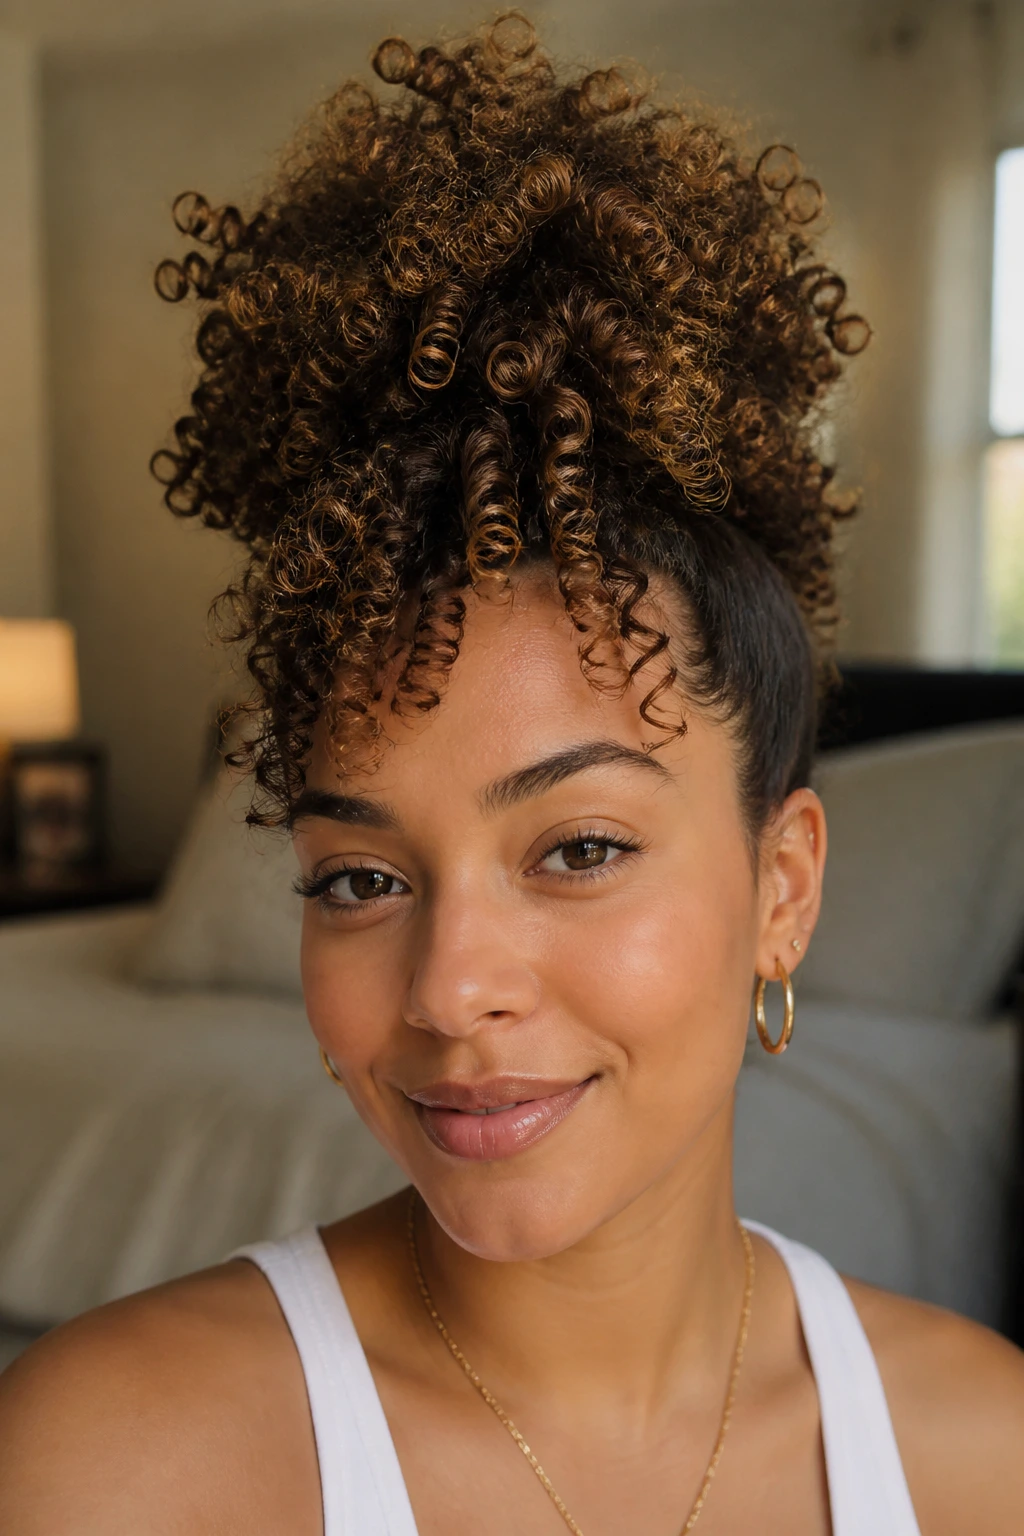
1. The Sculptural High Pineapple
This is the ultimate evolution of the bedside bun. Most people treat the pineapple as a protective sleeping measure, but when you elevate the placement and refine the edges, it becomes a structural statement piece. The goal here is height without tension. You want the curls to cascade forward toward your forehead, creating a halo effect that draws eyes upward and showcases the volume at the crown.
Why This Style Works for Coils
The secret to a successful high pineapple is avoiding the “sucked back” look that creates unnecessary stress on your hairline. Use a silk or satin-lined scrunchie rather than a standard elastic band. If your curls need extra structure, pin the base with a few hair-friendly u-shaped pins, but keep the pins hidden. This style works best on day-two or day-three hair when the roots have naturally lost some of their initial slip, allowing the texture to hold its position without needing a gallon of hairspray.
Quick Styling Tips
- Avoid brushes; use your fingers to gently gather the hair.
- Mist the ends with a tiny bit of water or leave-in conditioner to keep them fresh.
- If you have shorter layers, let them frame your face rather than forcing them into the updo.
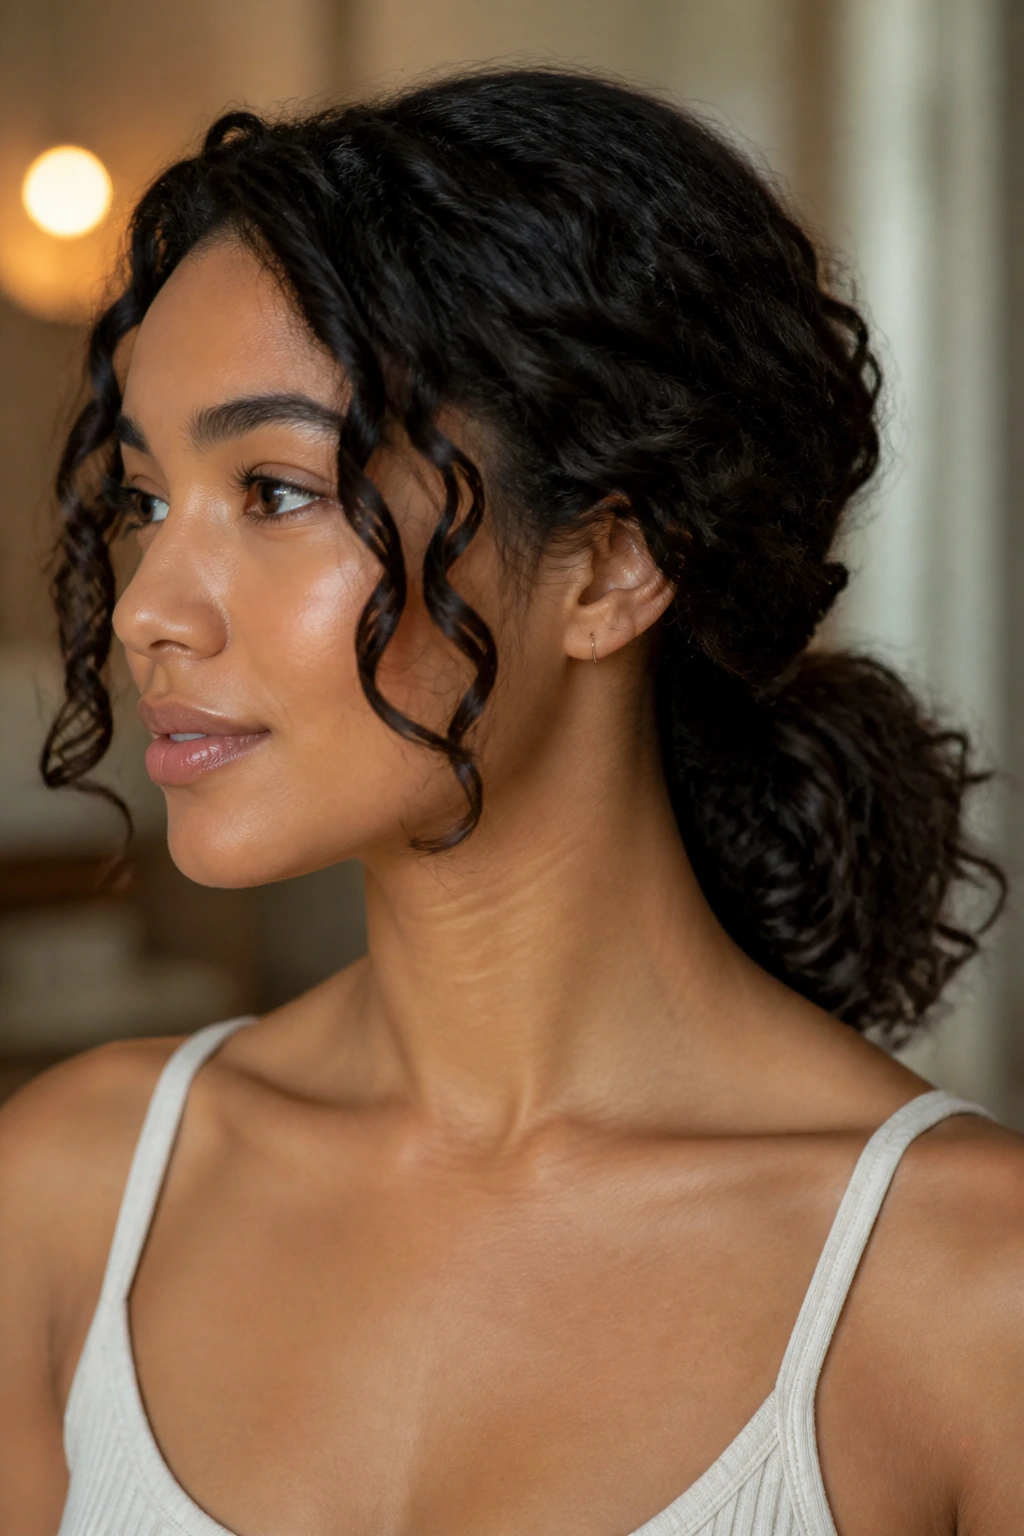
2. The Asymmetrical Deep Side Part
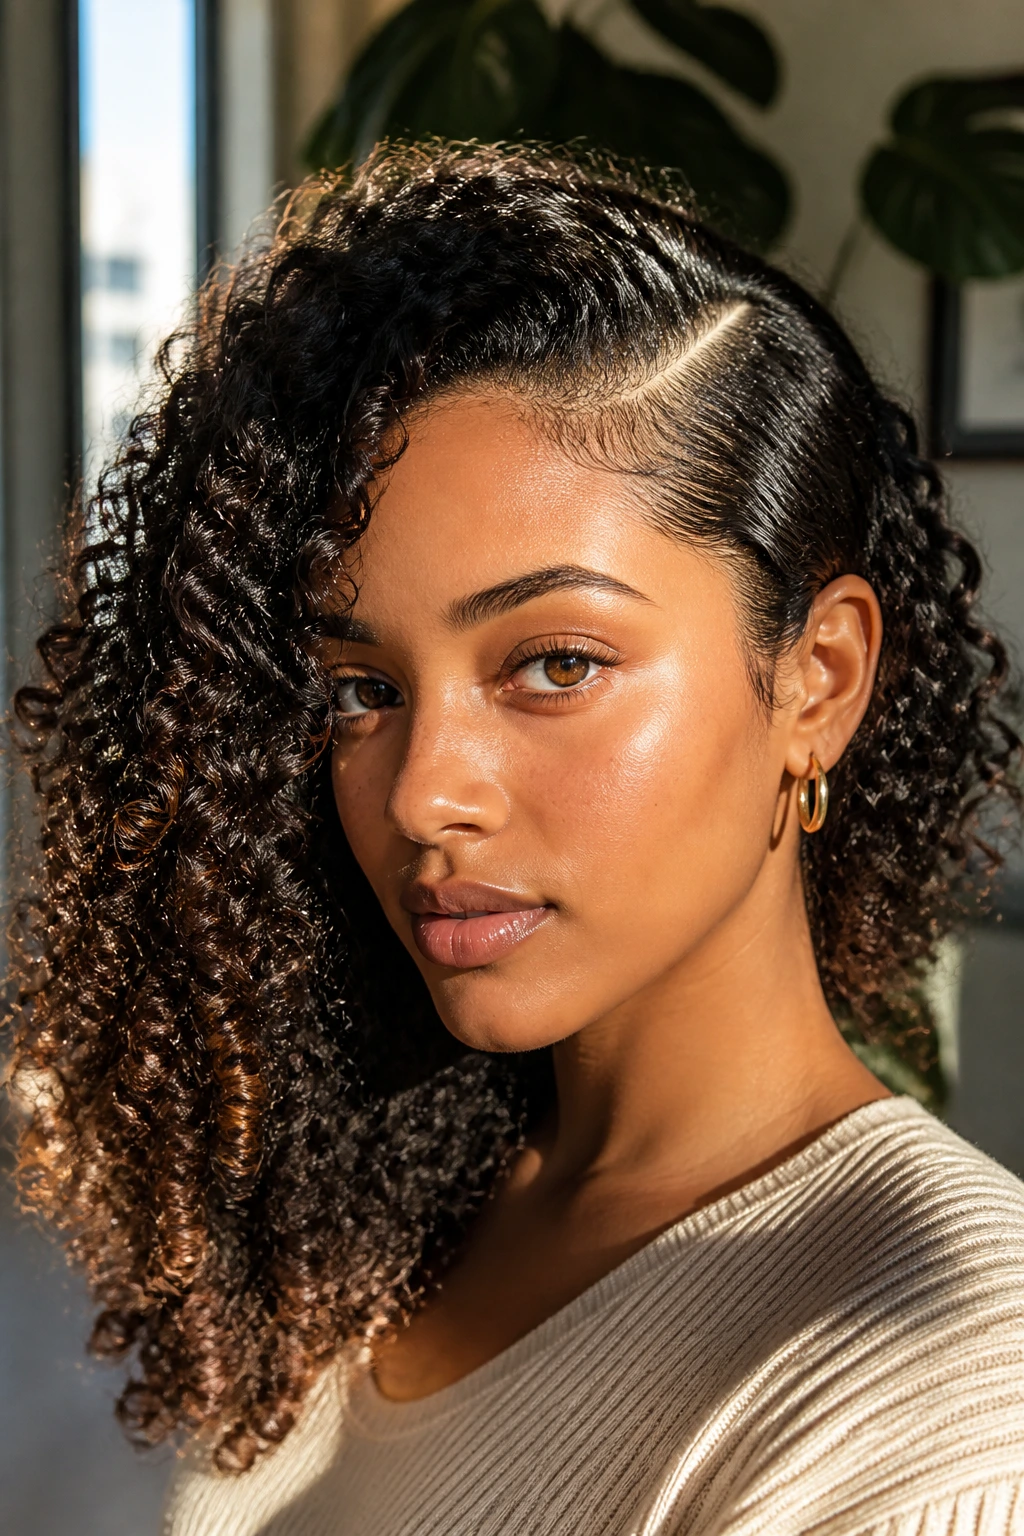
There is something incredibly sharp about a deep, dramatic side part on curly hair. It disrupts the natural symmetry of the face and forces the curls to fall in a new, unexpected direction. This look is all about the contrast between the side that is tucked tightly and the side that is allowed to cascade in a wild, voluminous wave. It is a look that screams confidence without requiring a single hot tool.
Creating the Perfect Sweep
Start with wet or damp hair. Use the arch of your eyebrow as your guide for the part. If you typically part in the middle, your roots will fight you at first. To combat this, use a lightweight, flexible-hold gel right at the part line while the hair is still damp. Secure the flatter side with a decorative barrette or simply tuck it behind your ear, but be sure to use a texture-heavy product on the long side to keep those curls bouncy and defined.
Who Should Wear This Look
This style is particularly flattering for square or heart-shaped faces, as the diagonal line of the part softens the jawline. It is also a fantastic way to hide a “bad” hair day; the part shifts the focus away from root volume and toward the drama of the curl pattern itself.
3. The Modern Voluminous Shag
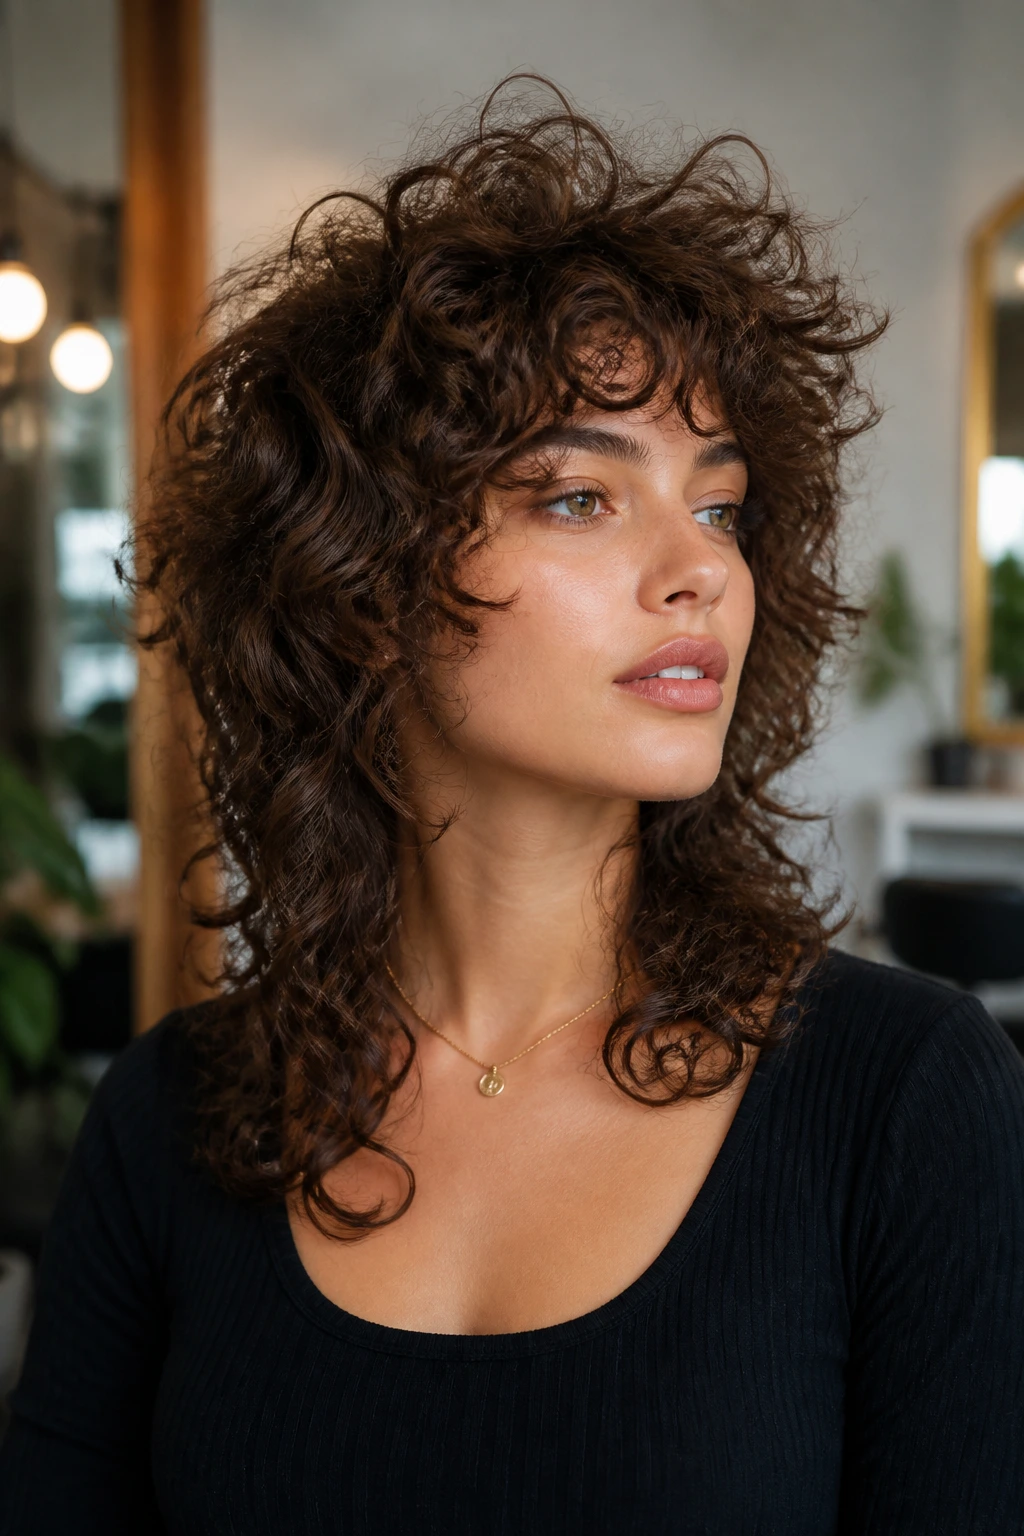
The shag cut for curly hair is not the wispy, flat version you see on straight hair. On curls, the shag is a masterpiece of layers. By cutting into the hair at different elevations, you allow the curls to sit on top of one another, creating a tiered effect that mimics a crown. This style does not require effort once the cut is done; it simply requires a good curl cream and a bit of gravity-defying encouragement.
The Science of Layering for Curls
Ask your stylist for “internal layering.” This means they aren’t just cutting the ends; they are removing weight from the middle of the hair shaft. This allows the curls to spring up to their full potential. Without this weight removal, curly hair tends to turn into a triangle shape, which—while iconic in some eras—can feel dated. The modern shag keeps the volume balanced from root to tip.
Maintaining the Shape
- Avoid heavy butters which can weigh down the top layers.
- Use a diffuser attachment on your blow dryer, working from the ends up to the roots.
- Shake out the roots once the hair is 90% dry to ensure the layers don’t stick together.
4. The Half-Up Top Knot
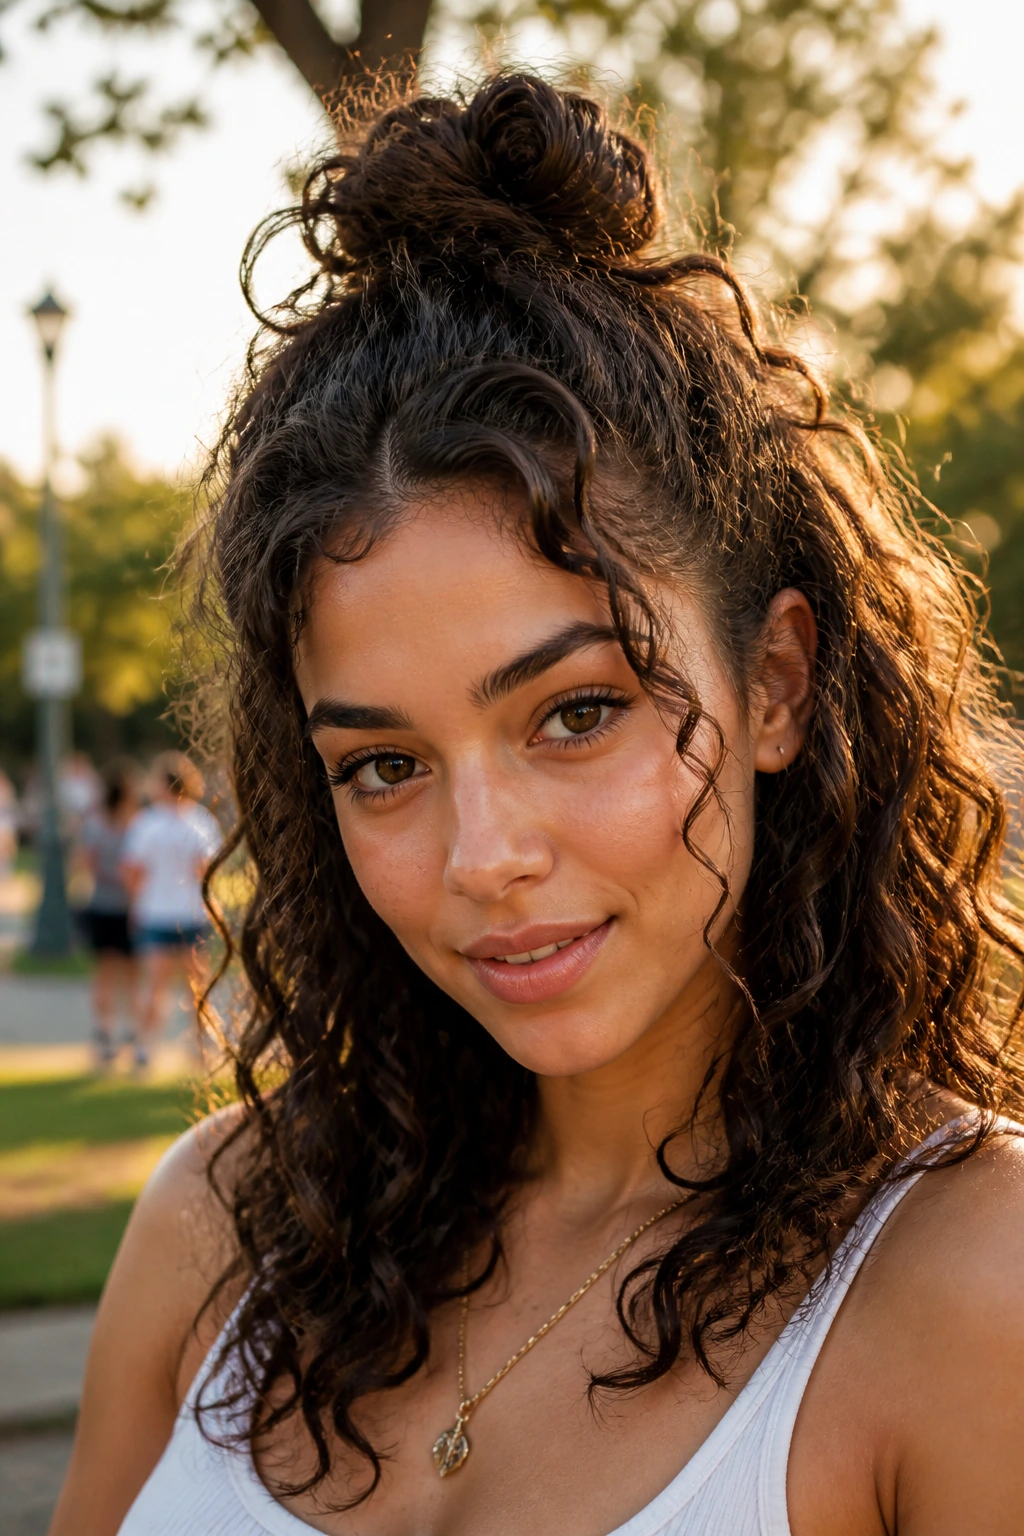
This is the ultimate bridge between “professional” and “weekend wild.” By pulling only the top section of your hair into a loose knot, you keep the hair out of your face while still showcasing the full length and texture of your curls in the back. The key here is the messiness; if the knot is too tight or too perfect, the look loses its charm. You want the tendrils around your temples to move freely.
Texture Tips for the Knot
If your top knot feels thin, fluff up the section of hair before you tie it off. You can even backcomb the hair at the base of the bun just a little bit to create a sturdier structure. Because curly hair has built-in volume, you do not need hair donuts or padding. The curls themselves provide all the bulk you could ever need.
When to Use This Style
This is the perfect look for a lunch meeting or a long afternoon in the park. It keeps your neck cool in warmer weather while maintaining that effortless, “I woke up like this” aesthetic that we all secretly crave.
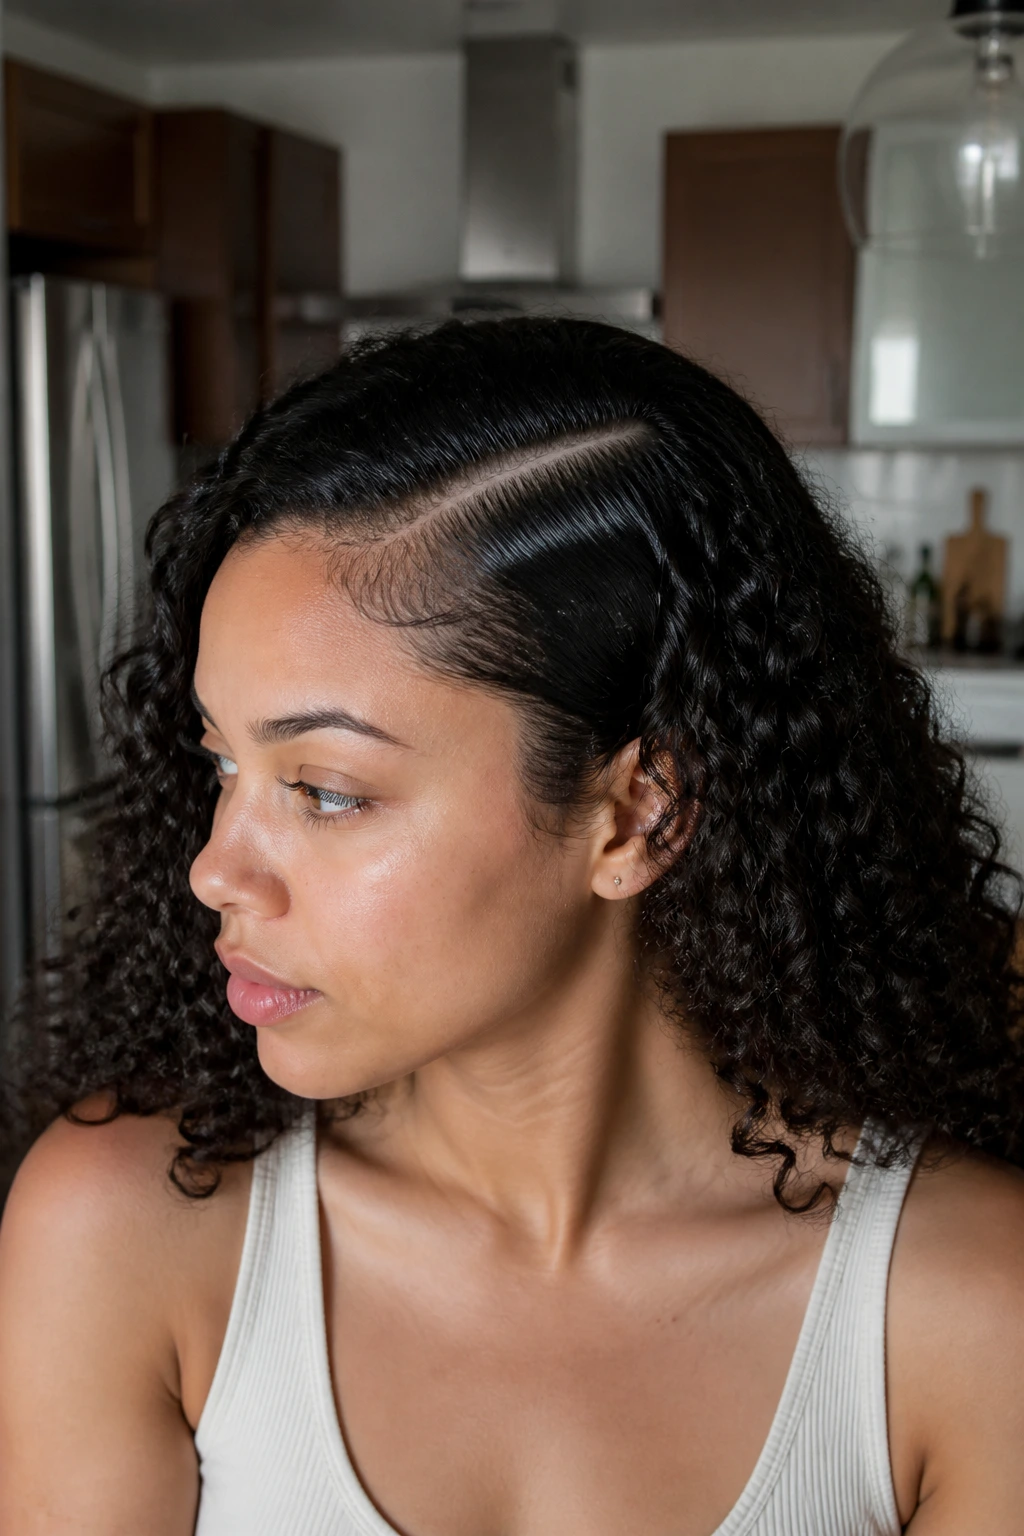
5. The Slicked-Back Wet Look
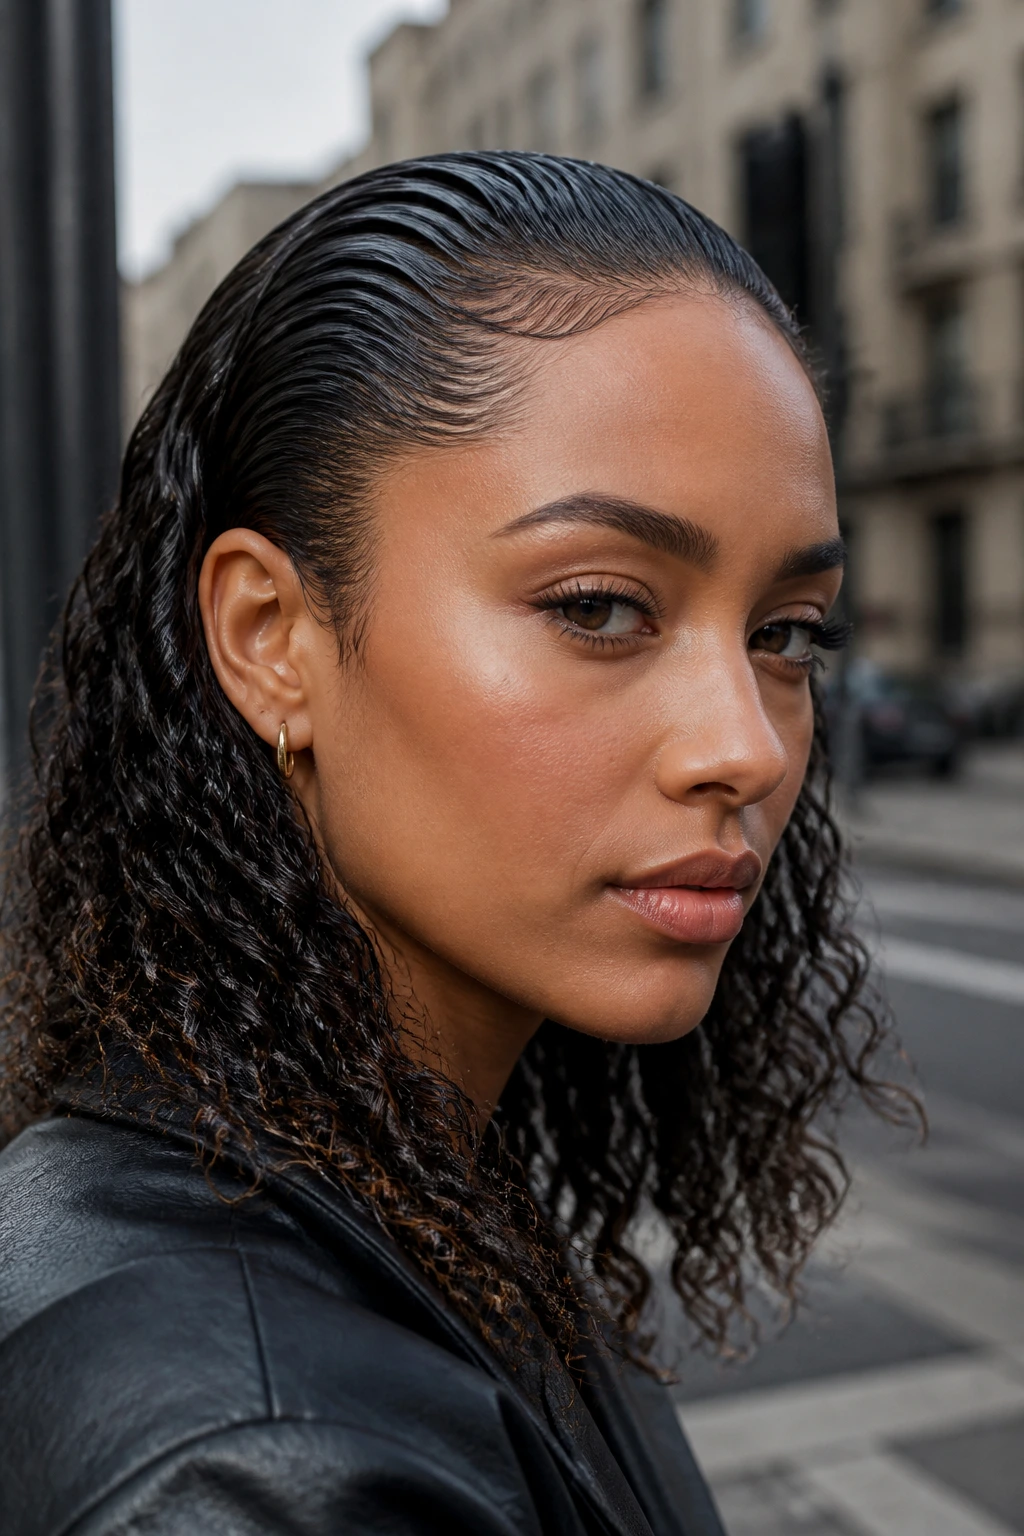
Popularized by the runway but entirely wearable in the real world, the slicked-back look is a total departure from the usual “big hair” vibe. It highlights your facial features and makes your curls look like high-fashion accessories. This is done by applying a strong-hold, high-shine gel to the roots and pulling the hair back flat against the scalp, while leaving the back and mid-lengths to dry in their natural, intense curl state.
The Balancing Act
The trick to the wet look is making sure the transition from the slick roots to the curly ends looks intentional. Use a fine-tooth comb to distribute the gel evenly across the first three inches of your hairline. Do not pull the product all the way down to the ends, or your curls will lose their bounce and look crunchy.
Why It’s a Game Changer
When you wear this look, you are effectively framing your face with the architecture of the curl. It creates a bold, editorial profile that is difficult to ignore. It also lasts through wind, rain, and humidity better than almost any other style because the roots are completely locked into place.
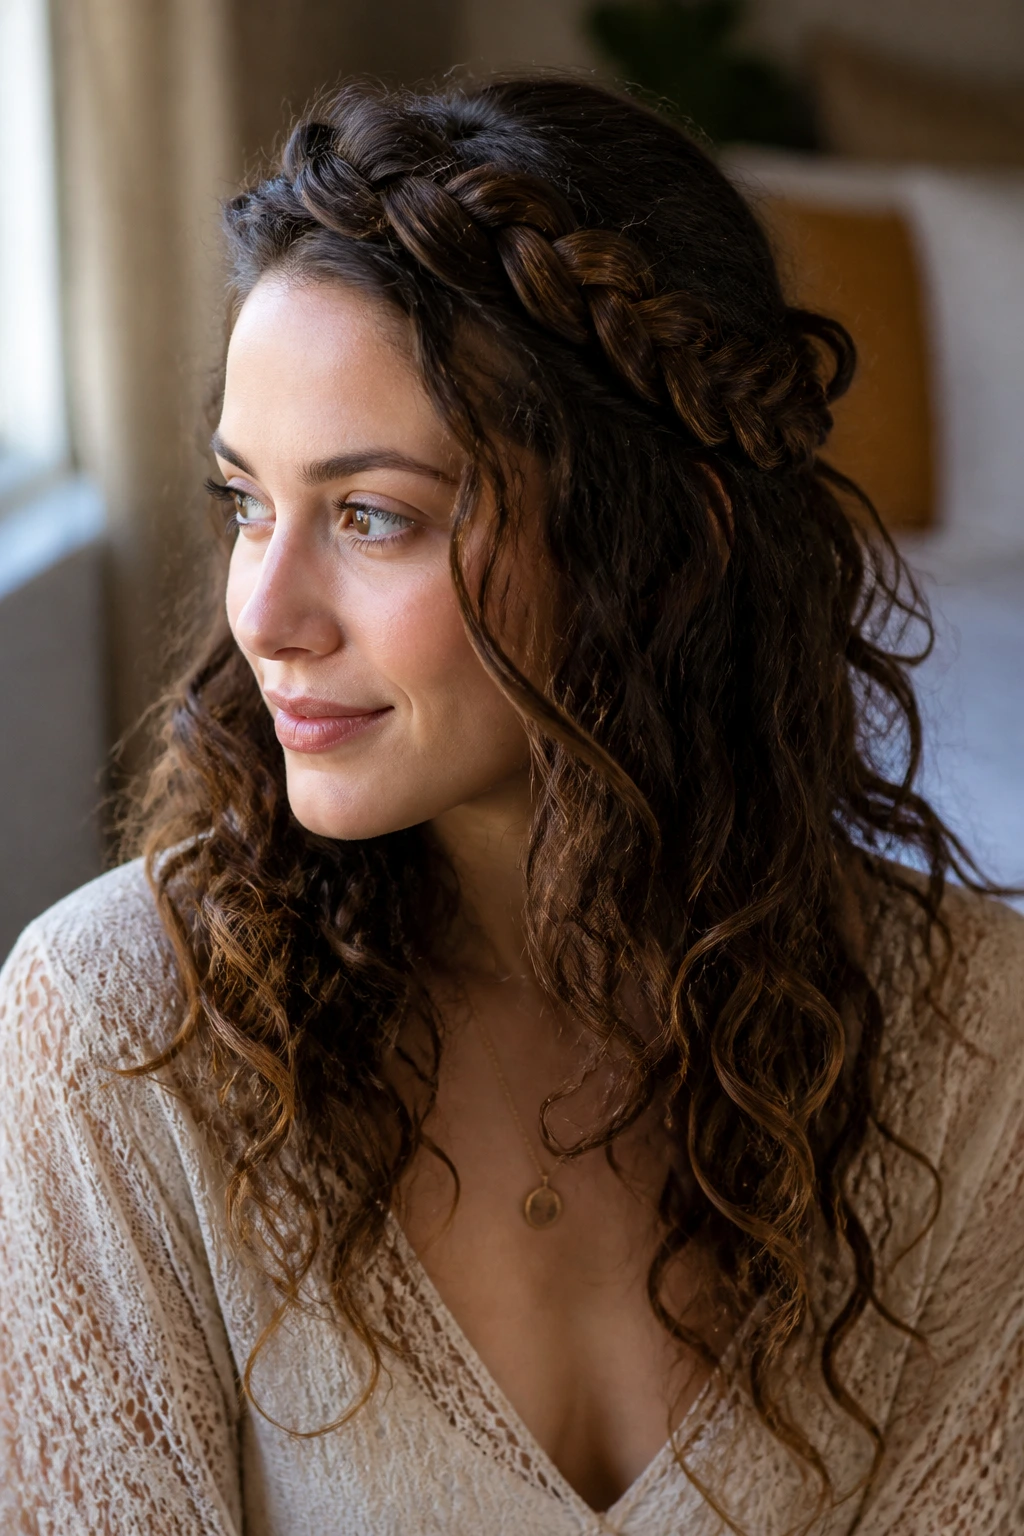
6. The Braided Halo Crown
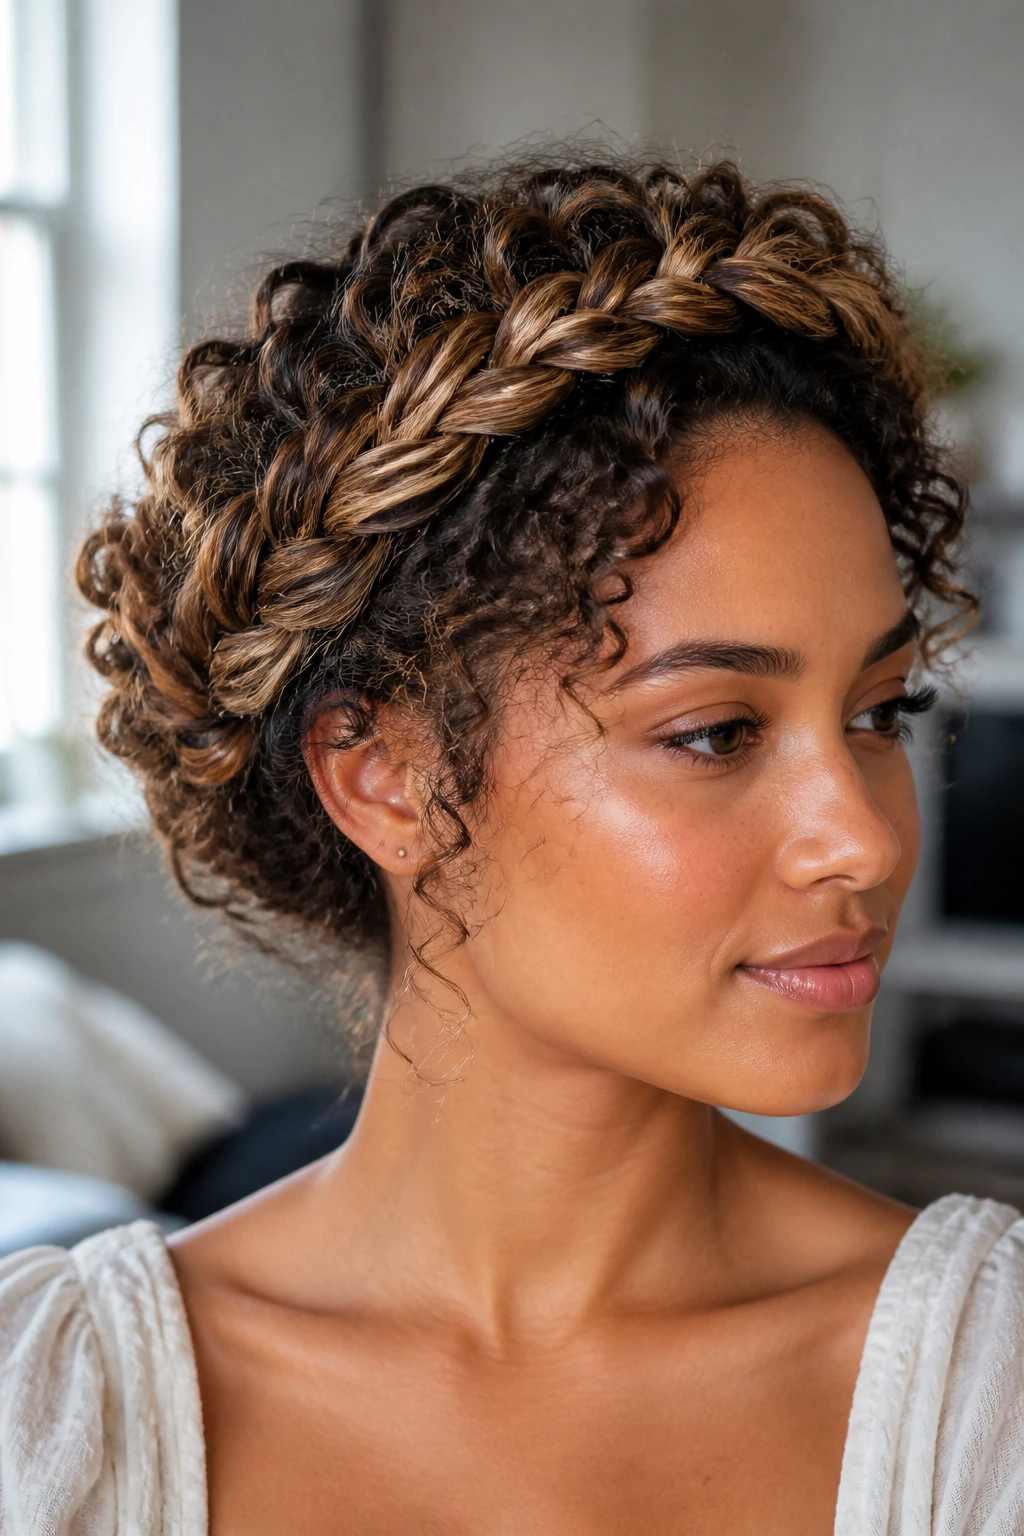
Braids and curls are a match made in heaven, but the halo crown is the pinnacle of this partnership. By braiding a section of hair around the head and pinning the rest into a soft, curly chignon, you get a look that is both regal and functional. This style works because it uses the natural grip of curly hair to keep the braid from slipping out, unlike straight hair which often needs bobby pins by the dozen.
Getting the Tension Right
You do not want a tight, scalp-stretching braid. Aim for a “Dutch braid” that sits on top of the hair, pulling in soft sections to keep the texture visible. Once the braid is finished, gently pull at the loops to loosen them—this makes the braid look thicker and integrates it more seamlessly with your curls.
Accessories for the Halo
This is a great place to incorporate small metallic pins or even tiny flowers if you are heading to a more formal event. Because the hair is already styled into a complex structure, a simple accessory is all you need to elevate the look from “boho” to “black-tie ready.”
7. The Deep-Rooted Side Sweep
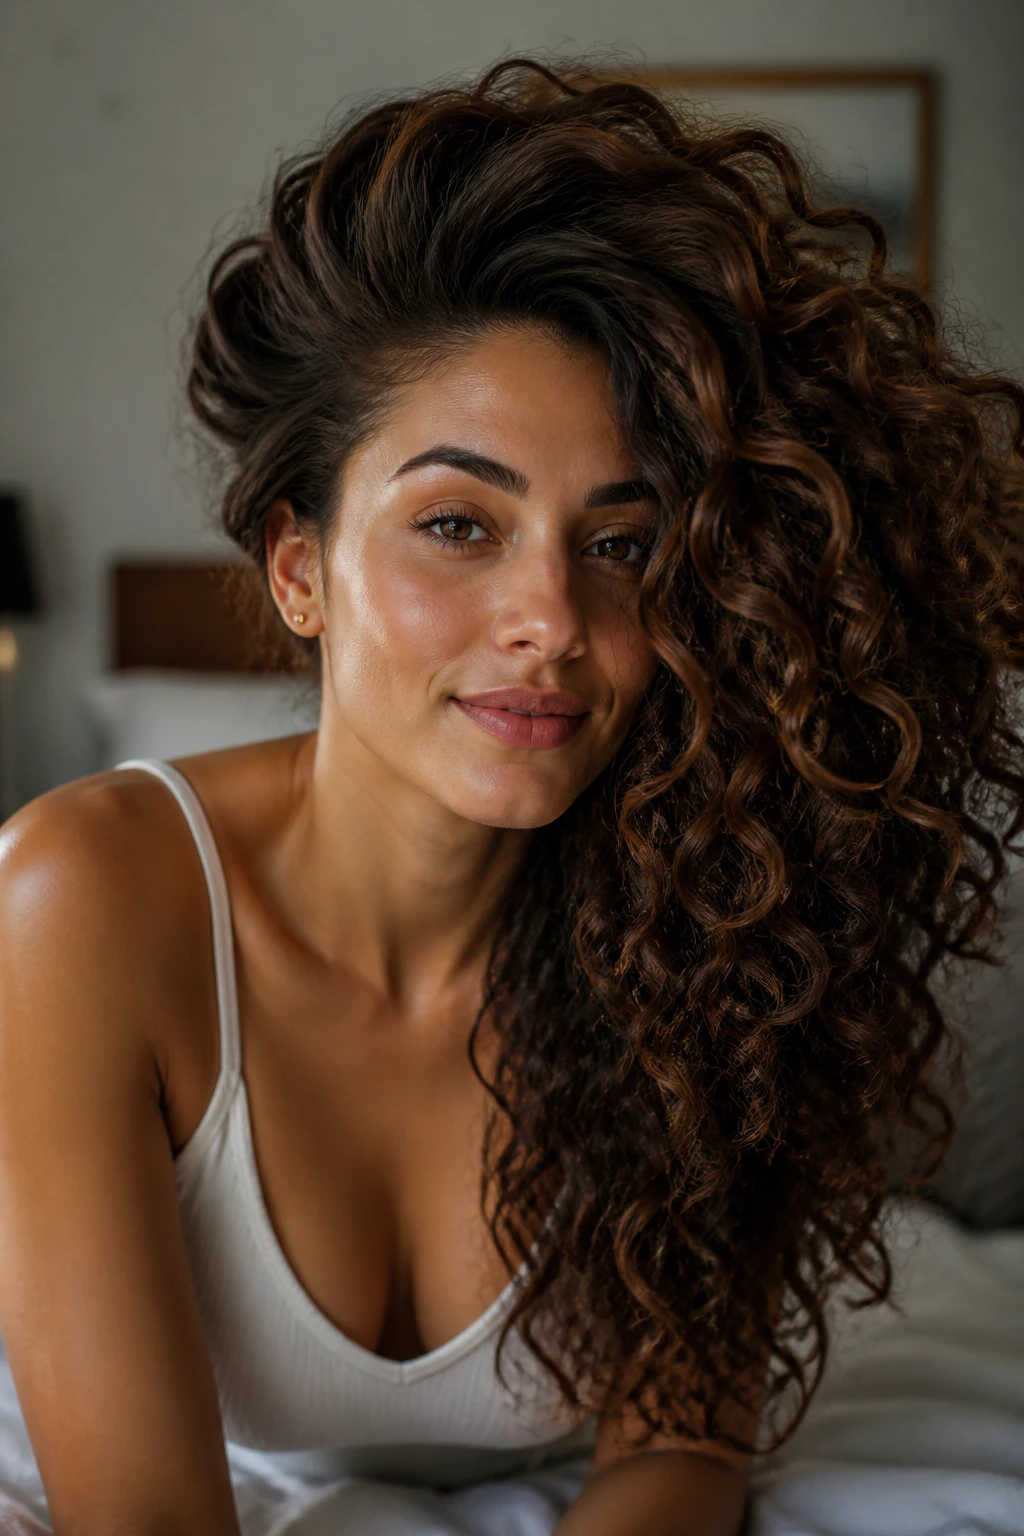
This style is all about mass. Take all of your hair and sweep it over one shoulder. While this sounds basic, the “deep-rooted” aspect means using a small comb to lift the roots on the opposite side of the sweep. This creates a massive, dramatic wall of hair that covers your shoulder and creates an incredibly high-impact silhouette.
Dealing with Gravity
The challenge here is keeping the hair from falling back to center. Use a few discreet, clear hair ties or bobby pins at the nape of your neck to anchor the sweep to one side. If your hair is particularly heavy, this style might pull on your scalp; keep the anchor points loose enough that you don’t feel a tug, but tight enough that the sweep stays in place.
The “Volume Injection” Technique
If your hair feels a bit flat at the roots, use a dry shampoo or a texturizing spray specifically on the roots of the side that is being swept over. The extra grit helps the hair maintain that lifted, voluminous arch as it flows over your shoulder.
8. The Half-Moon Headband Tuck
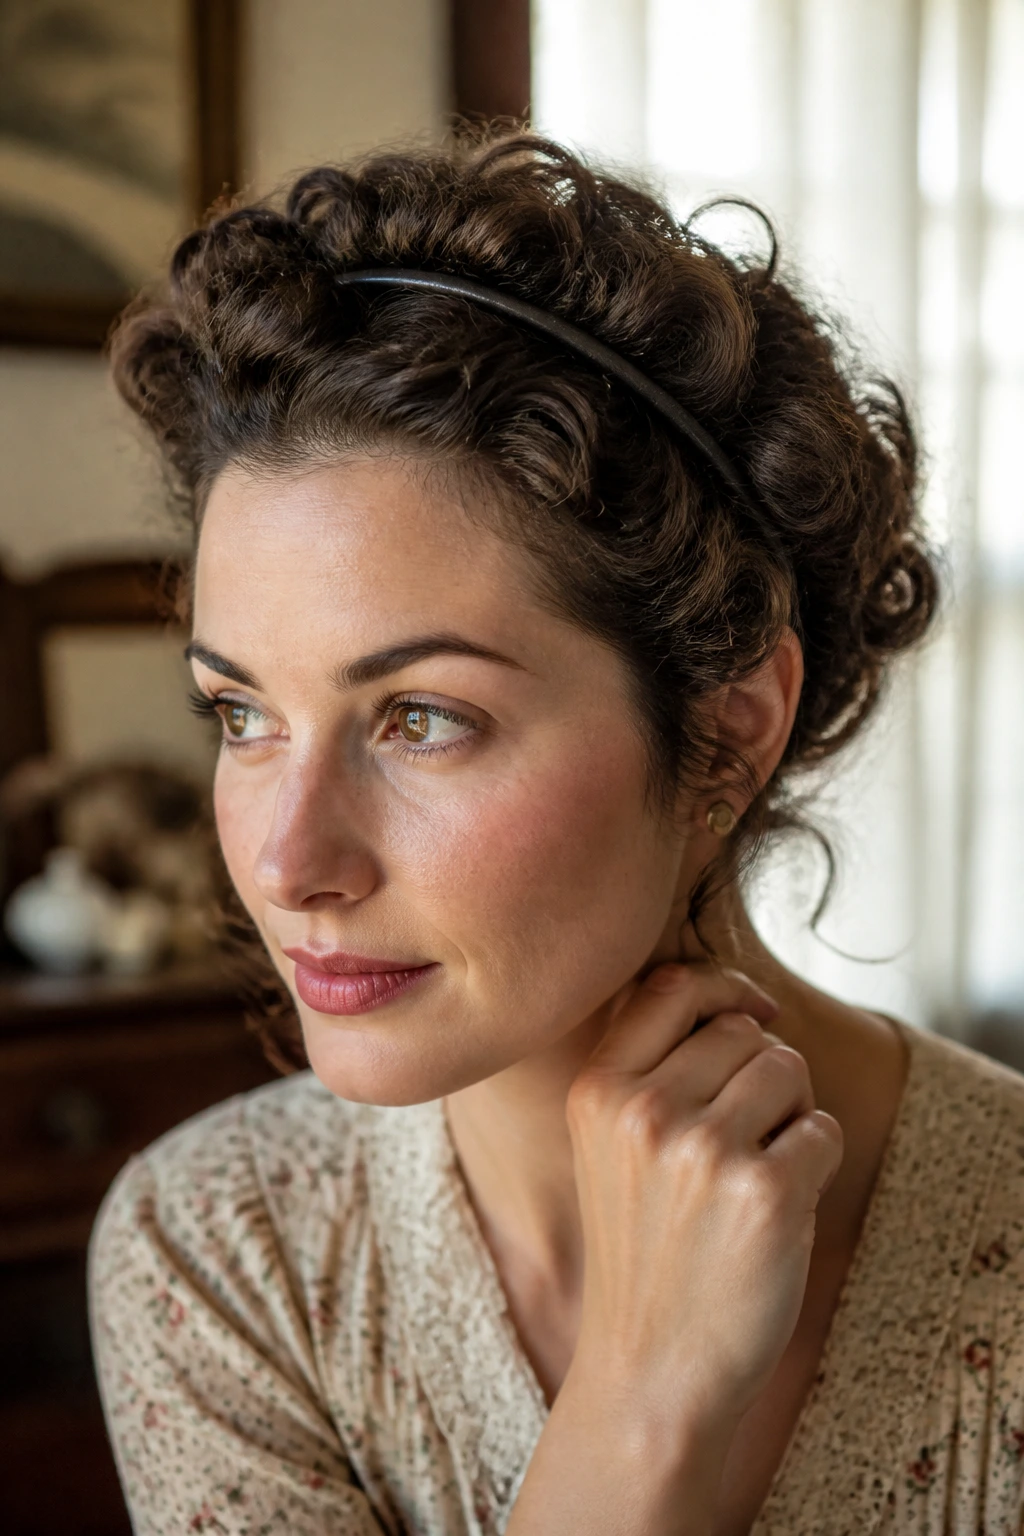
We have all seen the simple headband, but the “tuck” is something else entirely. Start with a thin, elastic headband worn over your hair. Take sections of your curls, loop them over the headband, and tuck the ends back through the loop. It creates a soft, crown-like roll of hair that hides the elastic completely and looks like a complex historical updo.
Matching Your Texture
If your curls are very tight (think 4C coils), this style is incredibly easy because the curls act like Velcro, holding each other in place as you tuck them. If you have looser waves, you might need a few pins to secure the ends of each section as you tuck them into the band. The result is a secure, elegant look that keeps your neck clear and showcases your neckline.
Why This is Timeless
There is a vintage quality to this hairstyle that never goes out of style. It works perfectly with everything from a casual t-shirt and jeans to a summer dress. It is also one of the few styles that actually improves as the day goes on and the curls get a little bit messier.
9. The Natural Texture Afro
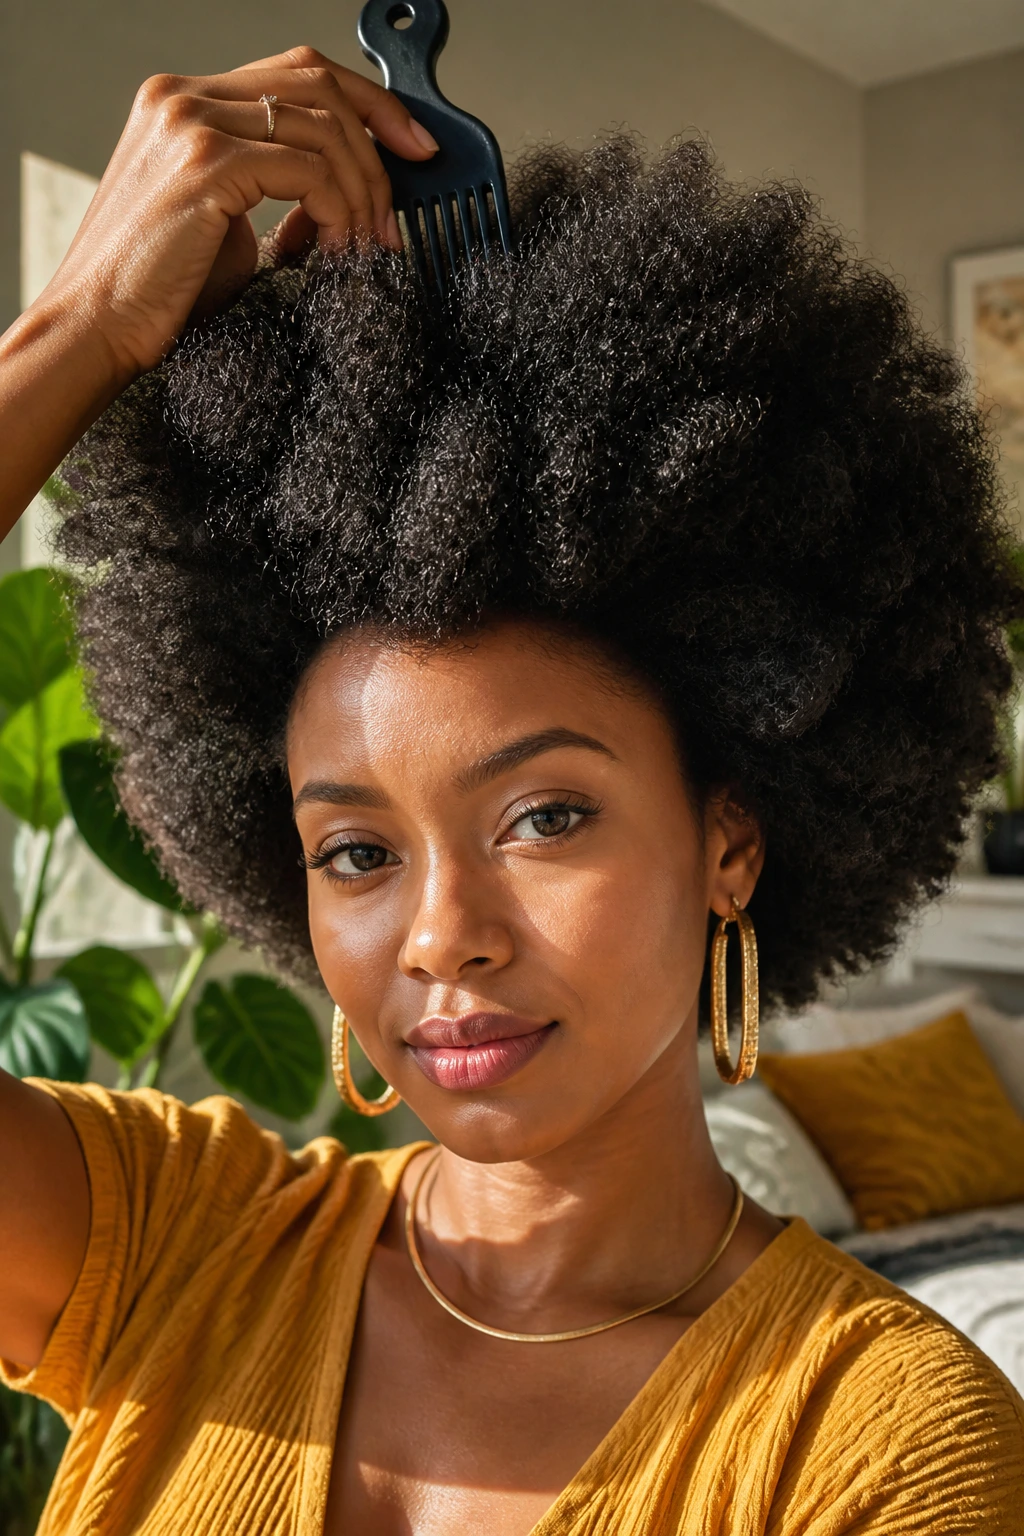
Sometimes the most powerful thing you can do is absolutely nothing. Let the hair bloom in its natural, untamed form. This isn’t just letting it dry; it is about “picking” the hair at the roots to maximize height and shape. It is a look that celebrates the structural integrity of your curls and treats them as an extension of your own personality.
The Art of the Pick
Use an Afro pick with long, wide-set teeth. Insert it at the root—and only the root—and lift gently. Do not drag the pick through the mid-lengths, or you will snap the curl pattern and create frizz. The goal is to lift the weight of the hair away from the scalp so the curls have room to expand.
Managing the Perimeter
If you want to keep the look clean, define the edges with a bit of edge control gel, but let the body of the hair be as big as it wants to be. This is a look of absolute freedom and is perhaps the most honest expression of curly hair.
10. The Scarf-Wrapped Updo
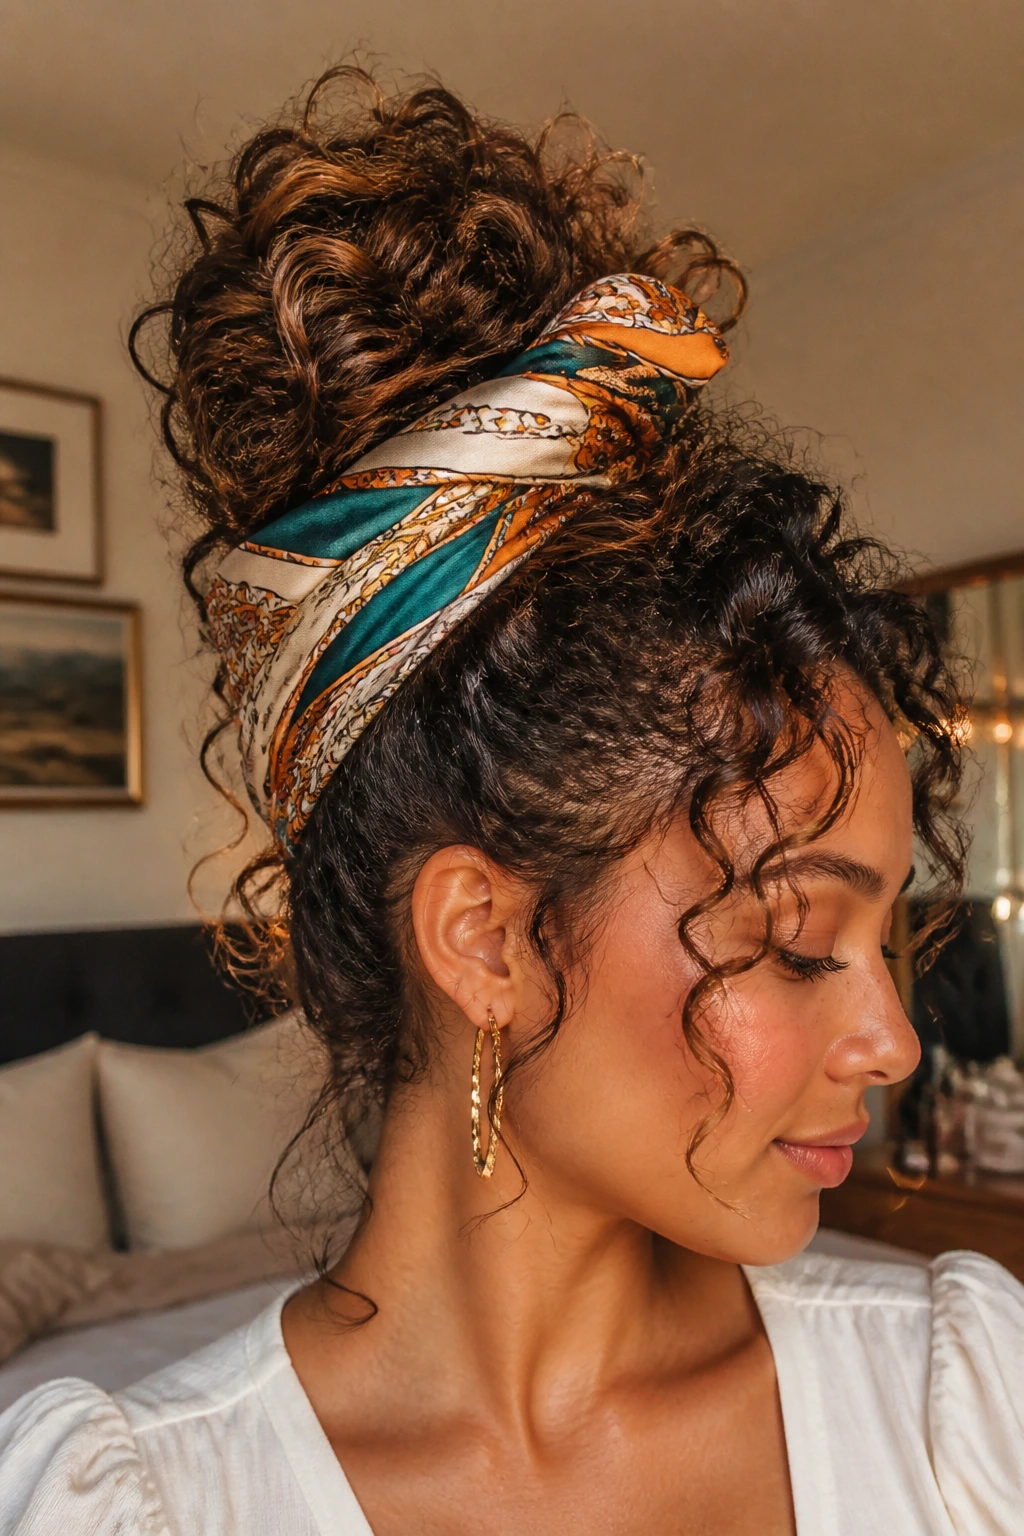
When your curls are having a bad day, or when you just want to add a splash of color, a silk scarf is your best friend. Instead of just tying it around your head, use it as a weaving tool. Wrap the scarf around your curls as you pull them into a high bun, allowing the ends of the scarf to knot at the top. It adds structure, color, and a sense of intentional style.
Choosing the Right Fabric
Stick to silk or satin. Cotton scarves tend to absorb moisture from the hair, which can leave your curls feeling dry and brittle by the end of the day. A smooth, synthetic-blend scarf can also work, but silk is the gold standard for protecting the cuticle of the hair.
The “Boho” Look
Fold the scarf into a long, thin band before you start wrapping. This allows you to weave it through the hair rather than just masking the hair underneath it. You want the curls to poke out from the top of the knot, creating a beautiful contrast between the fabric and the texture of your hair.
11. The Faux-Hawk with Defined Coils
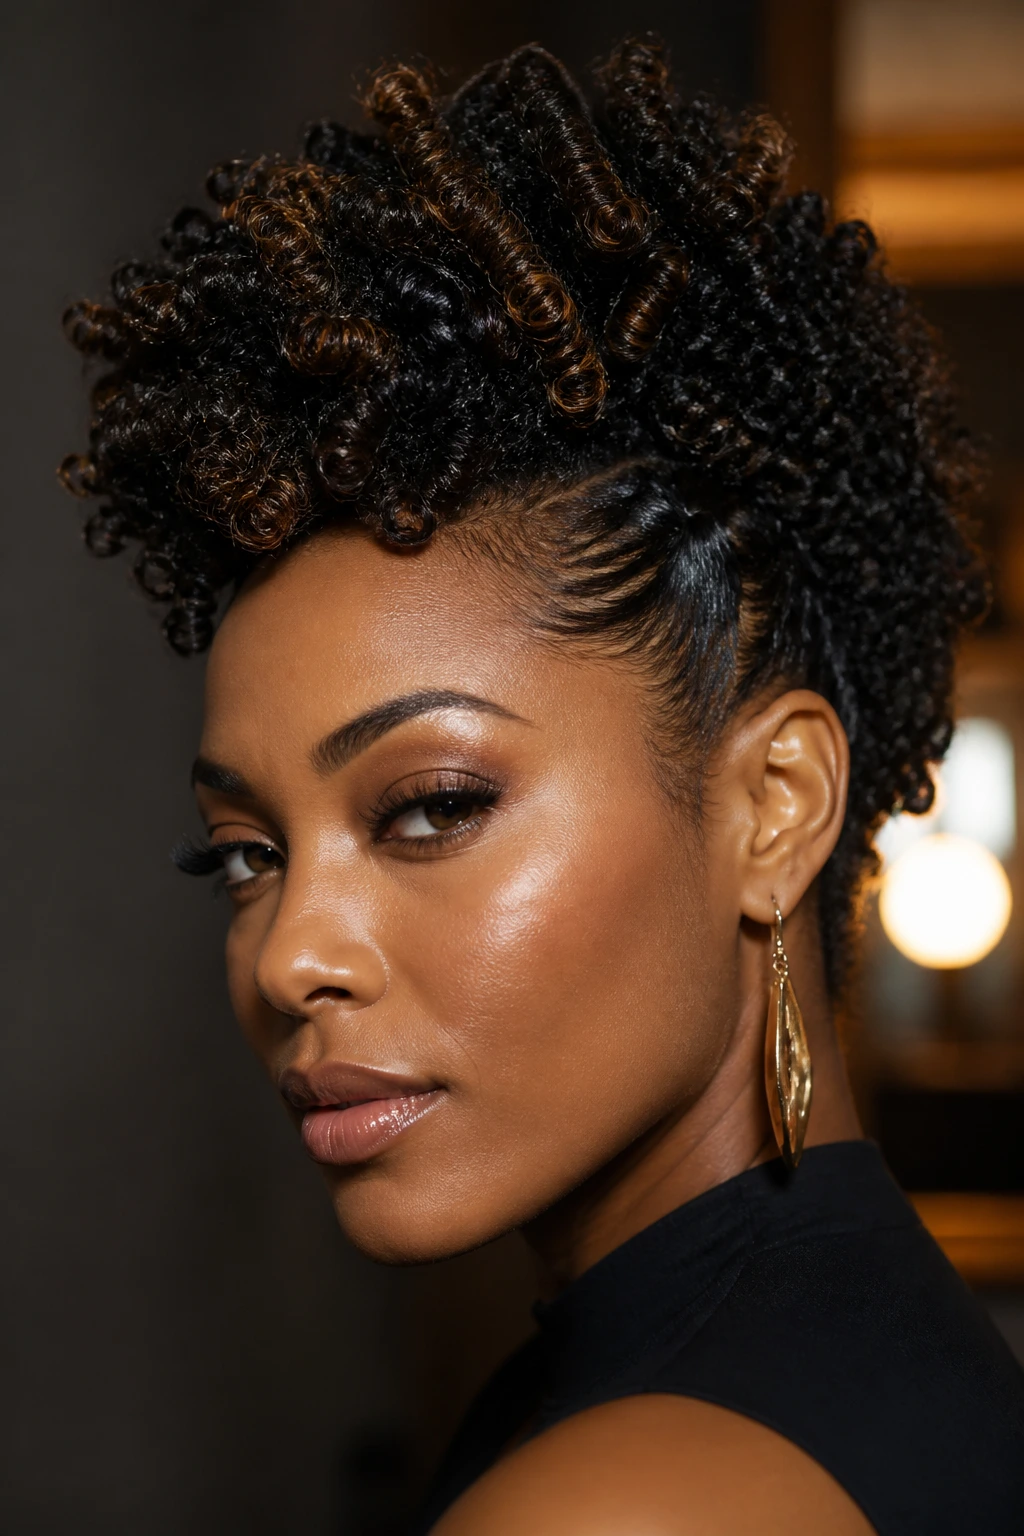
You don’t have to shave the sides of your head to achieve the edgy aesthetic of a hawk. Use bobby pins to pull the hair tightly from the sides toward the center of your head, pinning it vertically along the line of your part. Leave the curls in the center loose and voluminous, creating a “mohawk” of pure texture.
Precision Pinning
The trick here is to use pins that match your hair color. If you are blonde, use light-colored pins; if you have dark hair, reach for black or dark brown. Start pinning at the nape of the neck and work your way up to the hairline. Keep the pins tucked underneath the curls so the structure remains invisible.
Making it Pop
Use a bit of curl-defining cream on the center section to ensure those curls look tight and separate. The contrast between the slicked-back sides and the high-volume center is what gives this look its “wow” factor. It is an excellent choice for a night out or any event where you want to show off your rebellious side.
12. The Low-Slung Romantic Bun
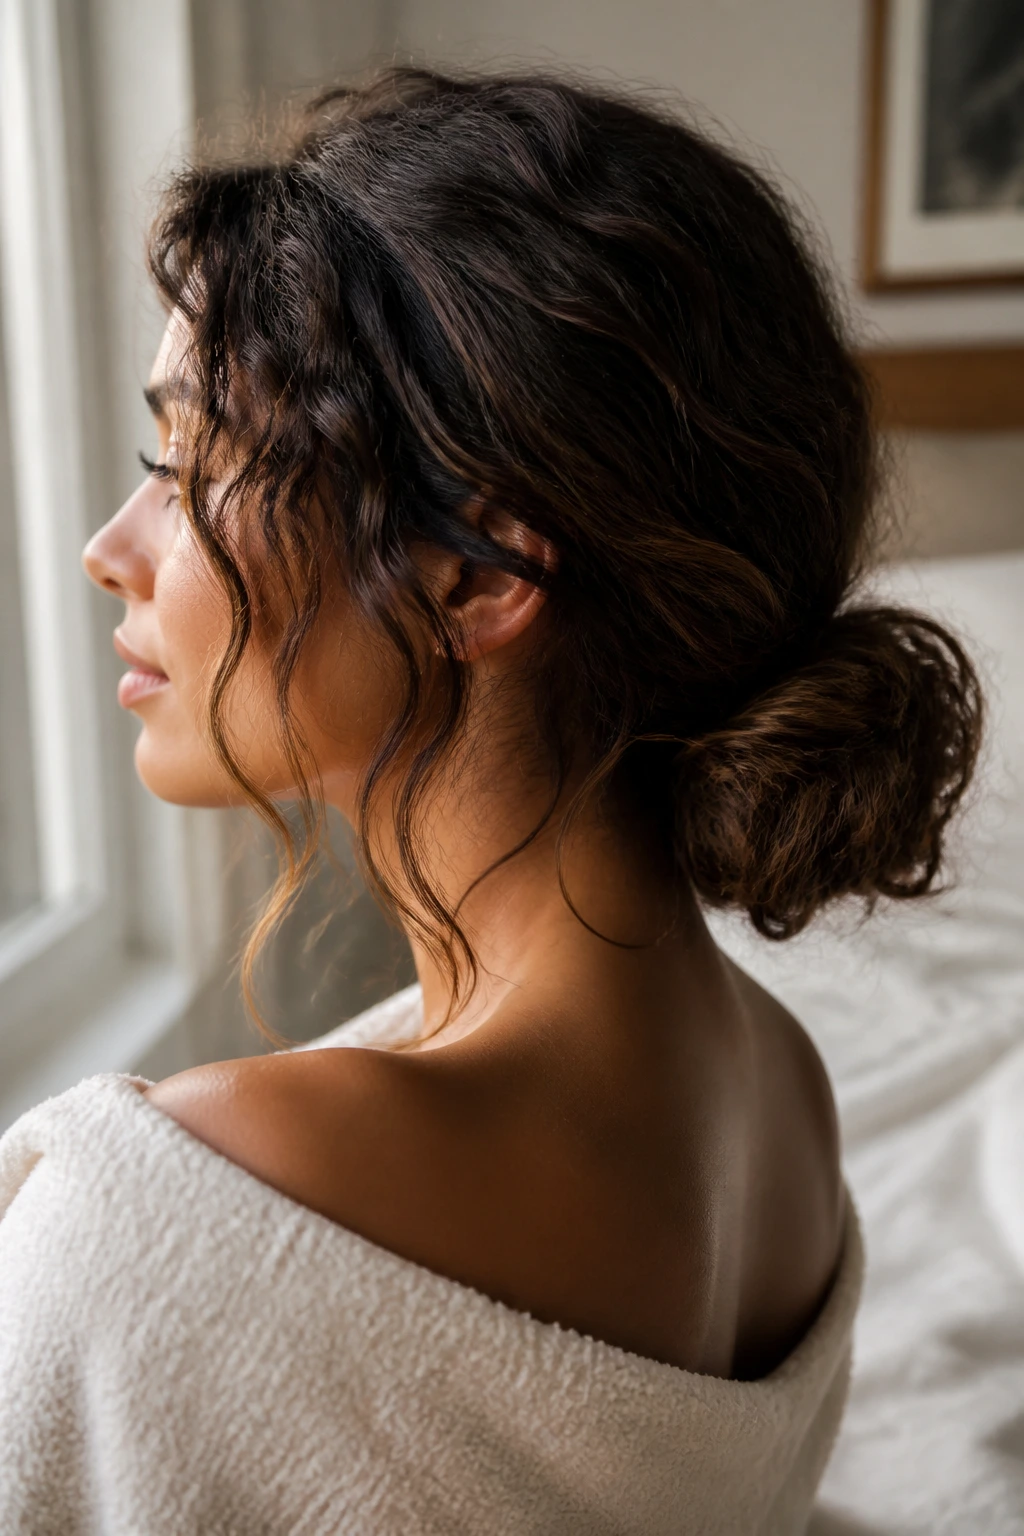
This is the antithesis of the high, tight bun. By positioning your hair at the base of the neck and leaving it loose, you create a look that feels lived-in and soft. Pull a few pieces out to frame the face. The key to this style is the “looseness”—if it looks like you spent more than three minutes on it, it’s too perfect.
Creating the Foundation
Start by gathering all your hair at the nape. Twist it into a loose rope, but don’t pull it tight. Coil the rope into a bun and secure it with a large hair clip rather than a tight elastic. A claw clip is perfect for this, as it holds the hair without compressing the curls, which helps maintain the volume and shape.
Adding Floral Elements
This style is the perfect base for adding small accessories. A single hairpin with a jewel or a tiny dried flower placed right at the edge of the bun can make the whole look feel very intentional and sophisticated, despite how simple it was to achieve.
13. The Half-Down Double Braids
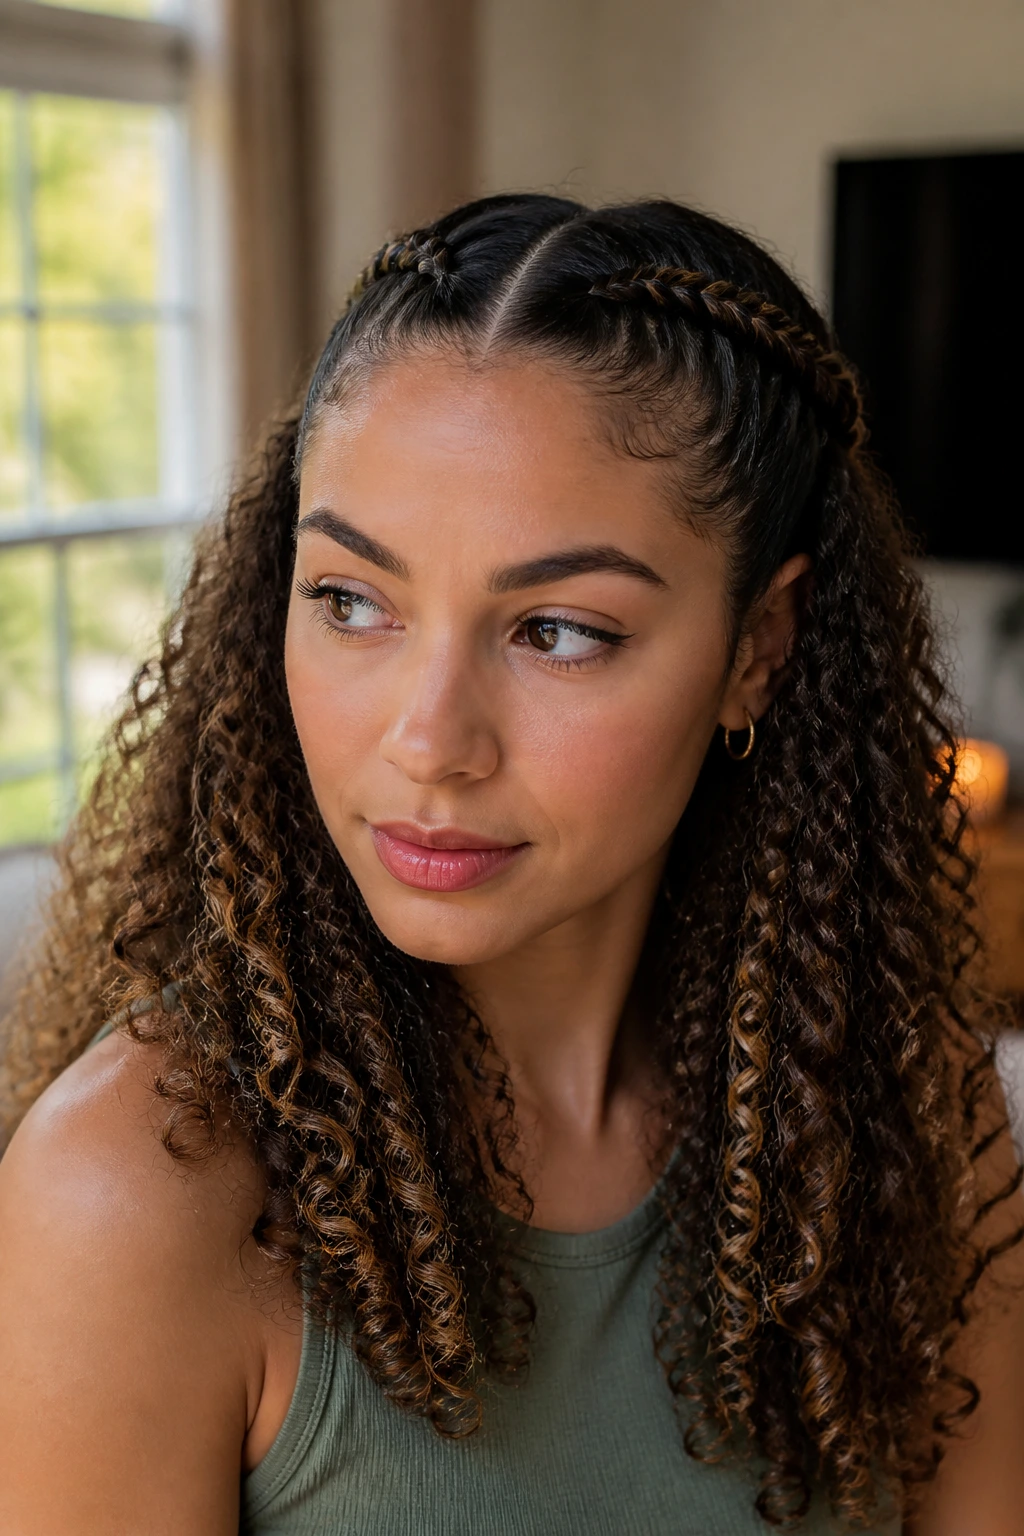
Take two sections of hair from your hairline, braid them toward the back of your head, and secure them with a small elastic. Let the rest of the hair flow free. This keeps the hair off your face while still providing that “tamed” look that we sometimes need for work or formal settings.
The Tension Rules
Unlike the halo crown, these braids should be relatively tight to the head. You want them to act as a frame. Don’t worry about them being perfectly even—the beauty of curly hair is that it hides minor errors in braiding. If one side is a little looser, just tug at the loops to make the other side match.
Finishing the Ends
You can either tuck the ends of the braids into the hair at the back or leave them hanging, pinning them so they blend in with your natural curls. Tucking them is often cleaner, but leaving them loose adds a bit of whimsy that feels very modern.
14. The Wispy Tendril Updo
This style is all about deliberate chaos. Pull all of your hair into a high, loose updo, but don’t tuck every single piece in. Specifically, leave the shortest layers—the ones around your ears and temples—to fall naturally. These “tendrils” should be allowed to form their own ringlets, softening the look of the updo significantly.
Enhancing the Tendrils
If your shorter layers don’t form perfect curls on their own, use a finger-coiling technique while they are still wet. Apply a tiny bit of gel to your fingertip, wrap the piece of hair around your finger, and let it air dry. This ensures that the tendrils look intentional rather than just like “messy hair.”
Why This Style Succeeds
It is the ultimate “easy-chic” look. It works because it balances the structural security of an updo with the softness of a face-framing style. It is particularly great for people with bangs or shorter face-framing layers who often find that traditional updos leave them feeling a bit too exposed.
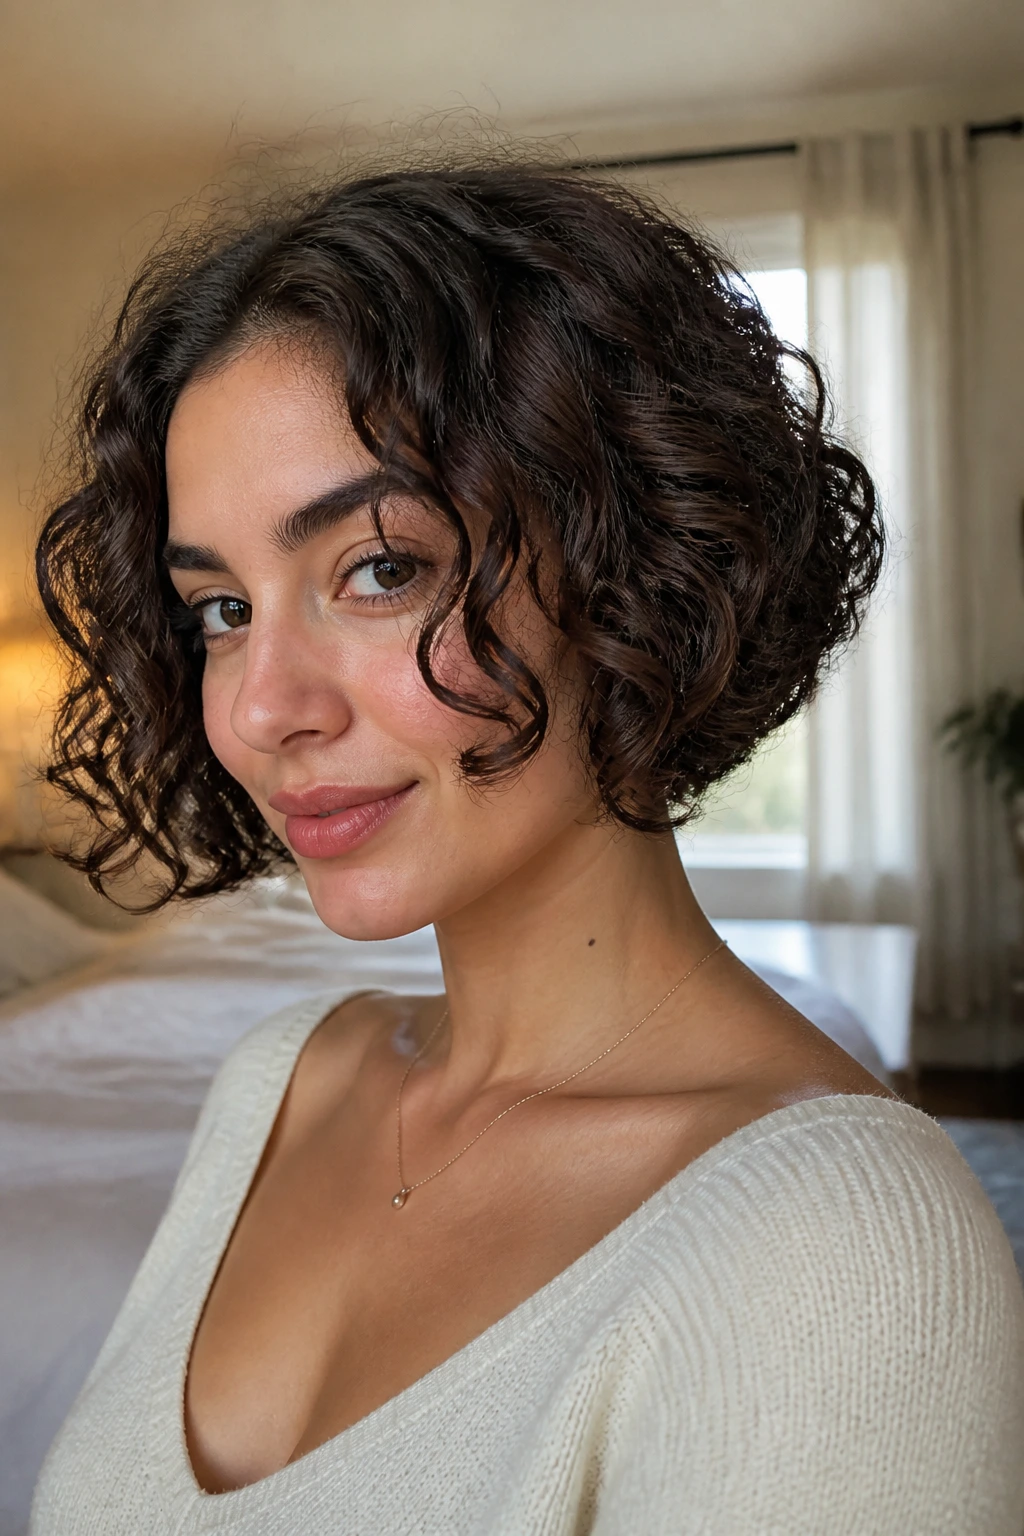
15. The Deep Side-Part Bob
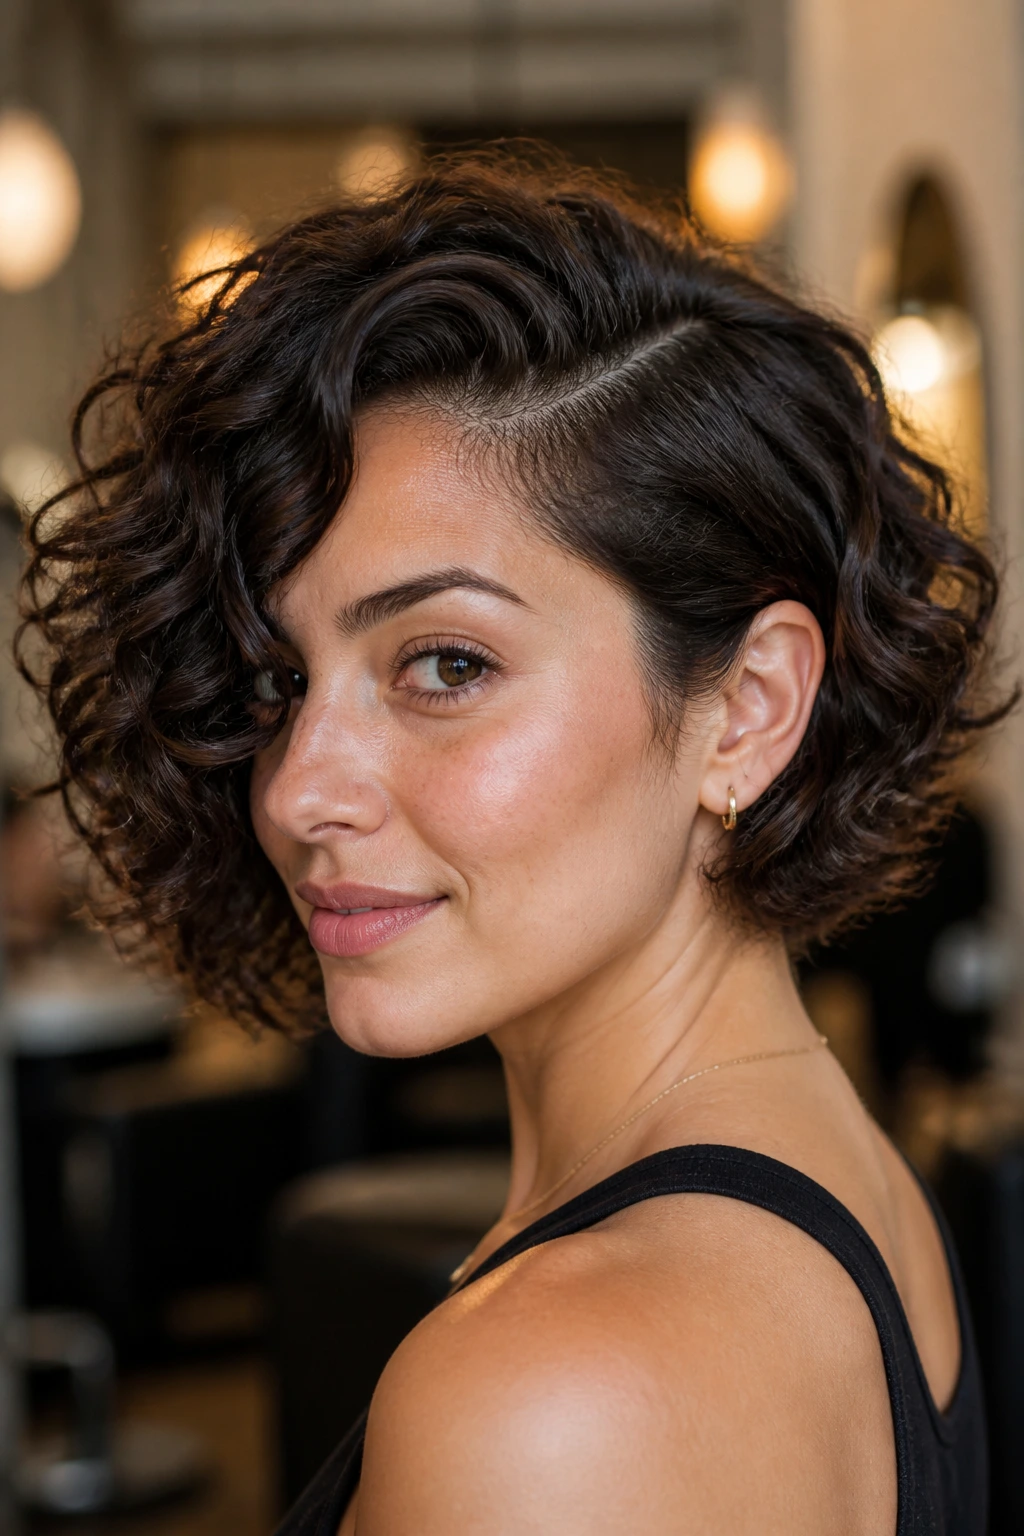
If you have a shorter curly cut, a deep side part is the quickest way to change your entire silhouette. By moving the part, you shift the weight of the hair, making one side look much thicker and bouncier than the other. This creates an asymmetrical bob that feels both bold and classic at the same time.
Cutting for Success
This look works best if your hair is cut with graduated layers—shorter in the back, slightly longer toward the front. If your hair is all one length, a deep side part might result in a “triangle” shape, so be sure to ask your stylist to keep the bottom soft and textured rather than blunt.
Styling the “Big” Side
The side with more hair should be treated with a lightweight volumizing mousse. Flip your head upside down after applying the product to ensure the roots get a boost before it dries. When you flip it back, that side will have incredible, gravity-defying height.
16. The Sleek Low Ponytail with a Twist
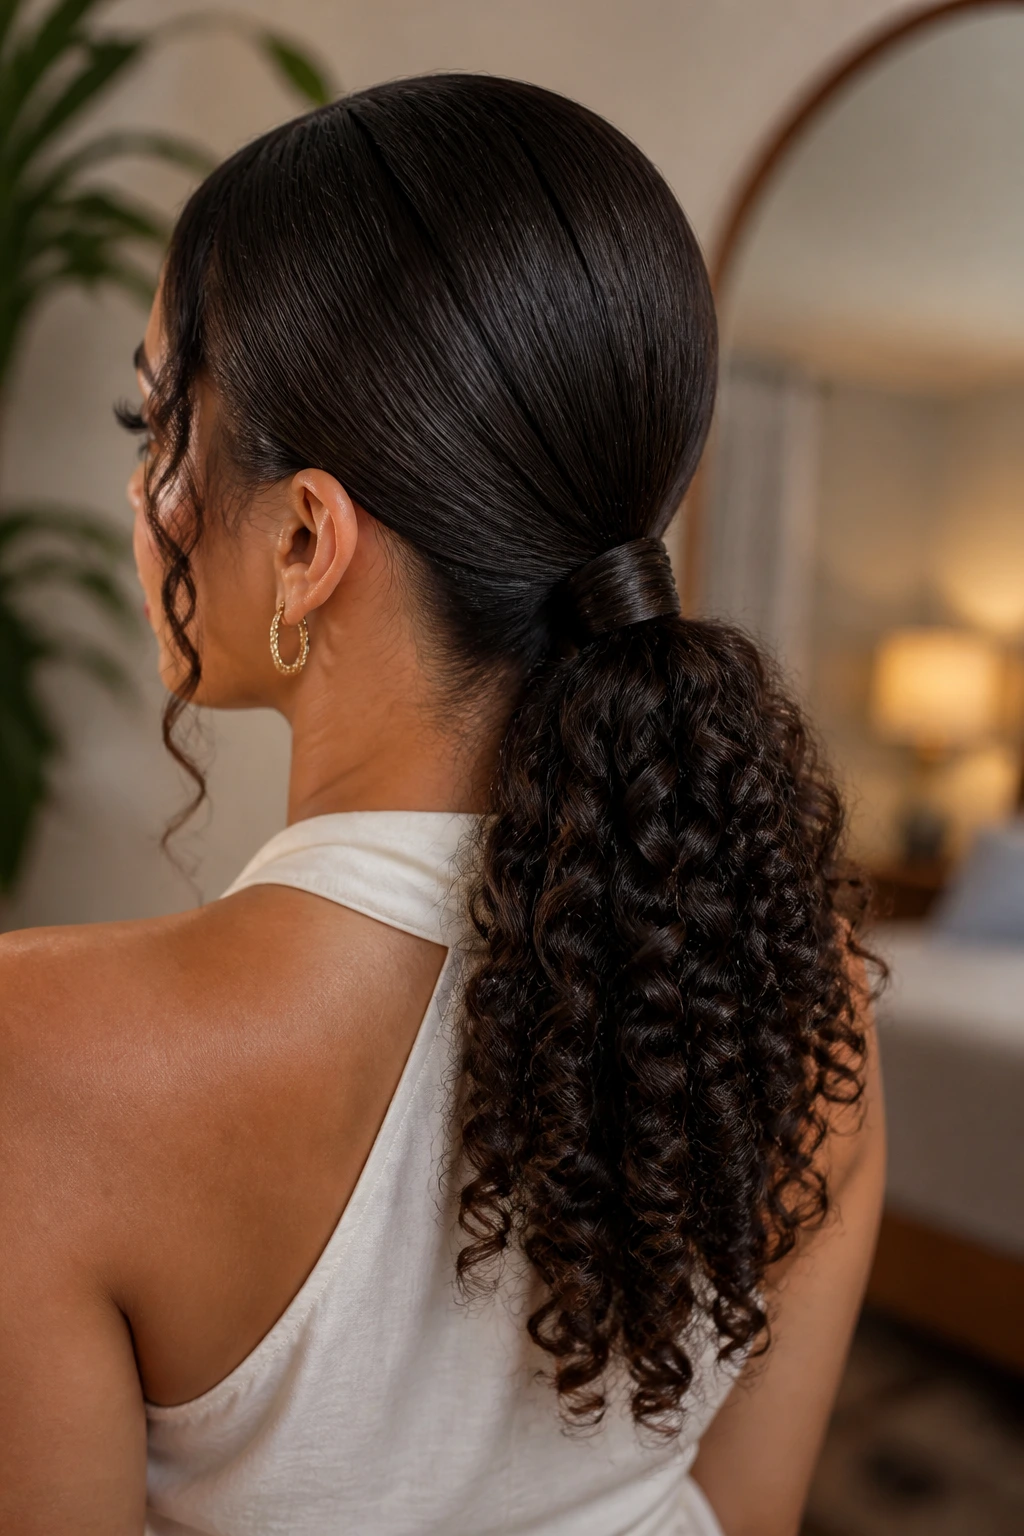
A ponytail doesn’t have to be boring. Gather your hair at the nape and secure it. Then, take a small piece of hair from the underside of the ponytail, wrap it around the elastic, and pin it in place. It hides the rubber band and elevates the ponytail from a gym hairstyle to a chic, everyday choice.
The Texture Contrast
For this look, keep the hair around your roots quite sleek. Use a bit of pomade to tame flyaways, but let the actual ponytail remain full of natural, spiraling curls. This contrast between the controlled base and the wild tail is what makes the look sophisticated.
Making it Last
Because curly hair is dry by nature, it usually holds styles well. If you feel like your roots are getting too “frizzy” throughout the day, keep a small container of hair wax in your bag for quick touch-ups. A tiny dab on your fingertips is all you need to smooth the hairline back into place.
17. The Bubble-Braid Updo
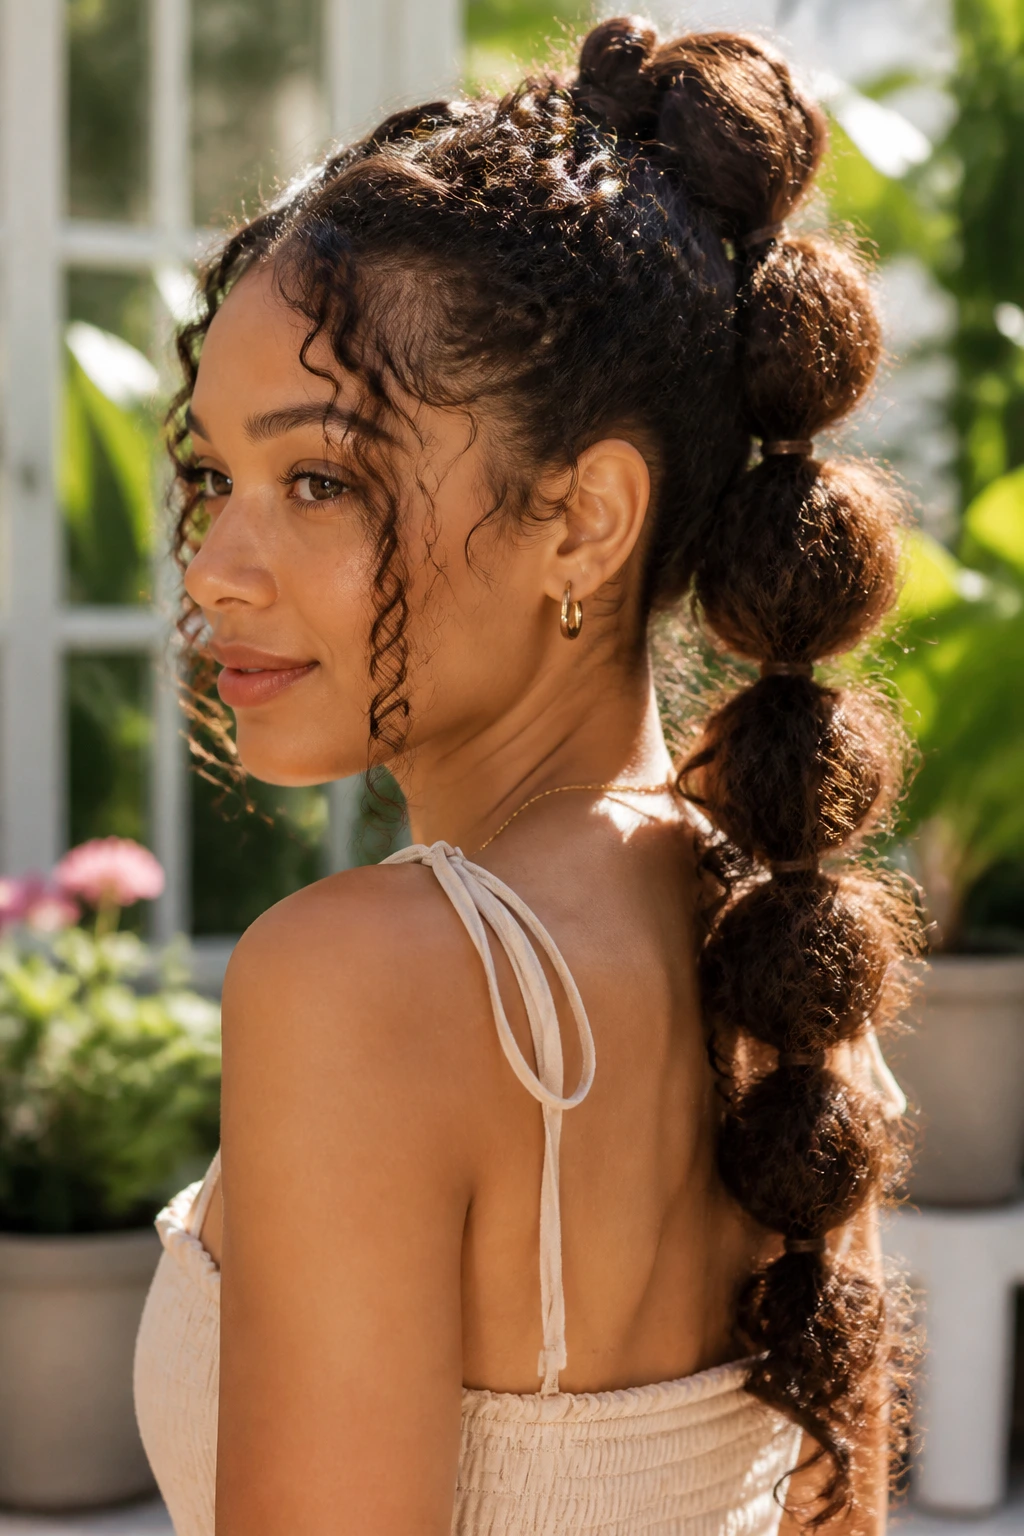
This is a playful, modern way to wear curly hair. Pull your hair into a ponytail, then add additional hair ties down the length of the tail every two inches. Pull the hair between each tie to create “bubbles.” It’s an easy, architectural style that highlights the pattern of your curls.
Volume Control
Curly hair is the best texture for bubble braids because it naturally fills the bubbles, meaning you don’t have to spend time teasing the hair to make it look thick. Just ensure the bubbles are even; if one is larger than the others, simply pull at the hair to adjust.
Choosing the Ties
Use clear plastic elastics for a more “grown-up” look, or go for colorful ones if you want to lean into the playful nature of the style. This look is perfect for summer events where you want to keep your hair secure but still want to showcase your personality.
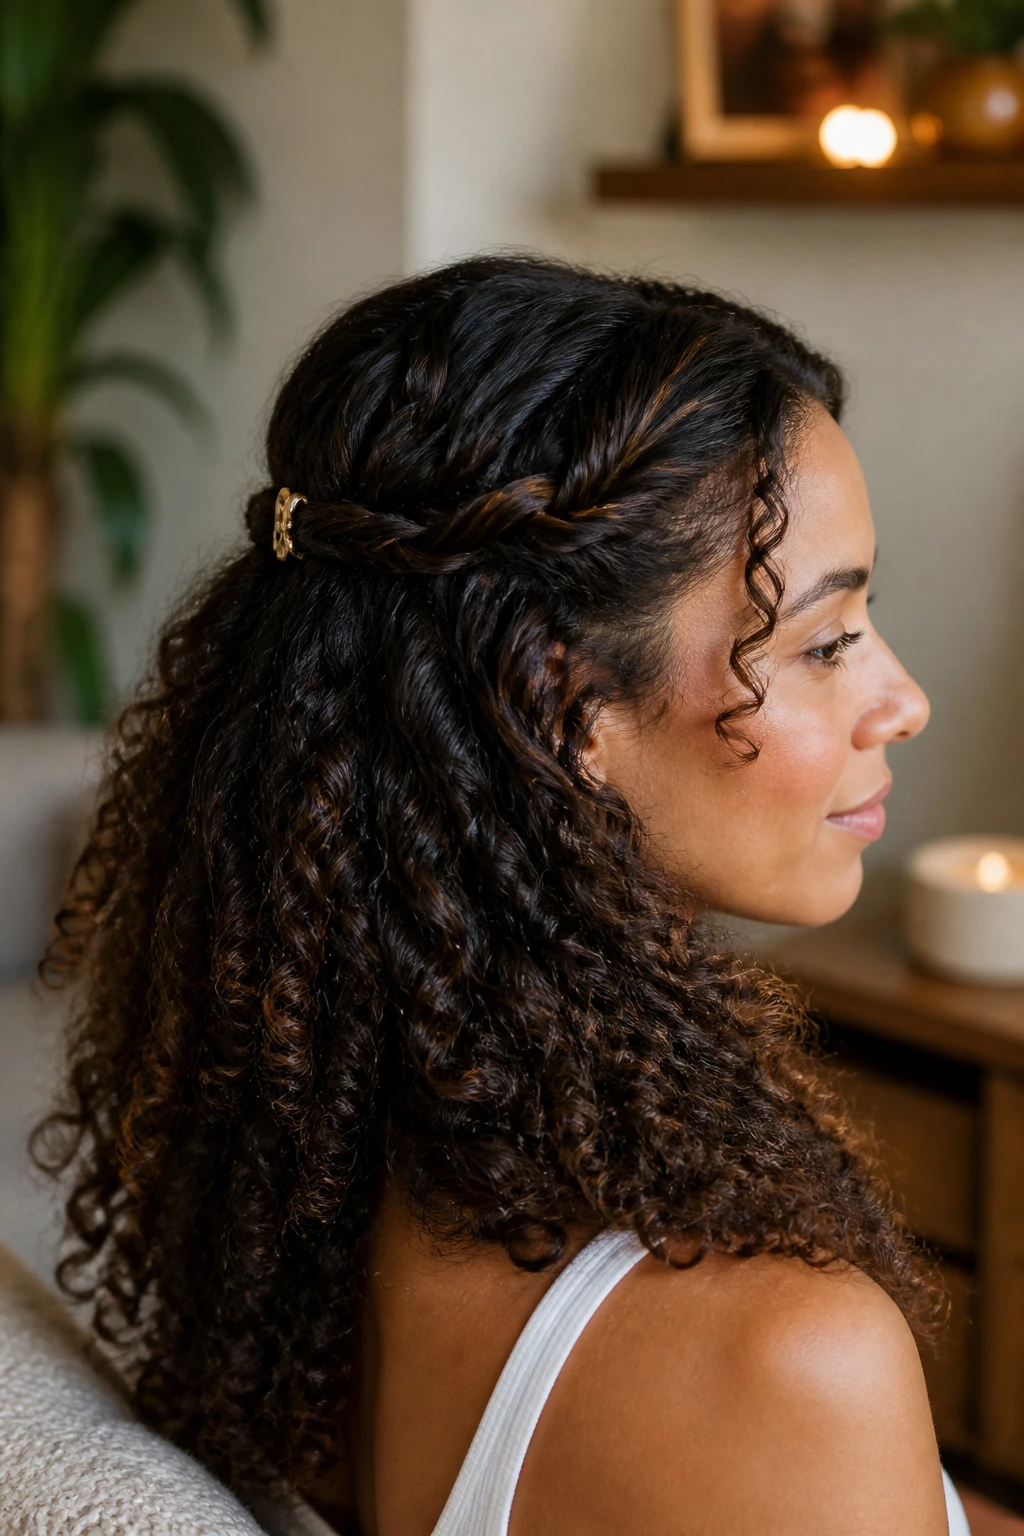
18. The Crown Braid with Loose Ends
Instead of tucking the ends of your crown braid under, let them hang. It creates a hybrid between a braided style and a loose, flowing look. It is romantic, slightly bohemian, and very easy to achieve if you already know how to do a basic Dutch braid.
Why This Style Works
It solves the problem of “braid fatigue,” where you have to decide between a total updo or a down style. By braiding just the front section, you ensure your hair stays out of your face, while the back provides that signature curly volume we love.
Proportions Matter
If you have very thick curls, keep the braid relatively thin. You don’t want to steal the spotlight from the beautiful texture in the back. Aim for a braid that is about one inch wide—just enough to frame the face nicely without overpowering the rest of your hair.
19. The “Pinned-Up” Bob
If you have long curls but want to try out a shorter look without cutting, you can “fake” a bob. Simply fold your hair inward at the nape and secure it with several bobby pins. Leave the top layers slightly loose to cover the pins and create the appearance of a chin-length haircut.
The Mirror Trick
The key is to look in the mirror from the side while you are pinning. You want to make sure the “fold” looks natural. If the hair at the nape looks too bulky, pull it tighter and pin it flatter. It might take a few tries to get the proportions right, but it is a fantastic way to change your look for the evening.
Who Needs This
This is perfect for the adventurous curly-haired person who wants to see how they look with short hair before committing to a pair of scissors. It also works as a great way to protect your ends if they are feeling dry or damaged.
20. The High-Volume Ponytail
This is all about the height. Gather all your hair at the very crown of your head and pull it into a high ponytail. Use a second elastic to secure it if you have a lot of hair. The goal is to have the ponytail fall forward and to the sides of your head, creating a fountain of curls.
Keeping the Base Secure
Because curly hair is heavy, a high ponytail can start to sag if it isn’t secured properly. Use two elastics close together. This adds structural support. You can also tease the hair just a little bit at the base of the ponytail to create a “cushion” that helps the hair stand up taller.
Making it Professional
This style is surprisingly versatile. It can look like a workout style, but if you pair it with large hoop earrings and a clean outfit, it transforms into an incredibly sleek and polished look for dinner or events.
21. The Half-Back Twisted Knot
Instead of using an elastic for your half-up style, take two sections of hair from your temples, twist them tightly, and bring them together at the back of your head. Secure them with a decorative clip or a large pin. It is softer and more “organic” than a traditional ponytail.
The Twist Technique
As you twist, make sure you are picking up a little bit of hair from your hairline as you go. This keeps the twist tight against your head so it doesn’t sag. The twists act as a frame, drawing the eye toward the center of your head where your curls will be gathered.
Why It’s Unique
This style adds a bit of intricacy that simple hair ties can’t provide. It feels like an intentional design choice rather than an afterthought, and it works beautifully with any curl pattern, from loose waves to tight, dense coils.
22. The Sleek-to-Curly Deep Part
Similar to the side-swept look, but here you focus on creating a sharp, clean part that goes all the way back to the crown. Use a styling gel to hold the part in place, then let the rest of your hair dry naturally. This creates a bold line that shows off your scalp and forces your curls to take a distinct shape.
The Importance of the Parting Line
Use the handle of a rat-tail comb to get a perfect, straight line. If the line is wiggly, the style loses its “sharp” impact. Don’t be afraid to use a tiny bit of pomade on the parting line itself to ensure it stays crisp throughout the day.
Why It’s Sophisticated
This look highlights your facial features and creates a very modern, minimalist aesthetic. It is the perfect antidote to the “too much hair” feeling, as it imposes order on your curls without taking away their volume.
23. The Braided Side-Band
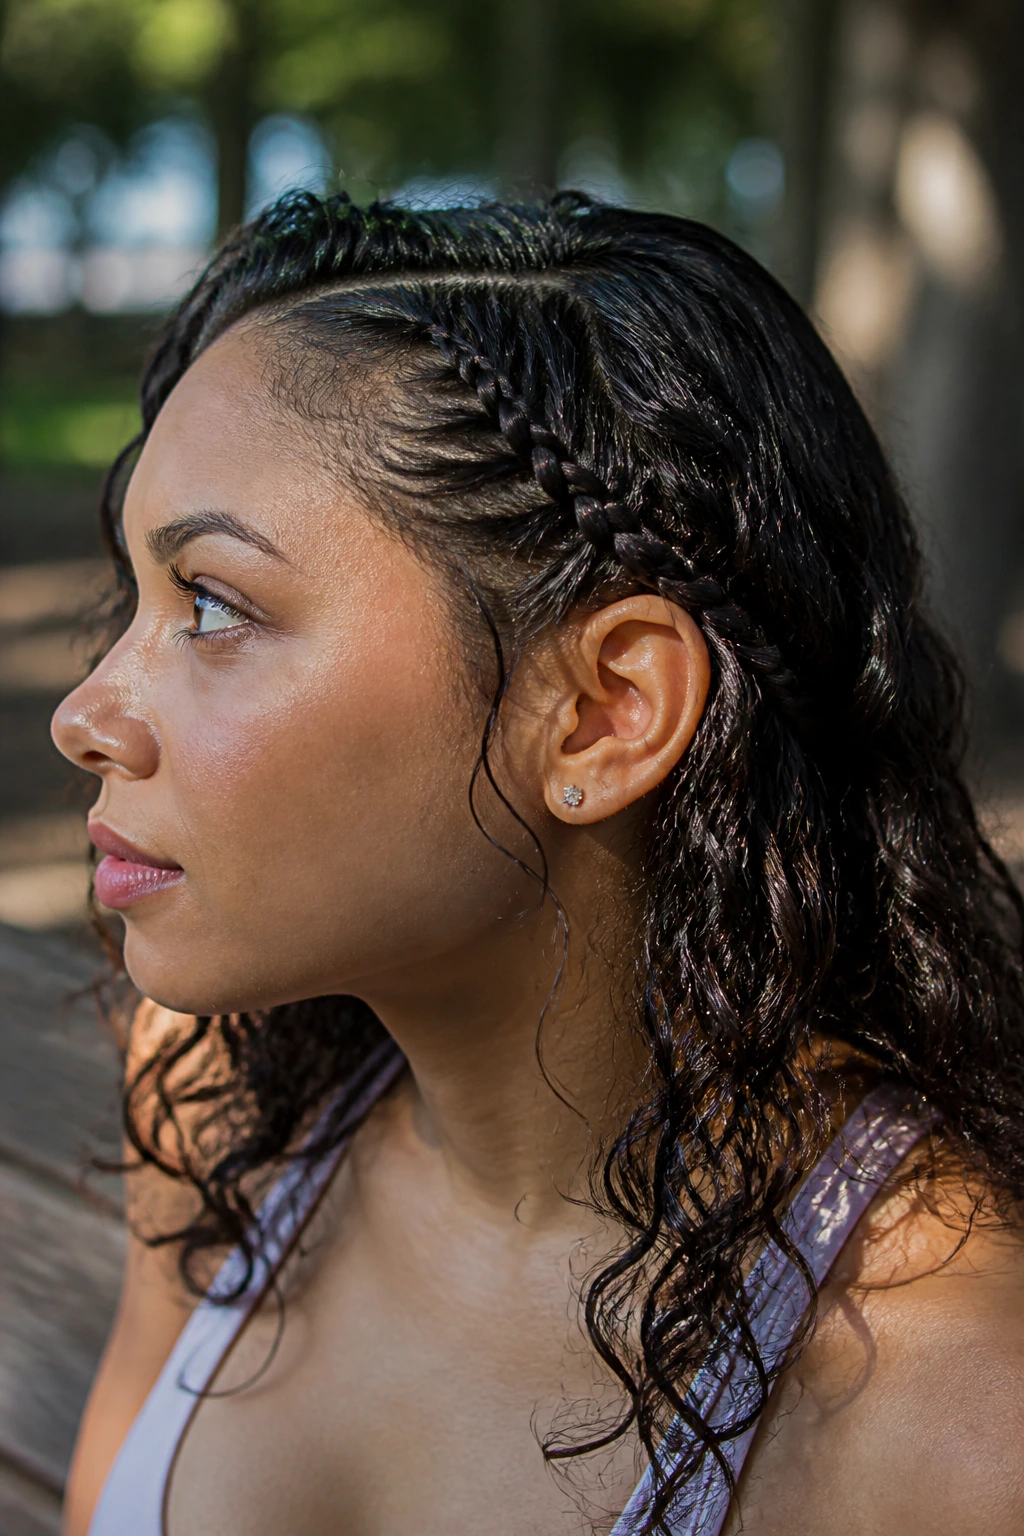
If you don’t want a full crown, try a simple braid on one side of your head that runs from your hairline to behind your ear. It is a tiny detail that can transform a standard “hair-down” day into something deliberate and chic.
Braiding for Texture
When you braid this section, do it while the hair is damp. As it dries, the braid will “shrink” slightly and blend in with the surrounding curls, making the transition between the braid and the loose hair look seamless.
Keeping it Subtle
This isn’t about being flashy; it is about detail. The braid is a small, hidden element that rewards anyone who takes a closer look. It is a great style for when you want to look put-together but don’t want to spend an hour on your hair.
24. The Double-Bun Top Knot
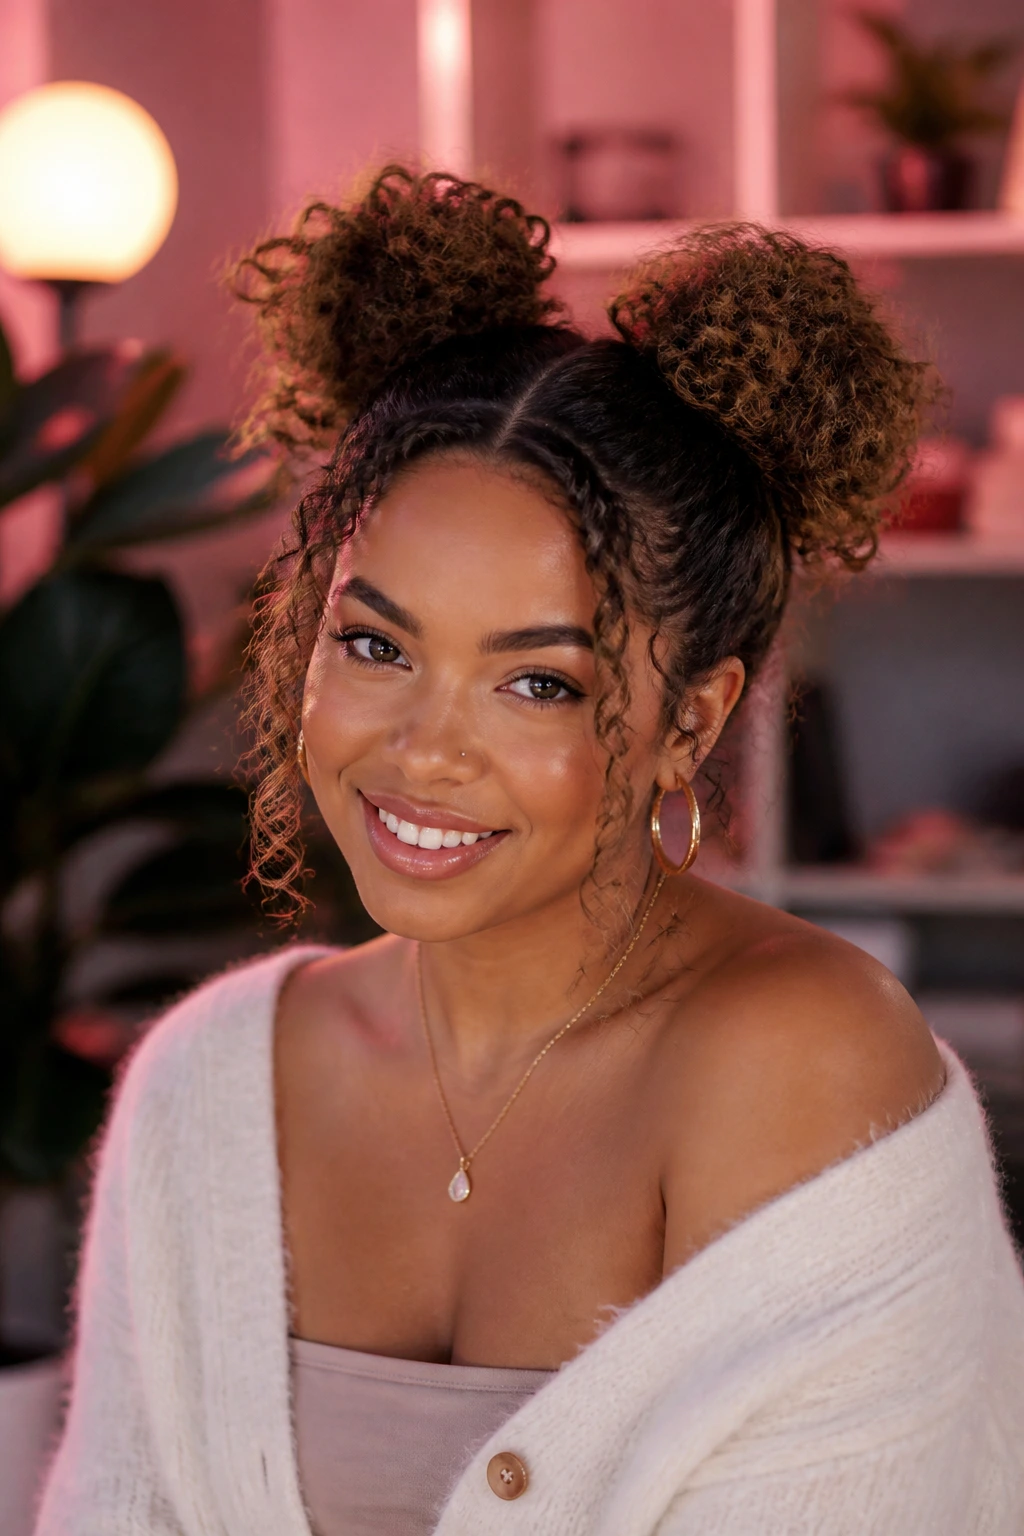
Who says you can only have one? Two high buns (often called “space buns”) are a fun, youthful look that works incredibly well for curly hair. Because your hair has so much body, you don’t need any fillers to make the buns look substantial.
Getting the Placement
Place the buns at the top of your head, aligning them with the outer corners of your eyes. This creates a very flattering line that opens up your face. Keep the hair parted down the middle to emphasize the symmetry of the two buns.
The “Messy” Factor
Don’t worry if the buns aren’t perfectly round. Let the curls stick out of the buns in every direction. This messy finish is actually what makes the style work. It feels fun, experimental, and perfectly attuned to the texture of your hair.
25. The High Bun with a Scarf Wrap
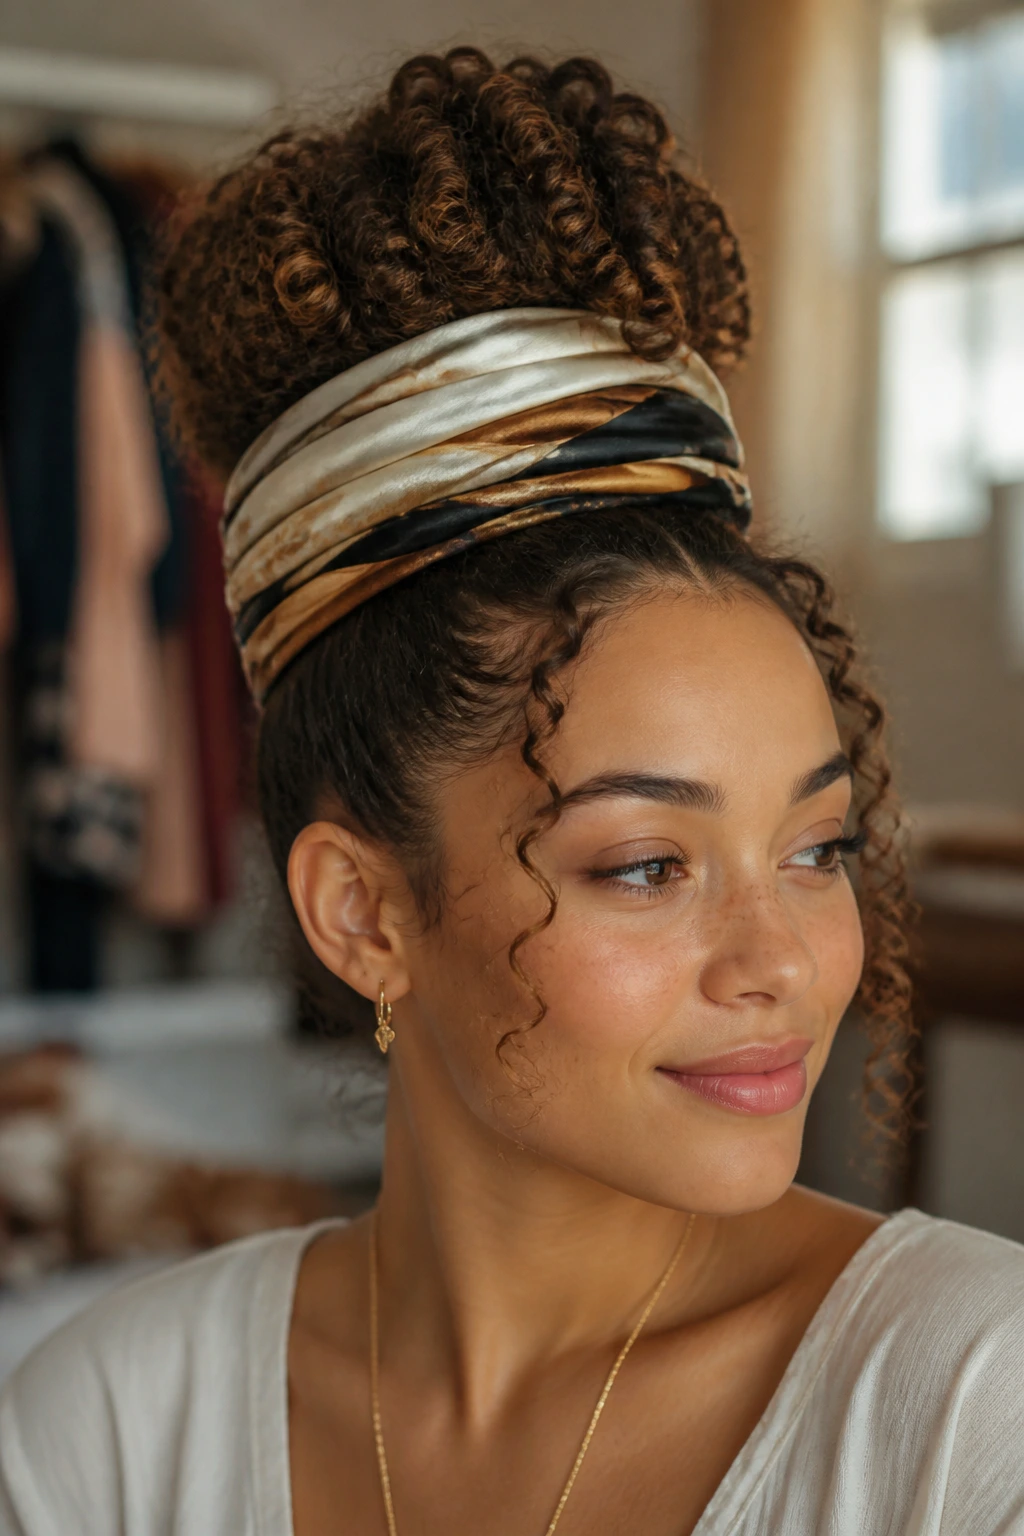
Take your high bun, secure it with an elastic, and then wrap a silk scarf around the base. Instead of just wrapping it once, wrap it several times so the scarf becomes a visible “cushion” for the bun. It adds height and color.
The Color Coordinate
Choose a scarf that matches your outfit. Because the scarf is placed right at the top of your head, it acts like a crown. It draws the eye to your face and adds a touch of elegance that a standard hair tie just cannot match.
Seasonal Versatility
This is a great look for all times of the year. In warmer weather, the scarf keeps your neck cool; in cooler months, it adds a bit of warmth and color to your overall look. It is one of the most functional yet stylish looks in this collection.
26. The Low-Slung Ponytail with Side Tendrils
Take your hair into a low ponytail at the nape, but leave two thick sections of hair near your face completely untouched. Once the ponytail is secure, take those sections, gently twist them, and pin them back toward the base of the ponytail.
The Face-Framing Effect
These twists act like a frame for your cheekbones. Because they are soft and loose, they don’t look “done” in the traditional, stiff sense of the word. They feel organic and romantic, which is perfect for a date night or a formal event.
Ensuring Balance
The key is to keep the twists loose. If you pull them too tightly, they lose their charm and look like a schoolgirl hairstyle. You want them to have the same amount of volume and movement as the rest of your hair.
27. The Side-Pinned “Faux” Side-Sweep
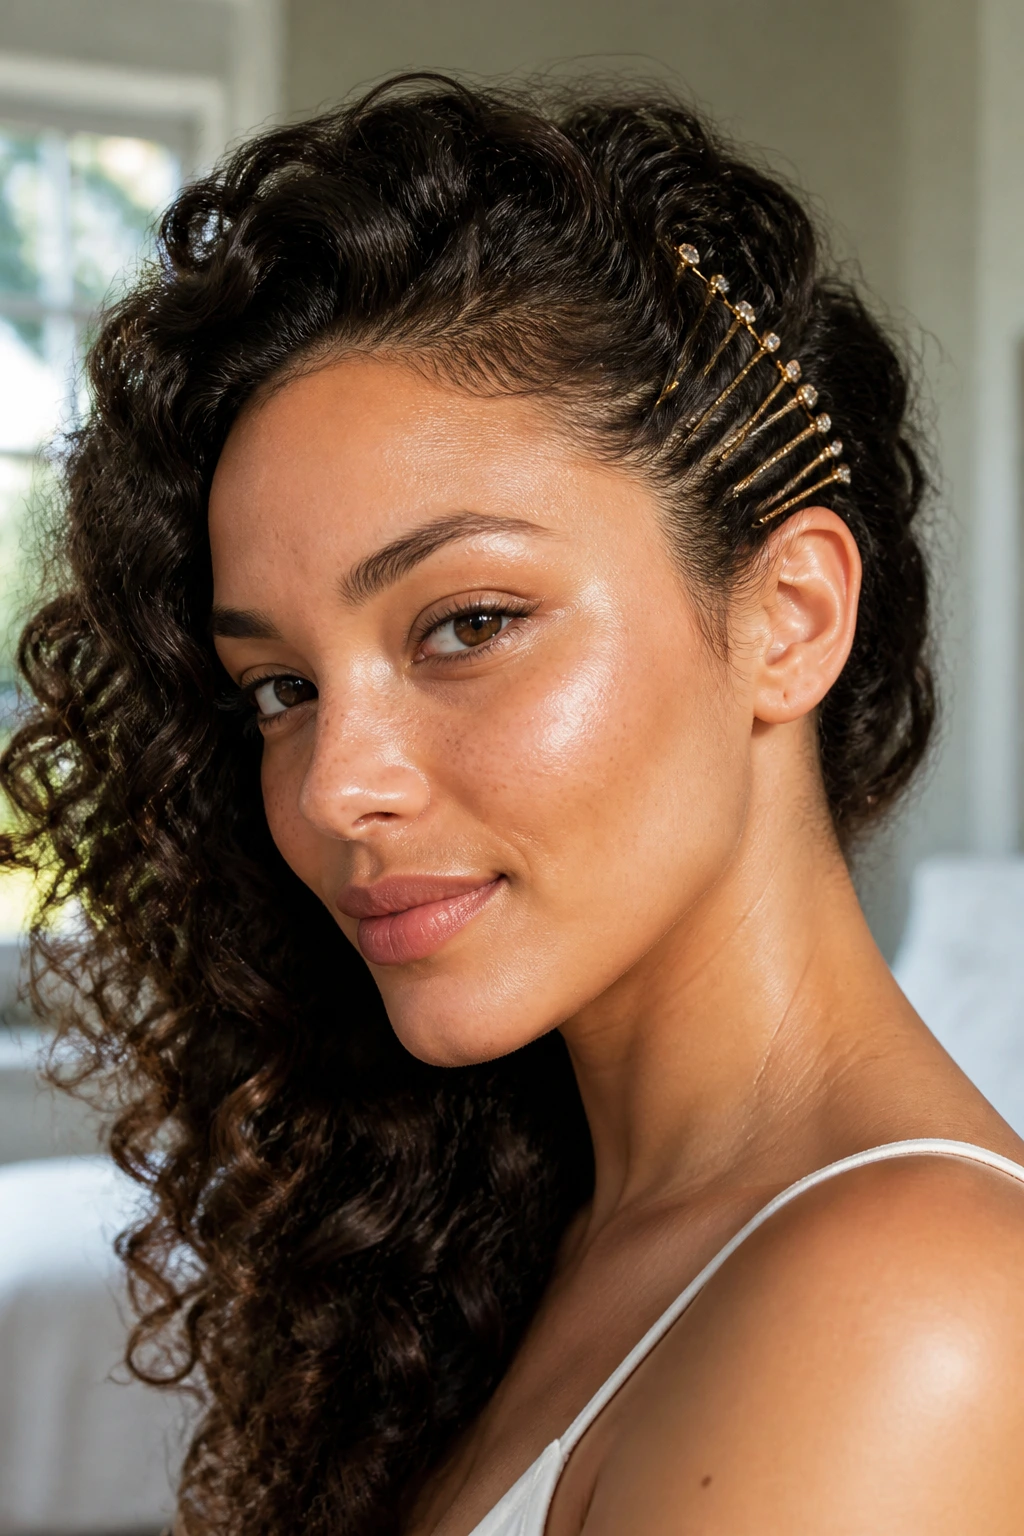
Sometimes you just want the look of a side sweep without the effort of pinning your whole head. Simply part your hair to one side, take the hair on the side with less volume, and use a series of decorative bobby pins to pull it back tightly against your head.
The Decorative Element
Since you are using bobby pins, make sure they are visible. Use gold, silver, or pearl-studded pins. Make a design with them—perhaps a row of five or six pins running from your hairline to behind your ear. It turns a functional necessity into a style statement.
Why It Works
It keeps the hair out of your eyes while giving you the dramatic “side-swept” silhouette you desire. It is a very quick style that can be done in under two minutes, making it a perfect last-minute option for busy days.
28. The Curly Updo with a Statement Accessory
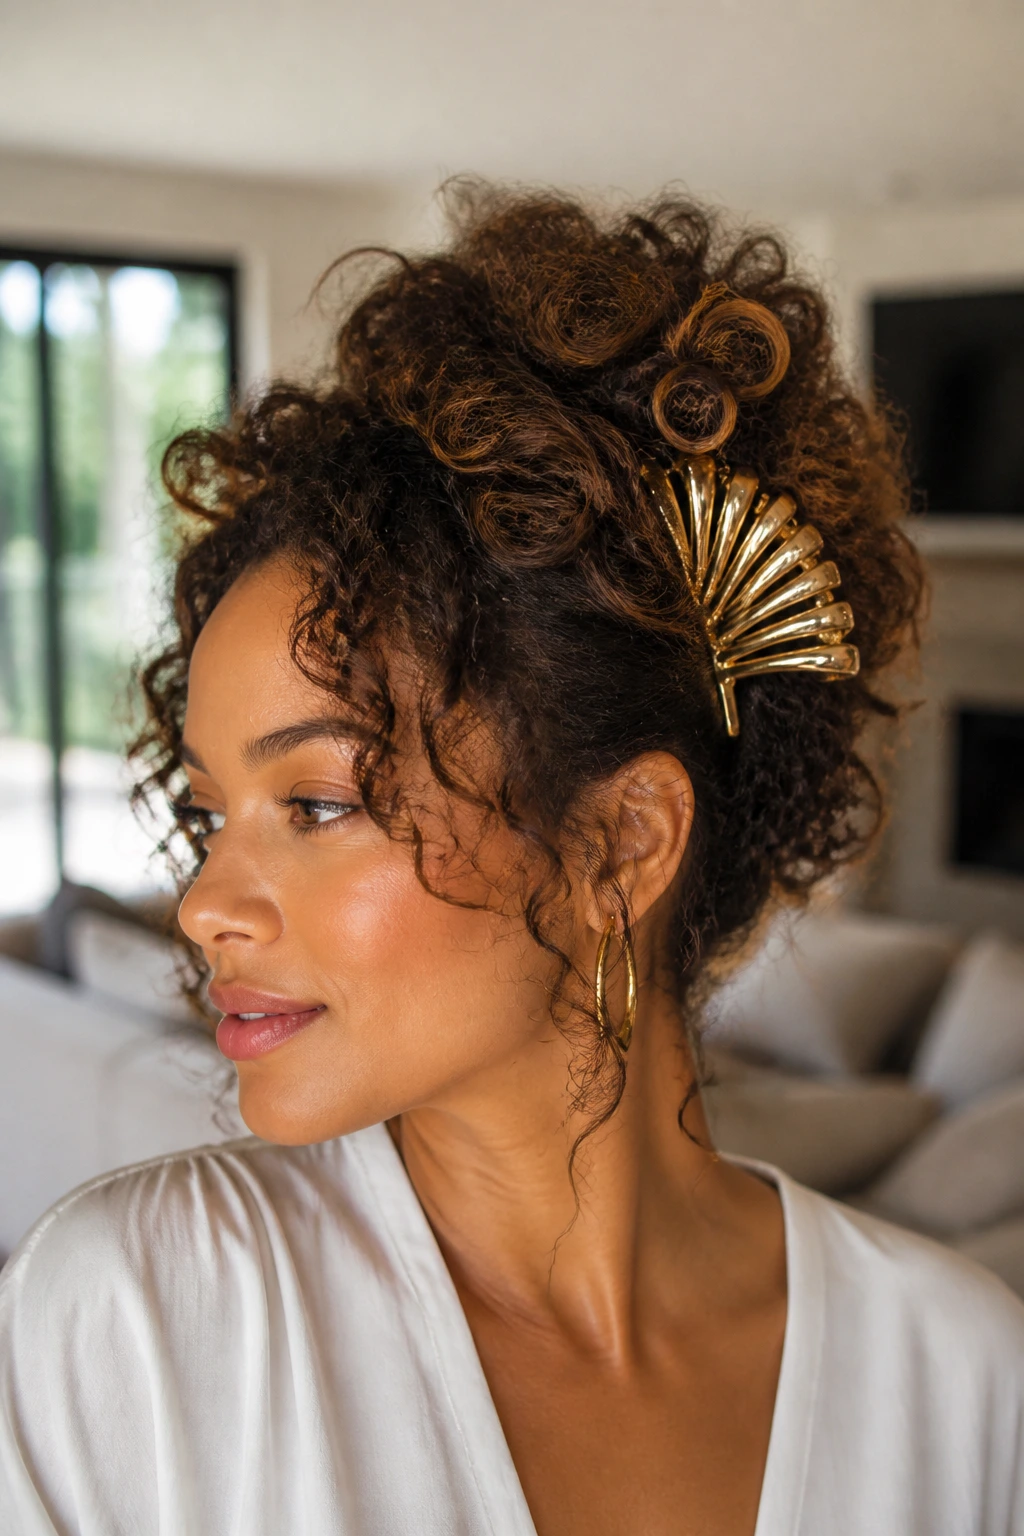
Sometimes the hair itself isn’t the whole story—it’s what you add to it. A large, architectural hair clip or an ornate comb placed into a loose updo can do 90% of the work. You don’t need a complex style when you have a piece of jewelry that stands out.
The Placement Trick
Place the accessory slightly off-center. If you place it right in the middle, it can feel a bit too formal or “wedding-like.” Off-center placement feels more intentional and modern, fitting perfectly with the “beyond beauty” philosophy of this entire collection.
Caring for the Texture
Since the hair is pulled back, you want to make sure the curls that are visible are looking their best. A quick refresh with a water-based leave-in conditioner before you start the style will ensure those curls stay shiny and defined while the rest of the hair is pinned into place.
Final Thoughts
When you look at this list, notice that none of these styles require you to change who you are or what your hair does naturally. They are all simply ways to frame, lift, and play with the texture you already possess. Curly hair has its own internal logic, and the moment you decide to stop arguing with that logic is the moment your hair becomes your best asset rather than a project. Take these shapes, experiment with the placement of your pins, and never feel like you have to reach for a flat iron just to feel like you have “options.” Your curls are the most versatile fabric on your head; you just have to know how to drape them.