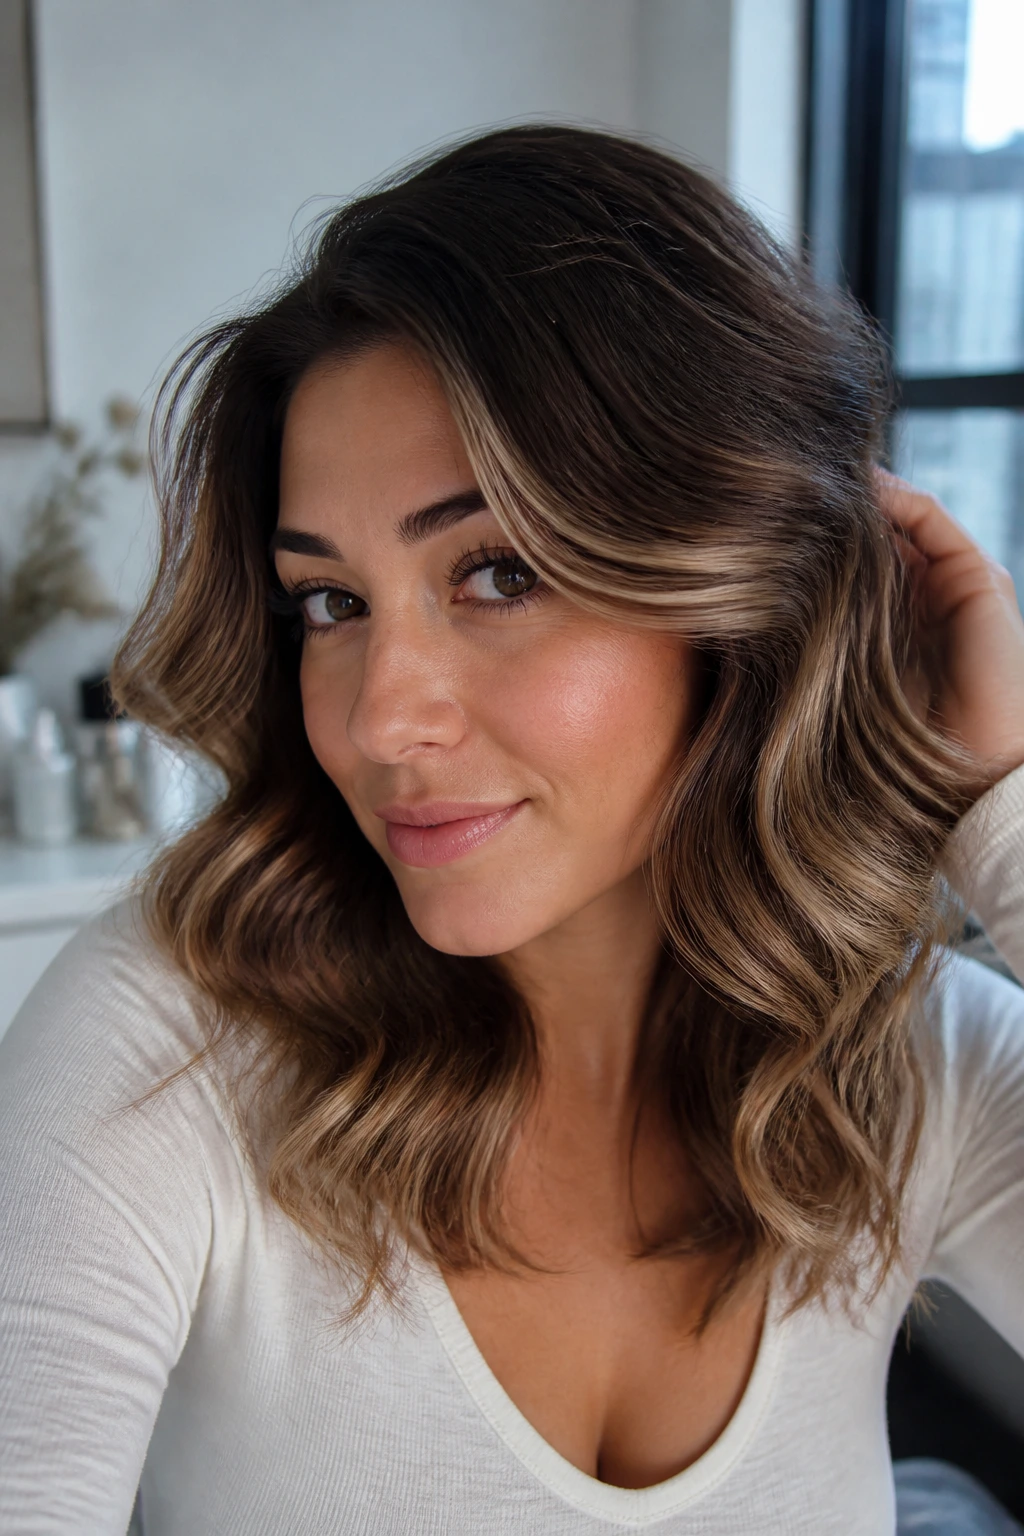
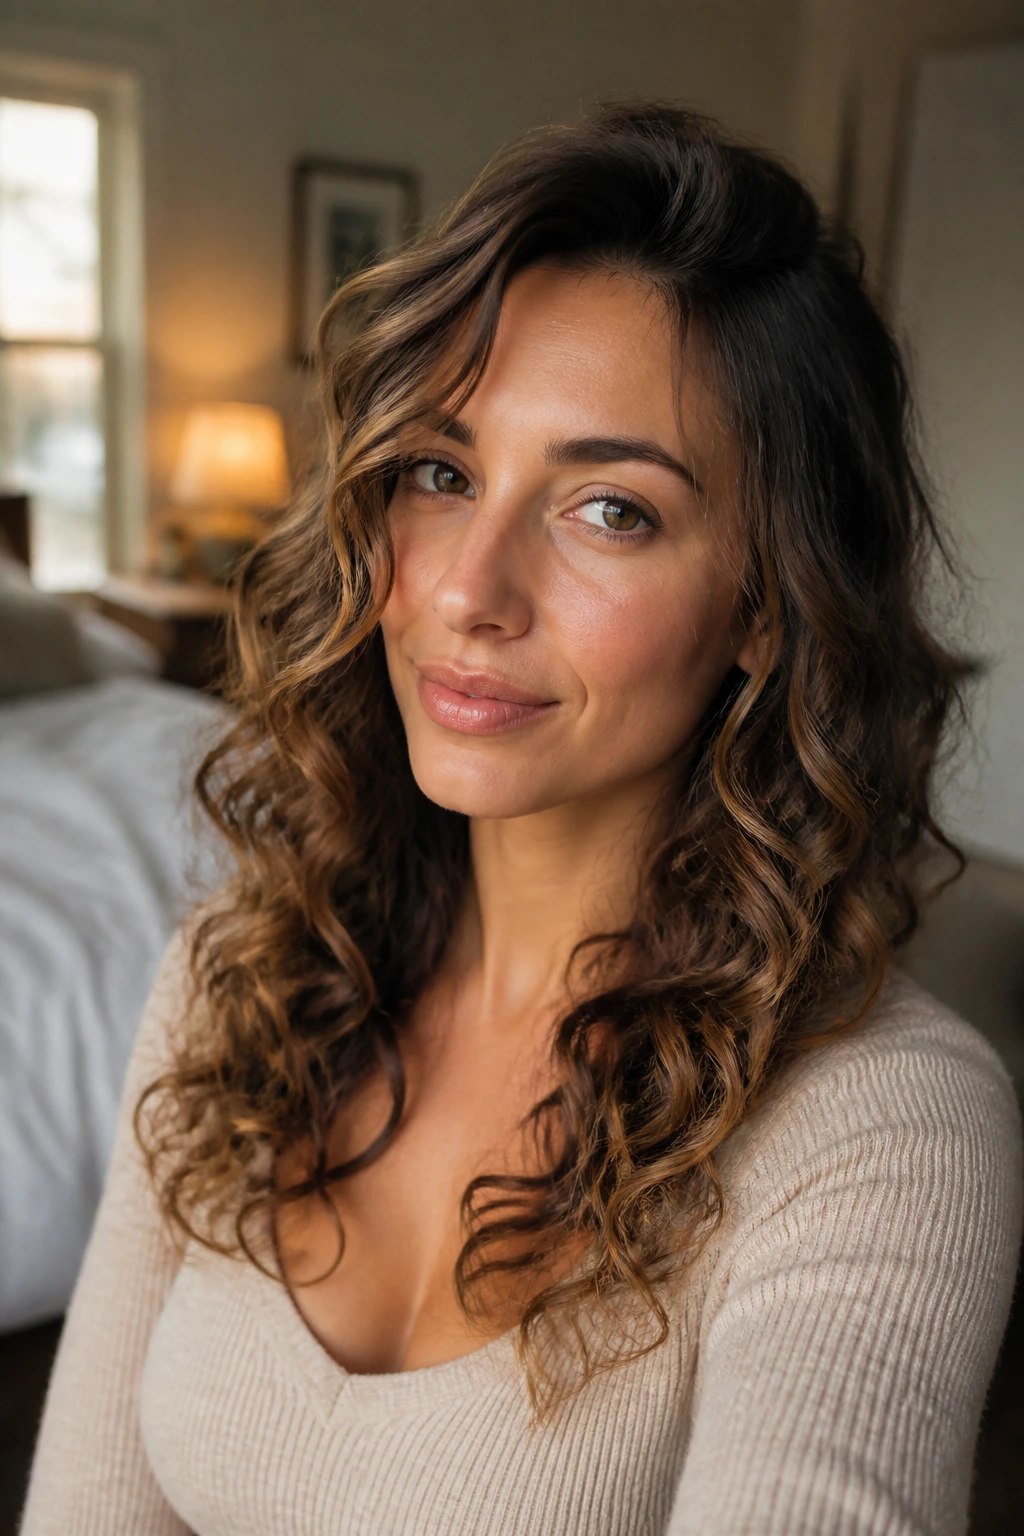
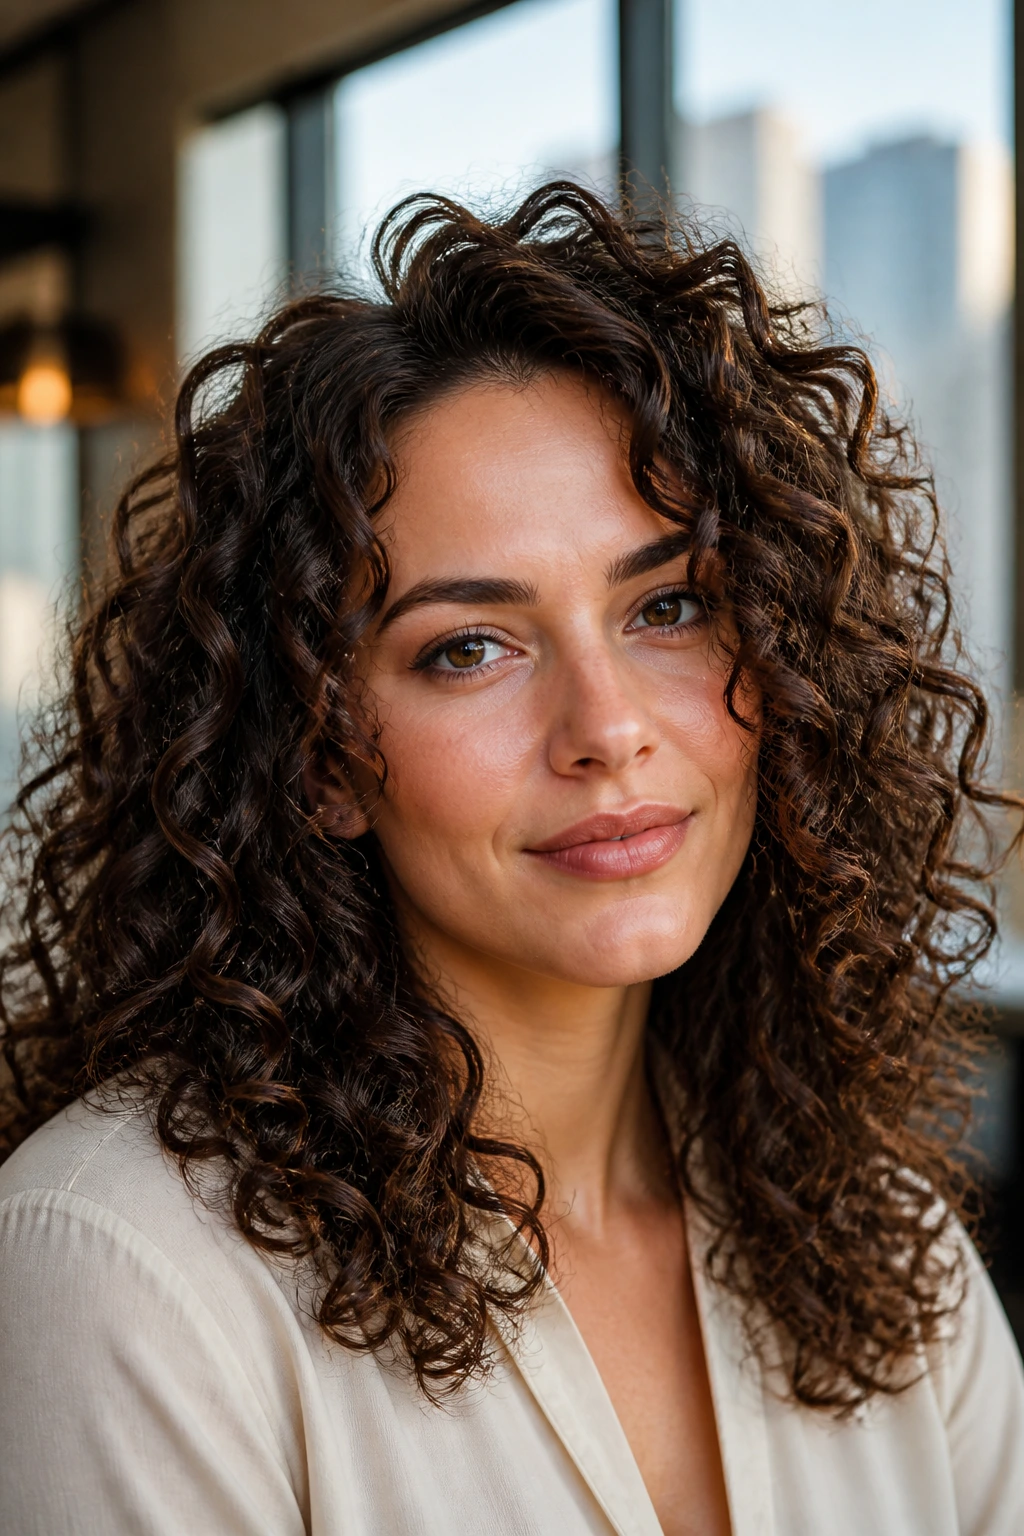
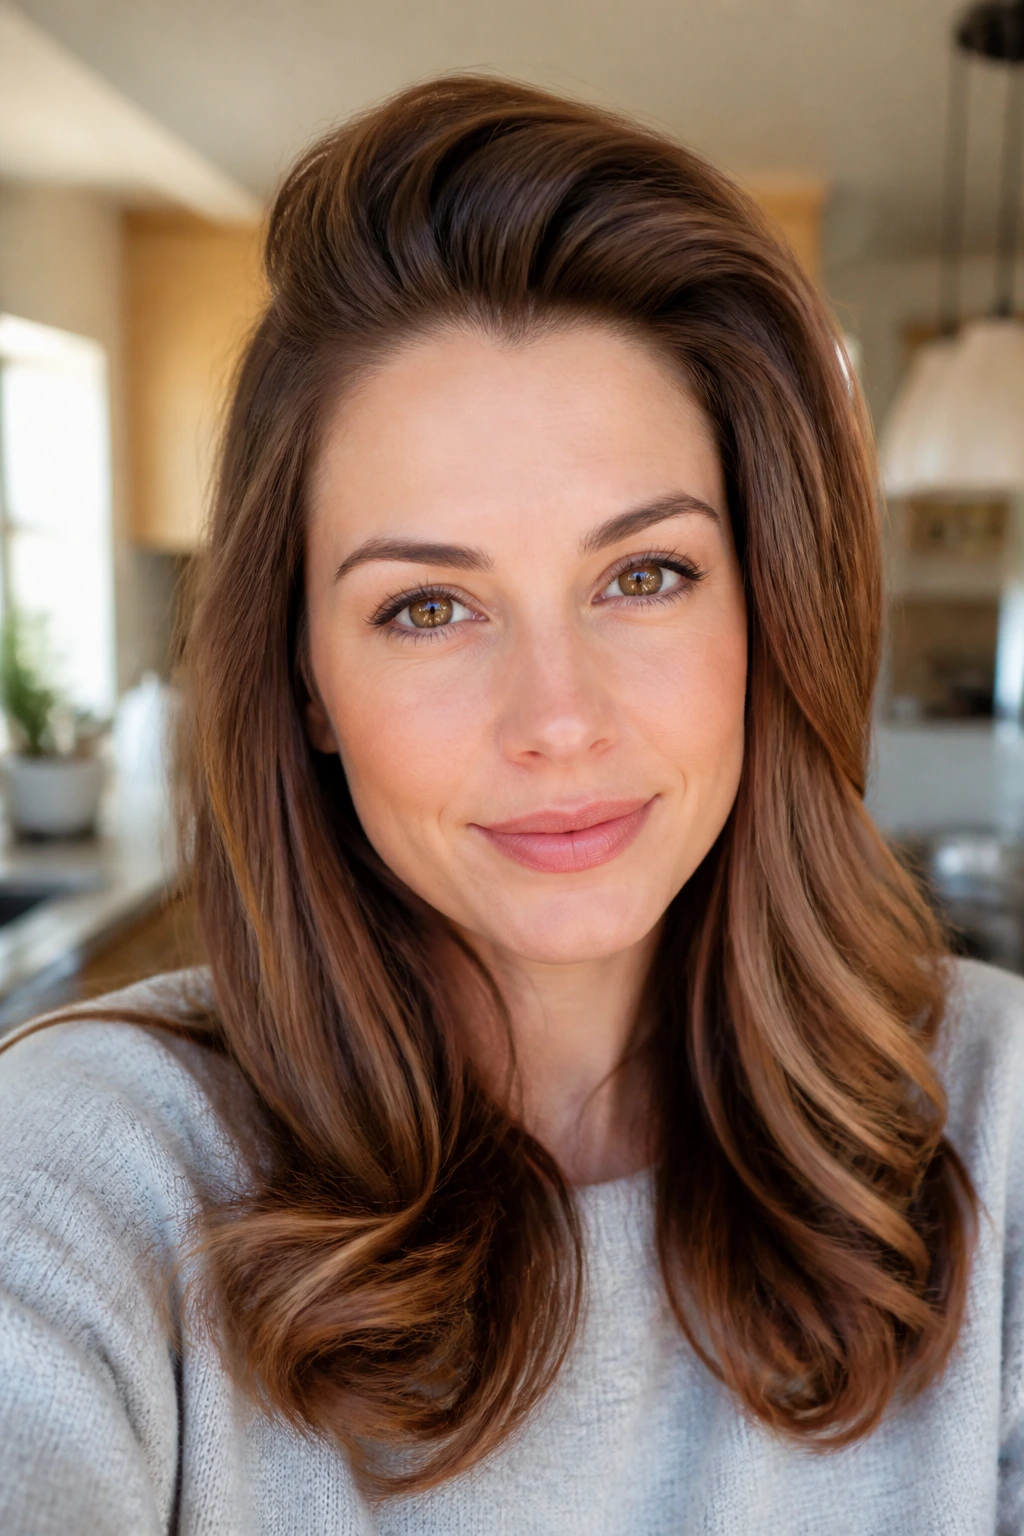
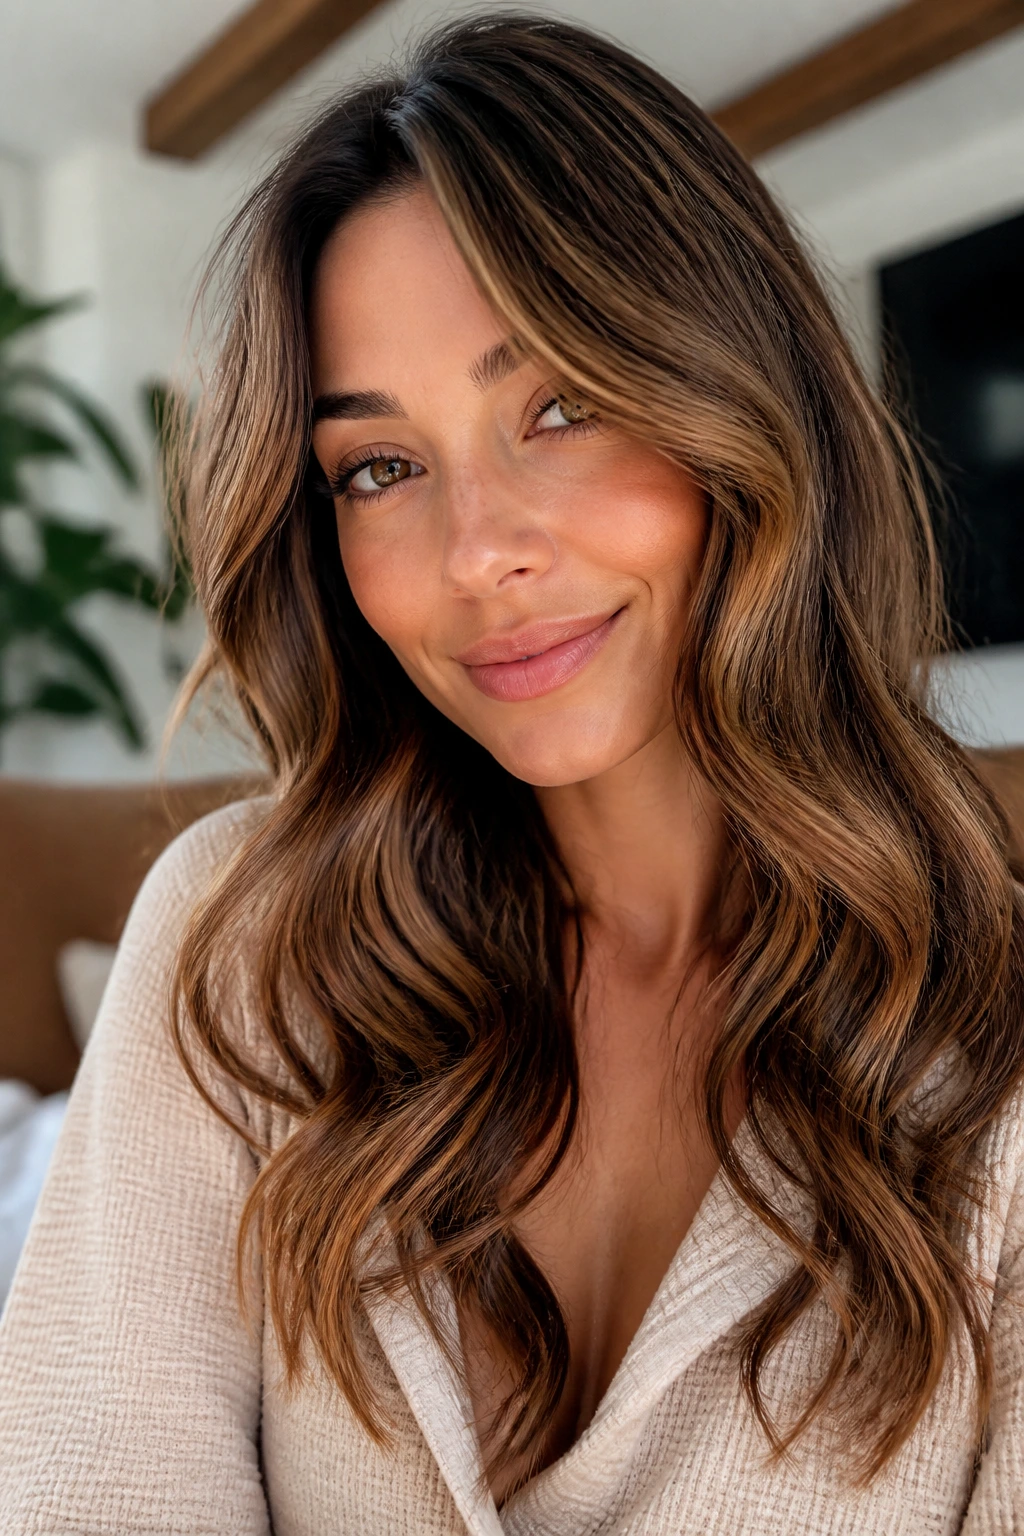
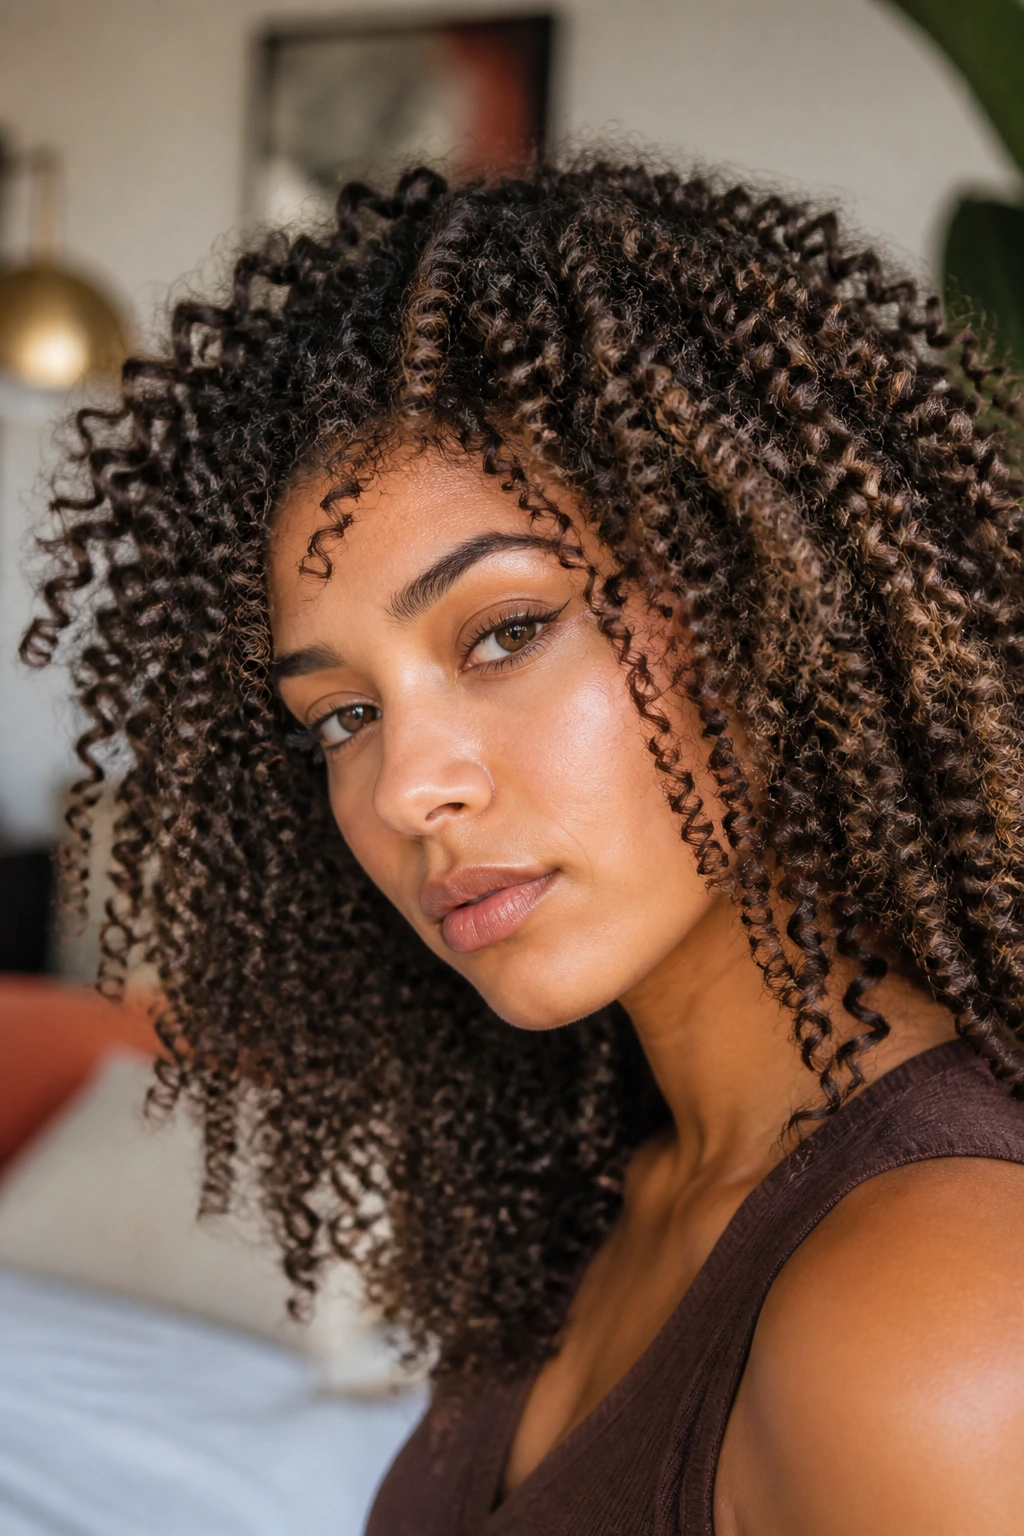
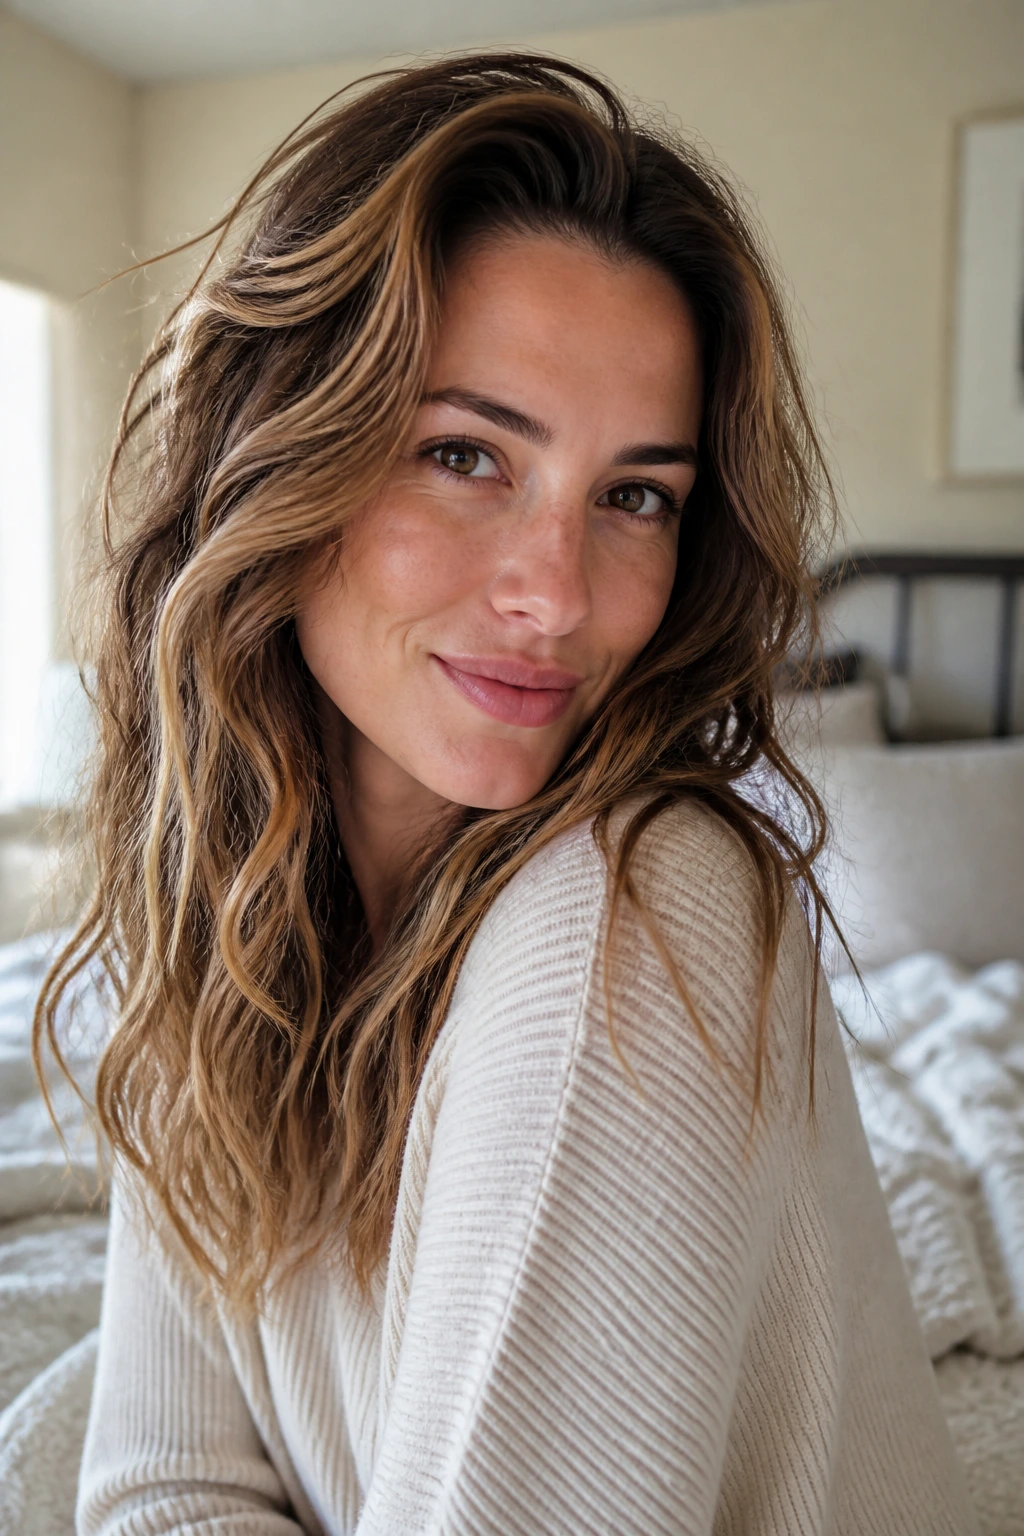
Waking up with hair that refuses to cooperate is a universal experience, yet it feels particularly punishing when your alarm clock is already mocking you. You have exactly twenty minutes to get out the door, and the state of your hair is currently somewhere between “disheveled” and “mysterious.” Most people assume that defined, bouncy curls require an hour of meticulous sectioning, but that is simply a myth created by people with entirely too much free time. With a bit of technique and the right tool, you can achieve a polished, put-together look before your coffee even finishes brewing.
The secret to mastering quick, heat-styled hair lies in knowing exactly which wand pattern works for your specific hair texture and desired aesthetic. You do not need to curl every single strand to get a cohesive look, and you certainly do not need to worry about absolute perfection. A few strategically placed twists are often enough to frame your face and elevate your style from “sleek-but-bored” to “effortlessly chic.” Let us break down the specific ways you can tackle your hair during those high-pressure mornings.
1. The Classic Face-Framing Twist
Focusing on the front sections of your hair provides the most visual impact for the least amount of effort. If you only have two minutes, curl just the two pieces that frame your face, directing the wand away from your hairline. This opens up your features and creates a deliberate look without requiring you to touch the back of your hair at all.
Why This Works for Fast Routines
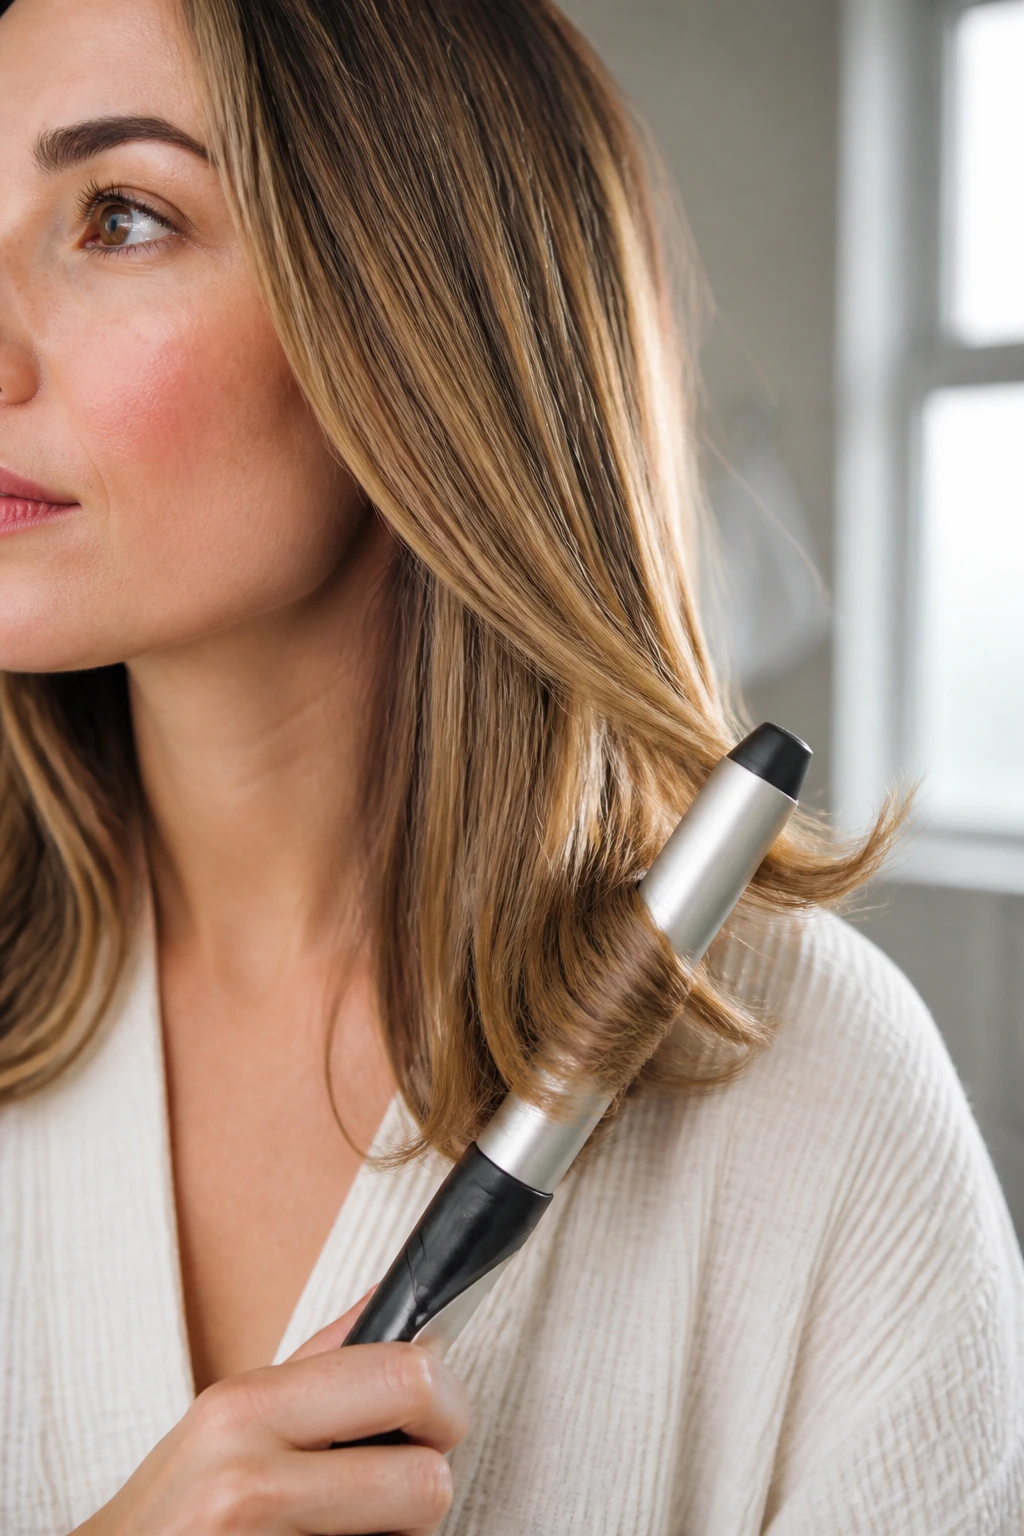
By concentrating your heat styling on the most visible parts of your hair, you trick the eye into thinking you have styled the entire head. Use a one-inch wand for this, holding it vertically so the hair wraps in a consistent spiral. If you leave the ends out of the iron for about an inch, you gain that modern, “undone” aesthetic that looks like it took much longer to achieve than it actually did.
Tips for Success
- Always hold the wand vertically to avoid that old-fashioned, pageant-queen ringlet look.
- Use a lightweight heat protectant spray before you even pick up the tool to prevent damage.
- Finger-comb the curls while they are still slightly warm to blend them into your natural hair pattern.
2. The Horizontal “Quick-Pop” Technique
Sometimes you need the volume that only horizontal curling can provide, especially if your hair tends to fall flat at the roots. By holding your wand parallel to the floor, you create a wider wave pattern that adds significant bounce. This is ideal for those mornings where your hair feels heavy, limp, or generally lifeless.
Mastering the Horizontal Hold
When you hold the wand horizontally, the hair creates a wider “S” shape rather than a tight, vertical coil. This technique works best if you quickly feed the hair onto the barrel rather than wrapping it with obsessive precision. The goal is a softer, more voluminous wave that adds texture and personality to your style.
Key Performance Details
- Keep the iron on a lower heat setting if you are moving quickly to avoid accidental singeing.
- Focus on the mid-lengths; leaving the roots and the very tips straight keeps the look edgy and contemporary.
- If your hair is fine, a light spritz of texture spray after curling will hold this horizontal shape much longer than hairspray.
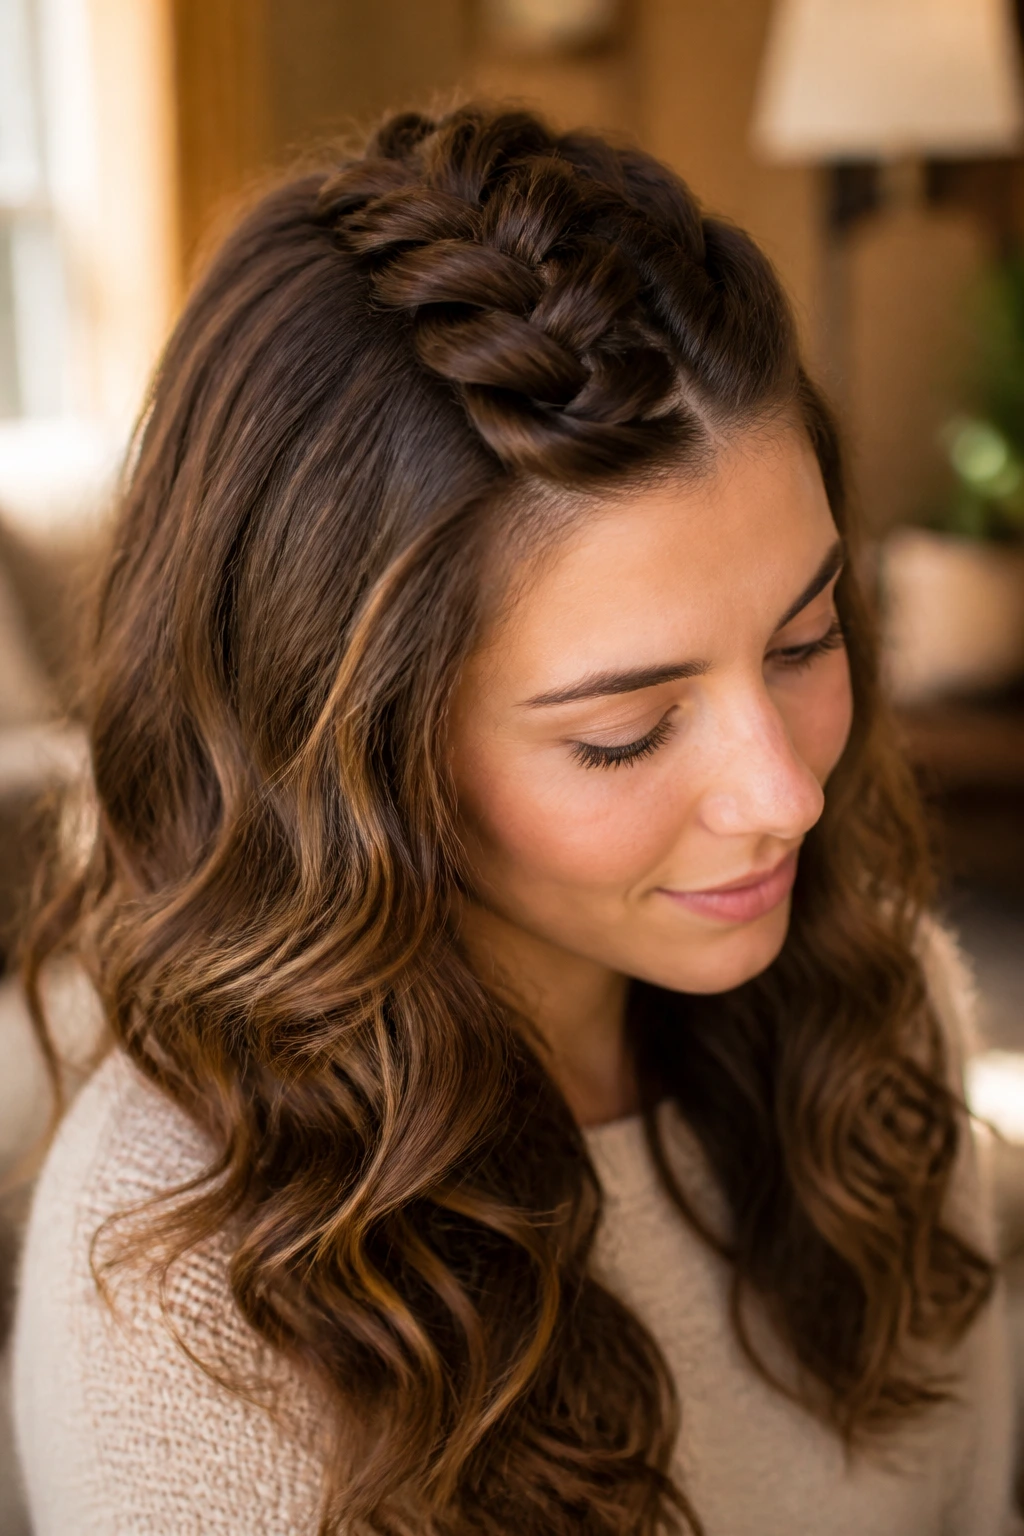
3. The Alternating Ribbon Wave

Uniform curls can sometimes look stiff, which is the last thing you want when you are rushing. By alternating the direction of your wrap—one piece toward the face, the next piece away—you create a natural, multidimensional texture that looks like you spent the morning at a professional salon. This method prevents the curls from clumping together into one giant, solid mass.
Why Alternating Matters
When you wrap everything in one direction, the curls naturally want to nest together, creating a singular, unified wave. By mixing directions, you force the hair to sit individually, which provides more movement and volume. It breaks up the monotony and makes your hair look significantly thicker, even if you are short on time.
How to Execute This Speedily
- Start at the back and work forward, switching the wrap direction with every new section you grab.
- Do not worry about clean, perfect partings; grabbing uneven, textured sections actually makes the end result look more natural.
- Finish with a quick shake of your head to let the hair settle into its own pattern.
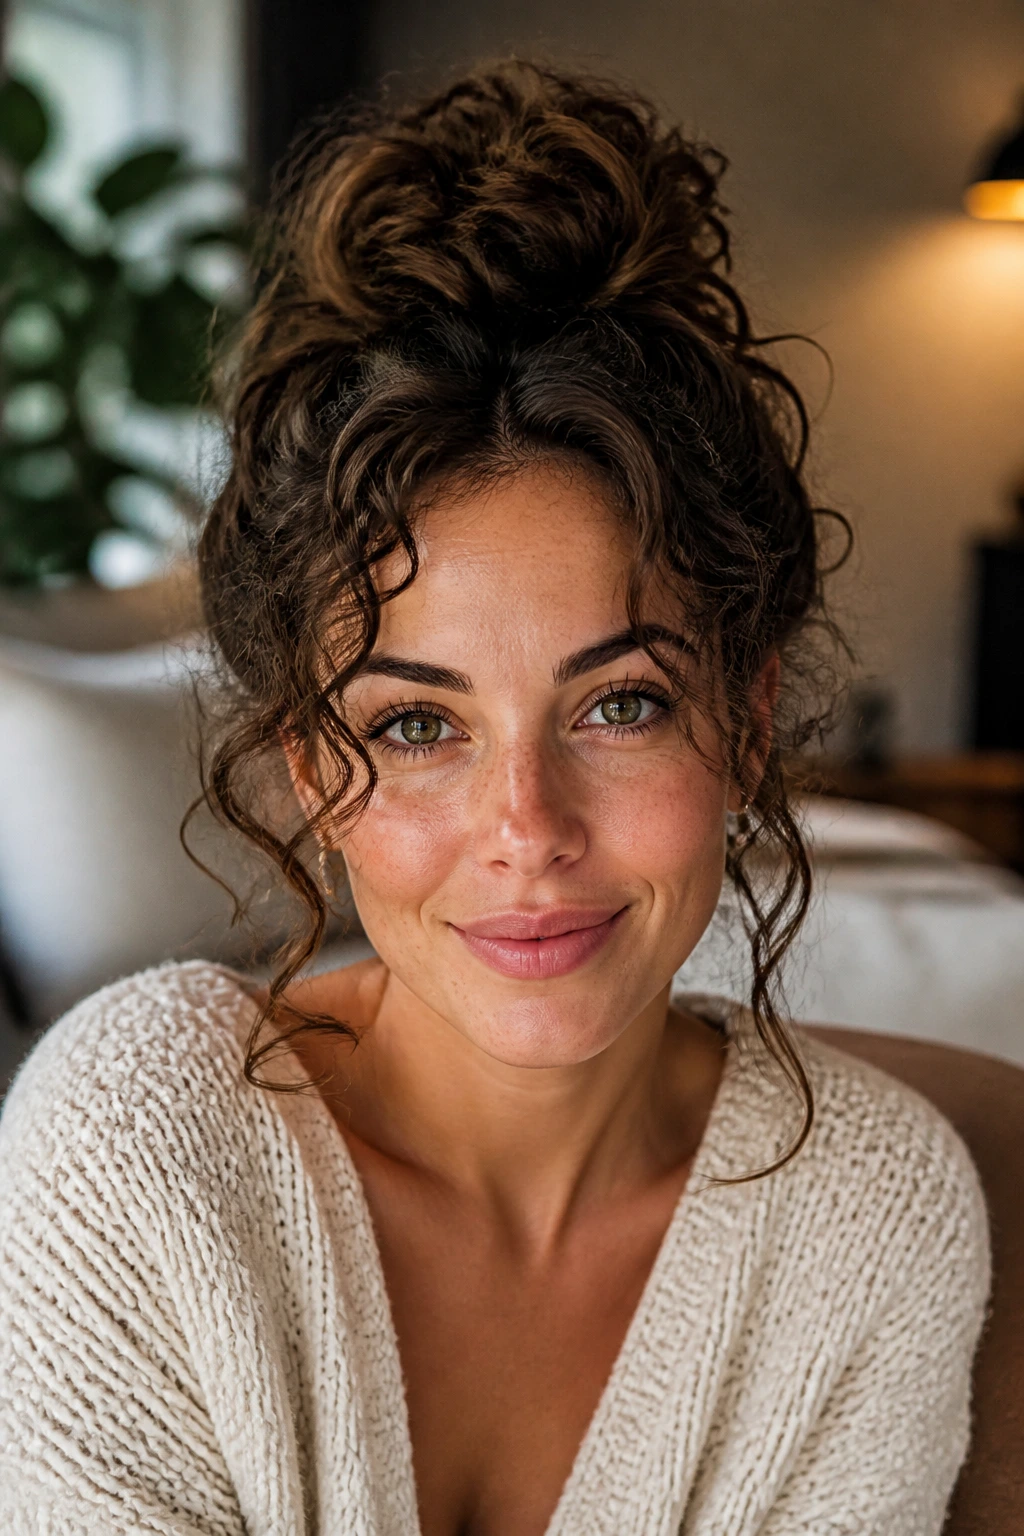
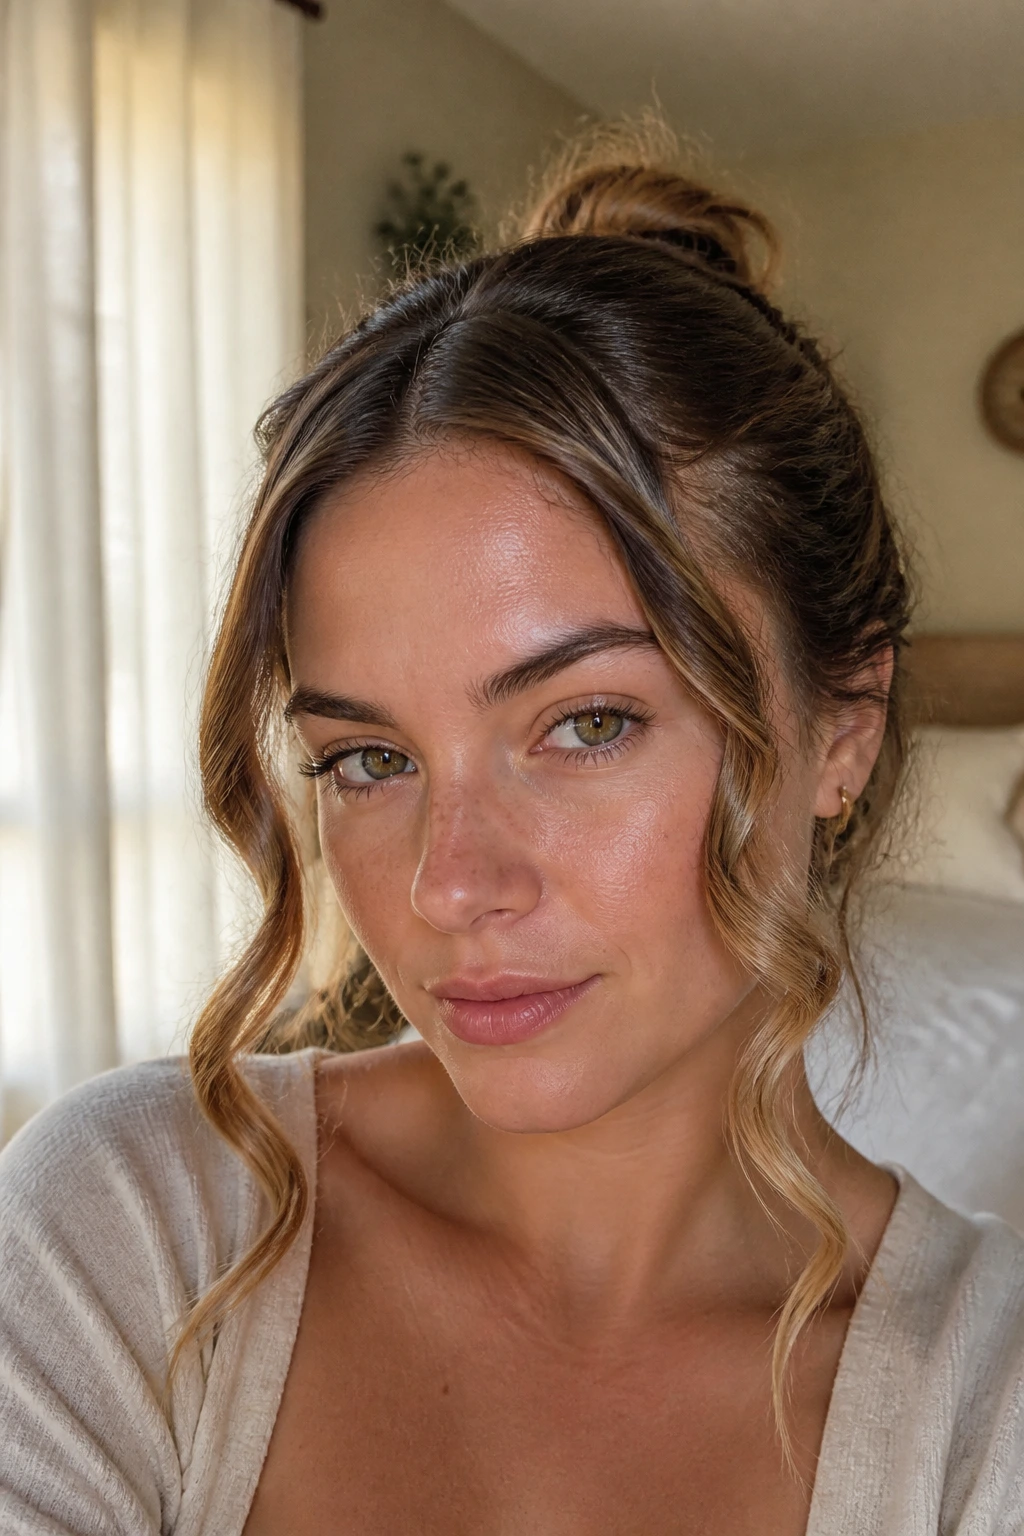
4. The Messy Top-Knot Integration
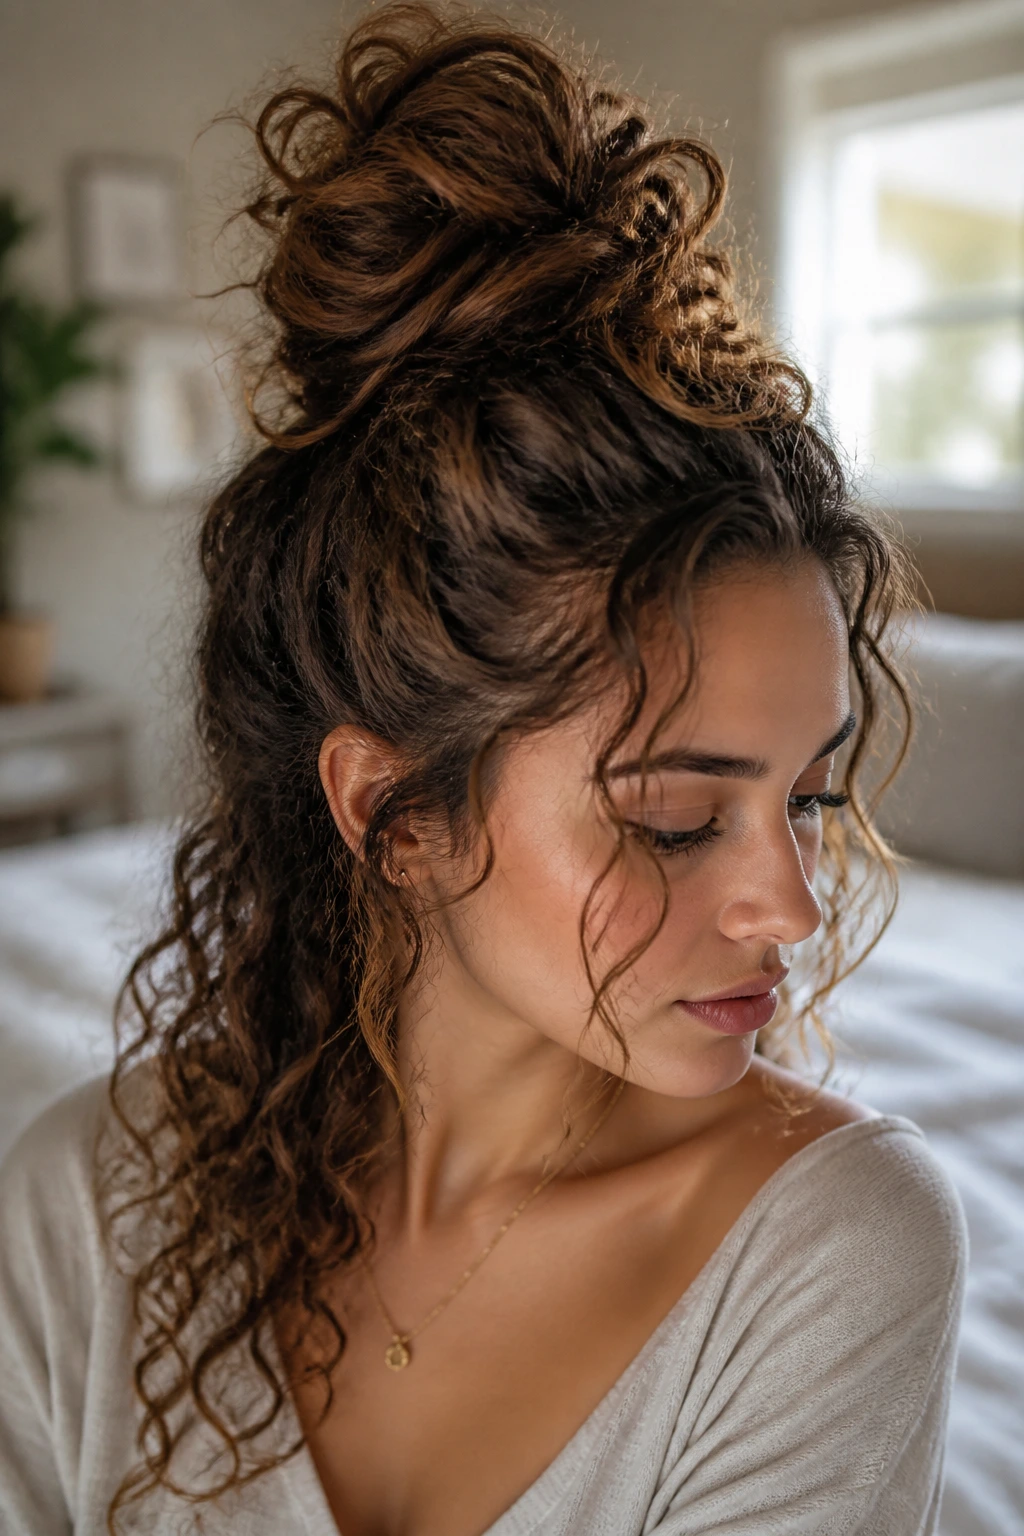
If your hair is truly behaving badly, do not fight it—incorporate it. Pull the top half of your hair into a loose, high bun, and leave the bottom half down. Now, take your wand and curl only the pieces that are hanging free. This turns a “bad hair day” into a trendy, half-up style that looks completely intentional.
The Benefit of Controlled Chaos
This approach allows you to ignore the crown of your head entirely, which is often where the most stubborn cowlicks live. You only have to worry about the bottom layer, and because the top is pulled back, you do not need to worry about the back of the head matching the front perfectly. It is the ultimate “busy morning” hack.
Styling Recommendations
- Use a silk or velvet scrunchie for the top knot to minimize breakage and add a pop of color to your look.
- Pull a few tiny, wispy pieces out around your ears once the knot is secure for a softer, more romantic silhouette.
- If the ends of your hair look frayed, apply a tiny drop of hair oil after the curls have cooled to smooth things out.
5. The “Flat-Wrap” Beach Wave
For a look that screams casual elegance, wrap the hair around the wand so it sits flat against the barrel, like a ribbon. This creates a soft, bent wave rather than a defined, round curl. It is the perfect aesthetic for those mornings when you want to look polished but not overly formal.
The Ribbon Technique Explained
When you wrap the hair flat, you are avoiding the natural twist that occurs when you pull the hair taut. By keeping the hair ribboned and flat against the wand, you get that lived-in, bendy texture that is incredibly popular. It is essentially the “I just woke up like this” look, but with a much higher level of control.
Why It Saves Time
- This style requires less “cooking” time because the heat is distributed across the entire width of the hair ribbon.
- You can work with larger, chunkier sections since you are aiming for a soft bend rather than a tight, perfect curl.
- It is nearly impossible to mess up; even if the sections are uneven, it just adds to the messy, beachy charm of the look.
6. The Single-Section Faux Braid
If you have a slightly longer wand, you can wrap two small sections of hair around each other before wrapping them around the barrel. This mimics the look of a heatless braid-out but takes only seconds. The result is a tighter, crimped-style wave that adds massive amounts of body to thin or fine hair.
The Faux Braid Advantage
This gives your hair a distinct, patterned texture that is very different from standard wand curls. It is a fantastic way to disguise “day three” hair that has lost its original bounce. Because you are twisting the hair into itself, the heat penetrates the center of the twist, creating a long-lasting, sturdy curl.
Quick Tips for Execution
- Keep your twists relatively loose; if they are too tight, the heat will not reach the middle of the hair, leading to uneven results.
- Let the twist cool completely before you undo it, or the pattern will drop out within minutes.
- Use a heat-resistant glove if you are working quickly to avoid burning your fingers on the twisted sections.
7. The Mid-Shaft Pivot
Many people make the mistake of starting their curls too high, right at the root. For a more modern, relaxed appearance, start your wand at eye level or below. This saves you from having to work near your scalp and results in a more natural, grown-out vibe that is flattering on almost every face shape.
Why Root-Curling Is Often Unnecessary
Unless you have naturally very flat hair, curling the roots often creates unnecessary bulk that can actually weigh the style down. By starting at the mid-shaft, you preserve the natural volume at the crown while adding interest to the body of the hair. It keeps the hair looking sleek and expensive rather than frizzy and unrefined.
How to Pivot Effectively
- Use your eyes as a guide; place the wand at your cheekbone level to start the wrap.
- Leave at least two inches at the bottom of the hair uncurled to ensure the ends look modern and fresh.
- If your hair is layered, focus on the ends of the shorter layers first to ensure they blend seamlessly into the longer sections.
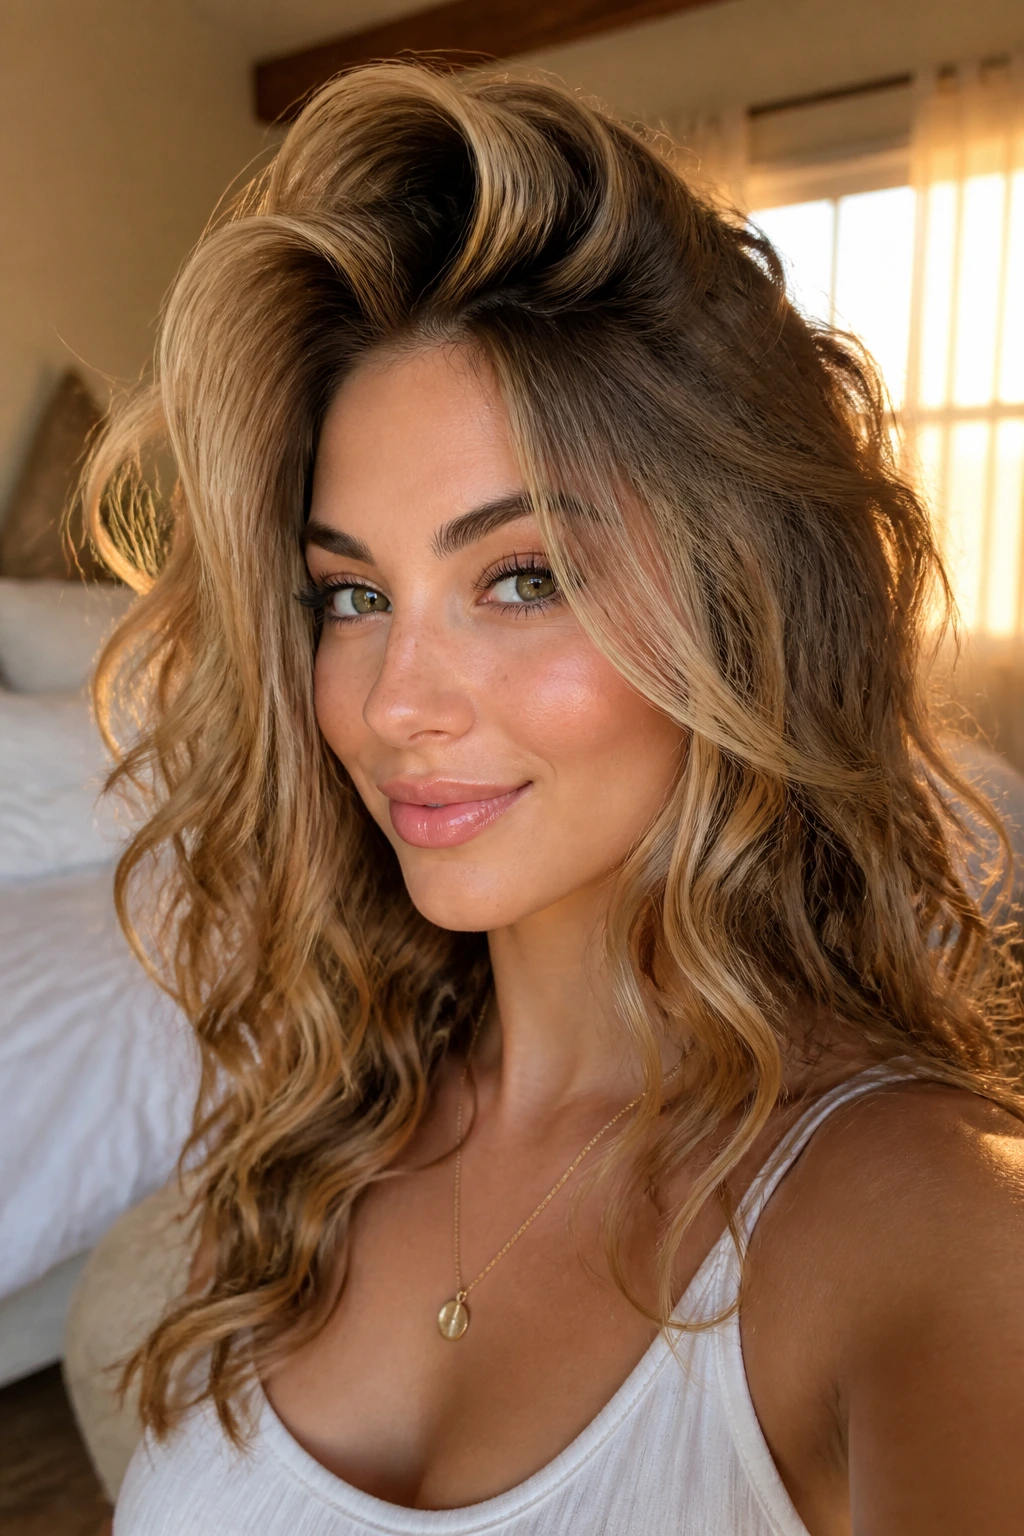
8. The High-Volume Deep Curl
For those days when you have an important meeting or a social event, you need a curl that has real staying power. By using a smaller-diameter wand and curling narrower sections, you create a deep, tight wave that will last well into the evening. While this takes a few extra minutes, the longevity of the style makes it worth the effort.
Achieving Maximum Longevity
Small sections equal more surface area contact with the barrel, which results in a tighter, more structured curl. If you are dealing with hair that usually refuses to hold a style, this is your best friend. The tight curls will gradually relax throughout the day into a soft, luxurious wave.
Critical Considerations
- Pin each curl to your head with a duckbill clip while it cools; this is the single best way to ensure the curl pattern sets properly.
- Avoid brushing these curls out until they are stone-cold, or you will lose the structural integrity you worked so hard to create.
- Use a medium-hold flexible hairspray to lock in the shape without creating that crunchy, helmet-like texture.
9. The “Half-Wrapped” Accent
On days when you want to keep your hair mostly straight, curl just the ends of random, scattered sections. This provides just enough interest to make your hair look styled without losing the sleekness of a straight blowout. It is a subtle, sophisticated approach that works beautifully for professional environments.
The Art of the Undone
By only curling the last three inches of your hair, you are adding texture exactly where the hair needs it most—at the ends, where it often looks dry or straggly. This hides split ends and gives the bottom of your hair a healthy, bounce-heavy finish. It is the ultimate low-maintenance look.
Why It Is Fast
- You only need to touch the very bottom of the hair, meaning you do not have to worry about root volume or sectioning.
- You can complete your entire head in under five minutes.
- It works on any hair length, from a sharp lob to long, waist-length locks.
10. The Deep-Root Wave
If your hair is notoriously flat and you find yourself struggling with volume by midday, focus your curling efforts exclusively on the crown. By curling just the top layer of hair, you create a lift at the roots that stays put. This is a brilliant, time-saving technique that addresses the exact problem area without needing a full-head style.
Mastering Root Lift
Hold the wand horizontally and place it as close to the root as you dare, pulling the hair upward as you wrap it. This creates a vertical boost that stays throughout the day. It is essentially a DIY “root job” that takes less than three minutes to perform.
Tips for Success
- Use a wand with a tapered barrel; the smaller end allows you to get closer to the scalp safely.
- Follow up with a tiny bit of dry shampoo at the roots to maintain that lift and absorb any oil that might weigh it down.
- Be careful not to hold the iron too long; the hair at your roots is often the most fragile and prone to heat damage.
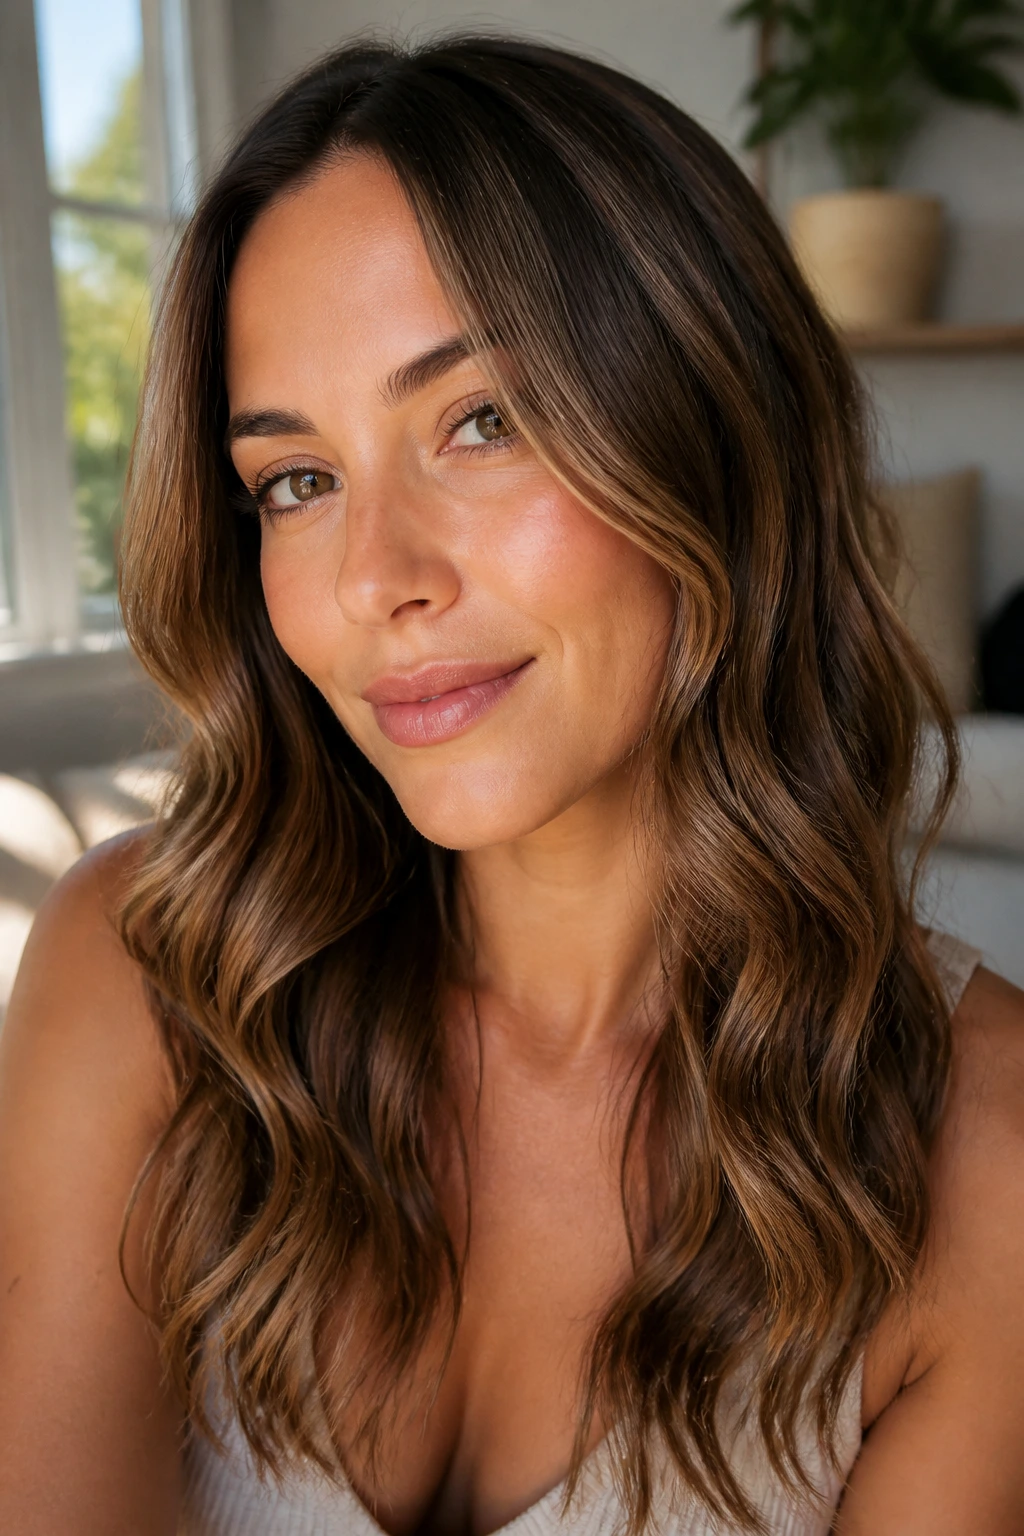
11. The Soft “S” Bend
This is the ultimate look for long, layered hair. By pulling the hair slightly while it cools, you stretch the curl into a loose “S” shape. It is incredibly flattering, elegant, and looks like a professional blowout. It is perfect for those who want a polished aesthetic without the effort of a brush-and-dryer combination.
Why the “S” Bend Wins
The “S” bend is arguably the most versatile wave pattern in hair styling. It looks good at the office, on a date, or while grabbing groceries. Because you are stretching the curl, you are essentially “softening” the result, which makes any mistakes in your curling technique completely invisible.
How to Get the Look
- Wrap the hair normally, but immediately after releasing the curl, pull down gently on the ends for five seconds while it cools.
- If the curl is still too tight, run your fingers through it vigorously while it is still warm.
- This style relies more on the tension you apply during the cooling phase than the actual heat application.
12. The Tapered Barrel Crimp
Using a tapered wand allows you to create different curl sizes in one single motion. By wrapping the hair around the thicker part of the wand, you get a loose, airy wave; by wrapping it around the thinner tip, you get a tighter, more defined curl. This variation provides depth that looks like you spent time planning the style.
The Power of Variation
Using a tapered wand is the fastest way to get a “natural” look because nature rarely creates uniform curls. Your hair naturally has different patterns depending on the section, and a tapered barrel mimics this perfectly. It is the best tool for anyone who hates the “perfectly uniform” curl look.
Tips for a Natural Finish
- Always rotate the wand so you aren’t just using one part of the barrel for the whole head.
- Vary the thickness of your sections along with the part of the wand you use; thick sections on the thick part of the wand, thin sections on the tip.
- This is the easiest tool for beginners, as the shape of the wand prevents the hair from slipping off easily.
13. The Minimalist Spiral
Sometimes, less is truly more. If you have a busy morning, just grab four to six large sections of hair and wrap them quickly around the wand. Do not worry about uniformity, and do not worry about perfection. The goal is just to add a bit of movement to your hair so it doesn’t look like you just rolled out of bed.
Why Minimalism Saves You
When you only curl five or six sections, you are literally finished in under two minutes. You get just enough texture to make your hair look cared for, but you retain the relaxed feel of your natural hair. It is perfect for people who enjoy a “lazy” style that still feels put together.
How to Style
- Focus the curls around your face and the very bottom of your hair for maximum effect.
- Use a wide-tooth comb to rake through the curls once they have cooled to blend them into the rest of your hair.
- This works exceptionally well for those with naturally wavy or textured hair who just need a little “boost” to their existing pattern.
14. The Low-Ponytail Texture

If you are planning to wear your hair in a low ponytail, curl it first. Adding texture to the hair before securing it in a tie transforms a basic, boring ponytail into a chic, high-end hairstyle. The curls provide the volume and interest that a straight ponytail usually lacks, especially if your hair is on the thinner side.
Why This Transformation Works
A straight, limp ponytail is rarely the “look” people aim for. By curling your hair first, the ponytail gains dimension and becomes the centerpiece of your outfit. It makes the style look much more intentional and gives you that “model-off-duty” aesthetic.
Execution Details
- Keep the curls slightly tighter than you would if you were wearing your hair down; the tension of the ponytail tie will cause them to relax and loosen up.
- Wrap a small piece of hair around the elastic to hide it once you have tied your ponytail.
- Use a bit of texturizing spray before gathering the hair to ensure it stays in place throughout the day.
15. The “Tucked-Behind-the-Ear” Wave
This is a small detail that makes a world of difference. When you curl the sections of your hair that you usually tuck behind your ears, the curls sit in a specific way that frames your face while keeping the hair out of your eyes. It is a highly practical, polished, and very “put-together” way to style your hair for a busy workday.
The Value of Detail
You are not curling your whole head; you are only curling the pieces that matter for your comfort. By making sure the hair around your ears is wavy and bouncy, you create a soft frame for your face that looks intentional and stylish. It is the definition of “working smarter, not harder.”
Quick Style Guide
- Focus your effort entirely on the front sections and the sides.
- Let the back of your hair do whatever it wants; you are tucking the sides anyway, so it will not even be visible.
- This is a fantastic way to keep your hair from bothering you during a commute or while you are focused on work.
16. The Deep-Texture “Crimped” Look
By using a smaller wand and curling very small, tight sections, you can create a look that resembles the crimped hair of the past but with a modern, sophisticated twist. This adds immense volume and is perfect for hair that tends to fall flat within minutes of leaving the house. It is bold, fun, and very quick to achieve.
Why This Look Has Staying Power
Because the curls are so tight, they hold their structure for an incredible amount of time. You will not have to worry about your hair falling out by lunch. It is a high-volume, high-impact style that is surprisingly easy to create if you have a slim barrel wand.
Pro Tips for the Crimped Look
- Go in sections and don’t worry about perfect lines; the more chaotic the texture, the better.
- After finishing, vigorously shake your hair out—don’t be afraid to pull at the roots to maximize the volume.
- Avoid using heavy products; let the texture of the hair speak for itself.
17. The Sleek-End Flare
If you want to look polished but don’t want the fuss of a full head of curls, focus on the very ends of your hair. By giving the bottom one-to-two inches of your hair a quick “flick” with the wand, you add a playful flare that looks fresh and modern. It is the perfect way to finish a blowout that has started to lose its bounce.
Achieving the Perfect Flick
This is not about curling the hair; it is about bending it. Just hold the ends against the wand for five seconds and release. The result is a subtle bounce at the very bottom of your style that gives your hair a “just-cut” feeling.
Why It Saves Time
- This takes literally seconds to do.
- It breathes new life into old, flat hair.
- You can do it in the elevator or just before you walk out the door.
18. The “Messy-Bun” Companion
If you are someone who lives in messy buns, you know they can sometimes look a bit too “I’m in my pajamas.” By curling the face-framing pieces and a few stray tendrils before you throw your hair up, you immediately elevate the look. It takes a messy bun from a chore-day style to a deliberate, stylish choice.
The Elevated Messy Bun
The curls turn your face-framing pieces into deliberate styling choices rather than just “hair that fell out of the bun.” It shows that you put thought into your look, even if you spent the rest of your morning rushing around. It is a simple trick that completely changes the vibe of your hair.
Quick Execution
- Pull the pieces you want to leave out before you put your hair up in the bun.
- Give those pieces a quick curl away from your face.
- Once the bun is secure, fluff the curls slightly with your fingers to ensure they look soft and romantic.
19. The Front-Section Volumizer
If your hair is thin, focus your energy on the top front sections. By curling these pieces with more tension and a higher heat, you force them to sit with more volume. This covers the scalp more effectively and creates the illusion of thicker, fuller hair. It is a strategic move for anyone who struggles with fine or thinning strands.
Strategic Styling for Fullness
By concentrating the heat and the curl at the front, you create a “curtain” of volume that frames your face. This draws the eye toward your features and away from the density of the rest of your hair. It is a visual trick that professional stylists have used for years.
How to Maximize Volume
- Use a light-hold volumizing mousse on damp hair before you start your routine.
- Backcomb the roots of these sections slightly after curling to keep the volume standing tall.
- Avoid heavy oils or serums that will pull these sections down and make them look greasy.
20. The “Bedhead” Refresher
If you woke up with hair that has a strange bend from your pillow, don’t wash it. Use your wand to “correct” those weird bends into actual, intentional-looking waves. This is the ultimate lazy-morning technique because you are literally just following the hair’s natural inclination and refining it.
Turning Mistakes into Style
Sometimes, the way our hair dries overnight is actually quite interesting. Instead of fighting it, use your wand to emphasize those bends. It makes your morning routine feel like a creative exercise rather than a frustrating struggle against your hair’s natural texture.
Why This Is Fast
- You are not starting from scratch; you are just refining what is already there.
- You can work in big, messy sections.
- It results in a truly natural, authentic style that looks like it took hours to achieve.
21. The Low-Maintenance “Lob” Wave
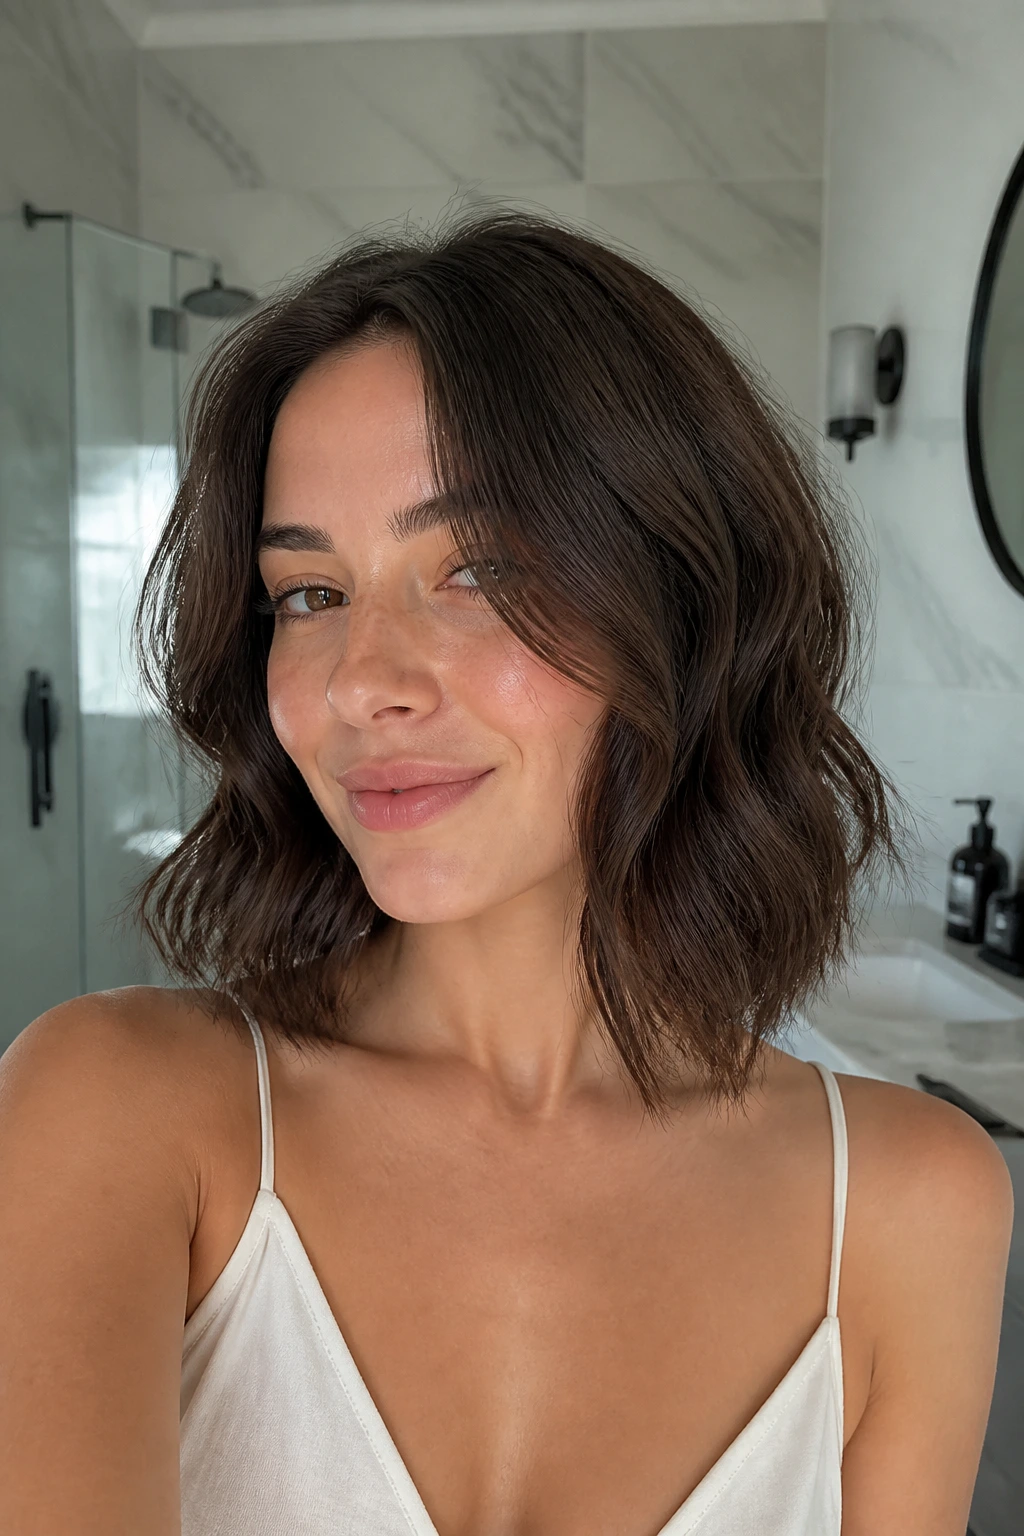
If you have a shorter, shoulder-length cut, you only need to curl a few sections at the middle of your head. This adds just enough wave to prevent the “triangle effect” that shorter hair can sometimes fall victim to. It creates a soft, rounded shape that is universally flattering and incredibly easy to maintain on a daily basis.
The Perfect Lob Silhouette
Shoulder-length hair needs a bit of texture to sit correctly. A few strategically placed waves keep the hair from clinging too closely to the face, giving it that soft, bouncy appearance. It is a classic look that never goes out of style and takes minimal effort to keep fresh.
Style Secrets for Shorter Hair
- Focus your curling on the layers; this ensures the waves blend and look cohesive.
- Do not curl the very tips if you want a more modern look.
- If you find your hair looks too puffy, use a smoothing balm after curling to keep the waves controlled and defined.
The Bottom Line
Styling your hair on a busy morning is all about knowing which techniques yield the highest visual impact for the lowest time investment. You do not need a perfect head of ringlets to look put-together; you just need a few well-placed bends and a bit of texture. Whether you choose to focus on face-framing twists, root-lifting waves, or simply refreshing your ends, the goal is always to work with your hair’s natural texture rather than against it. Experiment with these methods when you have an extra five minutes, and you will eventually find two or three that become your go-to maneuvers. Consistency is what makes the process fast, and once you have your personal favorites down, you will find yourself moving through your morning routine with newfound confidence and a lot less stress.