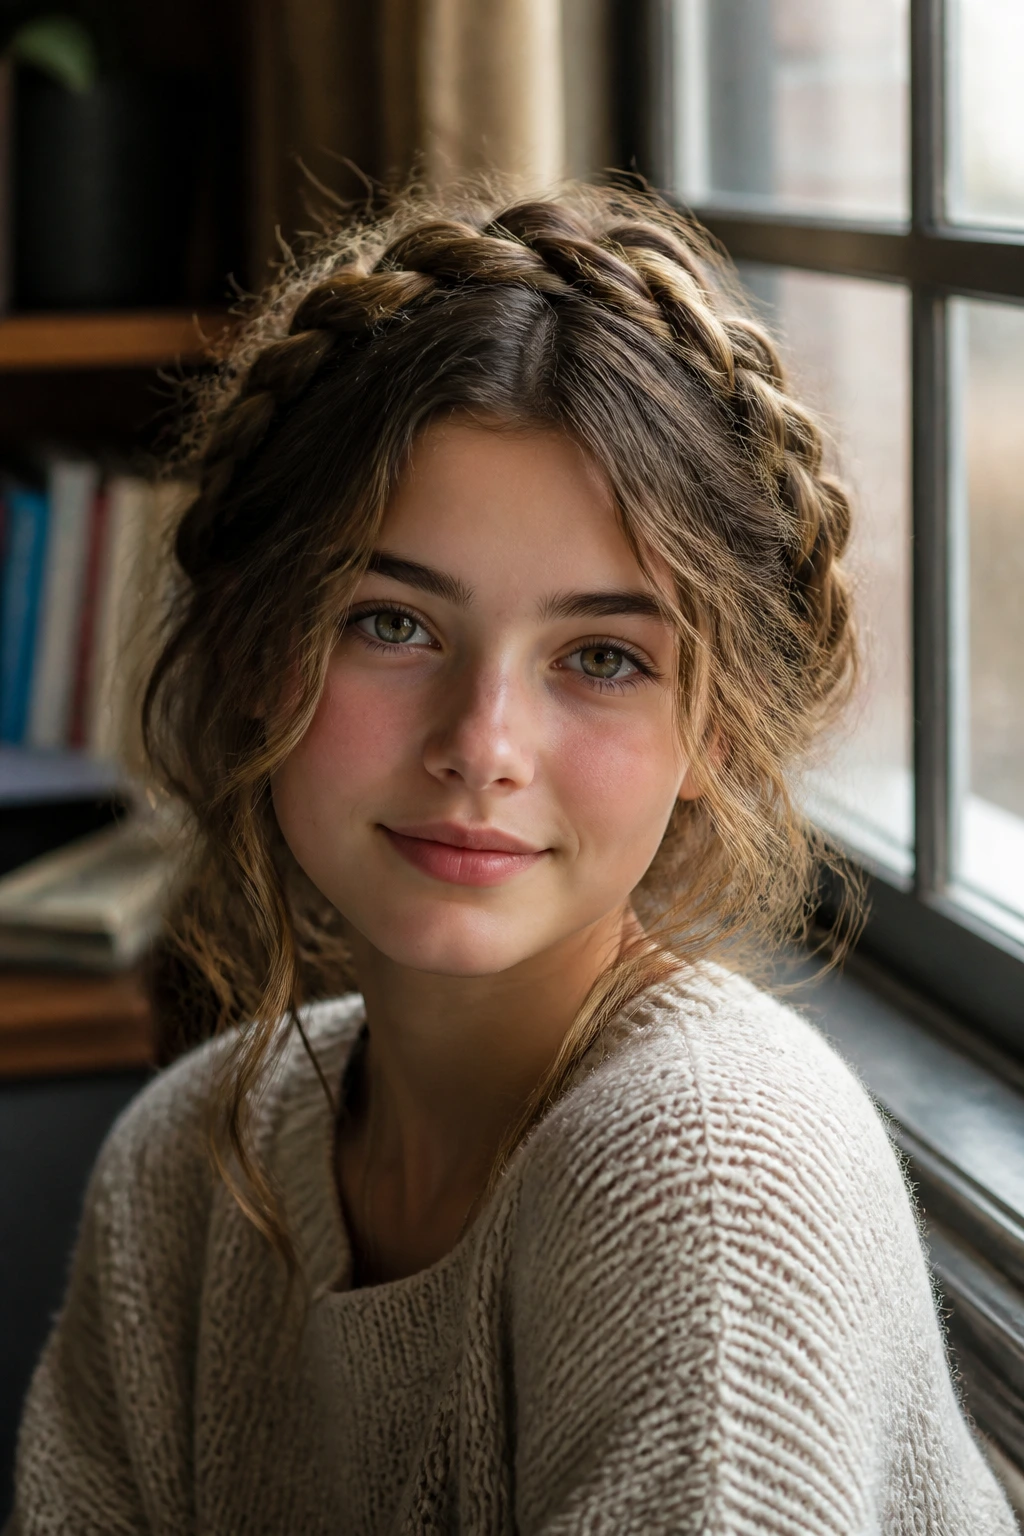
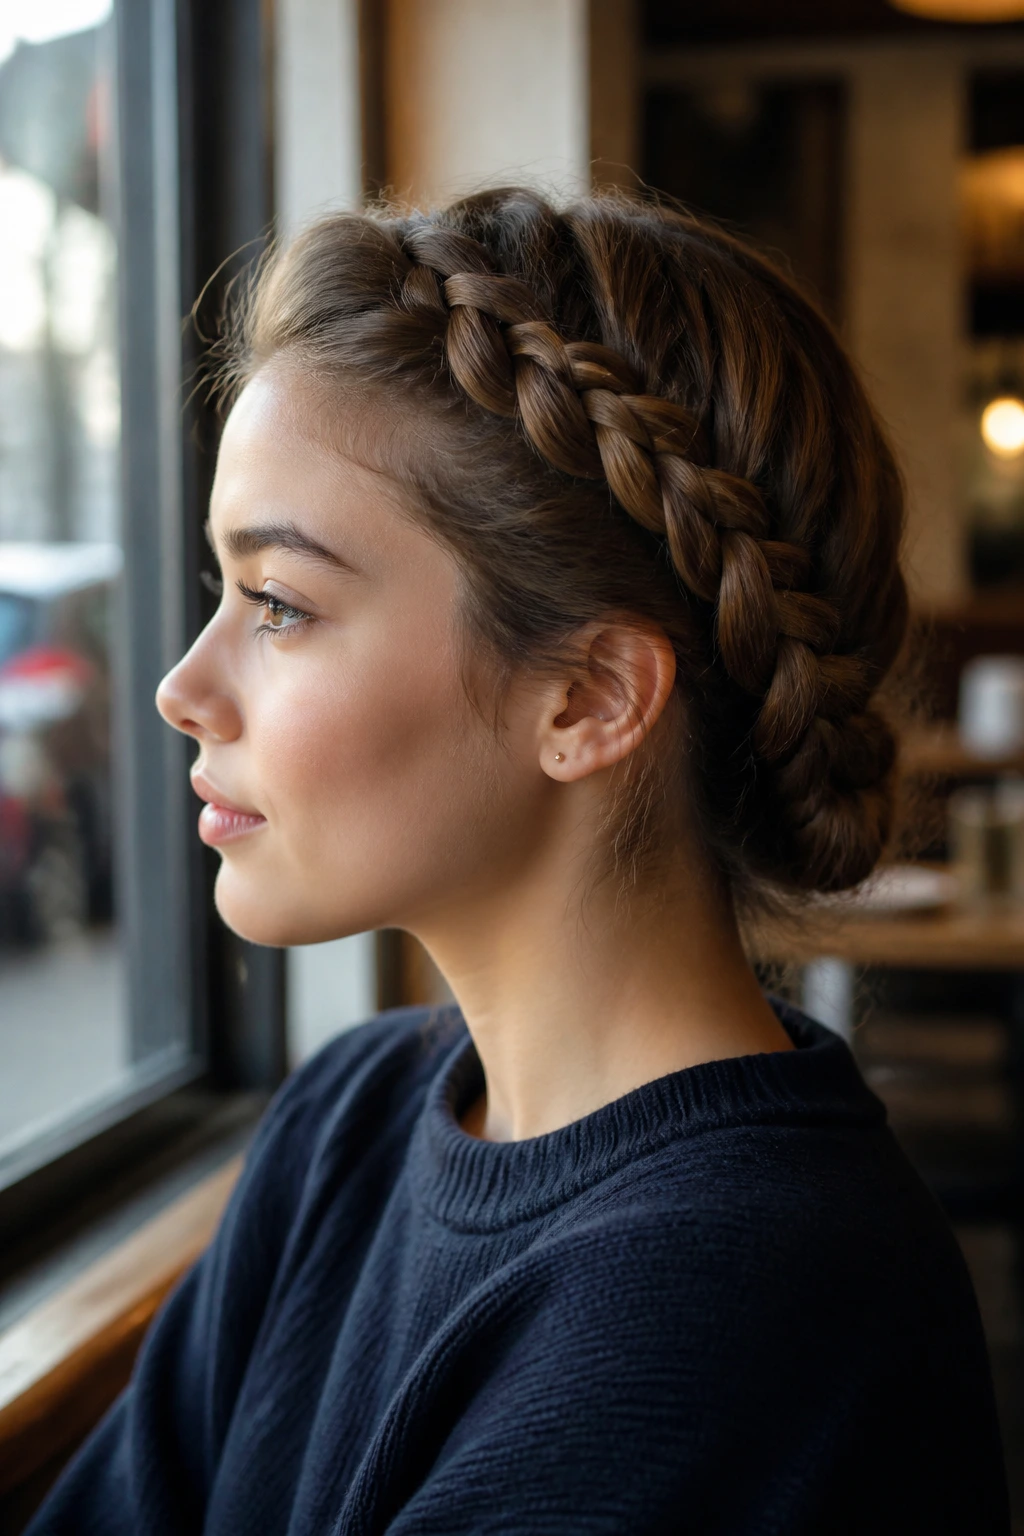
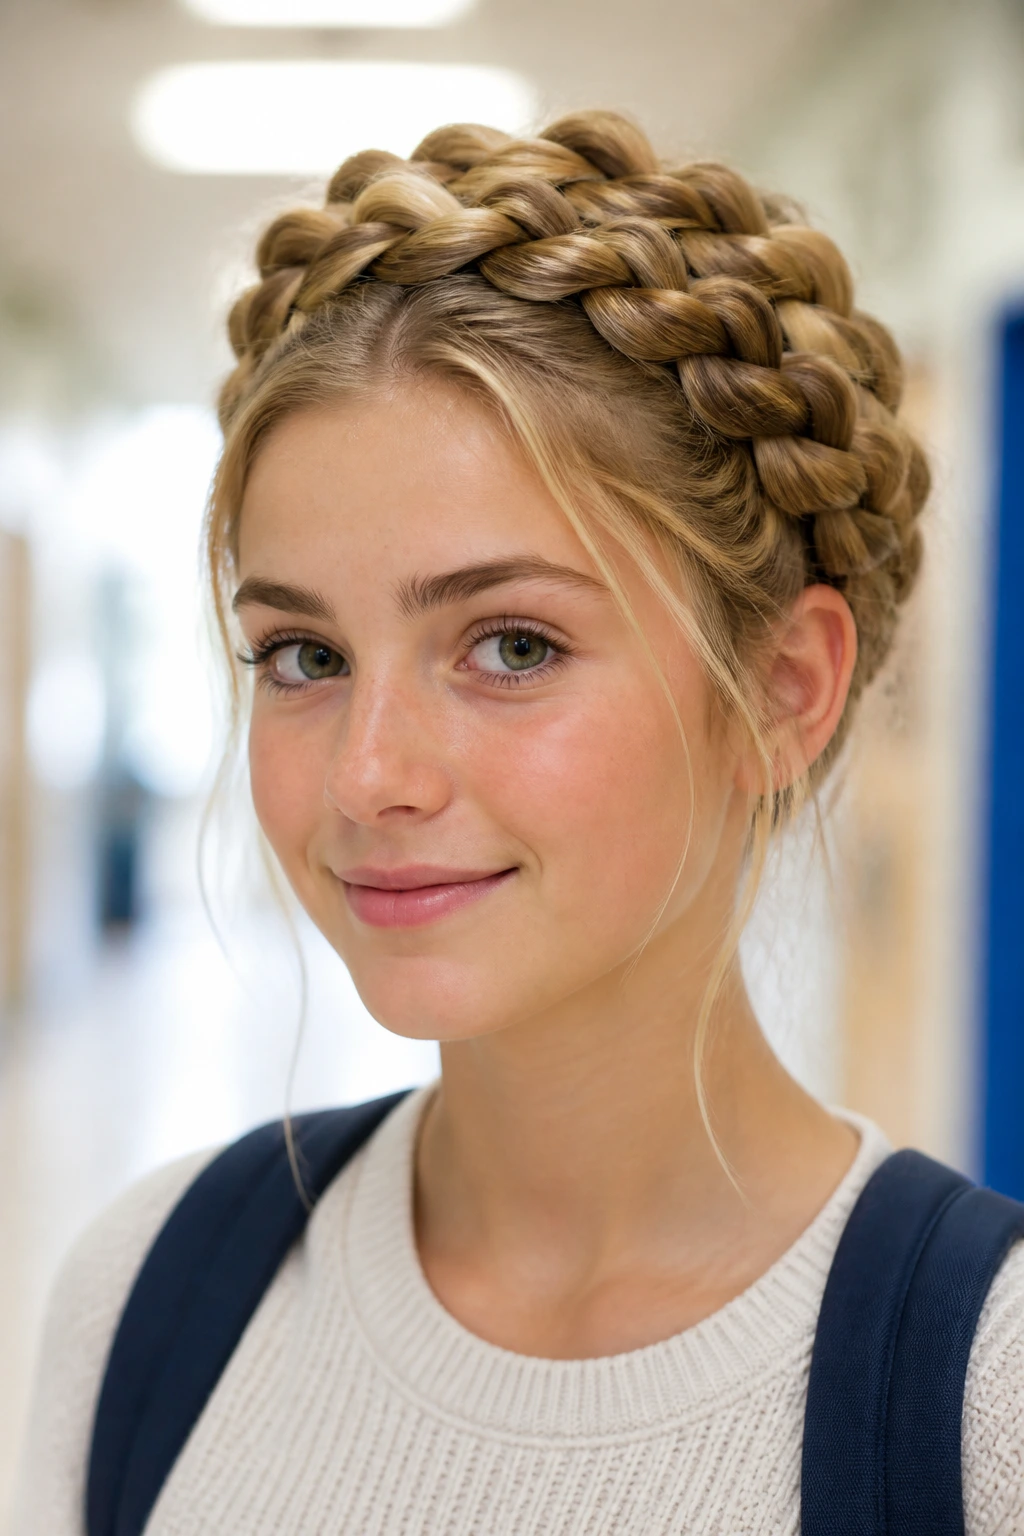
There is a certain kind of magic in the way a simple braided style can transform a hurried morning into an aesthetic success. The milkmaid braid, often relegated to images of pastoral cottages or historical period dramas, has evolved into a practical, durable, and frankly delightful hairstyle for students navigating the long hours of the school day. It is one of the few updos that manages to look sophisticated while being physically secure enough to survive gym class, frantic locker searches, and the inevitable wind tunnel that forms between school buildings.
You likely know the look—two braids starting at the nape or behind the ears, swept up over the crown of the head, and pinned down to create a sort of natural, woven headband. The beauty of this style lies in its versatility. It can be messy and bohemian, tight and athletic, or adorned with accessories that turn a utilitarian braid into a personal statement. Before you dismiss it as too intricate for a 6:30 a.m. routine, understand that once your hands learn the muscle memory, the entire process takes less time than a proper flat-iron session.
This is not about achieving perfection. Real hair has texture, flyaways, and a tendency to move, all of which only add character to a milkmaid braid. Whether your hair is stick-straight, textured, or somewhere in the middle, the key is preparation and the right set of pins. Let’s walk through the variations that will keep your hair out of your face and looking intentional, even when the syllabus is overwhelming.
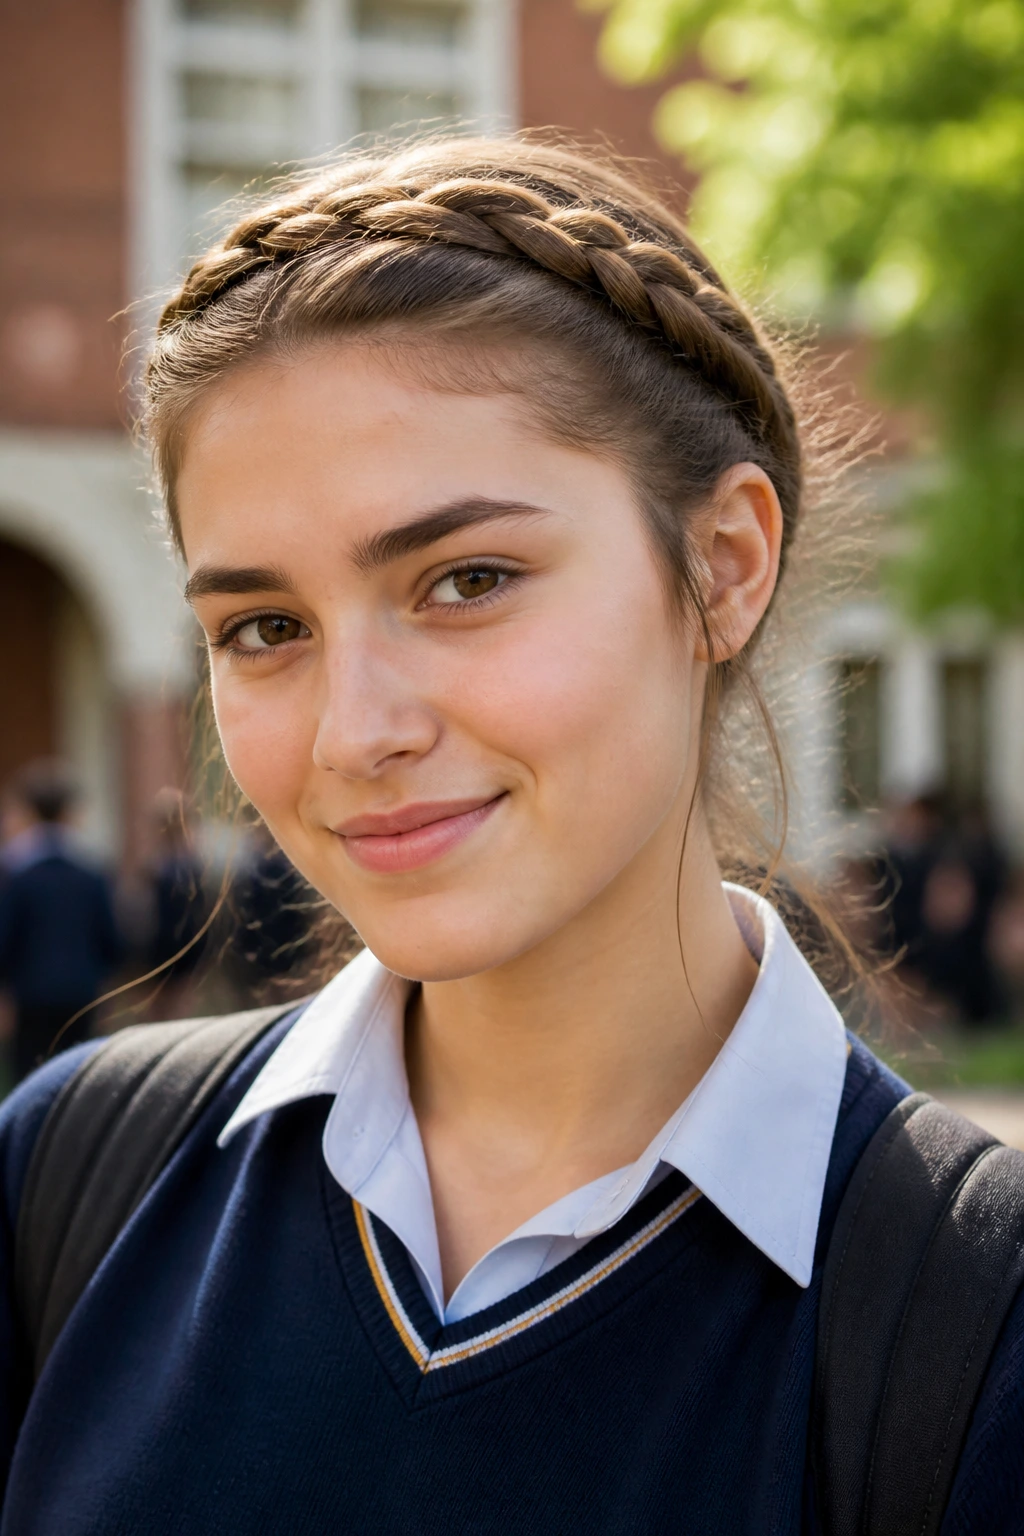
1. The Classic Three-Strand Basic

The foundation of all milkmaid styles is the standard three-strand braid. For school, you want this to be secure but not so tight that it gives you a headache by second period. Start by parting your hair down the center from your forehead all the way to the nape of your neck. Bring both sections over your shoulders, braid them firmly, and secure the ends with small, clear elastics.
Why It Works for Long Mornings
Because the braids are already anchored at the nape, they won’t sag during the day. By bringing the braids up and over the crown, you are essentially creating a structural loop that holds itself in place. Use two or three large bobby pins on each side to tuck the ends underneath the opposite braid. This keeps the ends hidden and ensures the style stays put through hallway transitions and heavy backpacks.
Styling Tip
If your hair is very layered, those little pieces will want to poke out. Do not fight them. A few loose strands framing the face can actually soften the look and make it feel more lived-in rather than “school-picture stiff.”
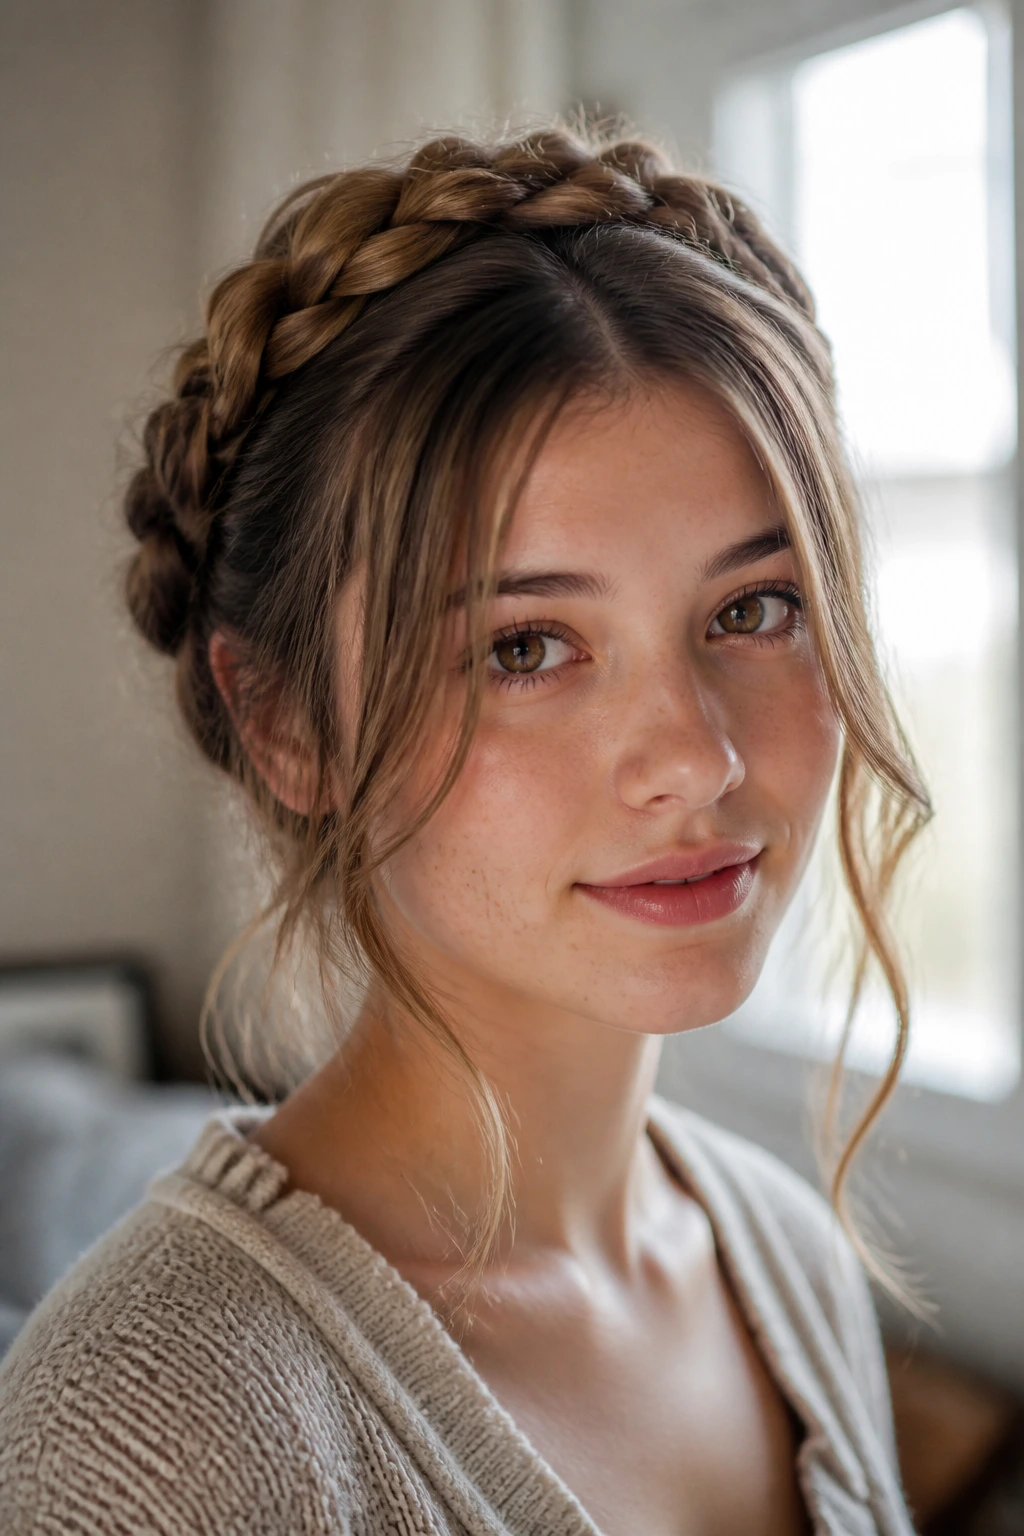
2. The Messy Bohemian Tuck
If your hair has a natural wave or you’ve slept in a loose bun, lean into that texture. A polished, tight braid can look out of place if the rest of your aesthetic is more relaxed. For this variation, braid your hair loosely and “pancake” the braids before you lift them up.
How to Pancake for Volume
Pancaking is the secret technique of pulling gently on the outer loops of your braid to make it look wider and flatter. Once you have finished your two braids, hold the end of the braid with one hand and tug on the edges of the loops with your thumb and forefinger. Start from the bottom and work your way up to the base. This creates the illusion of thicker, fuller hair, which is a lifesaver if your hair is fine or thinning.
3. The Fishtail Crown
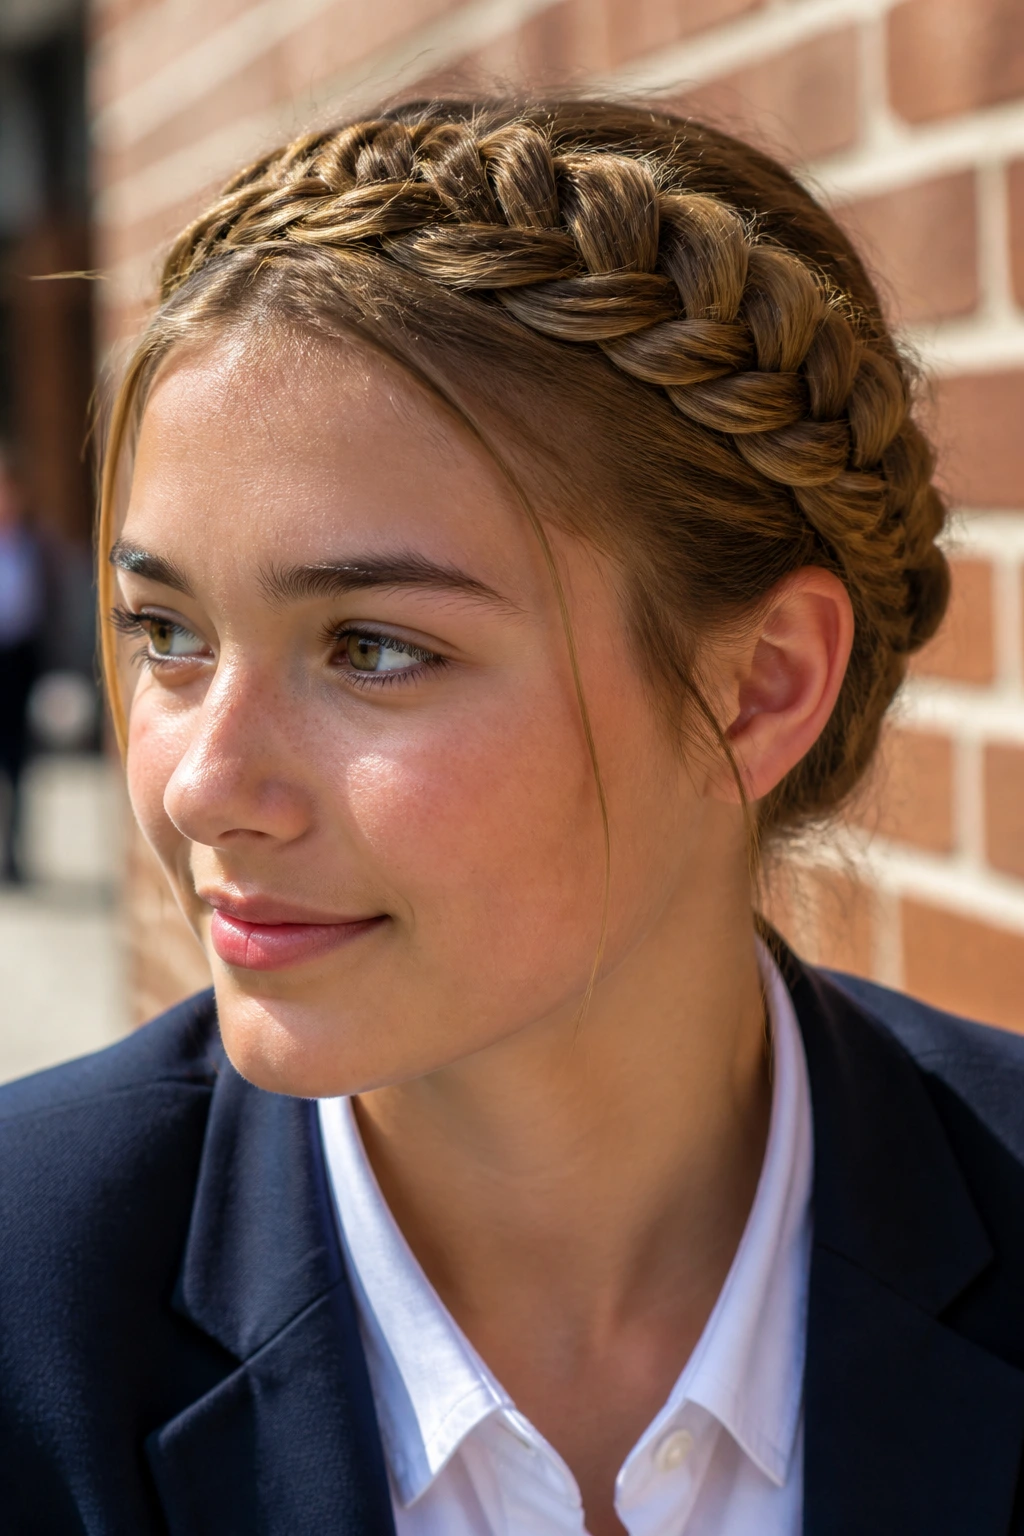
Fishtail braids are infinitely cooler than standard braids, and they offer a sleek, intricate look that people will assume took you an hour to do. While they do take a bit longer to master, they are surprisingly durable. The tighter you weave the fishtail, the longer the style will last without loosening.
The Mechanism of the Fishtail
Instead of three strands, you are working with two. You take a tiny piece from the outside of the left section and cross it over to join the right, and then repeat on the other side. Because the sections are smaller, the hair is woven more tightly against the scalp. This creates a distinct, “herringbone” pattern that looks exceptionally sharp when wrapped around the head.
4. The Half-Up Milkmaid Variation
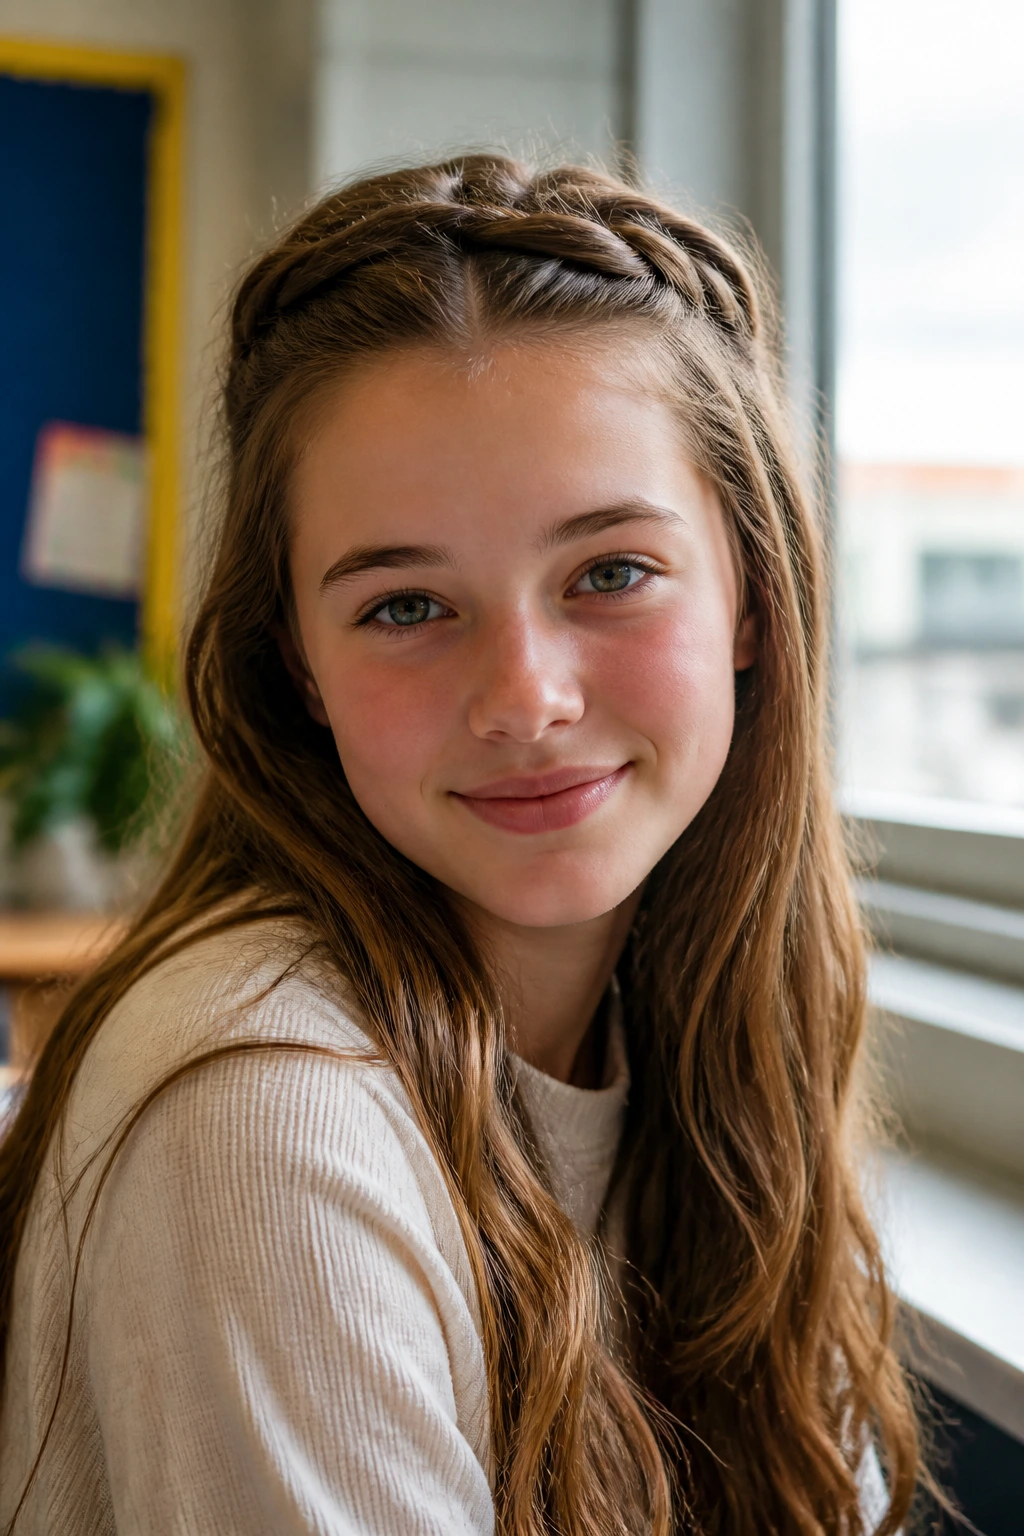
Sometimes you want the look of a braid without the effort of managing the hair at the nape. If you prefer to keep the majority of your hair down, you can create a “mini” milkmaid style. Simply take two small sections from the front of your hairline, braid them back, and pin them across the top of your head in a cross-over pattern.
Why This is Ideal for Active Days
This keeps the hair out of your eyes while maintaining your preferred length and style. It is the perfect compromise for those who feel exposed with their hair completely pulled back. Plus, if you need to adjust it during the day, you only have to deal with two small, manageable braids rather than your entire head of hair.
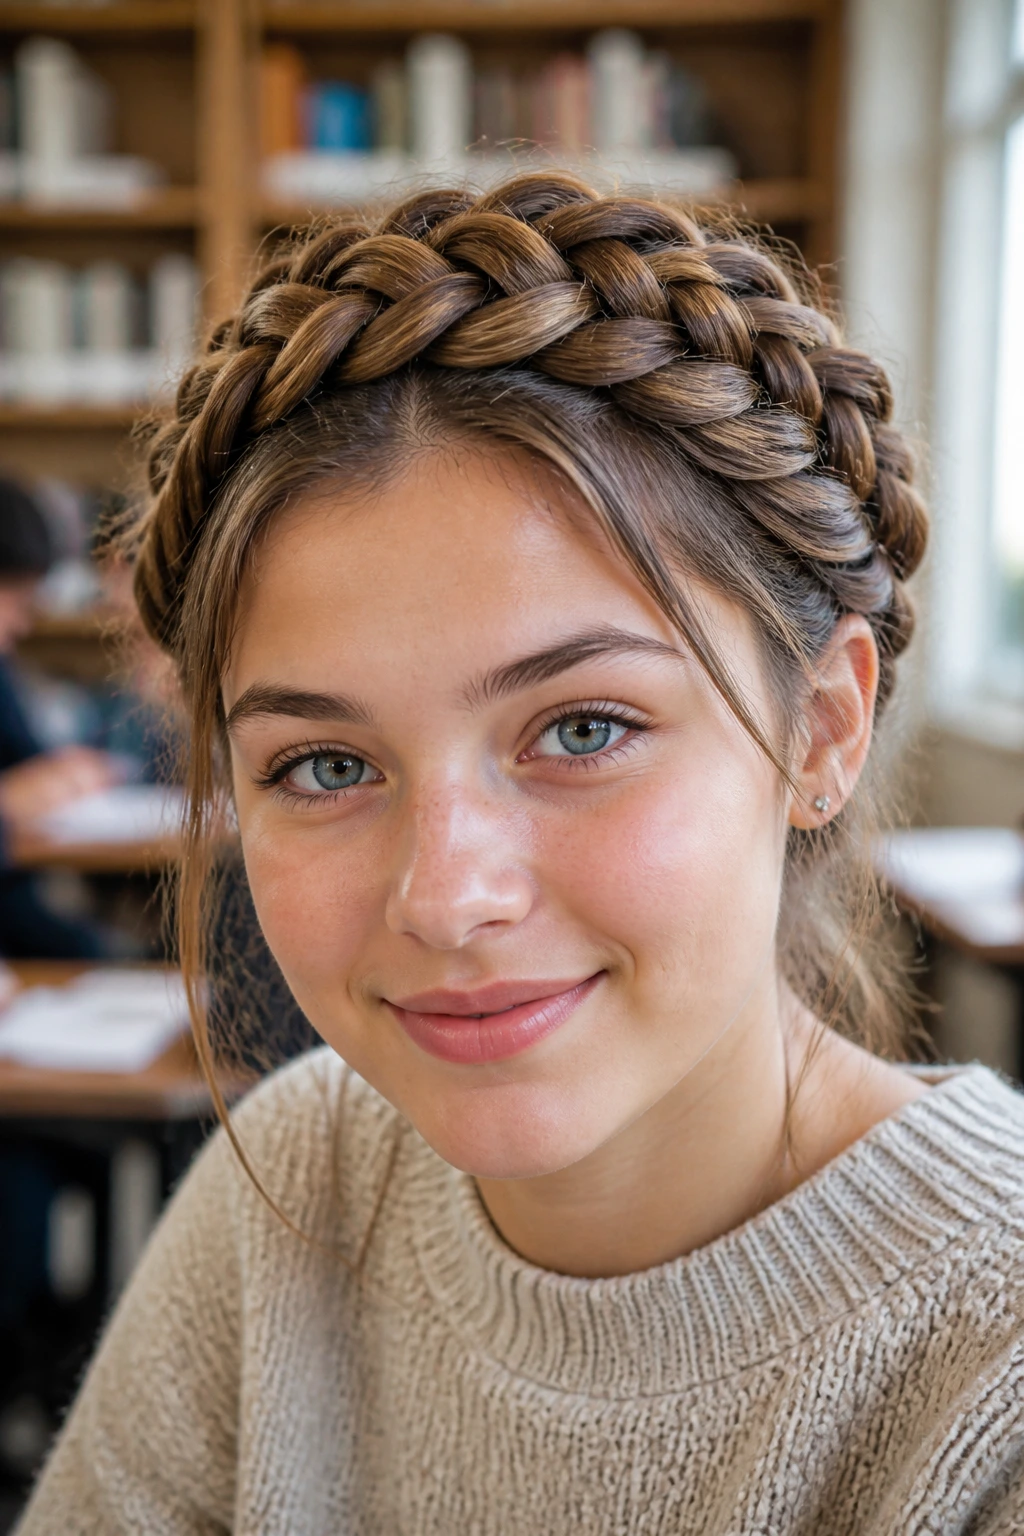
5. The Double-Braid Accented Headband
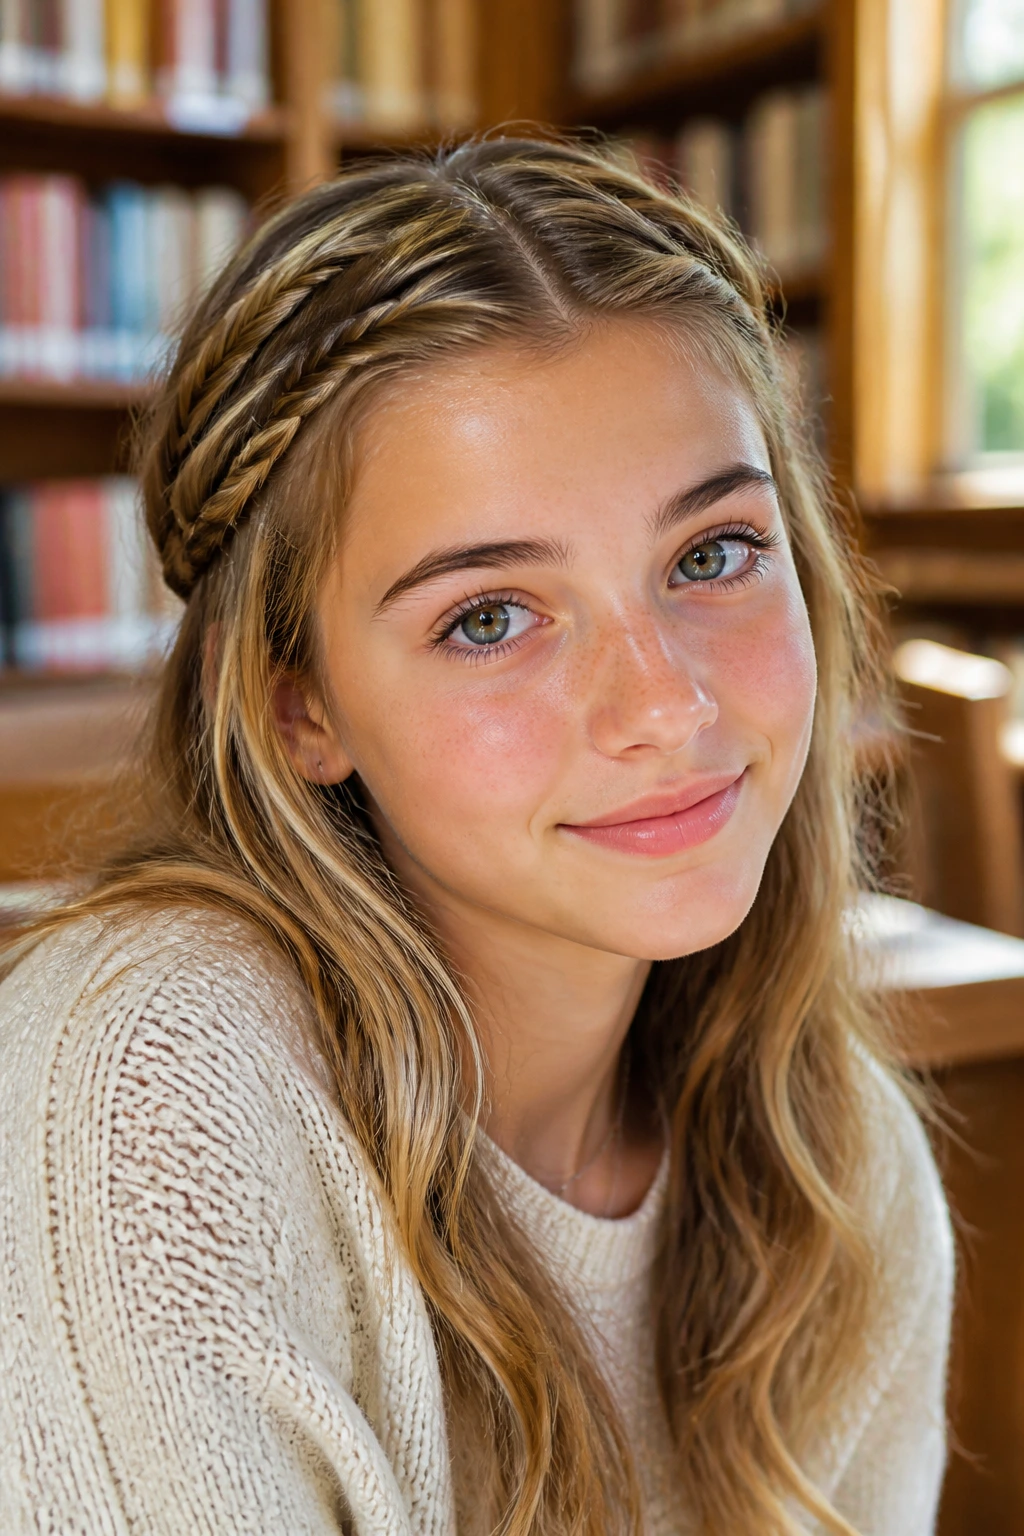
Instead of using your whole head of hair, you can create a milkmaid effect by braiding only the hair framing your face. Section off two-inch wide strips starting near your temples. Braid these toward the back, then bring them up over the top of your head, pinning them just behind the ears.
Managing the Remaining Hair
You can leave the rest of your hair in a low ponytail, a messy bun, or simply wear it down with a slight wave. This adds a level of intentionality to your look. It says you put effort into your appearance, yet you still have that casual, “I woke up like this” vibe that is so popular on school campuses.
6. The Rope-Twist Milkmaid
If you struggle with braiding, the rope twist is your best friend. This technique involves taking two strands of hair and twisting them around each other in the same direction, then twisting the two ropes together in the opposite direction. It sounds complex, but it is actually much faster than a standard braid.
Why Twists Hold Texture
Rope twists tend to stay tight because of the tension created by the opposing directions of the twist. Once you have created two long ropes, pin them over your head as you would a normal braid. This style looks modern, minimalist, and very clean. It is an excellent choice for a day when you have an early morning exam and need to get ready in ten minutes or less.
7. The Wrapped Ribbon Accent
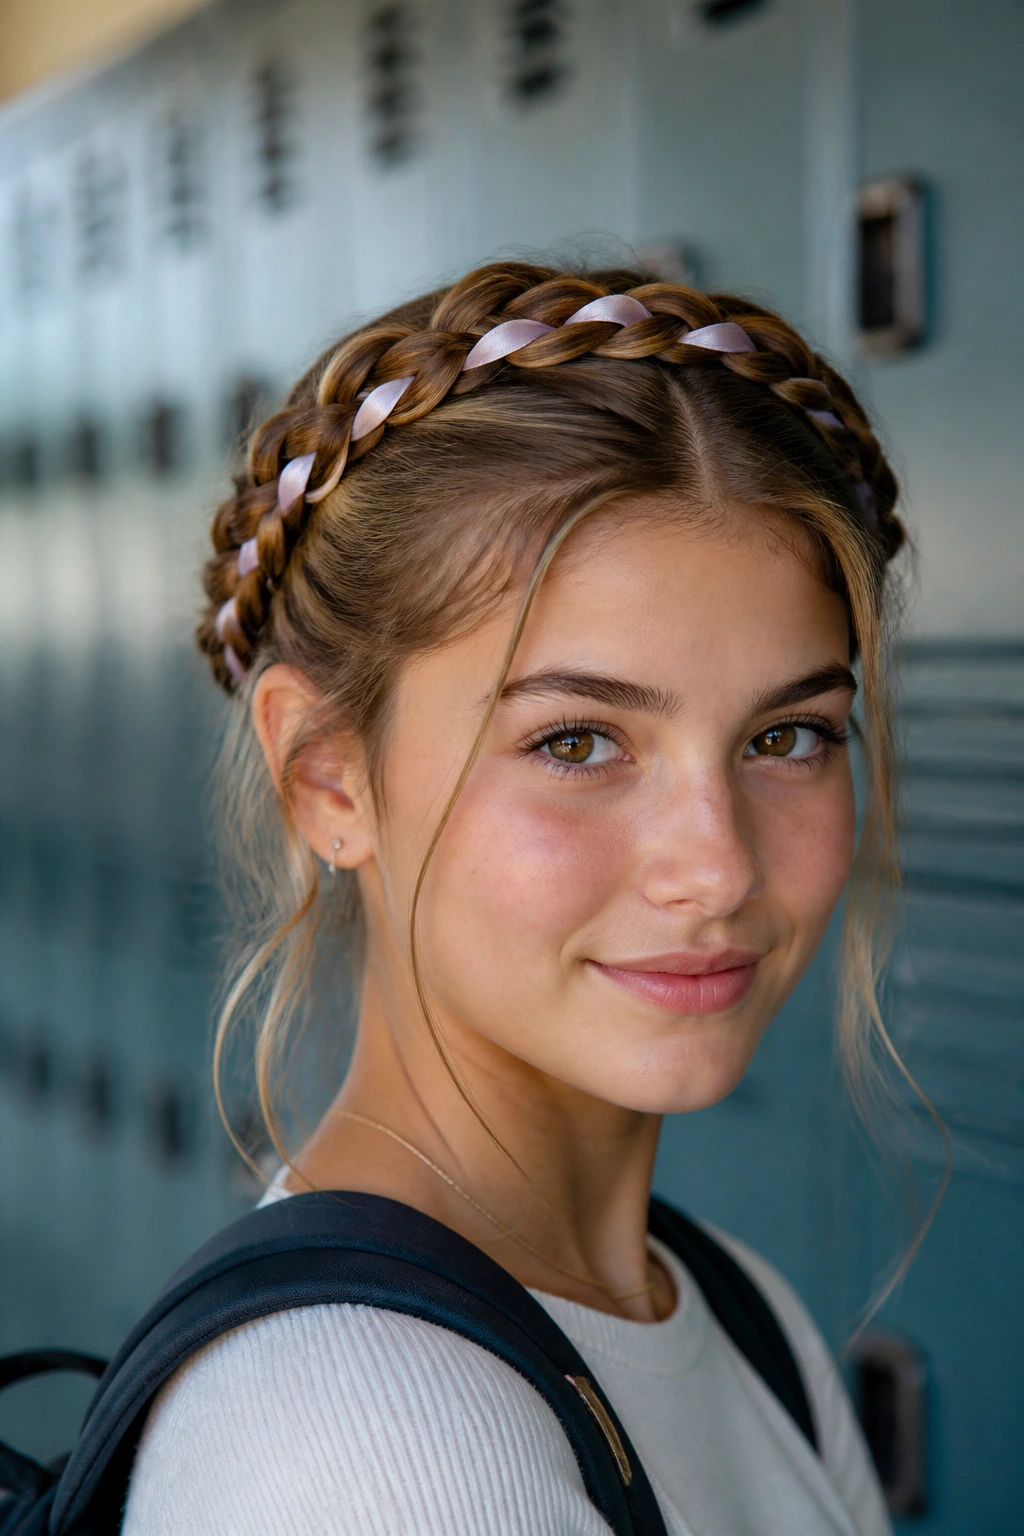
School is often where personal style gets refined. Incorporating a ribbon into your milkmaid braids is a simple way to match your outfit or show some school spirit. You can thread a thin velvet or satin ribbon into your hair while you braid, or simply wrap it around the finished crown once it is pinned in place.
Practicality Meets Style
Avoid heavy or thick ribbons that will cause your braids to slip. Stick with silk or thin cotton. If you weave the ribbon in as you braid, you actually add more structural integrity to the style, making it even less likely to fall out by the time you reach your final class of the day.
8. The High-Volume Teased Base
For those with thin or slippery hair, the braids might have a tendency to look flat or “skimpy” when wrapped. To combat this, give your hair some grit before you begin. Use a dry texturizing spray or a light dusting of dry shampoo at the roots and through the lengths.
The Teasing Technique
Before you start braiding, tease the hair slightly at the crown and near your temples. This creates a base for the hair to grip onto. Once you have finished the braids, the added volume ensures that when you wrap them over your head, they sit high and proud rather than hugging your skull too tightly.
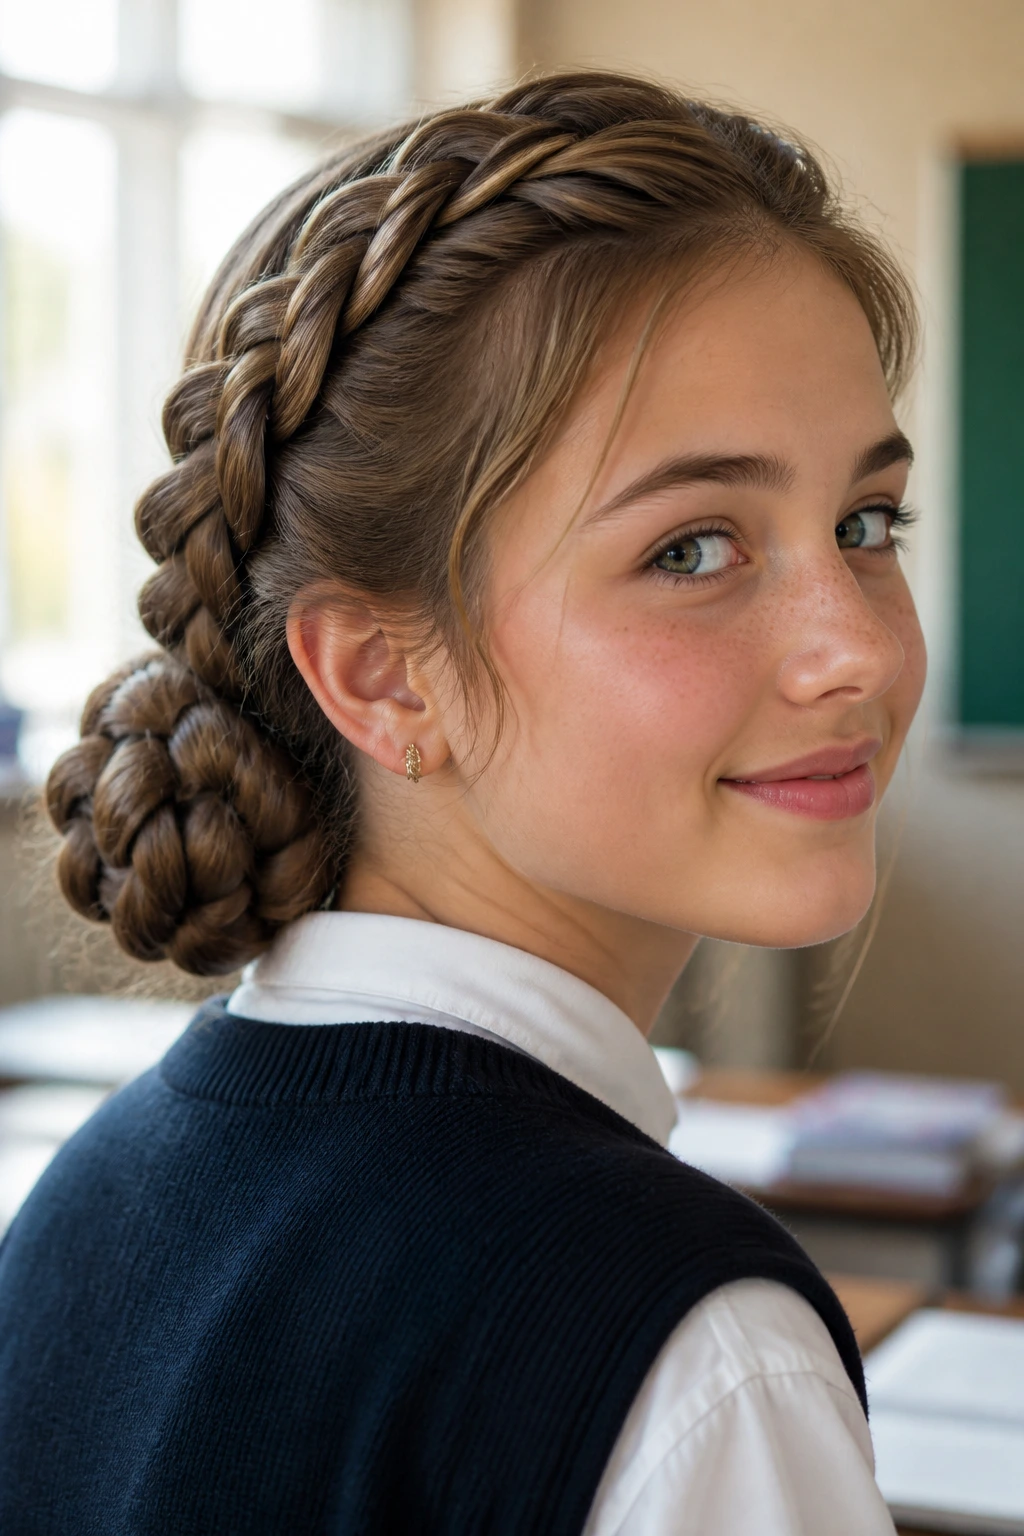
9. The Low-Nape Dutch Braid Wrap
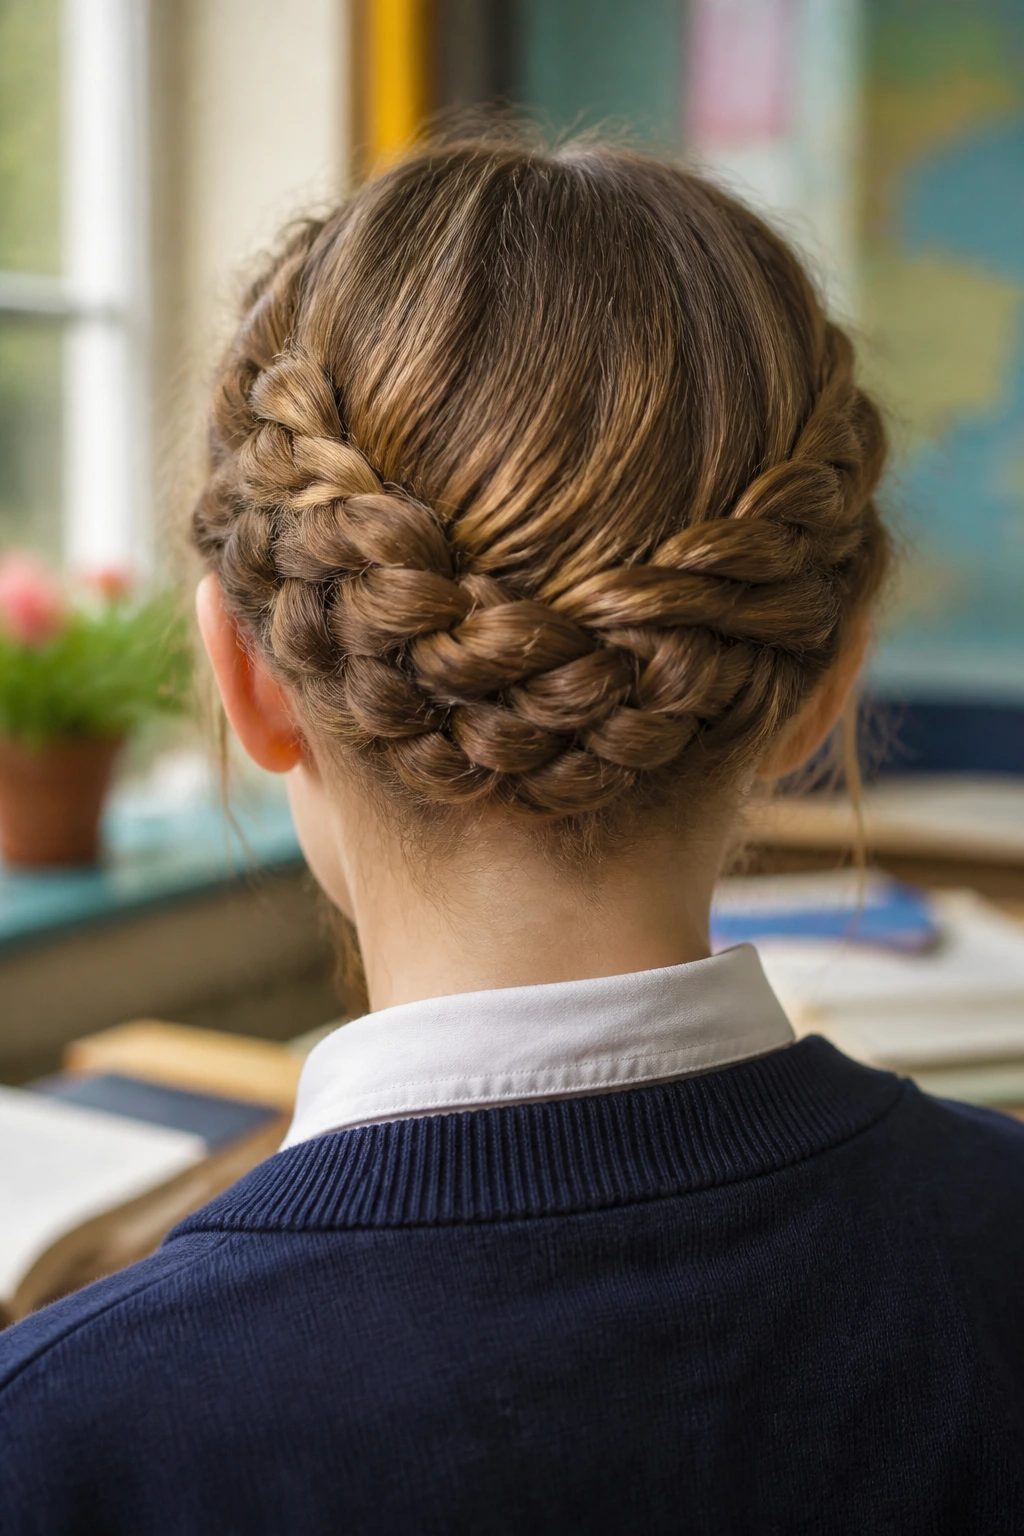
Most milkmaid braids utilize standard English braids (where you cross strands over). However, Dutch braids—where you cross strands under—create a much more prominent, 3D effect. The braid sits “on top” of the hair, which looks visually striking.
The Visual Pop of Dutch Braids
Because Dutch braids stand out from the scalp, they look like a crown resting on your head. They are incredibly secure and often easier to keep tight throughout the day. By starting at the nape and working your way up, you ensure that the “bulkiest” part of the braid is positioned where you want it to be most visible.
10. The Side-Part Milkmaid Illusion
You do not have to have a perfectly straight center part to rock this style. In fact, a deep side part can create a beautiful, asymmetric sweep that looks very high-fashion. Start your braid on the side with more hair, wrapping it across the head and tucking it near the opposite ear.
Why Asymmetry Flatters
A side part can help frame the face better, especially if you have a rounder face shape. It draws the eye across the head rather than straight down the center, giving your hairstyle a more dynamic, editorial feel. Use a few decorative pins on the side where the hair is swept back to add a little sparkle.
11. The Four-Strand Statement
If you are already a master of the three-strand braid, level up to the four-strand variety. It creates a flat, wide, and very intricate-looking braid that looks like a complicated weave. This is the ultimate “I spent time on my hair” look, even if it only takes a few extra minutes once you are practiced.
The Skill of Four-Strand Braiding
It is essentially a dance of strands. You bring one strand over, under, over, and under. The result is a thick, woven look that holds incredibly well. Because this braid is wider, you might only need to do one long braid that circles your head, or two shorter ones that meet at the top and overlap. It’s an attention-grabber that is both stable and stunning.
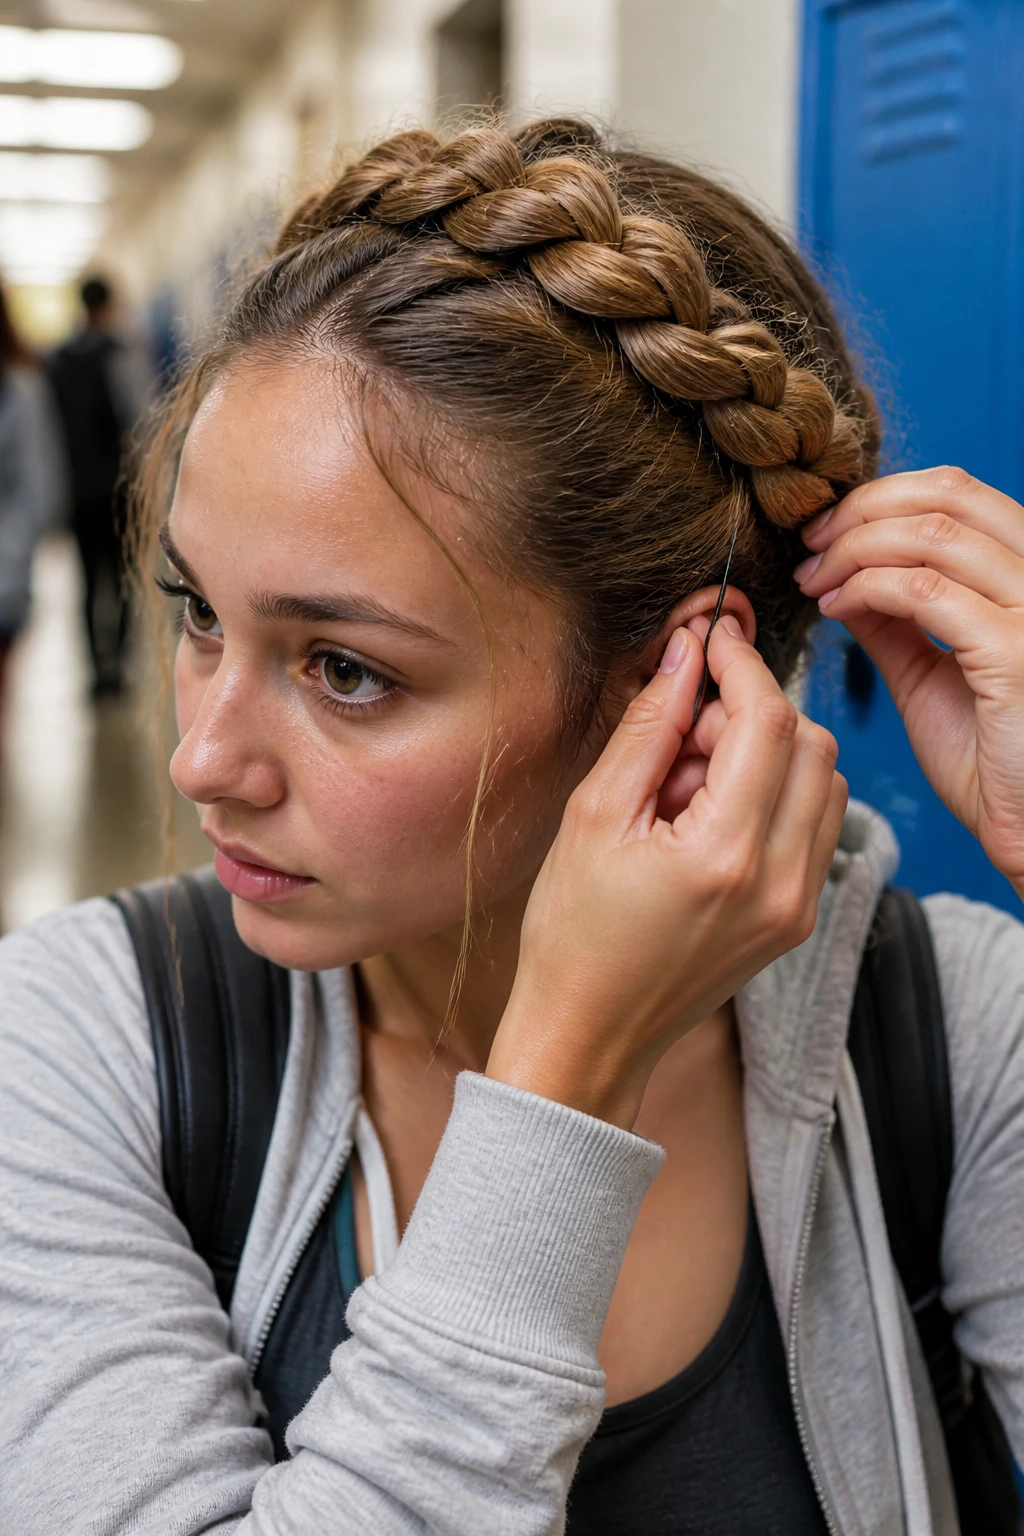
12. The “Hidden” Pinning Technique
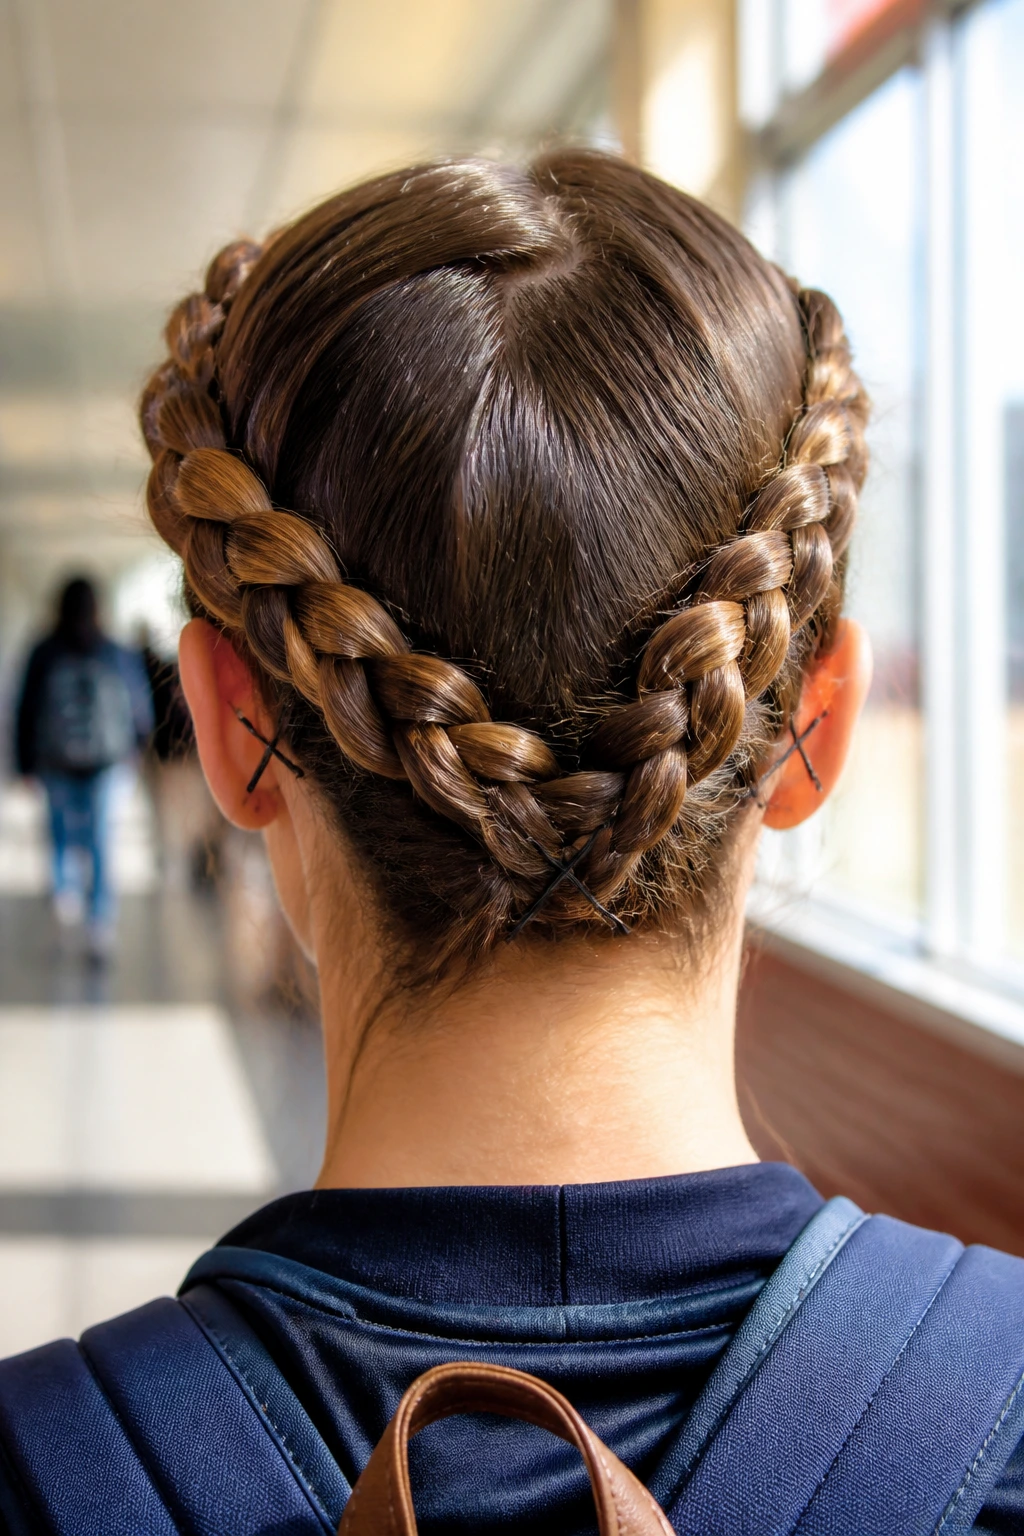
The most frustrating part of a milkmaid braid is having bobby pins slide out. For a school day, you need your style to be bombproof. The trick is to use “criss-cross” pinning. Never just slide one pin in; always use two pins forming an ‘X’.
Securing Your Work
For maximum hold, spray the bobby pins with a bit of dry shampoo or texturizing spray before inserting them. This gives the metal a little “bite” so it grabs onto the hair shaft rather than sliding right out. Place your pins at the nape and behind the ears, where the hair is most prone to movement.
13. The Half-Pulled Messy Crown

For a more relaxed school day, try a look that is part-braid, part-twist. Braid the front sections of your hair, but stop halfway and pin them, then pull the remaining hair into a low, messy bun at the back. This gives you the milkmaid “headband” look without the commitment of a full crown braid.
Why This Works for Transition Seasons
This style is great for warmer months when you want your hair off your neck, or for windy days when you don’t want to worry about your hair getting in your face. It is essentially a functional style that looks purposeful and refined.
14. The Double-Twisted Headband

This is the easiest variation for someone who is not great at braiding. Part your hair in the middle. Starting at your hairline, take a small section of hair and twist it away from your face, adding more hair as you move toward the back, just like a French braid.
Achieving the Uniform Look
Repeat this on both sides, then secure the ends in the back. You can pin the two ends together or tuck them into a low ponytail. The twists create a seamless line that looks very similar to a braid but feels much softer. It is a fantastic, low-effort way to get a polished look that lasts all day.
15. The “Waterfall” Milkmaid Hybrid
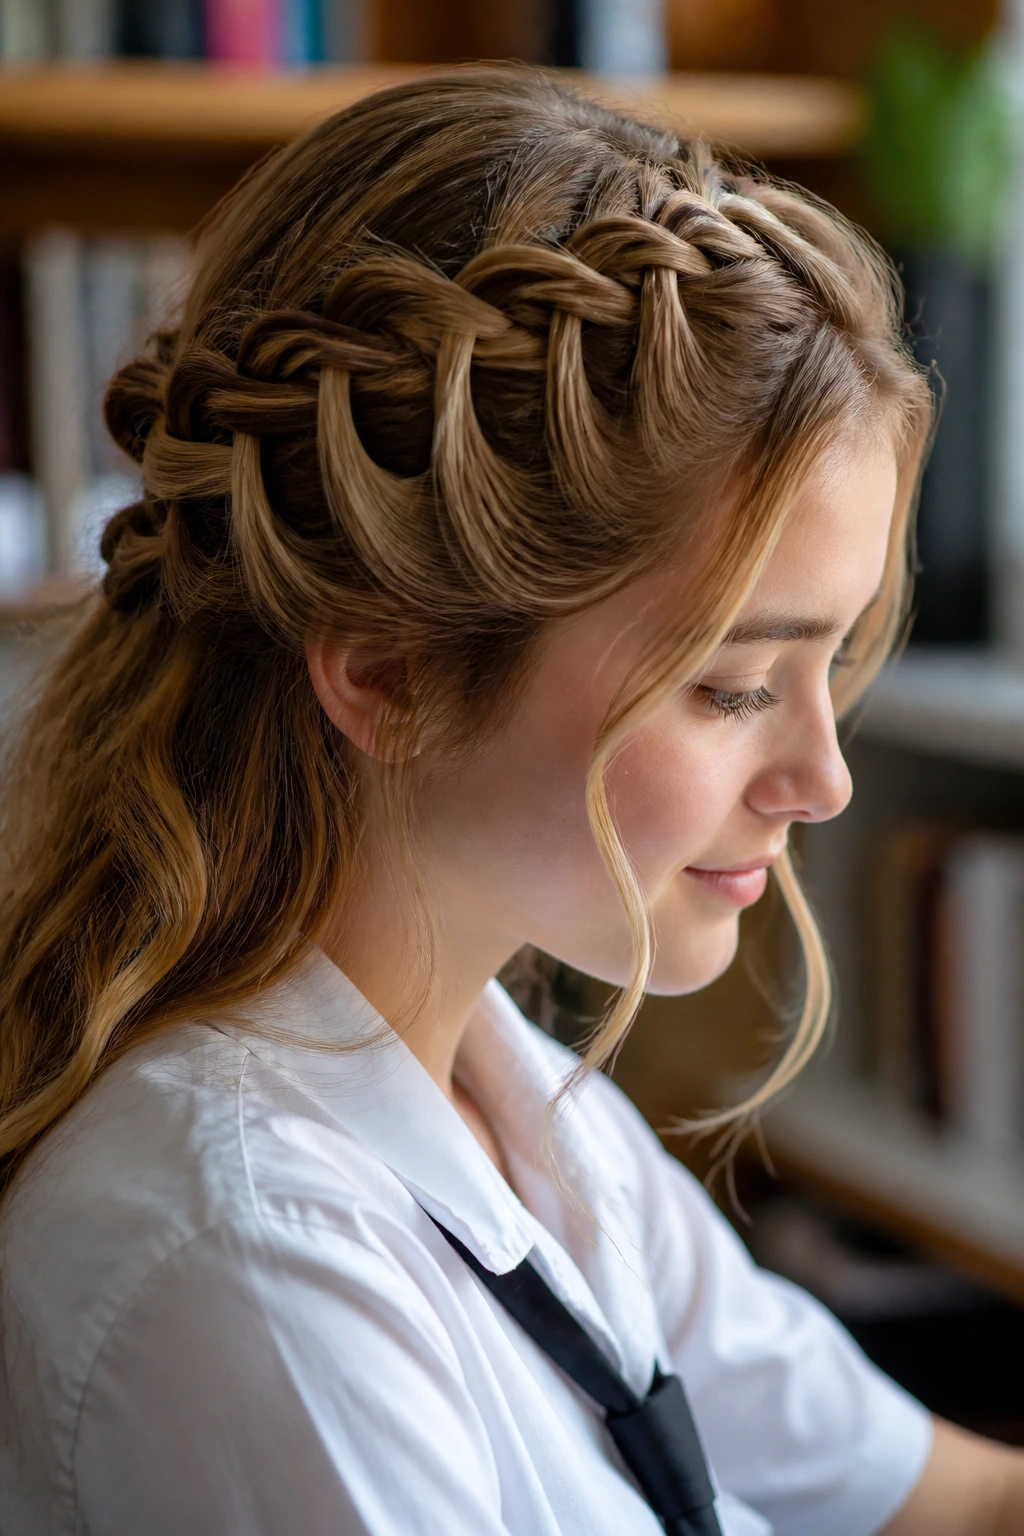
The waterfall braid is usually worn with the hair down, but you can incorporate it into a milkmaid style. Braid the front of your hair in a waterfall style, letting pieces fall through, then gather those pieces and secure them with the remaining hair at the back.
Why This Style Turns Heads
It’s an unexpected twist on a classic. Most people will be trying to figure out how you got the braid to look that way. It is a bit more advanced, so save this one for days when you have a bit more time to perfect the sections.
16. The Embellished Crown
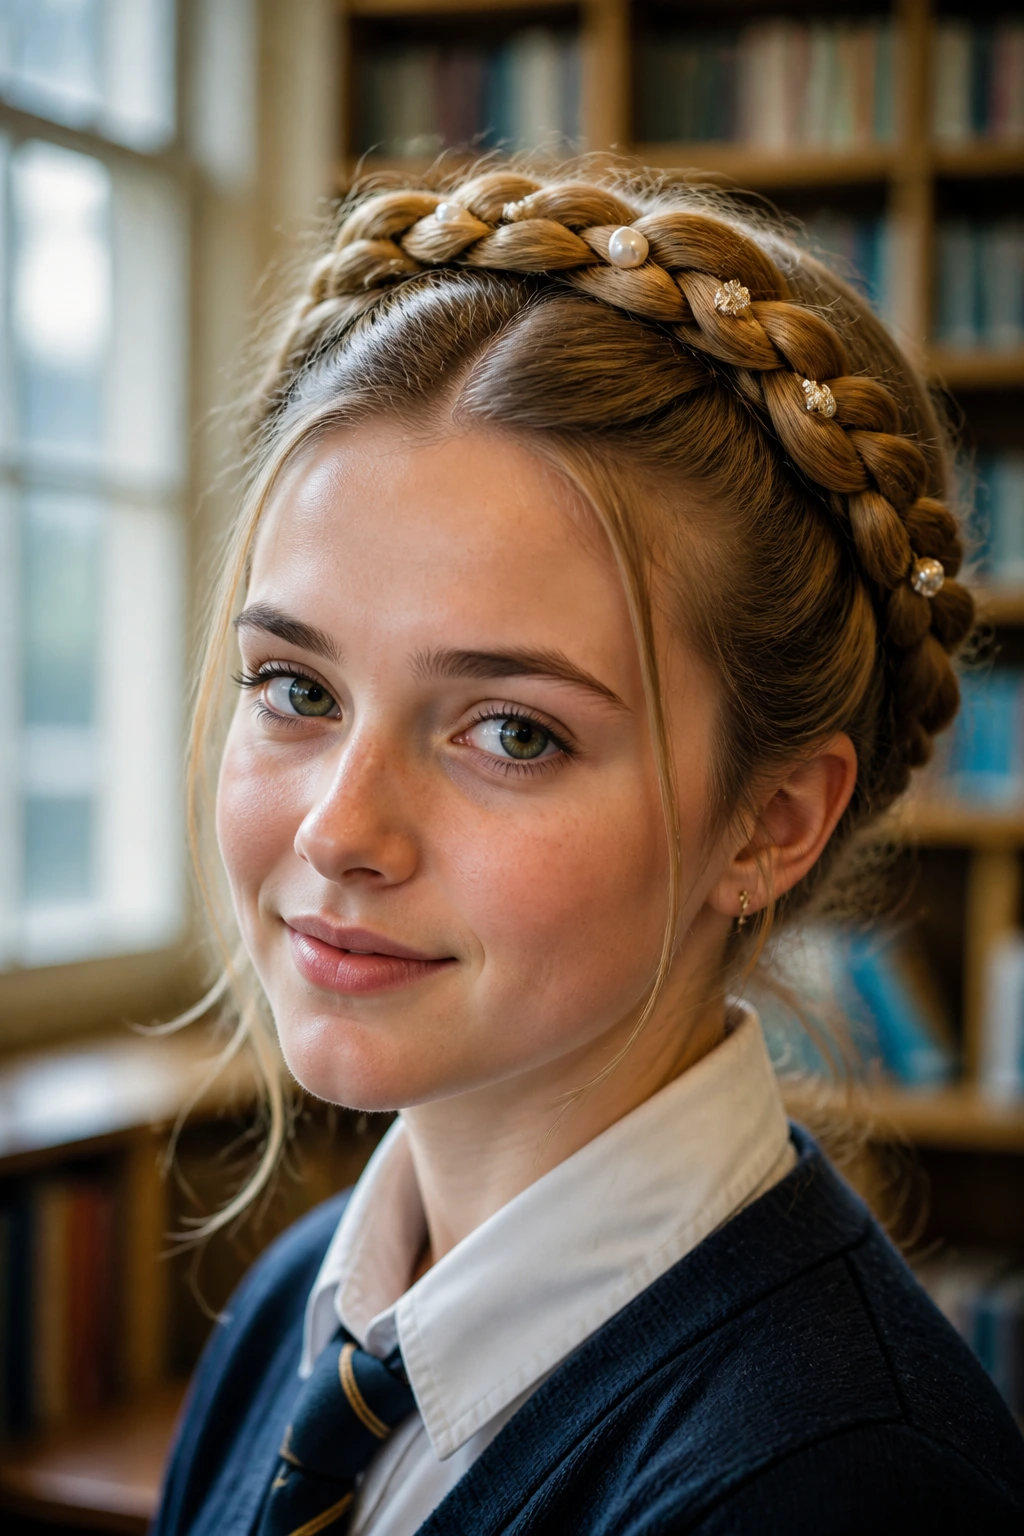
School is a place for self-expression. Don’t be afraid to add small clips, flowers, or even thin chains to your milkmaid braid. Because the braid is a stable structure, it acts like an anchor for any hair accessory you might want to add.
Balancing Accessories
The rule is simple: if the braid is very intricate (like a four-strand or fishtail), keep the accessories subtle. If the braid is a basic three-strand or a twist, you can go bolder with your choices. A few gold pins or pearls can make a basic braid feel like an event-ready style.
17. The Braided Bun Blend
If you have a lot of hair, sometimes the crown braid can feel too “heavy” or bulky. A great alternative is to do one braid, wrap it, and then incorporate the remaining hair into a braided bun at the nape. It keeps the milkmaid silhouette but balances the weight of the hair better.
Managing Hair Density
This is perfect for students with very thick hair who find that a full crown braid eventually starts to droop by the afternoon. By pinning part of the hair into a bun, you are essentially offloading some of the weight while still keeping the face-framing braids that define the look.
18. The “Undone” Pull-Through Braid
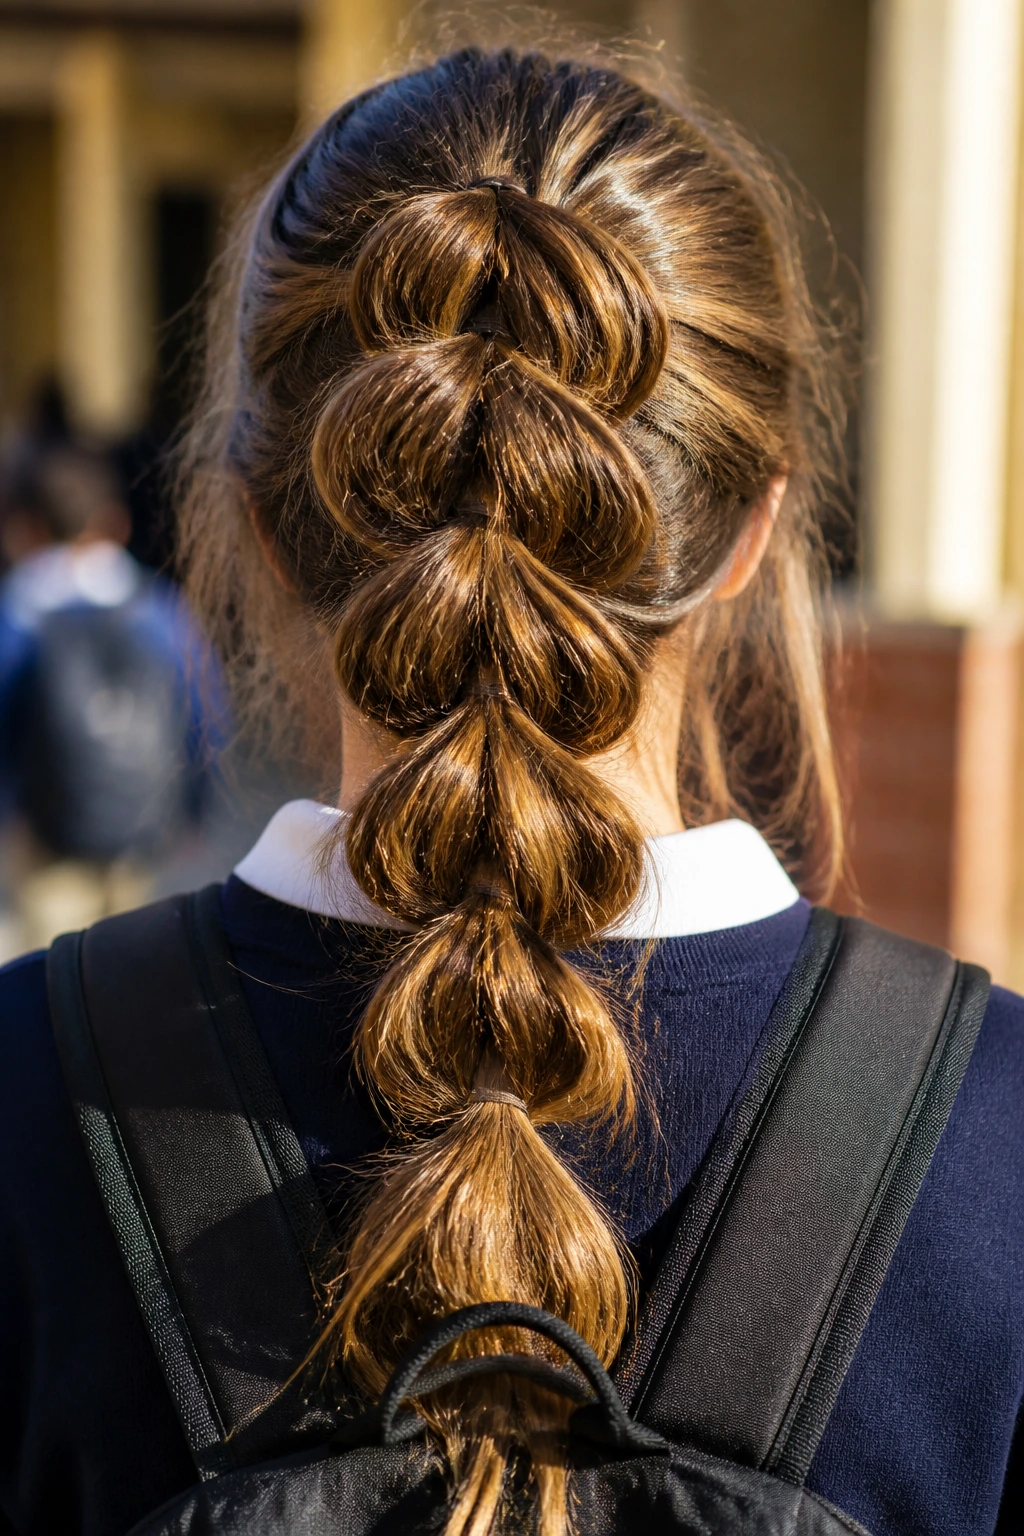
The pull-through braid is a technique that uses clear elastics to create a voluminous, braid-like look. It is much easier to manage than an actual braid because you are essentially stacking ponytails and pulling hair through the centers.
The Modern Alternative
This creates a massive, thick-looking braid that looks incredibly impressive. Because it is held together by elastics, it is arguably the most secure option on this list. Even with a full day of classes, you won’t lose a single strand. It looks modern, trendy, and very “put together.”
19. The Front-Face Framing Fringe
If you have bangs or shorter face-framing layers, you don’t have to pull them into the braid. Leaving them out actually makes the milkmaid style look younger and more casual, which is perfect for a school environment.
Framing Your Face
Use a flat iron or a curling wand to give those loose pieces a soft bend. This keeps the look from feeling too “costume-like” and ensures that the focus stays on your face. A little bit of texture in those loose pieces creates a nice contrast with the sleekness of the braided crown.
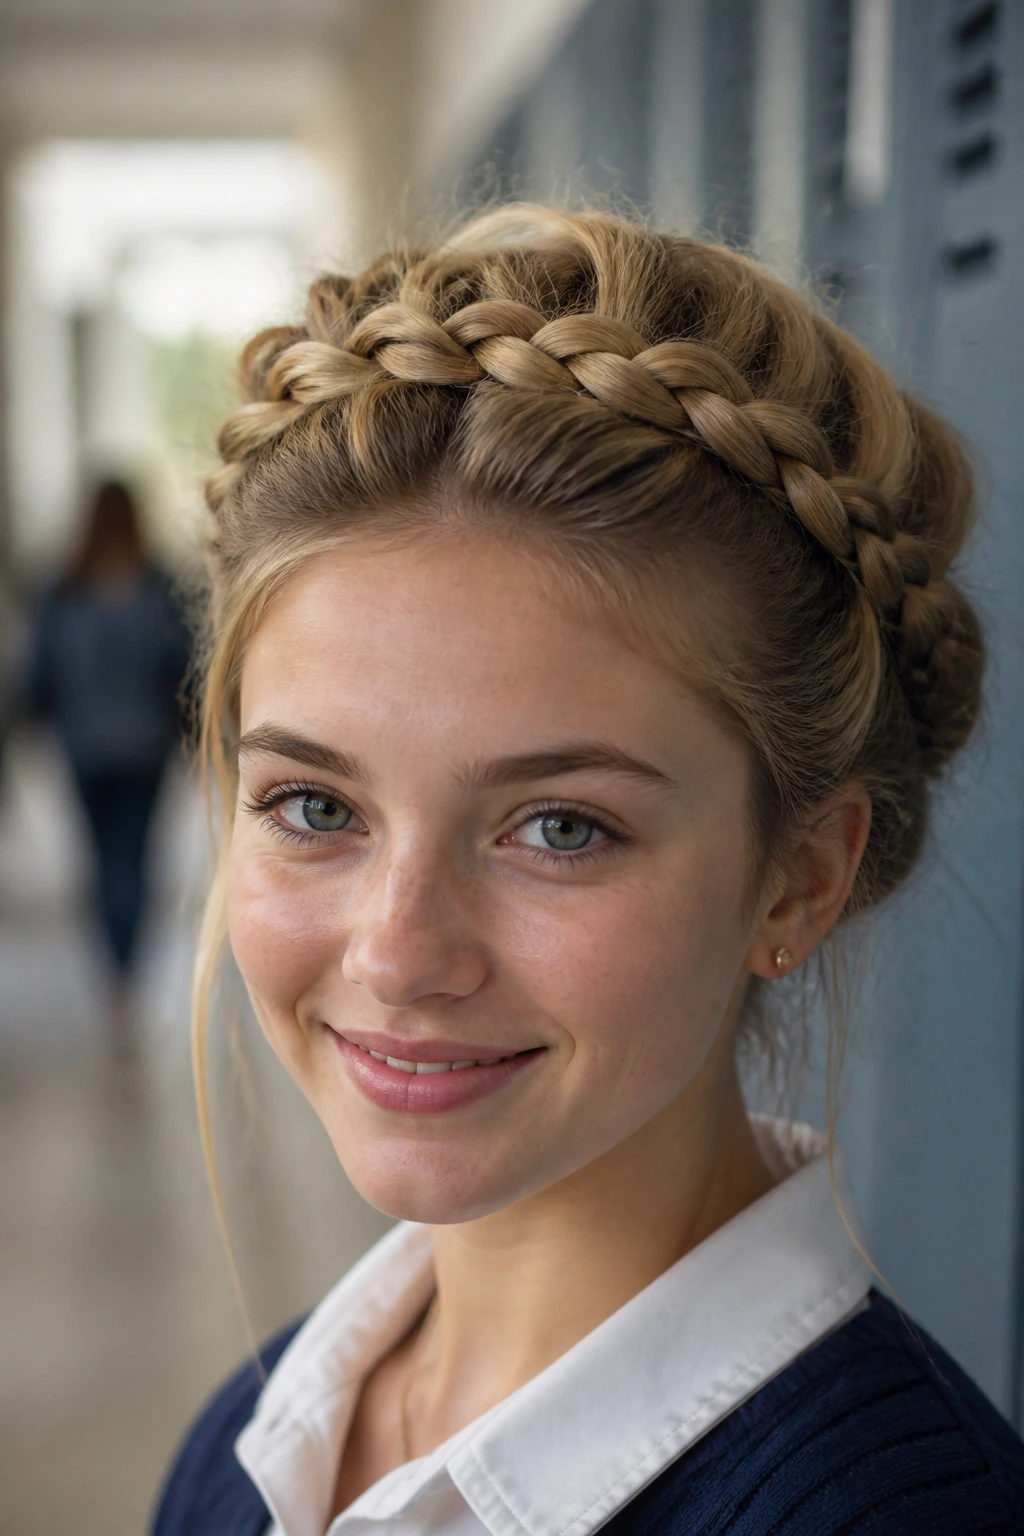
20. The High-Crown Dutch Wrap
For a bold, fashion-forward look, make your milkmaid braids high. Instead of pinning them behind your ears, pin them closer to the top of your head. This gives you a literal crown look. It is a very confident style that stands out in a crowded hallway.
Why This Demands Attention
It shifts the focus upward and creates a very clean, structured silhouette. This version is perfect for those who want to experiment with their personal style and move away from more traditional, understated hairstyles.
21. The “Post-Gym” Touch-Up
Even the best milkmaid braid will eventually get a little fuzzy after a long day of moving around. The trick is to keep a small travel-size hairspray and a handful of extra bobby pins in your bag. If a piece starts to fall, don’t try to re-braid it—just tuck it back under the existing braid and pin it down.
Maintaining the Style
A quick mist of hairspray will tame any flyaways that develop during the day. Remember, the milkmaid style is meant to look a bit “undone” by the end of the day. A few stray hairs are not a sign of failure—they are a sign that you have had a busy, productive day of learning.
Final Thoughts

Mastering the milkmaid braid is really about practice and letting go of the need for perfect symmetry. Start with the basics, learn how your specific hair texture behaves, and don’t be afraid to use the right tools—like texturizing spray and quality pins—to build a foundation that lasts.
As you cycle through these twenty-one variations, you will find that some work better for early mornings, while others are perfect for days when you have more time to experiment. The goal is to feel comfortable and confident, allowing your hair to be the last thing you have to think about while you’re walking between classes. Find the version that feels most like you, and wear it with the confidence of someone who has already conquered the day.