Curly hair is a living, breathing entity. It isn’t just a texture; it’s an architecture of coils, waves, and zig-zags that demands a completely different approach to maintenance, product selection, and styling than straight hair. If you have been wrestling with the same ponytail for years, you are missing out on the vast landscape of shapes, lengths, and silhouettes that make curly hair the most versatile canvas in the world. Whether your hair is fine and loose, like a light ocean swell, or dense and tight, like a coiled spring, the right cut can change how you carry yourself.
Choosing the right look is rarely about what is currently popular and almost always about how your hair behaves under tension. You have to understand your curl pattern—the way individual strands spiral—and how your hair reacts to humidity. A cut that looks incredible in a climate-controlled salon might transform into an unruly bird’s nest once you step out into the rain. We are going to walk through the best ways to frame your face, manage your volume, and highlight that natural bounce, moving beyond the simple “one-length” mistake that turns most curly heads into a pyramid.
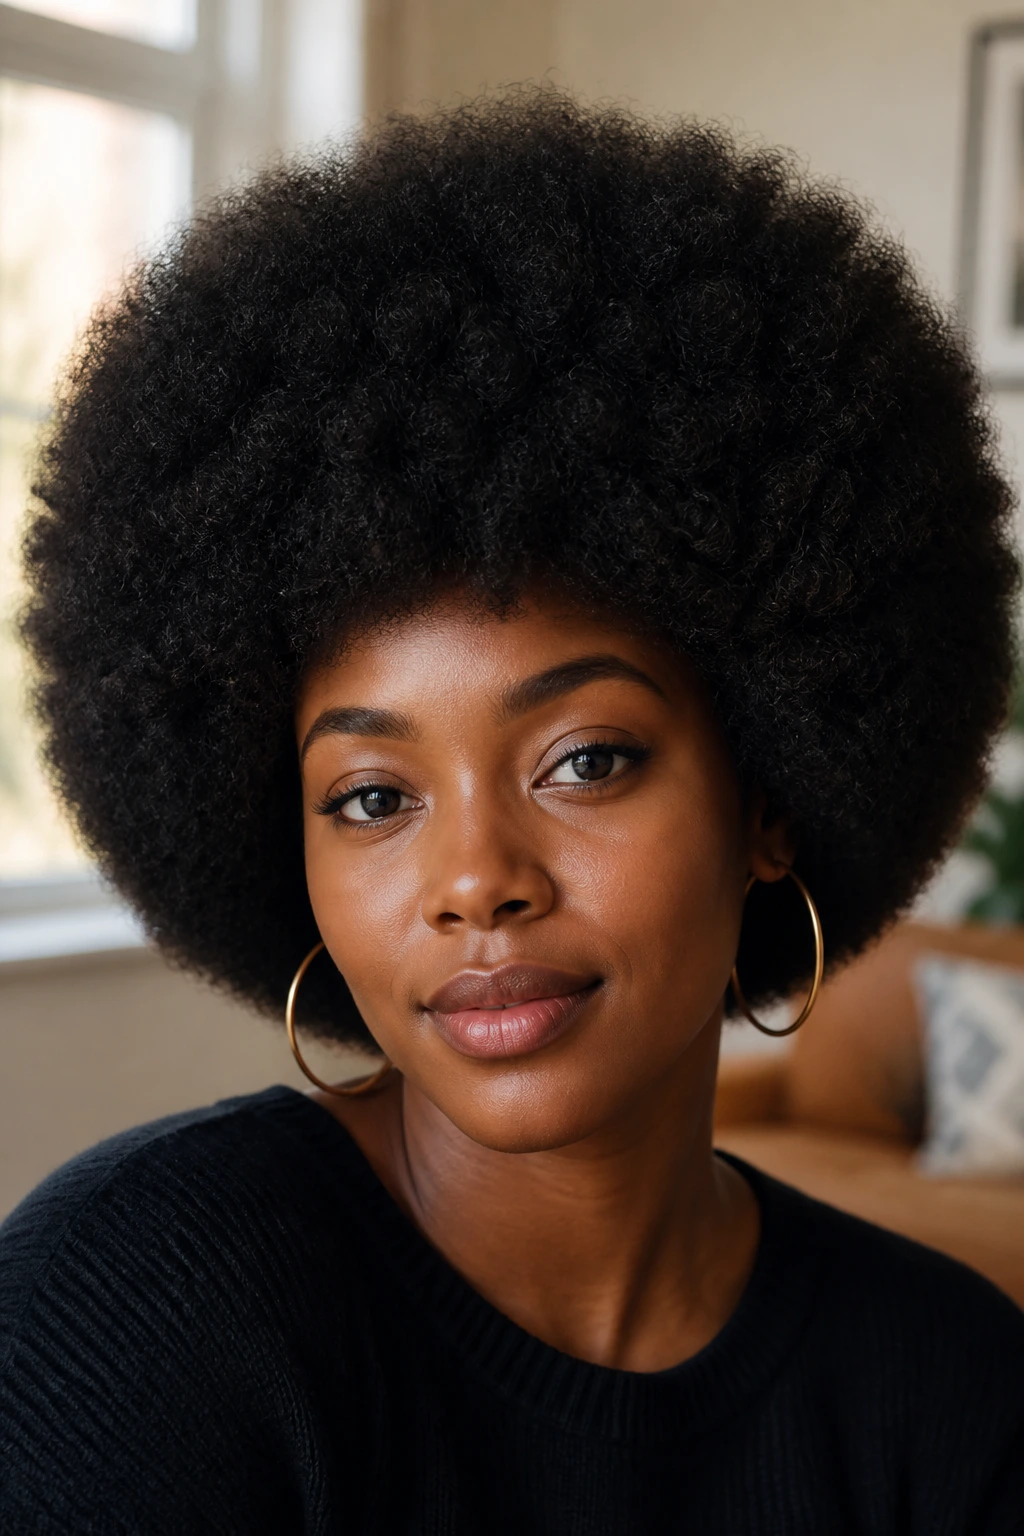
1. The Classic Rounded Afro
This is the ultimate celebration of volume and structural integrity. A perfectly rounded afro requires a skilled stylist to cut the hair layer by layer while it is dry, ensuring that every coil sits exactly where it belongs. You are looking for an even distribution of weight, which prevents the dreaded triangular shape that happens when the hair gets too heavy at the bottom and too flat at the crown.
Why This Style Succeeds
The beauty of a rounded afro lies in its precision. By cutting the hair to maintain a consistent distance from the scalp all the way around, you achieve a silhouette that is bold and sculptural. It works best for those with type 4 coily hair, where the individual curls are tight enough to hold the shape without needing a massive amount of styling product.
Styling for Maximum Roundness
- Use a pick to gently lift the roots after the hair is mostly dry.
- Apply a lightweight leave-in conditioner to prevent the ends from frizzing during the shaping process.
- Avoid heavy gels that weigh the coils down; reach for a whipped butter or a light cream instead.
Pro tip: Sleep on a silk pillowcase. It minimizes friction and keeps those delicate outer coils from breaking while you toss and turn.
2. The Long-Layered Shag

Shags are not just for the straight-haired crowd. When you translate this 1970s-inspired look to curly hair, you gain incredible movement and take the weight off the perimeter. The key is internal layering—cutting small sections inside the body of the hair—so the curls can spring up and interact with each other without being forced into a single, static block.
How to Achieve the Look
Your stylist should use a “carving” technique, where they cut into the hair at an angle rather than across the grain. This makes the ends softer and more prone to curling inward. If you have fine, loose curls, this cut will give you the illusion of density because the shorter layers create a stacking effect that builds body.
Maintenance Considerations
Because the layers are shorter around the crown, you will find that your hair dries faster than a one-length cut. This is a massive bonus for anyone who hates spending three hours under a diffuser. You do, however, need to schedule trims every eight to ten weeks, as the layers grow out at different speeds and can start to look uneven if left too long.
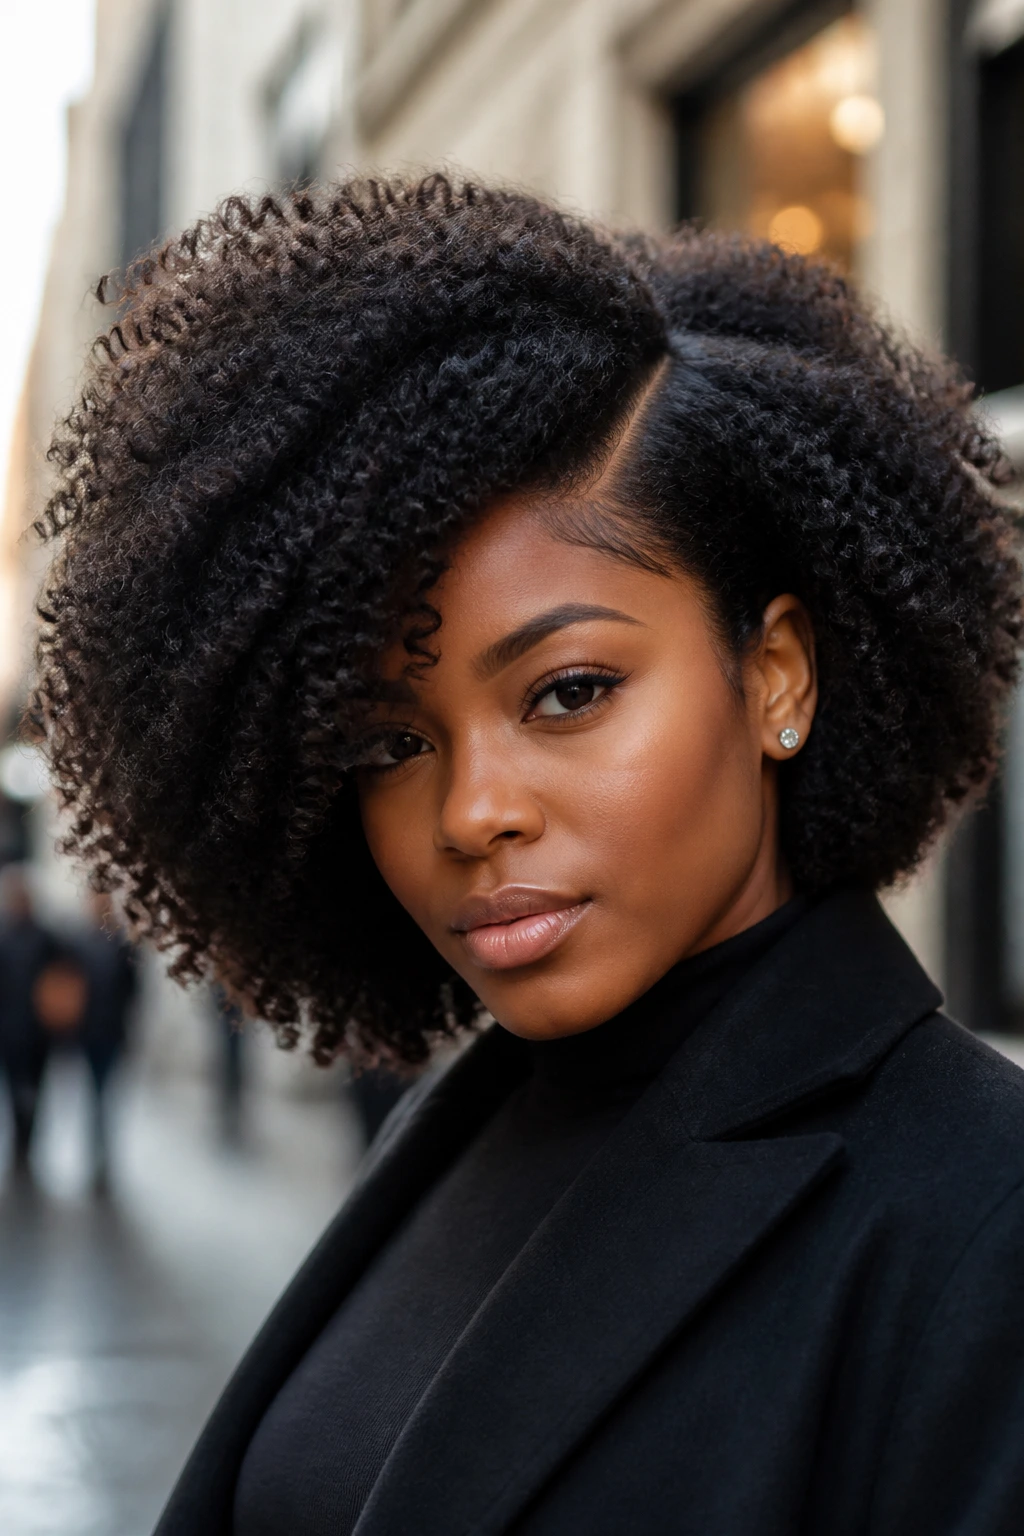
3. The Curly Pixie Cut
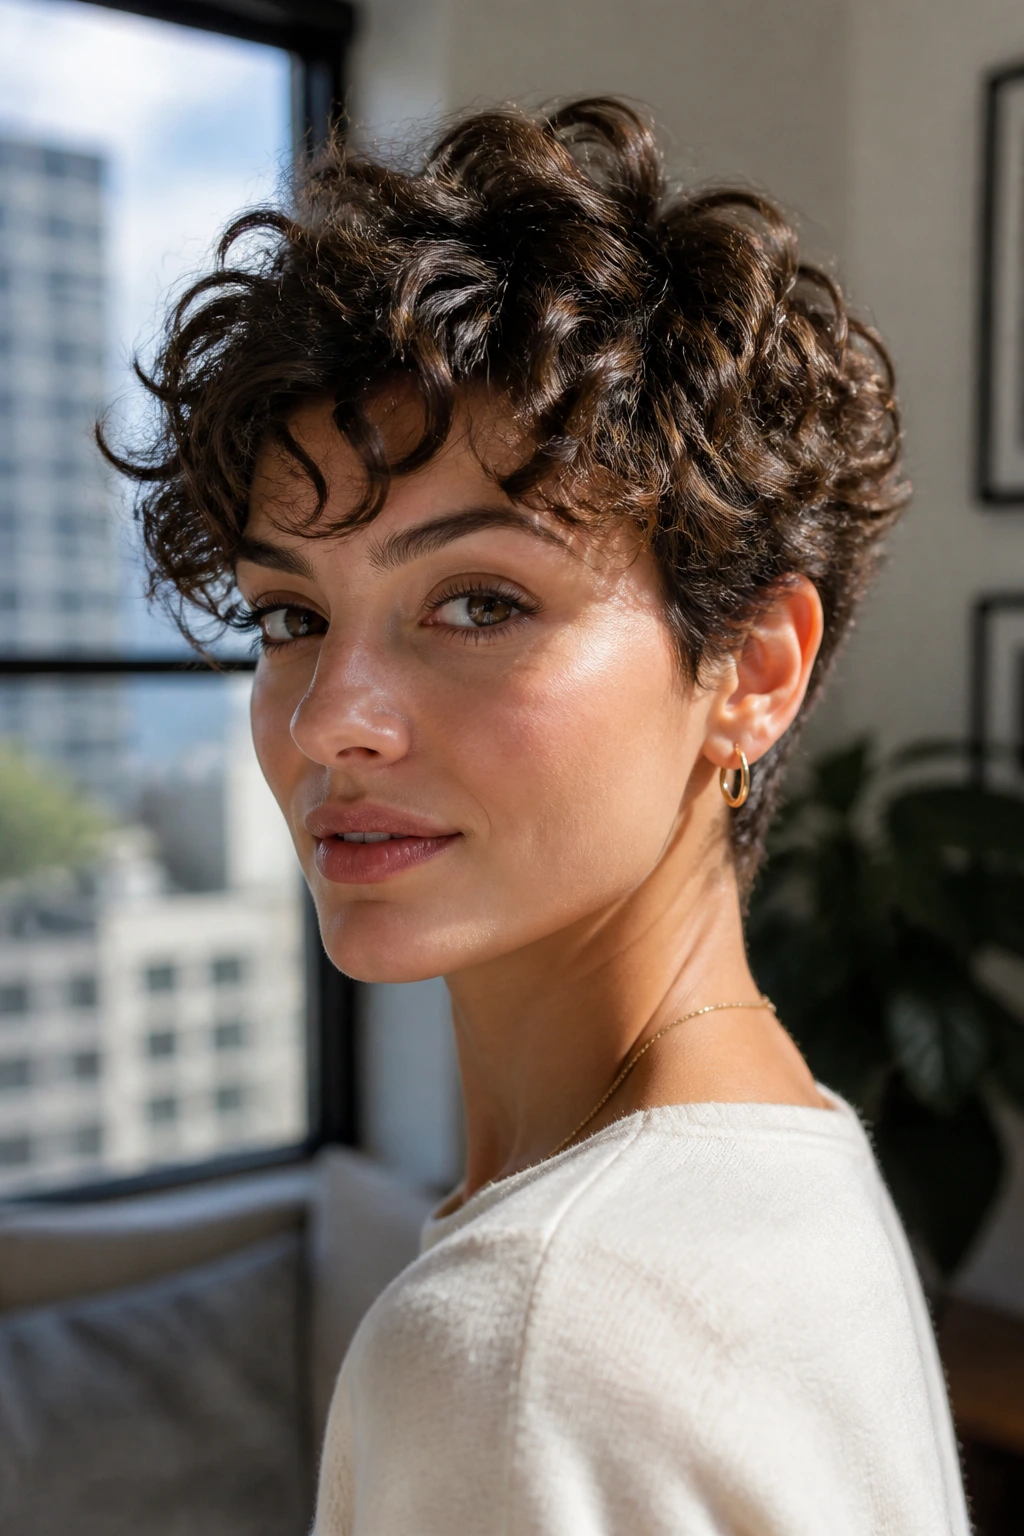
Taking the plunge into a short, cropped style is the most liberating thing you can do for your hair. A curly pixie forces you to embrace your natural pattern completely. There is nowhere for the frizz to hide, but when the cut is done well, the frizz becomes part of the texture. It highlights the cheekbones and the jawline in a way that longer hair rarely does.
Framing the Face
The secret here is the length of the fringe. You want enough length to keep a few tendrils falling across your forehead, which prevents the look from feeling too severe. Ask for a tapered cut at the nape of the neck—this keeps the silhouette clean and modern, preventing that “mullet” vibe as the hair starts to grow back toward the collarbone.
Essential Daily Care
- Refresh your curls in the morning with a simple mist of water and a tiny bit of hair oil.
- Since the hair is so short, you only need a dime-sized amount of product to keep it looking polished.
- Focus your styling on the top section to ensure your curls have enough room to express themselves.
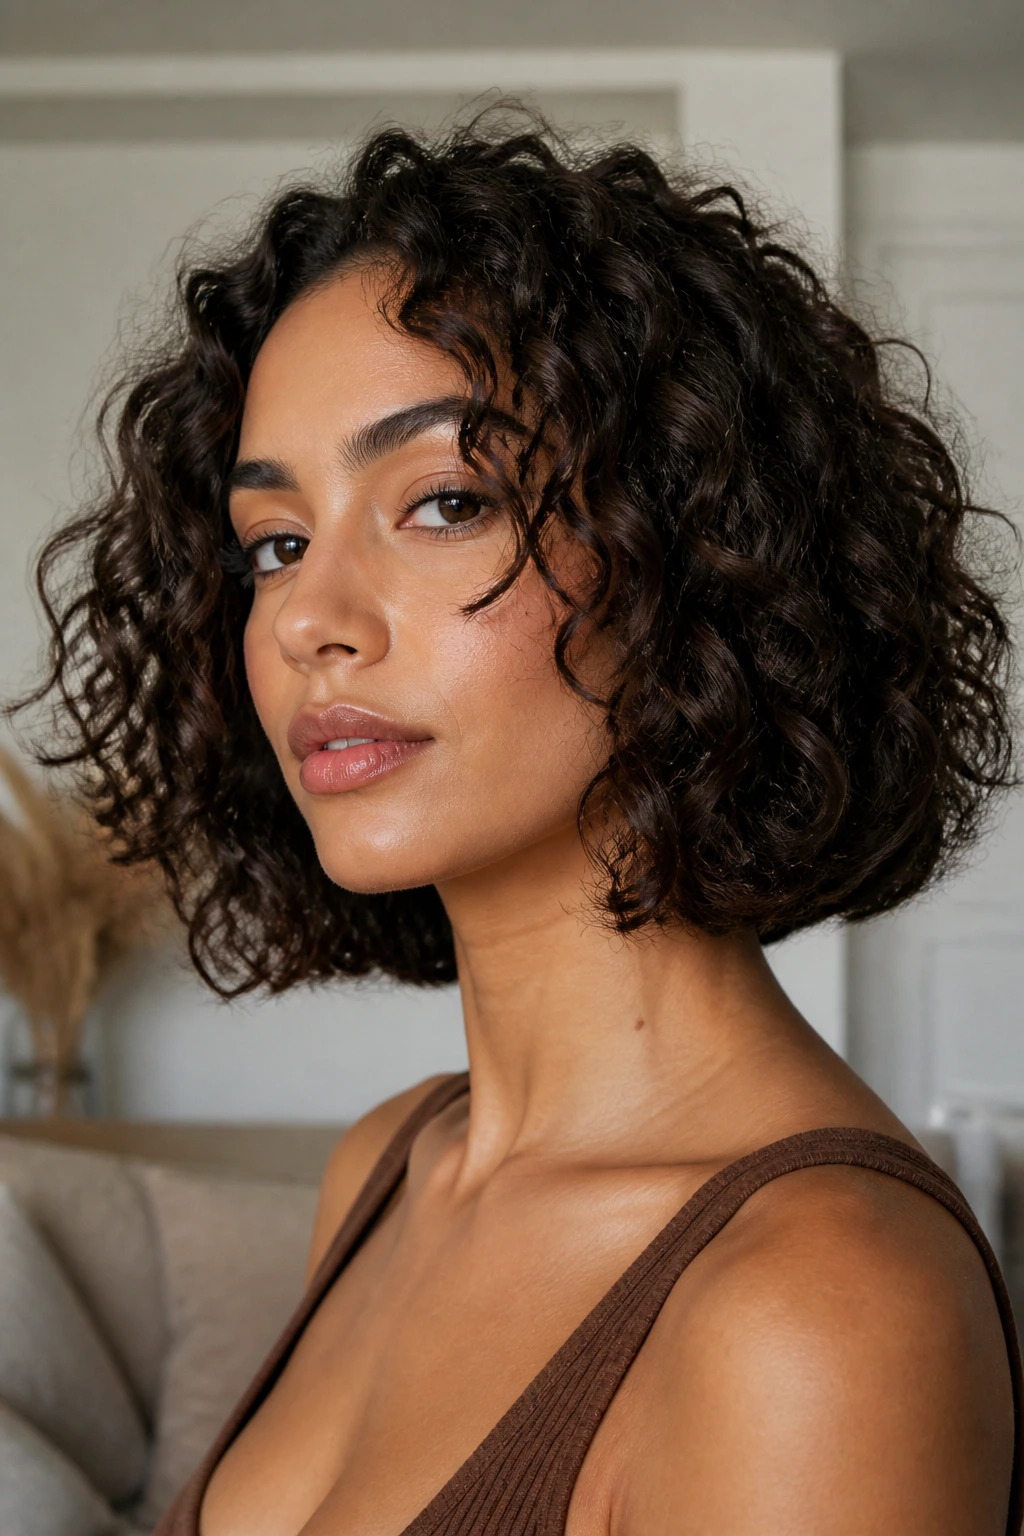
4. The Soft Shoulder-Length Bob

The bob is the gold standard for versatility, but on curly hair, it needs a specific approach. You must ensure the bottom of the cut does not create a “shelf” effect. If the weight is too concentrated at the bottom, your hair will push outward, making you look like a mushroom. The answer is subtle graduation toward the front.
Balancing Weight and Volume
By cutting the back slightly shorter than the front, you draw the eye downward, which helps elongate the neck. This style is perfect if you like to wear your hair in a deep side part. It allows one side to have more volume while the other stays sleek and tucked behind the ear, providing an instant evening-ready look with zero extra effort.
Choosing Your Part
- Center part: Great for balancing a round face.
- Deep side part: Adds instant height and drama for a night out.
- No part: Simply fluff it up for a more casual, “just woke up like this” aesthetic.
5. The Deva-Cut Inspired Shape
Named after the technique of cutting curly hair while it is dry and unstyled, this method treats every curl as an individual. The stylist looks at where each ringlet wants to sit naturally and cuts it at that specific length. This is less about following a geometric rule and more about following the map of your head.
Why It Works for Everyone
If your hair has different textures—like tighter coils at the back and looser waves at the front—this technique ensures that everything looks cohesive. It prevents the problem of “shrunken” curls appearing shorter than they should because the stylist isn’t stretching the hair to make it even with a comb.
What to Expect at the Salon
You will sit in the chair with your hair dry and styled exactly how you usually wear it. Your stylist will trim it piece by piece. It takes longer than a traditional wet cut, but the result is a custom shape that you can easily recreate at home, because the hair is already in its natural, shrunken state.
6. The Textured Top-Knot
Sometimes the best curly hair option is moving it off the face entirely. A high top-knot is not just a lazy style; it is a way to protect your ends and show off your neck. For this, you want to leave a few face-framing pieces out to soften the look, preventing the “pulled-too-tight” tension that can cause breakage along the hairline.
Creating the Perfect Base
- Gather your hair into a ponytail at the very crown of your head.
- Use a silk or satin scrunchie to minimize snagging.
- Instead of twisting the hair into a tight bun, use a few hairpins to loosely pin individual coils around the base.
- This creates a soft, ethereal bun that looks much more intentional than a tight, flat knot.
7. The Long, Waterfall Layering

If you have length and you want to keep it, you need to be careful. Extremely long curly hair can become heavy and pull the bounce right out of your roots. Waterfall layering involves starting the layers mid-way down the hair shaft, leaving the bottom heavy enough to maintain the length but light enough to let the curls move.
Managing the Ends
With this much length, your ends are the oldest part of the hair and require extra moisture. Apply a leave-in conditioner focusing specifically on the bottom four inches. If you notice your curls looking limp at the bottom, it is usually a sign that you have too much product build-up or that the ends have lost their elasticity from too much heat styling.
Styling Technique
Use the “scrunching” method while the hair is damp. This helps define the pattern and encourages the curls to spiral as they dry. Once the hair is 90% dry, avoid touching it. Every time you touch your hair while it dries, you disrupt the curl formation and invite frizz to take over.
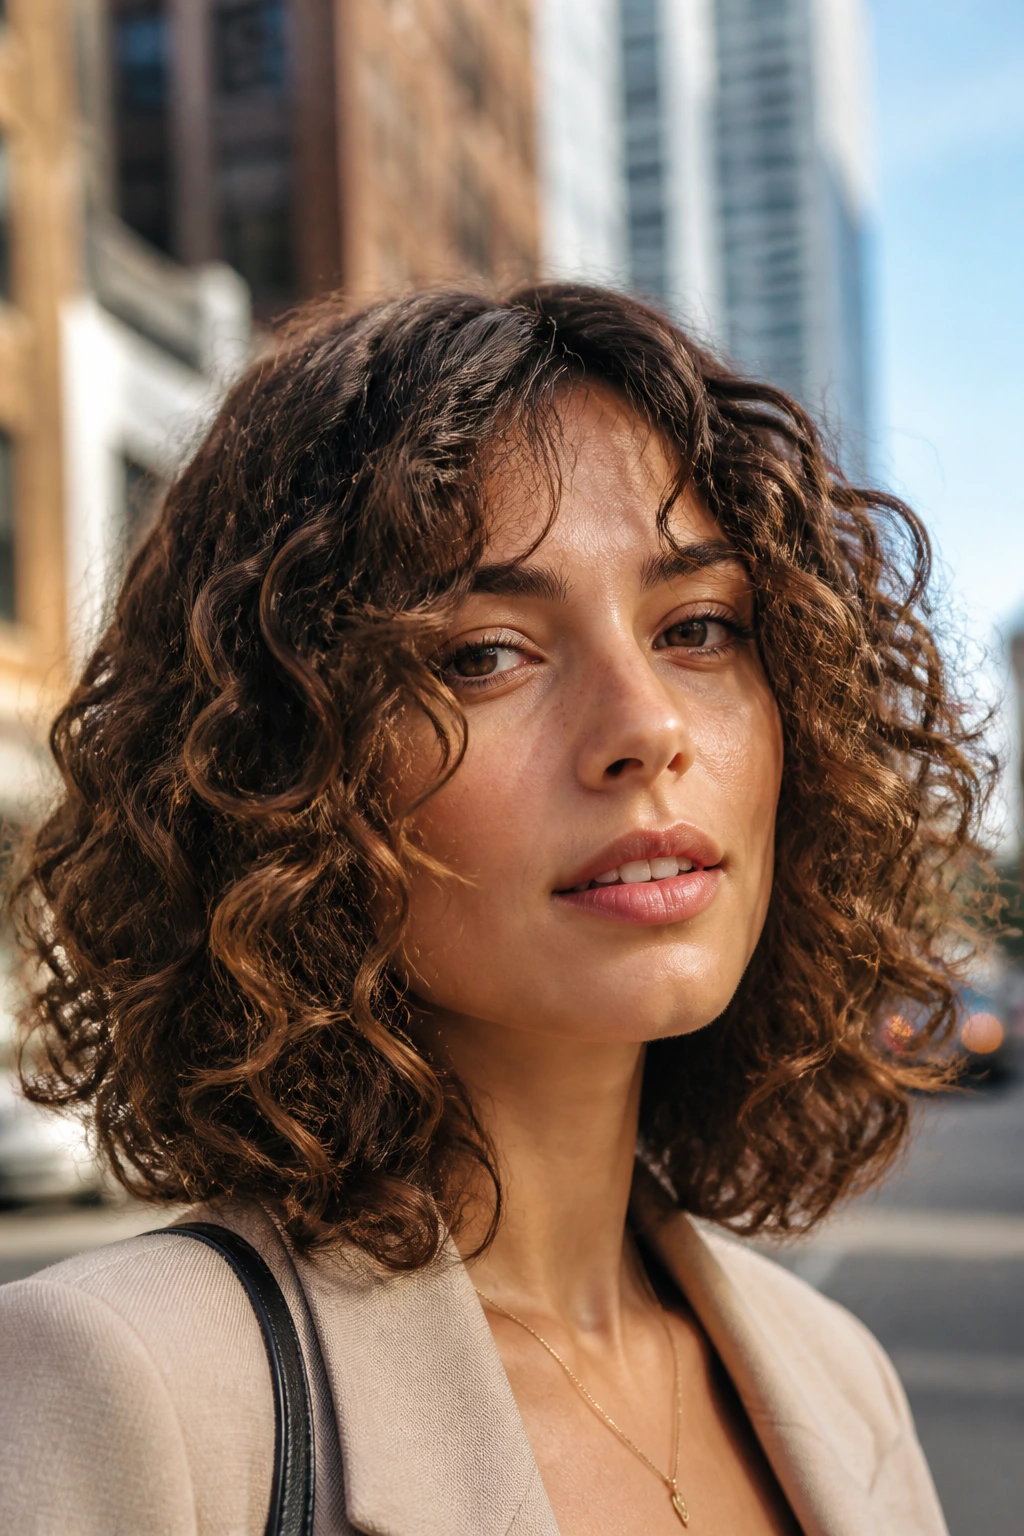
8. The Blunt-Cut Lob
The long bob, or “lob,” is a sophisticated choice that works surprisingly well with curly hair if you have the right texture. The blunt cut at the ends creates a heavy, healthy-looking line that can make fine curls look much thicker. It is the perfect middle ground between the maintenance of a bob and the freedom of long hair.
When to Choose This Look
This style is best if you have wavy to loose curly hair. If you have extremely tight, high-shrinkage coils, a blunt cut might shrink up much more than you expect, potentially creating a boxy look. If you have tight curls, ask your stylist to “texturize” the ends slightly so they don’t look like a solid block of hair.
Styling Tip
Add a drop of smoothing serum to your palms before breaking up your curls once they are dry. This adds shine and seals the cuticle, making that blunt line look sharp and intentional.
9. The Natural Undercut
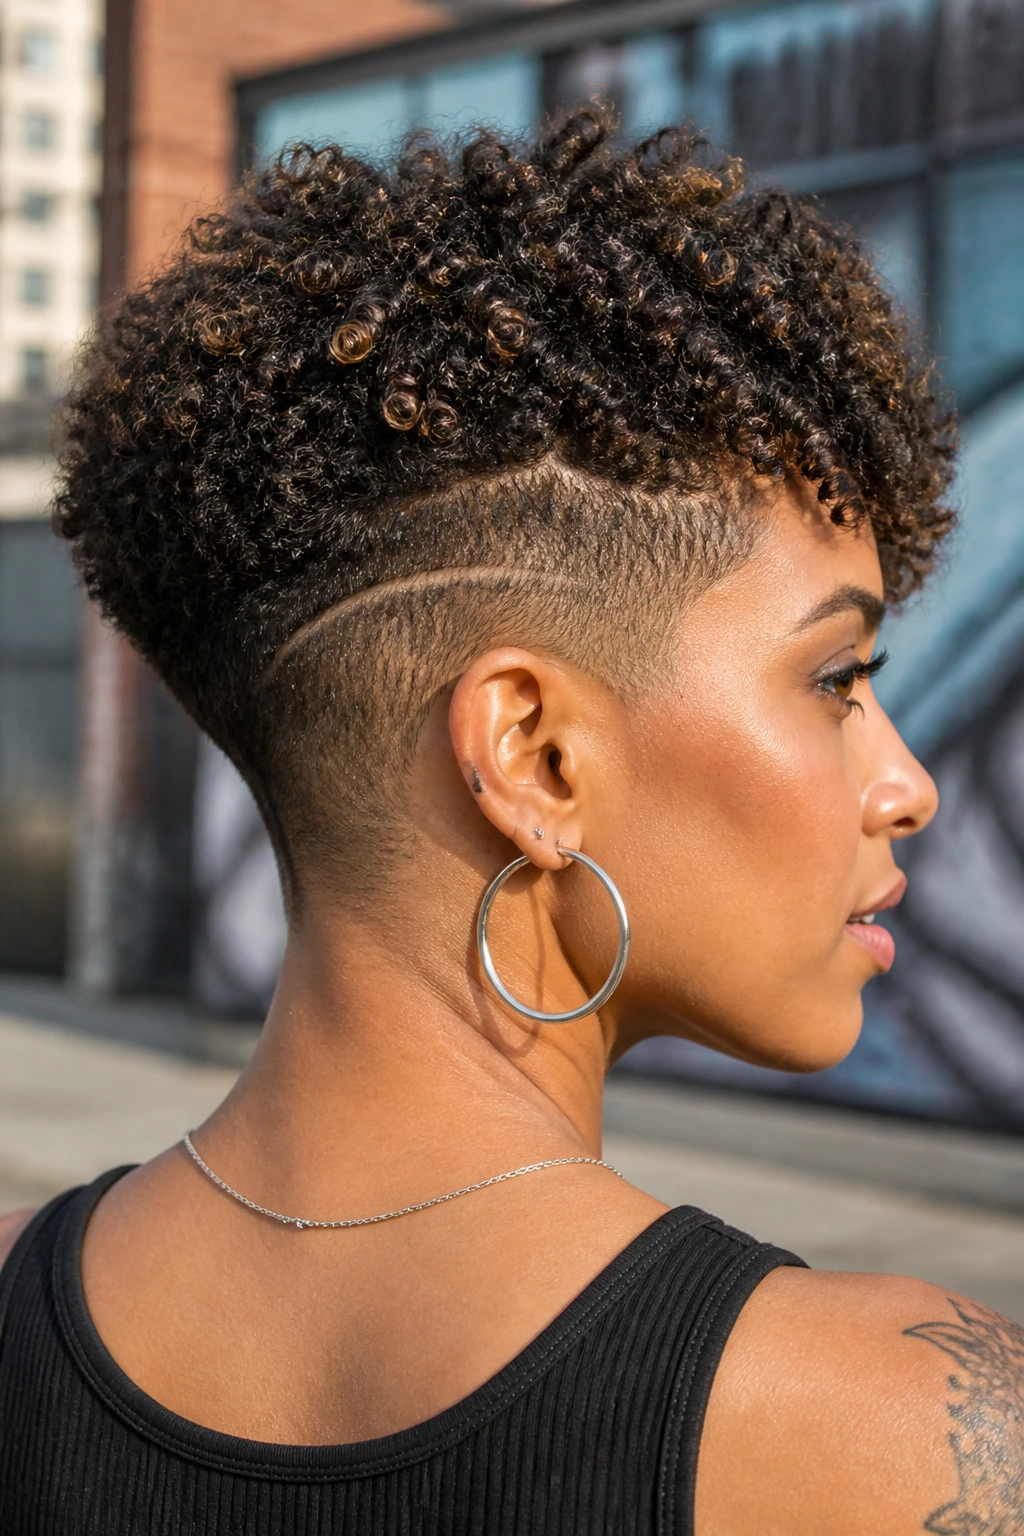
For those who want to shed some volume or express a bit of edge, the undercut is a secret weapon. Shaving the nape of the neck or one side of the head reduces the total amount of hair you have to manage while allowing the curls on top to take center stage. It is particularly striking when you have very dense hair that feels heavy during warmer months.
Creative Possibilities
You can keep it simple with a clean shave, or ask a stylist to etch a design into the faded area. Because your hair is curly, you don’t even have to worry about the lines being perfectly sharp—the natural growth will soften the look, giving it a more organic feel than the super-sharp lines usually associated with straight-hair undercuts.
10. The Deep Side-Parted Afro
Adding a part to a curly look changes the entire geometry of the style. By parting your hair deep on one side, you are essentially forcing the roots to stand up, which creates massive, glamorous volume that frames the face beautifully. It is a simple shift that requires no tools, just a tail comb and a bit of patience.
Why It Changes Everything
Moving the weight of the hair to one side adds an asymmetrical interest that draws attention to your eyes. It is the perfect style for a formal event where you want to look “done” but don’t want to spend hours with a flat iron. Use a bit of holding spray at the roots if you want to ensure the part stays crisp throughout the evening.
11. The Curly Mohawk
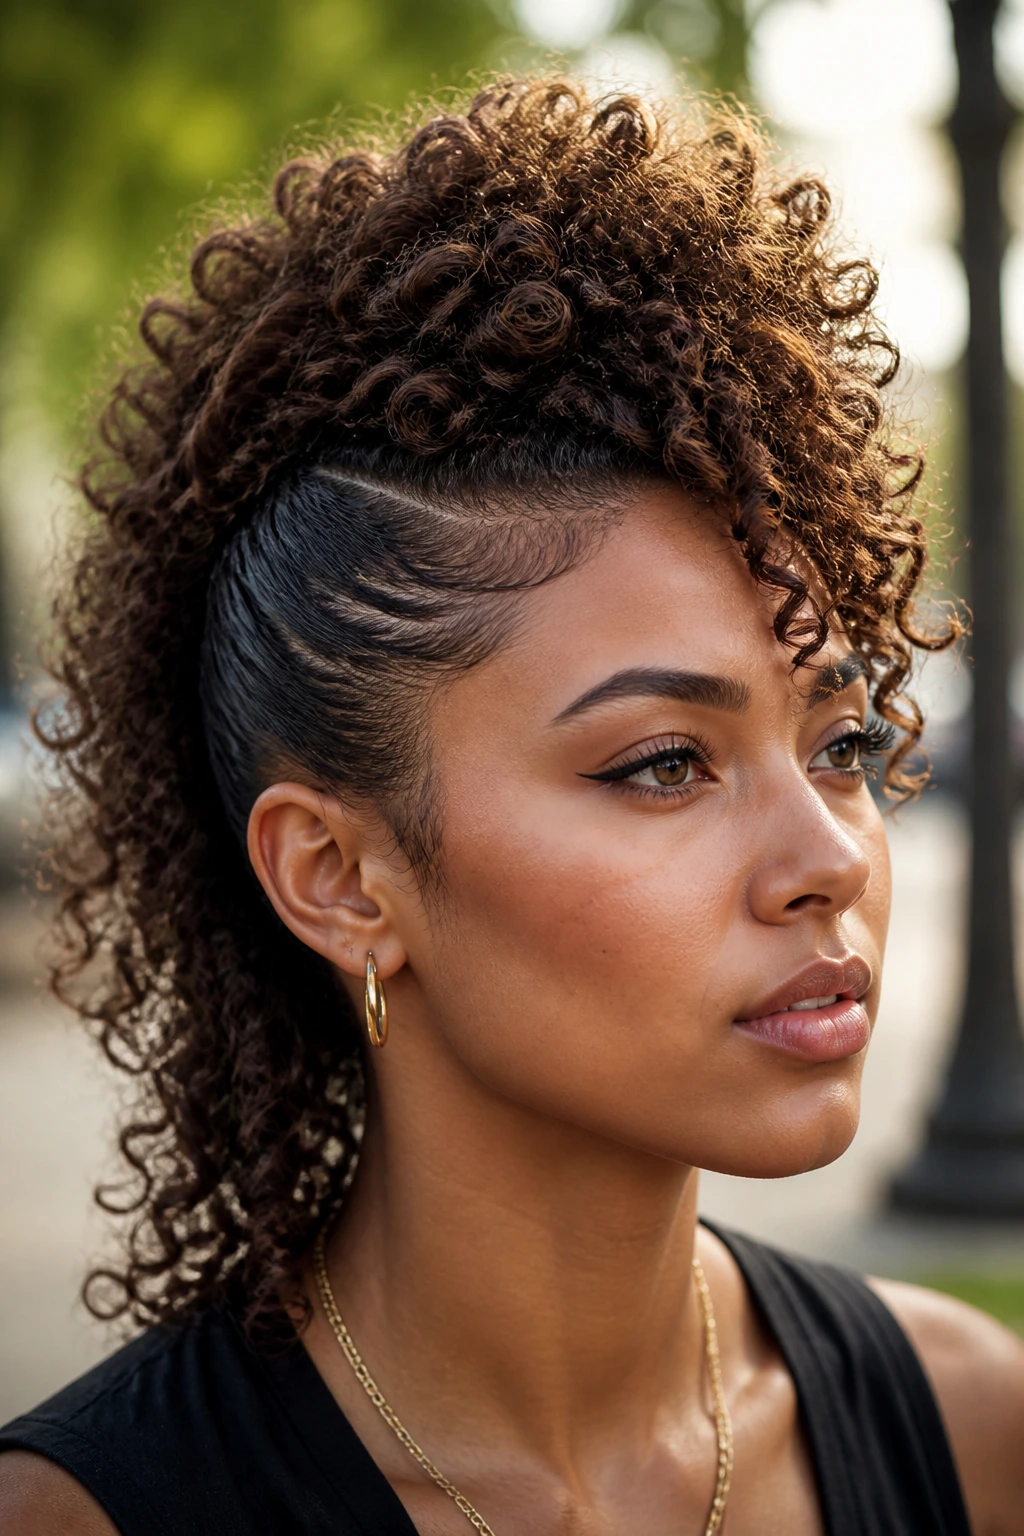
You don’t have to reach for the clippers to get a mohawk. You can create the illusion of one by pinning the sides of your hair tight against your head, leaving the curls long and voluminous along the center line from forehead to nape. This is a fantastic protective style that looks like high-fashion art.
Achieving the Illusion
- Divide your hair into three sections: left, right, and center.
- Take the left and right sections and pin them tightly to your scalp using bobby pins, working from the hairline back to the nape.
- Leave the center section loose and pile it high.
- You can vary the tightness; pulling the sides tighter creates more drama, while leaving them slightly loose creates a softer, more romantic look.
12. The Fringe (Bangs)
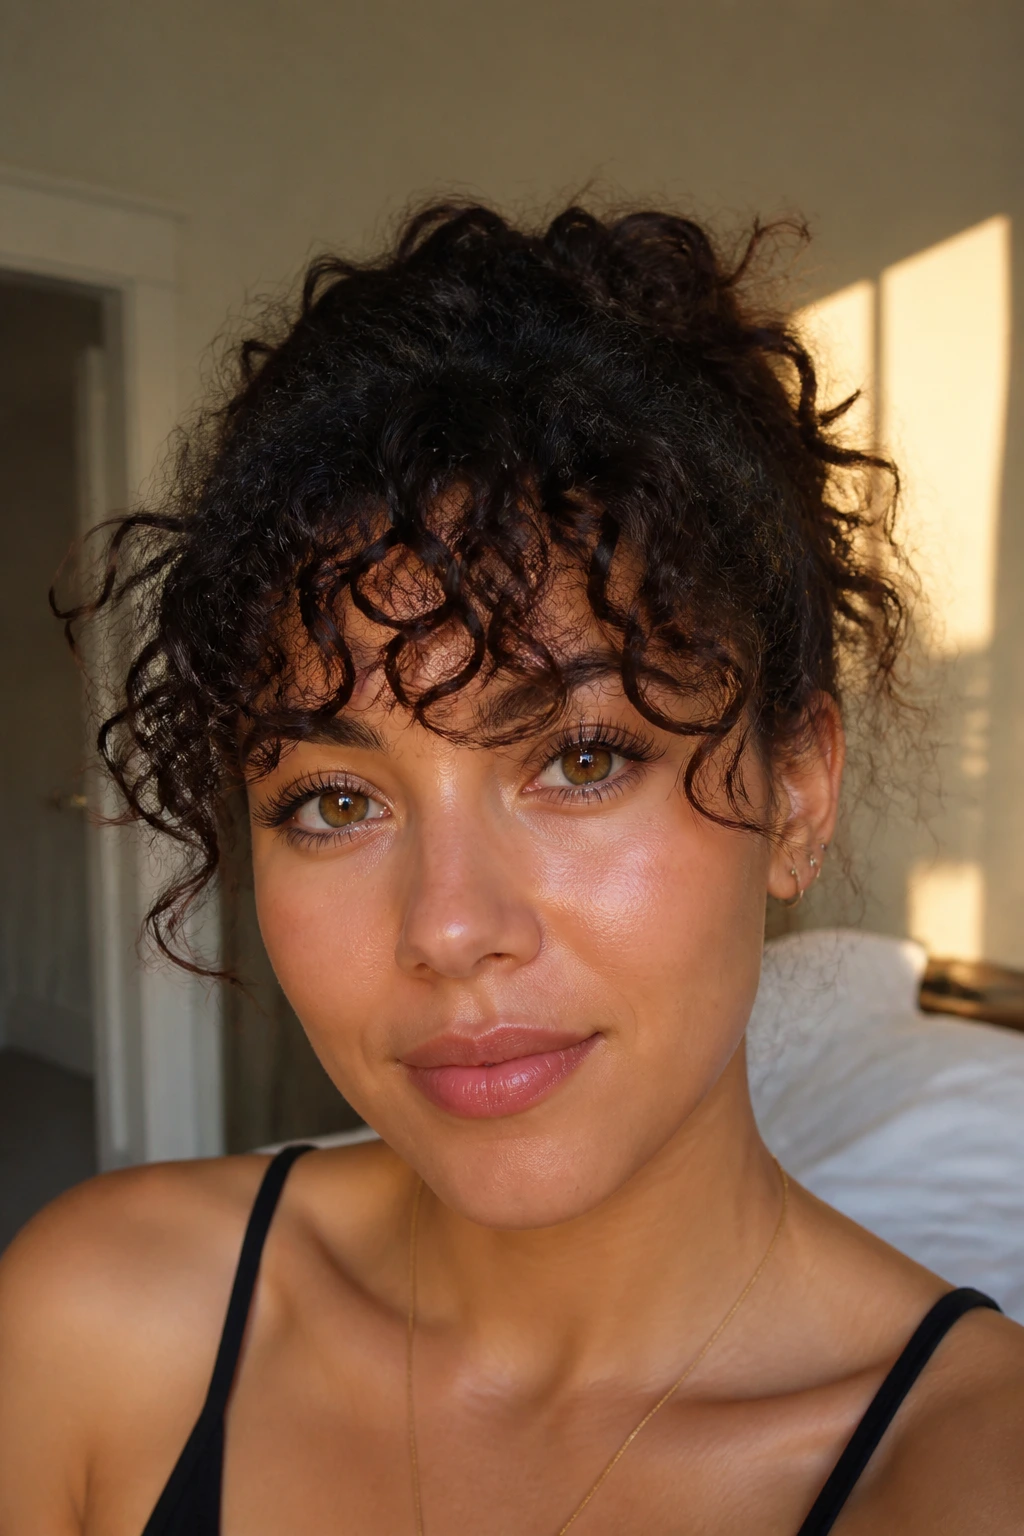
Many people with curly hair are told to avoid bangs. This is entirely false. Curly bangs, when cut to the right length (usually just below the brow when stretched, so they spring up to the mid-brow), can be incredibly flattering. They frame the face and provide a focal point that keeps the hair from feeling like it is just “hanging” there.
Important Cutting Note
Never cut curly bangs wet. If you cut them while wet, they will shrink by two or three inches once they dry, leaving you with a fringe that sits way too high on your forehead. Always have them cut dry so your stylist can see exactly how much they bounce.
13. The Half-Up, Half-Down Top Knot
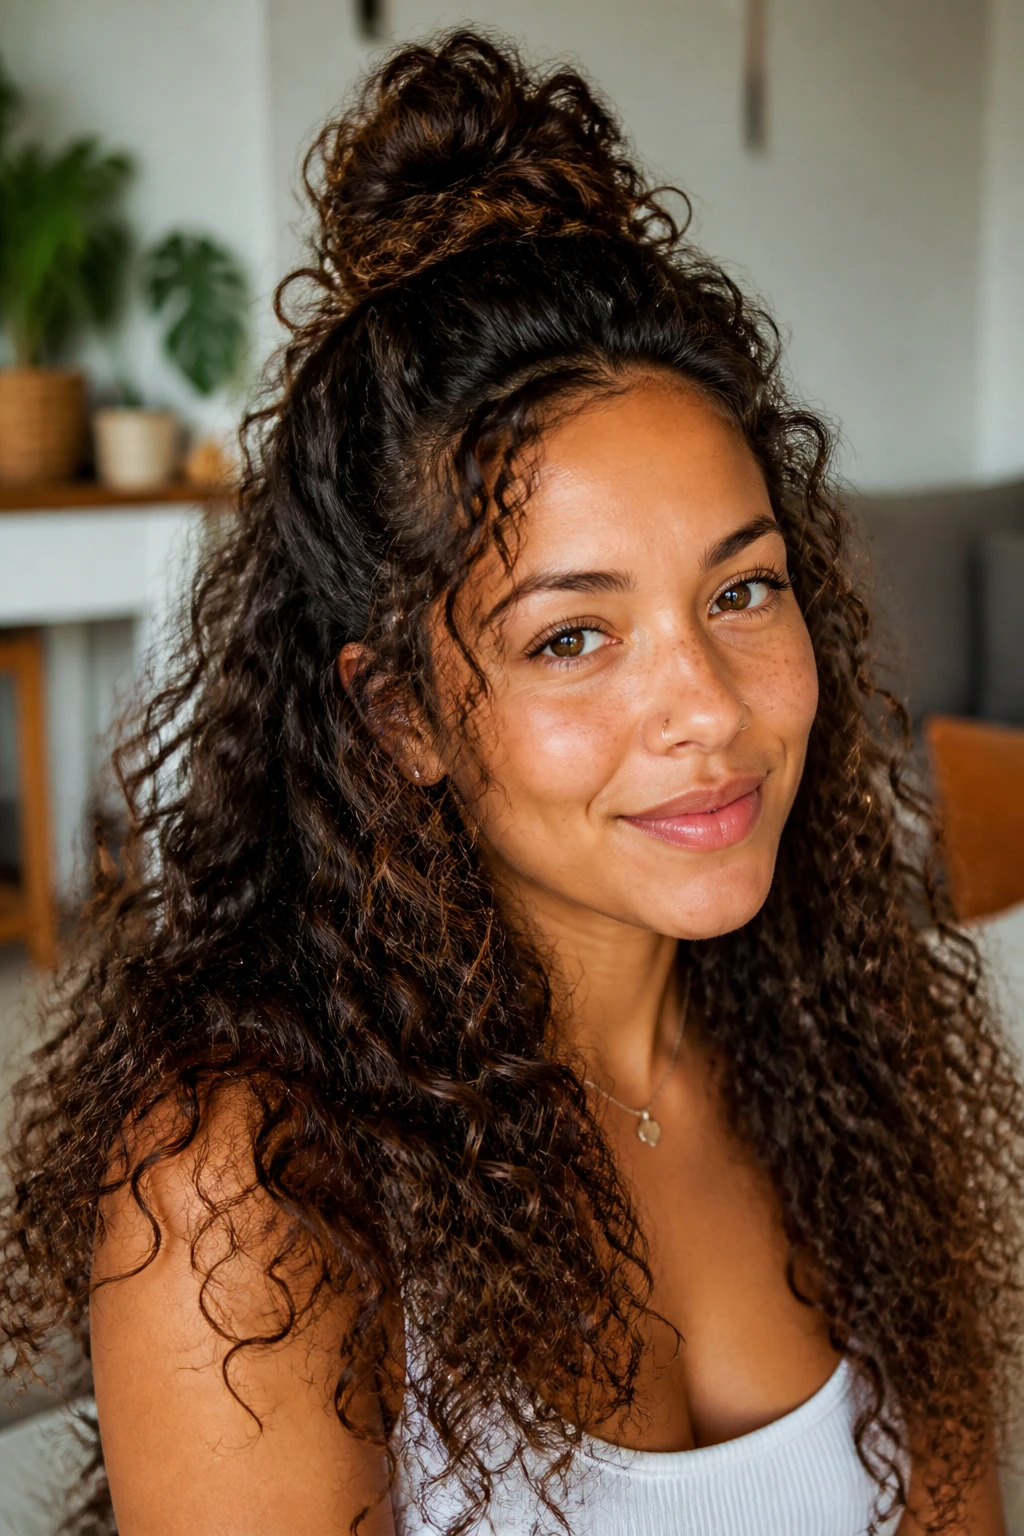
This is the “everyday” champion. It takes the hair out of your eyes but still lets you show off your length. By pulling only the top third of your hair into a loose knot, you keep the volume concentrated at the crown while letting the rest of your curls cascade down your back or shoulders.
Tips for Better Structure
Don’t use a brush to gather the hair; use your fingers. Brushing dry, curly hair is a recipe for a massive, frizzy halo. Finger-combing ensures you keep the curl clumps intact. If you want a more polished look, pull out two small sections near your temples to frame your face.
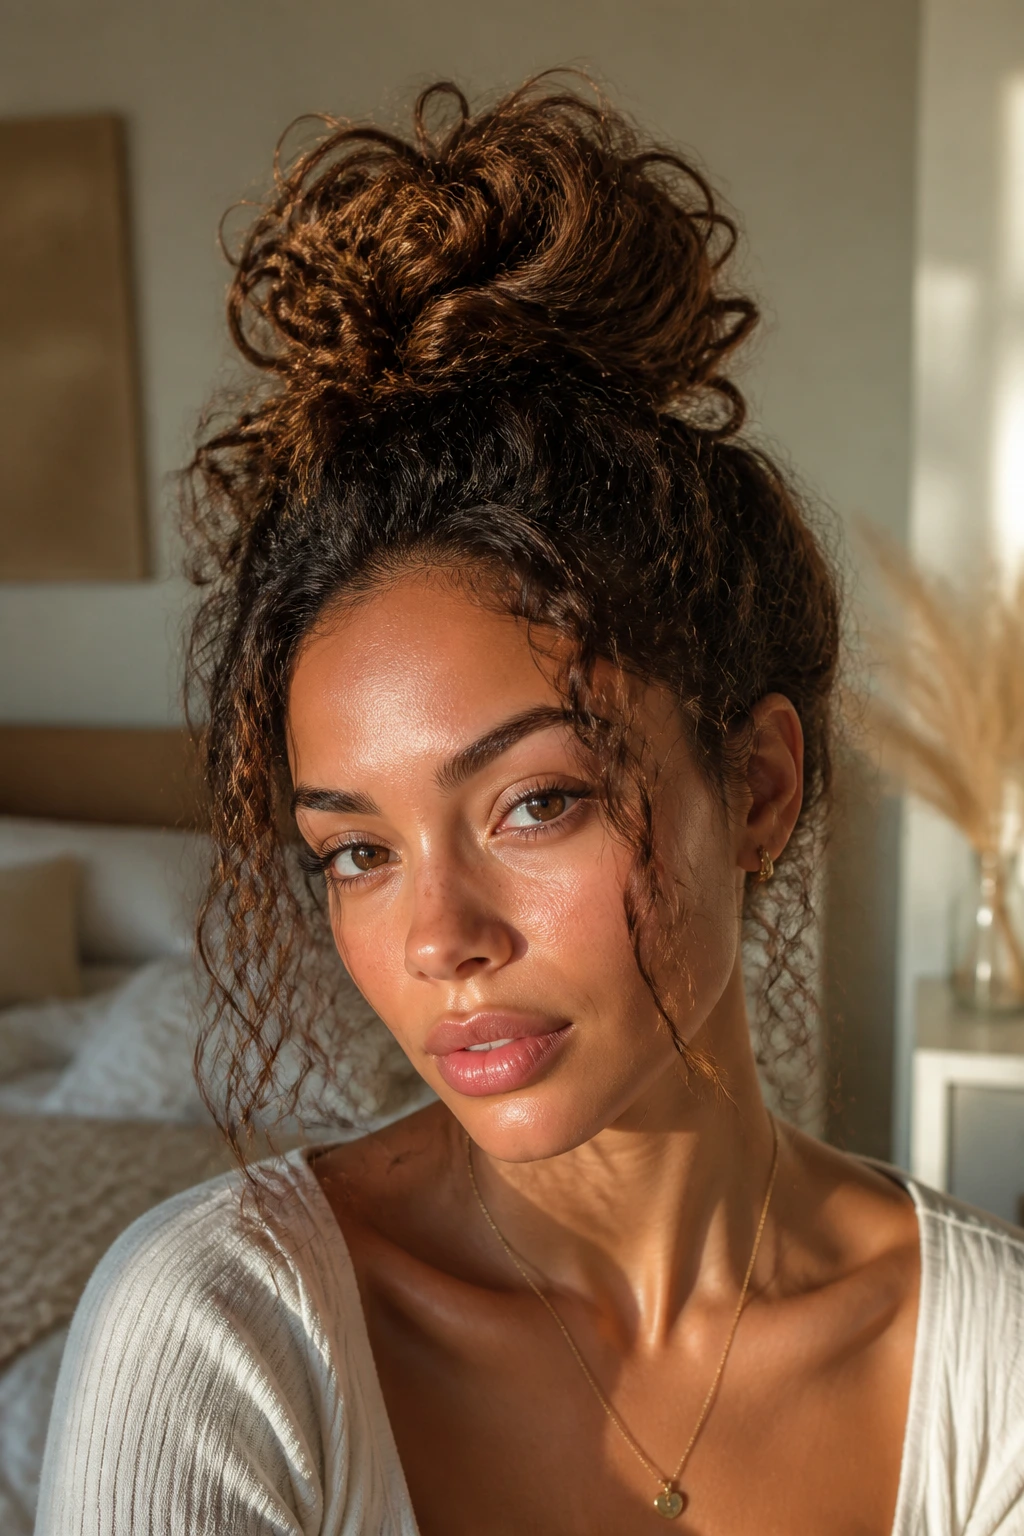
14. The “Pineapple” Style
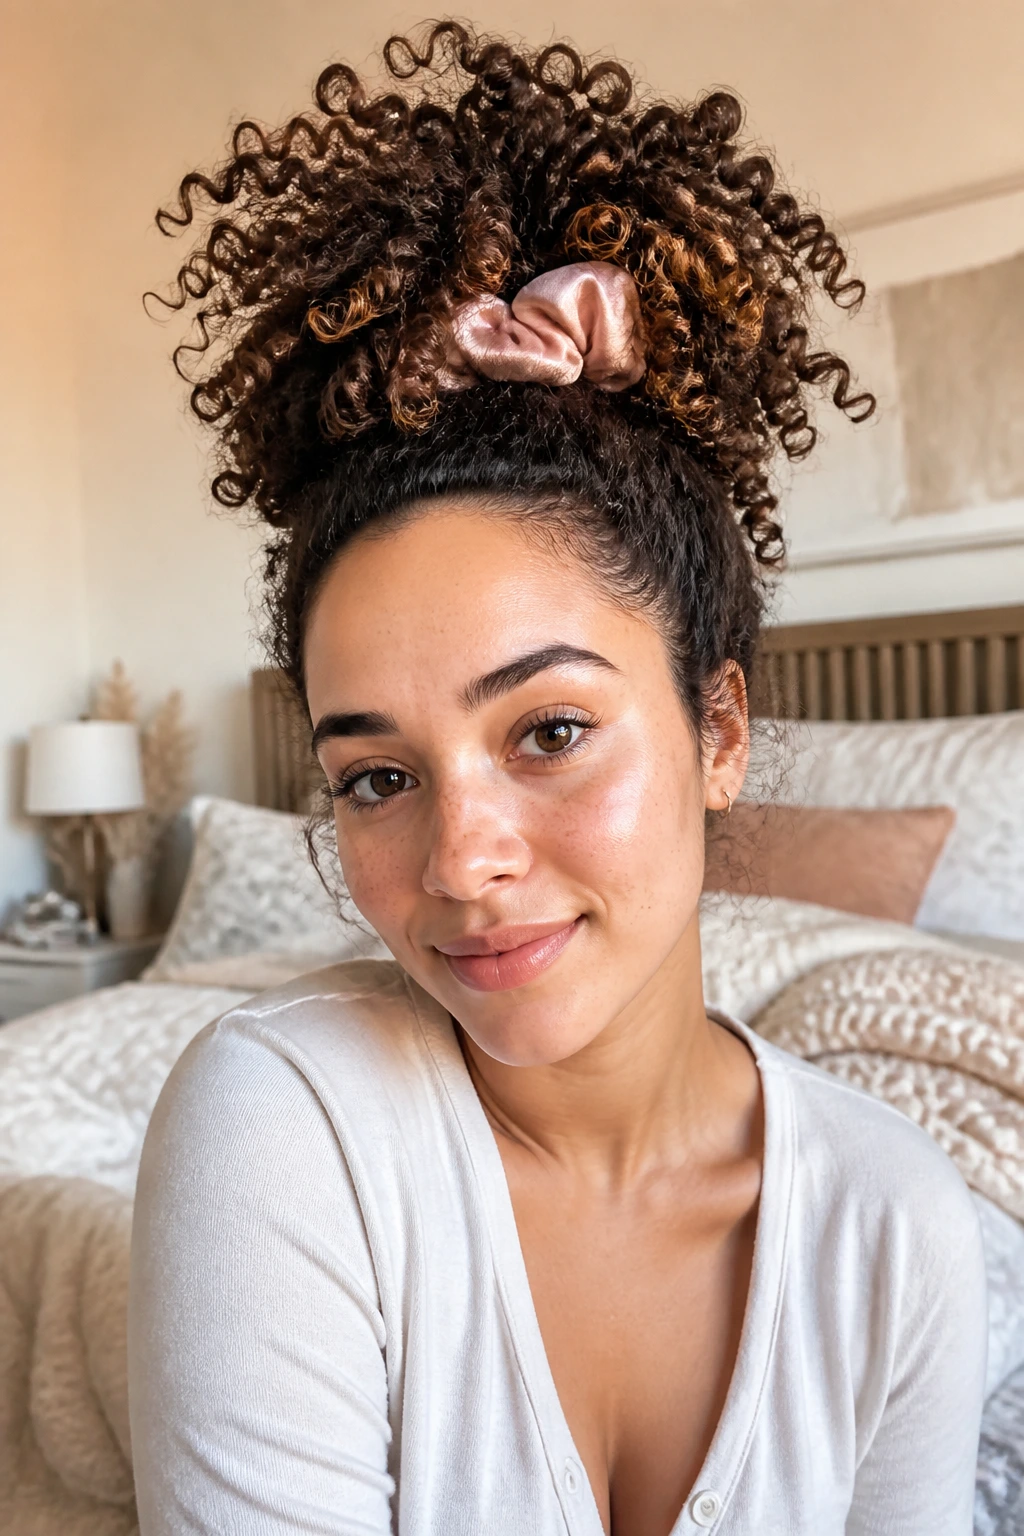
Originally meant as a way to sleep and protect curls, the pineapple has become a perfectly acceptable daytime look. By gathering all your hair at the very top of your head with a loose silk scrunchie, you create a fountain of curls that looks playful and effortless. It’s perfect for wash day when your hair is still a bit damp and you want to keep the curls lifted.
15. The Low, Twisted Chignon
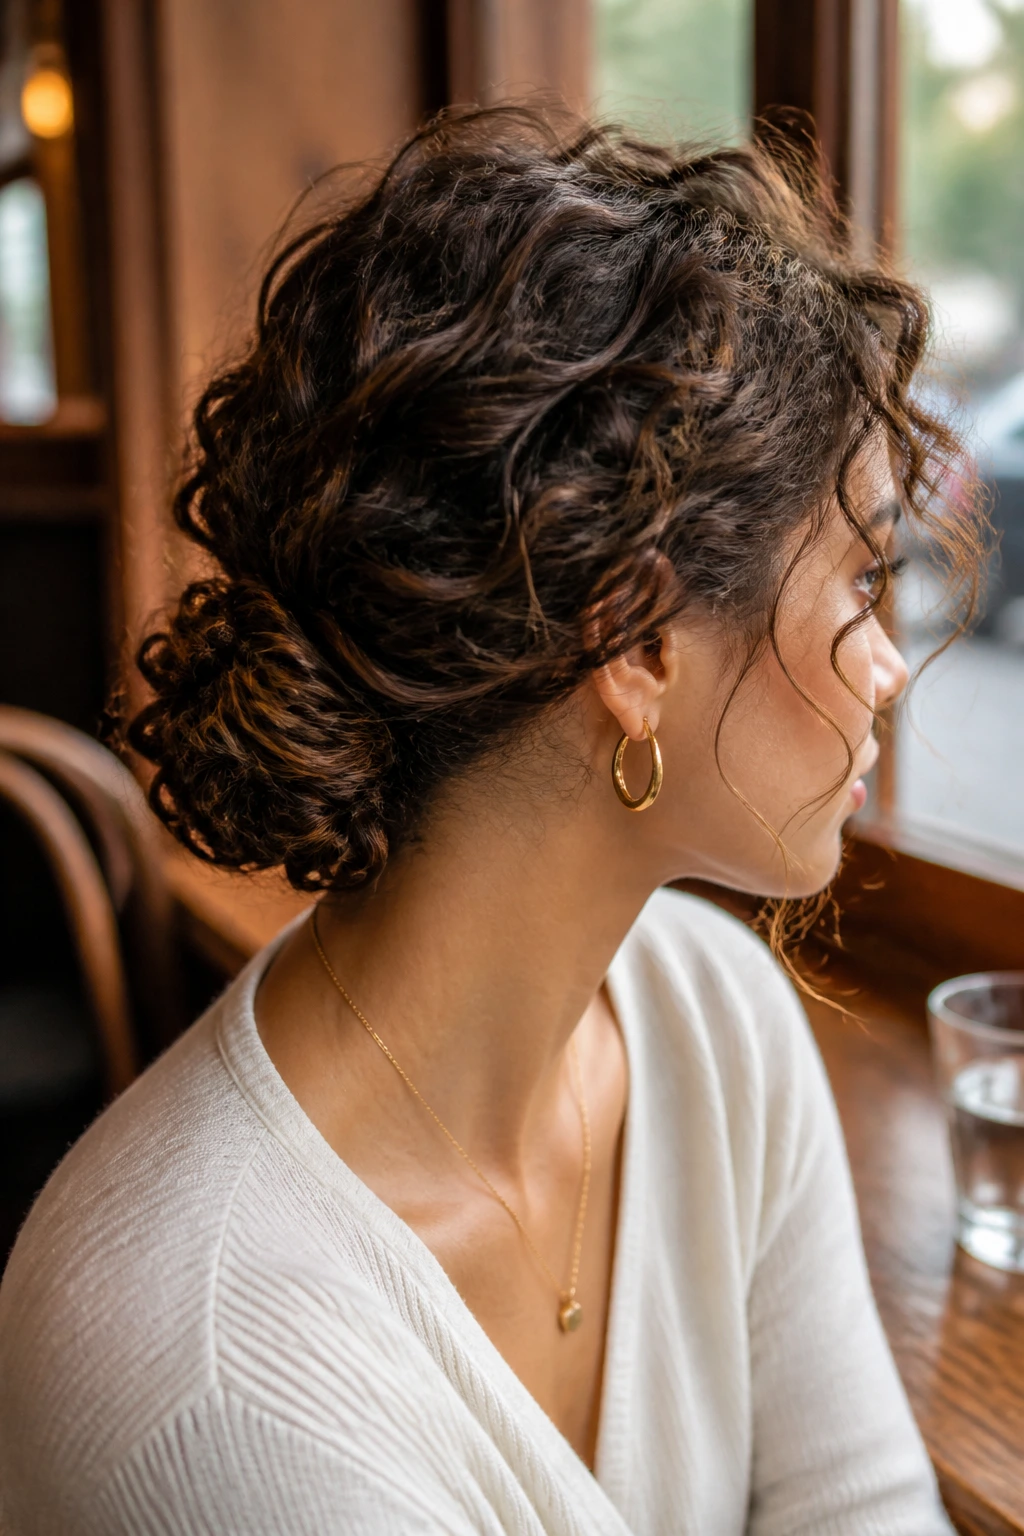
For a more formal or professional setting, a low chignon is elegant and easy. Gather your hair at the nape of the neck and twist it into a low bun. Because your hair has natural texture, you don’t need to worry about the bun looking perfect. In fact, a slightly messy, loose bun looks more modern than one that is pulled tight.
Making It Last
Use U-shaped hairpins rather than bobby pins. U-pins are designed to hold textured hair much better because they have more surface area and don’t pull on the strands as much. Insert them through the outer edge of the bun and push them toward the center to anchor the weight.
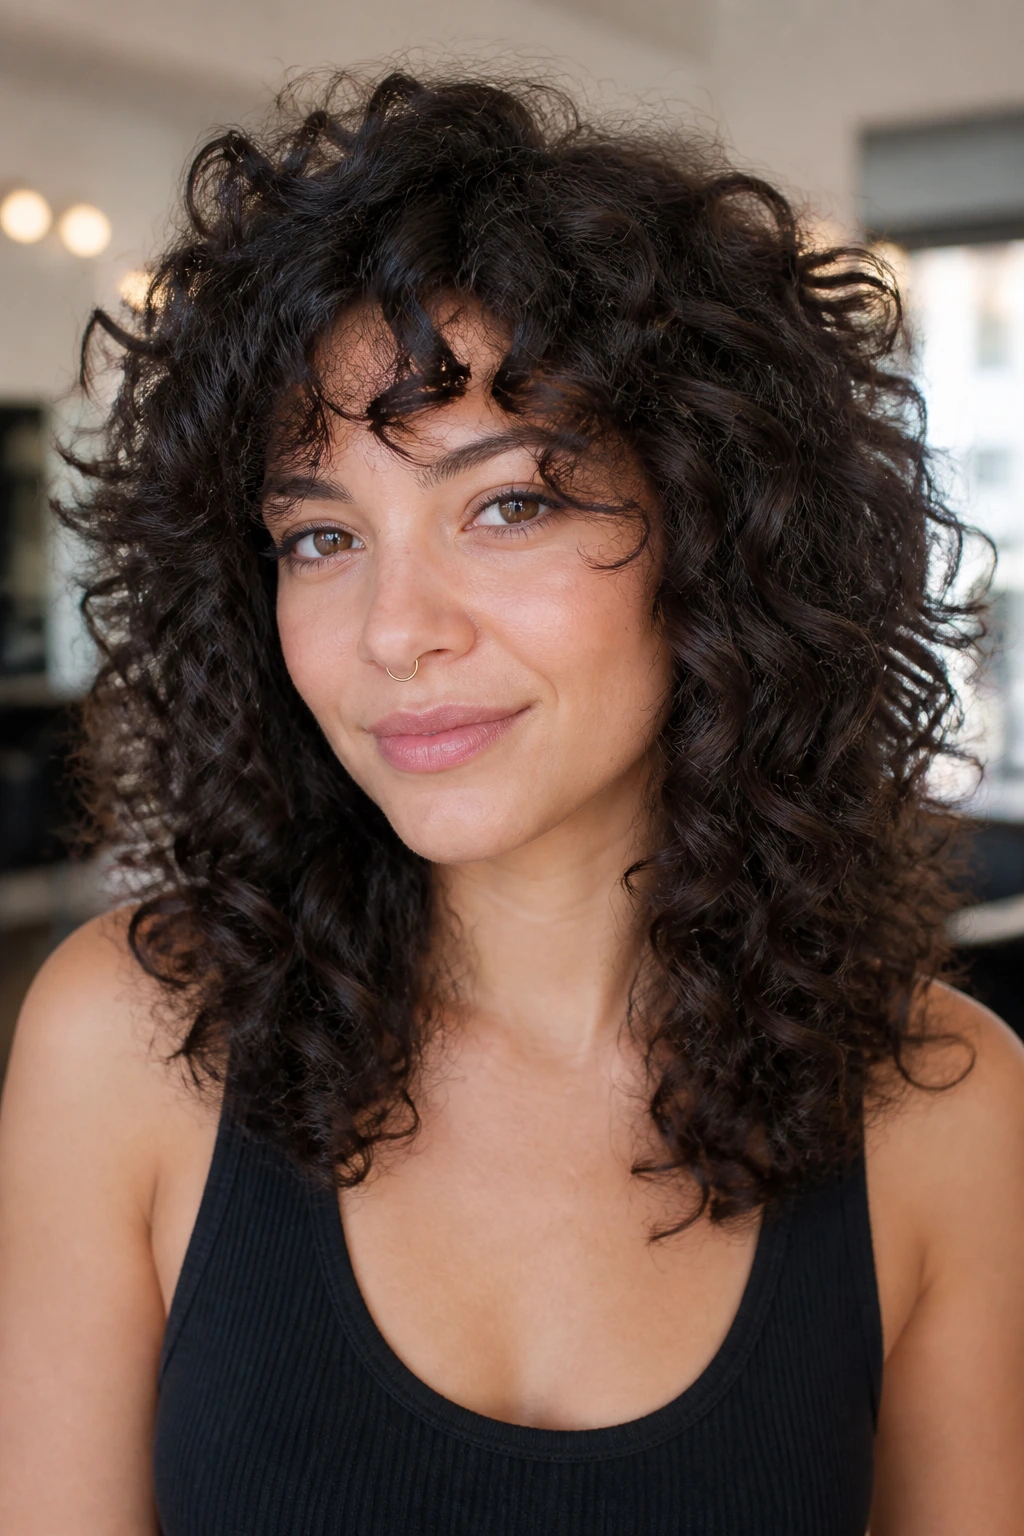
16. The Curly “Lob” with Face-Framing Layers
This is the most requested cut in modern salons for a reason. By adding long layers around the face, you ensure that the hair doesn’t just hang flat. These layers act like a curtain, opening up the face and making the curls look intentional and styled even when you’ve done nothing but air-dry.
Why This Style Persists
It is incredibly low-maintenance. Because the layers are long, you don’t need to worry about constant trims. It’s also long enough to put into a ponytail on days when you just don’t have the energy to style your hair. It is the perfect balance of “I put effort into this” and “I woke up like this.”
17. The Wet-Look Style
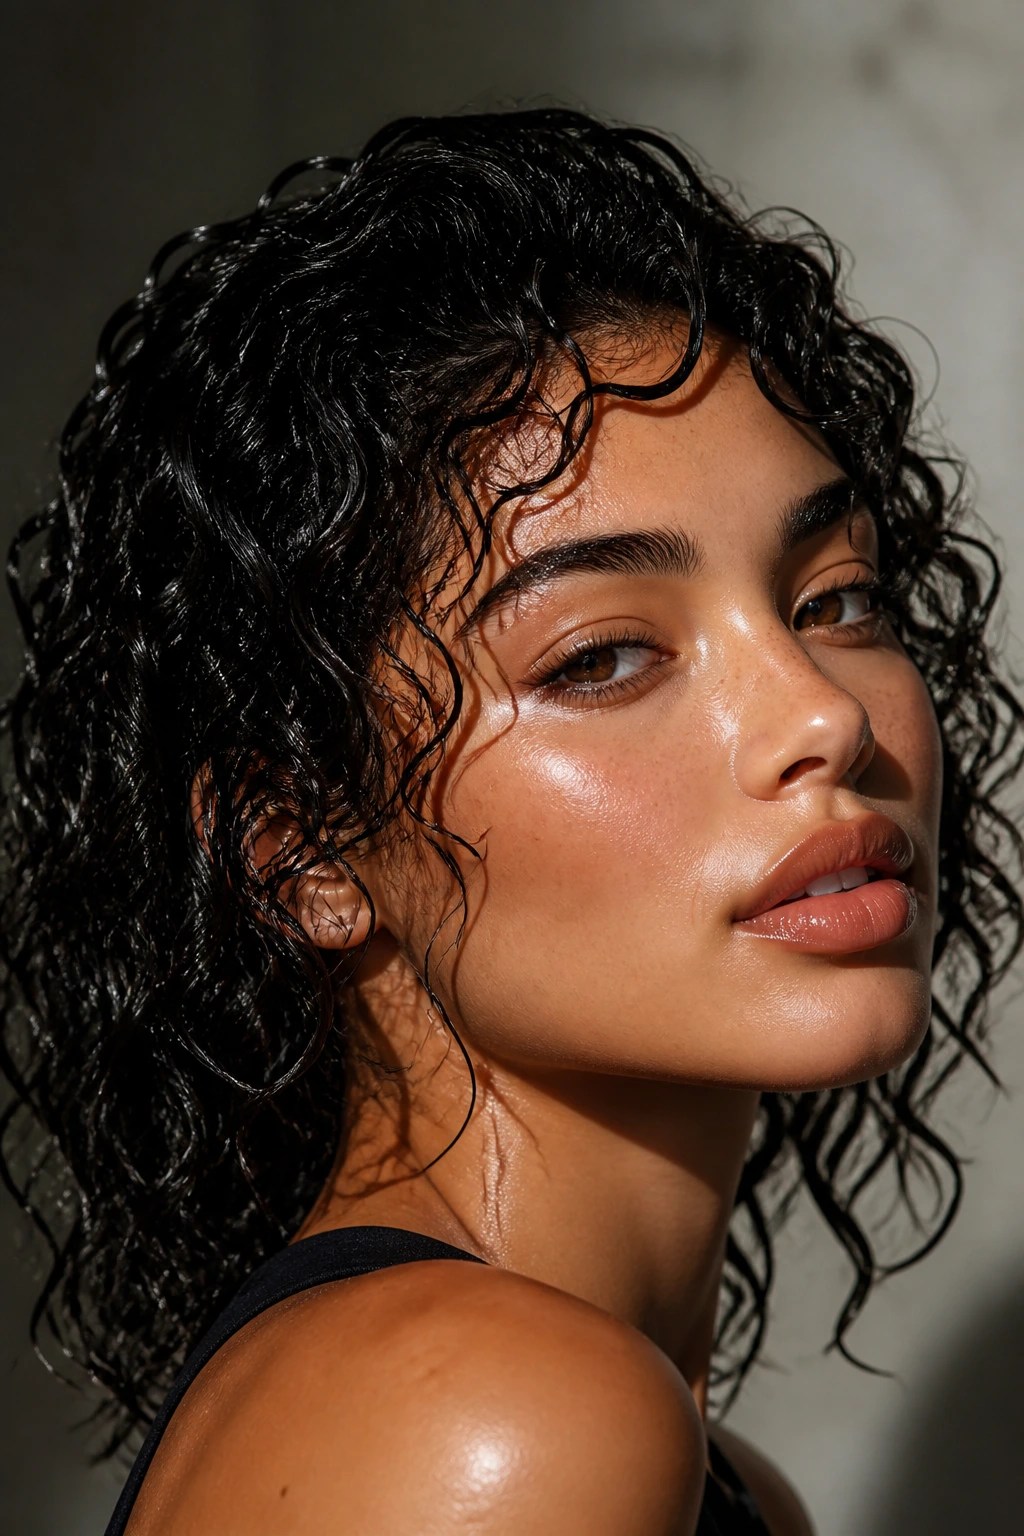
The wet look isn’t actually wet; it’s a high-shine, high-hold technique using a strong-hold gel. By applying a generous amount of product to damp hair and diffusing it only until it is partially dry, you lock in a glossy, defined look that lasts all day. It’s a bold choice that looks sophisticated and high-fashion.
Product Selection
Avoid gels with high alcohol content, which will dry out your hair. Look for botanical-based gels or those specifically marketed for “defining” curls. You want something that provides a “cast”—a firm shell that forms around the curl as it dries. You can “scrunch out the crunch” once the hair is 100% dry to reveal soft, shiny, defined spirals.
18. The Loose Side-Braid
Braids are wonderful for keeping curly hair contained and frizz-free. A loose, thick side braid takes advantage of your hair’s natural volume. Don’t worry about making it tight; pull the loops of the braid outward with your fingers to make it look even bigger than it actually is.
Avoiding Breakage
Curly hair is fragile, so do not tug at your hair to get the braid tight. If you start with a side-part, you can incorporate the front pieces into the braid as you go, which keeps the hair neat and away from your eyes without needing a lot of hairspray or pins.
19. The Deep-Conditioned “Wash-and-Go”
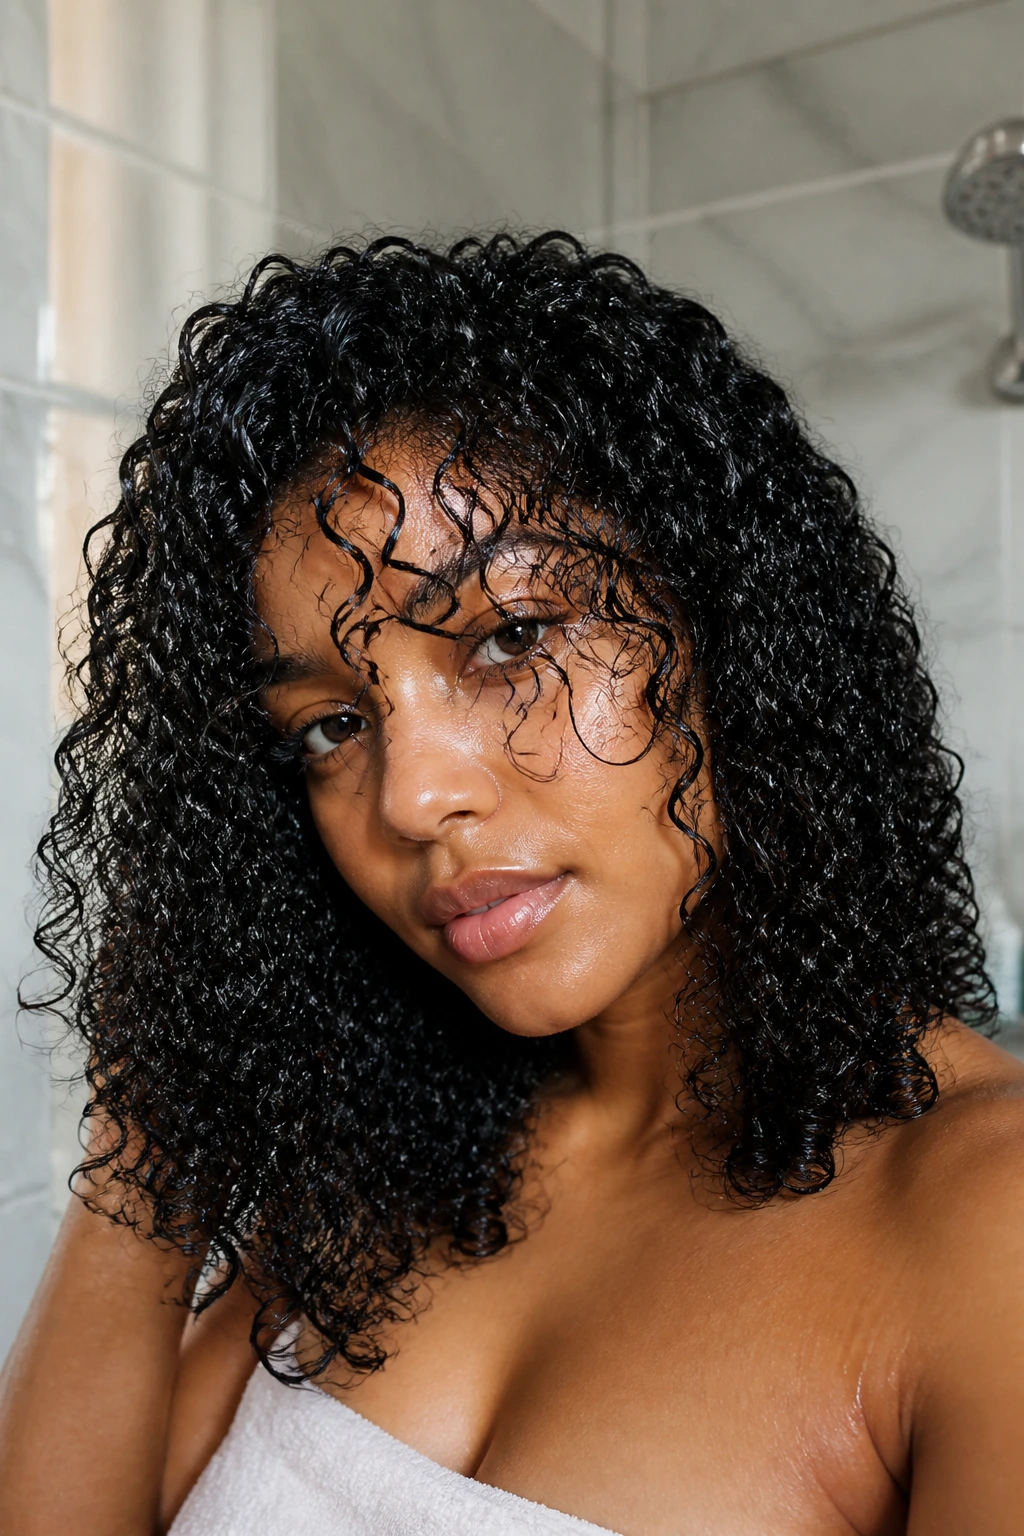
Sometimes the best “style” is just letting your hair be. The secret to a great wash-and-go is not the cut, but the hydration. Spend time in the shower with a deep conditioning mask, raking it through with a wide-tooth comb. Once out of the shower, apply your product to soaking wet hair.
The Science of Hydration
The more water you trap in the curl, the less frizz you will have. Products like leave-in conditioners and curl creams work by creating a film over the hair that keeps the water inside the strand. If your hair feels dry, it will seek moisture from the air, causing the curl cuticle to swell and frizz.
20. The Tucked-Back Look
Take two small sections from your front hairline, twist them away from your face, and pin them back at the crown of your head. This pulls the bulk of the hair back, highlighting your face while leaving the rest of your volume cascading down the back. It’s quick, simple, and keeps your hair out of your face for work or study.
21. The Crown Braid
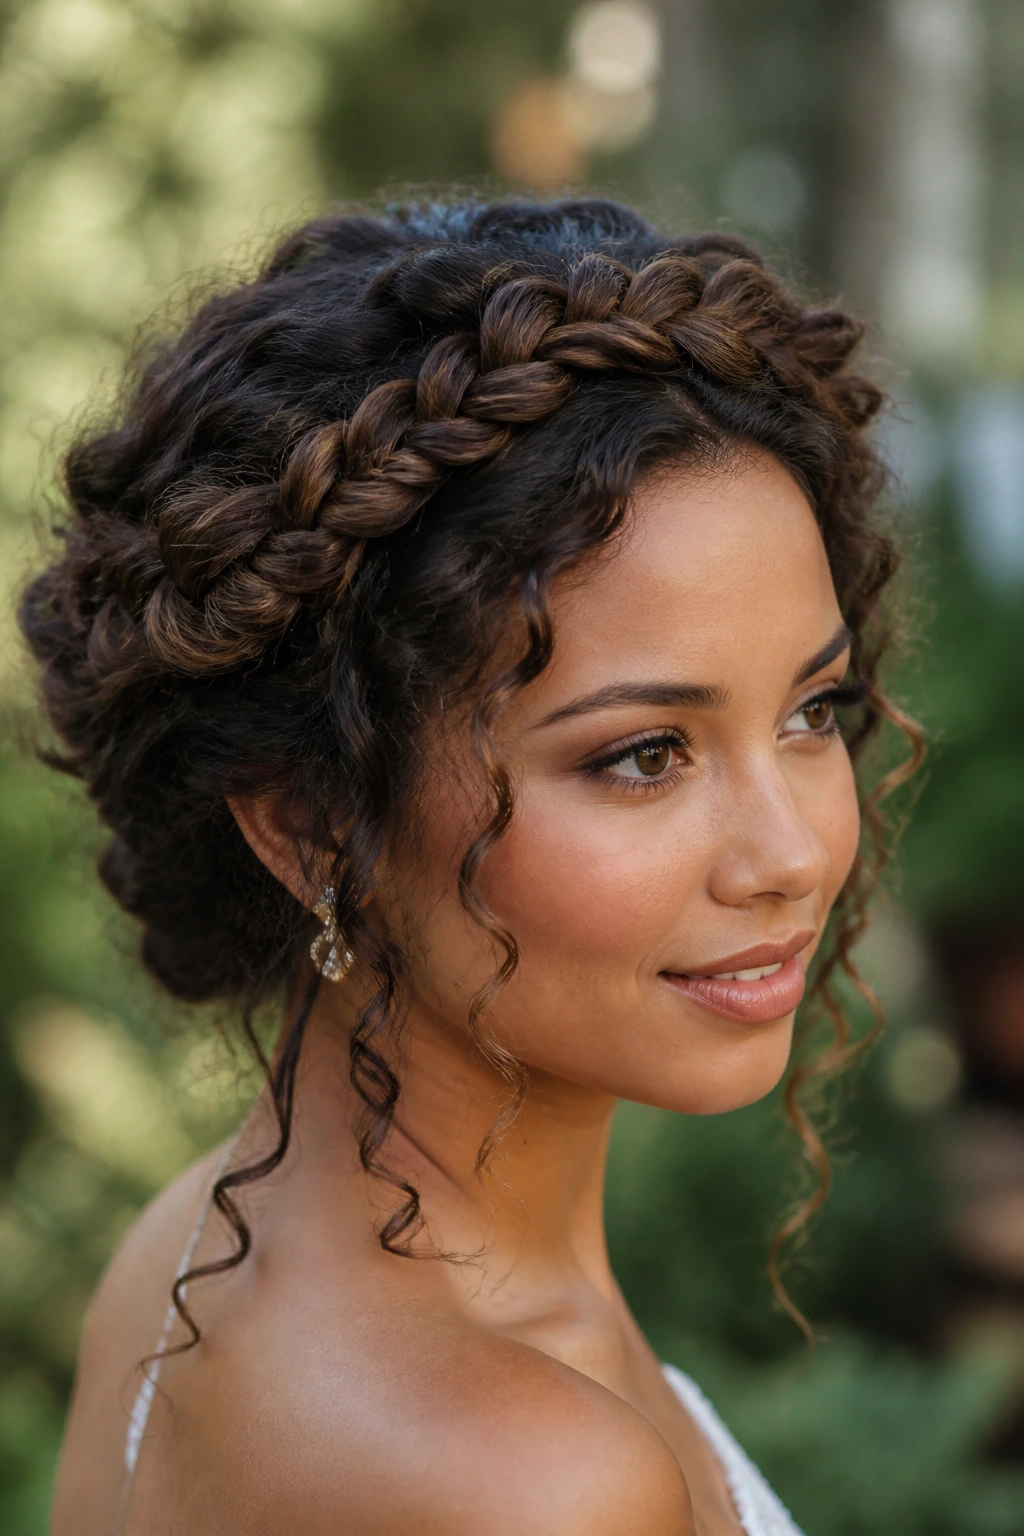
This is a more complex style that involves braiding the hair around the perimeter of the head to create a “crown.” It is beautiful for weddings or events. Because your hair has volume, the crown braid will naturally look thicker and more intricate than it would on straight hair.
Tips for Success
Start with clean, detangled hair. Use a bit of wax or pomade on your fingers as you braid to help keep flyaways in check. If you have shorter layers that pop out, don’t worry—just tuck them back in with a tiny bobby pin or let them frame your face for a more romantic, “boho” aesthetic.
22. The High Puff
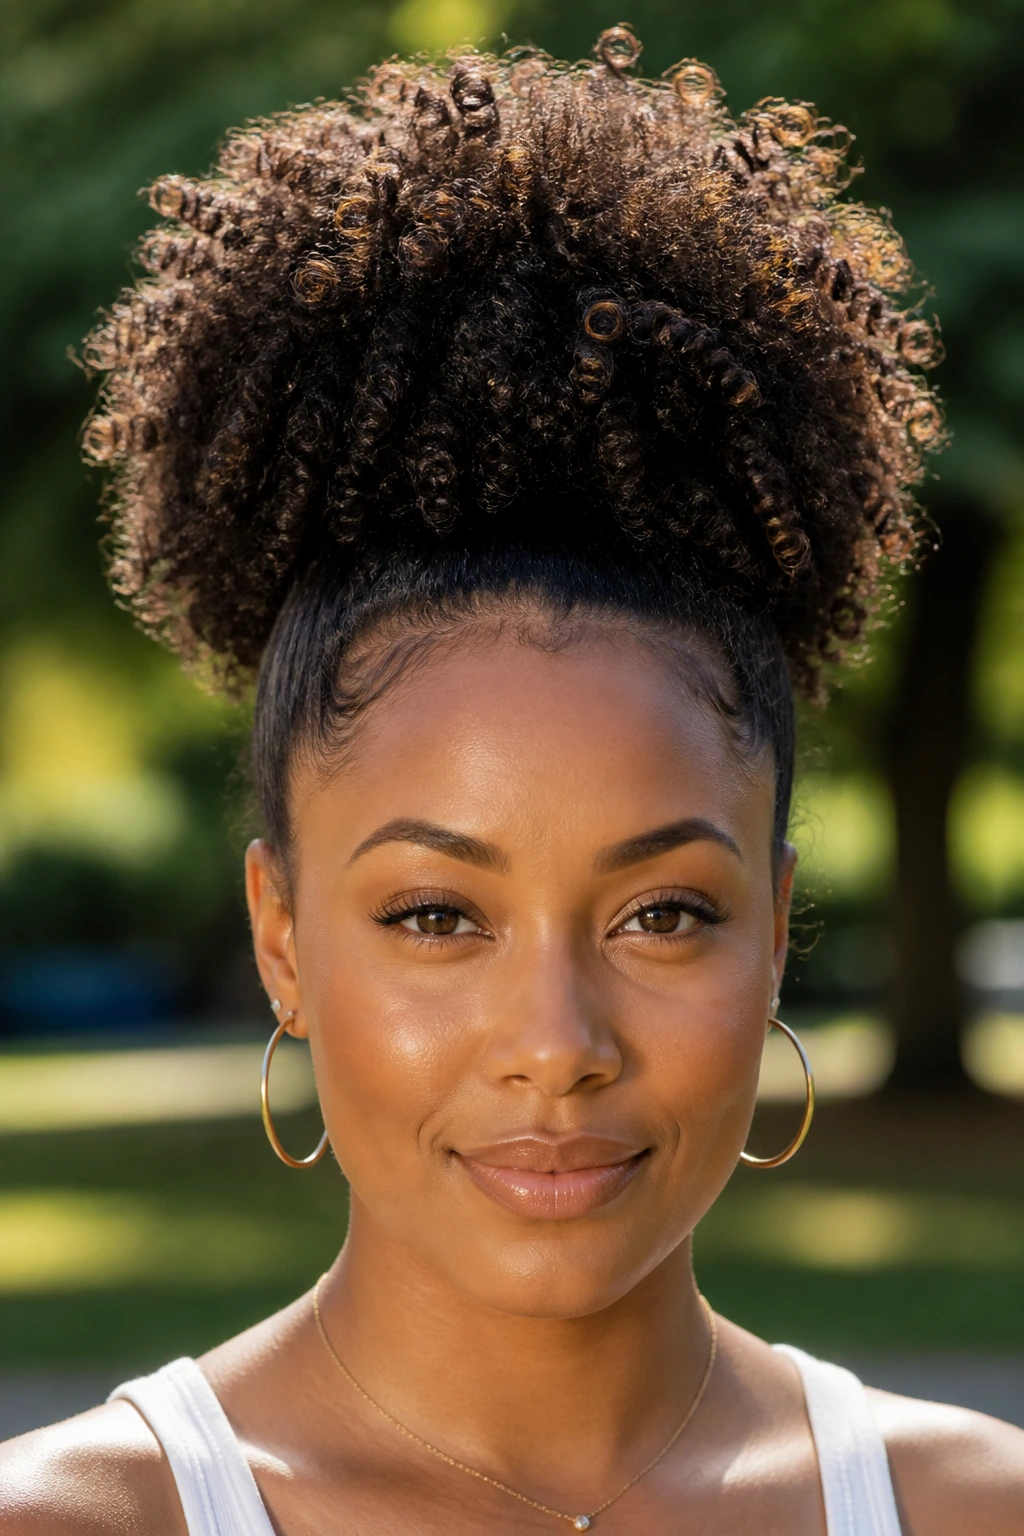
Similar to the pineapple, the high puff is all about showing off the volume at the top. Use a fabric-covered elastic band to gently pull your hair up. You can use a bit of edge control on your hairline if you want a sleek look, or keep the baby hairs natural for a softer feel.
Maintaining the Puff
Don’t wrap the band too many times. You want the curls to have enough room to breathe; if you squeeze them too tightly at the base, you will eventually cause breakage and thinning at the hairline. Use a larger, softer elastic that doesn’t put unnecessary pressure on your roots.
23. The Curly Shag with Curtain Bangs
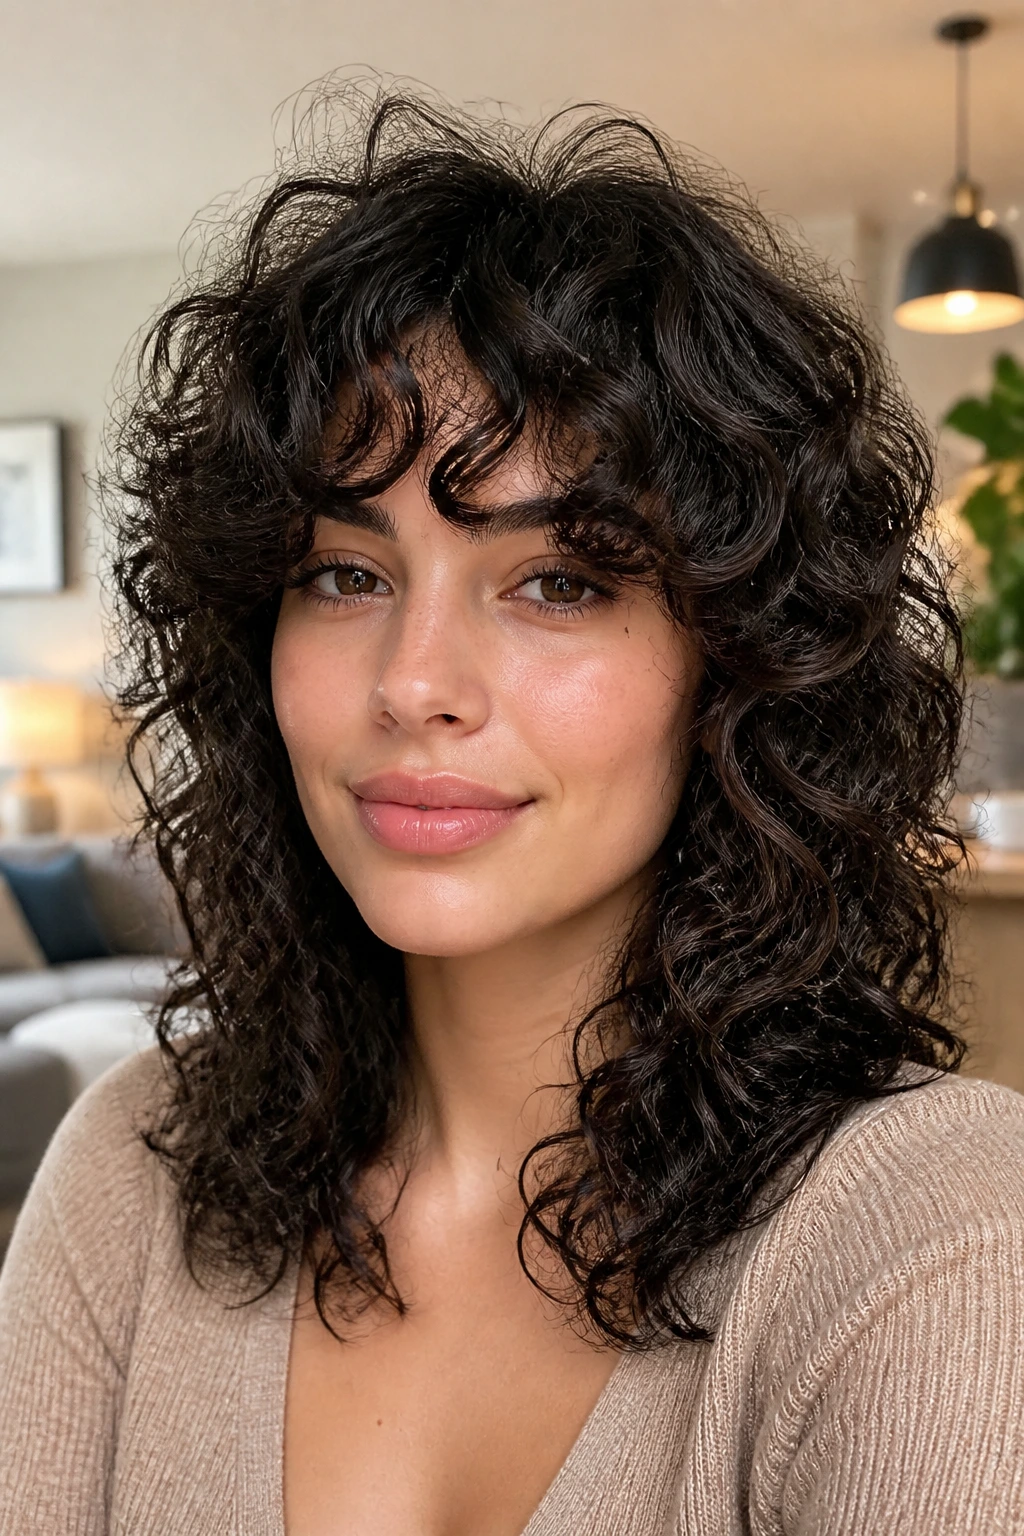
If you like the idea of bangs but are nervous about full-on fringe, curtain bangs are your best bet. They are longer, softer, and sweep away from the face. When paired with a shag cut, they create a very “70s rockstar” vibe that is incredibly popular and flattering for almost every face shape.
Why They Frame So Well
Curtain bangs naturally draw attention to the center of the face. If you have a rounder face, they help break up the width. If you have a longer face, they add width and softness. They also grow out much more gracefully than a blunt-cut fringe, meaning fewer trips to the salon for touch-ups.
24. The Side-Swept Volume
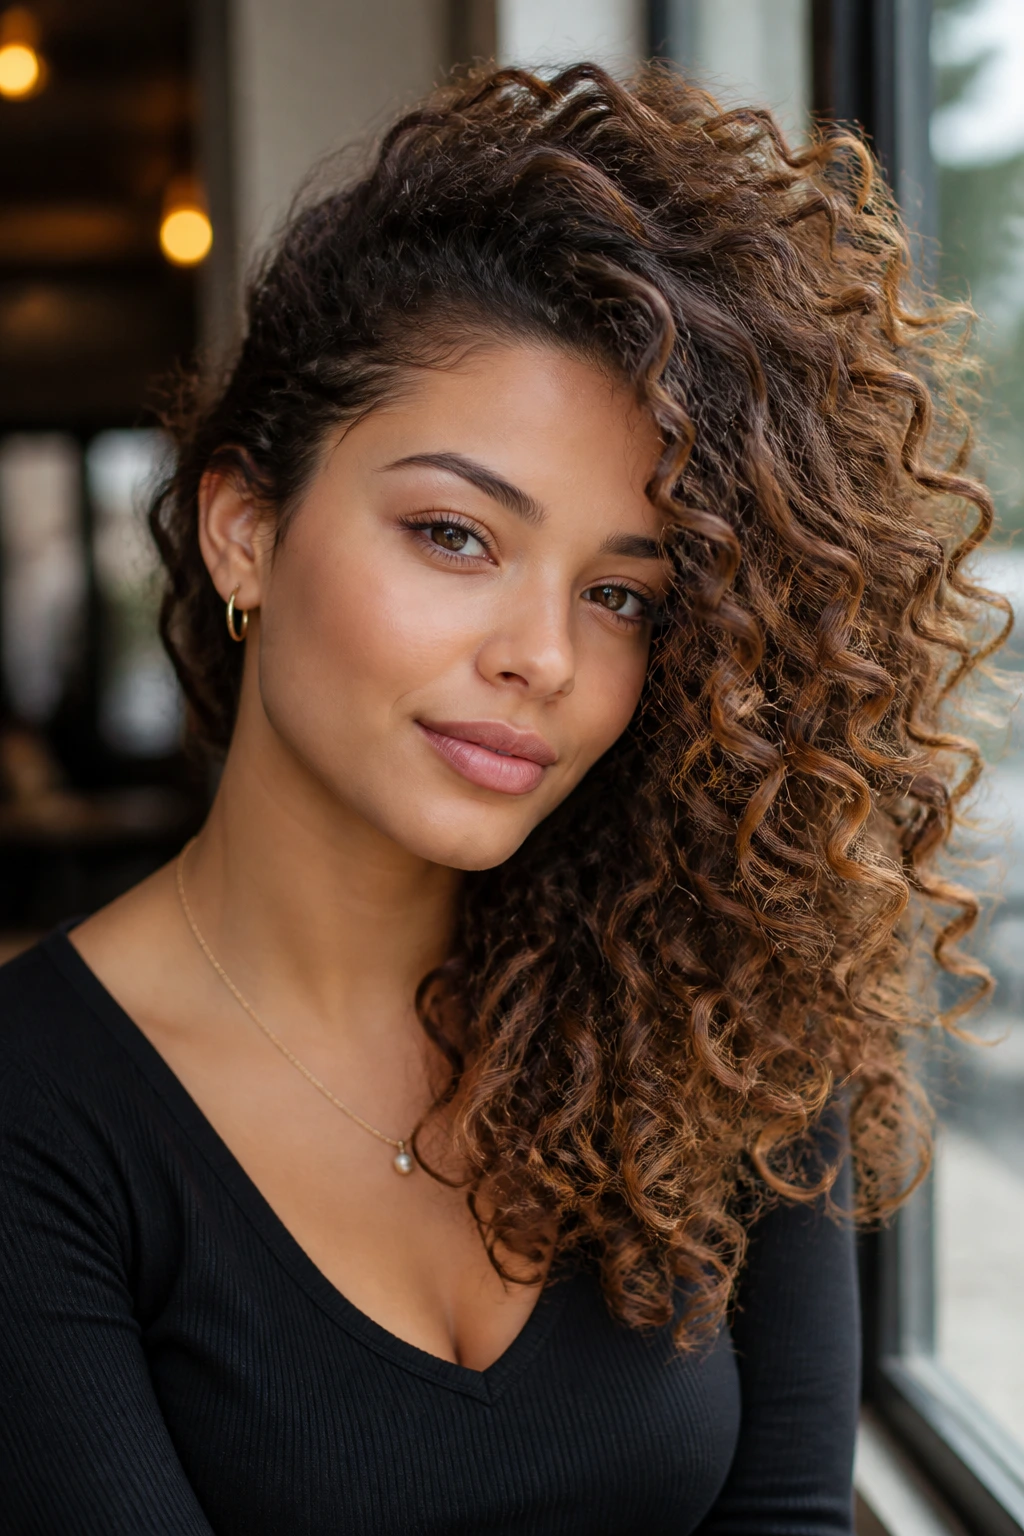
Sometimes you don’t need a complex style; you just need to move your hair. Flip your hair over to the side you usually don’t part it on. The roots will have naturally lifted over time, so flipping them over creates an instant, dramatic wall of volume that looks like you just stepped off a runway.
Quick Refreshers
If the hair looks a bit flat, sprinkle a tiny amount of dry shampoo at the roots before you flip it. This gives the hair a bit of grip and helps the roots stay upright. It’s the easiest way to change your look in ten seconds.
25. The Natural Afro-Puff with Accessories
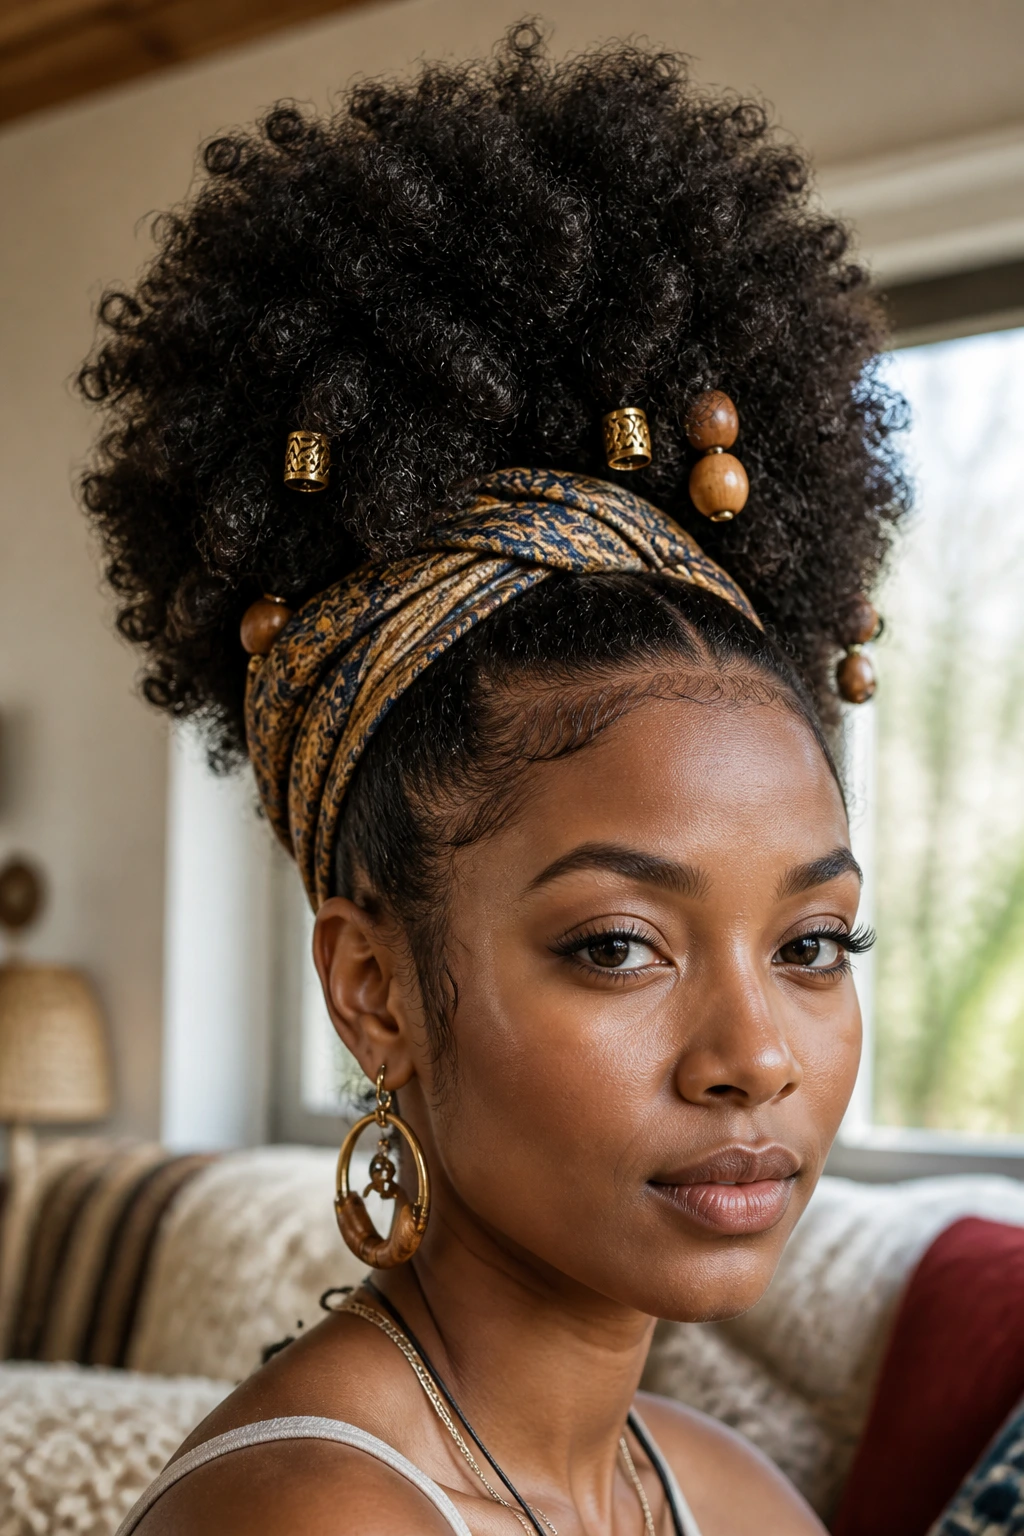
Accessories are a curly-haired person’s best friend. A simple puff becomes a statement piece when you add gold cuffs, wooden beads, or a silk scarf tied around the base. Don’t be afraid to use color and texture in your hair. It’s an extension of your outfit and a great way to showcase your personal style.
Choosing the Right Accessories
Always ensure your hair accessories are snag-free. Look for coated metal or smooth plastic. Avoid anything with jagged edges that can catch on your curls, as they will cause knots and breakage. When in doubt, silk or satin is always the safest material to have touching your hair.
Final Thoughts
Curly hair is a journey of trial and error, not a destination. You will have days where your hair feels like magic and days where it feels like a total mystery, and both are perfectly normal parts of the experience. The most important thing is to stop trying to force your hair to behave like something it isn’t. When you lean into your natural texture, you aren’t just styling your hair; you are accepting the natural architecture of your beauty.
Invest in a quality conditioner, find a stylist who understands the difference between wet and dry cutting, and never underestimate the power of a good night’s sleep on a silk pillowcase. Your curls reflect your lifestyle, your health, and your personality—give them the care they deserve, and they will consistently frame you at your very best. At the end of the day, the best look is the one that makes you feel like yourself, whether that’s a tight, structured afro or loose, flowing waves.