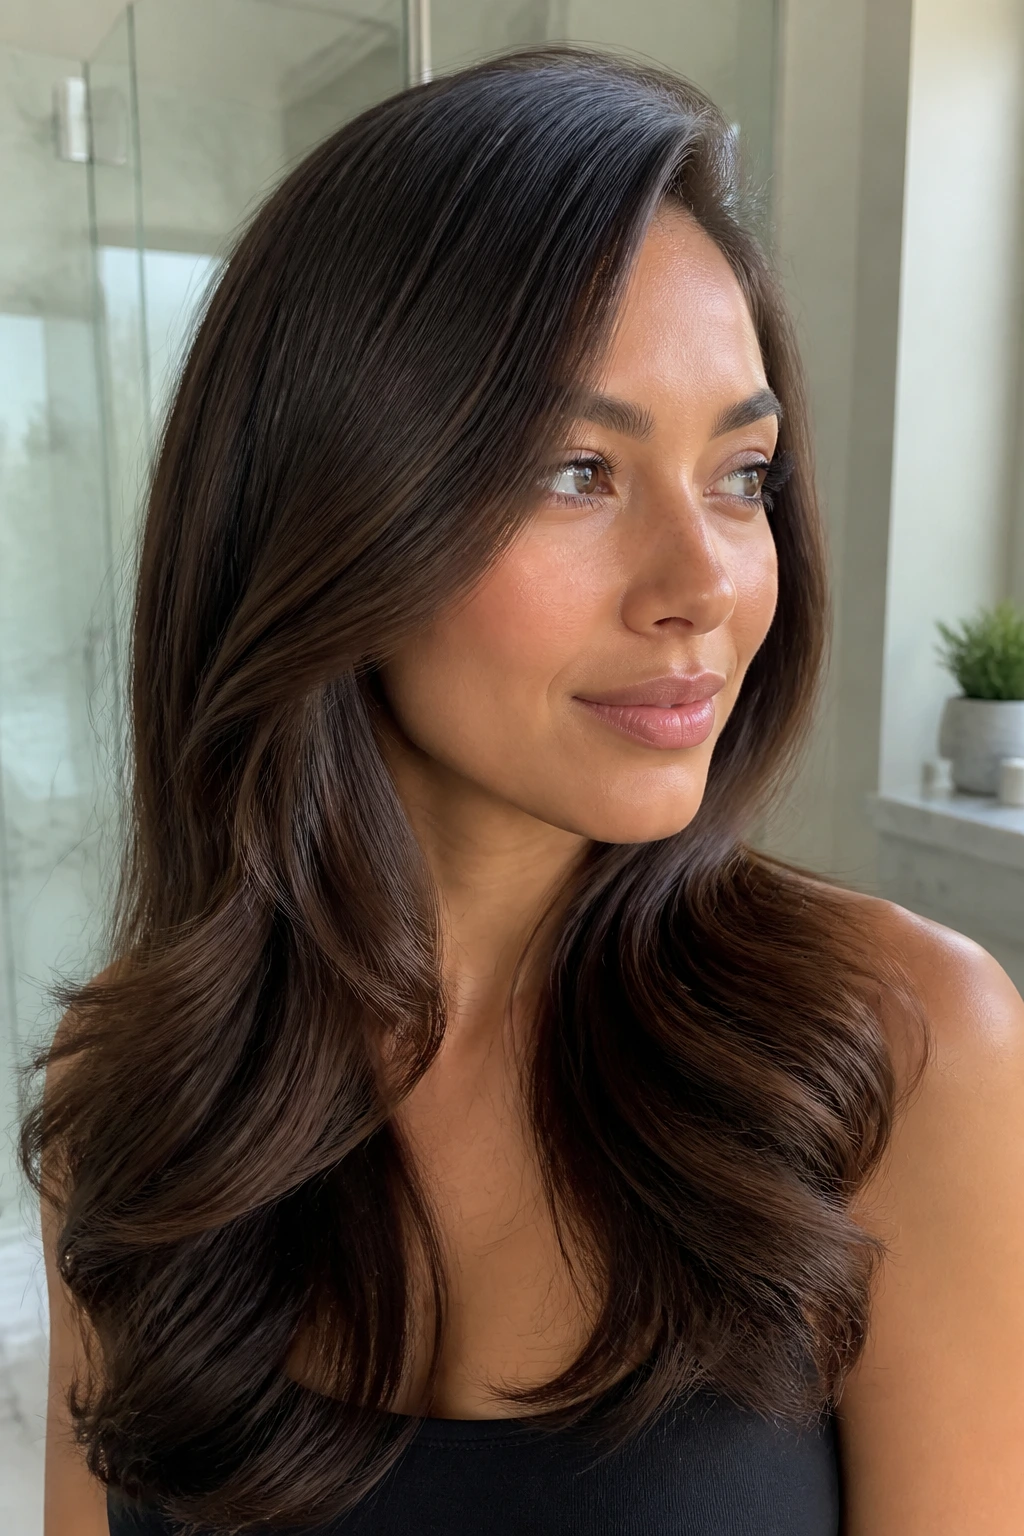
Frizz is not merely a texture issue; it is a communication from your hair, signaling that the cuticle is raised and thirsty for moisture. When you have naturally frizzy hair, the idea of a sleek, voluminous blowout can feel like a fever dream—something reserved for people with perfectly straight, healthy strands. Yet, the side part serves as the ultimate structural equalizer, shifting the weight and volume of your hair to frame your face while offering a polished finish that masks unruly edges. By combining a deep side part with the right blow-drying technique, you can transform chaotic frizz into a controlled, intentional style that looks like you just stepped out of a salon.
Mastering this look starts long before the hair dryer is even plugged in. It requires a specific cocktail of hydration and heat protection designed to smooth the hair shaft without weighing it down. If you have been struggling to get your hair to cooperate, the problem likely lies in your prep work or your brush choice. Let us dive into the mechanics of achieving that perfect blowout, the styles that work best, and the habits that will keep your hair looking smooth regardless of the humidity outside.
The Foundation of Smoothness Starts in the Shower
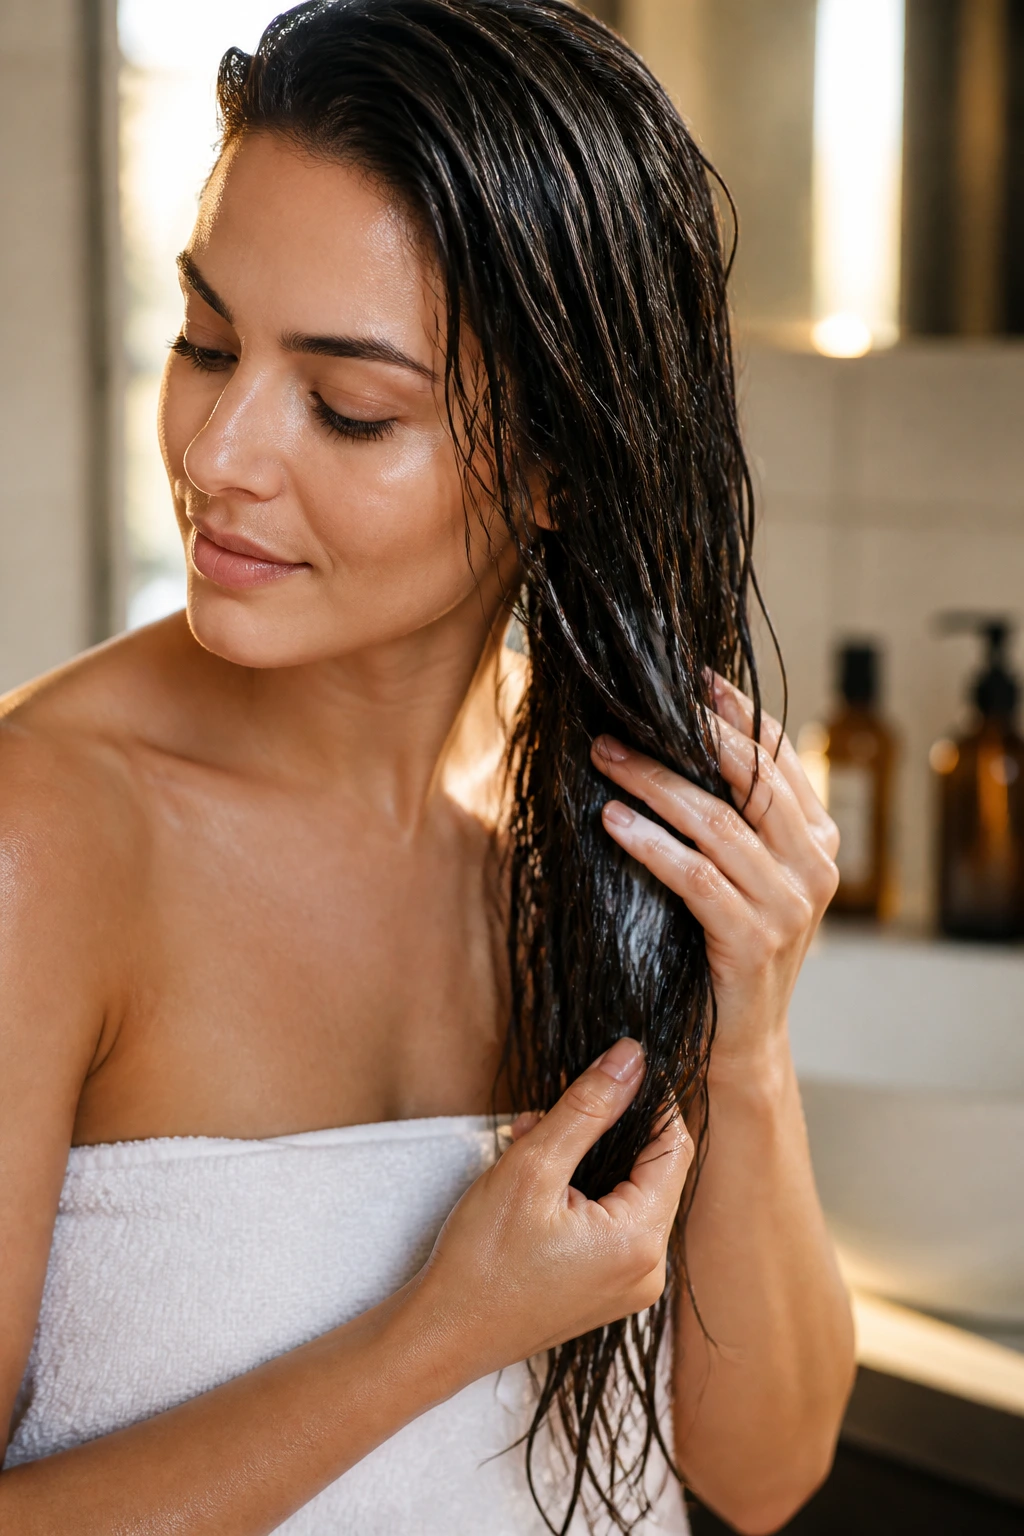
Most people believe the magic happens with the round brush, but the reality is that frizz management begins with the wash. If you are using a shampoo packed with sulfates, you are likely stripping your hair of its natural oils, forcing the cuticle to stand up and reach for moisture in the air. For those with frizzy hair, the goal is to keep the hair hydrated and the cuticle sealed as early as possible.
Why Your Conditioning Technique Matters
After shampooing, apply a generous amount of conditioner, focusing specifically on the mid-lengths to the ends. Use a wide-tooth comb to distribute the product evenly while your hair is still saturated with water. This detangling process is critical; trying to work through knots once the hair starts drying is a guaranteed recipe for mechanical breakage and, eventually, more frizz. Leave the conditioner in for three to five minutes before rinsing with cool water. The colder temperature helps to “lock” the cuticle down, providing a smoother surface for your styling products.
The Essential Pre-Blowout Product Cocktail
You cannot expect a smooth finish if you are not feeding your hair the right ingredients before applying heat. Start by towel-drying your hair with a microfiber towel—never rub the hair, as that causes friction—and instead gently squeeze the water out. Once the hair is damp but not dripping, apply a lightweight leave-in conditioner or a smoothing cream that contains silicone or argan oil. These ingredients act as a barrier against heat and humidity.
The Role of Heat Protectant Spray
Never skip heat protectant. Even if your blowout tool has a low setting, the direct contact of heat on hair strands will dehydrate them over time. A professional-grade heat protectant should be sprayed evenly from about six inches away. Use your fingers to rake the product through your hair, ensuring every strand is coated. If you find your hair gets greasy easily, focus the product only on the mid-lengths and ends, as the hair near the scalp is usually newer and healthier.
Choosing the Right Round Brush for Your Texture
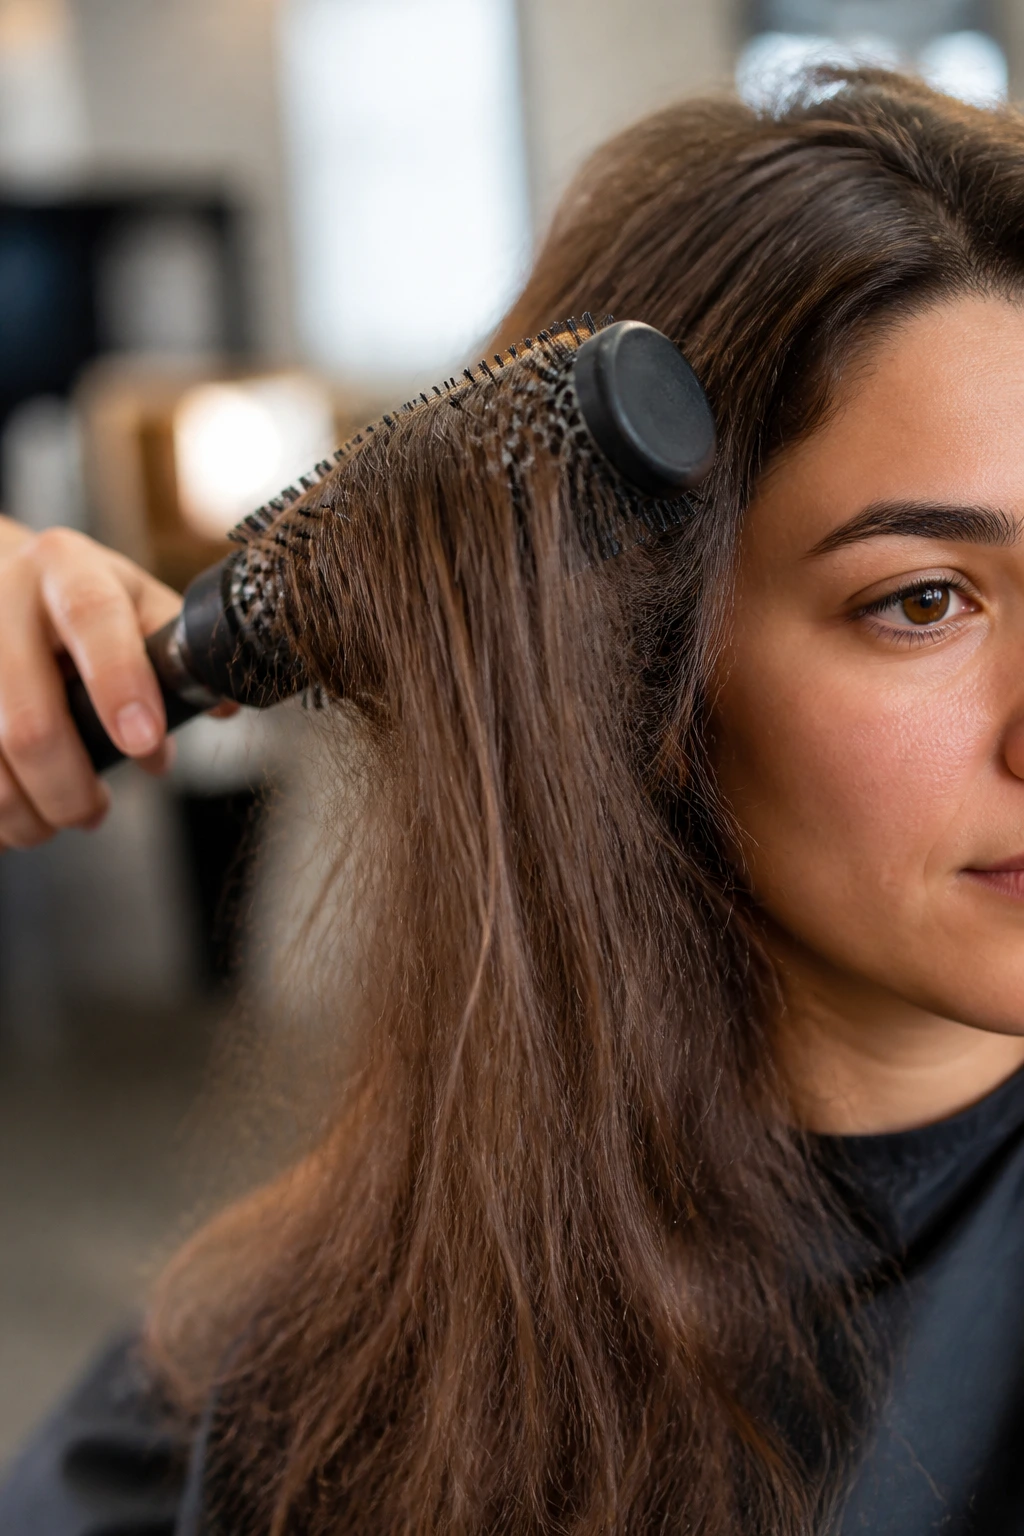
The tool you use to pull your hair taut during a blowout is the difference between a salon-quality finish and a bird’s nest. For thick, frizzy hair, a round brush with a mix of boar bristles and nylon is usually the best bet. The boar bristles help distribute your scalp’s natural oils down the hair shaft, while the nylon bristles provide the tension necessary to smooth out the frizz.
Barrel Size and Its Effect on Volume
If you are aiming for a classic blowout with a side part, the diameter of the brush is essential. A larger barrel (2 to 3 inches) is great for creating big, soft waves and smoothing out length. A smaller barrel is better if you want more lift at the root or if you have shoulder-length hair. If you have extremely frizzy hair, always prioritize tension over speed. Pulling the hair tight over the brush while the dryer follows the movement is what actually forces the hair into a smooth, straight shape.
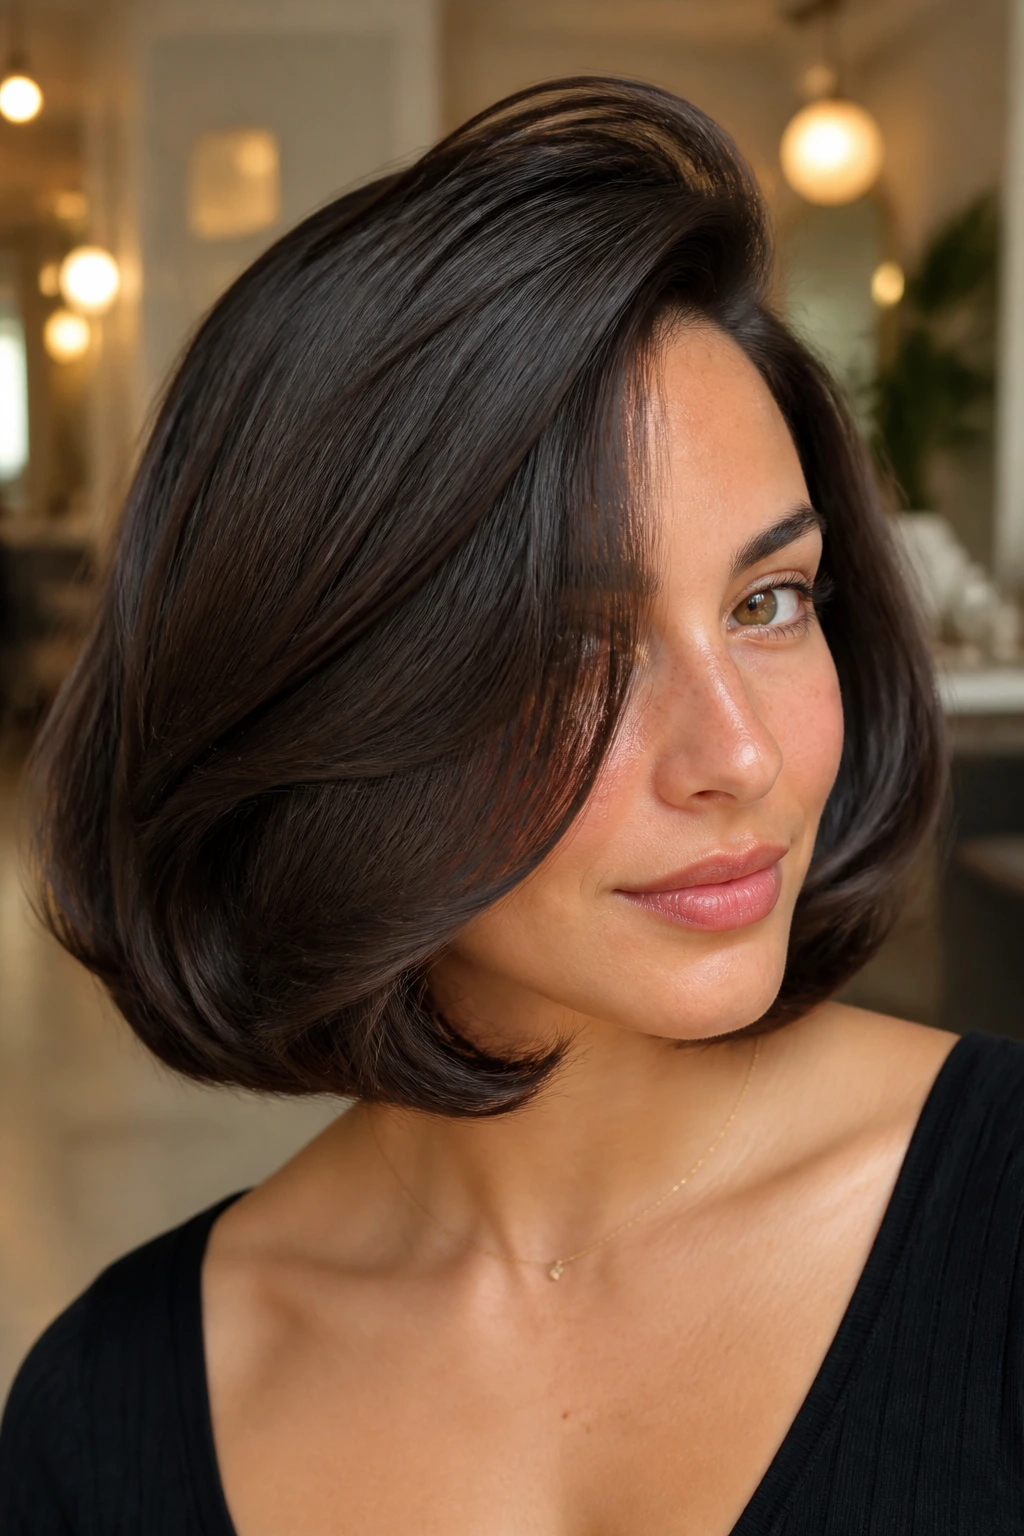
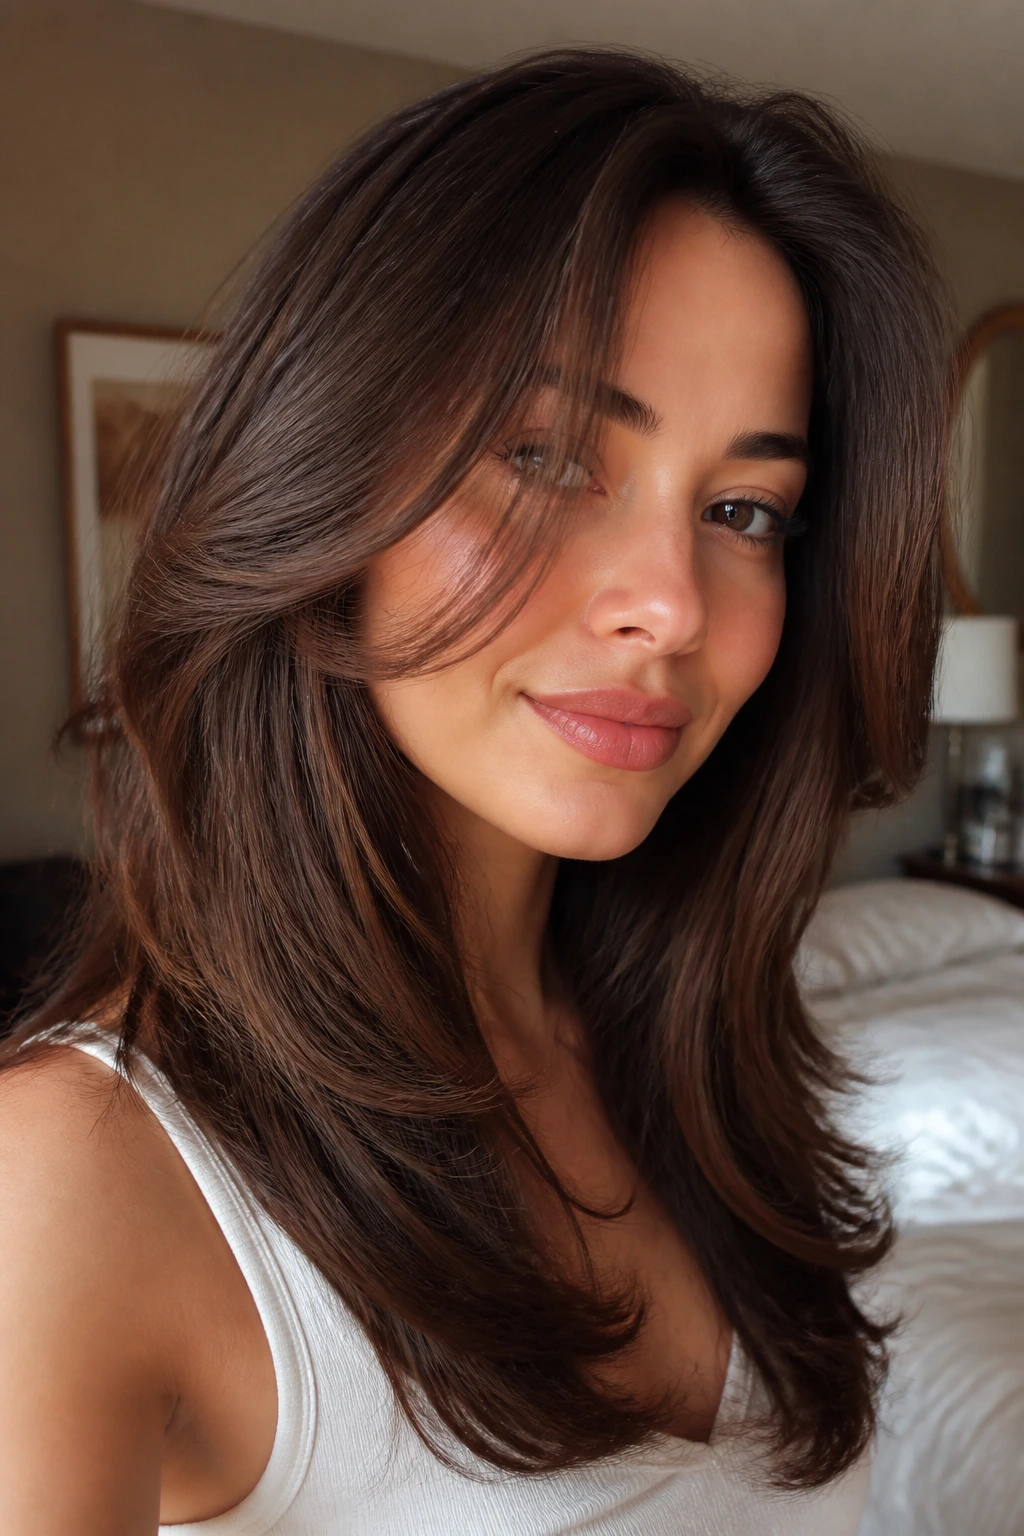
1. The Classic Polished Side-Swept Blowout
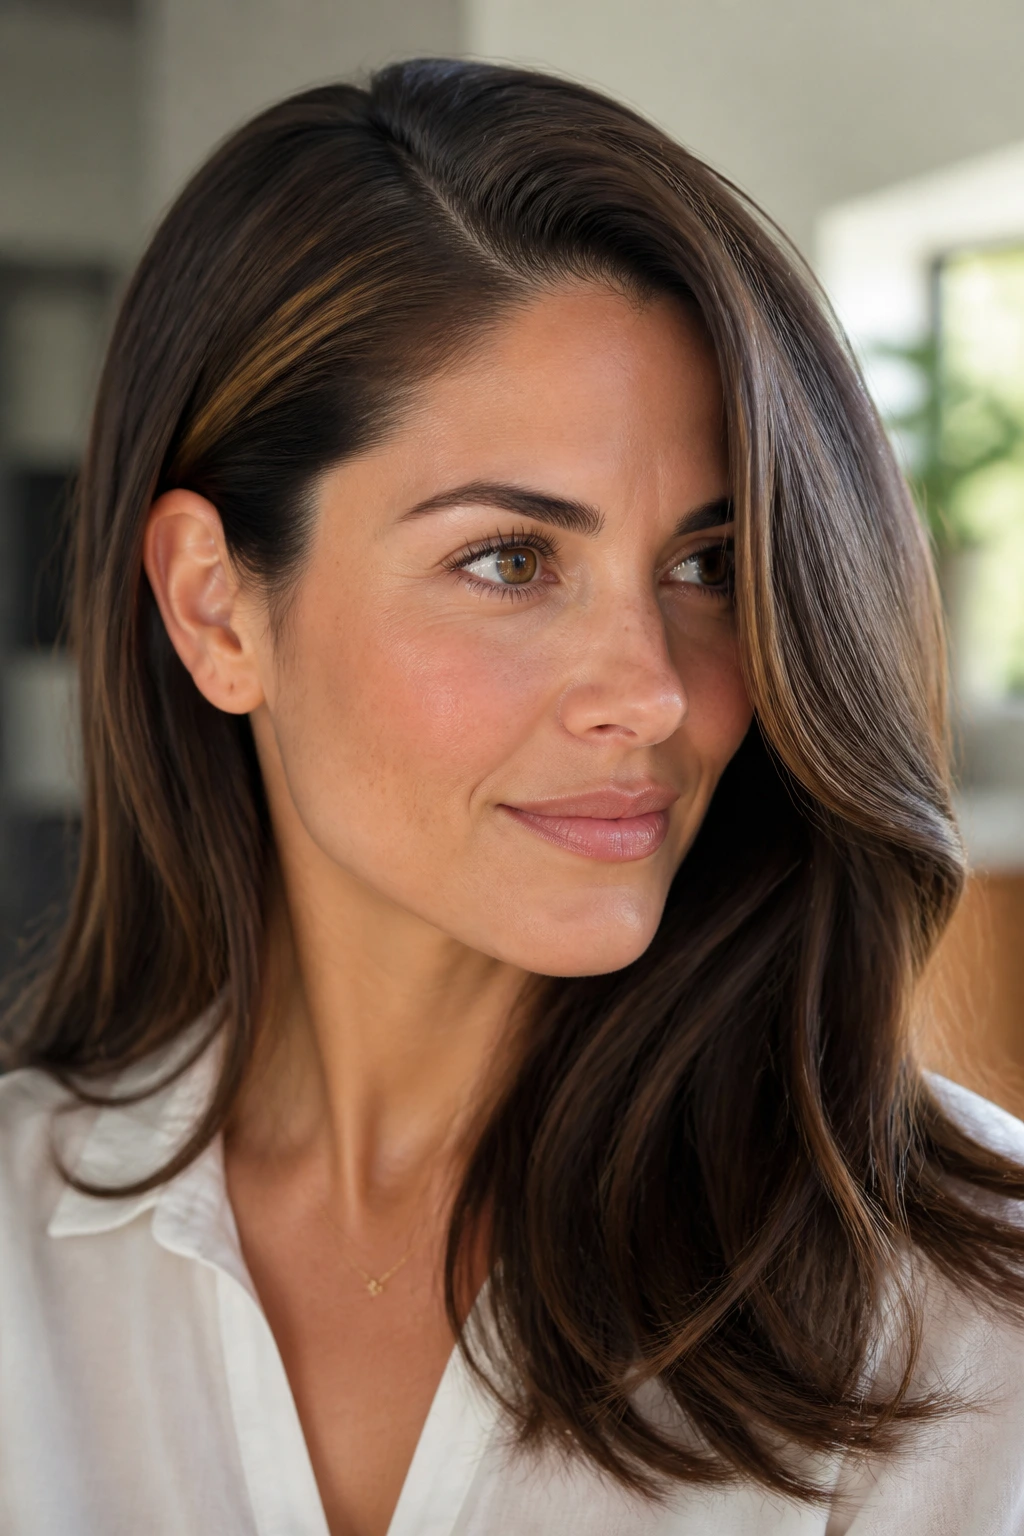
This is the quintessential “everyday” look that works for both office environments and weekend brunch. By creating a deep side part while the hair is still wet, you establish the direction of the volume before you begin drying. This ensures that the hair “sets” in the desired position rather than fighting you later.
Why This Works
The side part creates a natural sweep across the forehead, which naturally reduces the appearance of frizz around the hairline. By drying the hair in the direction of the part, you encourage the cuticle to lay flat. Use a smoothing serum once you have finished to add a bit of shine to the ends. Pro tip: Do not pull the brush straight down; pull it slightly toward the opposite side to maximize lift at the root.
2. The Voluminous 90s-Inspired Blowout
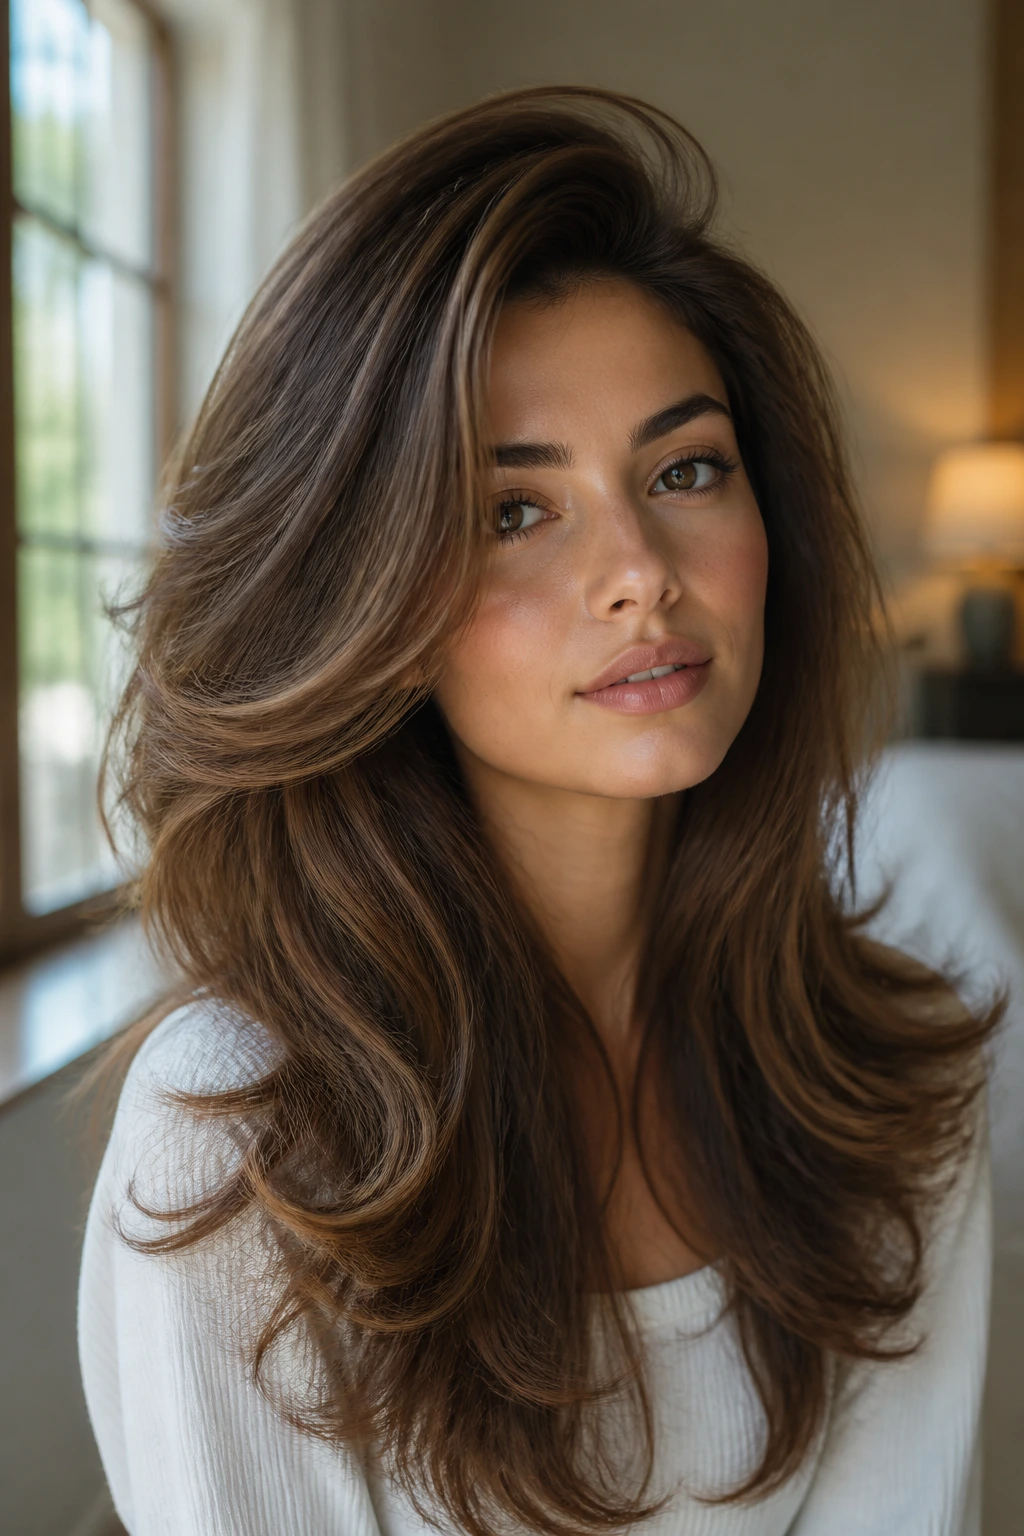
Think big, bouncy, and soft. This style requires a bit more effort but is the gold standard for transforming dull, frizzy hair into a head-turning mane. The key here is to use velcro rollers on your hair after you have finished drying each section with your round brush.
The Power of Setting Your Hair
Once a section is dry and still warm from the blow dryer, roll it tightly onto a large velcro roller. The cooling phase is just as important as the heating phase—it’s during the cooling process that the hair “remembers” the shape and the frizz stays locked out. Keep the rollers in for at least 15 minutes before taking them down and brushing them through with a wide-tooth comb.
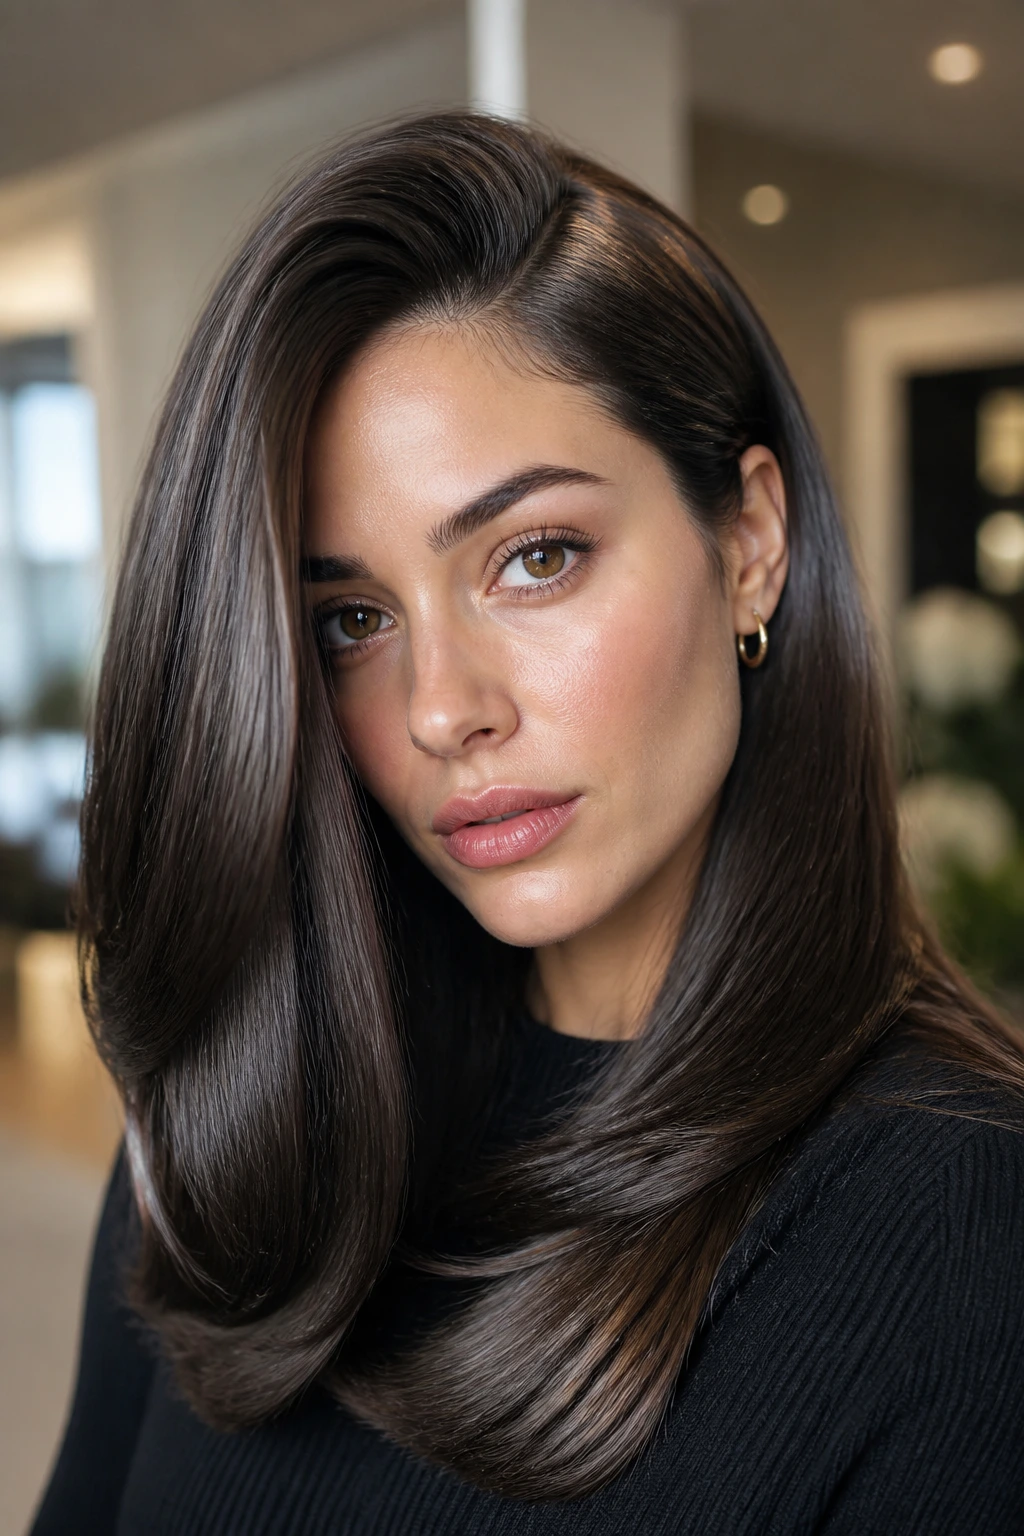
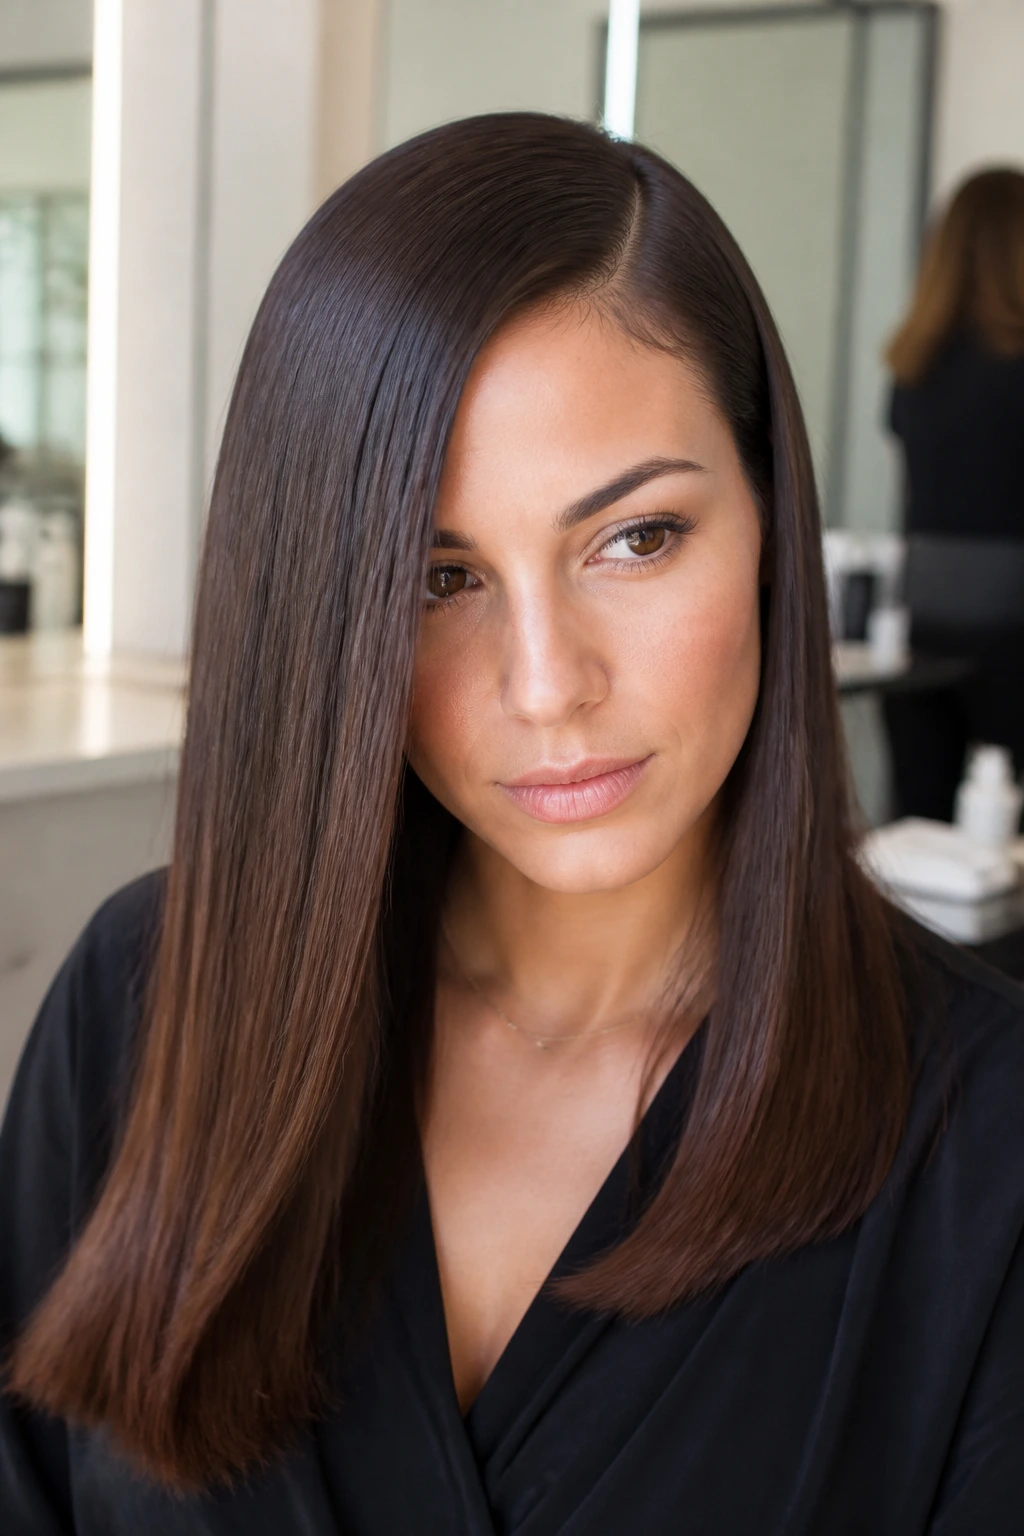
3. The Sleek and Straight Side-Part
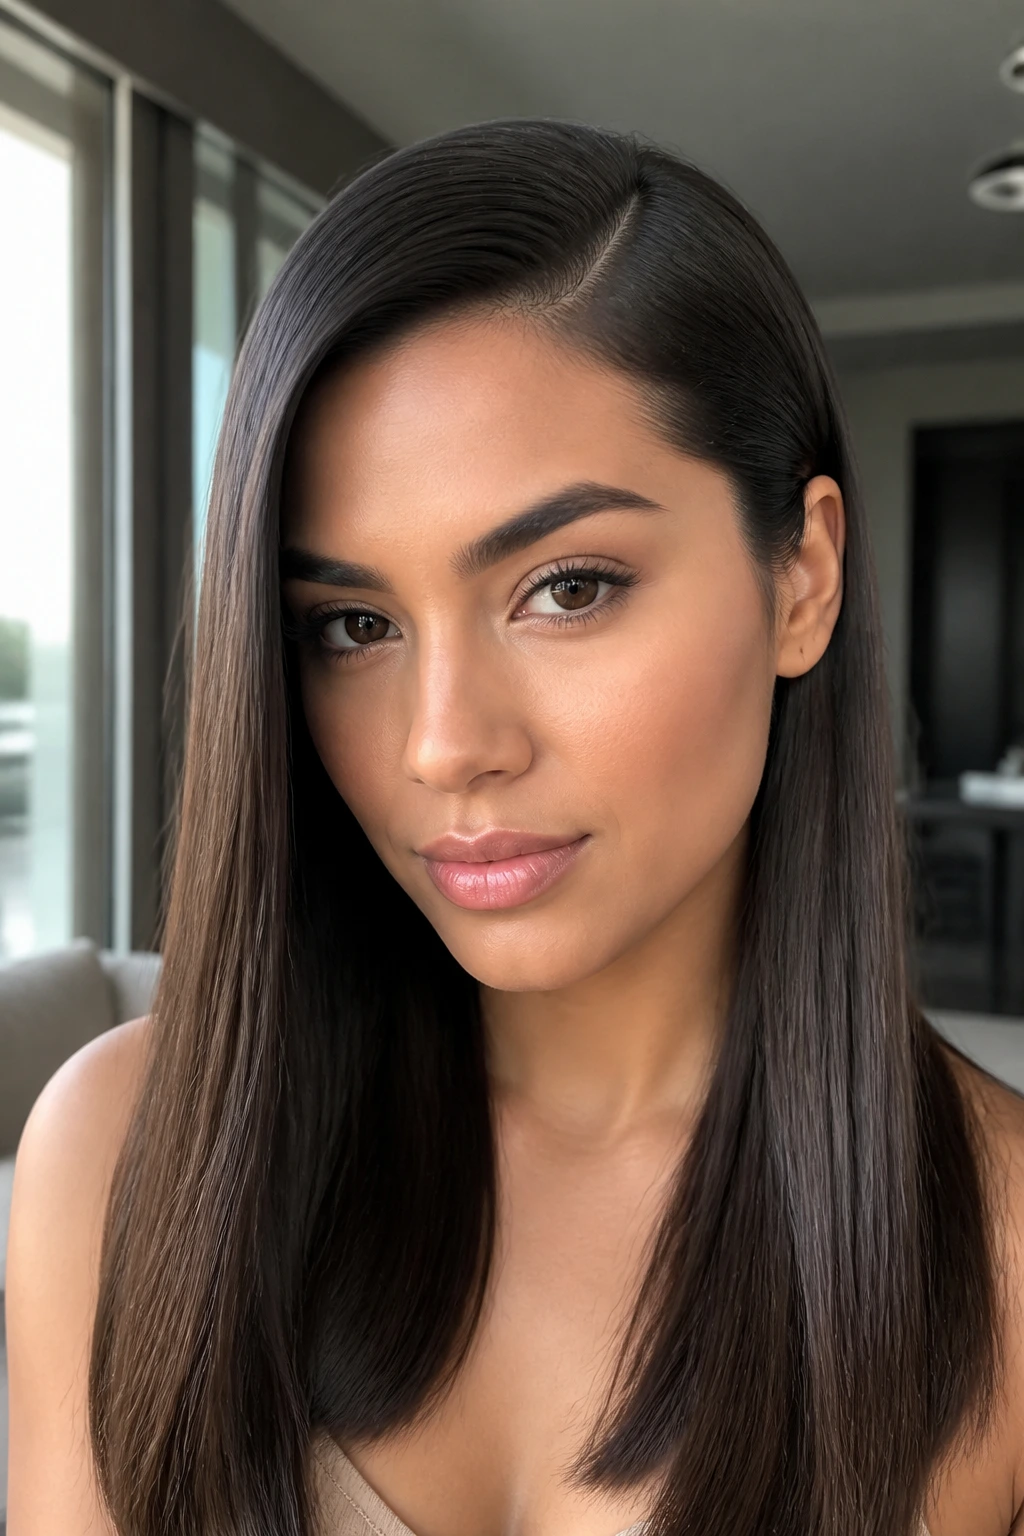
If you want to minimize frizz as much as possible, going for a bone-straight look is often the safest bet. This style relies heavily on tension. Use a paddle brush rather than a round brush to get the hair dry, keeping the blow dryer nozzle pointed downward at all times to force the cuticle closed.
Finishing for Maximum Shine
After the hair is about 90% dry, switch to a round brush to finalize the ends and ensure they are tucked under. Because you aren’t creating big waves, this look is less prone to “frizz-up” throughout the day. Finish with a tiny amount of lightweight hair oil, warming it between your palms before applying it to the ends to seal everything off.
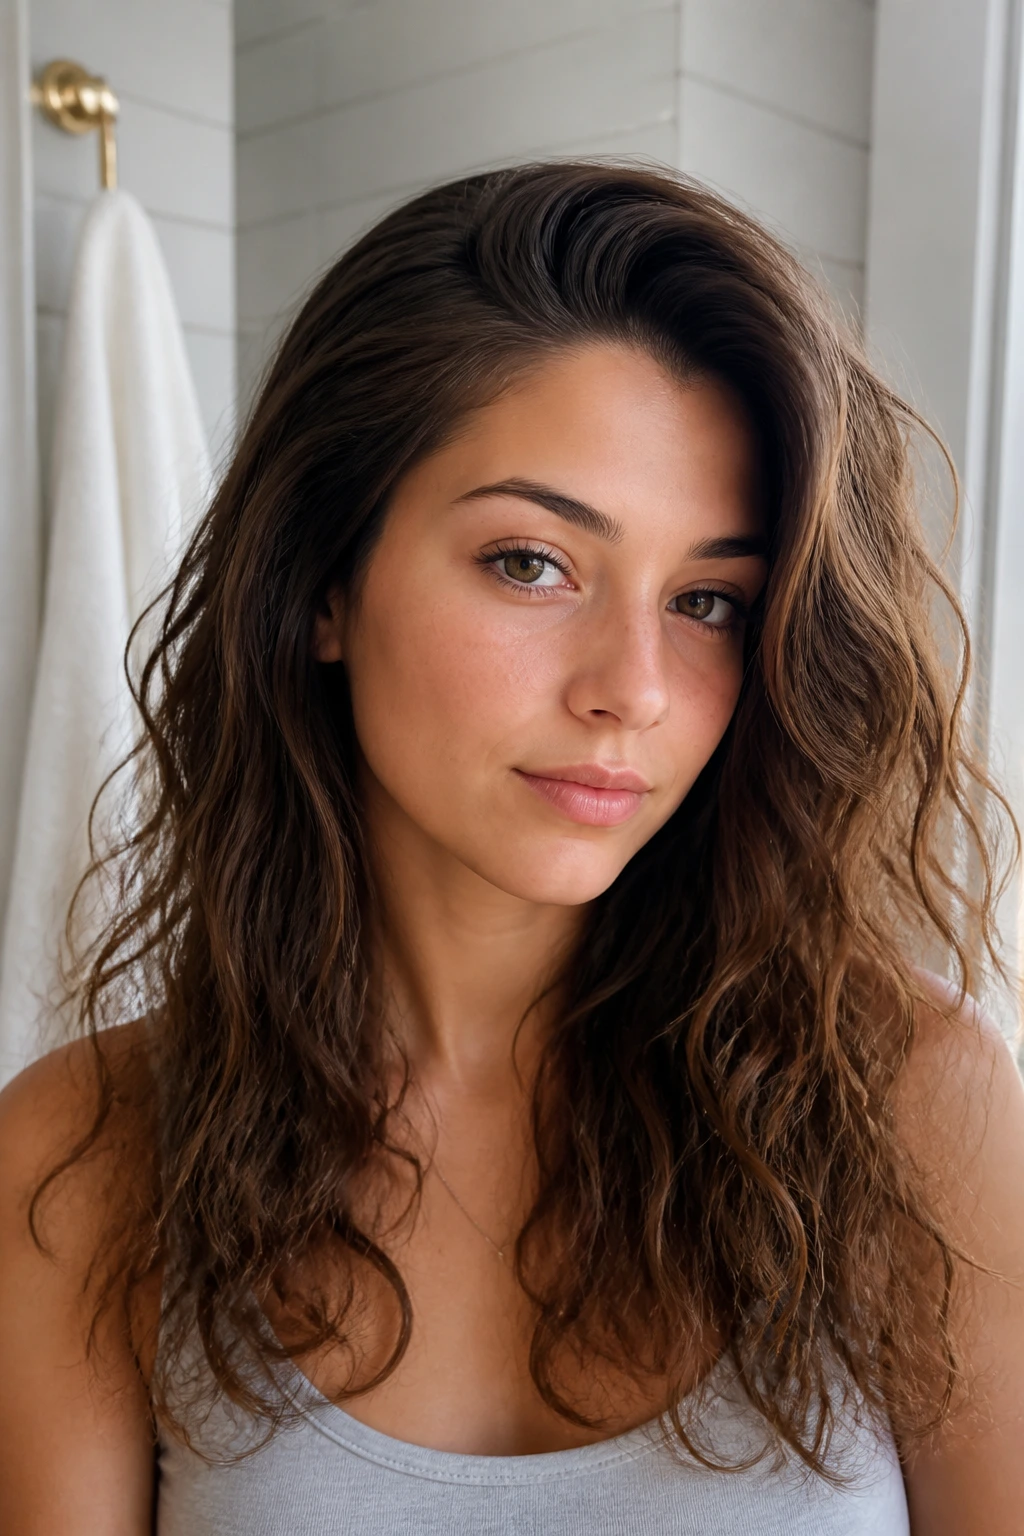
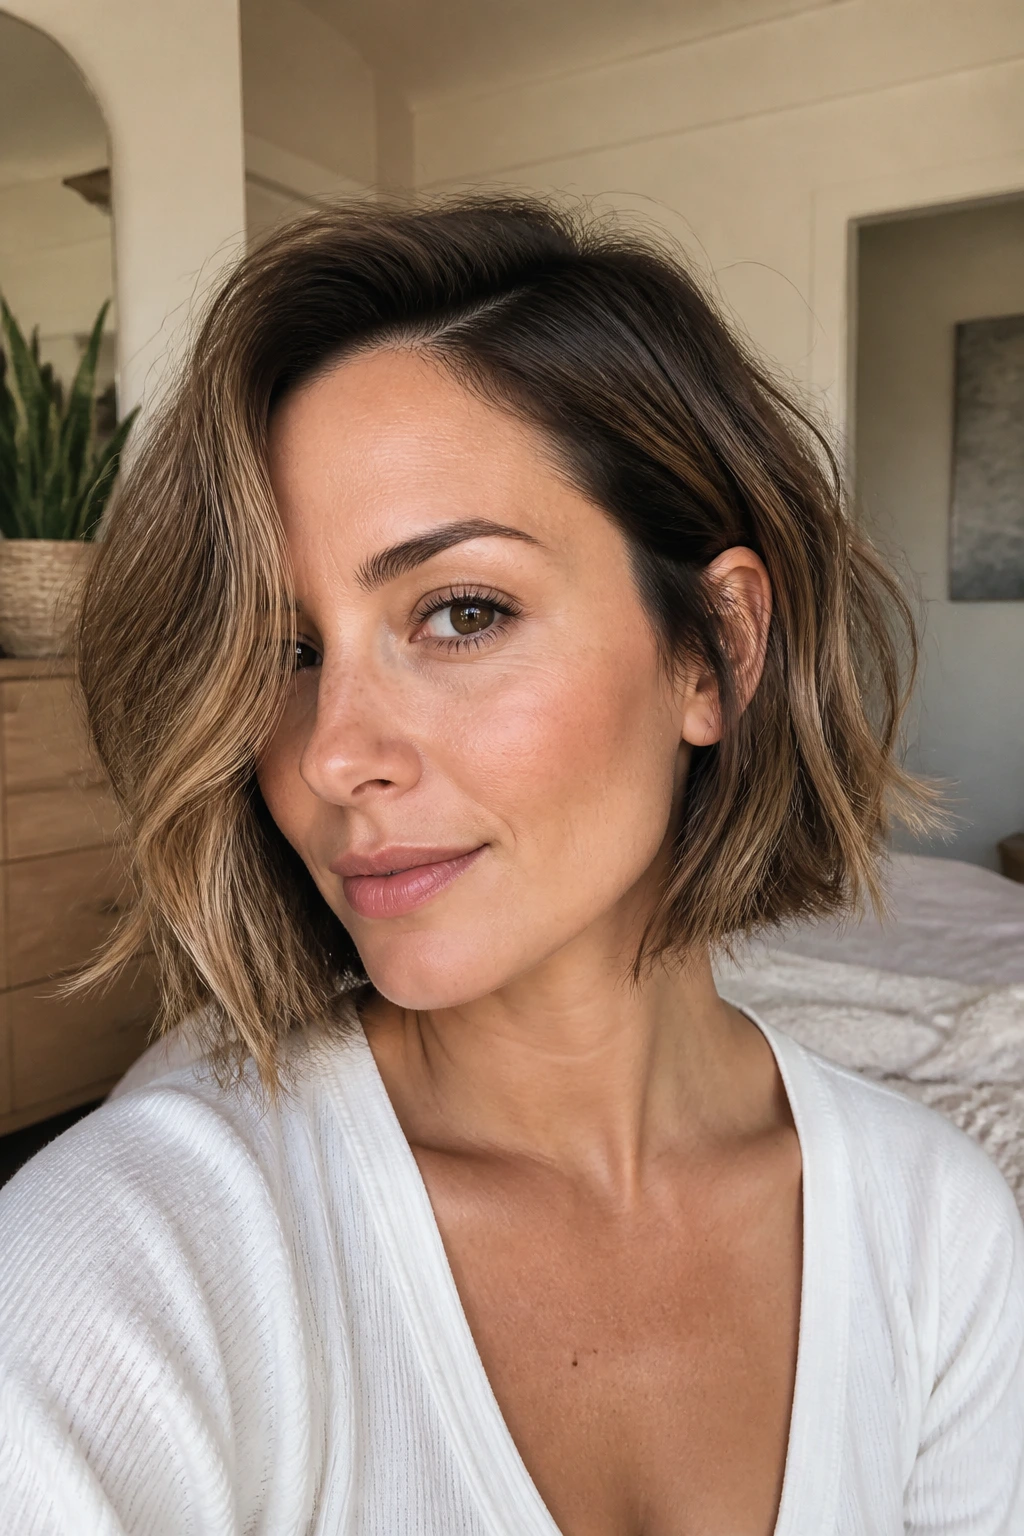
4. The Soft Beachy Wave Blowout

This style is effortless and textured, making it a great option if you have naturally wavy hair that tends to get frizzy when you try to force it to be straight. Instead of pulling the hair completely flat, you twist the hair around the round brush to create a subtle bend.
How to Maintain the Texture
Use a texturizing spray instead of a heavy hairspray. Heavy sprays can attract moisture and bring the frizz back within hours. By using a light, buildable spray, you keep the hair flexible, which prevents the strands from snapping or frizzing when you move around.
5. The Deep Side-Part with Inward-Curled Ends
There is something incredibly timeless about ends that curl inward toward the chin. This creates a frame that makes the face look more defined and keeps the hair looking neatly organized, even if it is naturally prone to flying away.
The Technique
When you reach the ends of your hair with the round brush, pause and rotate the brush underneath. Hold the dryer on that section for an extra five seconds to set the curl. This small detail prevents the ends from flicking outward, which can often look like unmanaged frizz.
6. The Textured Messy Side-Part
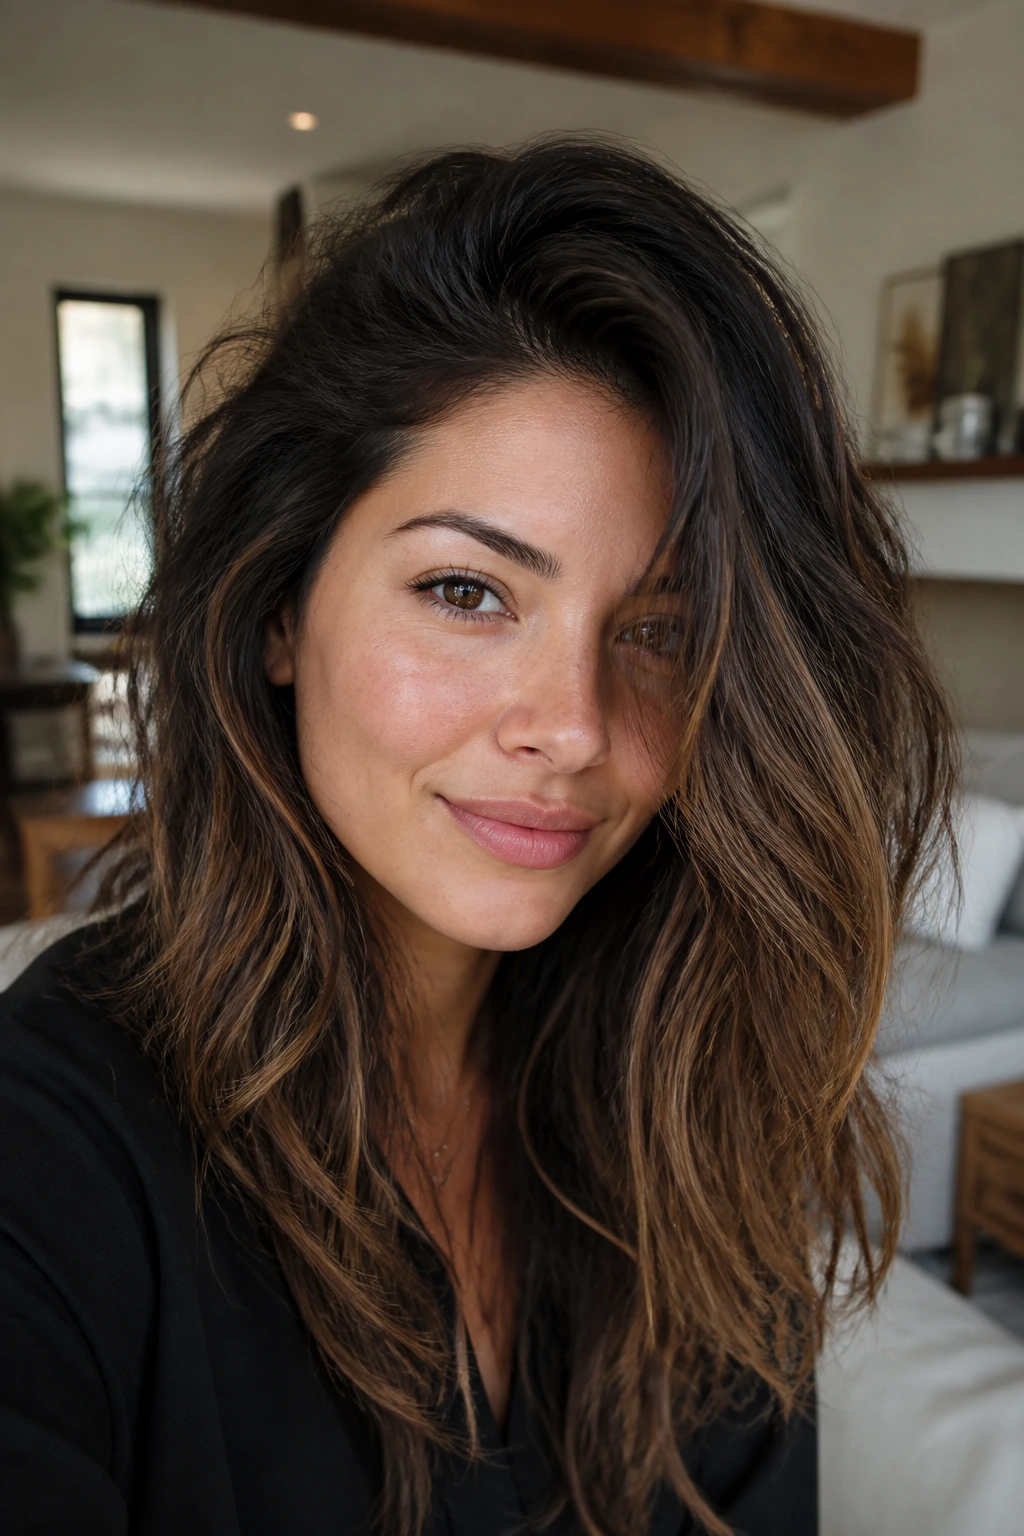
Not every blowout needs to look like you just left a runway. If you prefer a lived-in look, this style is for you. The side part keeps it intentional, but the blowout itself is done with a bit of a “roughed up” technique, focusing more on volume than perfect smoothness.
Getting the Look
Rough-dry your hair until it is about 70% dry using just your fingers to create lift. Then, use your round brush only on the top sections to smooth the hair near your part and create a sleek finish where it matters most. Leave the underneath sections a bit more natural.
7. The Deep-Root Lift Side-Part

If your hair is fine or flat despite being frizzy, you need a blowout that prioritizes root lift. By creating an extreme side part—starting from the arch of your eyebrow—you force the hair to stand up at the base, which creates instant volume.
Why It Helps
Lifting the hair away from the scalp prevents it from sitting flat and looking greasy. When the hair is airy and elevated, the friction against your shoulders or clothes is reduced, which is usually where most of the end-of-day frizz comes from.
8. The Glamorous Hollywood-Style Waves
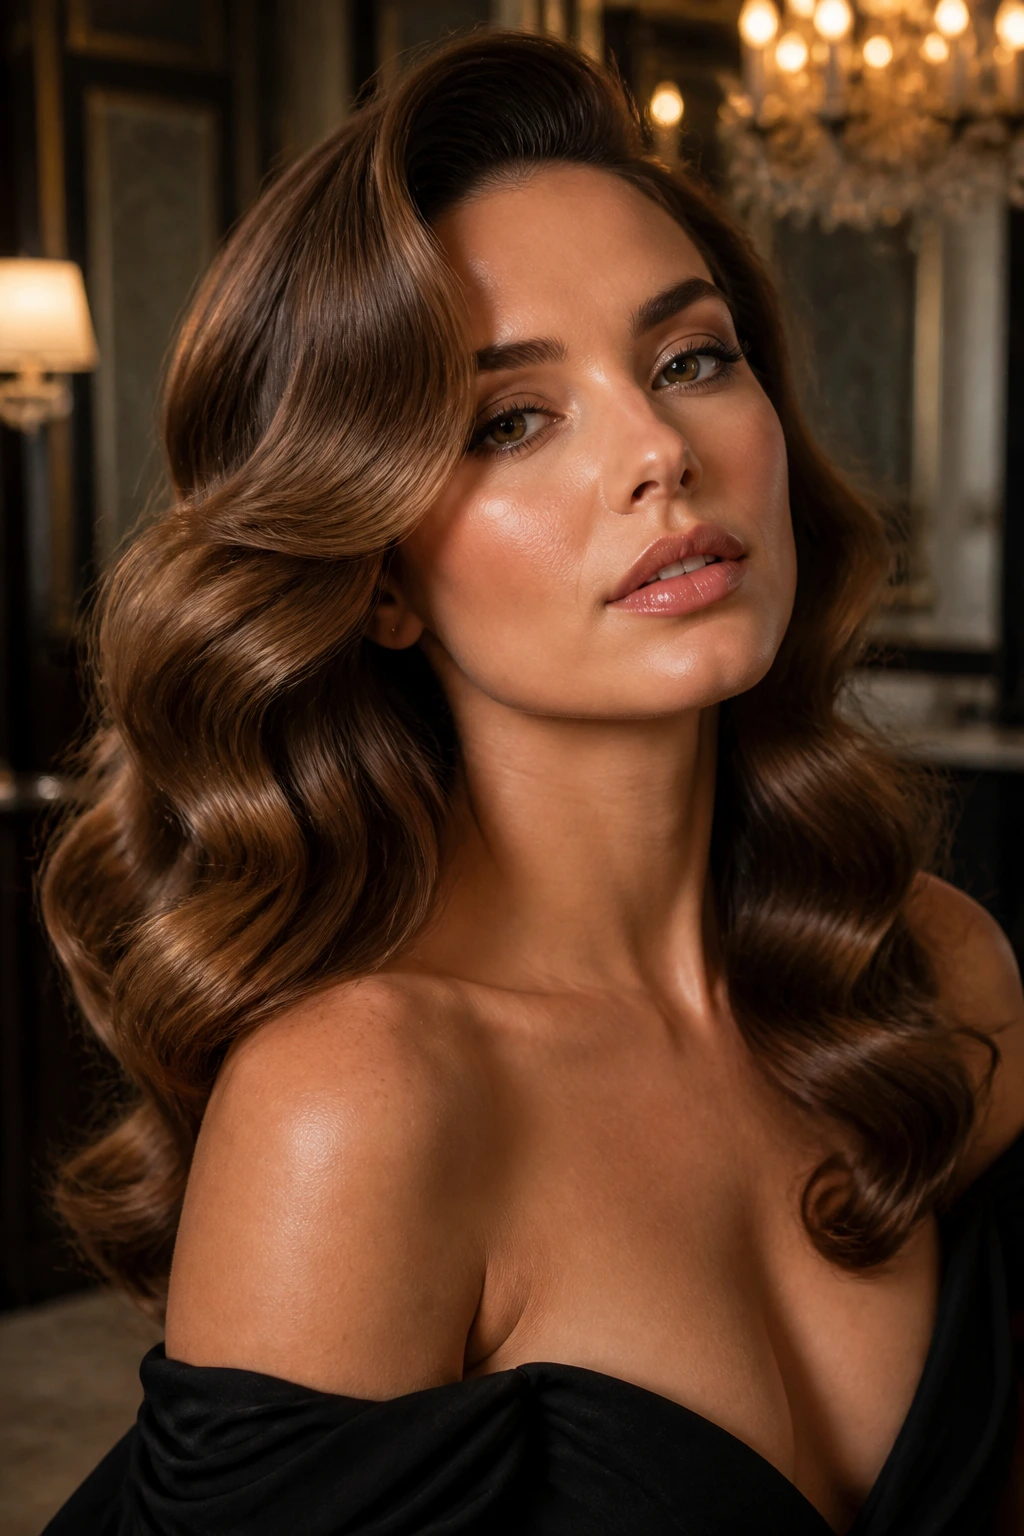
This is the “special occasion” blowout. It involves larger, more structured curls and a very polished, shiny finish. You will need a high-quality smoothing mousse applied to damp hair to get this level of control.
Achieving the Shine
Use a ceramic-barrel brush, which heats up slightly and helps impart a glossy look to the hair. Make sure you are using a concentrator nozzle on your blow dryer—this focuses the airflow directly onto the section you are working on, rather than blowing air all over your head and creating extra flyaways.
9. The Natural-Look Blowout for Curly-Frizzy Hair
If your hair is quite curly, you don’t have to try to change your identity to get a nice blowout. This look is about smoothing the cuticle while keeping your natural movement. Use a diffuser if you want to keep the curls, or a round brush if you want to stretch them out.
Managing the Moisture
Curly, frizzy hair needs constant moisture. Don’t be afraid to use a cream-based styling product that is specifically formulated for curly textures. Even if you are blow-drying, these products will prevent the heat from turning your hair into a cotton-candy texture.
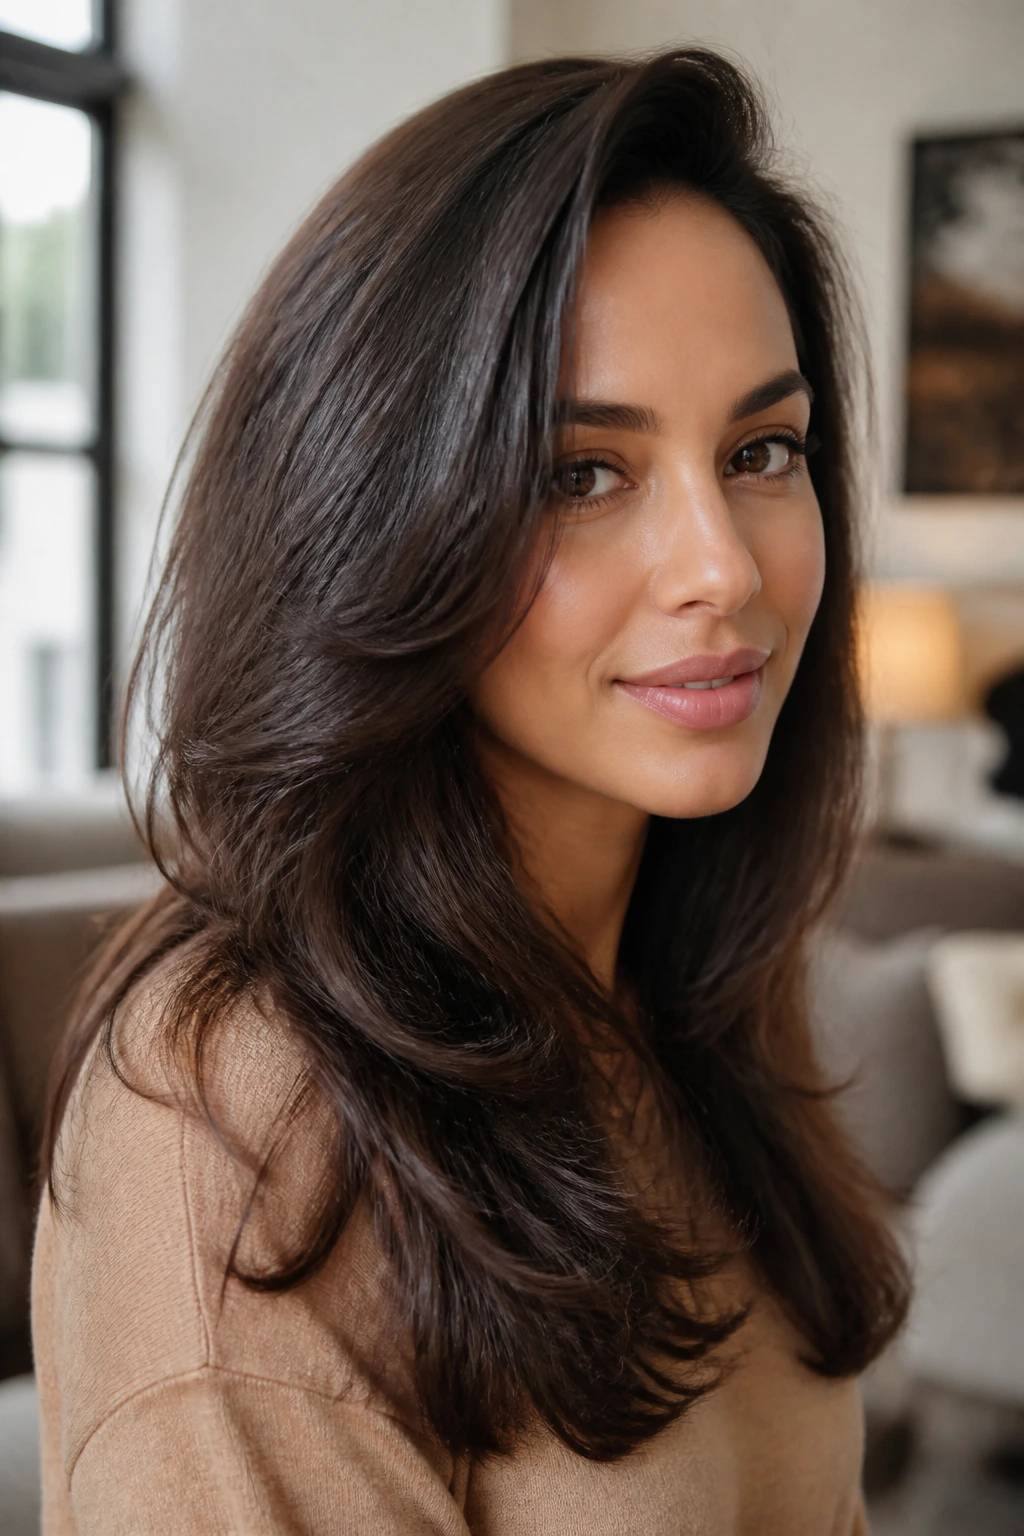
10. The Face-Framing Layered Blowout
If you have layers, this style is the best way to showcase them. Use a smaller brush on your shorter face-framing pieces and a larger one on your longer back sections.
Styling the Layers
As you dry your front layers, pull them away from your face to give them a “flicked” look. This is a very flattering style that directs attention toward your eyes rather than the texture of your hair.
11. The Low-Maintenance “Air-Dry” Hybrid
If you are tired of heat damage, use this blowout technique sparingly. Dry the top and front sections of your hair with a round brush to get that “polished” look for your side part, and let the rest of your hair air-dry naturally.
The Benefit
You get the look of a styled blowout in the areas that people notice most, while giving the rest of your hair a break from the dryer. It’s a smart way to maintain hair health over time.
12. The Wispy-End Side Part

This look is light, airy, and youthful. Instead of curling the ends under or out, you use the dryer to straighten them, then use your fingers to piece them out with a tiny bit of lightweight styling wax.
Avoiding Weight
The key to this look is using products that don’t weigh your hair down. Heavy gels or thick waxes will make your frizzy hair look limp and dirty. Always lean toward sprays, mousses, or light lotions.
13. The Sleek High-Gloss Blowout
This is achieved by focusing heavily on the “cold shot” button on your dryer. Every time you finish a section with the round brush, blast it with cold air for ten seconds.
The Physics of Shine
The cold air helps to snap the cuticle shut after the heat has smoothed it out. This isn’t just a suggestion; it is the secret to that glass-like shine you see in hair advertisements.
14. The Undone, Wavy Side-Part

This is perfect for hair that has a mind of its own. Work with your natural texture by using a round brush to dry only the root and the very ends, leaving the mid-shafts to maintain a natural, slightly undone wave.
Embracing the Texture
When you don’t try to force your hair to be something it isn’t, the frizz becomes less noticeable. It looks like “texture” rather than “damage.”
15. The Deep Side-Part with Volume at the Crown

This style is all about height. By using a backcombing technique very lightly at the roots of your side part, you can create a style that stays put for hours.
The Backcombing Secret
Use a fine-tooth comb to gently tease the hair at the crown. Then, smooth the top layer over the backcombing so it looks seamless. It’s a great way to hide thin patches or areas where your hair might be breaking due to frizz.
16. The Sleek Half-Up Side-Part
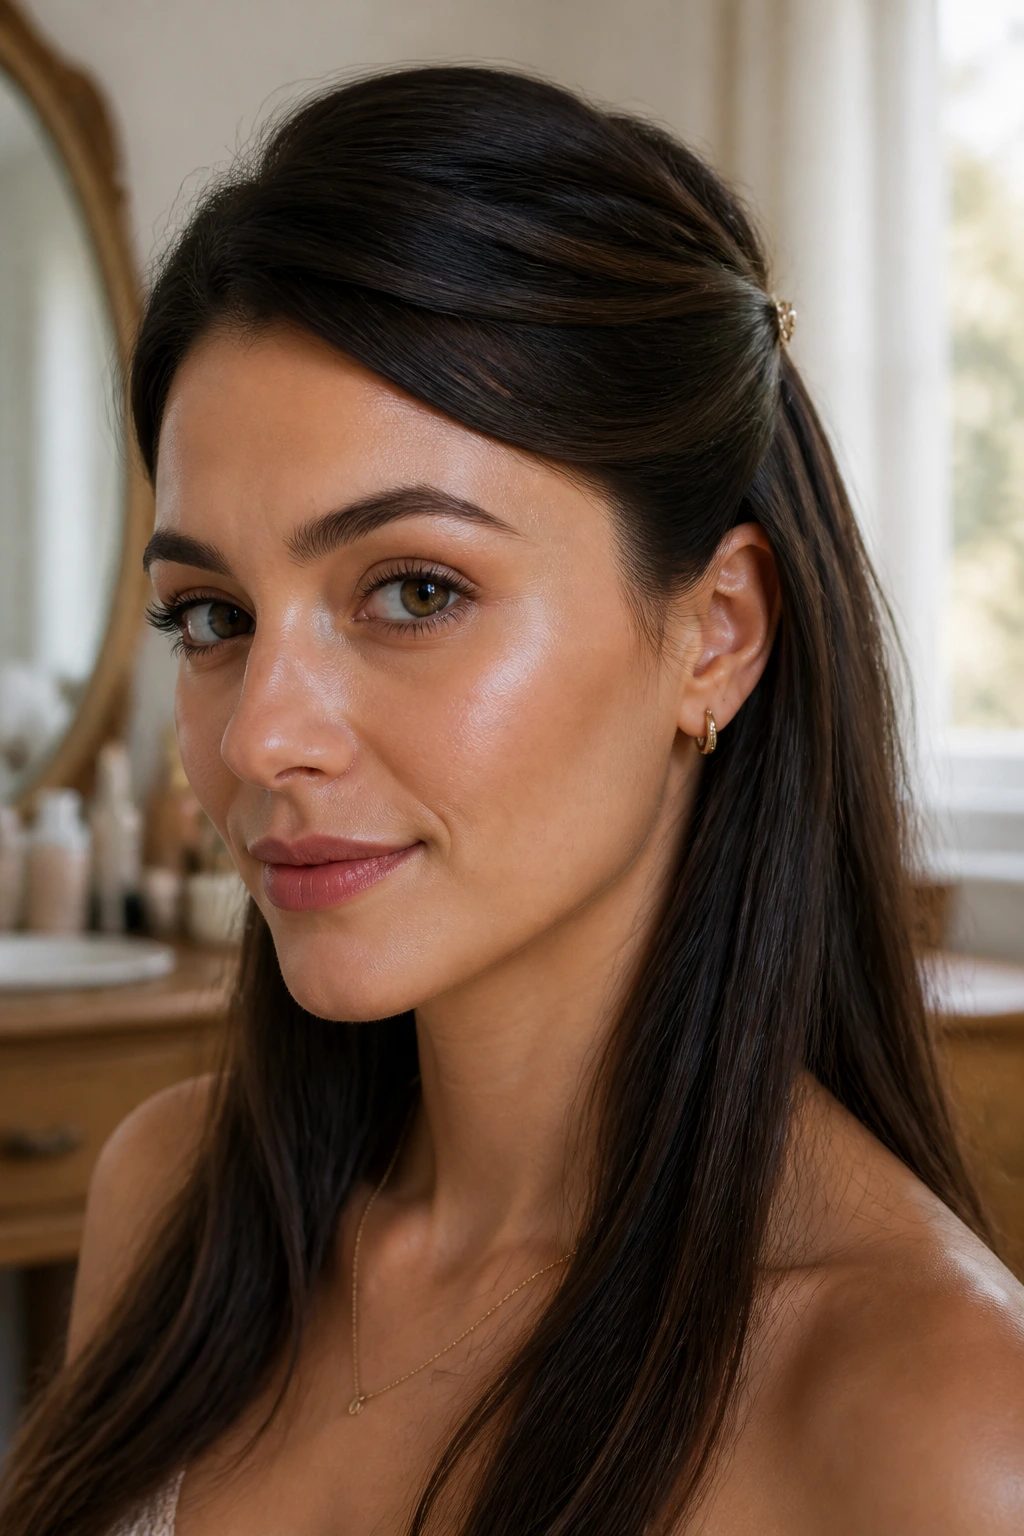
If you are having a particularly bad frizz day, pinning the top section of your hair back into a half-up style is a brilliant tactical move. You get the sleekness of the side part in the front, and the rest of your hair is contained.
Styling Tip
Use a pretty barrette or a simple pin to secure the half-up section. This draws the eye to the accessory, distracting from any remaining flyaways.
17. The Retro-Wave Side-Part
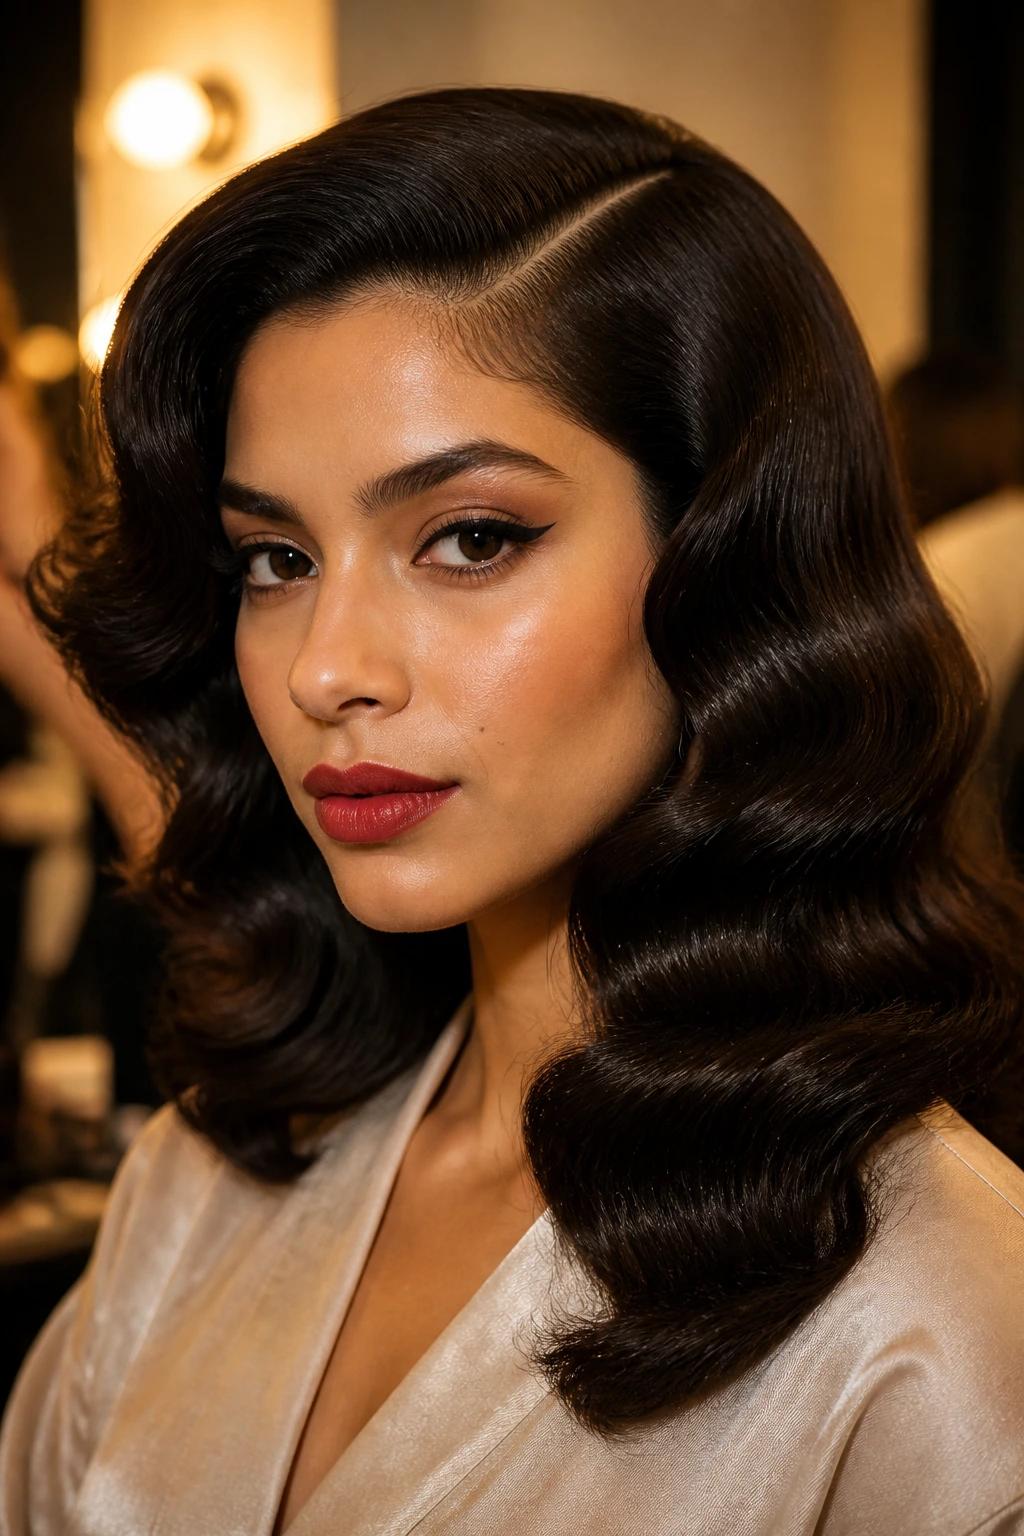
Inspired by the 1940s, this is a sophisticated blowout that looks great for evening events. It requires a lot of tension and a lot of product to keep the waves set in place.
The Setting Process
Use pin-curls after blow-drying to make the waves last. By pinning each section of hair into a curl shape while it’s still warm, you ensure the style stays intact even if it is humid outside.
18. The Modern Minimalist Blowout
This is a sleek, no-nonsense look that focuses on clean lines. There is no curling, no teasing, and no mess. It’s just straight, smooth hair with a very sharp side part.
Precision is Key
Use a rat-tail comb to get that side part perfectly straight. A messy part ruins a minimalist look, so take an extra thirty seconds to line it up with the arch of your brow.
19. The “Swoop” Side-Part

This style is characterized by a dramatic, sweeping fringe that covers part of the forehead. It’s excellent for softening angular facial features.
Managing the Fringe
Your fringe is the first thing that will frizz up, so keep a travel-sized bottle of smoothing serum in your bag. A tiny dab applied with your fingertips can tame those pesky short hairs that tend to pop up by midday.
20. The Softened-Ends Blowout

If your hair is thick and frizzy, the ends can often look blunt and heavy. Use a round brush to create a soft, rounded shape that makes the haircut look more intentional and delicate.
Why Rounding the Ends Matters
Blunt ends can hold onto frizz like a sponge. By rounding them, you break up the bluntness and make the hair look much healthier and well-tended.
21. The Volume-Packed C-Curve
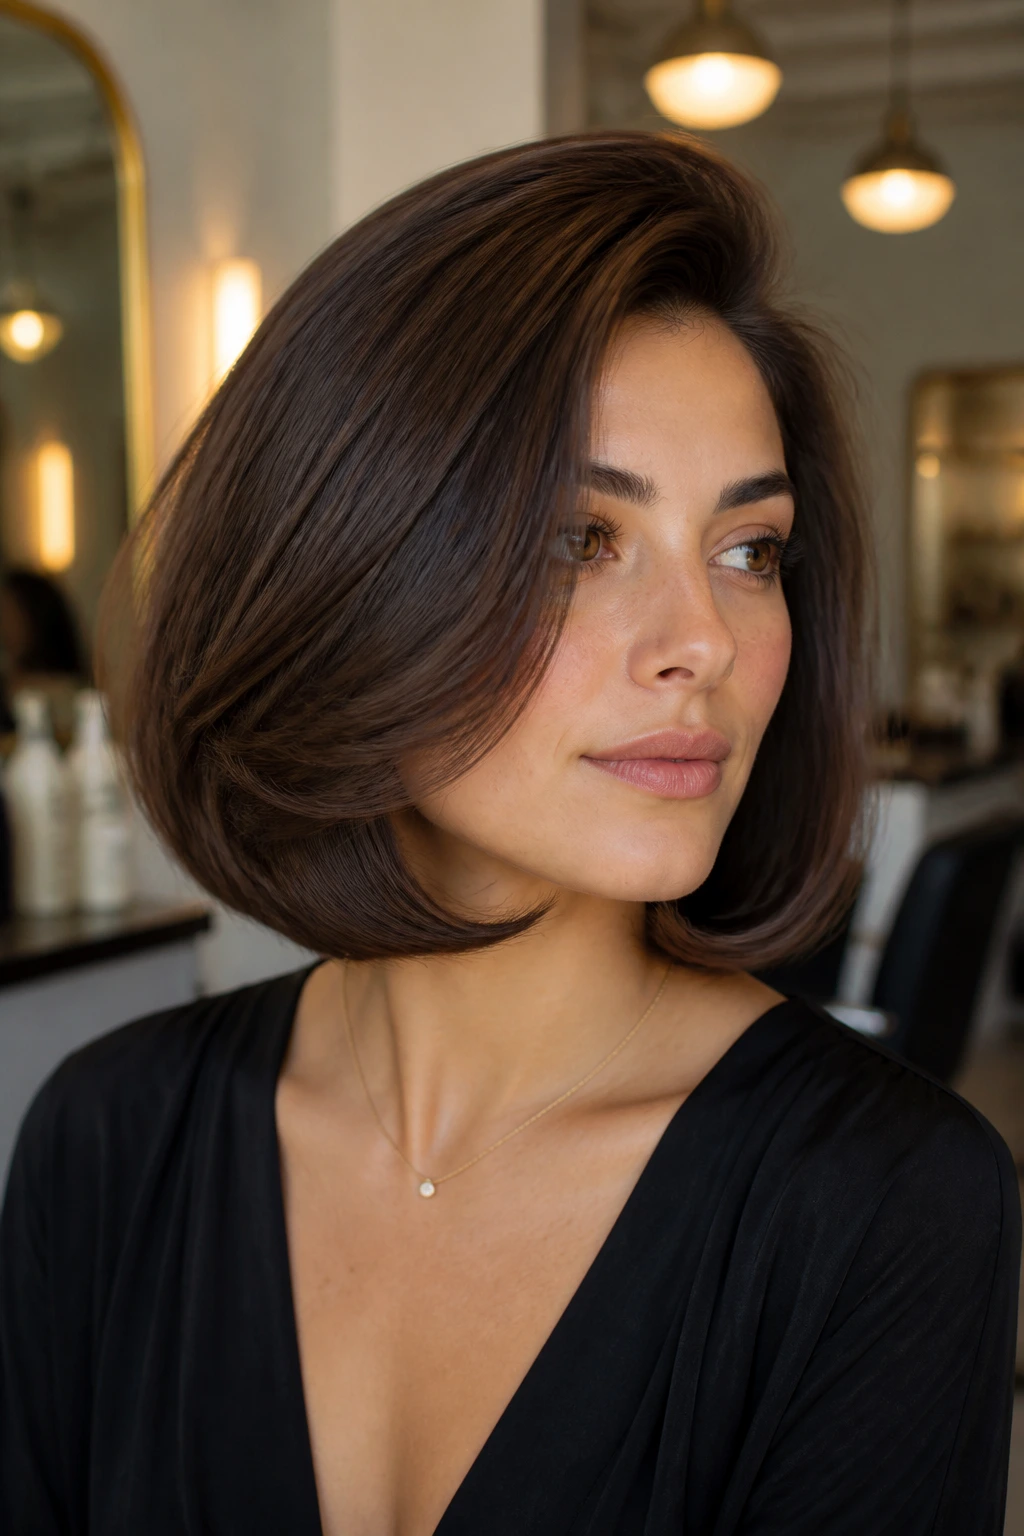
This is a classic “C” shape where the hair curves inward toward the neck. It is a very structured blowout that looks great on chin-length or shoulder-length bobs.
Maintenance
This style relies on the tension you build at the root. If the root is flat, the C-curve will look like an inverted triangle, which is not usually the desired effect. Keep the dryer working on the roots first.
22. The Beachy Side-Part Bob
Even if you have a short haircut, a side-part blowout can work wonders for frizz. The trick is to keep the ends textured so they don’t get frizzy from rubbing against your collar.
Short Hair Challenges
Short hair is actually easier to manage because it has less weight pulling it down. Use a small round brush to get maximum lift, and don’t be afraid to use a tiny bit of pomade on the ends for definition.
Managing Humidity and Frizz Throughout the Day
Once you have achieved your perfect blowout, the battle against the elements begins. Humidity is the enemy of all hair types, but for frizzy hair, it is a formidable opponent. The goal is to keep the moisture in the hair shaft so that the air can’t sneak its way in.
The Last Line of Defense
Carry an anti-humidity spray. These work by creating a microscopic, breathable shield over your hair, which prevents moisture from entering the cuticle. If you find your hair starting to puff up, try not to touch it. Every time you touch your hair, you are adding oil and static from your hands, which will only make the frizz worse.
Final Thoughts
Achieving a polished blowout when you have frizzy hair isn’t about fighting your natural texture, but rather about learning how to manipulate it with tension, temperature, and the right products. The side part is your most versatile tool in this endeavor—it hides, it volumizes, and it frames. Whether you are going for a sleek, glass-like finish or a soft, wavy aesthetic, remember that the prep work and the cooling phase are what will ultimately determine how long your style lasts. Take your time with the brush, keep your heat settings moderate, and treat your hair with the same care you would if it were being professionally styled. Consistency in your routine will eventually lead to smoother, more manageable hair, regardless of the conditions outside.