Thinning hair often feels like a restricted territory for styling. Many of us with finer strands or thinning patches get caught in a loop of trying to create volume through backcombing, heat styling, or products that inevitably weigh everything down. When you want a protective style that looks thick, substantial, and deliberate, chunky cornrows are an surprisingly effective choice. They aren’t just for dense, thick hair textures; they provide a structural frame that can disguise thinning areas while minimizing the tension that usually causes damage in more intricate braid patterns.
The secret to pulling off chunky cornrows when your hair isn’t naturally dense is all in the preparation and the amount of extension hair you feed into the braid. By incorporating high-quality, lightweight braiding hair, you create a foundation that looks full without pulling at your scalp. It is about balancing the weight so that your natural hair is protected, not strained. We are going to break down twenty-five distinct ways to achieve this look, focusing on patterns that prioritize scalp health, aesthetic impact, and long-term retention.
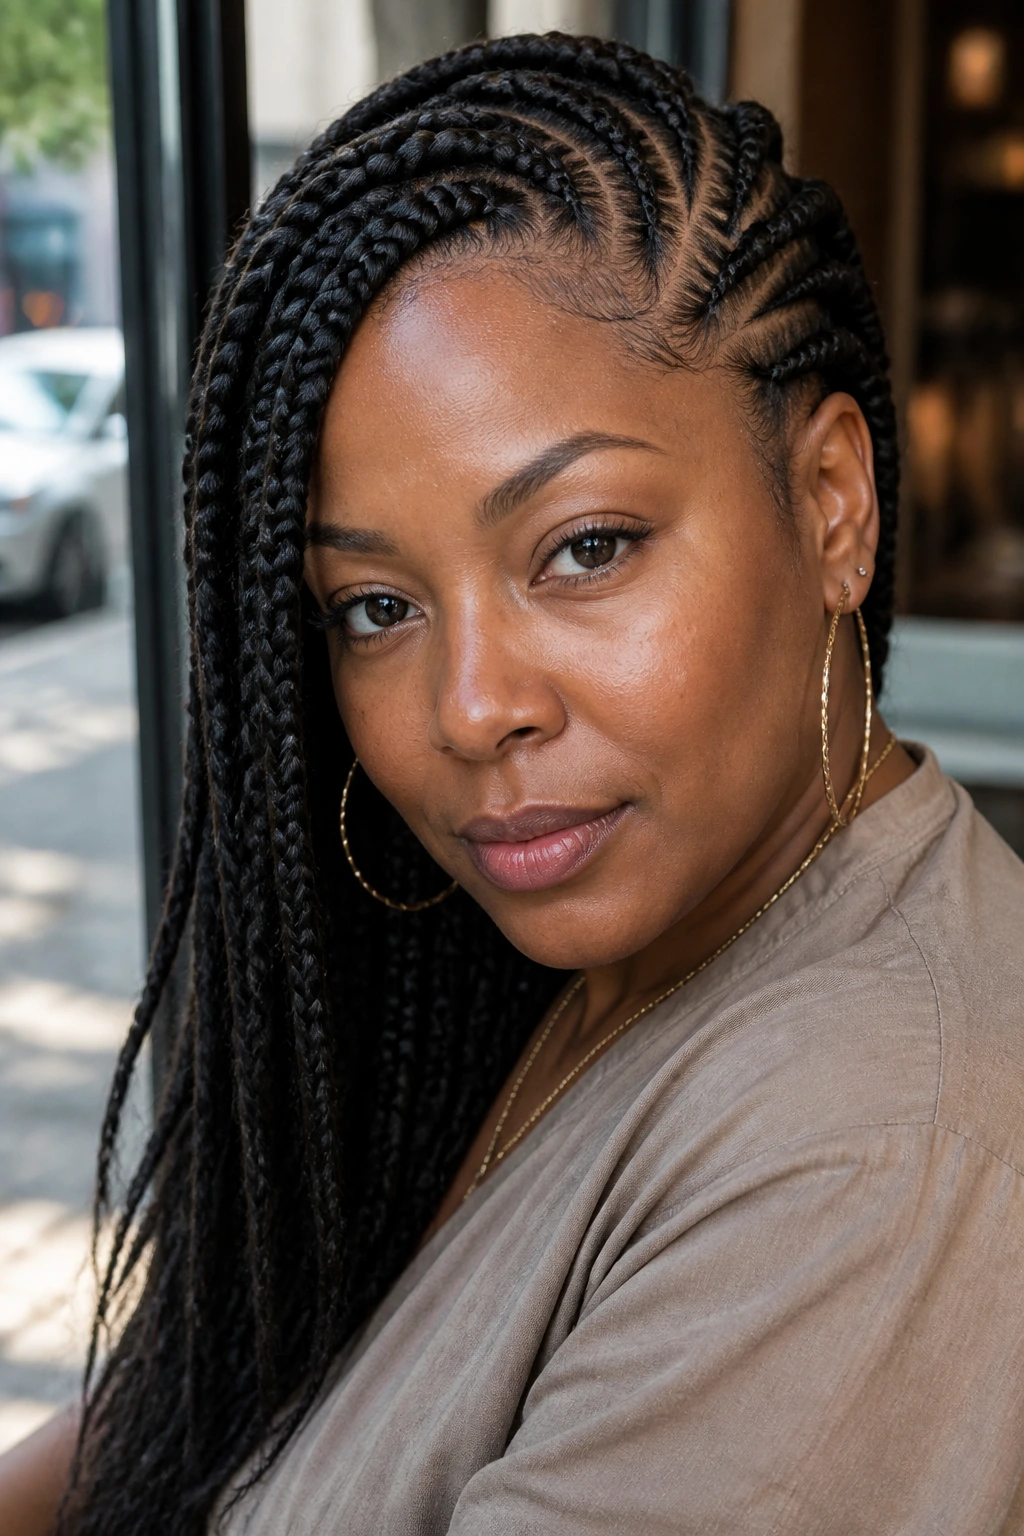
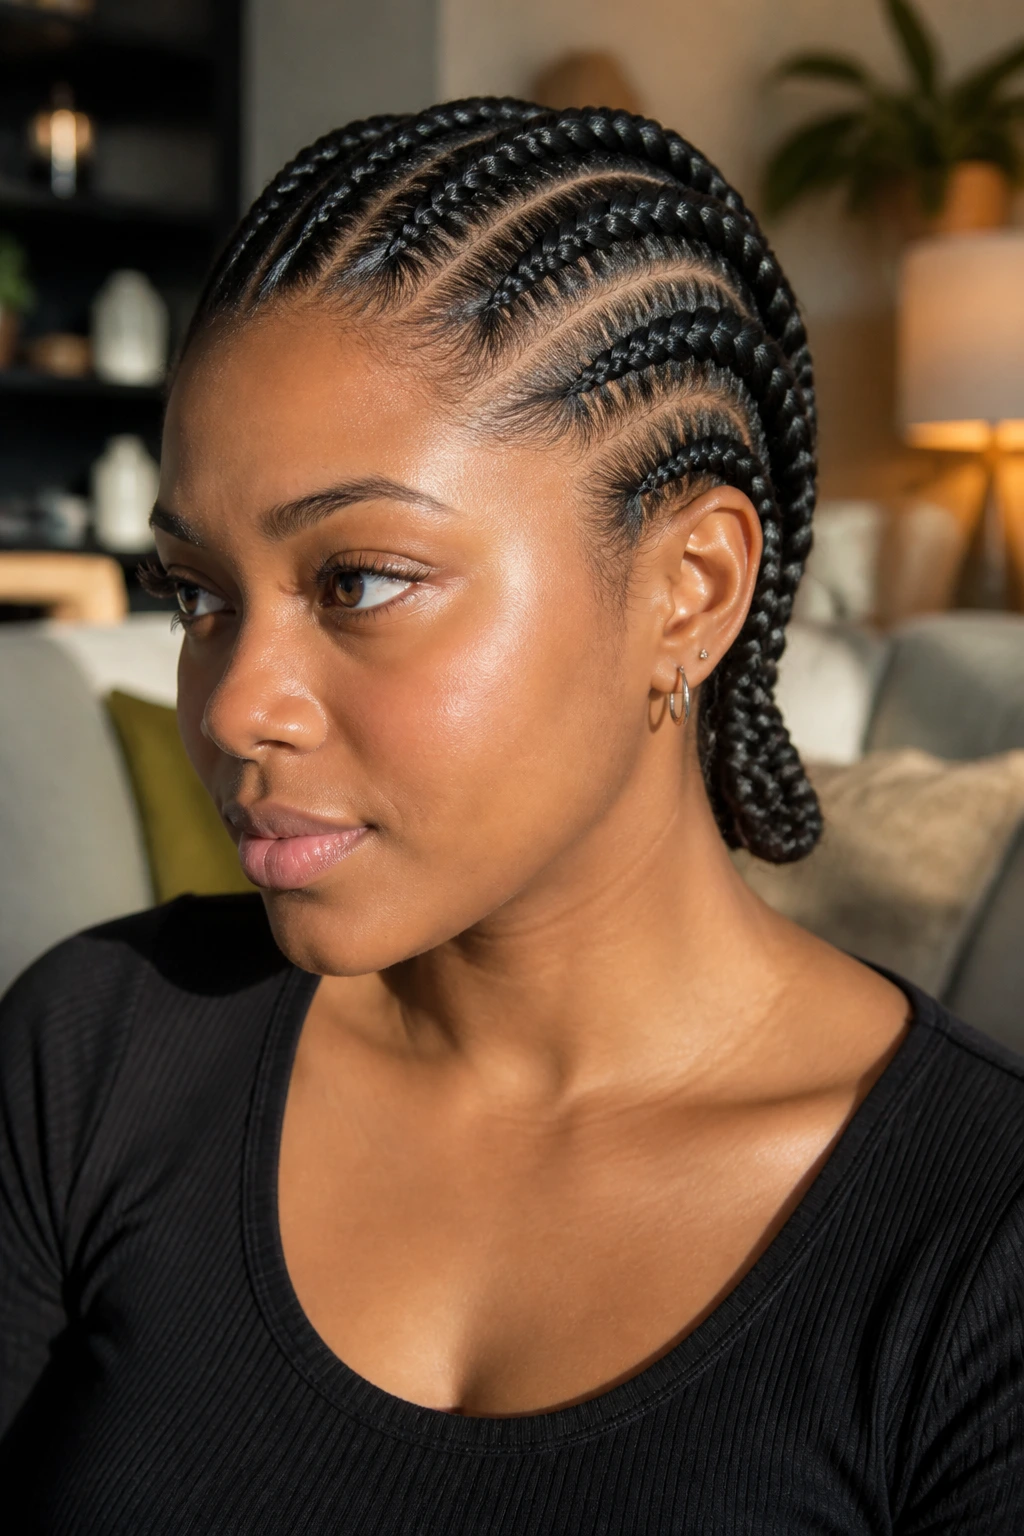
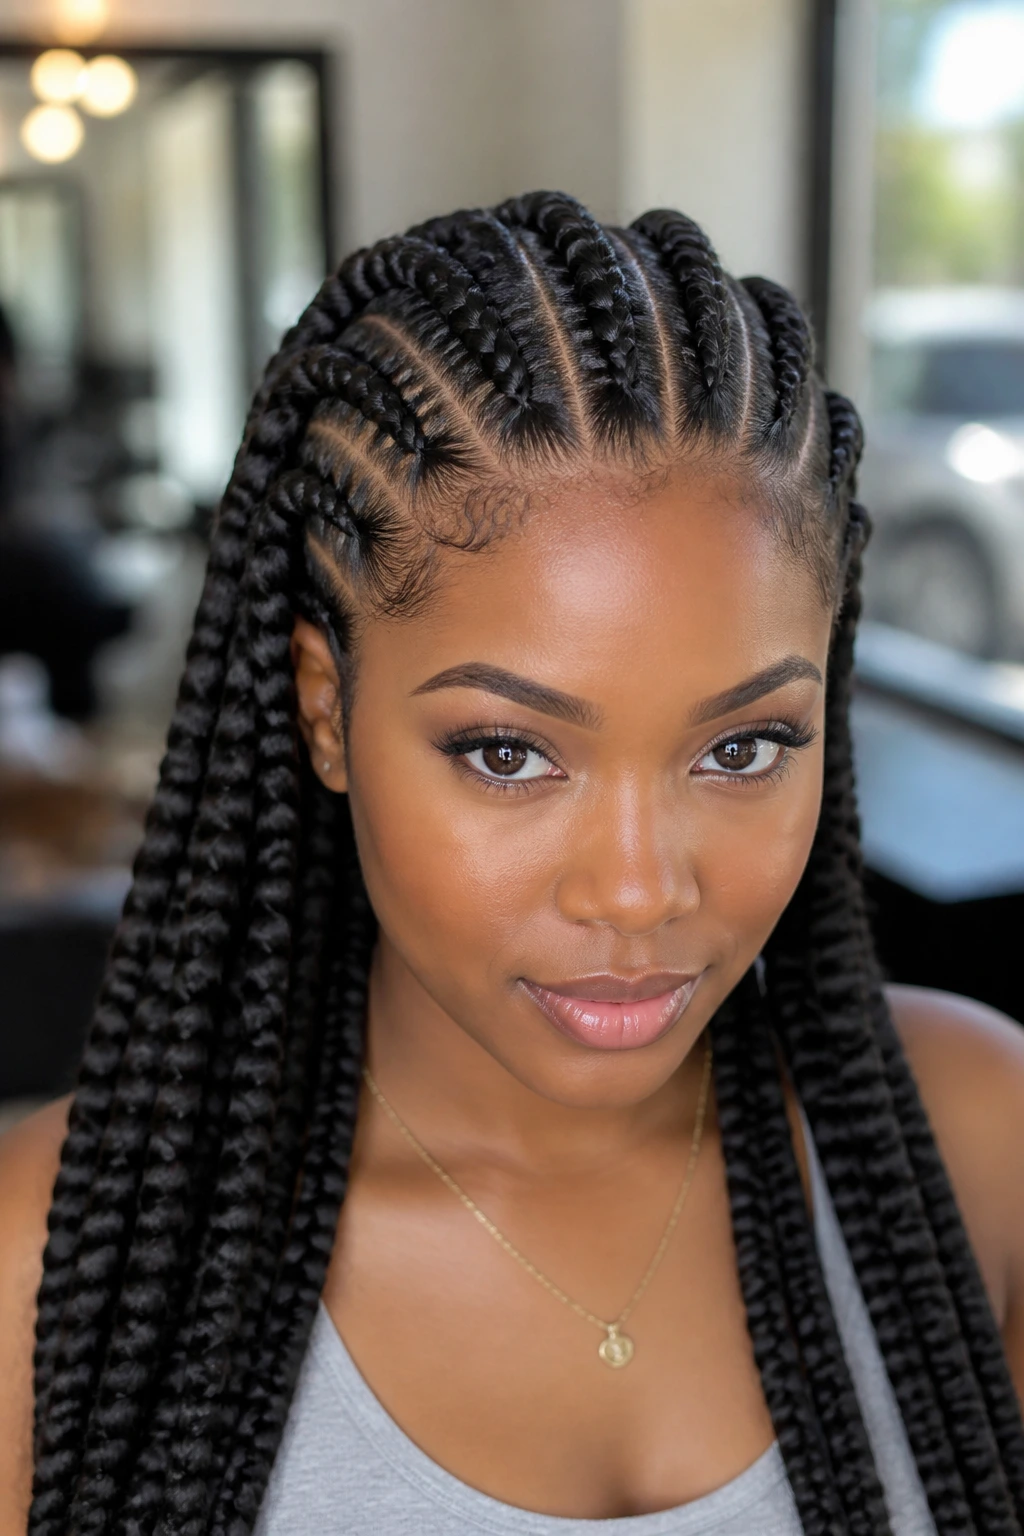
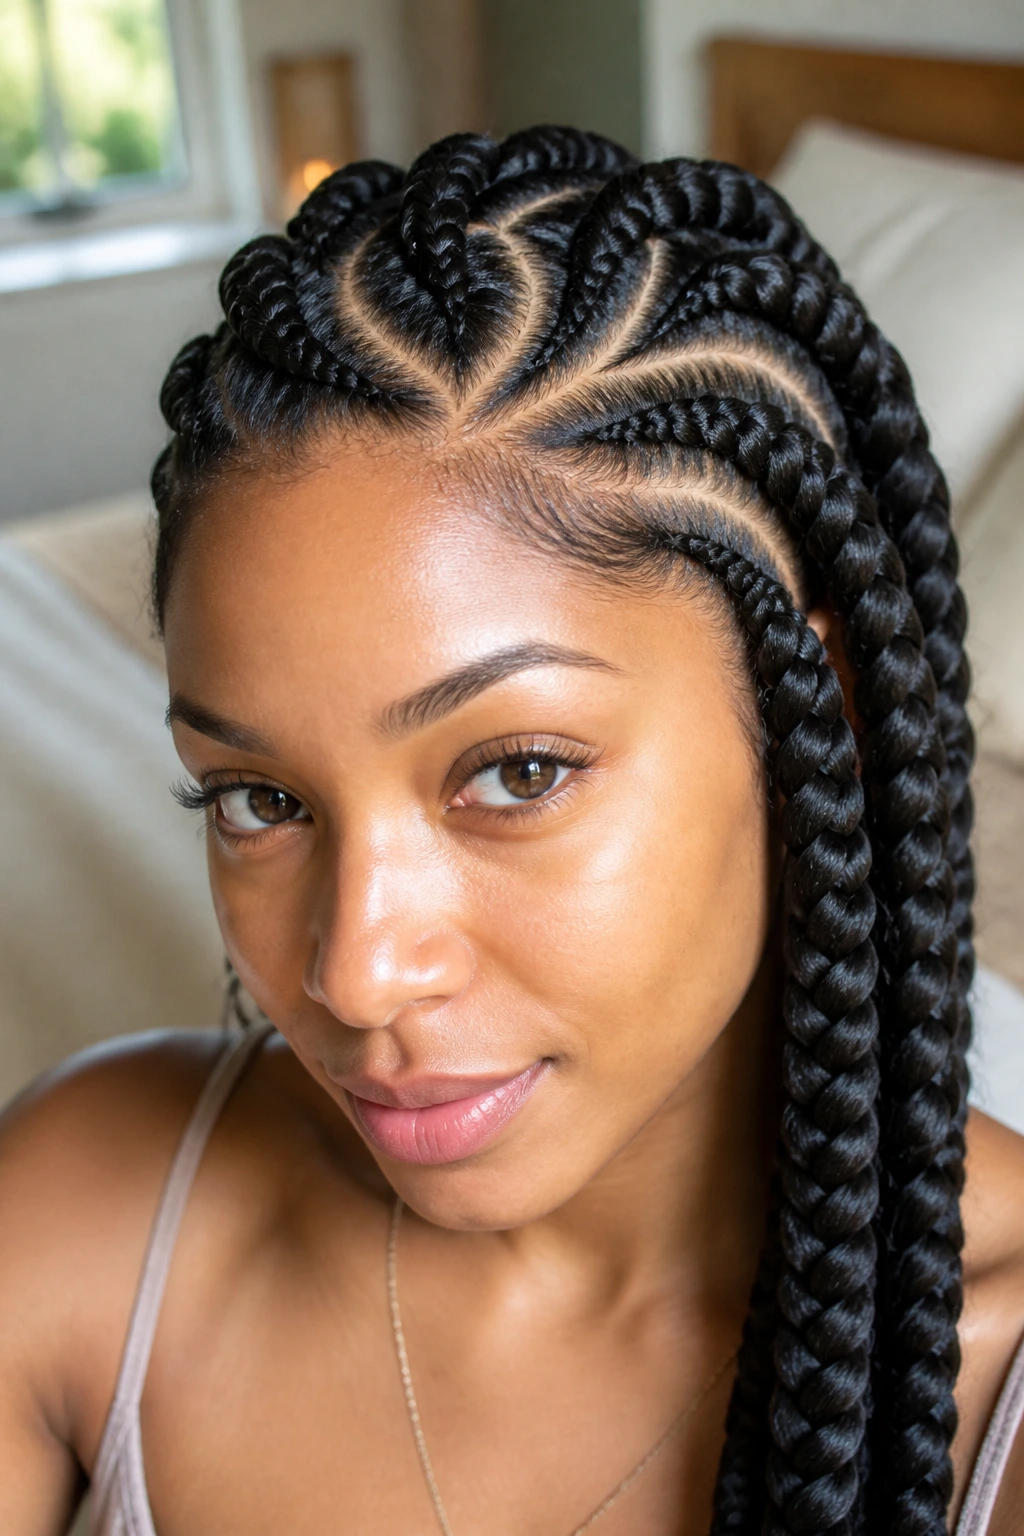
1. Jumbo Feed-In Braids with Curved Parts
Starting with the most classic approach, jumbo feed-in braids utilize a gradual addition of hair. By choosing curved parts, you automatically create an illusion of depth that straight lines simply cannot provide. The curvature masks the parting gaps on the scalp, which is usually the first place people notice thinning.
Why It Works for Thinning Hair
The “feed-in” technique is critical here. Instead of tying a knot with heavy extension hair at the very base of your scalp—which can cause traction alopecia and further thinning—you start with your natural hair and slowly add synthetic hair as you braid away from the root. This keeps the tension low near the sensitive hairline.
The Styling Strategy
- Keep the number of braids low—aim for six to eight jumbo braids total.
- Use a light, water-based pomade to smooth the hair before braiding to ensure a clean look.
- Keep the extensions loose; if they are braided too tightly, they will pull your natural hair upward, creating the exact opposite effect you want.
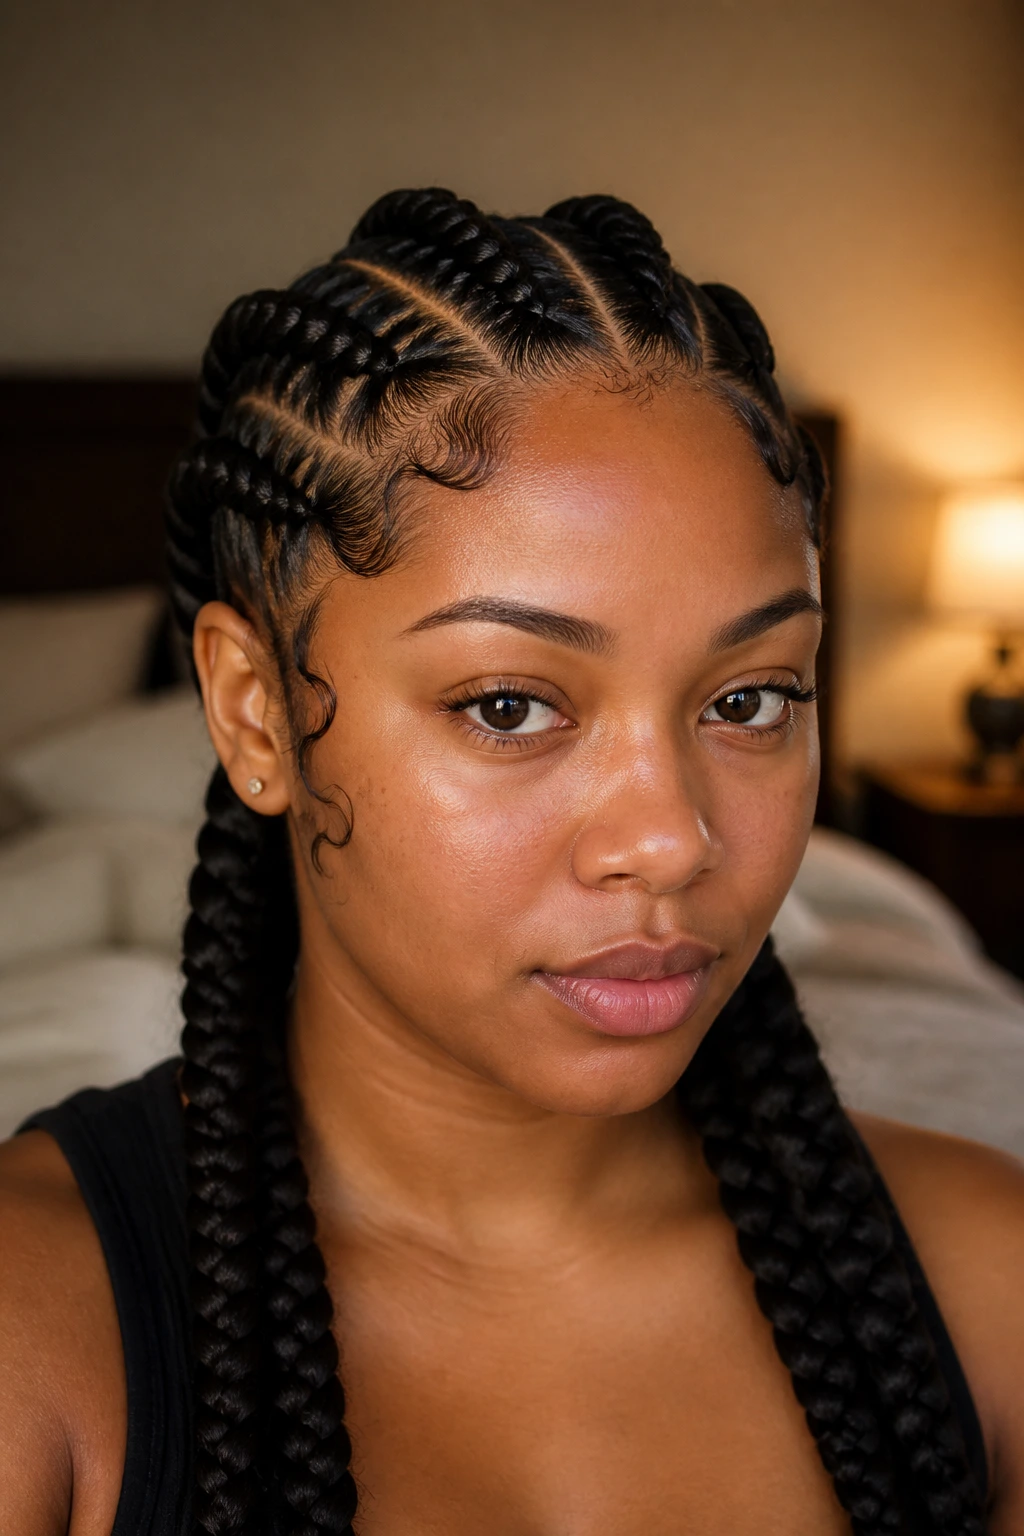
2. Low-Tension Center Part Braids
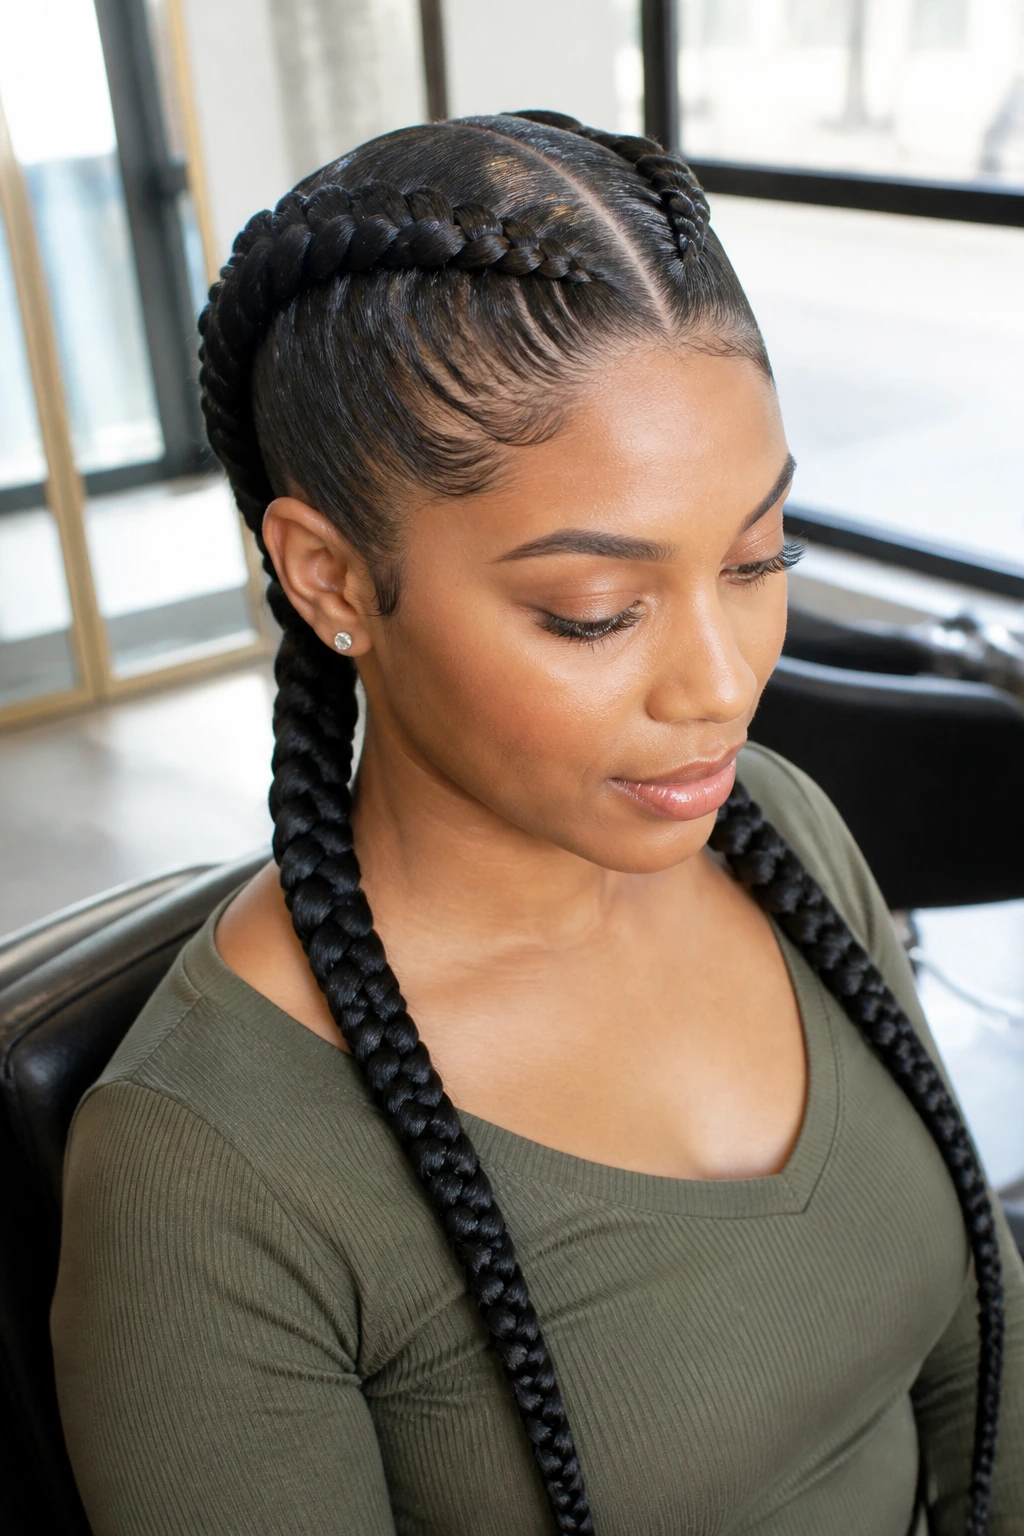
Symmetry has a way of organizing a style so that the eye doesn’t immediately drift to areas with less coverage. A sharp center part leading into two substantial, chunky cornrows is the ultimate “less is more” style. It is quick to install, which means less time spent manipulating your fragile strands.
Enhancing the Fullness
Because this style only requires two major braids, you can afford to use more braiding hair than usual. The result is a bold, sleek look that frames the face beautifully. Focus on keeping the edges smooth with a non-alcoholic edge control that won’t cause flaking or buildup.
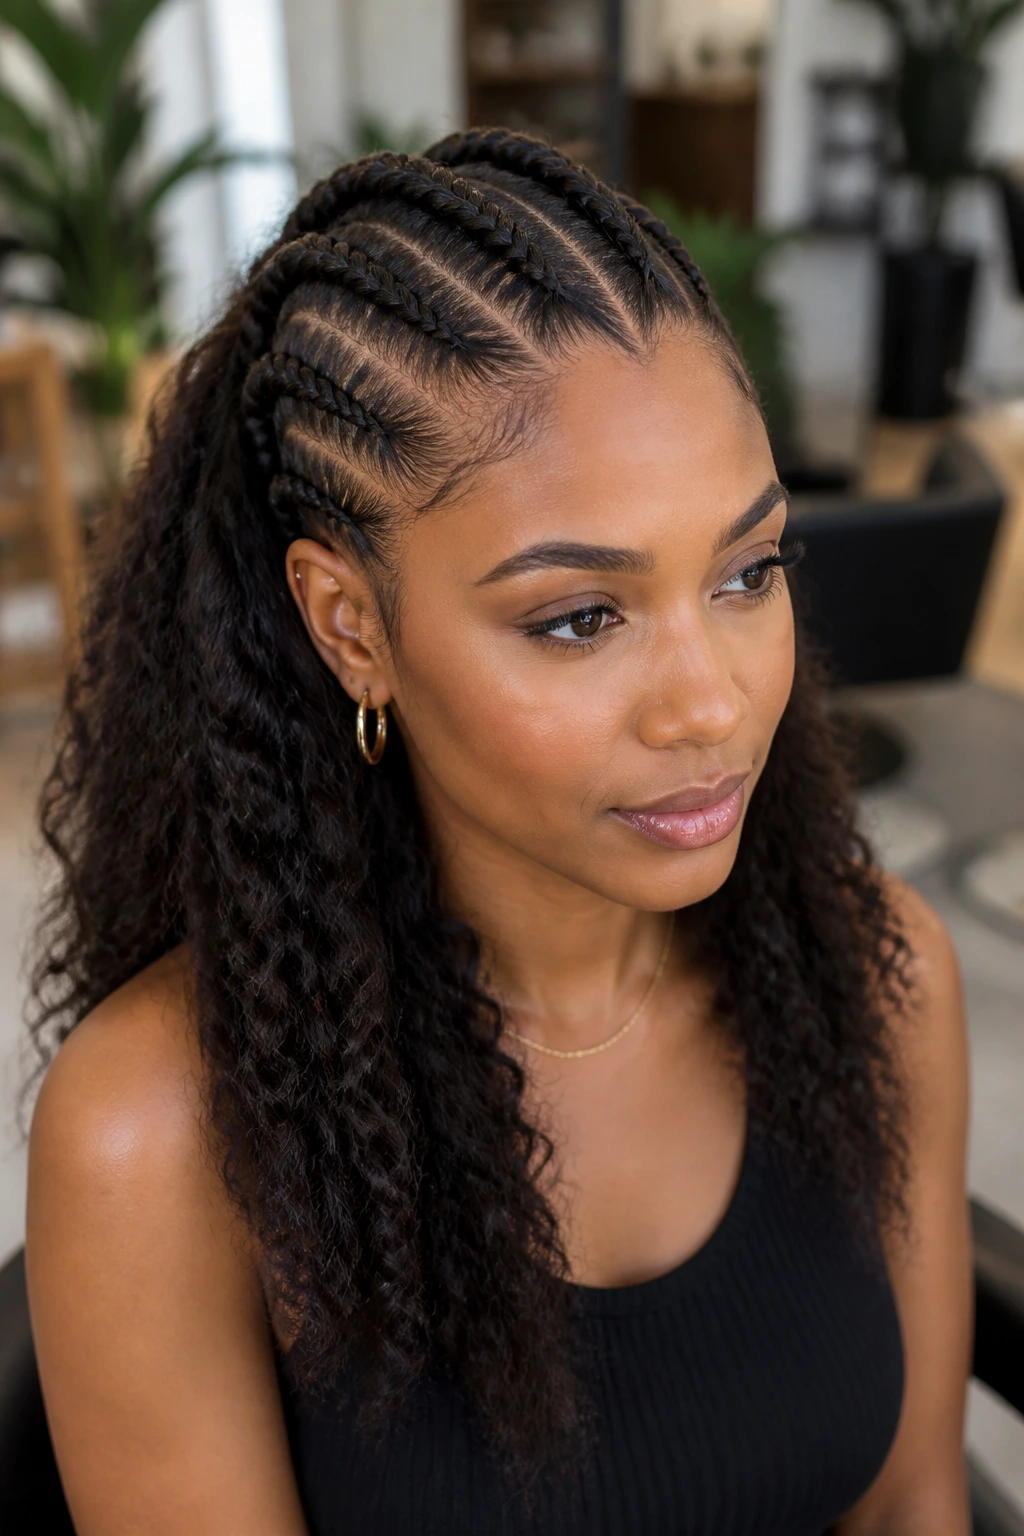
3. Bohemian-Inspired Loose End Braids
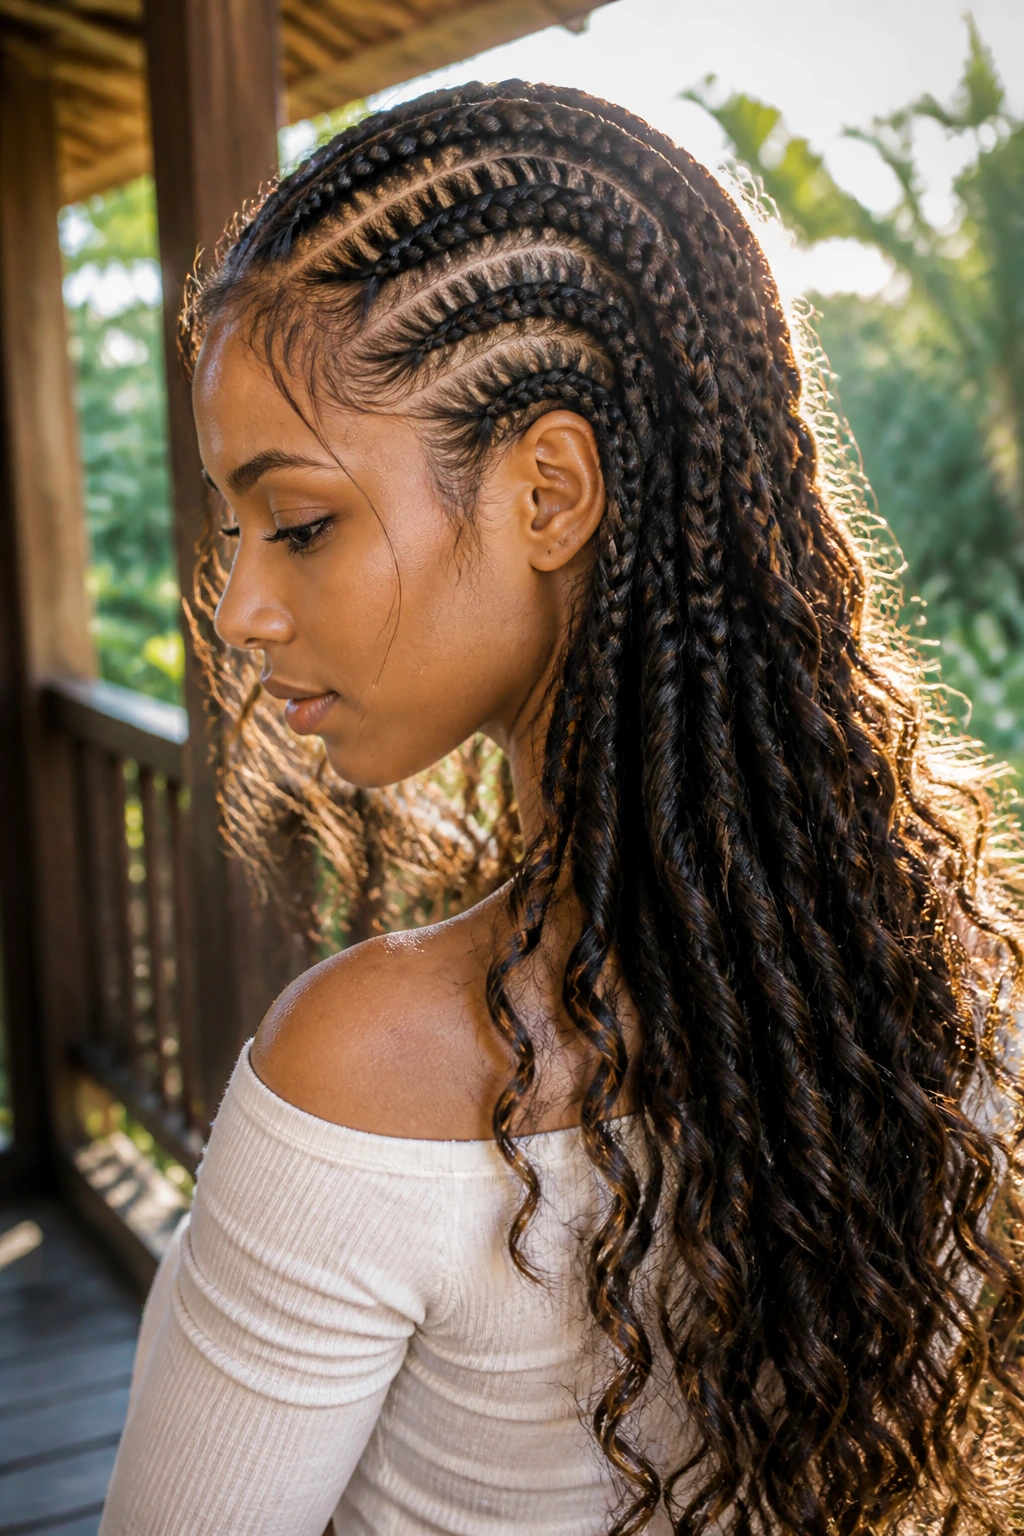
Sometimes the structure of the cornrow is enough, but the ends are where you can cheat the volume. Leaving the ends of your chunky cornrows loose, wavy, and unbraided creates a soft, voluminous look that distracts from the density of the braid base itself.
The “Boho” Benefit
This style allows for heat-free styling. After braiding the cornrows to the nape of your neck, you can use flexi-rods on the ends of the extension hair to create a curl pattern that adds movement. Movement is the enemy of the “thin hair look”—a static, flat style will always show more scalp than a style with bounce and wave.
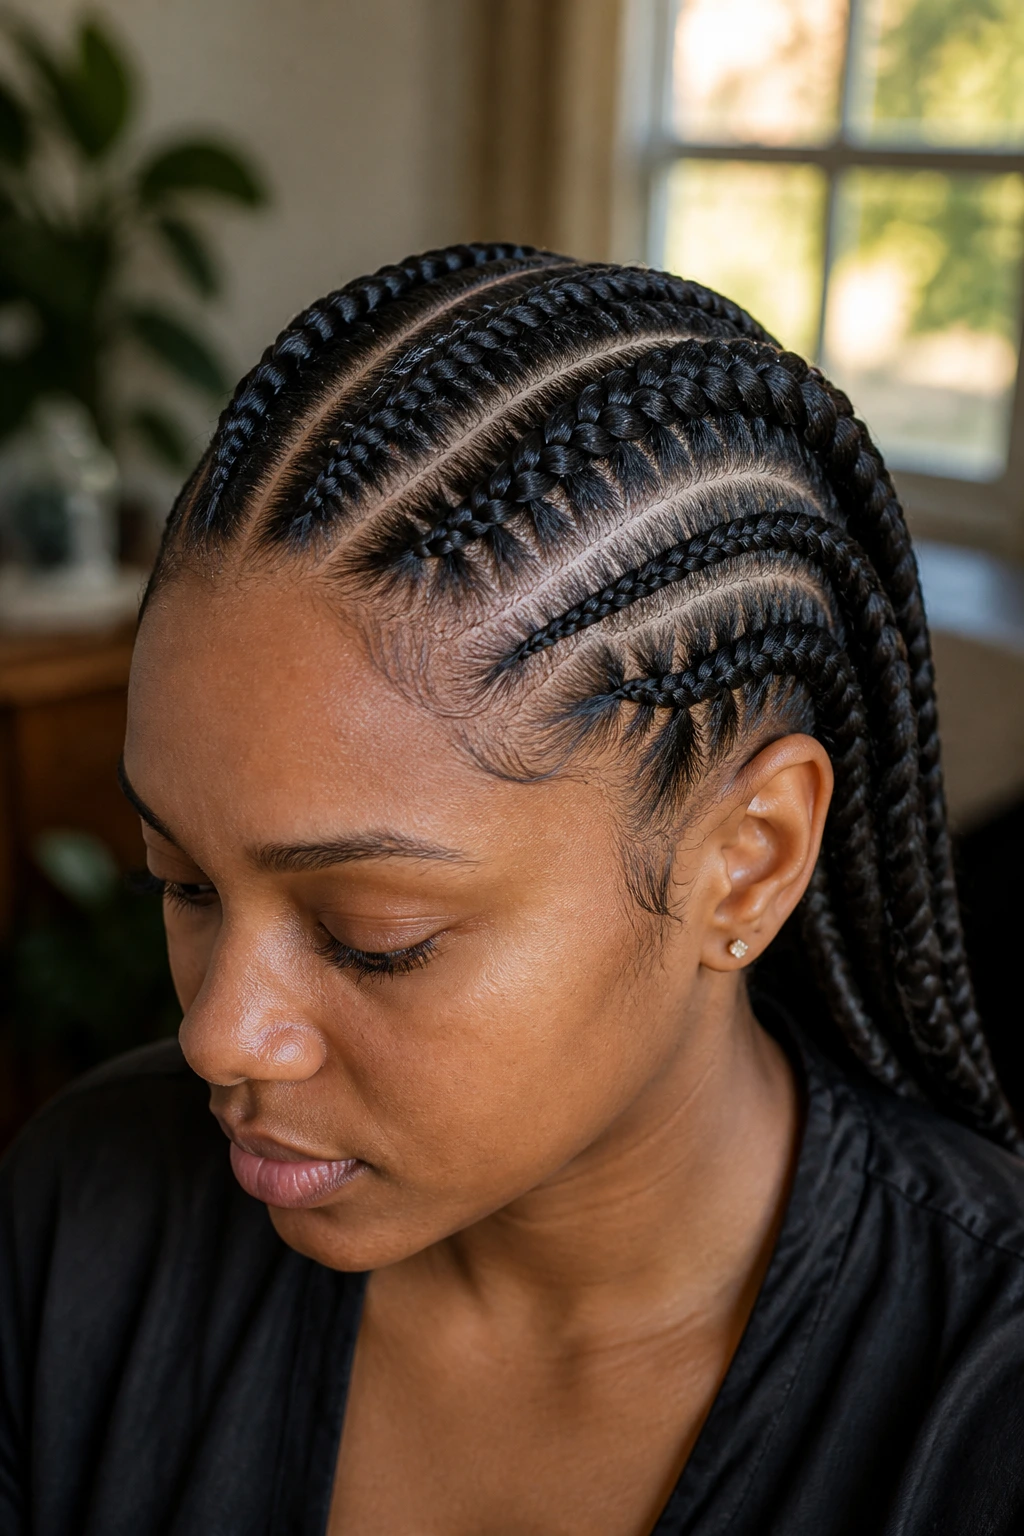
4. Double-Layered Side-Swept Braids
By creating two distinct layers of braids—one smaller, one larger—you build a sense of complexity that makes the hair appear multi-dimensional. When your hair is thin, a single-layer braid often sits flat against the skull. A double-layered approach provides a structural “lift” that adds height.
Technique for Success
Start by braiding a small, tight cornrow just above the ear, then braid a larger, chunky one right above it. The interaction between the two sizes creates a visual hierarchy. The smaller braid acts as a support beam for the larger one, preventing the chunky braid from sagging or looking weighed down.
5. Crown-Wrapped Thick Cornrows
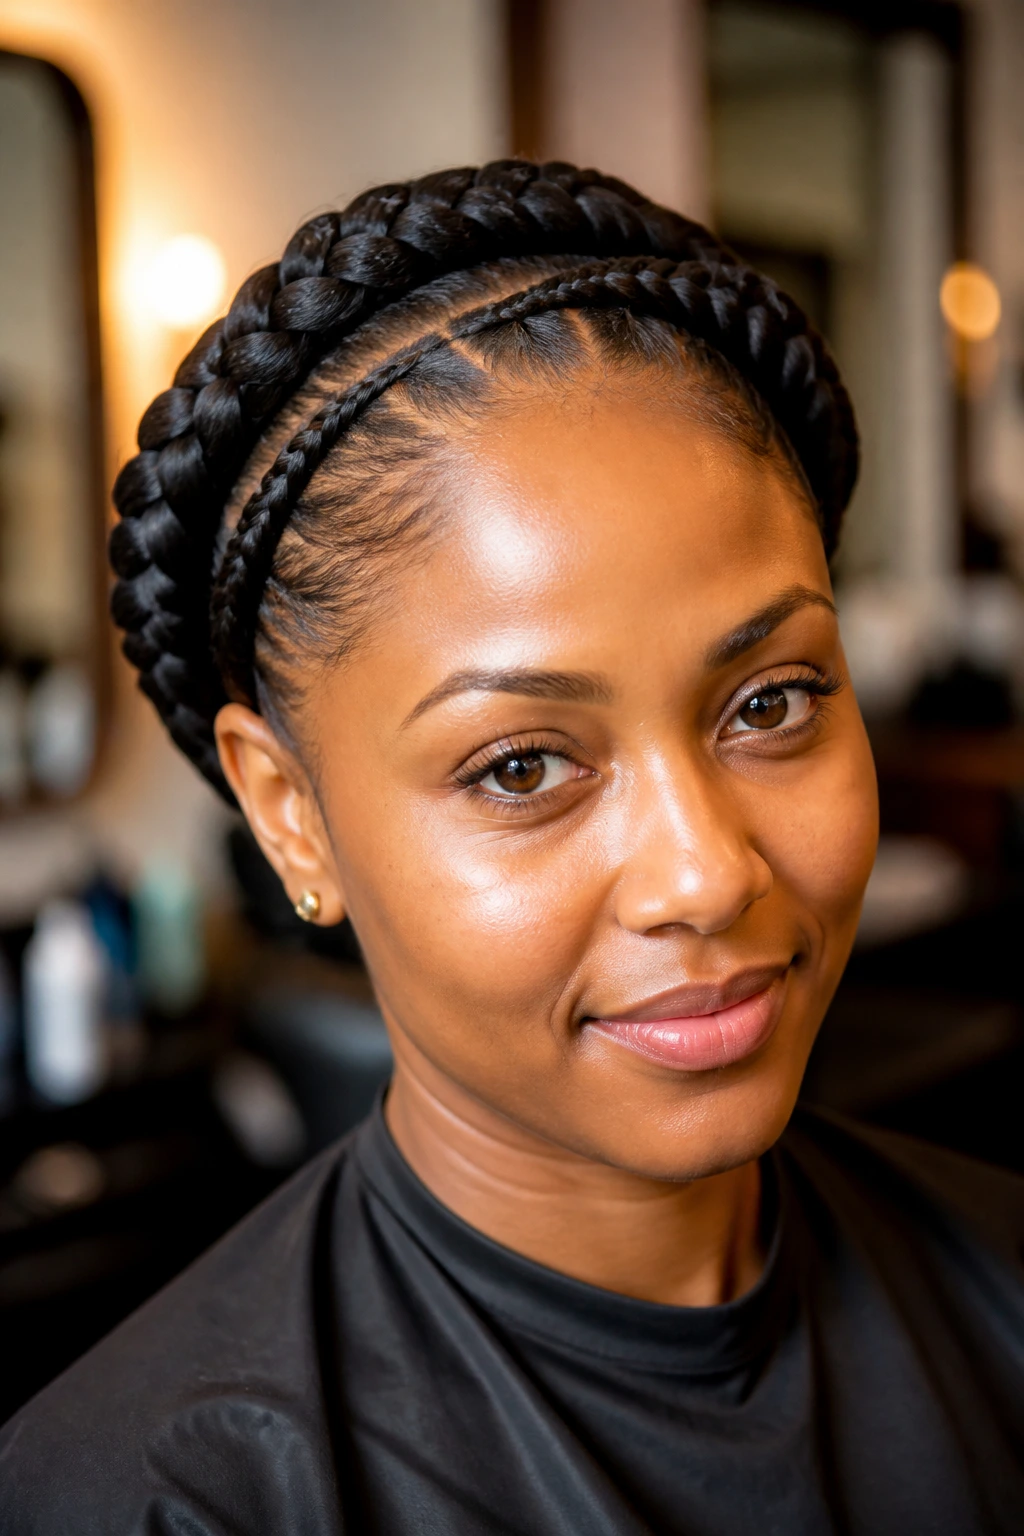
If you want a style that feels like an updo but requires the durability of cornrows, this is your go-to. Two thick cornrows wrapping around the circumference of the head create a halo effect. This is particularly good for those with thinning at the temples, as the hair can be swept forward to cover the hairline.
Pro-Tips for Thinning Hair
- Avoid pulling the hair backward into the braid; instead, braid it at a slight angle toward the face.
- Use a small amount of oil on your scalp before you begin to keep the skin hydrated and protected from the friction of the braiding hair.
- Secure the ends by tucking them into the initial braid rather than using heavy elastic bands.
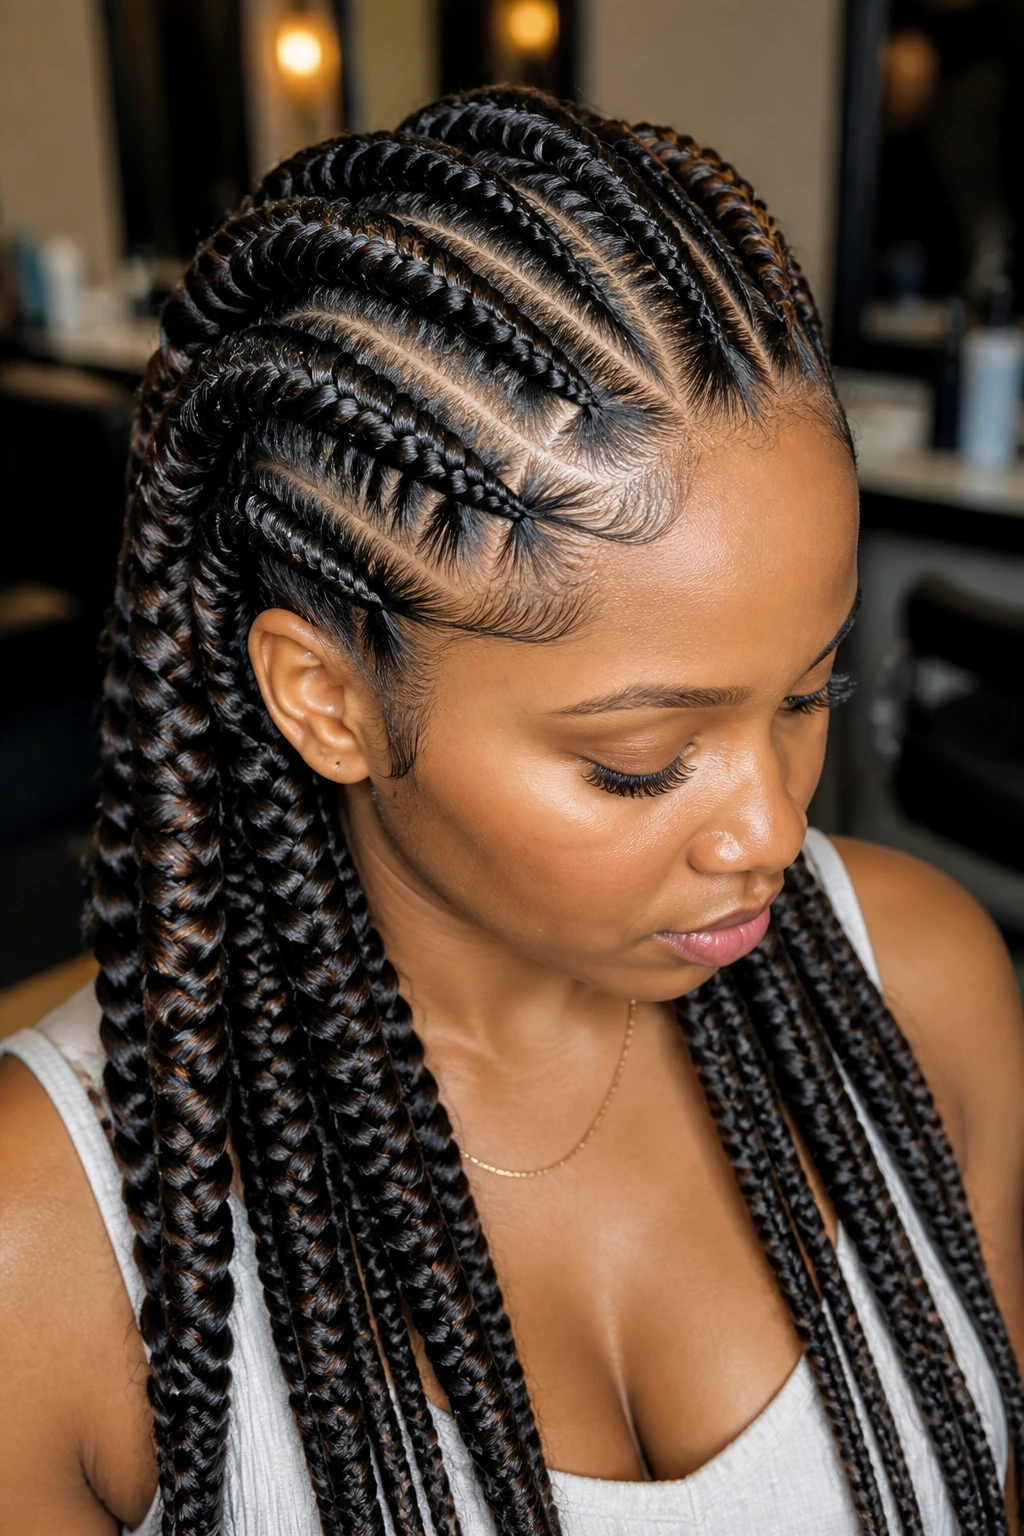
6. Zig-Zag Parting for Illusion
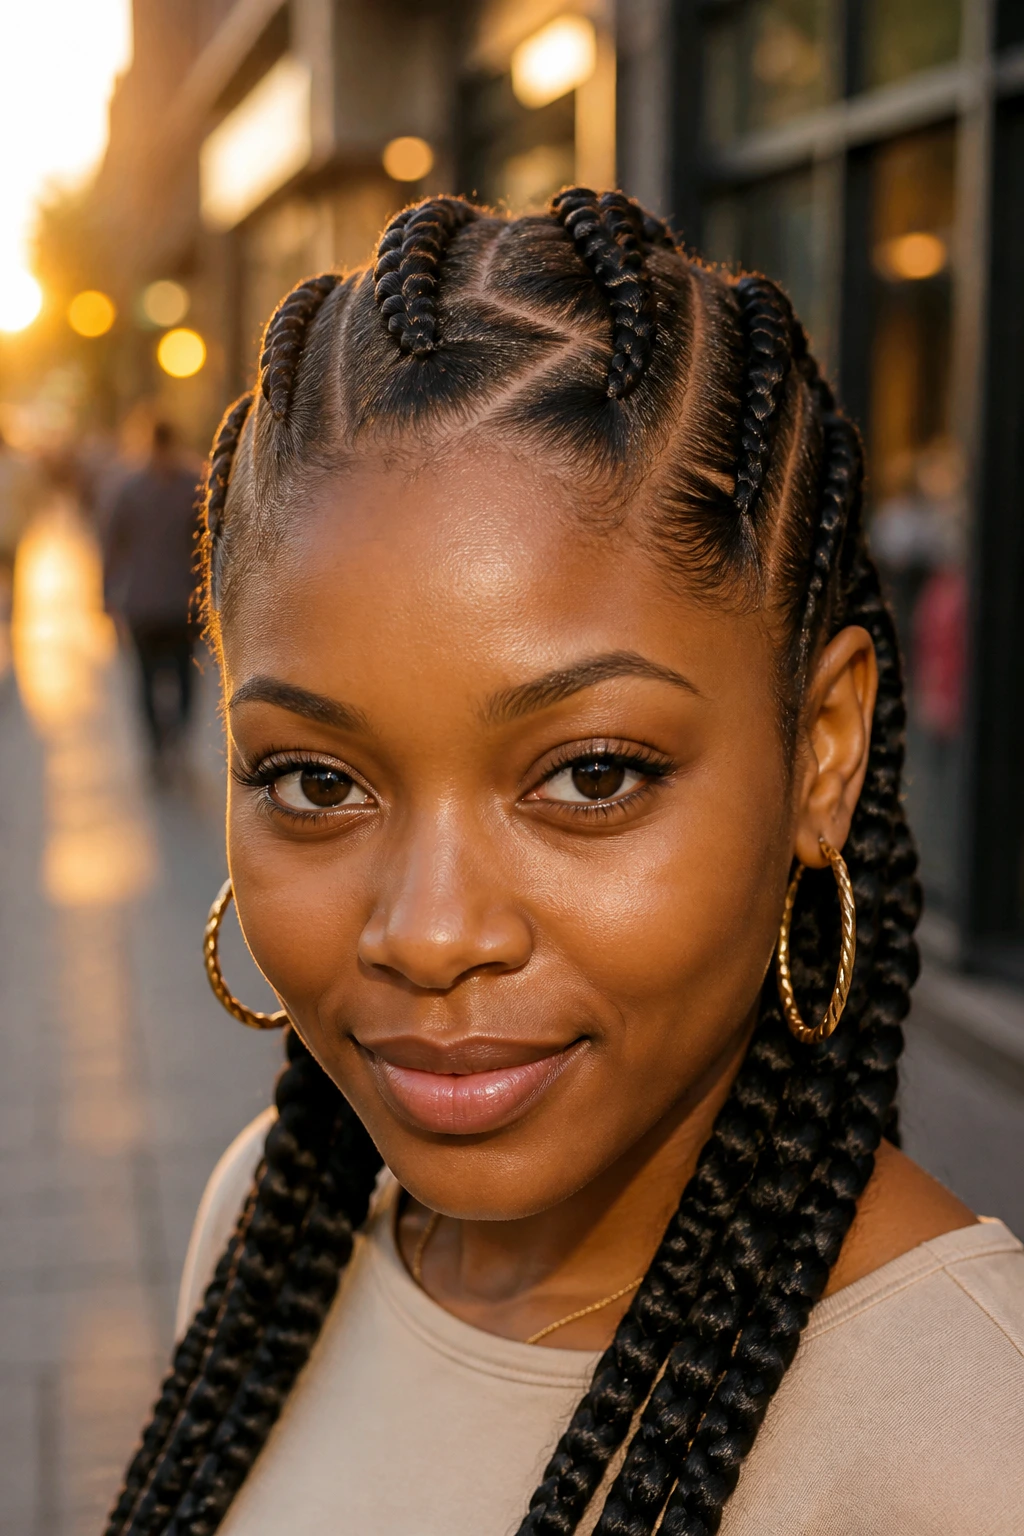
The line where your scalp meets the air is where thinning is most apparent. A zig-zag part breaks up the light reflection on your scalp, making it look like there is more density than there actually is. This works perfectly with chunky cornrows because the thickness of the braids compensates for the “busyness” of the parting.
Why This is Effective
When parts are straight, the eye follows the line directly to the scalp. A zig-zag, however, forces the eye to bounce around, which obscures the view of the scalp. It is a simple geometry trick that is highly effective for anyone working with fine or thin hair.
7. Chunky Braids with Gold Cuff Embellishments
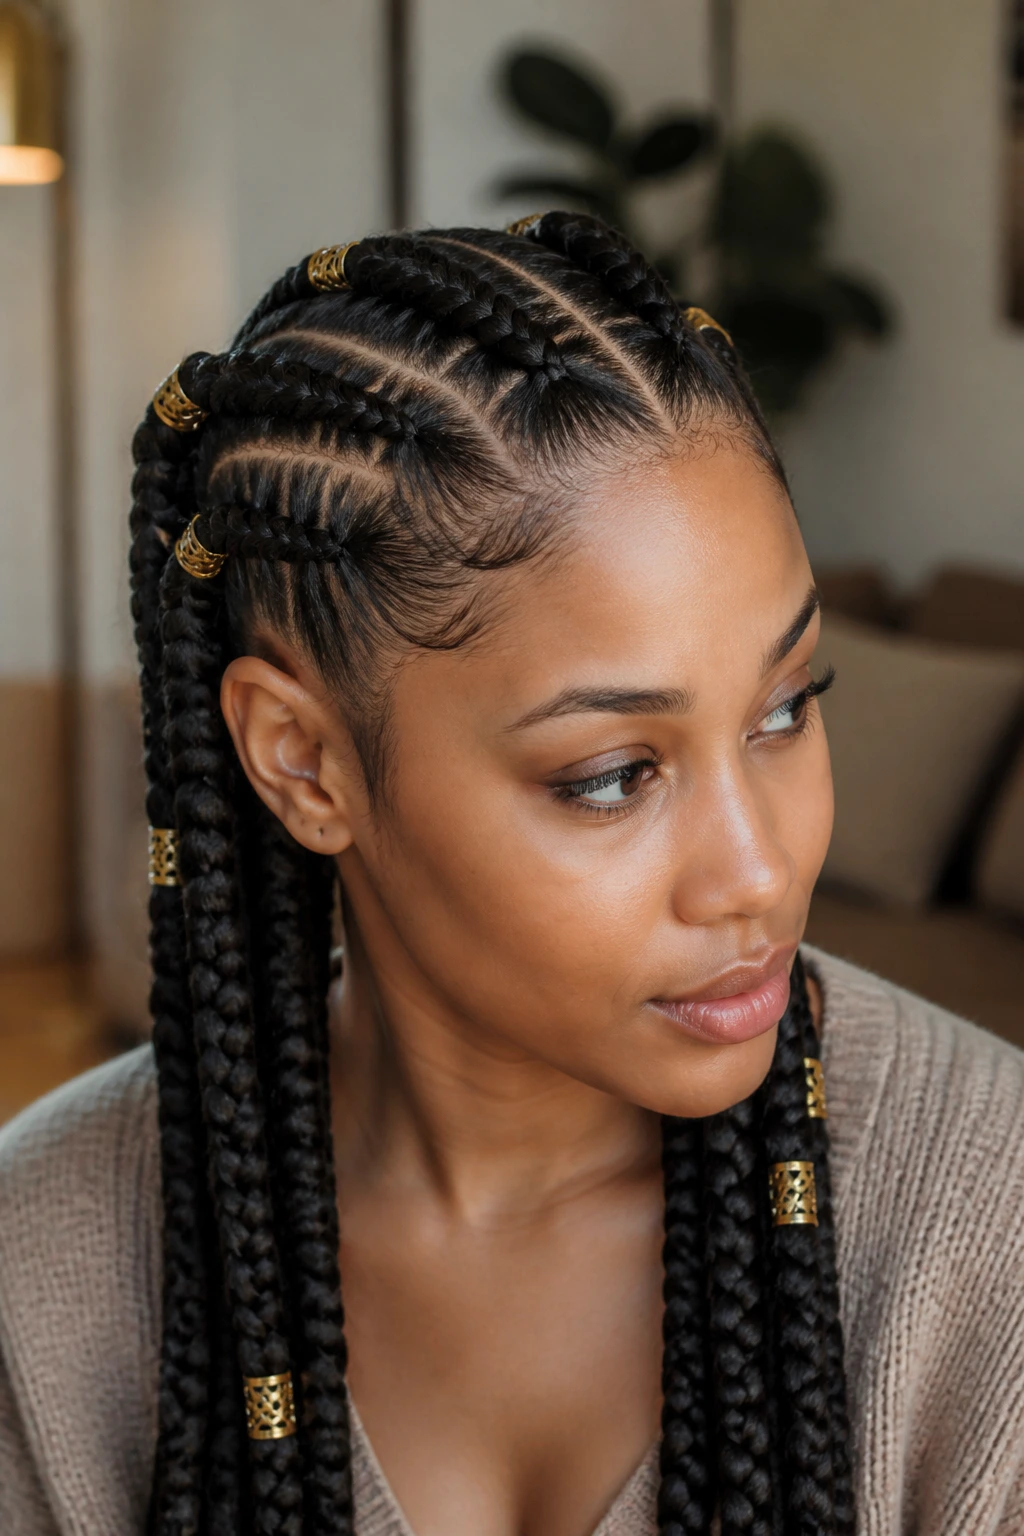
Sometimes, adding accessories is the fastest way to add visual weight. Gold cuffs, rings, or shells placed intermittently along your chunky cornrows draw the eye toward the jewelry and away from the scalp.
Choosing Your Accessories
Ensure the accessories are lightweight. Heavy metal clips will pull on your hair and exacerbate thinning. Opt for hollow gold or silver cuffs that clip on easily without pinching. Placing them near the front of the head creates a frame that feels intentional and styled.
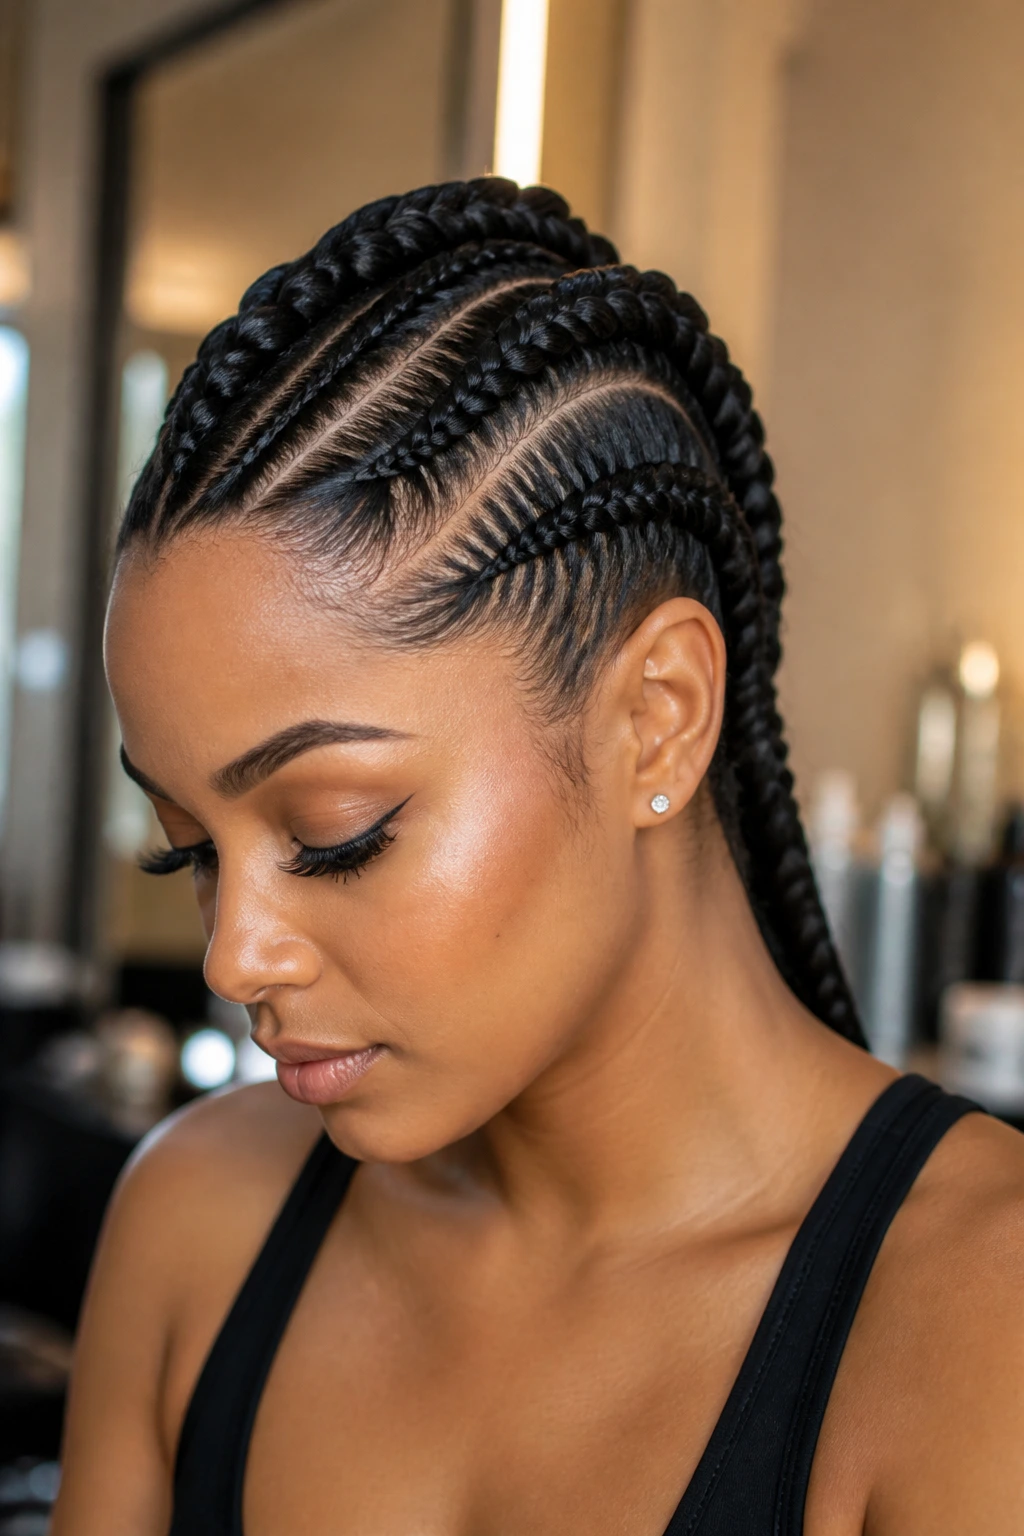
8. High-Volume Ponytail Braids
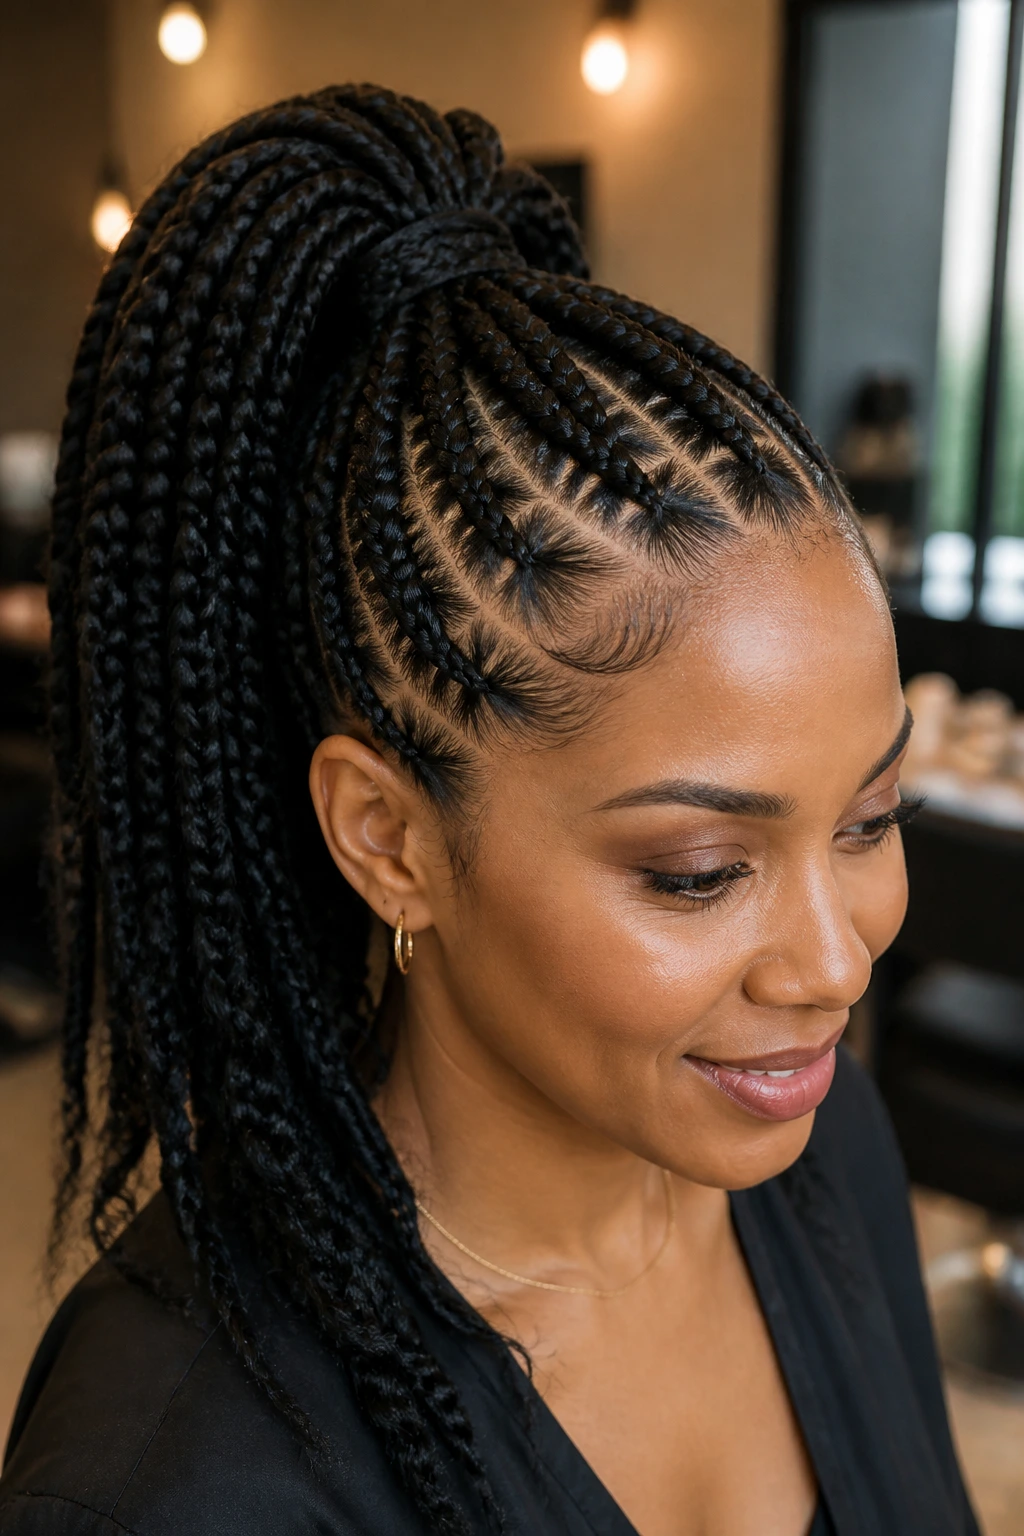
If you are comfortable with a bit of tension at the base, gathering several chunky cornrows into a high ponytail creates a concentrated volume of hair that sits at the crown. This takes the weight off the perimeter of your head where the hair might be at its thinnest.
The Maintenance Factor
The danger with high ponytails is tension at the hairline. To avoid this, gather your hair into a ponytail first using a soft, silk-wrapped band. Then, attach the braids to the ponytail base using hair pins rather than braiding your natural hairline hair directly into the tight ponytail.
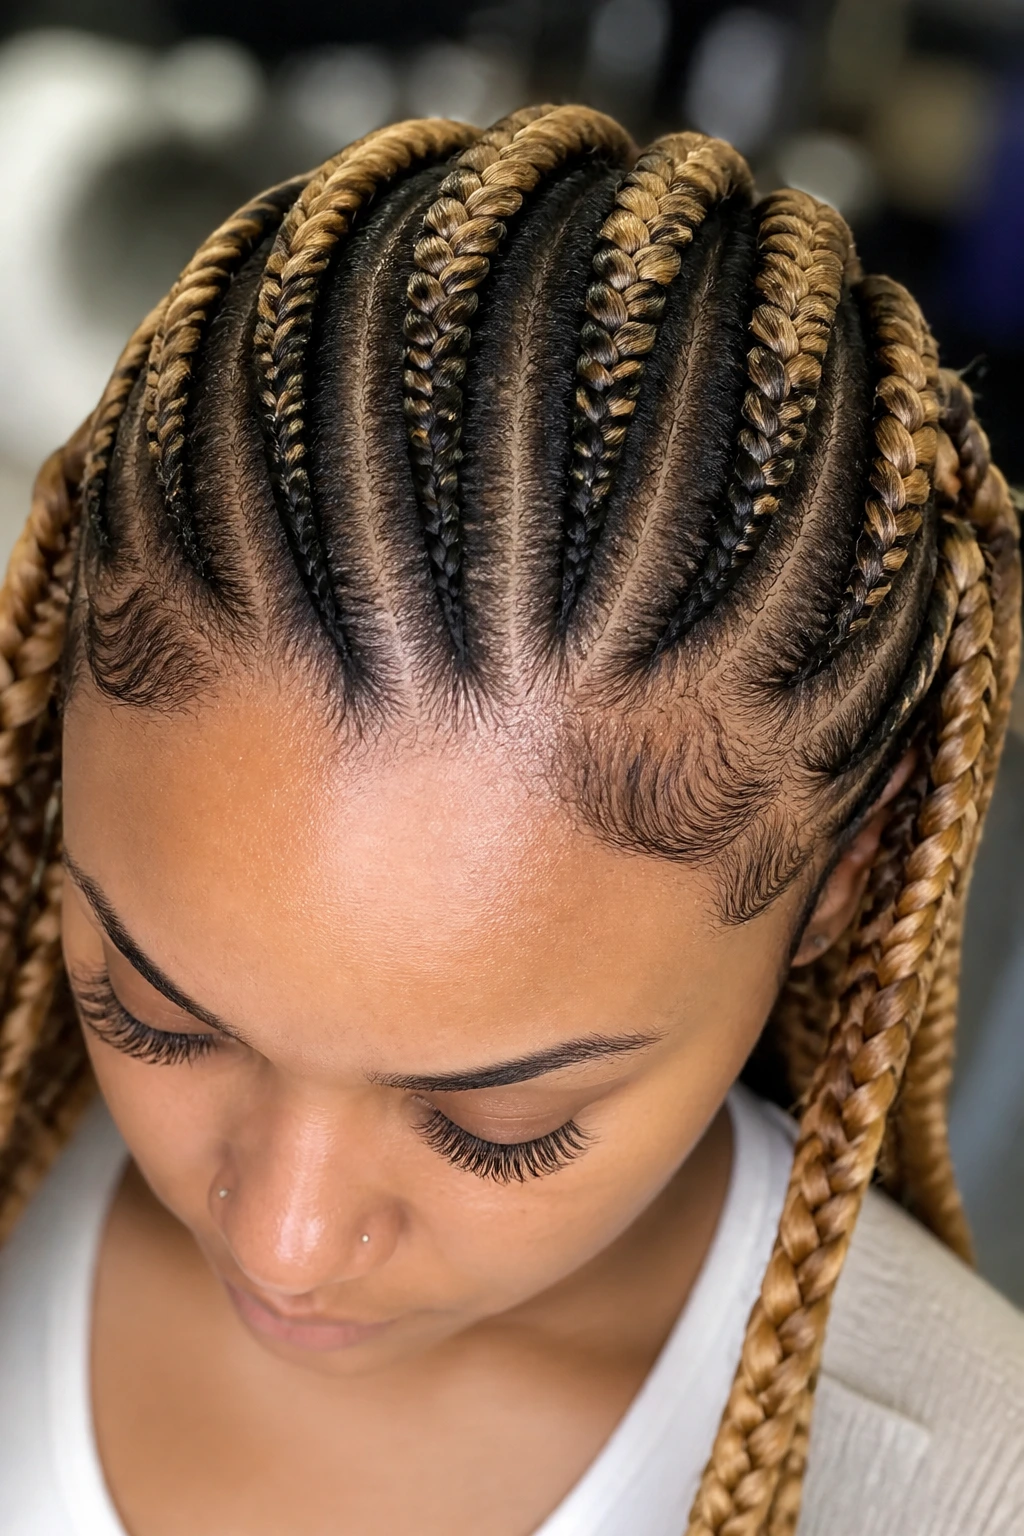
9. Blonde or High-Contrast Extensions
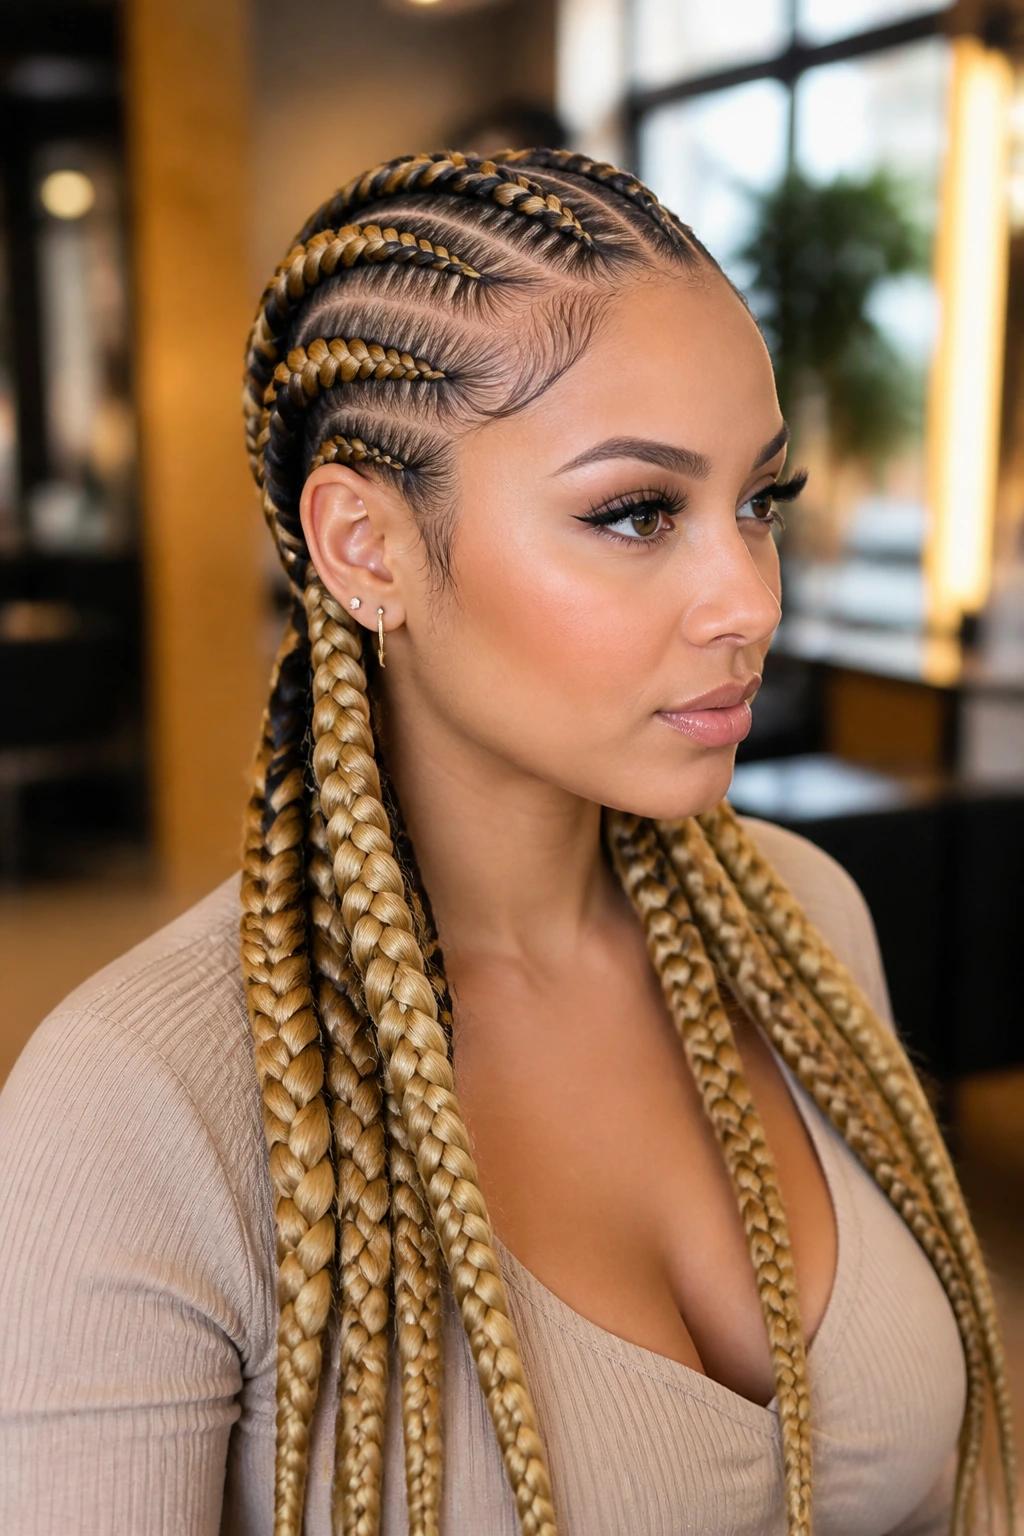
Color is a powerful tool. Using extensions that are a lighter shade than your natural hair—like honey blonde or copper—can create an optical illusion of depth. The contrast between your darker roots and the lighter braid mimics the appearance of natural highlights, which naturally makes hair look fuller and more vibrant.
Color Theory for Thin Hair
- Stick to warm tones, which tend to reflect light and look thicker.
- Avoid jet black if your hair is thinning, as it often creates a stark contrast against the skin that highlights scalp visibility.
- A “dimensional” braid with two different shades of extension hair mixed together will always look thicker than a solid, single-color braid.
10. The “Heart” Pattern Braid
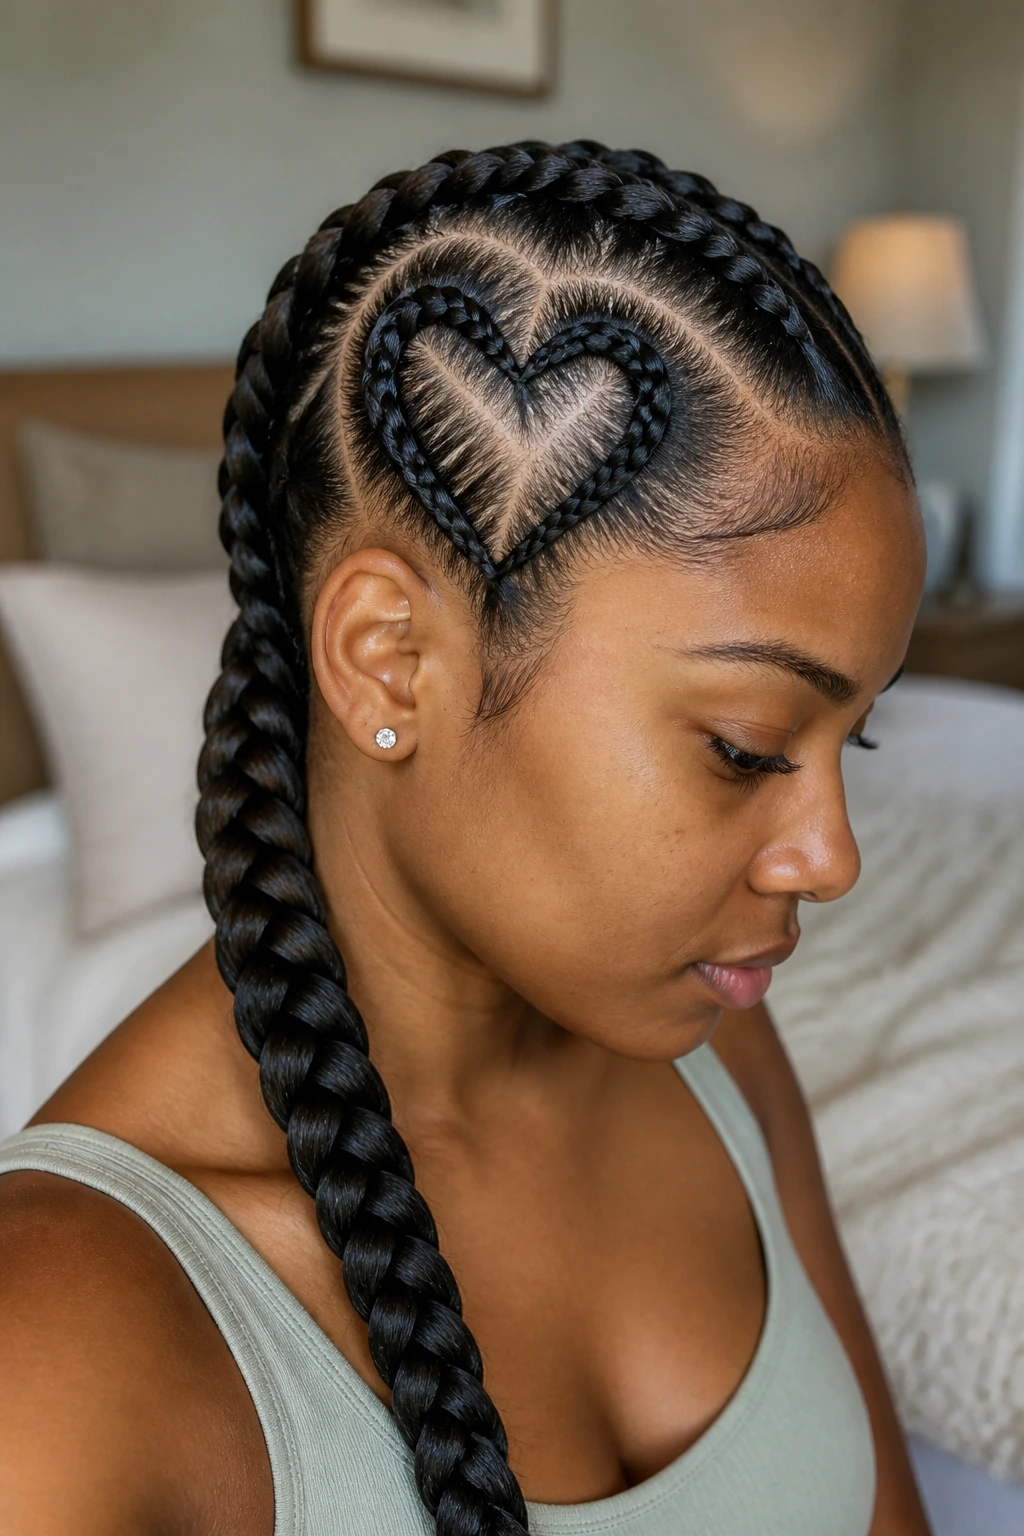
Design-based cornrows are fun, but when hair is thin, the design needs to be bold to cover the area. A heart-shaped parting on one side of the head, leading into a chunky braid, is a classic way to add personality without sacrificing coverage.
Why Patterns Work
Patterns require hair to be moved into specific directions. By manipulating the direction, you can sweep hair from denser areas toward thinner areas. When you combine this with the sheer volume of a “chunky” braid, you create a look that is both artistic and functional.
11. Thick Braids with Curled Perimeter Edges
If your natural edges are thin, the worst thing you can do is pull them tightly into the braid. Instead, leave the very front edge of your hair out, curl it with a small wand, and let it frame your face. Then, start your chunky cornrows about an inch back from the hairline.
Protecting the Hairline
This is the most important tip for those with thinning edges. By creating a “bang” effect with your own natural hair, you hide the start of the braid. This prevents the “bald” look often associated with overly-tight braids, while the rest of your hair remains protected in the chunky cornrows.
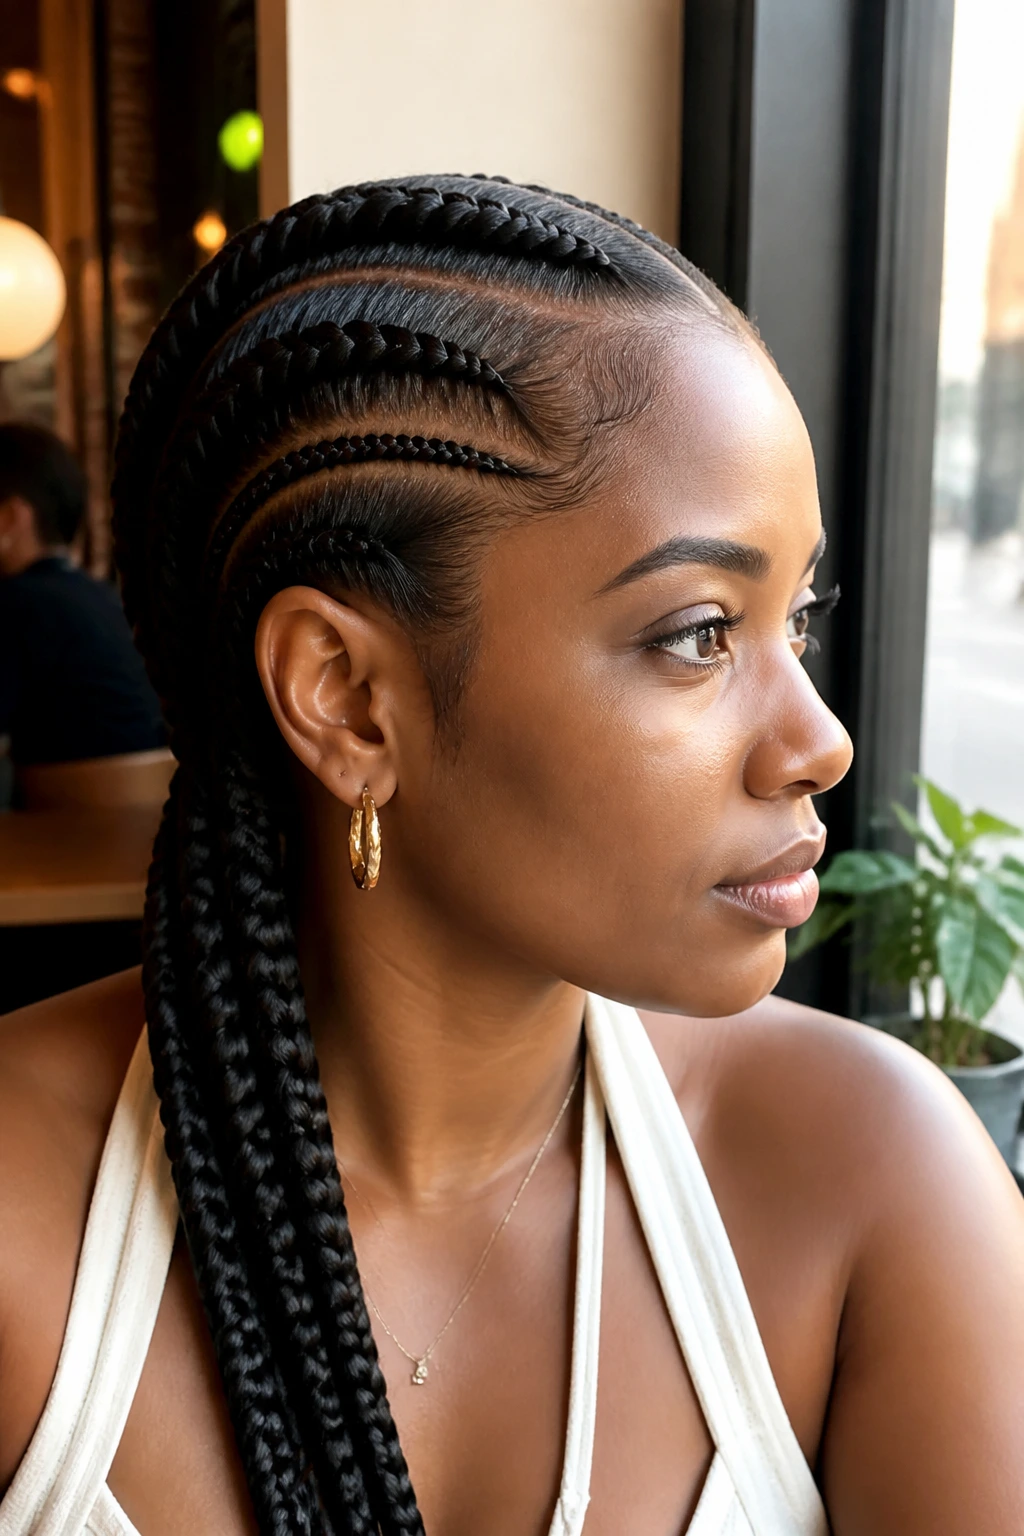
12. Asymmetrical Side-Part Braids
An asymmetrical style directs the majority of the hair to one side of the head. If your thinning is localized on one side, this style allows you to create a “sweep” that provides extra coverage where you need it most.
Balancing the Look
Keep the braids on the “thinner” side slightly smaller and more frequent, while keeping the “fuller” side with larger, chunkier braids. This asymmetry looks like a style choice rather than a necessity, and it balances the weight of the hair across your head.
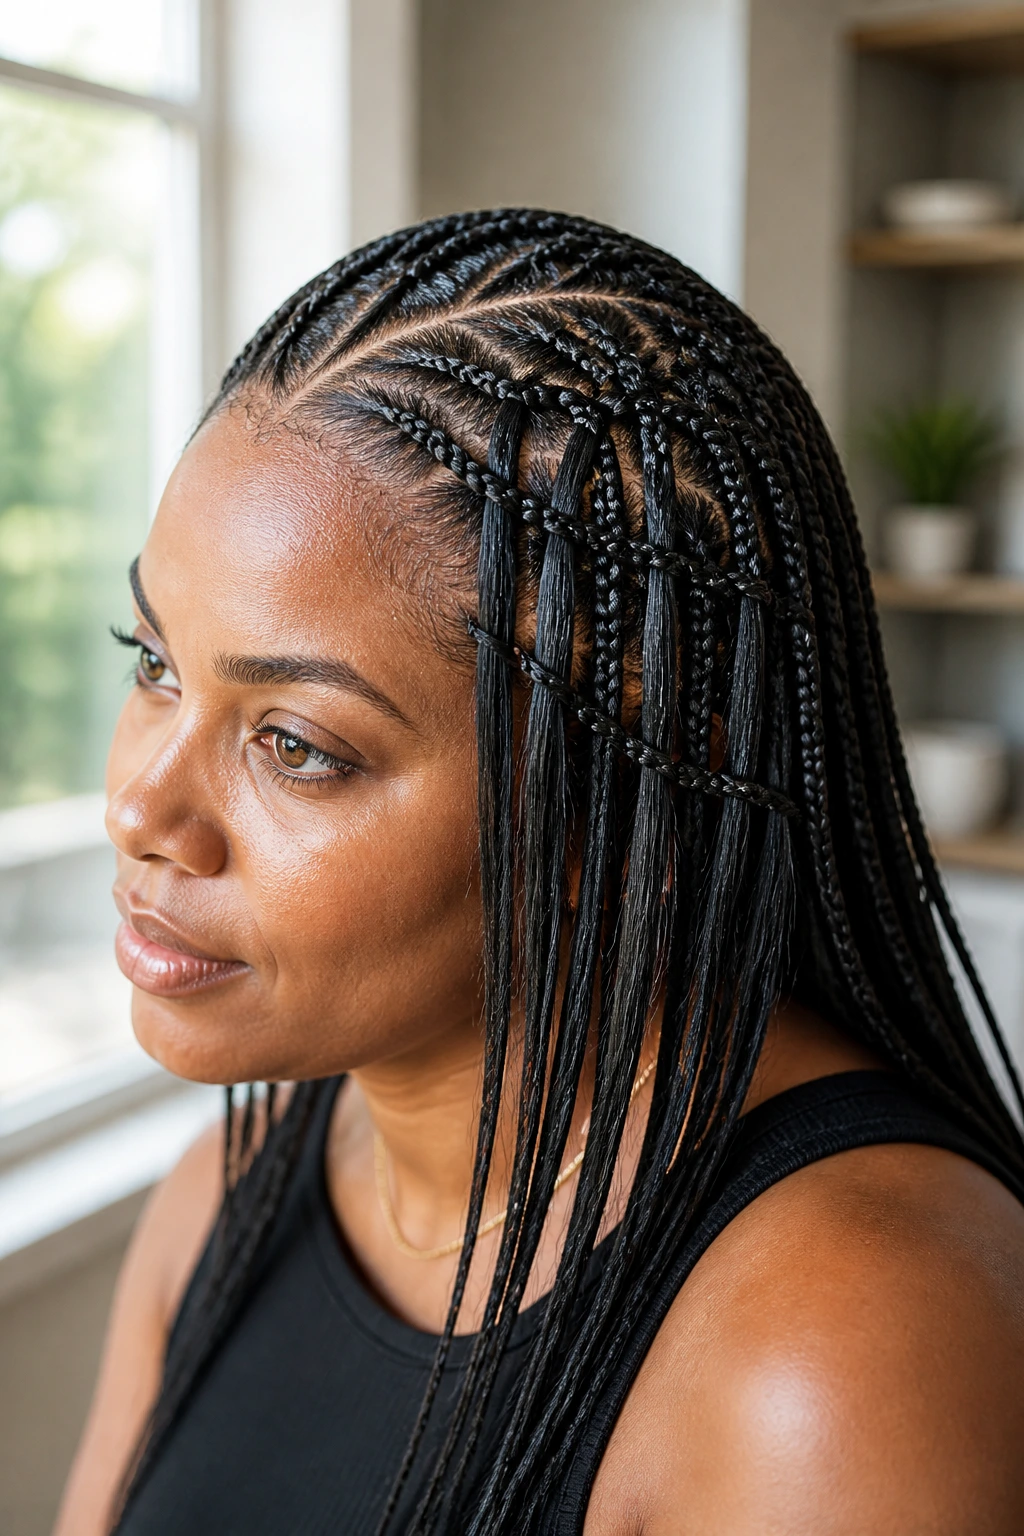
13. Fishtail-Hybrid Cornrows
While traditional cornrows are three-strand braids, you can elevate the look by incorporating a fishtail technique into the braid once it leaves the scalp. This creates a tight, intricate look that feels more “substantial” than a standard three-strand weave.
Why This Adds Volume
The fishtail technique uses more strands of hair, which makes the braid wider. Even if the amount of hair inside is the same, the width of the braid occupies more visual space, which is exactly what you want when dealing with fine hair.
14. Wrapped-in Yarn or Thread
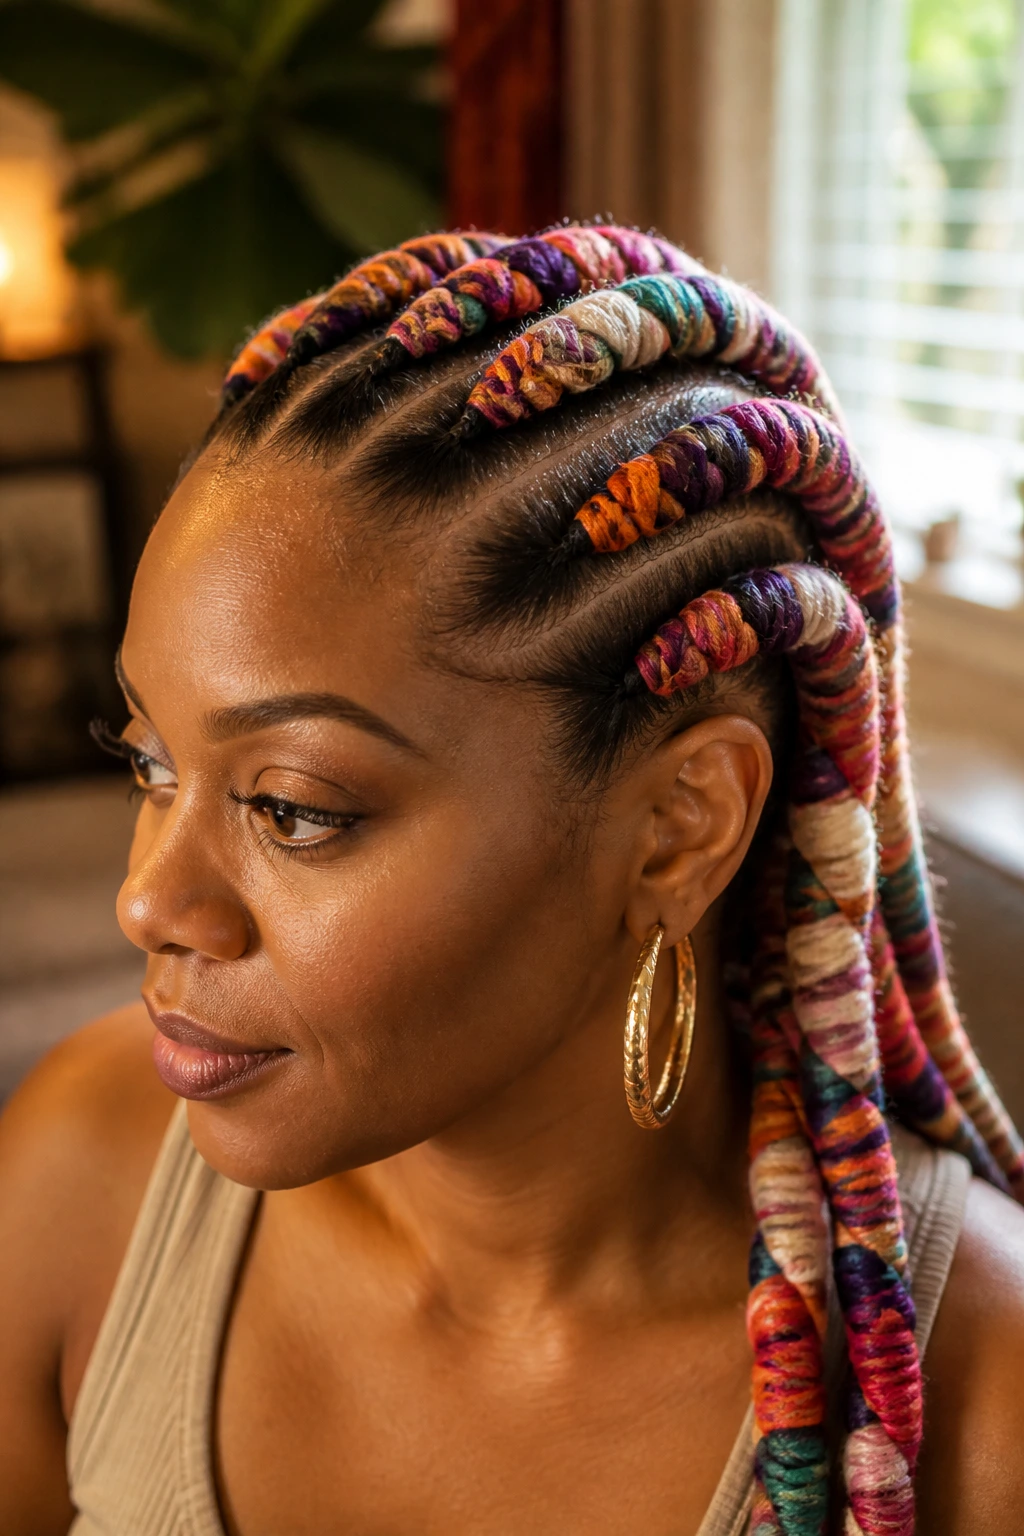
If you want to protect your hair from the environment, wrapping your cornrows with colored thread or yarn is a fantastic option. This adds physical bulk to every single braid, ensuring that even if your natural hair is thin, the braid itself is thick.
Important Note on Yarn
Yarn can be heavy. Use a lightweight acrylic yarn and do not wrap it so tightly that it creates moisture issues. The goal is to add volume, not to create a heavy weight that will stress your follicles.
15. The “Mohawk” Braid Style
Three jumbo cornrows running from the forehead to the nape, with the center one being the thickest, create a powerful mohawk-inspired look. This style keeps the sides of the head relatively clear, which is often easier to manage than full-head coverage.
Why It’s Effective
By focusing the bulk of the hair in the center, you create a “ridge” of volume that runs along the highest point of your head. This draws the eye upward, which is the most flattering angle for anyone dealing with fine hair or thinning patches.
16. Chunky Braids with Tucked Ends
Sometimes, the ends of braids are what cause the most snagging and breakage. Tucking the ends into a clean, knotless finish—often achieved by burning or sealing the synthetic hair—prevents the braids from catching on clothes or pillows.
Durability Tips
- Use a small amount of nail glue or hair adhesive for the very tip of the braid to keep it sealed.
- Keep the ends short to prevent them from becoming tangled.
- Long, loose ends are prone to knotting, which can lead to you pulling on your hair when trying to detangle.
17. The “Space Buns” Cornrow Combo
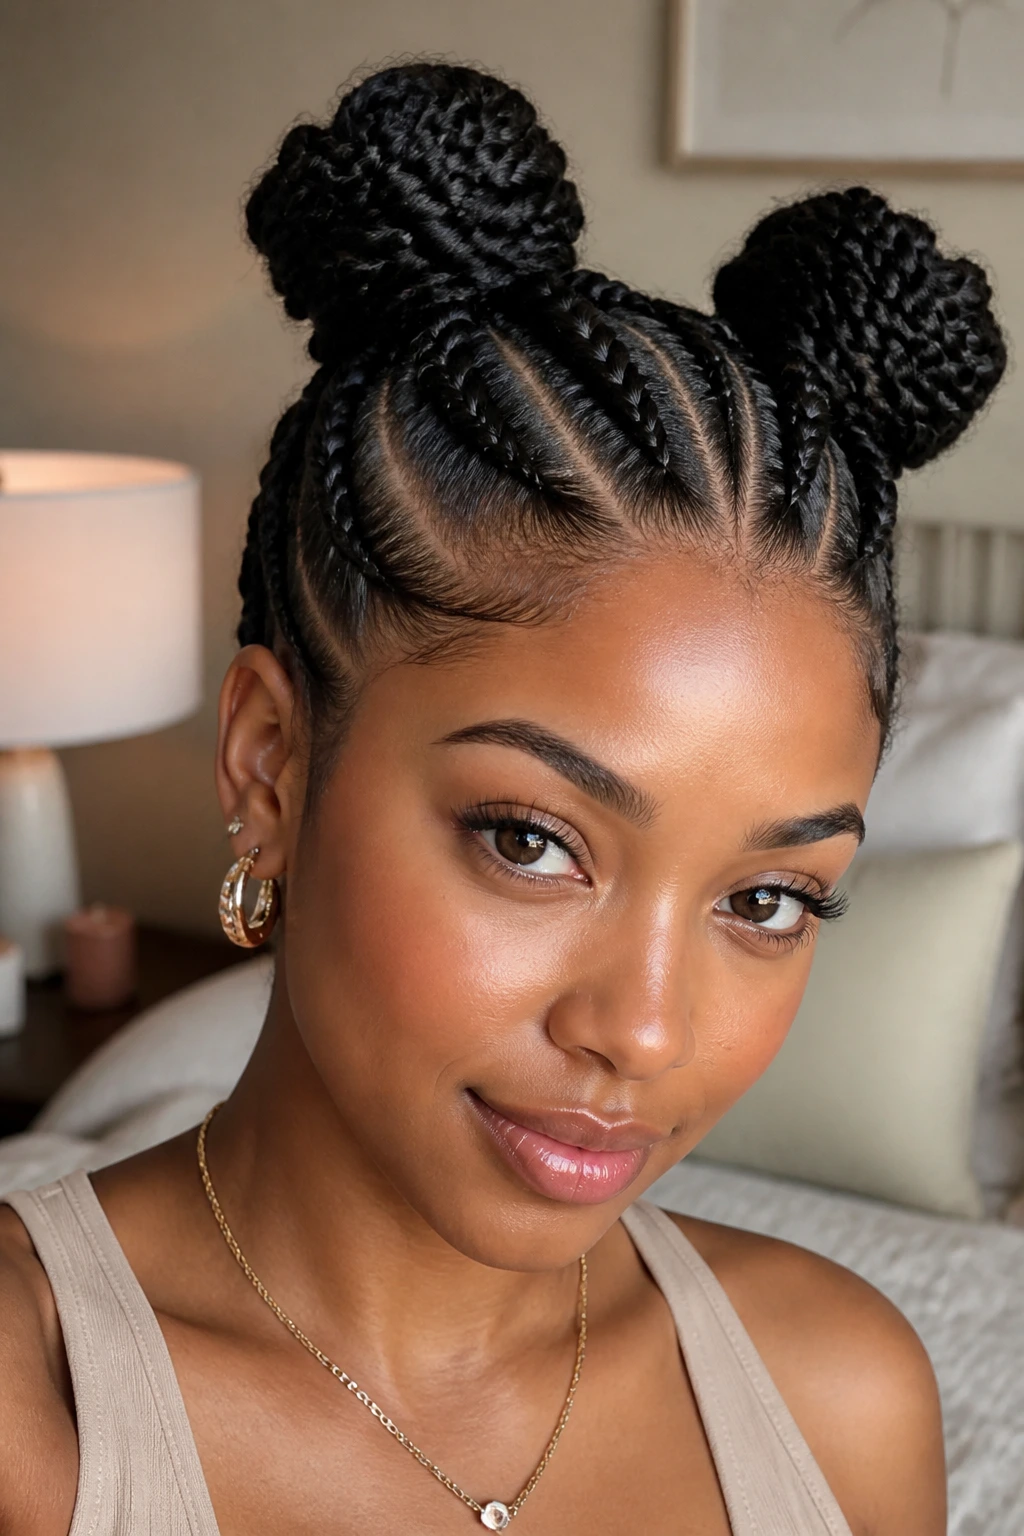
Start your chunky cornrows at the nape of your neck and braid upward toward the crown. Once you reach the top, gather the ends into two high buns. This is a brilliant way to hide thin ends while creating a high-fashion, protective style.
The Benefit of Upward Braiding
Braiding upward means you are gathering hair from the nape—which is often the thickest part of the head—and moving it toward the front. This provides maximum coverage for the crown, where hair thinning often begins.
18. Braids with “Invisible” Parts
If you use a needle-and-thread technique to secure your extensions, you can create “invisible” parts that look like your natural scalp. By feeding the hair in so that the extension knot is hidden beneath the braid, you create a very clean look.
Maintaining the Scalp
When you use a style with very clean parts, keep the scalp clean. Use a witch hazel-based spray to keep the skin fresh and avoid oil buildup that can lead to itching. A clean scalp is a healthy scalp, which is essential for hair regrowth.
19. Chunky Braid with a Side Braid Accent
Add a small, thin accent braid running perpendicular to your main, chunky cornrows. This breaks up the visual monotony of the style and adds a layer of texture that keeps the hair looking full and busy.
Why Texture Matters
Flat hair looks thin. Textured hair looks thick. By adding an accent braid, you’re creating an extra layer of hair that stands off the scalp slightly, providing that much-needed dimension.
20. Half-Up, Half-Down Cornrow Style
Braid the front half of your head into chunky cornrows and let the back half hang loose. This provides the protection where you need it—at the hairline and crown—while still allowing you to enjoy the look of free-flowing hair.
Managing the Transition
The transition point between the braid and the loose hair is key. Use a small, decorative hair pin or a seamless band to connect the braids to the loose hair. Make sure this connection point isn’t too tight, or you will experience breakage at the nape.
21. Braids with Dark Roots, Light Ends
This “ombré” effect is a staple for a reason. By keeping the roots dark and transitioning to a lighter color, you create a natural-looking root shadow. This shadow makes your natural hair at the root appear thicker and more dense.
Why Dark Roots Help
A stark, light-colored scalp against light hair makes thinning obvious. A dark root anchors the style and provides a “filler” look. It’s an optical illusion that is standard in the world of high-end hair colorists, and it works just as well in the world of braids.
22. Side-Parted Waterfall Braids
Waterfall braids are usually loose, but you can interpret this as a side-parted cornrow style where the braids follow the natural shape of the head. This style is extremely gentle on the hair because it follows the grain of your natural growth pattern.
Gentle Styling
Follow the natural way your hair grows. Do not force your hair into unnatural directions. When the hair is thin, the more you respect your natural growth pattern, the less stress you put on the follicles.
23. Double-Braid with a Fishtail Twist
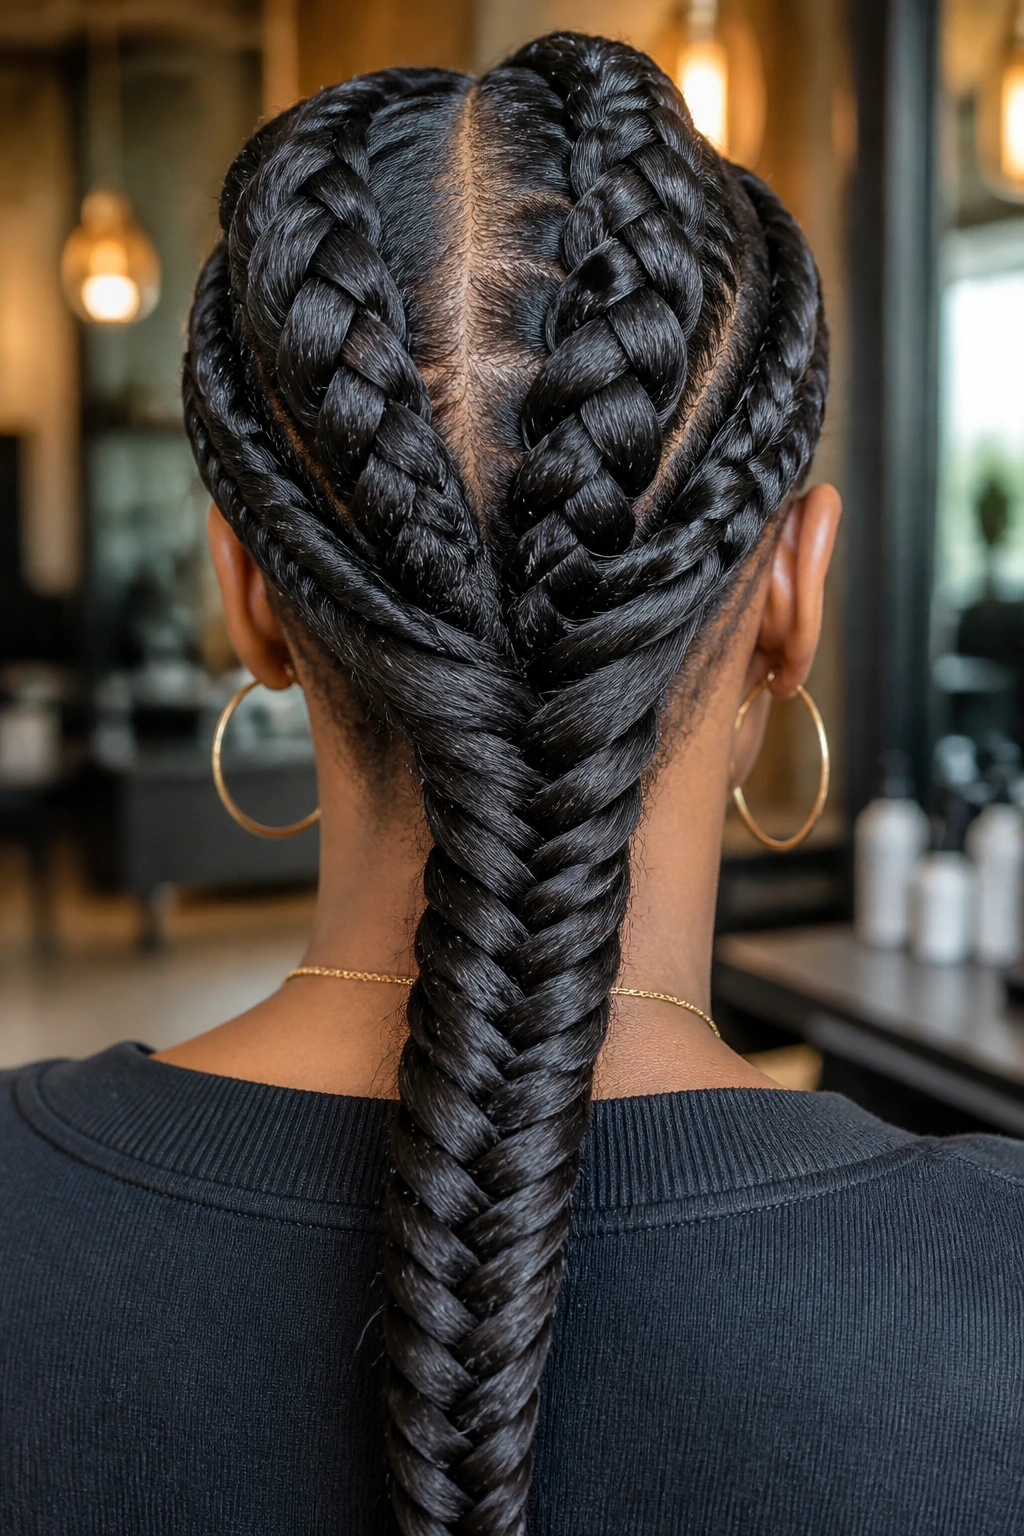
Combine two chunky cornrows into a single, massive fishtail braid at the back of the head. This takes two large sections of hair and concentrates them into one super-thick, woven piece.
The Volume Benefit
Fishtails use a specific weaving pattern that looks much denser than a three-strand braid. Because you are using the bulk from two separate cornrows, the final fishtail will be substantial enough to last for several days without losing its shape.
24. Low-Profile Braid with Beaded Ends
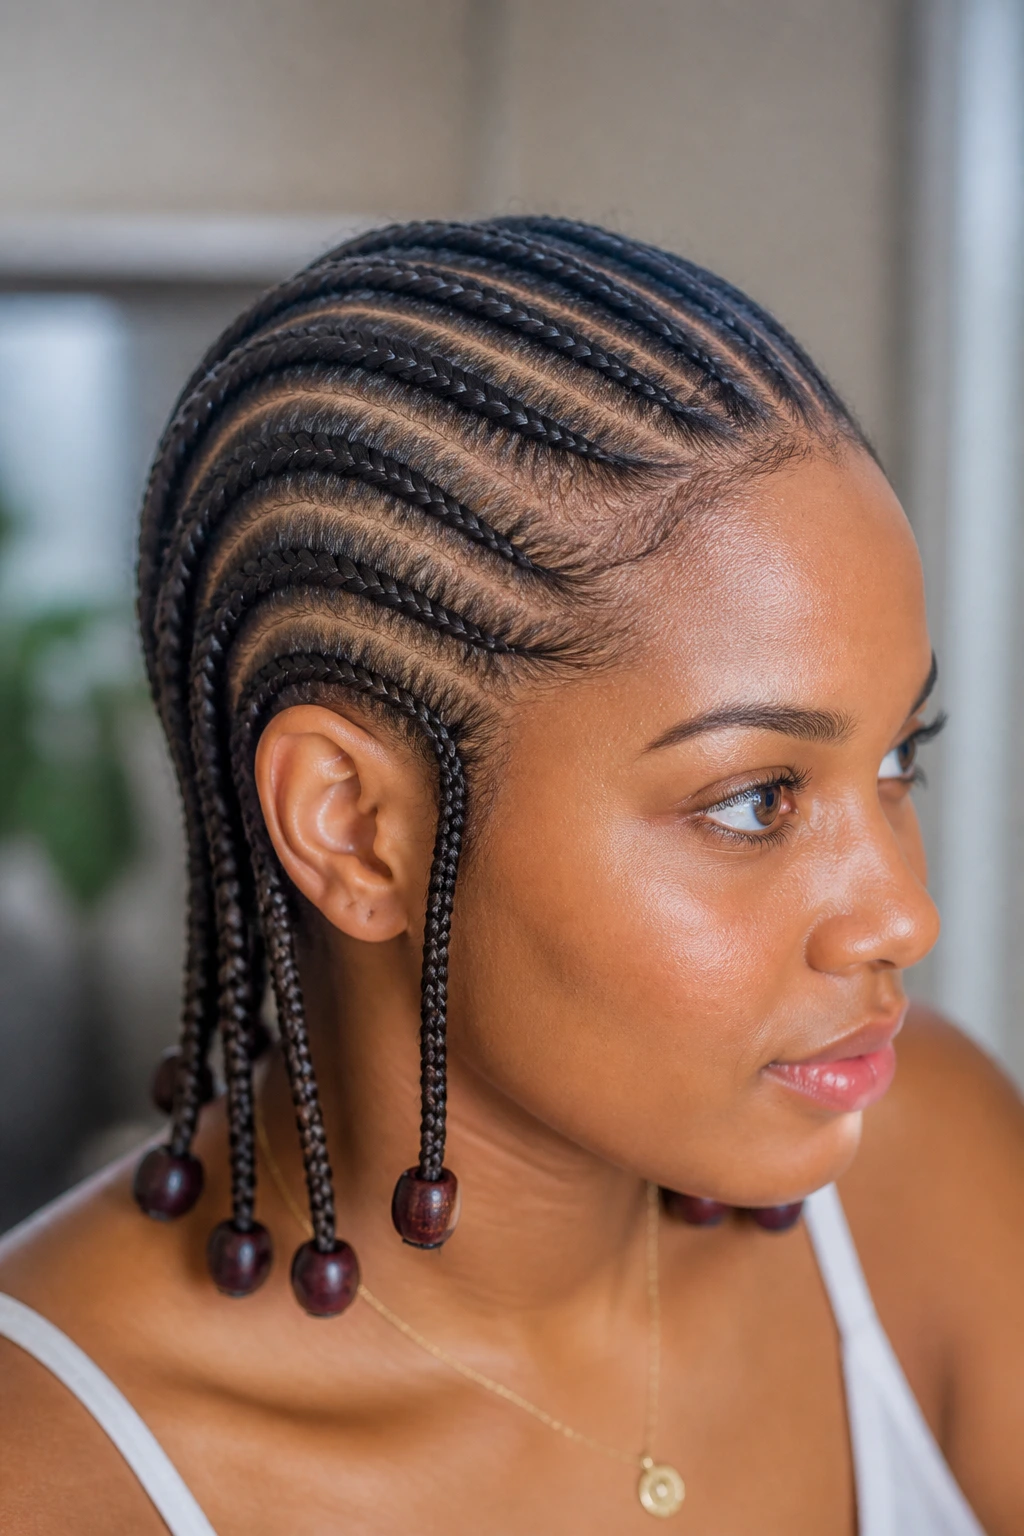
Beads are a classic accessory, but for thin hair, use them wisely. A single, large wooden bead at the end of each braid adds enough weight to keep the braid taut without pulling the hair upward.
The Weight Factor
The bead adds a downward force. This is actually good for braids, as it helps them lie flat and keeps them from “sticking up.” Choose beads that are lightweight wood or plastic rather than heavy metal.
25. Chunky Cornrows with a Headband
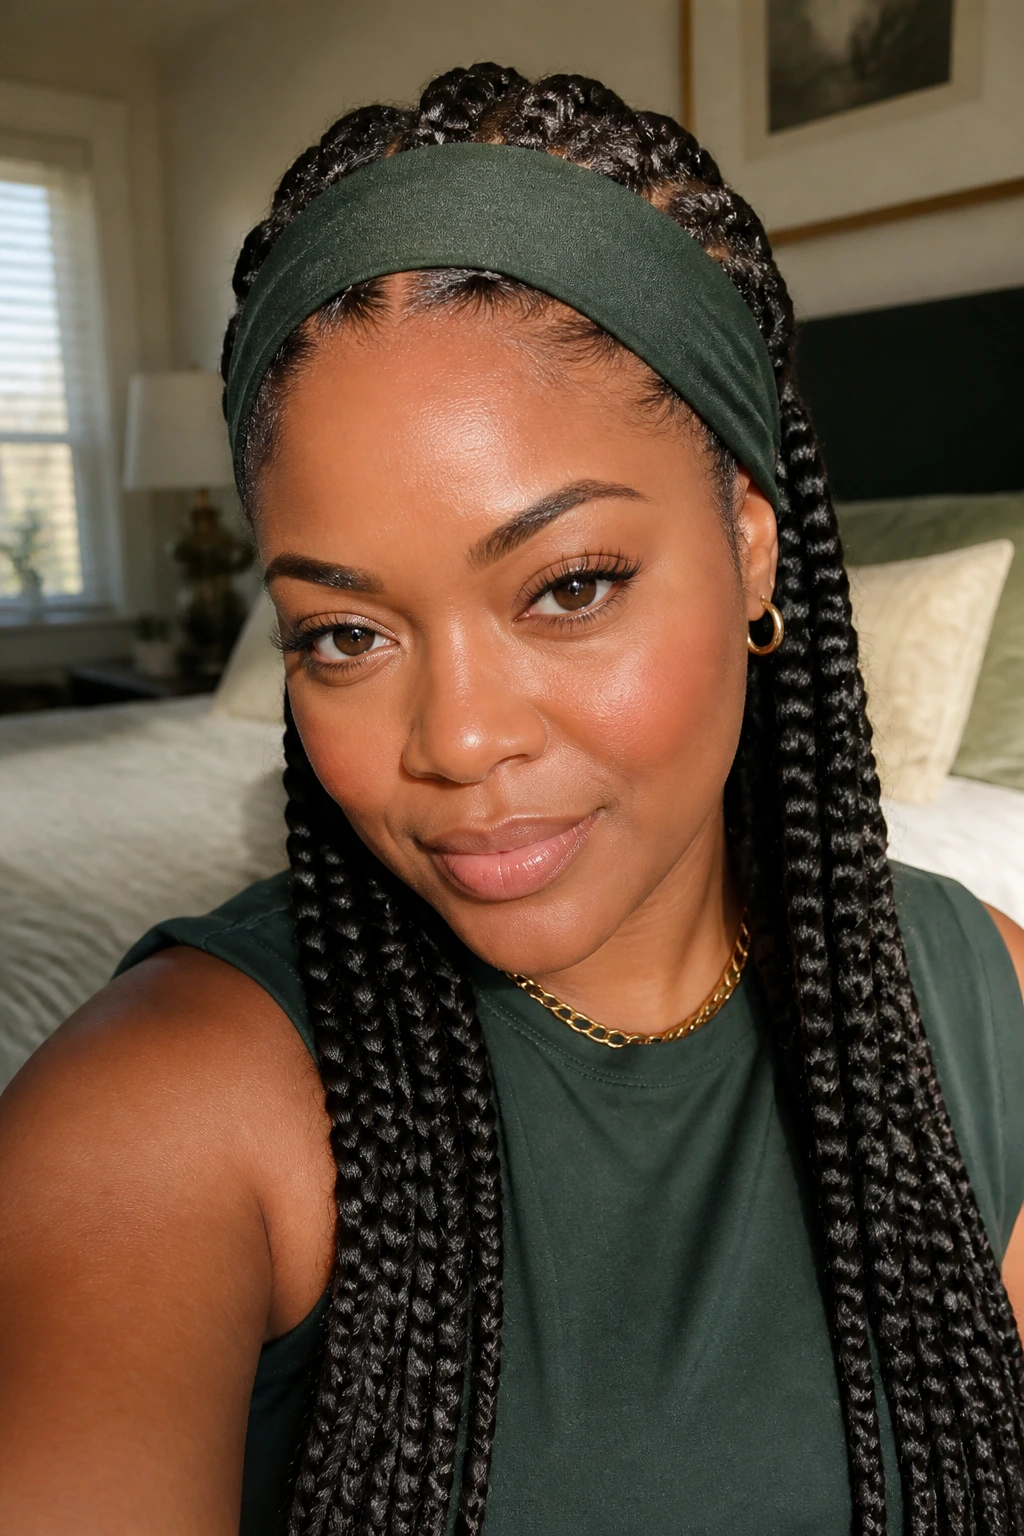
Sometimes, the best way to handle thin hair is to use a stylish headband to cover the very first inch of your scalp. Braid your hair into chunky cornrows starting from beneath the headband.
Why This Style Wins
This removes the pressure from your hairline entirely. You get the protection of the braids, the style of the cornrows, and the comfort of knowing your edges are completely shielded from tension. It is a foolproof method for anyone who has experienced hair loss due to tight braiding.
Wrapping Up
Choosing a style when your hair is fine or thinning is all about managing expectations and being strategic with tension. Chunky cornrows are a powerful tool because they allow you to utilize extension hair to build the density you need while keeping your natural hair safely tucked away. The key is to avoid high-tension techniques, minimize the amount of hair manipulated at the hairline, and use visual tricks like color variation and part placement to add the illusion of volume. Whatever style you choose, prioritize the health of your scalp and the integrity of your natural follicles—because the best braid is the one that leaves your hair stronger than it was before.