The shag cut is a relic of the seventies that refuses to stay in the past, and for good reason. It is the antithesis of the stiff, perfectly rounded bob that dominated the early two-thousands. When you combine the internal weight-removal techniques of a shag with the clean lines of a bob, you get a haircut that moves. If you have fine or medium-density straight hair, a shaggy bob is often the difference between a head of hair that lies flat against your scalp and one that looks like it actually has a personality.
Straight hair can be deceptive. It often looks sleek in photos, but in the shower or during a humid commute, it can turn into a curtain of static or limp strands. A shaggy bob fixes this by introducing intentional fragmentation—what stylists call “shattering” the ends. By removing weight from the internal layers, the hair is encouraged to flick outward rather than dragging down. You are essentially trading the “heavy” look for a lived-in, effortless texture that requires nothing more than a bit of grit spray and a few minutes of air-drying to look intentional.
There is a misconception that shags are only for those with naturally wavy or curly textures. That couldn’t be further from the truth. In fact, straight hair is the perfect canvas for the shag because it allows the precision of the cut to stand out. You don’t have to fight your natural texture; you simply lean into the choppy, airy layers. Whether you want something that grazes the jawline or a length that hits just above the shoulders, the shaggy bob is a versatile architecture of hair that works on almost every face shape.
1. The Classic Jaw-Length Shaggy Bob
This is the quintessential version of the cut. It hits right at the jawline, which creates a sharp frame for the face while the ends remain soft and feathered. Because the length is kept short, the hair has very little room to go flat at the roots. It relies on a blunt perimeter combined with deep, internal texturizing shears to create that iconic “piecey” appearance.
Why It Works for Straight Hair
Straight hair often needs a defined perimeter to look polished, but the interior needs to be broken up to avoid the dreaded “triangle” shape. By keeping the perimeter blunt and the top layers short, you get the structure of a bob with the grit of a shag.
Styling Tips for the Jaw-Length Cut
- Use a sea salt spray on damp hair to encourage that slightly gritty, undone texture.
- Focus your blow-drying efforts on the roots to get maximum lift, then let the ends air-dry.
- If you use a flat iron, pull the ends slightly outward rather than under to maintain the shaggy silhouette.
Pro tip: Ask your stylist to use a razor for the ends if your hair is thick; it creates a softer, more frayed look than traditional scissors.
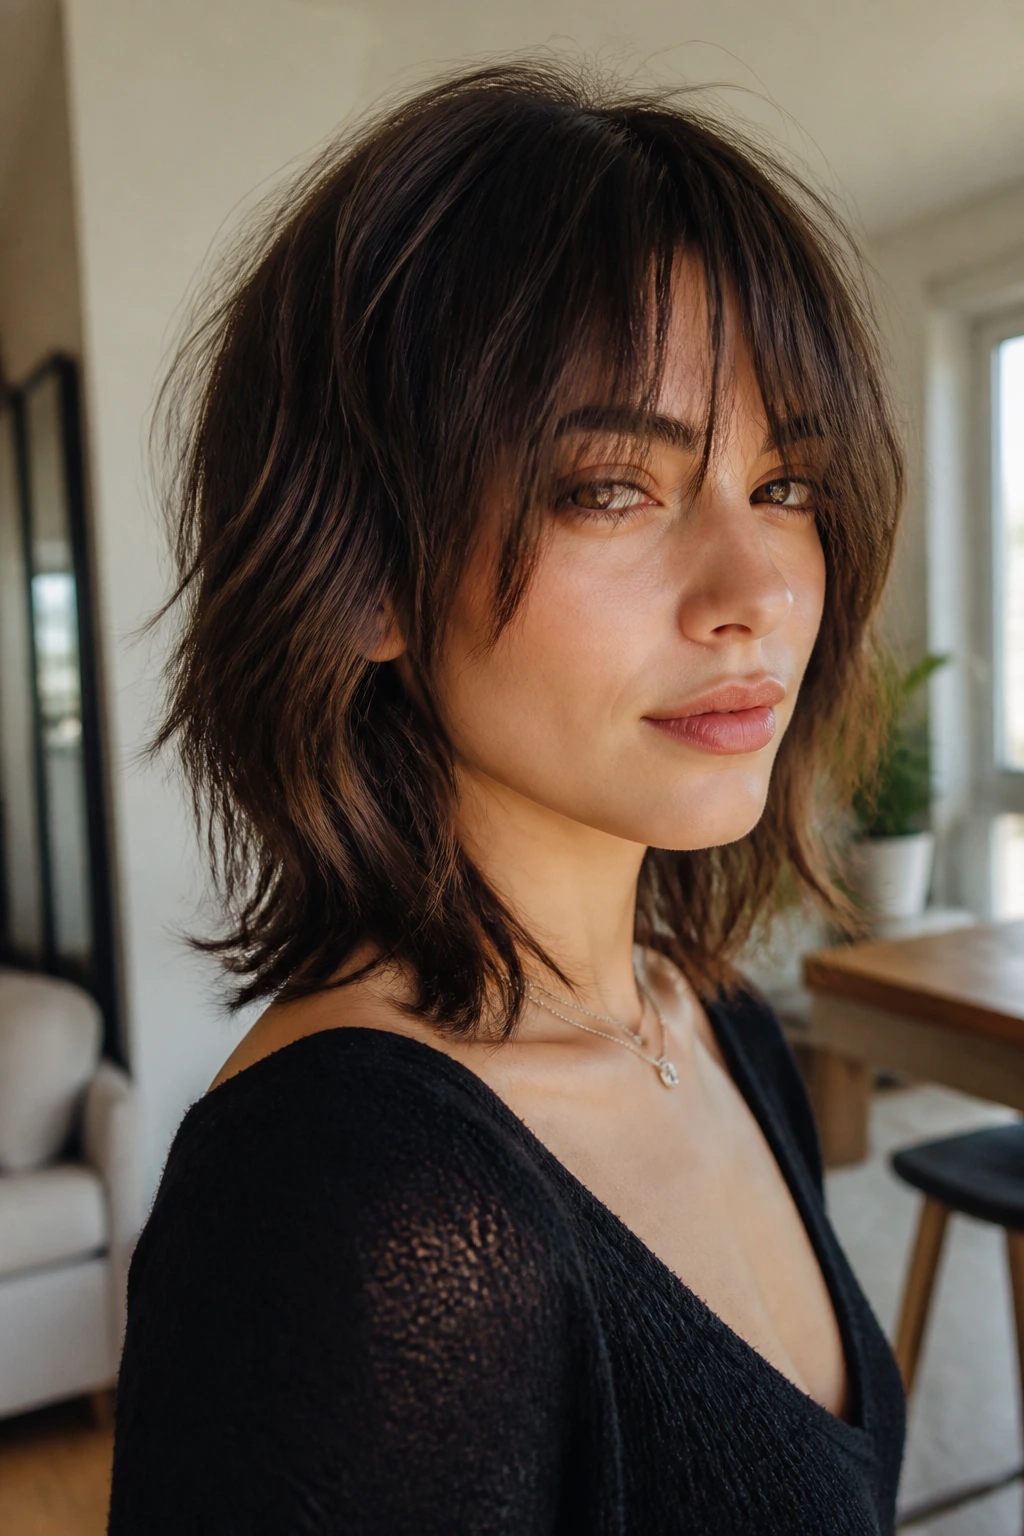
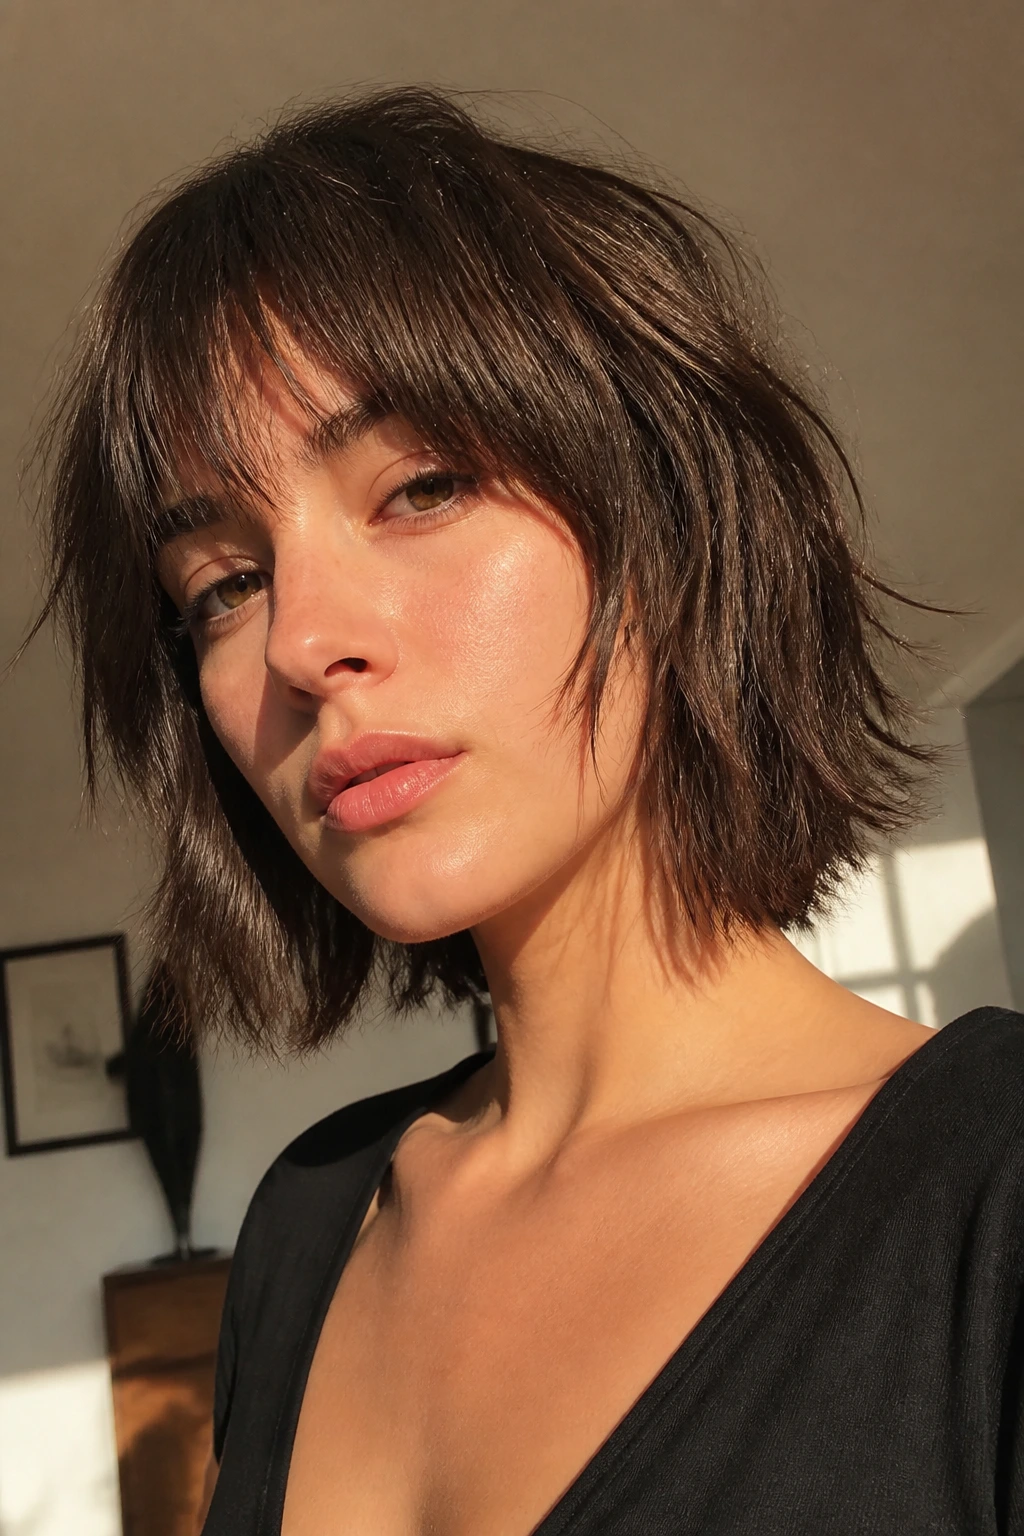
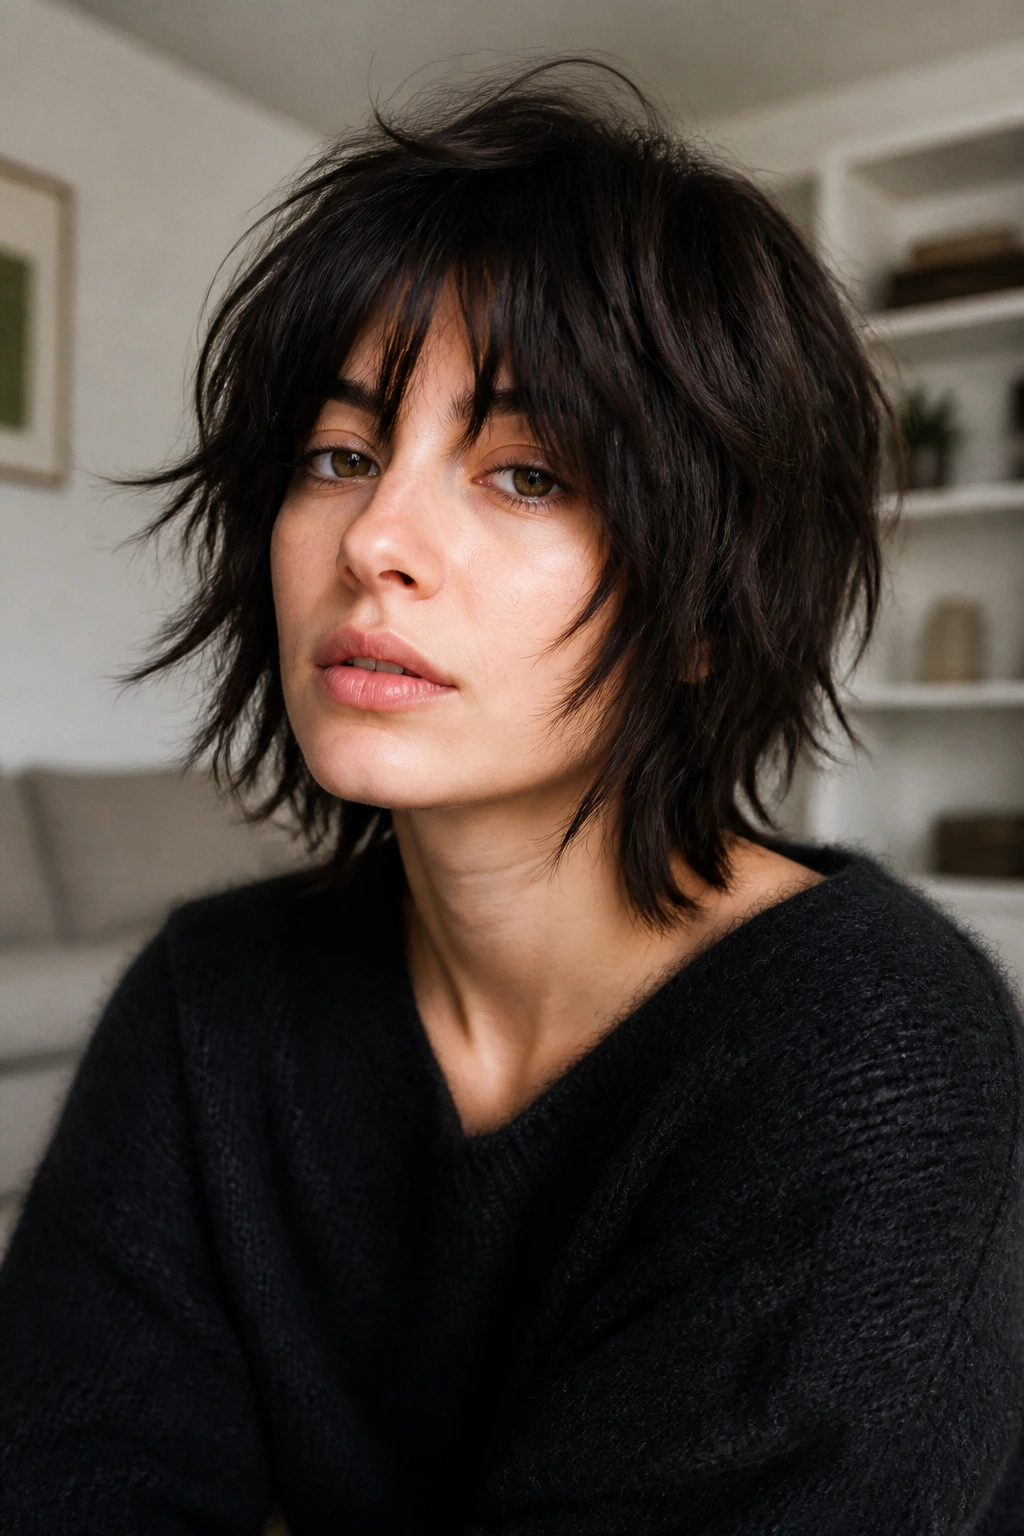
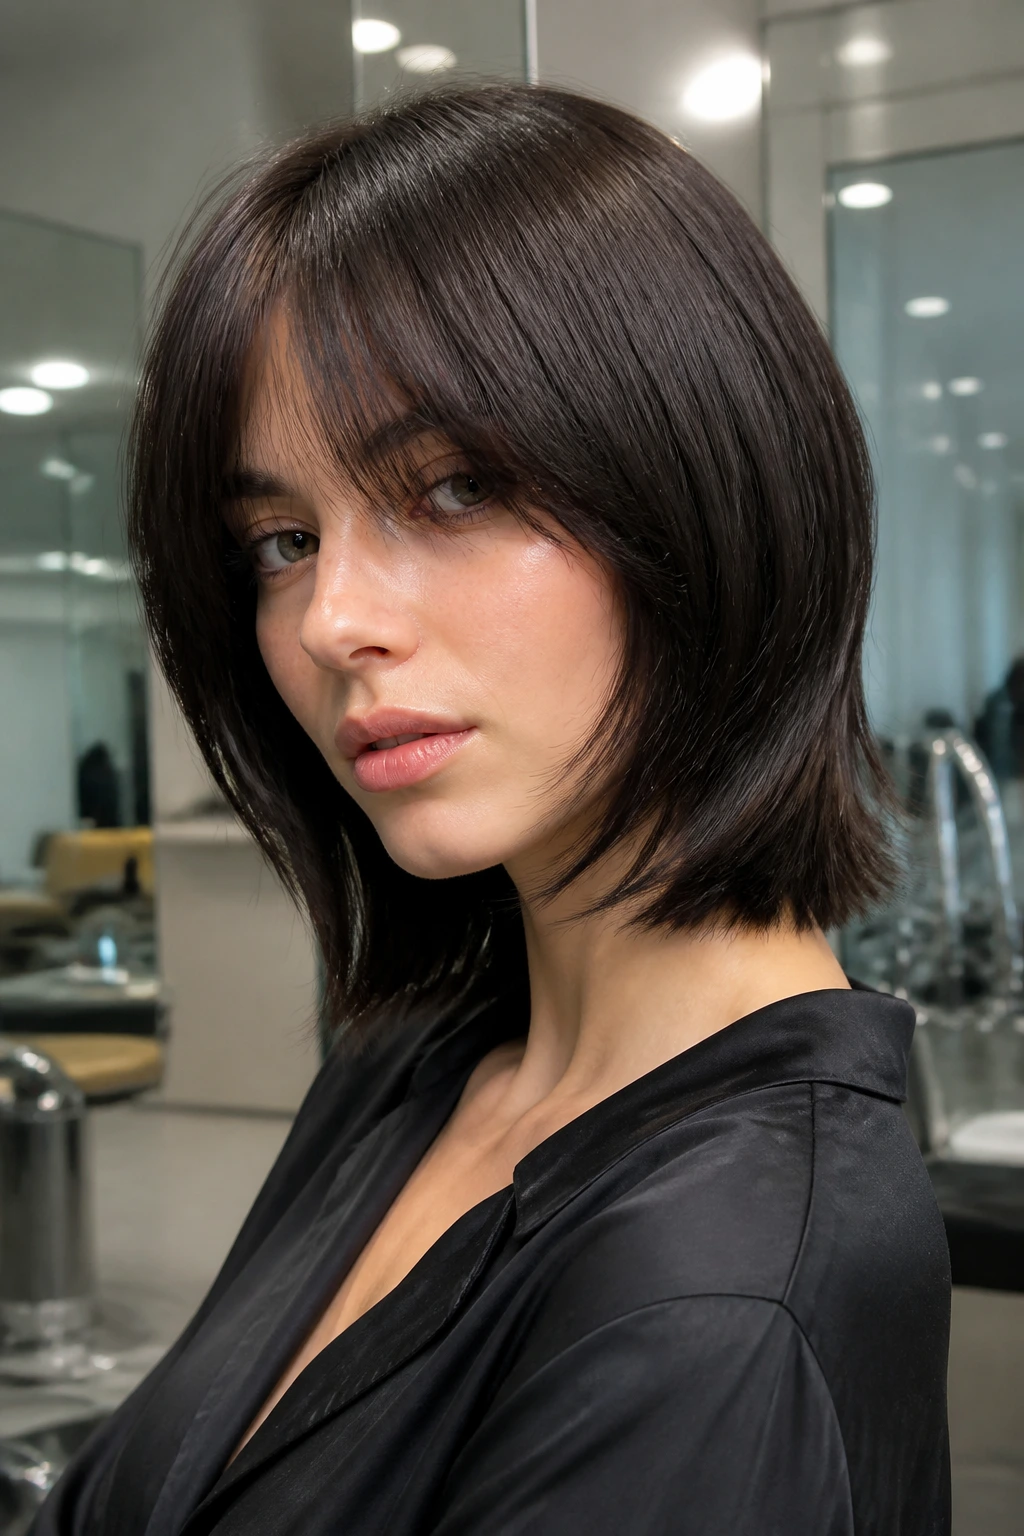
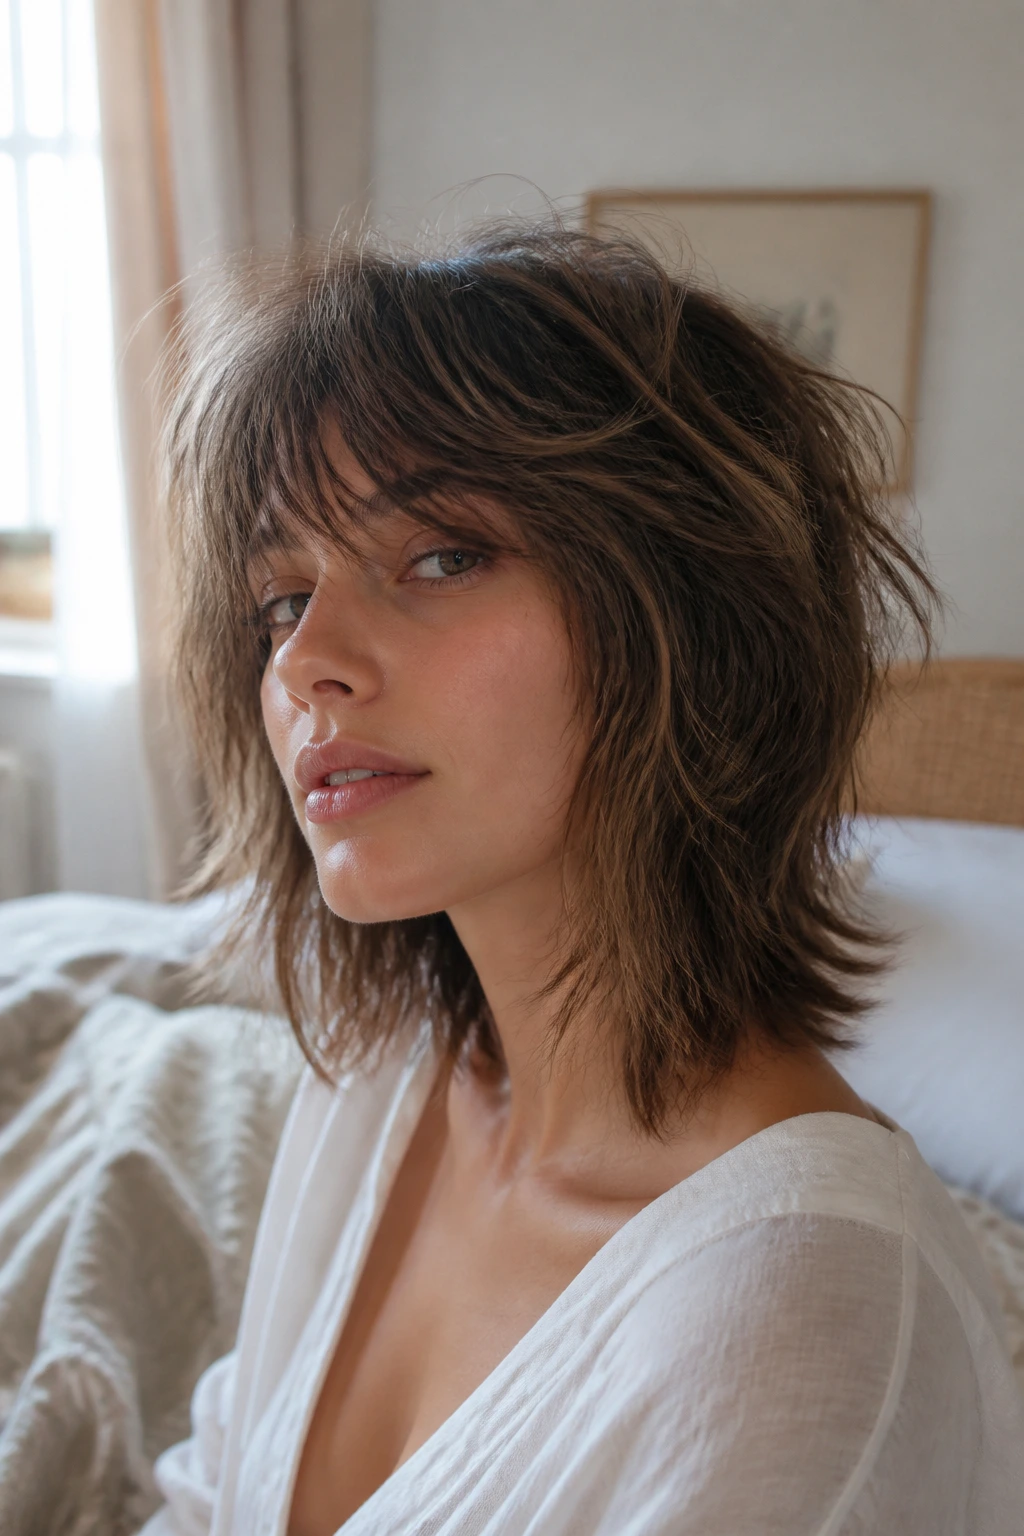
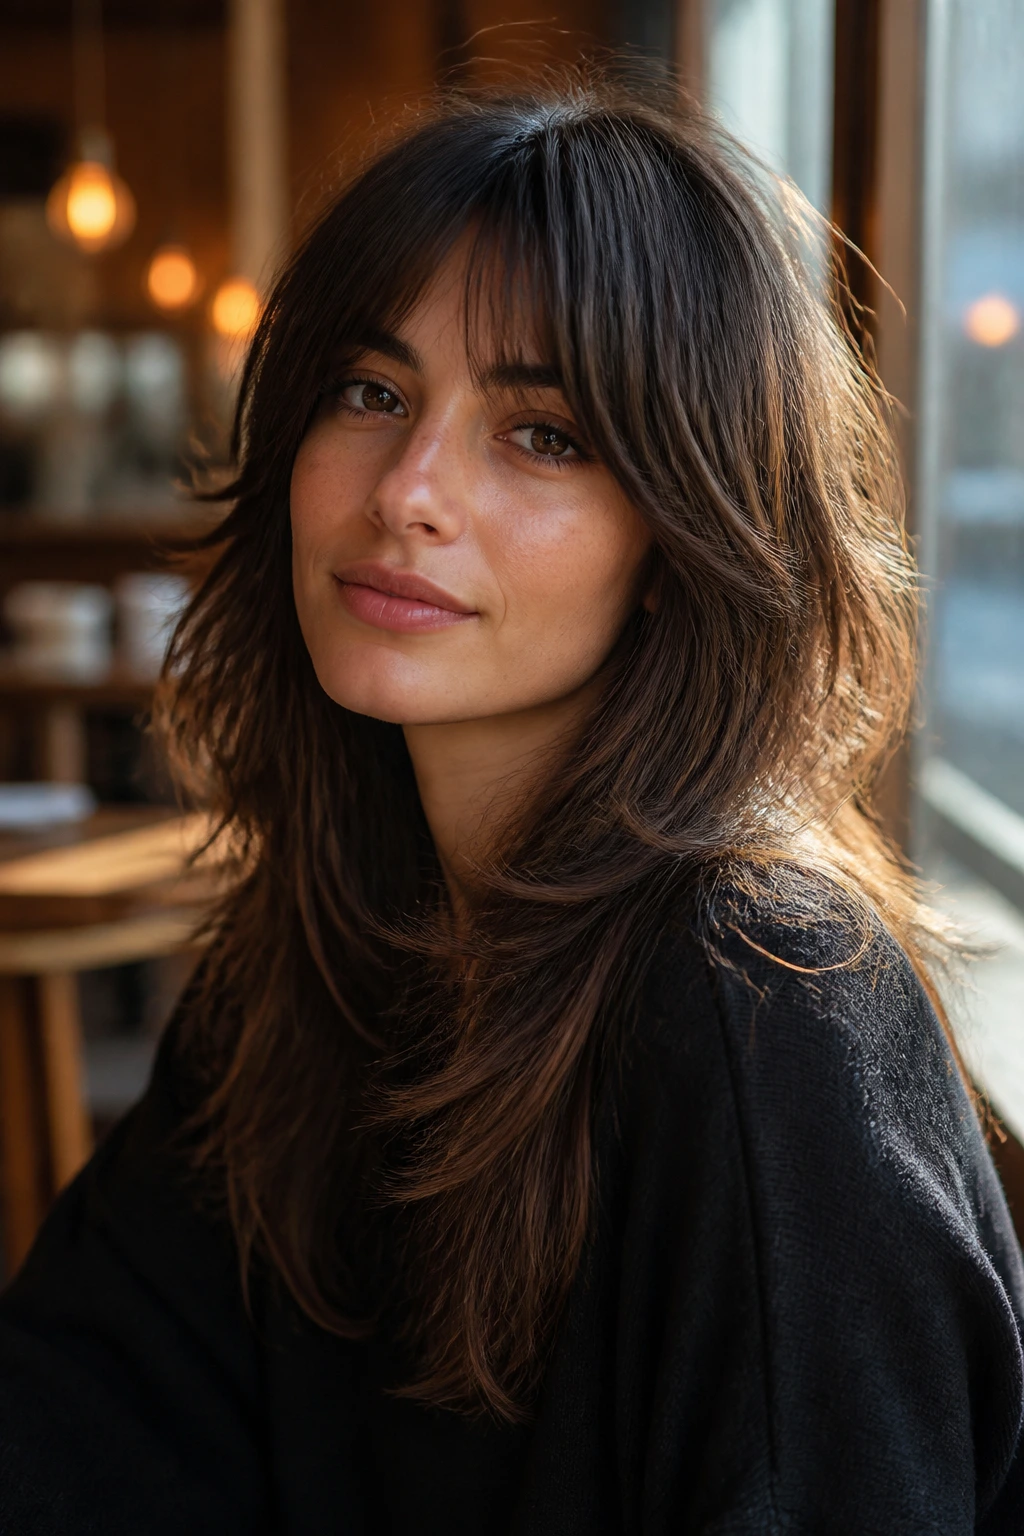
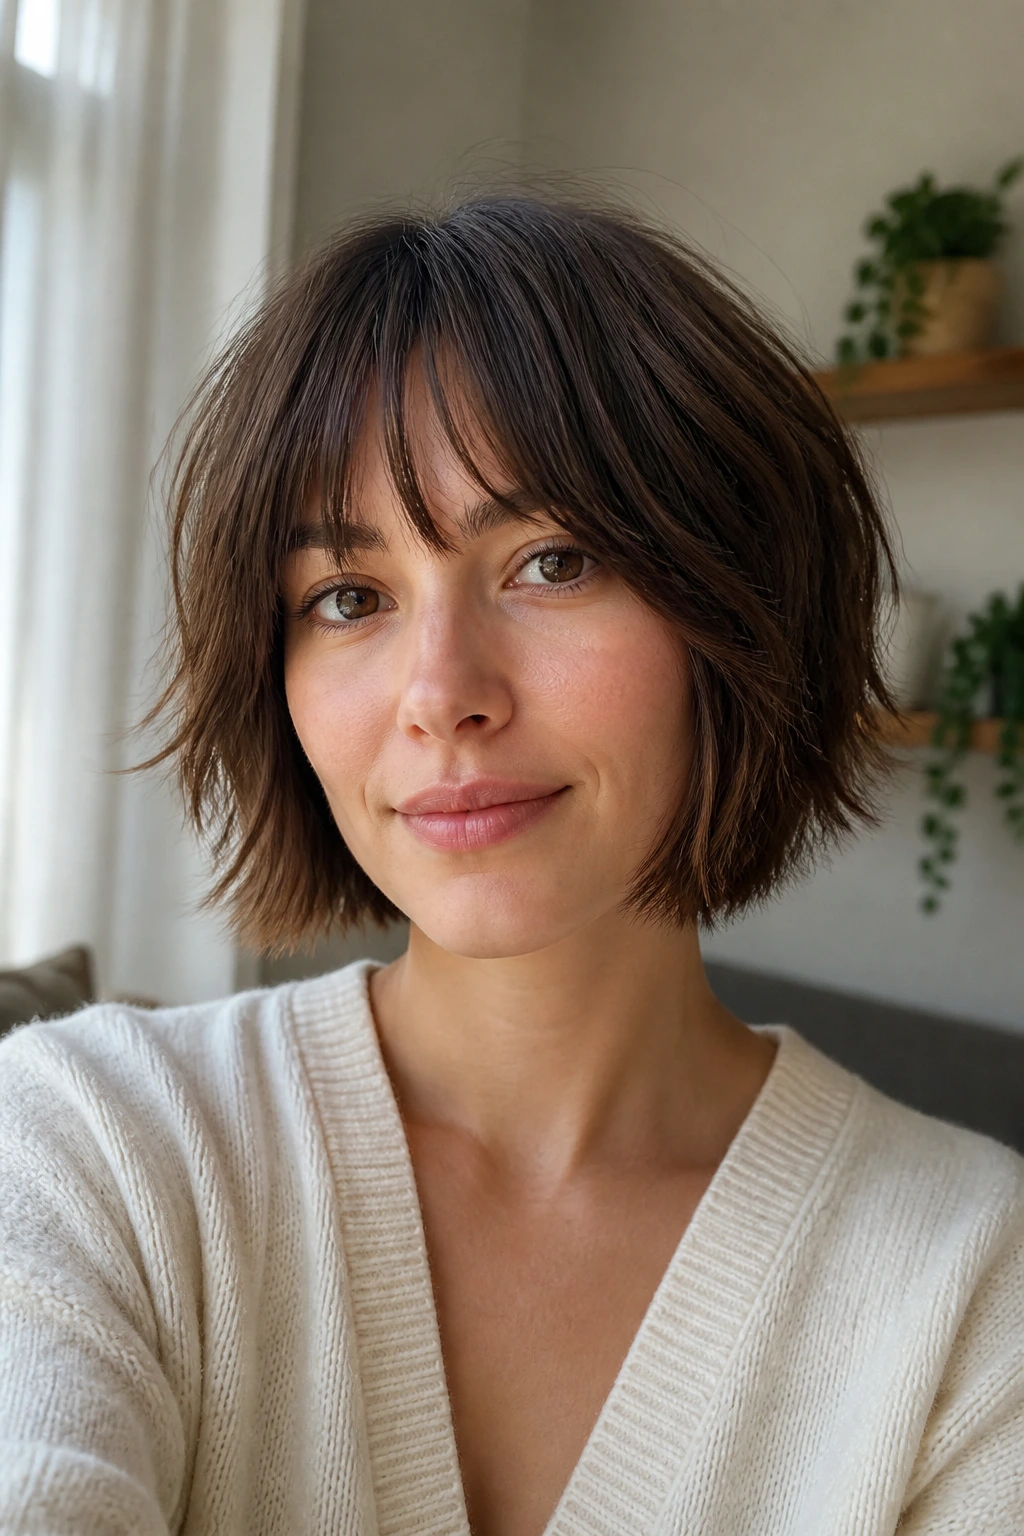
2. The Bottleneck Bang Shag
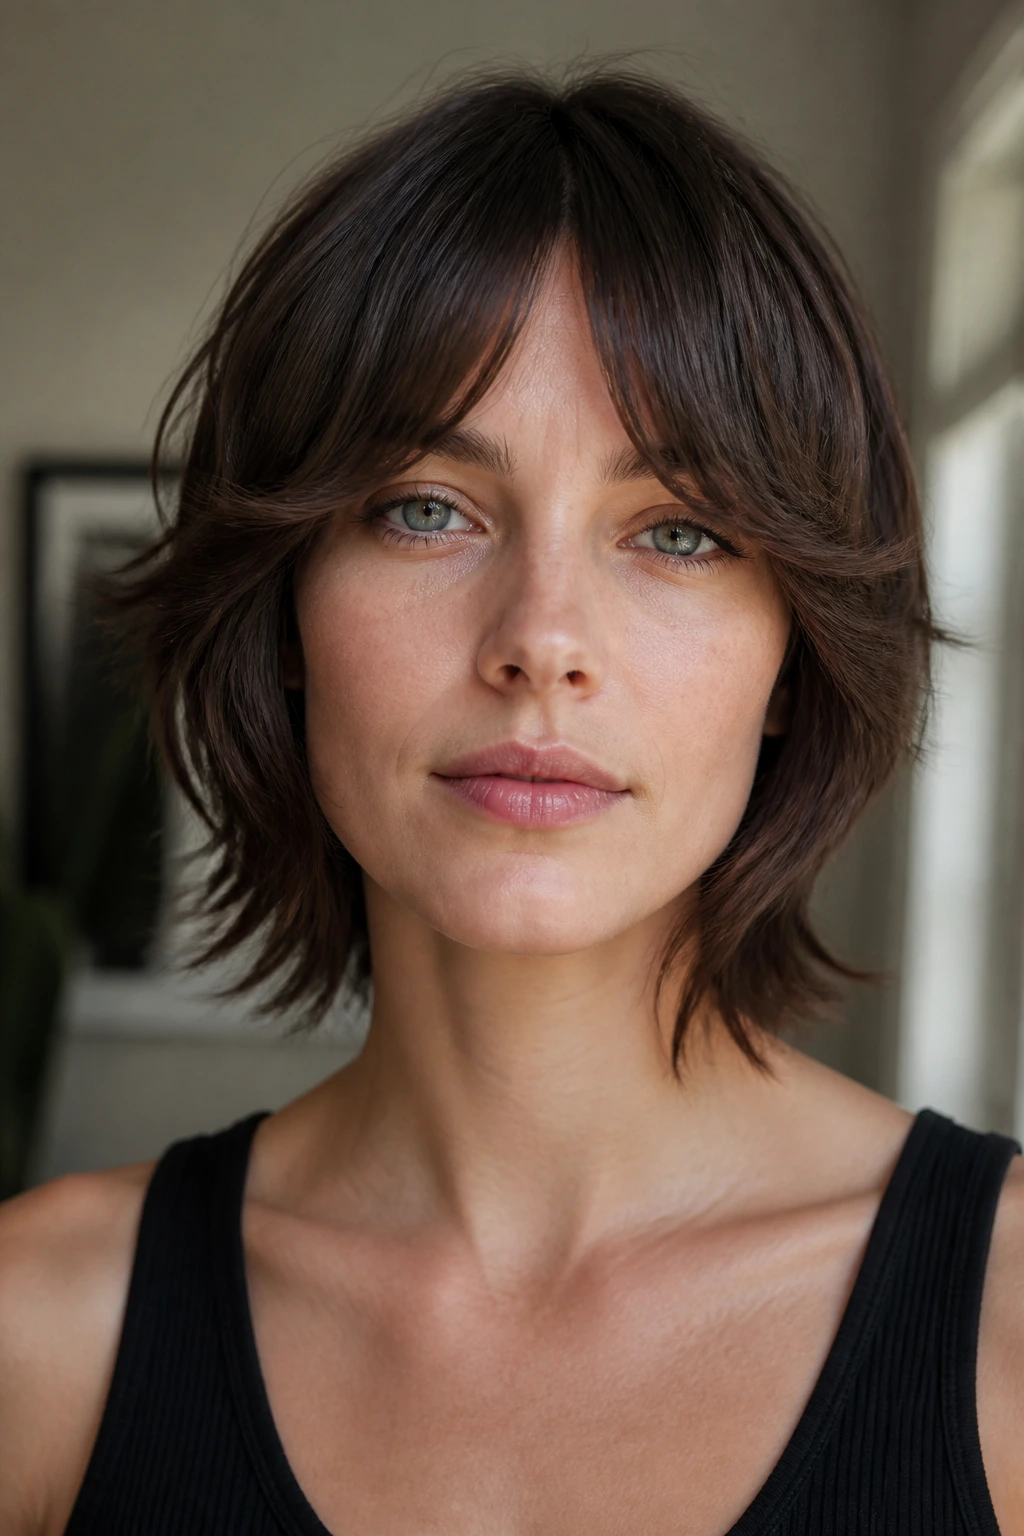
When you pair a shaggy bob with bottleneck bangs—those that are shorter in the middle and curve outward toward the temples—you get a look that is incredibly flattering for almost every face shape. The bangs draw attention to your eyes, while the shaggy layers ensure your hair doesn’t look like a solid helmet.
What Makes This Variation Different
Unlike a blunt fringe, the bottleneck bang is designed to grow out gracefully. It integrates seamlessly into the side layers of the bob, making the transition from the fringe to the rest of the hair feel like a single, cohesive unit.
How to Maintain the Shape
- You will need a trim every 6 to 8 weeks to keep the bangs out of your eyes.
- Use a small round brush when blow-drying the bangs to give them that subtle, sweeping bend.
- If you wake up with unruly fringe, use a damp comb to reset them rather than re-washing your whole head.
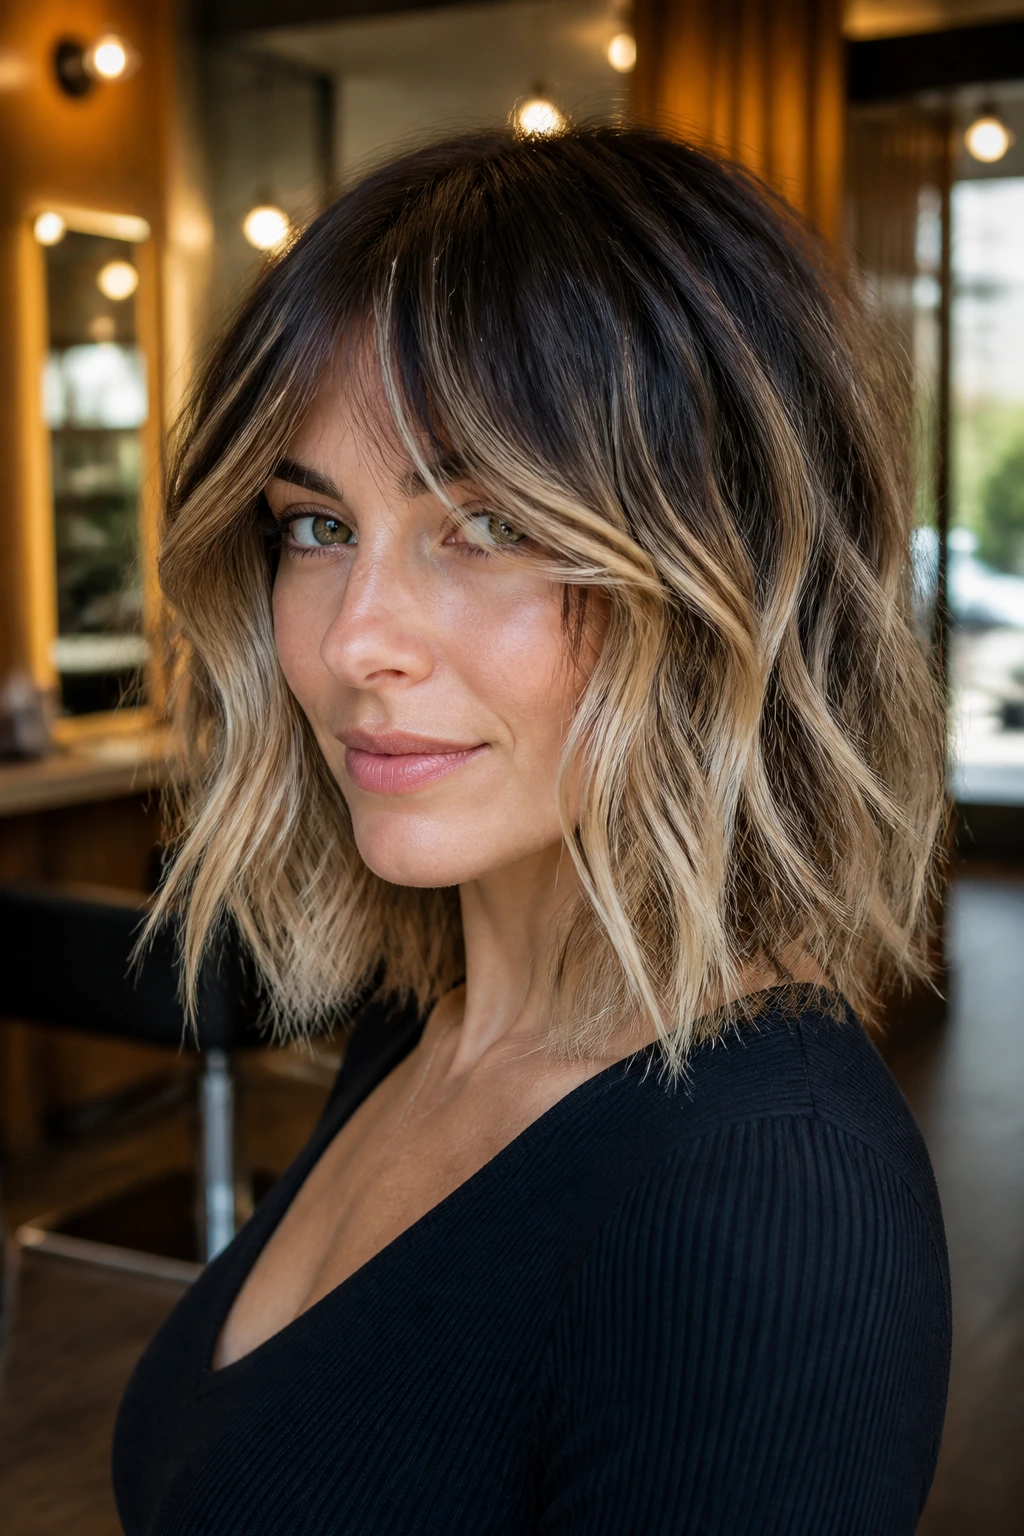
3. The Midi-Length Shag
The midi-length shaggy bob is essentially a “long bob” or “lob” that has been taken apart. It usually hits right at the collarbone, providing just enough length to pull your hair back into a small pony while keeping the edgy, chopped-up aesthetic of a shorter cut.
Why It Is a Low-Maintenance Choice
This is arguably the most forgiving version of the shag. Because it isn’t strictly short, you aren’t tied to a strict salon schedule. The layers are long enough to behave themselves, meaning you can often get away with 10 or 12 weeks between cuts.
Best Products for the Midi-Shag
- A lightweight mousse is your best friend here; it gives enough body to the mid-lengths without making the hair feel sticky or weighed down.
- Finish with a texturizing paste on the ends to highlight the choppy sections.
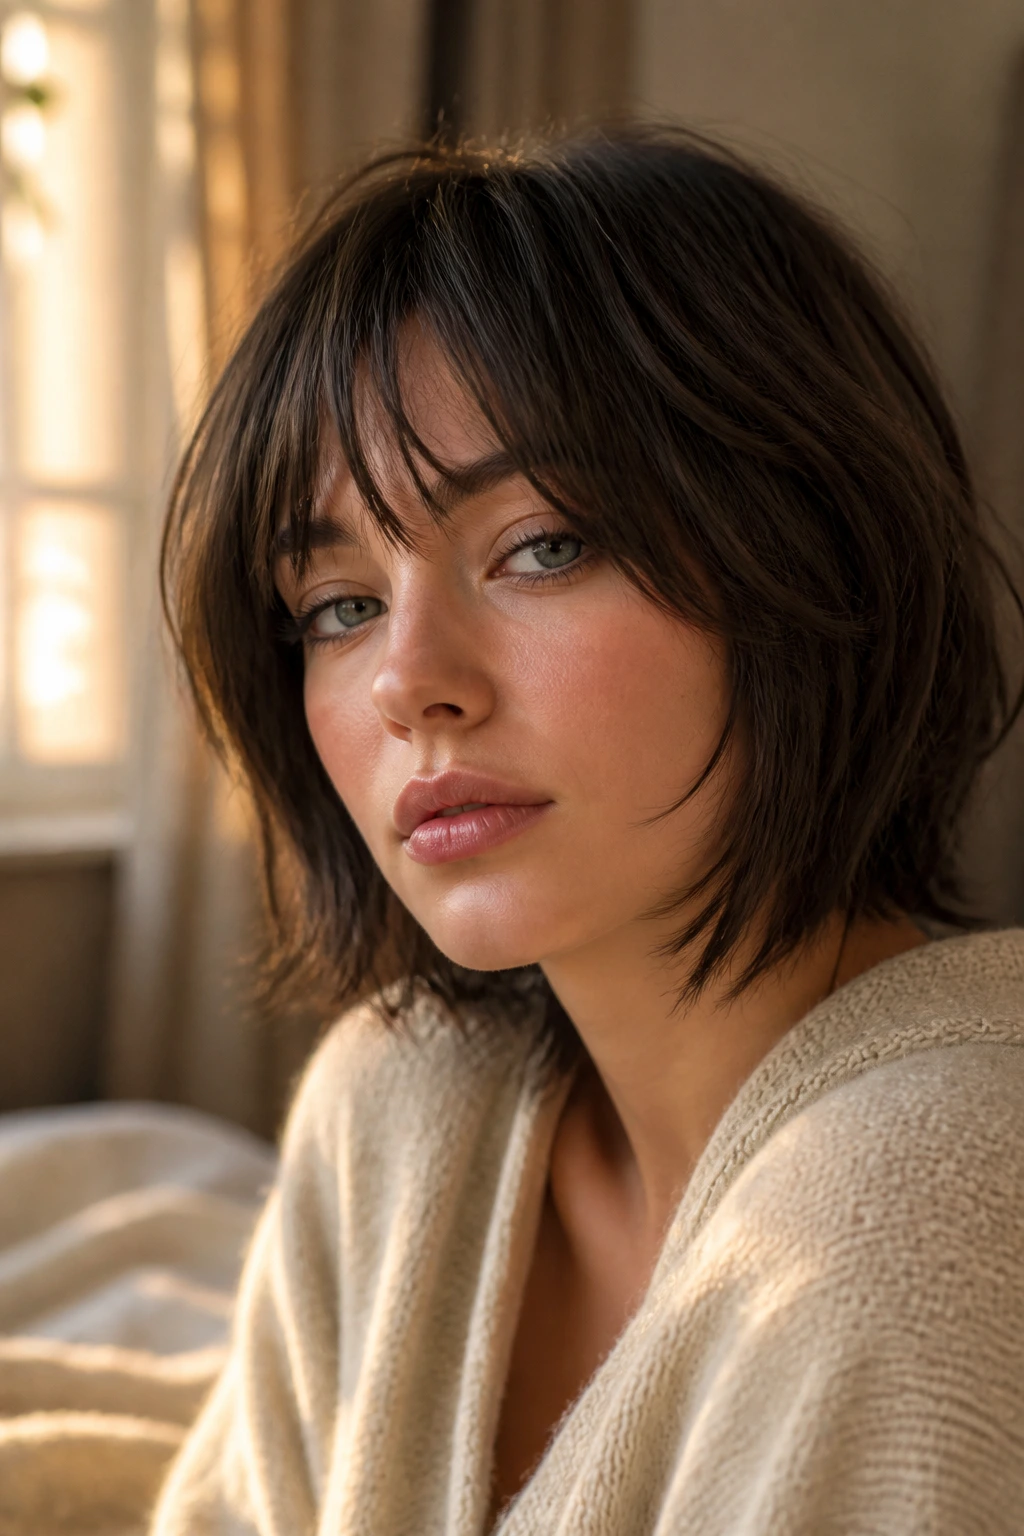
4. The Micro-Fringe Shag
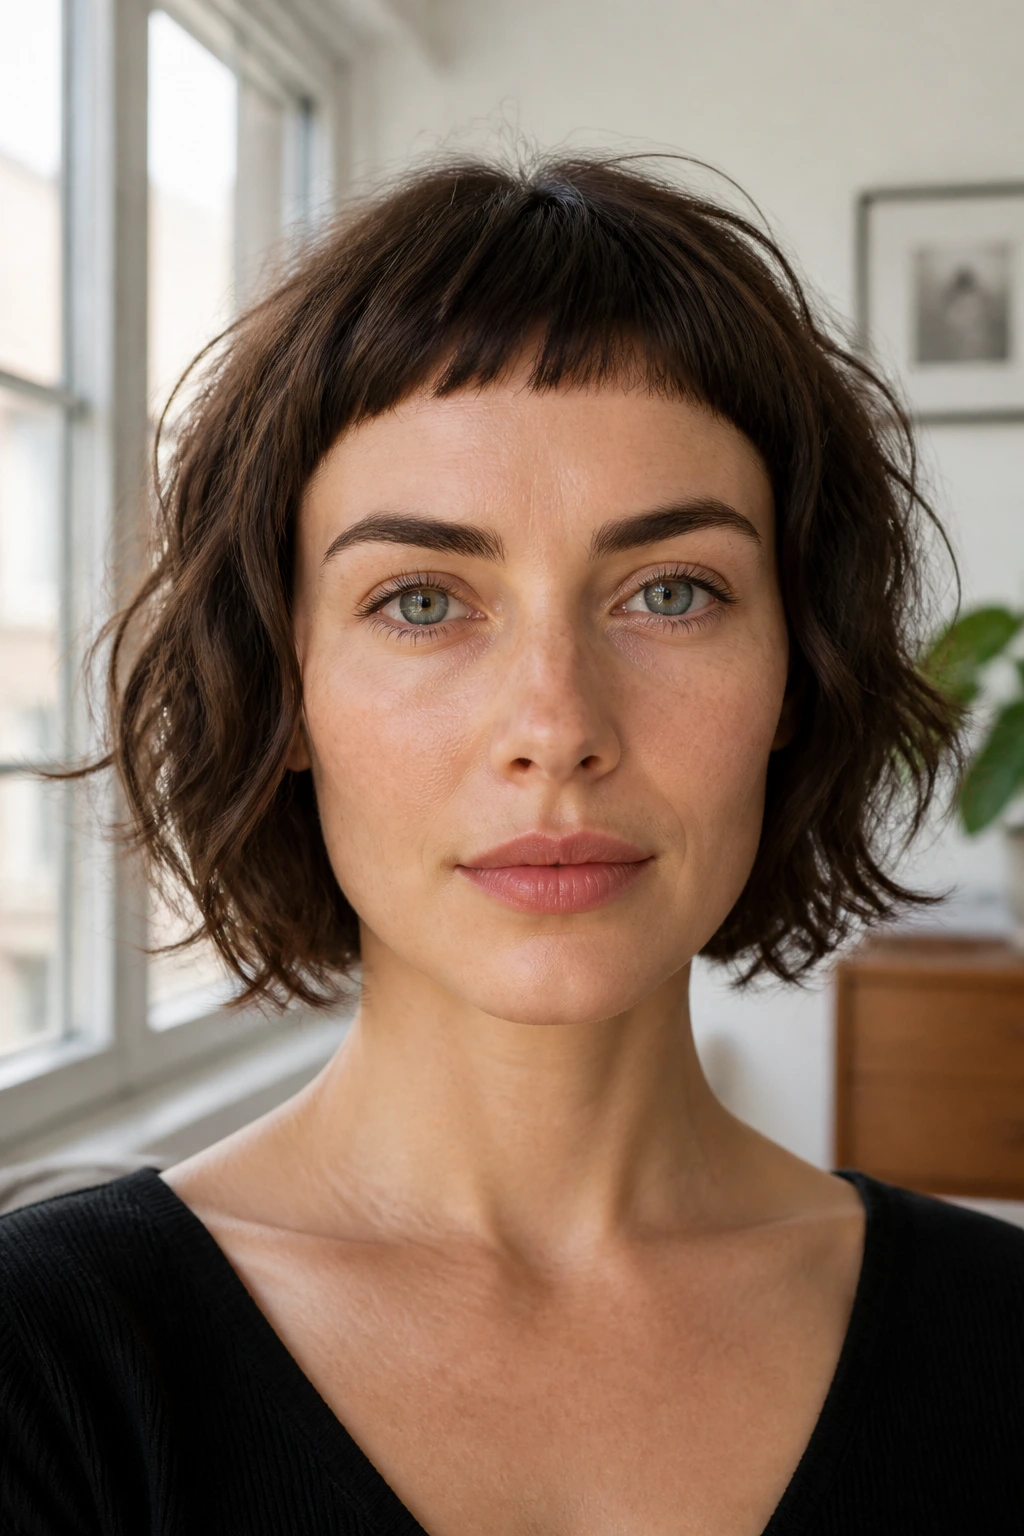
For those who want to push the aesthetic boundaries, a shaggy bob paired with a micro-fringe—a bang cut well above the eyebrows—is a bold, high-fashion statement. It emphasizes the cheekbones and creates a very deliberate, artful look that feels both retro and modern.
The Science of the Micro-Fringe
By removing length from the forehead, you shift the visual focus entirely to the upper third of the face. It is a fantastic option if you have strong, expressive brows or a particularly striking jawline, as the short bangs act as a frame that doesn’t compete with your features.
Who Should Avoid This Look
If you have a very low hairline or are worried about daily styling, you might want to reconsider. Micro-fringes require daily attention; if you have a cowlick in your bangs, they will stand straight up unless styled with precision and a flat brush.
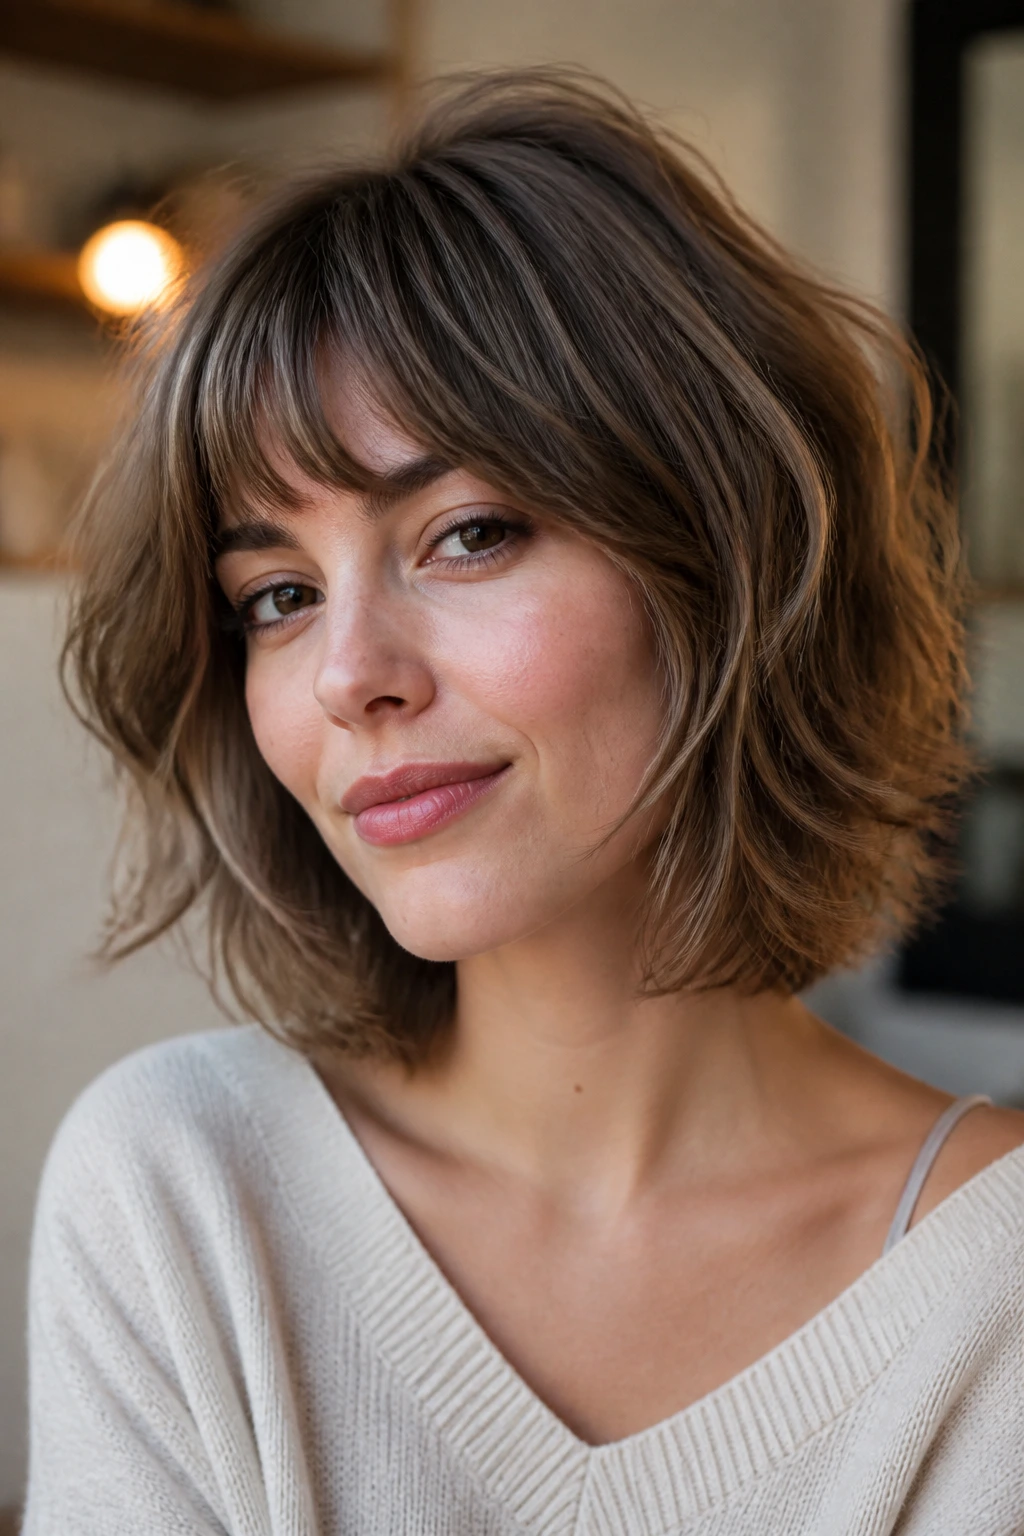
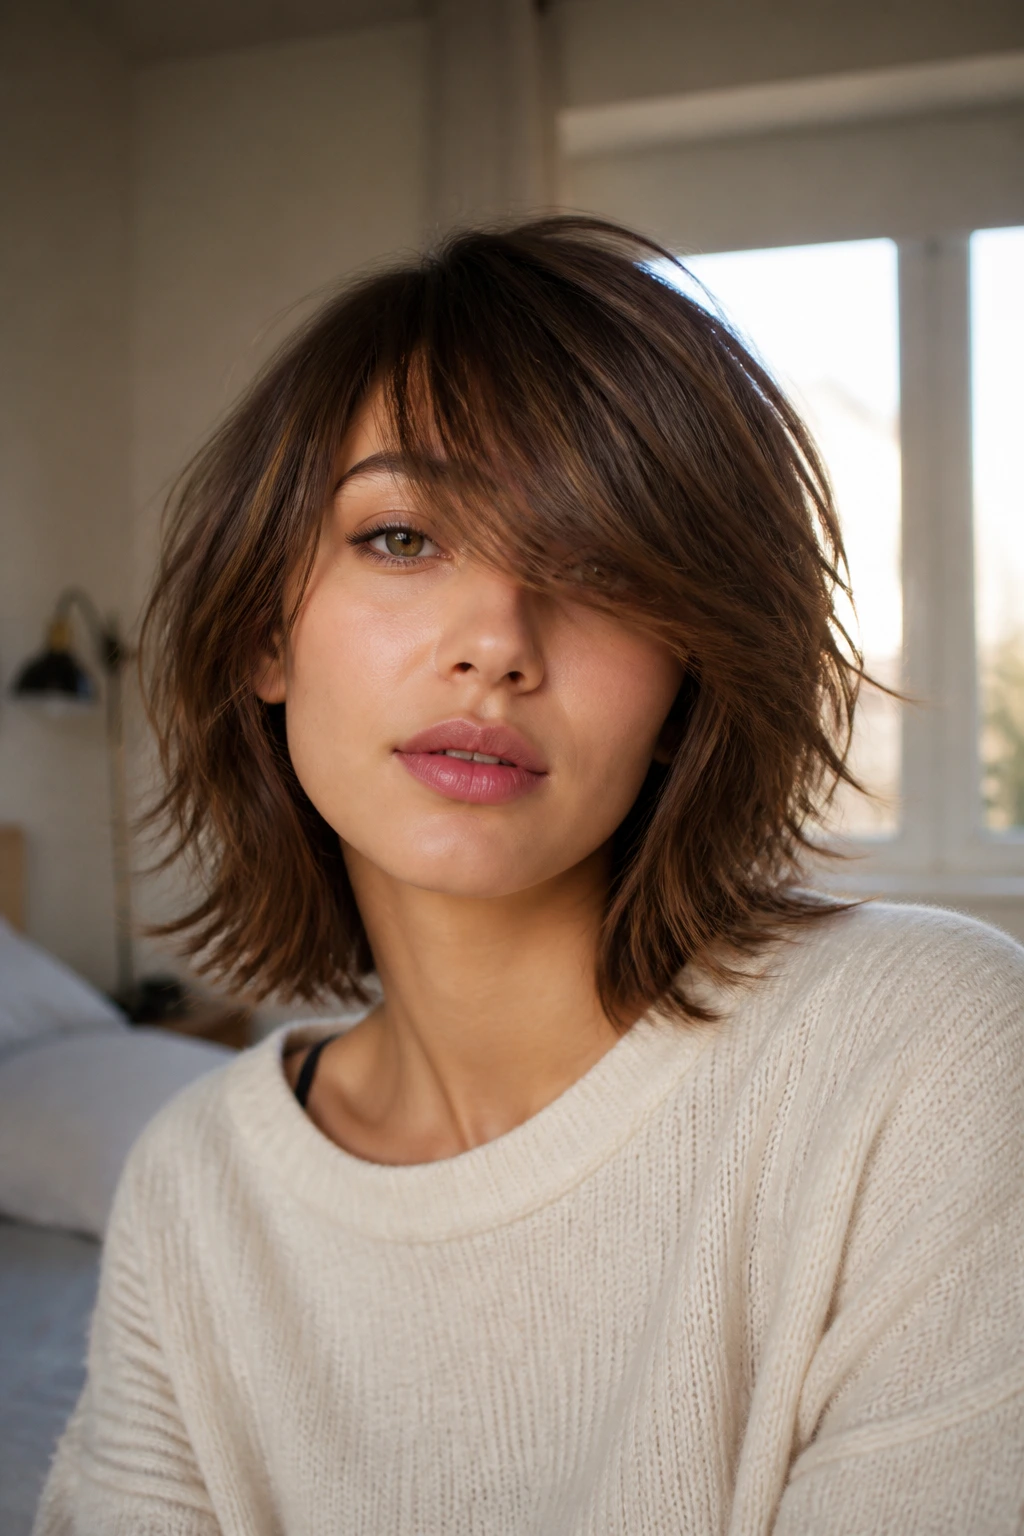
5. The Curtain-Layered Bob
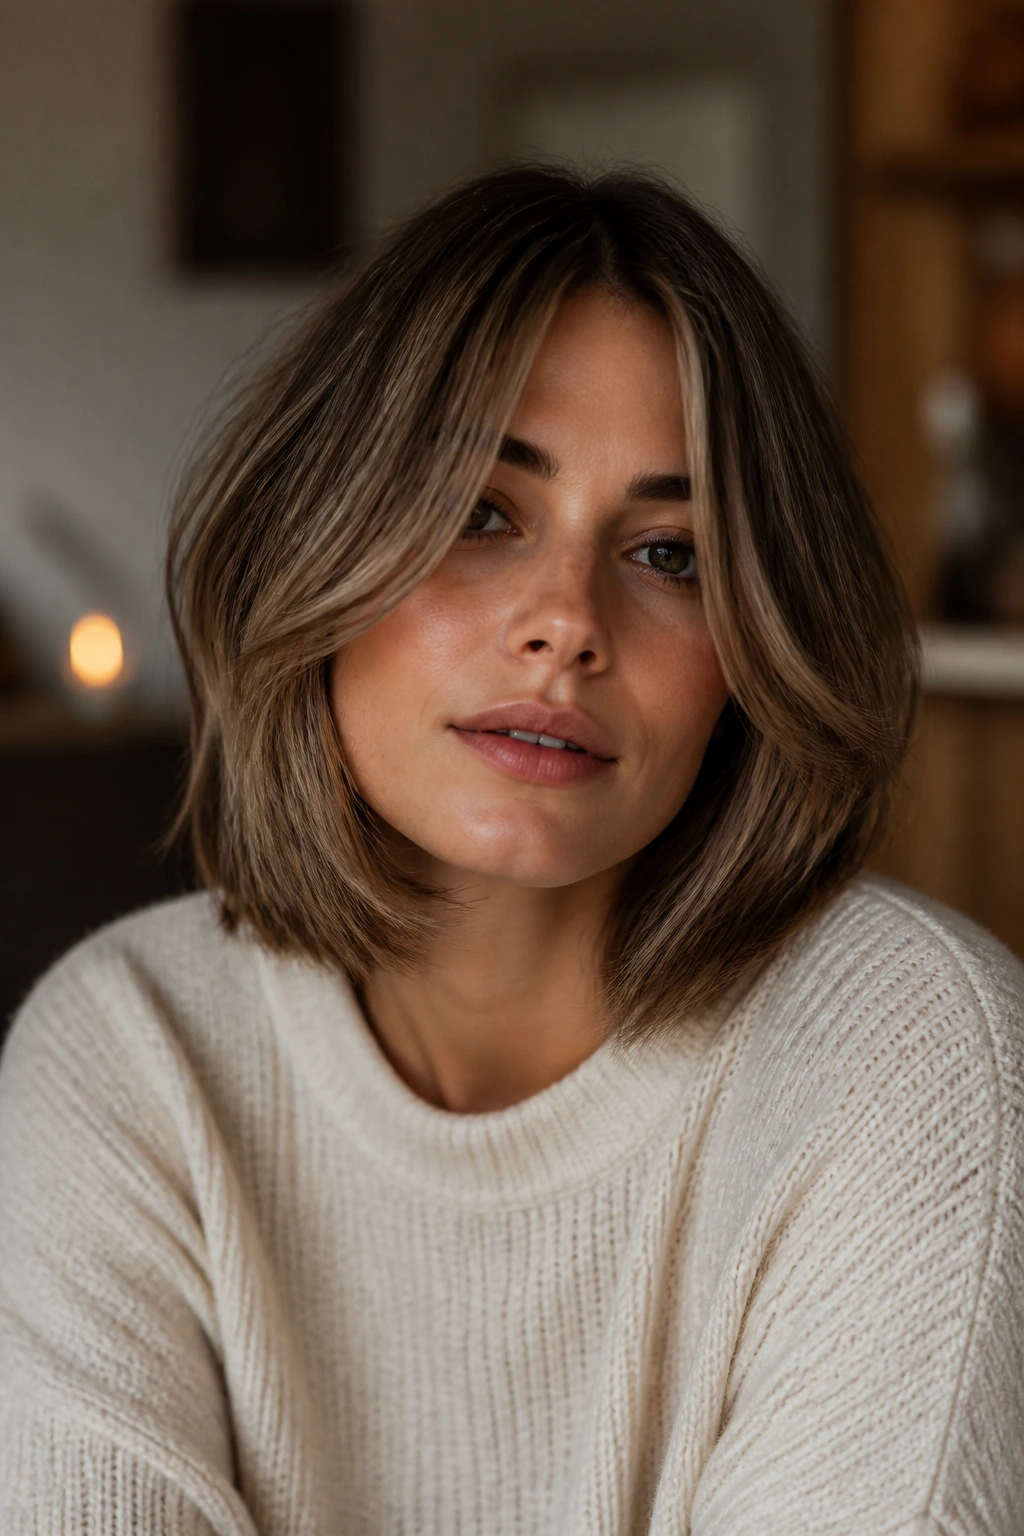
This variation focuses on “curtain” layers—long, face-framing pieces that part in the middle and cascade down. It is a softer, more romantic take on the shaggy bob. You get the volume of a shag with the ease of a classic layered cut.
Why This Style Defines Softness
The layers are cut with a point-cutting technique, which prevents the hair from looking blunt or heavy. Instead of sharp, jagged ends, the ends look tapered and soft. It is an excellent choice if you have fine hair and don’t want to lose too much density to aggressive thinning shears.
Styling for Maximum Movement
- Use a volumizing foam at the roots before blow-drying.
- Use a large-barrel curling iron to add a slight “S” bend to the face-framing layers, but leave the ends straight to keep that modern, undone look.
6. The Choppy Ends Shag
If you love the look of a blunt bob but find it boring, the choppy-ends variation is the perfect compromise. The base is kept blunt, but the last two inches of the hair are heavily textured and jagged. It creates a “broken” look that feels intentional and edgy.
Techniques Your Stylist Should Use
Ask for “deep point cutting” on the perimeter. This creates small notches in the hair rather than a straight line. It makes the hair look like it has been cut with a razor, even if scissors were used.
The Role of Texture Sprays
- Because the ends are the focus, use a dry texture spray to add a matte finish.
- Avoid heavy oils or serums, as they will pull the choppy ends together into clumps, which ruins the “shattered” effect you are trying to achieve.
7. The Asymmetrical Shag
Asymmetry brings an automatic sense of movement to straight hair. By having one side slightly longer than the other, you create a visual path for the eye to follow. When combined with the choppy layers of a shag, it prevents the hair from looking stagnant.
The Visual Balance Factor
An asymmetrical cut is not just about being “different”; it is about balancing your facial features. If you have a rounder face, an asymmetrical bob can help elongate the appearance. If you have a more angular face, the varying lengths can soften your profile.
Styling the Asymmetry
- Start by parting your hair on the side that has the shorter length to emphasize the contrast.
- Use a light wax to define the longer side so the layers remain separated throughout the day.
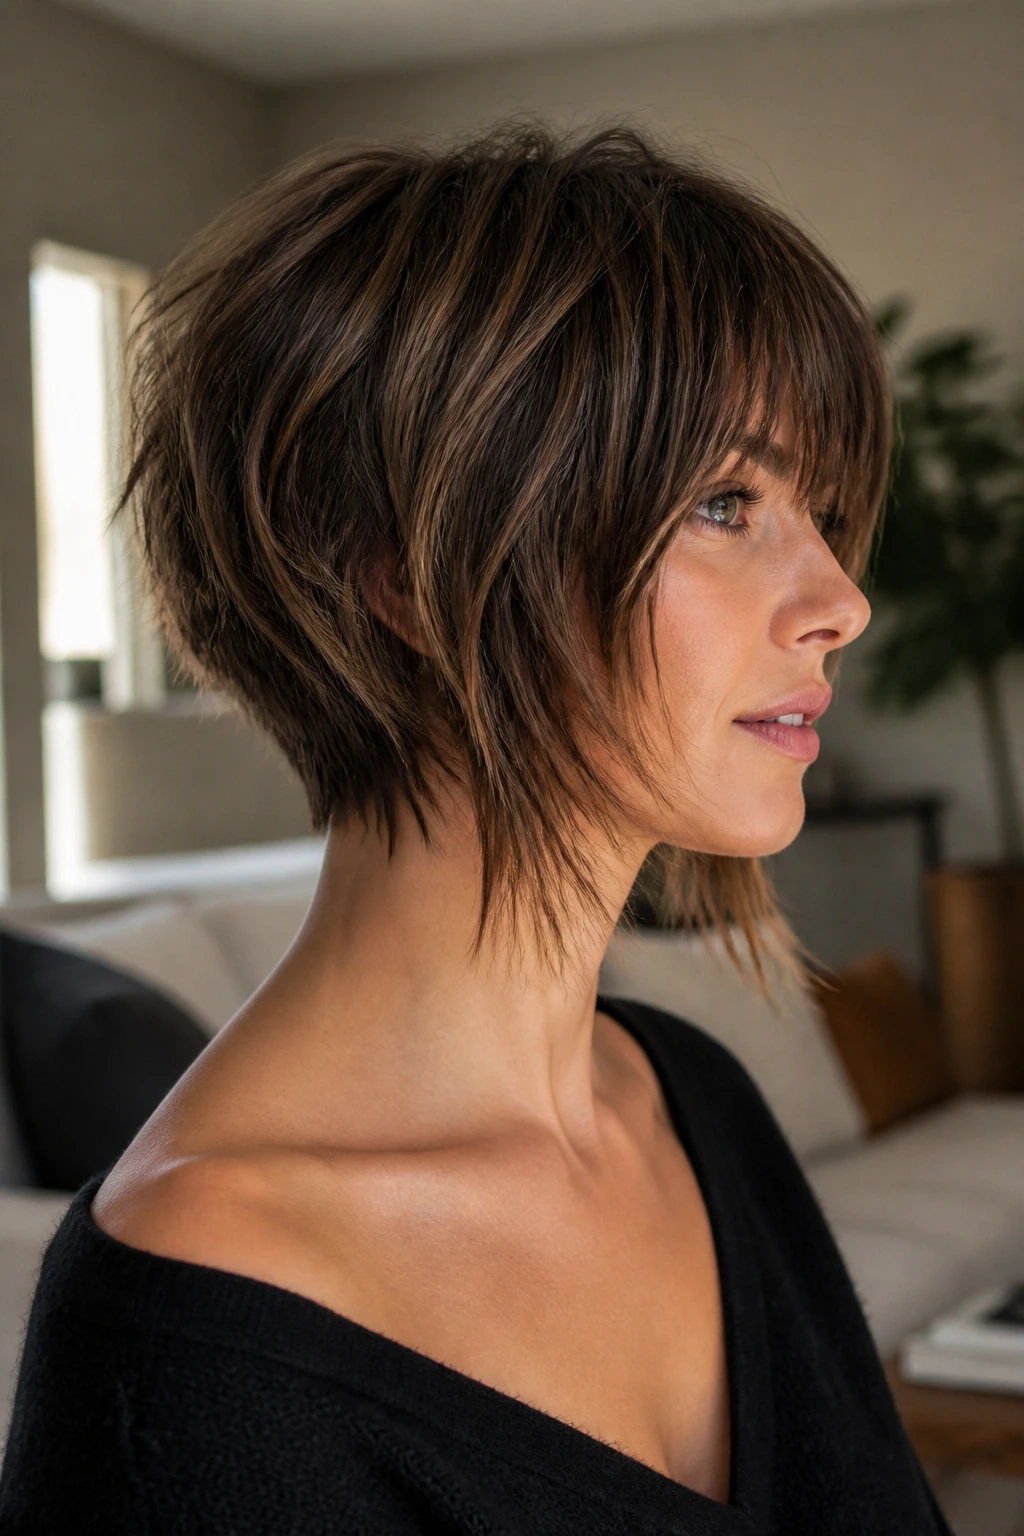
8. The Stacked-Back Shag
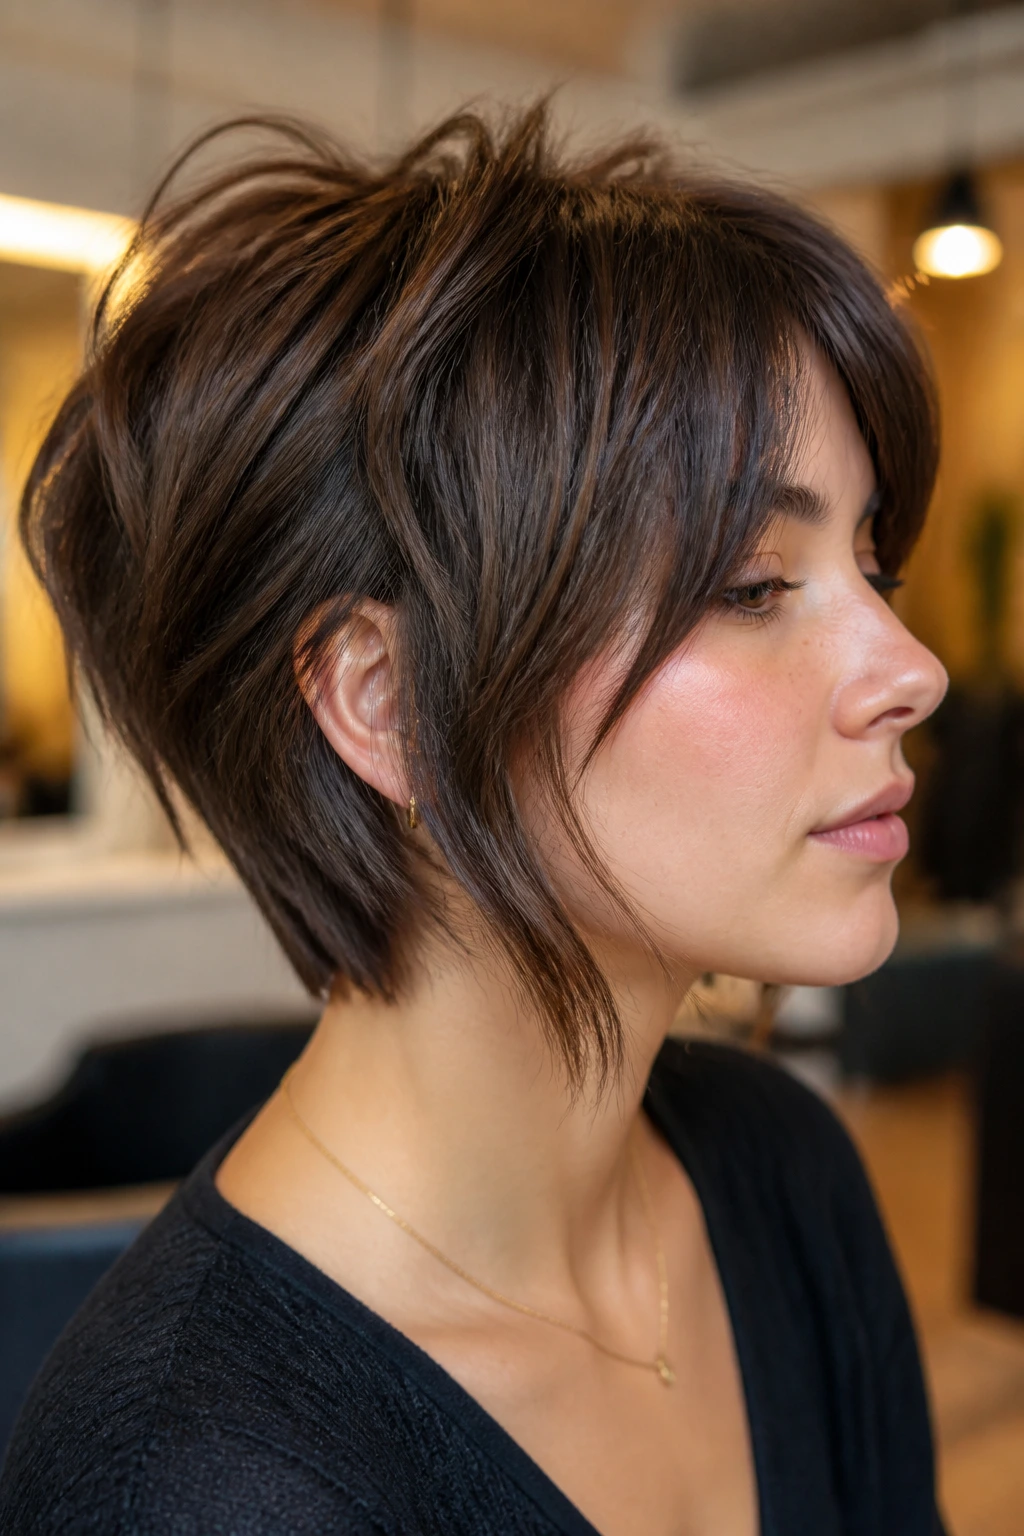
This cut features shorter, stacked layers in the back of the head that blend into longer, shaggy pieces in the front. It is a classic move for creating volume in the crown, which is often where straight hair struggles the most.
How to Create Volume
The key here is in the “stack.” The hair is cut at a sharp angle, and the layers at the nape of the neck are kept very short. As you move toward the front, the layers get longer and more fragmented. This forces the hair at the crown to stand up and out.
Daily Maintenance Requirements
- You will need a mirror to check the back of your hair, as it will grow out faster than the front.
- A light root-lift spray is mandatory for this cut; it provides the structure the hair needs to stay in that “stacked” position.
9. The Rounded Shag
Most shags are boxy, but the rounded version maintains the internal texture while keeping the overall shape soft and spherical. It mimics the look of a classic bob but with a much lighter, airier feel.
Why It Works for Fine Hair
Fine hair can look stringy in a traditional shag. By rounding the shape, you trick the eye into thinking there is more hair than there actually is. The density is focused around the middle of the head rather than dragging down to the ends.
Recommended Styling Tools
- A medium-sized round brush is the secret weapon here. Use it to blow-dry the hair under, but only on the last inch.
- Use a light-hold hairspray to ensure the rounded shape stays put without getting crunchy.
10. The Deep-Part Shag

Never underestimate the power of a deep side part. When you pair a messy, shaggy bob with a deep side part, you add immediate height to the top of your head, which automatically makes the cut look more dramatic and voluminous.
Why the Part Matters
A center part can sometimes emphasize flat roots in straight hair. A side part, especially one that is moved deeper than usual, forces the hair over the crown, providing instant, natural-looking lift that doesn’t require extra products.
How to Shift Your Part
- When your hair is damp, use a fine-tooth comb to create a clean, deep line from your temple back to the crown.
- Blow-dry the roots in the opposite direction of how they want to lie; this “trains” the hair to stay high and voluminous on that side.
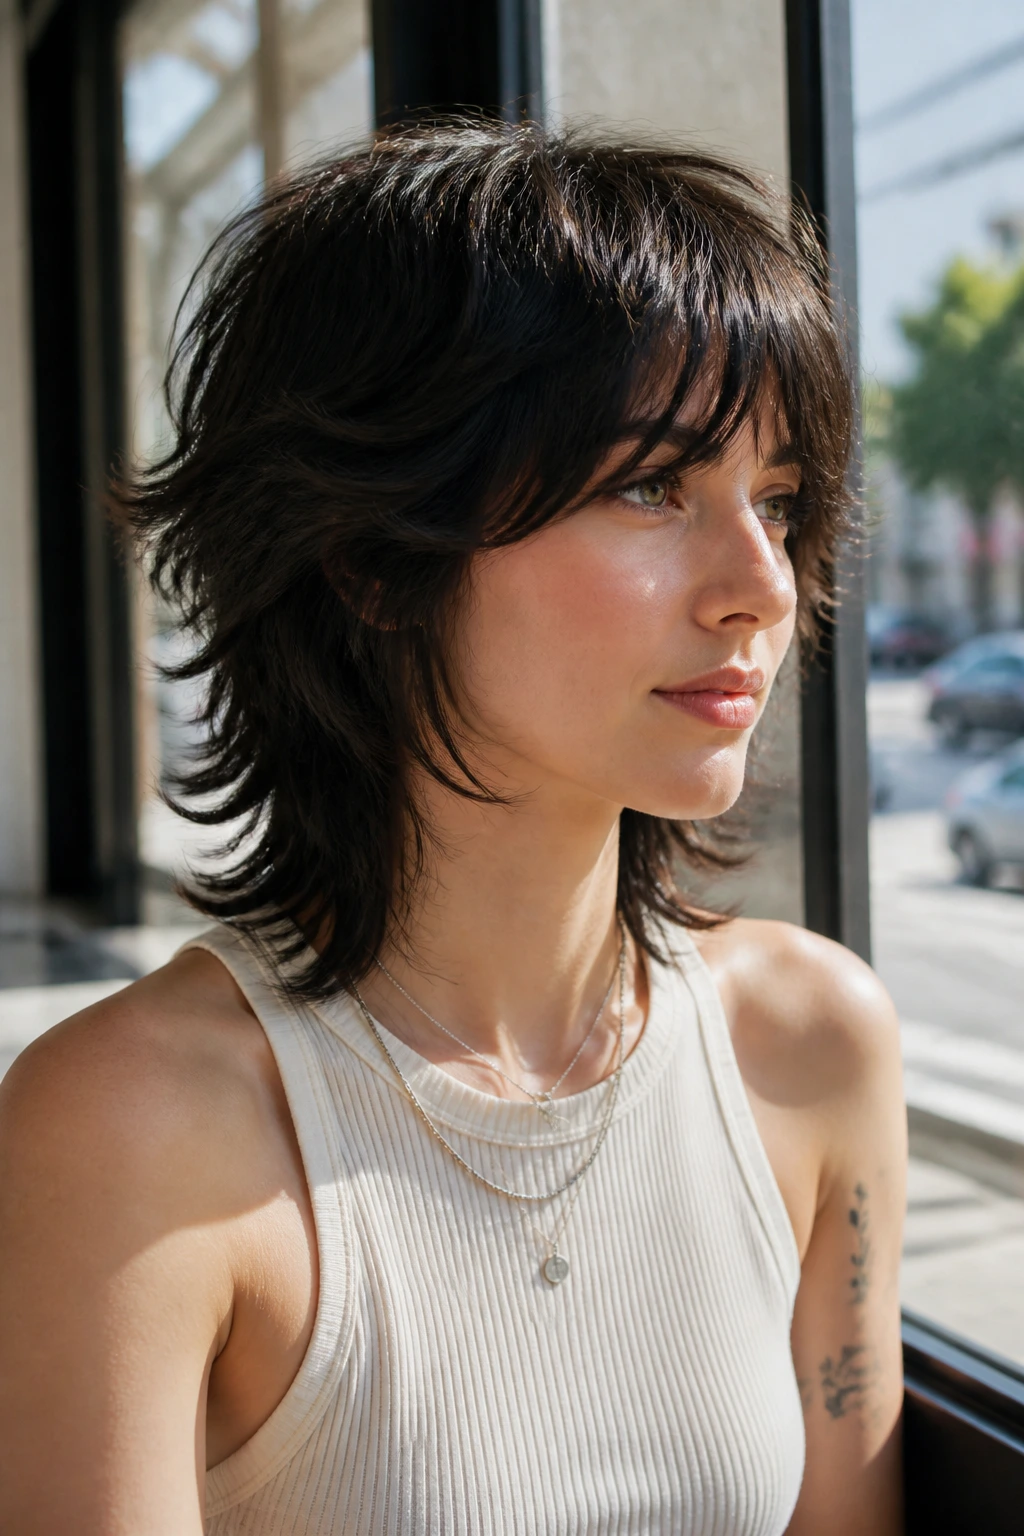
11. The 90s Grunge Shag
The 90s grunge movement was all about messy, unwashed, and overly layered hair. The modern iteration of this for a bob length is less “unwashed” and more “thoughtfully undone.” It’s messy, it’s piecey, and it’s meant to look like you just rolled out of bed.
Defining the Grunge Aesthetic
This style relies on heavy layering all over the head, not just at the ends. It’s meant to look like your hair has been cut with a razor by someone in a basement. It is surprisingly liberating to wear because you don’t have to stress about it being perfect.
Styling for the Grunge Look
- Avoid blow-drying as much as possible. Let the hair dry naturally.
- Scrunch in a texturizing pomade when the hair is 90% dry to encourage the layers to bunch up and look piecey.
12. The Wispy-Layer Shag

Wispy layers are the opposite of chunky, heavy layers. They are cut with the tips of the scissors to create soft, feathery ends that look almost see-through at the very edges. It is a very delicate, feminine version of the shag.
The Appeal of the Wisp
If you have very thick, straight hair that feels heavy, this is your best option. By removing weight through wispy, airy layers, you keep the shape of the bob while eliminating the bulk. It feels like wearing nothing at all.
Balancing Weight and Texture
- Use a weightless texture cream rather than a paste.
- Ensure the layers are long enough that they don’t look broken or frizzy, but short enough to give the bob that essential bounce.
13. The Two-Tone Shag
The shag is the perfect cut for playing with color, specifically the two-tone look. By having shorter, choppy layers that show off different shades, you add a sense of depth that simple one-tone color just cannot achieve.
Adding Dimension through Color
The fragmentation of the shag allows you to place highlights or lowlights on specific pieces of hair. This creates a “ribbon” effect, where the color moves with the layers of the cut, making the hair look multi-dimensional and alive.
Color Maintenance for Shaggy Bobs
- Since the ends are heavily textured, they can be more prone to dryness. Use a moisturizing color-safe shampoo to keep the texture looking healthy.
- Avoid using heat tools on high settings, as the lightened pieces will be the first to show damage.
14. The Blunt-Fringe Shag
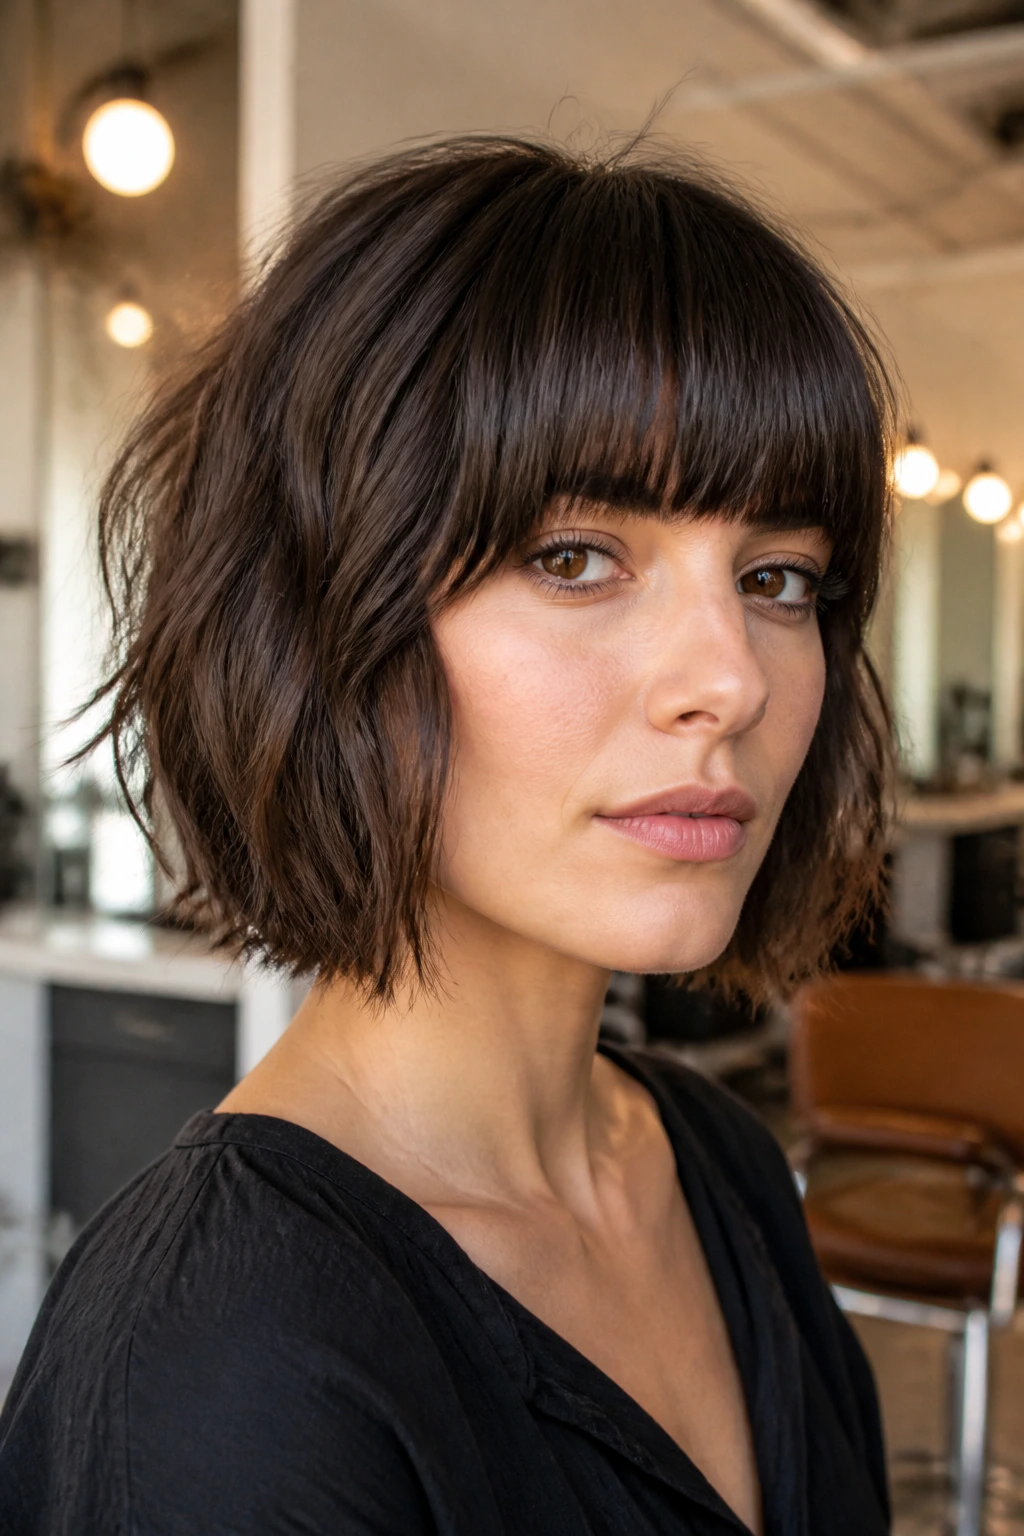
While a shaggy bob is inherently messy, a blunt, heavy fringe acts as a grounding force. It is a stunning contrast. The messiness of the bob is tempered by the extreme precision of a straight-across bang.
The Contrast Concept
This look is all about extremes. You are mixing the “controlled” (the blunt bangs) with the “chaotic” (the shaggy bob). It is a very Parisian, chic look that has been popular for decades because it works on almost any hair type.
How to Keep Bangs Looking Sharp
- Invest in a high-quality, lightweight shine spray.
- Use a small amount of pomade on the ends of the bangs to keep them from separating too much, while letting the rest of your hair stay piecey and loose.
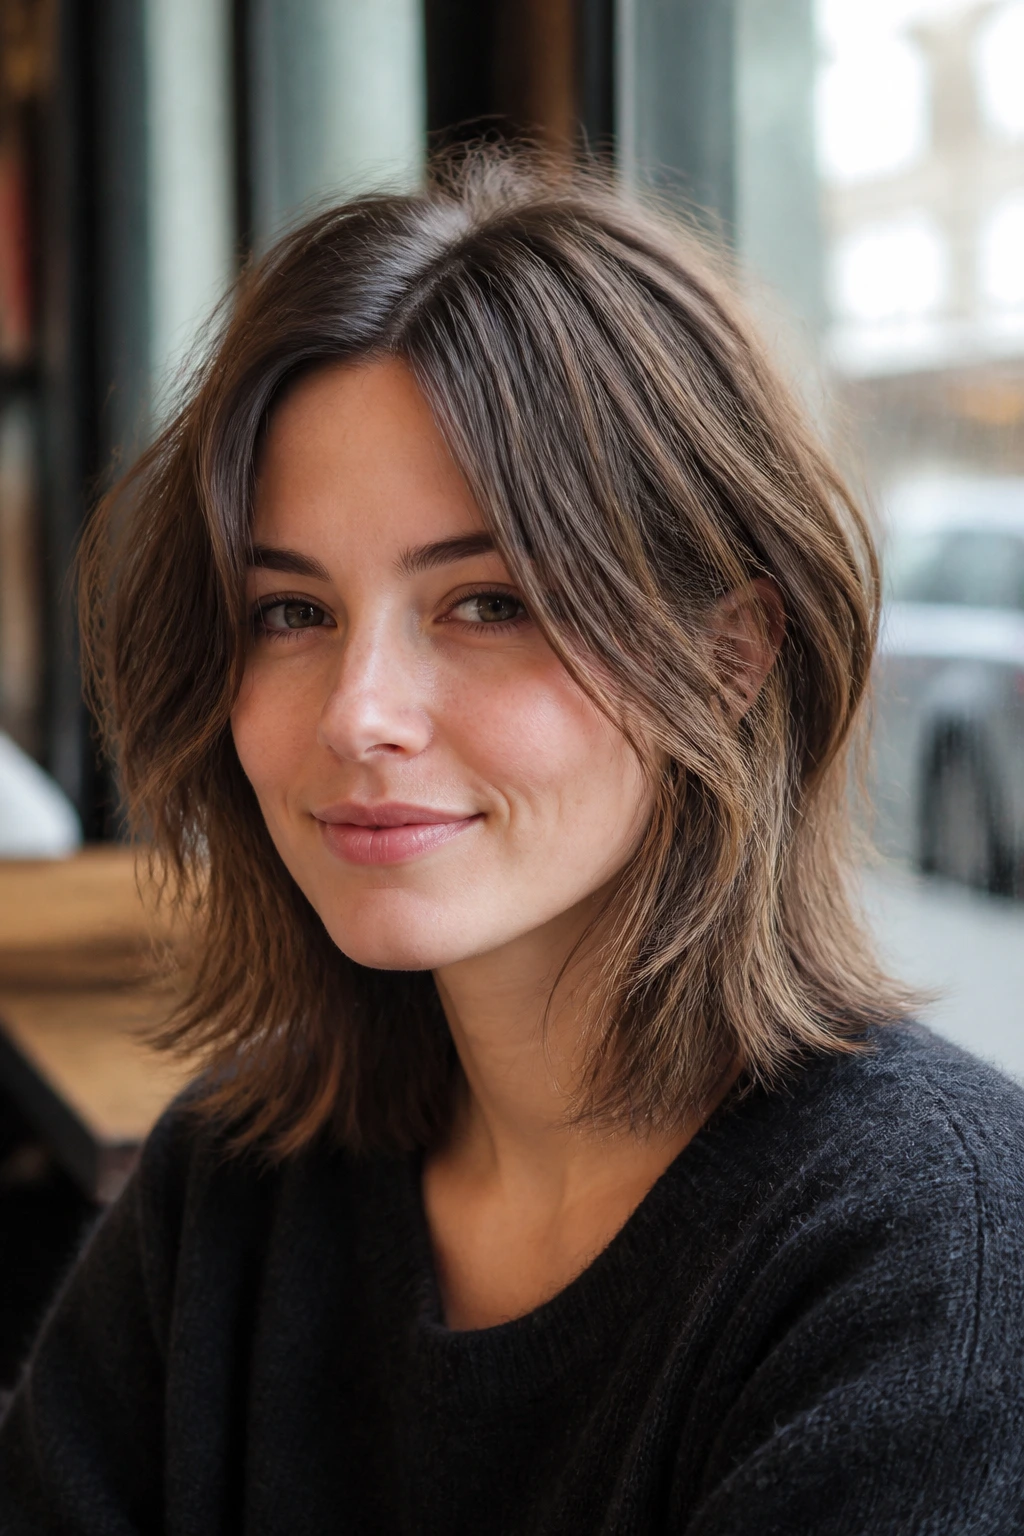
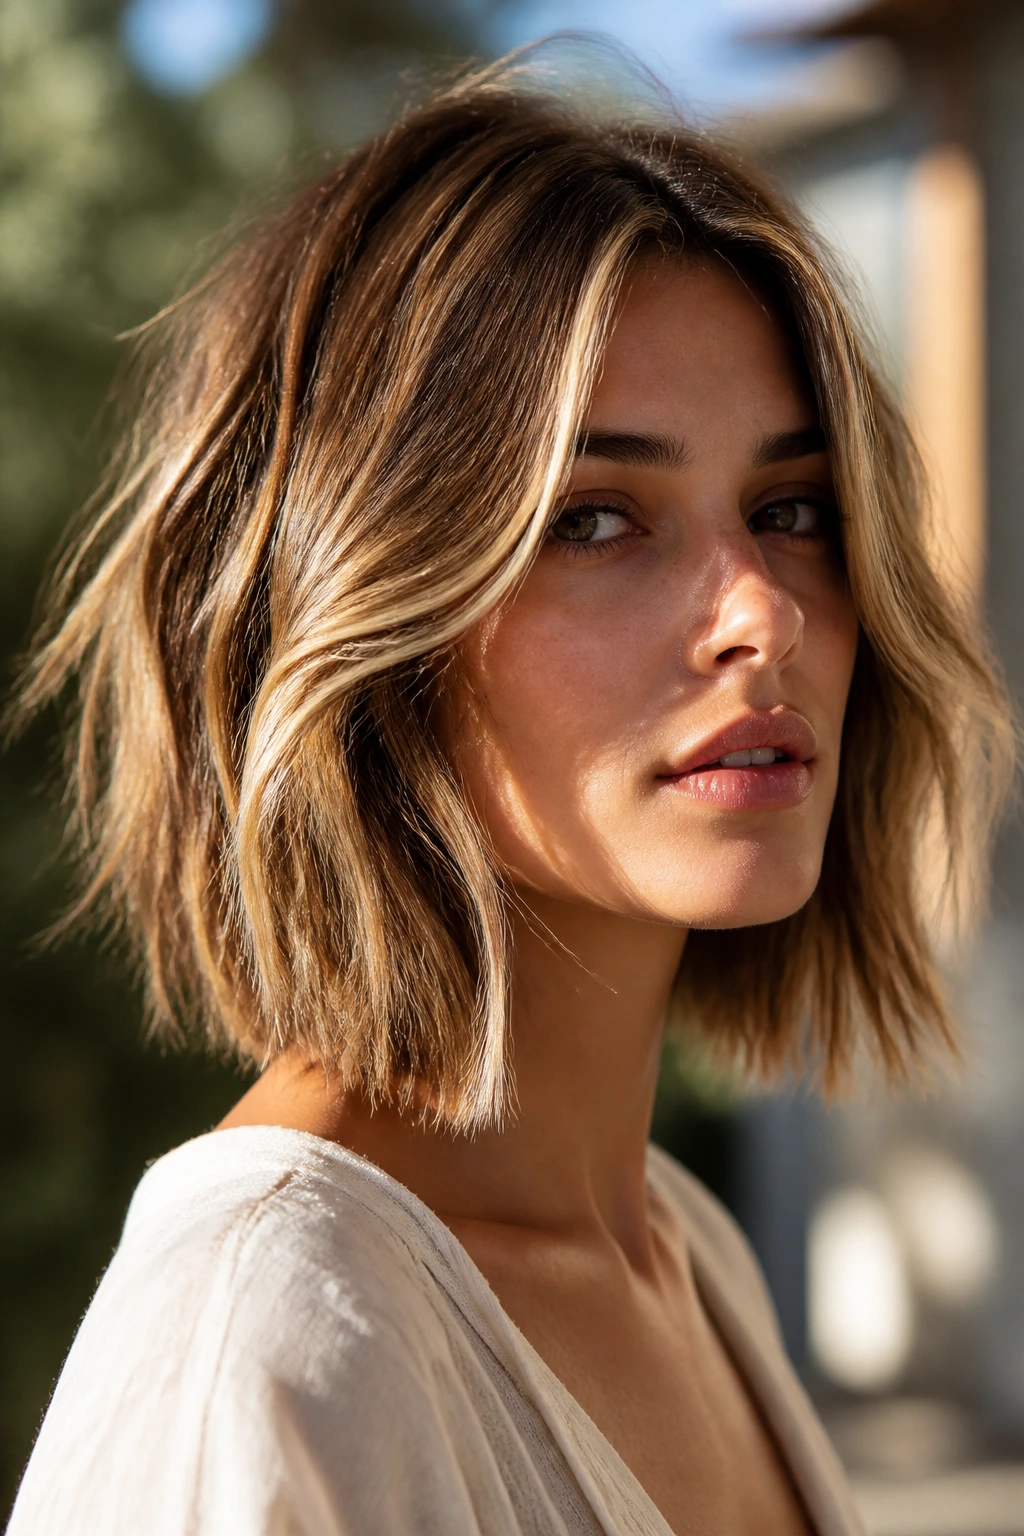
15. The Collarbone-Grazing Shag
This version is the longest of the bobs, sitting just at the collarbone. It is the perfect choice for those who are scared to go short but still want the benefits of a textured cut. It provides enough length to play with but enough layers to kill the weight.
The Benefit of Collarbone Length
This length is universally flattering because it creates a long, elegant line for the neck. By adding shag-style layers, you prevent the hair from just hanging straight down, which can sometimes make the neck appear shorter.
Essential Styling Tip
- Focus on drying the hair with a paddle brush rather than a round brush. This maintains the natural, straight texture while giving you control over the movement of the layers.
16. The Sleek-Shag Hybrid
You don’t have to sacrifice shine to have a shag. The sleek-shag hybrid focuses on ultra-smooth, glossy hair that has been cut into a shaggy shape. It is polished, refined, and looks incredible under light.
How to Achieve the Sleek Finish
The trick is to use a straightening balm before blow-drying. This seals the hair cuticle and makes it reflect light. You then use a flat iron to refine the shape, ensuring that every layer is smooth and straight.
The Difference in Styling
- Unlike the messy shag, this version requires a light serum or oil to finish.
- Apply the product to the mid-lengths and ends to eliminate any flyaways without making the hair look oily.
17. The Feathered-Back Shag
This cut pulls inspiration from the “Farrah” era but keeps the length much shorter and the volume more contained. The layers are directed away from the face, which creates a sense of openness and airiness.
Styling the Feathering
- Use a round brush to blow-dry the layers back, away from your face.
- Once dry, use a bit of finishing spray to lock the “flick” in place.
- This is a great look if you have a round face, as it opens up your features rather than hiding them.
18. The Nape-Undercut Shag
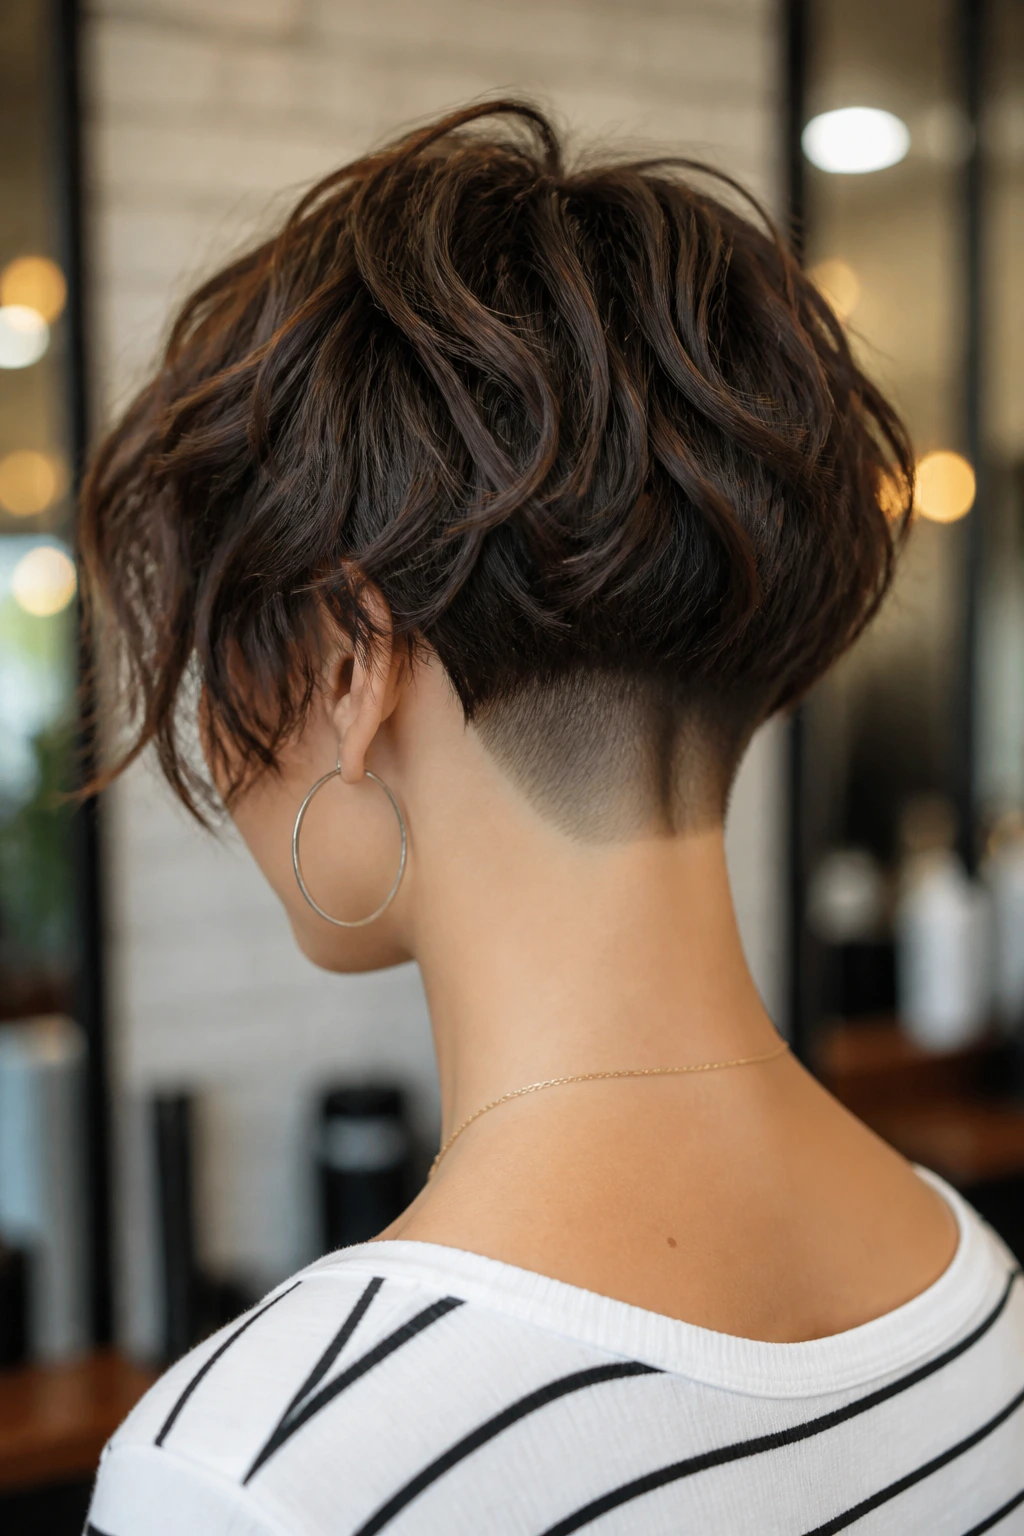
If you have a lot of hair that tends to puff out at the back, the nape-undercut is a game-changer. By shaving or tapering the very bottom layer of the nape, you remove all the “bulge” that often ruins a good bob.
Why the Undercut Matters
It allows the rest of the hair to lay flatter and cleaner. It is an “invisible” technique—unless you pull your hair up, no one will know it’s there, but you will feel the lightness immediately.
The Best Candidates for This Cut
- People with dense, thick straight hair.
- Those who hate the feeling of hair on their neck during the summer months.
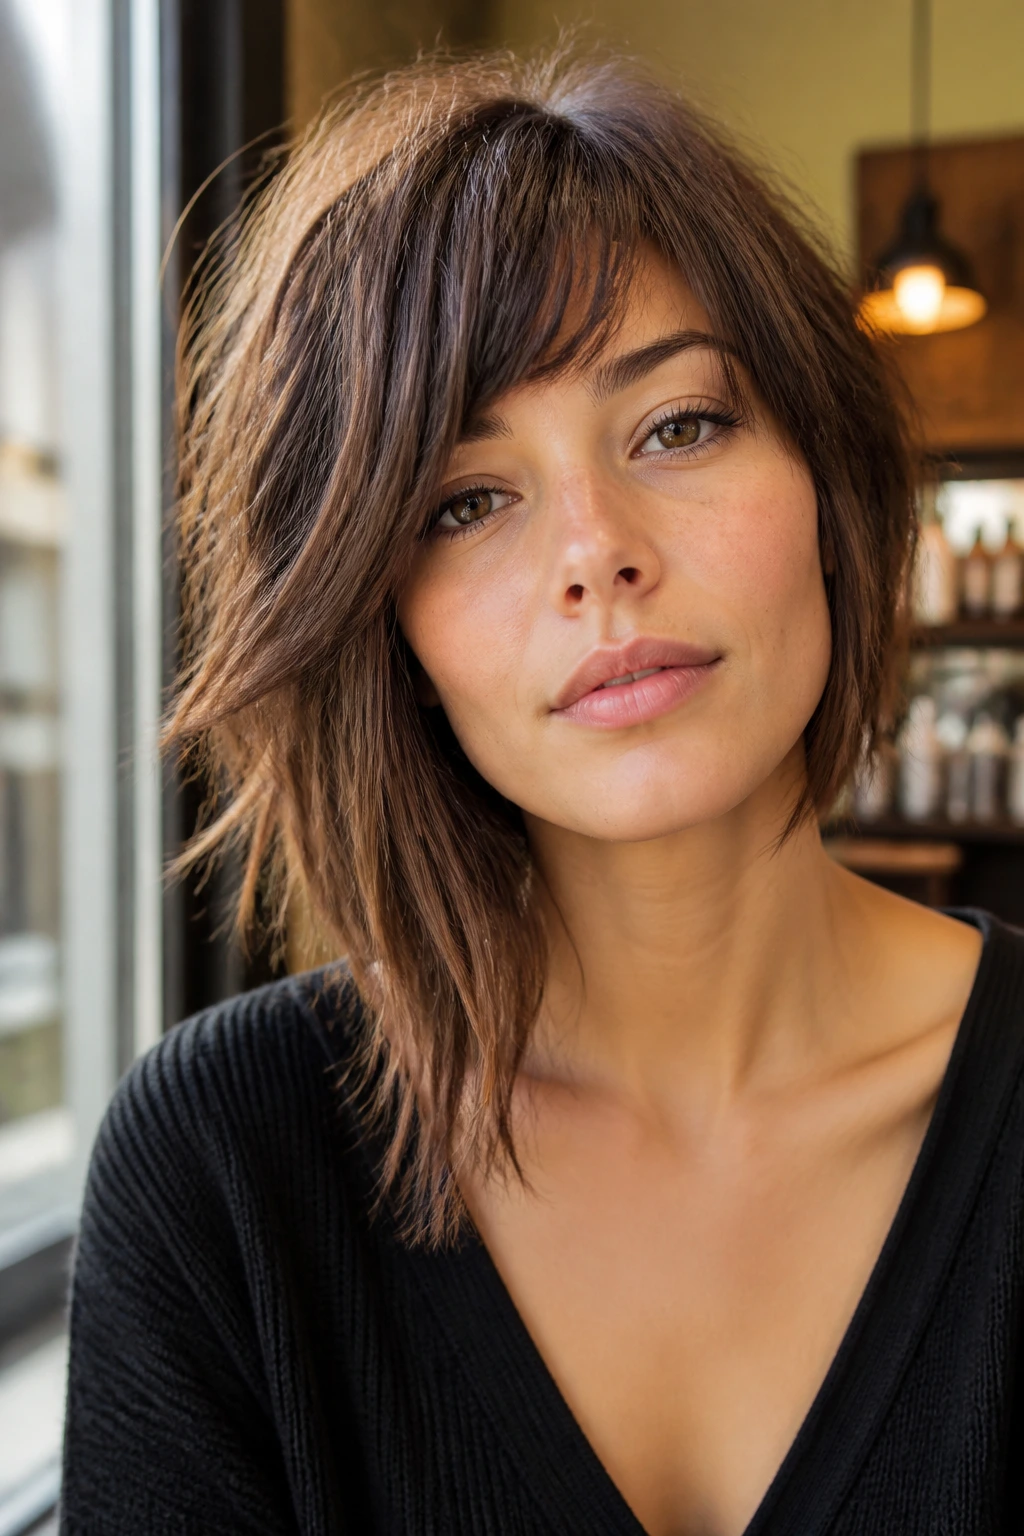
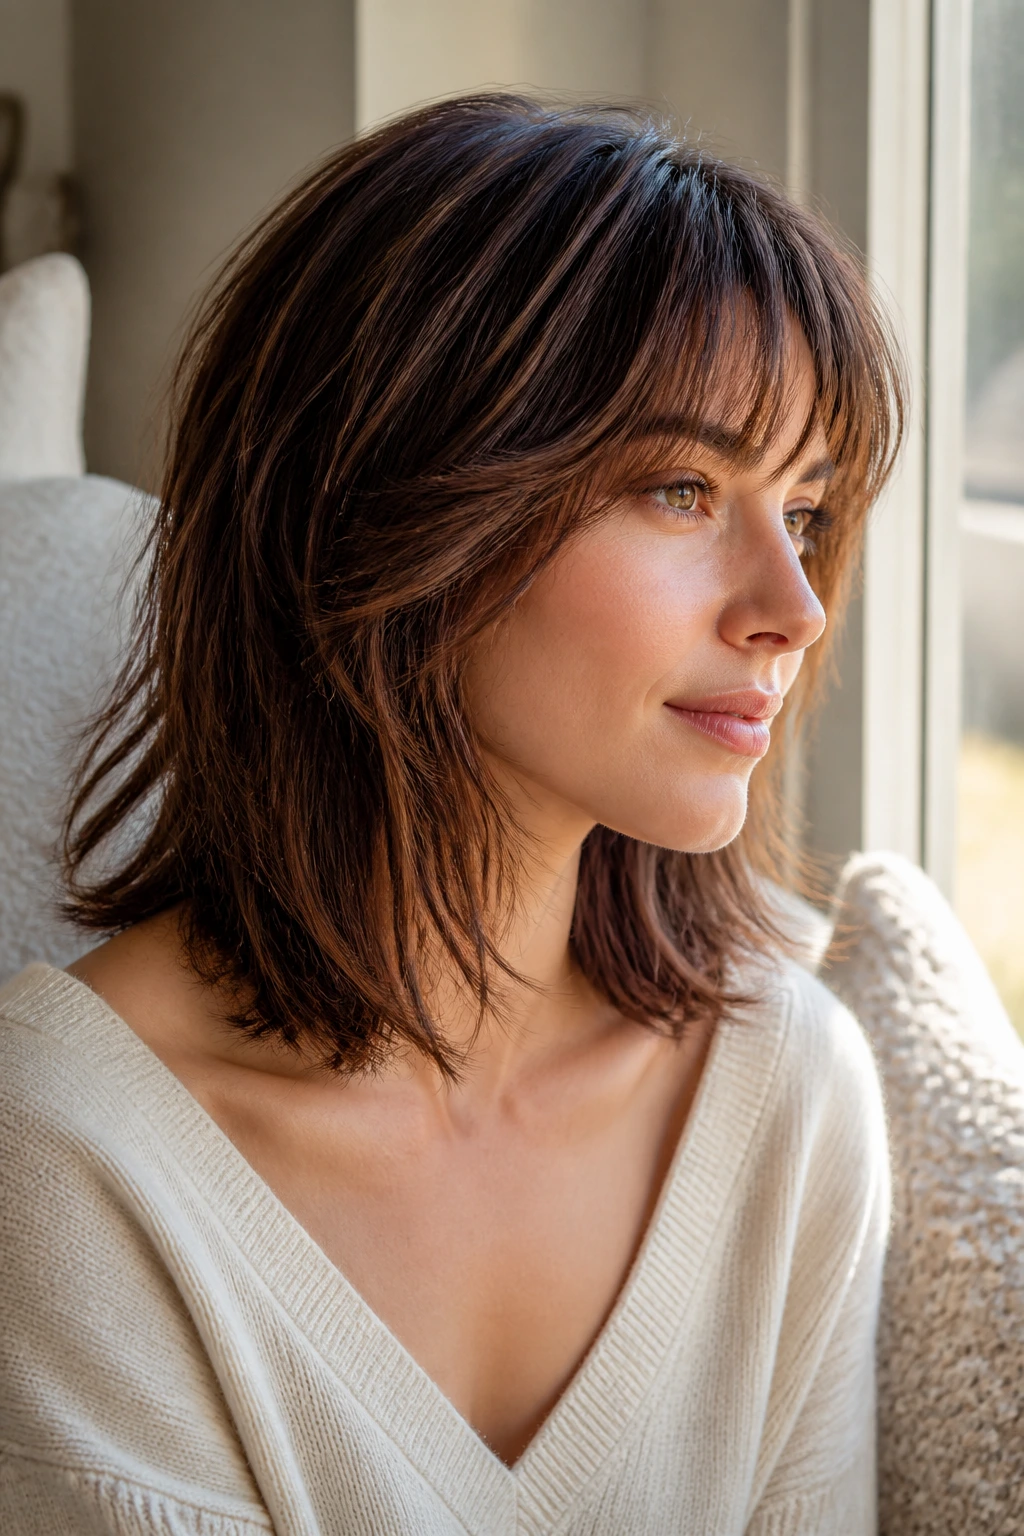
19. The Side-Swept Bang Shag
A side-swept bang is the ultimate low-effort accessory. Unlike a straight-across bang, it doesn’t need to be perfectly trimmed every month. It blends into the rest of the shaggy layers and grows out seamlessly.
Styling for the Side Sweep
- Use a large round brush when blow-drying the bangs to ensure they sweep elegantly to the side.
- Use a light-hold hairspray to keep them from falling forward, but keep it minimal so the hair still has movement.
20. The “Bedhead” Shag
The bedhead shag is exactly what it sounds like—hair that looks intentionally mussed. It is high-energy, high-texture, and requires very little actual heat styling.
Creating the Bedhead Vibe
- Start with a dry shampoo at the roots, even if your hair is clean. This provides the “grip” needed to make the layers separate.
- Use a salt spray on damp hair, and then just let it be. Do not touch it while it dries. The less you touch it, the better the texture will be.
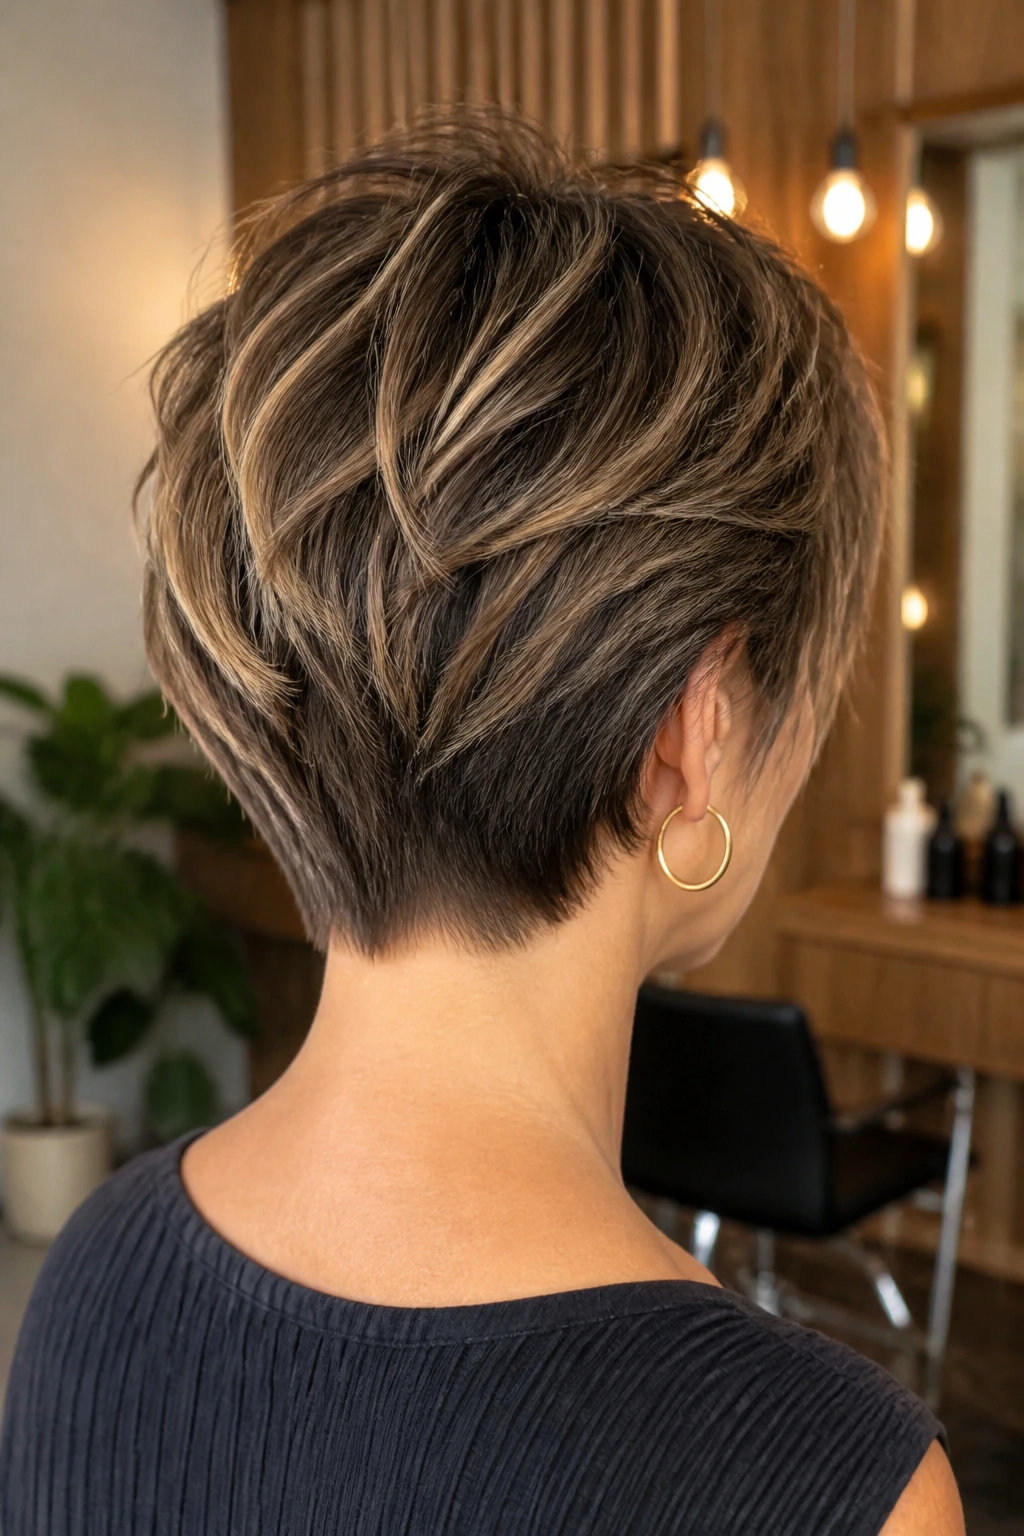
21. The Graduated Shag
Graduation involves cutting the hair at an angle, so it is shorter in the back and longer in the front. Adding shag layers to this creates a dynamic, sharp-looking haircut that is both elegant and modern.
Why Graduation Works with Layers
The graduation provides the silhouette, and the layers provide the texture. It’s the best of both worlds. The back stays full, while the front gets those face-framing shaggy pieces.
Styling the Graduation
- Focus your blow-drying efforts on the back layers to ensure they stay “stacked.”
- Use a flat iron on the front pieces to emphasize the angle of the cut.
22. The Tapered-Nape Shag
Tapering is similar to an undercut but softer. The hair at the nape of the neck is cut with scissors, staying tight to the head, which prevents the hair from poofing out. It’s a very clean, professional look.
Why It’s Sophisticated
It shows off the line of the neck and creates a very precise transition into the shaggy layers above. It looks intentional and well-maintained.
Maintenance
- Since the nape is kept tight, you’ll need to clean it up every time you visit the salon, even if you are letting the rest of the hair grow out.
23. The Curly-Faux Shag
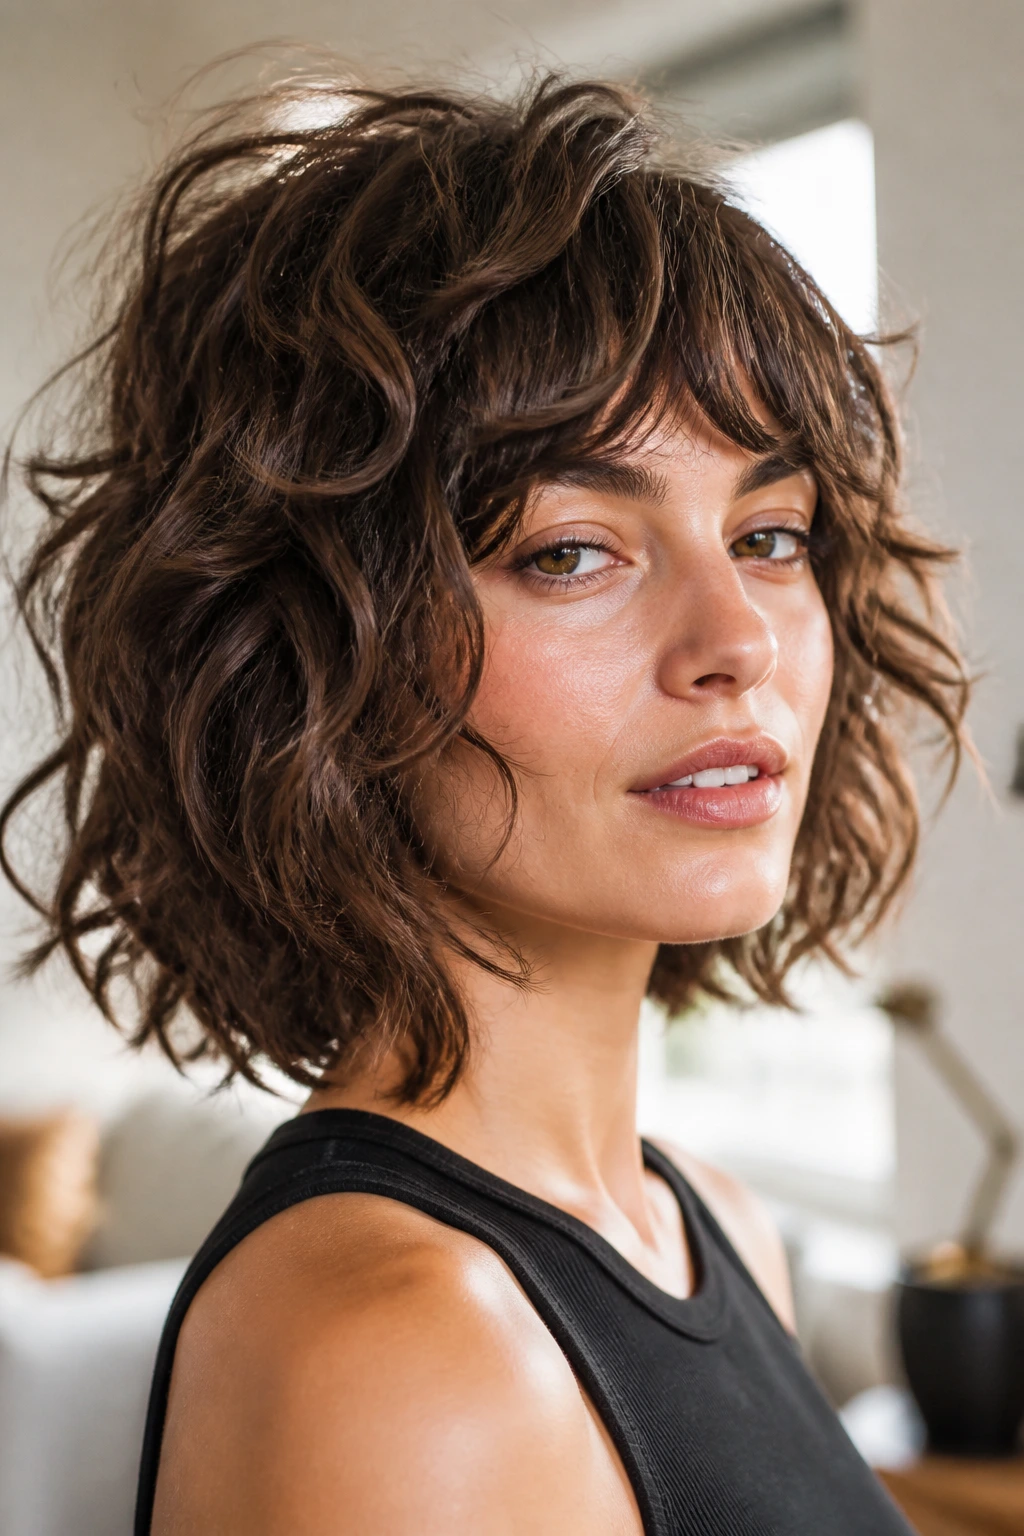
Wait, didn’t we say this was for straight hair? Yes, but you can create a “faux” curly look with a straight bob using a medium-barrel iron. By adding random, messy curls to a shaggy bob, you can mimic a true shaggy texture that is much fuller than straight hair alone.
Creating Faux Texture
- Use a one-inch iron to create loose, irregular waves.
- Do not curl the ends; leave them straight to maintain that “shaggy” aesthetic.
- The result is a messy, voluminous look that lasts all day.
24. The Long-Layered Shag
This version keeps the bob length but uses very long, disconnected layers. It is less about the “choppy” feel and more about the “airy” feel. It is a very sophisticated, grown-up version of the cut.
The “Disconnected” Technique
Disconnected layers are cut in a way that they don’t perfectly flow into one another. This creates small pockets of volume and movement throughout the hair, making it look much thicker than it is.
Who Should Choose This
- People who want a shag but don’t like the “messy” look.
- Those who want a style that looks just as good in the office as it does on the weekend.
25. The Face-Framing Shag
The face-framing shag focuses entirely on the pieces around the eyes and cheekbones. It is designed to highlight your best features while the rest of the hair remains simple and loose.
How to Design the Frame
- The shortest layers should hit right at the cheekbones.
- The next layers should fall toward the chin.
- Everything else is kept simple and shag-textured.
26. The Textured Pixie-Bob Shag
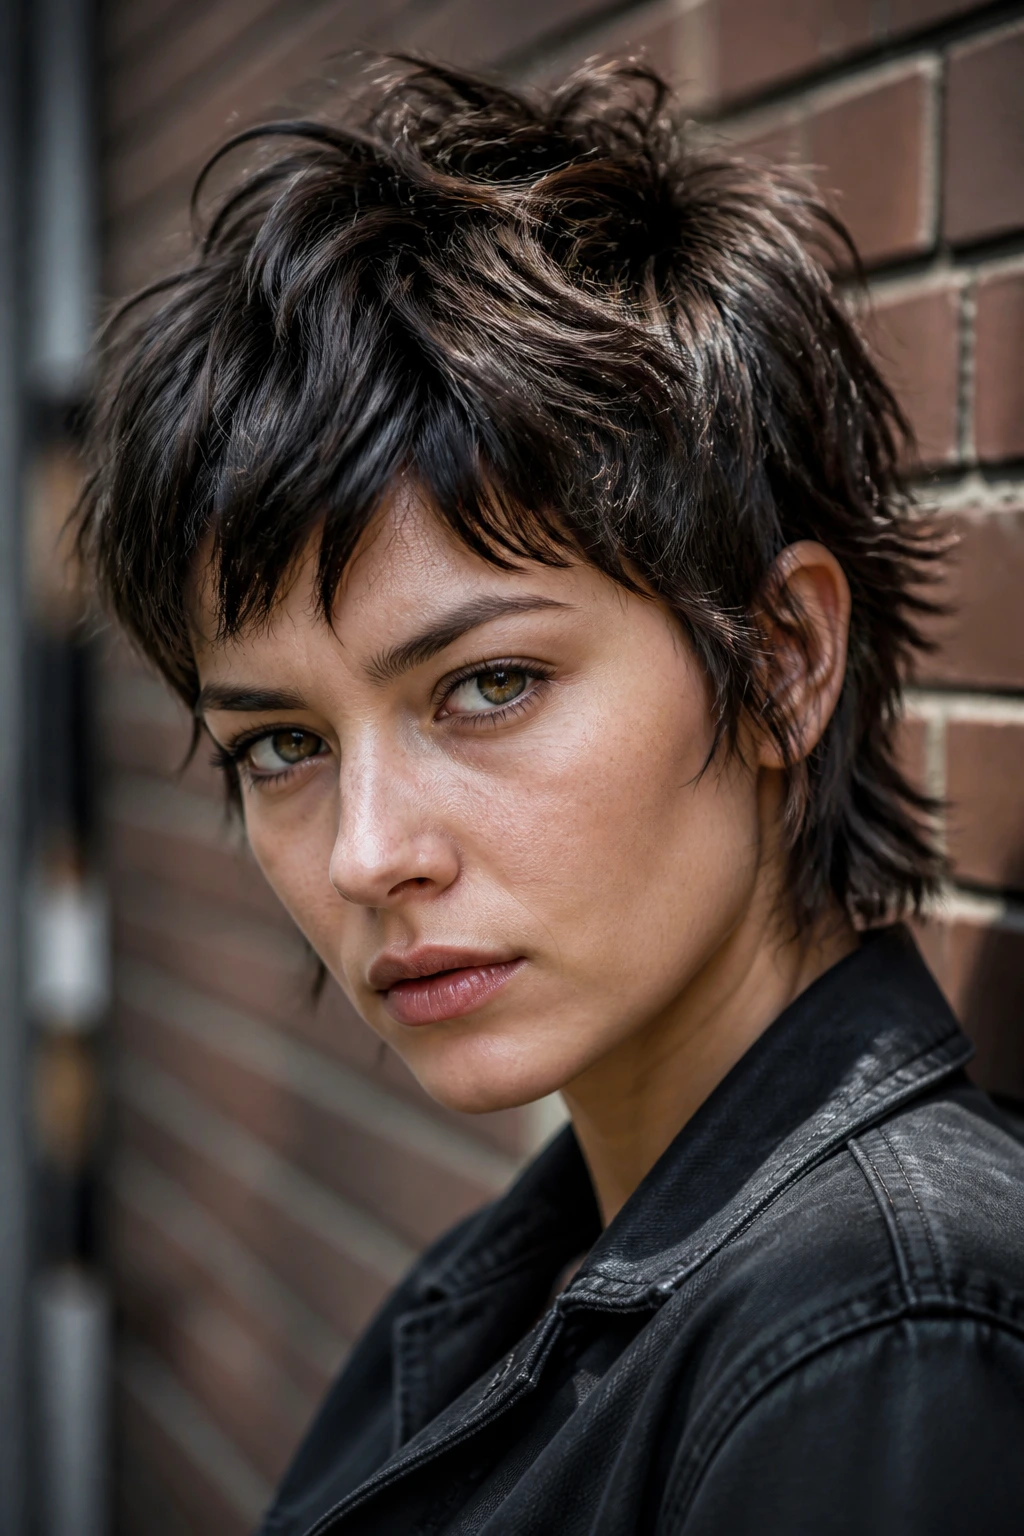
This is a very short, edgy cut that sits somewhere between a pixie and a bob. It is heavily layered and very short, perfect for someone who wants to embrace the shaggy look in its most extreme form.
The Benefit of Shorter Lengths
- Extremely quick to style.
- Can be washed and air-dried in minutes.
- Looks great with bold jewelry or eyewear.
27. The Natural-Part Shag
Sometimes the best shag is the one you don’t fight. Let your hair part where it naturally wants to. If it’s a bit off-center or deep on one side, build the layers around that part.
Why Natural is Better
- It feels authentic.
- It’s the easiest style to maintain.
- It rarely looks “over-styled.”
28. The Sun-Kissed Shag
This is less about the cut and more about the effect. A shaggy bob that has been colored with face-framing “money piece” highlights or balayage will always look like it has more texture than a solid-colored cut.
The Visual Impact of Light
Highlights act as a roadmap for the layers. When you have different colors reflecting light, the fragmentation of the layers becomes much more obvious, making the “shaggy” effect look pronounced and intentional.
Final Thoughts
Choosing a shaggy bob is really an act of embracing movement. Straight hair often hides within its own weight, but a well-executed shag forces that hair to behave differently. It demands volume, it highlights texture, and—most importantly—it requires a lot less perfection than a classic, blunt bob.
Remember that the success of these cuts lies in the conversation you have with your stylist. Bring photos, yes, but also be prepared to talk about how much time you actually want to spend in front of the mirror. A good shag should work for you, not against you. Whether you go for the micro-fringe or the soft collarbone-grazing length, you are choosing a style that prioritizes ease and personality over rigid, predictable structure. Don’t be afraid of the choppy ends; that is exactly where the style lives.