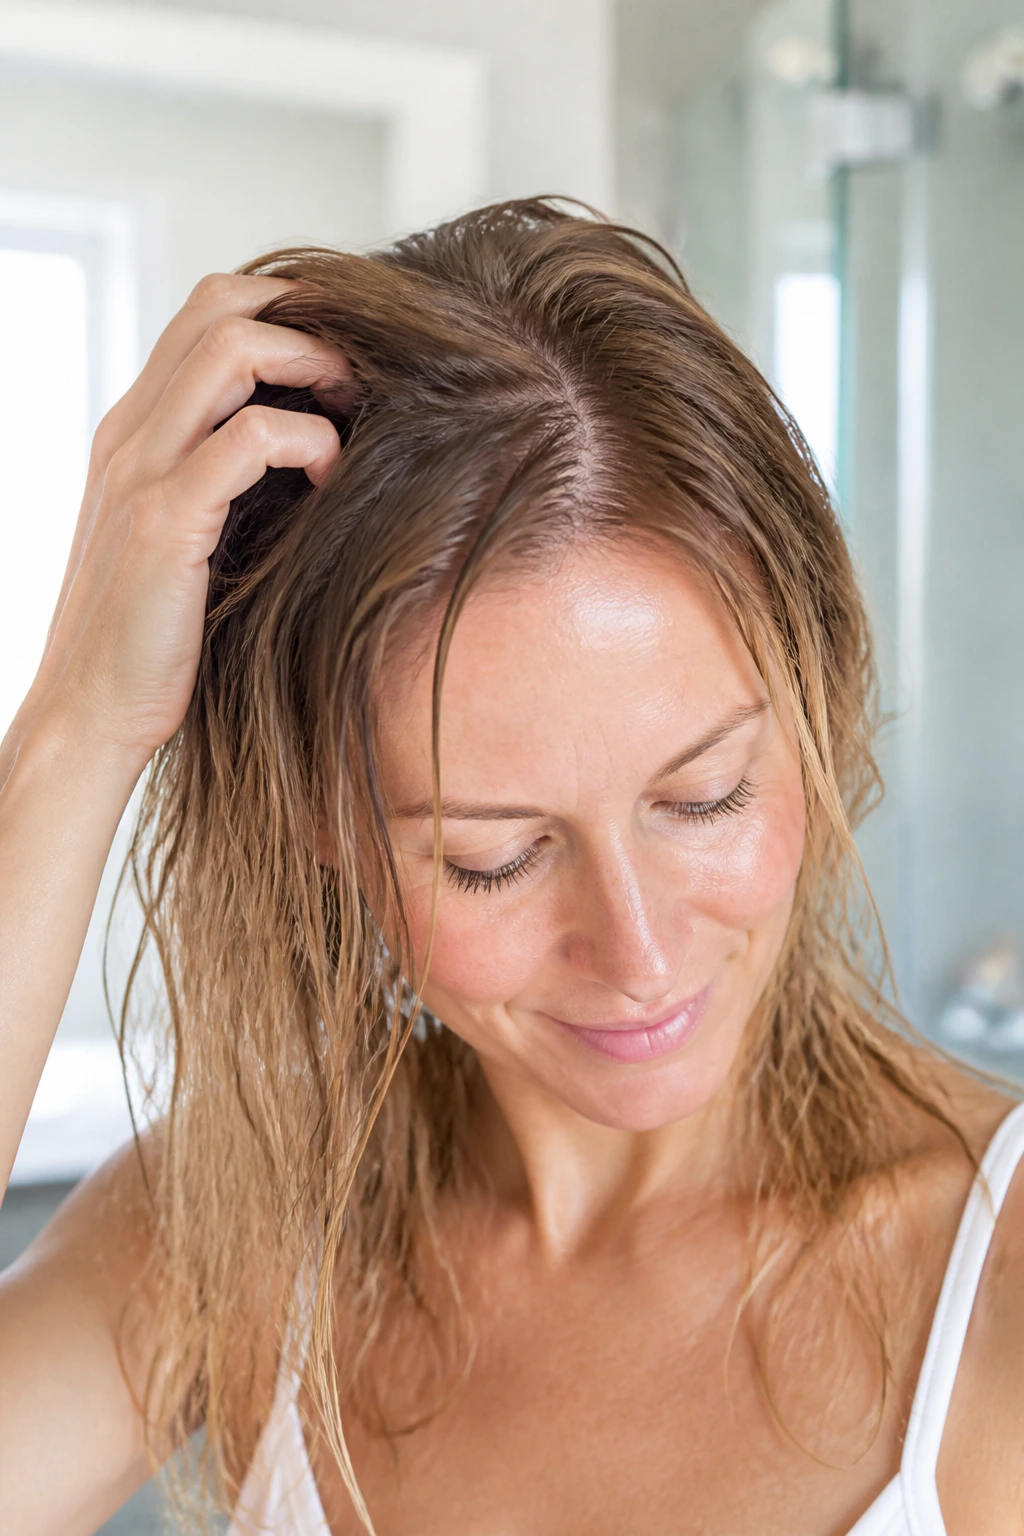
Thinning hair feels like an uphill battle, especially when you are staring at a mirror trying to force volume into strands that seem committed to lying flat against your scalp. Most professional styling tutorials assume you have a thick, dense mane to work with, but when your hair is fine or thinning, those techniques often backfire. You end up with product buildup, heavy strands that droop by noon, and a style that leaves you feeling more self-conscious than when you started.
Real volume is not about piling on expensive mousses or heavy gels; it is about architecture. It is about how you prep the scalp, how you handle the moisture content of your hair, and the specific mechanical ways you manipulate the cuticle to create space between strands. You do not need a salon budget or a professional kit to change the silhouette of your hair. You need a shift in mindset and a few humble supplies—some of which you likely already have in your kitchen or bathroom cabinet.
Let’s look at how to maximize the hair you have. We are moving past the generic advice of “use volumizing shampoo” and getting into the nitty-gritty of what actually works when you need to fake density and build a style that survives a full day.
1. The Cornstarch Dry Shampoo Method
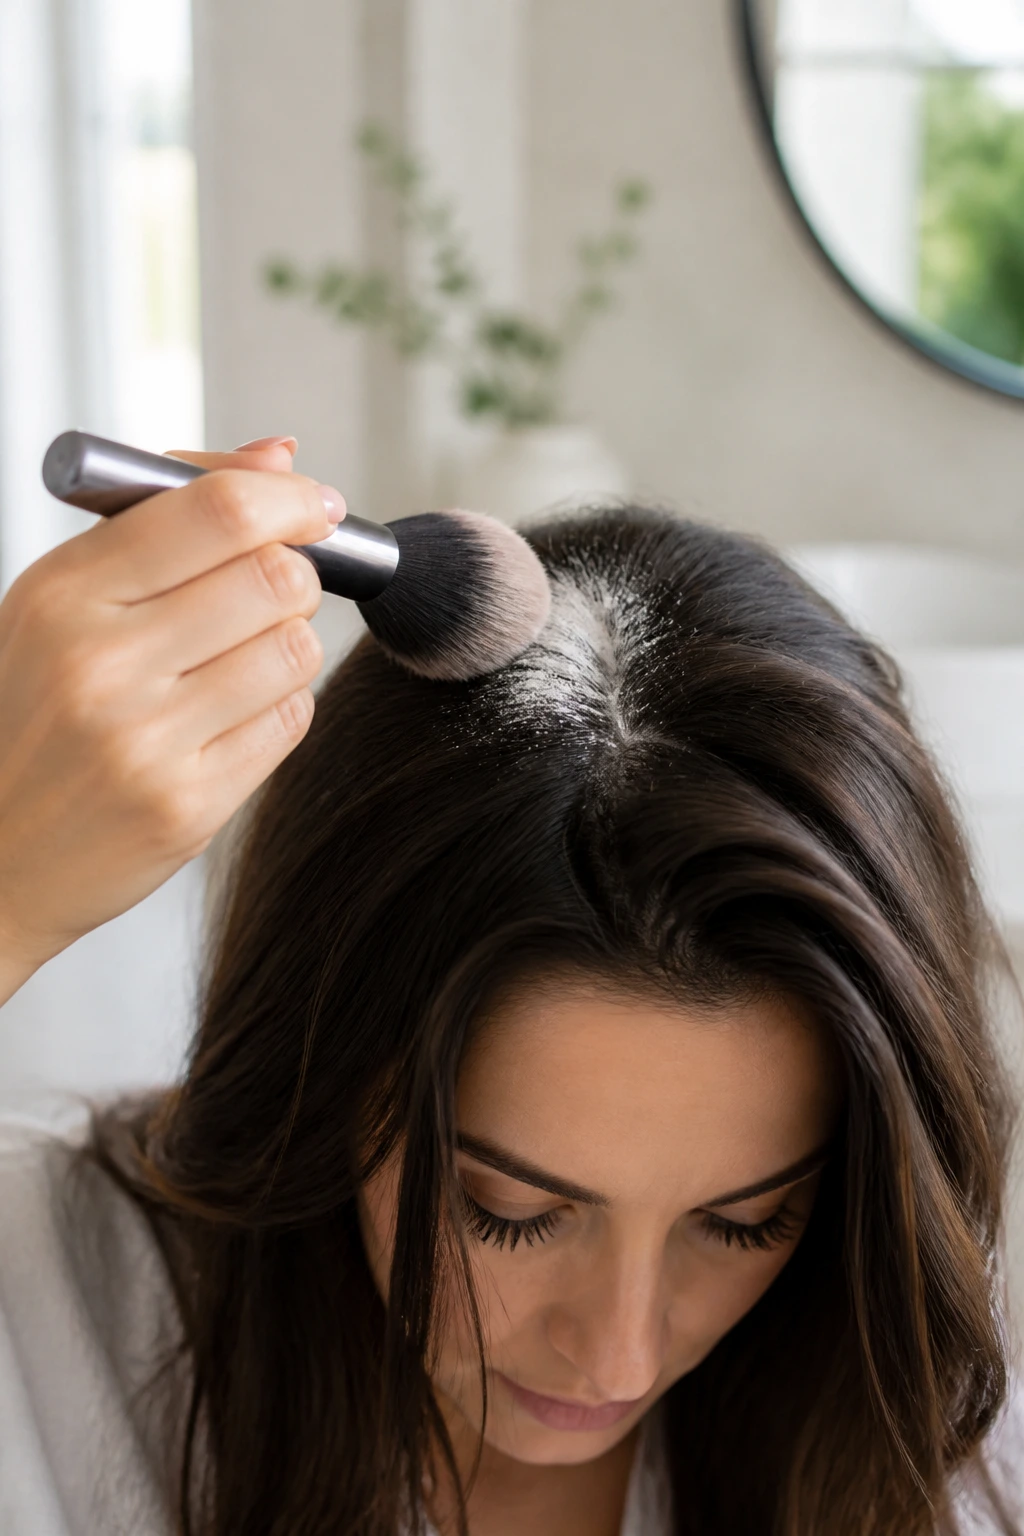
Most aerosol dry shampoos contain heavy polymers that can weigh down thinning hair, causing it to clump together rather than fluff up. If you are looking for pure, weightless lift, turn to your pantry. A small dusting of cornstarch at the roots is arguably the most effective way to absorb excess sebum—which is the number one enemy of volume—without adding a heavy, waxy coating.
How to Execute This Properly
- Take a clean, fluffy makeup brush—an old blush brush works perfectly for this.
- Dip it lightly into a bowl of organic cornstarch and tap off the excess until only a light dusting remains on the bristles.
- Part your hair in one-inch sections, focusing only on the crown and the areas immediately surrounding your face.
- Gently press the brush into the scalp rather than sweeping it, ensuring you are targeting the roots and not the lengths.
- Leave it for three to five minutes to allow the powder to soak up the oils, then use a boar-bristle brush to buff the powder out thoroughly.
Pro tip: If you have dark hair, mix a teaspoon of unsweetened cocoa powder into your cornstarch to match your root color. It smells like a mocha latte and disappears instantly into darker strands.
2. Using Velcro Rollers for Strategic Lift
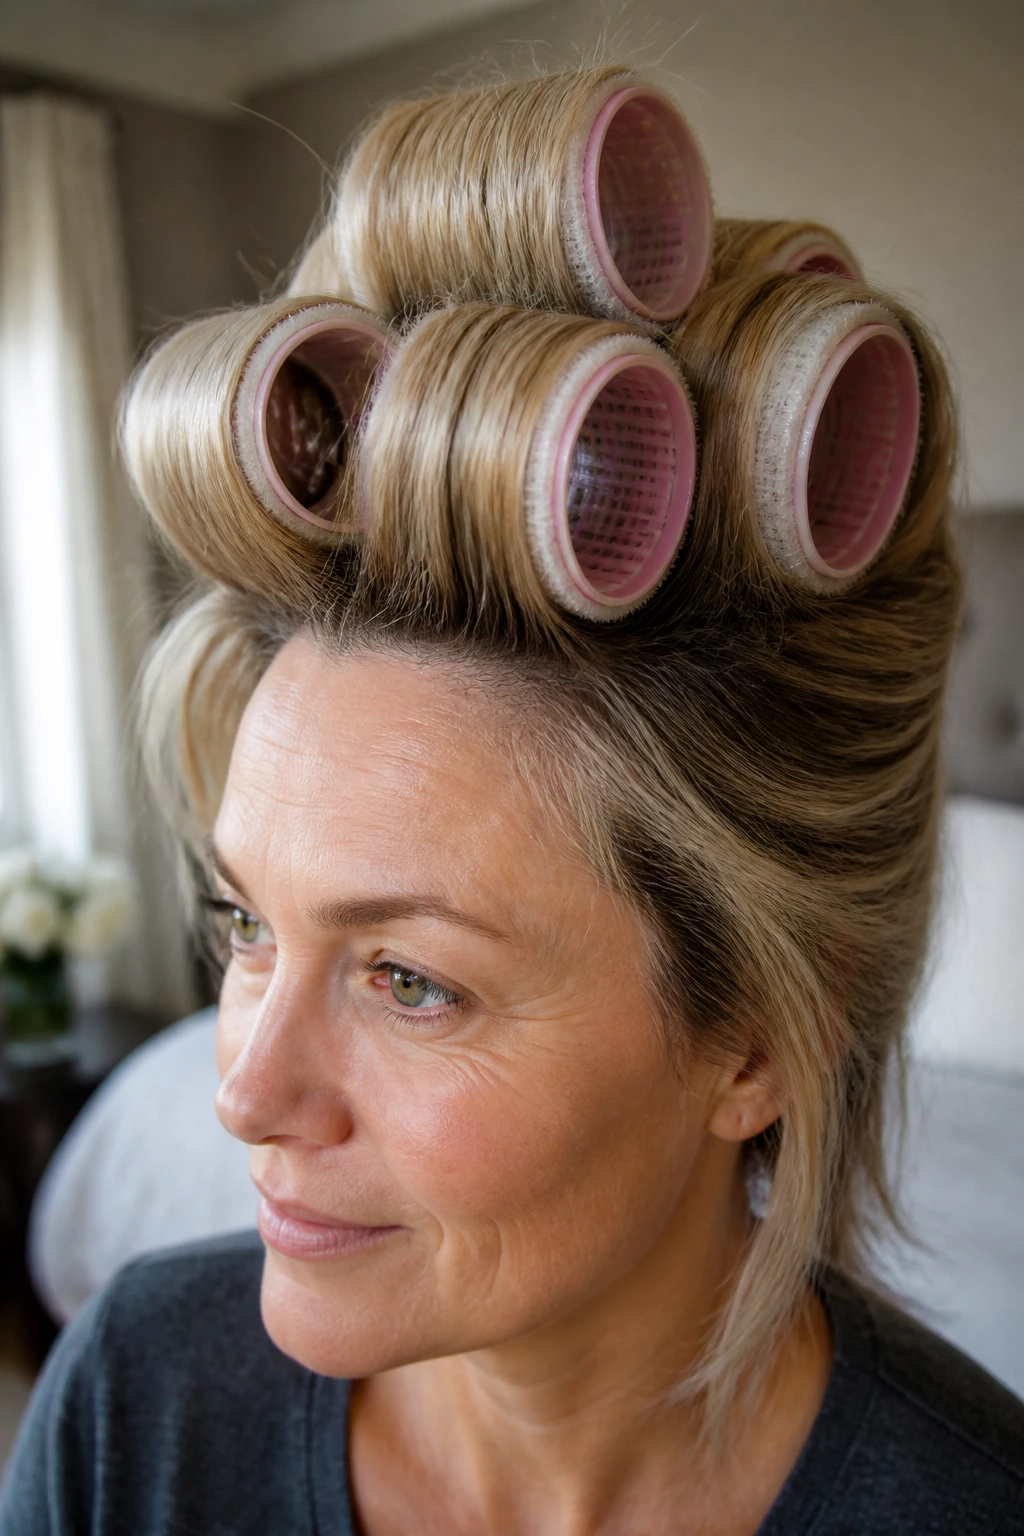
Velcro rollers are an old-school tool that many people discard in favor of modern blow-dry brushes, but they offer a level of precision that heated tools cannot match. When your hair is thin, heat damage is catastrophic because it leads to breakage, thinning your hair further. Velcro rollers provide the lift you need using only the tension of the hair and the cool air of a dryer.
Why They Work for Fine Strands
- They create a “C” shape at the root, which forces the hair to stand up away from the scalp rather than hanging limp.
- Unlike curling irons, they do not crimp the hair, which maintains the integrity of the cuticle.
- You can leave them in while you get ready, letting the hair set as it cools, which is the secret to a style that actually stays put.
Essential Supplies
- A set of three or four large-diameter rollers (avoid the small ones, as they create a “tight” curl that makes hair look thinner).
- A lightweight, non-aerosol setting spray or a very light mist of sea salt spray for texture.
- Sectioning clips to keep the rest of your hair out of the way while you roll the crown.
3. The Backcombing Technique Without the Damage

Backcombing, or teasing, has a bad reputation because, when done incorrectly, it shreds the hair cuticle. However, for those with thinning hair, it is the only way to create a sturdy cushion at the roots. The secret is to use a specific motion and the right tool to avoid the “bird’s nest” effect that leads to tangles and snapping.
Master the Gentle Tease
- Use a fine-tooth rattail comb made of plastic or carbon. Avoid wooden or metal combs, as they have too much friction.
- Take a section of hair about two inches wide at the crown. Pull it straight up toward the ceiling to maintain tension.
- Place the comb about three inches from your scalp and push the hair downward toward the head in one fluid motion.
- Stop once you feel resistance. Do not yank the comb back through the hair. Lift the comb out, reset it, and repeat only once or twice.
- Spritz the base of the tease with a firm-hold hairspray to lock the cushion in place before smoothing the top layer of hair over it.
4. Sea Salt and Sugar Spritz for Texture
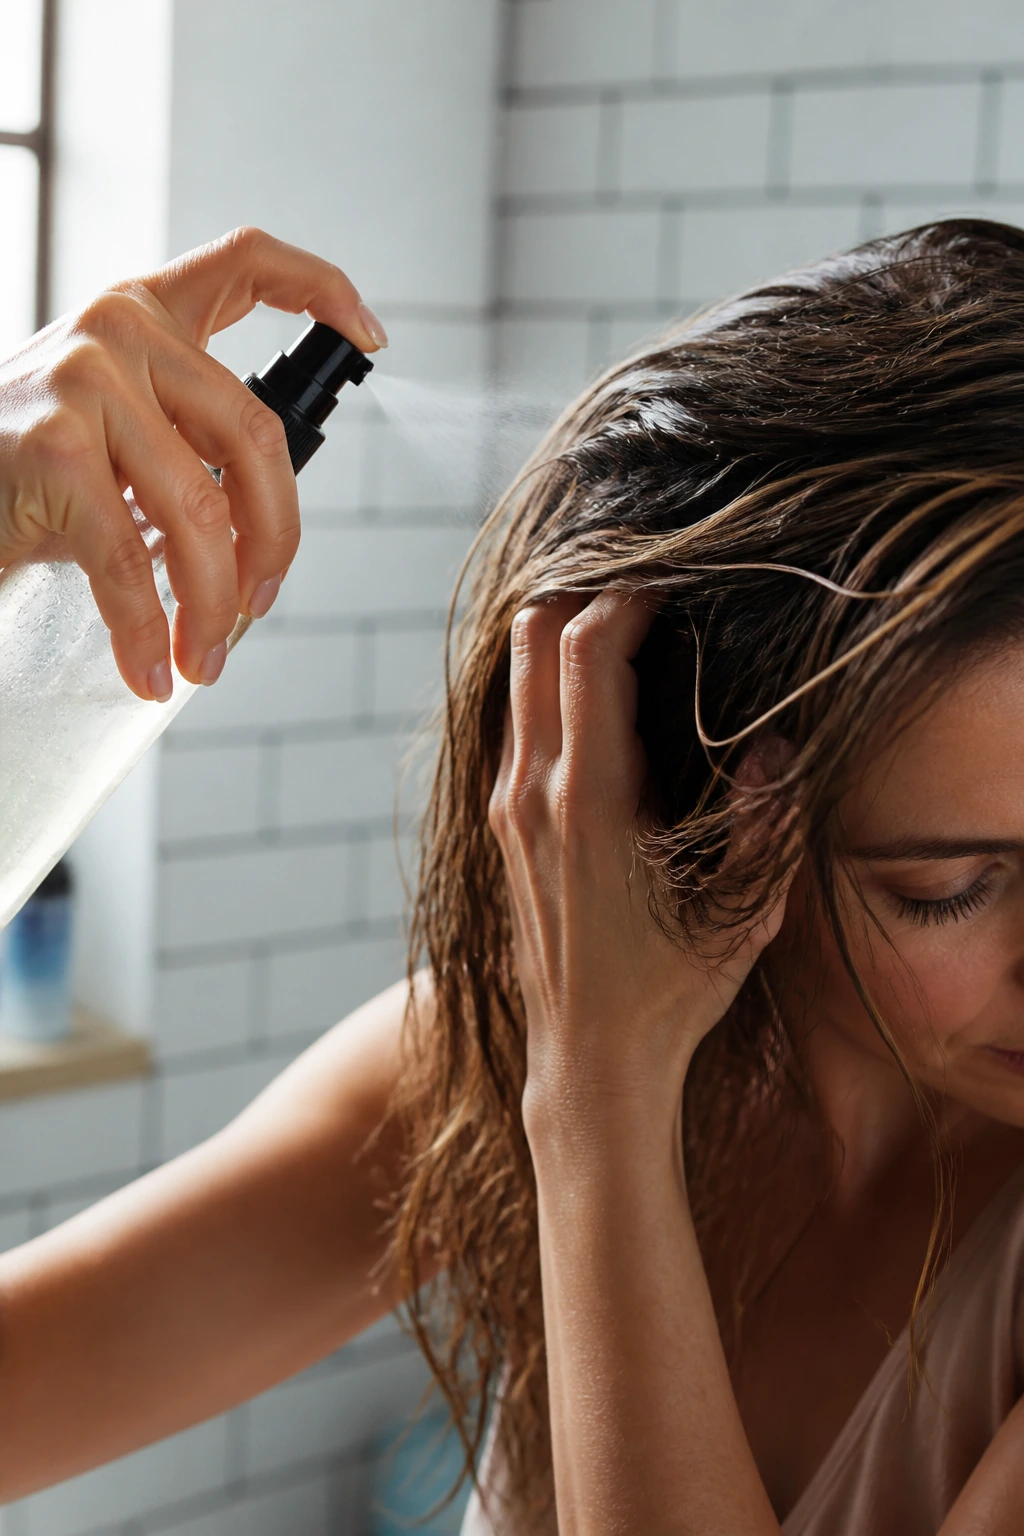
Thin hair is often too silky and soft to hold a style. It slips out of pins, falls flat against clips, and refuses to grab onto braids. You need to “grit up” the hair. A DIY texturizing spray using sea salt and a pinch of sugar can change the tactile nature of your hair from slippery to workable.
Why Sugar Matters
- Salt on its own can be incredibly drying, which leads to brittle ends.
- Sugar is a humectant; it holds a tiny amount of moisture, preventing the salt from stripping your hair entirely.
- The combination creates a “matte” texture that adds visual bulk to the hair shaft, making it appear thicker.
Recipe for Texture
- Mix one cup of warm water with one tablespoon of sea salt and one teaspoon of white or brown sugar.
- Shake the bottle vigorously until everything is dissolved.
- Lightly mist the damp hair before blow-drying, or spritz it on dry hair to add a “lived-in” feel.
5. The “Claw Clip” Half-Up Illusion

Sometimes the best way to hide thinning is to embrace a style that creates an optical illusion of volume. The classic “claw clip” half-up, half-down style is a masterclass in this. By pulling the top section of hair back and securing it with a clip, you create a shelf of hair that sits on top of the bottom layer, adding immediate, structural height.
Strategic Placement
- Do not gather all the hair from the temples. Instead, gather only the hair from the very top of your head, starting from your arches.
- Before clipping, gently push the hair upward toward your hairline to create a small “poof” or bump at the crown.
- Secure the clip underneath the bump, not directly into it. This forces the hair to stand up even after the clip is in place.
- If your hair is very thin, pull a few small strands out around your ears and face to soften the look, which prevents the tight, “pulled-back” appearance that draws attention to a sparse scalp.
6. Hairline Shadowing with Matte Eyeshadow
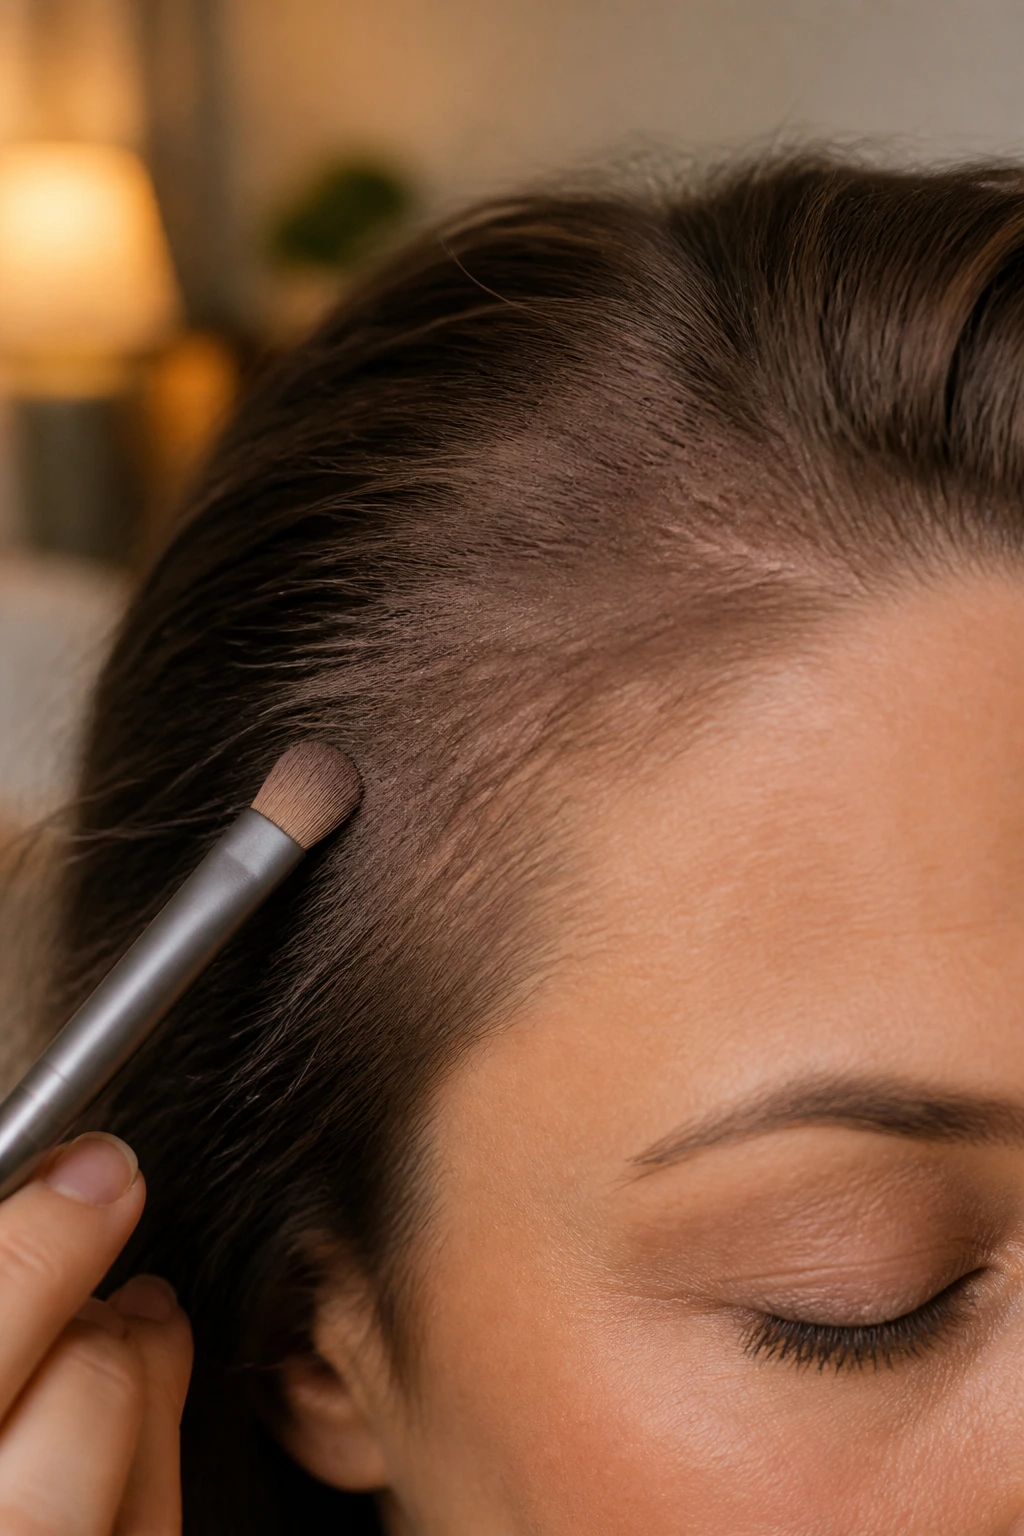
When hair thins near the temples or the part, the scalp becomes visible, which draws the eye away from the hair itself. A simple, low-cost hack is to use a matte eyeshadow that matches your hair color to “fill in” the sparse areas. This is essentially contouring, but for your hairline.
The Application Process
- Find a matte eyeshadow—no shimmer, please—that is one shade lighter than your roots.
- Use a small, dense eyeshadow brush.
- Gently tap the shadow onto the skin where the part or the hairline seems thin.
- Use your finger to blend the edges so there is no harsh line of makeup.
- This creates an optical depth, tricking the eye into thinking the hair is denser than it actually is because the scalp is no longer bright and prominent.
7. The Reverse-Wash Method
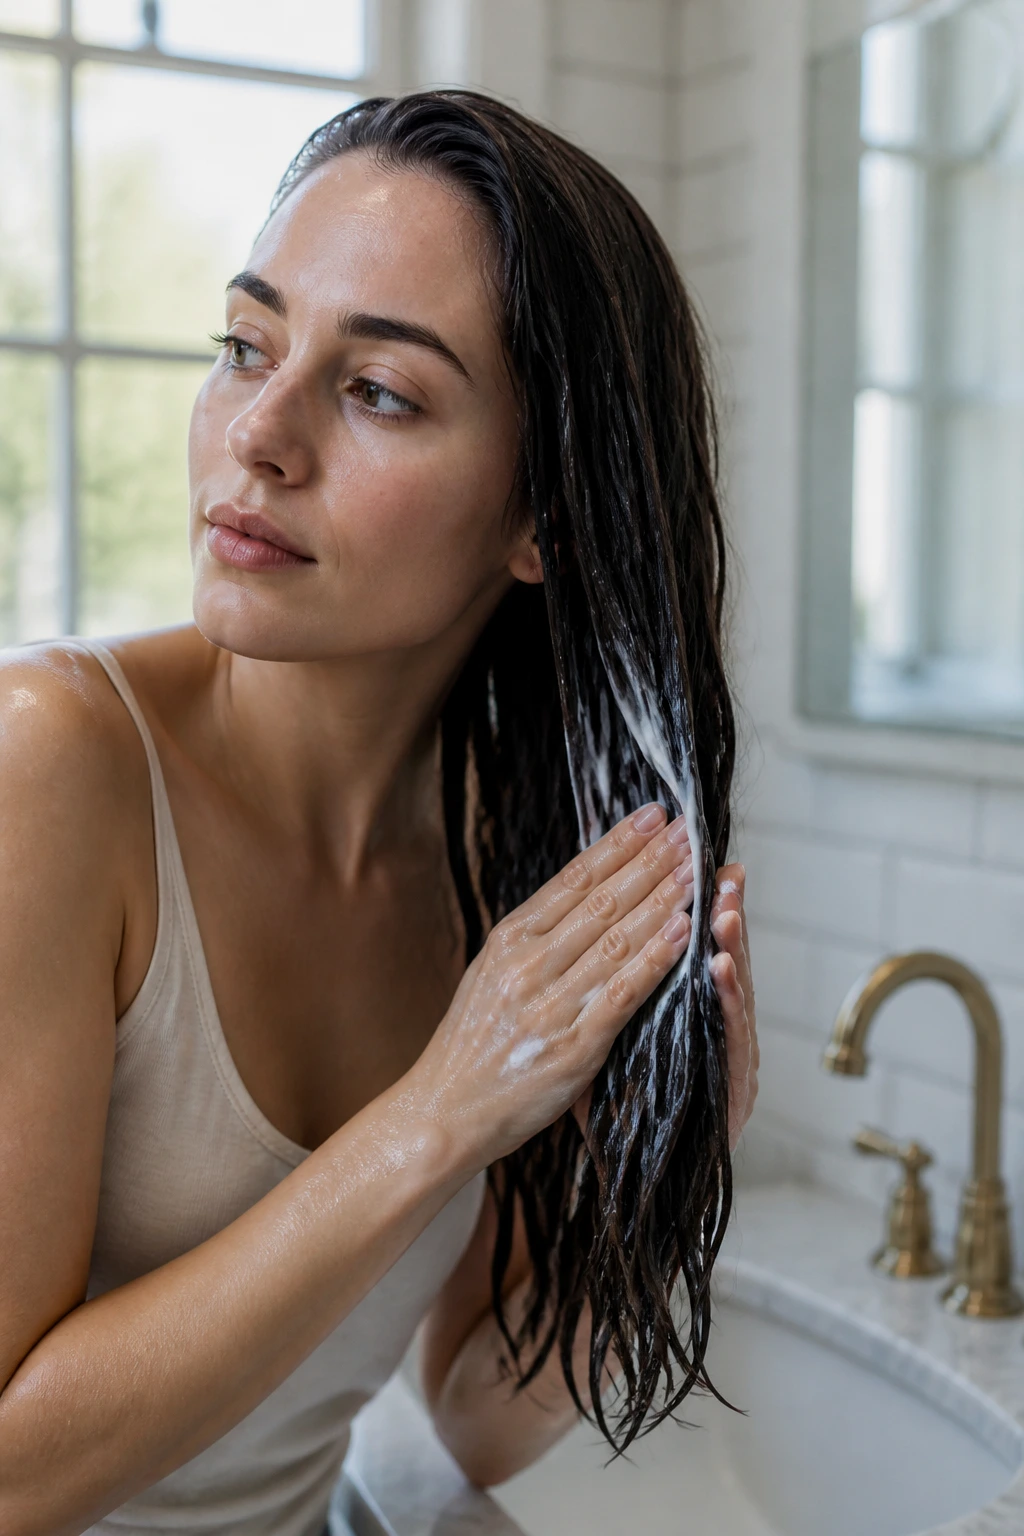
If you have fine, thin hair, traditional conditioning can be your worst enemy. Conditioner is designed to smooth the cuticle and add weight, which is exactly the opposite of what you want when your hair is struggling for volume. Reverse washing—using conditioner before you shampoo—can be a total game-changer for your daily routine.
Why You Should Try It
- You apply the conditioner to the ends first, giving it time to moisturize where it is needed most.
- When you follow up with shampoo, you wash away the heavy residue that would normally weigh your hair down all day.
- This technique leaves your hair feeling clean, bouncy, and light, while the ends remain soft and protected from styling damage.
8. Root-Lifting Braids
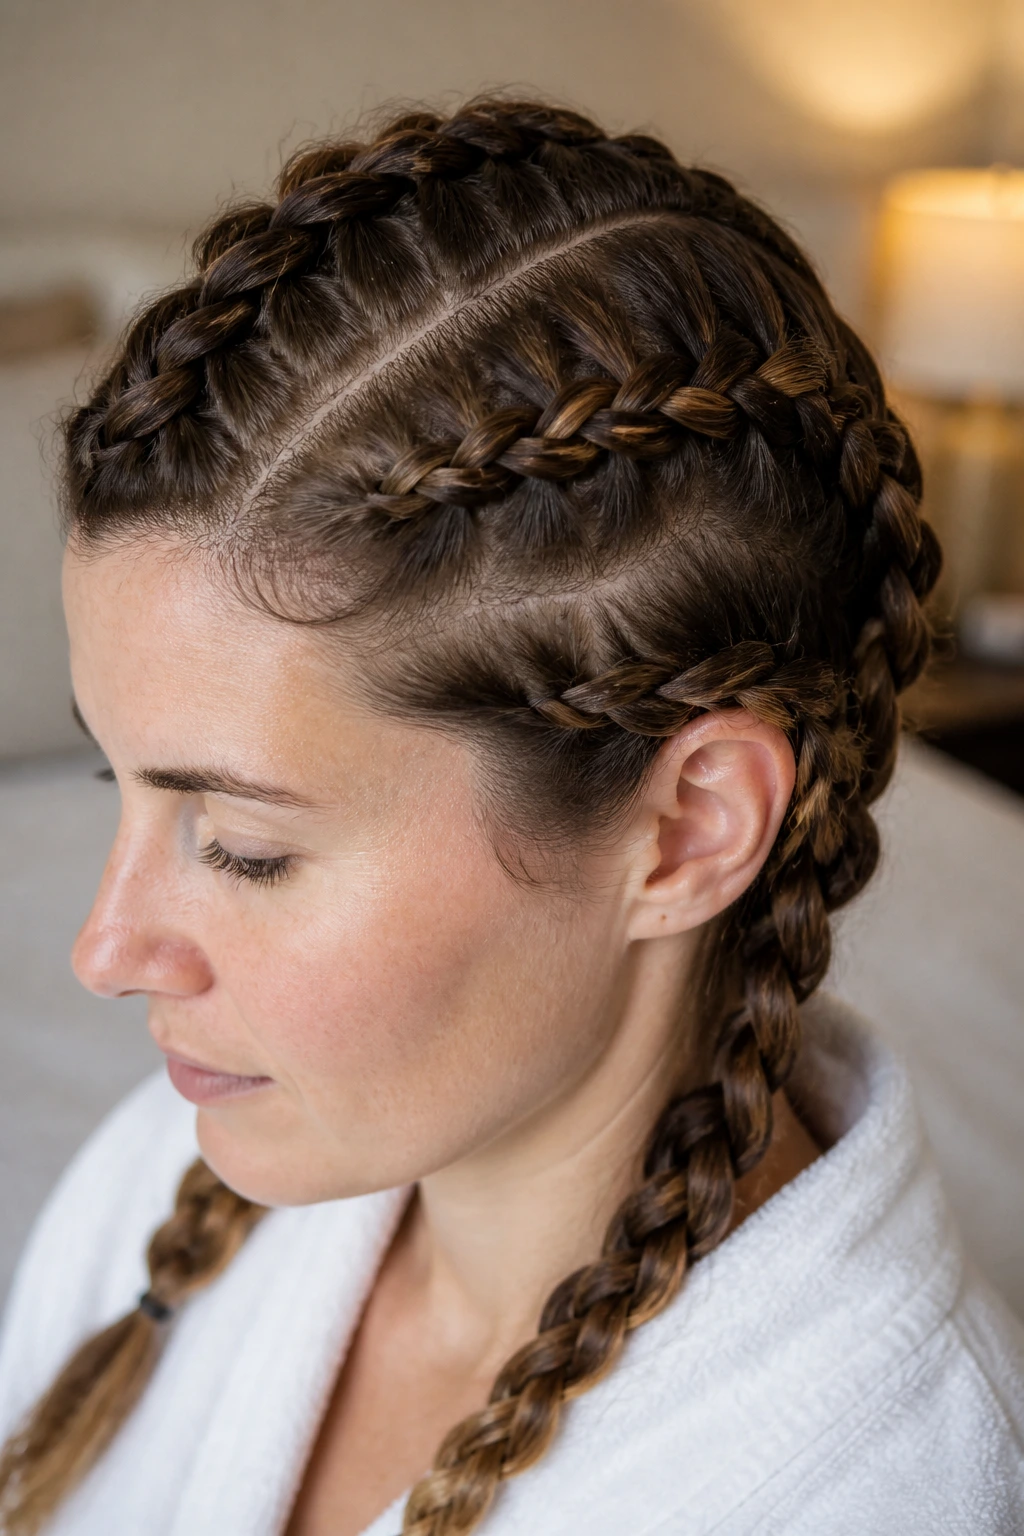
Braids are not just for long, thick hair. When your hair is thin, you can use “prep braids” to create temporary, heat-free waves that add immense volume. The trick is to do these braids while the hair is slightly damp and then let them dry completely before taking them down.
The “Volume Braid” Technique
- Divide your damp hair into four large sections: two on top and two on the bottom.
- Loosely braid each section. Do not pull them tight; you want them to be somewhat chunky and soft.
- Once the hair is fully dry, untwist the braids and gently finger-comb them. Do not use a brush, or you will pull the volume right out.
- The resulting waves create a “frizzy” texture that fills the space around your head, providing the appearance of double the hair volume.
9. Switching Your Part Regularly
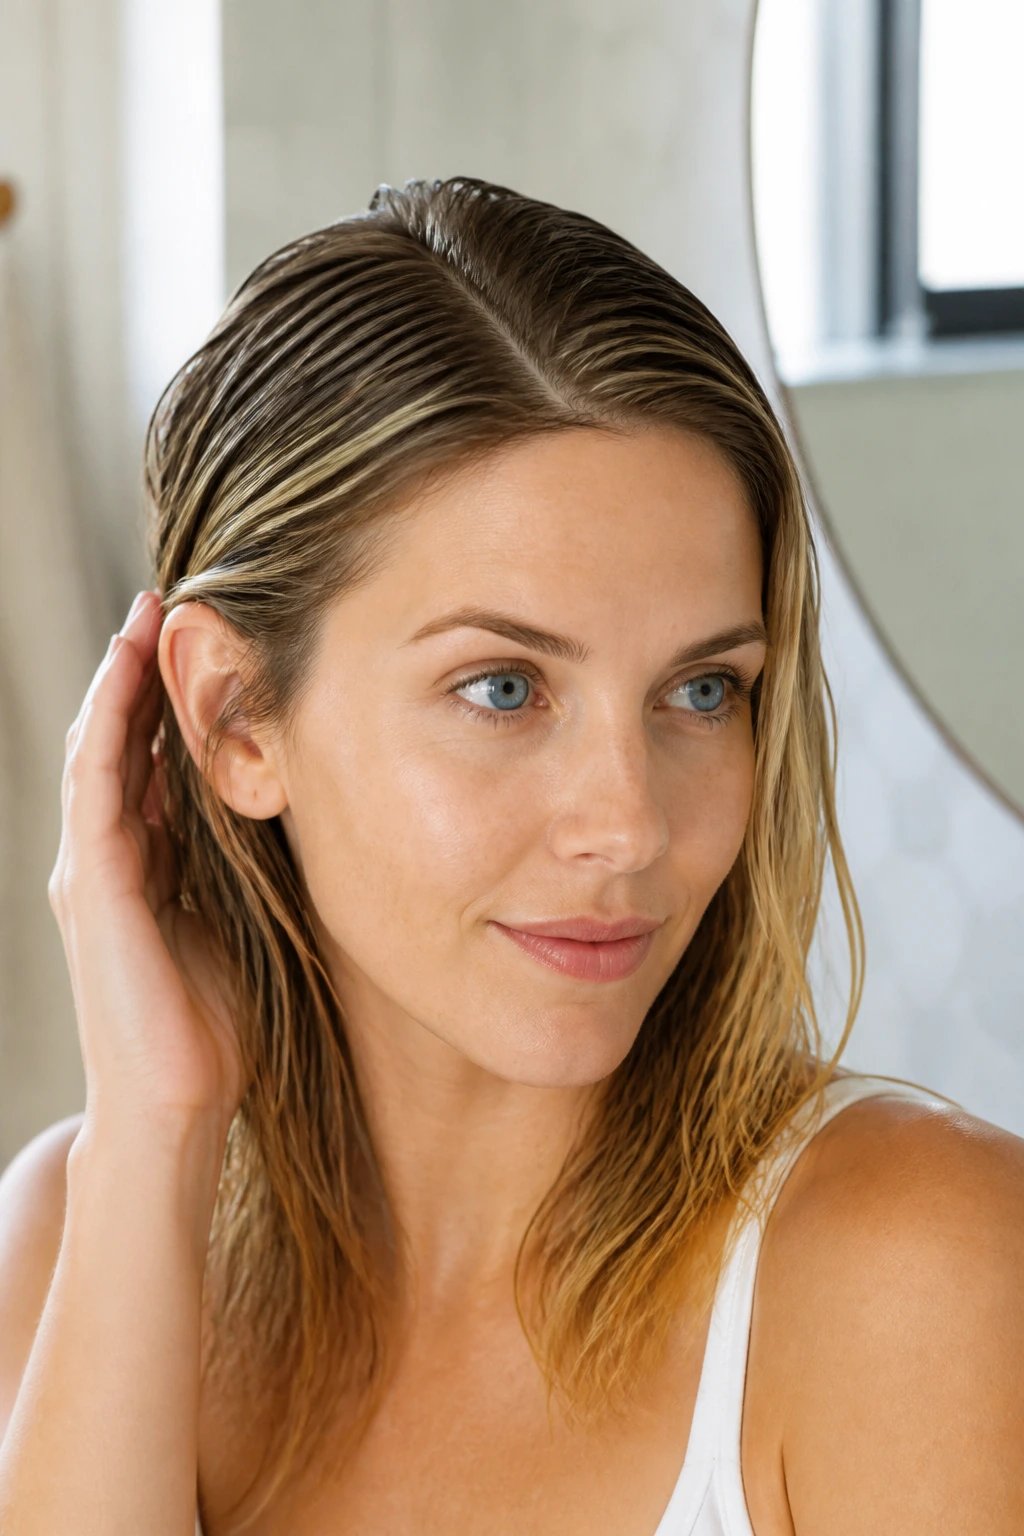
Your hair has a “memory.” If you part your hair in the exact same spot for years, the hair follicles in that area will eventually lay flat, and the hair will begin to thin more noticeably along that line due to constant tension and gravity. Changing your part is the quickest, most effective, and free way to gain an inch of height instantly.
The “Flip” Technique
- While your hair is still damp, comb it in the opposite direction of your usual part.
- If you usually part on the left, force it to the right. It will feel strange at first, and your hair will want to fight back.
- Use a blow dryer to set the hair in this new direction.
- Because your hair is not used to falling that way, it will naturally stand up at the root, creating a massive amount of volume without needing any products at all.
10. The Micro-Fiber Towel Swap
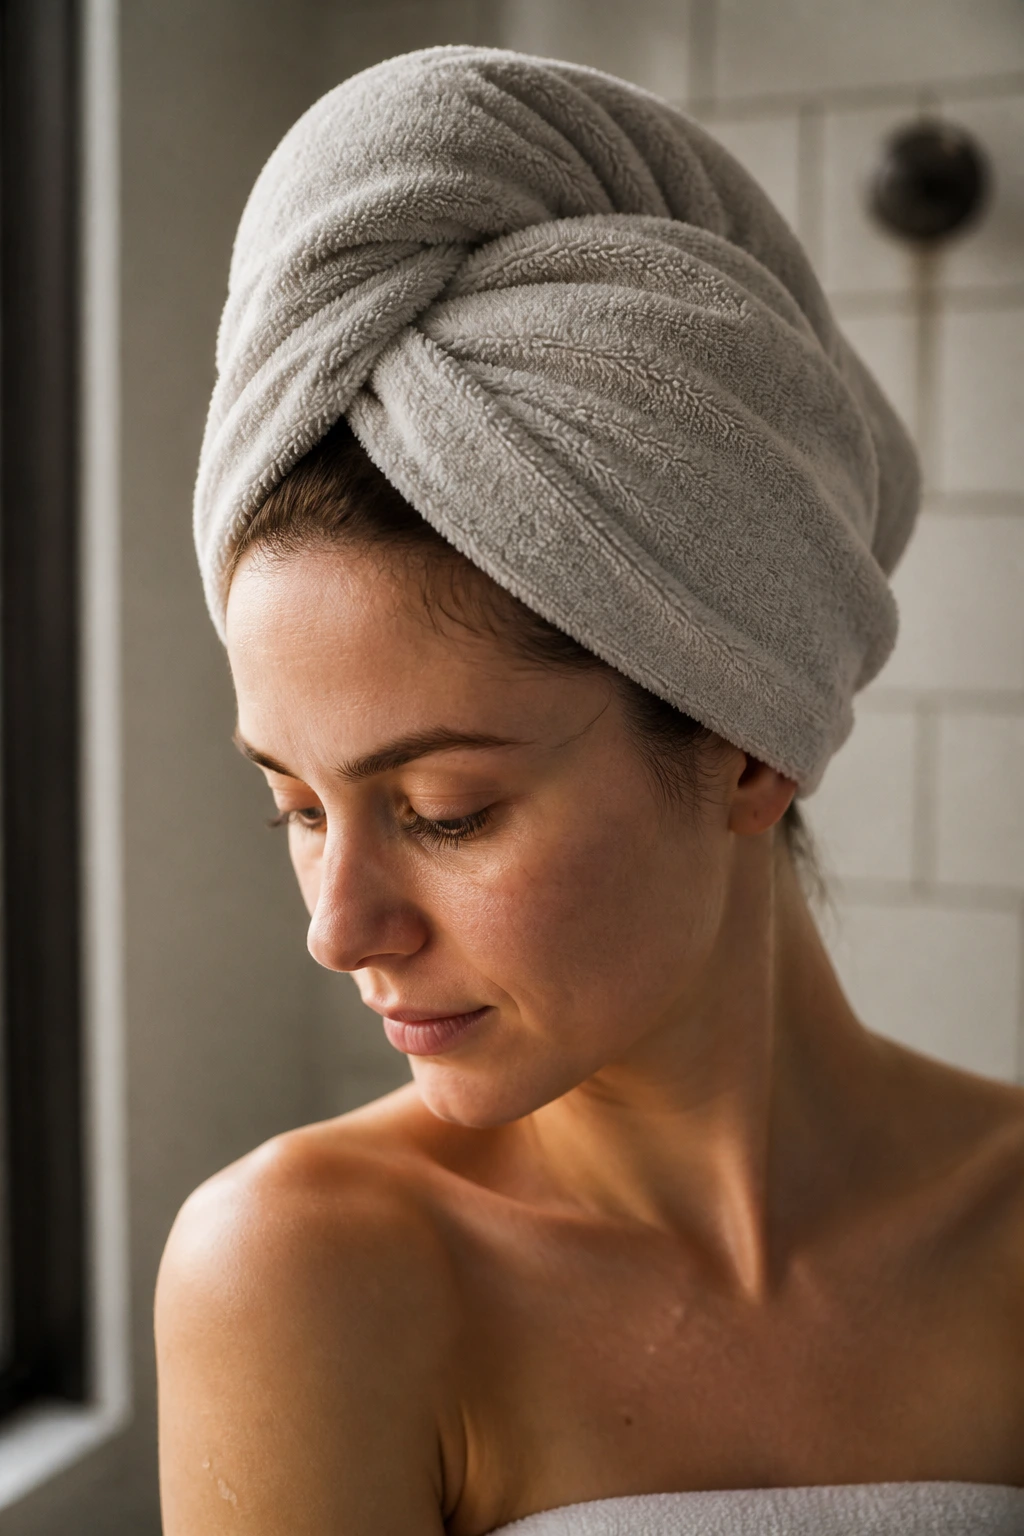
Standard bath towels are surprisingly harsh. They are textured with large loops that pull at delicate strands, causing friction that leads to breakage and frizz. Thin hair is already fragile, and the rough material of a heavy cotton towel only makes it weaker. Switching to a micro-fiber towel or an old cotton T-shirt will preserve the hair you have.
Why This Matters
- Micro-fiber or soft cotton T-shirts have a smooth surface that glides over the hair.
- This reduces the physical stress on your follicles while the hair is in its most vulnerable, wet state.
- By preventing breakage, you are essentially saving volume that would otherwise end up down the drain.
11. Avoiding “Over-Producting”
It is tempting to throw every volumizing spray, mousse, and powder at thinning hair, but this is a mistake. Thin hair reaches its “saturation point” very quickly. Once the hair shaft is coated in too much product, it becomes heavy, sticky, and unmanageable. The goal is to use one product that works really well, rather than three that compete.
The Minimalist Rule
- Stick to a root-lifting spray applied only to the damp roots.
- Avoid using serums or oils on the top two-thirds of your hair.
- If you use a heat-protectant, opt for a weightless spray rather than a cream or oil-based formula.
- Less product means your hair stays cleaner for longer, which means you do not have to wash it as frequently, protecting your natural scalp oils.
12. Strategic High-Lighting
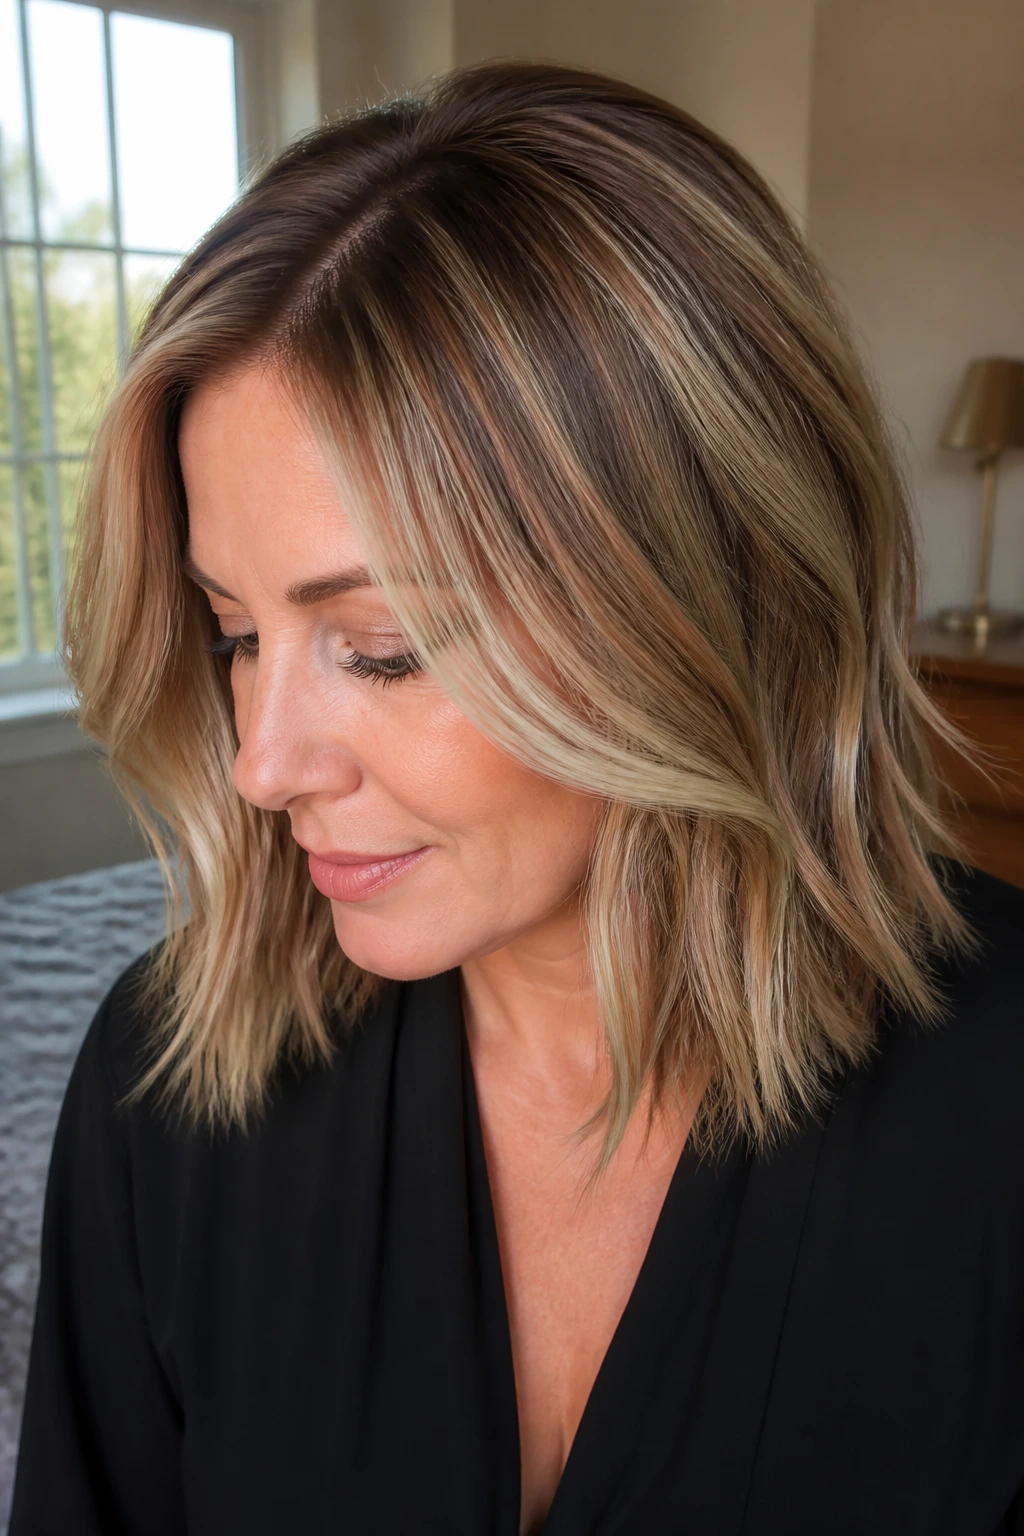
Coloring your hair is not just about aesthetics; it is about dimensional trickery. A single, solid color on thinning hair can actually make it look thinner because there is no contrast to distract the eye. Adding a few strategically placed highlights—or “babylights”—can create the illusion of thickness and texture.
The Theory of Dimension
- Highlights reflect light, and the variations in color provide a sense of movement and volume.
- Focus the lighter shades toward the face and the crown, leaving the underneath slightly darker.
- This contrast creates an optical illusion of a denser head of hair, as the eye is busy processing the different shades rather than focusing on the transparency of the hair.
13. The Power of a Blunt Cut
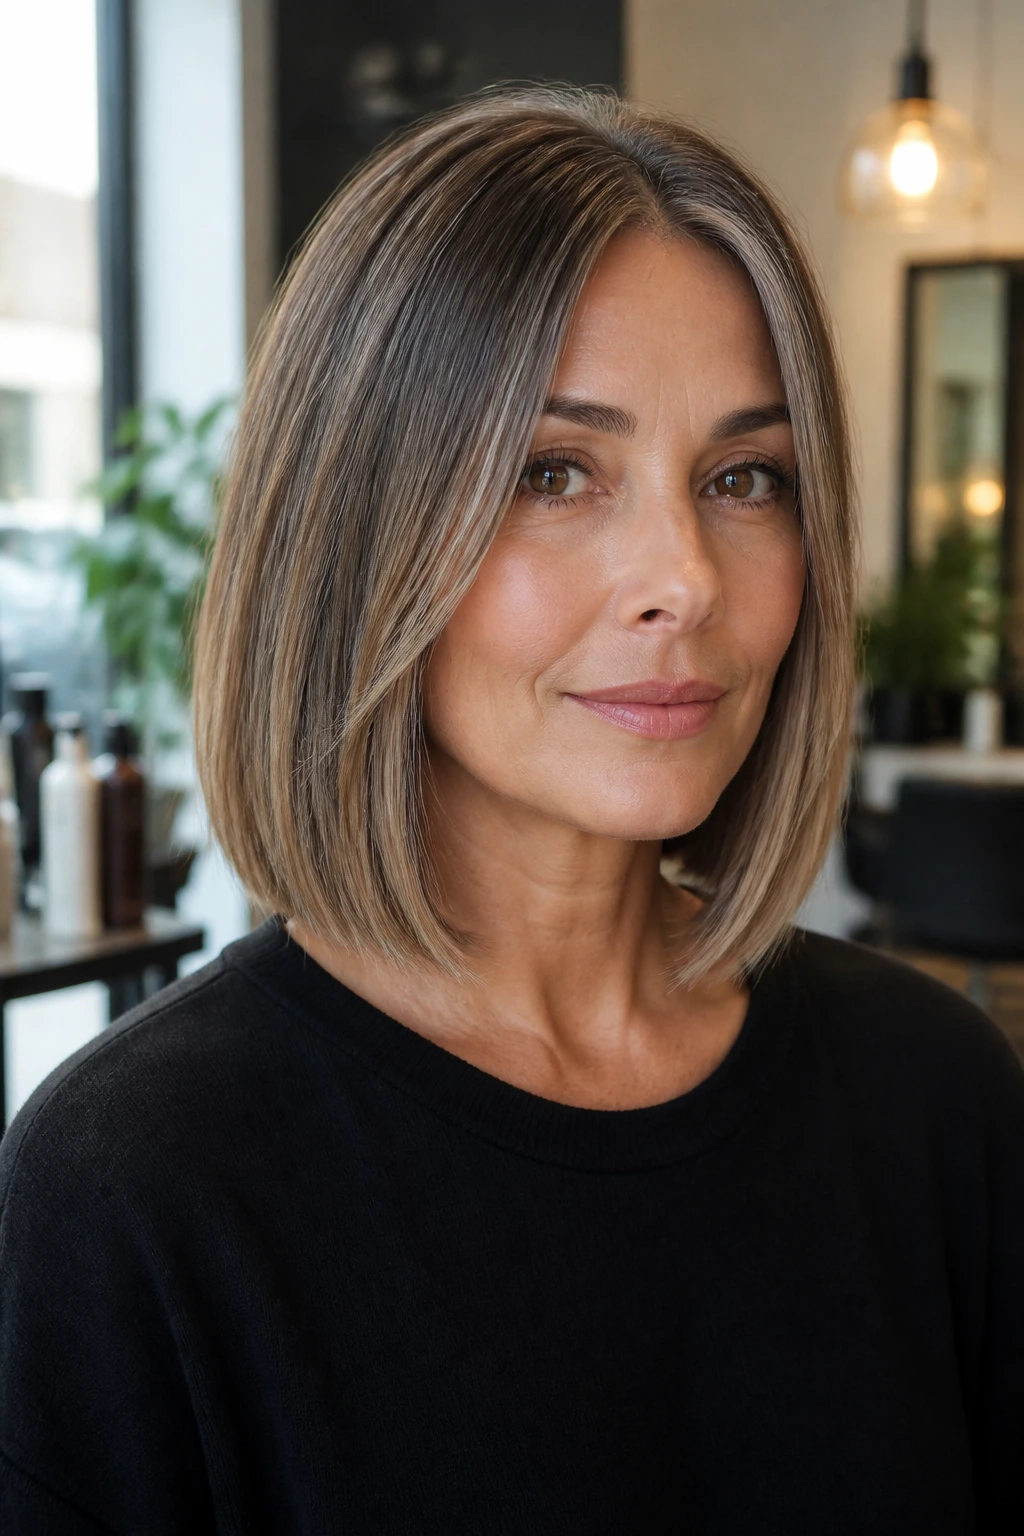
Thin hair needs structure. If you are getting layers, ensure they are subtle. If your hair is cut with deep, choppy layers, you are essentially removing the weight that gives your hair its body, which can make it look stringy. A blunt cut, even if it is just at the ends, creates a weight line.
Why Blunt Works
- A blunt line makes the hair appear healthier and thicker at the bottom.
- Even if your hair is quite thin, a solid, even hemline looks purposeful and polished.
- You can still have face-framing pieces to soften the look, but keep the back and the main length uniform to ensure the hair looks full and substantial.
14. Scalp Massages for Follicle Stimulation
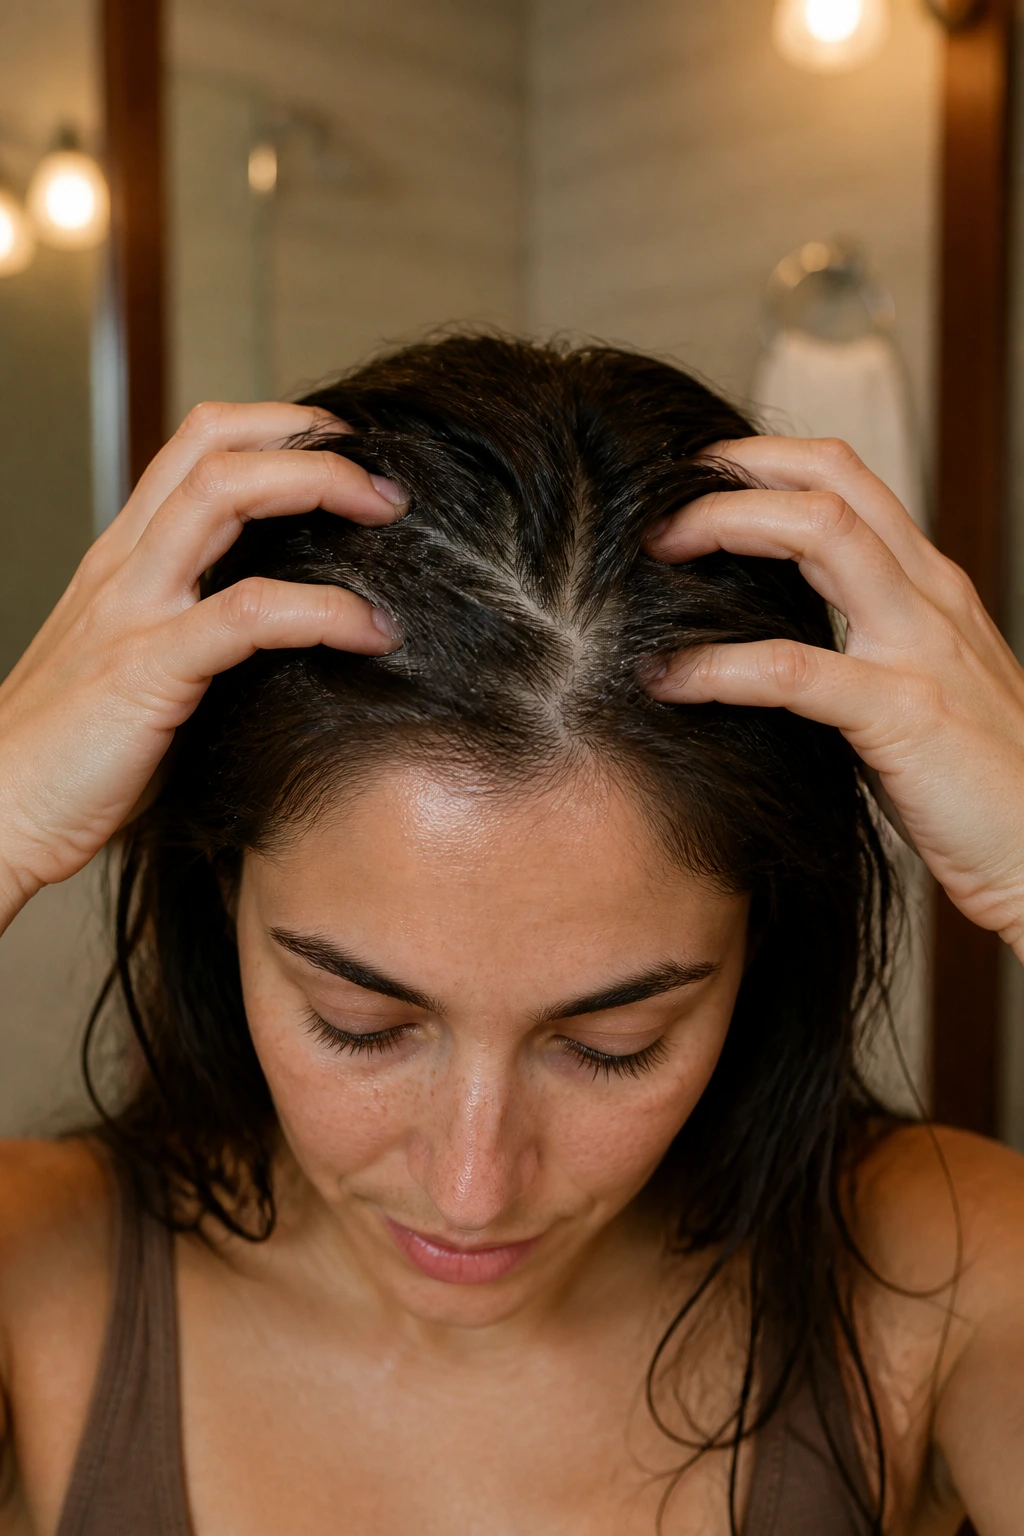
If your hair is thinning, your scalp health is the foundation of your success. Regular scalp massages are not just a luxury; they increase blood flow to the hair follicles, which is essential for bringing nutrients to the roots. You can do this with your fingers or a simple silicone scalp scrubber in the shower.
How to Massage Correctly
- Spend at least three to five minutes every night massaging your scalp with your fingertips.
- Move your skin in small, circular motions—do not just rub the hair, you want to move the actual skin of the scalp.
- This practice keeps the follicles active and helps exfoliate dead skin cells that can block healthy hair growth.
- It also helps distribute your natural oils from the scalp to the ends, reducing the need for heavy products later on.
15. The Use of “Hair Fibers”
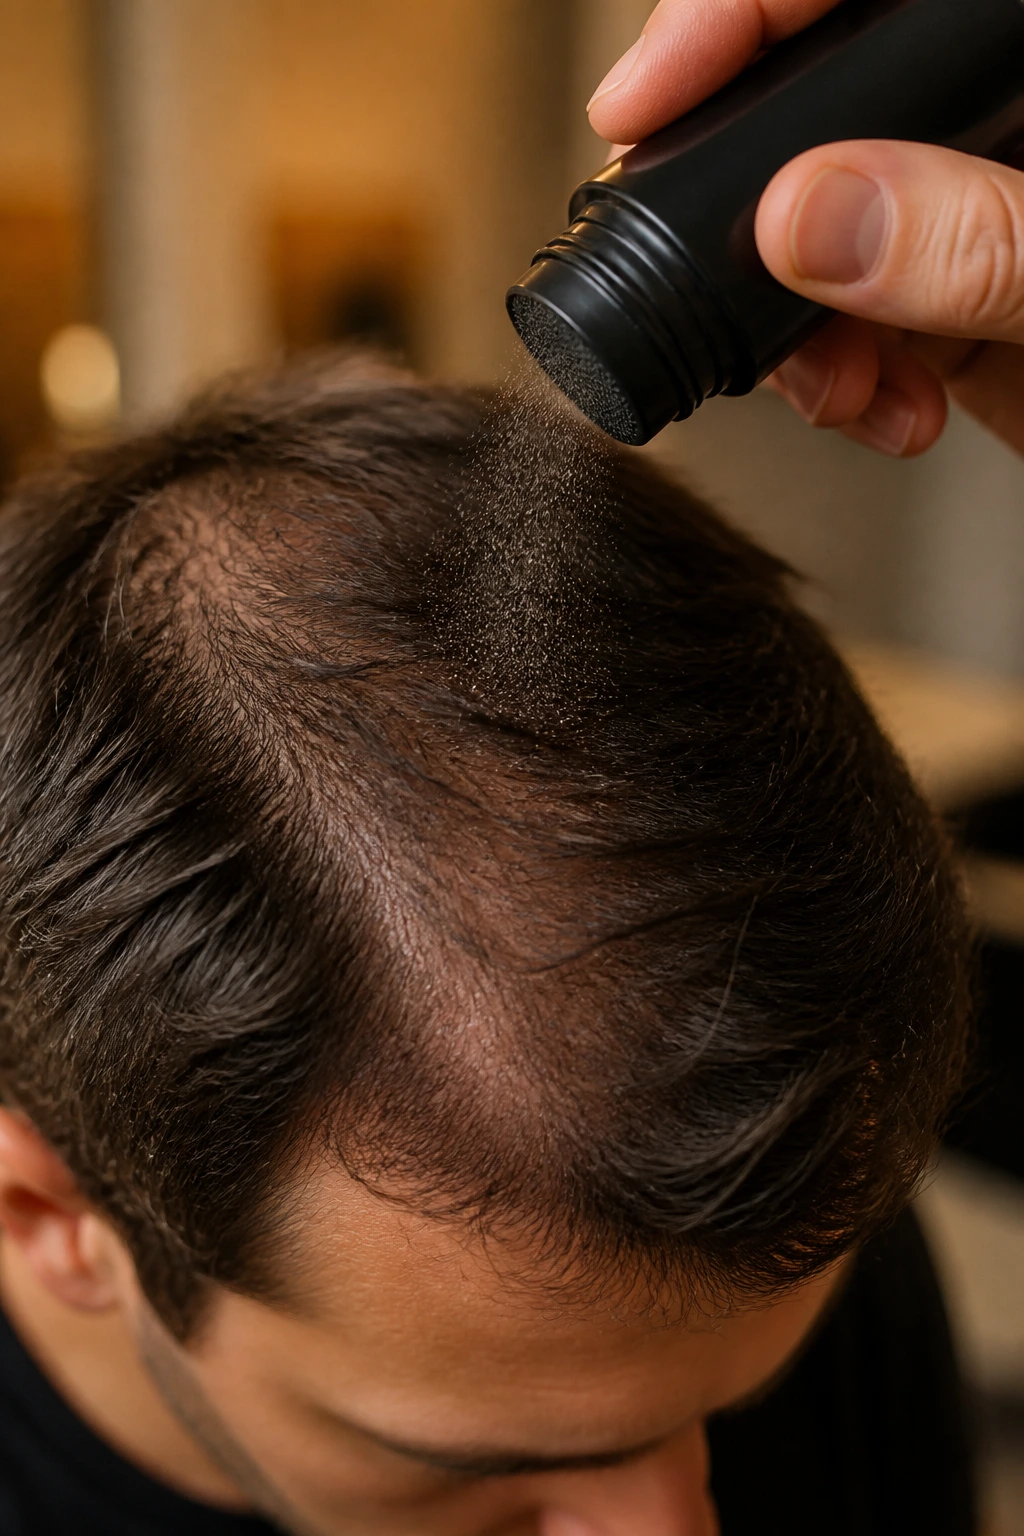
If you have significant thinning, hair fibers—made of natural keratin—are the industry secret for instant density. They are essentially microscopic magnetic particles that cling to your existing hair, instantly making it appear thick and full. They are water-resistant and stay in place until you wash them out.
Proper Application
- Choose a color that is slightly darker than your actual hair color to create a sense of fullness.
- Shake the fibers lightly over the thin areas, starting from the back and moving forward.
- Use a light-hold hairspray afterward to seal them.
- Be careful not to use too much, or they can look powdery. A little goes a long way to masking the scalp.
16. Avoiding High-Heat Styling

Thinning hair loses its elasticity when exposed to excessive heat. Every time you run a flat iron at 400°F over your hair, you are essentially cooking the protein structure of the strand, making it prone to snapping off. If you must use heat, always use the lowest setting possible—175°F to 200°F is plenty for most fine hair.
Smart Heat Alternatives
- Use your blow dryer on the “cool” or “low-heat” setting.
- Use the “cool shot” button at the end of your blow-dry to lock in the volume you have created at the roots.
- If you want curls, try “no-heat” methods, like rolling your hair in soft fabric strips or using a silk hair ribbon while you sleep.
17. The Right Brush Choice
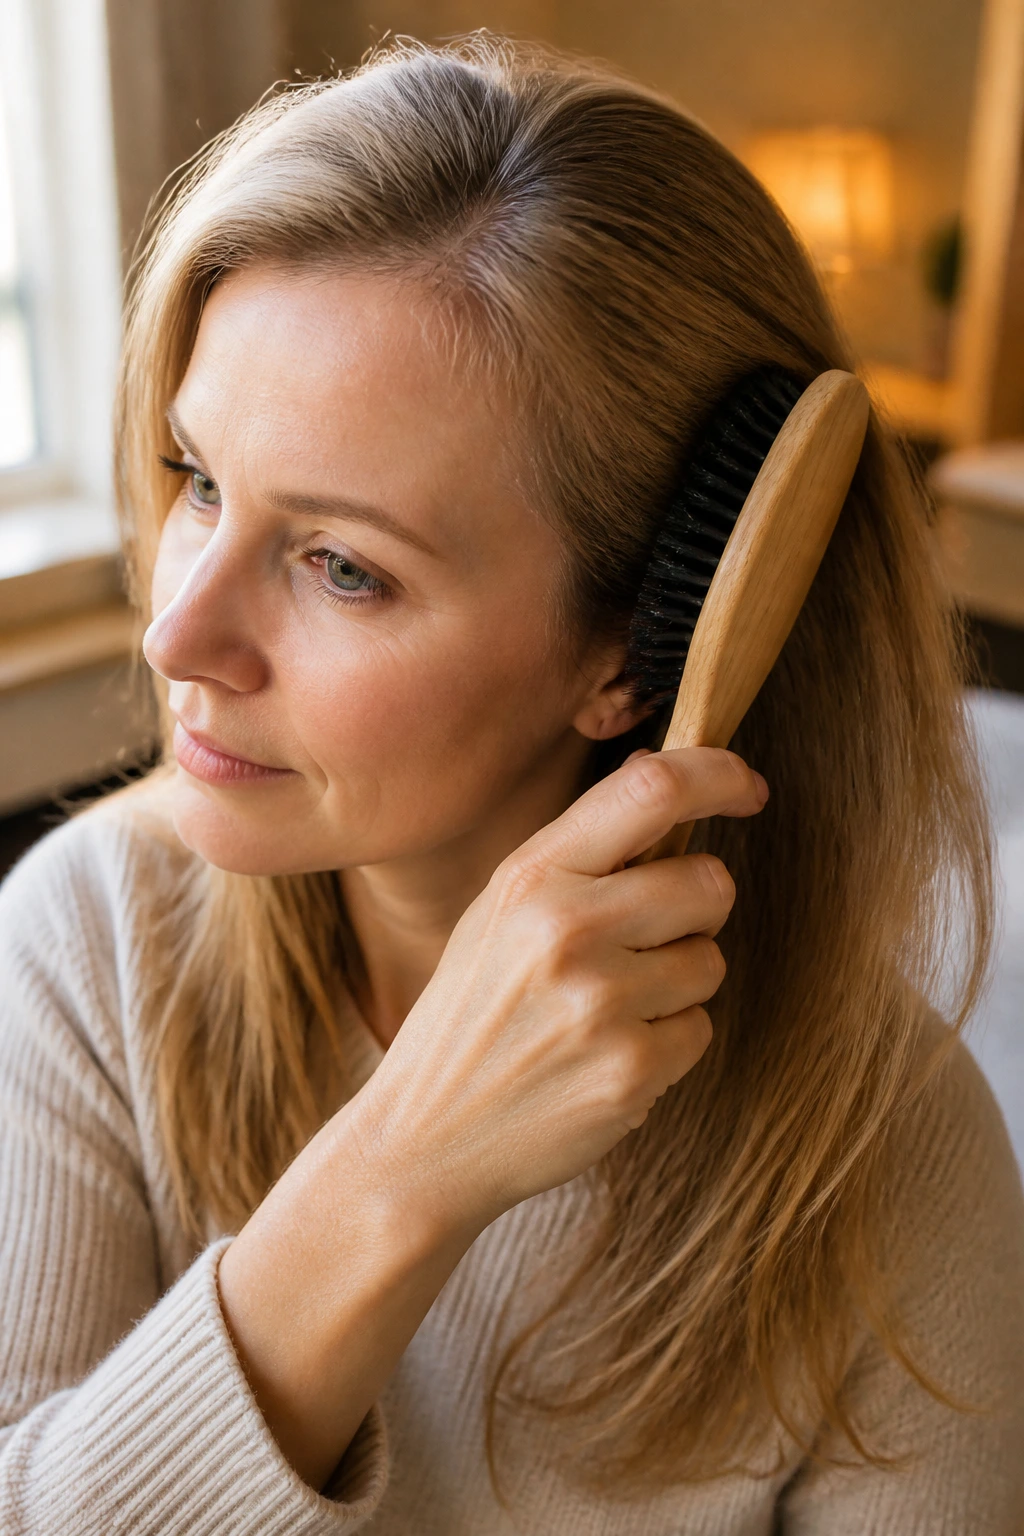
Believe it or not, the wrong brush is a major cause of hair thinning. Brushes with hard, plastic ball-tipped bristles can be abrasive to the scalp and catch on tangles, pulling hair out at the root. A boar-bristle brush, or a brush specifically designed for fine hair, is the better investment.
Choosing Your Tool
- Boar-bristle brushes are great because they gently distribute oils from the scalp to the ends, eliminating the need for heavy leave-in conditioners.
- They also polish the cuticle, making the hair look shinier and fuller.
- Always detangle starting from the ends and working your way up to the roots to minimize the stress on the hair follicles.
18. Maintaining Proper Hydration

Thin hair is often dehydrated hair. Because thin hair has less surface area than thick hair, it can lose moisture quickly, leading to static, flyaways, and a “frazzled” look that makes it seem thinner than it is. Keeping the hair hydrated doesn’t mean using heavy oils; it means using the right types of lightweight moisture.
Lightweight Hydration Hacks
- Look for products containing aloe vera or rose water, which provide hydration without the weight.
- Drink plenty of water; hair health is a direct reflection of your internal hydration.
- Once a week, use a very light coconut milk or almond milk rinse, which adds a subtle protein boost to the hair shaft without leaving a heavy film.
19. The “Upside Down” Blow-Dry
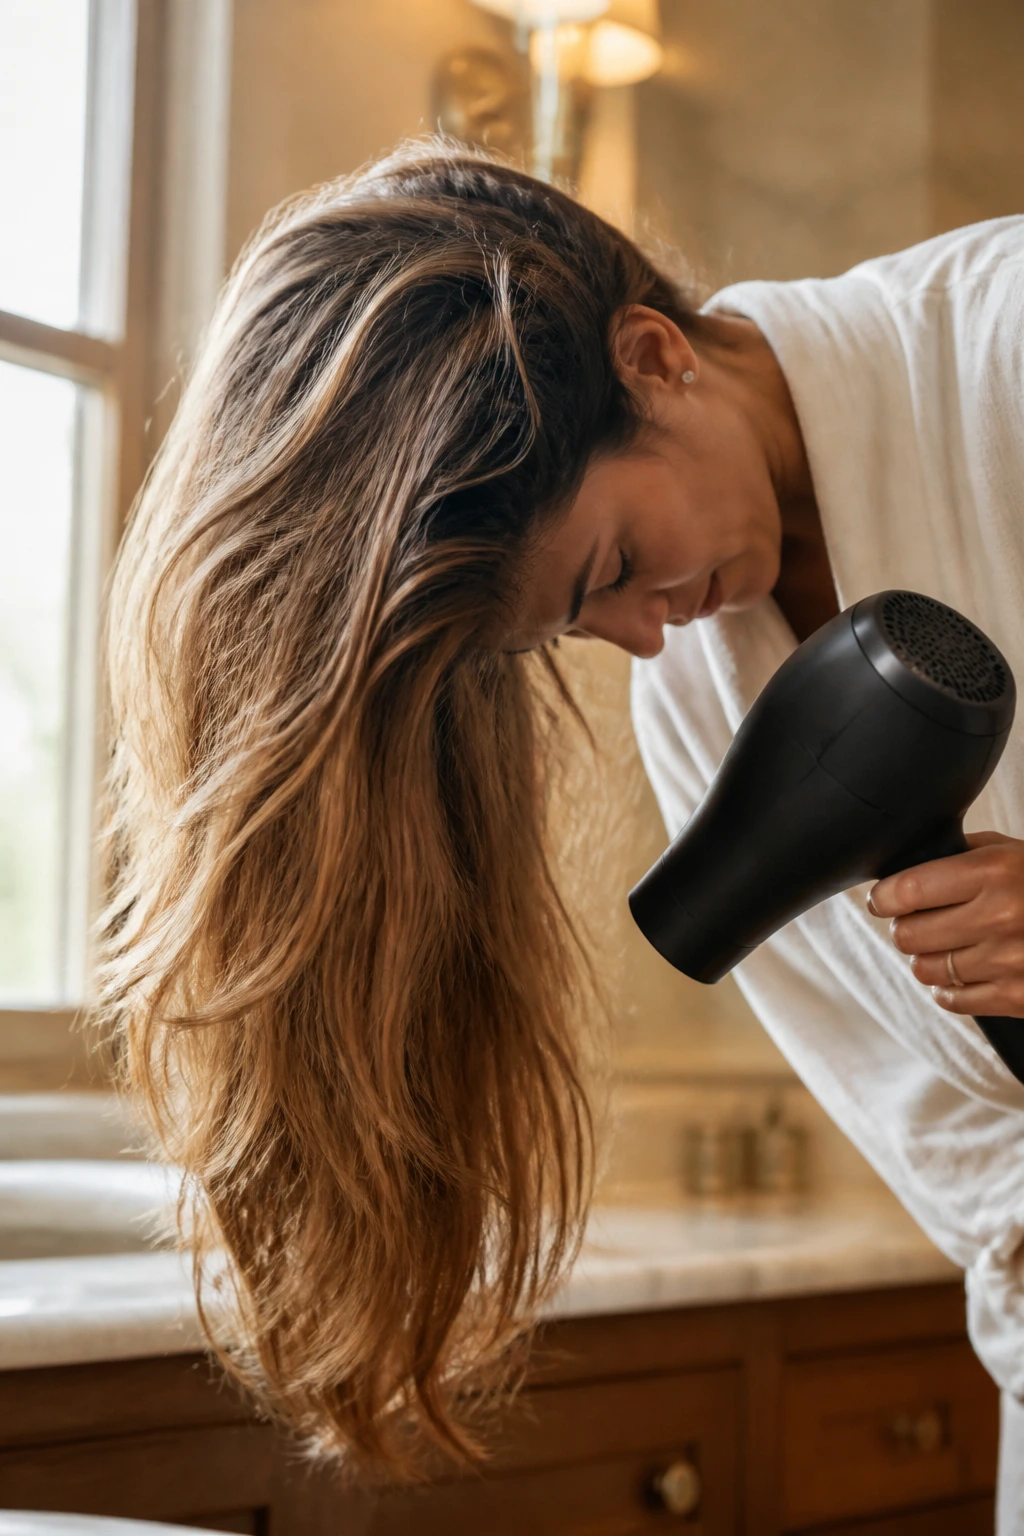
This is a classic technique for a reason. Blow-drying your hair while you are flipped upside down forces the hair to grow away from the scalp at the root, which is exactly where you need the volume the most.
How to Master the Flip
- Flip your hair forward so it hangs toward the floor.
- Blow-dry the roots first, using your fingers to lift the hair up and away from the scalp.
- Once the roots are about 80% dry, stand back up and use a round brush to style the ends.
- This ensures the volume is built at the base, and the ends are smooth and polished.
20. Essential Supplements and Nutrition
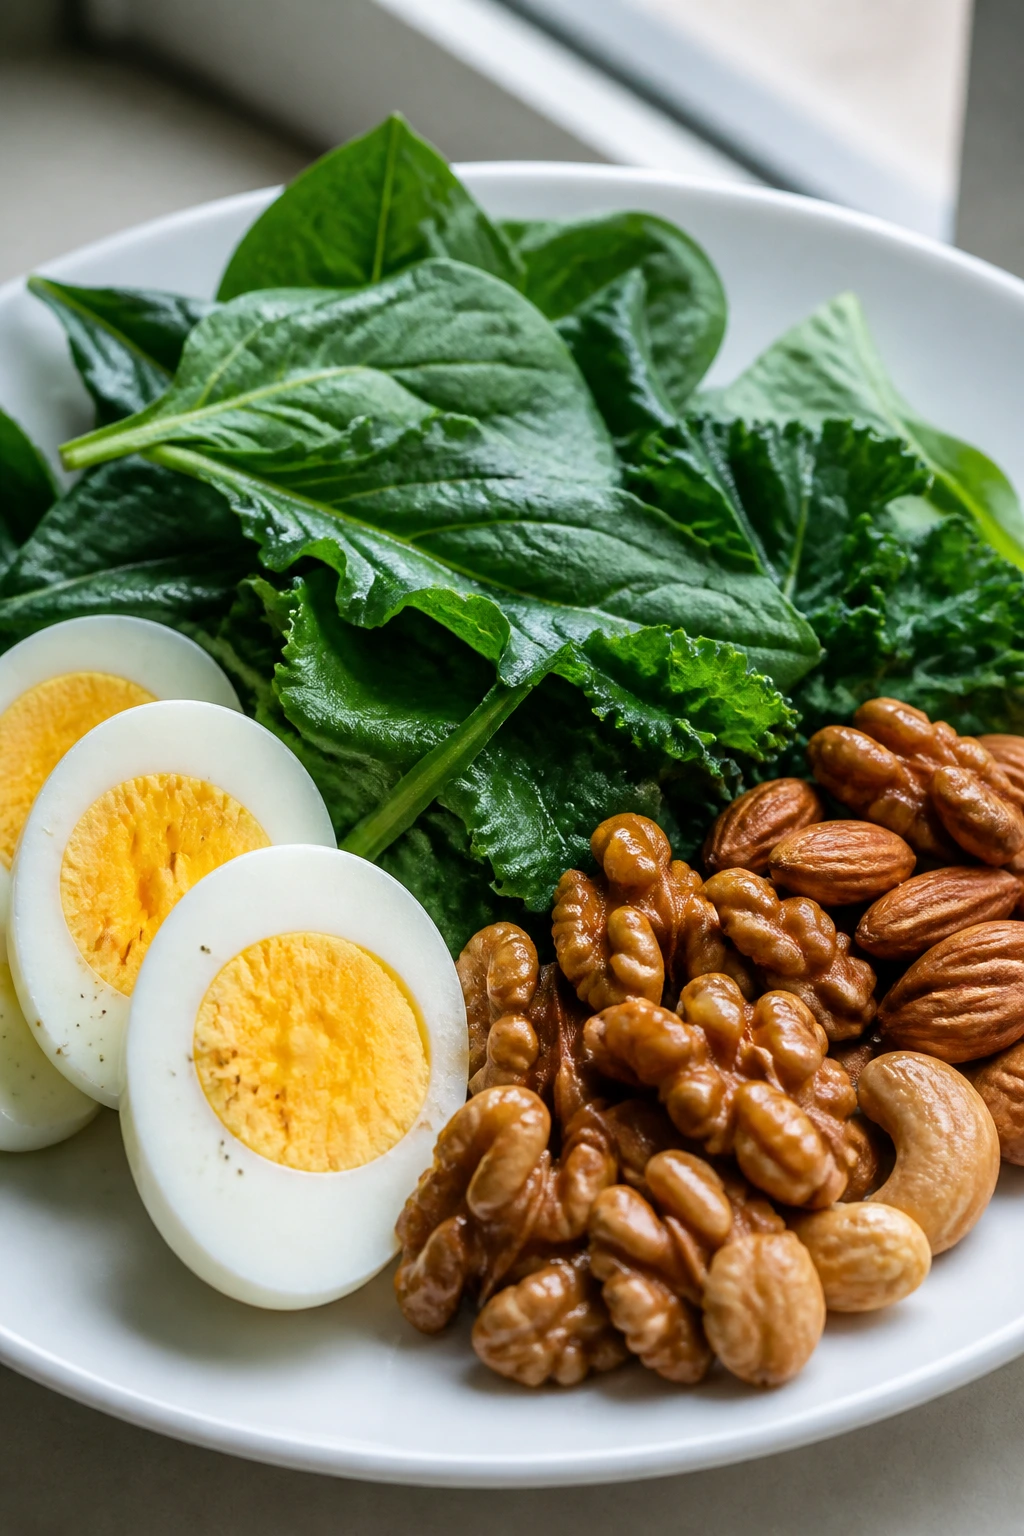
While topical treatments and styling techniques are great, hair health starts from within. If you are experiencing significant thinning, take a look at your intake of iron, zinc, and Vitamin D. These are the building blocks of hair growth, and deficiencies in these areas are common causes of thinning.
Nutritional Foundations
- Incorporate more leafy greens, eggs, and nuts into your diet.
- Talk to a healthcare professional about whether a supplement is right for you, but generally, a balanced approach to nutrition is the most sustainable way to keep your hair strong and resilient.
- Consistency is key; hair grows slowly, so look at these changes as a long-term investment in your hair’s future.
Final Thoughts
Working with thin hair is not about trying to hide it or forcing it into styles that aren’t meant for your texture. It is about understanding the limitations of your hair and using tools and techniques that work with it rather than against it. Volume is essentially a series of small, intentional choices: how you wash, how you dry, and how you distribute your natural oils.
Start by ditching the heavy products and embracing the natural grit of your own hair. When you stop fighting your natural texture and start focusing on scalp health and structural styling, you will find that you have much more to work with than you thought. Precision, patience, and the right tools—the ones you likely already have—are all you need to reach your volume goals.