Rolling out of bed with five minutes to spare, staring at a mirror, and realizing your hair has decided to perform a synchronized routine of chaos is a universal morning struggle. Most of us need a style that bridges the gap between “I actually tried” and “I woke up at dawn to prepare.” The side-swept look is that bridge. It is intentional, polished, and oddly sophisticated despite taking roughly sixty seconds to achieve. Whether you are racing to catch the bus or trying to look put-together for a presentation, shifting your hair to one side adds an immediate architectural element that feels far more considered than a standard center part.
1. The Classic Deep Side Part Ponytail
This is the workhorse of school-day hairstyles. By creating an exaggerated side part before pulling your hair back, you transform a basic ponytail into something that looks like you spent time at a vanity rather than grabbing a hair tie while half-asleep. Use the arch of your eyebrow as a guide for where to start the part, drawing a clean line back to the crown of your head.
Why This Style Works
It frames the face by creating a diagonal line, which naturally draws the eye toward your features. It also keeps your neck cool during warmer months while maintaining a neat, structured appearance that satisfies even the strictest dress codes.
How to Get the Look
- Start with dry, detangled hair.
- Use a fine-tooth comb to create a deep part on your preferred side.
- Gather all hair to the opposite side of the part.
- Secure with a snag-free elastic.
- Take a tiny section of hair from the underside of the ponytail, wrap it around the elastic to hide it, and pin it with a bobby pin.
- Pro tip: Use a tiny dab of styling cream or light-hold hairspray on your fingertips to smooth down any flyaways near the part.
2. The Messy Side-Swept Braided Braid
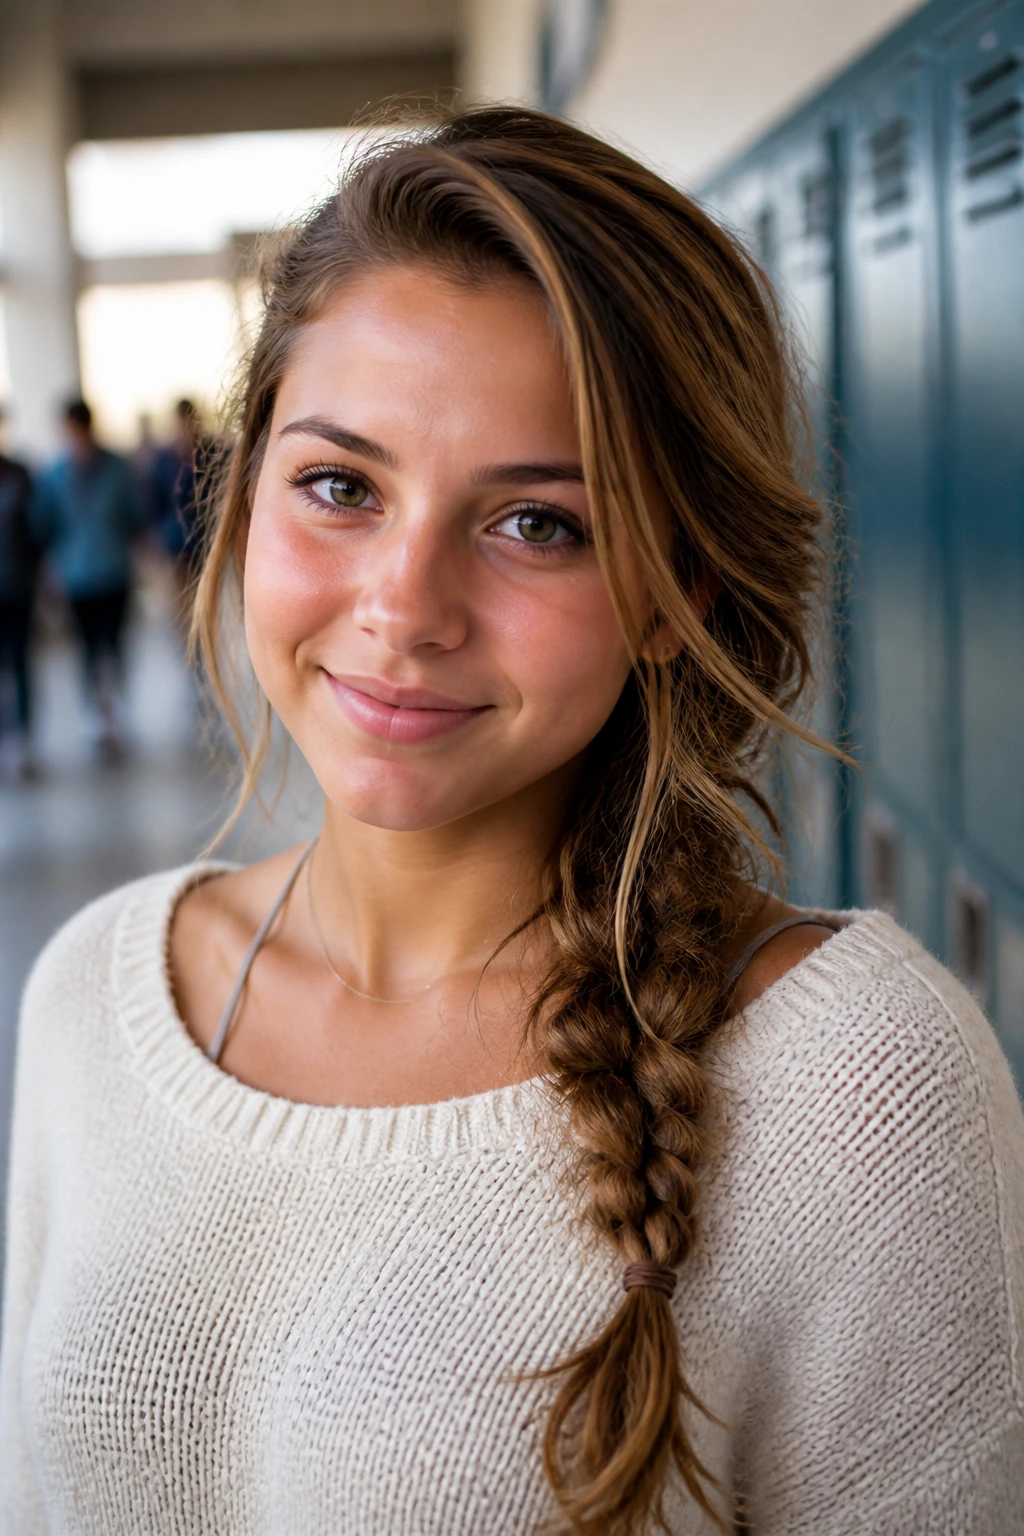
If you have a bit of texture—or if your hair is naturally wavy—this style plays into the “undone” aesthetic that remains a staple of school hallways. It involves pulling your hair to one side and weaving a loose, slightly disheveled braid that looks effortless. The secret here is not to be too precise; the stray strands are the point, not the problem.
Key Details for Success
Focus on creating volume at the base of the braid. If your hair is silky-straight, rough it up with a bit of dry shampoo or texturizing spray before you start. This gives the hair enough “grip” so the braid doesn’t slide out by second-period lunch.
Achieving the Look
- Sweep all hair to one shoulder.
- Divide into three equal sections.
- Braid loosely, ensuring you do not pull the tension too tight.
- Secure the end with a small clear elastic.
- Use your fingers to gently pull at the loops of the braid (this is called “pancaking”) to make it look twice as thick.
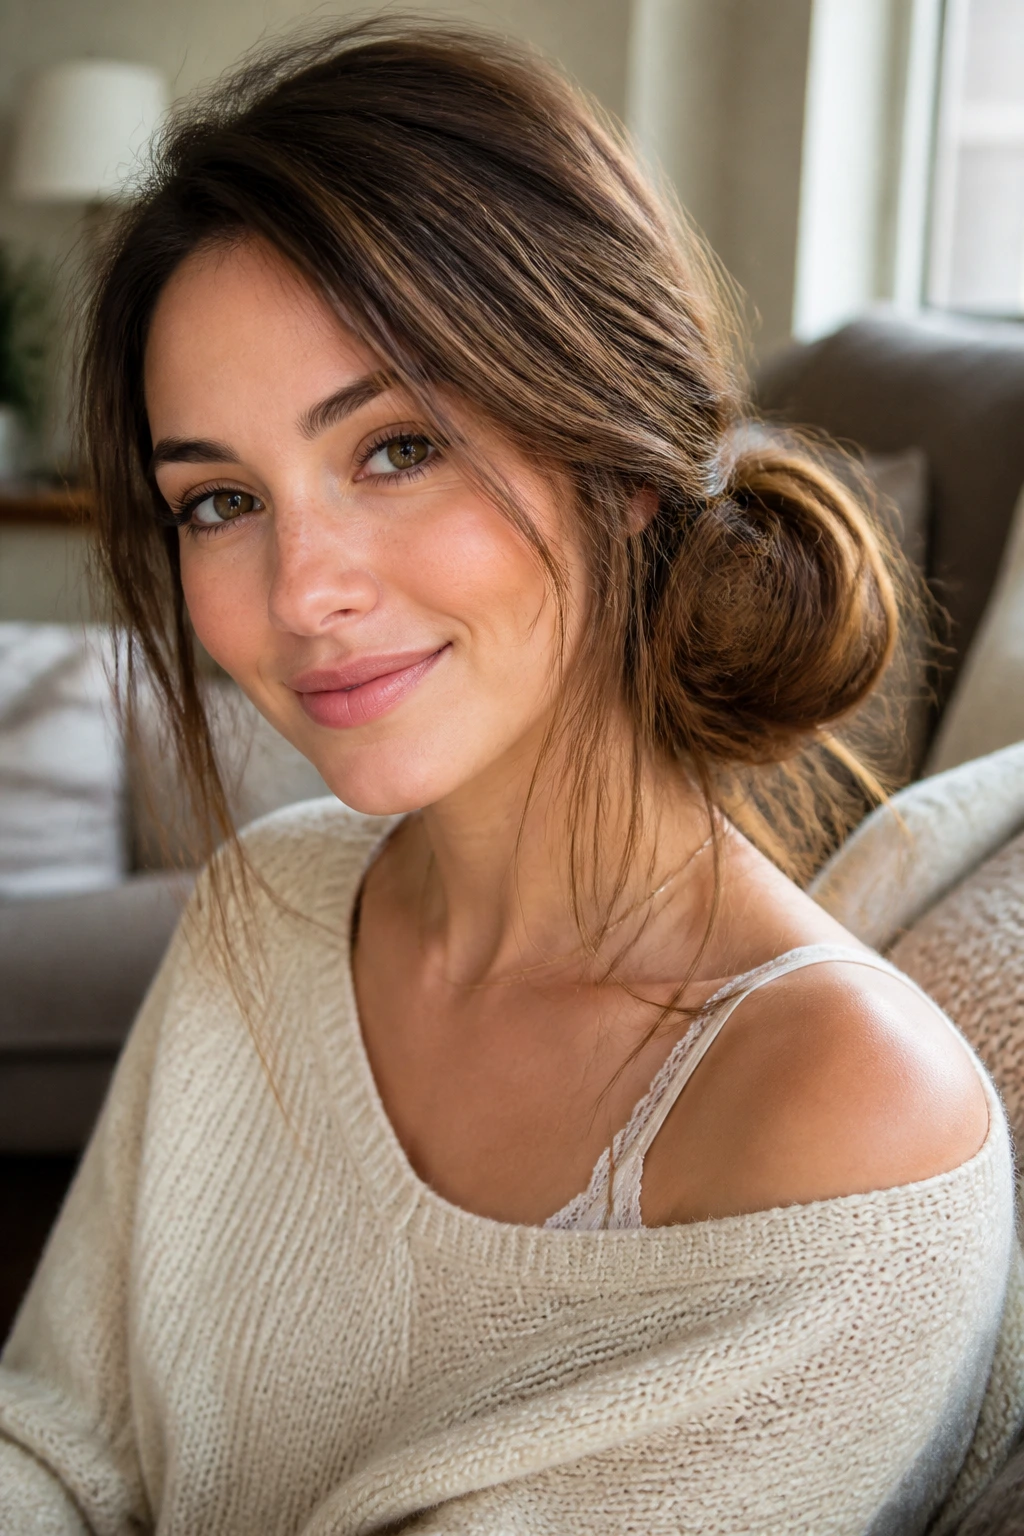
3. The Twisted Side-Swept Low Bun
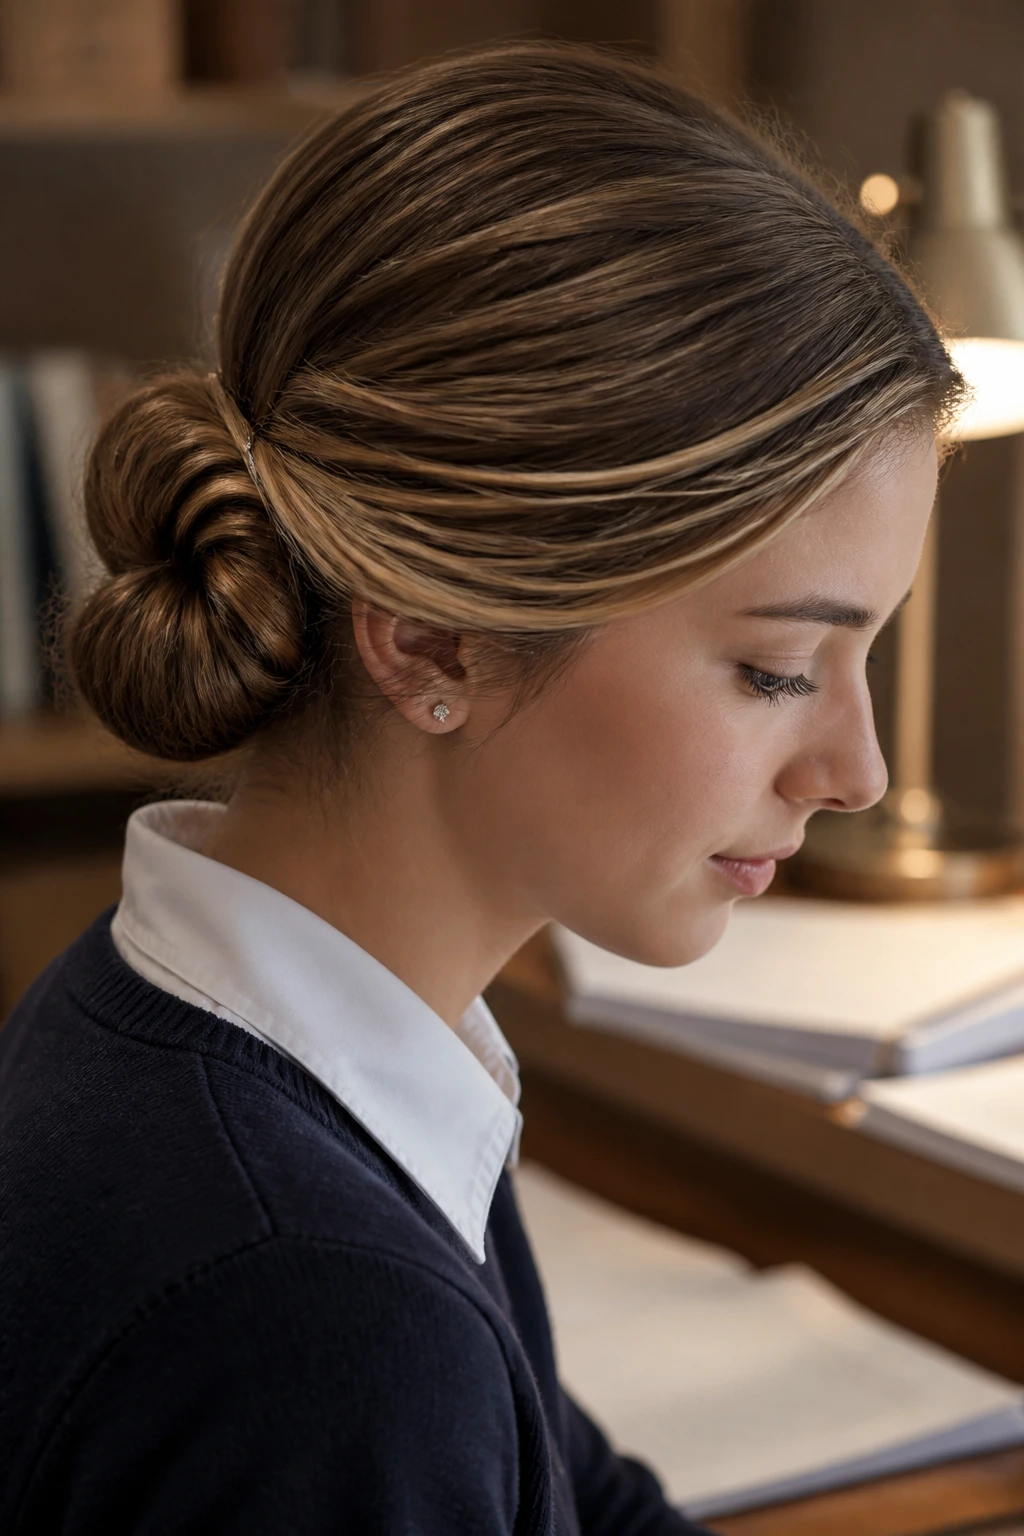
Sometimes you need your hair completely off your neck, but a high bun feels too rigid. A low, side-swept bun offers a softer silhouette that works well with collared shirts or crew-neck sweaters. It creates a focal point near the nape of your neck, making it a great option for days when you are wearing statement earrings.
Why It’s Perfect for Busy Mornings
It hides unwashed hair better than almost any other style. If your roots are feeling a little oily, the structure of the twist masks the texture, while the low placement keeps everything feeling grounded and professional.
Stylist’s Secret
Keep the twist slightly loose. You want the bun to look voluminous and soft, not like a tight knot. Use U-shaped hairpins instead of bobby pins to secure the bun; they hold more hair with less effort and are much easier to tuck into the bun without showing.
4. The Half-Up Side-Swept Waterfall

If you want to wear your hair down but keep it out of your eyes during long lectures, the half-up side sweep is your best friend. This style keeps the bulk of your hair off your face while letting the lengths flow down one shoulder. It feels slightly more “styled” than just pulling it all back.
The Mechanism of the Look
You are essentially pinning the front section of your hair to the side, allowing the back section to tumble naturally. This gives you the best of both worlds: the structure of a controlled style and the freedom of wearing your hair loose.
How to Execute
- Gather the hair from your temples and forehead.
- Twist or braid this section back toward one ear.
- Secure it with a decorative clip or a pair of crisscrossed bobby pins.
- Use a large-barrel curling iron on the remaining hair if you want a more polished, wavy look.
5. The Double Dutch Side Braid
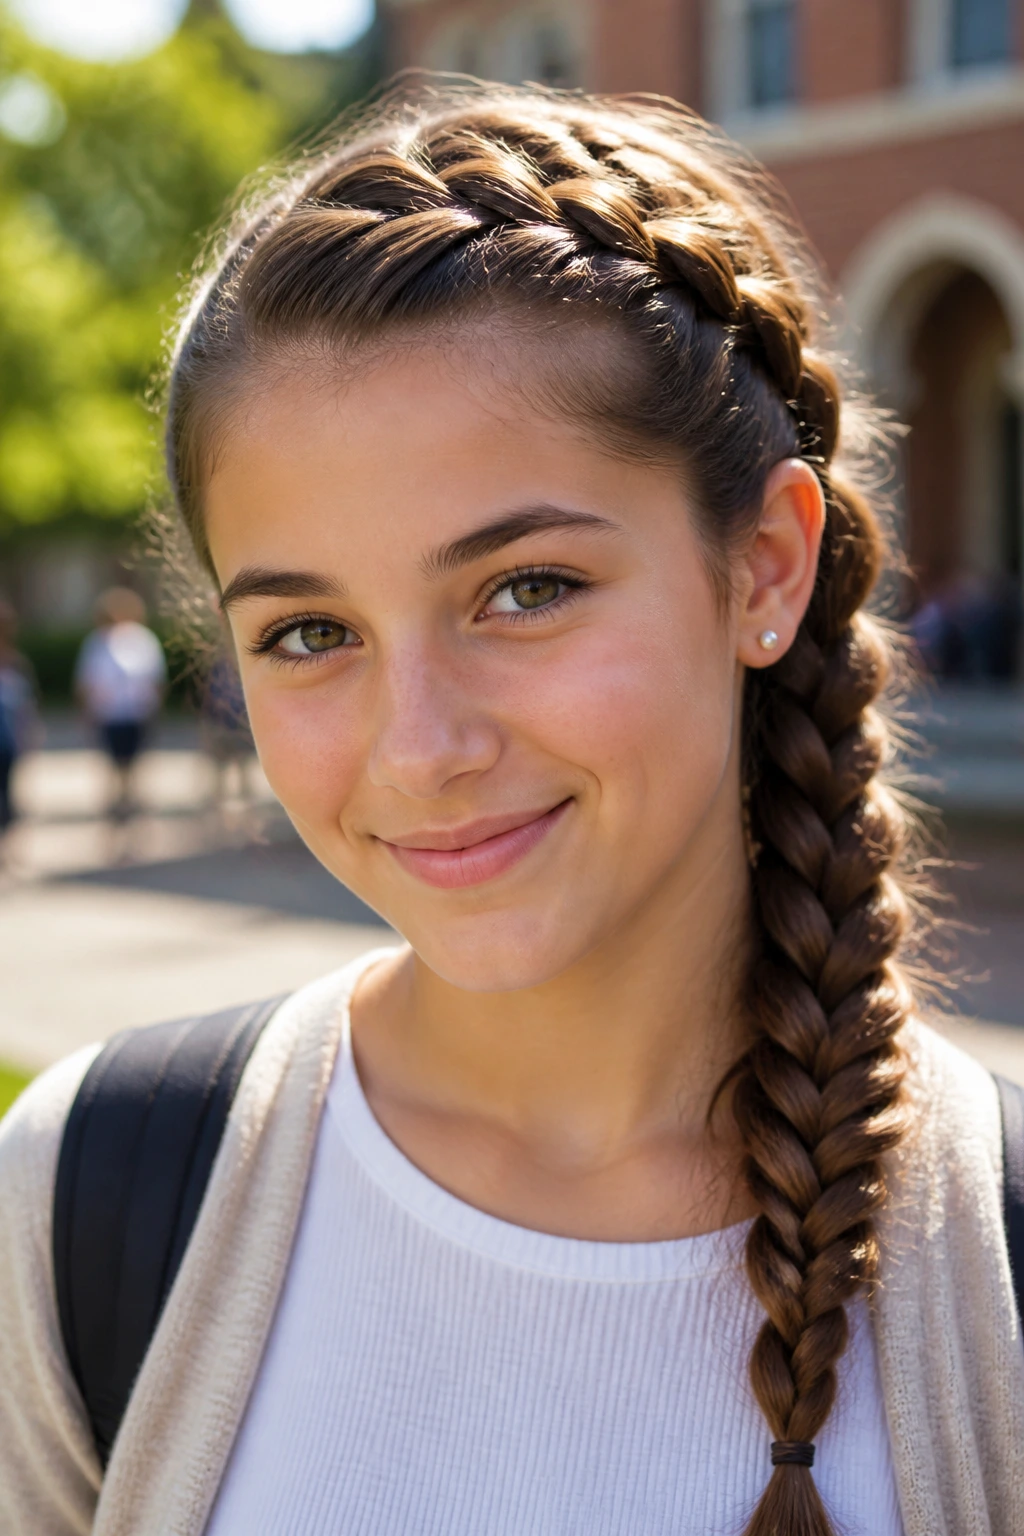
For those who want something a bit more intricate, the double dutch side braid is a game changer. By starting the braid near your hairline and working it across the front and down to one shoulder, you create a beautiful crown effect that stays put through gym class, long study sessions, and everything in between.
Why This Style Is a Winner
It is secure. Once you have finished a Dutch braid—where you weave the sections under each other rather than over—it is essentially locked into place. You won’t have to worry about fixing your hair mid-day.
Helpful Tips
- Start with damp hair if you are new to braiding; it is much easier to manage.
- Keep your sections even as you add hair to the braid.
- If you find your arms getting tired, take a break halfway through, but keep your tension consistent.
6. The Side-Swept High Ponytail

High ponytails are inherently energetic, but pushing them to one side adds a dash of sass. This is the go-to look for school spirit days or when you just need to feel awake. It is a high-visibility style that draws attention to the jawline and neck.
What to Watch For
Because the hair is pulled high and to the side, it can put tension on your hairline. Use a silk or satin hair tie to reduce friction. Avoid pulling it so tight that you get a headache—the goal is comfort as much as it is style.
How to Style
- Gather hair into a high ponytail, but slant your hand toward one ear while securing it.
- Wrap a small strand around the base to polish the look.
- Tease the ponytail itself slightly for extra volume.
7. The Bubble Braid to the Side
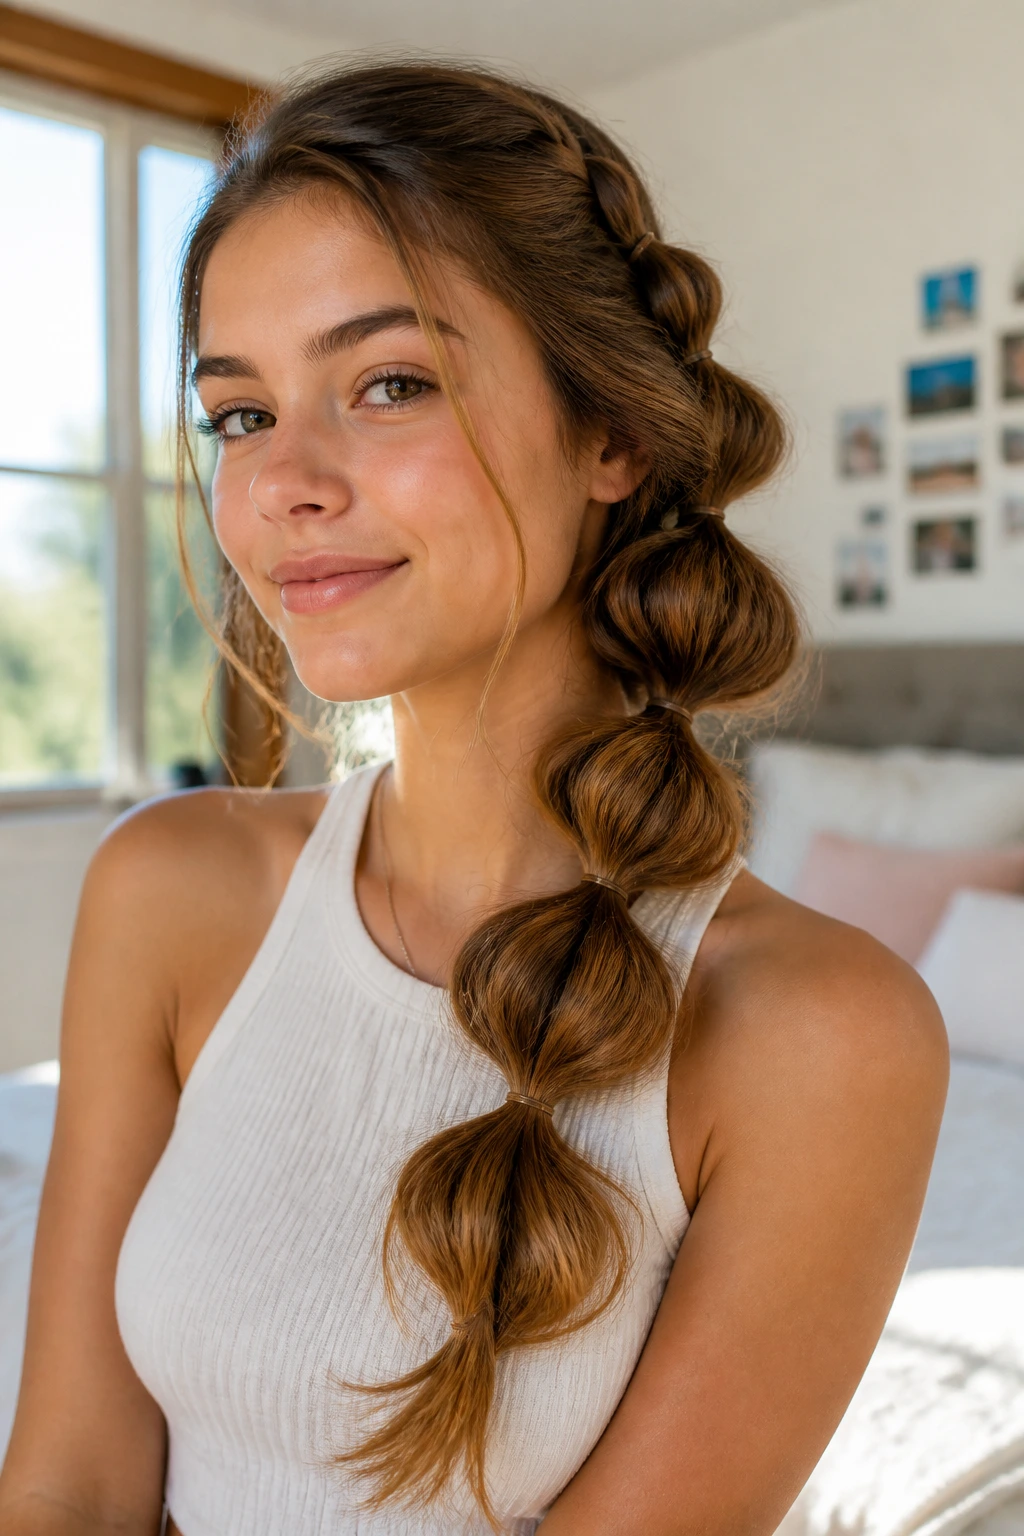
You have likely seen bubble braids all over, but doing them to the side is a clever way to keep the hair looking neat without needing professional braiding skills. It is essentially a series of ponytails stacked on top of each other. The result is a sculptural, modern look that takes about three minutes to finish.
Why You’ll Love It
It requires zero heat and zero complex hand movements. If you can make a ponytail, you can make a bubble braid. It looks great on thick, curly, or thin hair alike.
The Step-by-Step
- Gather your hair to one side.
- Secure the first small section with a clear elastic.
- Move down two inches and add another elastic.
- Gently tug at the sides of the “bubble” you just created to give it volume.
- Repeat until you reach the ends of your hair.
8. The Side-Swept Retro Wave
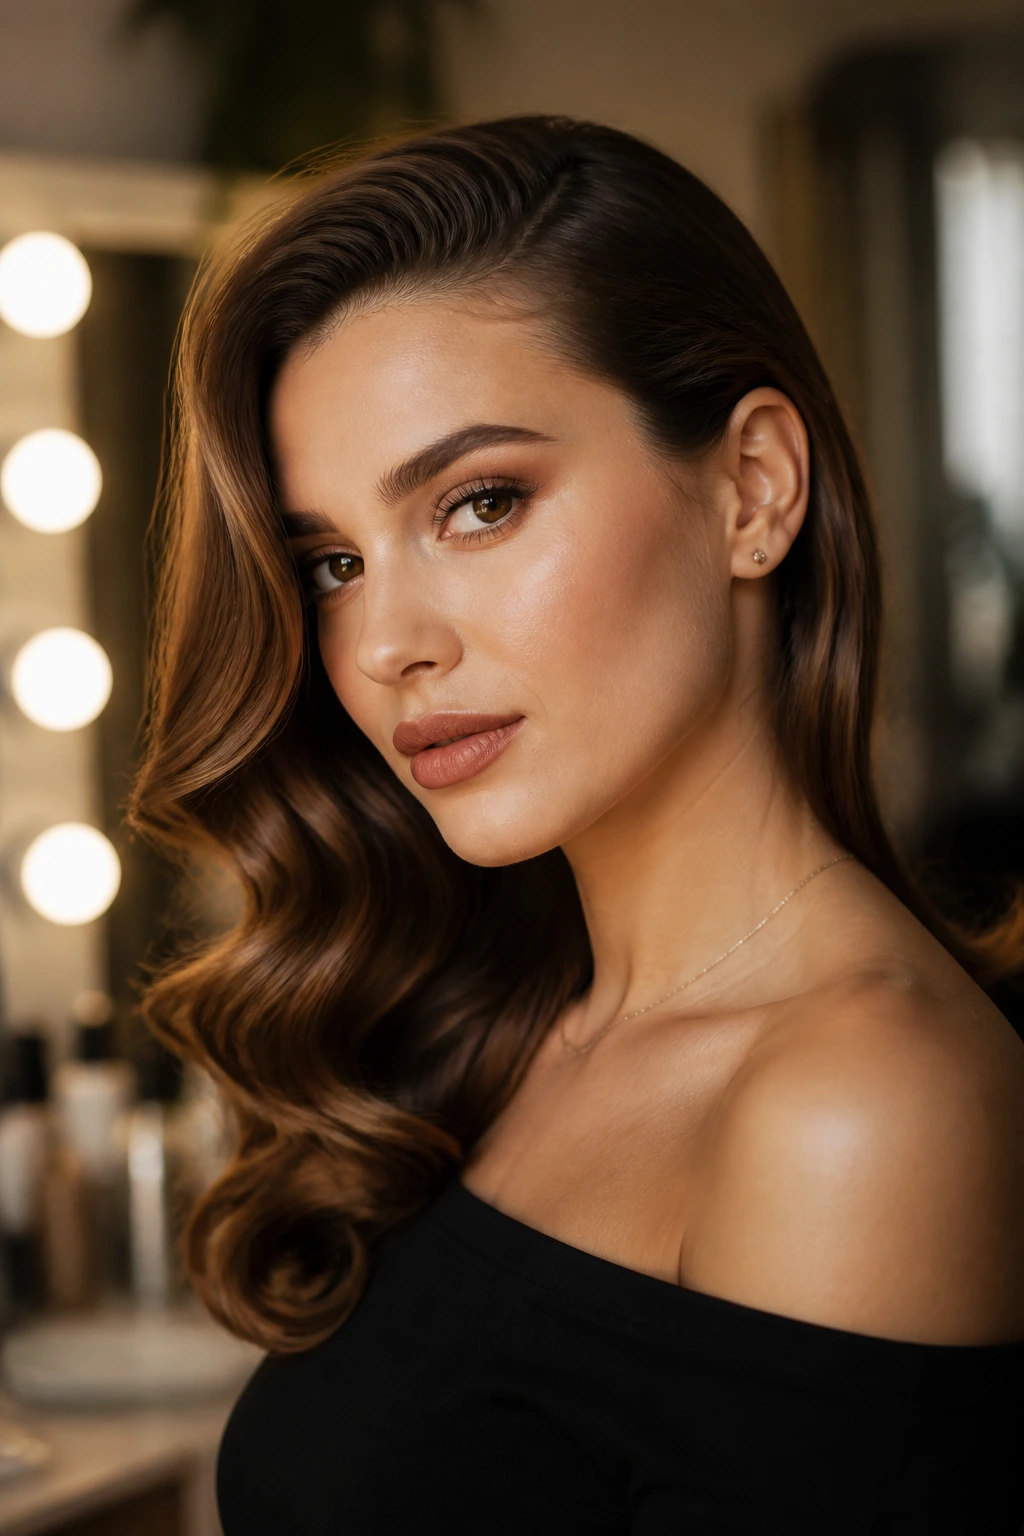
If you have a bit more time—perhaps a morning where you are not rushing out the door—a deep side part combined with loose waves is the height of classic glamour. It is a look that works perfectly for school photos or events where you want to feel a little more sophisticated.
How to Get the Look
Use a 1-inch curling iron and curl all your hair in the same direction. Once the curls have cooled completely, brush through them with a wide-tooth comb. Sweep everything to one side and pin it behind your ear using a hidden bobby pin.
Why It Works
The consistency of the curls makes the side sweep look intentional rather than accidental. The pinned-back side provides a clean line that balances the volume of the waves on the other side.
9. The Headband and Side-Sweep Combo
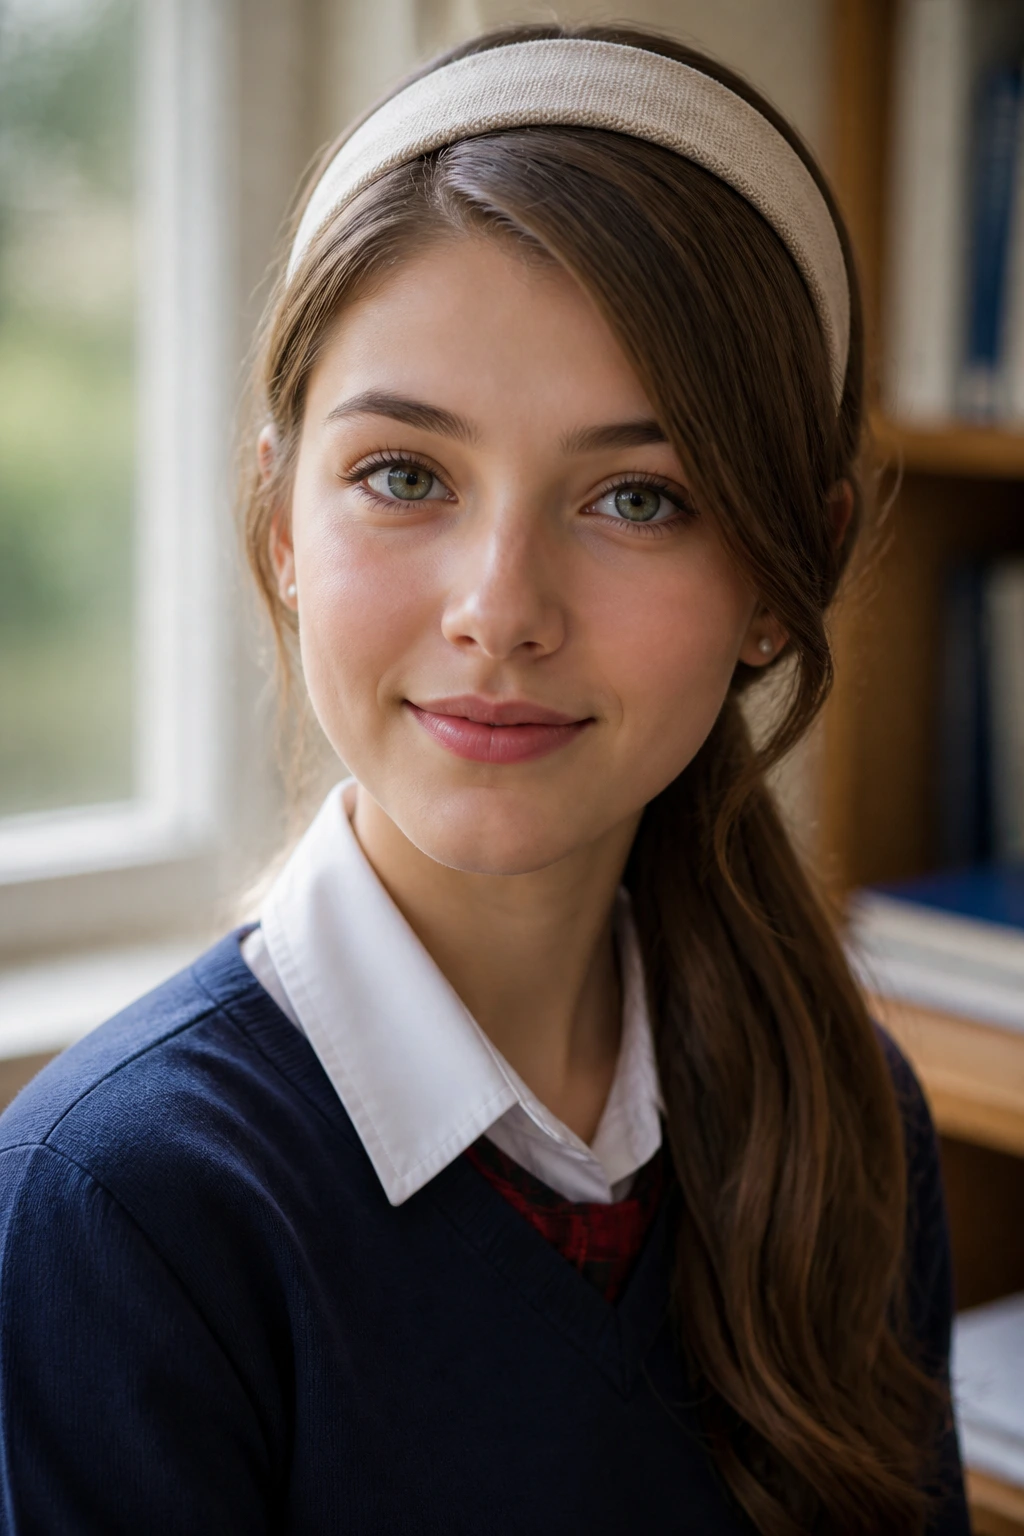
Sometimes the simplest accessory is the most effective. A side-swept look combined with a simple velvet or fabric headband is the ultimate “preppy” school look. It keeps the hair neat and prevents the “frizz halo” that can happen when you are running between classrooms.
Selecting Your Band
Choose a neutral-colored band that sits comfortably behind your ears. Avoid anything with heavy embellishments that might catch on your hair or feel heavy throughout the day. A flexible, fabric-covered band is the best choice for all-day comfort.
Styling Tip
Tease the crown of your head before putting the headband on. This creates a small lift that makes the side-swept hair look fuller and more balanced.
10. The Side-Swept Twisted Half-Up
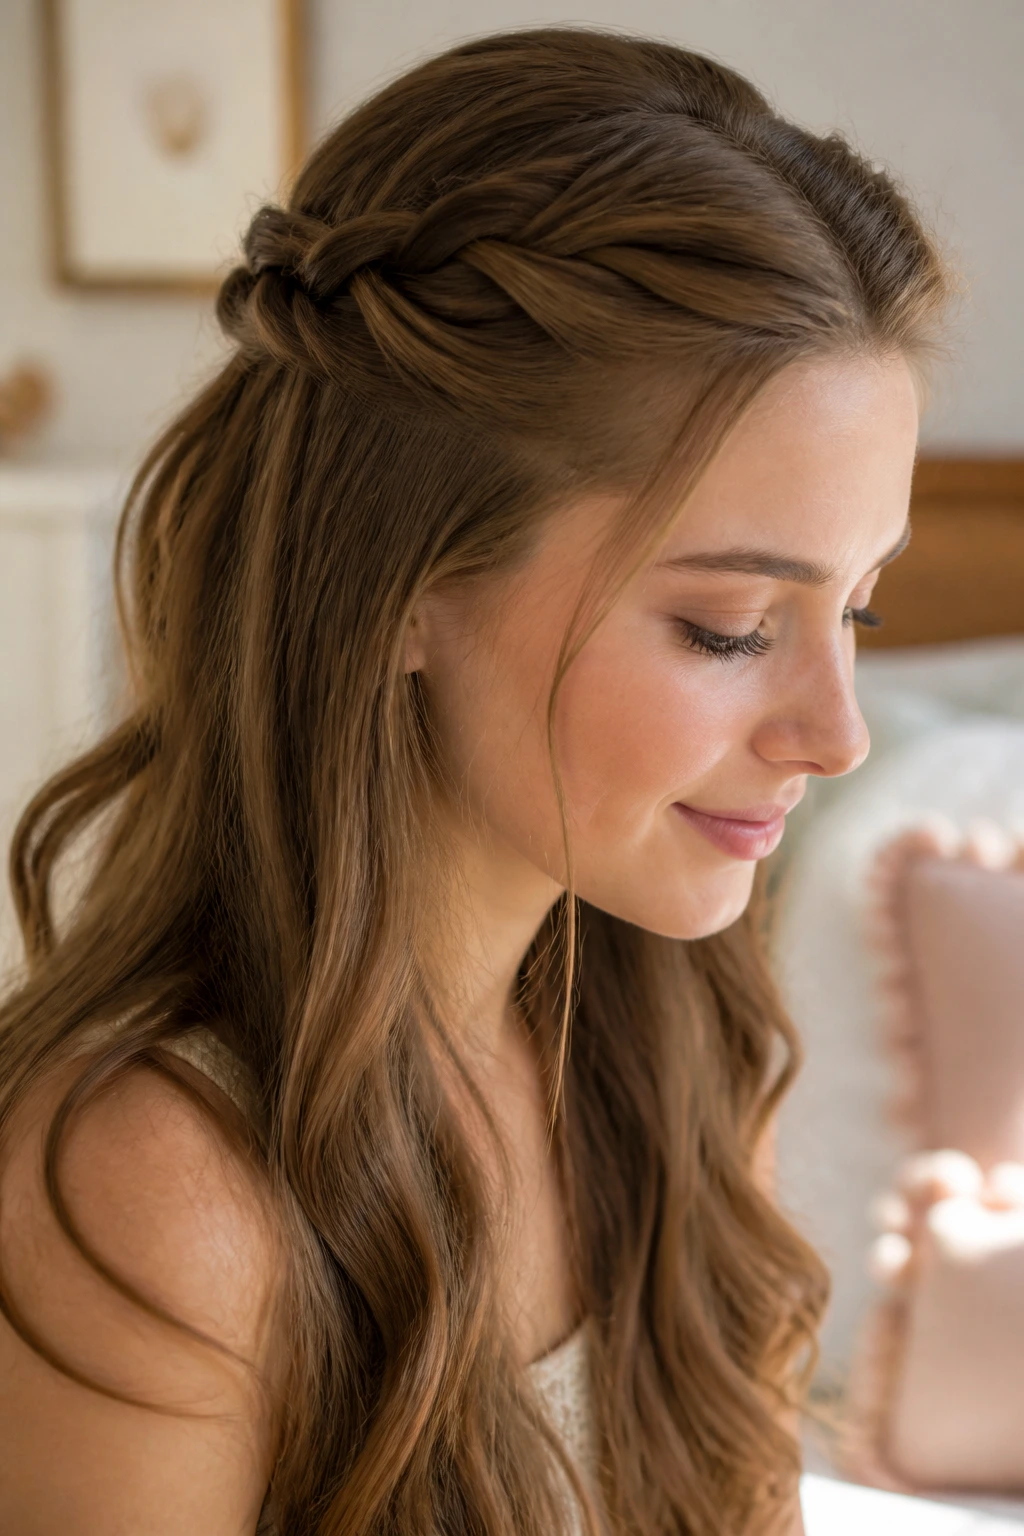
This style is all about texture. By taking two small sections near your face, twisting them tightly, and pinning them at the back of your head on one side, you create an elegant look that feels like a shortcut to a sophisticated style.
Why It’s Great
It is incredibly gentle on your hair. Unlike braids or tight ponytails, the twist does not create pressure points, making it a great option for hair that is prone to breakage.
Maintenance
Use a touch of texturizing spray before you twist. This ensures the twists stay tight throughout the day without unraveling. If your hair is prone to slipping, tuck a tiny bobby pin into the twist to lock it in place.
11. The Triple-Twist Side Sweep
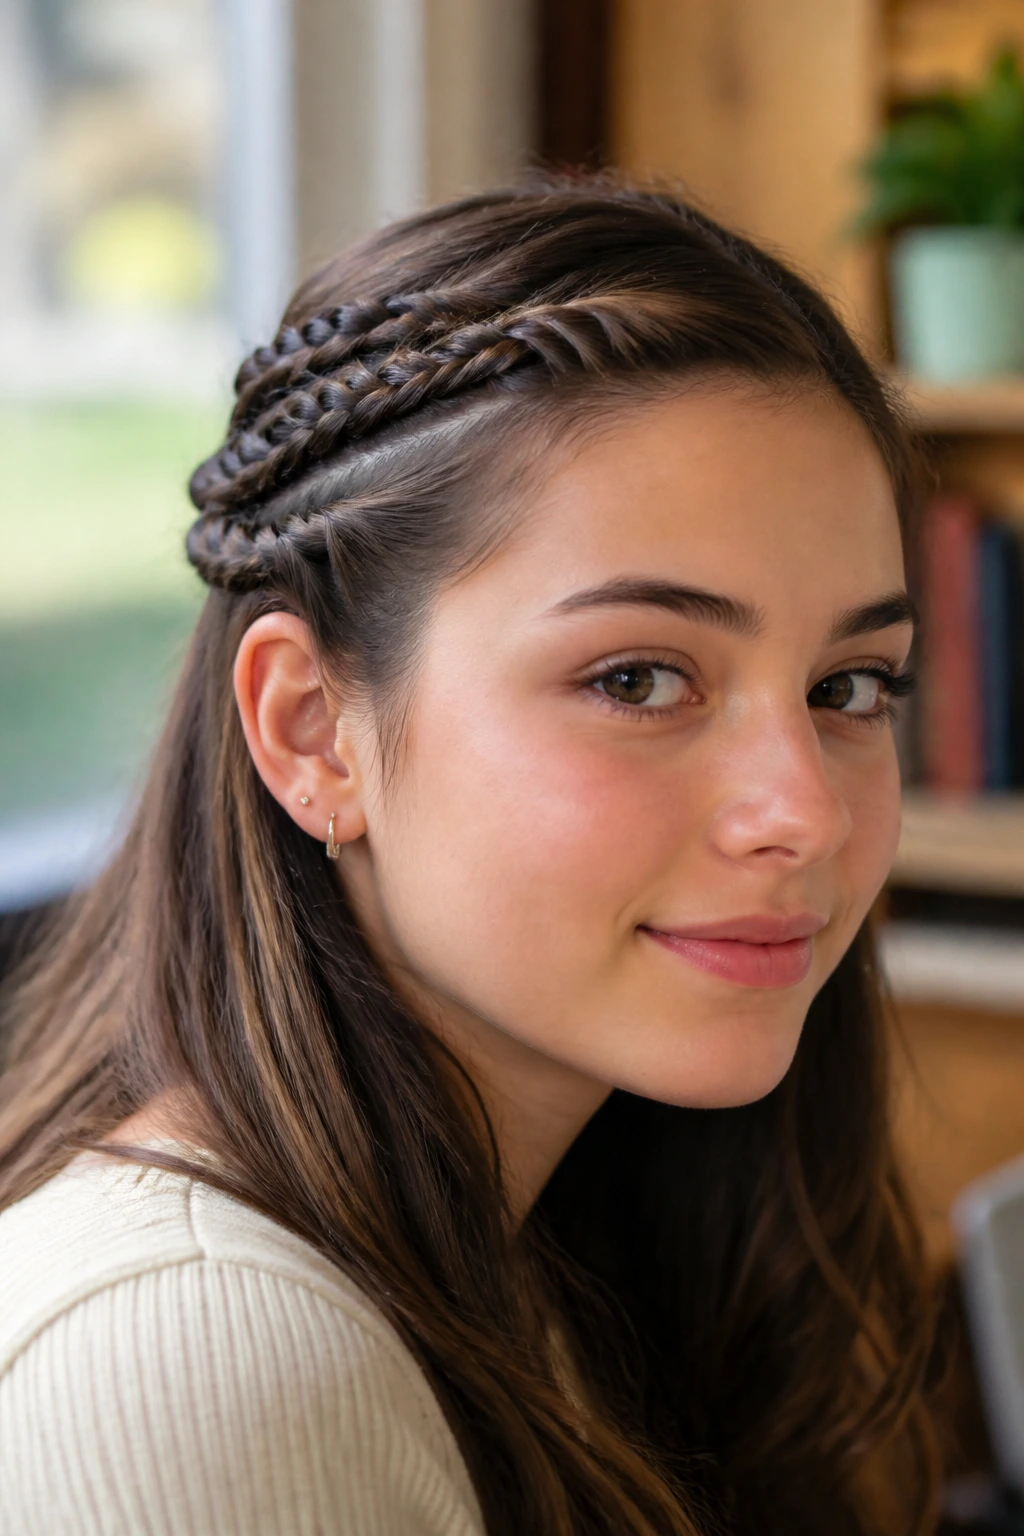
This variation takes the standard twist and adds layers. Instead of one twist, you create three small ones that cascade down to the side. It looks like a complex design, but it is just a series of repeated motions.
Where to Use It
This is excellent for fine hair because it adds the appearance of density. By stacking the twists, you create a visual focal point that makes your hair seem thicker than it actually is.
Execution
- Create a deep side part.
- Section off three small areas along your hairline.
- Twist each section away from your face and secure each with a small elastic.
- Gather the ends of all three twists and pin them behind your ear.
12. The Side-Swept Messy Bun
Never underestimate the power of the messy bun. By pulling it to the side, you elevate it from “laundry day” to “street style.” It provides a relaxed, approachable vibe that is perfect for study groups or casual Fridays.
The Secret to “Messy”
“Messy” does not mean unmanaged. It means strategic disarray. The bun should look like it was thrown together, but the hair leading into it should be smooth. Use a bit of smoothing serum on your hairline before you pull it back to keep the “intentional” look intact.
How to Style
- Gather hair to one side, but leave a few loose pieces around your face.
- Form a loose bun and secure it with a spiral hair pin—these are significantly better than bobby pins for holding a bun securely.
- Let the ends of the hair poke out of the bun for a softer, more natural look.
13. The Side-Swept Scarf Braid
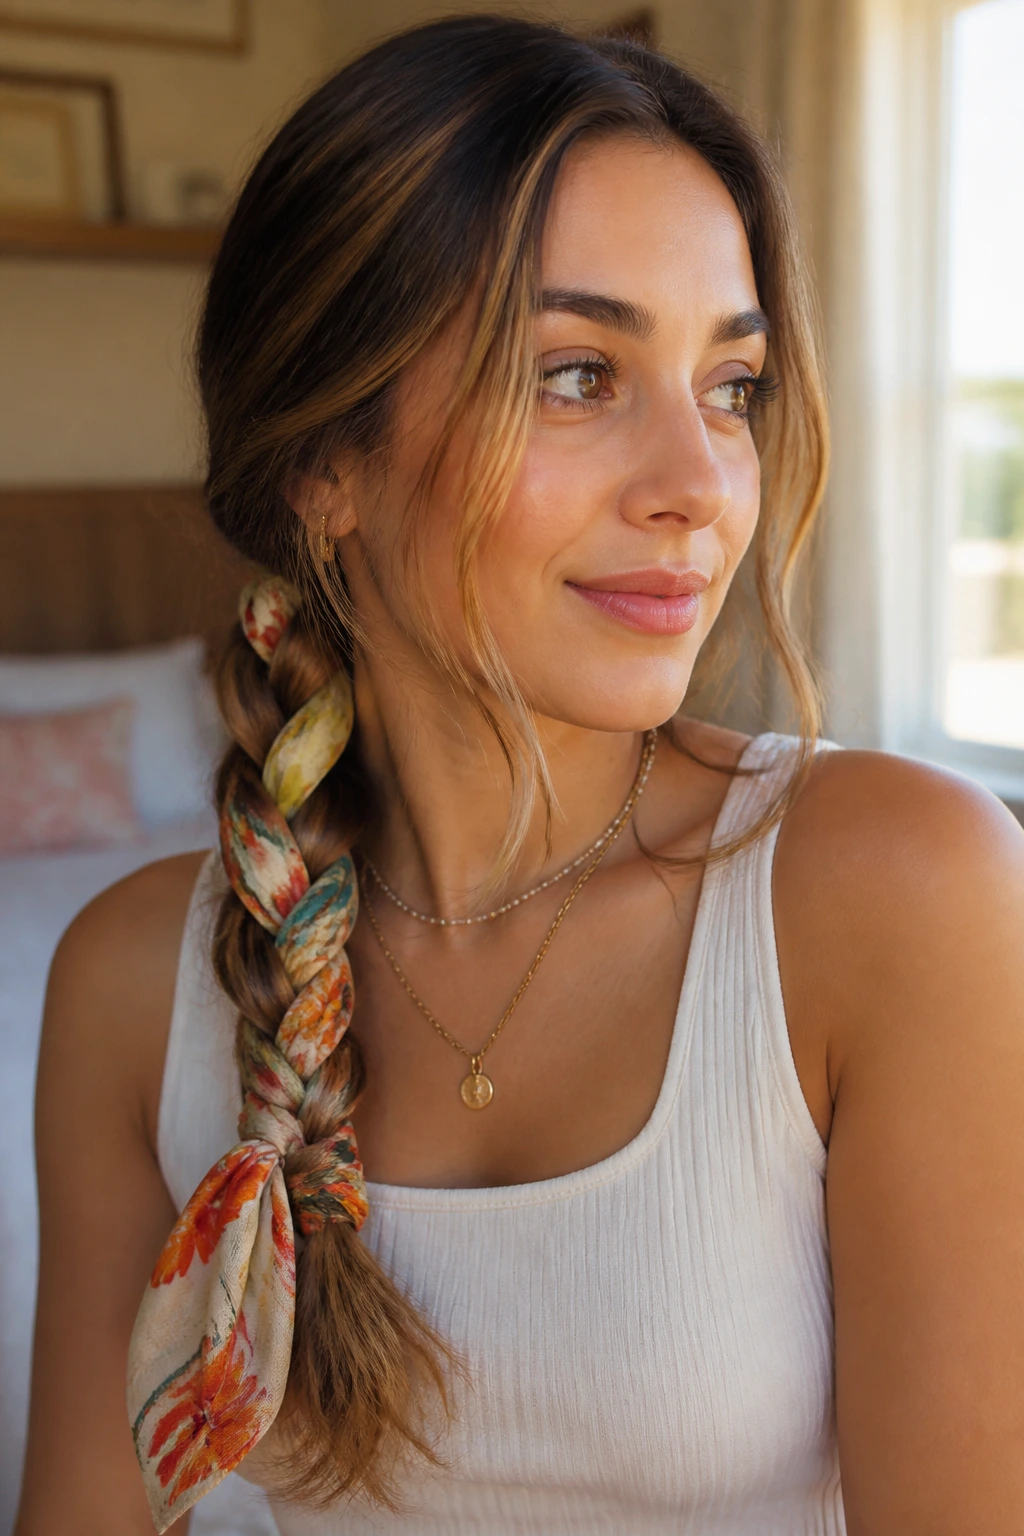
For days when you want to add a pop of color, incorporate a lightweight silk or cotton scarf into your side-swept braid. This is an excellent way to dress up an outfit that might otherwise be a bit plain.
Why It Stands Out
It provides a bit of extra volume to the braid itself. If you have thin hair, the fabric of the scarf fills in the gaps, making the braid look much fuller and more intricate than it is.
The Method
- Tie the scarf around the base of your ponytail.
- Split your hair into two sections, treating the scarf as the third section of a three-strand braid.
- Braid down to the end and tie off with the remaining tail of the scarf.
14. The Side-Swept Sleek Look
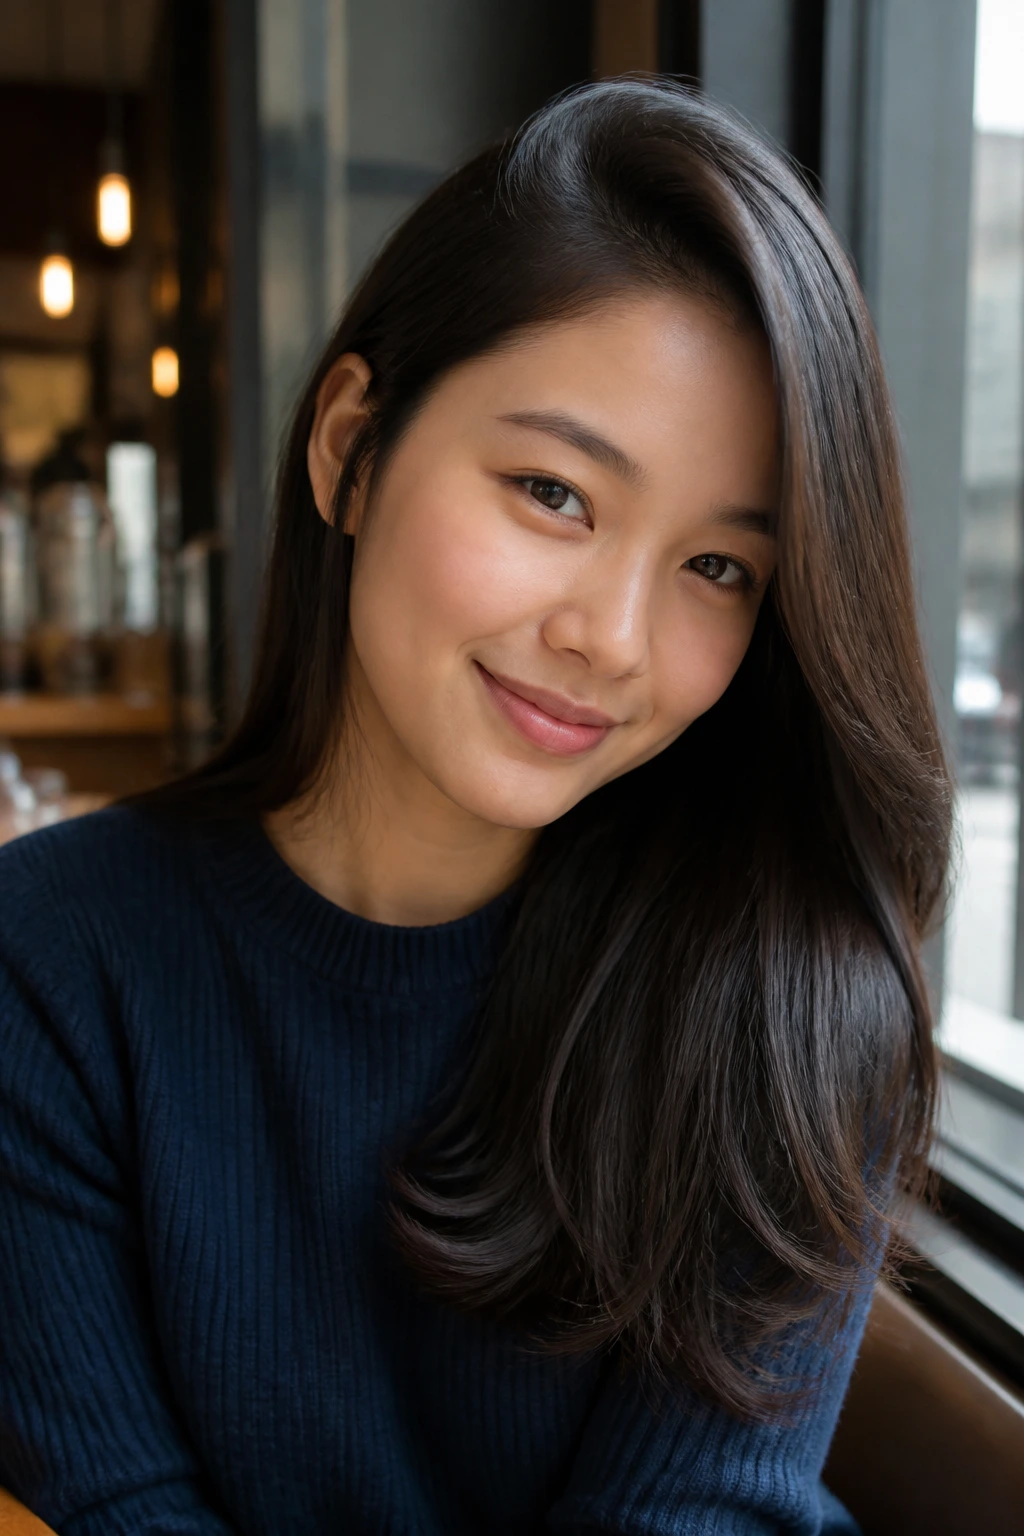
If you have straight hair and want to lean into it, a sleek side sweep is incredibly modern. It is the kind of look that goes well with bold glasses or a sharp blazer. It emphasizes the quality of your hair—the shine and the health.
Product Selection
You will need a high-quality smoothing oil or a non-greasy pomade. Avoid heavy gels, which can make hair look crunchy. The goal is a glossy, soft finish that still moves naturally when you walk.
The Process
- Use a flat iron on low heat to ensure hair is perfectly straight.
- Brush it all to one side.
- Use a small amount of oil to tame flyaways at the crown.
- Use a flat, decorative hair clip to hold the hair behind your ear.
15. The Faux-Hawk Side Sweep
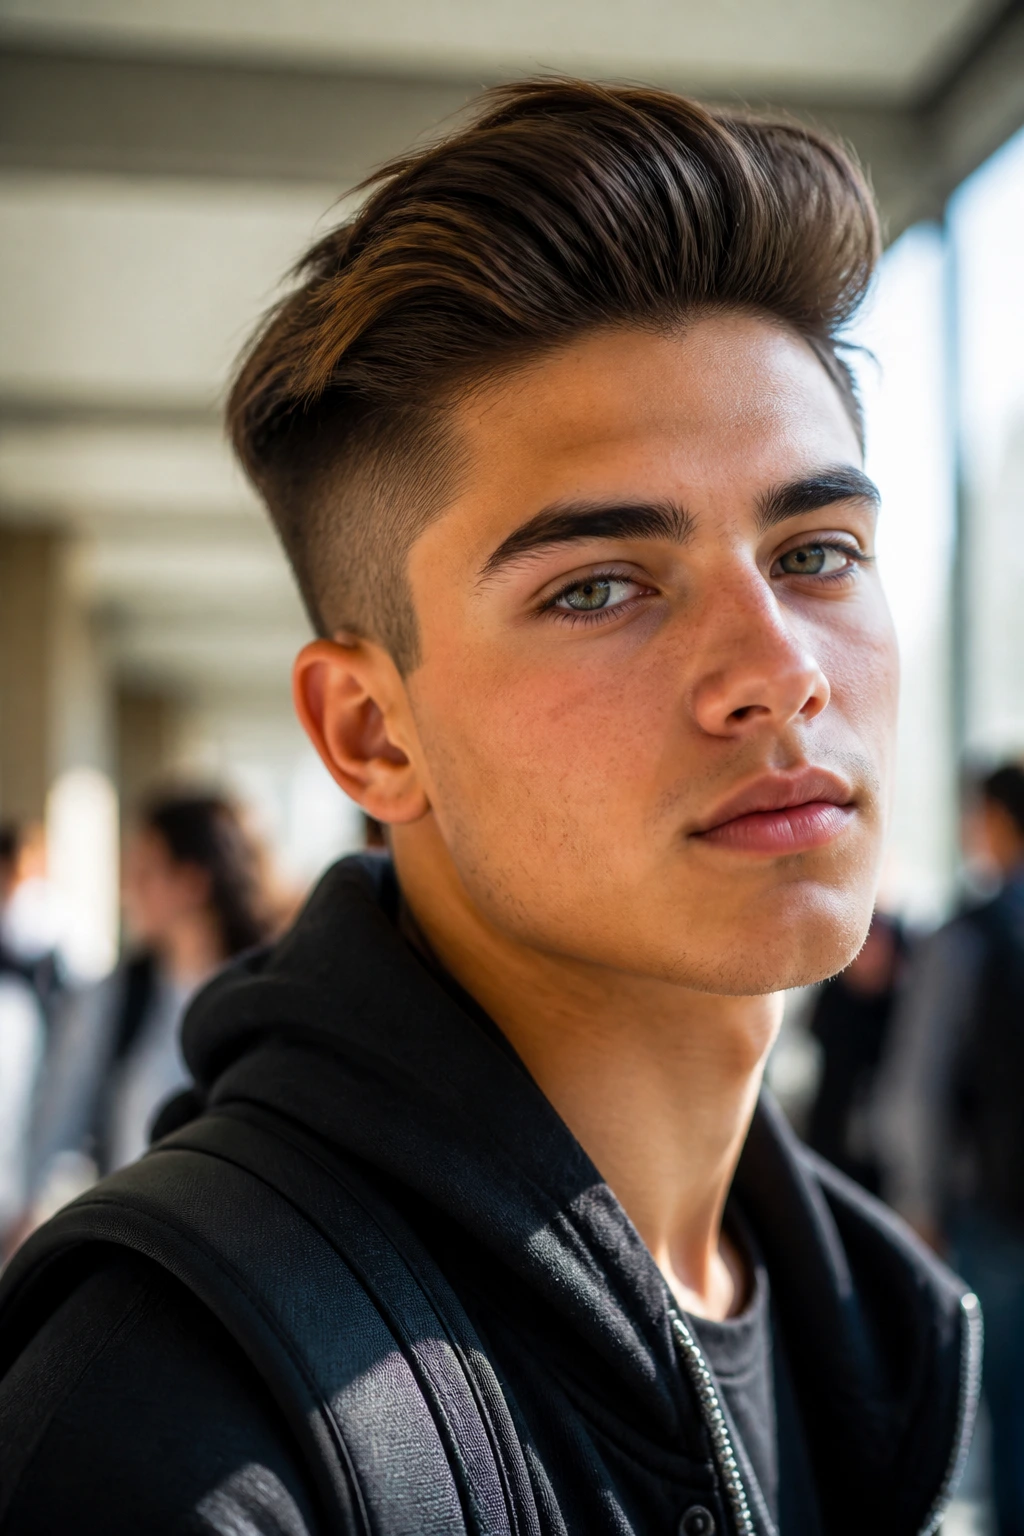
Don’t be intimidated by the name; this isn’t about spikes. It is about creating volume at the top of your head while sweeping the sides tight against your scalp. It is a cool, edgy look that works well for students who want to express a bit of personality.
The Vibe
It is clean, sharp, and very modern. It keeps the face completely clear and highlights your profile. It works especially well with shorter, layered haircuts, as the layers naturally add volume to the top.
Getting the Look
- Separate the top section of your hair.
- Backcomb the roots gently for height.
- Pin this section slightly to one side.
- Take the hair from the sides and pull it tight against your head, securing it with pins or a slick of styling cream.
Final Thoughts

The beauty of the side-swept hairstyle is its inherent adaptability. It does not require a trip to the salon or a bag full of specialized tools. It simply requires a little bit of patience and a willingness to shift your perspective—literally. As you experiment with these looks, pay attention to which ones feel most natural for your hair texture and your morning pace. You will find that some of these become your five-minute go-to, while others are reserved for days when you have a bit more time to play.
Above all else, do not worry if the braid is not perfectly symmetrical or if a strand of hair falls loose. That is the nature of the side-swept style; it is designed to be lived in. Your hair is an accessory to your day, not a cage you need to lock into place. Find the style that makes you feel the most like yourself, tuck it behind your shoulder, and head out the door. The rest of the day can take care of itself.