When the alarm clock blares at six in the morning, the last thing you want to do is spend forty-five minutes wrestling with a curling iron or a complex set of extensions. School days are a specific kind of marathon—one that demands your hair look put-together while being able to survive crowded hallways, gym class, and the inevitable wind tunnel that is the bus stop. Over the years, I have learned that the most reliable styles aren’t the ones you find on high-glamour social media feeds; they are the ones that take three minutes, rely on two pins, and actually stay in place until the final bell rings.
It is easy to fall into the habit of wearing the same uninspired ponytail every day, but hair fatigue is a real thing. When you feel bored with your look, you tend to touch it more, pull at it, or neglect it entirely. Mastering a few high-speed techniques changes your entire morning flow. We aren’t talking about intricate braided crowns that require a degree in cosmetology; we are talking about functional, sturdy, and genuinely cute styles that respect your need to hit the snooze button at least once.
Getting through a long day of classes requires a strategy that balances tension and comfort. If your hair is pulled too tight, you will end up with a tension headache by lunch. If it is too loose, you will find yourself fixing flyaways every five minutes. The goal here is secure, low-maintenance, and adaptable—styles that hold up whether you are rushing through a science lab or just trying to stay awake through second-period history. Let’s look at how to simplify your morning without sacrificing your style.
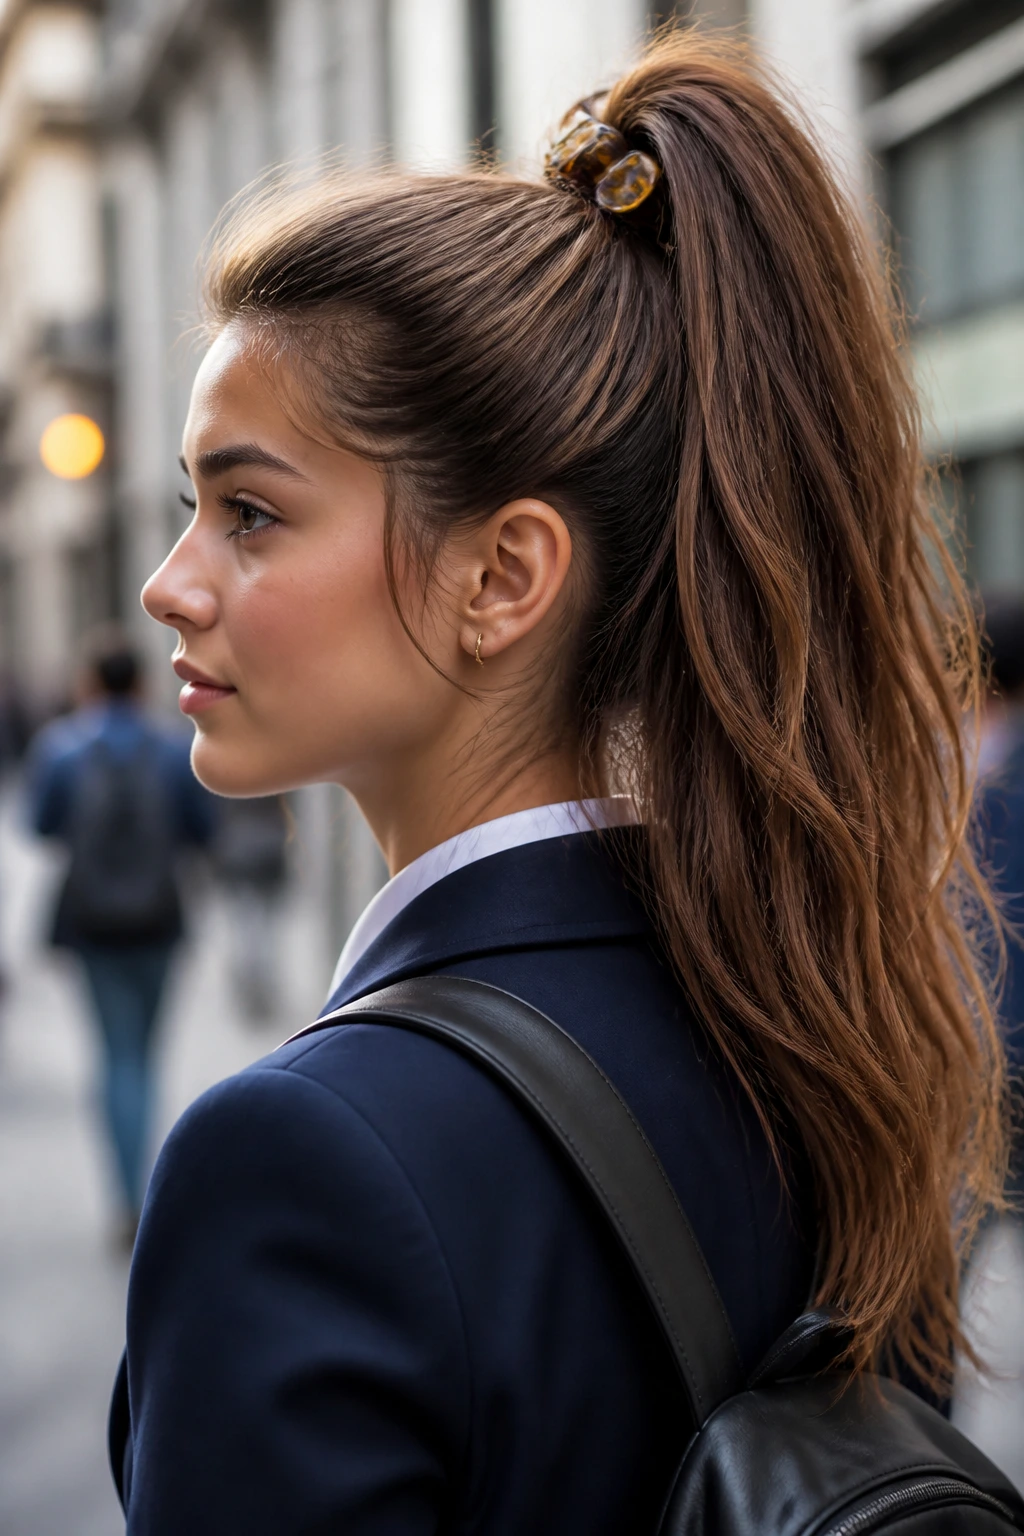
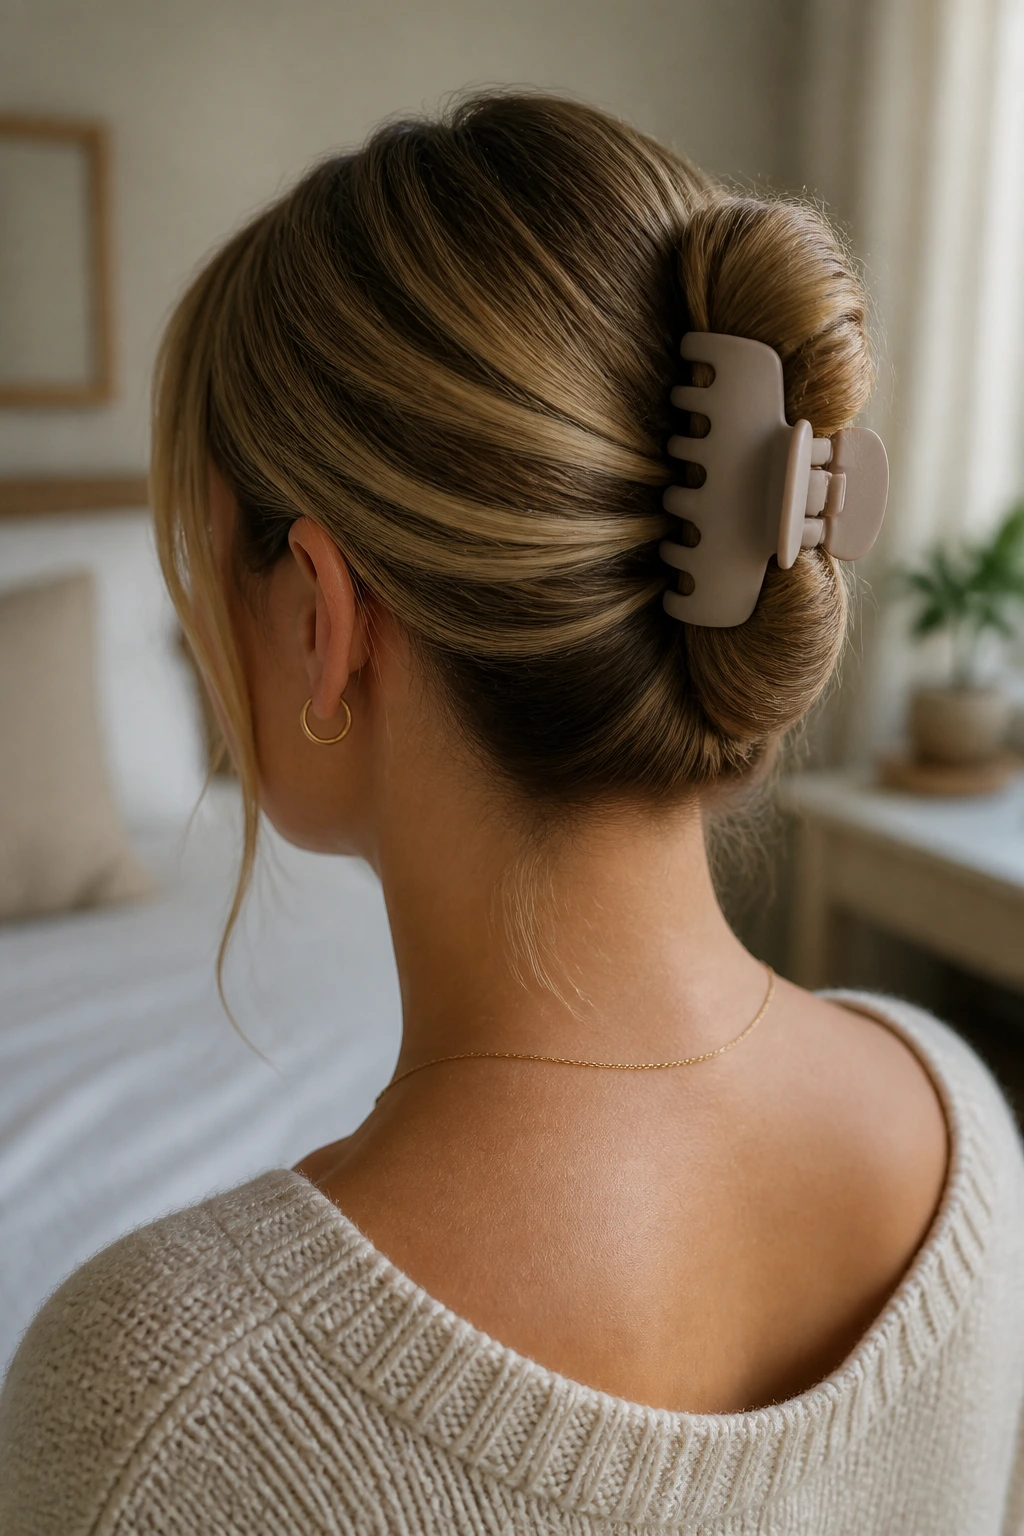
1. The Elevated Claw Clip Twist
The humble claw clip has staged a massive comeback for a reason, and it is arguably the most efficient way to get your hair off your neck in under ten seconds. Instead of a basic twist that slips out by noon, you need to create a foundation. Start by gathering your hair into a low ponytail position, but instead of using an elastic, twist the length of your hair upward against the back of your head.
Why This Stays Put
The secret is the tension created by the twist. By rolling your hair tightly against the scalp, you distribute the weight of the hair across the length of the clip’s teeth. If you have fine or slippery hair, spritz a little dry shampoo at the roots before you start; this creates a “grip” that prevents the clip from sliding down your head throughout the day.
Quick Styling Tips
- Leave a few face-framing strands loose for a softer look.
- If you have very long hair, fold the tail of the twist back down into the clip rather than letting it hang out.
- Use two smaller clips if one large one feels too heavy or uncomfortable.
Pro tip: Choose a matte-finish clip rather than a shiny plastic one—the texture provides significantly more friction against your hair.
2. The Messy Bun with a Hidden Scrunchie
Everybody tries to master the messy bun, but most people end up with a tight, strained knot that pulls at their scalp. The trick is to stop trying to be perfect. You want the bun to look like it happened by accident, even if you spent a minute making sure it was centered.
The Two-Elastic Method
Start by putting your hair into a high, loose ponytail. On the last pull of the elastic, pull the hair only halfway through to create a loop. Take the remaining tail and wrap it around the base of the elastic, tucking the end into the loop itself. It does not have to be symmetrical; in fact, the more uneven it looks, the more intentional the “messy” aesthetic appears.
Why It Works for School
This style is incredibly durable. Because the hair is looped rather than wrapped tightly, there is less stress on the hair follicle, meaning you won’t have that “hair-down headache” by the end of the school day. It also keeps your neck cool during gym class or after-school sports.
3. The Classic Dutch Braid Headband
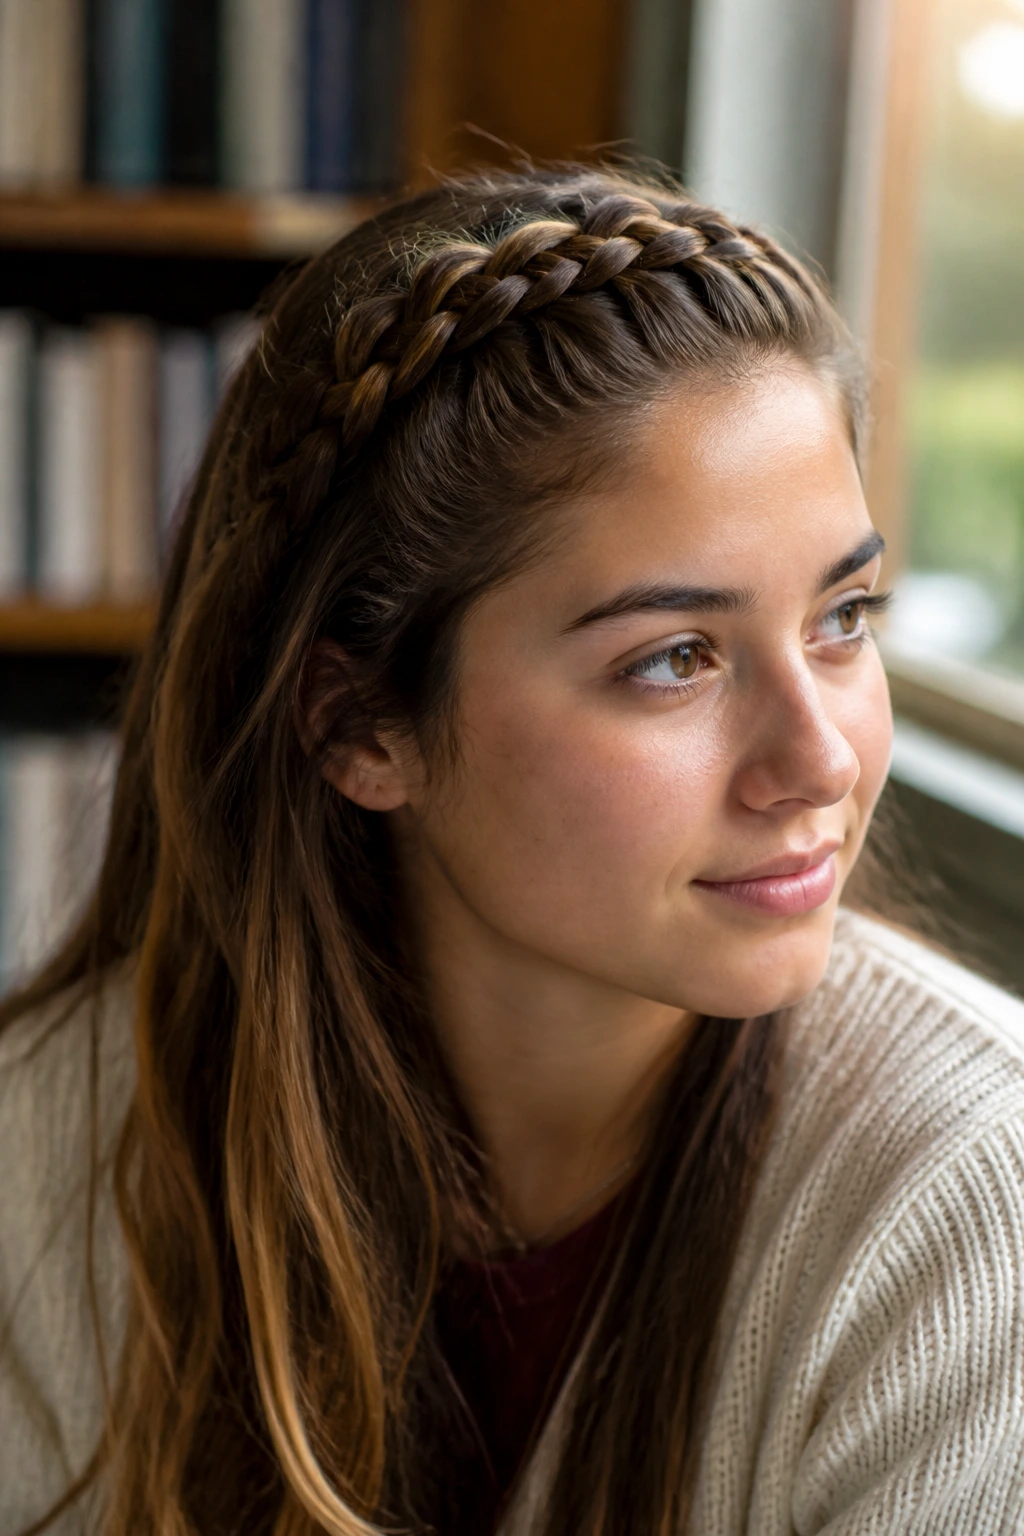
If your bangs are at that awkward “in-between” length, a Dutch braid headband is your best friend. It keeps your hair entirely out of your face, which is vital when you are leaning over a desk or taking notes. This might take a little practice, but once you get the motion down, it becomes muscle memory.
How to Get the Cleanest Look
Always braid against the grain of your hair growth. If you are a beginner, try braiding on damp hair—the extra moisture makes the strands easier to control and keeps the braid tighter. You don’t need to braid all the way to the ends; you can stop at your ear and secure it with a tiny clear elastic, then hide the end under a section of loose hair with a bobby pin.
Why It’s a Morning Saver
Once the braid is set, you don’t have to touch it. Unlike a headband that digs into your skin, this style uses your own hair, so it feels completely natural. It looks polished enough for a presentation but casual enough for a lunch break.
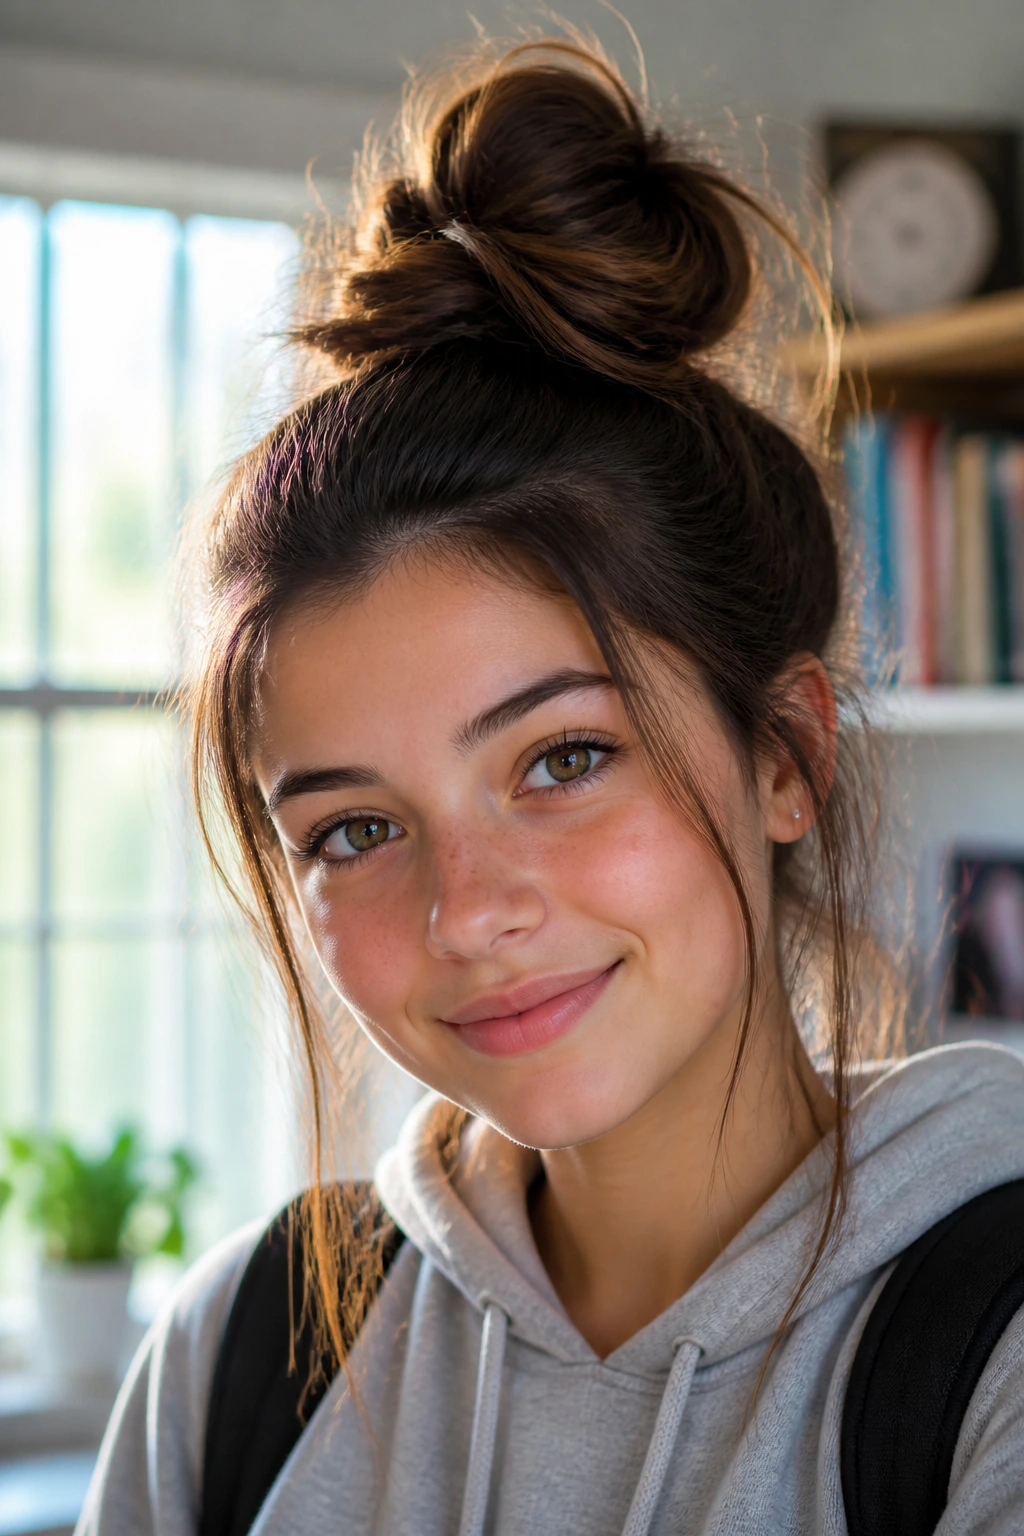
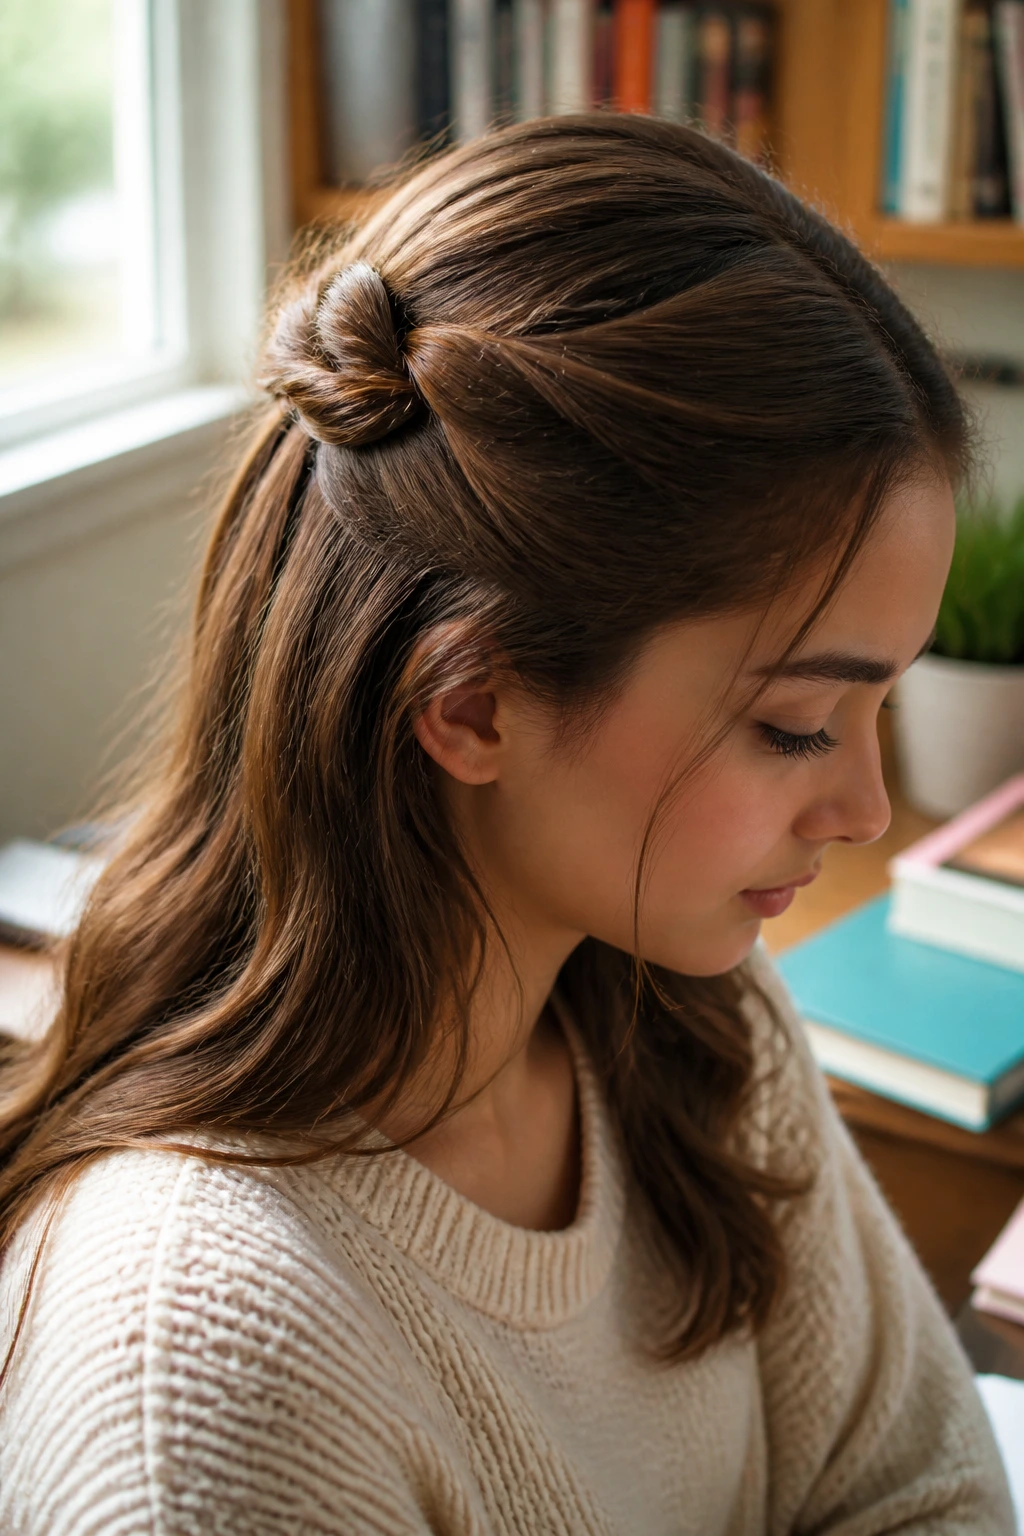
4. The Half-Up Top Knot
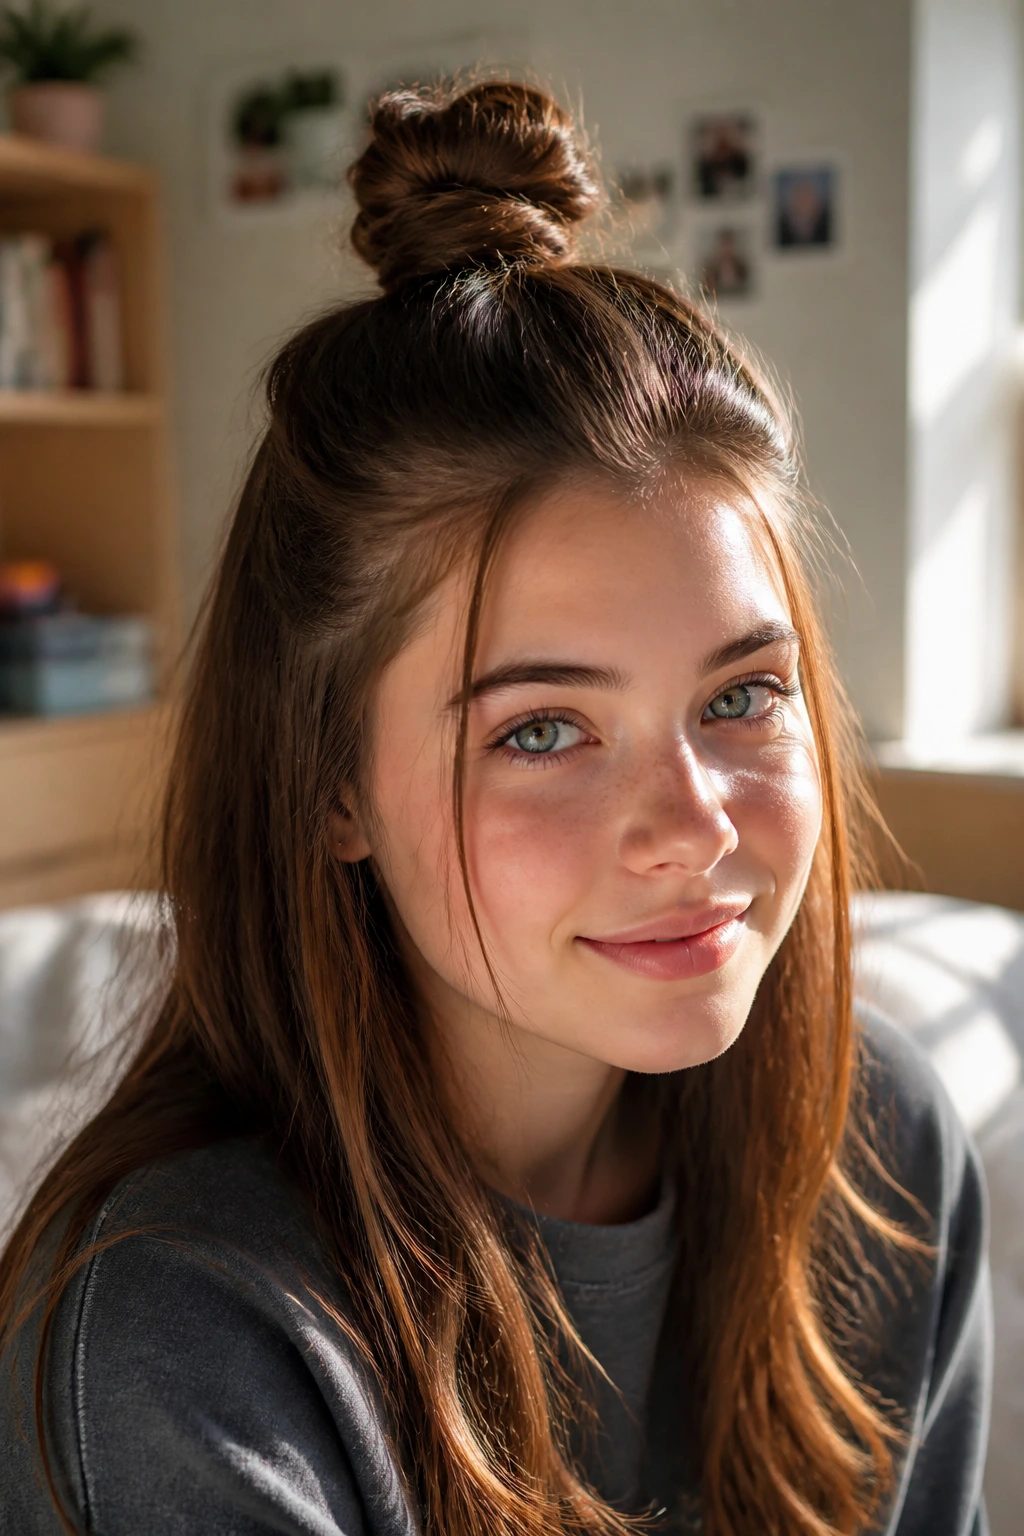
The half-up top knot is the perfect compromise between having your hair down and dealing with the annoyance of hair falling into your textbooks. It allows you to showcase your length while keeping the front section under control.
Achieving the Right Height
Gather only the top third of your hair—the section starting from your temples and moving up to the crown of your head. Secure it with a small elastic, then twist that section into a mini bun. Don’t worry about smoothing it out; the slightly tousled look is part of the appeal.
Essential Variations
- Use a decorative scrunchie to add a pop of color to your outfit.
- If your hair is thin, gently pull at the loops of the bun to create the illusion of more volume.
- Try a “space bun” variation by splitting that top section into two separate mini buns on either side of your head.
5. The Low Sleek Ponytail
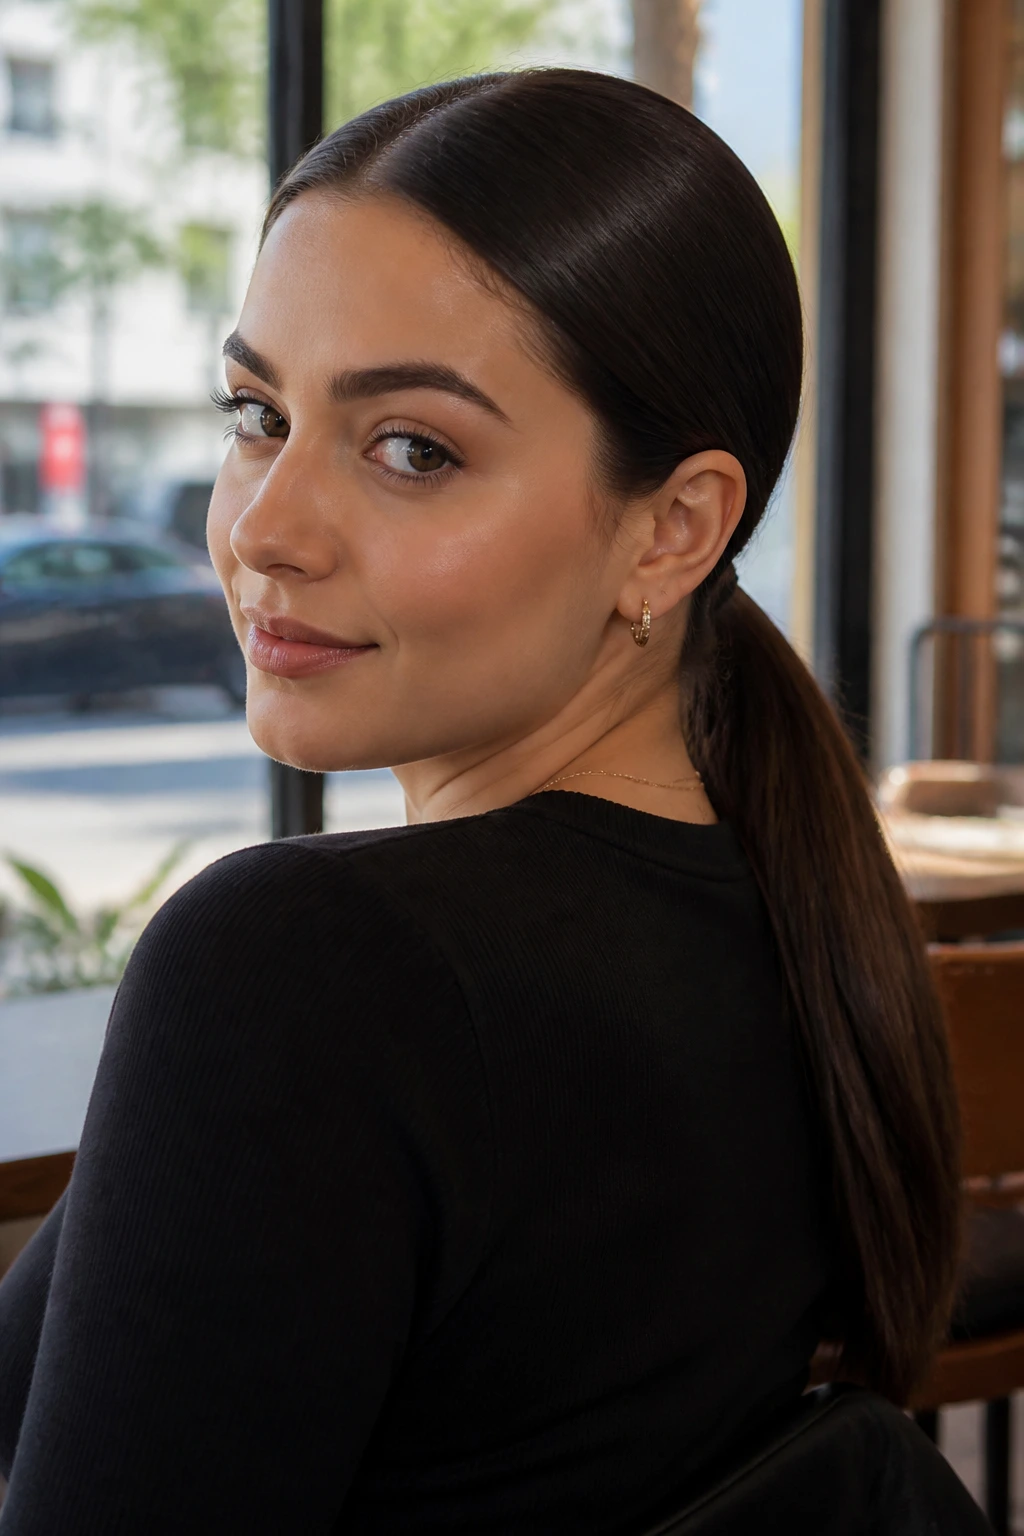
There is something undeniably sophisticated about a super-sleek, low ponytail. It is the ultimate “I have my life together” look, even if you are running on five hours of sleep. The key here is the finish—you want to minimize frizz as much as possible.
The Product Secret
Use a tiny amount of hair oil or a smoothing cream on your palms before gathering your hair back. Smooth the hair down toward the nape of your neck, and secure it with a fabric-covered elastic that won’t cause breakage. If you have flyaways along your hairline, use a clean toothbrush sprayed with a little hairspray to gently brush them into place.
Why This Style Succeeds
This is the most “work-ready” style for a student. It is clean, minimalist, and doesn’t distract from your face during class discussions. It also works perfectly with high-neck sweaters or hoodies, as the hair won’t bunch up around your collar.
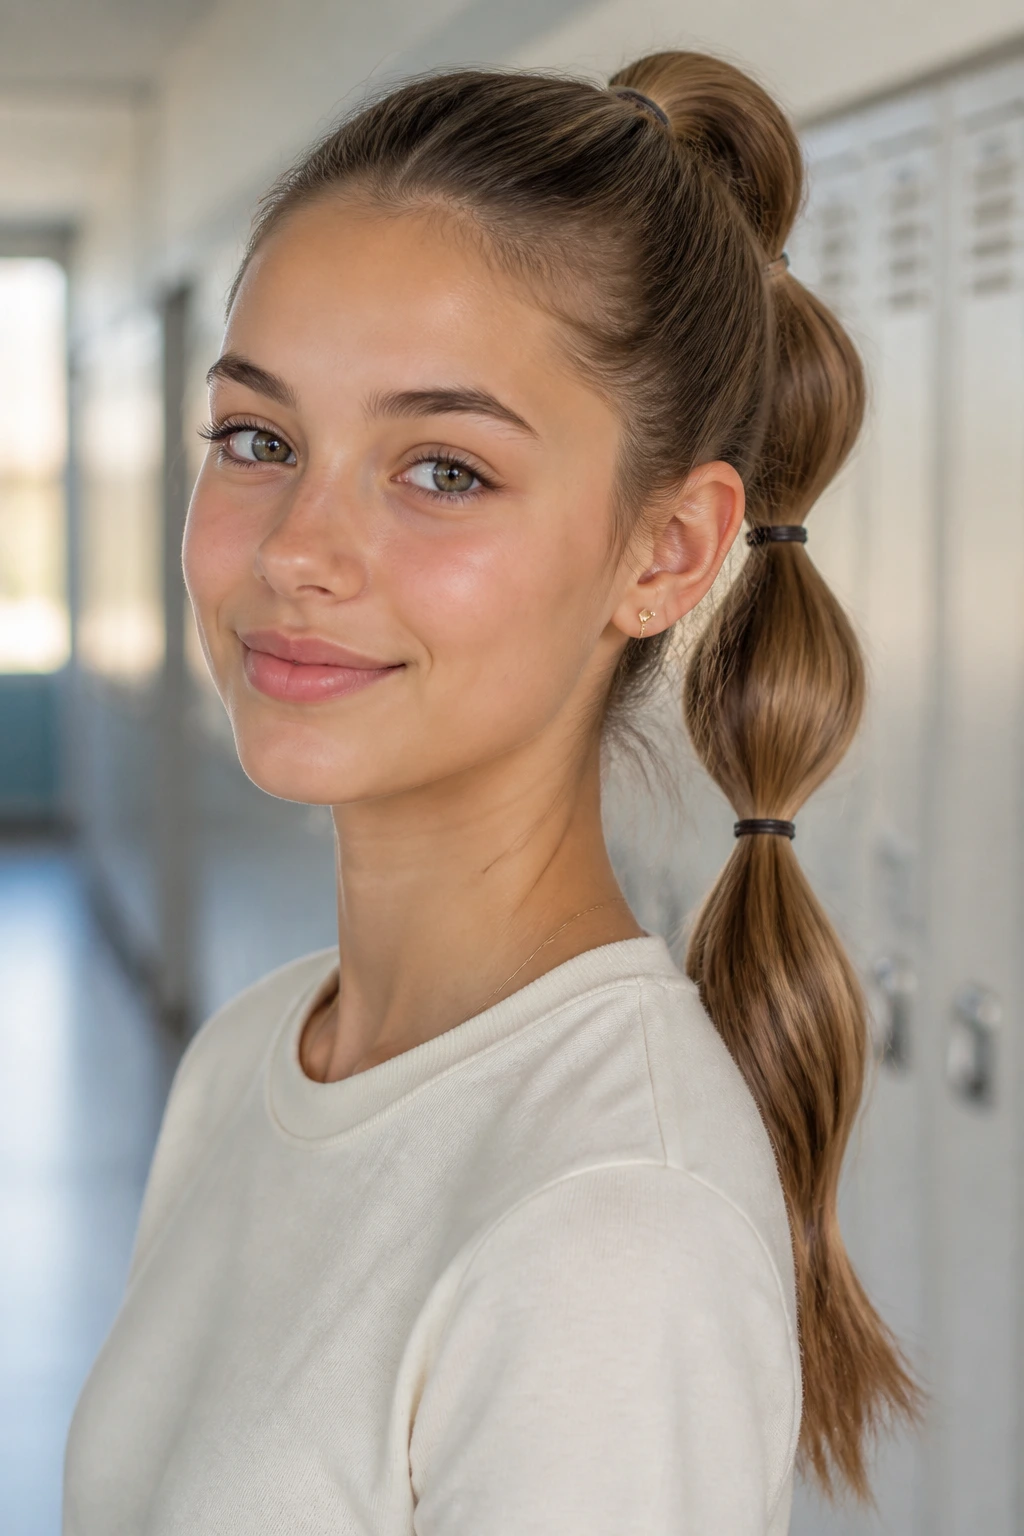
6. The Bubble Braid

The bubble braid is a fantastic illusion—it looks like you spent twenty minutes doing complex knotting, but it actually only takes three minutes of tying elastics. It is incredibly effective for hiding hair that might be losing its texture or getting a bit oily by the end of the day.
Construction Steps
Put your hair in a high ponytail. Every two inches down the length of the ponytail, place another small elastic. Once the elastic is on, gently pull the hair outward between the bands to create a “bubble” shape. Keep doing this until you hit the ends of your hair.
Managing the Texture
If your hair is very straight, the bubbles might look flat. A quick backcombing inside each section before you put the elastic on can add enough body to make the bubbles pop. This style is surprisingly sturdy; the multiple points of contact with elastics mean your hair won’t shift around during the day.
7. The Twisted Side-Part
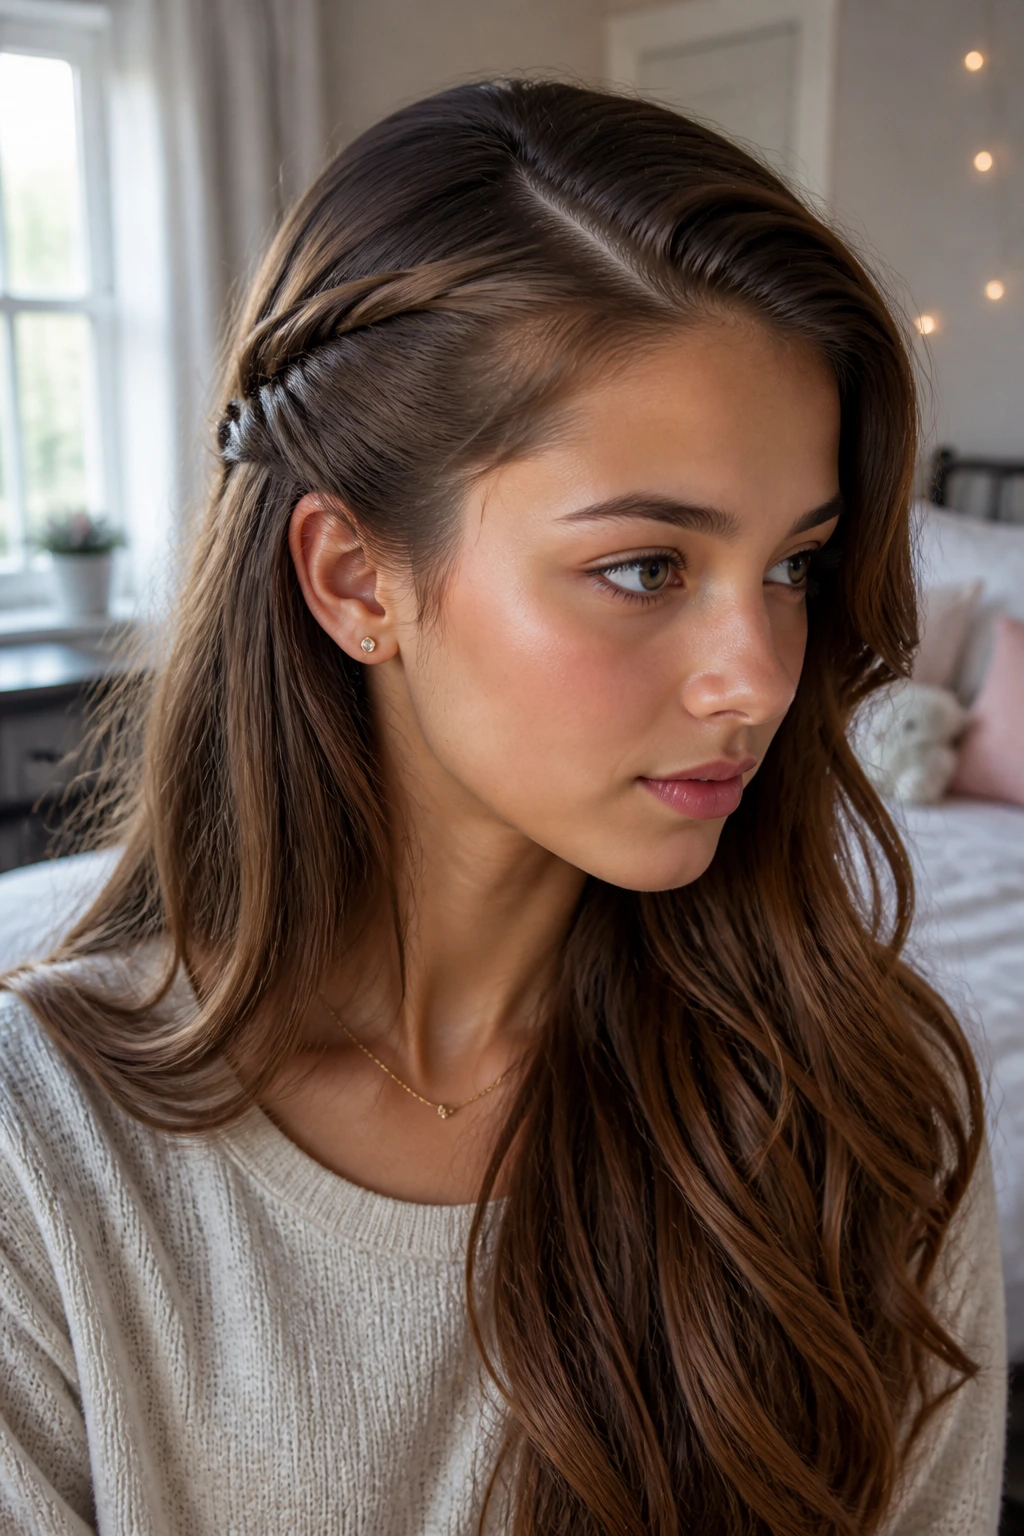
Sometimes, all you need is a change in your part and a little twist to make your hair feel brand new. A deep side-part can completely change the way your hair frames your face, making a standard style look intentional rather than lazy.
Adding the Twist
After parting your hair, take the larger section at the front and create two small rope braids or just a simple twist. Pin this twist back behind your ear, covering it with the rest of your hair. This keeps the hair off your eyes and highlights your profile.
Why You Should Use This
It is a great way to deal with oily roots at the front of your hairline. By twisting that section back, you are essentially “hiding” the greasiest part of your hair, giving you an extra day before you absolutely have to wash it.
8. The Scarf-Integrated Braid
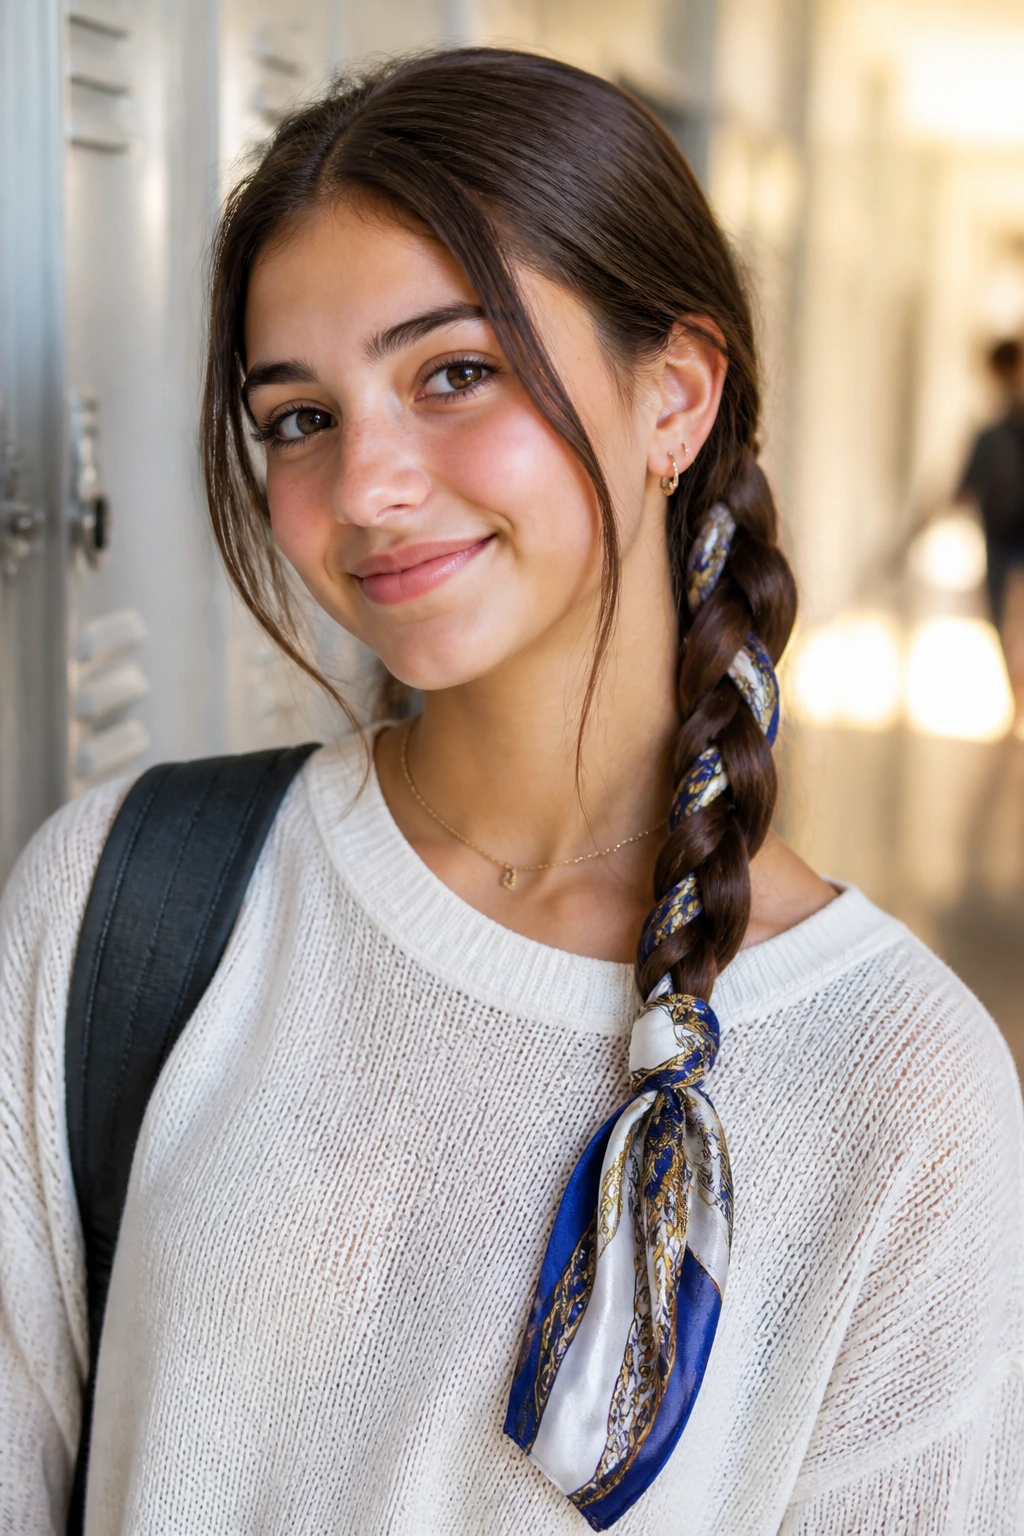
Incorporating a silk or thin cotton scarf into your hair is an easy way to elevate a boring outfit. You don’t need to be an expert braider to pull this off. Simply tie the scarf around the base of a ponytail, then divide your hair into two sections and treat the scarf as the third strand in a standard three-strand braid.
Styling for School
Keep the braid loose. If you tie it too tightly, it will lose that effortless, relaxed vibe. You can let the ends of the scarf dangle past your hair for a bit of dramatic flair, or wrap them around the bottom of the braid to hide the elastic entirely.
Versatility Notes
- Match the scarf color to your backpack or accessories for a cohesive look.
- If you don’t have a scarf, a thin ribbon works just as well and is often easier to weave.
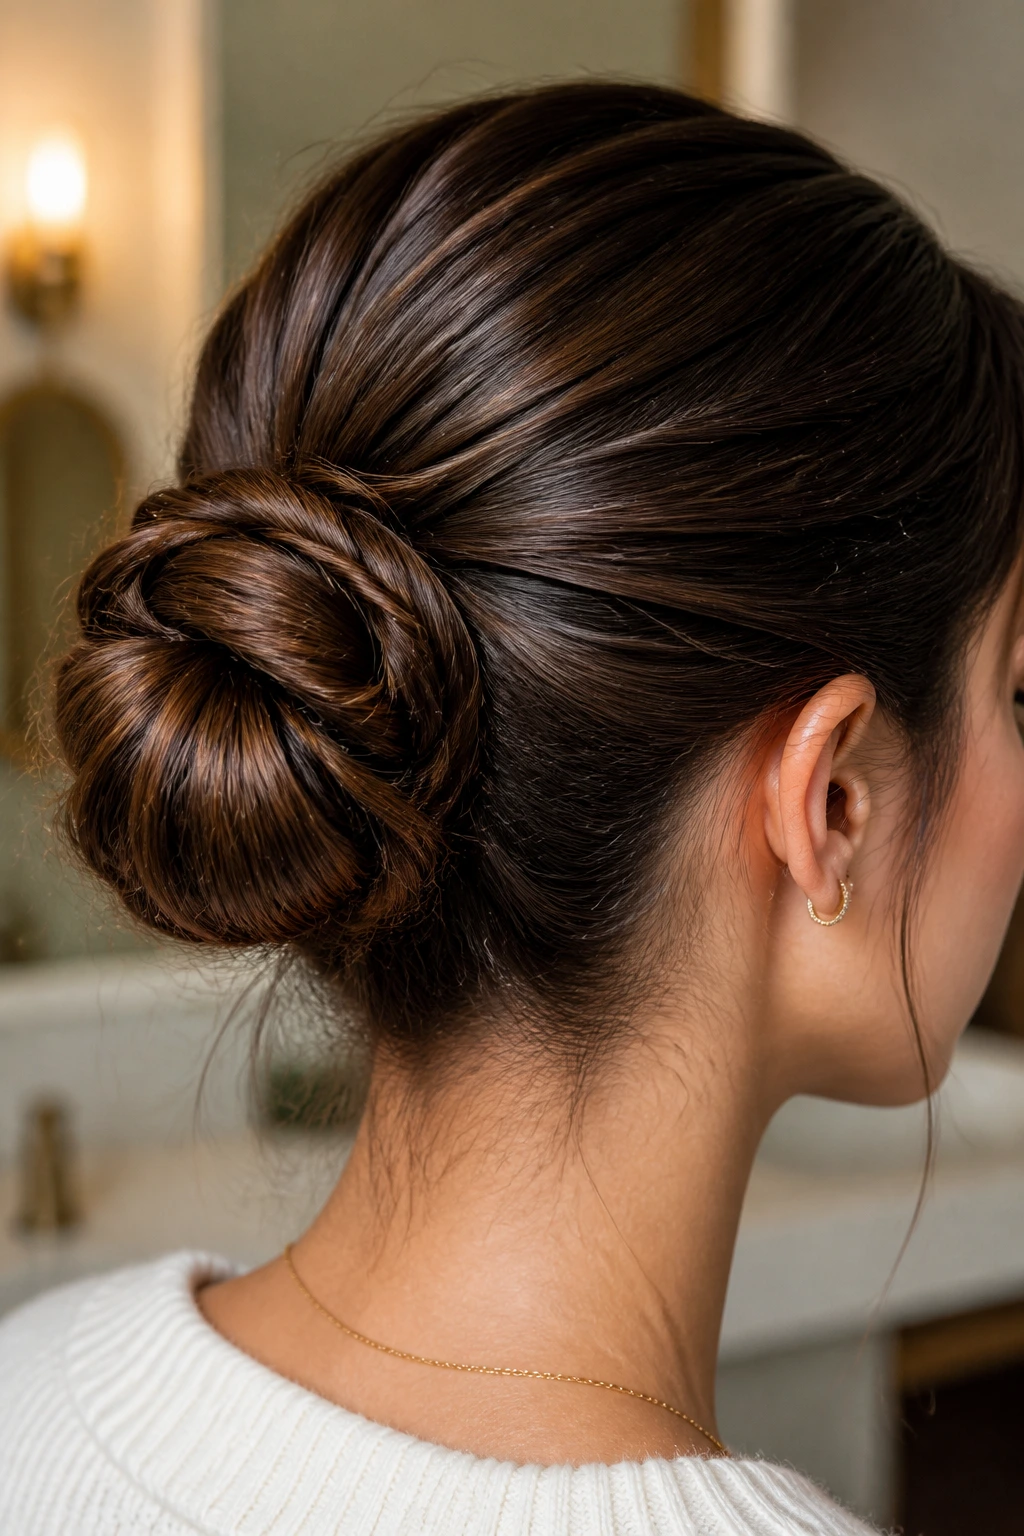
9. The Low Side Bun
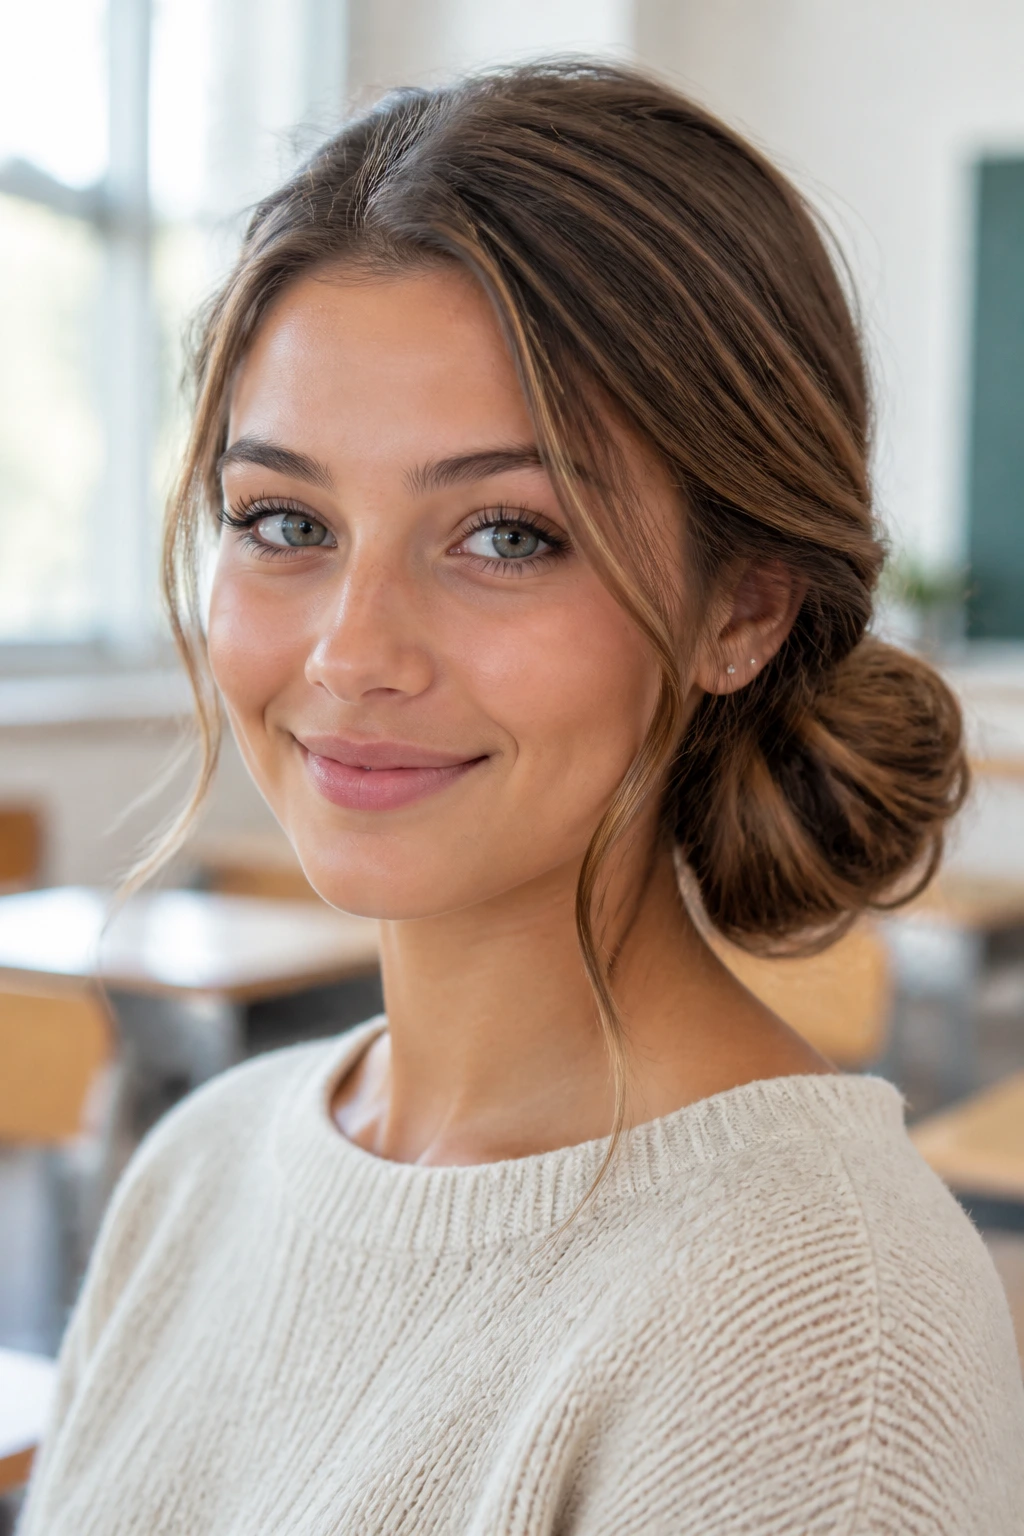
This style is the sophisticated cousin of the messy top knot. It is perfect for days when you want something that feels a bit more feminine or mature. By moving the bun to the side, you make it easier to lean back in your chair without your bun hitting the headrest.
Positioning
Gather your hair to one side, right behind your ear. Twist it into a loose coil and secure it with pins. Because the weight is shifted to one side, you don’t need a heavy elastic, which keeps the style feeling light and airy.
Why It’s Great for Labs
If you have a chemistry lab or a workshop where you need to keep your hair secure but don’t want a tight, aggressive ponytail, this side bun is perfect. It keeps your hair away from equipment while remaining soft and comfortable for the rest of your day.
10. The Heatless Beach Wave Hack
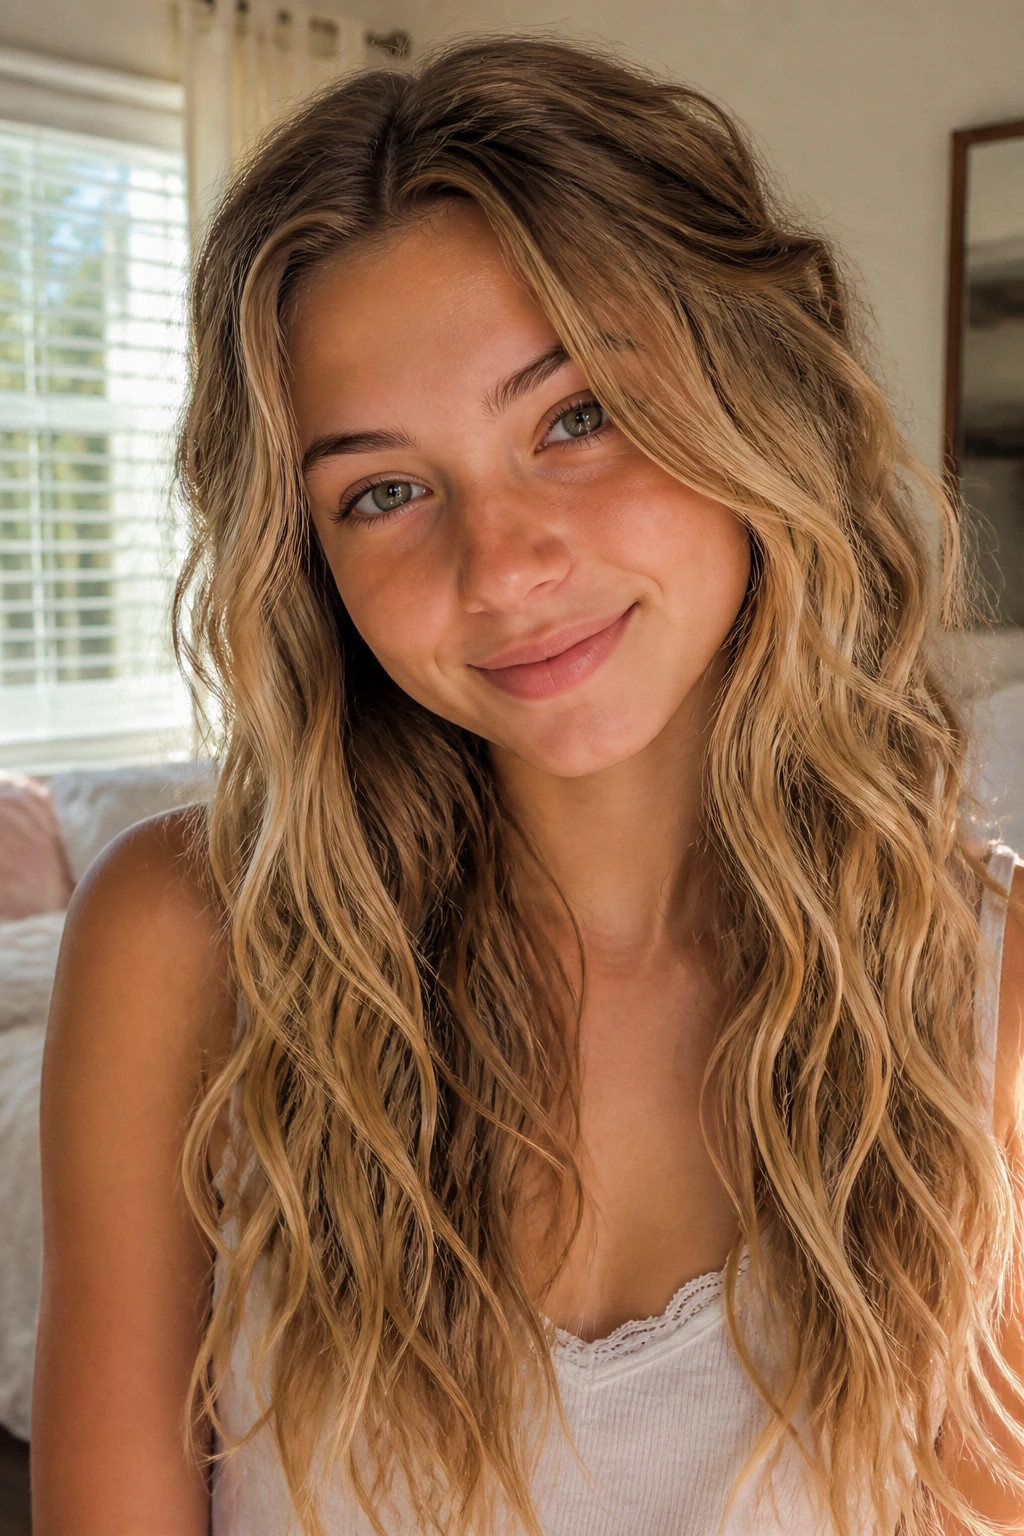
If you want texture but don’t have time for a curling iron, you have to prep the night before. Braid your damp hair into two loose Dutch braids right before you go to sleep. When you wake up, undo the braids and run your fingers through your hair—do not use a brush, or you will create a giant frizz ball.
The Morning Maintenance
If your hair is too wavy, spray a little water on it to relax the texture. If it is too flat, use a tiny amount of dry shampoo at the roots to give it lift. This style is fantastic because it evolves throughout the day; it looks more “lived-in” by the time your last class finishes.
11. The Classic Headband Tuck
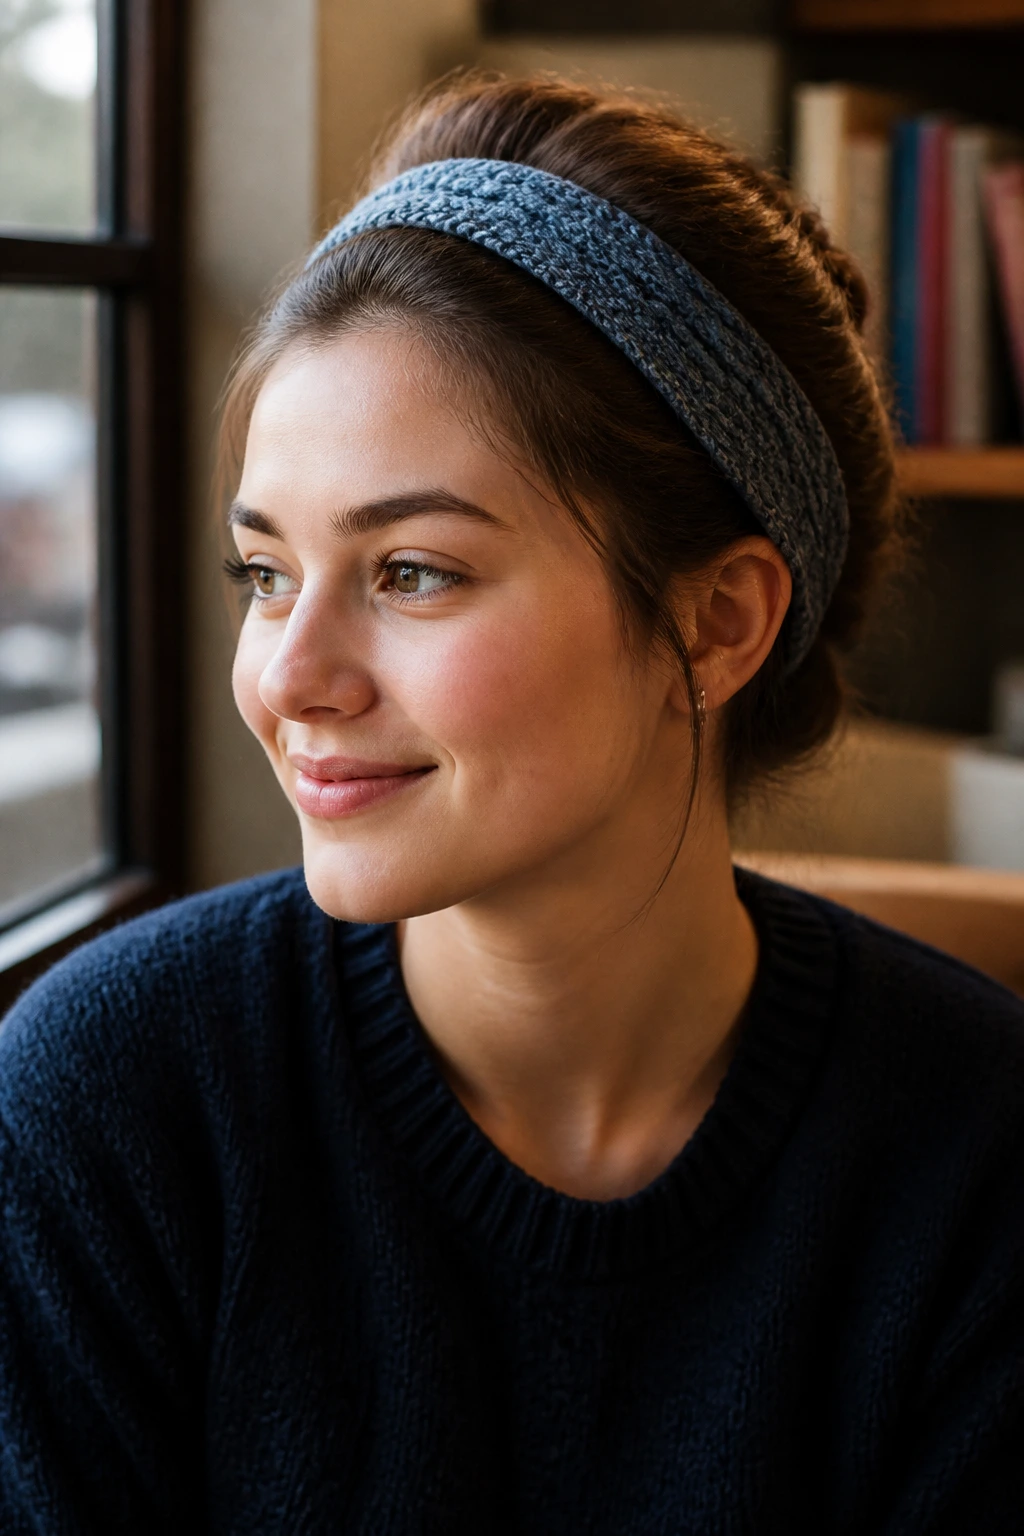
We have all seen the 1920s-inspired hair tucks, but they work surprisingly well for school when you use a fabric headband. Place a stretchy headband over your hair, then take small sections of hair and tuck them up and over the band, working your way from the front to the back.
Tips for Success
- Use a textured headband rather than a smooth one; smooth headbands will slide off your head within an hour.
- If your hair is very thick, this style can get bulky. Stick to a thinner headband to keep the silhouette sleek.
- This is the ultimate “emergency” style for when your hair is not cooperating and you need it to look styled in thirty seconds.
12. The Triple-Elastic Ponytail
A regular ponytail can get saggy by the afternoon. The triple-elastic hack fixes that. Instead of one big ponytail, section your hair into three horizontal layers. Start with the top, then gather the middle, and finally the bottom. By splitting the weight, you ensure your ponytail doesn’t drag down and pull on your roots.
How to Blend It
To make it look like a single ponytail, wrap a small section of hair around the top elastic. Because the ponytail is anchored in three spots, it stays significantly higher and more “bouncy” than a standard one-section ponytail.
Why It Works for Long Days
This style is essentially “bulletproof.” Whether you have gym class or a long walk to your locker, the hair stays in place because the weight is distributed. It also prevents the “saggy” look that happens when the hair gets heavy with hairspray or natural oils.
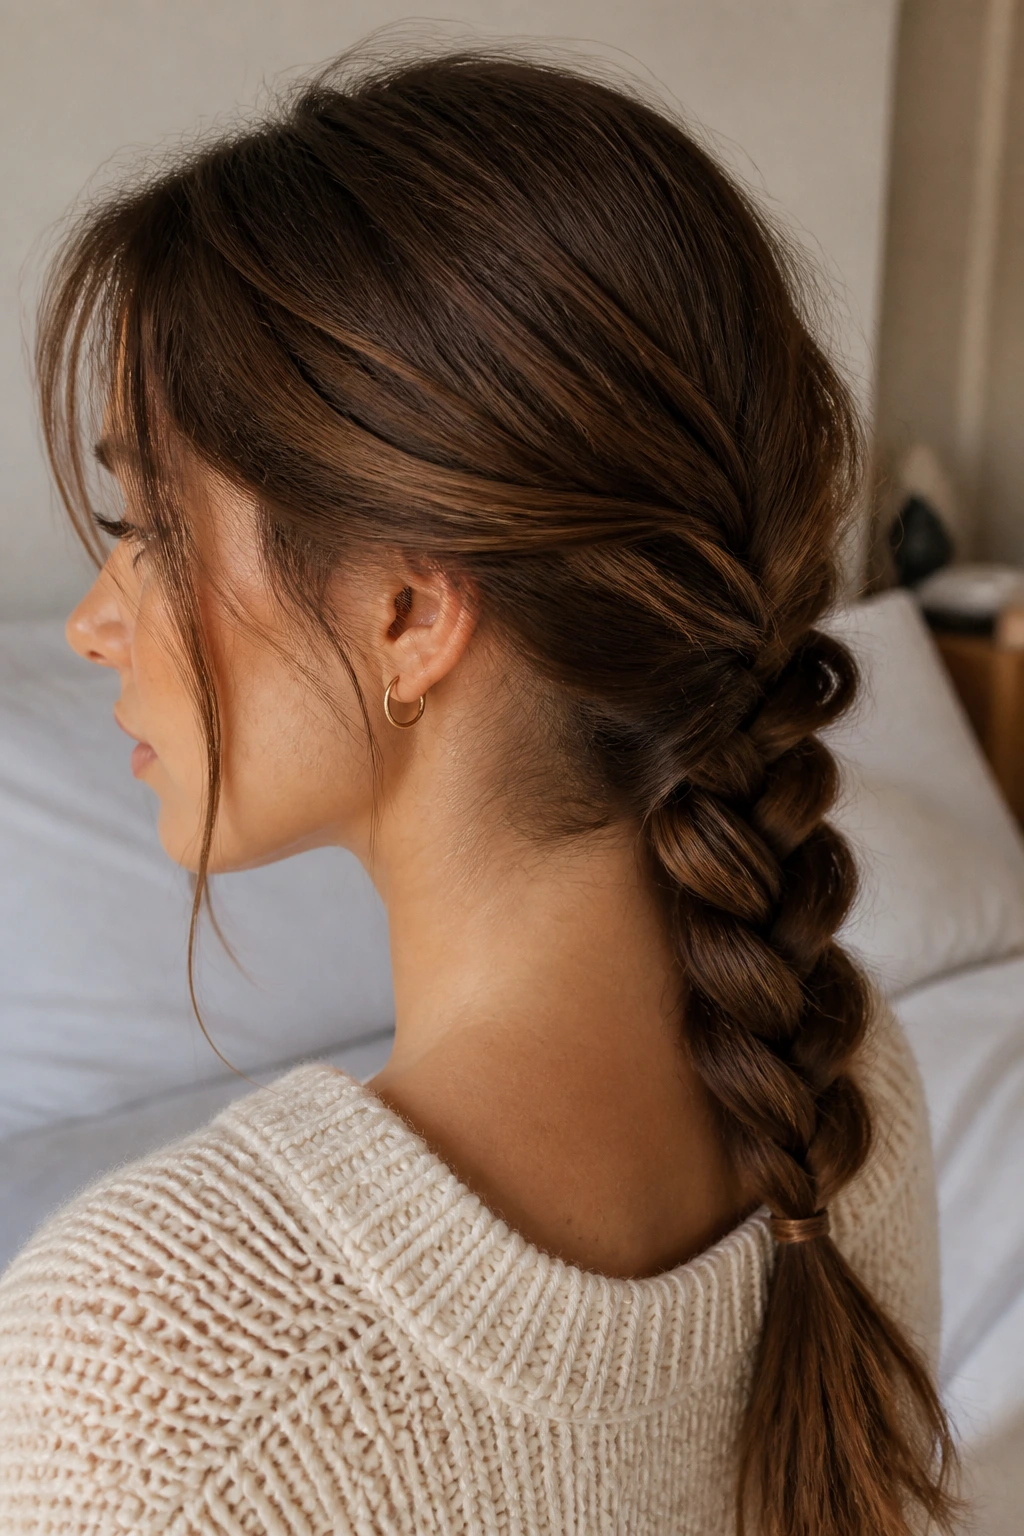
13. The Half-Down Rope Braid

Rope braids look fancy, but they are technically easier than regular three-strand braids. Just divide a section of hair into two parts and twist both parts in the same direction, then twist them around each other in the opposite direction.
Positioning
Gather the top section of your hair and create a rope braid. Pin it back so it sits flat against your head. This looks much more “finished” than a standard half-up ponytail and is a great way to add detail to an otherwise simple hairstyle.
Why It’s a Go-To
It keeps the weight of the hair distributed, meaning the half-up section won’t feel like it’s sliding down your head. It also adds a nice, symmetrical touch that works well for school photos or presentation days.
14. The Faux-Hawk Ponytail

If you are feeling a bit rebellious, the faux-hawk ponytail is a great way to add some edge without doing anything permanent. Create a series of mini-puffs along the center of your head, essentially creating a vertical line of bubbles.
Styling the “Hawk”
The key is the volume. Tease each section before you tie it off. This style works best with curly or wavy hair, but if you have straight hair, using a texturizing spray will give you enough grit to hold the shape. It looks great with a hoodie and gives your outfit a totally different vibe.
15. The Low Braid with Volume
Sometimes a simple low braid is all you need, but it can look a little plain. The trick to making a low braid look stylish is to “pancake” it. Once you have finished the braid and secured the end, gently pull at the outer loops of the braid to make it look wider and thicker.
Why This Style Matters
This technique makes it look like you have twice the amount of hair you actually do. It is perfect for thin hair or hair that has been damaged. It is low-stress, low-tension, and keeps your hair out of your face throughout the entire day.
16. The Twisted Bun Base
If you are doing a standard bun, don’t just wrap the hair. Twist the hair as you wrap it around the base. This creates a much more secure and visually interesting bun. It also prevents the “doughnut” effect where the bun looks like a perfectly round, fake-looking object on your head.
The Result
The twist creates texture and keeps the hair tight. Because the hair is twisted, there is natural tension that holds the bun in place, even without an excessive amount of pins. This is a much sturdier way to wear a bun for a long school day.
17. The High-Volume Ponytail with a Clip
If you are tired of your ponytail looking flat, use a small claw clip underneath the elastic. After you tie your ponytail, lift the top section, place a small claw clip at the base of the ponytail, and let the hair fall back over it.
Why This Works
The clip acts as a “prop” that lifts the base of your ponytail, making it look much higher and fuller than it would naturally. It’s a hidden hack that takes two seconds and instantly makes your hair look like you’ve spent time styling it.
18. The Sleek Center Part with Tucked Sides
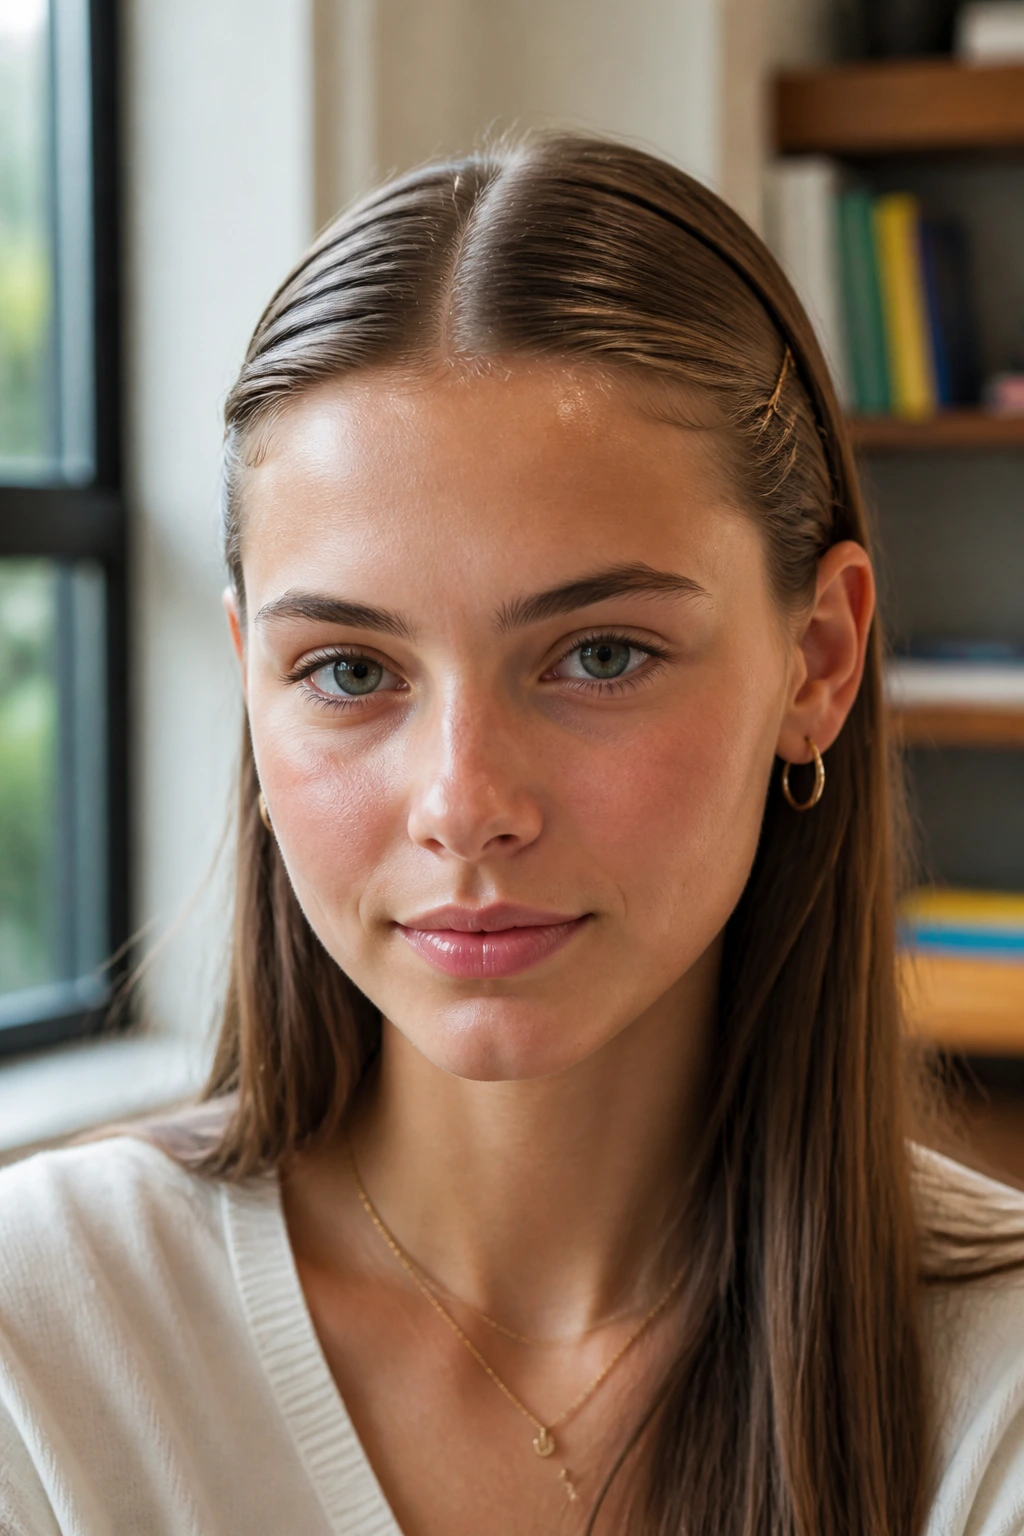
For those days when you just want your hair down but need it to stay off your face, a center part with the sides tucked behind your ears is a classic. Use a tiny bit of hair oil to tame any flyaways and use a small bobby pin behind each ear to lock the hair in place.
The Practicality Factor
This is the “academic” look. It’s clean, it’s organized, and it’s very easy to maintain. If your hair starts to fall out during the day, a quick push behind the ear is all you need to reset the style.
19. The Knotted Half-Up
Instead of a top knot, try a knot using the hair itself. Take two strands from the front, tie them in a simple overhand knot, and secure it with a clear elastic behind your head. It’s a subtle detail that looks much more sophisticated than a basic tie-back.
Why This is Different
It feels more “intentional” than a regular ponytail. The knot adds a bit of dimension to the back of your hair, and it keeps the front pieces tight enough that they won’t fall into your eyes while you’re studying.
20. The Bedhead Revival with Accessories
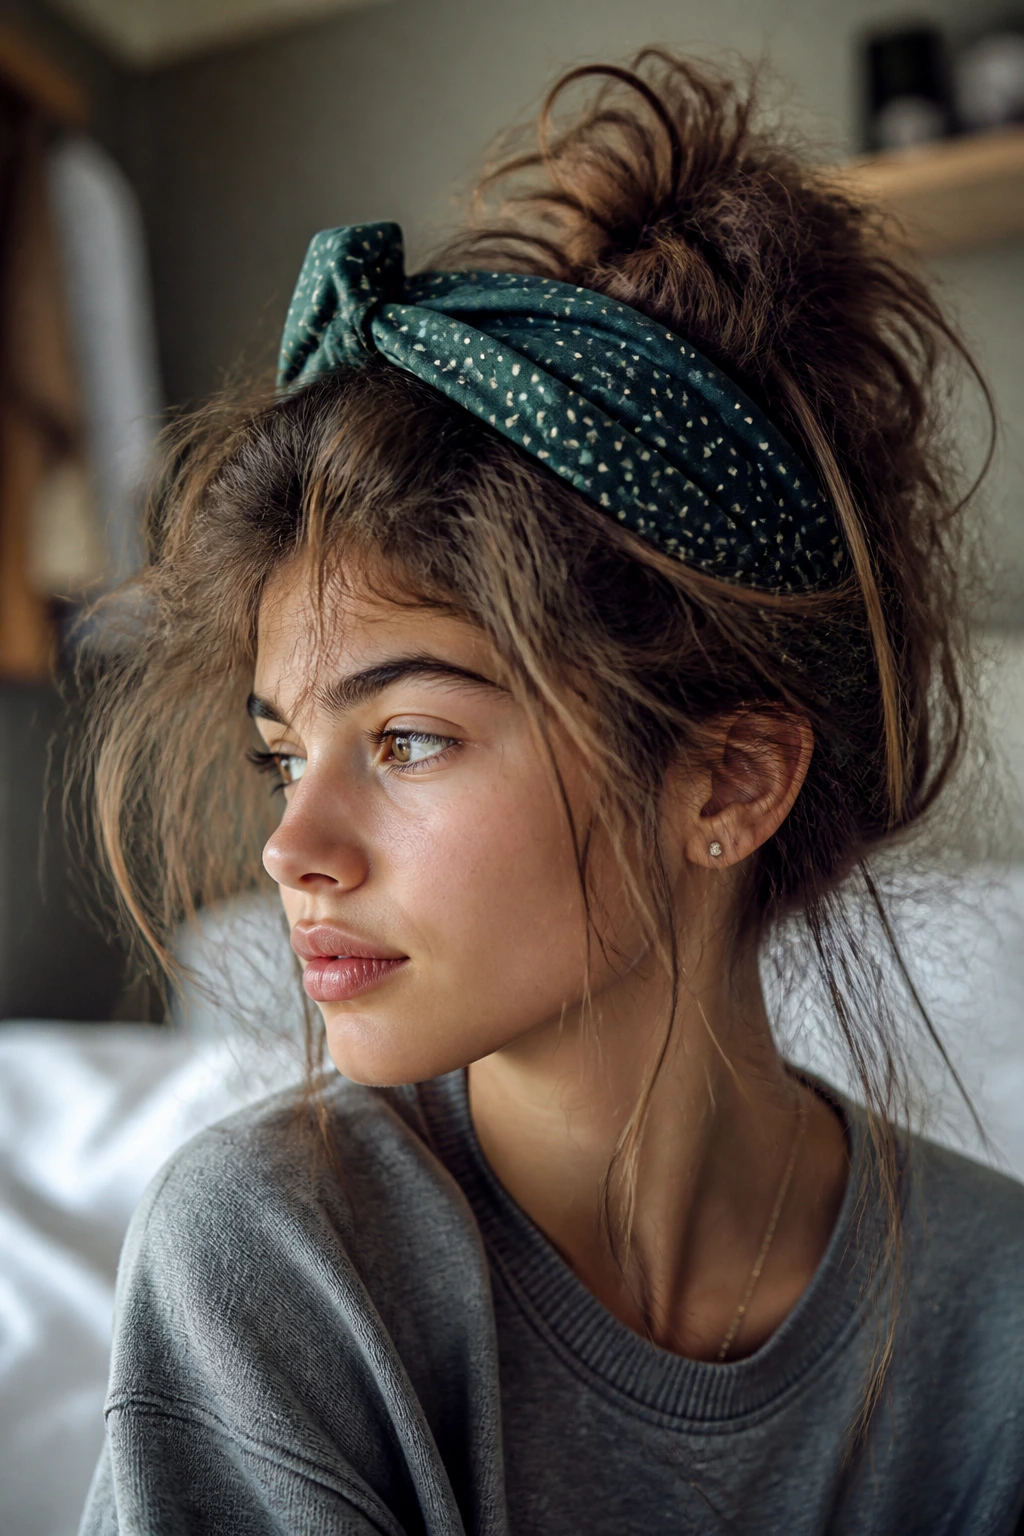
Never underestimate the power of a good accessory. If your hair is just not cooperating, don’t force it into a style that isn’t working. Instead, lean into the texture. Add a bold headband or a stack of clips to the side of your head.
Styling Logic
By adding a clear accessory, you signal that the “messy” look is a choice, not a mistake. It takes the focus away from the state of your hair and puts it on your accessories. Sometimes, a well-placed accessory is the most effective hack of all.
Wrapping Up
When it comes to school-day hairstyles, the most effective approach is to keep things simple, secure, and adaptable. You don’t need a massive collection of products or an hour of time; you just need to understand a few basic mechanics—how to create tension, how to use clips to your advantage, and how to work with your hair’s natural texture rather than against it.
Don’t feel pressured to have a “perfect” look every single morning. The best styles are the ones that let you focus on your day rather than worrying about a stray hair falling into your eye. Pick two or three of these hacks that work for your specific hair length and type, and practice them until they feel natural. Once you have a small rotation of reliable looks, your morning routine will change from a stress-filled rush into a quick, predictable part of your day.