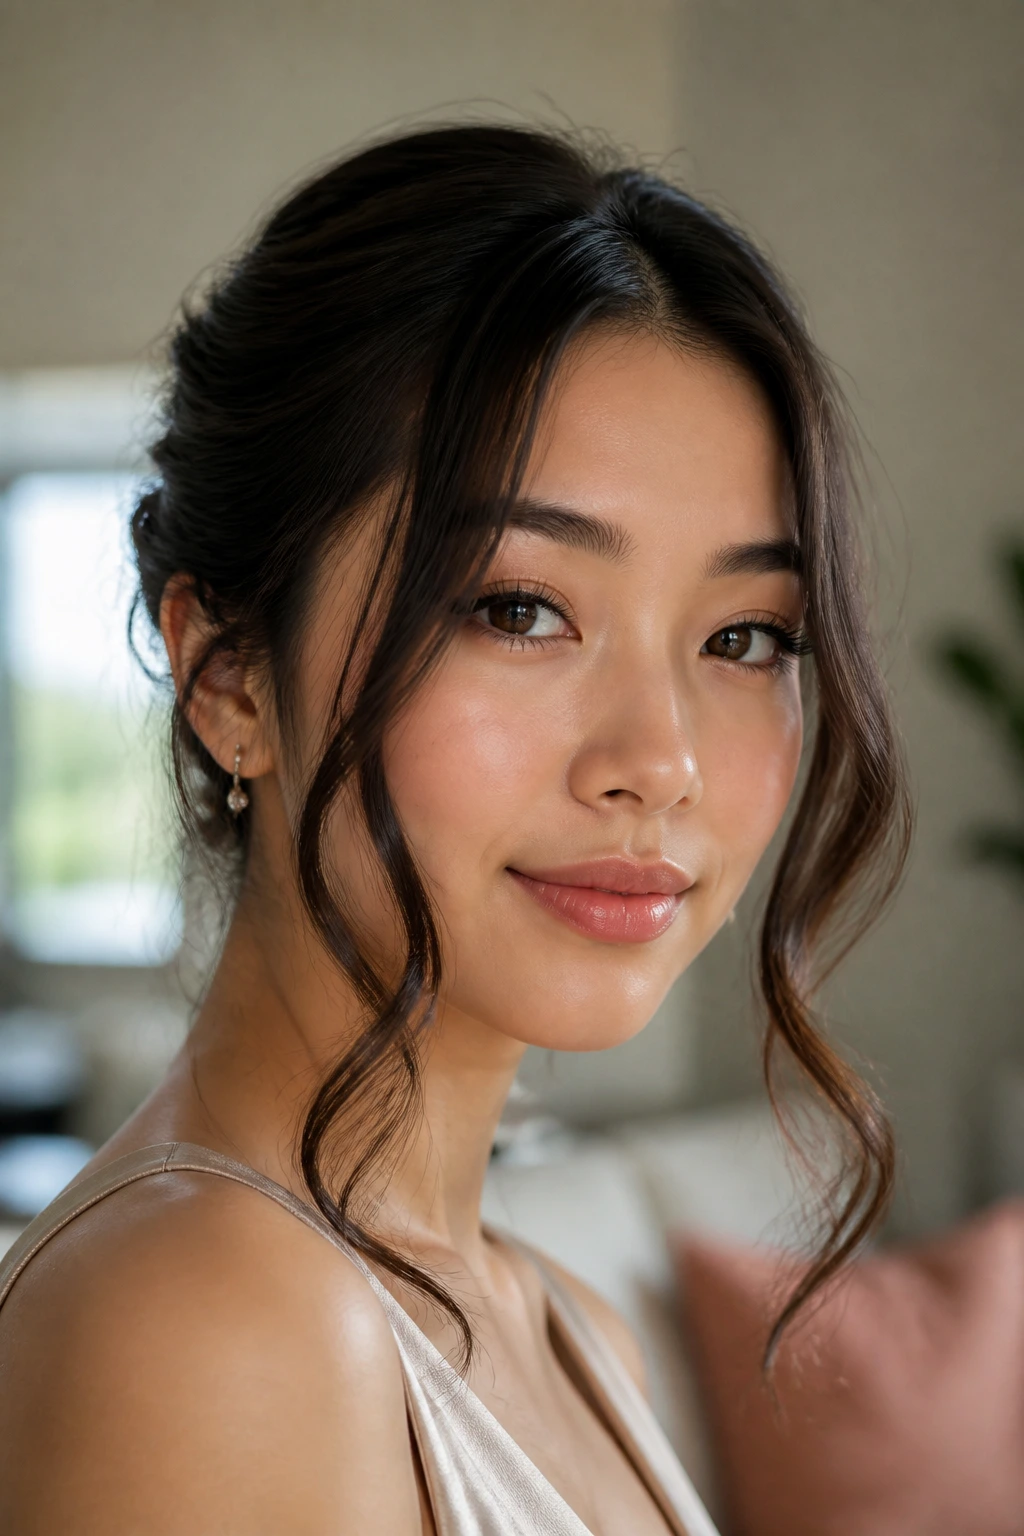
When you have a milestone celebration on the horizon, the pressure to nail every detail—from the outfit to the accessories—feels real. For those of us with Asian hair, that quest for the perfect look often involves a very specific set of challenges: dealing with a sleek, heavy texture that refuses to hold a curl, or managing a high-density mane that demands more bobby pins than you thought humanly possible. Whether your hair is stick-straight, naturally coarse, or somewhere in between, your birthday look should feel like an extension of your personality, not just a style you saw on a screen.
The secret to a great birthday hairstyle isn’t finding something “Instagram-perfect.” It is about understanding how your specific hair texture reacts to styling products and heat. Asian hair is often characterized by a rounder cuticle, which can make it exceptionally shiny and strong, but also notoriously resistant to holding shape. If you have ever spent an hour with a curling iron only to have your locks go flat before you even reach the venue, you know exactly what I mean.
We are going to move past the generic advice and look at styles that actually work for our hair types. From structural updos that won’t sag to modern, layered waves that actually stay put, these looks are designed to survive a long night of dancing, photo-taking, and celebrating. Let’s look at how to construct a look that celebrates your texture rather than fighting against it.
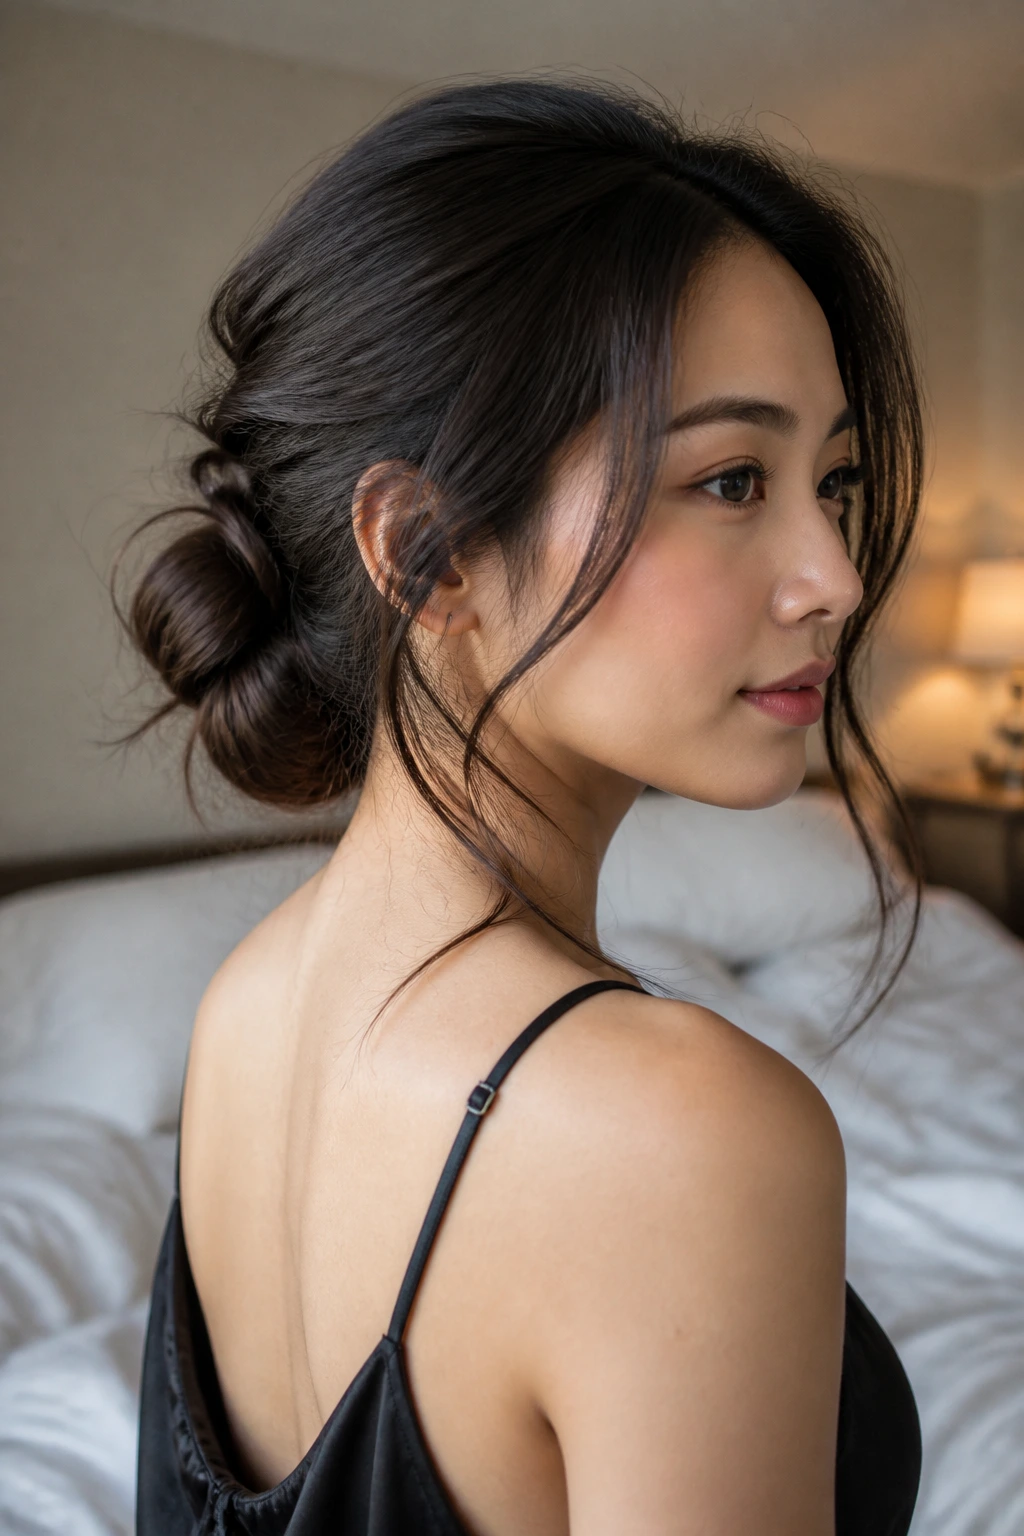
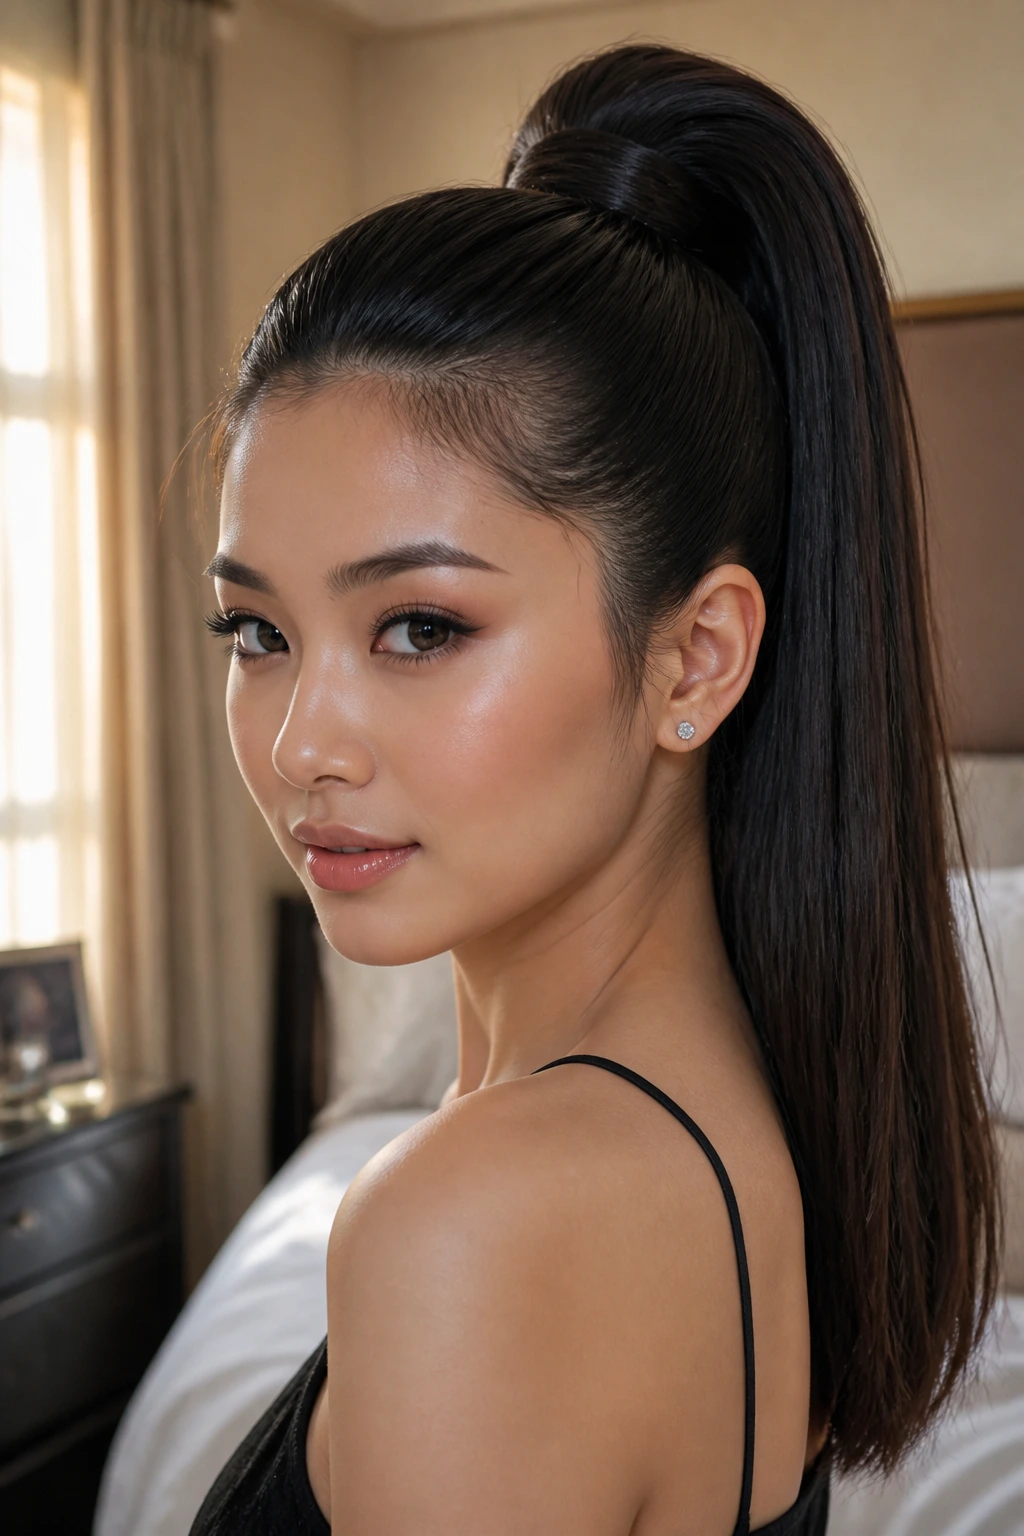
1. The Structured High Ponytail with Volume
A high, sleek ponytail is the ultimate power move for a birthday party. It pulls everything back to highlight your cheekbones and gives you an instant, sharp silhouette. The key to making this work for Asian hair is creating enough height at the crown so the style doesn’t look flat against your skull.
How to Build the Base
Start by blow-drying your hair upside down with a lightweight volumizing mousse to prep the roots. Use a boar-bristle brush to smooth the hair upward while gathering it, ensuring there are no bumps near the ears. Once the ponytail is secured with a sturdy elastic, take a small half-inch section of hair from the underside of the ponytail, wrap it around the elastic, and pin it underneath. This hides the band and adds a professional polish that elevates the entire look.
Keeping It Sleek All Night
If your hair is particularly fine or prone to flyaways, use a light-hold pomade on your palms before smoothing the top. A quick spritz of high-shine spray adds that glossy, glass-like finish that looks incredible in party lighting.
Pro tip: If you want extra volume, try a “double ponytail” hack where you create a smaller pony closer to your crown and a larger one behind it, then blend them together.
2. Face-Framing Tendrils with Soft Waves
There is a reason this style is a classic. It’s soft, approachable, and does an incredible job of softening the angles of the face while still looking deliberate. For hair that struggles to hold a curl, this style relies on technique rather than just the amount of hairspray you use.
Why This Style Succeeds
By leaving out two significant sections of hair near your temples and jawline, you create a natural frame that looks effortless. The rest of the hair can be pulled back into a loose bun or left down, but those tendrils are the focal point. Because these pieces are shorter, they are lighter and less likely to drop flat compared to long, heavy curls.
Technique for Longer-Lasting Texture
Use a one-inch ceramic curling wand, but wrap the hair away from your face. The secret is to let the curl cool completely in your hand before releasing it. If you let it drop while it’s still warm, the weight of the hair will pull the curl out almost immediately. Once all pieces are curled, hit them with a blast of cool air from your blow dryer to set the shape.
3. The Braided Crown for an Ethereal Look
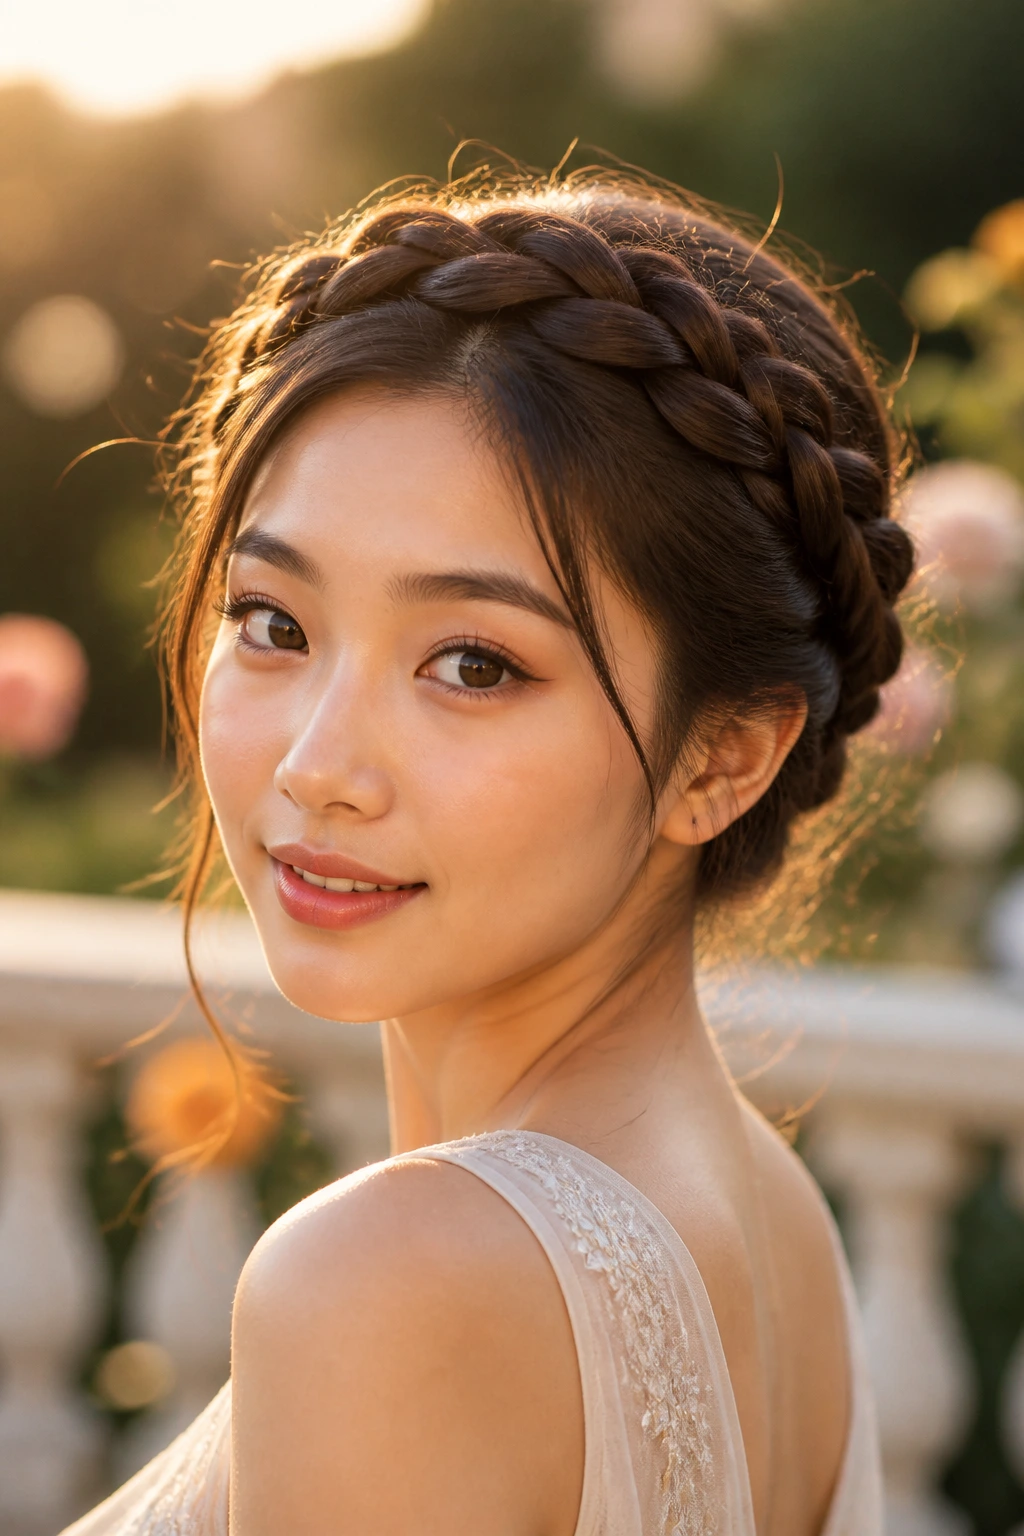
If your birthday vibe is more “romantic and whimsical,” a crown braid is a fantastic choice. It keeps your hair out of your face for the entire night, which is a massive plus if you are planning to be on the dance floor. Asian hair can sometimes be too slippery for tight braids to stay put, so we have to get creative with our texture.
Getting the Grip
You absolutely cannot start this style with freshly washed, soft hair. It will be too slick. Use a generous amount of dry shampoo or texturizing spray throughout your lengths to create “grit.” This gives your fingers something to hold onto and prevents the braid from unraveling the moment you turn your head.
Achieving That Fuller Look
Once the braid is secure, gently pull at the loops of the braid with your fingers—a technique known as “pancaking.” Do not be afraid to make it look a little messy. It adds volume and makes the braid appear much thicker and more intricate than it actually is.
4. Half-Up Half-Down with a Bow
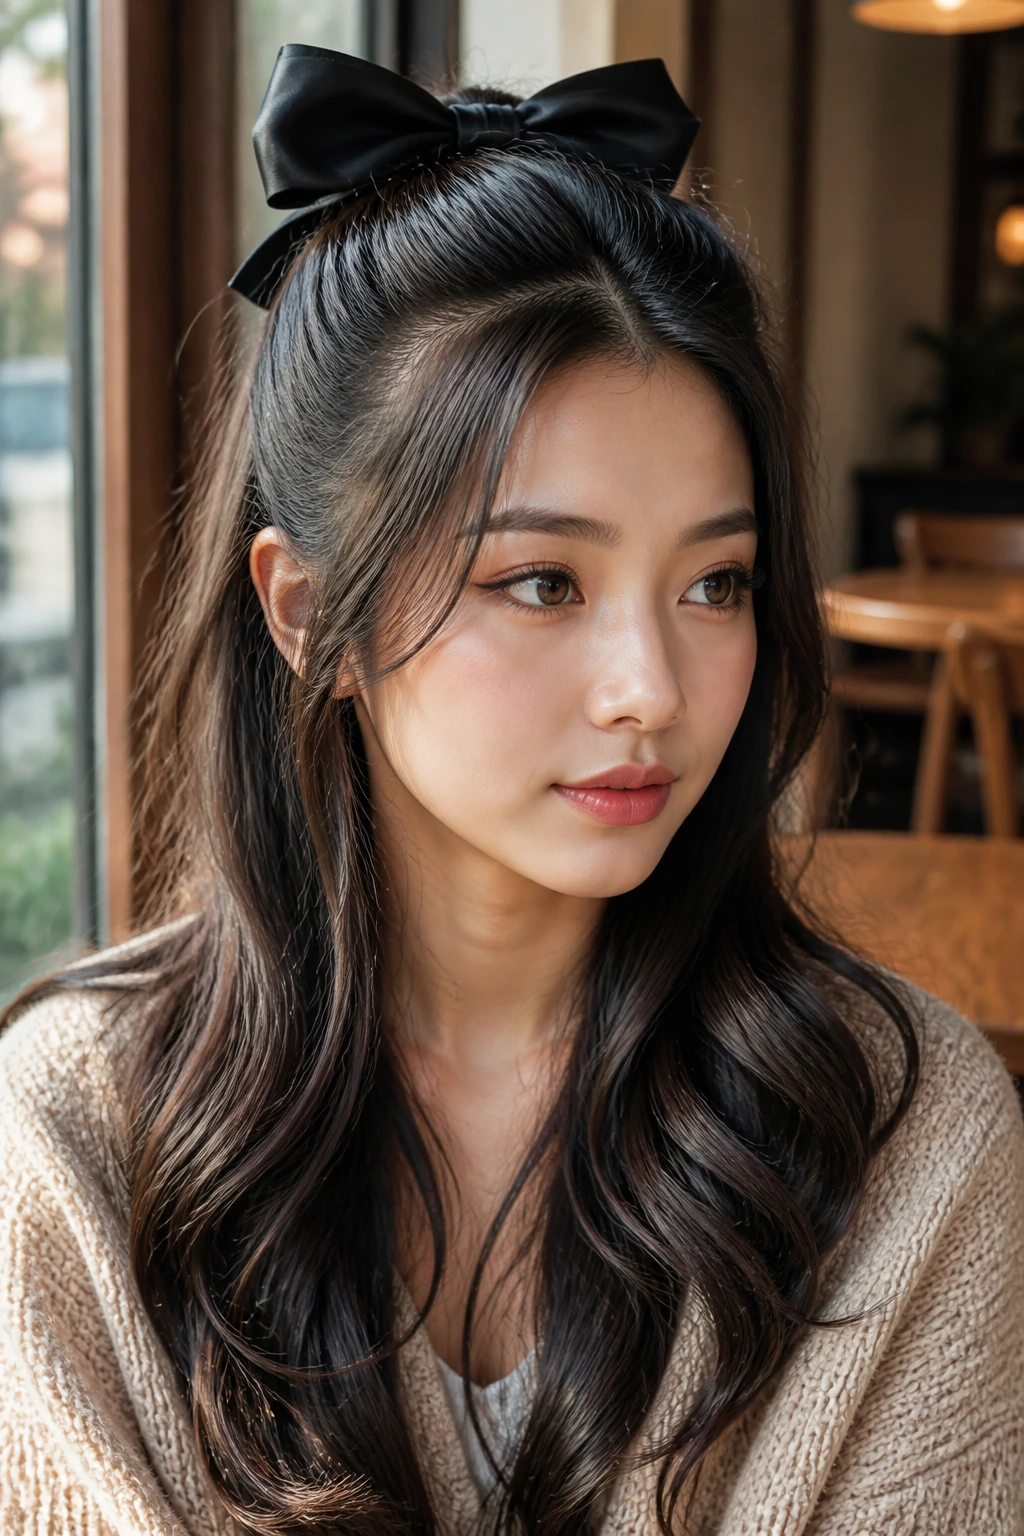
Accessories are having a massive moment, and nothing says “birthday” quite like a silk or velvet bow. This style gives you the best of both worlds: the elegance of an updo and the soft, frame-enhancing beauty of hair left down. It’s also incredibly easy to maintain.
The Foundation of the Style
To keep this from looking like a schoolgirl’s hairstyle, focus on the texture of the loose hair. A deep wave using a flat iron—where you rotate the iron back and forth in an ‘S’ shape—creates a more modern, beachy aesthetic than a tight, traditional ringlet.
Placing the Bow
Gather the top section of your hair, but don’t just pull it straight back. Pull it back and slightly up toward the crown to add height. Use a clear elastic to secure it, then layer your bow directly over the elastic. Ensure the bow is large enough to be a statement piece; a tiny bow might get lost in the density of darker hair.
5. Sleek and Straight with Hidden Pins
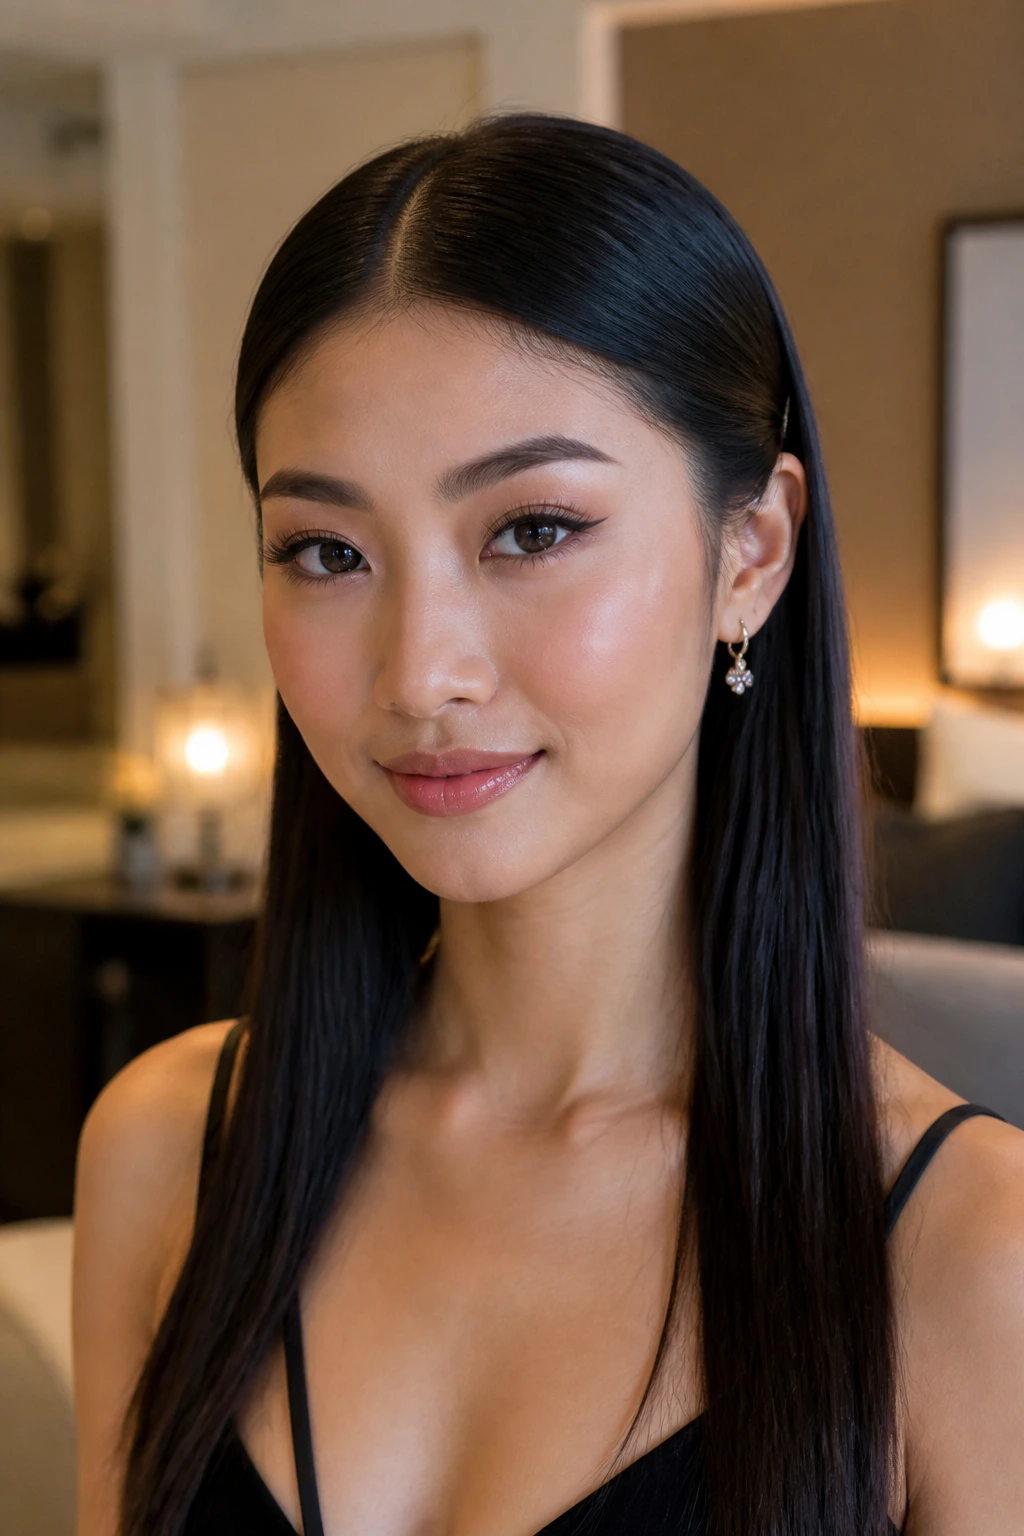
Sometimes the most sophisticated look is simply the most polished version of your natural hair. If you have naturally straight, thick hair, lean into it. The key to making “just straight hair” look like a party style is precision and shine.
The Prep Phase
Use a flat iron that has floating ceramic plates to ensure even pressure across each section. Take very thin sections—no more than an inch wide—and move the iron slowly from root to tip. If you move too fast, the hair won’t heat evenly, and you will have to go over it again, which risks heat damage.
Adding the Edge
Part your hair precisely down the middle, then take the hair behind your ears and pin it back with decorative bobby pins. Look for pins with pearls or gold accents. Placing three or four of these in a clean row behind each ear transforms a “work-day” straight style into something intended for a late-night celebration.
6. The Low Messy Bun with Texture
Low buns are often seen as “casual,” but by adding texture and volume, they become perfectly appropriate for a birthday dinner or party. This is a great choice if you are wearing a dress with an interesting neckline, as it draws the eye upward to your face.
The Art of the “Messy” Look
You want the bun to look intentional, not like you forgot to brush your hair. Curl your hair loosely before pulling it back to ensure the texture is consistent throughout. When gathering the hair into a low ponytail, don’t pull the hair all the way through the final loop of the elastic; leave it in a loop, then tuck the remaining ends around the base.
Finishing Touches
Pull out tiny, thin strands around your hairline and curl them ever so slightly with a wand. This prevents the severe look that can happen when everything is pulled back tightly. The result should look like it took you ten minutes, even if it actually took you thirty.
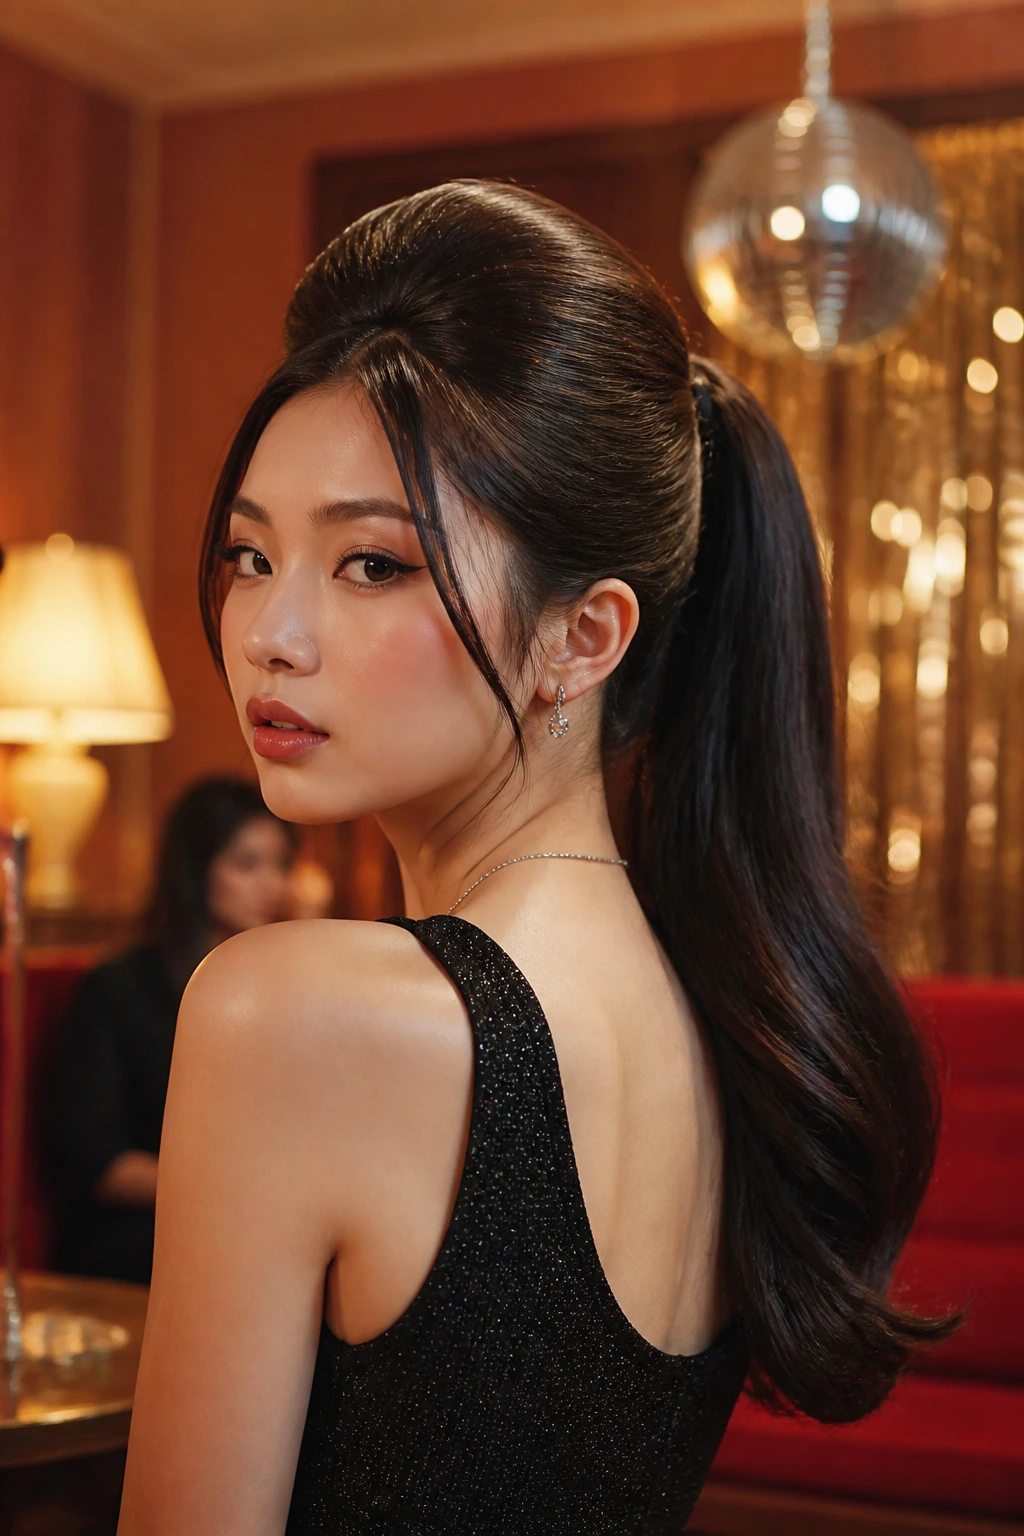
7. The Bubble Ponytail

This is a playful, modern style that works exceptionally well with long, thick hair. It’s essentially a standard ponytail that gets segmented into “bubbles” by tying clear elastics at regular intervals down the length of the tail.
Creating the Bubbles
After tying your initial high ponytail, place another small, clear elastic about two inches down. Gently pull on the hair between the two elastics to puff it out into a bubble shape. Repeat this all the way down.
Why It Stays
The biggest risk here is the hair going flat. Use a small teasing brush to backcomb the hair inside each section before you form the bubble. This creates a cushion of volume that holds the shape for hours. It’s a bold look that pairs perfectly with modern, minimalist party outfits.
8. Old Hollywood Glamour Waves
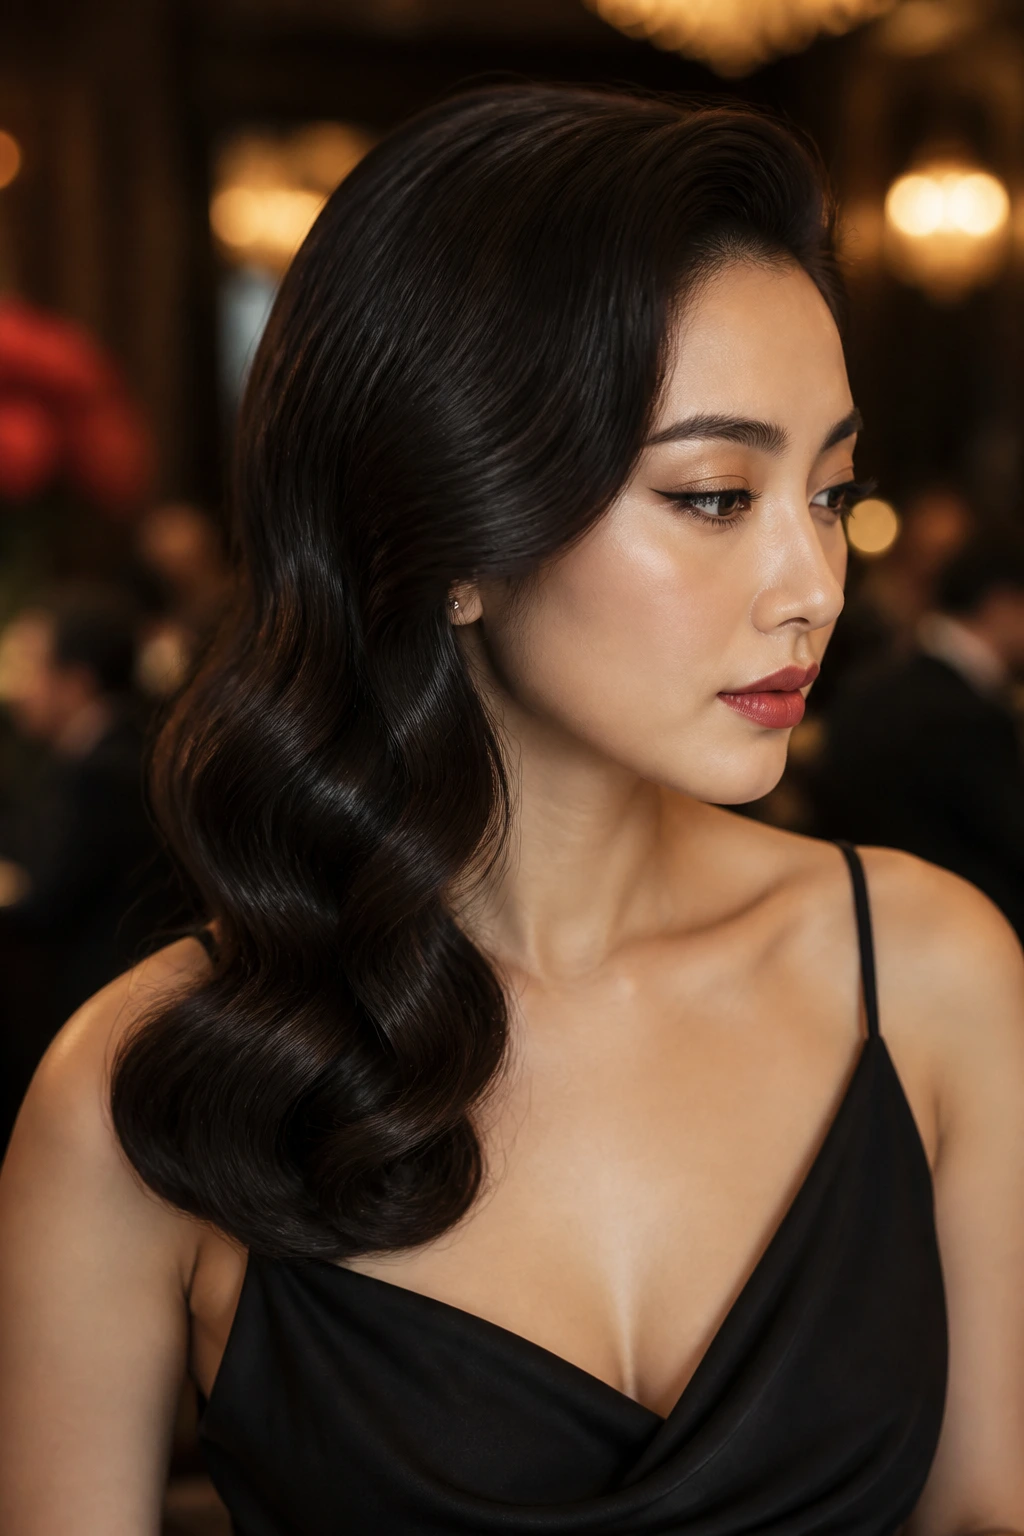
Deep, side-parted waves are the gold standard for evening events. While this is one of the more advanced styles for those of us with pin-straight hair, the payoff is spectacular. It screams elegance and pairs beautifully with a statement earring.
Setting the Wave
You will need a large-barrel curling iron and a set of duckbill clips. Curl the hair in the same direction for every section, then pin each curl to your head while it’s still hot. Let the entire head cool for at least 15 minutes before you take the pins out.
The Brush Out
The transformation happens when you brush the curls out. Use a soft-bristled brush to merge the curls into one singular, deep wave. If you don’t brush them enough, they look like stiff ringlets; if you brush them too much, they lose their shape. Watch for the moment the hair starts to look like a fabric drape—that is your signal to stop.
9. Half-Up Top Knot
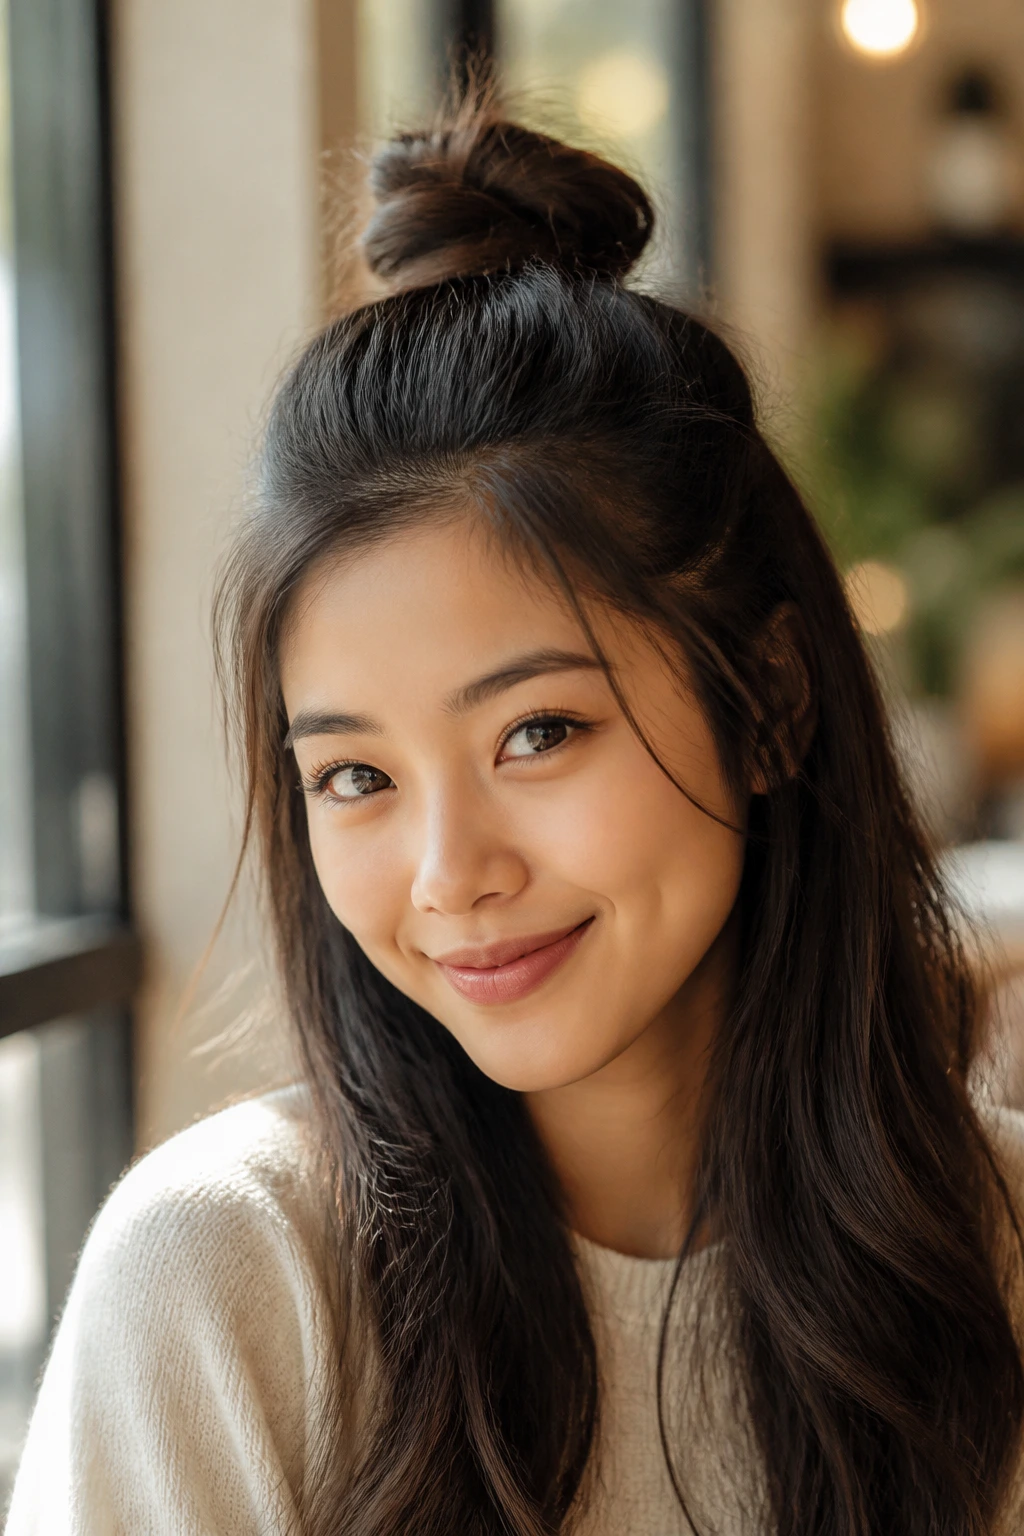
If you want a style that feels youthful and fun, the half-up top knot is your best friend. It’s essentially a “messy bun” perched on the very top of your head, while the rest of your hair flows free.
Balance the Volume
The key to this style is the proportion of the bun relative to the rest of your hair. If you have very long hair, don’t use all the hair on top, or the bun will be too heavy and pull on your roots. Take a smaller section from the top and leave the rest of your hair loose.
Styling the Loose Ends
Add a slight bend to the loose hair at the bottom using a large curling iron. This keeps the look from being too “flat” compared to the volume of the top knot. It’s a fantastic way to show off a fun outfit while still having a styled, “done” look.
10. The Side-Swept Braid
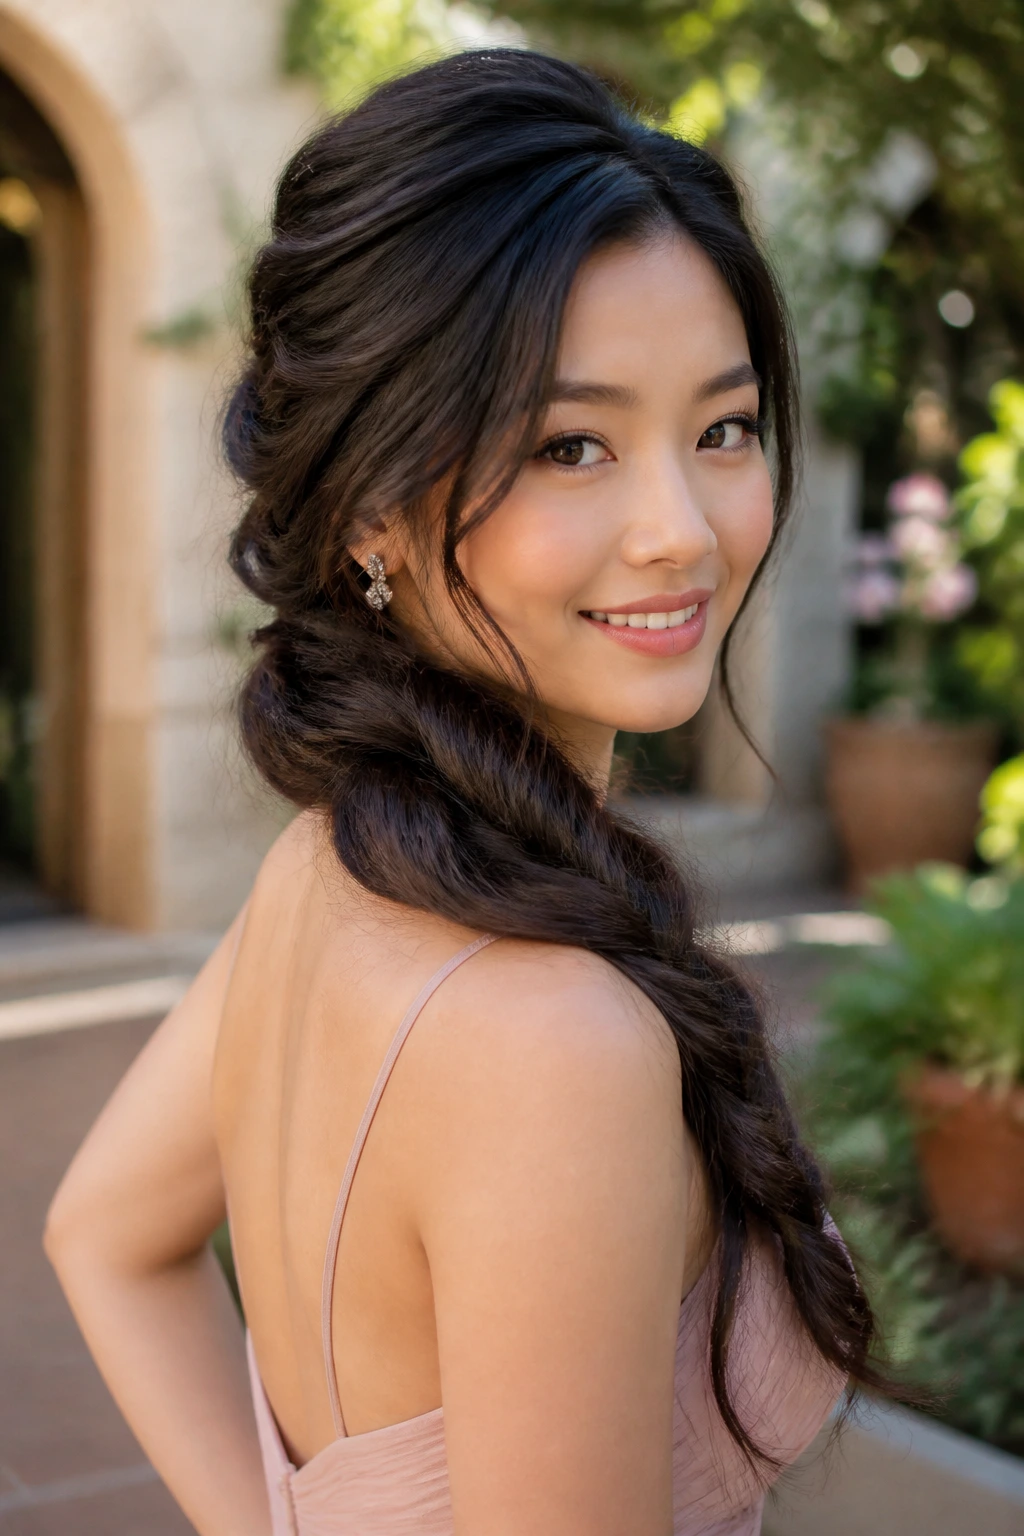
For those who want to keep their hair over their shoulder to show off the back of a dress, a side-swept braid is a sophisticated option. It’s essentially a loose, thick French or Dutch braid that starts at the crown and sweeps across to rest on one shoulder.
Creating the Illusion of Density
Start your braid loosely. If your hair is on the finer side, use a texturizing powder at the roots before you begin braiding. This adds massive amounts of body and ensures the braid doesn’t look thin.
Finishing the Braid
End the braid about two inches from the bottom and secure it with a tiny clear elastic. Wrap a small strand of hair around the elastic to cover it, then use your fingers to pull the braid apart and make it look as full and voluminous as possible.
11. Sleek Low Ponytail with a Deep Side Part
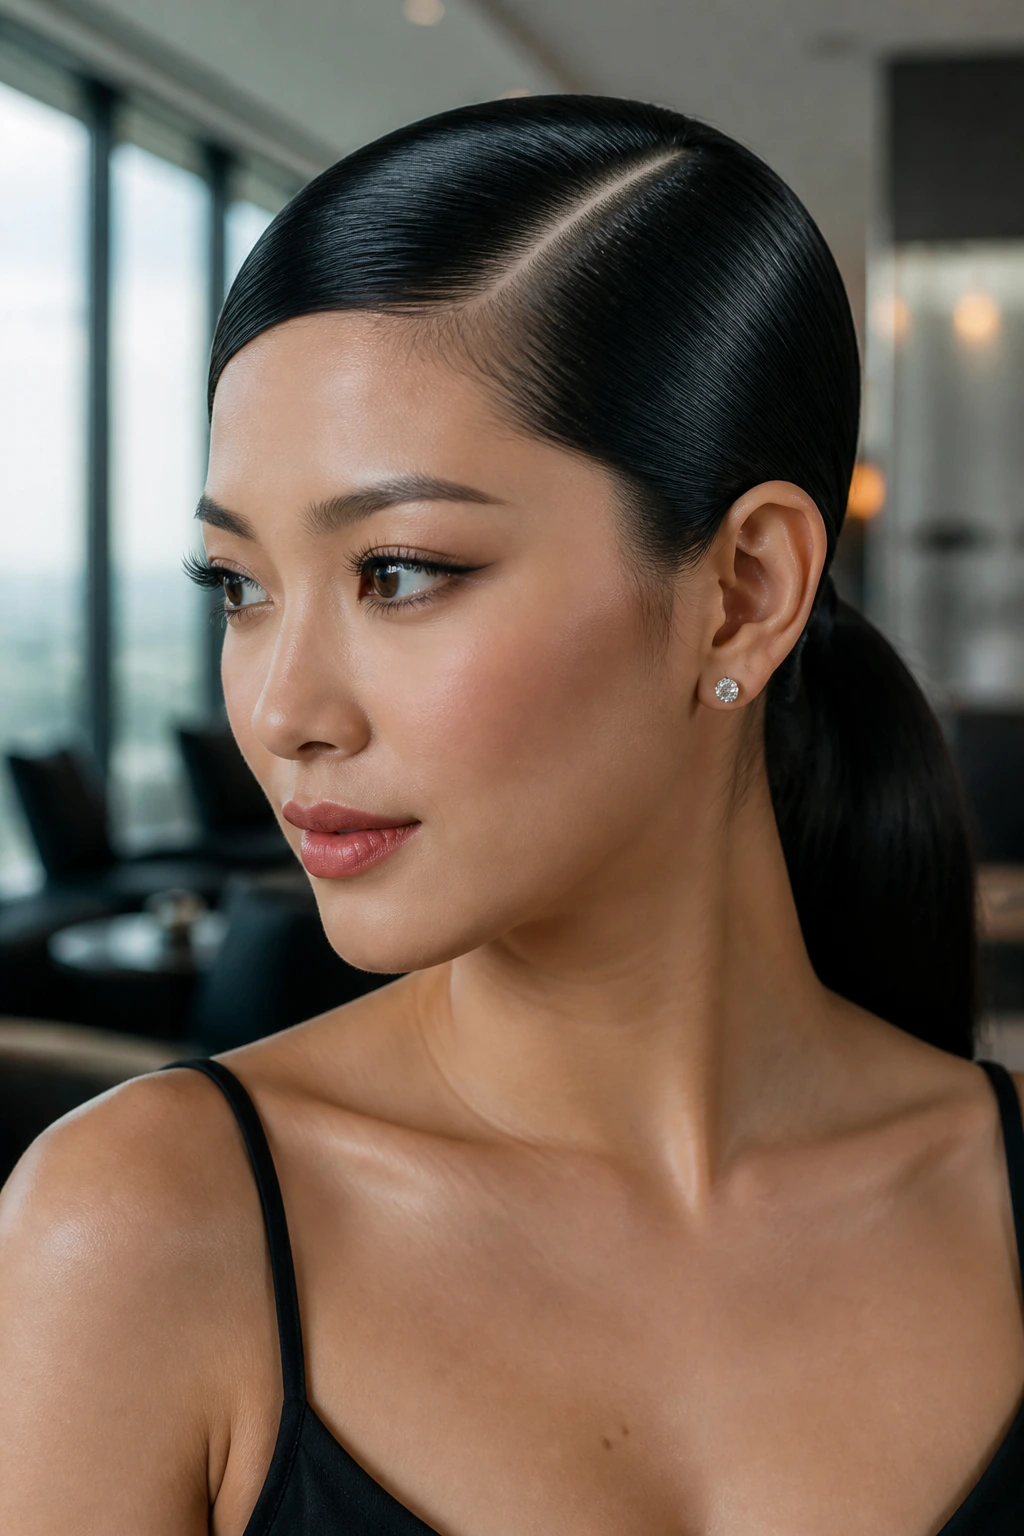
Sometimes the most striking look is the simplest. A deep side part creates an instant sense of drama and asymmetry that looks expensive and intentional. This is a great choice if you are wearing bold makeup or statement jewelry.
Executing the Part
Use the handle of a rat-tail comb to get a razor-sharp line. The key to making this work is that the part must be perfectly straight from the forehead to the crown. Any jagged lines will detract from the sleekness of the style.
Smoothing the Texture
Apply a high-shine serum to your hands before you start gathering the hair into a low ponytail. Use a boar-bristle brush to keep the tension even. The goal here is a mirror-like finish, so avoid any products that leave a matte or gritty residue.
12. Sleek Bob with Inward-Curled Ends
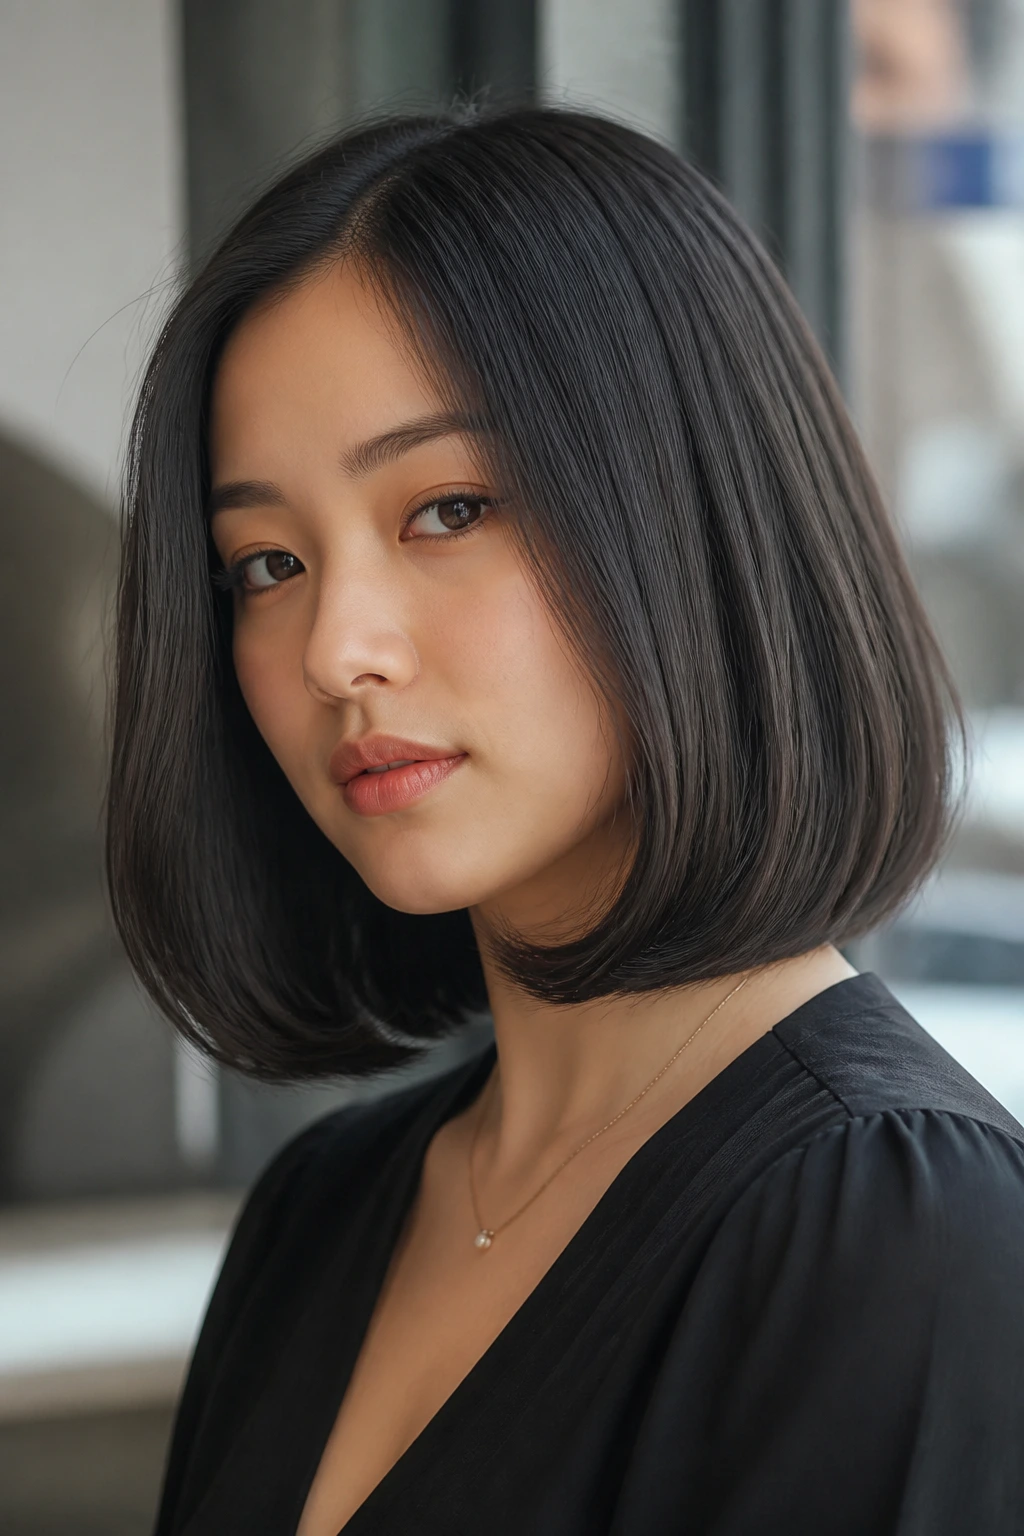
If you have a shoulder-length cut or a long bob, lean into the structure. A sleek bob with perfectly curled ends is the epitome of “chic.” It looks deliberate, sharp, and very modern.
Precision Styling
Use a flat iron to straighten the roots and mid-lengths, then turn the iron inward as you reach the ends to create a slight “C” shape. This makes the hair look healthy, bouncy, and thick.
The Finishing Flourish
If your hair is very straight and won’t hold that inward curl, a small amount of light-hold hairspray applied to the ends before you curl them can help. It gives the hair just enough memory to keep that rounded shape throughout the evening.
13. The Twisted Half-Up
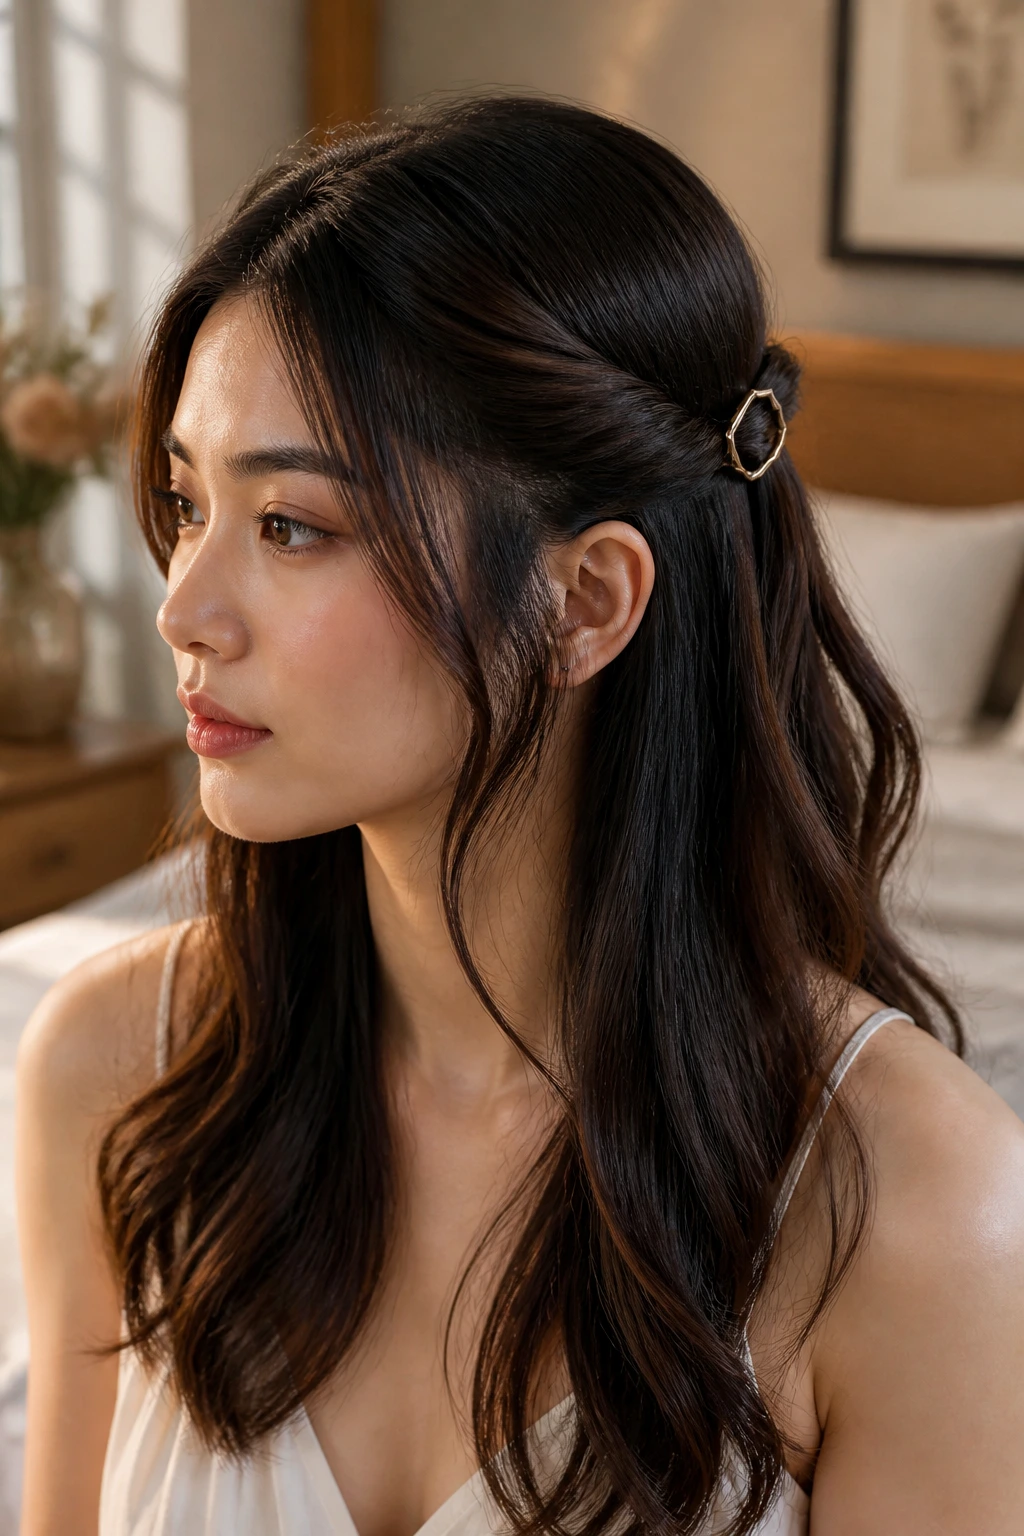
This style is all about intricate detail. Instead of pulling your hair back into a basic pony, take two sections from the front, twist them tightly toward the back, and secure them with a decorative clip.
Technique for the Twist
Ensure you twist the hair away from your face for the most flattering angle. As you twist, pull in tiny strands of hair as you go, similar to a French braid. This makes the twist look more professional and keeps it from coming undone.
Choosing the Accessory
Since the structure of this style is quite simple, the clip or barrette you choose is the hero. Look for something metallic with a geometric shape to add a modern, edgy touch to the romanticism of the twists.
14. The High Bun with Wispy Bangs
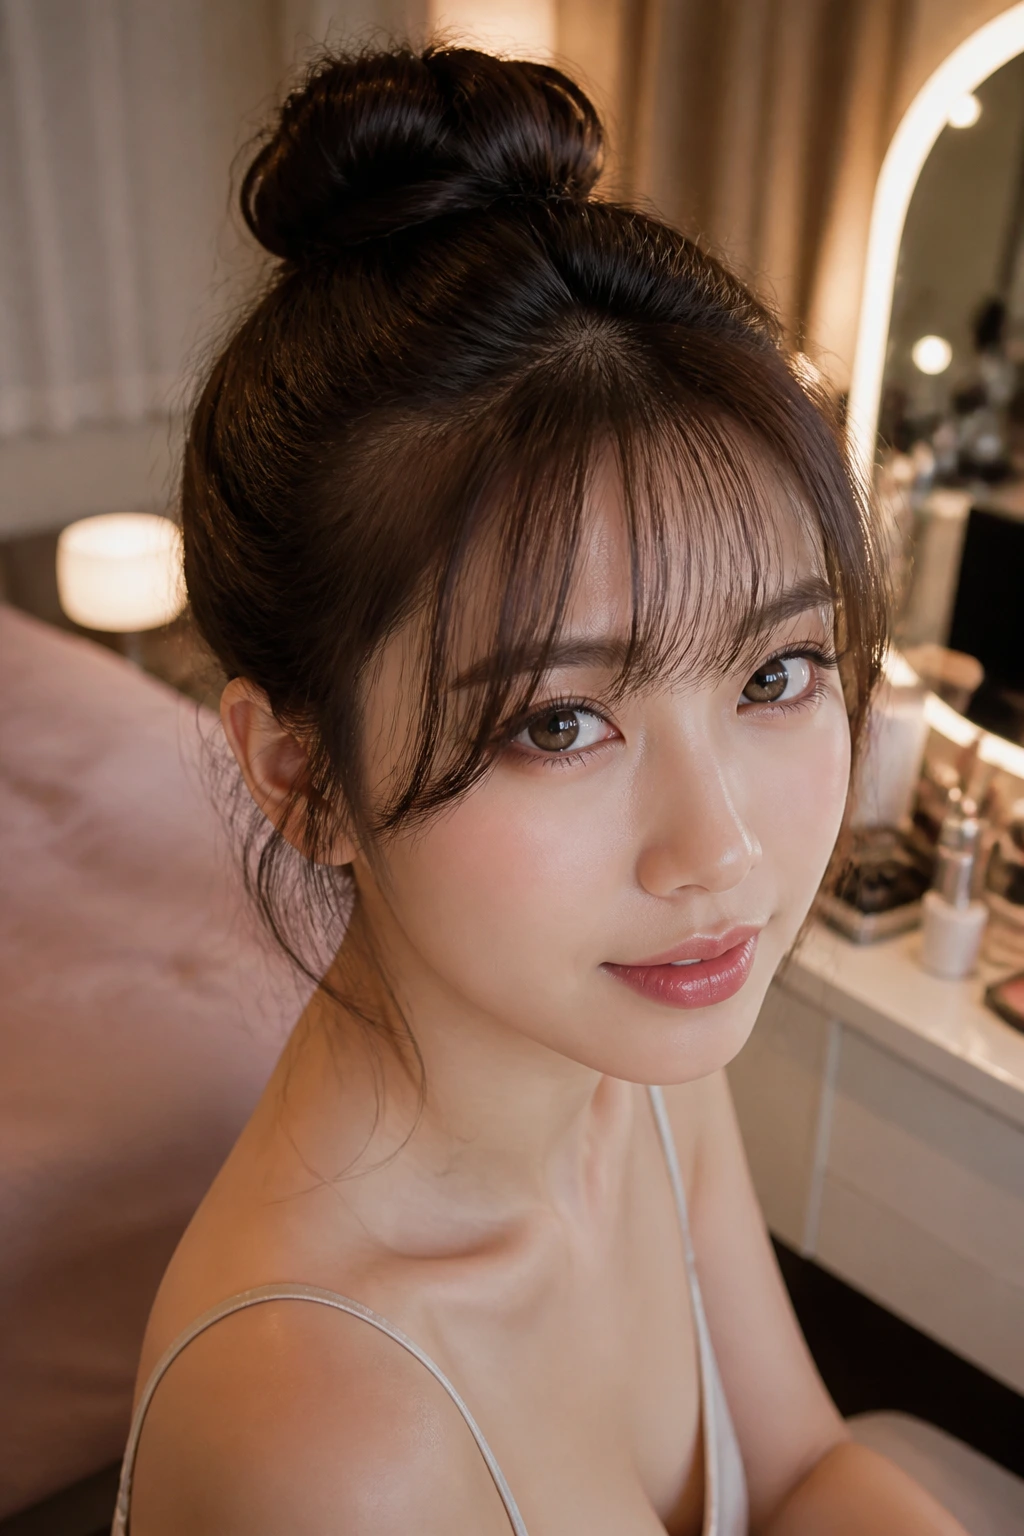
If you have bangs or shorter face-framing layers, a high bun is the best way to showcase them. This style is youthful, energetic, and perfect for a night of active celebrating.
Protecting Your Bangs
The secret to this look is making sure the bangs look intentional. Don’t pull them back with the rest of your hair. Use a small round brush to blow-dry your bangs with a slight curve, which gives them that soft, wispy feel.
Styling the Bun
Keep the bun high and tight. Because Asian hair can be heavy, a single elastic might not hold the weight of the bun securely. Use a “bun donut” or a mesh hair piece to add volume to the bun without adding extra weight.
15. The “Wet Look” Waves
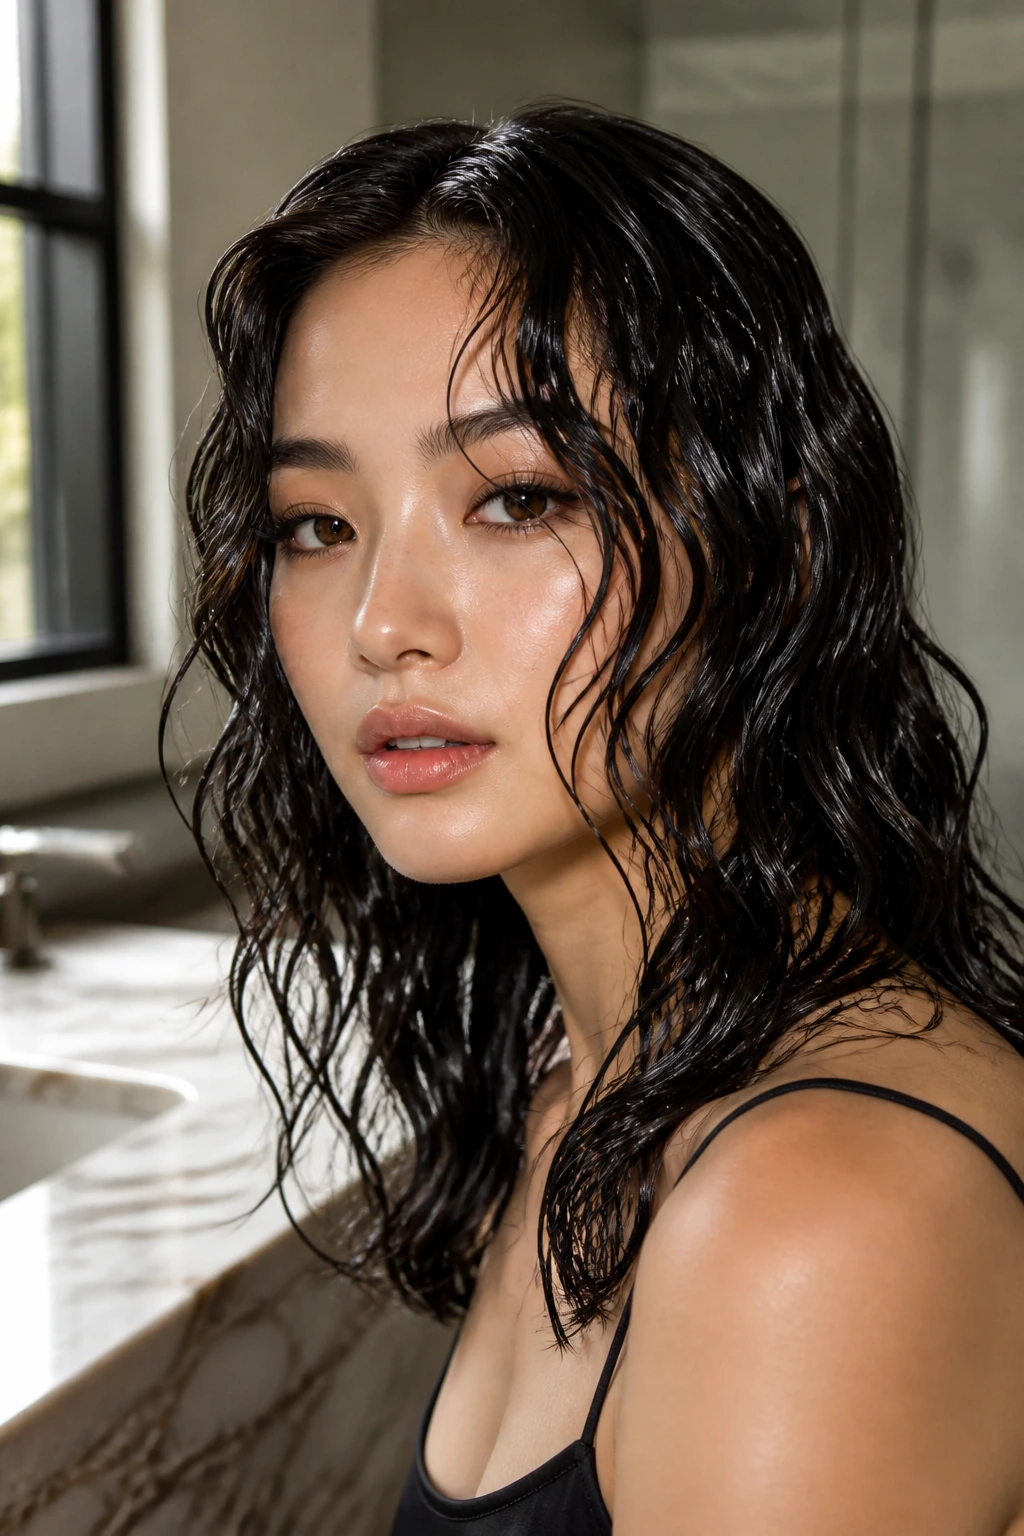
The wet look has been a fashion-forward choice for years, and it is a brilliant way to manage thick, heavy hair that doesn’t hold curls well. You aren’t fighting the hair’s texture; you are just changing its finish.
Applying the Product
You need a high-quality styling gel—not the crunchy kind from the drugstore. Mix a dollop of gel with a bit of leave-in conditioner to keep the hair looking shiny and pliable, rather than stiff. Start applying from the roots and work your way down, using a wide-tooth comb to create defined ridges or waves.
Achieving the Balance
The secret is to keep the hair around your face tight and wet-looking, but let the ends dry slightly more naturally. This prevents the look from feeling overly aggressive and keeps it feeling like a deliberate style choice for a party.
16. The Embellished Headband
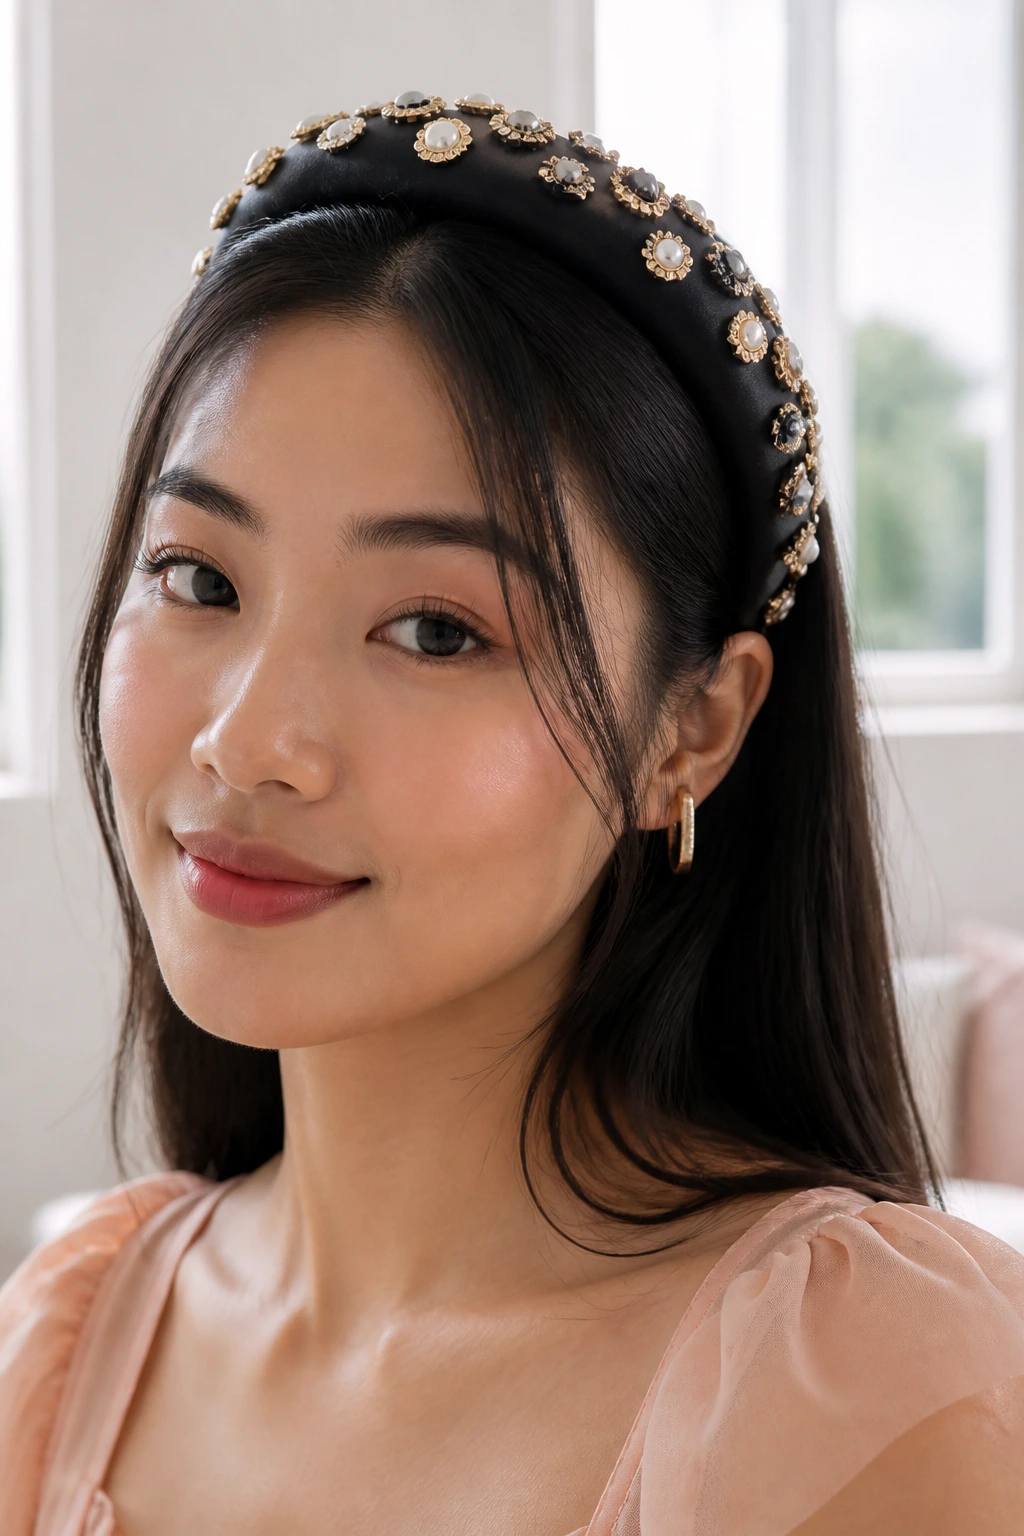
If you aren’t a fan of complex updos, a high-quality, statement headband is your best friend. It instantly transforms loose, straight hair into a “styled” look with zero effort.
Choosing the Right Headband
Look for headbands that have a bit of padding or height. A flat headband can look too school-like on Asian hair. A padded headband adds visual height and balances out the density of the hair.
Prep for Placement
Tease the hair slightly at the crown before placing the headband. This prevents the “flat top” look that happens when the headband pushes all your volume down. Place it just behind your hairline, and you are ready to walk out the door.
17. The Sleek Low Chignon
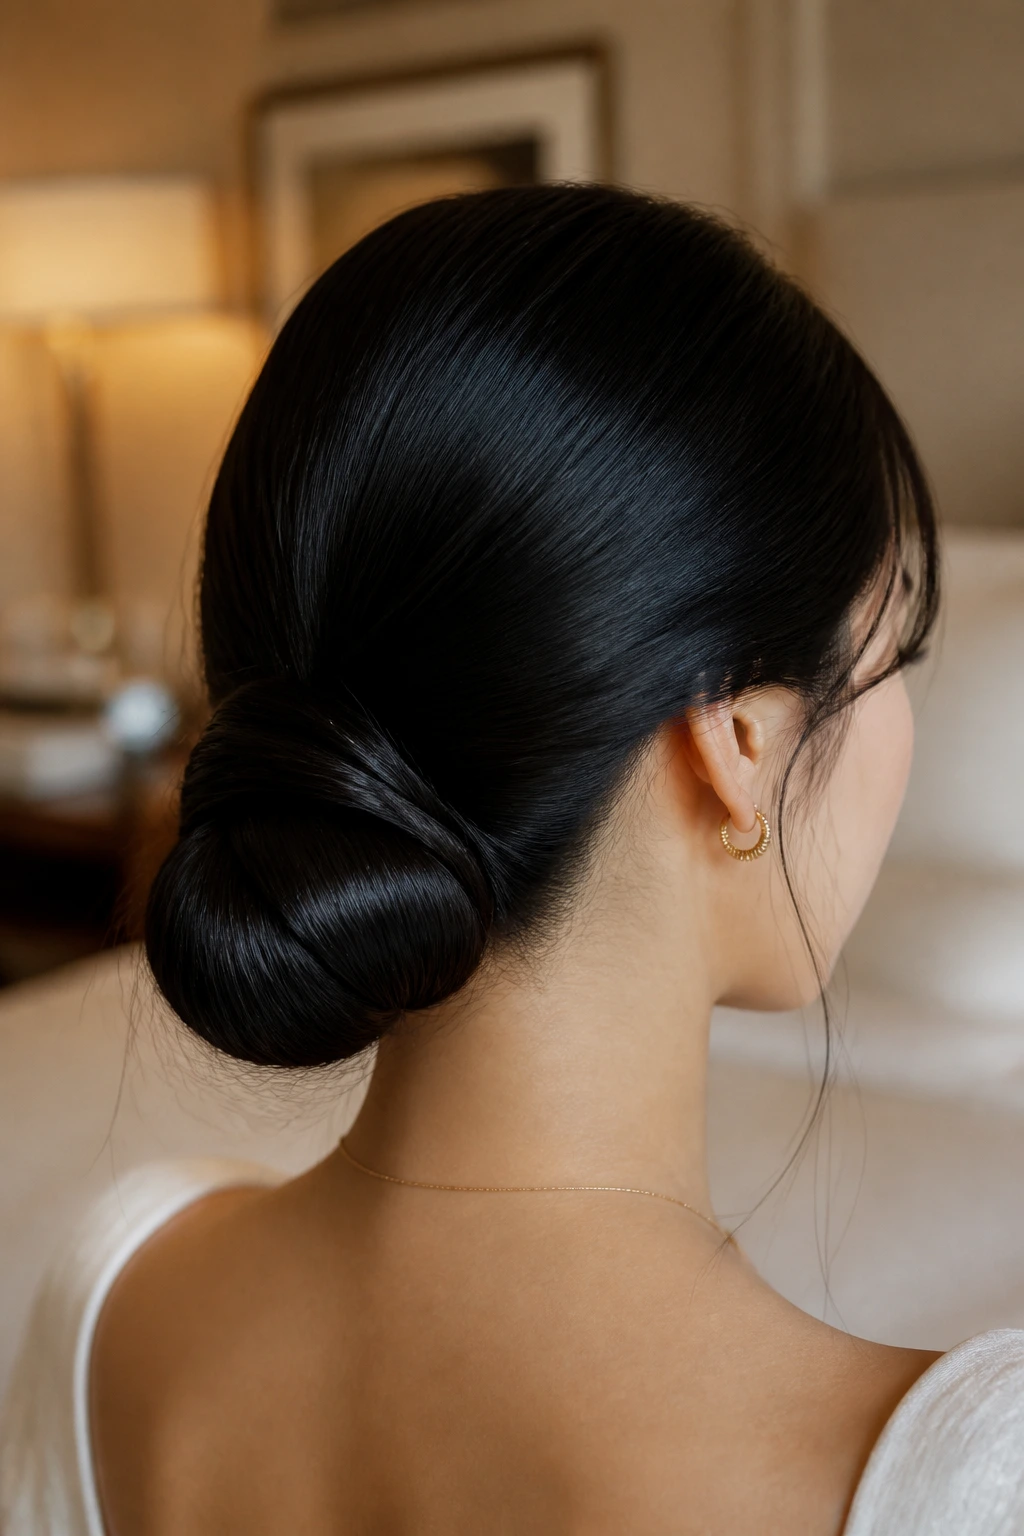
A chignon is a classic low bun, but it’s tucked under itself for a very clean, rounded shape. It is incredibly elegant and works beautifully with backless dresses or formal birthday attire.
Creating the Shape
After making a low ponytail, make a hole in the hair above the elastic and tuck the ponytail through it—this is the classic “topsy tail” technique. Then, take the remaining length, roll it under, and pin it securely at the nape of your neck.
Keeping It Secure
Use U-shaped hairpins, not standard bobby pins, to secure the roll. They hold significantly more weight and are much easier to tuck into the bun without showing. The end result is a polished, voluminous roll that looks like it took a professional stylist an hour to achieve.
18. Voluminous Retro Ponytail
Think 1960s siren—big, teased, and full of attitude. This look is fantastic for parties where you want to make an impression. It relies on volume at the crown to give the hair that dramatic, high-fashion lift.
Teasing Technique
Take a section of hair at the crown and hold it straight up. Use a teasing brush to backcomb the roots. Do this in three distinct sections, then smooth the top layer over the “teased” cushion to hide the mess underneath.
Setting the Pony
Once you have that height at the crown, secure your ponytail. The contrast between the massive volume at the top and the sleek, straight lengths of the ponytail creates a really beautiful, balanced silhouette that is flattering on every face shape.
Final Thoughts
At the end of the day, your hair is just an accessory to your mood. The “perfect” birthday style is the one that makes you feel like you aren’t constantly checking the mirror to see if it has fallen flat.
If you remember only one thing from this list, let it be this: texture matters more than length. Prep your hair with the right grit—whether that’s texturizing spray, dry shampoo, or the right amount of light-hold product—and your style will last far longer than you’d expect. Don’t be afraid to use a few extra pins to secure those heavy sections, and always let your curls cool completely before you touch them. You have the shine and the strength; now you just have to give your hair the right tools to hold the shape you want. Happy styling.