Thick hair is a blessing and a burden. It carries an inherent volume that most people spend a lifetime trying to achieve, yet it often resists styling with a stubbornness that can frustrate even the most patient person. If your hair is dense, coarse, or simply voluminous, you know that a blow-dry session isn’t just a morning routine—it’s an upper-body workout. The secret to managing all that mass isn’t necessarily using more product; it’s about controlling the airflow and understanding how to direct your natural volume into a shape that lasts through the day.
When you have a heavy mane, the biggest hurdle is moisture retention. Thick hair strands are often wider in diameter, which means they hold onto water longer than fine hair. If you start styling before your hair is at least sixty percent dry, you are fighting a losing battle against frizz and arm fatigue. The most effective blow-dry styles are those that utilize the hair’s natural weight to create sleekness, or its natural density to build dramatic, structured shapes.
You do not need a salon-grade blowout every day to make thick hair look intentional. By focusing on the right brush tension and mastering the art of the cool-shot button, you can transform a chaotic, damp head of hair into something polished. Whether you are aiming for soft, romantic waves or a glass-like finish, the following styles are specifically curated for the unique challenges of thick, heavy hair.
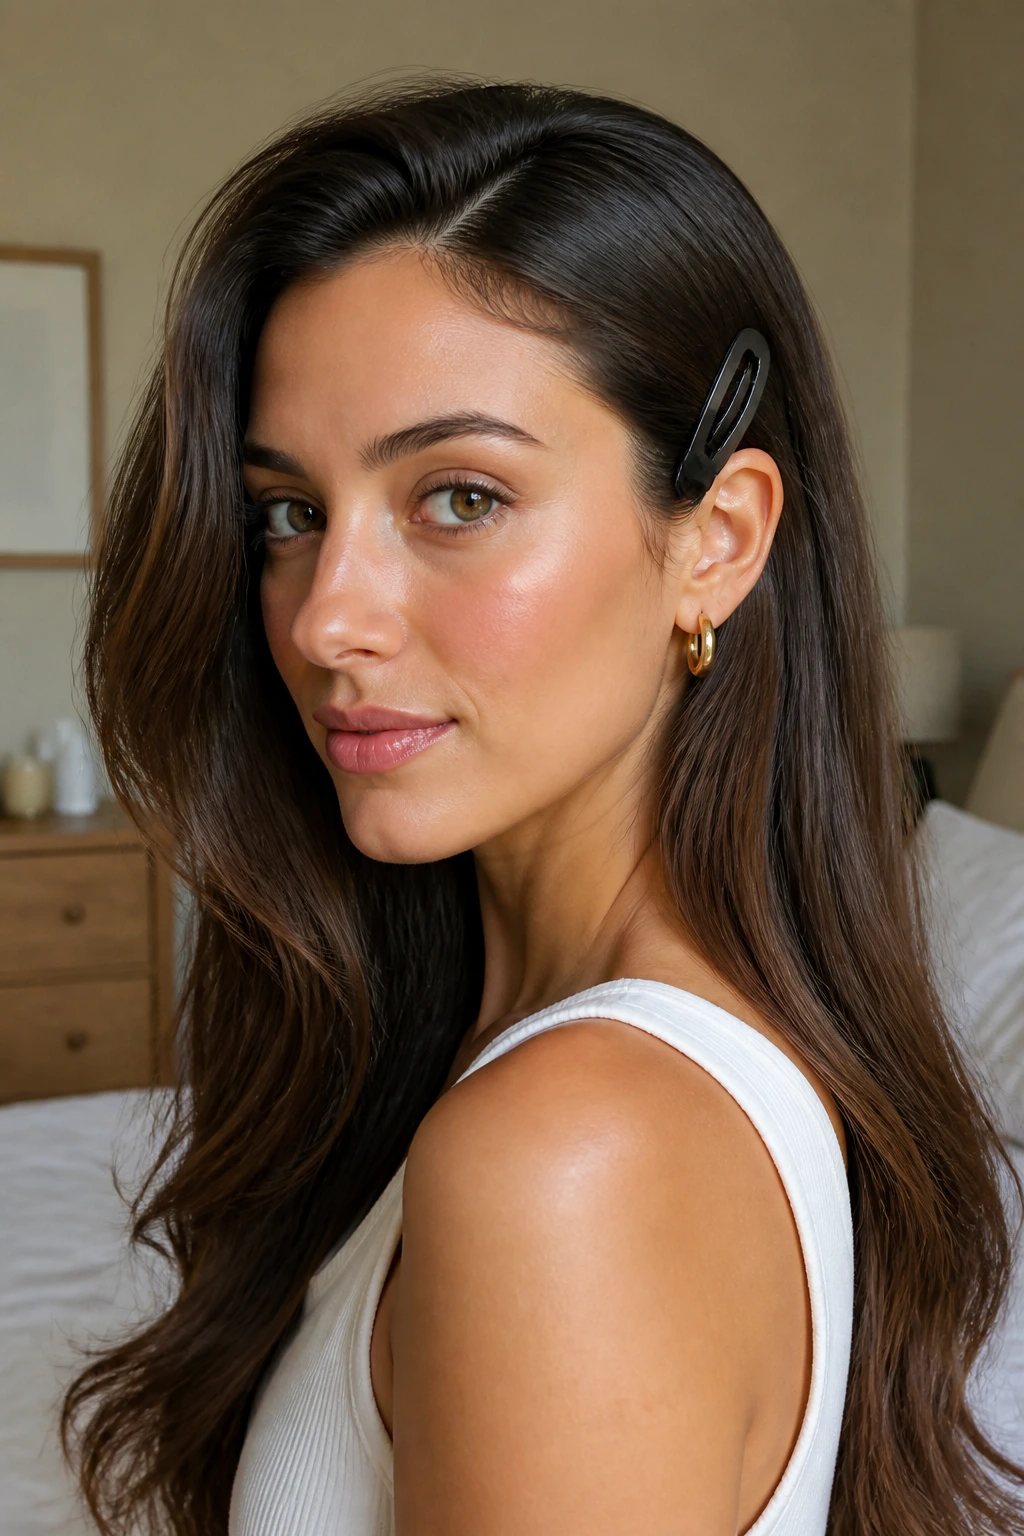
1. The Classic Polished Straight
This is the gold standard for thick hair because it relies on gravity. By focusing the dryer nozzle downward, you force the cuticle to lay flat, which drastically reduces the expansion that thick hair often suffers from. The key is to section your hair into at least six distinct parts. If you try to dry all your hair in one go, the inner layers will stay damp, causing your style to lose its shape within a few hours.
Why This Works for Thick Textures
When you have high hair density, drying in small sections ensures that every strand gets equal exposure to heat. Use a boar-bristle paddle brush to maintain constant tension as you pull the dryer from root to tip. The bristles grip the coarse strands effectively, smoothing them out far better than a plastic-vented brush ever could.
Pro Technique for Mirror-Like Shine
- Dry the hair until it is about 80% dry using just your fingers to lift at the roots.
- Switch to a large ceramic paddle brush and keep the nozzle pointing down toward the ends.
- Finish each section with a blast of cool air to lock in the smoothness and prevent moisture from causing the hair to swell later.
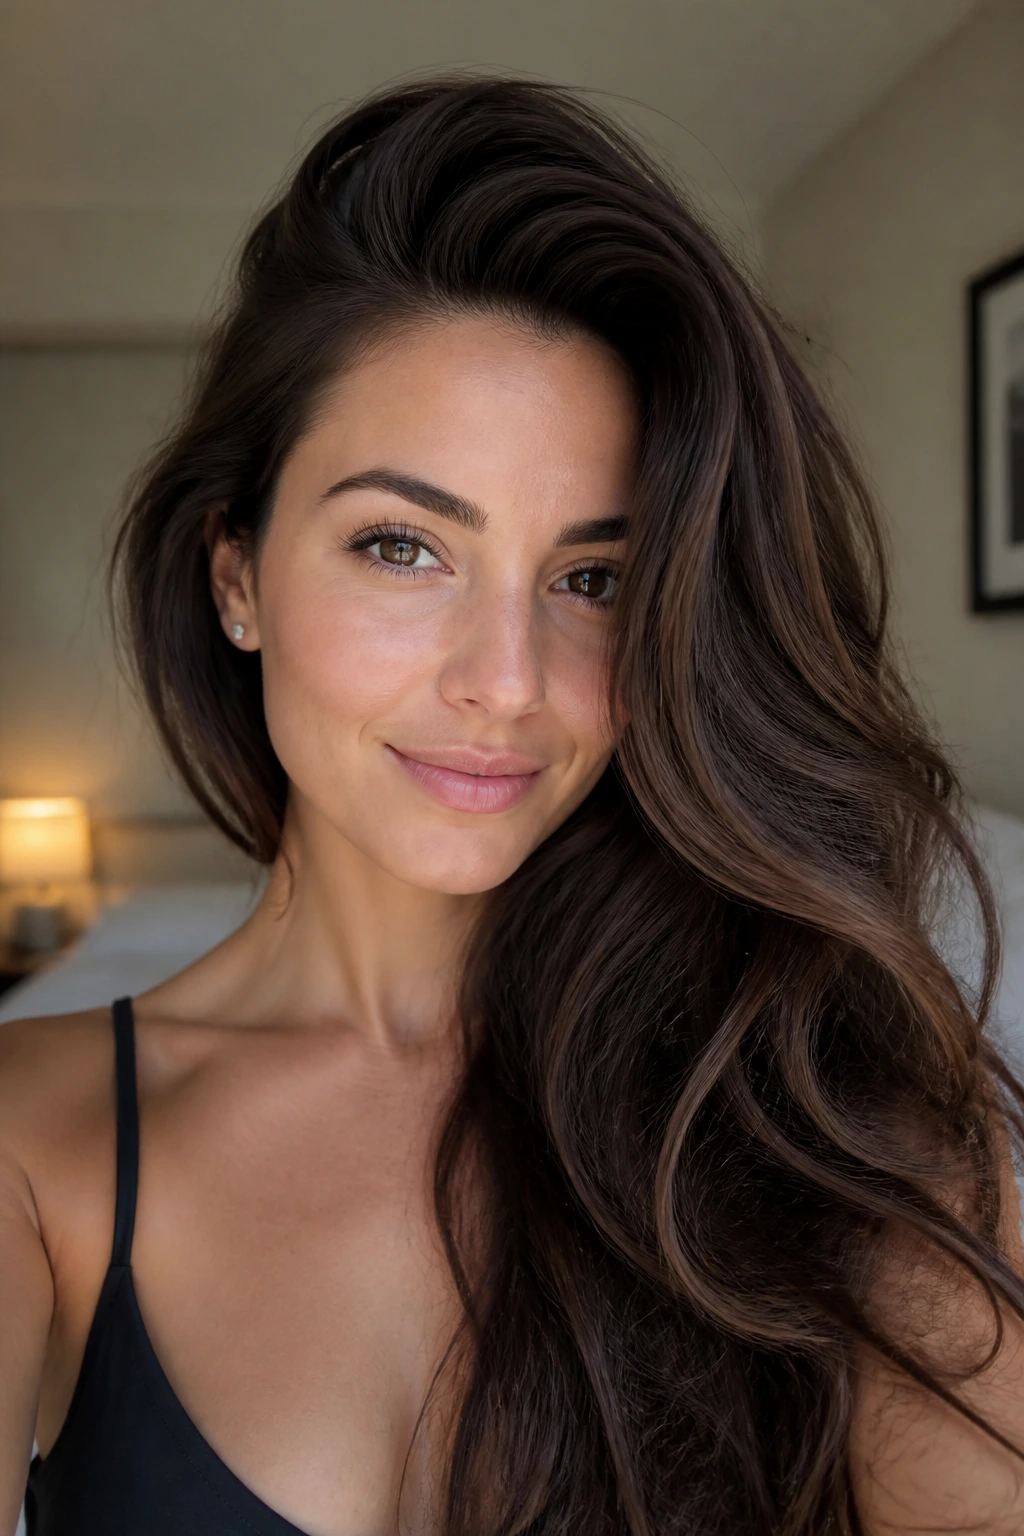
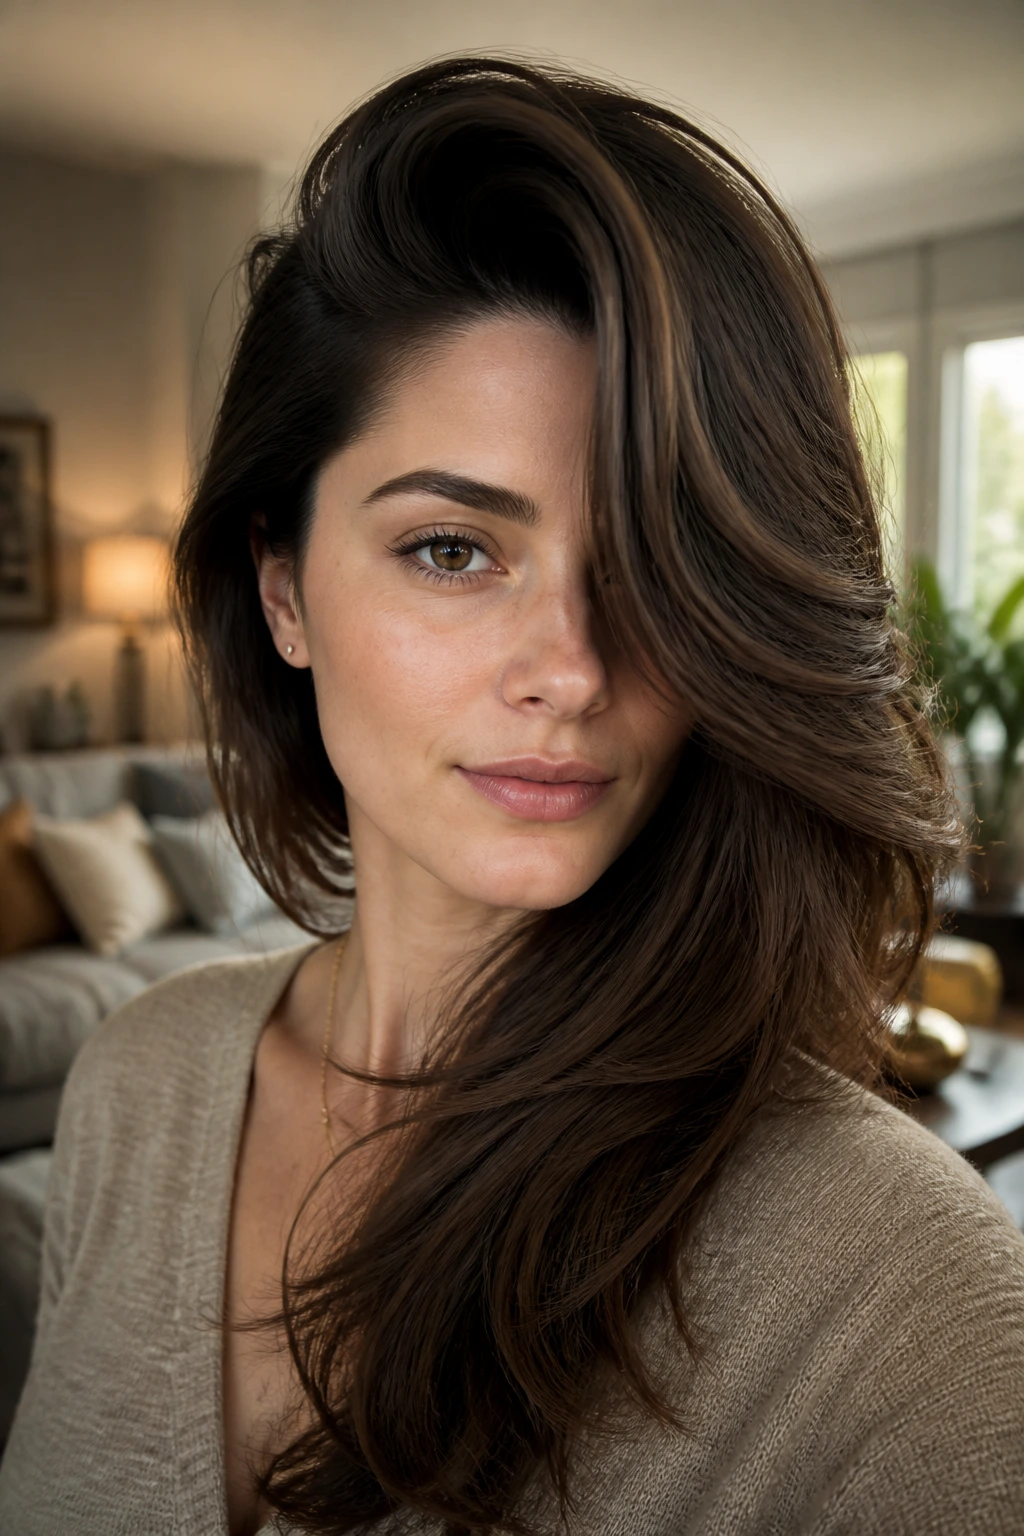
2. Voluminous Retro Curls
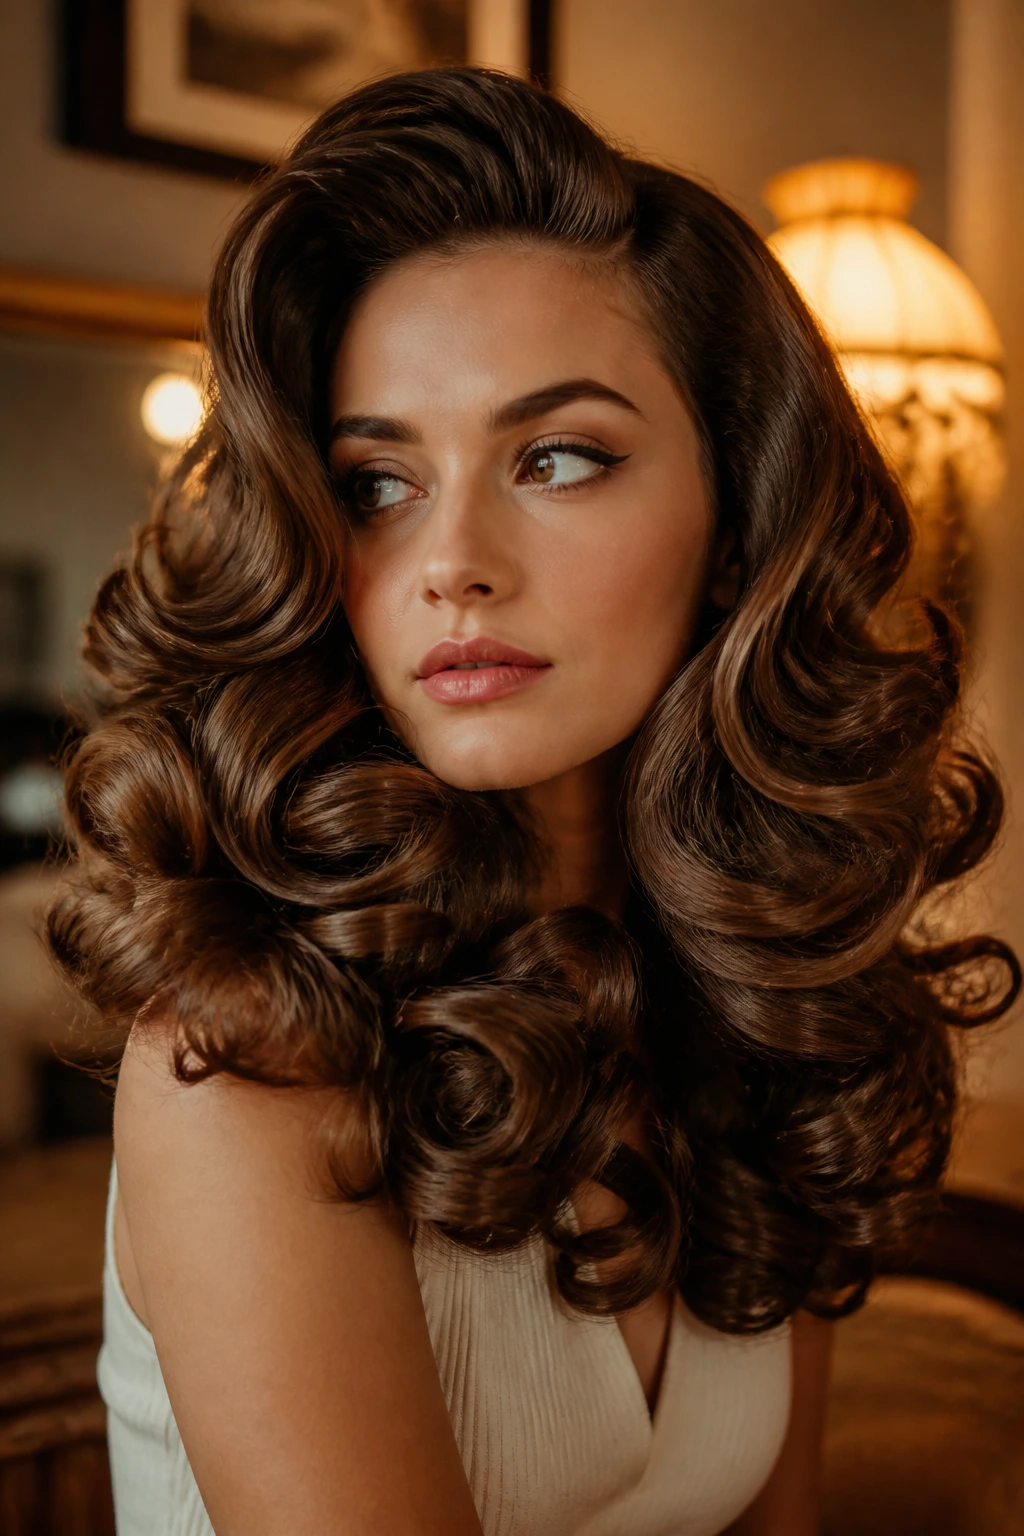
Thick hair holds a curl beautifully because it has enough internal structure to support the weight of the coil. Instead of using a curling iron, which can sometimes look too uniform or stiff, a round-brush blowout creates a soft, expensive-looking bounce. Focus on using a large-diameter round brush—at least two inches—to ensure the hair doesn’t get tangled in the process.
Managing the Tension
The trick is to roll the hair onto the brush and hold it there while it cools. If you remove the brush while the hair is still hot, the curl will drop almost immediately due to the weight of your hair. Let the hair “set” on the brush, or better yet, roll each section into a pin curl and let it cool completely before letting it down.
Essential Tools for the Look
- A 2.5-inch ceramic barrel brush
- A lightweight, heat-protecting smoothing cream
- Sectioning clips to manage the volume
3. The Soft Face-Framing Flip
This style is all about creating movement around the jawline. It is incredibly effective for thick hair that often feels “too heavy” near the face. By blowing the front sections away from your face with a medium-sized round brush, you create a shape that feels light and airy, even if the back of your hair remains full and thick.
How to Execute the Flip
Start with your hair mostly dry and apply a light volumizing mousse to the roots. Take your front sections and wrap them around a round brush, pulling them upward and outward toward the ceiling rather than straight down. This creates a lift at the root that keeps the hair from falling flat against your cheeks, which can sometimes drag the face down.
Keeping the Shape
Once you have achieved that outward curve, hit it with a quick spritz of flexible-hold hairspray. Avoid heavy waxes or pomades, as they will weigh down your thick strands and turn your bouncy flip into a greasy clump by midday.
4. Sleek High-Gloss Center Part
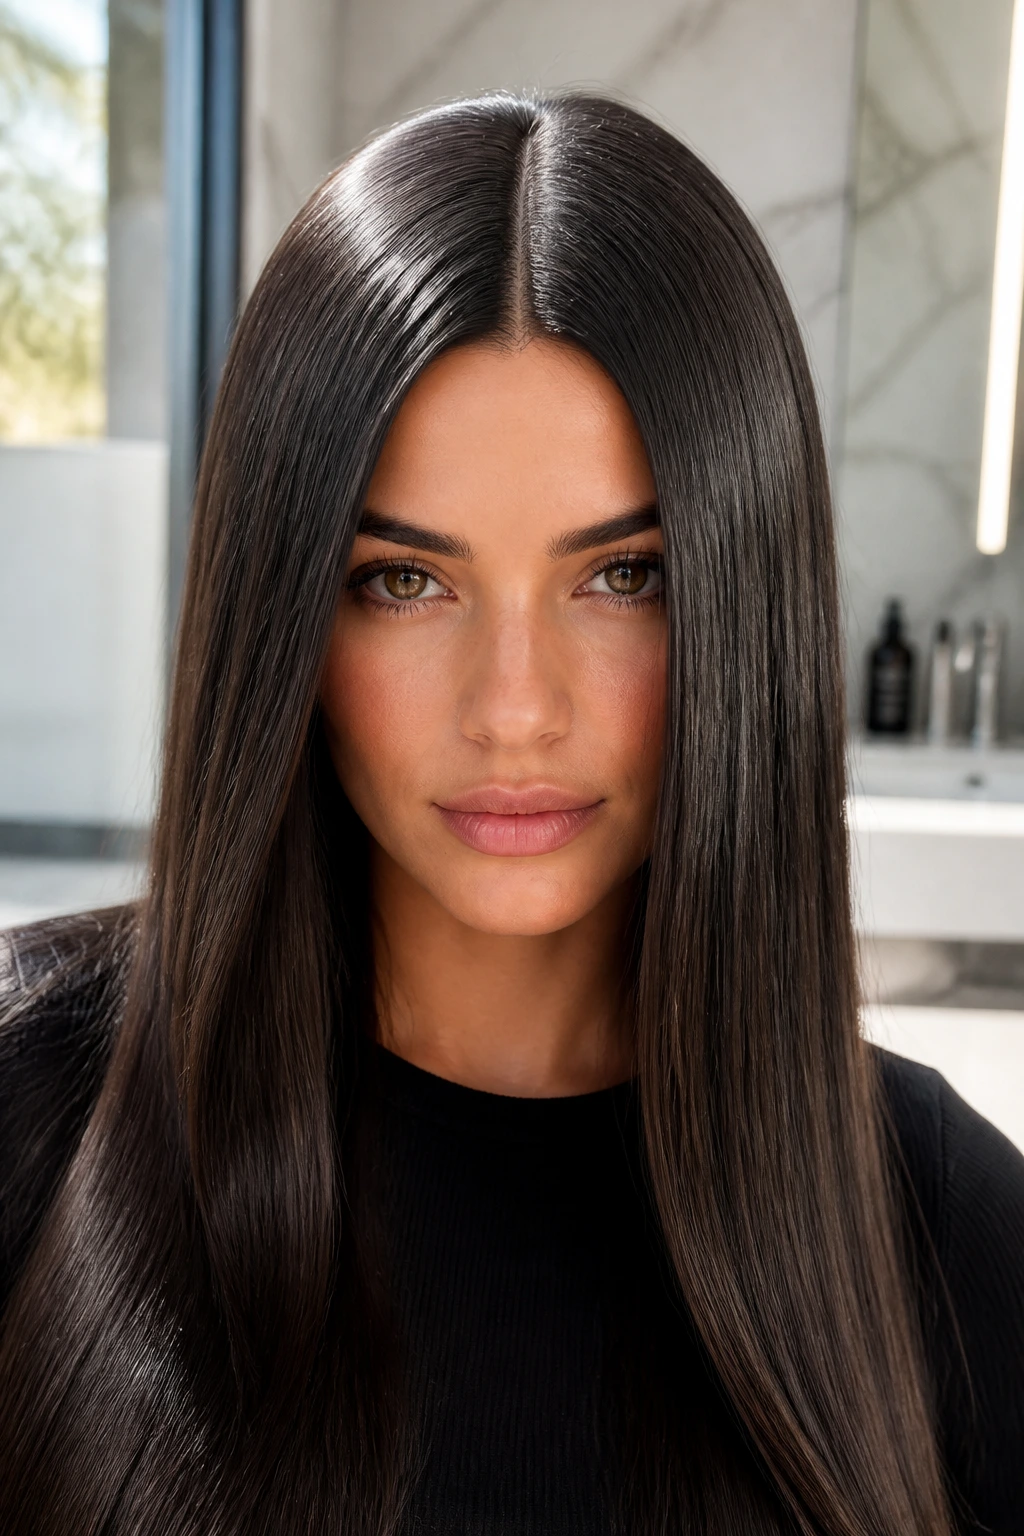
The center part has made a massive comeback, and it is particularly striking on thick hair. It showcases the density of your mane perfectly, framing your features in a way that feels modern and intentional. The secret here is not just the blow-dry, but the pre-dry prep; you need a product that fights humidity, as thick hair tends to absorb moisture from the air and fluff up throughout the day.
The Prep Work
- Apply a generous amount of thermal protectant that doubles as a sealant.
- Use a fine-toothed comb to create a perfectly straight part while the hair is still wet.
- Dry the roots first, pushing them in the direction you want them to lay, to ensure there is no awkward “poof” at the crown.
Achieving the Gloss
Once dry, run a flat iron lightly over the mid-lengths only if you need extra sleekness, but the round brush method is usually enough. Finish with a tiny drop of lightweight argan oil smoothed over the top layer to tame flyaways.
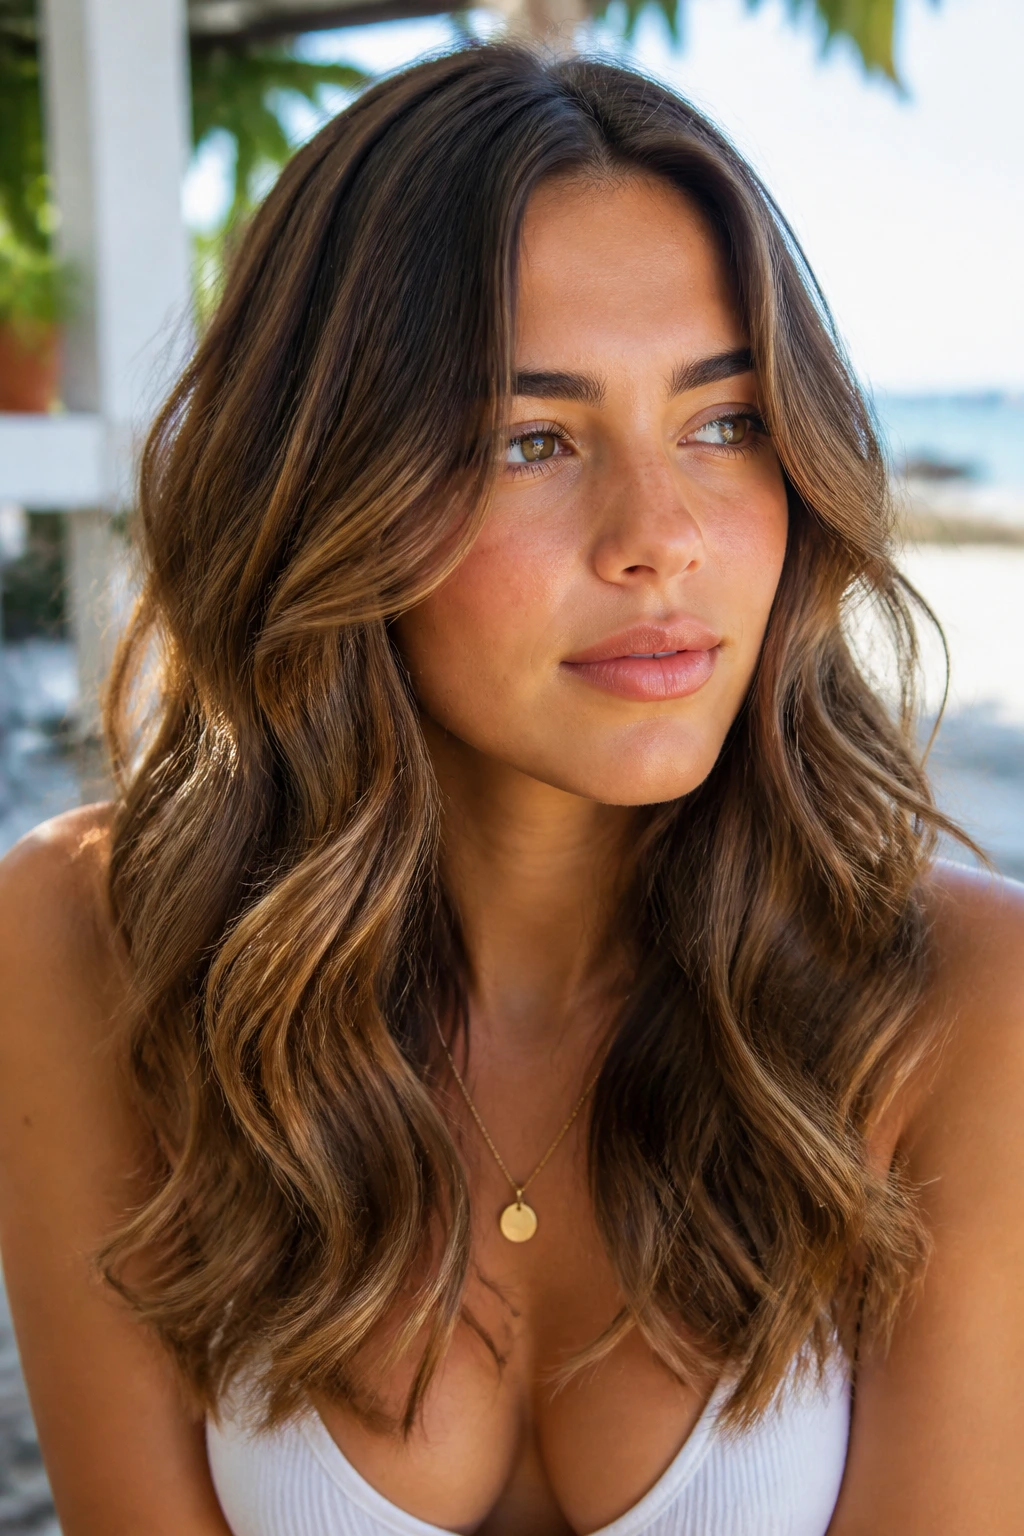
5. The Messy Beach Wave
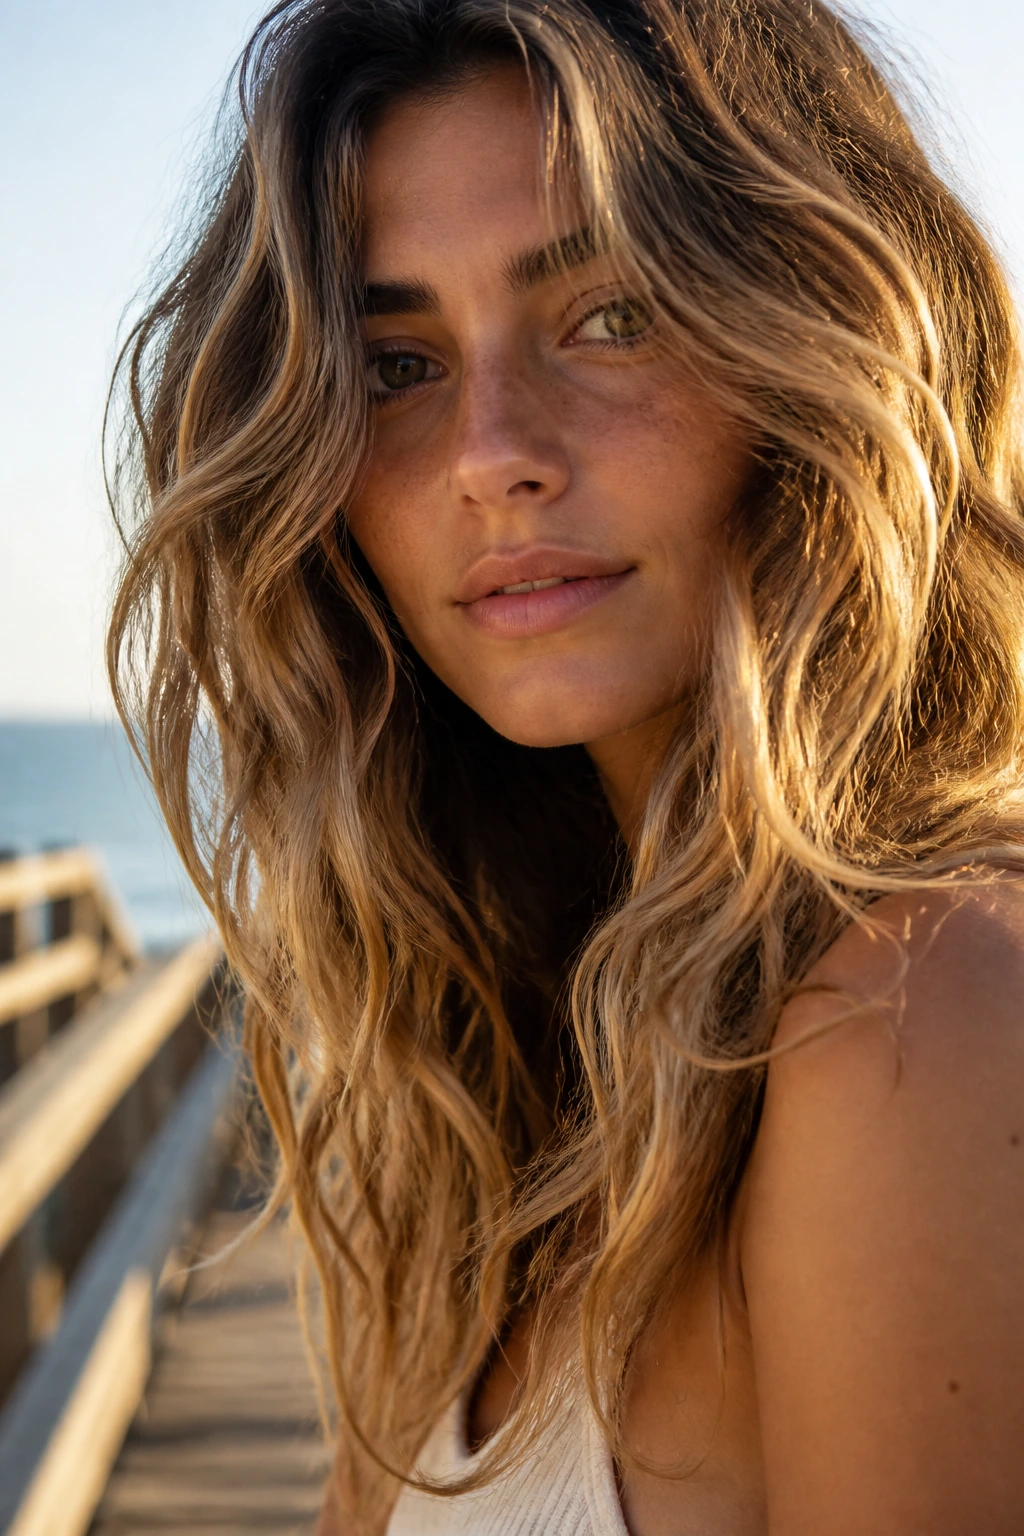
Don’t let the name fool you; this is a highly controlled style. Thick hair naturally has a lot of texture, so you don’t need much help creating waves. The goal of this blow-dry is to enhance what is already there while removing the frizz that comes from air drying. Use a diffuser attachment on a low-speed setting to encourage your natural wave pattern.
Why Diffusion Works
When you use a standard nozzle, you are essentially trying to force your hair into a shape that isn’t its own. A diffuser, however, cradles the hair and allows it to dry in its natural clumps. For someone with thick, wavy hair, this is the quickest way to get a high-volume, effortless look without spending forty minutes with a brush.
Key Tips for Wave Definition
- Do not touch your hair while it is diffusing; every touch creates more frizz.
- Use a salt spray or a curl-enhancing cream on damp hair.
- Tilt your head to the side to ensure you are getting heat to the hard-to-reach roots at the back of your scalp.
6. The Sophisticated Low-Volume Lob
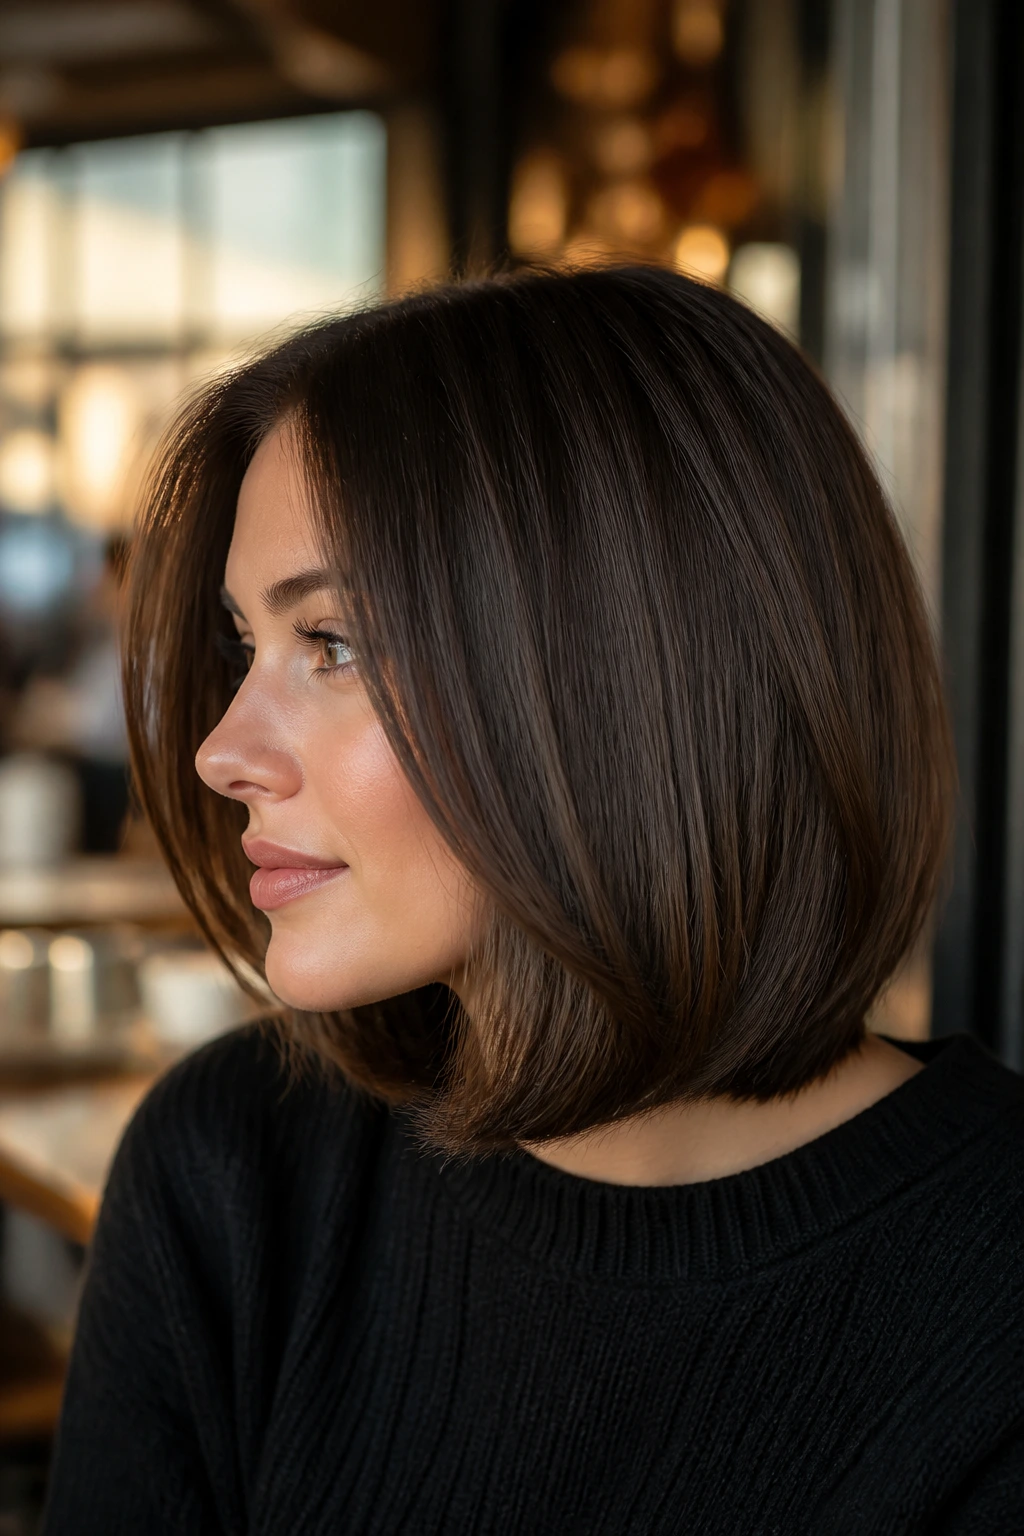
If you have a thick lob or bob, you know the struggle of the “triangle shape.” When thick hair is cut short, it tends to puff out at the ends rather than laying against the neck. The fix? You need to blow-dry the ends inward, toward your throat, rather than outward. This beveling technique turns the volume inward, creating a rounded, chic silhouette.
The Beveling Technique
Use a medium round brush. As you reach the ends of each section, rotate the brush inward toward your face. Hold the dryer close to the brush for five seconds of concentrated heat. This “bends” the hair and forces it to sit in a sleek, tucked-under position.
Avoiding the Triangle
If you find your hair still tries to flare out, finish with a small amount of smoothing balm applied only to the bottom two inches. The added weight of the product will help the hair stay tucked against your neck instead of expanding throughout the day.
7. The Deep Side Part Swoop
There is something undeniably classic about a heavy, swooping side part on thick hair. It creates an asymmetrical silhouette that takes the focus off the sheer volume and places it on the drama of the hair’s texture. This is a great way to hide a cowlick or add instant height to a flat crown area.
Creating the Swoop
While your hair is soaking wet, use a tail comb to create a deep part on your preferred side. Dry the hair by brushing it over the opposite way of where you want the part to eventually fall. This creates massive tension at the roots. When you flip your hair back to the original side, you will have a dramatic, voluminous lift that stays in place without excessive product.
Essential Maintenance
Because this style relies on volume at the roots, it can look tired by the second day. Keep a dry shampoo on hand to absorb oil and re-activate that root volume. A quick blast of the blow-dryer on the roots while your head is upside down can also bring this style back to life in seconds.
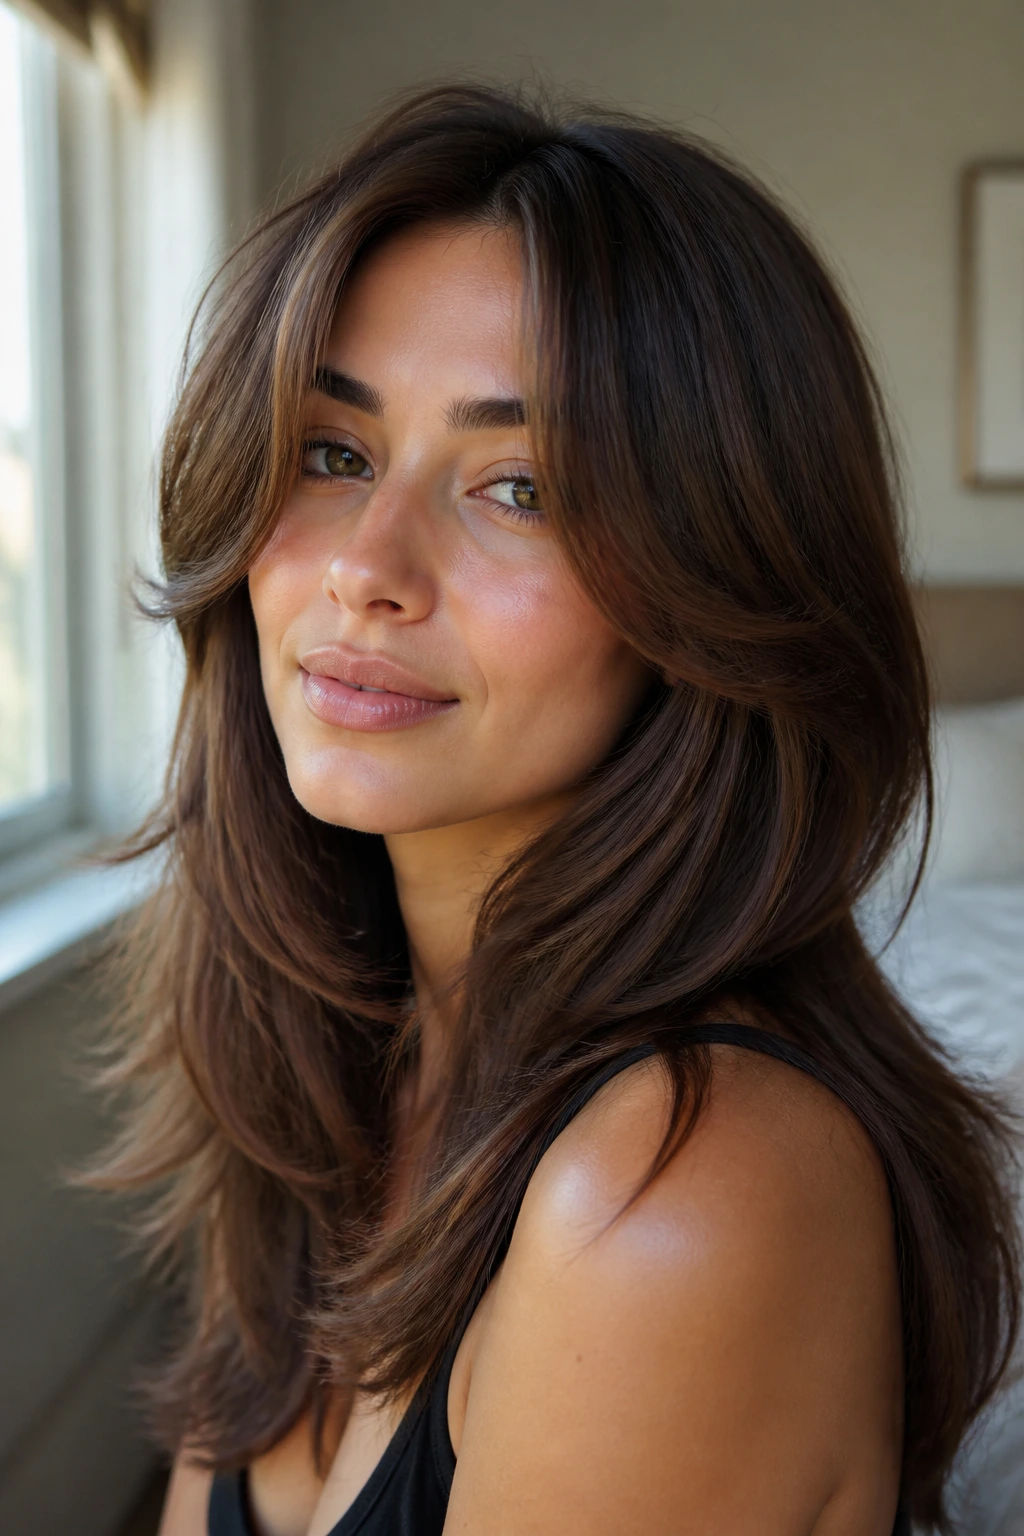
8. Soft Textured Ends

Not every blow-dry needs to be about sleekness. If your thick hair has layers, you want to accentuate them, not flatten them into a single, heavy block. This style focuses on “tousled” perfection. You dry the roots for volume, but you skip the round brush for the ends, letting them air dry partially or using your fingers to twist them into loose spirals while drying.
The “Twist and Dry” Method
- After drying your roots with a round brush for lift, leave your ends slightly damp.
- Divide your hair into four large sections and twist each one tightly.
- Aim your blow-dryer at the twists until they are dry.
- Shake them out with your fingers once they have cooled down.
The Result
You get a look that is relaxed and bohemian, perfect for thick hair that feels too stiff when blown out completely straight. It looks purposeful and prevents that “over-styled” feeling that can occur when you spend too much time with a brush.
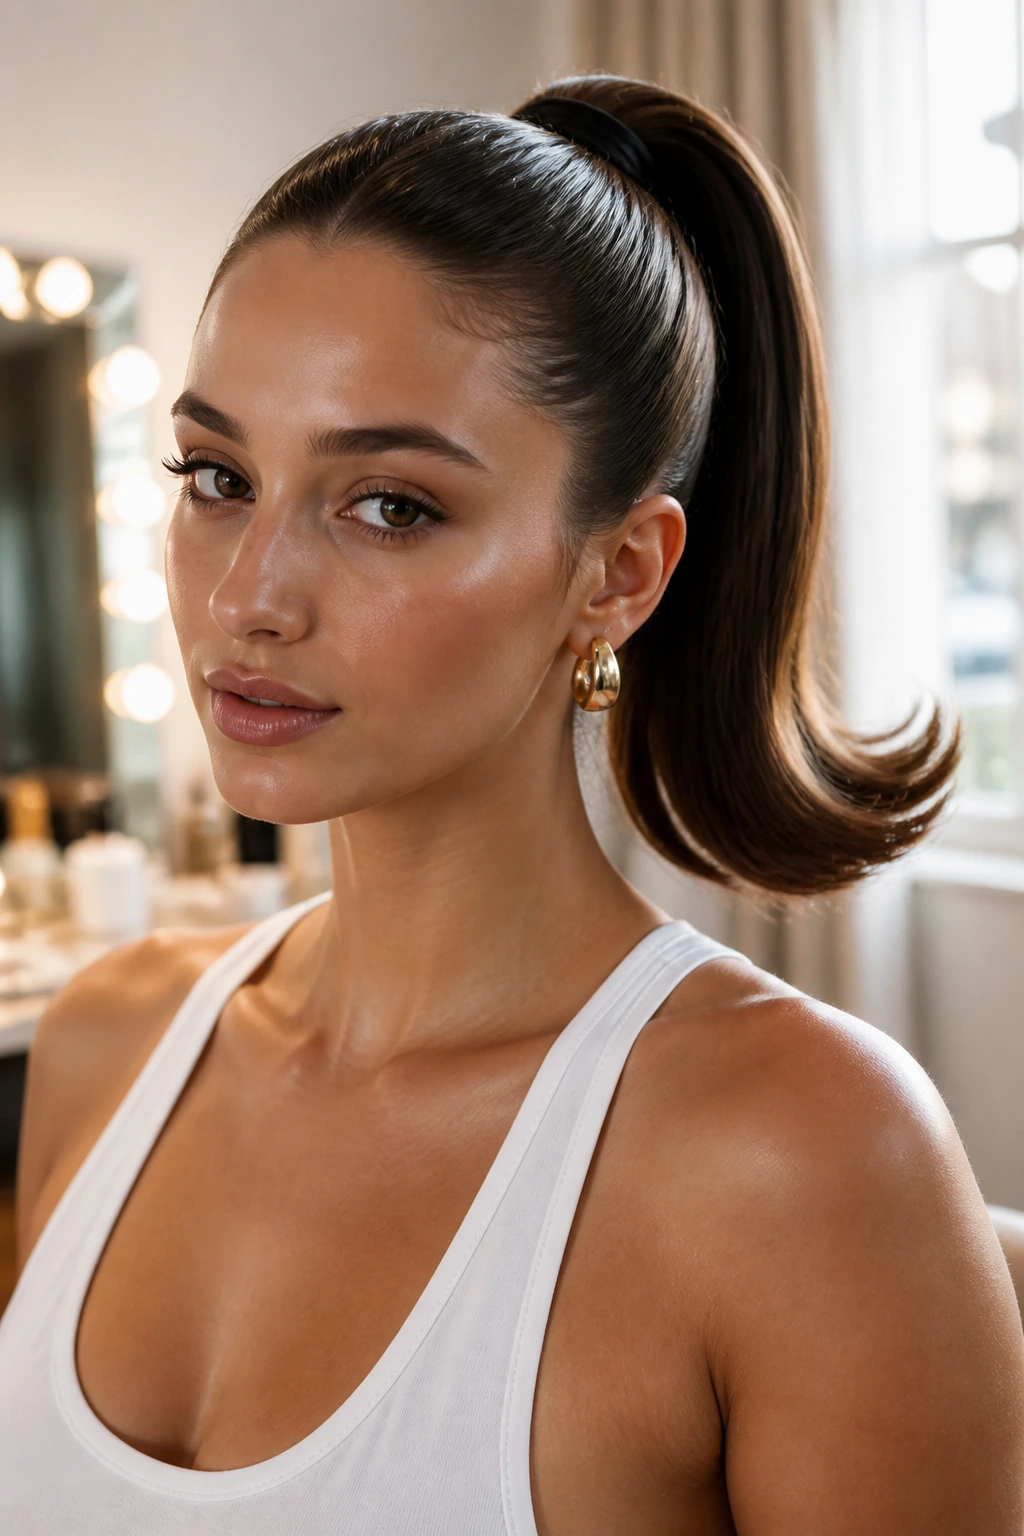
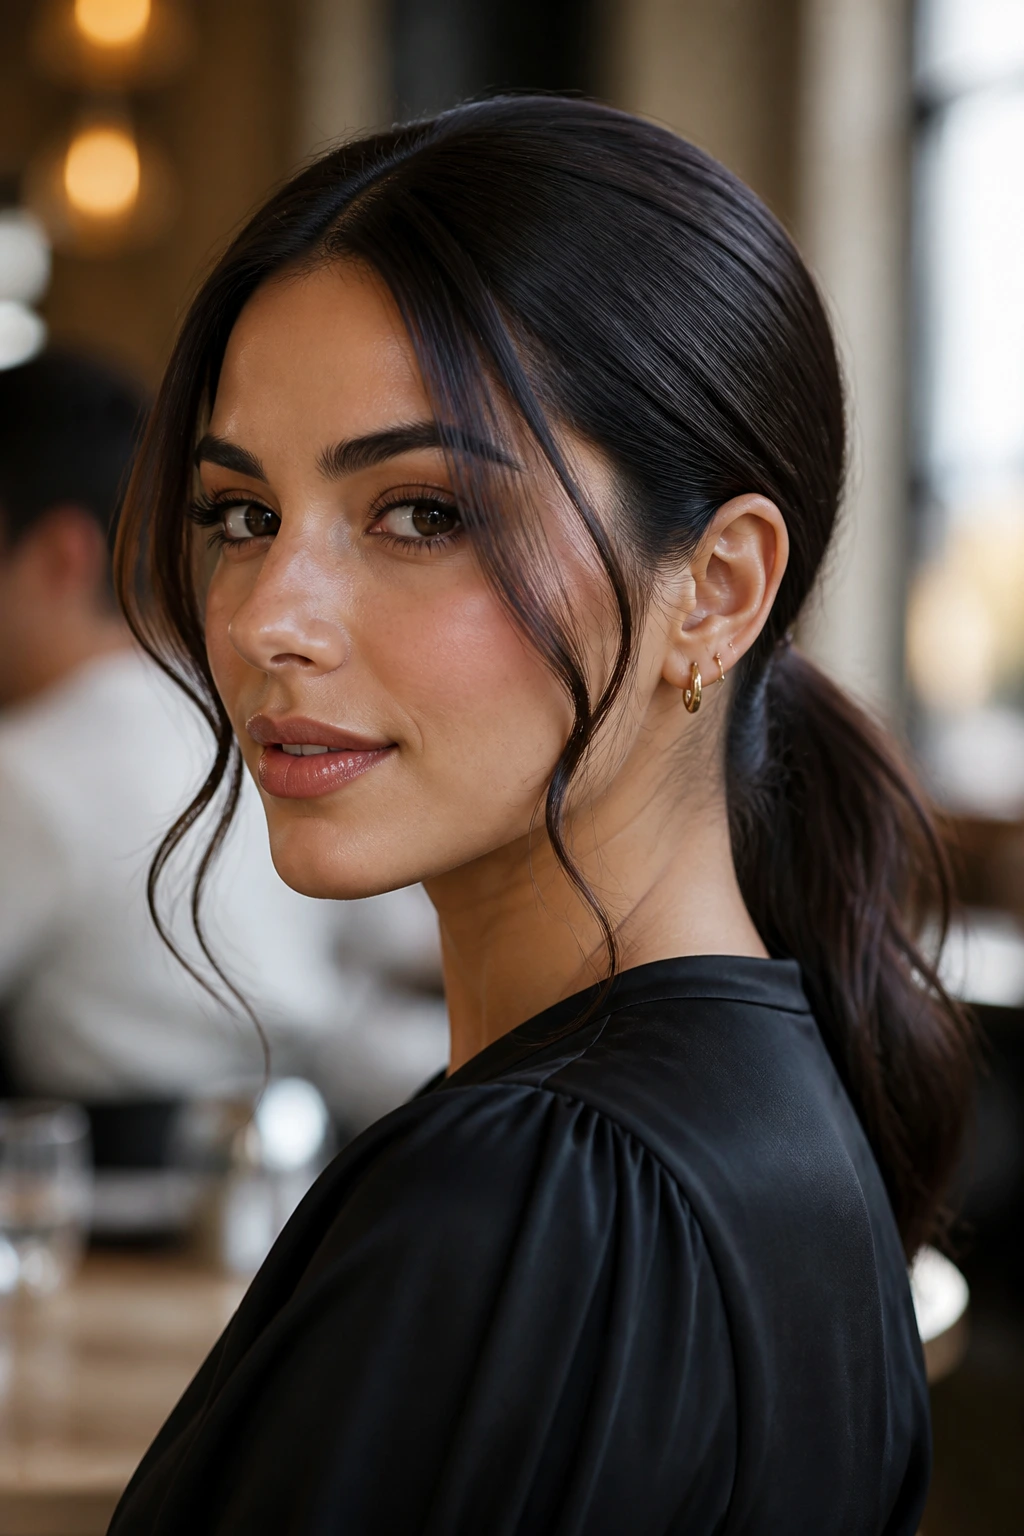
9. The Sleek High Pony Blowout
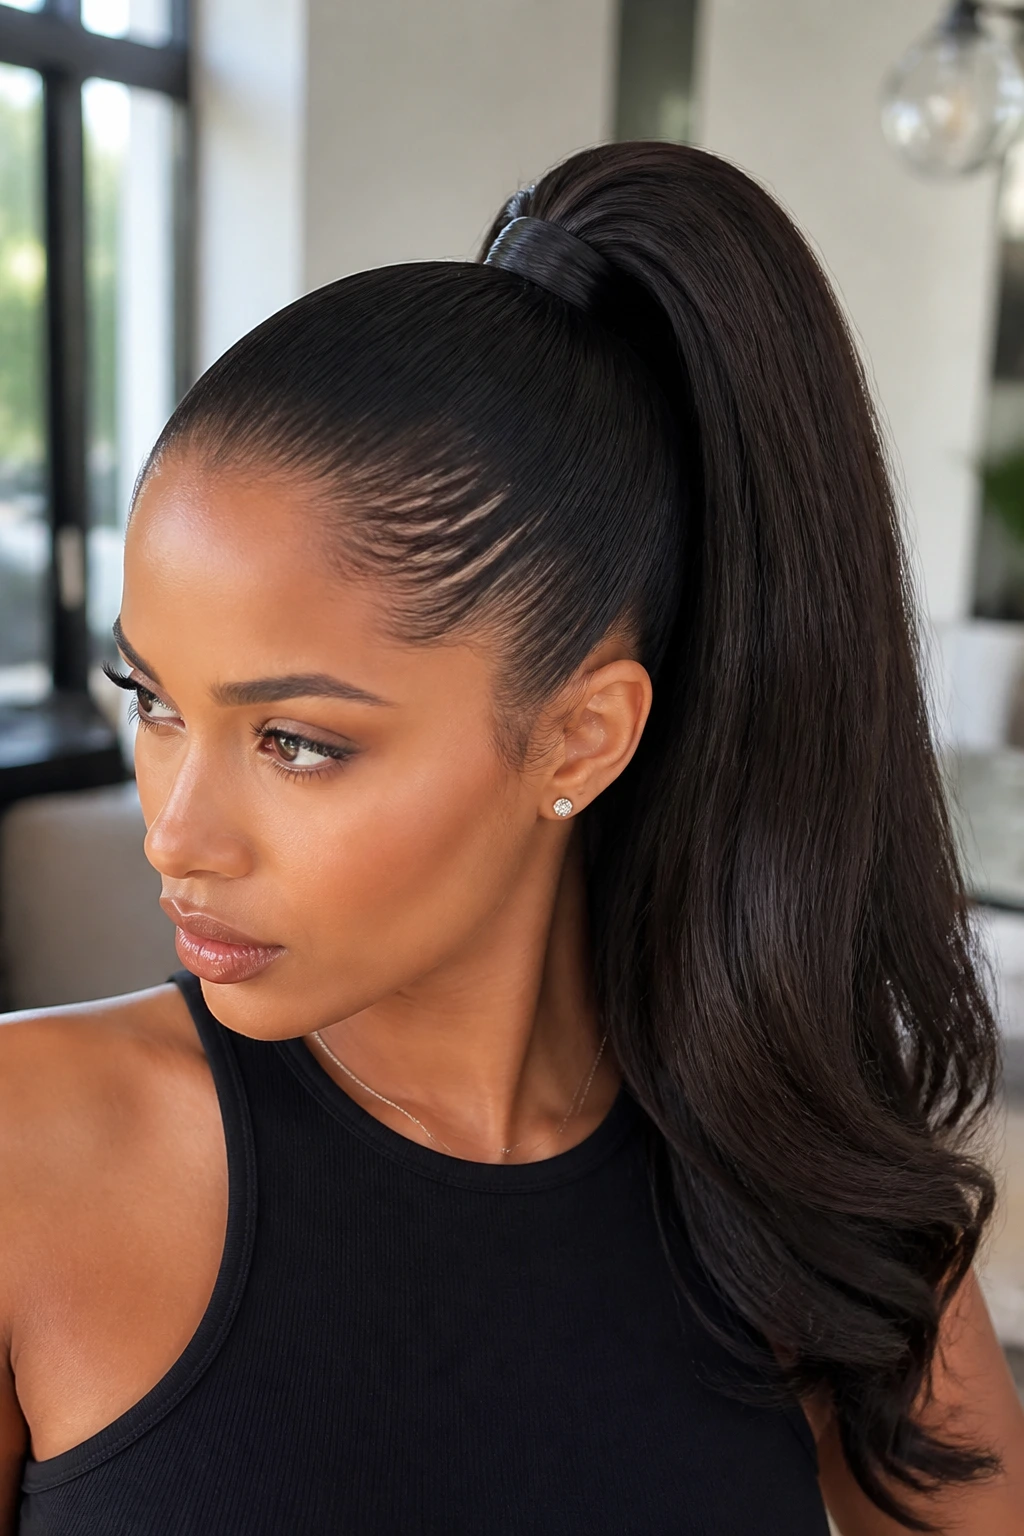
A ponytail is a staple for thick hair, but it often looks unkempt if the hair itself isn’t smoothed first. To get that clean, “snatched” look, you need to blow-dry your hair in the direction of the ponytail before you ever tie it up. Focus on the hairline—the baby hairs and the nape of the neck need to be perfectly smooth.
Directing the Flow
Pull your hair up toward the crown of your head while drying. This ensures that when you actually tie the ponytail, there are no bumps or loose strands. If you leave your hair messy and then try to “tame” it into a pony, you will always end up with a bumpy finish.
Pro Finish
Once the pony is tied, take a small half-inch section of hair from the underside, wrap it around your hair tie to hide it, and pin it underneath. This extra step elevates the entire look from “gym hair” to a polished daytime style.
10. The Vintage-Inspired Bump
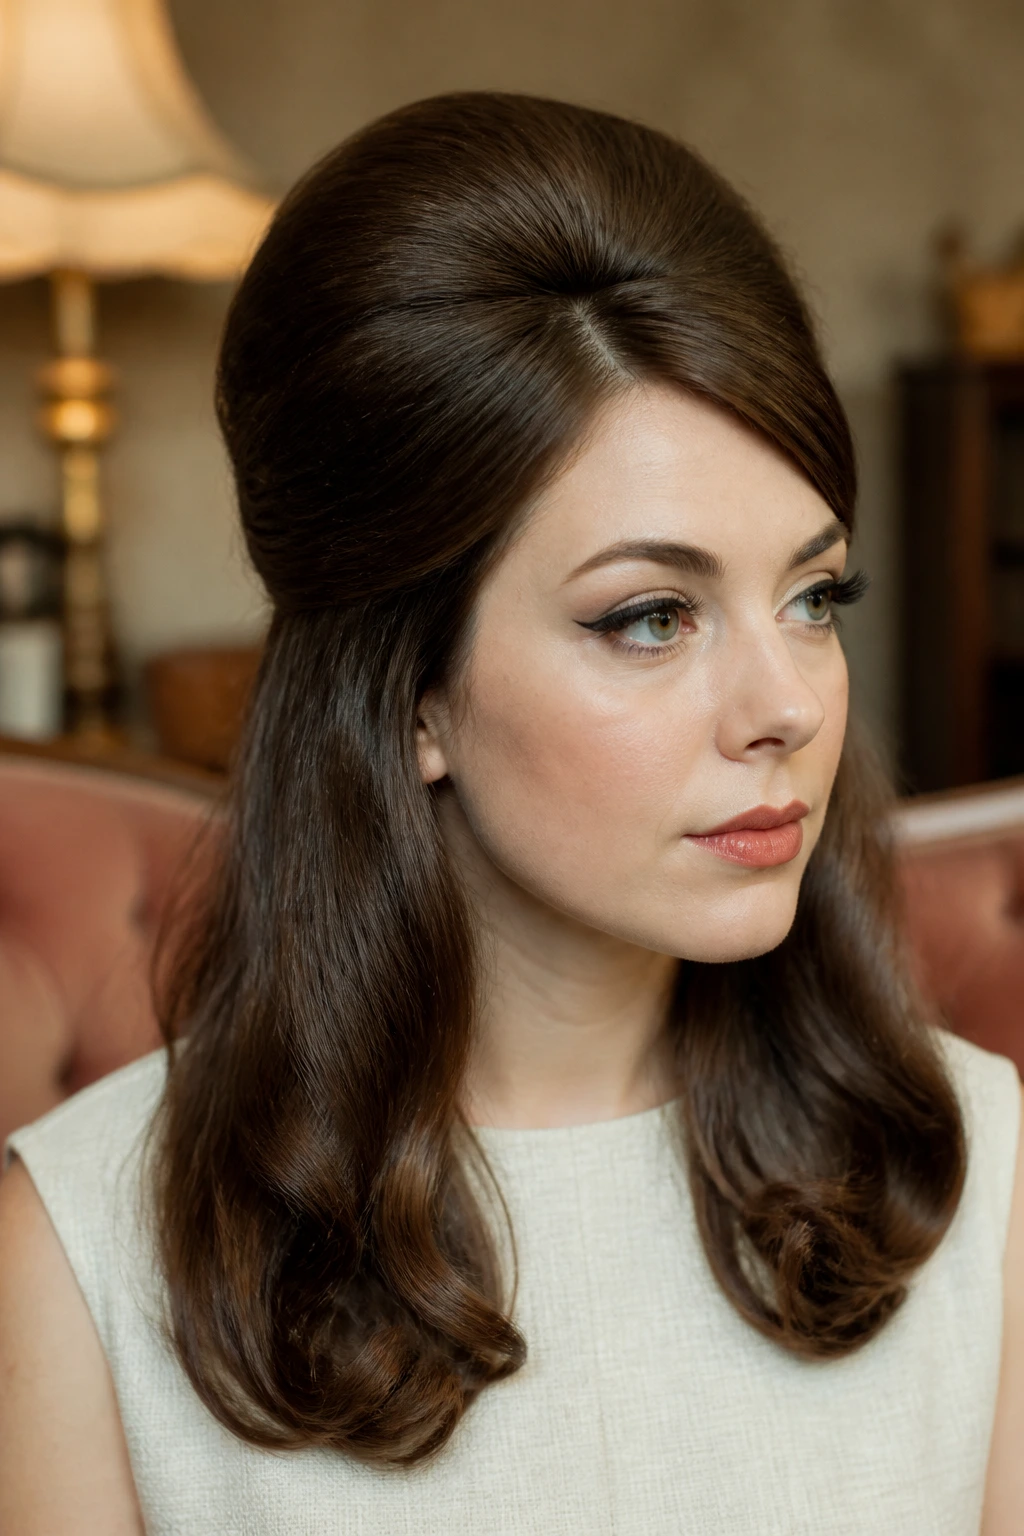
For those who love a bit of retro flair, a slight bump at the crown is the perfect way to manage thick, heavy hair. Thick hair actually holds a “tease” or a “bump” better than any other texture because the individual strands are strong enough to support the weight of the backcombing.
Building the Structure
Dry your hair normally, but when you reach the crown, lift the hair vertically and dry the roots for at least thirty seconds. Use a small round brush to create a little “nest” of volume at the roots. Once dry, lightly tease the underside of that section with a fine-tooth comb.
The Final Smoothing
Smooth the top layer of hair back over the teased section. You don’t need a massive beehive—just enough lift to give the hair a graceful, rounded shape. This style is surprisingly durable and can last well into the evening, provided you don’t over-brush it.
11. The Wrapped-Around Beach Waves
If you have thick, coarse hair, traditional beach waves created by an iron might feel too crispy or dry. Instead, create your waves while you blow-dry. Use a large round brush to catch the mid-lengths, and instead of pulling straight down, roll the brush and flick your wrist to create a slight bend in the hair.
The “Flick” Technique
This takes practice. As you pull the brush through, you are essentially performing a subtle rotation. It’s not a full curl, just a gentle wave. Do this on every section, and your hair will have a natural-looking texture that doesn’t feel like you used a hot tool at all.
Why This Beats Hot Tools
Heat damage is a major concern for thick hair, which is already prone to dryness. By creating your waves during the drying process, you are only exposing your hair to high heat once. If you blow-dry and then use a curling iron, you are double-heating your strands, which will eventually lead to breakage and dullness.
12. The Dramatic Deep-Part Wave

Similar to the side-part swoop, this style focuses on length and drama. Take a deep part and use a medium round brush to bevel the ends inward, but keep the top section flat and smooth. It is a look that screams elegance and works incredibly well for formal events.
Managing the Weight
With a deep part, one side of your head will inevitably have more hair than the other. This can lead to the “heavy side” feeling weighed down. To combat this, use a lightweight root-lifting spray on that side only. It will give the extra volume the support it needs to stay lifted rather than sagging against your temple.
The Gloss Finish
Because this is a more formal, structured look, you want the shine to be impeccable. Use a finishing spray that contains a light shimmer or a glossing agent. Avoid anything matte or “texturizing,” as it will ruin the sleek aesthetic you are aiming for.
13. The Half-Up Top Knot Blowout
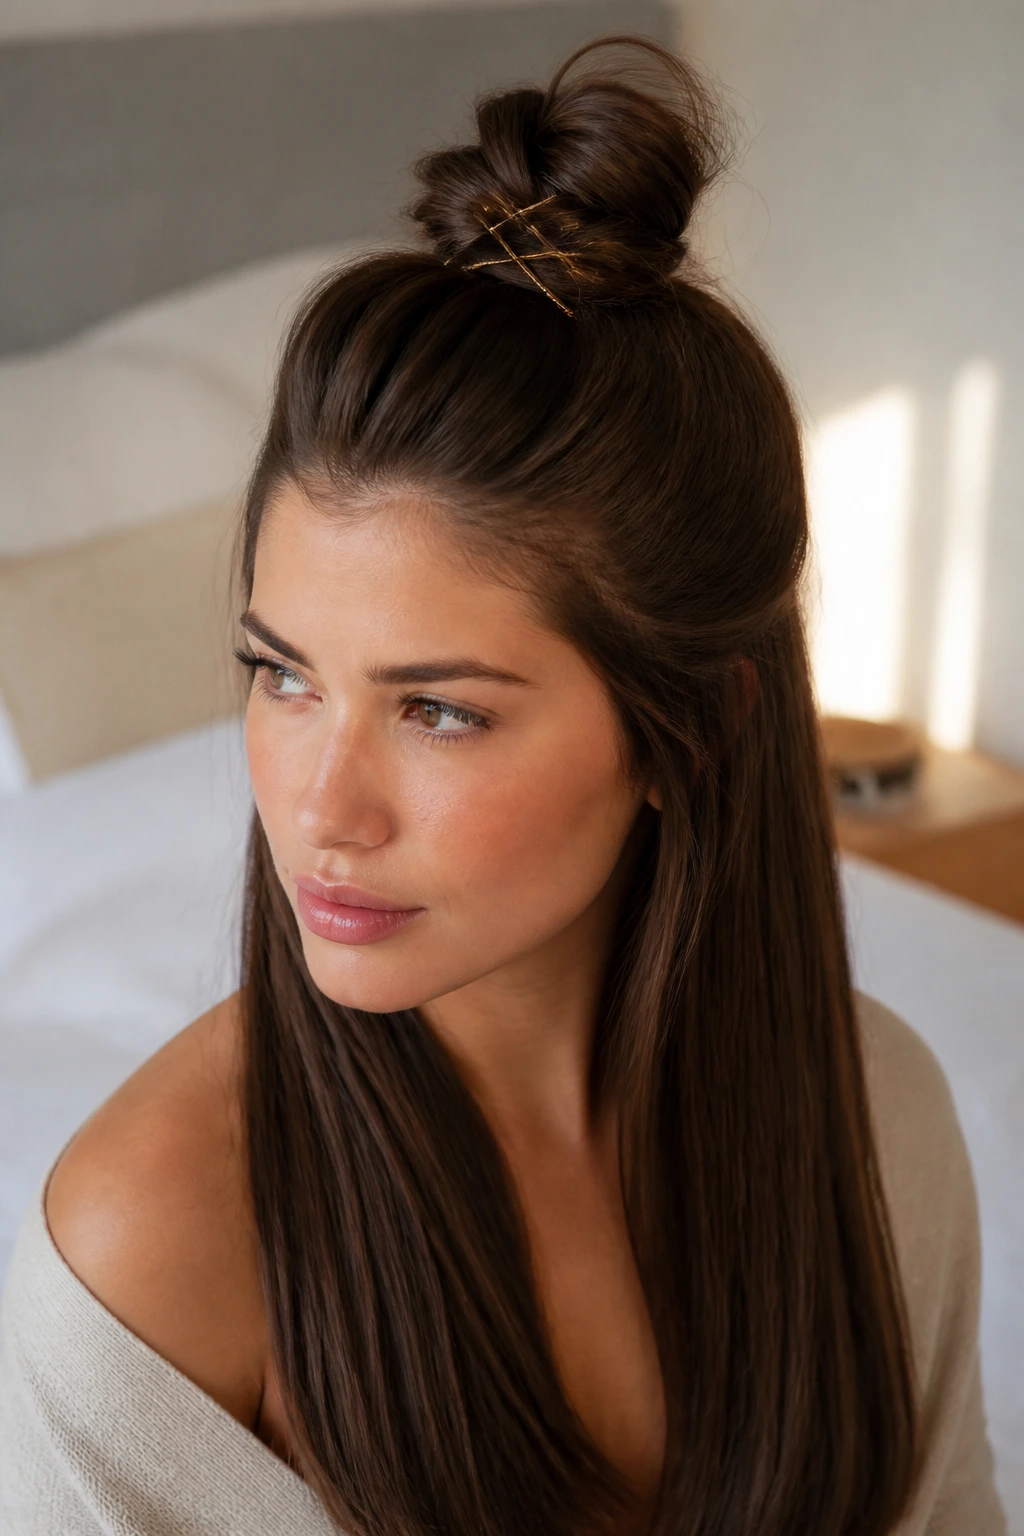
This is a fantastic way to showcase your thick hair’s volume while keeping it out of your eyes. Blow-dry the bottom two-thirds of your hair to be smooth and straight, but leave the top third to be slightly messy and textured. The contrast between the smooth length and the voluminous knot is modern and fun.
Constructing the Knot
When you are drying the top section, use your fingers to scrunch the hair, creating a bit of natural wave. When you pull it into a knot, don’t make it perfect. A slightly messy, looping knot looks much better than a tight, flat bun, which can look out of place against the rest of your voluminous hair.
Securement
Thick hair is heavy, so a standard elastic might not hold a knot all day. Use two large bobby pins placed in an “X” shape at the base of the knot for extra security. It’s a small detail, but it prevents that sagging, heavy-knot feeling that happens by lunchtime.
14. The Flipped-Out Retro 70s Style
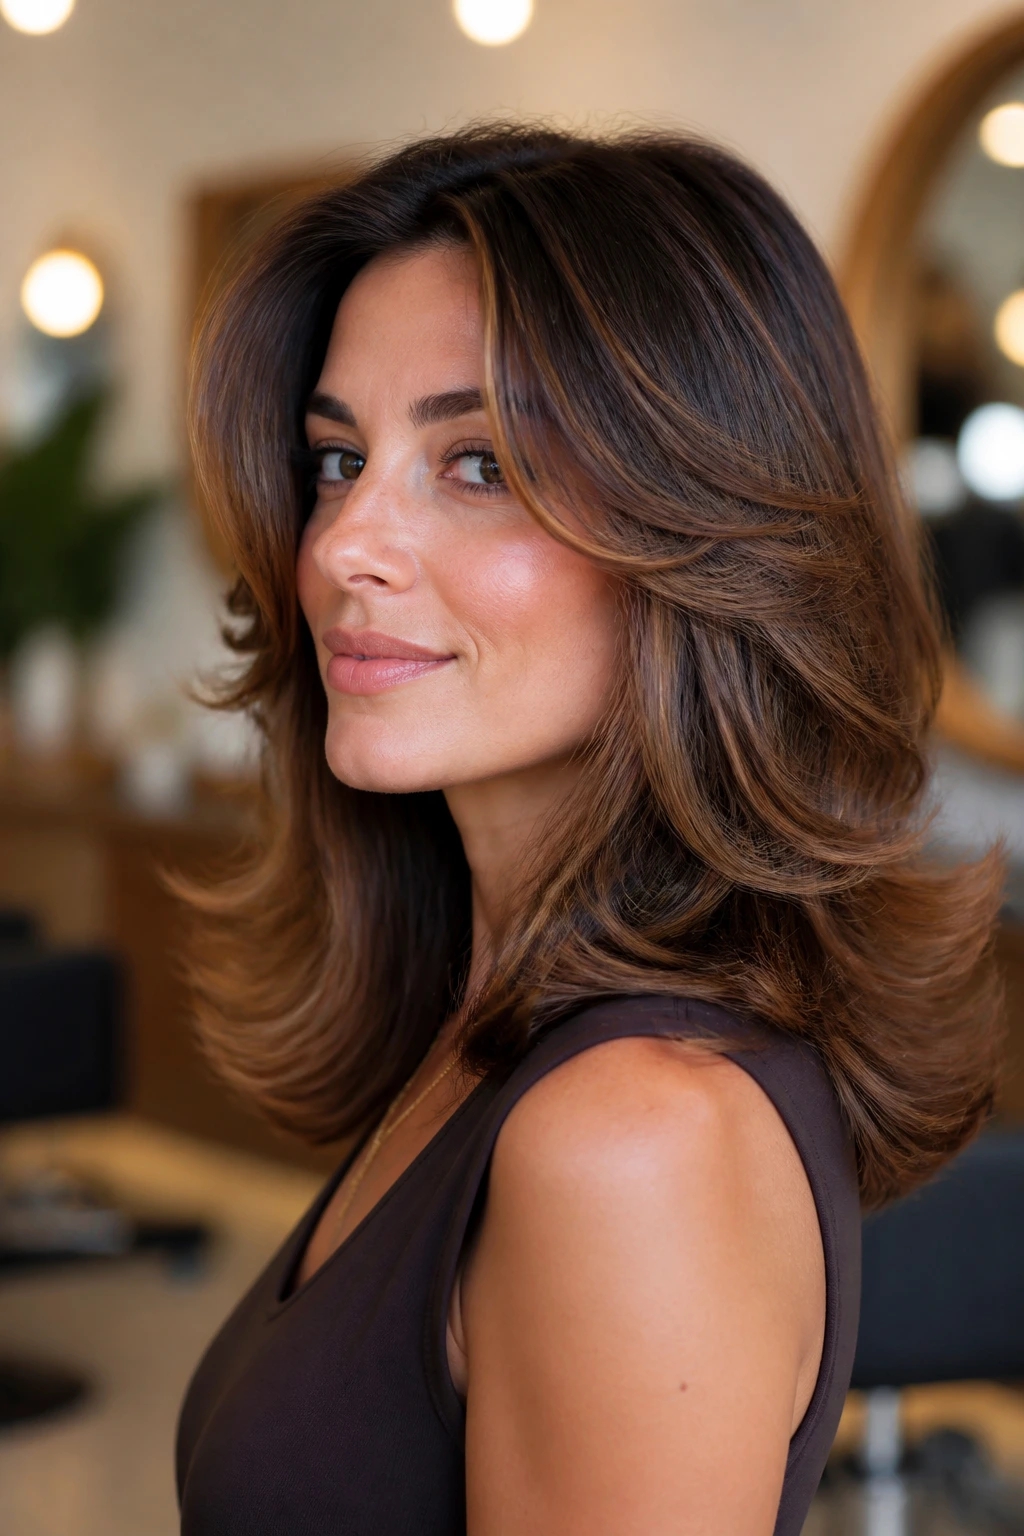
Move over, inward-curling bobs—the flipped-out end is the new standard for thick, layered hair. This style celebrates the weight of your hair rather than fighting it. You use a round brush to flick the ends of your hair outward, away from your neck.
The Outward Flick
This style works best if you have face-framing layers. When you reach the ends of your hair with the round brush, roll it toward your shoulder instead of your face. It requires a bit of confidence to wear, but it is incredibly flattering and makes the hair look bouncy and full of life.
Perfecting the Shape
Once the ends are flipped, do not touch them. Let them cool completely. If you touch them while they are still warm, the weight of the hair will pull the flick straight. The coolness is what locks that dramatic 70s shape in place.
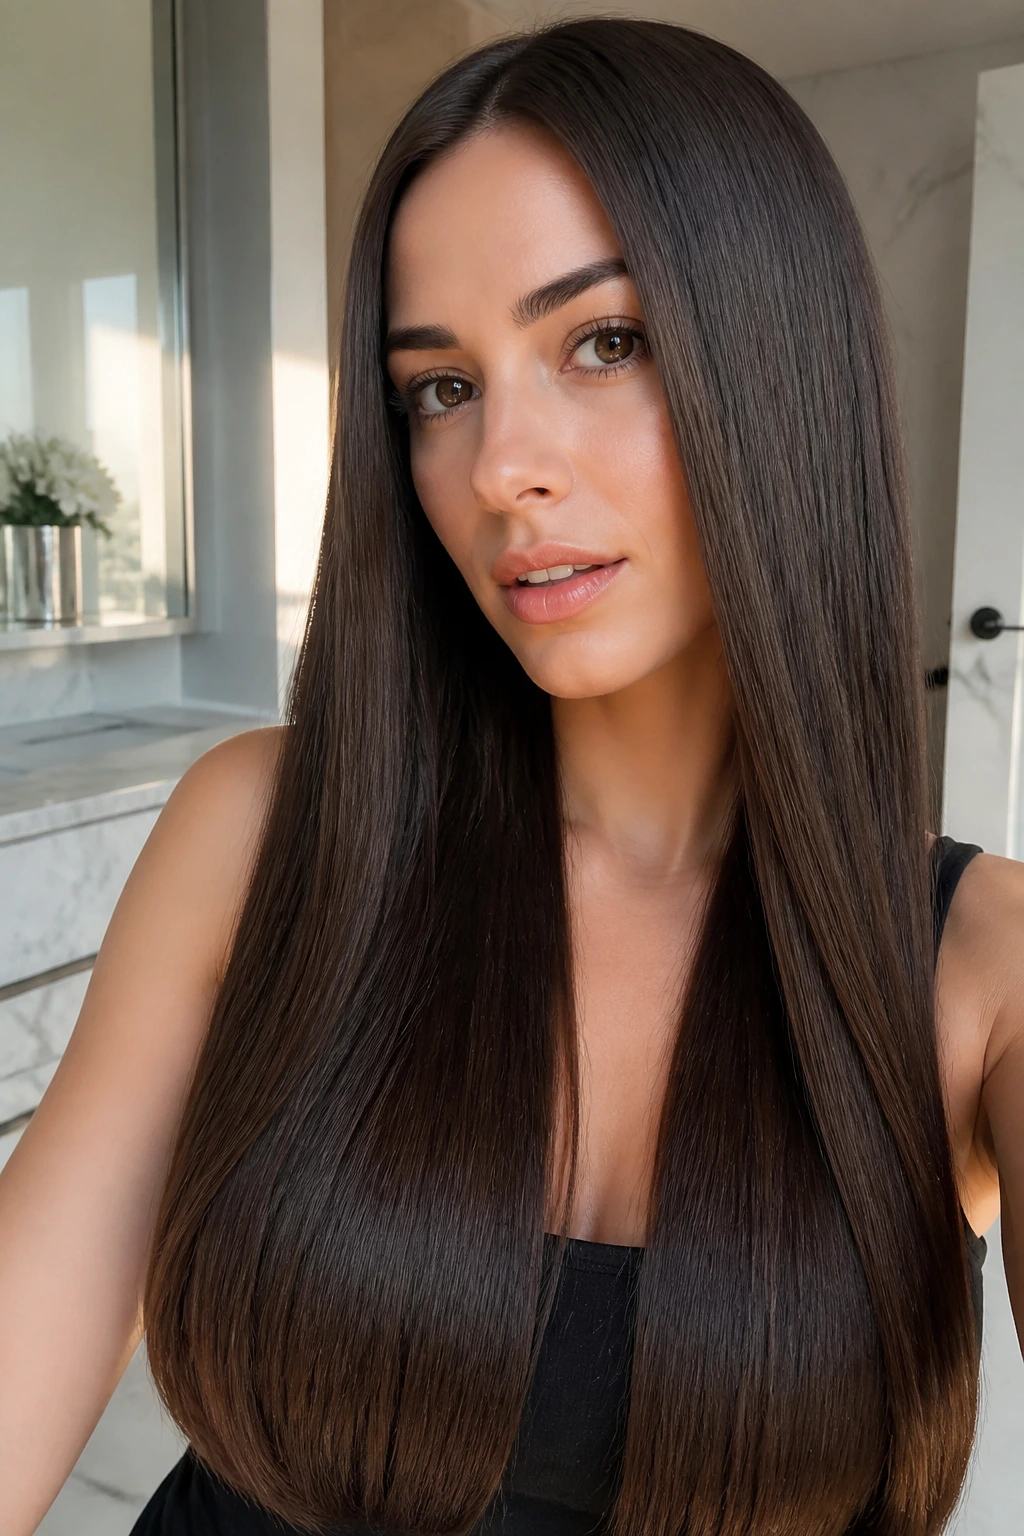
15. The Silky Straight Taper
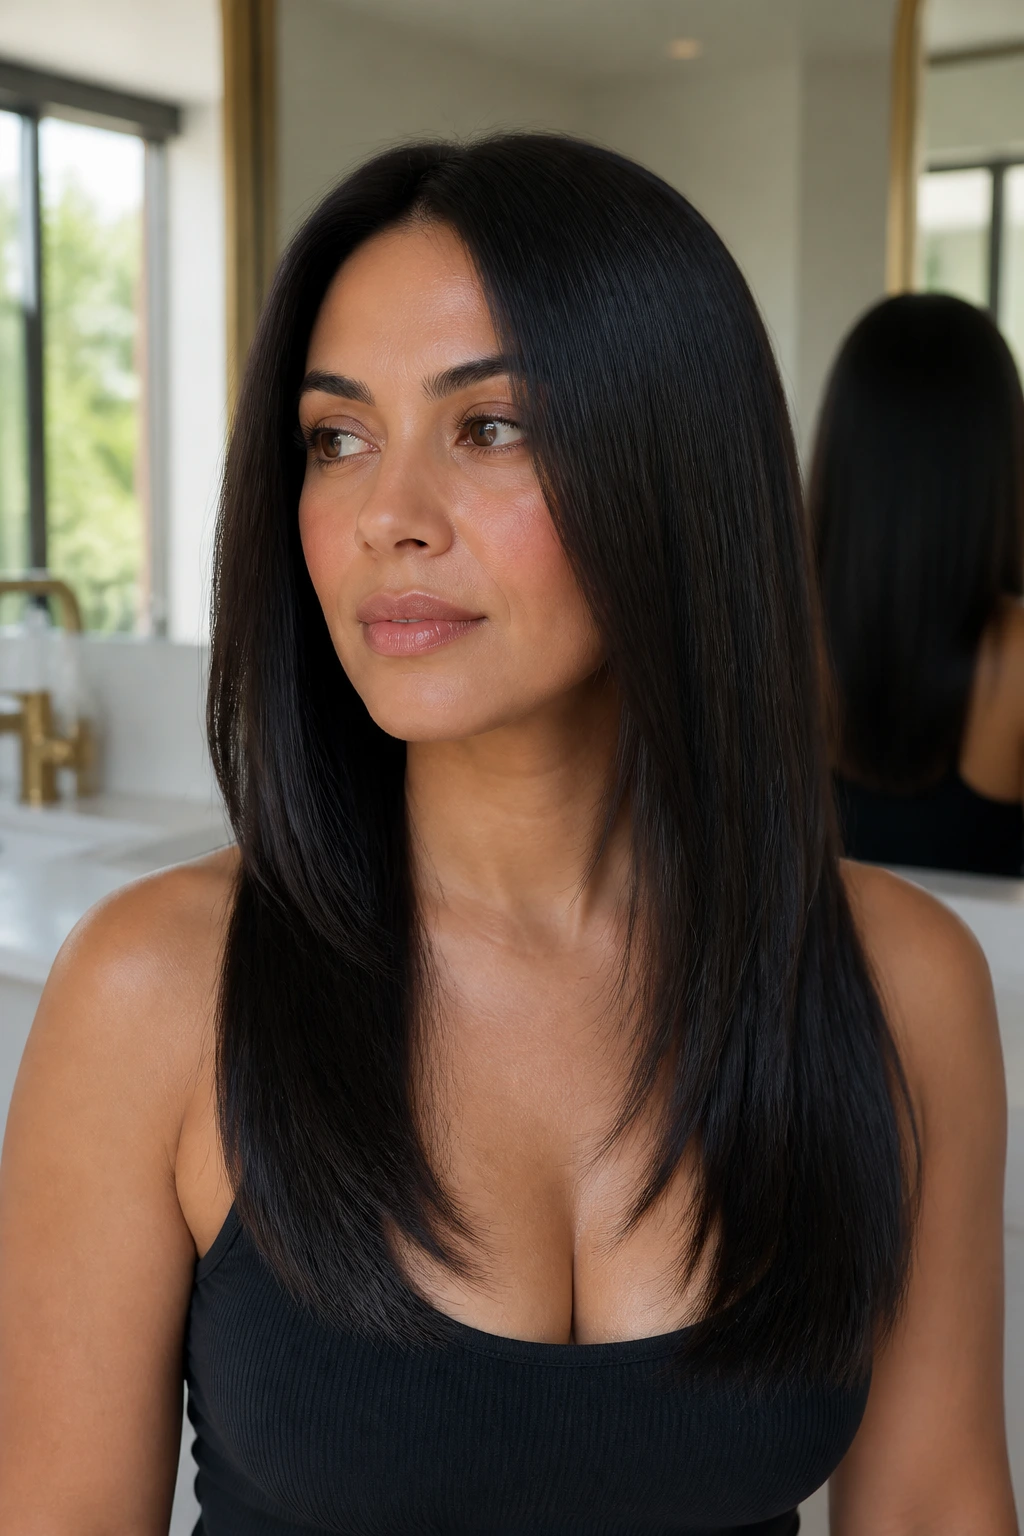
If your hair is thick and has a tendency to get bushy at the bottom, the tapered look is your best friend. This style involves drying the hair perfectly straight but using a product that creates a “tapered” effect, making the ends appear thinner and sleeker than they actually are.
Product Selection
Start with a straightening cream that contains silicone or a smoothing oil. Apply it while the hair is damp, ensuring you coat the ends thoroughly. As you blow-dry, pull the hair downward with a boar-bristle brush, focusing on flattening the cuticle to the maximum.
Why This Look Lasts
The taper relies on weight. By keeping the hair flat and smooth, you are effectively “compressing” the volume. It is a very sophisticated look that works for office environments or formal dinners, and it holds up remarkably well in humid conditions because the hair has been so thoroughly sealed.
16. The Natural Volume Boost
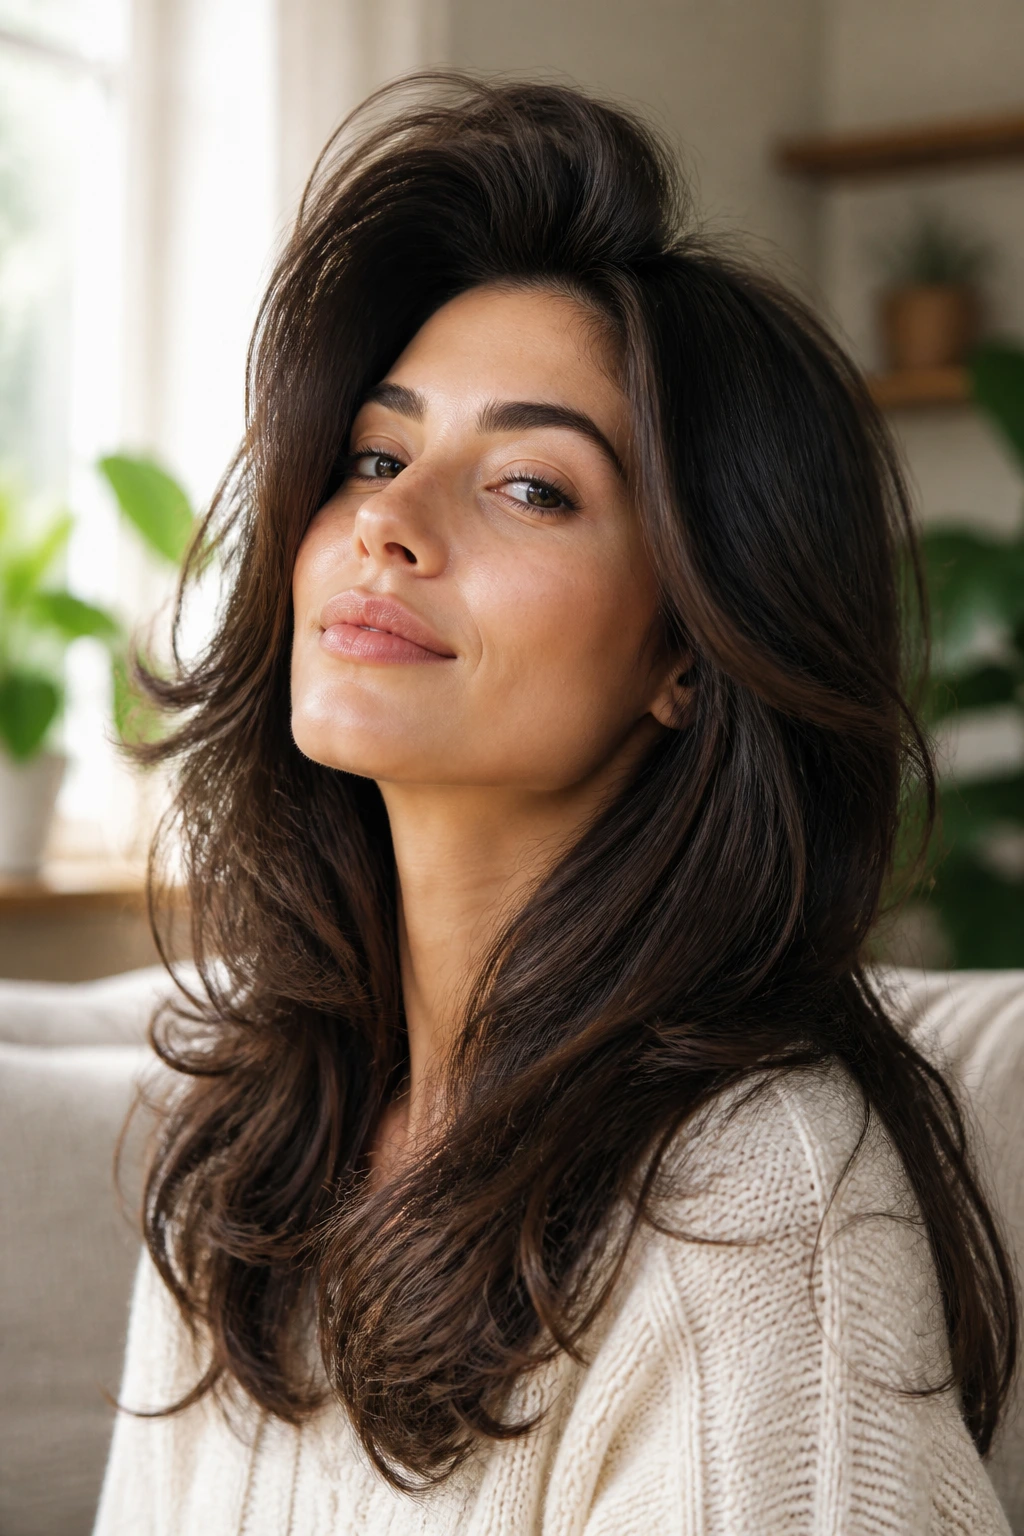
Some people spend their whole lives trying to get volume; if you have it naturally, lean into it. This style is about enhancing your natural density. Instead of using a brush, use your head-down method—flip your head upside down and dry the roots until they are completely dry, then brush through the lengths to smooth them.
Avoiding the “Triangle”
If you dry your hair upside down, you will have massive volume, but you might also get that dreaded triangle shape. To stop this, once you flip your head back over, take a round brush and smooth just the top layer of your hair. This gives you the volume of a wild blowout with the polished finish of a controlled one.
The Balancing Act
- Volume at the crown: Good.
- Volume at the ears: Usually what causes the triangle.
- The secret: Keep the brushwork focused on the top layer and the area around your ears to ensure the density is distributed evenly.
17. The Sleek Bun Prep
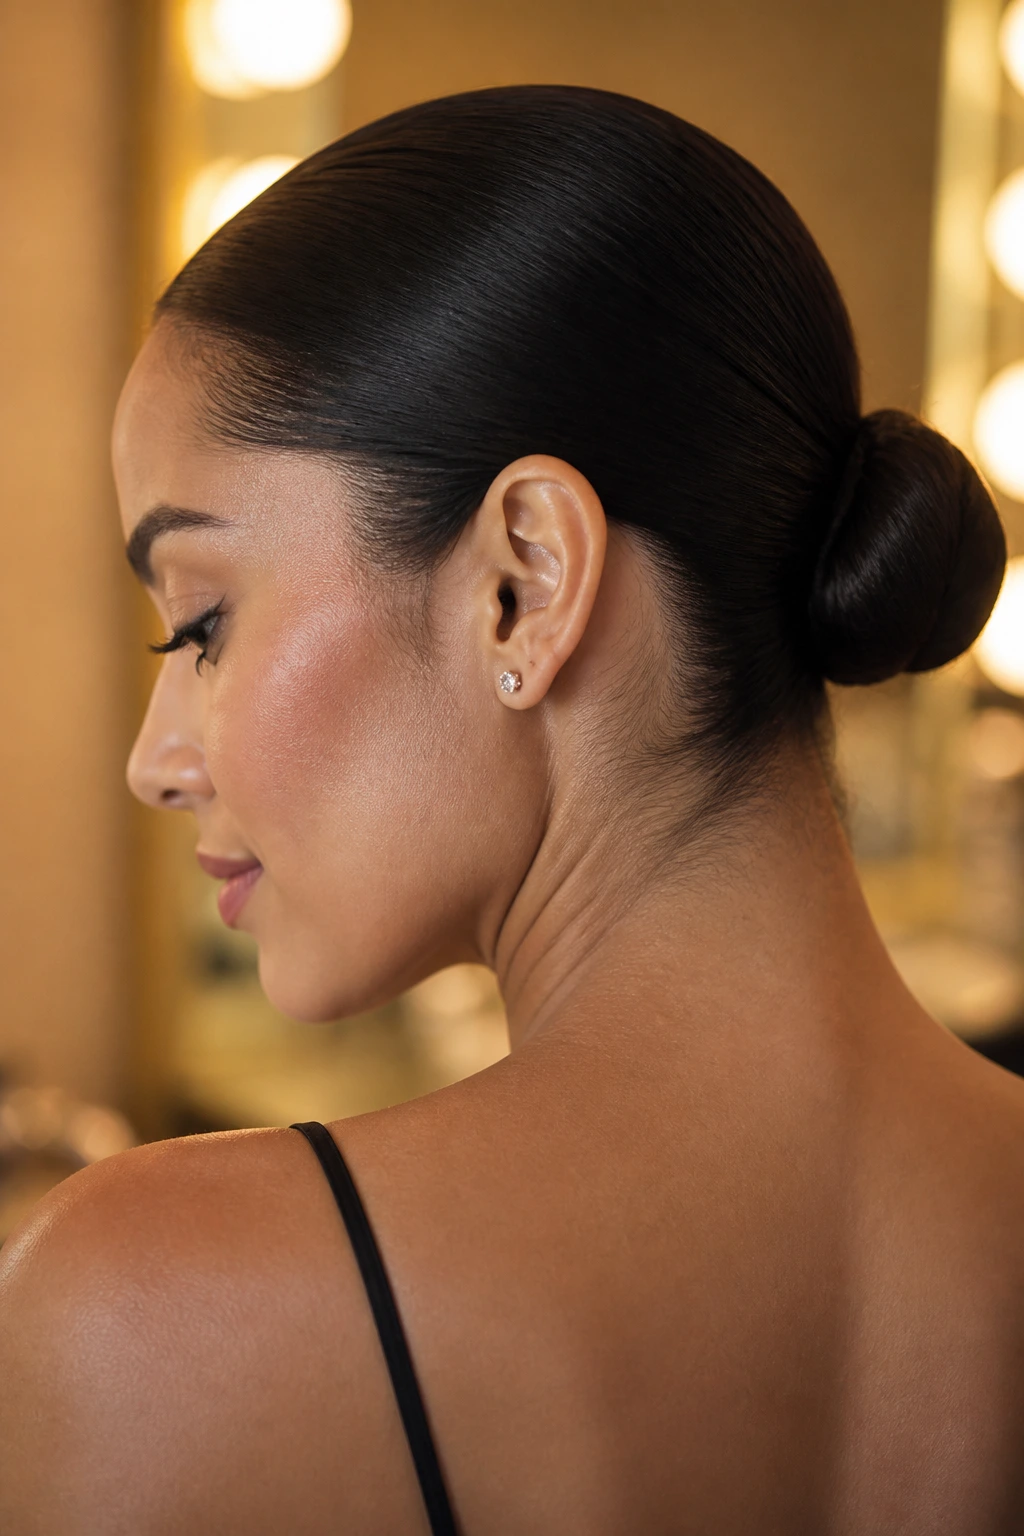
Before you put your hair in a sleek bun, the blowout matters. A rough-dried bun looks messy, but a blowout-prepared bun looks intentional. Start by drying your hair with a focus on smoothing the hairline. Use a small, firm-bristle brush to catch the tiny hairs at the nape of the neck and the temples.
The Importance of Tension
When you are drying your hair in preparation for a bun, you are essentially “setting” the direction of the hair. If you dry it messy, your bun will have bumps. If you dry it smooth, your bun will look like a high-fashion accessory.
Finishing the Bun
Once dry, apply a small amount of pomade to your palms and smooth them over your head as you gather your hair into a ponytail. This creates that high-shine, runway-ready finish that makes a simple bun look like a professional hairstyle.
18. The “Just-Rolled-Out-of-Bed” Waves
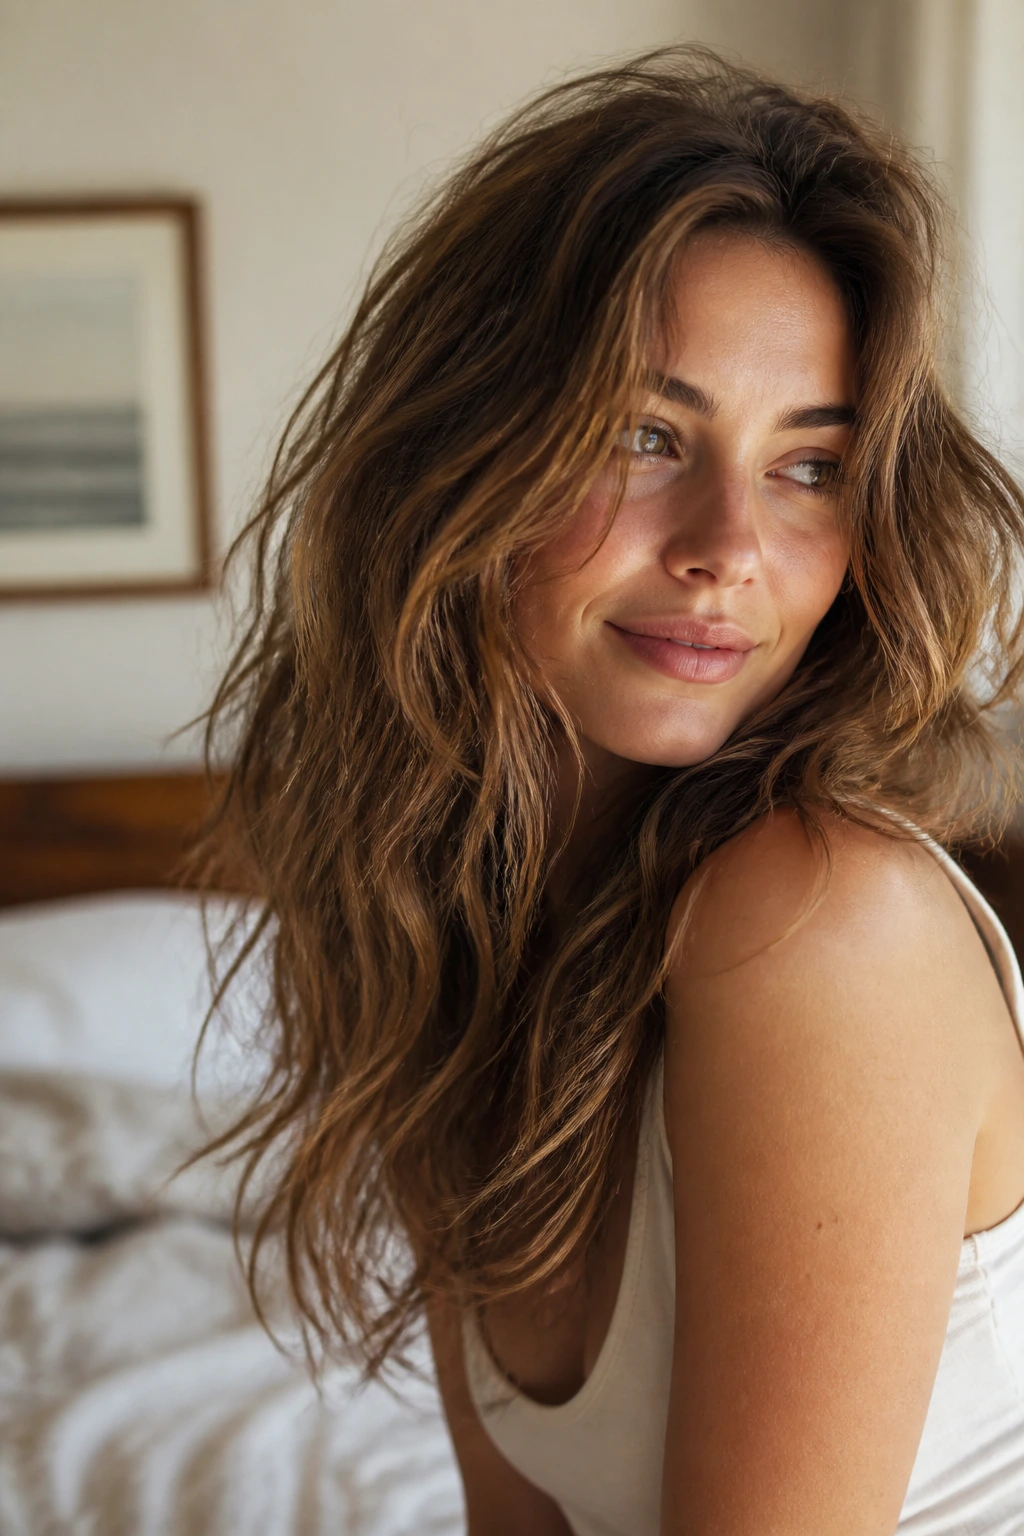
Thick hair often has a bit of an identity crisis—it’s too coarse to be straight and too heavy to be perfectly curly. This style embraces the “in-between.” You create loose waves using a round brush during the blow-dry, but you don’t over-brush them. Leave them slightly separated and textured.
Texturizing Your Blowout
As you dry, use your fingers to “rake” through the curls while you hold the blow-dryer on a medium setting. This breaks up the clumps and leaves you with a soft, lived-in look that feels very current. It’s perfect for a weekend vibe where you want to look put-together but not like you spent two hours in front of a mirror.
Maintaining the Texture
Don’t use a heavy oil here. A light texturizing spray or even a very fine mist of sea salt spray will keep the waves separated and airy. If you use an oil, the hair will clump together and you will lose that soft, tousled effect.
19. The Polished Ponytail Flip
This is a variation of the sleek ponytail, but with a focus on the tail itself. After blow-drying the hair smooth to put it into a high ponytail, use your round brush to flip the ends of the ponytail outward. It adds a bit of 90s-inspired flair and movement to an otherwise static look.
Achieving the Flick
Because the ponytail is thinner than the rest of your hair, you can dry the ends quickly with a small round brush. It takes all of thirty seconds, but it changes the entire geometry of the ponytail. It’s a small, easy detail that makes a standard pony feel like a deliberate style choice.
Ensuring It Stays
A quick mist of hairspray on the ends of the ponytail will keep the flick from falling straight. You want it to look bouncy and energetic, not limp.
20. The Tucked-Behind-Ear Style
If you have a thick mane, tucking it behind your ears can often feel like the hair just “pops” back out immediately. This style uses the blow-dryer to “train” the hair to stay behind the ears. As you dry, pin the hair behind your ears with a large clip, and dry that area thoroughly.
Training the Hair
The heat helps the hair “set” in that tucked position. Once dry and cooled, remove the clip. The hair will stay tucked much more effectively than if you had simply pushed it back with your hands.
Why This Style Works
It opens up the face and showcases earrings while still allowing you to wear your hair down. It is a very practical yet elegant way to manage the weight of thick hair during the day.
21. The Volume-Controlled Side Sweep
This is for the person who loves a dramatic look. By using a large round brush to sweep the hair across the forehead, you create a soft, alluring shape that hides part of the face. It is very dramatic, very thick-hair-friendly, and surprisingly easy to do if you have the right brush.
The Sweep Technique
- Create a deep side part.
- Take the heavy section of hair and brush it across your forehead, toward the opposite side of your head.
- As you dry it, keep the brush moving.
- Flip the hair back to its original side.
Softness vs. Stiffness
Be careful not to over-heat this section, or it will look like a solid wall of hair. You want movement. Once it’s dry, use your fingers to gently break up the sweep so that it feels light and natural, not shellacked into place.
22. The Sleek Low Pony with Front Tendrils
For a look that is soft and romantic, try the sleek low pony with front tendrils. Blow-dry the majority of your hair into a smooth low ponytail, but leave two or three strands at the front to be styled separately. You can curl these front pieces with a round brush to create a soft, face-framing wave.
The Contrast
The contrast between the tight, sleek ponytail and the soft, wavy front pieces is what makes this style so effective for thick hair. It balances out the density by keeping the bulk at the back and the lightness at the front.
Final Polish
Use a tiny amount of smoothing cream on the front tendrils to ensure they don’t frizz. This style is incredibly versatile, working just as well for a casual coffee date as it does for a formal event.
Final Thoughts
Managing thick hair is rarely about finding the “magic” product; it is about respecting the weight and volume you already possess. Every blow-dry is an opportunity to sculpt that volume into something that works for you, rather than something that feels like an inconvenience. The styles listed above all rely on the same fundamental principle: control the moisture, use the right tension, and allow the hair to cool into the shape you want.
Do not be afraid to spend the extra few minutes on sectioning. It is the single most common mistake people with thick hair make—trying to dry a massive section at once. By slowing down and drying in smaller, intentional clusters, you will find that your blowout lasts twice as long and looks twice as good. Ultimately, the best hairstyle for your thick hair is the one that makes you feel confident and comfortable, even if it takes a little bit of practice to master the brush work. Take your time, focus on the cooling phase of the style, and enjoy the process of turning that wild volume into a deliberate, polished look.