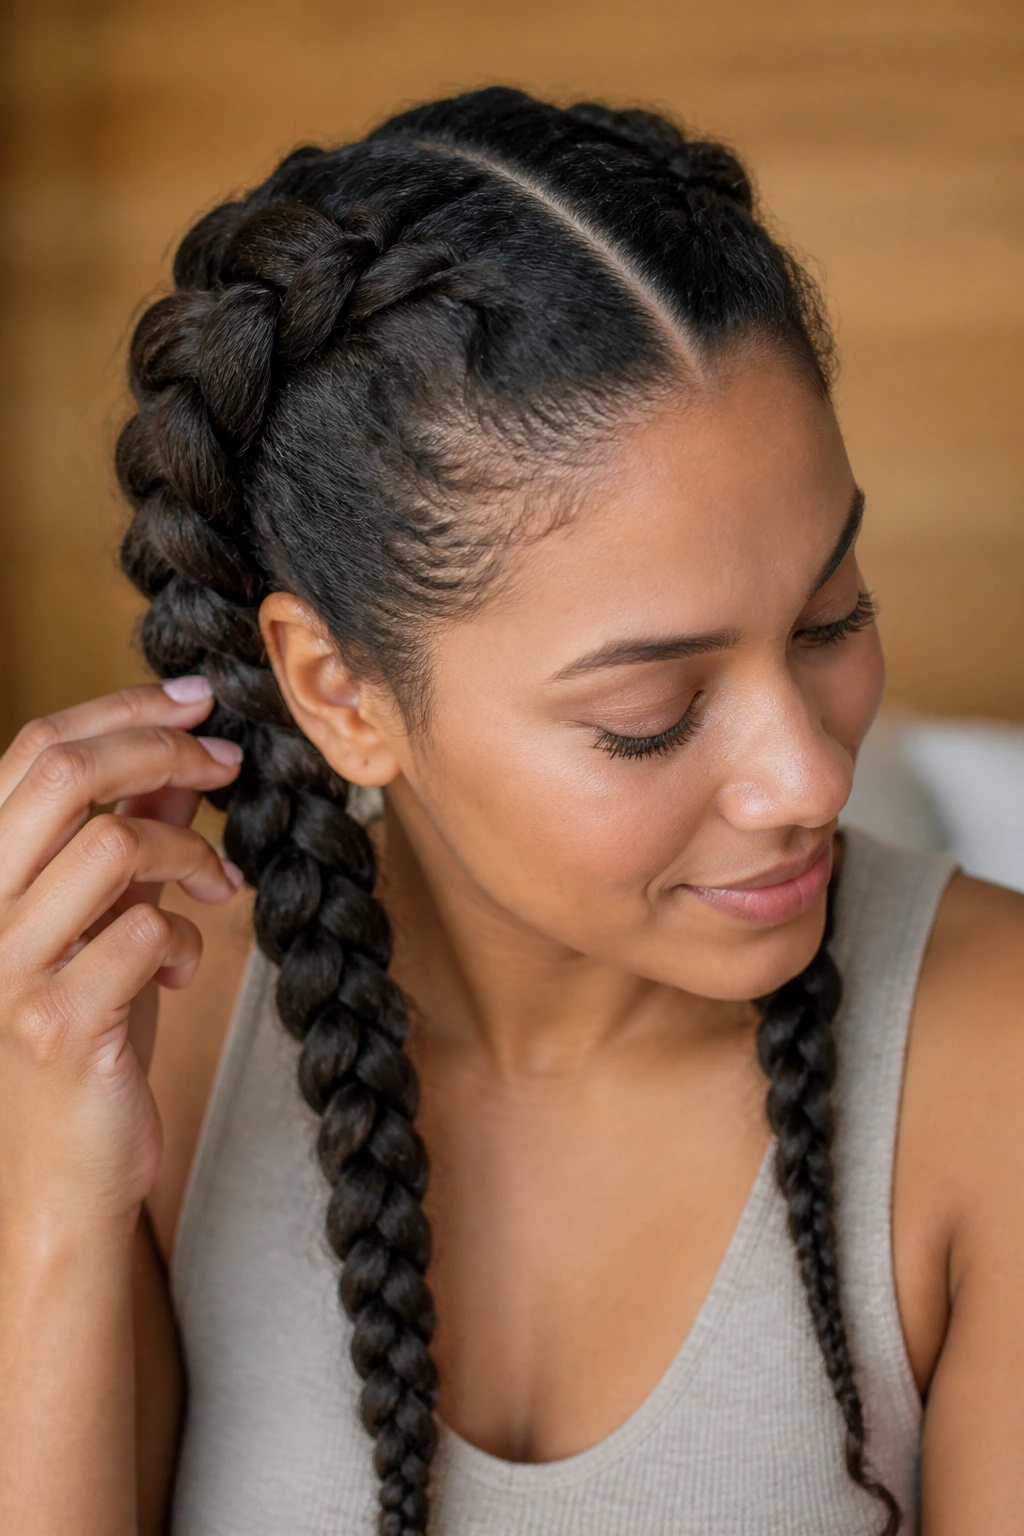
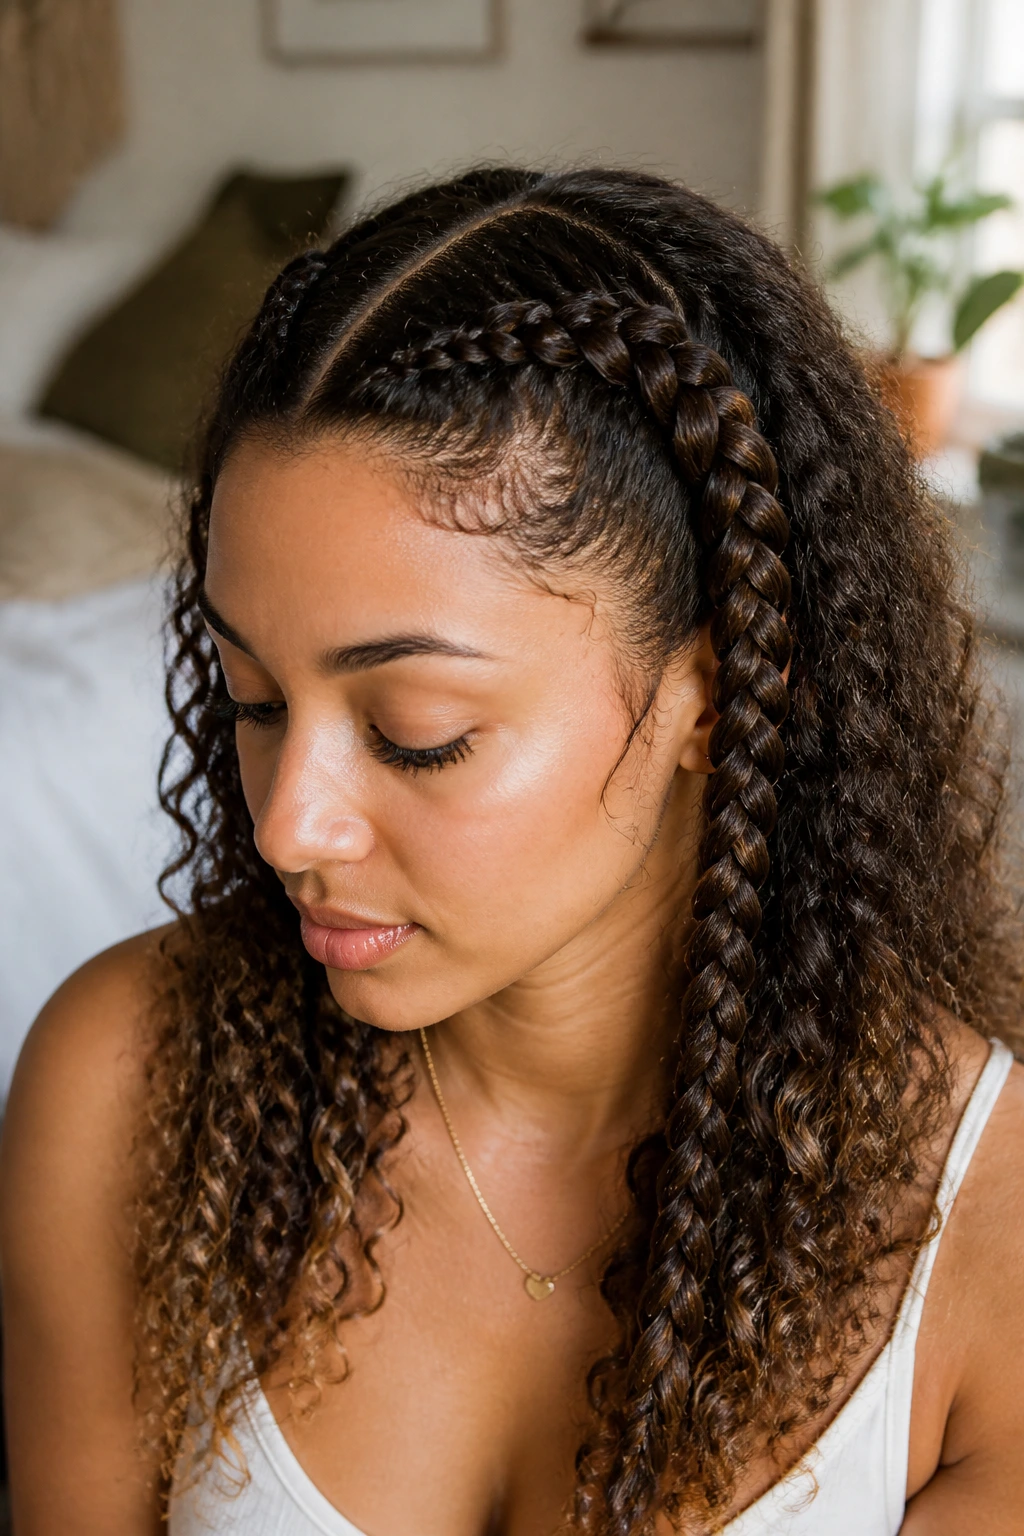
Mastering two Dutch braids on curly hair is often the ultimate test of patience for anyone with textured locks. It is a protective style that looks effortlessly polished once it’s finished, but the process of getting there—dealing with knots, managing volume, and keeping your tension consistent—can be a battle. Whether you are aiming to lock in moisture for a few days, protect your curls from friction while you sleep, or simply get your hair out of your face with a bit of flair, this style is a workhorse in any curly-haired person’s repertoire. The key isn’t perfection; it’s learning how to work with the natural springiness of your texture rather than fighting against it.
When you have tight curls or coils, you aren’t just braiding; you are sculpting. Dutch braids, which are essentially inverted French braids, lay on top of the head rather than tucking underneath. This creates a bold, three-dimensional look that really pops against the volume of curly hair. However, because curly hair doesn’t glide like straight hair, you have to be deliberate with your sectioning and your product choice. If your hair is too dry, it will frizz and snag. If it is too wet, the braids might loosen as they dry. Finding that middle ground is the secret to a style that lasts.
1. Prepping Your Curls for Maximum Control
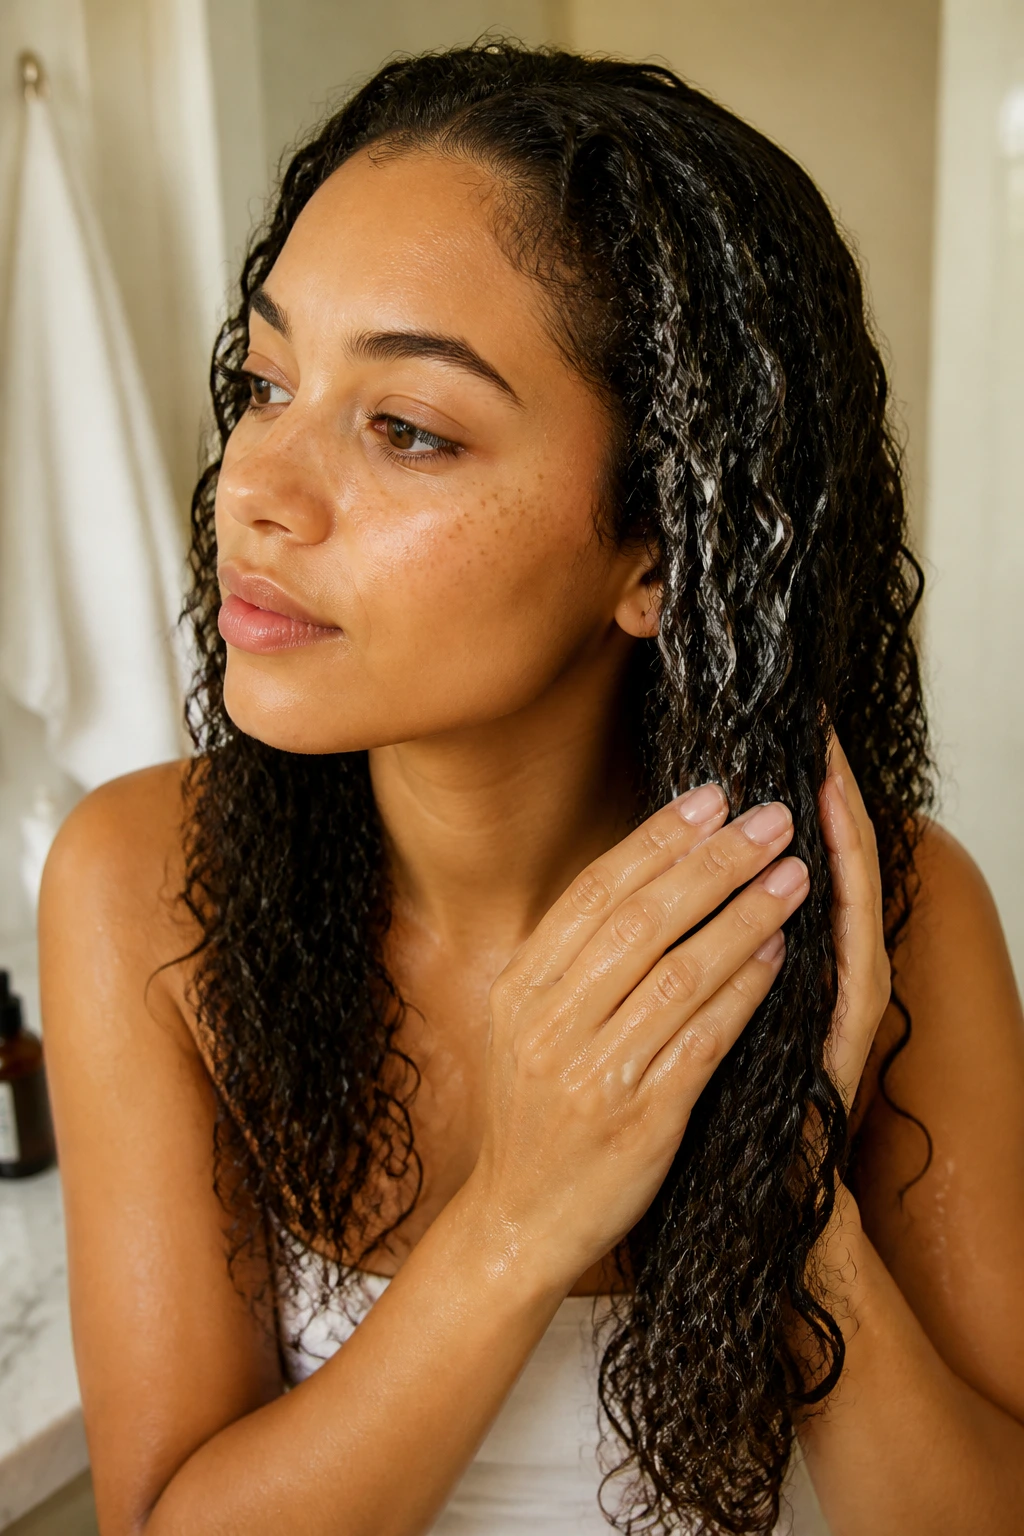
Before you even think about picking up a tail comb, your hair needs to be hydrated and conditioned. Trying to braid dry, thirsty curls is a recipe for breakage and inevitable frustration. You want your strands to be smooth enough to manipulate but not so slick that they slip out of your fingers.
The Importance of Moisture
Start by applying a generous amount of a high-quality leave-in conditioner or a light curl cream throughout your damp hair. You want the product to soak into every single strand. If you skip this, the friction of your fingers weaving the hair will create a halo of frizz before you’ve even finished the first section.
Detangling is Non-Negotiable
Use a wide-tooth comb or a dedicated detangling brush to work through your hair, starting from the ends and moving slowly up toward the roots. Any remaining knot will become a major snag once you start tensioning the braid.
Pro Tip: If your hair is prone to tangling, consider doing a “wet detangle” with a generous amount of slippery conditioner in the shower before you start your styling session.
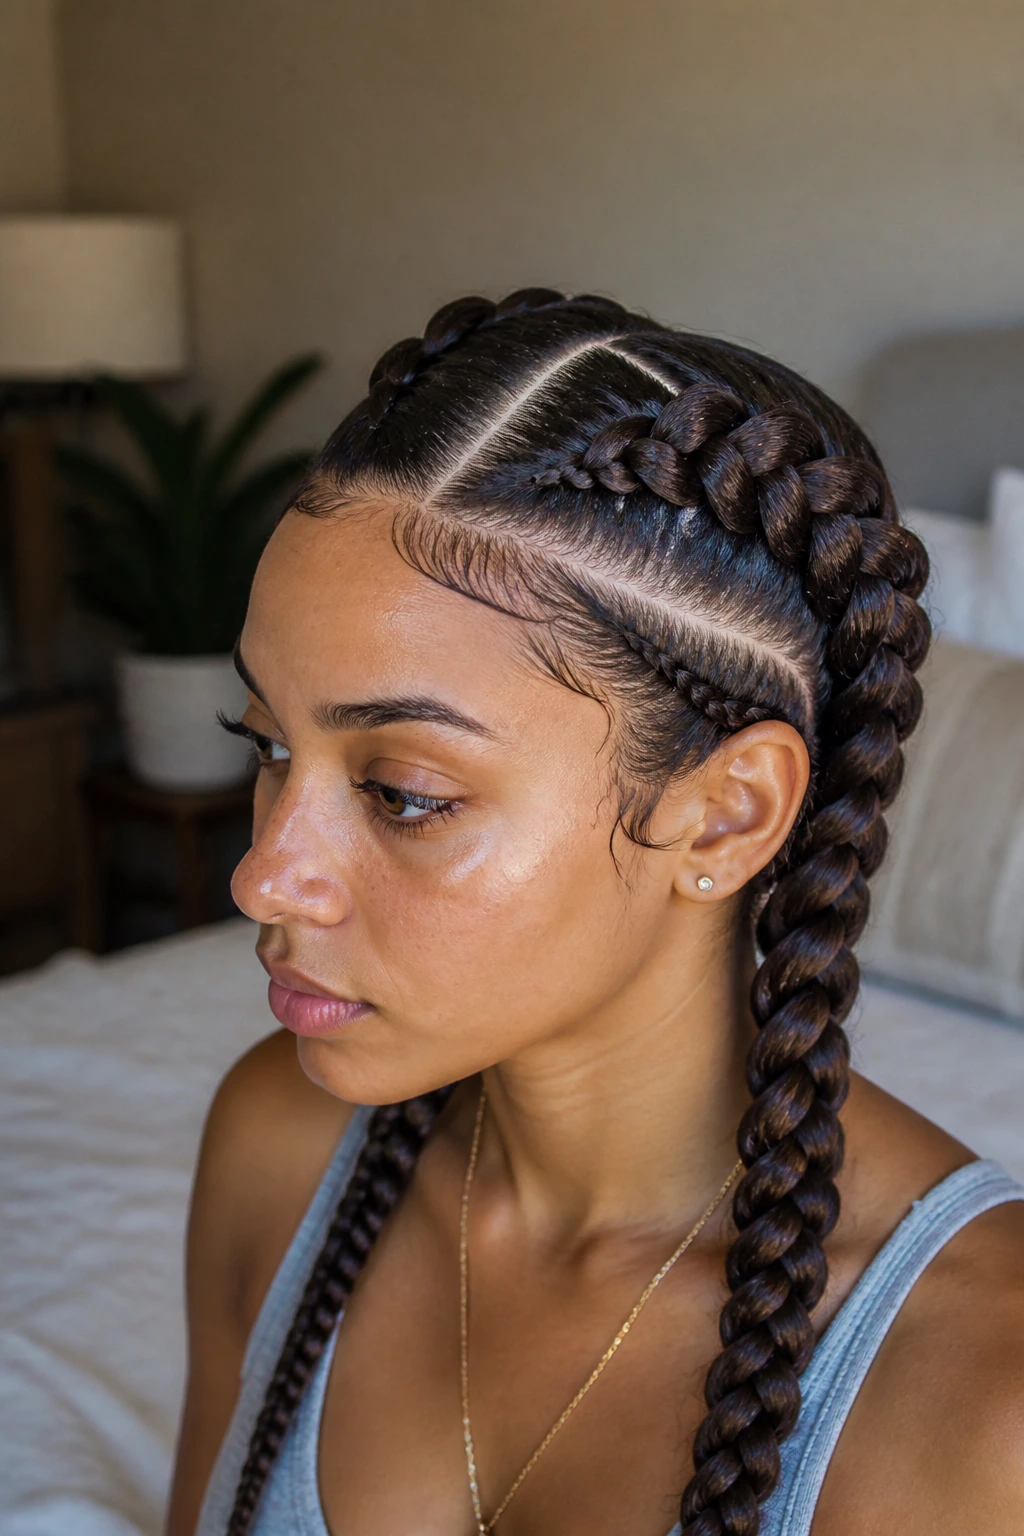
2. Setting the Perfect Part
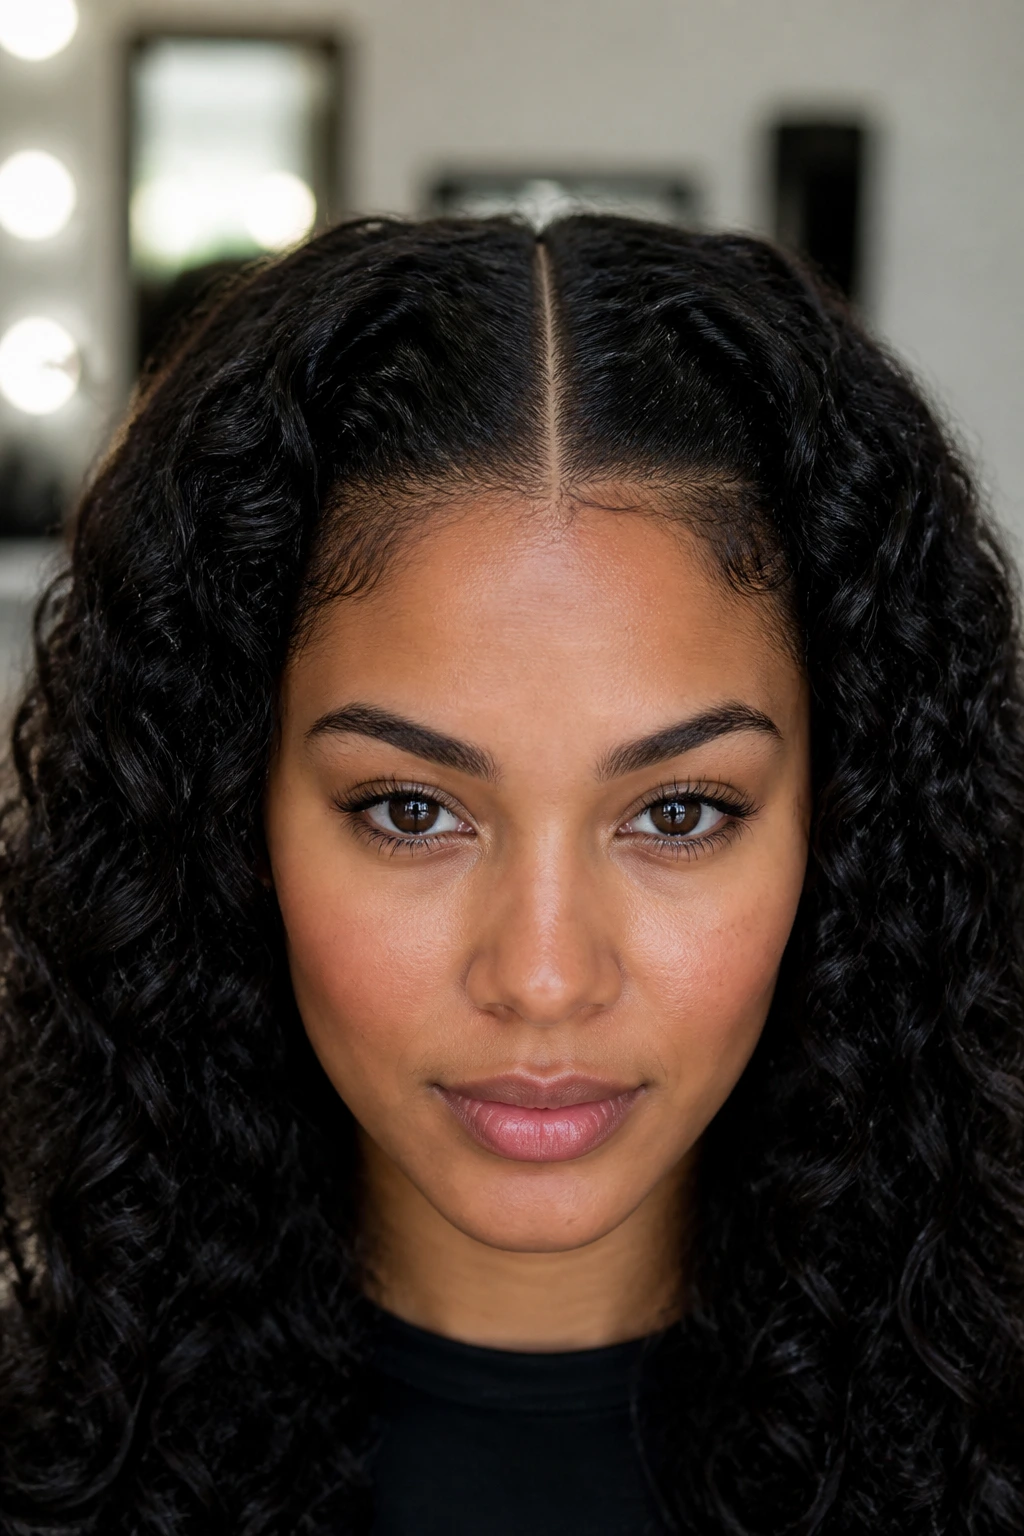
The foundation of a symmetrical double-braid look is a perfectly straight part. Because curly hair has so much volume, a messy part can make the whole style look lopsided or unfinished.
The Tail Comb Technique
For the cleanest line, use a fine-tooth tail comb. Drag the metal or plastic end from the center of your forehead all the way back to the nape of your neck. It helps to anchor your elbow on a surface—a vanity or table—to keep your hand steady as you draw the line.
Managing the Two Halves
Once you have your center part, secure one side with a large clip to keep it completely out of your way. Having loose strands from the right side migrate into your left braid is the most common cause of “fuzzy” braid lines. Take an extra minute to ensure that the partition is clear and distinct before you move on.
3. The Basics of the Dutch Weave
Unlike a traditional French braid where you cross strands over one another, the Dutch braid is all about crossing under. This simple change is what makes the braid stand out prominently from your scalp.
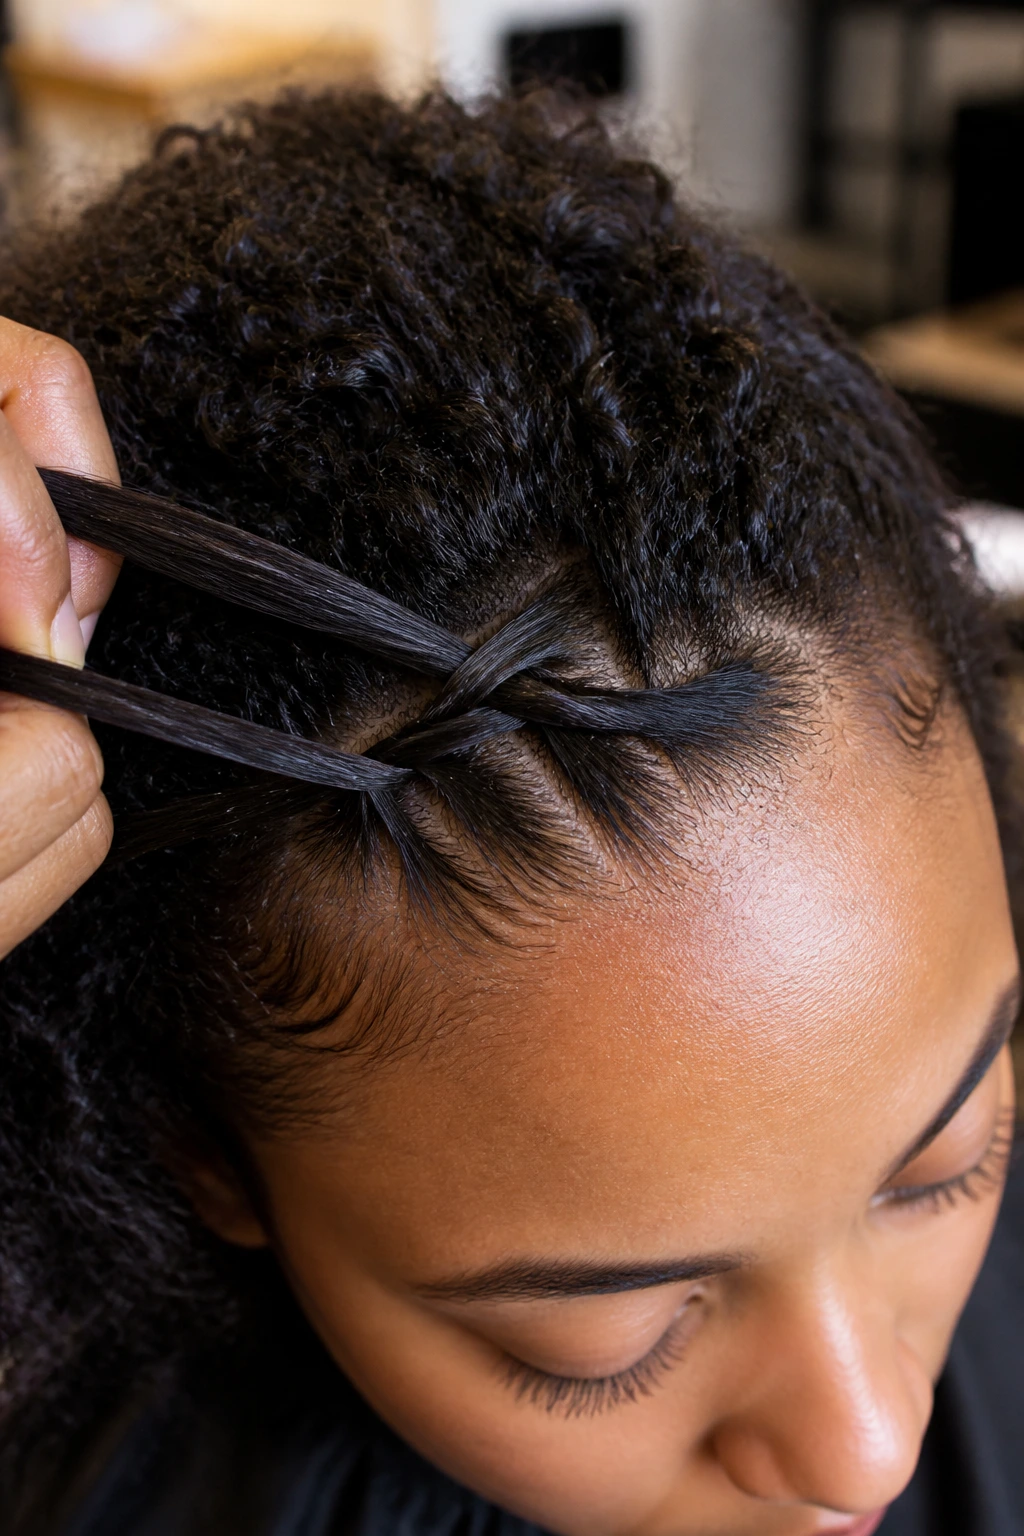
Understanding the Three-Strand Inversion
Start at the front hairline by taking a small triangular section. Divide it into three equal pieces. Cross the right strand under the center strand. Then, cross the left strand under the new center strand. That is your base.
Adding Hair to the Mix
As you continue moving back, pick up a small, even amount of hair from the scalp with each crossing. The key is to incorporate hair into the strand before you pull it under the middle. This keeps the braid tight and ensures that it sits flat against your head rather than drooping or sagging.
4. Tension Consistency for Curly Textures
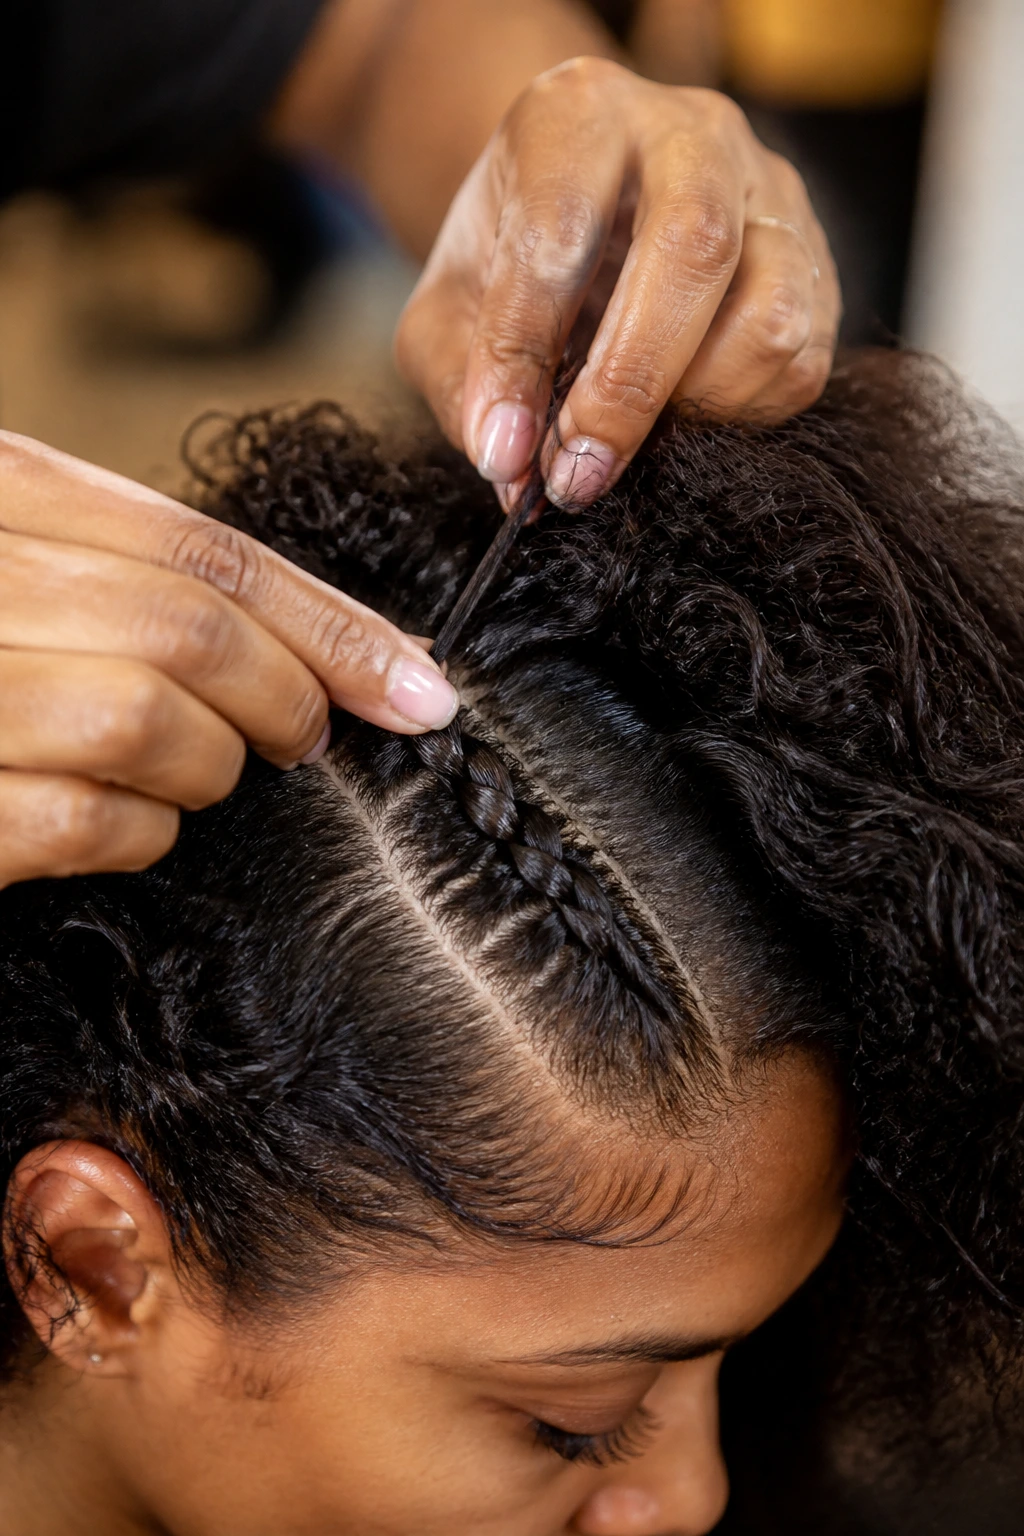
Tension is where most people lose their way. If you pull too hard, you risk scalp irritation and hair loss; if you don’t pull hard enough, the braids will look loose and messy within an hour.
The Tug-and-Tighten Method
As you pull each section under, give it a firm, steady tug toward your scalp. Do not jerk the hair, as this will just cause your curls to snap and frizz. Think of it as a smooth, continuous glide.
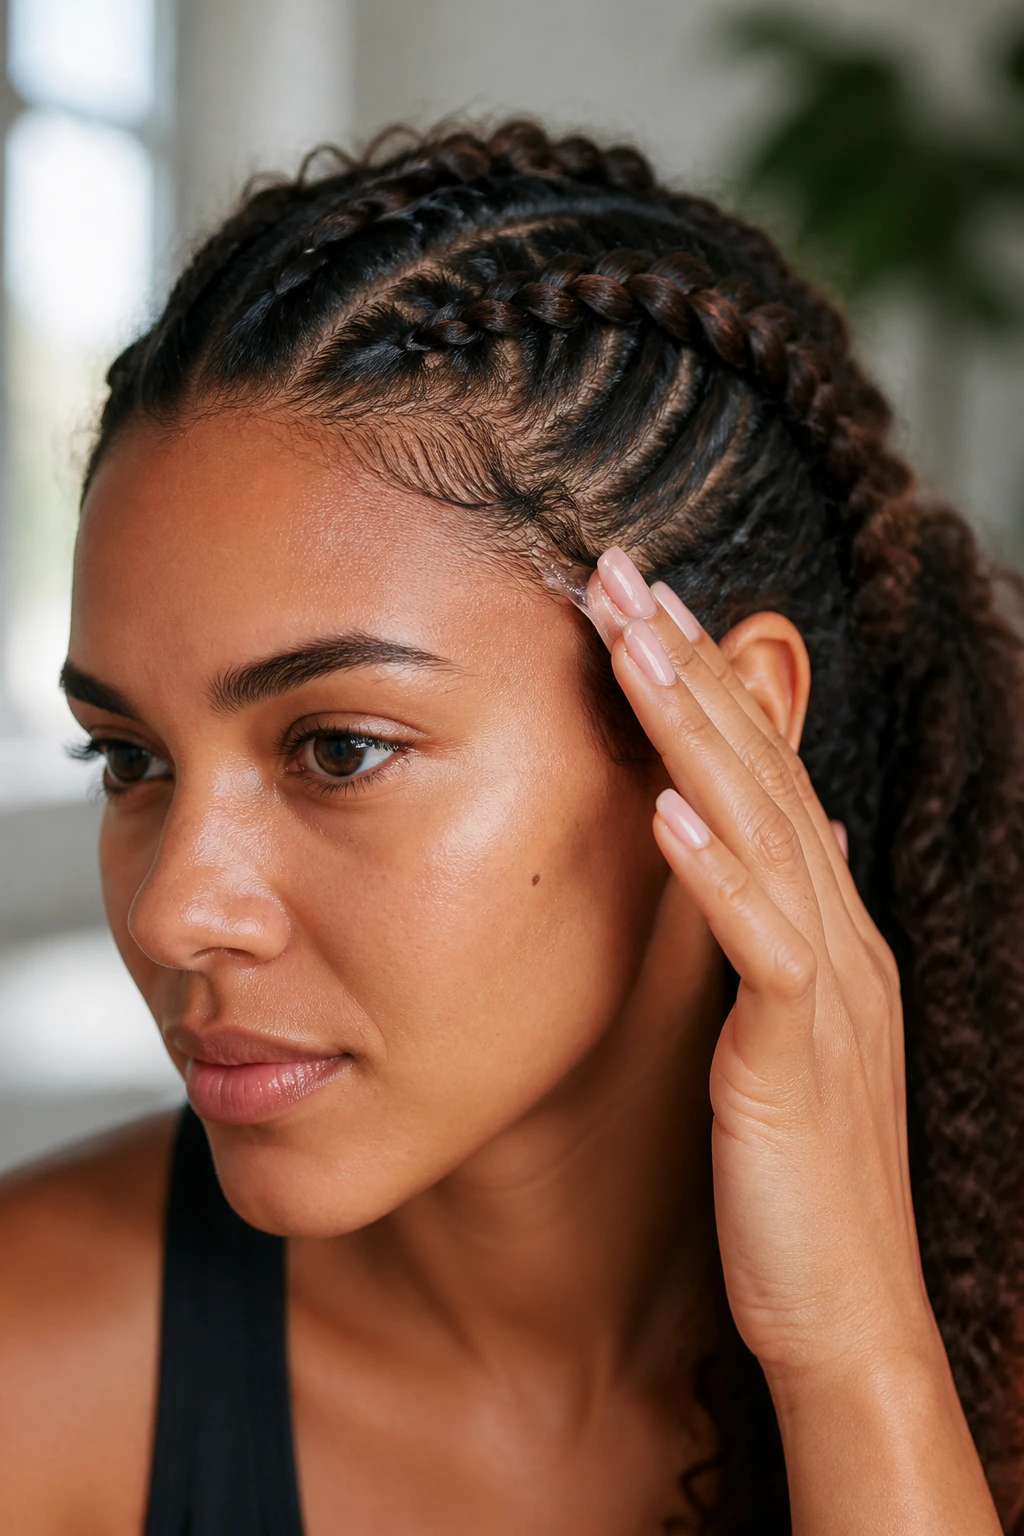
Finding the Right Angle
Keep your hands close to your head. If you hold your arms too far away, you lose the ability to control the tension of the individual strands. Keep your elbows slightly tucked and your focus on where your fingers meet the scalp.
Note: If you find your arms getting tired, take a break. Holding your arms up for 20 minutes is a real workout, and shaky hands lead to uneven braids.
5. Controlling Volume with Edge Control
Curly hair naturally wants to expand. While this is great for loose styles, it can be tricky for tight braids. Using a bit of edge control gel is a total game-changer for a clean finish.
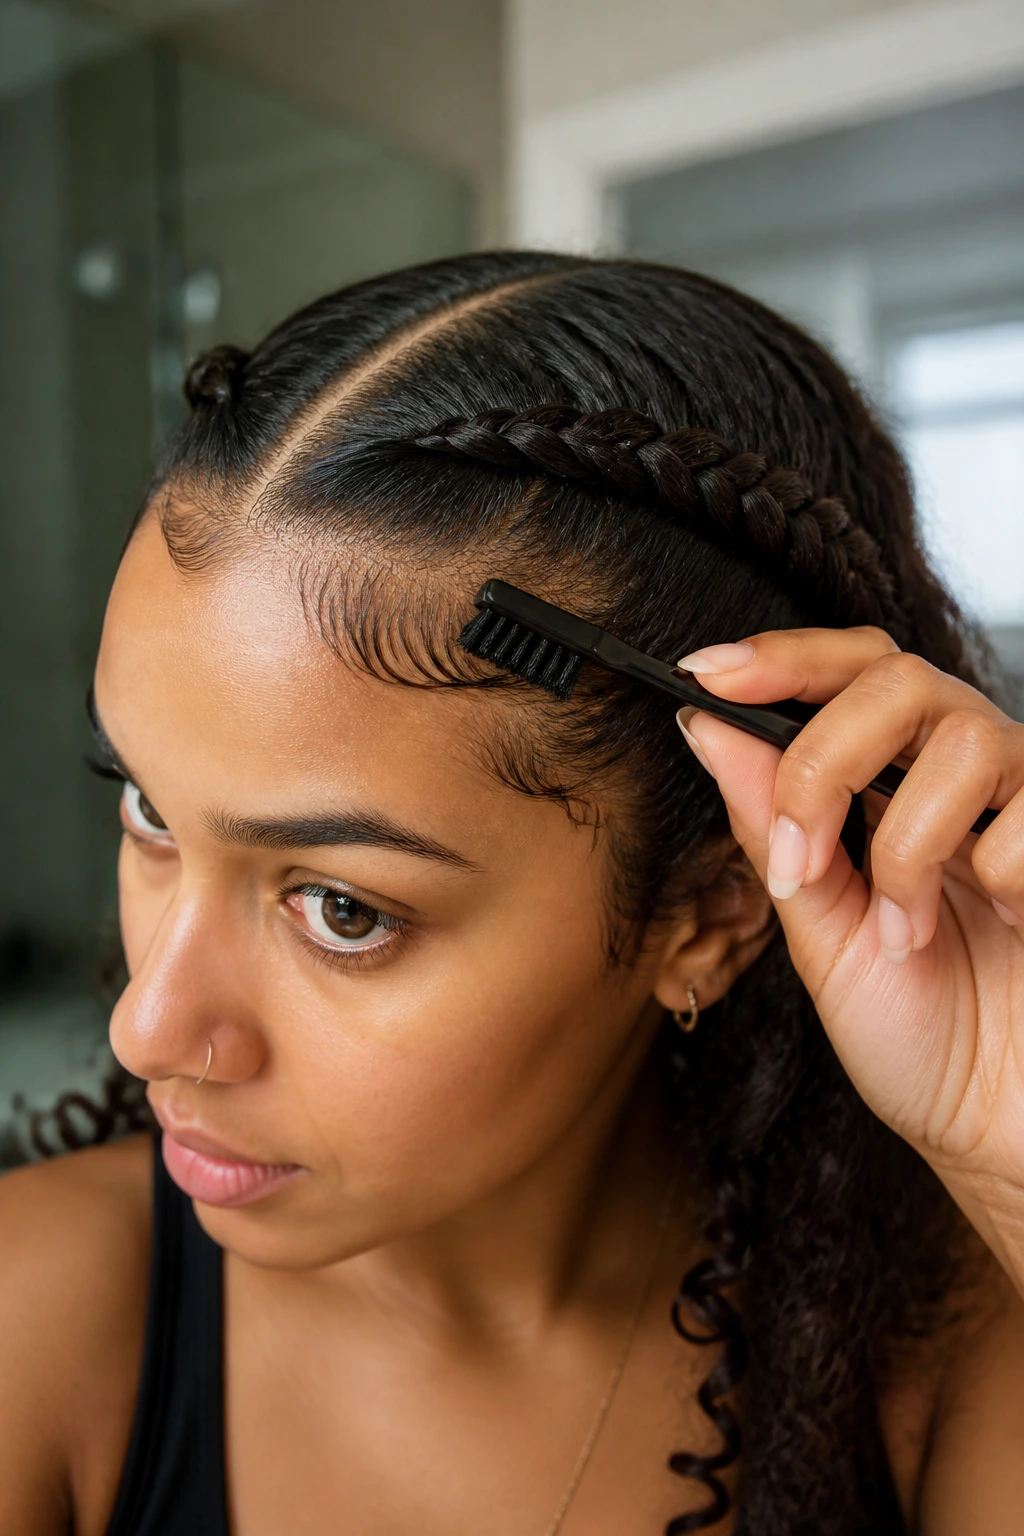
Smoothing the Baby Hairs
Use a soft-bristle toothbrush or a small edge brush to smooth down any flyaways along your hairline. A water-based pomade or a firm-hold styling gel works best here. You aren’t trying to plaster them to your head, but rather guiding them to lay flat against the direction of the braid.
Keeping the Part Sharp
Don’t forget the part line. A quick swipe of edge control along the parting can hide any unevenness in your zig-zagging strands and give the entire style a high-end, professional look.
6. Avoiding the Dreaded “Frizz Halo”
Frizz is the natural enemy of a clean, tight Dutch braid. When working with curls, you need to manage the environment around each strand as you braid.
The Role of Styling Gels
Apply a bit of styling gel to your fingertips every few inches as you braid. This acts like a glue for your curls, keeping them inside the braid rather than letting them pop out to create that fuzzy halo.
Dealing with High Humidity
If you are in a humid climate, your hair will try to expand no matter what you do. Look for products that contain anti-humectants—these create a barrier that prevents moisture from the air from entering the hair shaft and causing it to swell.
7. Troubleshooting Uneven Braid Sizes
It happens to the best of us: one braid ends up thick and voluminous, while the other looks thin and tight. This usually happens because you are picking up more hair on one side than the other.
The Mirror Check
Periodically stop and look in the mirror to compare the thickness of the two sides. If one side looks significantly thinner, you need to adjust your pick-up sections. Take slightly larger chunks of hair on the thin side to compensate.
The Sectioning Strategy
Try to visualize the hair as a map. If you divide the back of your head into two distinct zones, you can better estimate how much hair belongs in each braid. If you start to pull from the “wrong” zone, your braid will immediately look off-balance.
8. Finishing the Braids at the Nape
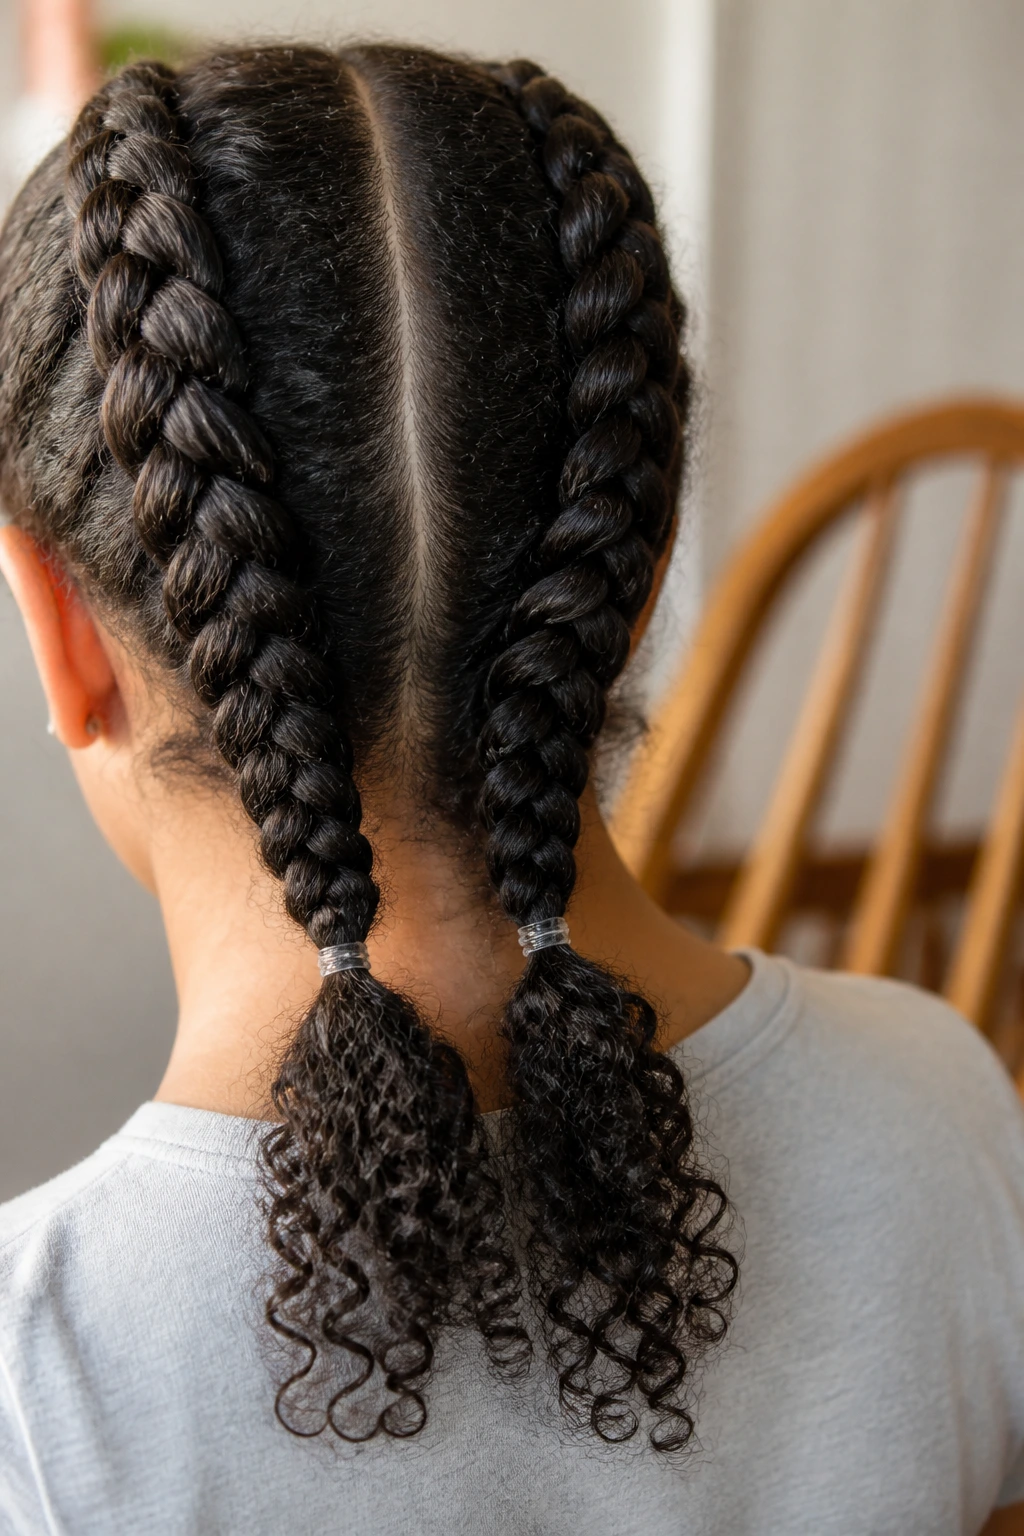
Once you reach the base of your neck, you have to decide whether to stop or continue. Most people finish with a three-strand braid all the way to the ends.
Secure the Transition
As you transition from the scalp-braid to the free-hanging braid, make sure you don’t lose your tension. This is the exact moment where the style is most likely to loosen. Keep your grip firm until you reach your hair tie.
Using Clear Elastics
Clear, snag-free elastics are best for this. Do not use standard rubber bands, as they will cause massive breakage when you eventually try to take the style out. Wrap the elastic around the ends at least three times to ensure it won’t slip during the day.
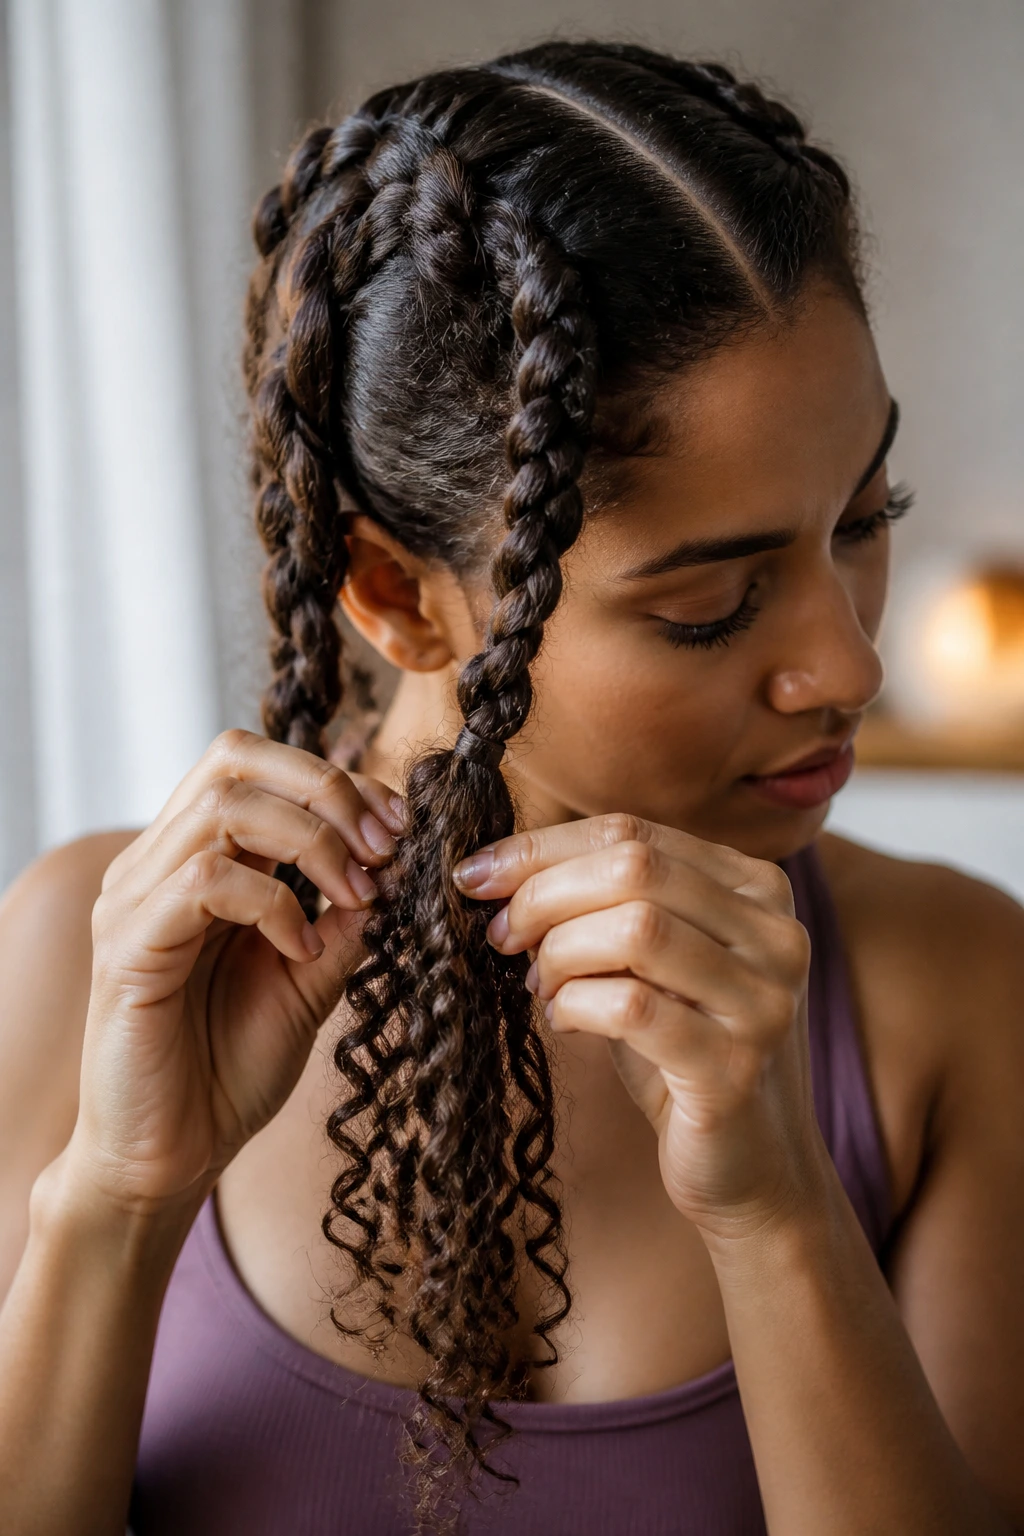
9. Making Your Braids Look Fuller
If your hair is fine or you just want a more dramatic look, you can gently pull at the loops of the braid to make them look larger. This is often called “pancaking.”
The Gentle Tug
Start from the bottom and work your way up. Gently pull the outer edges of each braid loop. Do not pull the center, or you will ruin the structure of the braid. You only want to tug on the outer loops to add width.
Less is More
Be very careful with this step. If you pull too hard, the braid will lose its definition, and the individual strands will begin to fall out of the weave. A little bit of volume goes a long way, especially with curly hair that already has texture.
10. How to Sleep in Your Braids
One of the best things about double Dutch braids is that they can double as a protective style for sleeping. This saves you from having to style your hair again the next morning.
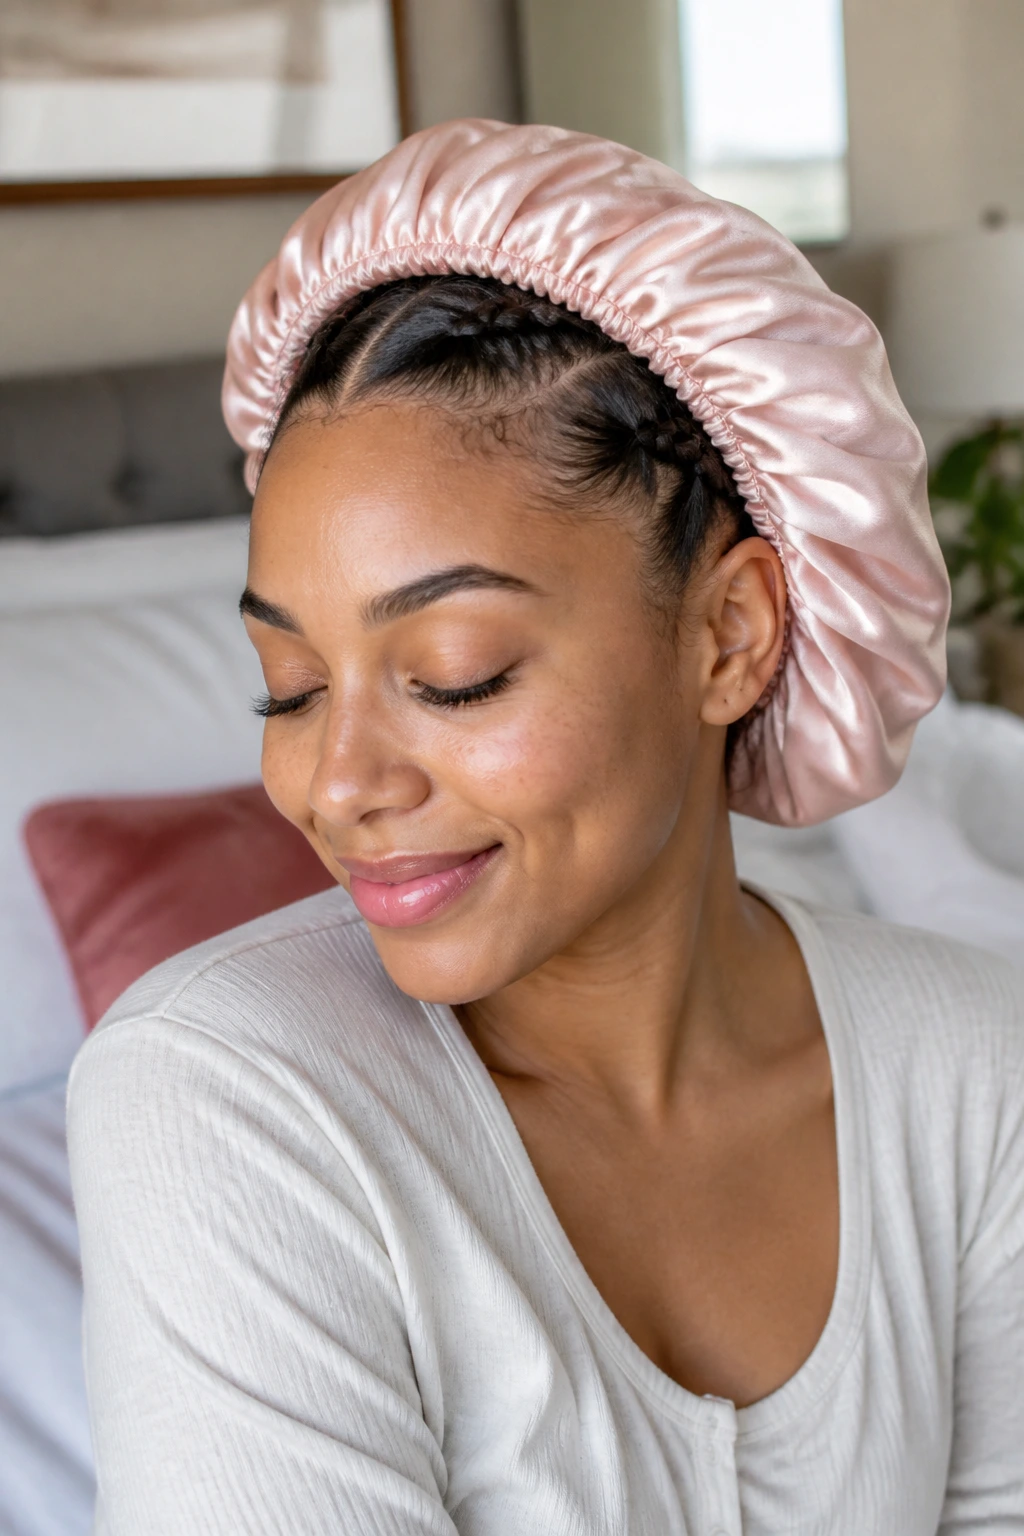
The Satin Bonnet Advantage
To keep the braids looking fresh, cover your hair with a satin bonnet or use a silk pillowcase. This prevents the braids from rubbing against cotton fabric, which is the primary cause of frizz and tangles.
Managing the Ends
If your ends are tucked into the elastic, they are usually safe. However, if you have a lot of layered hair, some pieces might poke out. Using a bit of hair oil on the very ends before you go to bed will help keep them from looking dry and brittle by morning.
11. Keeping Your Scalp Healthy
You cannot neglect your scalp when you are wearing a protective style. Braids are a great way to keep hair neat, but they can also trap dirt and sweat.
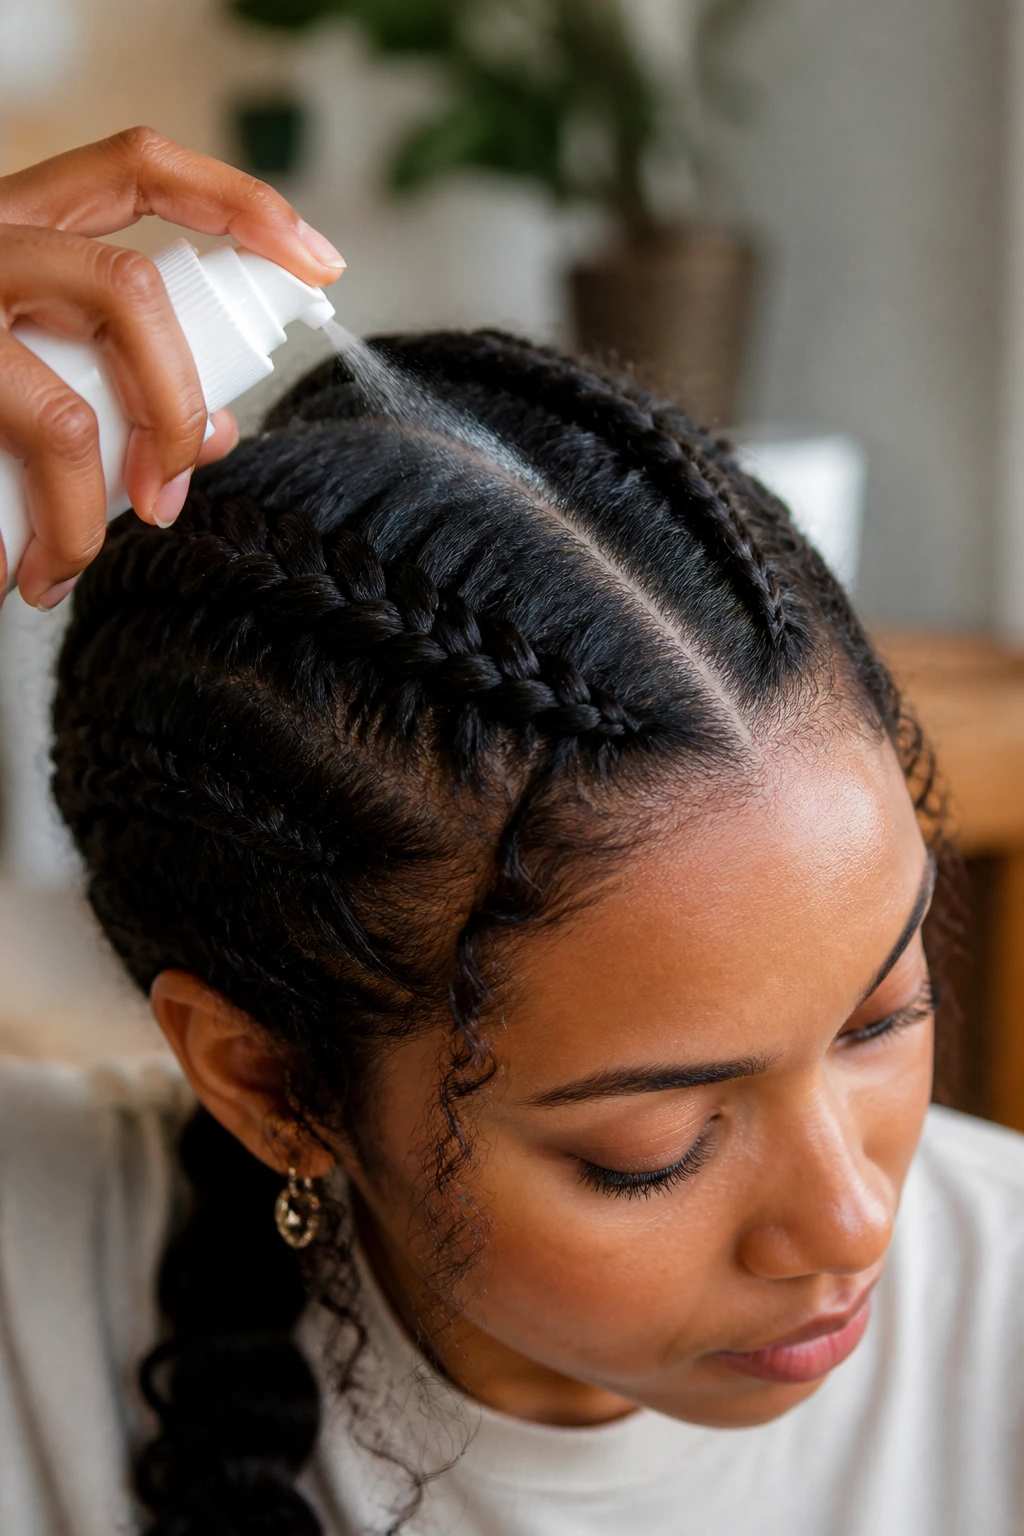
The Spritz Solution
If your scalp feels itchy or dry, don’t just scratch it—you will ruin your braid job. Instead, use a light scalp mist. You can make your own by mixing a little bit of tea tree oil and water in a spray bottle.
Knowing When to Take Them Out
While these braids can technically last for days, your hair still needs to breathe. Never leave a tight protective style in for more than a few days, as it can cause tension along the hairline, leading to thinning.
12. Removing the Braids Without Breakage
Taking out your braids is just as important as putting them in. Many people lose their hair by ripping out the elastics or dragging a brush through matted, post-braid hair.
The Oil Method
Before you take the braids out, massage a little bit of oil—jojoba or argan work wonders—into the braid. This helps loosen the hair and provides some slip.
Undo, Don’t Pull
Work from the ends toward the roots. Unwind each loop carefully. Once the braid is undone, use your fingers to gently separate the tangles before you even think about reaching for a comb. If you force a brush through matted curly hair, you are essentially guaranteeing breakage.
Final Thoughts
Two Dutch braids are a skill set that rewards consistency. You might not get it perfect on your first try, and that is perfectly okay. The first time you attempt this, you will likely have a few loose strands and some uneven tension, and that is just part of the process. With time, your fingers will learn the rhythm, and you will understand exactly how much product your specific curl pattern needs to stay smooth.
Treat your hair gently throughout the process. The goal is to create a style that protects your curls, not one that puts them through unnecessary stress. Once you master the mechanics, you will find that this style becomes one of your most reliable go-to options for busy days or long travel. Focus on the tension, keep the part clean, and remember that even a slightly messy braid has a certain charm when it is full of beautiful, natural texture.