The quest for the perfect, high-shine aesthetic in hair styling often feels like chasing a mirage. We have all seen the photos—the impossibly glossy, mirror-like finish that makes a ponytail or a sleek bob look like it has been dipped in liquid glass. This look, often referred to in the industry as “donut glaze hair,” relies on more than just good lighting. It is about creating a texture that mimics the smooth, reflective surface of a freshly glazed pastry. When you have straight hair, you are already halfway there; your cuticle is naturally positioned to lay flat, but unlocking that specific level of luminosity requires a deliberate approach to products, tools, and maintenance.
Getting that finish is not about dousing your head in heavy oils. That is a common trap that leads to greasy, weighed-down strands rather than the desired “glazed” effect. Instead, it is about light reflection. You need to smooth the hair shaft so that light hits it uniformly, rather than scattering off a rough or damaged cuticle. Whether you are aiming for a tight, snatched bun or a glass-like blowout, the techniques below are designed to build that finish from the ground up, ensuring your straight hair looks healthy, intentional, and undeniably shiny.
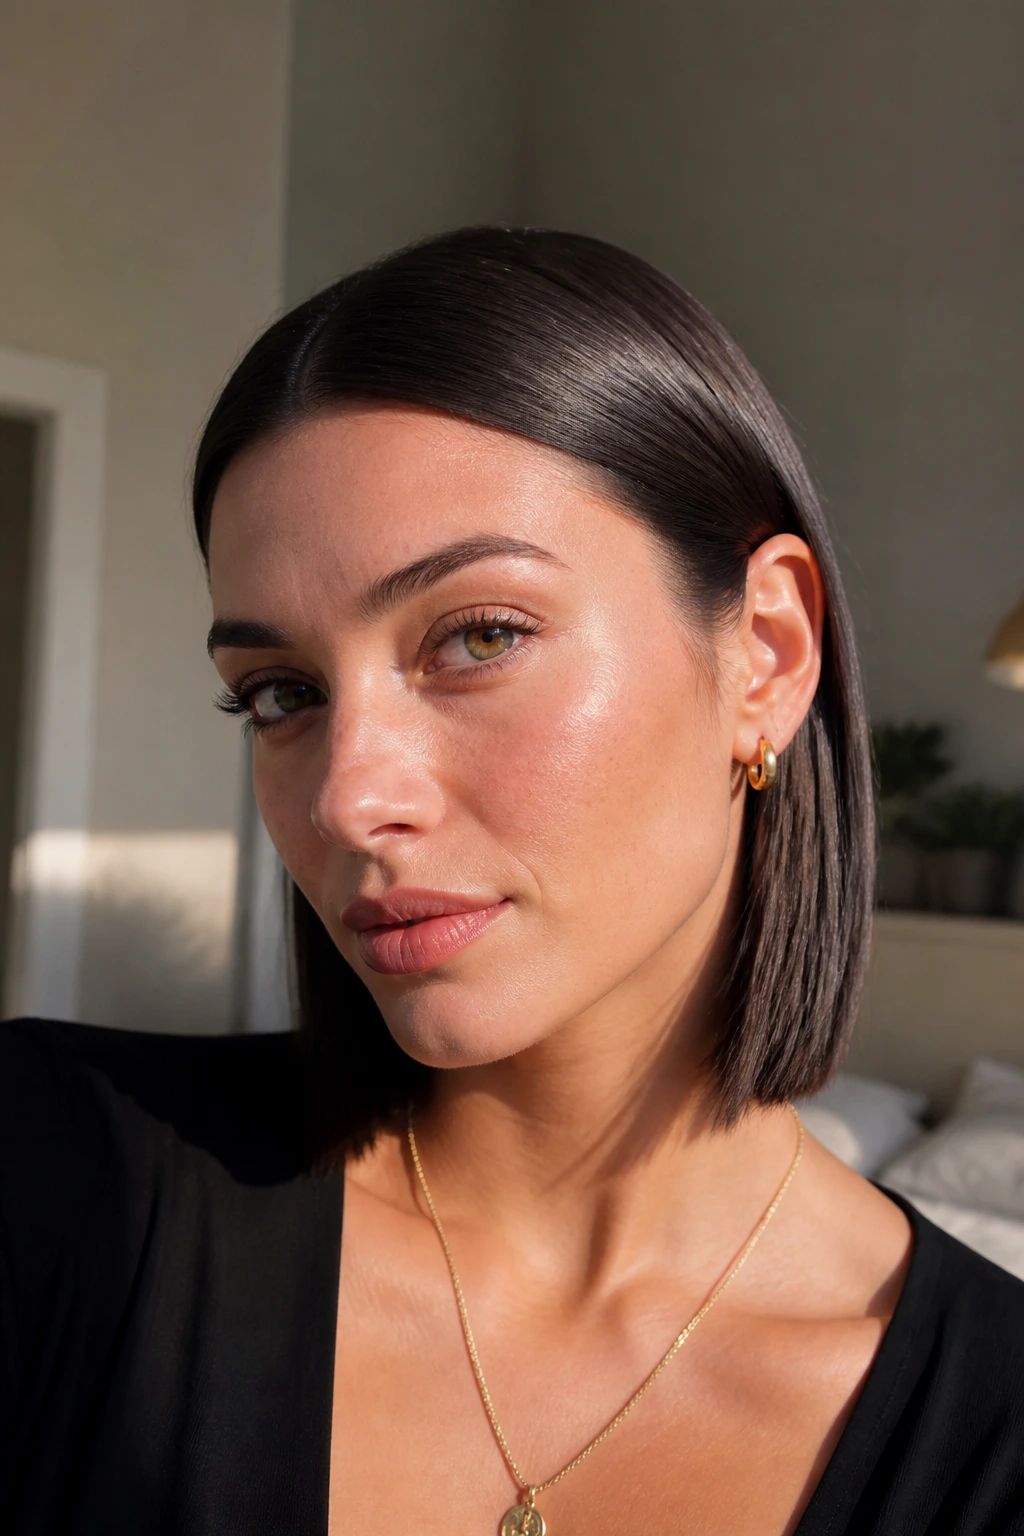
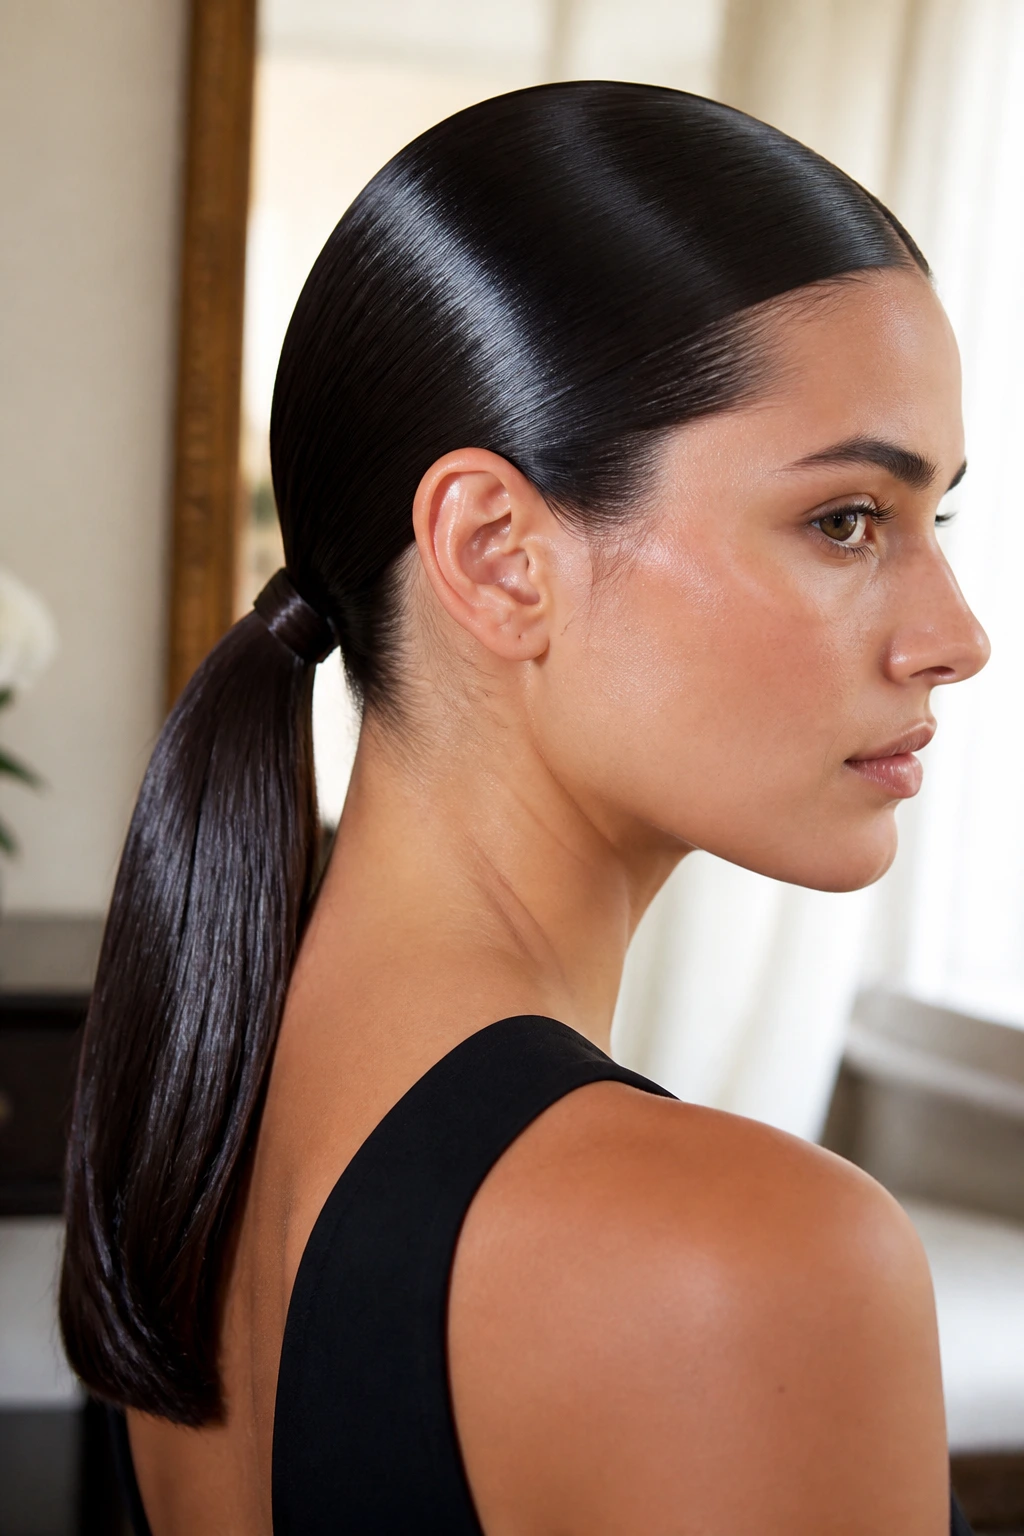
1. The Glass-Reflective Sleek Low Pony
A low ponytail is arguably the cleanest canvas for a high-shine finish. To nail this, focus on the tension at the root. You want the hair to be pulled back so tightly that it looks wet, even when it is bone dry. Start by applying a heat protectant that doubles as a smoothing cream, then blow-dry your hair in the direction of the scalp—top to bottom—to keep every strand in place. Once secured with a snag-free elastic, use a small amount of shine serum focused entirely on the surface layer.
Why This Style Defines Glazed Hair
When the hair is perfectly straight and pulled into a tight silhouette, it creates a flat surface for light to bounce off. Any stray flyaways will interrupt that reflection, which is why the use of a lightweight pomade on a clean toothbrush is essential. Gently brush down any hairs that pop up along your part or the nape of your neck to maintain that polished, mirror-like aesthetic.
Essential Finishing Touches
- Use a high-gloss spray for the final set.
- Keep the elastic hidden by wrapping a small section of hair around it.
- Ensure your part is razor-sharp using a tail comb. Pro tip: For the ultimate glazed look, avoid using dry shampoo at the roots if you want that “liquid” finish, as the powdery residue will dull the shine.
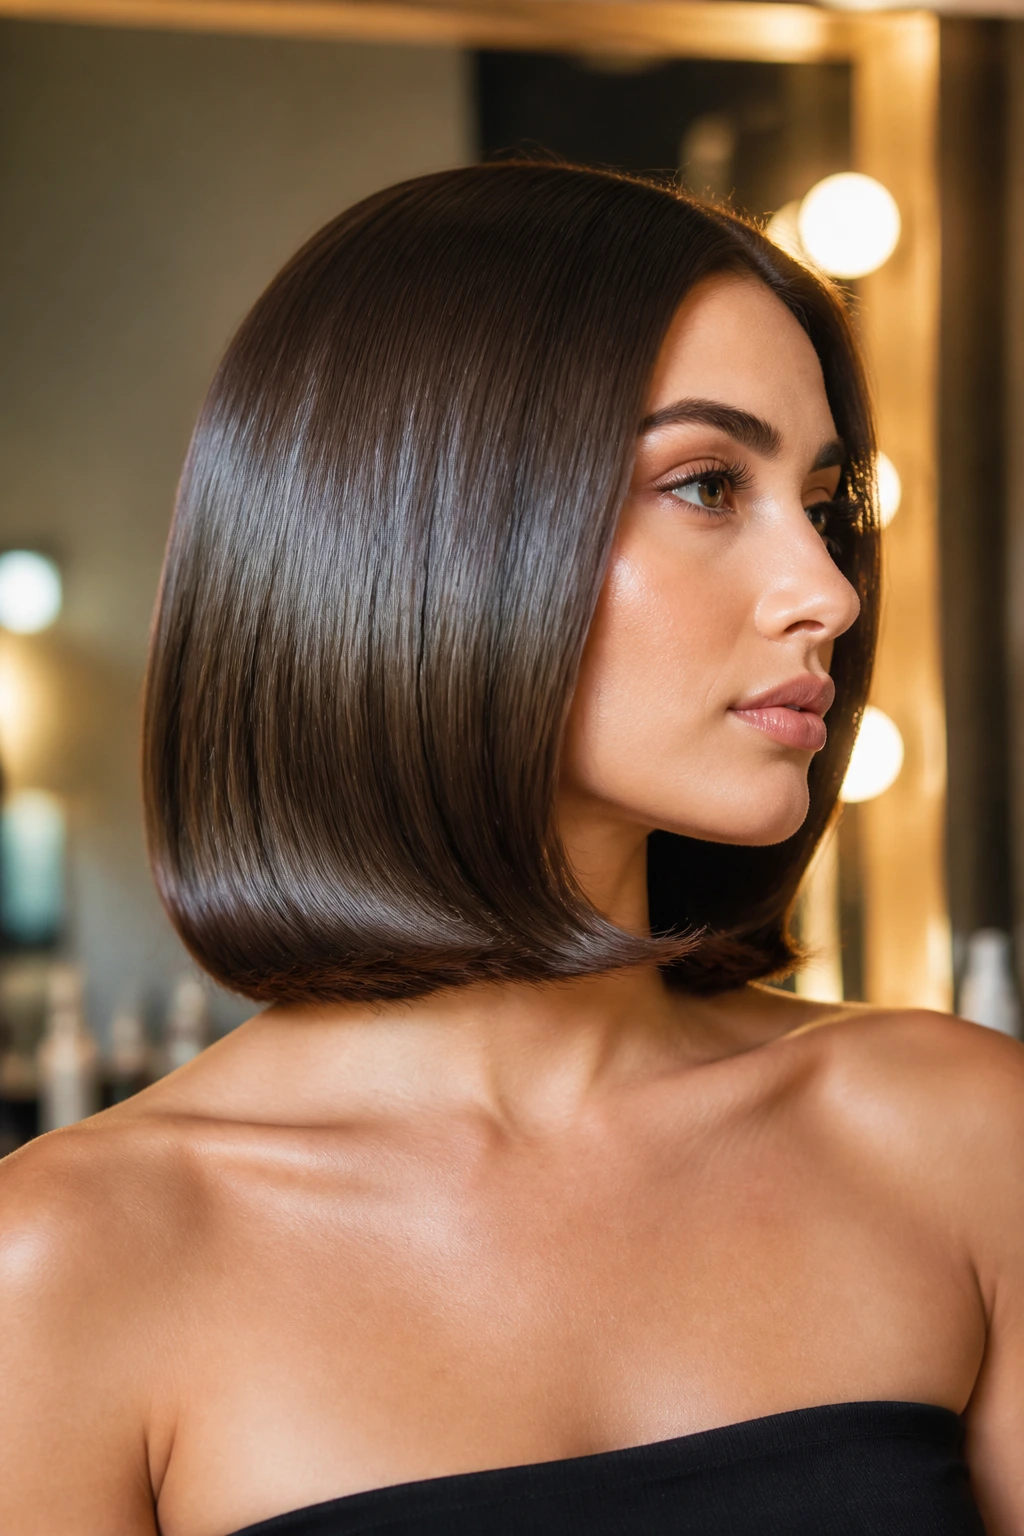
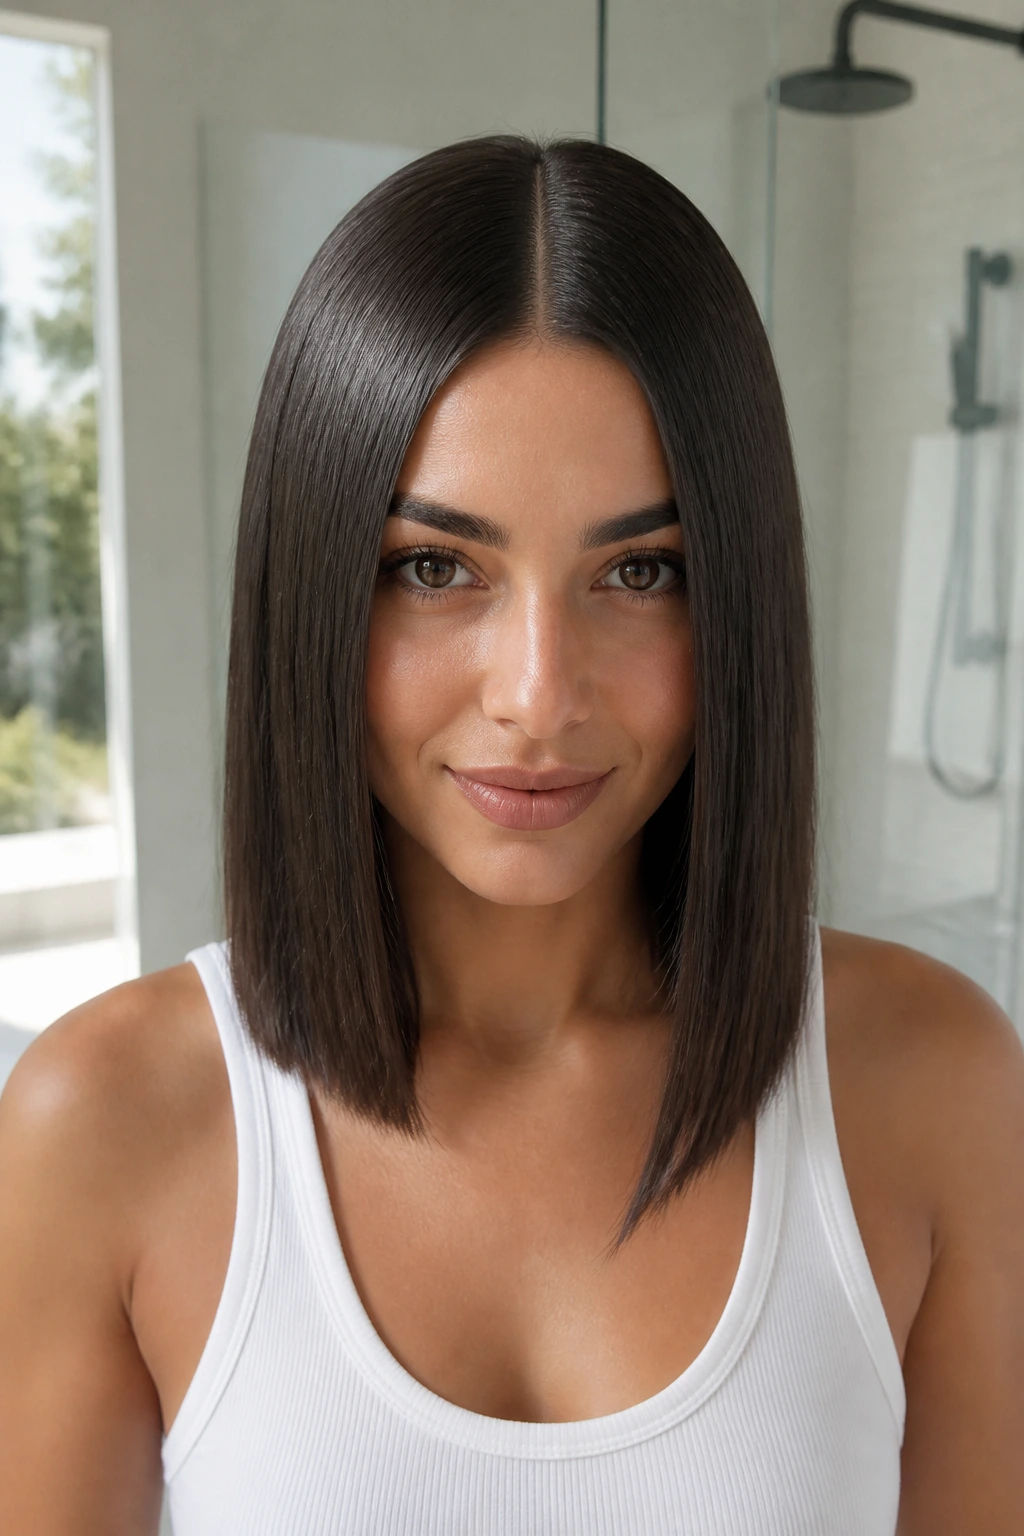
2. The Center-Parted Face-Framing Bob
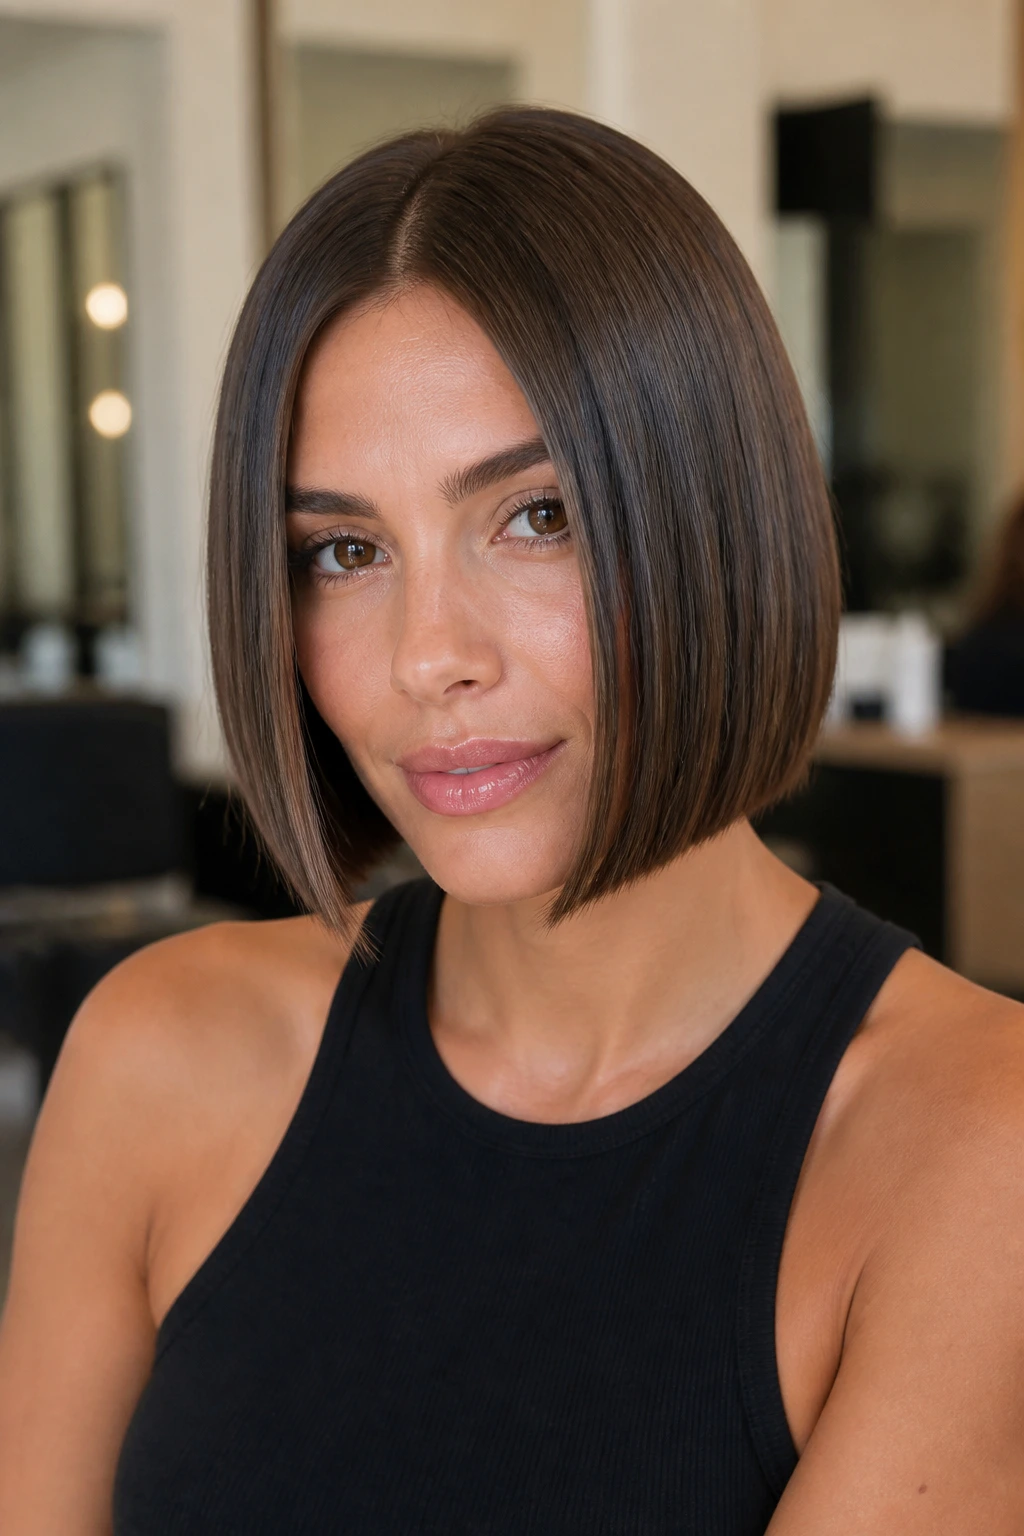
The bob is the ultimate straight-hair silhouette. When you add a deep center part, you create two distinct panels of hair that act like mirrors. The key here is the blunt cut; if your ends are thin or jagged, the light reflection will be broken, ruining the “glaze.” You want the ends to be thick enough that they look like a solid, singular unit rather than individual strands.
Creating the Reflective Panels
The secret is in the flat iron work. Instead of clamping down and dragging the iron through in one go, move with deliberate, medium-speed pressure. Use an iron with floating plates to ensure you do not create dents or creases in the hair. You are looking for a slight bevel inward at the ends—not a curl, just a soft transition that directs the light toward the floor.
Maintenance and Texture Tips
- Avoid layering at the bottom; a blunt base is non-negotiable.
- Apply a heat-activated straightening balm while the hair is damp.
- Finish with a few drops of clear hair oil, warmed between your palms first. Pro tip: If you find your hair looks “frothy” or matte, you are likely using too much product. Reset by doing a clarifying wash to strip away buildup.
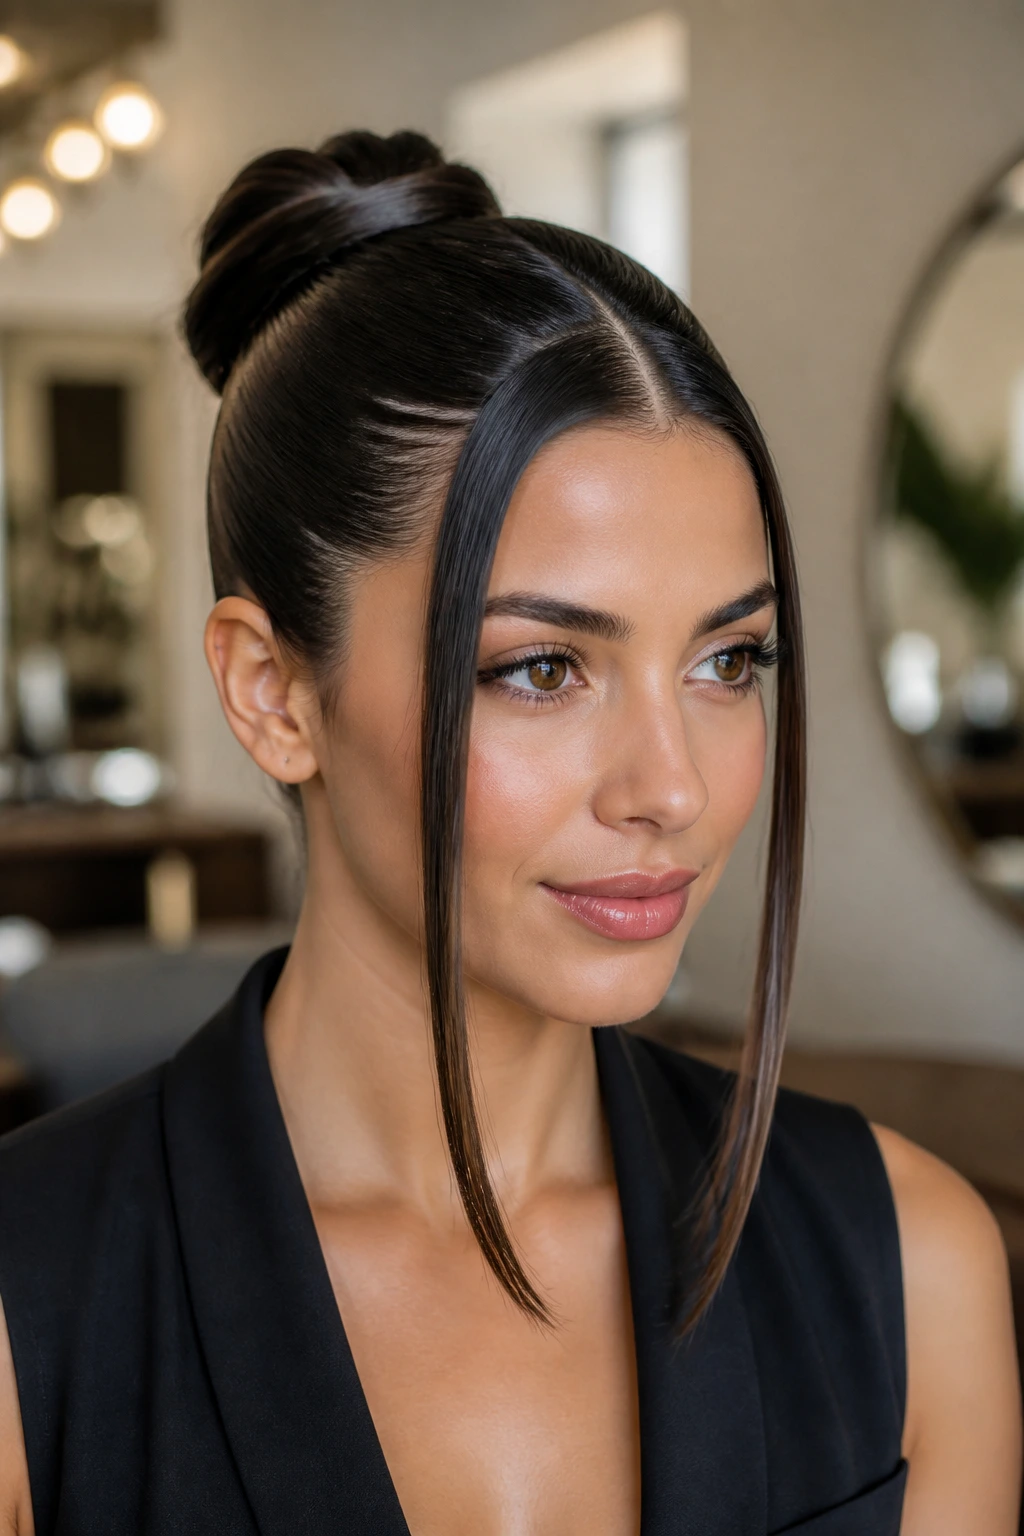
3. The High-Gloss Half-Up Top Knot
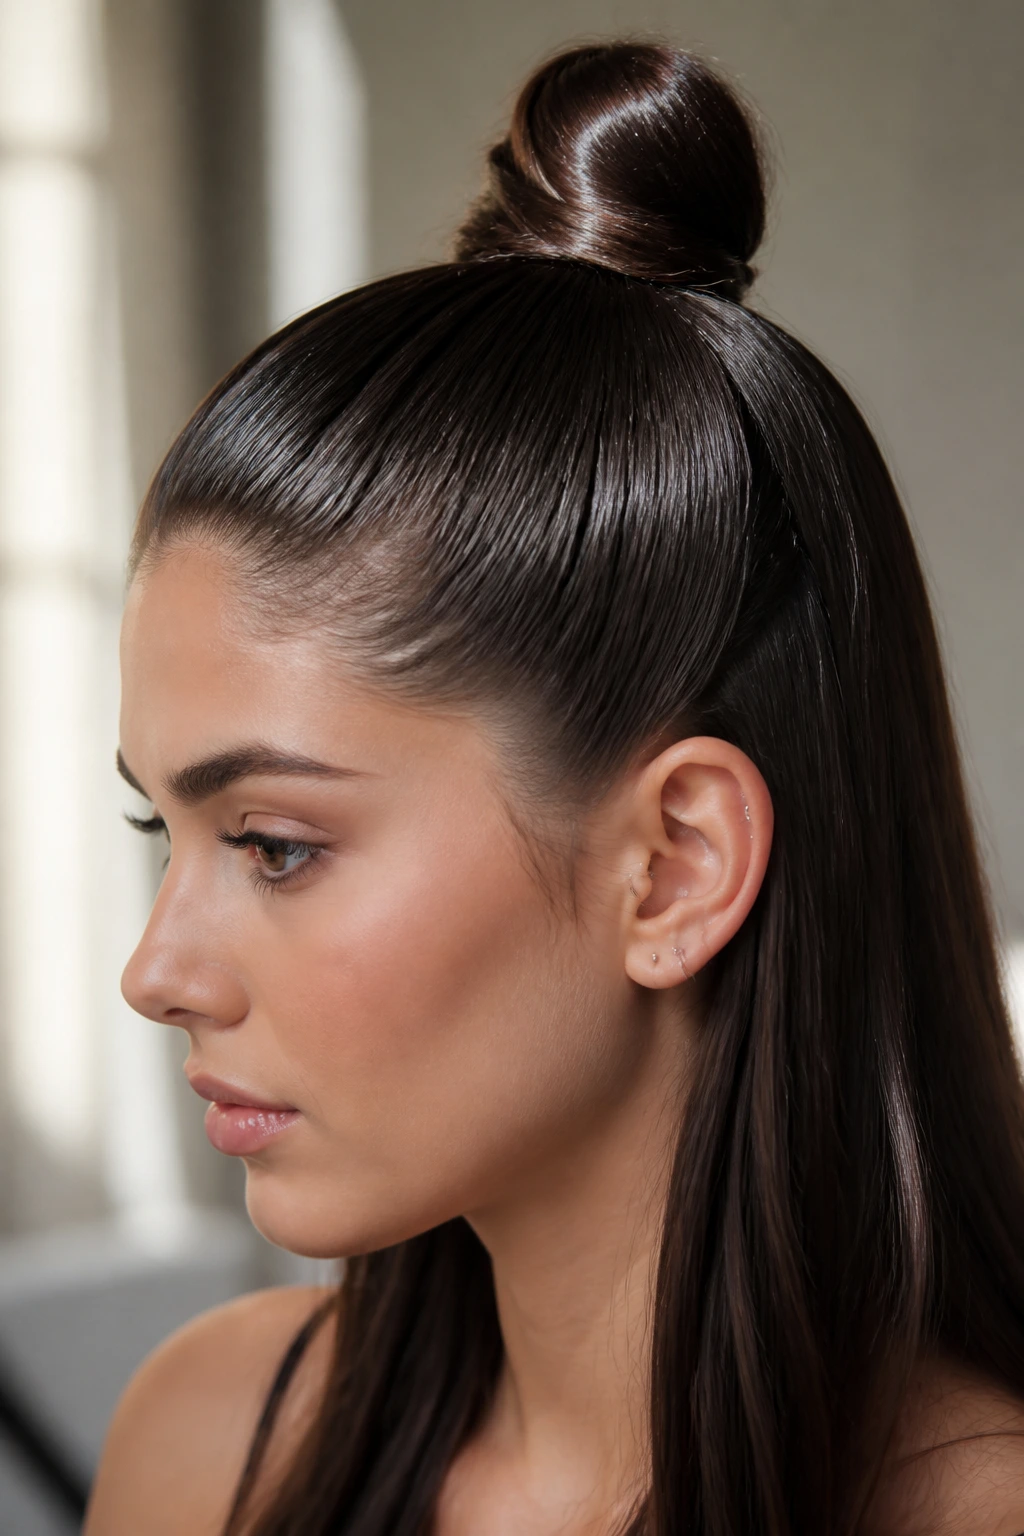
Half-up styles offer the best of both worlds: the structure of a pulled-back look and the drama of cascading straight lengths. For a glazed finish, the knot itself should be smooth, not messy. Use a tail comb to section off the top half of your hair in a clean horizontal line. Once you secure your ponytail, twist it into a bun and pin it down tightly.
Why Texture Matters Here
The contrast between the pulled-back top and the loose bottom requires a consistent finish. If the top is shiny but the lengths are dry, the look fails. Ensure you prep your hair with a bonding treatment or a smoothing mask the night before to ensure the entire head has a uniform, hydrated appearance.
Achieving the Glazed Effect
- Focus on the “wet-look” gel for the crown.
- Use a boar-bristle brush to pull the hair back to minimize friction.
- Finish the ends with a shine mist rather than a heavy cream. Pro tip: If you want a more architectural look, use a clear wax stick to tame the area right around your hairline.
4. The Pin-Straight Middle Part
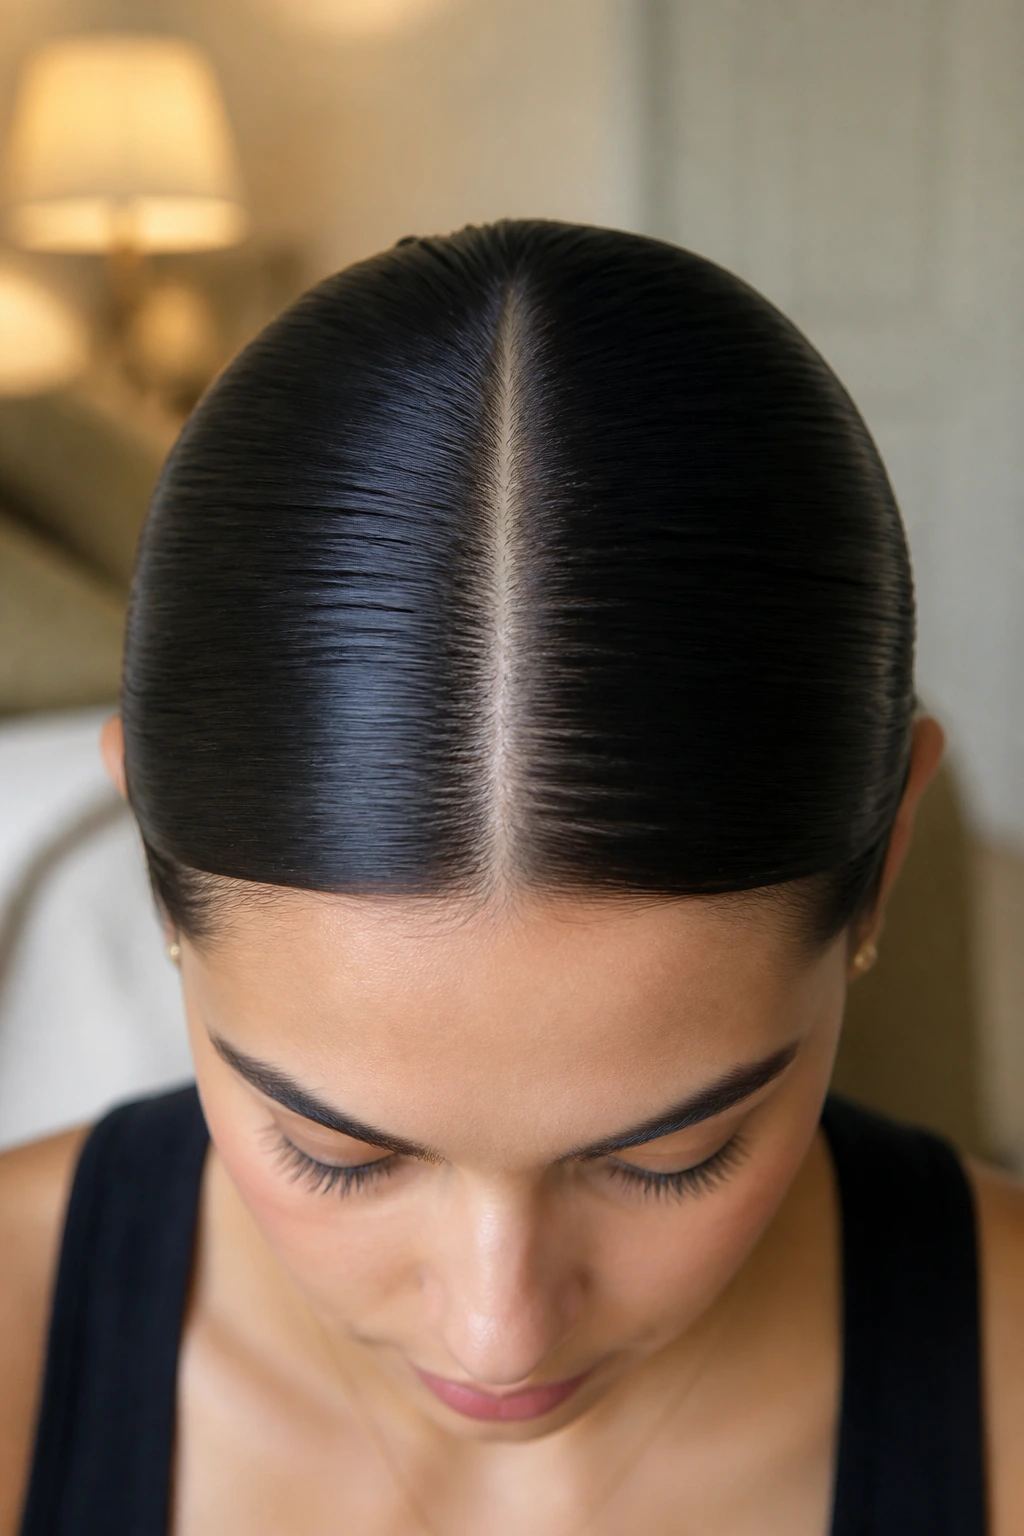
It sounds basic, but a perfectly executed, pin-straight middle part is the standard-bearer for glazed hair. This look requires absolute discipline with your styling tools. Divide your hair into four quadrants and work in small, one-inch sections. If the sections are too large, the heat from your iron will not reach the middle strands, leaving them wavy and ruining the uniform reflection.
The Science of the Shine
Light reflects best on a flat surface. Your goal is to eliminate any curvature in the hair shaft. Use a paddle brush while blow-drying to provide tension, pulling the hair taut as you dry it. This pre-straightening step makes the final pass with the iron much easier and reduces the amount of heat damage you inflict on your hair.
Steps for Success
- Always use a heat protectant spray—not a cream—for a lighter feel.
- Follow up with a glossing rinse in the shower for long-term texture smoothing.
- Iron in slow, smooth motions; speed-running this step will lead to frizz.
5. The Slicked-Back Wet-Look Bun
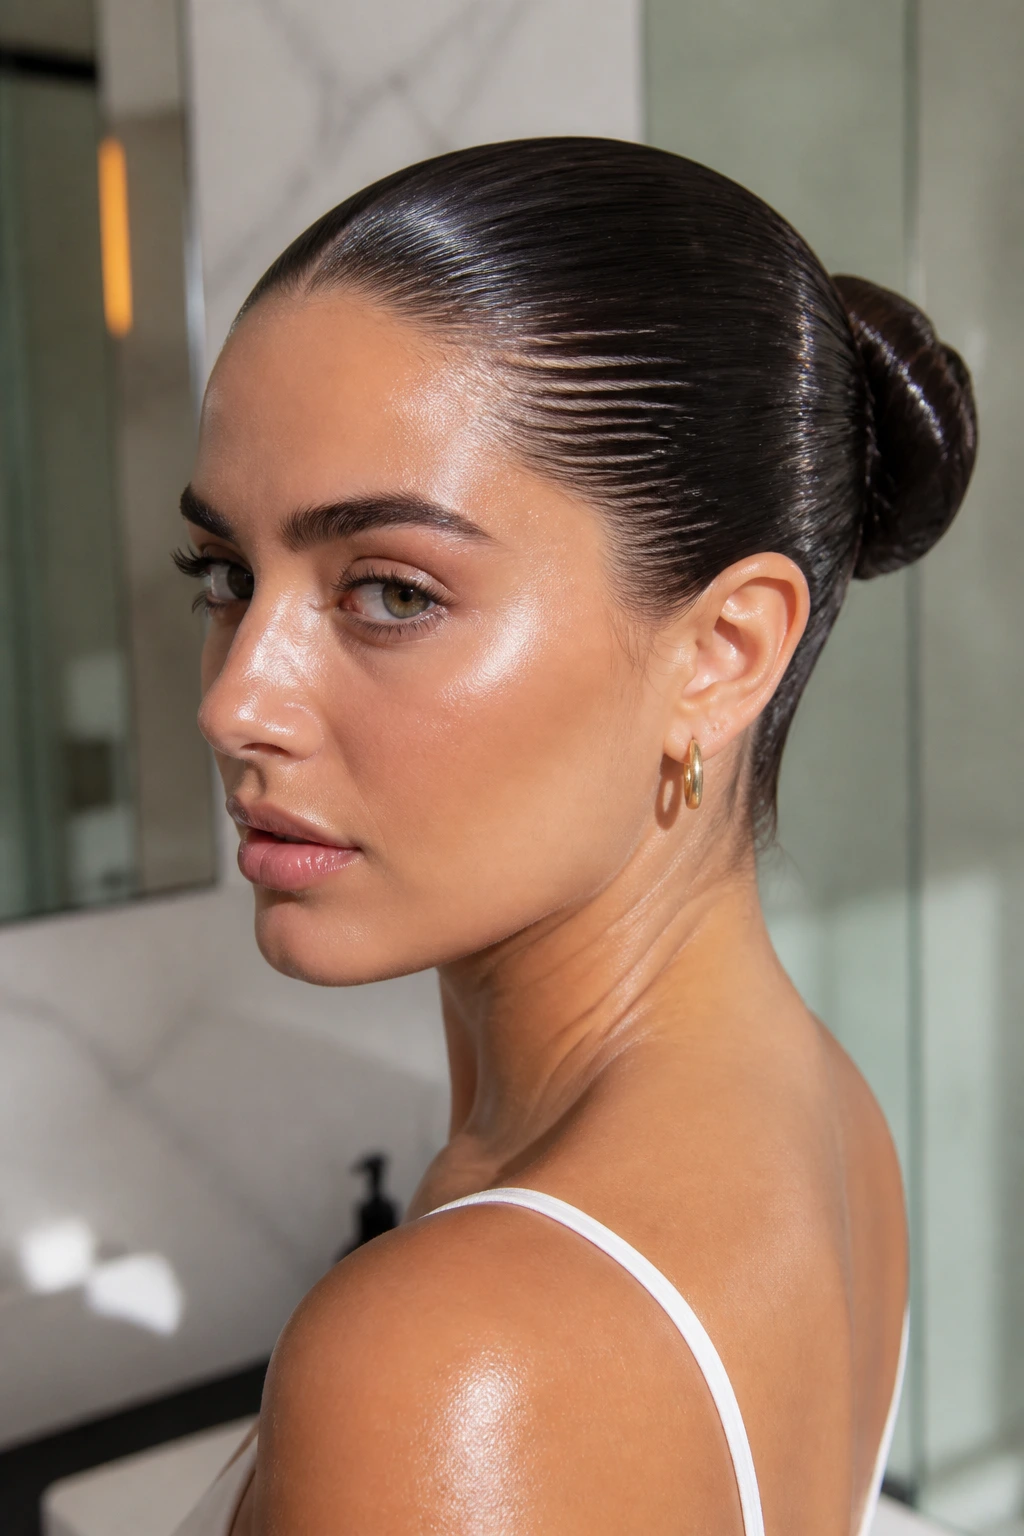
This style leans into the “glazed” name more than any other. By using a combination of a high-hold gel and a clear shine oil, you create a physical barrier that mimics the look of hair that has just emerged from the ocean. It is intentional, dramatic, and serves as a fantastic solution for “dirty” hair days when you want to look high-maintenance.
How to Build the Glaze
Start with a generous amount of styling gel on damp hair. Use a fine-tooth comb to distribute it evenly from roots to mid-lengths. Pull your hair into a ponytail, twist it tightly, and secure. Once the bun is in place, layer a coat of lightweight hair oil over the entire surface. This seals in the gel and adds that extra dimension of reflection.
What to Watch For
- Ensure the gel is alcohol-free to prevent drying.
- Don’t pull the ponytail so tight that you experience scalp pain.
- Use a soft-bristle brush to smooth out any ridges left by the comb.
6. The Tucked-Behind-the-Ears Straight Lob
The “lob” or long bob is a classic, but tucking it behind your ears adds a structural element that forces the hair to lay flat against the face. This transition—the curve around the ear—is a great way to showcase a glossy, polished texture. Keep the hair behind the ears tight and secure with a tiny, hidden bobby pin to ensure it stays in place throughout the day.
Why This Works
By keeping the hair tucked, you reduce the surface area that moves and gets frizzy. This allows the shine to remain concentrated on the sides of your face. For the best result, blow-dry the sides of your hair downward and inward, molding it to the shape of your head while the hair is still warm.
Daily Styling Tips
- Apply a touch of smoothing cream to the tips of your fingers before tucking to prevent static.
- Use a light hairspray on the sides to prevent the hair from slipping out from behind the ears.
- Keep the rest of your hair loose and flowy to balance the severity of the tuck.
7. The Deep-Parted Side-Swept Glaze

A deep side part provides volume at the root, which can often be the enemy of a flat, glazed look. The trick here is to ensure that the volume is controlled. You want the height, but you do not want the hair to look poofy or textured. Use a round brush only at the roots, then switch to a paddle brush for the lengths to keep them straight and reflective.
Managing the Volume
You are aiming for “sleek volume,” which means the hair should hold its shape without being fuzzy. Use a root-lifting spray sparingly, only on the very first inch of hair from the scalp. The rest of the hair should be treated with a smoothing, anti-humidity serum to keep it locked down.
Key Considerations
- Ensure the part is perfectly aligned with the arch of your eyebrow.
- Use a clear gloss treatment once every few weeks to maintain color vibrancy and shine.
- If you have layers, pull them forward slightly so they frame the face and emphasize the side-swept silhouette.
8. The High-Ponytail Glass Stream
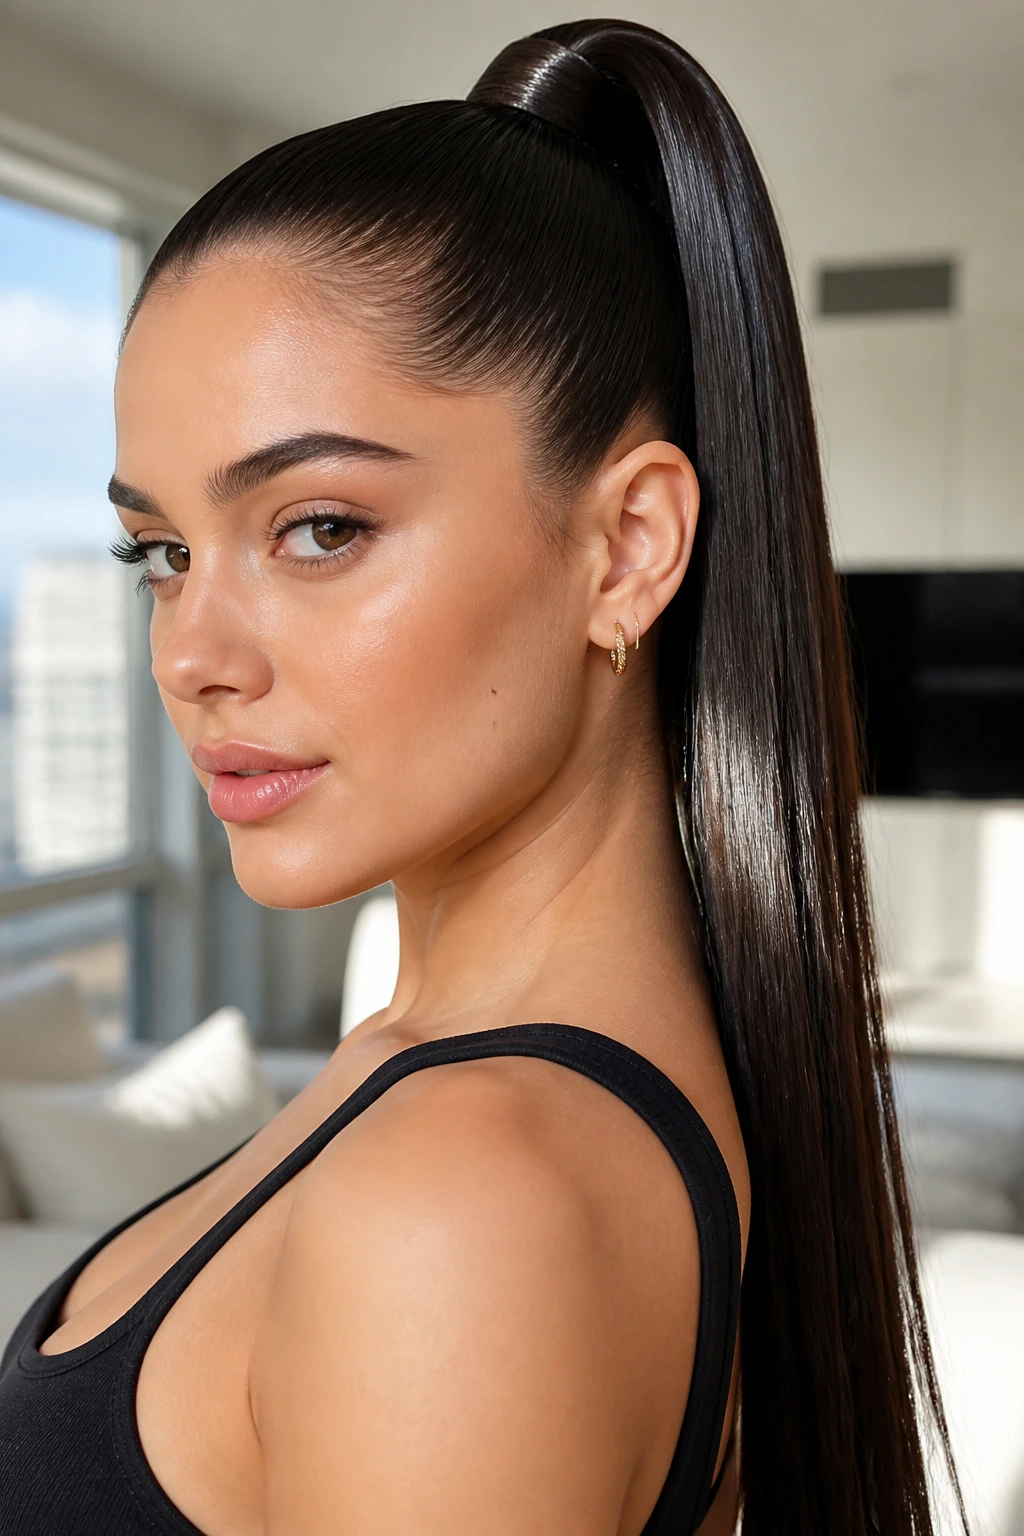
The high ponytail is all about gravity. To get that glazed look, the hair in the ponytail must be impeccably straight. Since the hair is dangling and moving, it is the most prone to catching on clothes or getting tangled. Use a detangling spray before you start, and ensure the hair is thoroughly dry before pulling it up.
Structural Integrity
The connection between the ponytail and the base is critical. Use a bungee elastic with hooks on the ends; this allows you to wrap it around your hair without having to pull the hair through, which keeps the hair perfectly smooth and prevents the “bunching” that happens with traditional elastics.
Finishing the Look
- Wrap a thick strand of hair around the base to hide the hardware.
- Use a shine spray on the ponytail itself rather than a cream, as it offers a lighter coating.
- Run a flat iron through the ponytail even after it is secured to ensure every strand is perfectly aligned.
9. The Flipped-In Glazed Ends
This style is a nod to 90s glamour, but with a modern, high-shine finish. Instead of flipping the hair out, flip it inward toward the neck. This creates a rounded shape that acts like a concave mirror, catching light beautifully. You need a large-barrel round brush and a blow-dryer with a concentrator nozzle to achieve this precise bend.
The Technique
Work in sections, rolling the brush under at the ends as you dry. Focus the heat on the curve of the hair for at least 10 seconds, then hit it with the “cool” button on your dryer to set the shape. This cooling phase is what locks in the smoothness and ensures the ends don’t revert to their natural texture.
Why It Enhances Shine
The curve concentrates the light at the bottom of the style, creating a visible “halo” of brightness around your shoulders. This is a great way to make thinner hair appear fuller and healthier.
10. The Waterfall Straight-Back
If you want to keep your hair out of your face but avoid a ponytail, the “straight-back” look is the answer. Use a soft, non-damaging headband or a simple hair clip to secure the hair at the crown, allowing the rest of the lengths to fall freely down your back. This style is minimalist and elegant, allowing the natural texture and shine of your hair to take center stage.
Why It’s Sophisticated
The lack of styling distraction forces you to focus on hair quality. If your ends are split or dry, this style will show it immediately. Ensure you have had a recent trim and that your hair is thoroughly conditioned. It is the ultimate test for your hair care routine.
Getting the Look Right
- Use a lightweight oil to seal the ends before you pin the hair back.
- Keep the hair behind the ears to create a clean, unobstructed flow.
- Ensure the hair is parted or brushed back seamlessly so no “bumps” form at the crown.
11. The Wrapped-Around Low Bun
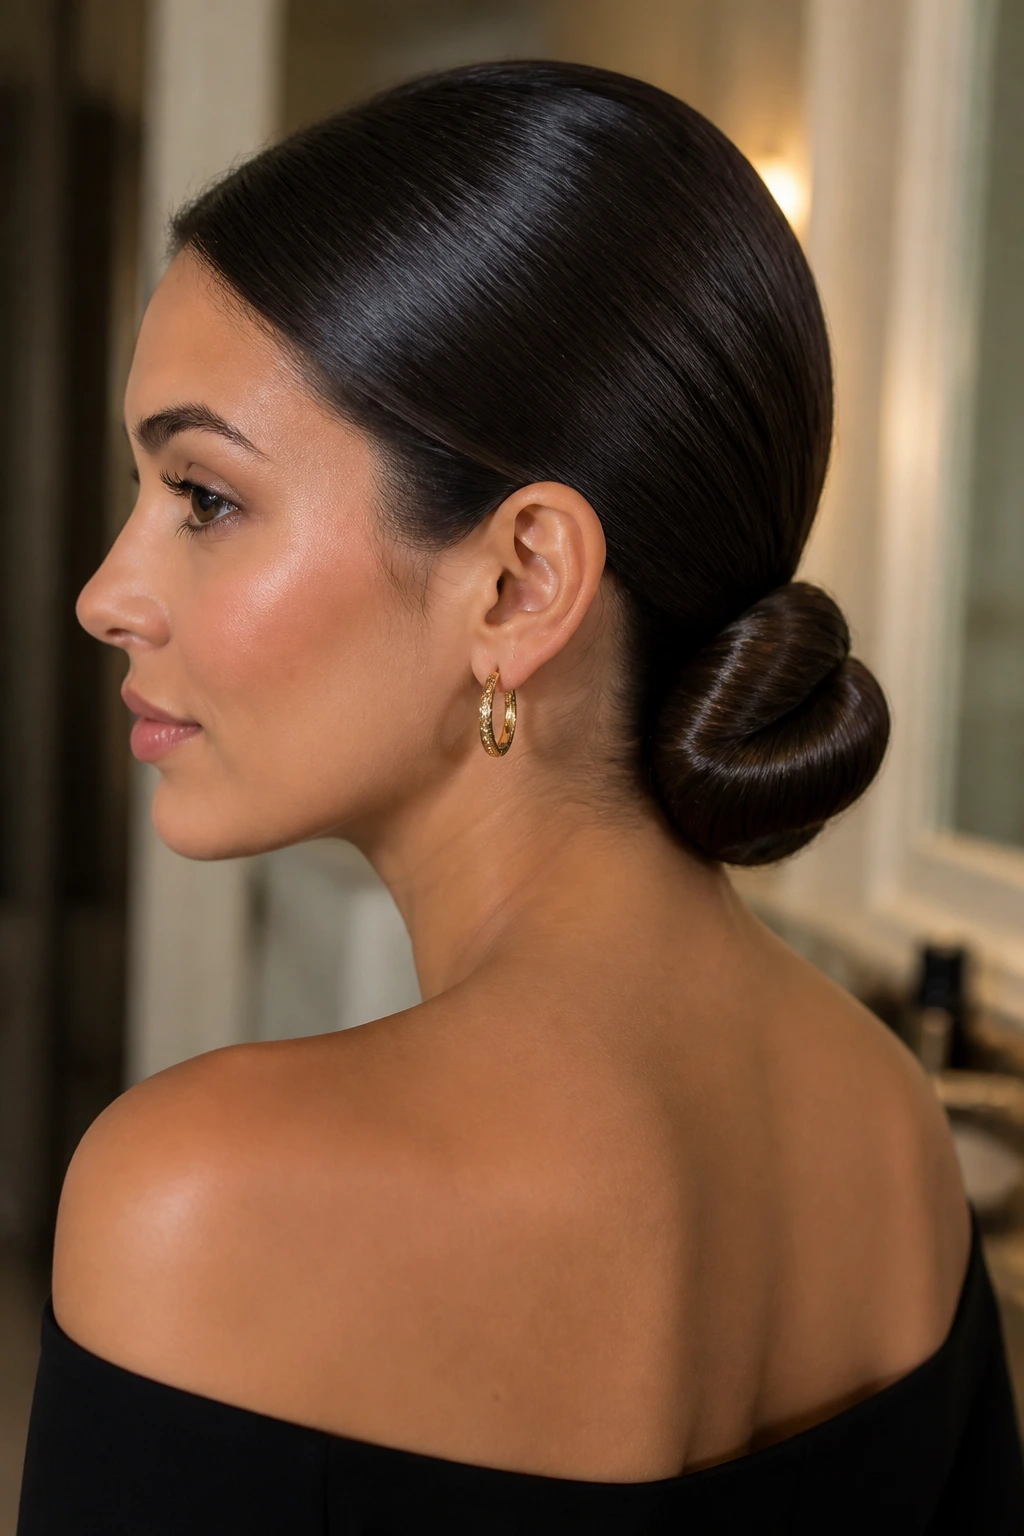
This is an elevated take on the standard low bun. By wrapping the lengths of the hair around the base in a circular pattern, you create a spiral effect that, when properly smoothed, looks incredibly futuristic and glazed. It is a very structured, artistic look that works well for formal occasions.
The Construction
Start with a low ponytail. Divide the tail into two sections and wrap them in opposite directions around the base. Secure with pins, but use the “u-pin” style of pinning to hide the fasteners completely. Once the bun is formed, use a styling wand to smooth down any stray hairs.
Why It’s Different
The geometric nature of the wrap forces the light to hit the hair from multiple angles, highlighting the natural color variations in your hair. If you have highlights, this style will make them look like ribbons of light.
12. The “Glassy” Bob with Deep Side-Swept Bangs
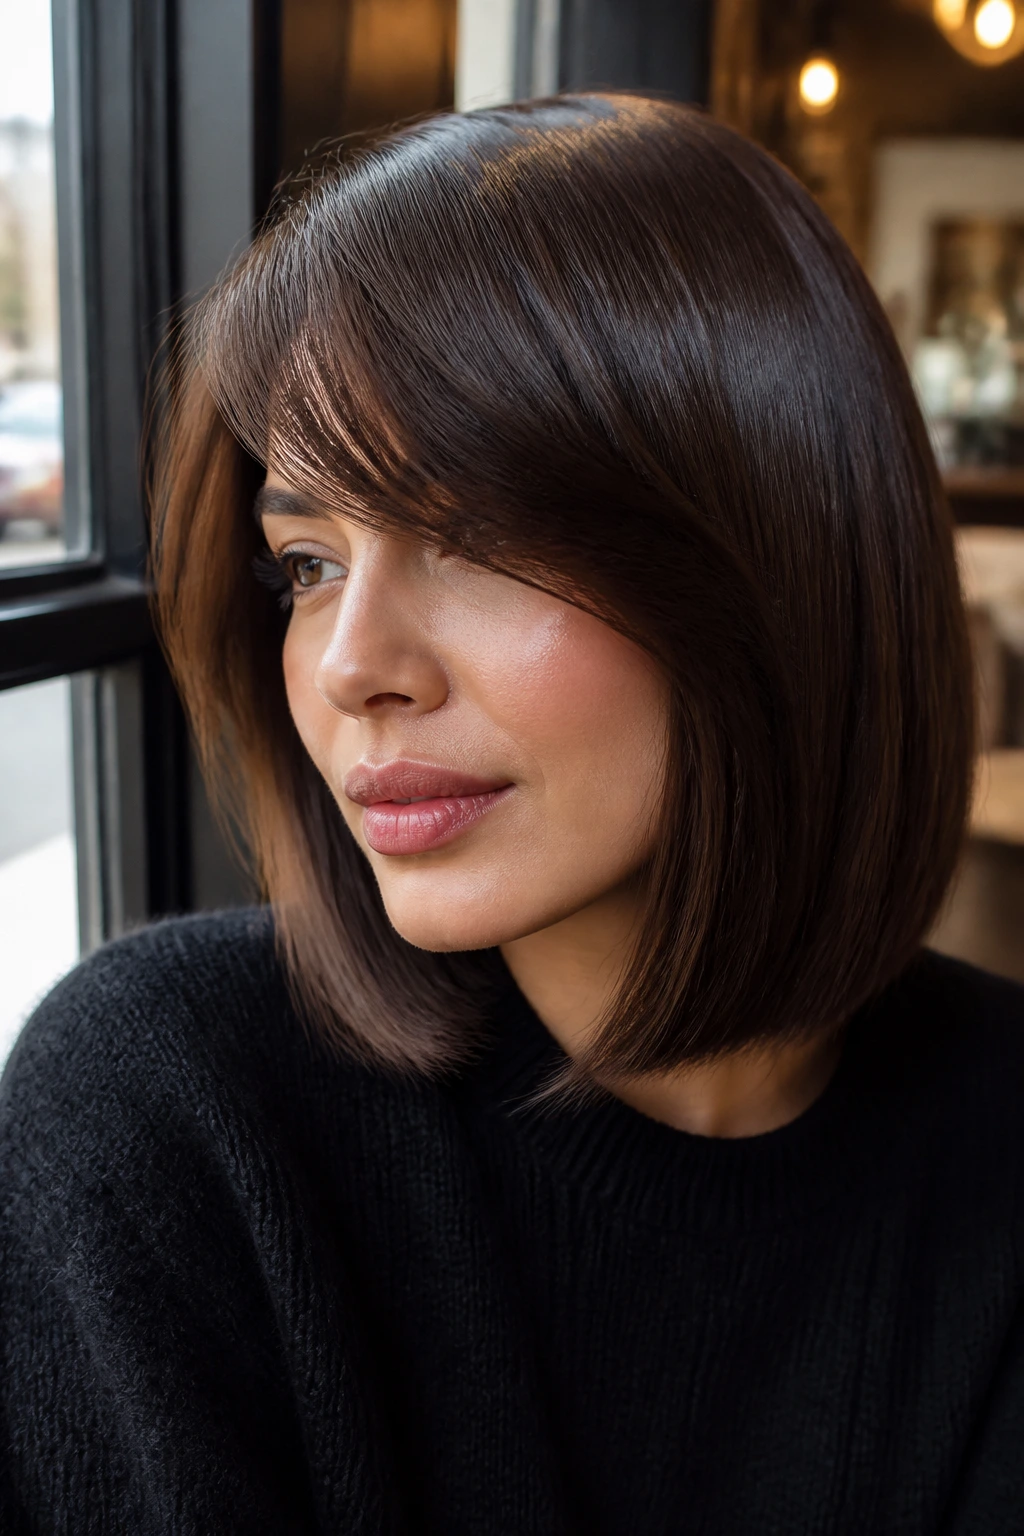
A bob paired with long, side-swept bangs offers a bit of softness to the otherwise severe glazed aesthetic. The key is to keep the bangs blended into the side of the hair so they don’t look like a separate entity. Blow-dry the bangs using a small round brush to give them just enough volume to stay off your face, then finish with a light-hold spray.
Harmonizing Textures
The goal is for the bangs to share the exact same finish as the rest of your hair. Don’t use a different product on your bangs than you use on your lengths. Consistency is the primary factor that makes a glazed look feel intentional rather than accidental.
Final Tips
- Use a flat iron to smooth the transition between the bangs and the rest of the hair.
- Avoid heavy texturizing sprays, which will matte down the shine.
- Keep the side part soft; you don’t want a rigid, geometric line here.
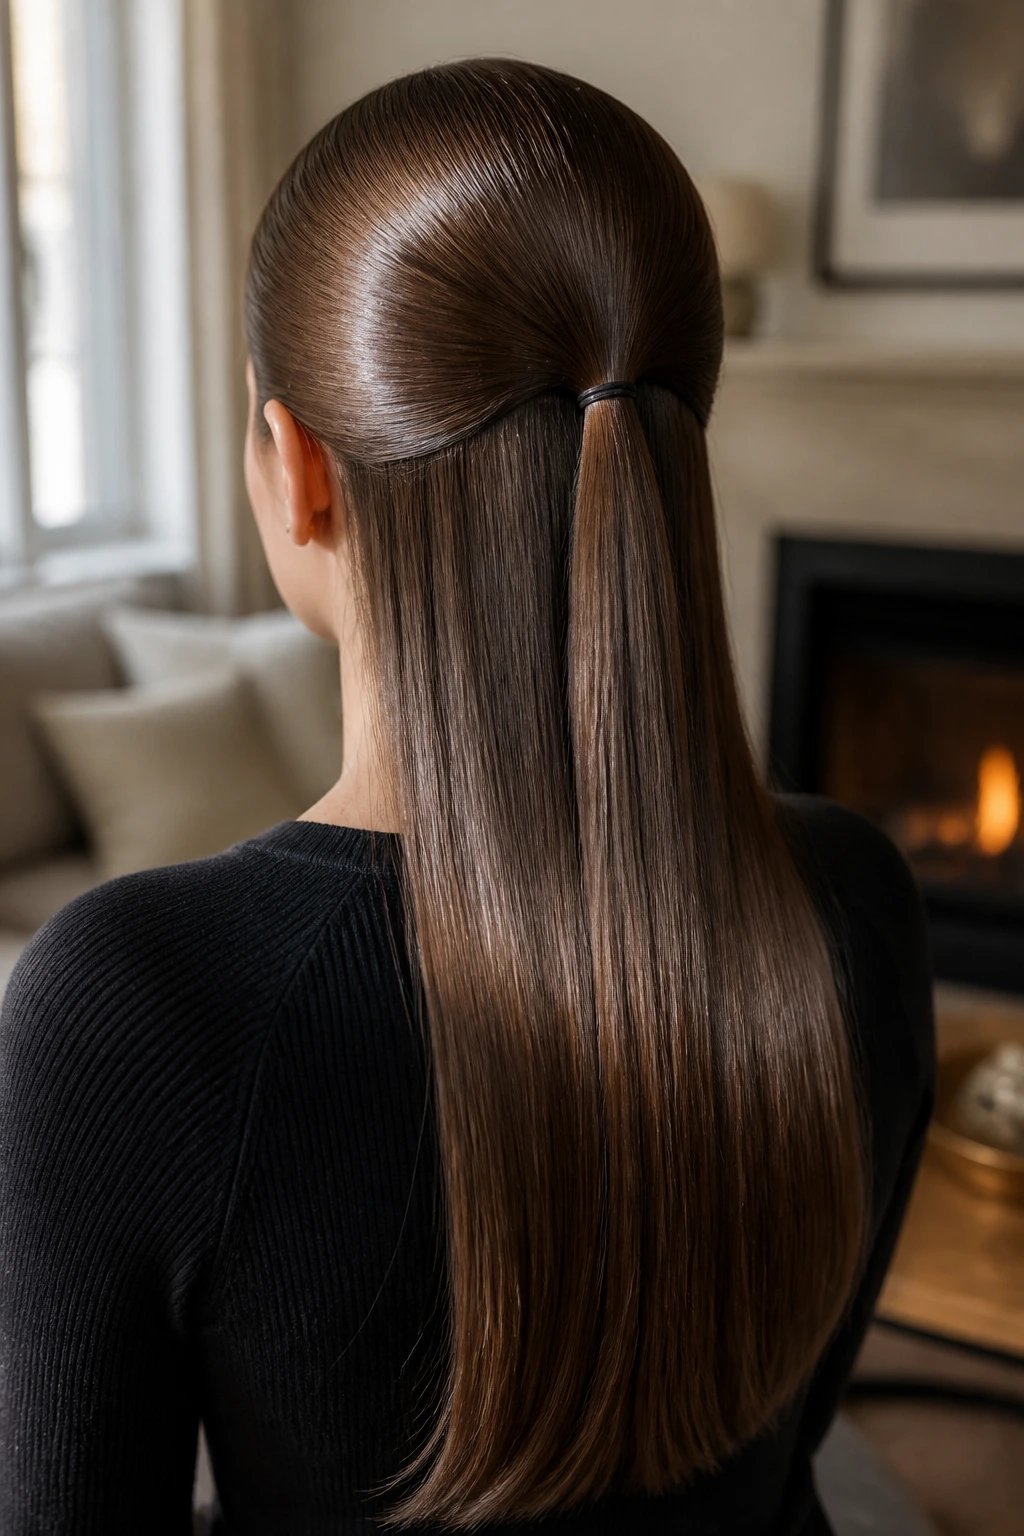
13. The Half-Back, Double-Pinned Straight Look
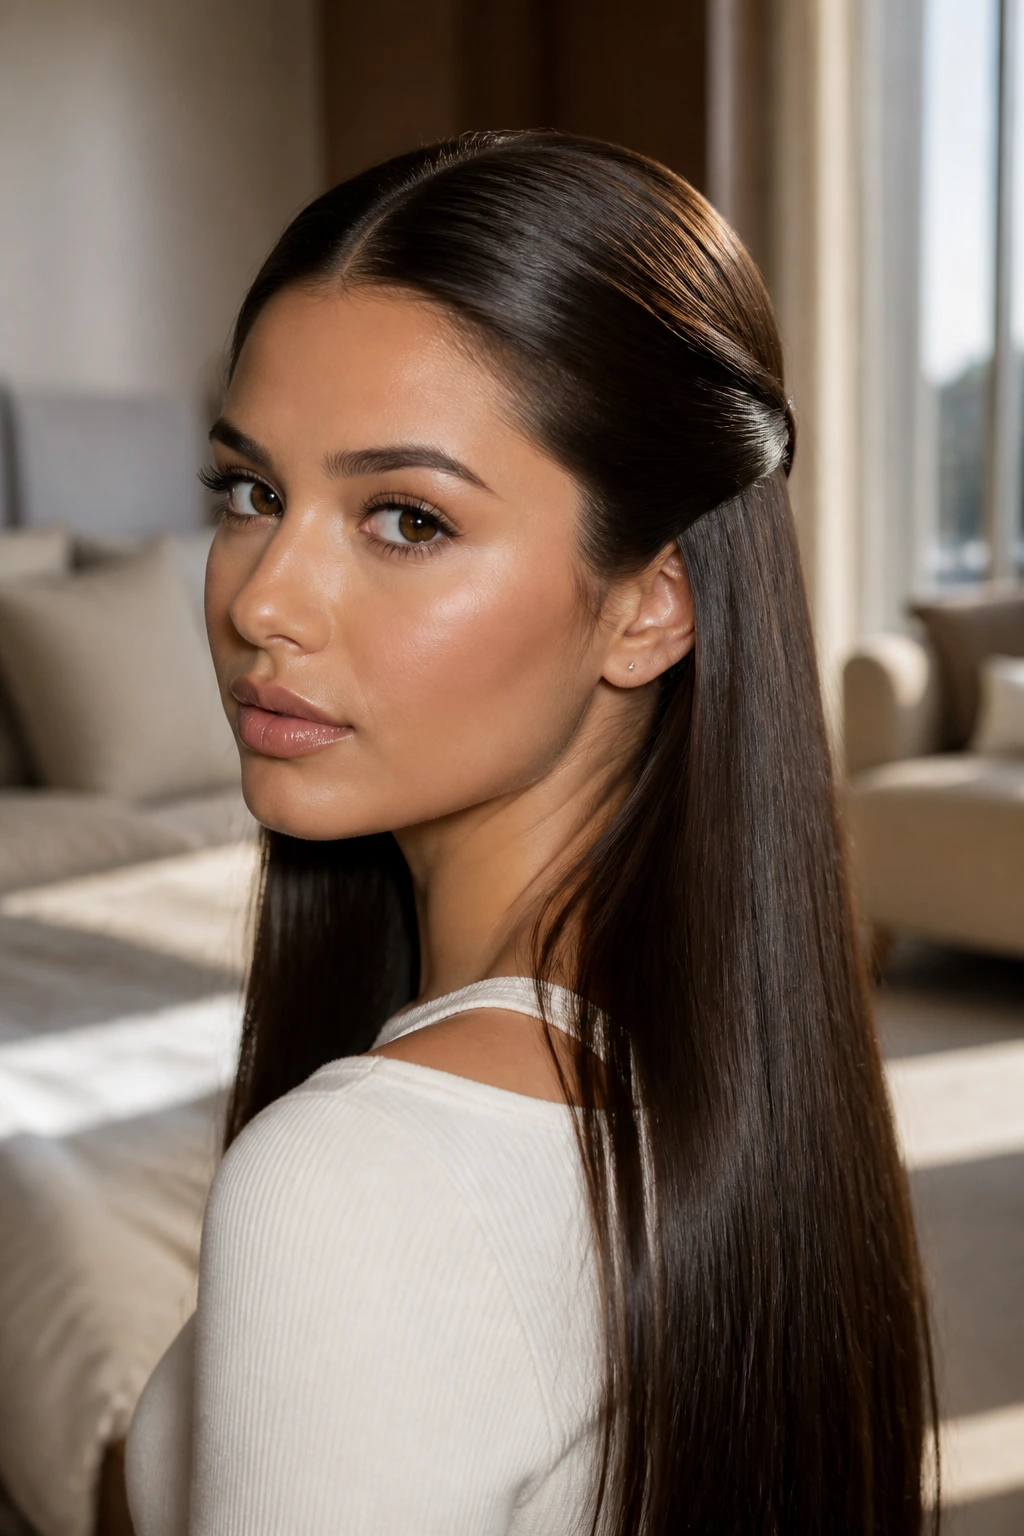
For those who want a bit of flair without compromising the sleekness, try pulling two small sections from the temples and pinning them back at the nape of the neck. This creates a subtle cascade effect. The key is to make the pinned sections perfectly straight so they blend into the rest of your hair.
Seamless Integration
The pins should be as invisible as possible. Use bobby pins that match your hair color exactly. If you have very dark hair, don’t use brown pins; seek out black ones. If you have light hair, look for silver or blonde-toned pins. The less hardware visible, the more the focus remains on the “glaze.”
Why This Style Succeeds
It opens up the face while keeping the dramatic length of your hair front and center. It feels more “done” than just wearing your hair down, but it still maintains the natural, glossy appeal of loose, straight locks.
14. The Sleek Low-Pony with a Metal Accessory
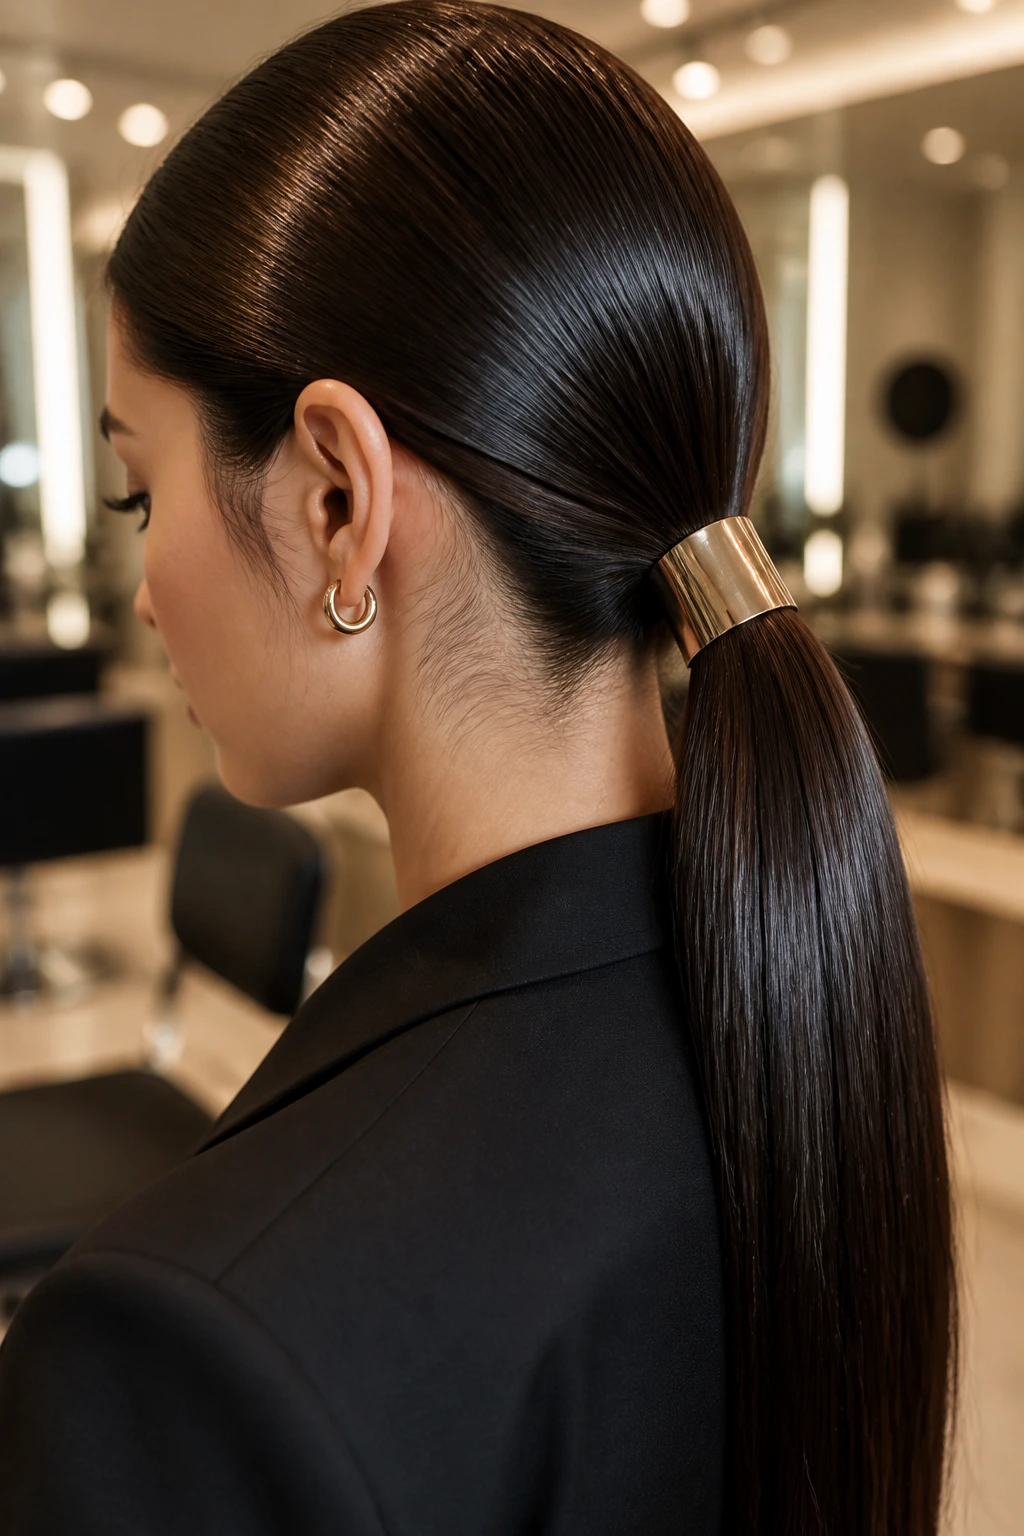
Accessories can either enhance or ruin the glazed look. If you use a cheap, plastic hair tie, the shine is interrupted by the matte, dull texture of the accessory. Using a metal cuff or a gold-tone hair wrap adds a reflective surface that complements the shine of your hair.
Choosing the Right Accessory
Look for metallic finishes like gold, silver, or rose gold. These materials have a high-gloss finish that matches the “donut glaze” aesthetic perfectly. A metal cuff that snaps around your ponytail is infinitely better than a hair elastic because it acts as an extension of the hair’s own reflective surface.
Why the Accessory Matters
It signals intentionality. A ponytail wrapped in a gold cuff looks like a styled look, while a ponytail held by a fabric tie can look like you’re about to go to the gym. Elevate the style, and the hair will look more polished by association.
15. The “Glassy” Center-Part with Tucked-Away Layers
If you have layers, you often struggle with the “glazed” look because they have a tendency to move, flip, and create their own volume. The trick is to blow-dry your layers with the rest of your hair, using a paddle brush to force them into a singular direction.
Smoothing the Transitions
Focus your flat iron specifically on the points where the layers meet the longer strands. This is where most people lose their smoothness. By flat-ironing these transition points, you ensure that the hair falls as one uniform sheet, which is the hallmark of truly “glazed” hair.
Key Maintenance
- Trim your layers regularly; as they grow out, they become more erratic and difficult to smooth.
- Use a lightweight leave-in conditioner to keep the ends of the layers from curling away from the main length.
- If a layer is too short to be smoothed, use a tiny amount of wax to secure it flat against the rest of the hair.
16. The Sleek Bun with Center-Parted Face-Framing Strands
This style is a bit softer, allowing two slim, straight strands to fall forward while the rest of the hair is pulled back into a tight bun. It feels very modern and is perfect for showing off your cheekbones. The strands themselves should be treated like jewels—perfectly straight, shiny, and defined.
Precision Styling
These two strands need extra attention. Give them a separate pass with the flat iron, and use a tiny dab of shine serum on your fingertips to define them. Because they are framing your face, any oil buildup will be obvious, so use the serum sparingly.
Balancing the Style
The bun itself can be a bit more textured, but the two face-framing strands must be pristine. This contrast makes the glazed finish of those specific strands pop even more. It is a detail-oriented style that looks highly sophisticated.
17. The Micro-Braided Crown with Straight Lengths
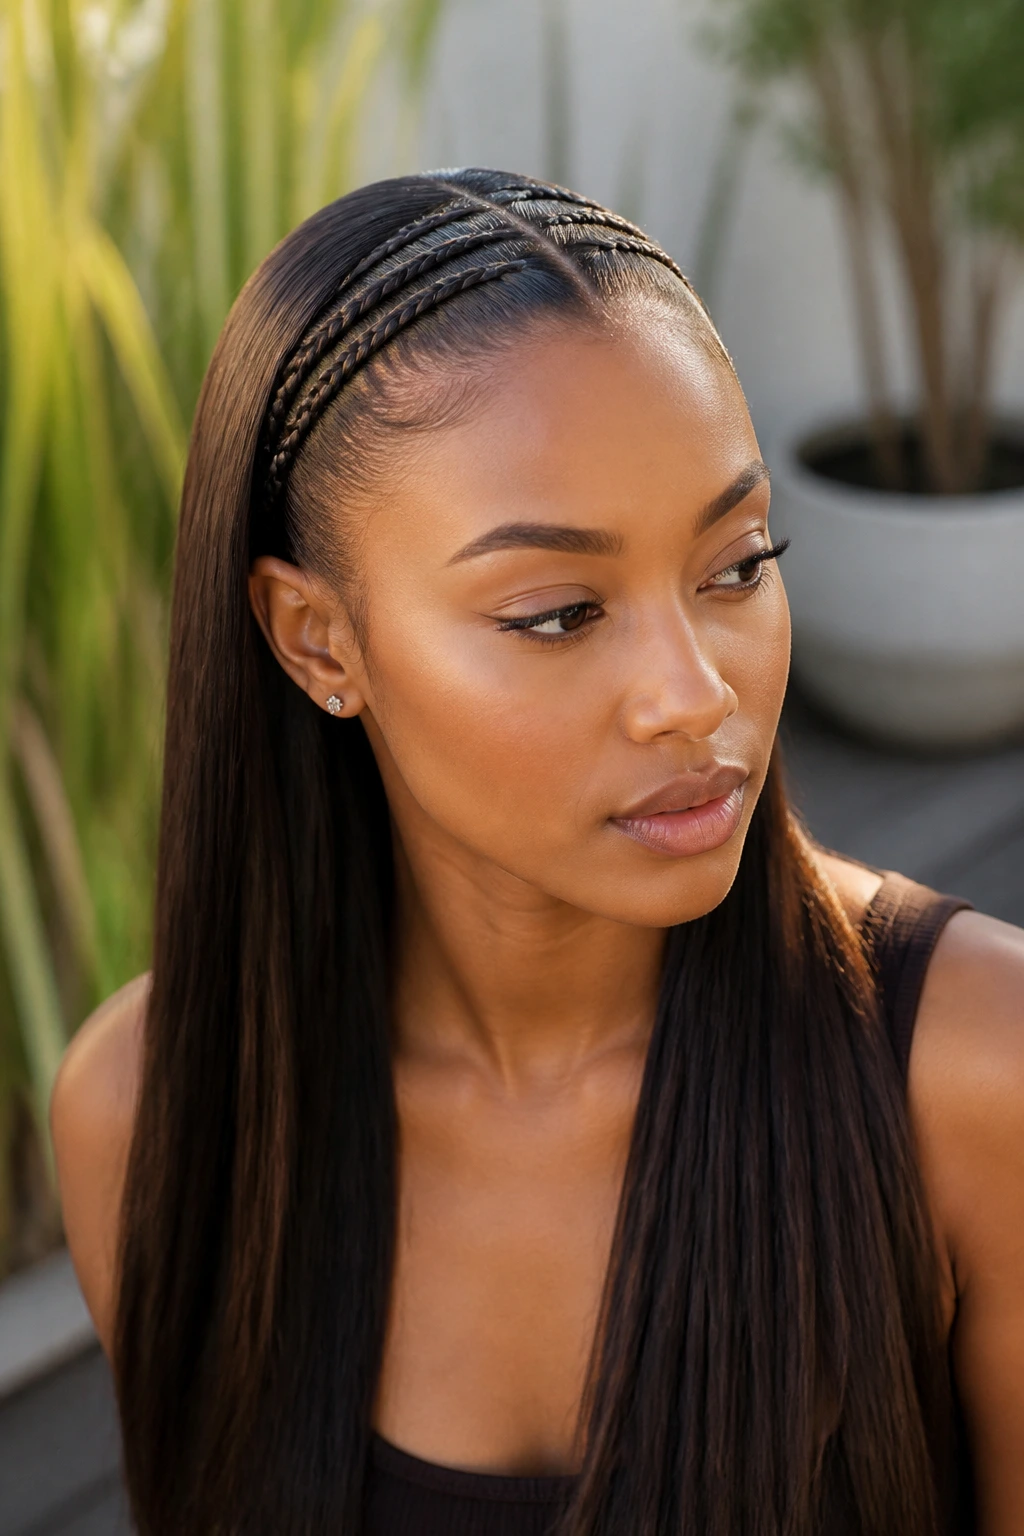
For a more bohemian take on the glazed look, incorporate a micro-braid along the hairline. It adds texture and interest without taking away from the sleekness of the hair. The braid should be pulled tight, and any stray hairs should be glued down with a light wax.
Why This Works
The braid adds a “halo” effect to the head, which highlights the shine of the loose, straight hair underneath. It is a clever way to handle hair that might be too thick to lay completely flat on its own.
Styling Tips
- Make the braid as tight as possible; loose braids create messy texture that dulls the look.
- Use a clear glossing spray over the entire head to unify the finish of the braided section and the loose lengths.
- Keep the braid simple—a standard three-strand braid is cleaner than a fishtail or Dutch braid for this specific look.
18. The Ultra-Minimalist Half-Up with a Silk Ribbon
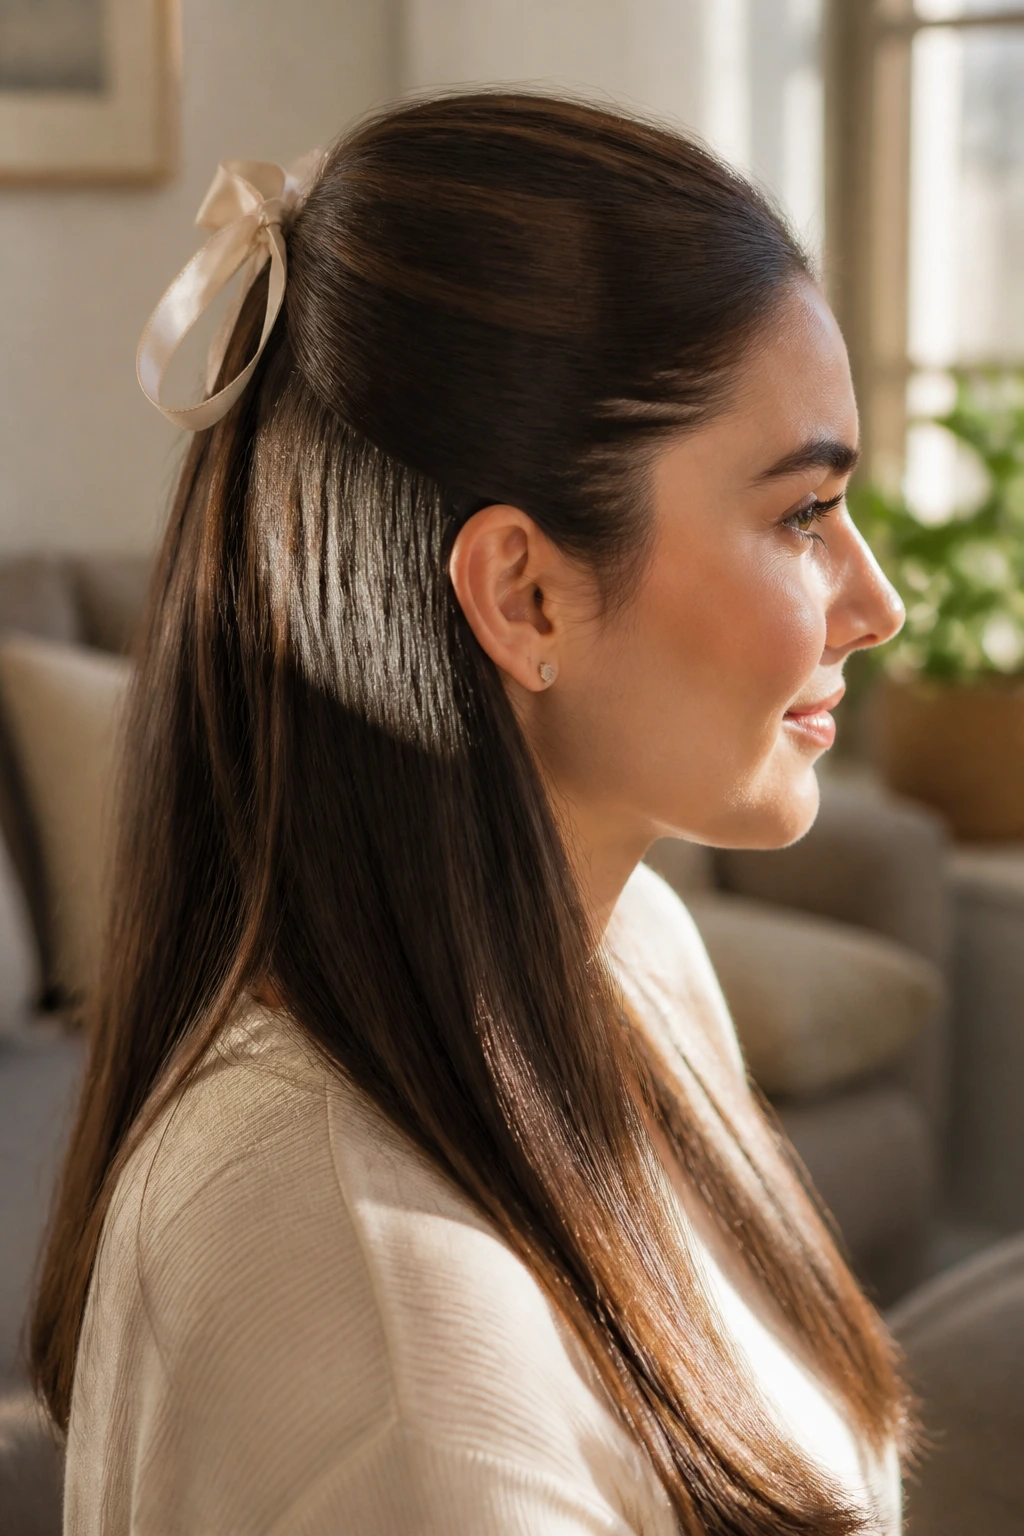
Sometimes the best way to showcase glazed hair is to keep the style extremely simple and add a high-quality accessory. A long, thin silk ribbon used to tie back the top section of your hair adds a luxurious texture that plays off the gloss of your hair.
The Fabric Factor
Silk is key here. Velvet will absorb light and make the hair look less shiny by comparison. Silk reflects light, which reinforces the “glazed” aesthetic. Choose a ribbon in a neutral color like cream, black, or champagne to ensure the focus remains on the hair rather than the accessory.
Why the Simplicity Matters
If your hair is already high-shine and perfectly straight, you don’t need complicated styles. The more you manipulate the hair, the more you risk creating friction and losing that mirror finish. A simple half-up style held by a silk ribbon is the perfect, low-damage way to wear your hair daily.
Final Thoughts
Achieving that signature “donut glaze” shine on straight hair is less about a single magical product and more about the sum of your daily habits. It starts in the shower with a thorough cleanse and continues through the drying process, where tension and heat control determine the final outcome. The common thread across every one of these styles is the reduction of surface friction and the commitment to a smooth, uniform finish.
If you find that your hair is resisting the shine, don’t keep piling on more products. Instead, take a step back and examine your tools—are your brushes clean? Is your flat iron plates-surface smooth? Often, the culprit isn’t your hair, but the build-up of old product or the wear on your styling tools. Treat your hair as a reflective surface, be patient with your heat styling, and you will find that the glazed, glass-like finish is well within reach, day after day.