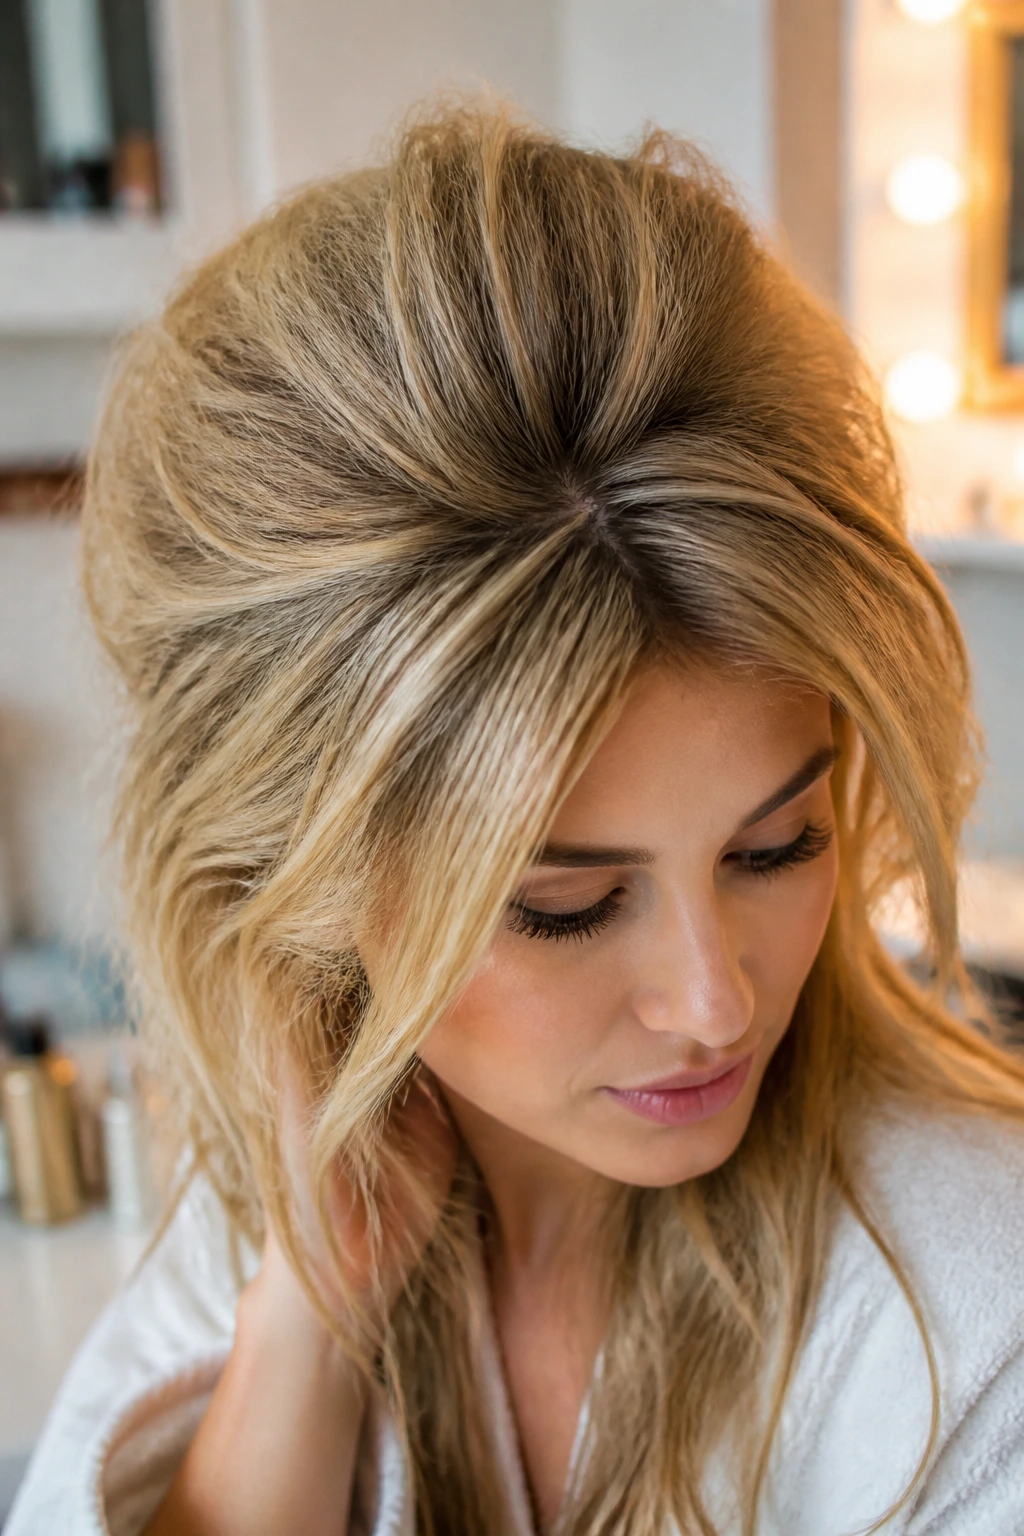
Achieving that iconic, voluminous scene hair look when your hair is naturally fine can feel like a losing battle against gravity. You might be staring at the mirror, trying to mimic those gravity-defying backcombed layers, only to find your hair falling flat within the hour. Most tutorials assume you have a thick, coarse canvas to work with, but scene culture was never about what you were born with—it was about how you manipulated, teased, and colored your hair to break the rules. Fine hair actually has a secret advantage: it takes less time to dry and can hold a set if you know how to build a foundation. If you want the jagged layers, the vibrant streaks, and the intense volume that defines the scene aesthetic, you have to approach your hair like a construction project. It starts with the right cut, a dedication to heavy-duty products, and the patience to master the art of the tease without frying your delicate strands.
The Foundation: Texturizing Cuts for Thin Hair
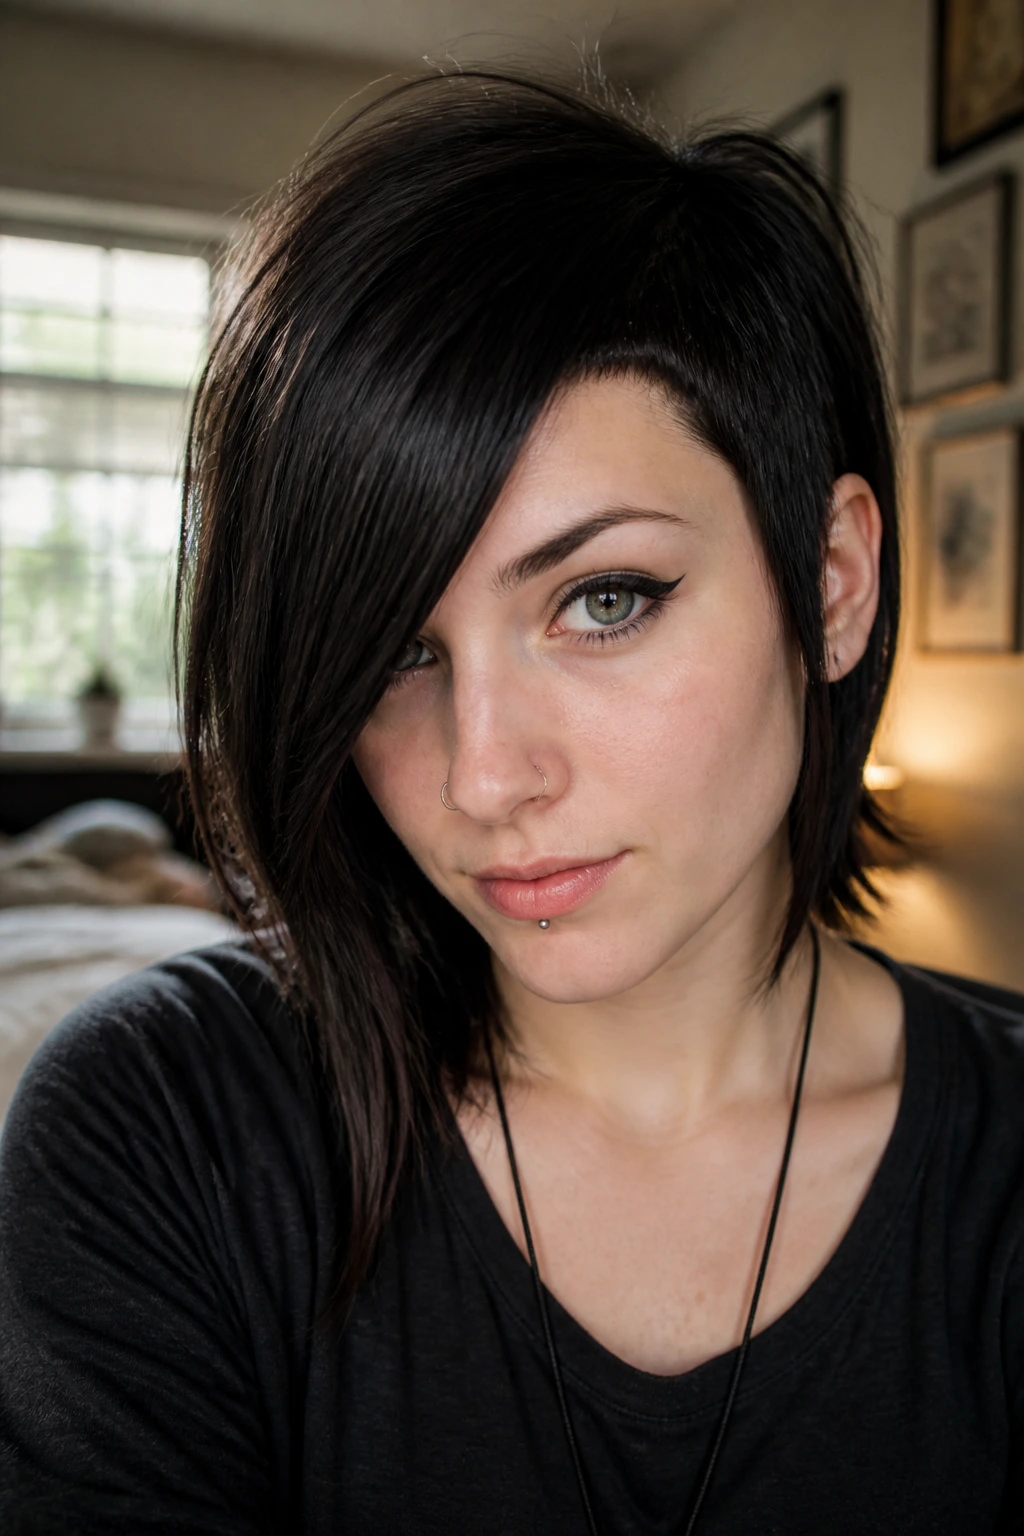
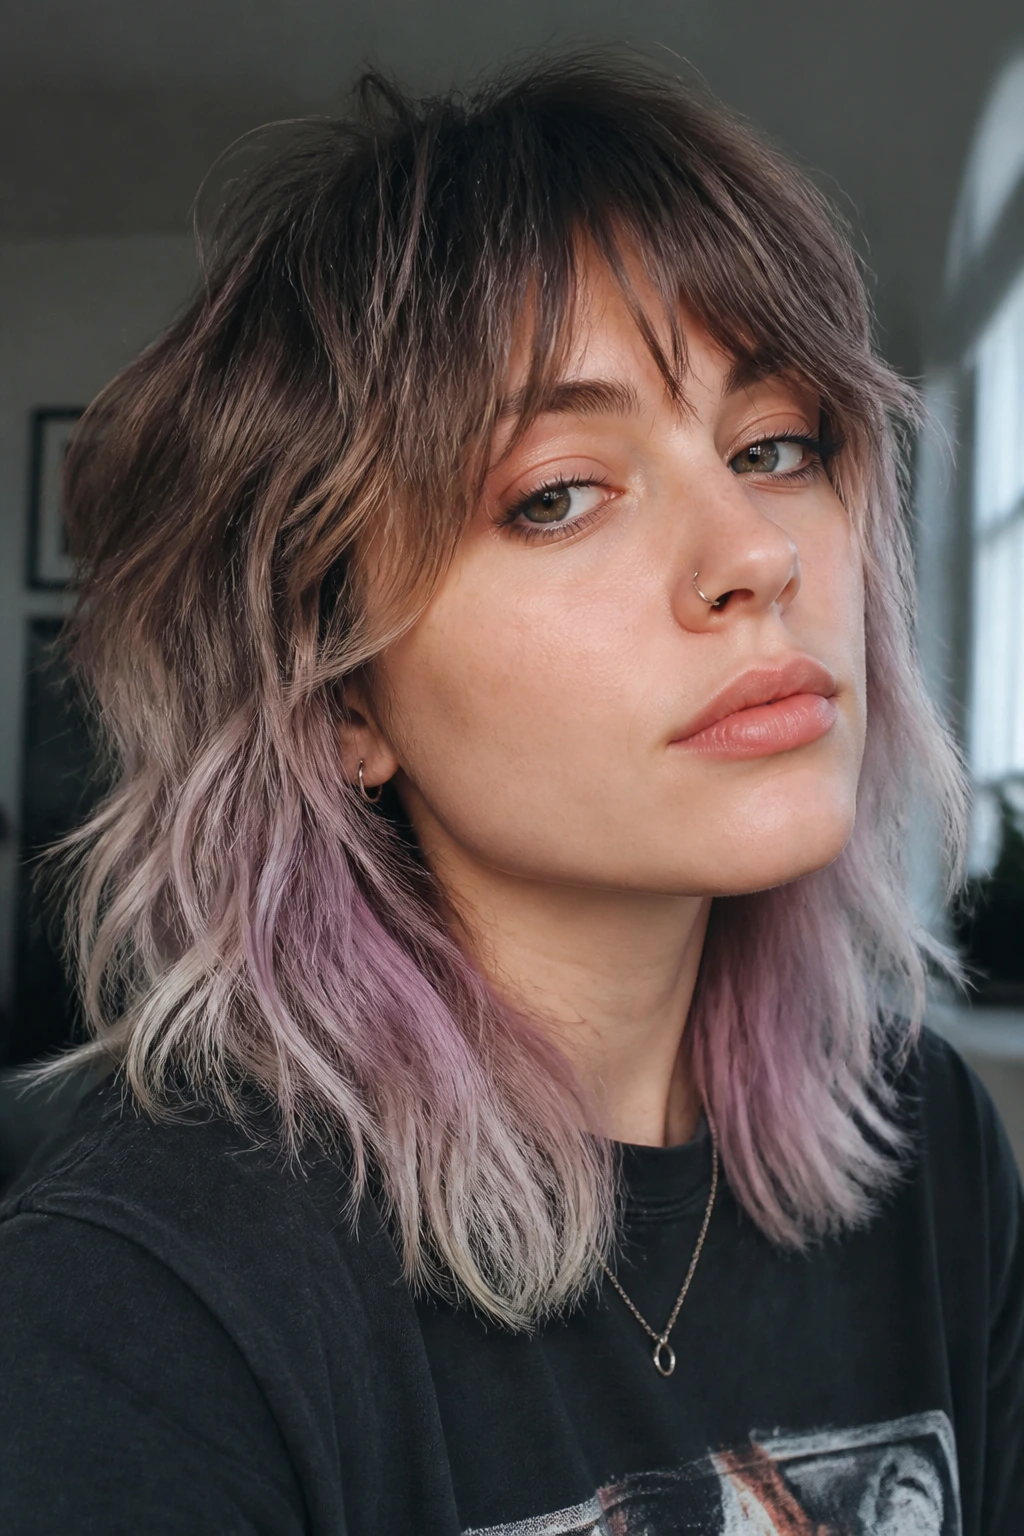
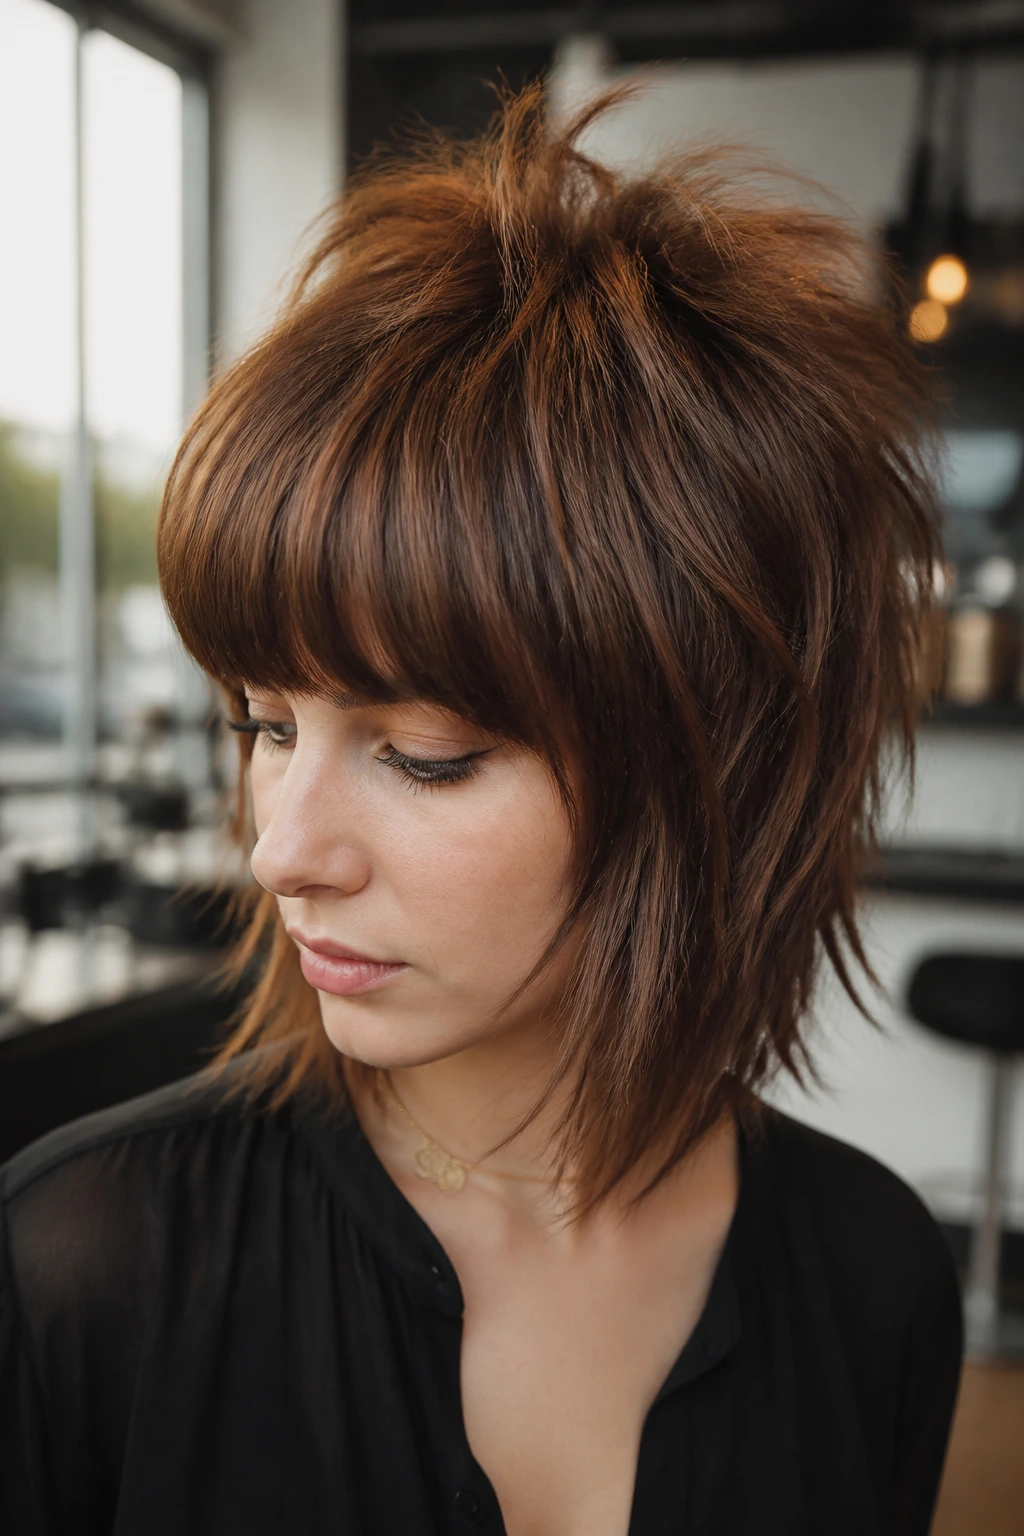
The biggest mistake people with fine hair make when chasing the scene look is clinging to length. Long, fine hair weighs itself down, pulling out your backcombing and making your layers look stringy rather than jagged and full. You need a haircut that removes weight while keeping the appearance of density. Ask for a razor cut—it creates that wispy, shattered end texture that is hallmark to the mid-2000s scene look.
Focus on creating a heavy, rounded fringe that starts far back on your head. This gives the illusion of thicker hair at the front, where it matters most. You want short, choppy layers throughout the crown to give you the lift needed for volume. Avoid thin, wispy layers that can make fine hair look sparse. Instead, opt for blunt, heavy pieces that are texturized internally. This provides a platform for hairspray and teasing products to grip onto.
Why Dry Shampoo Is Your Best Friend
Fine hair tends to become greasy quickly, and oil is the enemy of volume. When your hair is freshly washed and silky, it is too slippery to hold a tease. You need to strip away that natural moisture to create friction between the strands. Dry shampoo is not just for cleaning; it is a vital styling product for anyone trying to achieve height on fine hair.
Apply your dry shampoo to the roots before you even pick up a teasing comb. Focus on the crown and the areas where you plan to add the most volume. Let it sit for a minute, then massage it into your scalp until the white cast disappears. You will immediately feel the hair becoming coarser and easier to work with. Think of it as adding a “grit” layer that helps the backcombing stay in place for the entire day.
The Right Way to Tease Without Damage
Teasing fine hair requires a delicate touch. If you are aggressive, you will cause breakage, and since your hair is already fine, you cannot afford to lose the density you currently have. Use a boar-bristle brush or a dedicated teasing comb rather than a plastic fine-tooth comb. Start about two inches away from your roots and push the hair down toward your scalp in short, controlled motions.
Never tease the top layer of your hair. You want to create a dense cushion of knotted hair underneath, then gently smooth the top layer over the top to hide the mess. If you find your tease falling, use a light mist of hairspray on each section before you tease it. This creates a “sticky” hold that locks the hair in place. Remember to always use a detangling spray or a rich conditioner when you eventually wash it out, because fine hair tangles more easily than coarse hair.
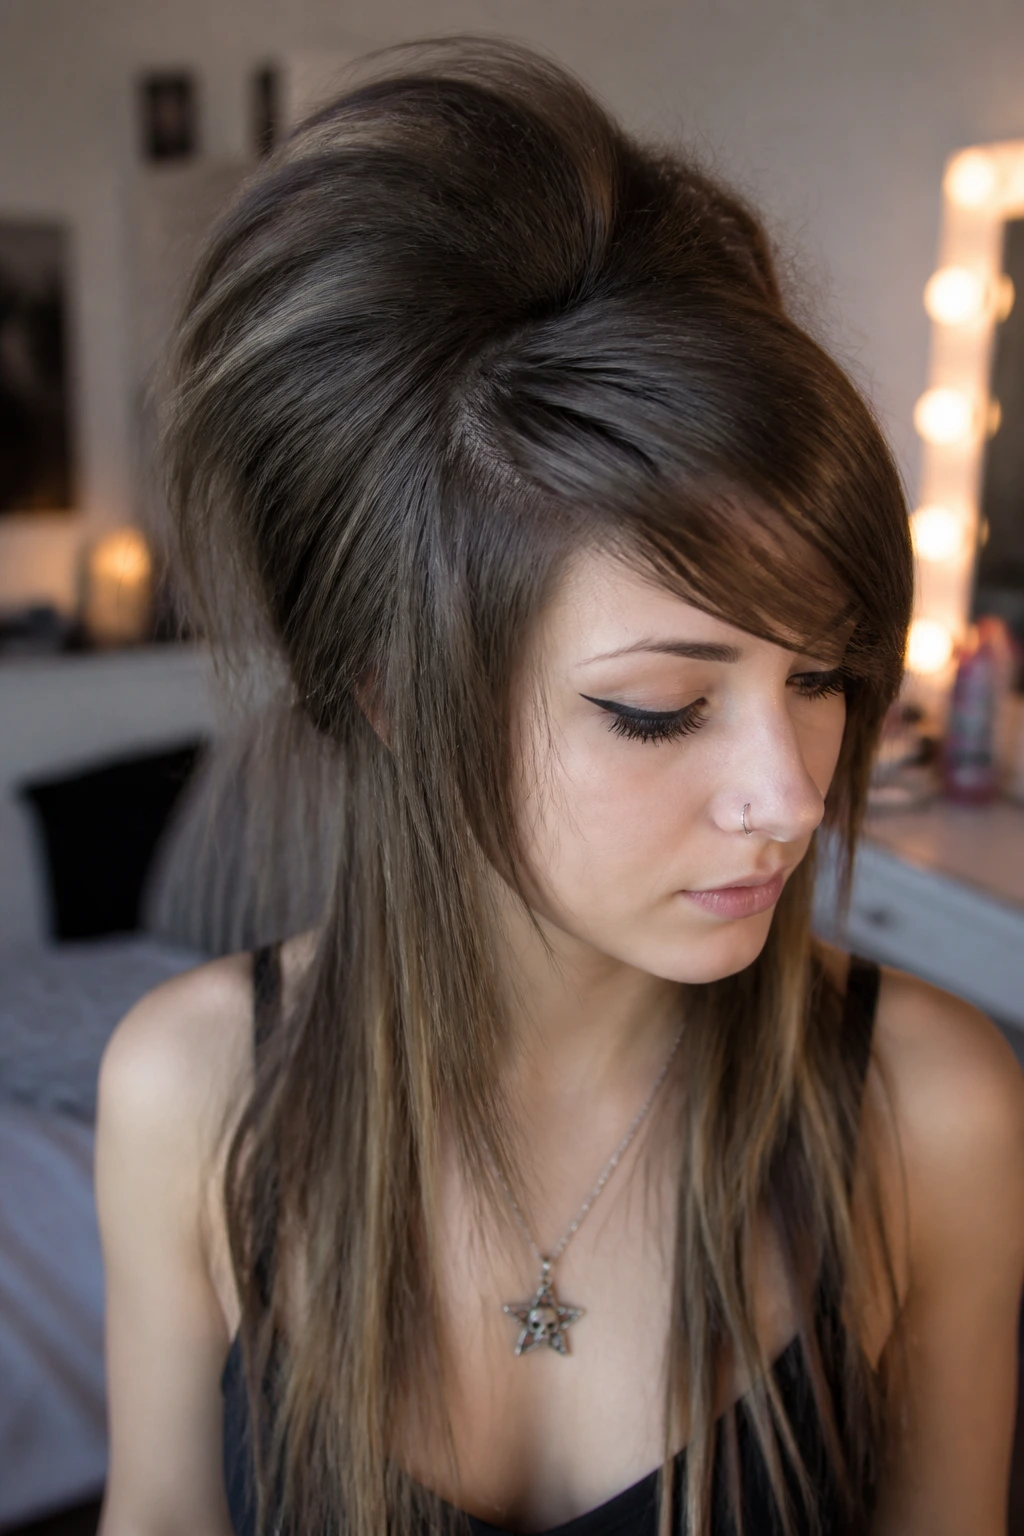
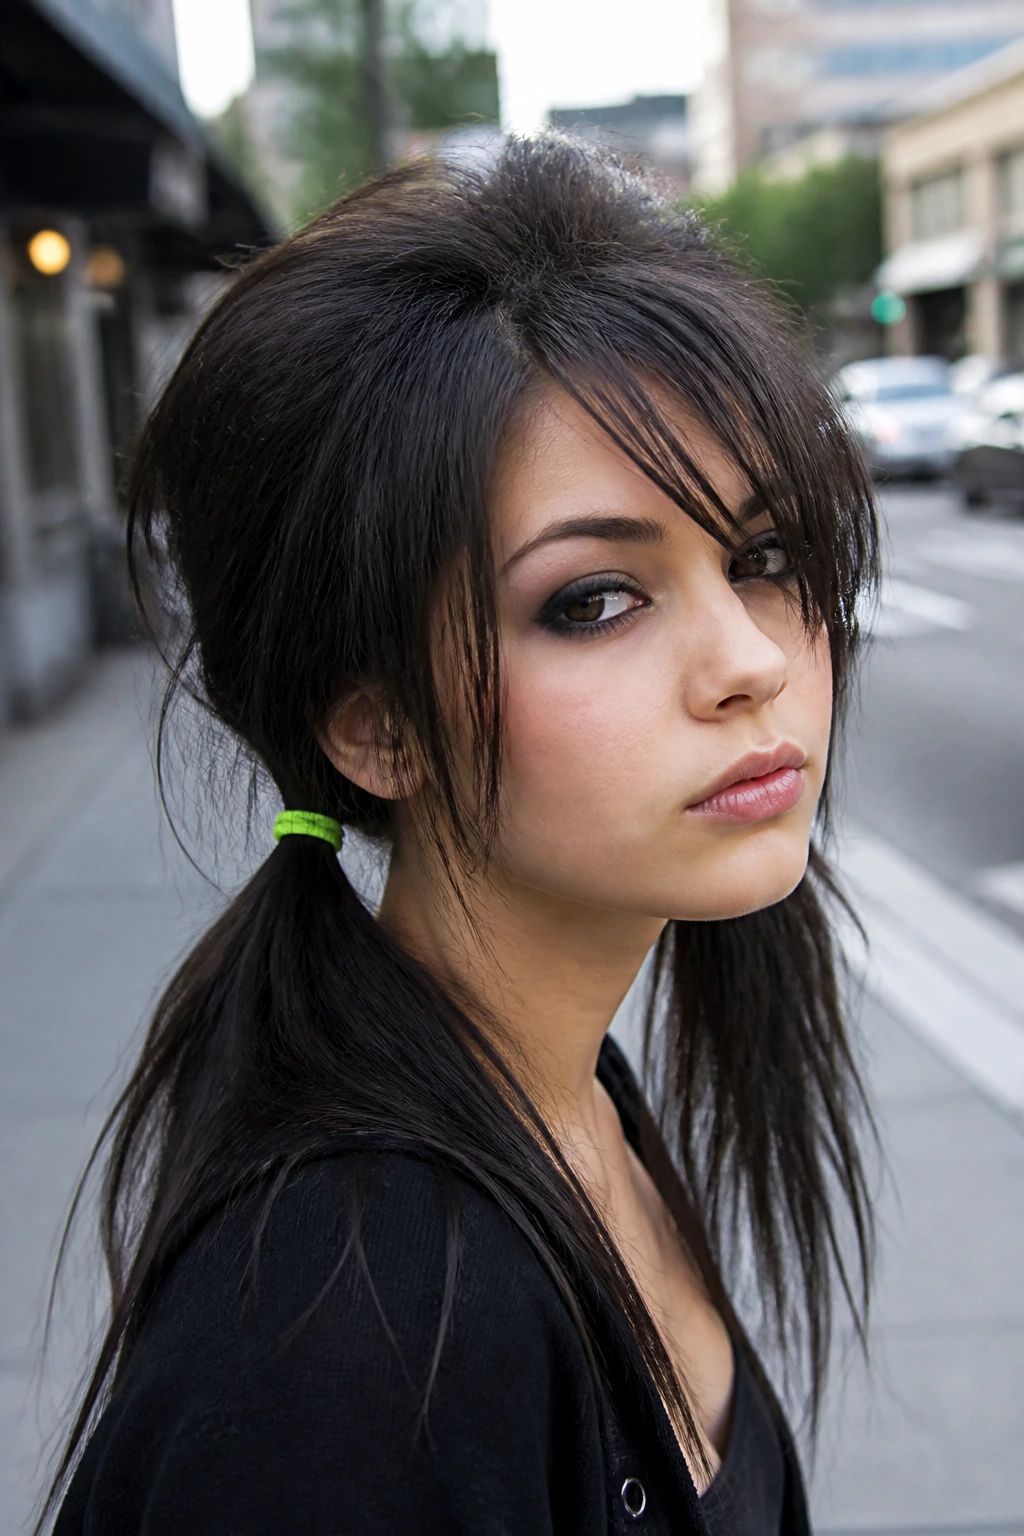
1. The Classic Side-Swept Heavy Fringe
This is the quintessential look that defined an entire era. For fine hair, the secret here is a deep side part. By bringing more hair from the top of your head over to one side, you create the illusion of a much thicker fringe.
How to Style It
- Use a flat iron to give the hair a slight “flick” away from your face.
- Apply a light-hold volumizing mousse to damp hair before blow-drying.
- Keep the hair close to the forehead to maintain that heavy, dramatic curtain effect.
- Use a tiny amount of pomade on the ends to keep them from looking wispy or frizzy.
Pro tip: If your fringe starts to part on its own, use a small amount of heavy-duty hairspray on a toothbrush and comb the stray hairs back into the main block of the fringe.
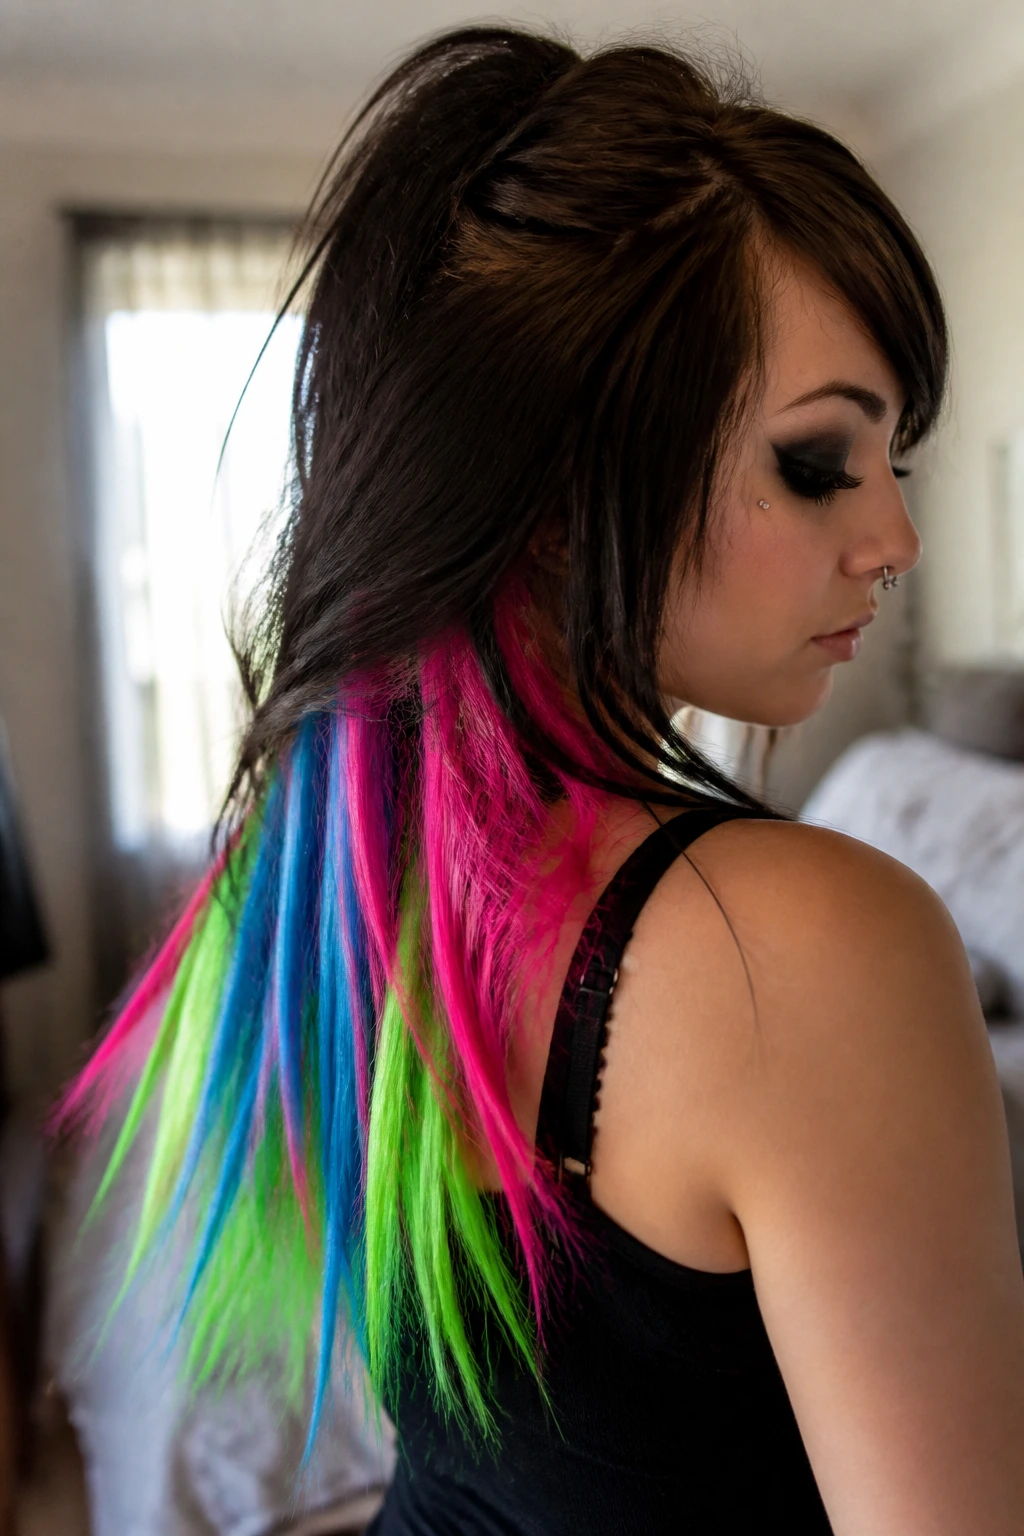
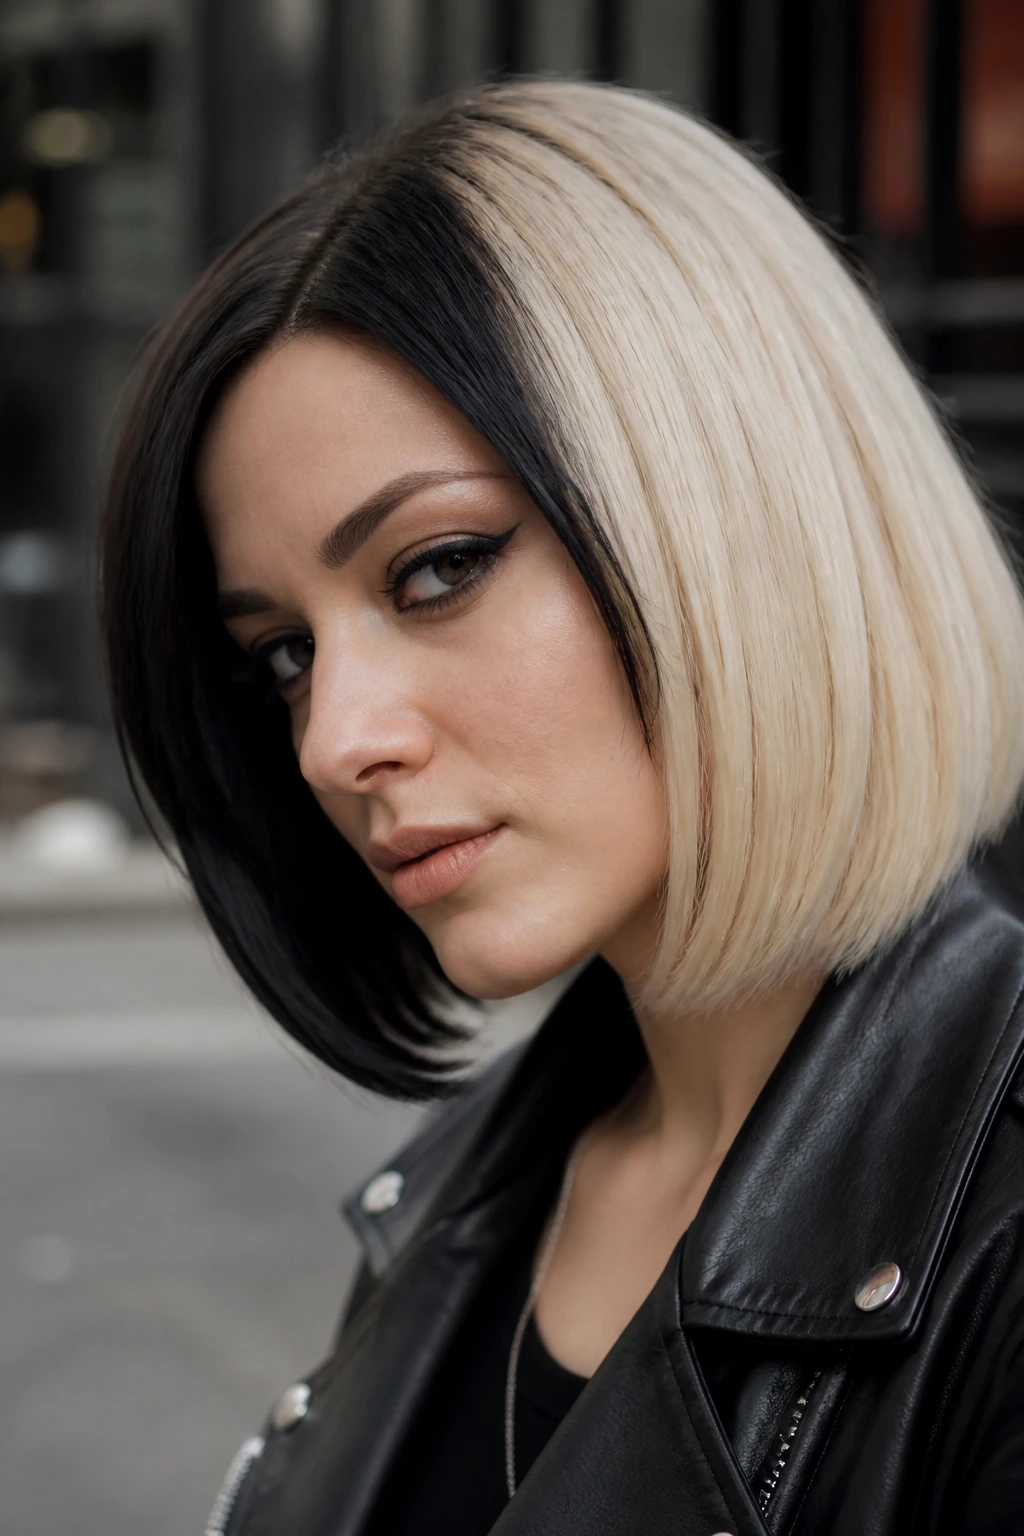
2. Neon-Streaked Choppy Bob
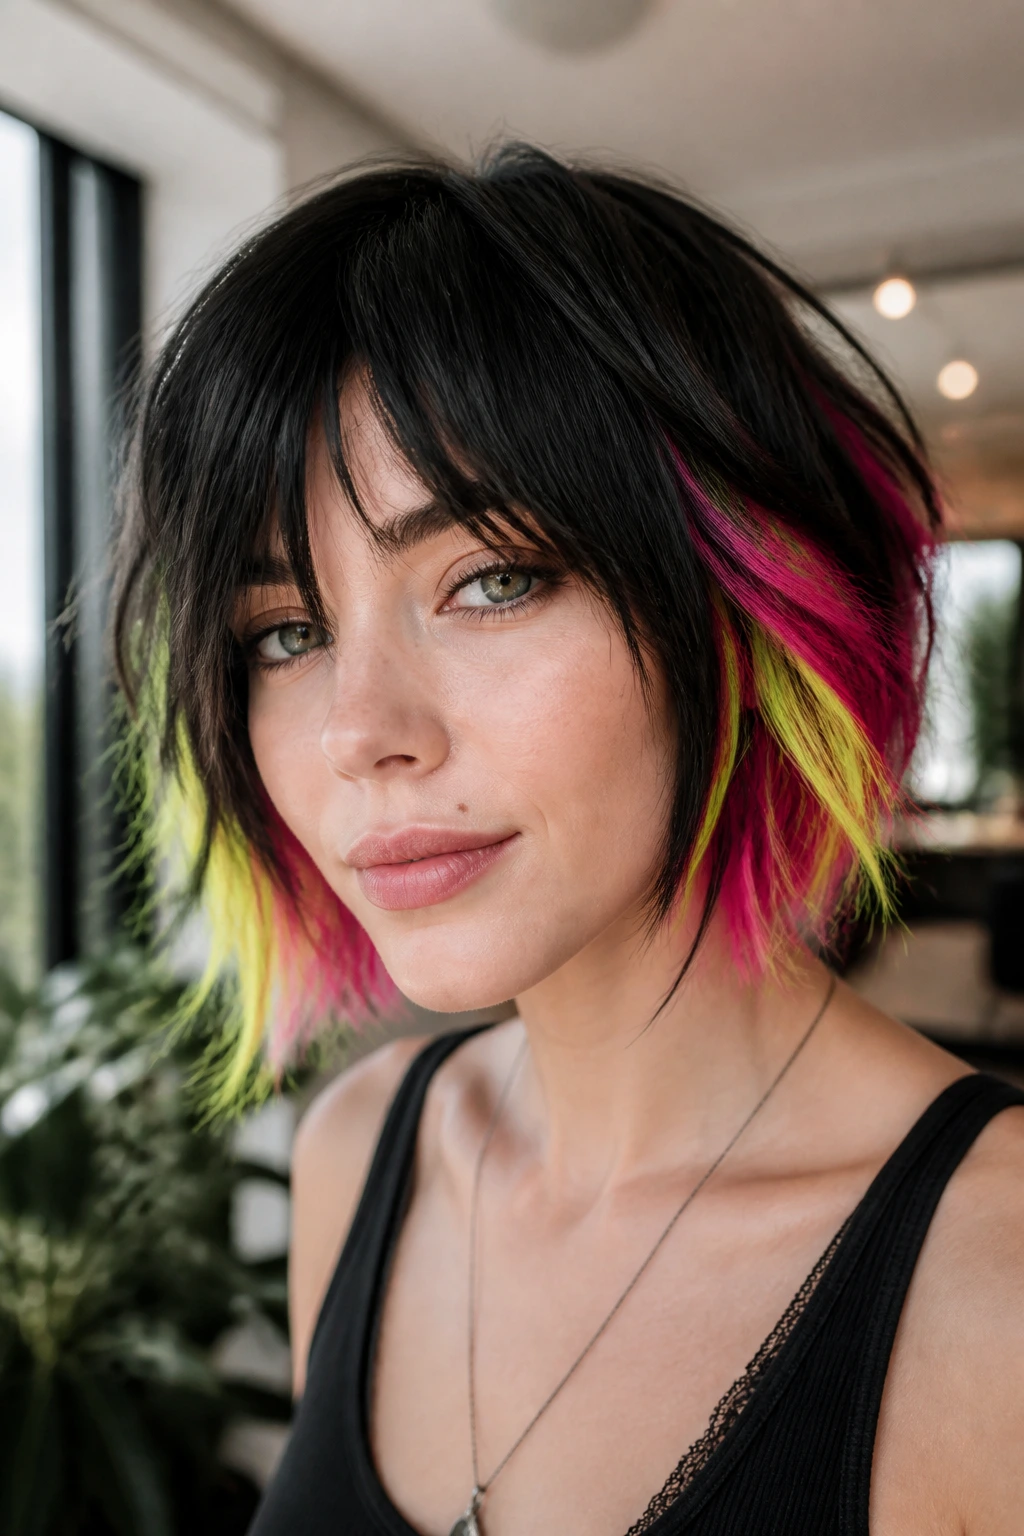
If you have fine hair, a bob is often the most flattering length because it keeps the hair from stretching out and looking thin. A chin-length cut adds natural volume at the bottom, which you can then amplify with jagged layers.
Why It Works for Fine Hair
A bob keeps your hair healthy. By cutting off the older, damaged ends, your hair will immediately look denser. Add neon streaks—think electric blue or hot pink—to the underneath layers to add visual depth. When fine hair is one color, it can look flat; adding multiple tones tricks the eye into seeing more texture.
Maintenance Tips
- Use color-safe shampoo to keep those bright shades vibrant.
- Invest in a quality purple shampoo if you are going for platinum or pastel shades to avoid brassiness.
- Trim your ends every six weeks to maintain the blunt edge that makes the bob look intentional.
3. The Teased High Ponytail
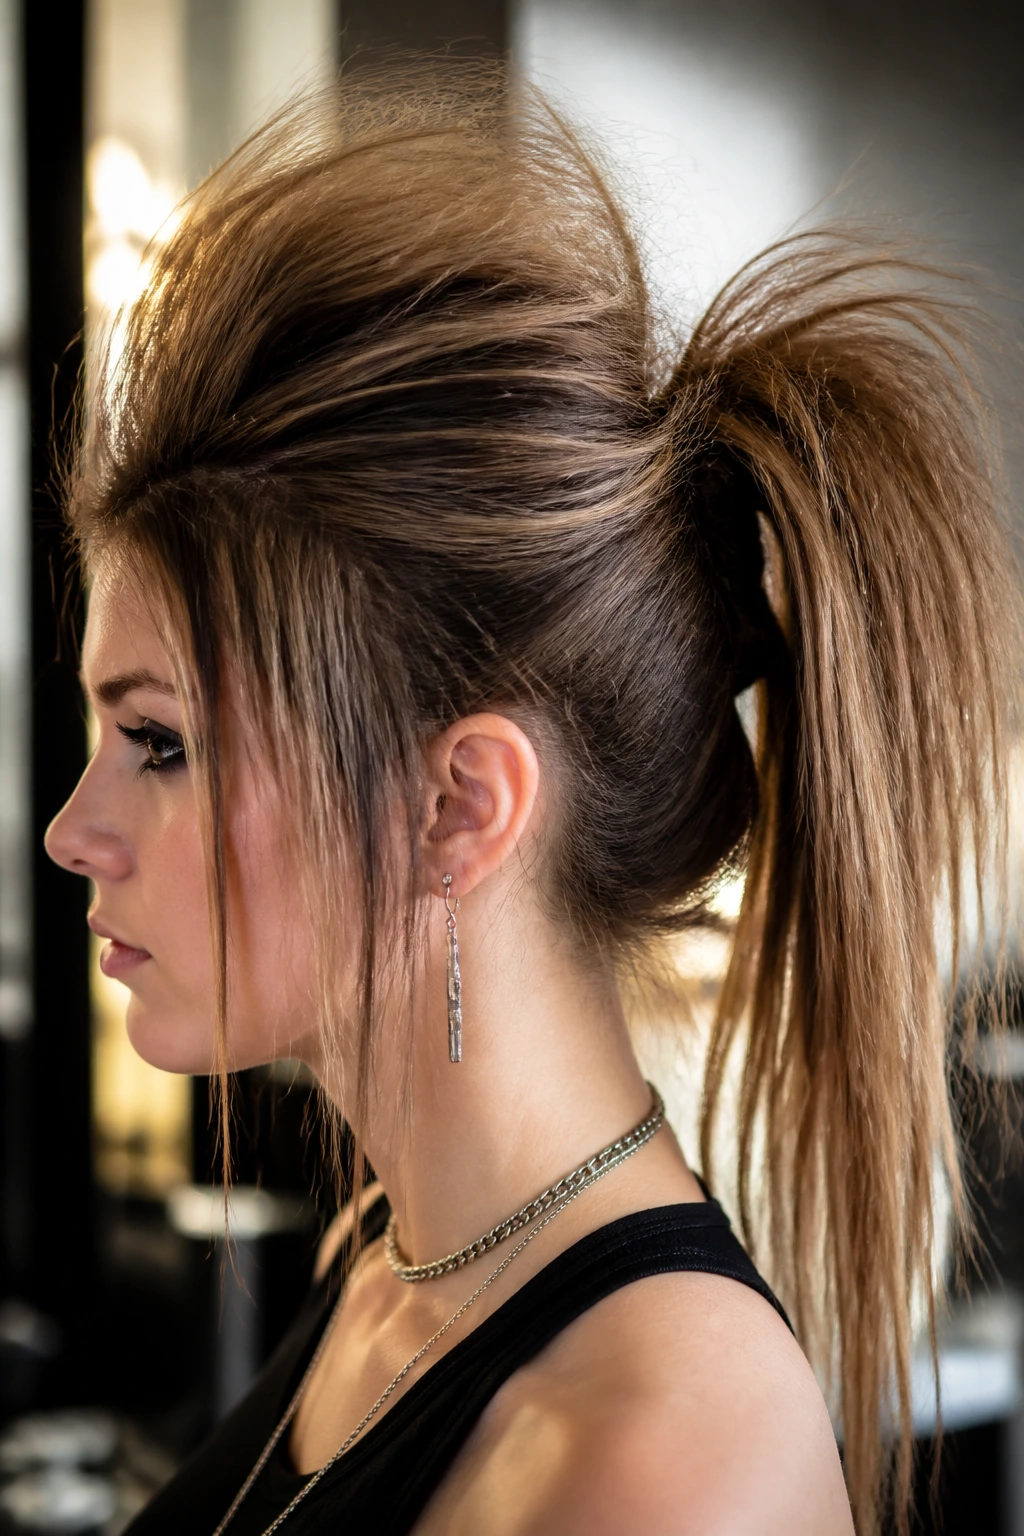
The side ponytail was everywhere in the scene era, but for fine hair, it can look a bit lonely. To make it work, you need to tease the hair at the crown before securing the pony.
Achieving the Height
- Section off the top crown area.
- Tease the hair until it stands up on its own.
- Gather the rest of your hair into a side ponytail, leaving out some face-framing pieces.
- Backcomb the ponytail itself to add volume and fullness.
Pro tip: Use two hair ties for the pony. One pulls it up, and the other secures the base for extra lift.
4. Multi-Colored Extensions
If you are struggling with the thickness of your own hair, scene queens often used extensions to pad out their look. For fine hair, stick to clip-in extensions rather than permanent ones, as the weight of permanent methods can put too much stress on your natural follicles.
Selecting the Right Extensions
- Match your natural color as closely as possible at the root.
- Buy synthetic extensions in bright, scene-style colors for that “pop” without having to bleach your own hair.
- Clip them in under your natural layers to add bulk at the nape of the neck.
Caring for Extensions
- Wash them separately in a sink with mild shampoo.
- Lay them flat to dry—hanging them can cause the clips to pull on the hair.
- Never use high heat on synthetic extensions, or they will melt.
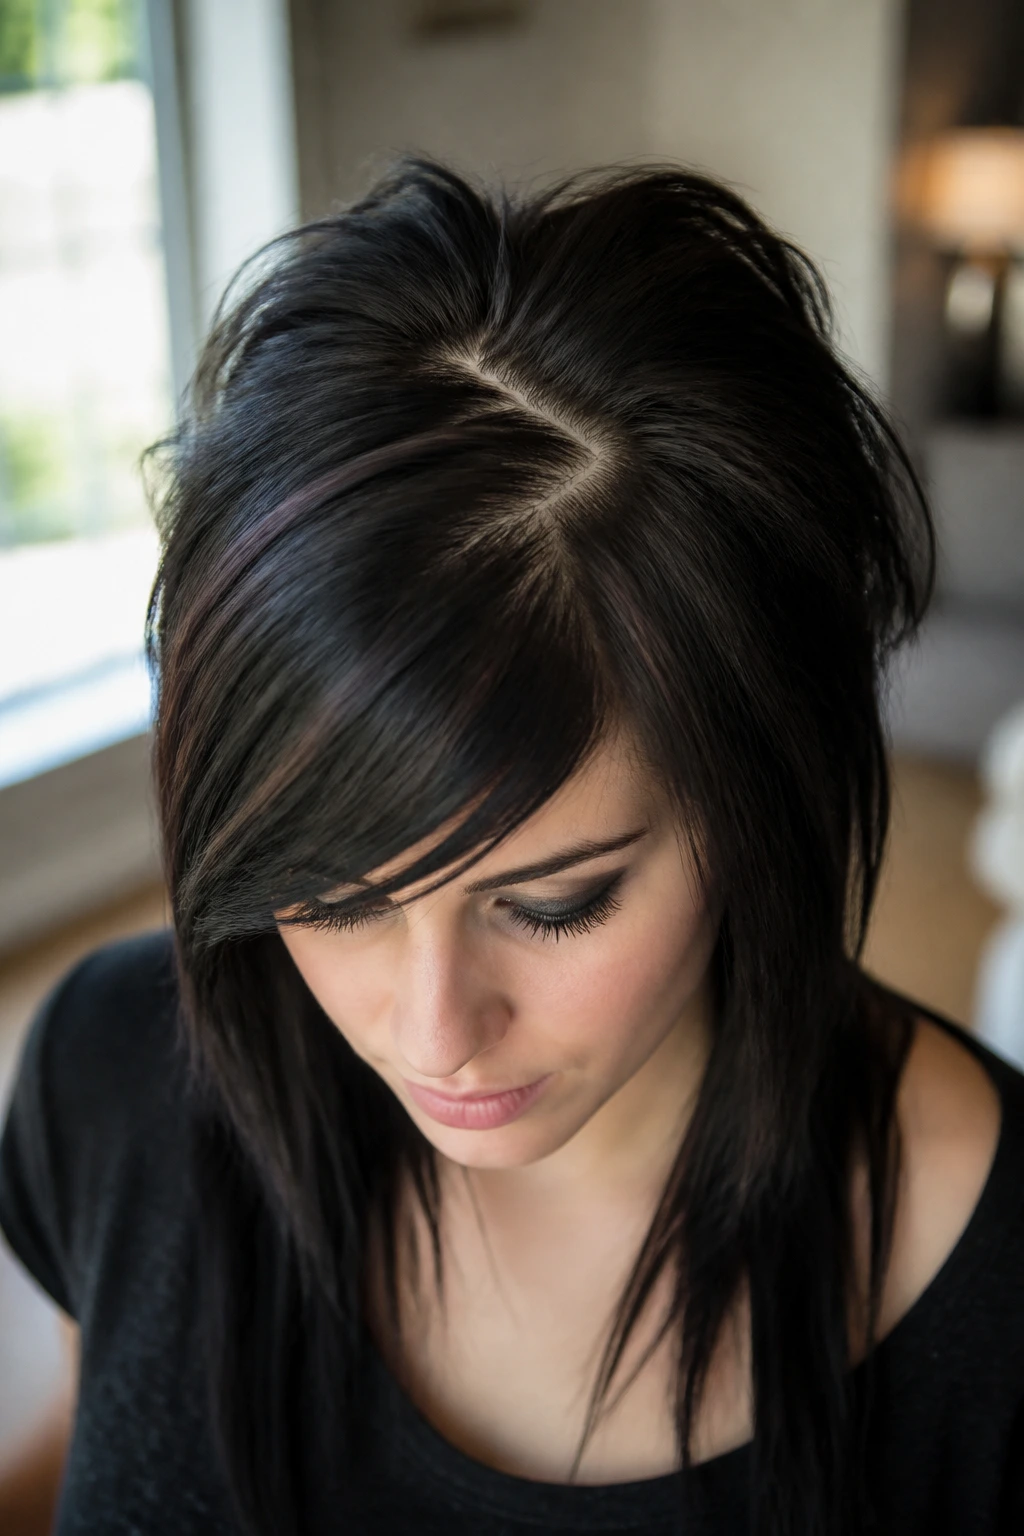
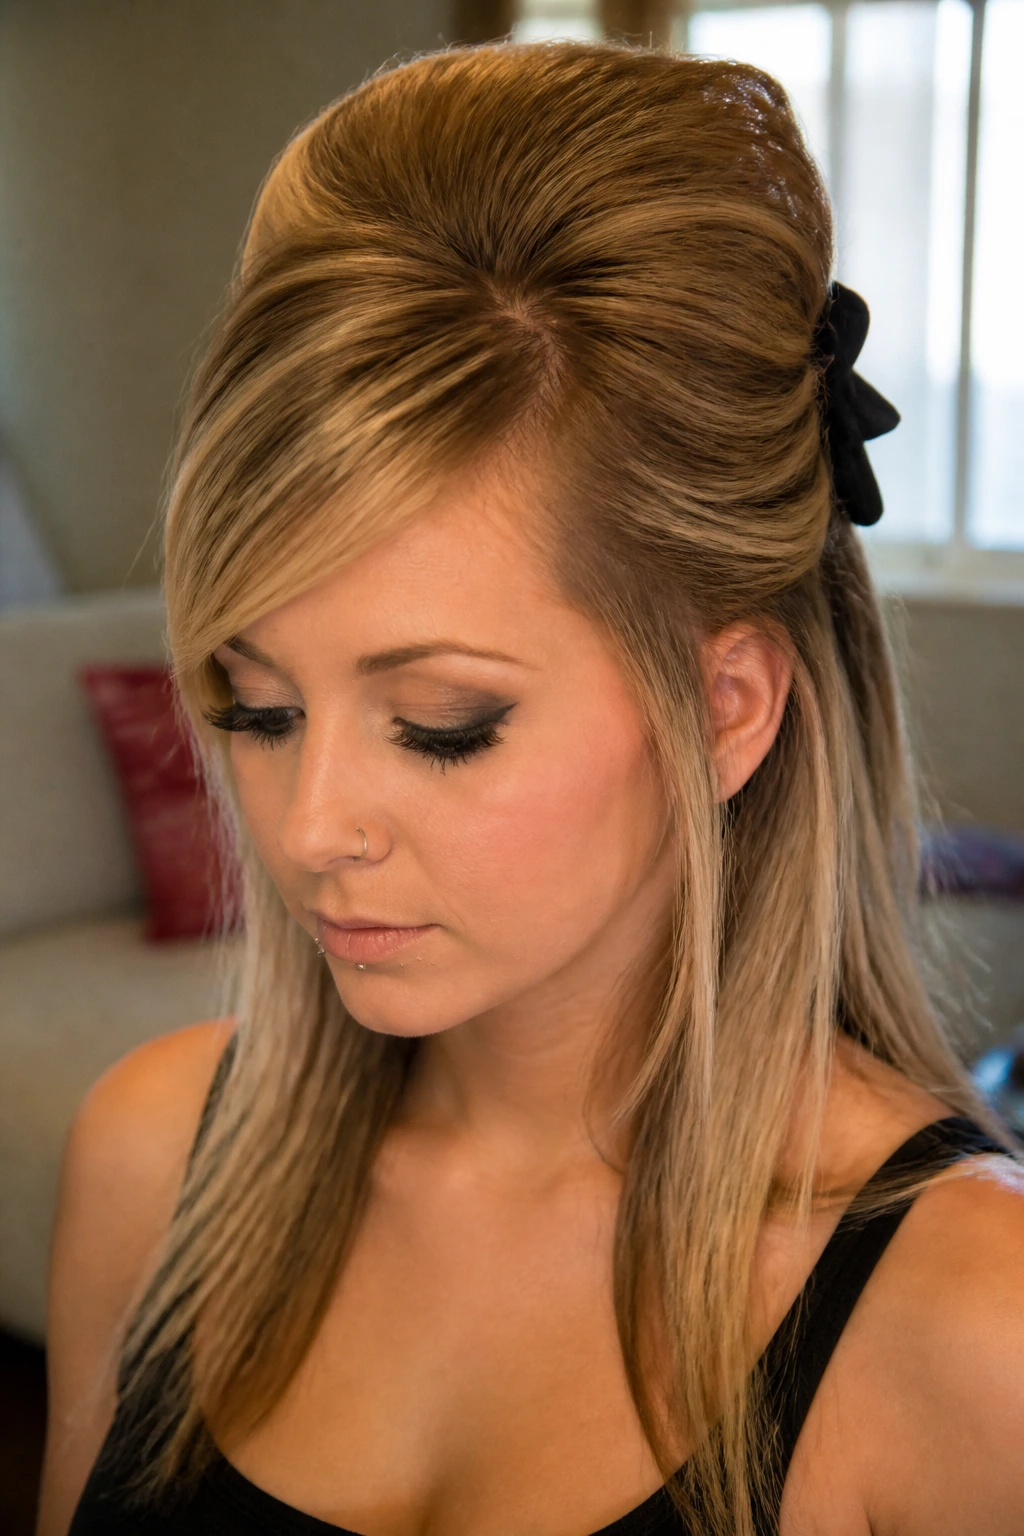
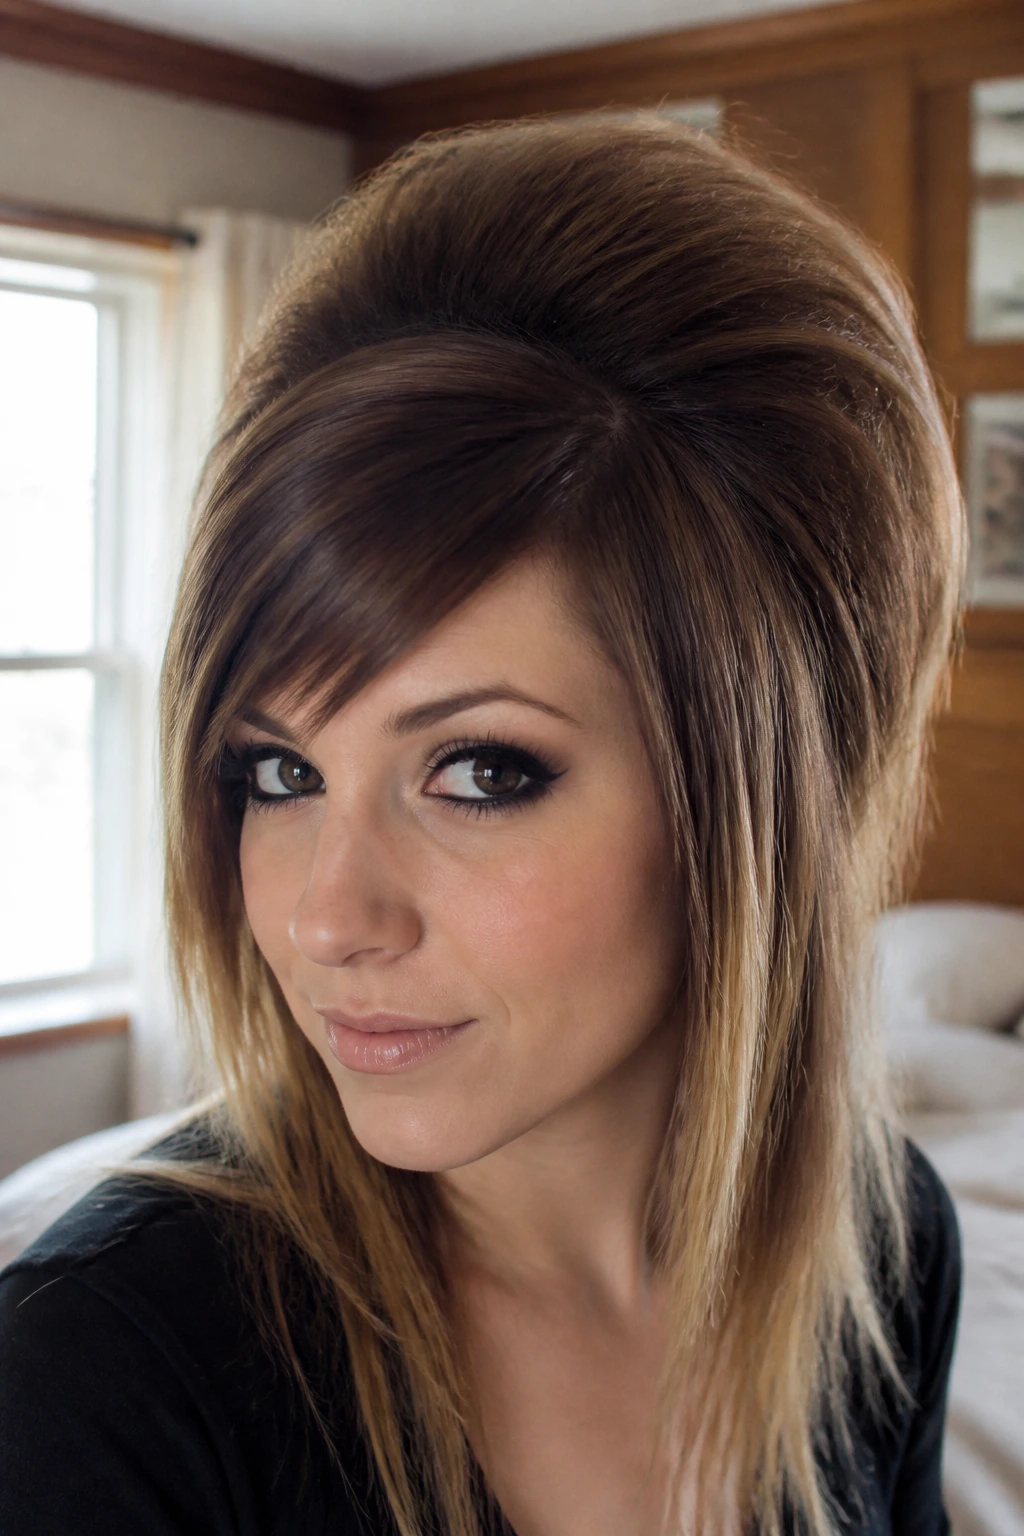
5. The “Pouf” Crown
This is a classic technique where you pin the top section of your hair to create a rounded, voluminous crown. It’s perfect for fine hair because it lifts the hair away from the scalp, preventing it from looking greasy or flat.
Step-by-Step Styling
- Take a two-inch section of hair at your crown.
- Backcomb the underside thoroughly.
- Smooth the top layer back and pin it with a decorative clip or a classic black bobby pin.
- Use your fingers to gently pull up on the section to increase the height.
Why This Style Remains Popular
It is a simple, effective way to get height without having to tease your entire head. It frames the face and highlights your eye makeup, which is usually the focal point of the scene look.
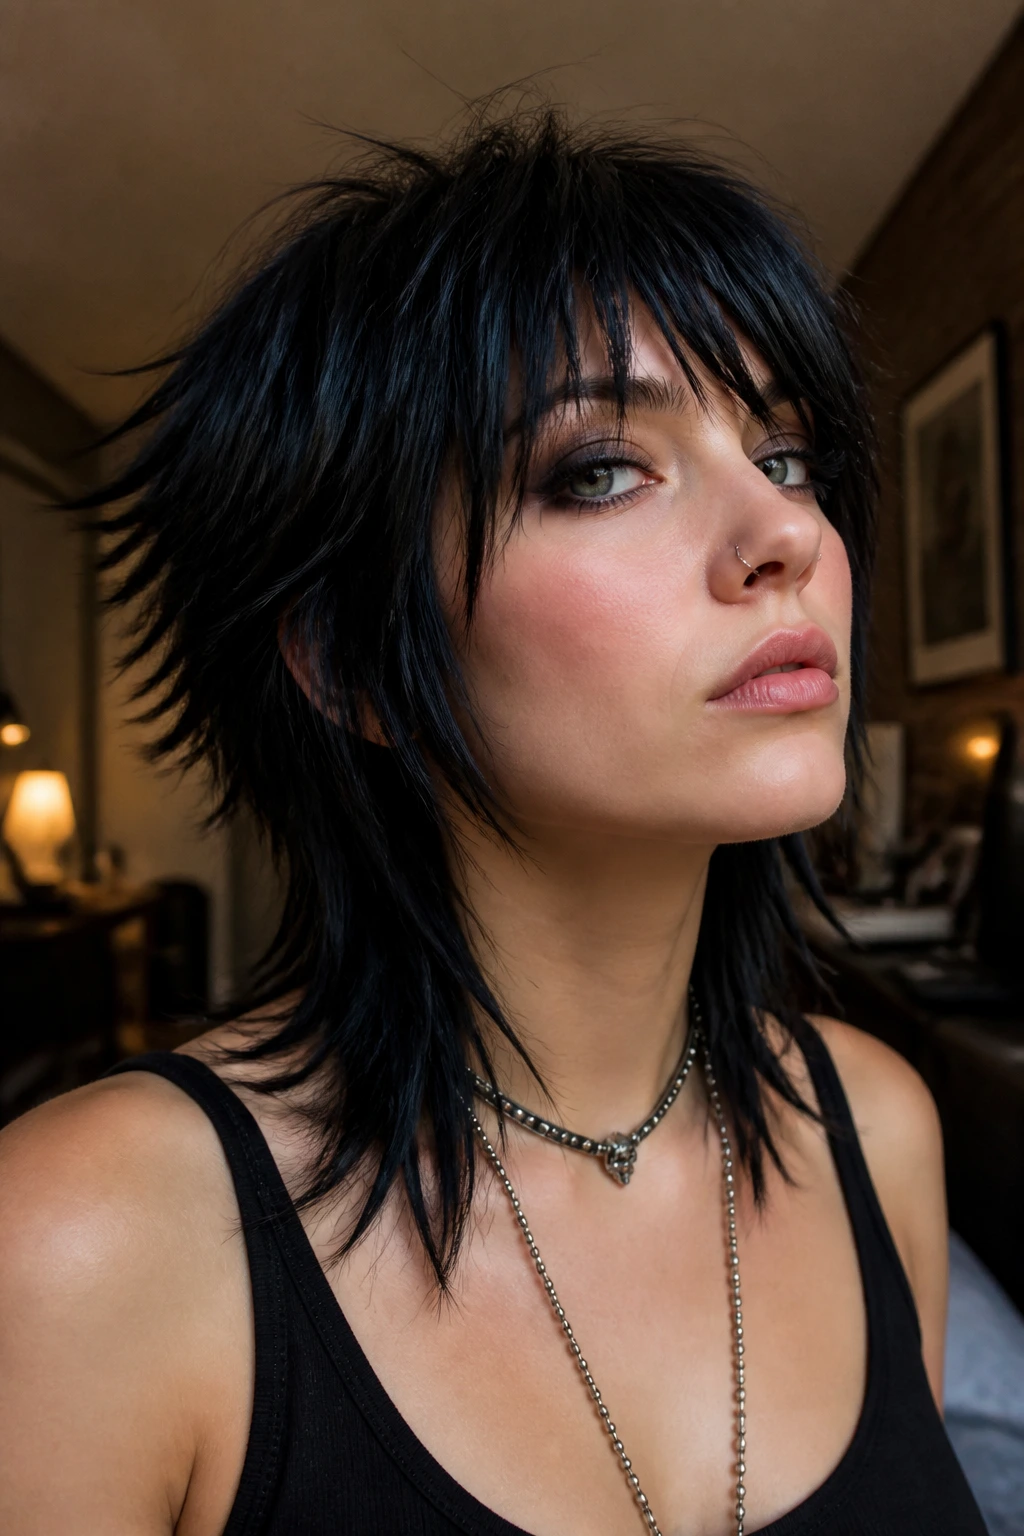
6. Crimped Layered Shag
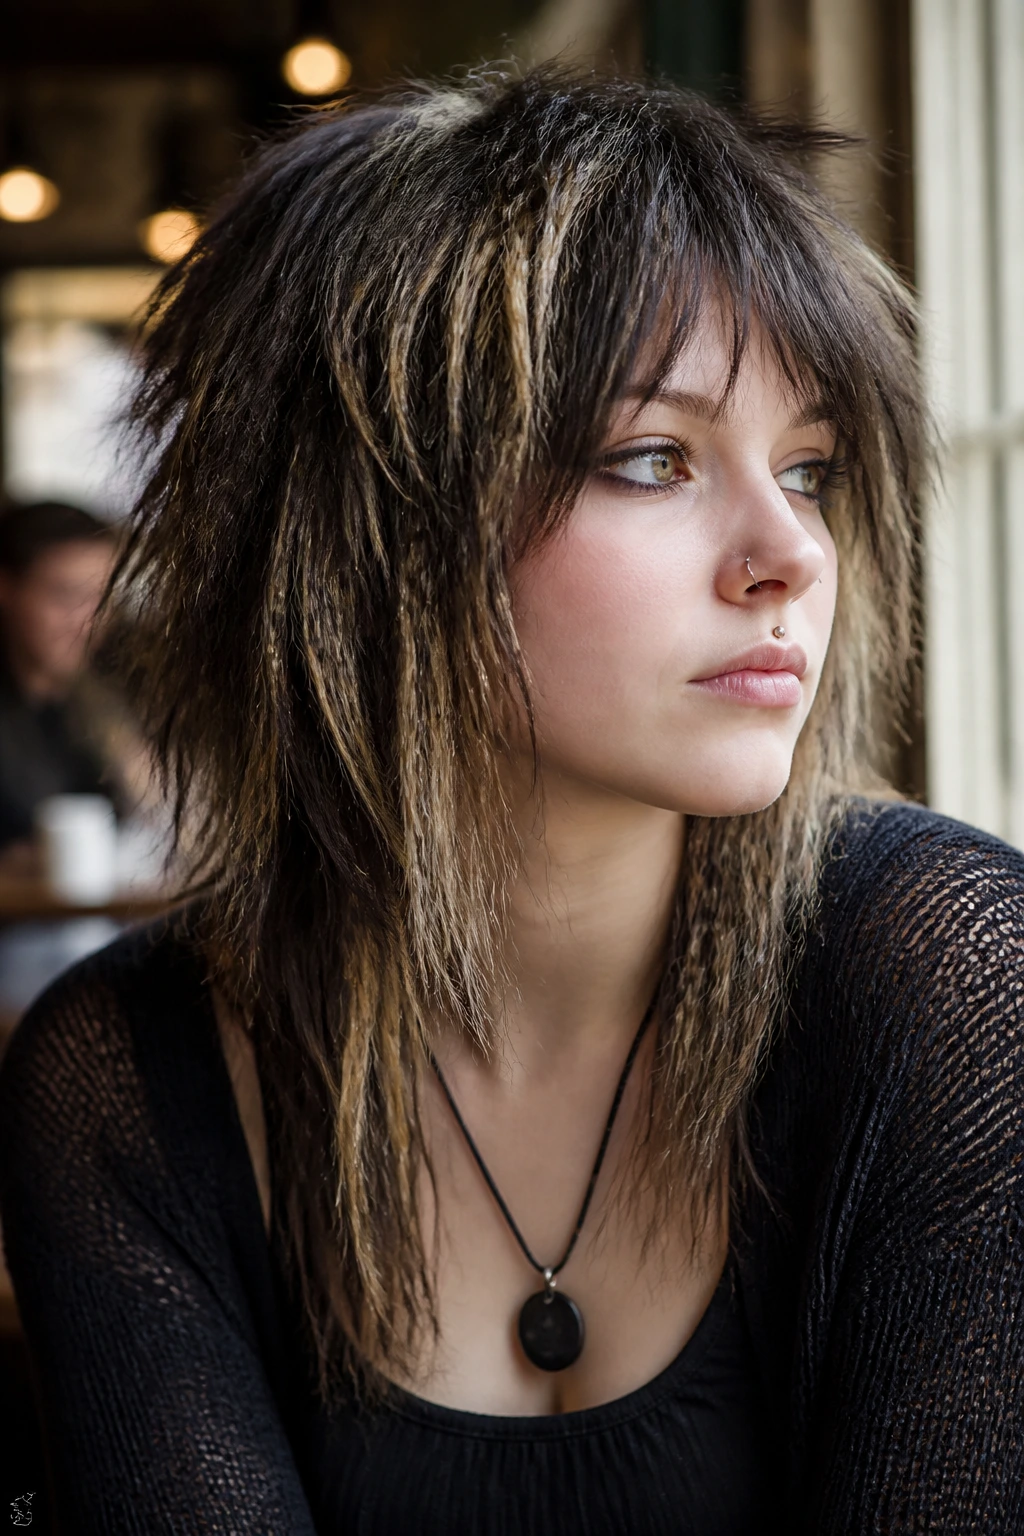
Crimping is back, and it is the best friend of fine hair. Crimping adds physical “wiggles” to the hair shaft, which creates significantly more space between hairs, making your head look twice as full.
How to Crimp Properly
- Start with clean, dry hair.
- Use a heat protectant spray—fine hair is very susceptible to heat damage.
- Crimp sections starting at the roots and working your way down.
- Once done, brush through the crimps to turn them into a frizzy, voluminous texture.
Pro tip: You don’t have to crimp the whole head. Crimping just the bottom layers creates a “hidden” volume boost that supports the rest of your hair.
7. The Bow-Accessorized Half-Up
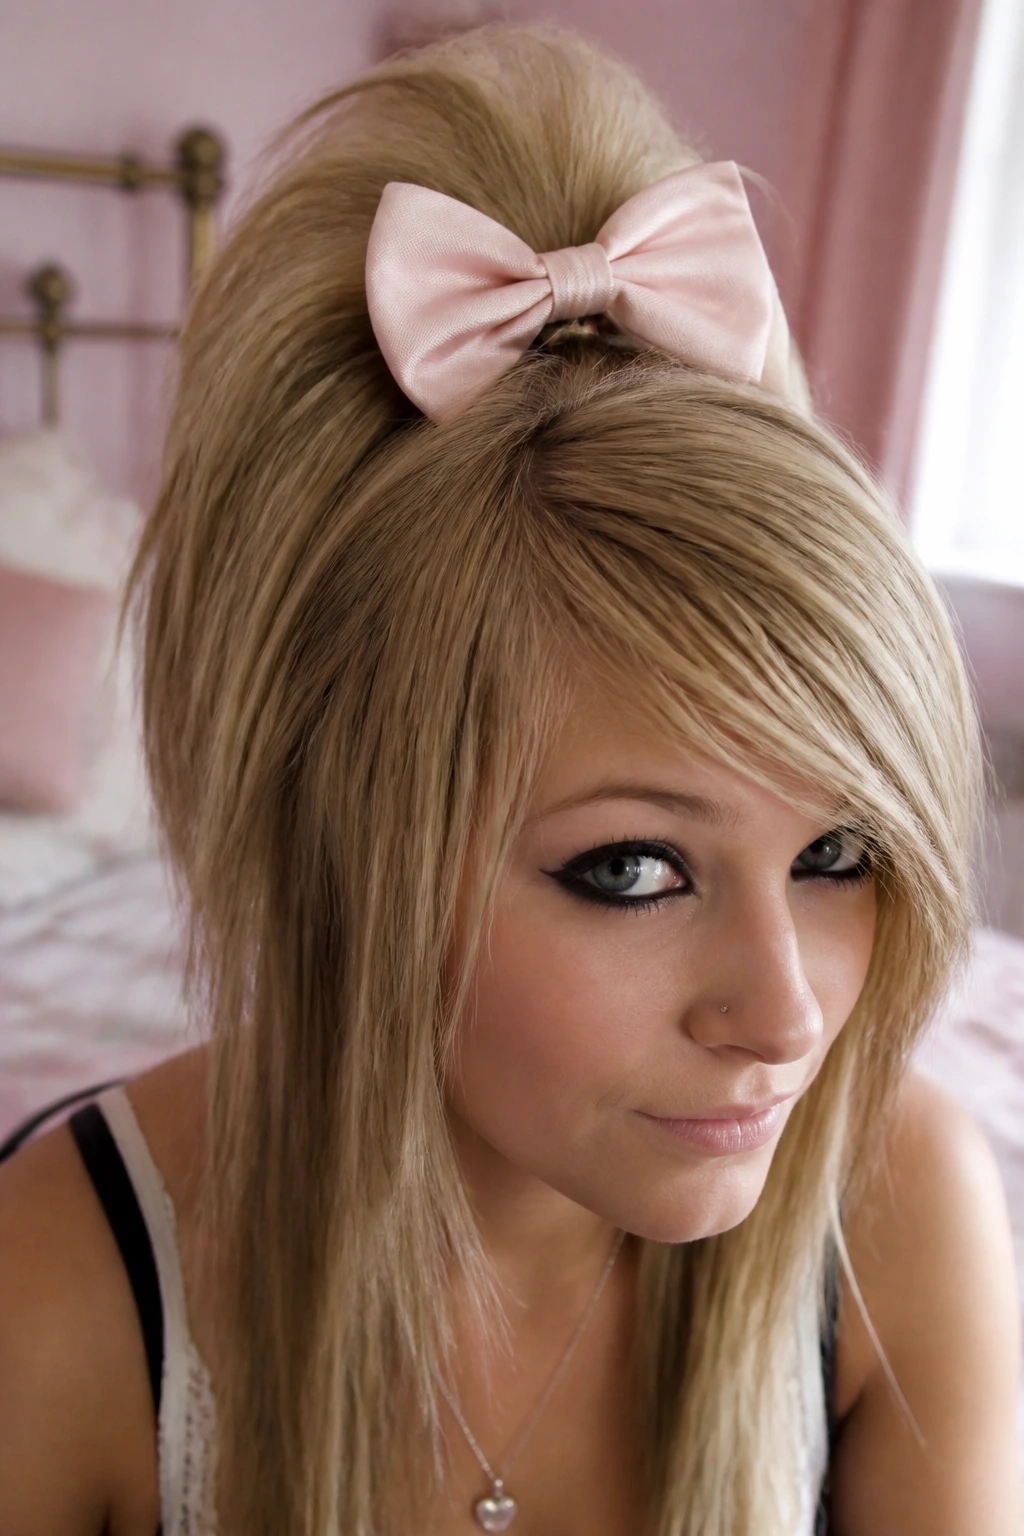
Accessories were huge in the scene subculture. A large, bright bow not only looks cute but also acts as a visual anchor that can distract from the lack of thickness in your hair.
Styling for Fine Hair
- Backcomb the top section of your hair to ensure it doesn’t lay flat against your head.
- Use a clear elastic to secure the half-up section.
- Clip the bow directly over the elastic to hide it and add weight that pulls the hair upward slightly.
Choosing the Right Bow
Choose a bow that matches your outfit or your hair color for a cohesive look. Avoid heavy, metallic bows that might slide out of fine hair—stick to lightweight fabric ribbons or nylon-backed clips.
8. Braided Face-Framers
Braiding small sections of your fringe or the hair right around your face adds a bit of edge without requiring much hair. This works well for fine hair because it keeps those front pieces from getting frizzy or unruly.
How to Incorporate
- Take a small section at the part.
- Do a simple three-strand braid, pulling it tight.
- Secure it with a small elastic and let it hang alongside your face-framing layers.
- Repeat on the other side for symmetry.
Pro tip: If you find the braid looks too thin, gently “pancake” it—pull the outer edges of the loops to make the braid look wider.
9. The Messy Top-Knot
A top-knot is the ultimate lazy-day scene look. For fine hair, the goal is to make it look intentionally unkempt rather than sparse.
Creating Volume
- Flip your head upside down and gather your hair.
- Twist it into a loose bun.
- Secure it with a scrunchie—the added texture of a scrunchie hides the fact that the bun might be small.
- Pull out a few random strands to frame your face.
Why This Works
The messier the bun, the better. You are aiming for that “I just woke up and my hair is naturally this cool” vibe. Don’t worry about perfect lines or sleek sections.
10. Half-Dyed Contrast
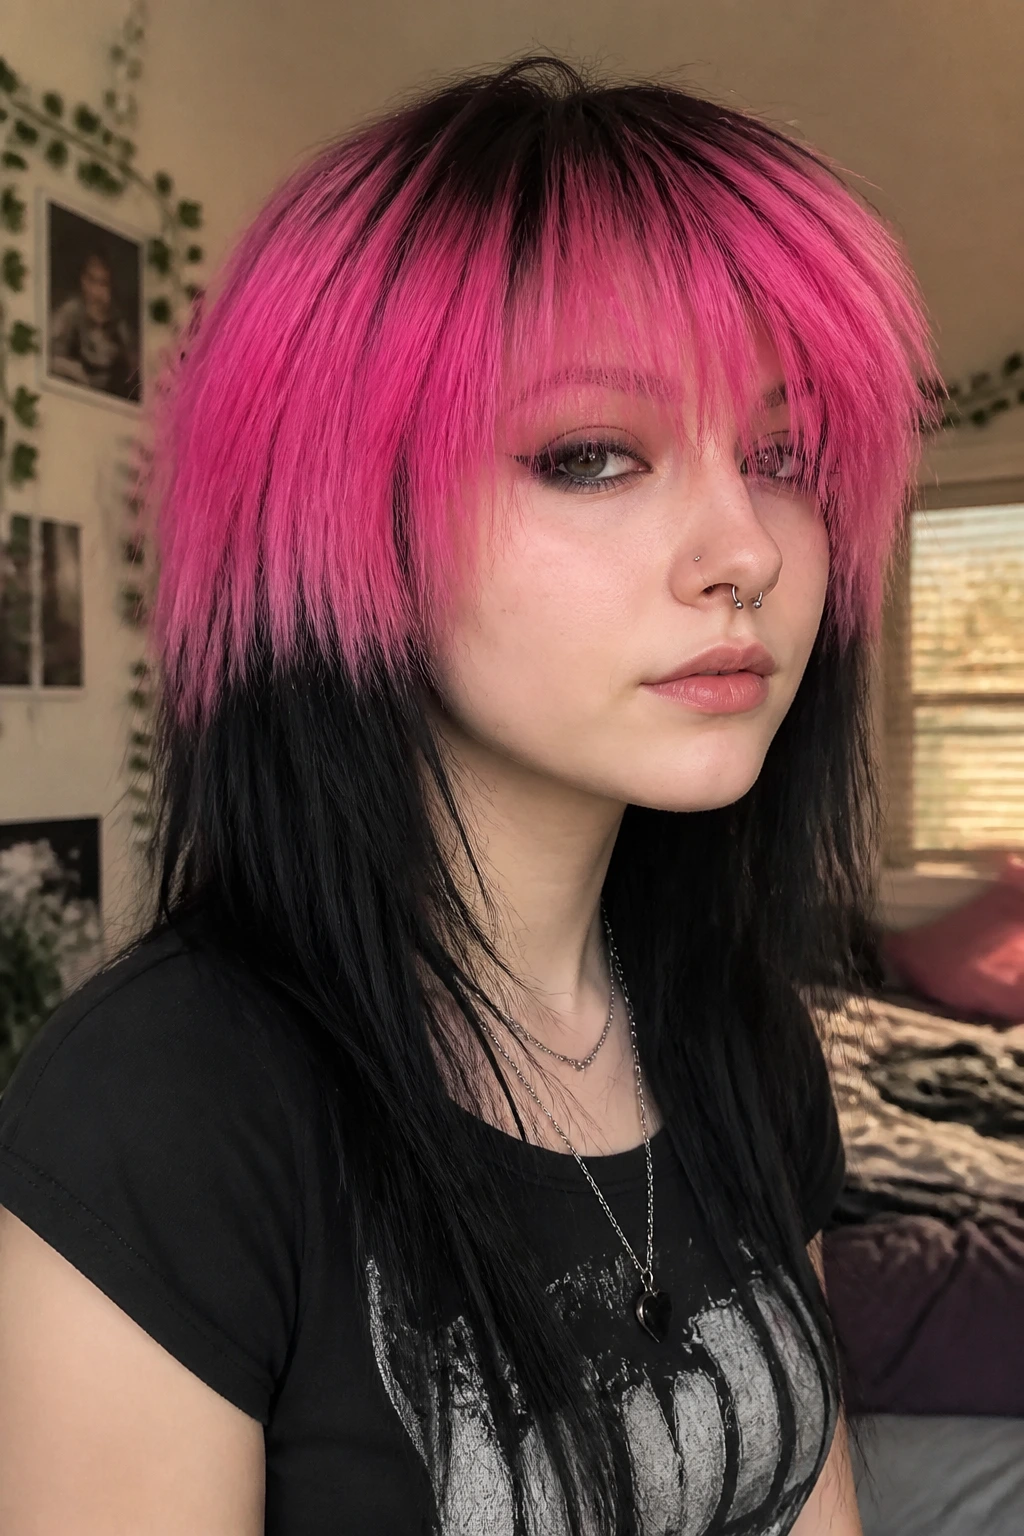
Color placement can be an optical illusion. By dying the top half of your hair one color and the bottom half another, you emphasize the different layers of your cut, which highlights the jagged ends.
Choosing Your Colors
- Pick two contrasting colors, like black and neon green or blonde and hot pink.
- Ensure the transition is sharp and clear.
- Keep the roots dark if possible, as darker hair often appears slightly thicker than very light blonde hair at the scalp level.
Maintenance Considerations
- Be prepared for color bleed when you wash your hair.
- Use cool water to prevent the colors from running into each other.
- Consider using a color-depositing conditioner to keep the vibrancy high between salon visits.
11. The Faux-Hawk
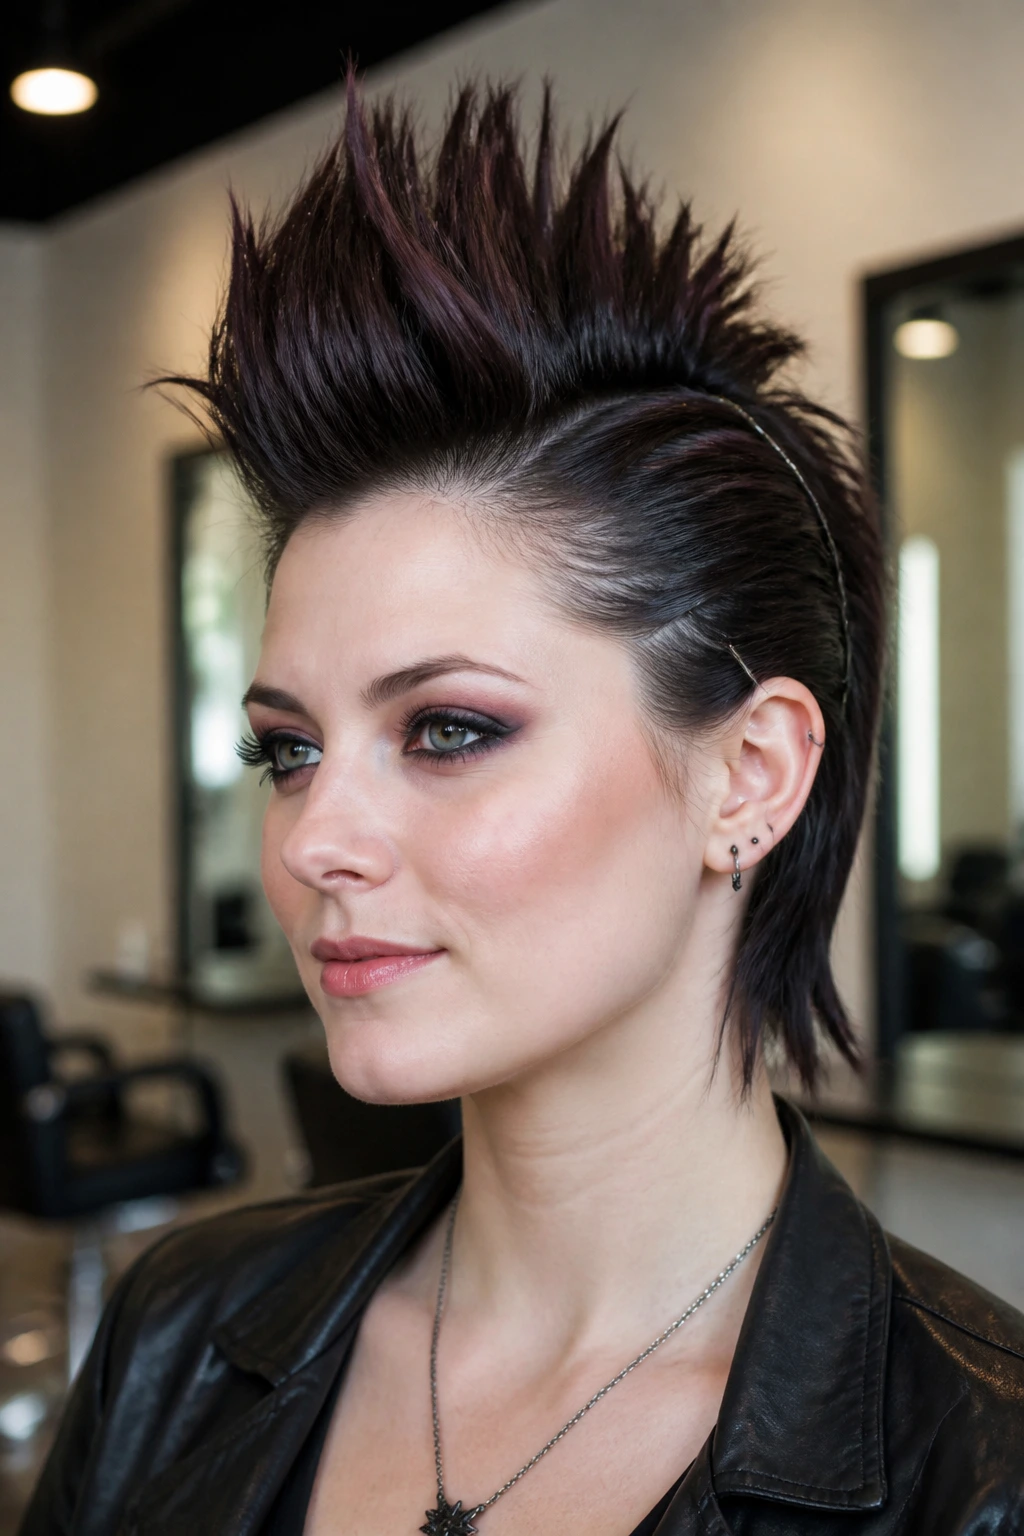
You don’t have to shave the sides of your head to achieve a hawk. You can use hairpins to pull the sides of your hair up and back, leaving the center section spiked and teased.
Styling the Hawk
- Use a strong-hold wax to slick the sides back.
- Pin them securely against the head.
- Focus all your teasing and hairspray on the center strip.
- Use a blow dryer on a cool setting while spraying to lock the style in instantly.
Pro tip: Use small, clear elastic bands to create “mini-ponies” in the center section; this gives the spikes a sturdier base and prevents them from drooping throughout the day.
12. Pinned Back Bangs
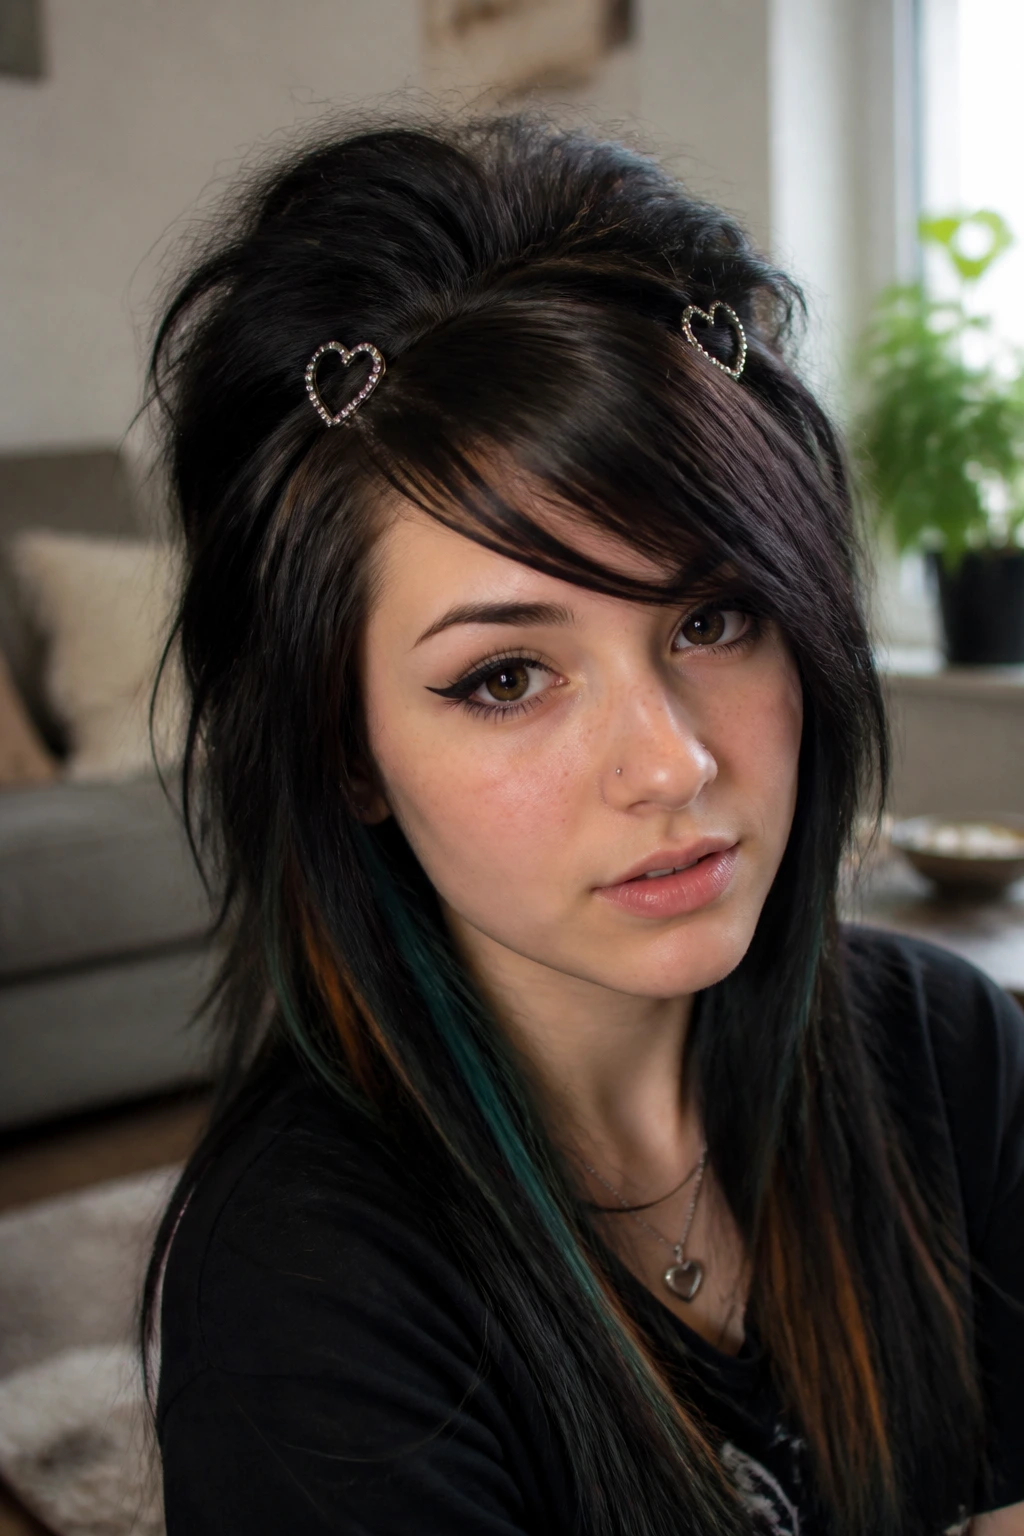
Sometimes your fringe just won’t cooperate. Instead of fighting it, use cute heart-shaped or star-shaped clips to pin your bangs back in a puff.
Why This is Effective
It keeps your face clear and prevents the fringe from looking stringy. The clips also add a bit of weight to the front, which can actually help keep the rest of your hair in place.
13. The “Spiky” Ends Look
Using a strong pomade or hair glue, you can define the ends of your layers to give them a sharper, more scene-appropriate look. For fine hair, focus the product only on the very tips.
How to Apply
- Warm a pea-sized amount of product between your fingers.
- Pinch the ends of your layers to create small, spiky clumps.
- Avoid applying product near the root, as this will weigh down the hair and make it look greasy.
14. Retro Headband Style
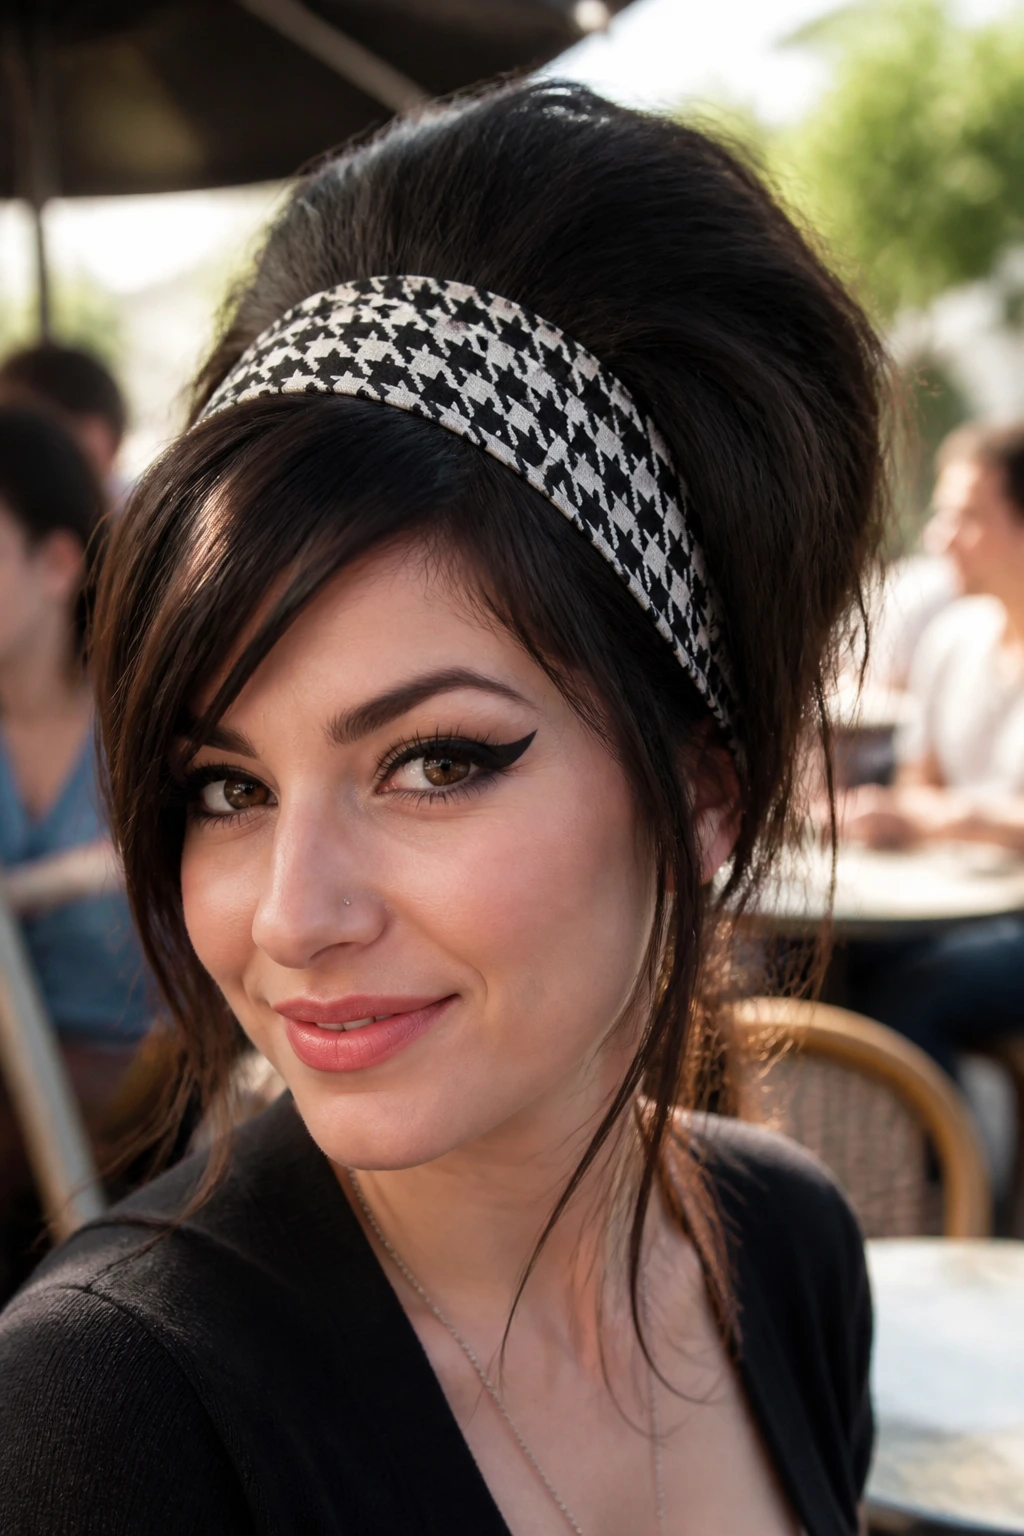
A thick, patterned headband is a lifesaver for fine hair. It hides the lack of hair at the hairline and provides a structured base for you to tease the hair behind it.
Choosing a Headband
- Go for fabric headbands with a bit of “grip.”
- Make sure the color contrasts with your hair for a bold look.
- Push the headband back slightly to expose the fringe, then tease the hair sitting behind the band to create a nice, rounded shape at the back.
15. The Low-Slung Pigtails
Pigtails don’t have to look childish. By teasing the hair at the roots and leaving some messy strands out, they can look edgy and classic.
Creating the Look
- Part your hair down the middle or in a messy zigzag.
- Tease the hair at the nape of the neck.
- Secure with neon hair ties.
- Tug at the pigtails to loosen them—tight, uniform pigtails will only draw attention to the thinness of the hair.
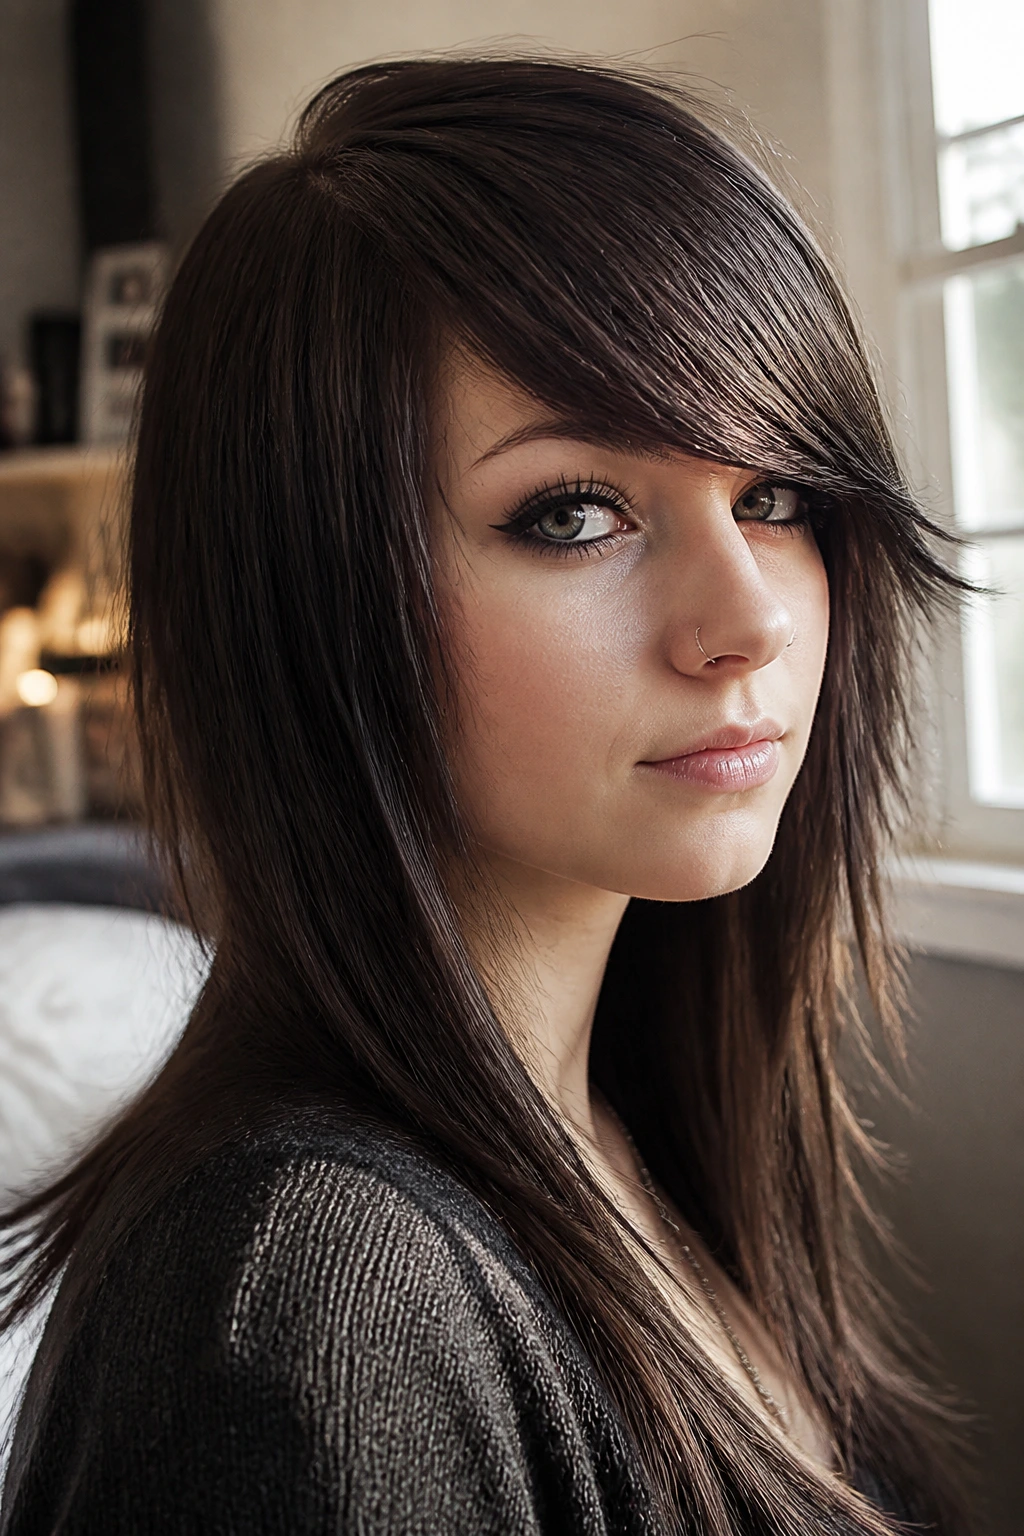
16. Asymmetrical Fringe
If you are feeling bold, an asymmetrical fringe can make fine hair look much more intentional. One side is kept long, while the other is cut short and sharp.
Styling for Symmetry
- Use a flat iron to keep the longer side sleek.
- Use a bit of texturizing spray on the shorter side to give it lift.
- This style frames the face and creates a strong focal point that distracts from the overall volume of the hair.
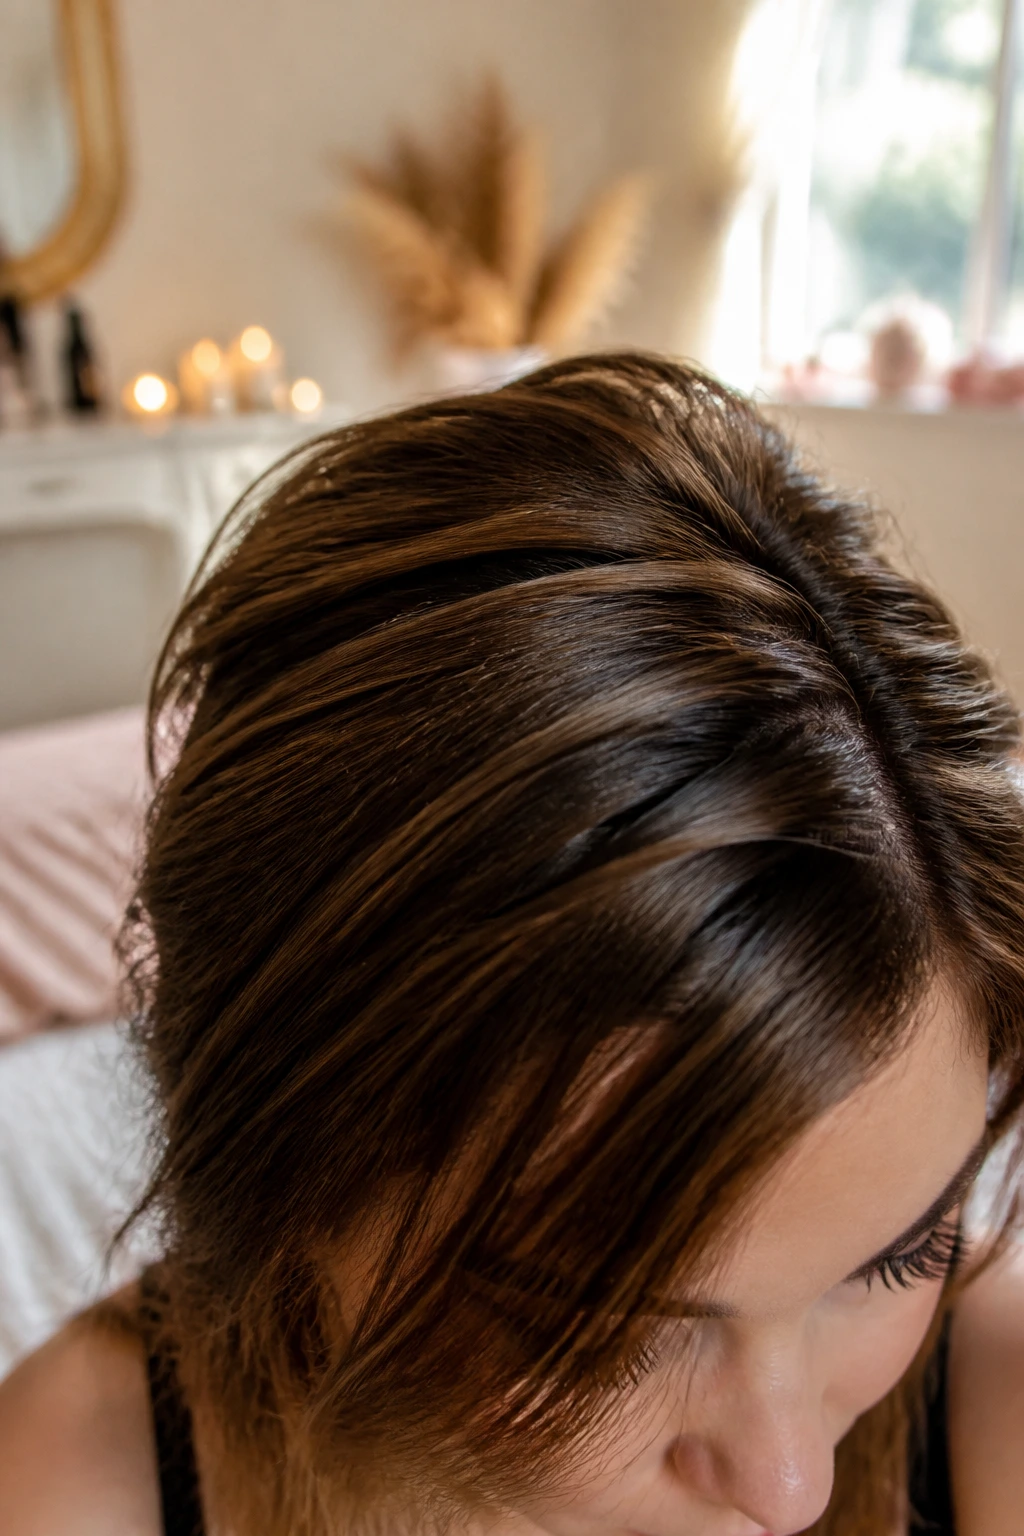
17. The Zigzag Part
A straight part can make fine hair look flat. By using the handle of a rat-tail comb to create a zigzag part, you add immediate volume at the root because the hair is forced to stand up in different directions.
How to Achieve
- Take the comb handle and move it in a zigzag motion across the top of your head.
- Flip the hair over to either side.
- Spray the root with a light hairspray.
- The zigzags create natural lift that stays put longer than a standard part.
18. Micro-Braids Throughout
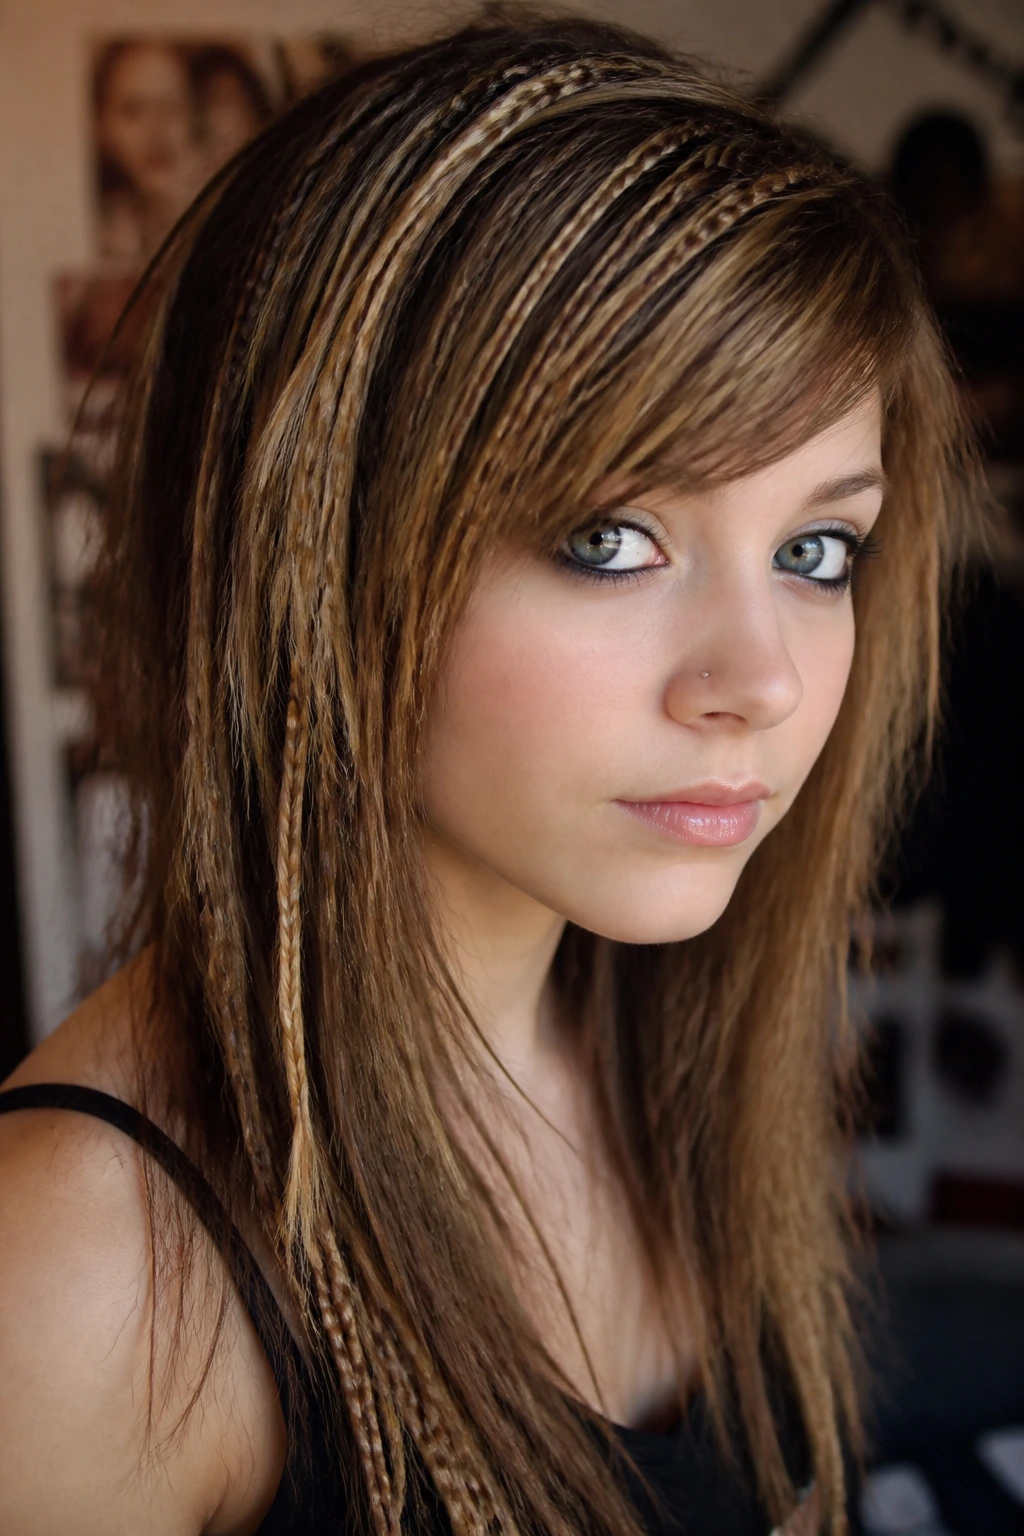
If you have a lot of time on your hands, adding tiny micro-braids throughout your layers adds texture and visual volume.
Making Them Pop
- Crimp the sections before you braid them for extra grit.
- Secure the ends with tiny clear bands.
- You can even weave colorful synthetic hair into the braids to add thickness.
19. The “Helmet” Style

This requires a lot of hairspray, but it creates that smooth, rounded silhouette that was popular in the early internet scene days.
Tips for Success
- Use a round brush while blow-drying to create a permanent curve.
- Avoid heavy products that might make the hair clump together.
- Use a light, flexible-hold spray first, followed by a finishing touch of high-hold spray.
20. Layered Shag with Pastel Ends
Fine hair often looks best with a bit of color-block. Keeping your natural color at the roots and going pastel at the ends creates a gradient effect that softens the look while making the layers pop.
Protecting Your Hair
- Use a deep conditioning mask once a week.
- Avoid excessive bleaching; if your hair is fine, it will snap easily.
- Stick to pastel dyes, which are often less harsh than neon dyes.
21. The Half-Down Teased Look
By teasing the top section and pinning it back, you get the volume of a tease with the length of a down-style. It is the perfect balance for those who love length but struggle with density.
Why This Works
- It takes the pressure off the hair at the front of your face.
- It allows you to showcase your hair length while still having that signature scene volume.
- It is a versatile look that can be dressed up with clips or bows.
22. Hair Extensions for Volume Only
Even if you don’t want long hair, you can use short, layered clip-in extensions just to add volume.
Choosing the Right Pieces
- Look for “volumizers” rather than full-head extension sets.
- These are often a single piece of hair that adds a layer of thickness exactly where your hair is thinnest.
- Clip them in at the crown area, hidden by your top layer.
23. Messy Side Braid
A loose, side-swept braid is a great way to handle fine hair on days when you don’t feel like teasing.
How to Make it Look Thick
- Tease the hair before you start braiding.
- Pull the sides of the braid out once you have secured the end with a band.
- Let loose strands fall around your face for that classic, relaxed look.
24. Sleek Fringe with Teased Body

If you like the contrast, keep your bangs perfectly straight and flat ironed while teasing the rest of your hair to the moon.
Why This is Iconic
- It highlights the precision of your cut.
- It shows off the contrast between your fringe and the rest of your hair.
- It is easy to maintain; you only have to focus on the fringe with the flat iron.
25. Heart-Shaped Clips
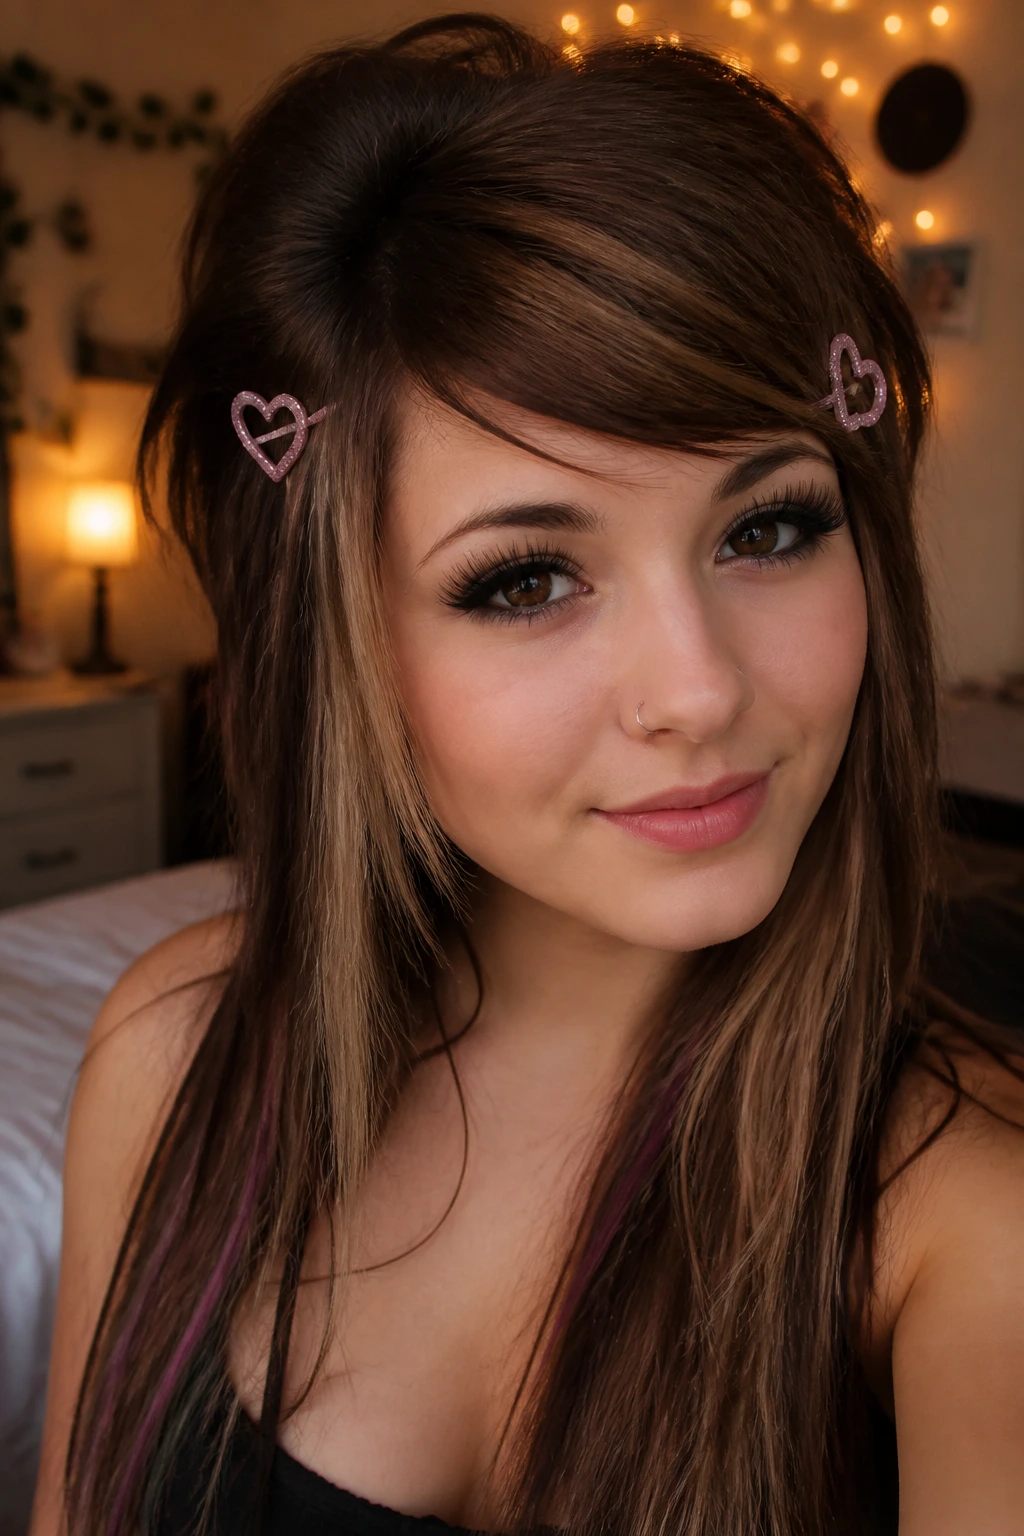
Never underestimate the power of accessories. Placing a heart-shaped clip on either side of your head instantly makes you look like you have more hair.
Positioning
- Place them just above your ears.
- They draw the eye outward, creating the illusion of a wider head shape.
- They also provide a bit of weight that keeps fine, flyaway hair from drifting into your face.
26. The Two-Tone Bob
Similar to the contrast look, a two-tone bob where one side of your hair is a different color than the other side is a very striking scene look.
Achieving the Contrast
- Use a temporary color wax if you don’t want to commit to permanent dye.
- This also adds texture and stickiness to your hair, making it look thicker.
- The sudden color shift makes it hard to focus on the thickness of the individual strands.
27. The Scrunched “Beach” Scene Look
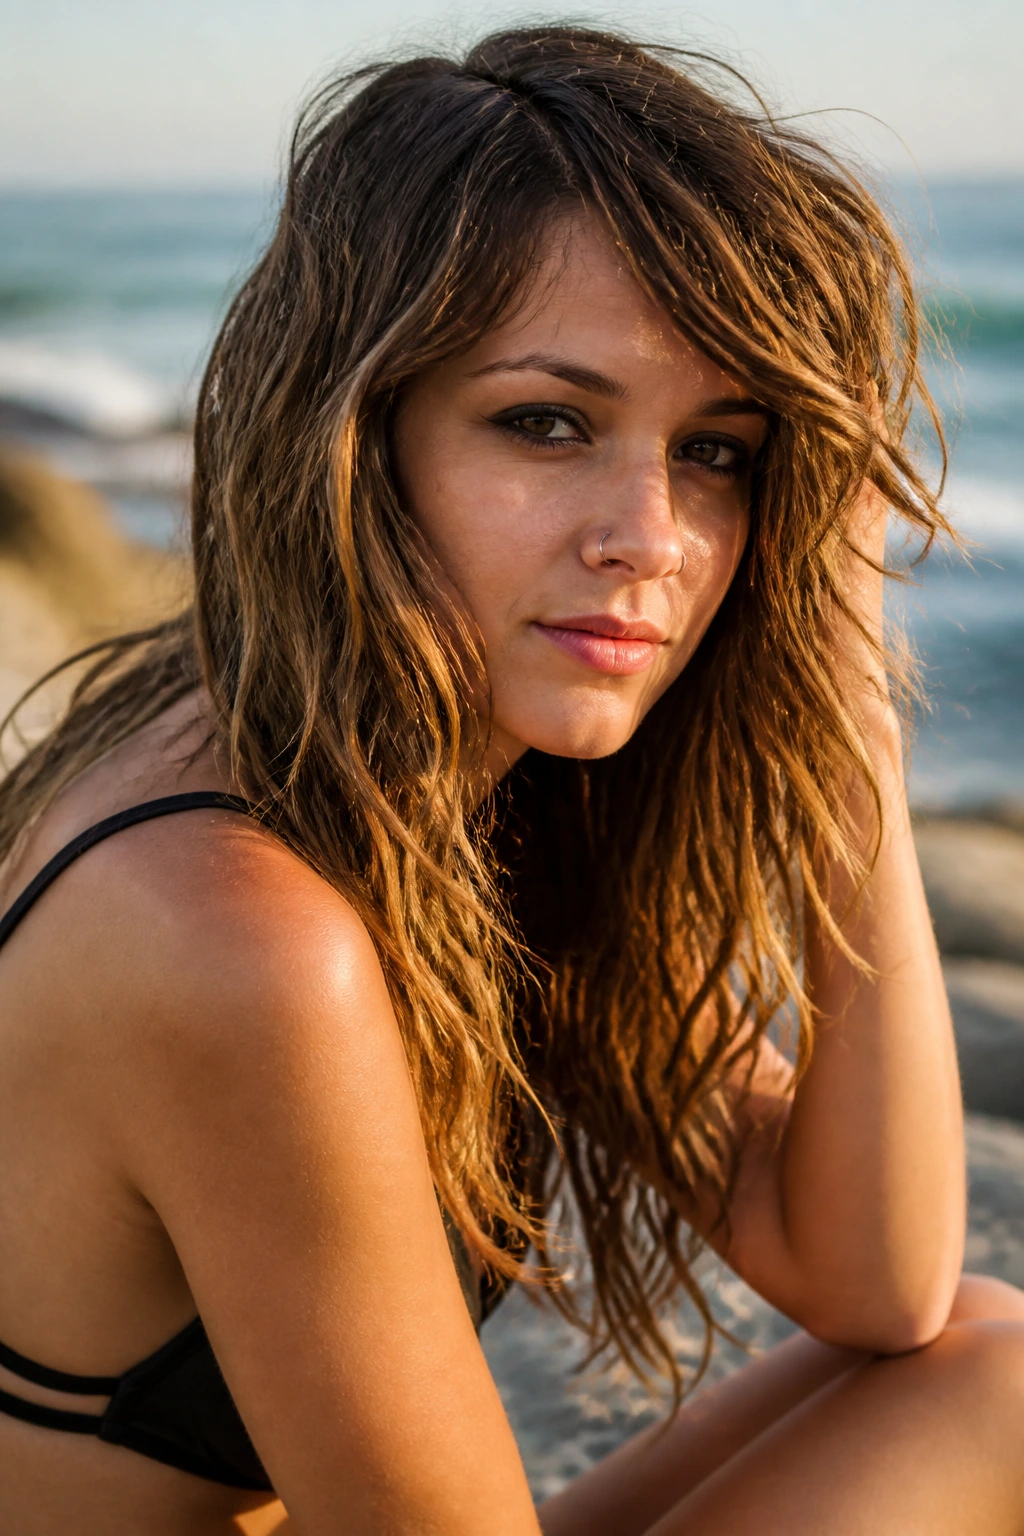
Fine hair often has a natural wave that we try to iron out. Embrace it! Use a sea salt spray to enhance your natural wave and give the hair a “lived-in” texture.
Why This Works
- Sea salt spray is great for adding grit and texture to fine hair.
- It adds volume without needing a lot of backcombing.
- It’s a very low-maintenance way to get a cool, edgy vibe.
28. The Dramatic Top-Layer Tease
If you have a very specific set of layers on top, you can tease just those layers to create a “halo” effect of volume.
Precision Styling
- Use a small teasing comb for this.
- Take very small sections and tease them close to the root.
- Smooth the very top layer down, but keep the volume underneath.
- This creates a rounded, full shape without having to mess up your entire head.
Final Thoughts
Mastering the scene queen look with fine hair is entirely about building a scaffold for your style. You are essentially using product, teasing techniques, and strategic cutting to create a shape that your natural hair cannot maintain on its own. Do not get discouraged if your hair doesn’t look exactly like the photos you see—those styles often rely on professional blowouts, extensions, and hours of styling.
Focus on what makes you feel like “you.” Whether it’s the neon streaks, the heavy fringe, or the signature high-volume crown, start with small, manageable steps. If you find your hair feels damaged, take a break from the heat tools and use a protein treatment to rebuild your strands. Consistency is key, and with the right set of tools, you can absolutely achieve a scene-inspired look that stays up all day without flattening out. Keep experimenting with the placement of your volume and the colors that make you feel the most confident, and you will eventually find the perfect, customized version of the scene aesthetic that works for your unique hair texture.