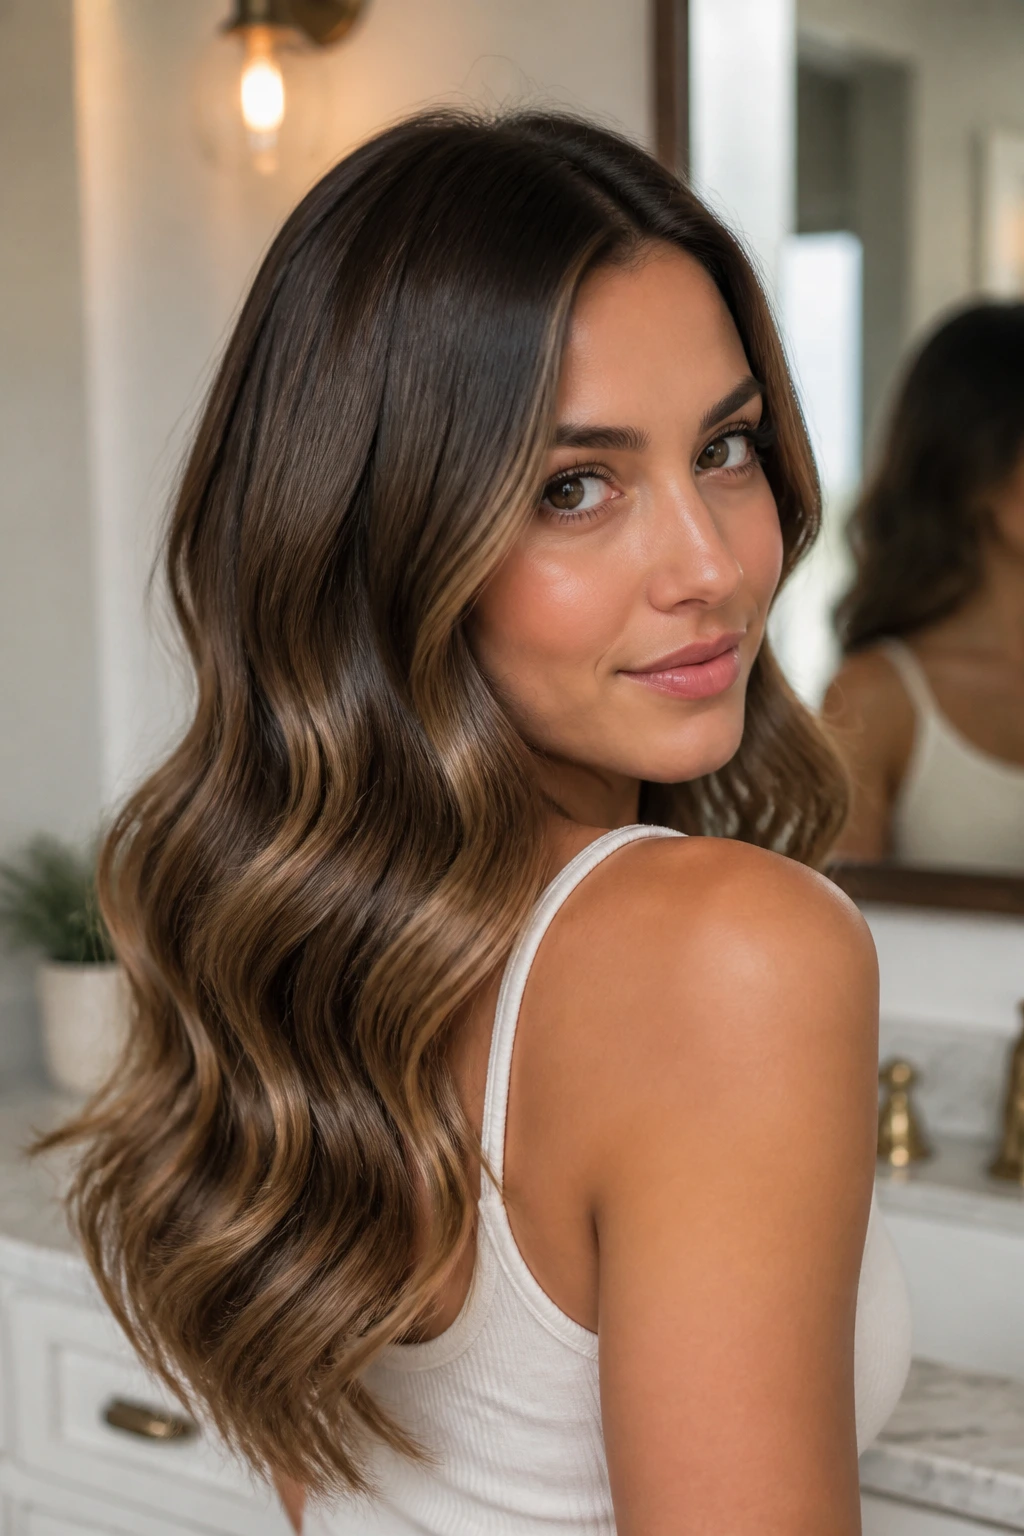
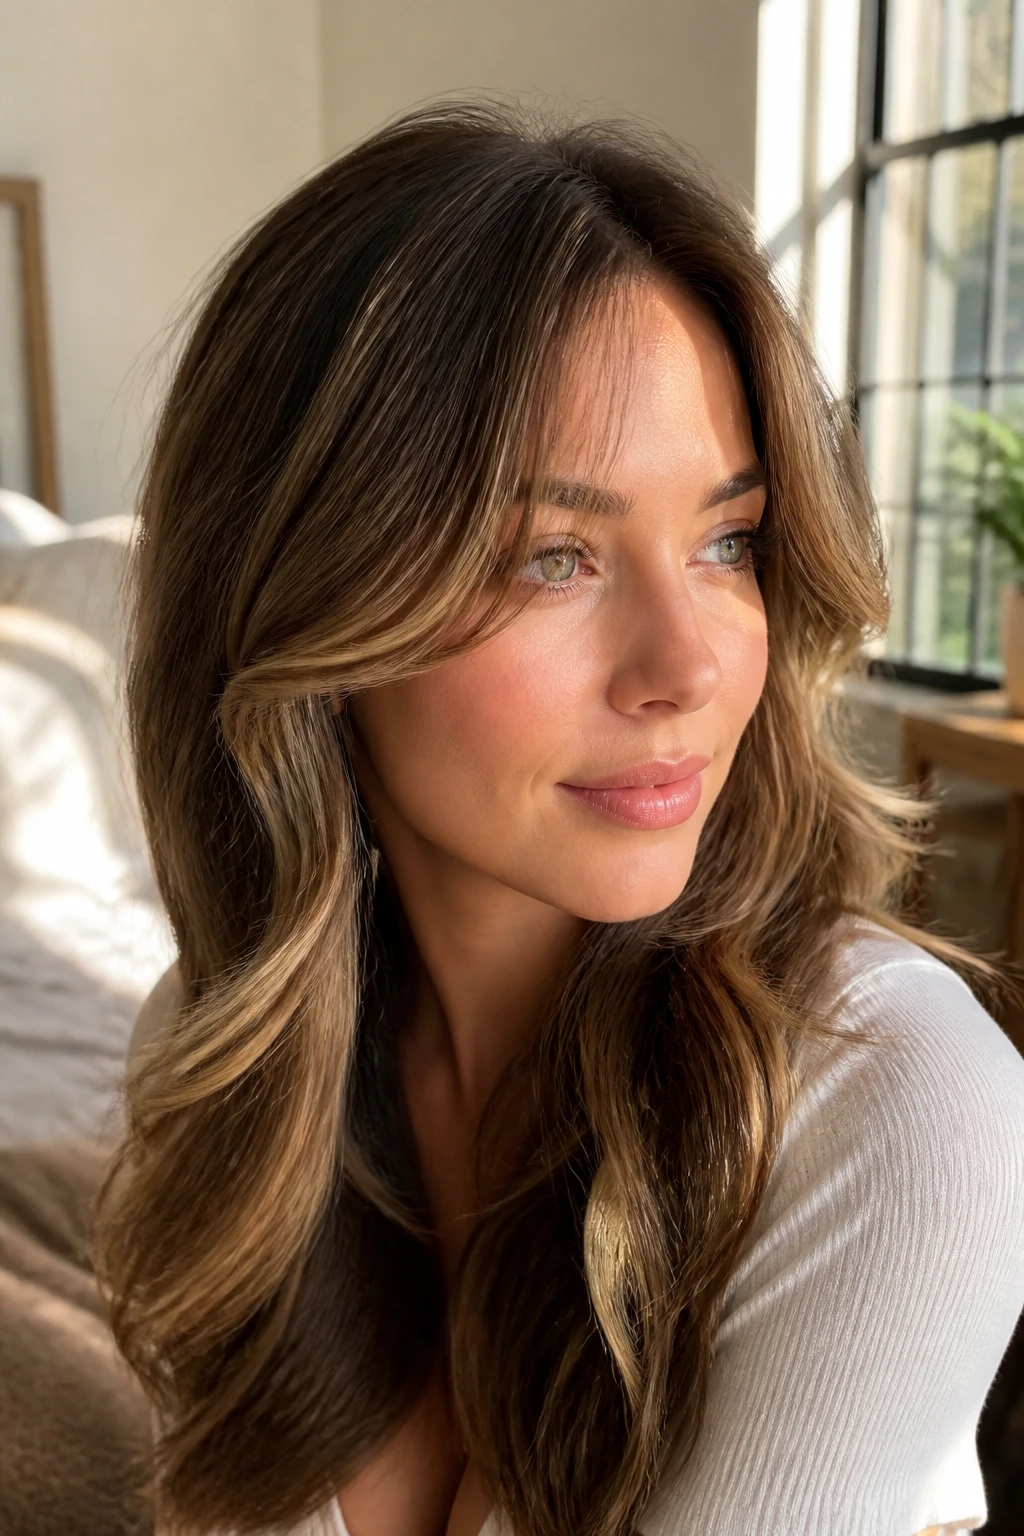
Achieving that elusive, salon-quality blowout look at home often comes down to one specific tool: the large barrel curling wand. When you are prepping for a date night, you likely want hair that looks polished, voluminous, and effortlessly romantic, rather than tight, pageant-style curls that take hours to set. A barrel size of 1.5 to 2 inches is the secret weapon for creating those soft, cascading waves that suggest you spent hours in a professional stylist’s chair when, in reality, you were done in twenty minutes.
Finding the right technique to use this tool involves more than just wrapping strands around a rod. It requires understanding how your hair texture interacts with heat, the importance of cooling, and why the angle of the wand changes the final shape of your wave. Most people make the mistake of curling their hair while it is slightly damp or using too much product beforehand, which leads to crispy, frizzy results. We are going to break down everything you need to know about mastering this look, ensuring your hair holds its shape through dinner, a movie, and well into the night.
Choosing the Right Barrel Size for Your Hair Length
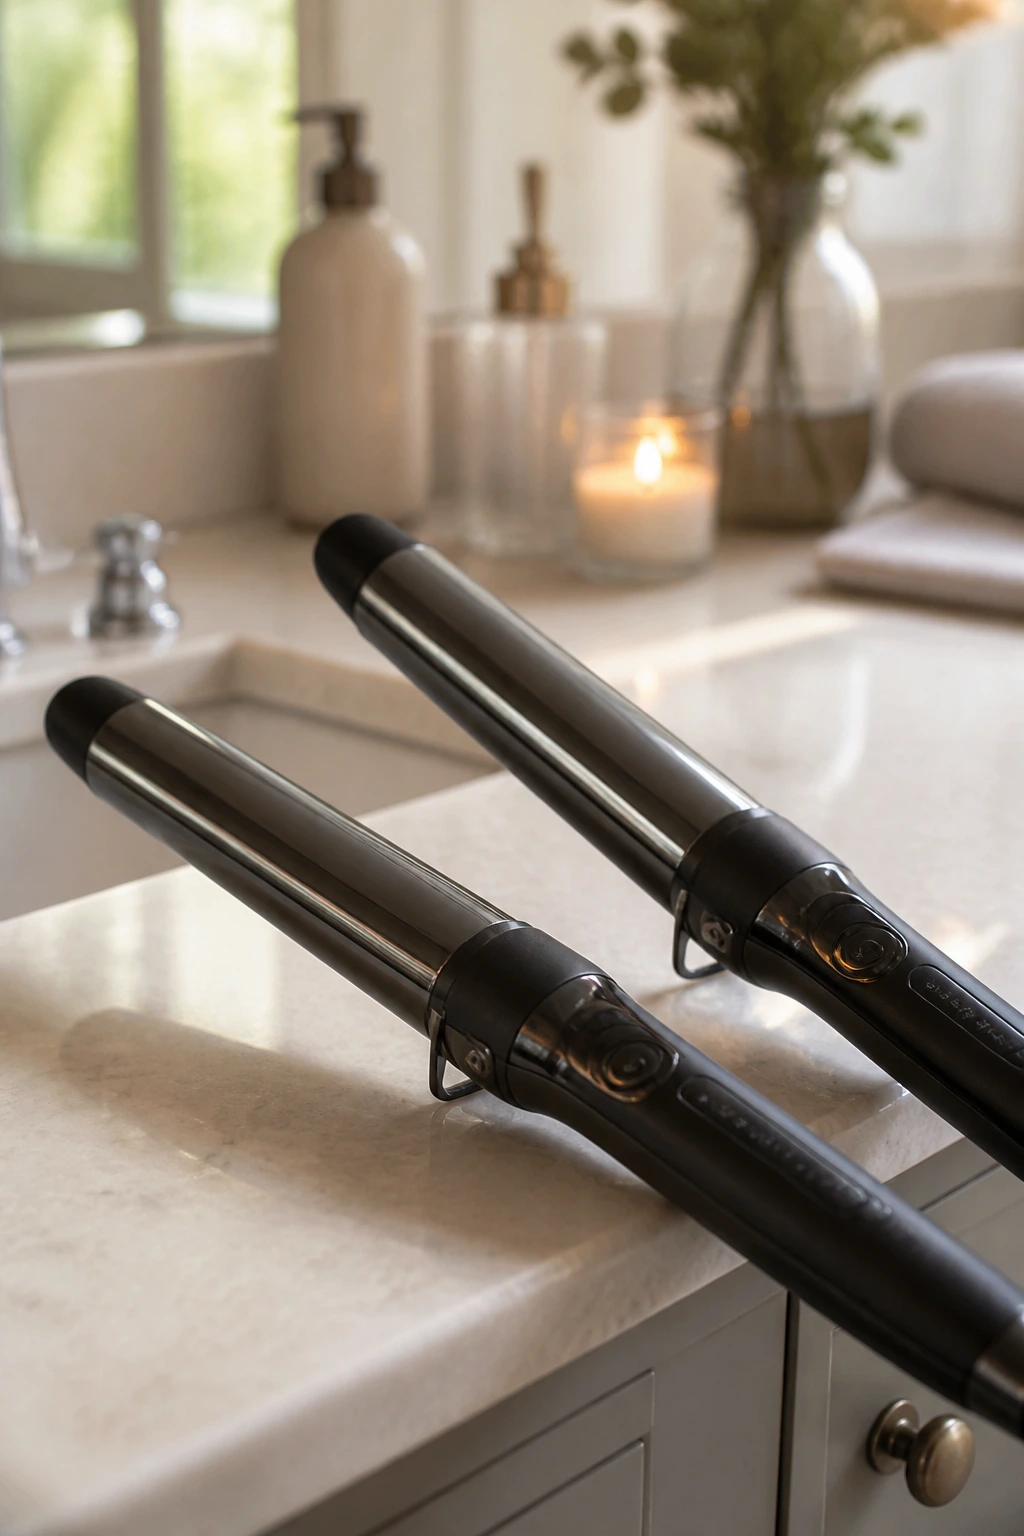
If you are aiming for that soft, voluminous “Victoria’s Secret” wave, the size of your wand barrel is everything. For shoulder-length hair or longer, a 1.5-inch or 2-inch barrel is the gold standard. Using a barrel that is too small on long hair will result in tight spirals that look dated, whereas a larger barrel allows the hair to drape naturally.
Why Diameter Matters
- 1.5-inch barrel: Ideal for creating loose, bouncy waves that mimic a round-brush blowout. This is the most versatile size for most hair lengths.
- 2-inch barrel: Best for very long, thick hair that needs to look polished but not overly curly. It produces a soft, sweeping wave.
- Tapered vs. Straight: A straight barrel ensures consistent curl size from root to tip, which is vital for a uniform, high-end look on a date night.
Pro tip: If you have shorter hair—like a lob or bob—stick to the 1.5-inch barrel. A 2-inch barrel will likely be too large to wrap your hair around effectively, leaving your ends looking straight and unfinished.
The Importance of Pre-Heat Protection
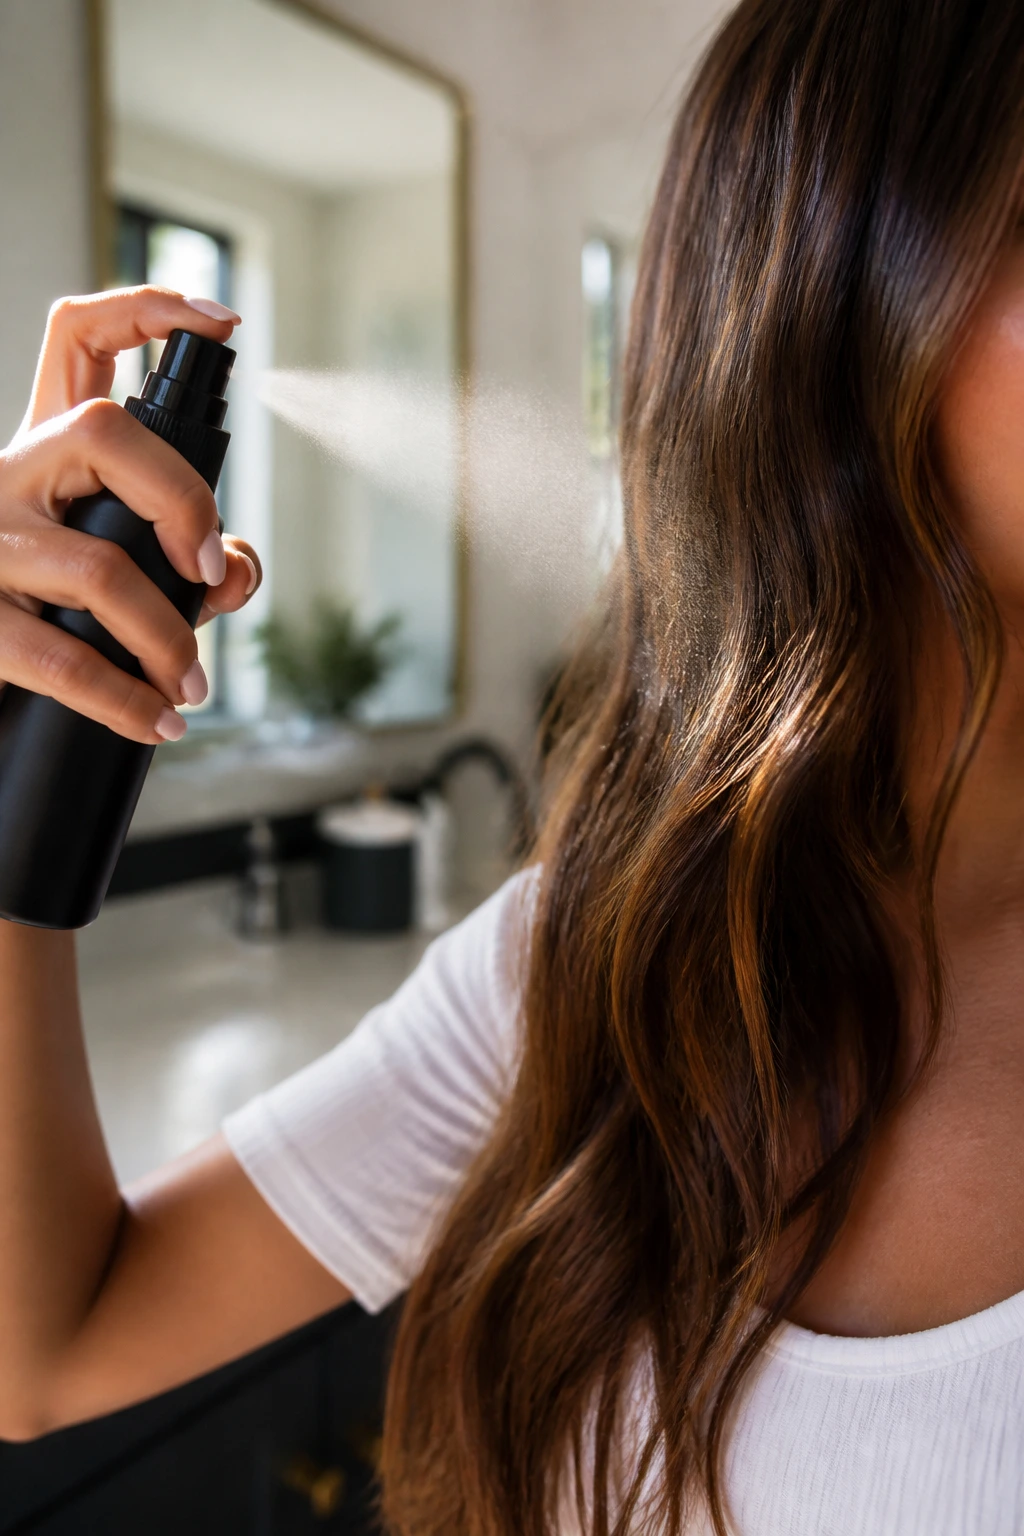
You should never subject your hair to direct heat without a thermal barrier. It is the single most common cause of split ends and “fried” hair. On a date night, you want your hair to look healthy and shiny, not dry and dull. Choose a lightweight heat protectant spray—avoid heavy oils or creams before you curl, as these can actually trap heat inside the hair shaft and cause damage.
How to Apply Protection Properly
- Lightly mist your hair from about 8 inches away.
- Comb through with a wide-tooth comb to ensure the product is evenly distributed.
- Allow the product to dry completely before touching the hair with the wand. If you hear a sizzle, stop immediately. That sound is the moisture in your hair boiling, which is the exact opposite of what you want.
Prepping Hair for Maximum Longevity
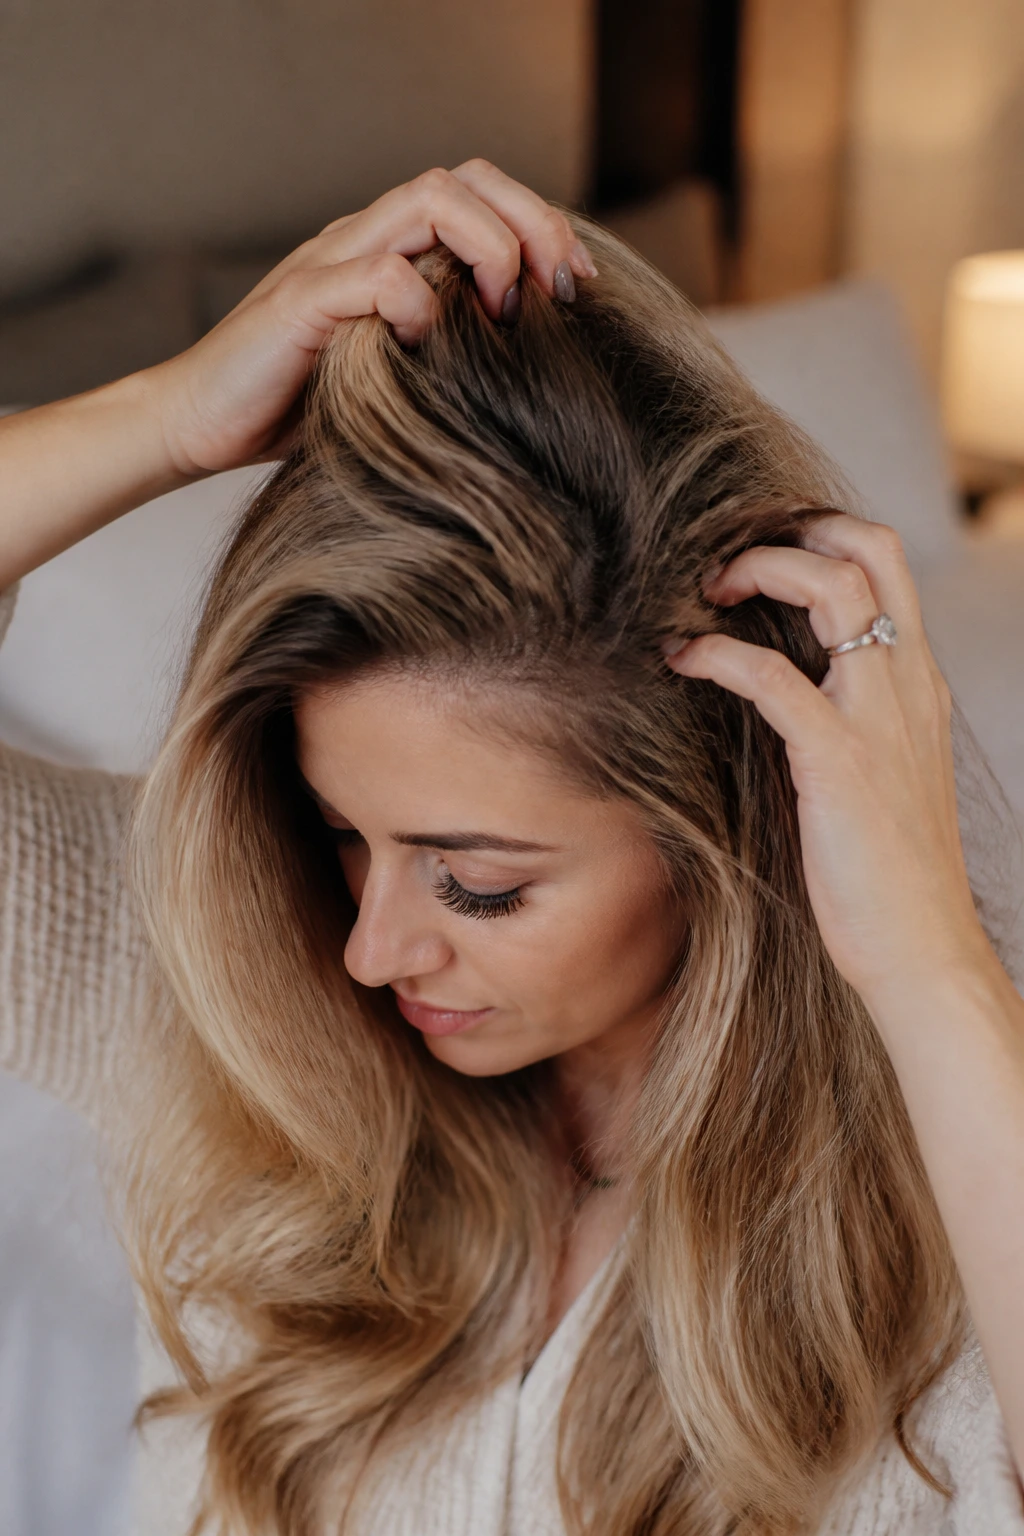
Curls have a habit of falling flat, especially if you have fine or stick-straight hair. The key is to add “grit” to your strands so the hair has something to grip onto. Skip the heavy conditioner on date night morning, and reach for a texturizing mousse or a light root-lift spray instead.
The Role of Second-Day Hair
Interestingly, hair that is one day past its wash cycle usually holds a curl better than squeaky-clean hair. The natural oils provide a bit of structure. If your hair is too clean and slippery, use a dusting of dry shampoo at the roots and a light texturizing spray through the mid-lengths. This creates a foundation that will keep your date night waves bouncy until you walk through the door at the end of the evening.
Segmenting Your Hair for Consistent Results
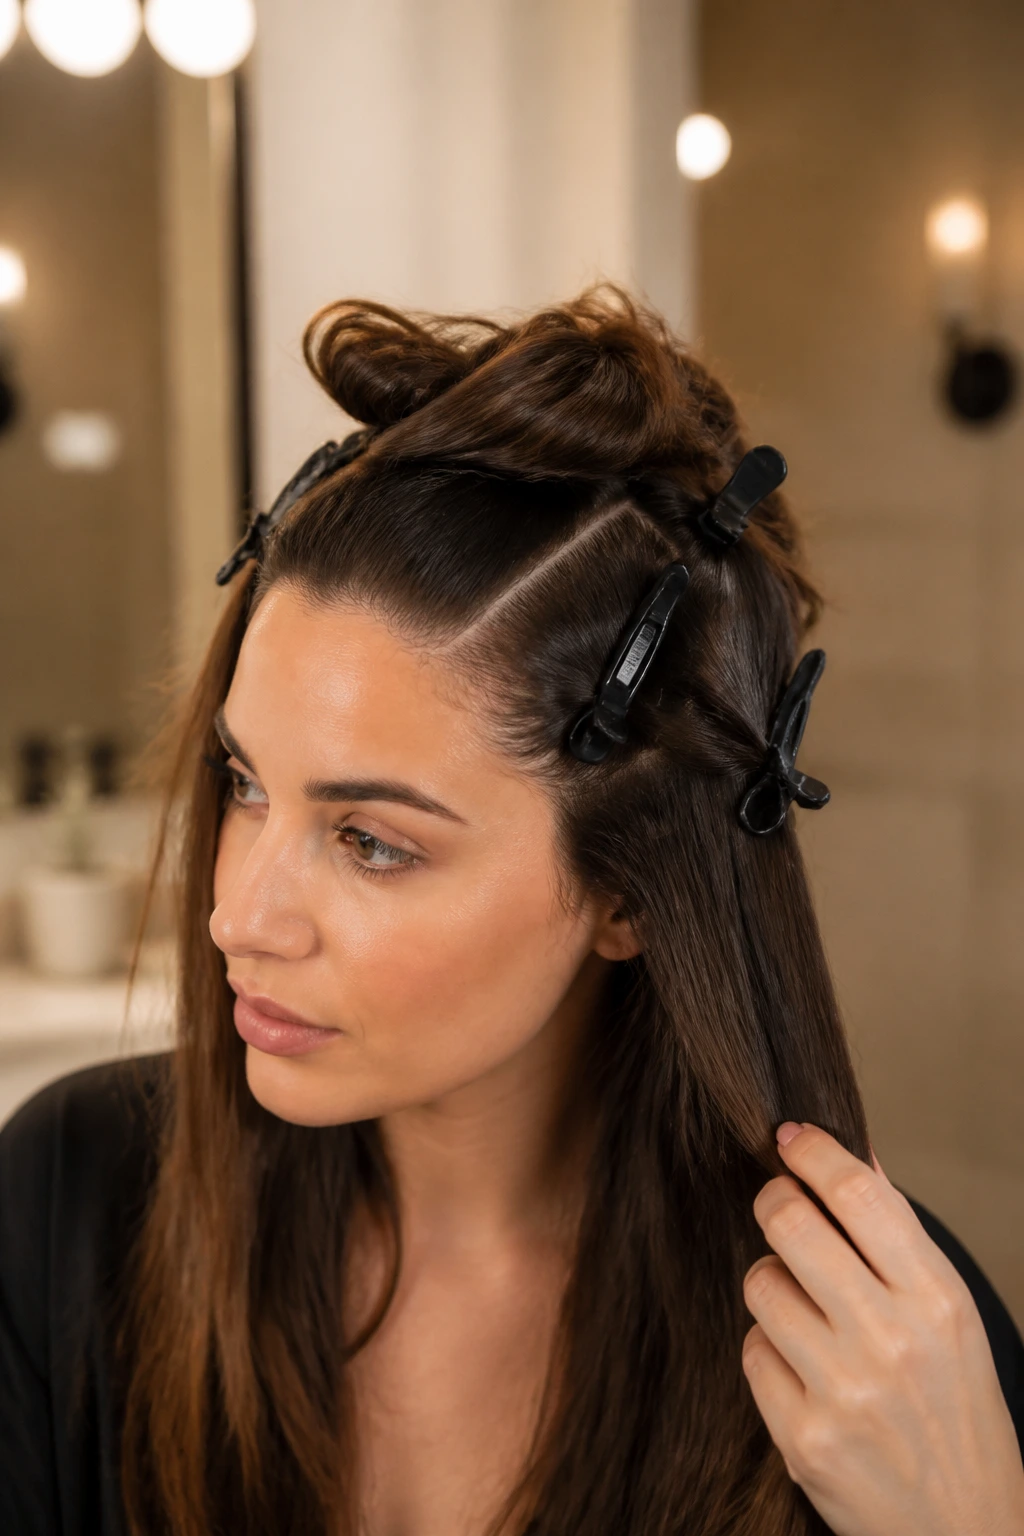
Attempting to grab large, uneven chunks of hair is the fastest way to achieve an uneven, messy look. For a professional finish, you need to section your hair. Start by pinning the top half of your hair up, leaving the bottom layer free to work on first.
Why Sectioning Saves Time
- Even Heat Distribution: When you work in sections, you can ensure that every strand gets the exact same amount of time against the barrel.
- Clarity of Progress: It prevents you from curling the same piece twice while missing a section entirely.
- Control: Using clips helps keep the hair out of your face so you can focus entirely on the wand technique.
Pro tip: Use alligator clips rather than rubber bands, as they won’t leave unsightly dents in your hair that are impossible to hide once you’ve finished styling.
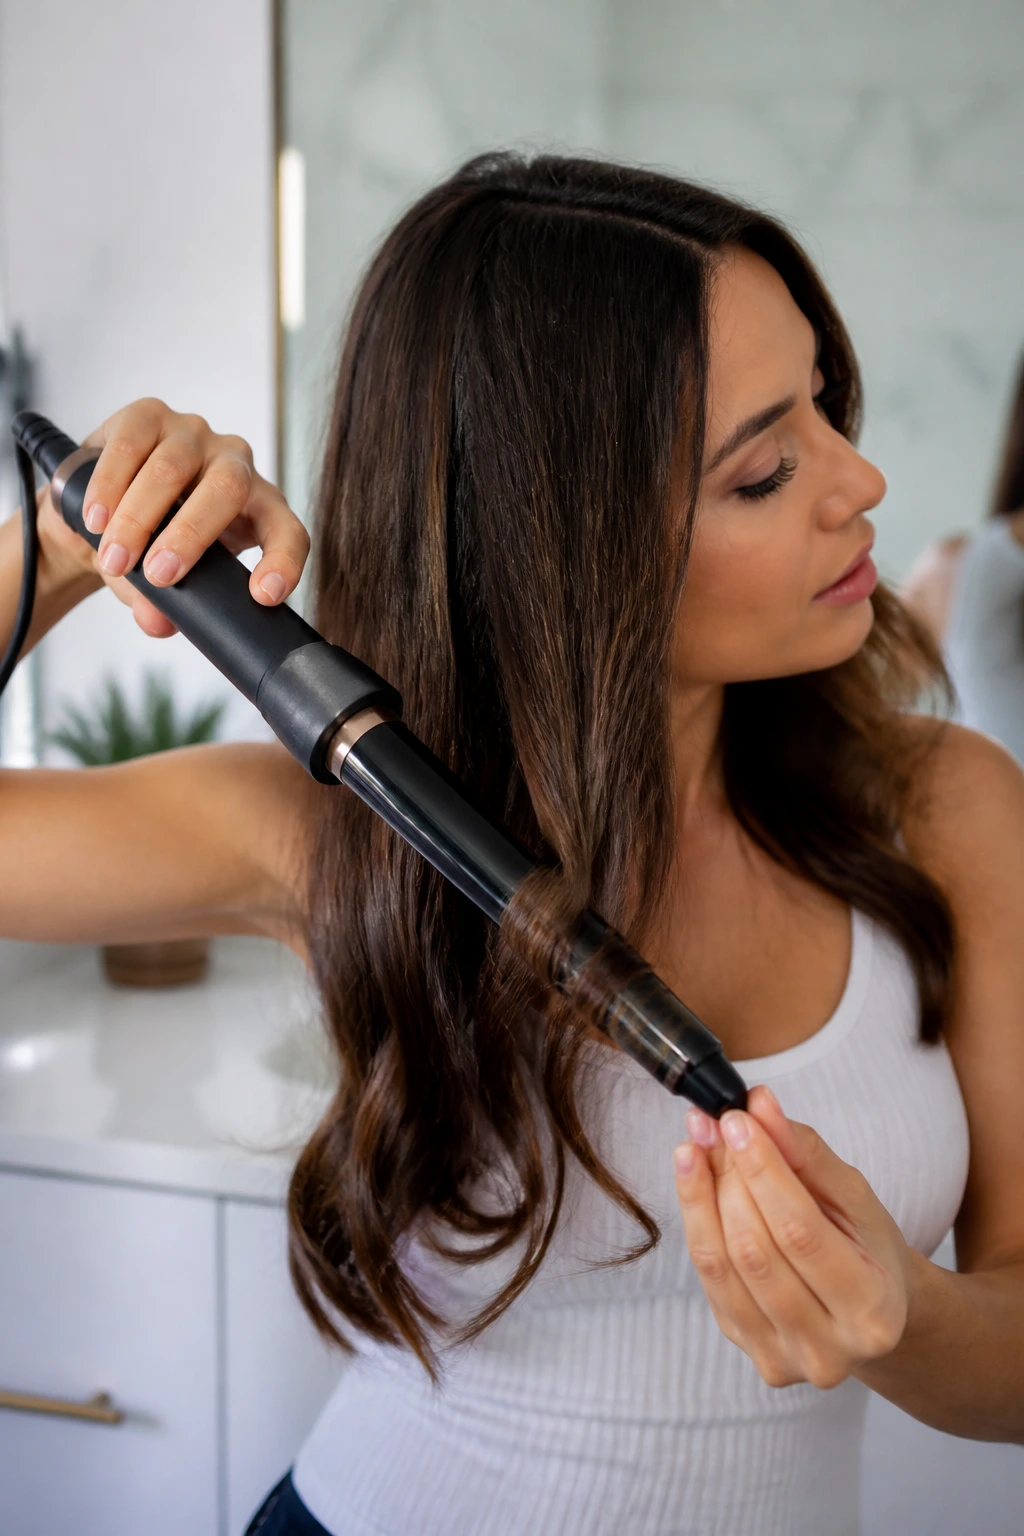
Mastering the Wrap Technique
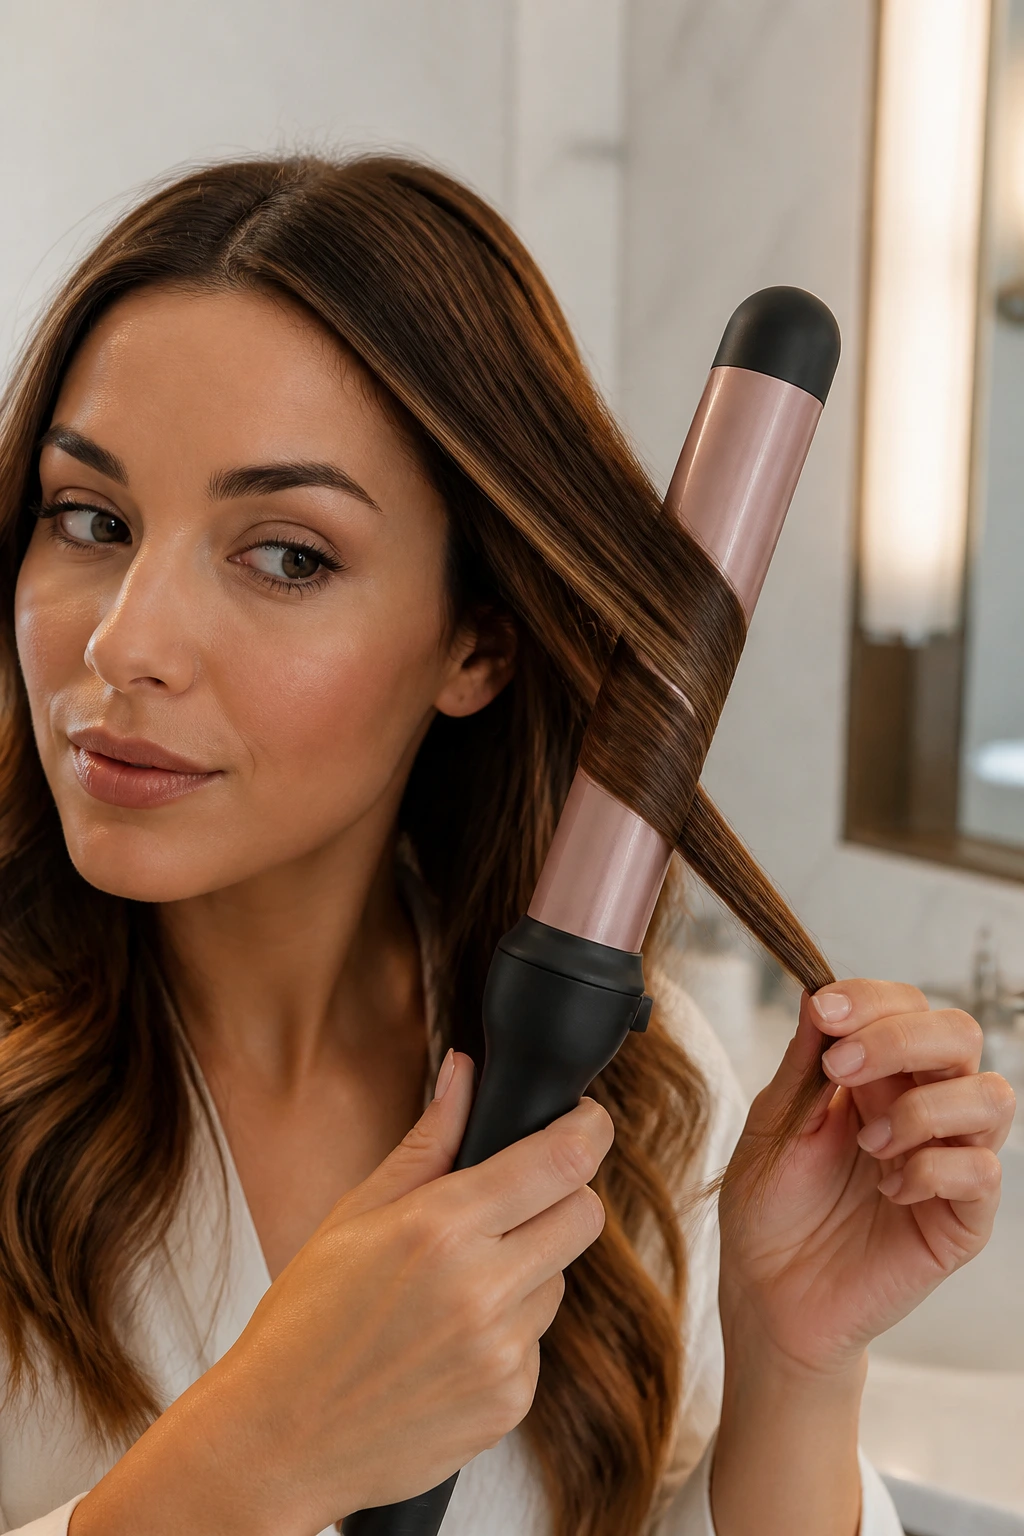
The way you wrap your hair around the barrel determines the direction of the wave. For a modern, undone look, you want to wrap the hair away from your face. This opens up your features and makes the style look deliberate rather than accidental.
The Over-Under Method
Hold your curling wand vertically. Take a 1-inch section of hair and begin wrapping it around the barrel, starting close to the root. Keep the hair flat against the barrel rather than twisting it like a rope. Twisted hair creates a tighter, more bohemian curl, while flat-wrapped hair creates a glossy, red-carpet wave. Leave the very ends of your hair out of the wrap for about an inch; this creates a more modern, beachy finish that looks less “done.”
Understanding Heat Settings and Timing
There is a pervasive myth that higher heat equals a better, longer-lasting curl. In reality, excessively high heat just damages the hair cuticle and makes the strand brittle. Most hair types only need 300°F to 350°F to form a shape. Only very coarse, thick hair requires heat in the 400°F range.
How Long to Hold the Curl
- For fine hair: Hold for 5 to 7 seconds.
- For medium hair: Hold for 8 to 10 seconds.
- For thick or coarse hair: Hold for 12 to 15 seconds.
Safety check: If you feel the hair getting excessively hot to the touch or notice any steam rising, lower your heat setting. You want the hair to be warm, not scorching.
The Cooling Phase
This is the step most people skip, yet it is the secret to a long-lasting style. A curl is formed by heat but “set” by cooling. If you pull on your hair or run your fingers through it while the strand is still hot, the curl will lose its structural integrity immediately.
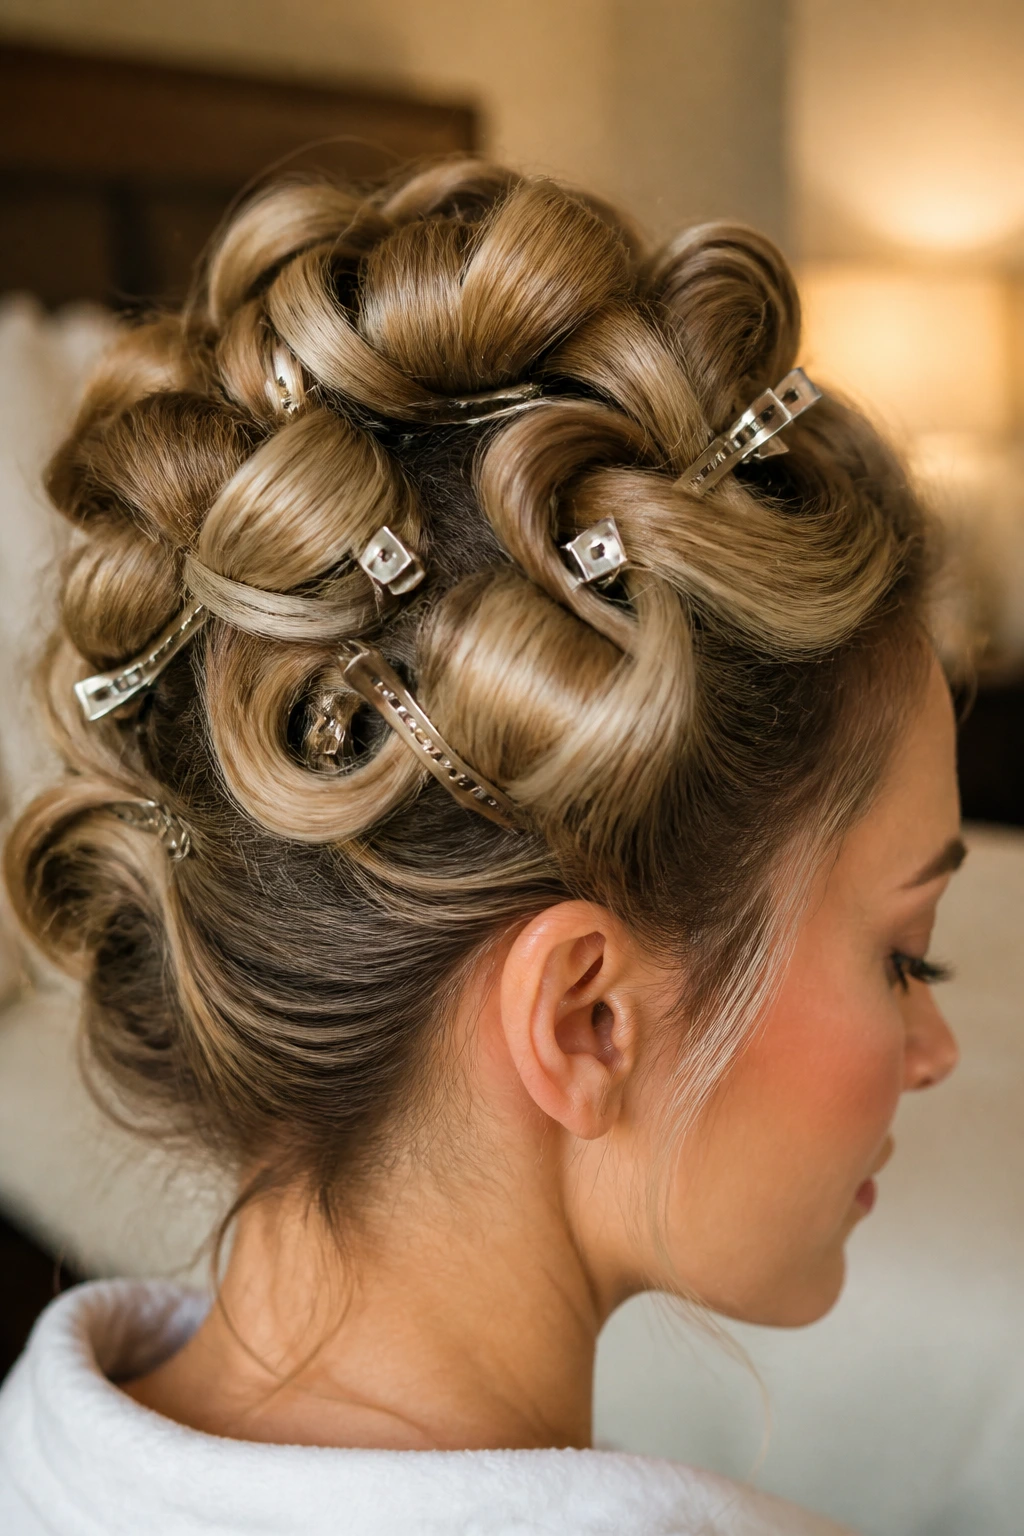
The Pin-Up Strategy
For a really high-impact date night look, take the warm curl off the wand and pin it to your head with a small metal clip. Let it stay there until it is completely cool to the touch. This takes about five minutes for your entire head. When you release the pins, you will find that the curl is much tighter and will hold its shape for hours longer than if you had let it drop while warm.
Creating Volume at the Roots
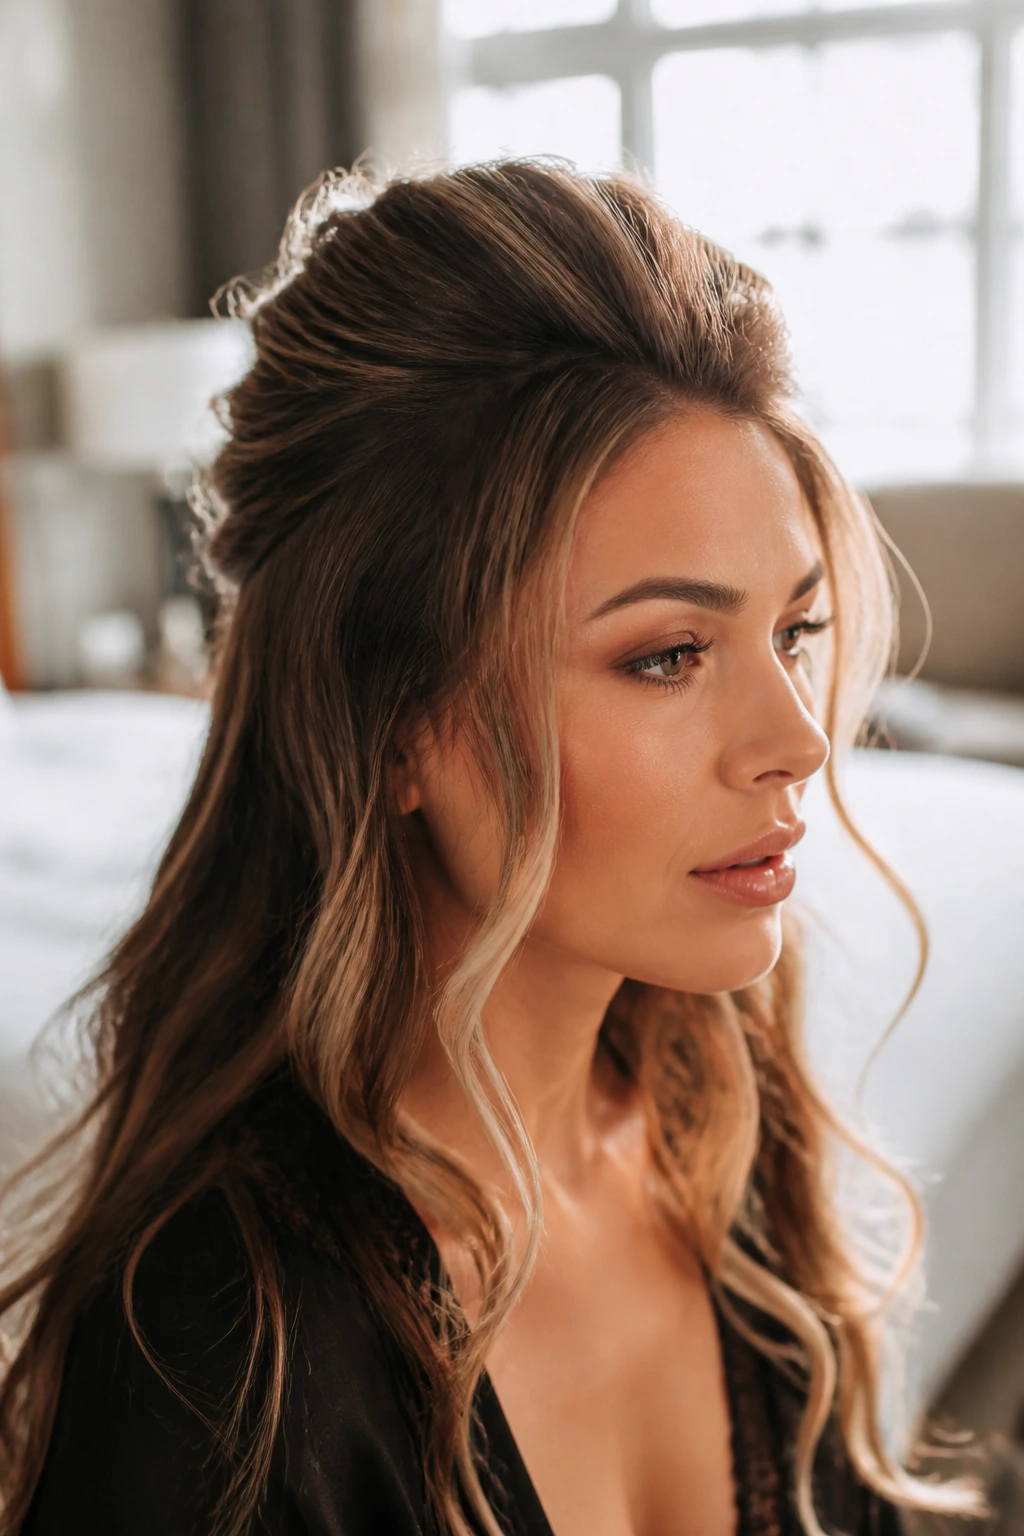
Waves can look sad if they sit flat against the scalp. To add that “date night” lift, focus on the top section of your hair. When you curl the hair at the crown, hold the wand horizontally rather than vertically.
The Horizontal Lift
By holding the wand horizontally at the base of the crown, you encourage the hair to stand up and away from the scalp. Once you release the curl, gently tease the roots with a fine-tooth comb and spray with a flexible-hold hairspray. This prevents the “pancake” effect where the hair hangs perfectly on the sides but has no life on top.
How to Avoid the “Dented” Curl Look
We have all seen it—a harsh crease in the hair caused by the clamp of a curling iron. This is why a wand is superior for date night styling. Because there is no clamp, there is no risk of creating that unnatural “kink” in the middle of your wave.
If You Still Feel Dents
If you find that your waves are looking segmented, it means you are leaving the wand in the exact same spot for too long without movement. Keep the hair moving slightly across the barrel as you hold it. This subtle movement prevents the heat from “marking” the hair and keeps the transition from the curled part to the straight end smooth and seamless.
Styling Your Bangs or Face-Framing Layers
Face-framing pieces are the most important part of your style. They are the first thing people notice. If your bangs look limp or your layers are sticking out at awkward angles, the rest of the style will feel disjointed.
The Backward Sweep
For your bangs or front layers, wrap them away from your face starting from mid-eye level. Do not start at the root for these pieces, or they will end up looking like you have a halo. Let them blend into the rest of the wave pattern. If your bangs are very short, use the wand to just give them a slight “bend” rather than a full curl, which keeps them looking soft and natural.
Using Your Fingers for Texture

Once your hair has cooled, it is time to break up the curls. Do not—we repeat, do not—brush through them immediately with a dense bristle brush. That is a recipe for a frizzy, poofy mess.
The Finger-Comb Technique
- Use your fingertips to gently tug on the ends of the curls.
- Shake your head slightly to let the waves settle into one another.
- If you want a more “lived-in” look, use a wide-tooth comb to rake through the ends once.
- Be gentle. You want to combine the curls, not separate every single strand.
Finishing Touches and Shine
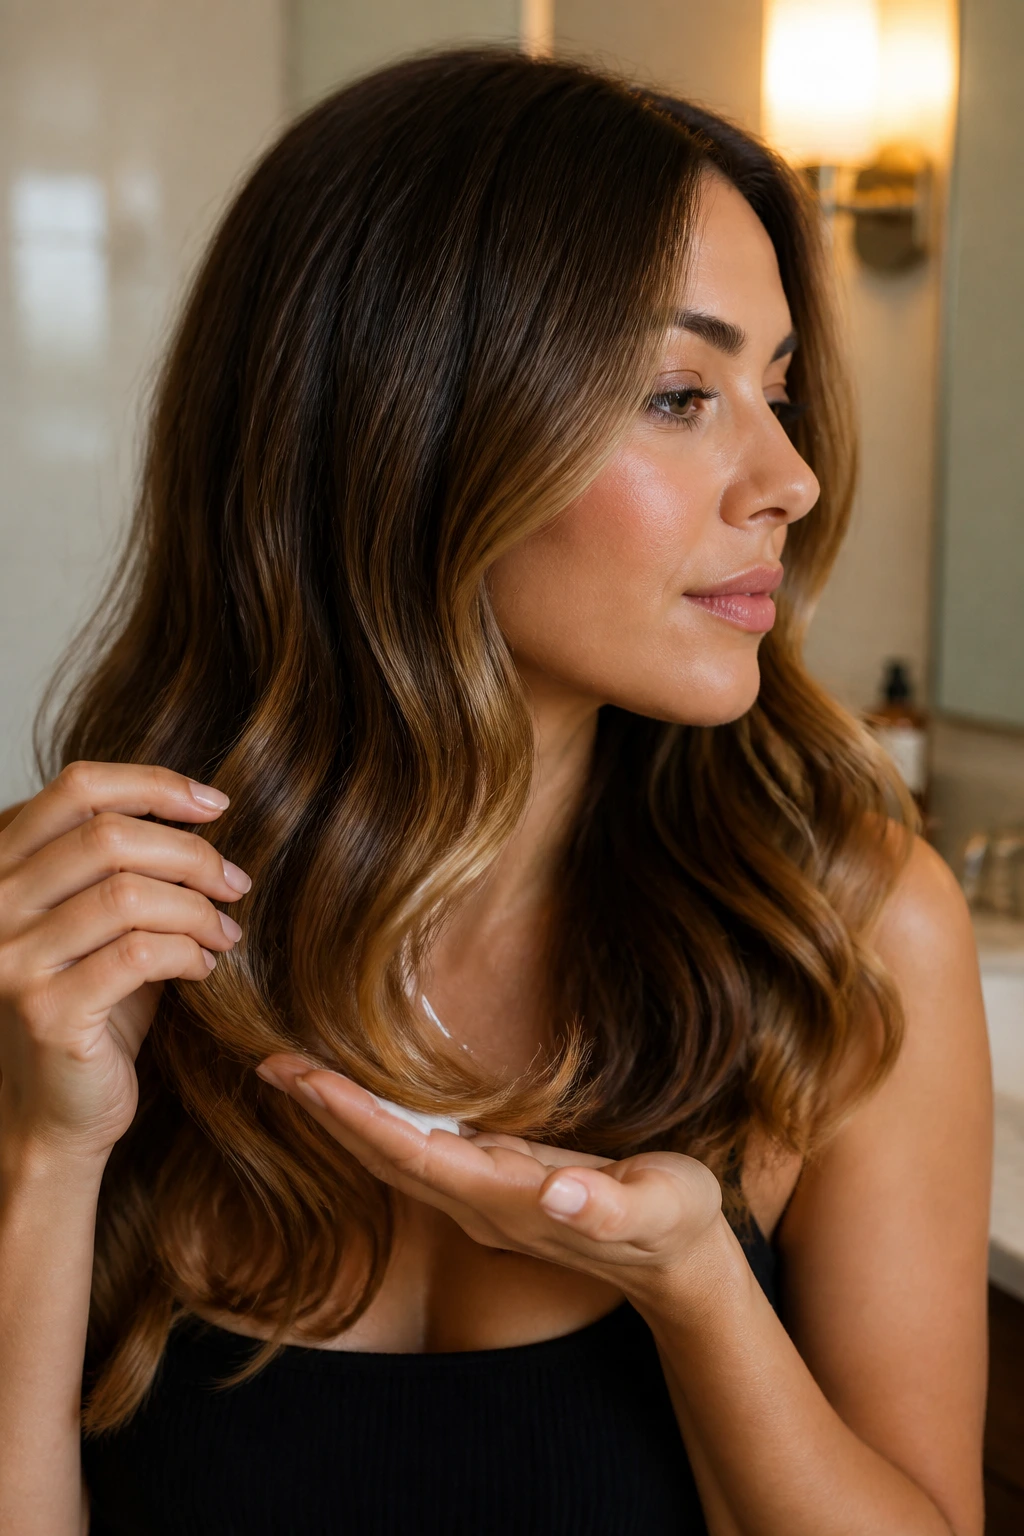
Date night hair should look healthy. Once your waves are styled, apply a tiny amount of shine serum or finishing cream to the ends. Avoid the roots at all costs; you want shine, not grease.
What to Look for in a Finishing Product
- Silicone-based serums: These are great for sealing the cuticle and adding a high-gloss finish.
- Dry texture sprays: If you want a slightly messier, “cool girl” vibe, use this instead of a shine spray.
- Flexible hold hairspray: Use a light mist. If you use a “maximum hold” spray, your hair will turn into a helmet, which is the antithesis of a romantic, touchable style.
Addressing Common Problems
Even with the best tools, things can go wrong. If you find your hair is constantly dropping flat, it might be that you are using too much moisture-heavy product. If your hair is frizzy, you might be using heat that is too high.
Troubleshooting Guide
- Curl won’t hold: Use a texturizing spray before curling, and make sure the hair is 100% dry.
- Frizzy ends: Apply a tiny drop of hair oil to the ends before curling.
- Uneven waves: You are likely holding the wand at different angles. Try to maintain a 45-degree angle consistently throughout the process.
- Burnt hair smell: You are definitely using too much heat. Turn it down by 25 degrees immediately.
Why Quality Tools Last Longer
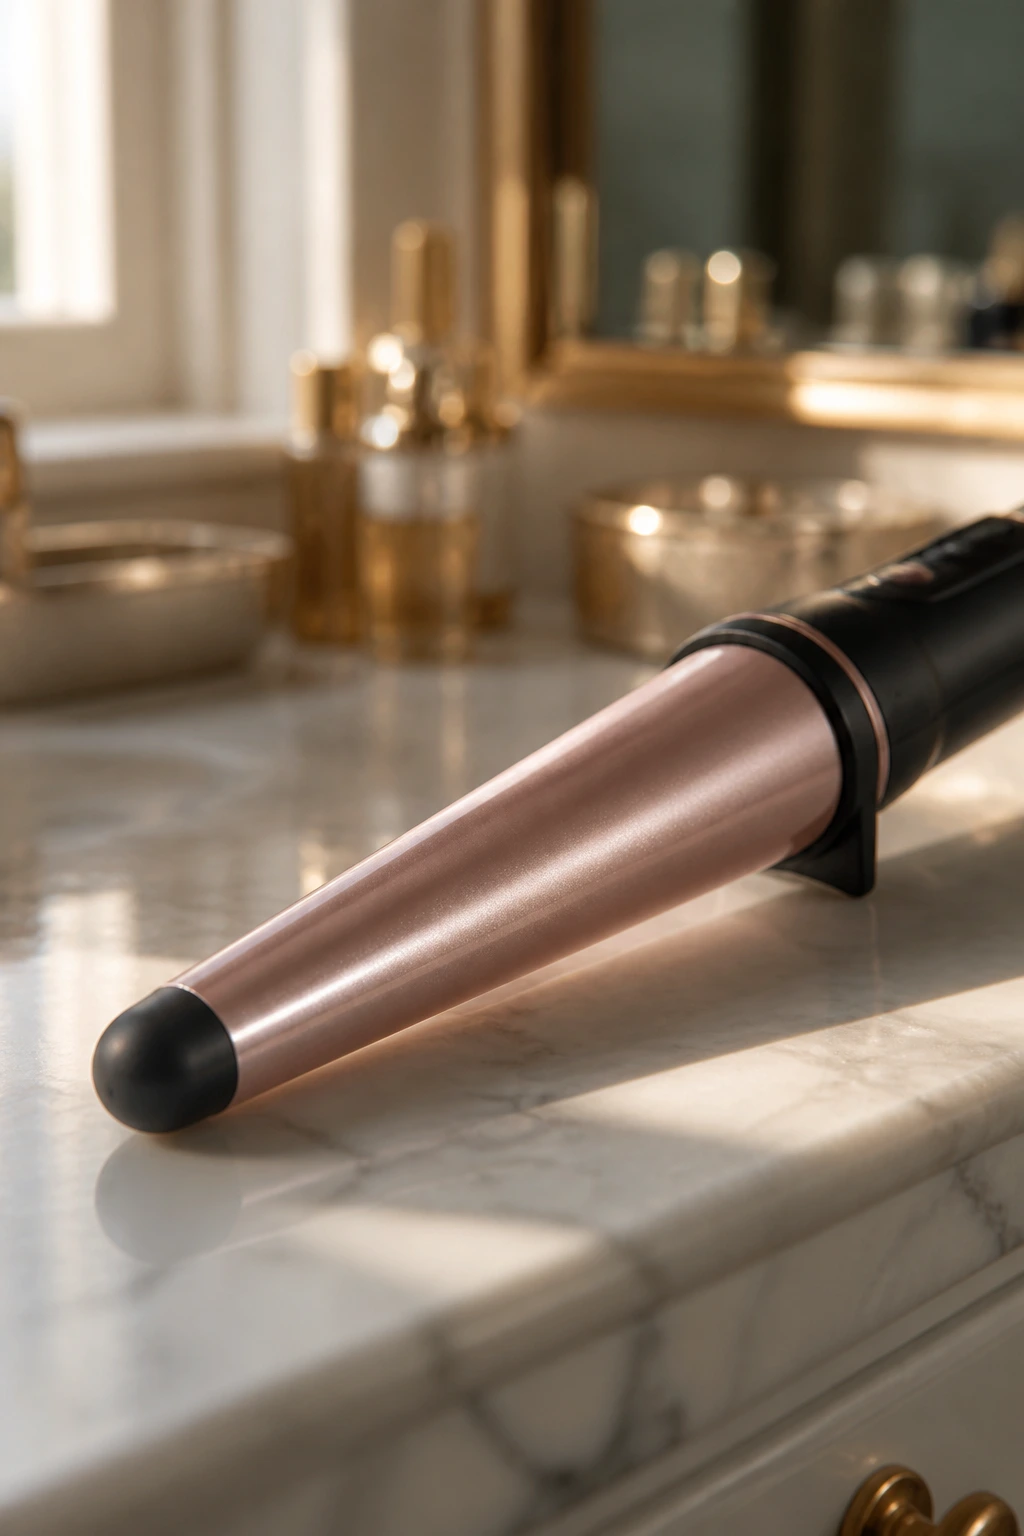
A good curling wand is an investment. While budget options might get hot, they often struggle with consistent temperature regulation, leading to “hot spots” that can scorch your hair. Look for a ceramic or tourmaline barrel.
The Material Advantage
Tourmaline is a gemstone that, when crushed and coated onto a barrel, emits negative ions. These ions help seal the hair cuticle, reducing frizz and boosting shine. Ceramic, on the other hand, provides very even heat distribution, which prevents the hair from getting “cooked” in one spot while remaining cool in another. If you style your hair frequently for date nights or work events, the material of the barrel is something you will definitely notice over time.
Storing Your Wand Safely

After a big date night, it is easy to leave your wand on the counter while it cools. However, curling wands stay hot for a surprisingly long time—sometimes up to 45 minutes.
The Safety Habit
Always use a heat-resistant mat or a designated storage sleeve. If you have pets or children, never leave a cooling wand on a low surface. Develop a habit of unplugging the device as soon as you are finished with the last section of hair, and place it somewhere where it cannot be knocked over or touched by curious hands.
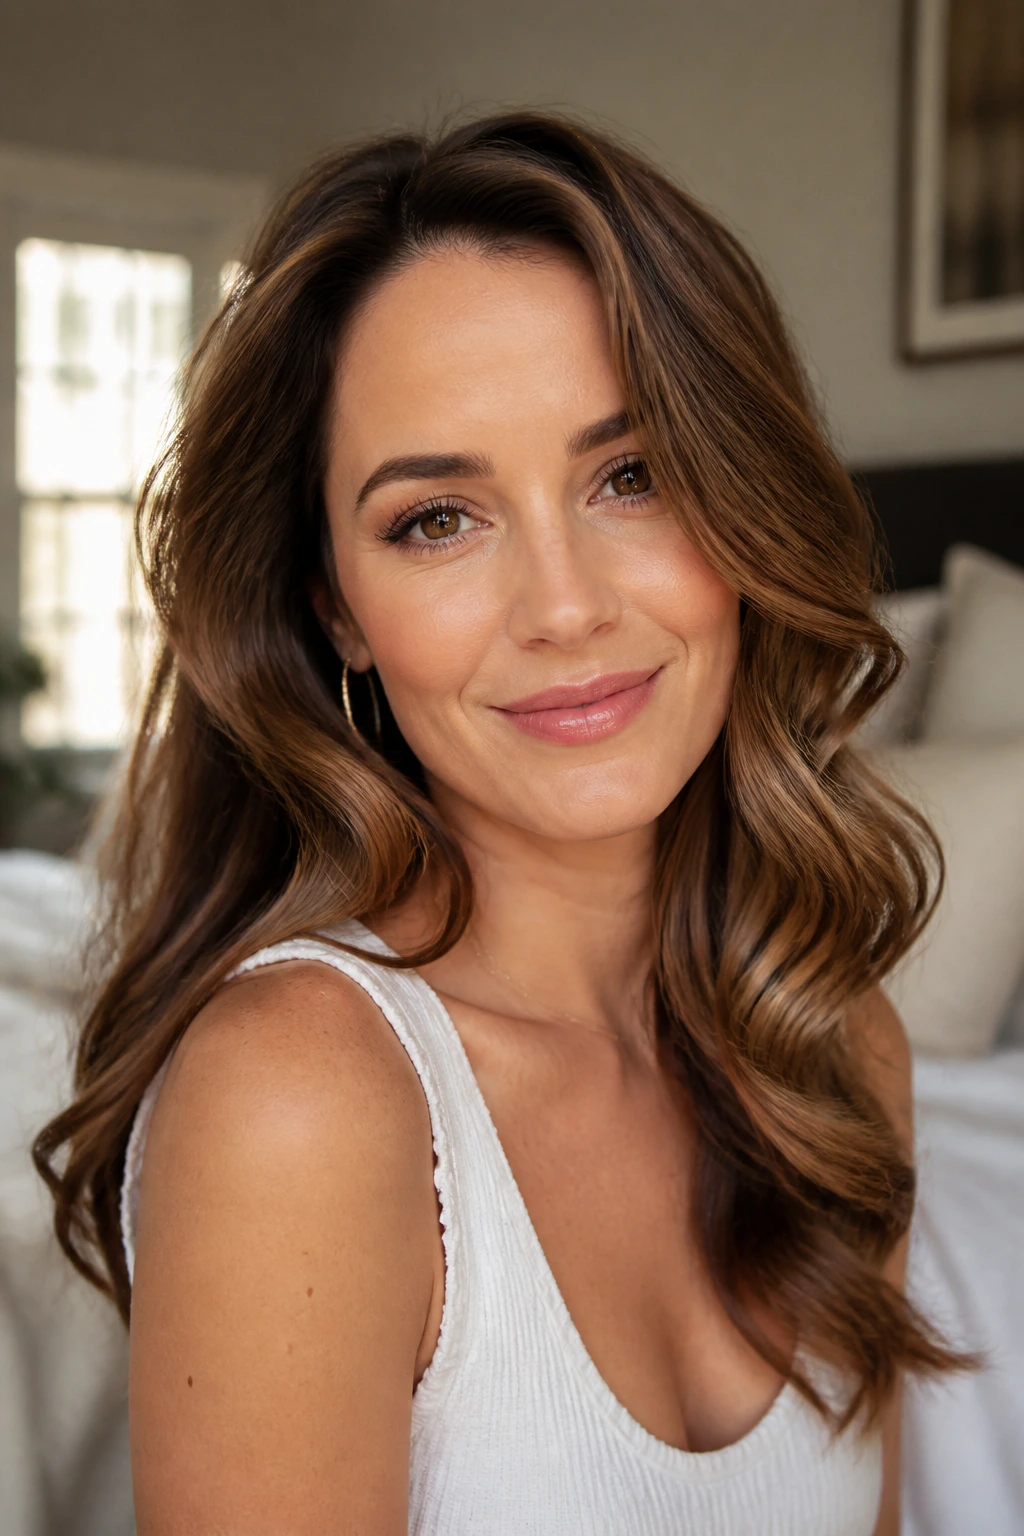
Final Thoughts
Mastering the large barrel curling wand is truly about patience and technique rather than fancy salon products. By taking the time to section your hair, allowing your curls to cool completely before styling, and using the right heat settings, you can achieve a look that feels both effortless and special. Date night hair should make you feel confident, and there is nothing like a set of soft, cascading waves to put that extra spring in your step. Remember that practice is key; the first time you use a 2-inch barrel, it might feel clunky, but after a few tries, the motion will become second nature. Enjoy the process of creating your look—it is part of the fun of getting ready.