When you are deep in the middle of a high-intensity interval training session or pushing through the final miles of a long-distance run, the last thing you need is a curtain of sweat-soaked hair clinging to your face. It is a universal struggle: the moment your heart rate climbs, your hair seems to sense the movement and inevitably drifts into your eyes. You have likely tried tucking it behind your ears, only to have it slide out five seconds later. You might have even resorted to cheap hair ties that snap under pressure or leave your scalp throbbing by the end of the hour. Finding a reliable, parted hairstyle for workouts is not about vanity—it is about functional focus. When your hair is secured in a way that respects your natural part while staying anchored, you can actually concentrate on your form rather than constantly pushing bangs out of your field of vision.
The trick to a workout-ready look that actually holds is acknowledging that not all parts are created equal. Some styles require a sharp, deliberate separation that stays put through burpees, while others benefit from a softer, more forgiving aesthetic that allows for quick adjustments. Regardless of your hair type or texture, the goal remains the same: minimizing movement and maximizing airflow to the scalp. Let’s look at eighteen specific ways to manage your hair while you train, keeping your part intact and your performance high.
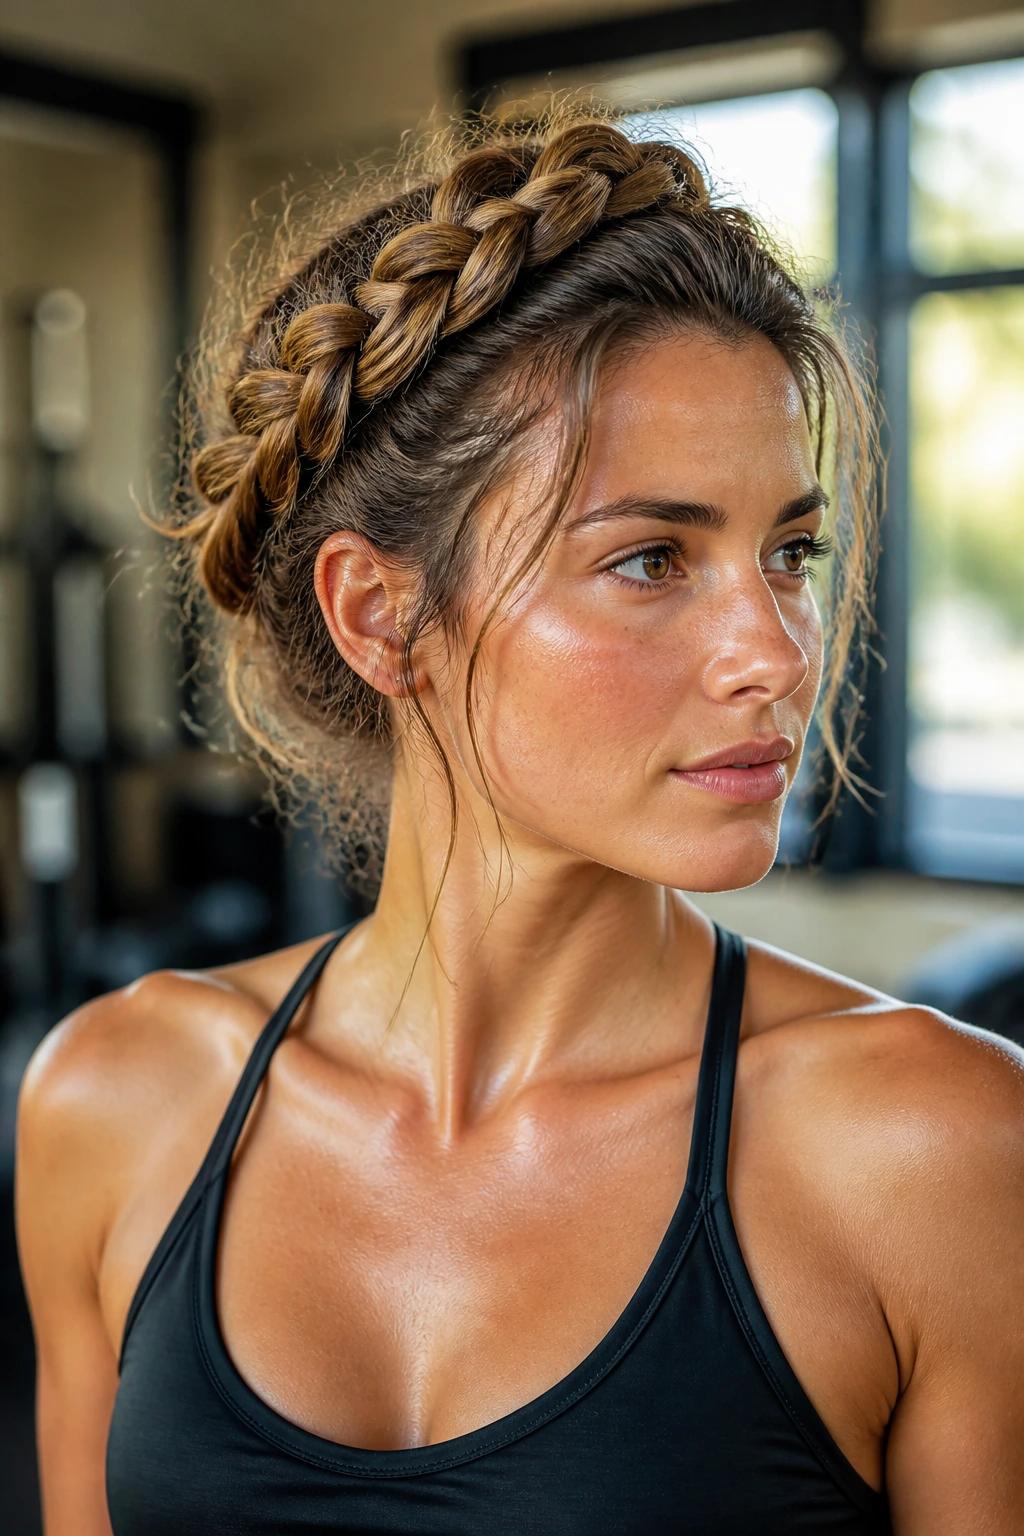
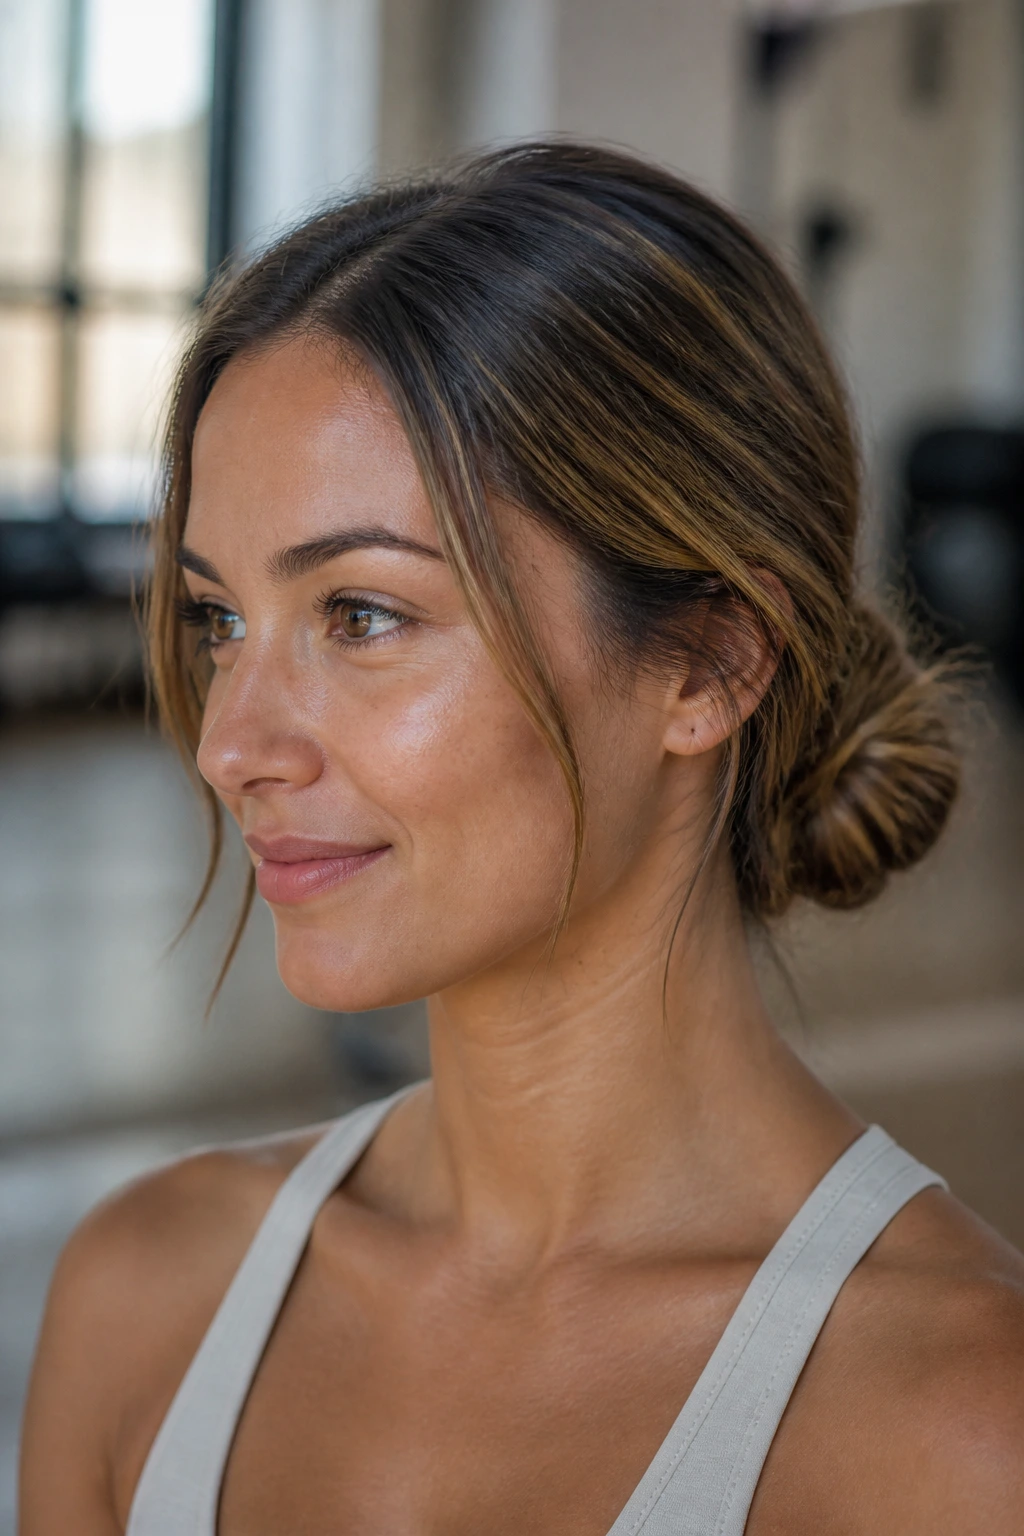
1. The Classic Low Braided Part
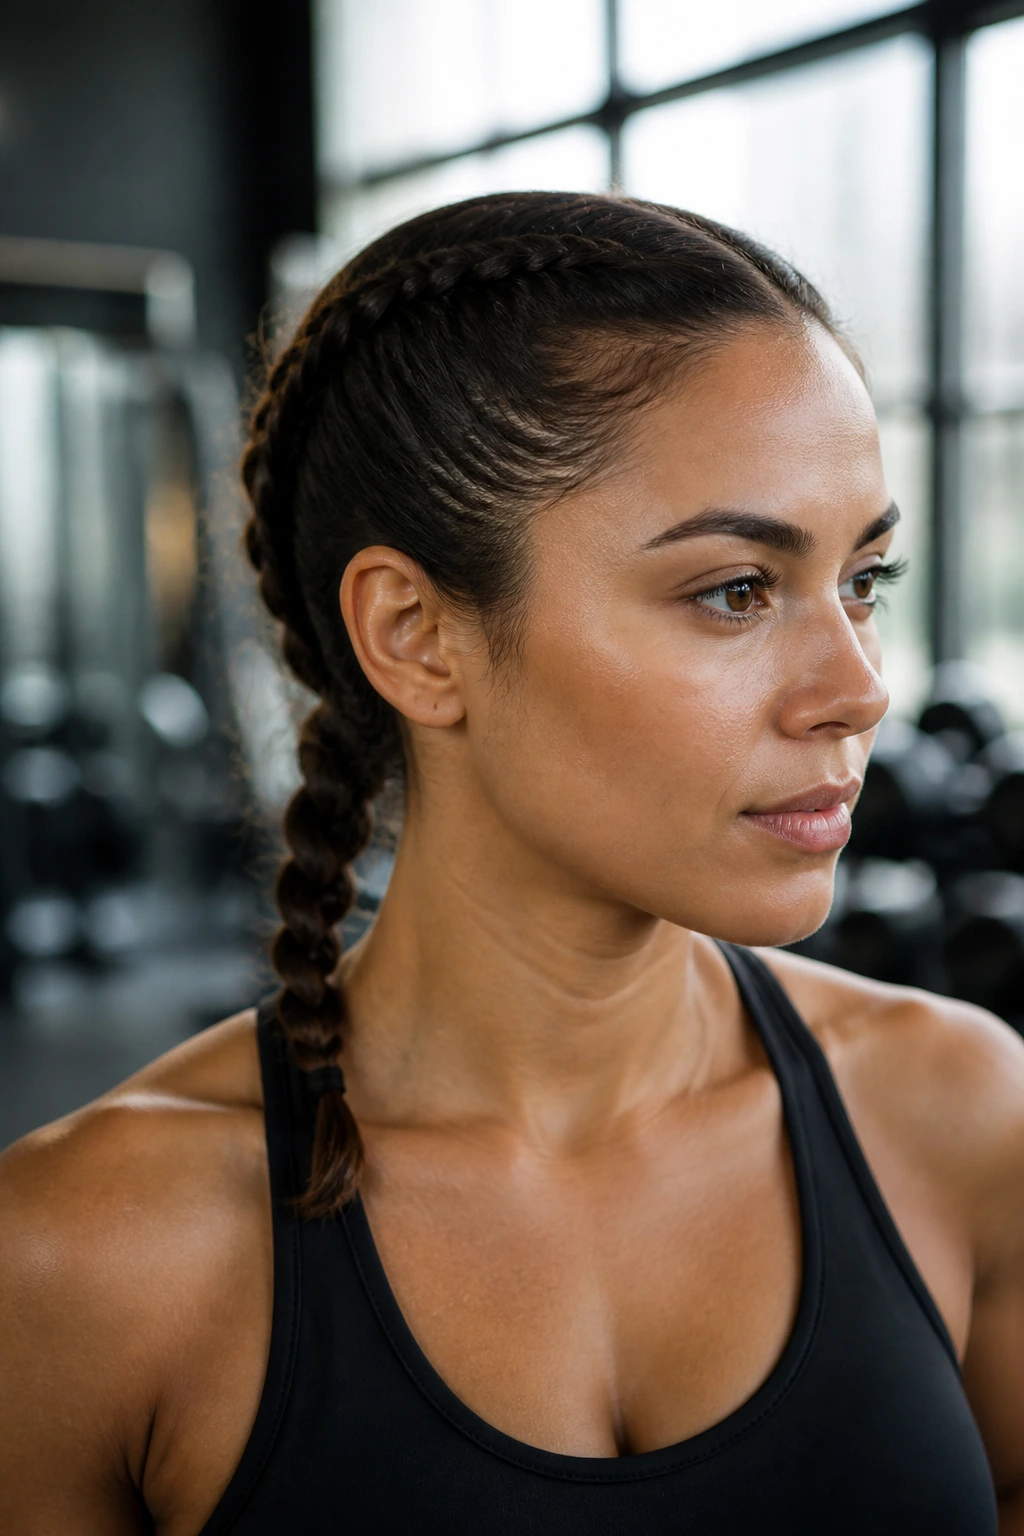
This style is perfect for those who want to keep their hair off their neck without losing the structure of their natural part. By starting the braid at the nape of the neck, you preserve the front section of your hair as it naturally falls, which prevents that uncomfortable “pulled too tight” sensation around your temples.
Why It Works for High-Intensity Training
- Keeps hair from sticking to the back of your neck during heavy sweating.
- The low placement prevents the style from bouncing or tugging on your scalp when you jump or sprint.
- It stays secure even if you are lying on a yoga mat or a weight bench.
How to Execute
- Part your hair exactly where you normally wear it.
- Gather all hair into a low ponytail and secure it with a soft fabric-covered band.
- Divide the ponytail into three equal sections and braid firmly to the ends.
- Secure the end of the braid with a second, smaller elastic band. Pro tip: If you have layers that tend to escape, mist a little dry shampoo or texturizing spray on your hair before braiding to give the strands extra grip.
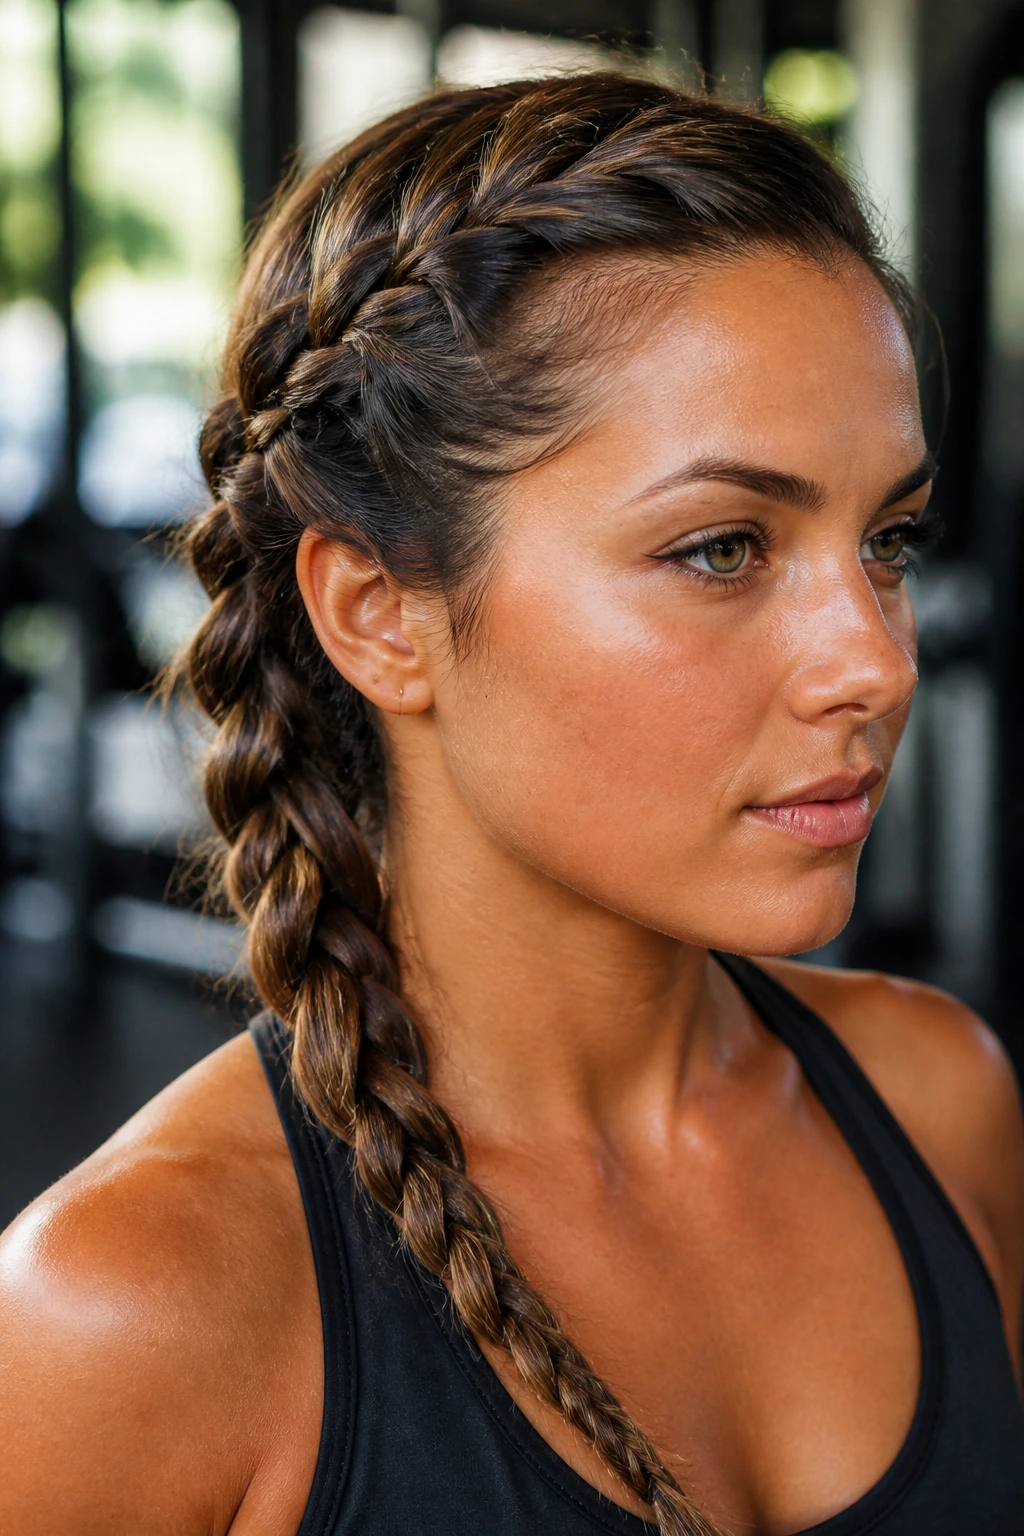
2. Dutch-Braided Pigtails with a Clean Center Part
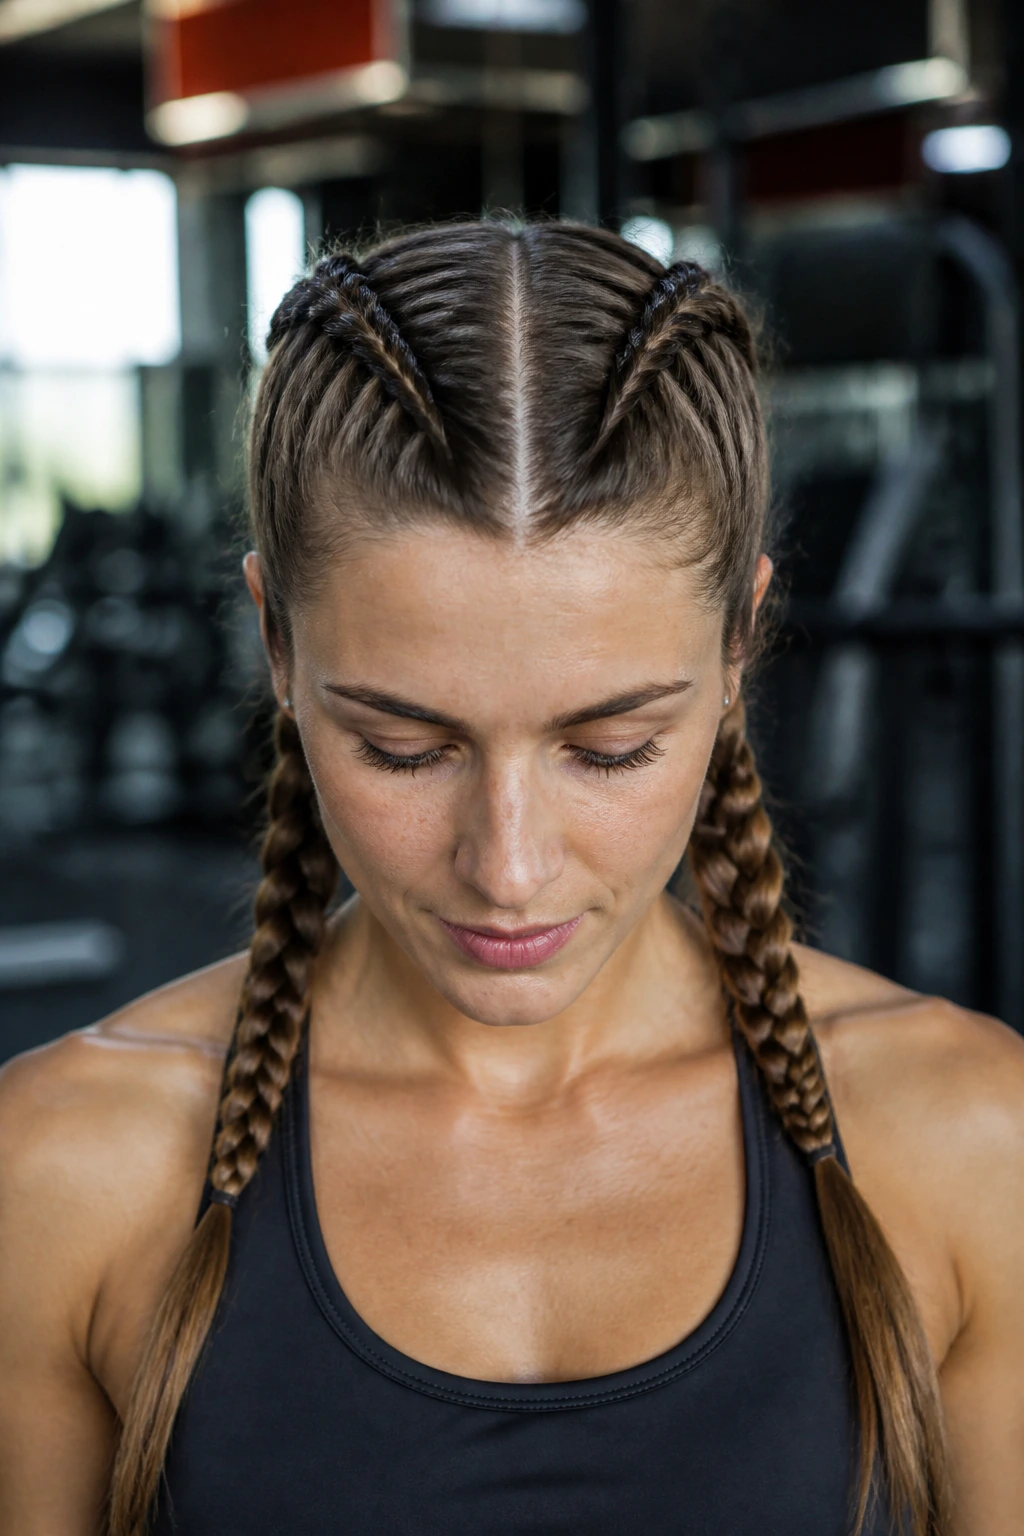
If you want the most secure hold possible for vigorous movement, the dual Dutch braid is the gold standard. By splitting your hair down the center, you create a balanced tension that keeps the hair from pulling toward one side or the other, ensuring complete stability.
The Mechanics of Secure Hold
Because Dutch braids (or inverted French braids) sit on top of the head rather than sinking into the hair, they provide a very tight, locked-in feeling. The center part allows you to divide the weight of your hair evenly, which is crucial if you have long or thick hair that tends to feel heavy after twenty minutes of activity.
Best Practices for Mid-Workout Comfort
- Use silicone-free elastics to prevent snagging when you eventually pull the braids out.
- Ensure the braids are tightest near the hairline to lock in any shorter strands or bangs.
- If you have an active workout like rowing or cycling, keeping these braids tight ensures they do not flap around during repetitive motions.
3. The Half-Up Top Knot
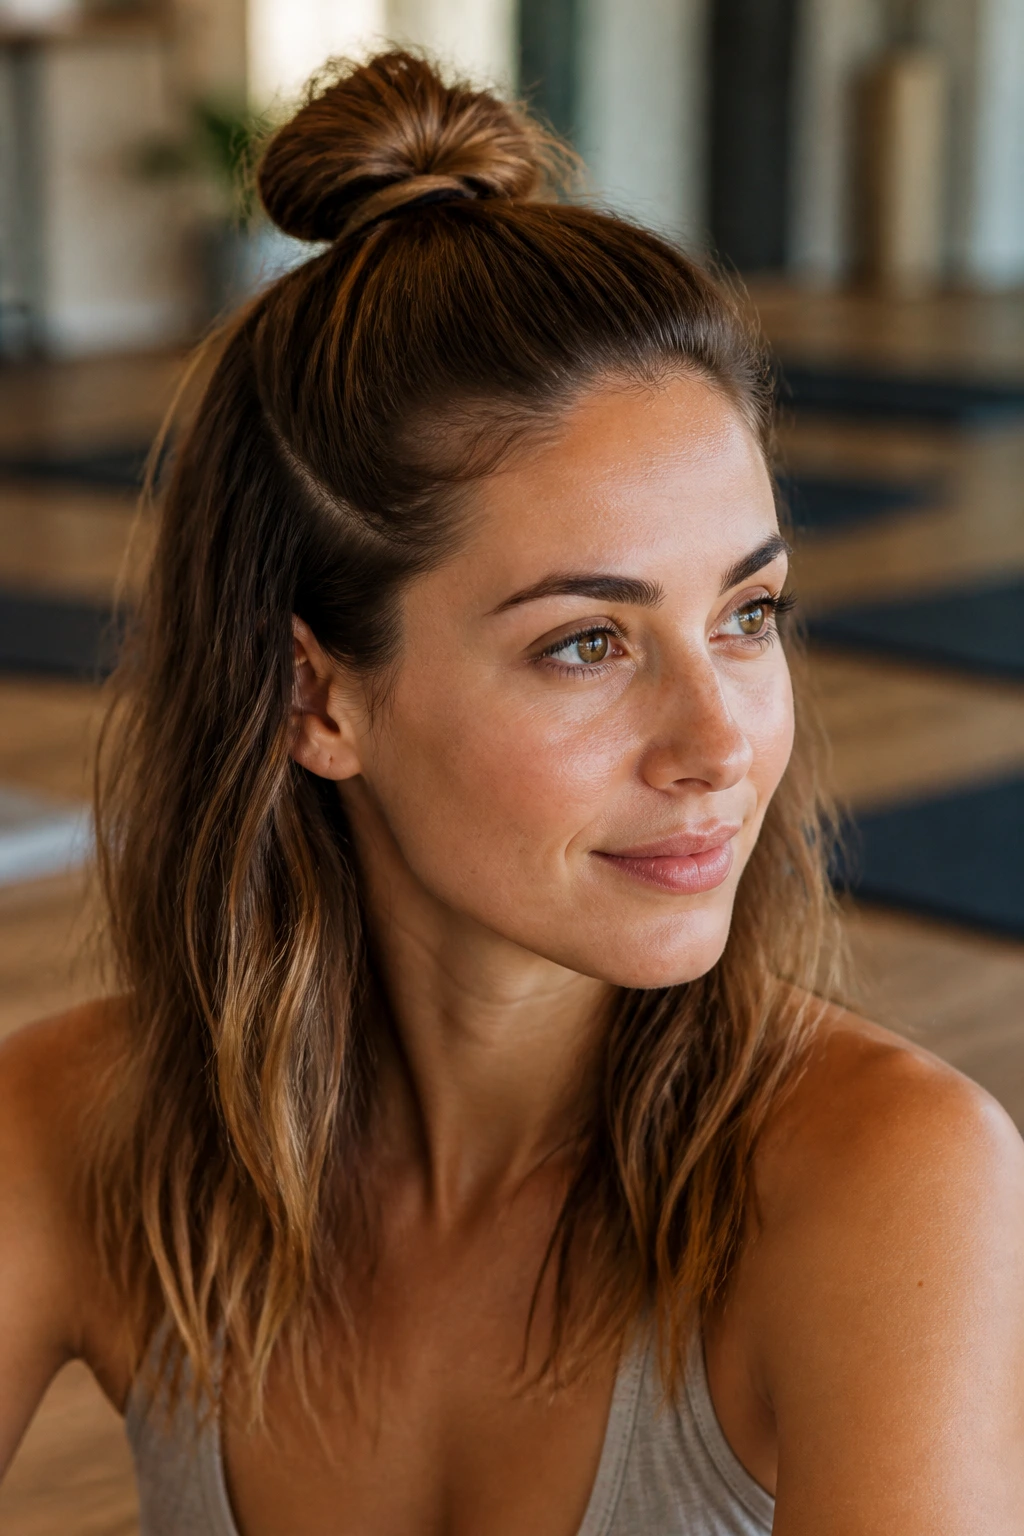
For those who enjoy the look of a part but want to keep their face completely clear, the half-up, half-down top knot is an excellent compromise. It creates a small, anchored bun on the crown, leaving the remainder of your hair to hang loose—or you can pin the back if it gets too hot.
When to Choose This Style
This is an ideal choice for low-to-medium impact workouts like yoga, Pilates, or weight training. Because the bun sits high on the head, it rarely interferes with floor exercises, yet it gives you that polished, put-together feeling.
Achieving the Perfect Tension
- Use your natural part as your guide, gathering the front portion of your hair from the temples back to the crown.
- Secure this section into a mini-ponytail.
- Twist the tail around the elastic to form a small bun and secure it with a second hair tie or a few sturdy bobby pins.
- Leave the rest of your hair down to prevent excessive tension on the hairline.
4. The Slicked-Back Deep Side Part
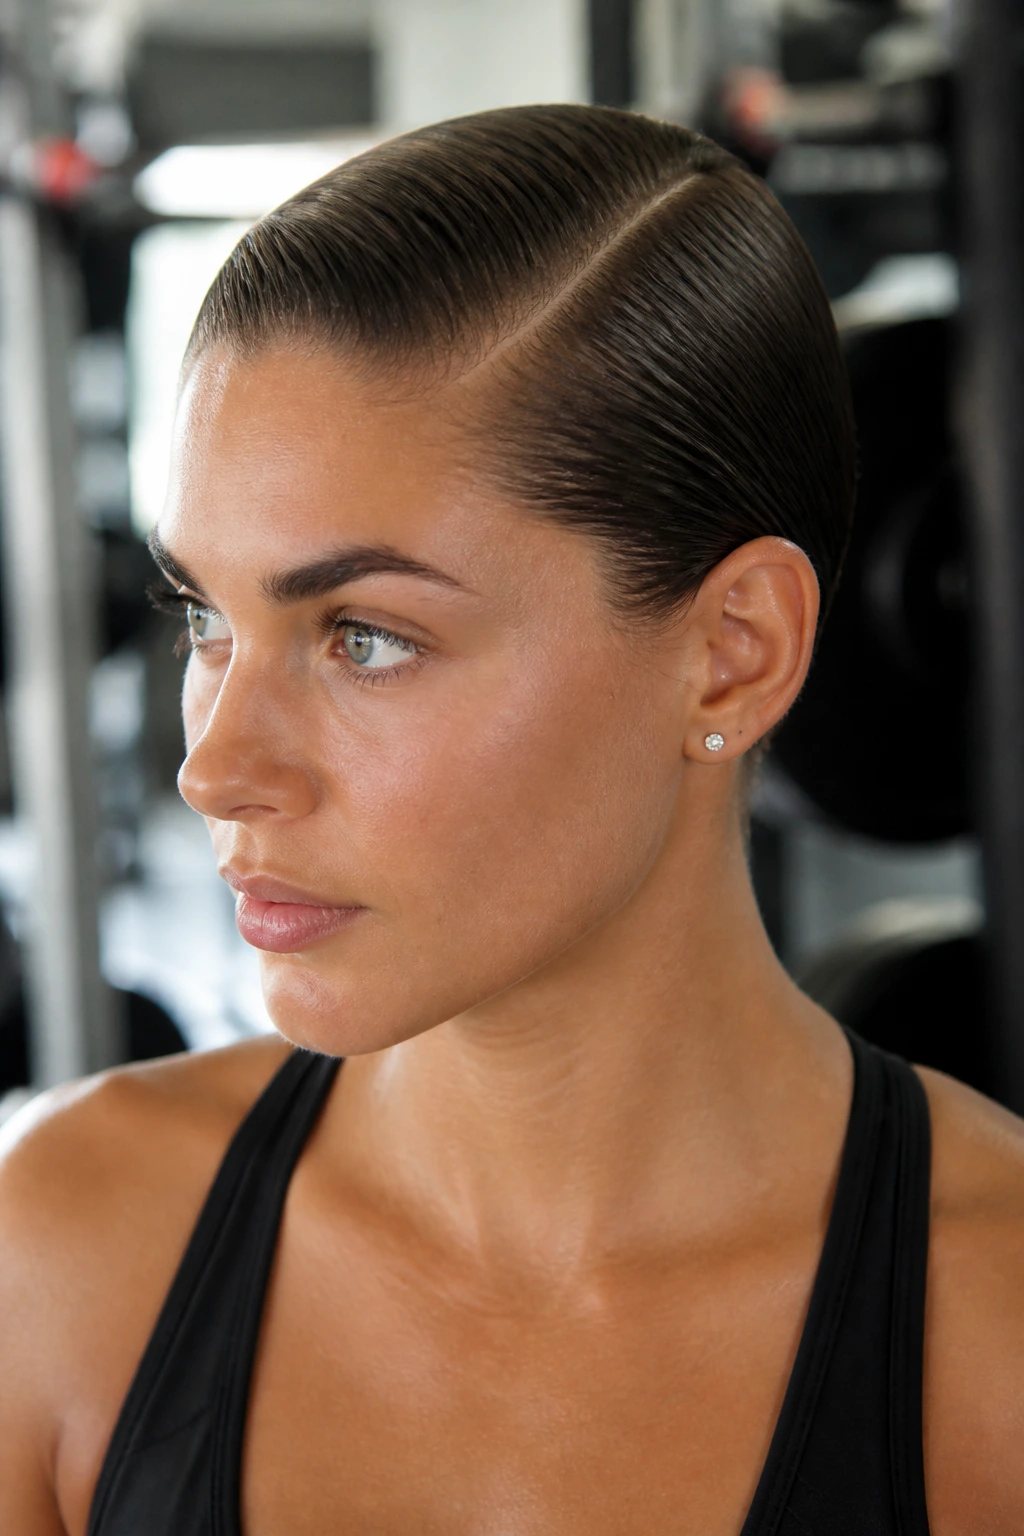
Sometimes you just want the hair to stay exactly where you put it, and the only way to ensure that is through product. A deep side part, when paired with a bit of lightweight pomade or gel, allows you to sweep the hair off your forehead while still maintaining a sophisticated shape.
Product Selection is Key
You do not want a heavy, crunchy product that will turn into a sticky mess when you start to sweat. Look for water-based gels or light-hold styling creams that provide a “stay-put” barrier without causing skin irritation or clogged pores along your hairline.
The Application Process
Apply a dime-sized amount of product to your palms, rub them together, and smooth the hair back from your part. Focus the product on the roots and mid-lengths of the front section. Comb through with your fingers to ensure a sleek finish. The goal is a look that stays tucked behind your ears for the duration of your session.
5. The Messy Crown Braid
If you have a naturally wavy or curly texture, a tight braid might feel like you are fighting against your hair’s natural inclination. A loose, slightly messy crown braid preserves your part while effectively weaving the front strands back into a secure halo.
Why This Style Succeeds
- It distributes the weight of the hair across the scalp, reducing the strain on any single elastic.
- It is incredibly forgiving; if a few strands slip out during a burpee, it actually adds to the look rather than making it look unraveled.
- It is visually interesting if you happen to be heading to a group fitness class where you want to look a bit more polished.
Technique for Success
Start at the front of your part and create a French braid that follows the hairline. As you move around the head, continue adding hair from the back. Once you reach the opposite side, secure it with a pin or tuck the tail into the rest of the style.
6. High Ponytail with a Tucked-In Part
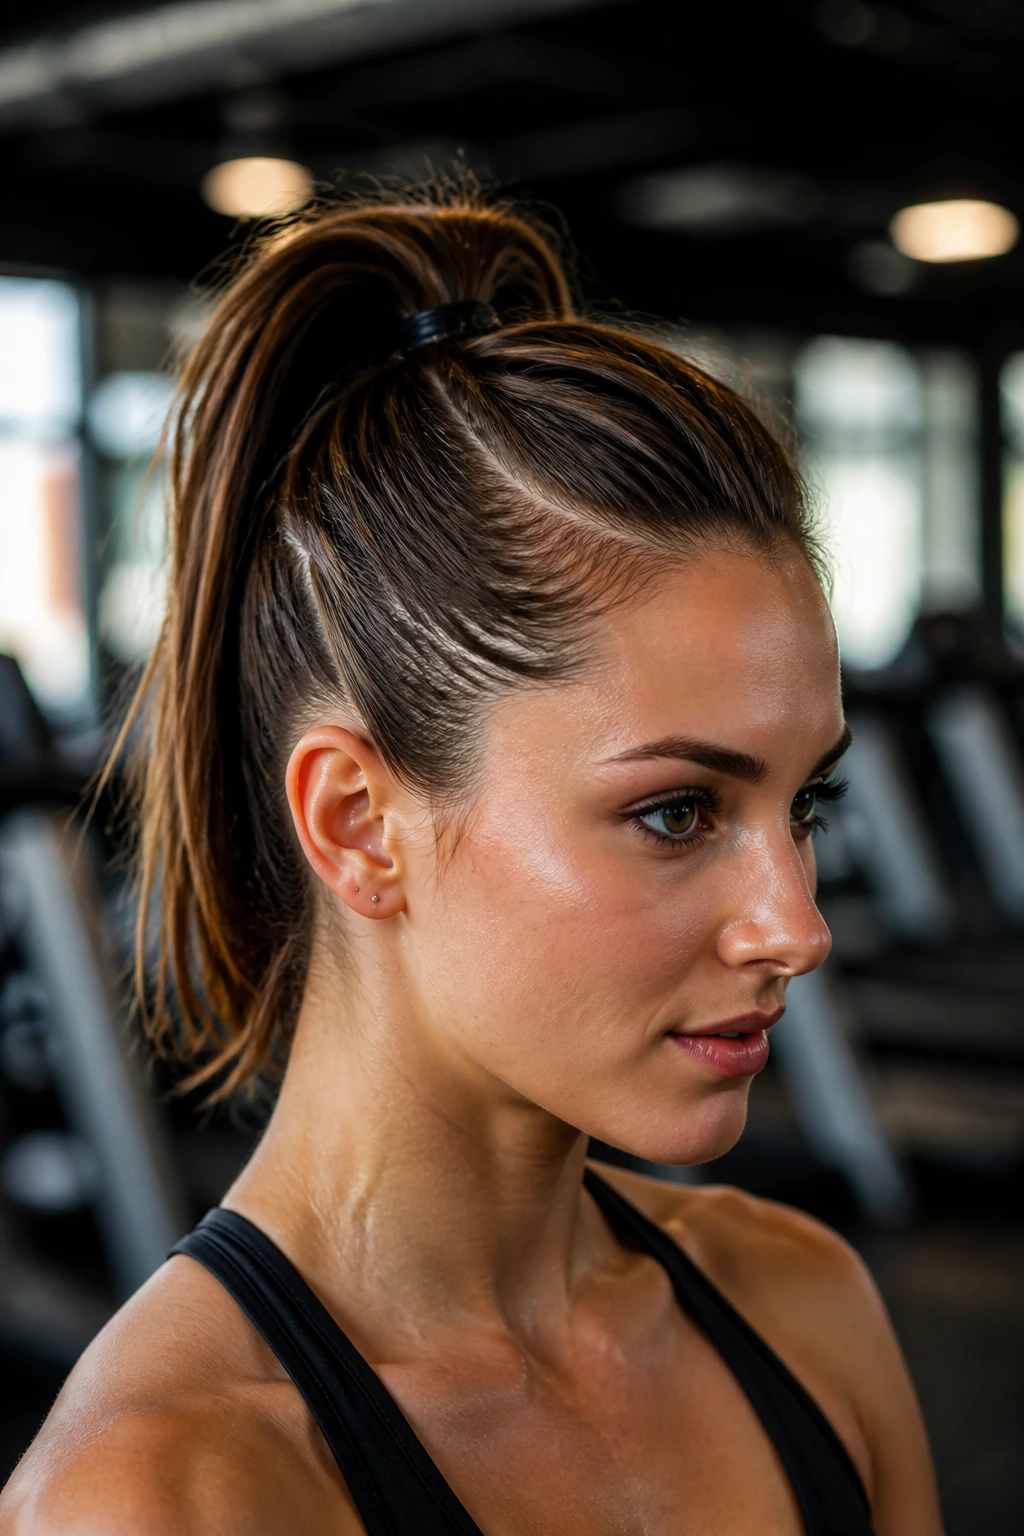
The high ponytail is a classic for a reason, but it can be problematic if your part feels out of place or if the weight of the hair pulls on your front strands. The trick here is to pull the hair back in sections, respecting the part line, and using a high-tension wrap.
The “Double-Band” Strategy
To stop a high ponytail from drooping, use two hair ties. Place the first one to create the base, then loop a second one over the top for extra support. This prevents your ponytail from sliding down your head mid-run, which is a common source of frustration during cardio-heavy routines.
Maintaining the Front Volume
When pulling your hair back, use the handle of a rat-tail comb to gently lift the hair at the roots near your part. This keeps the hair from looking flat and lifeless after you have pulled it back tightly against your skull.
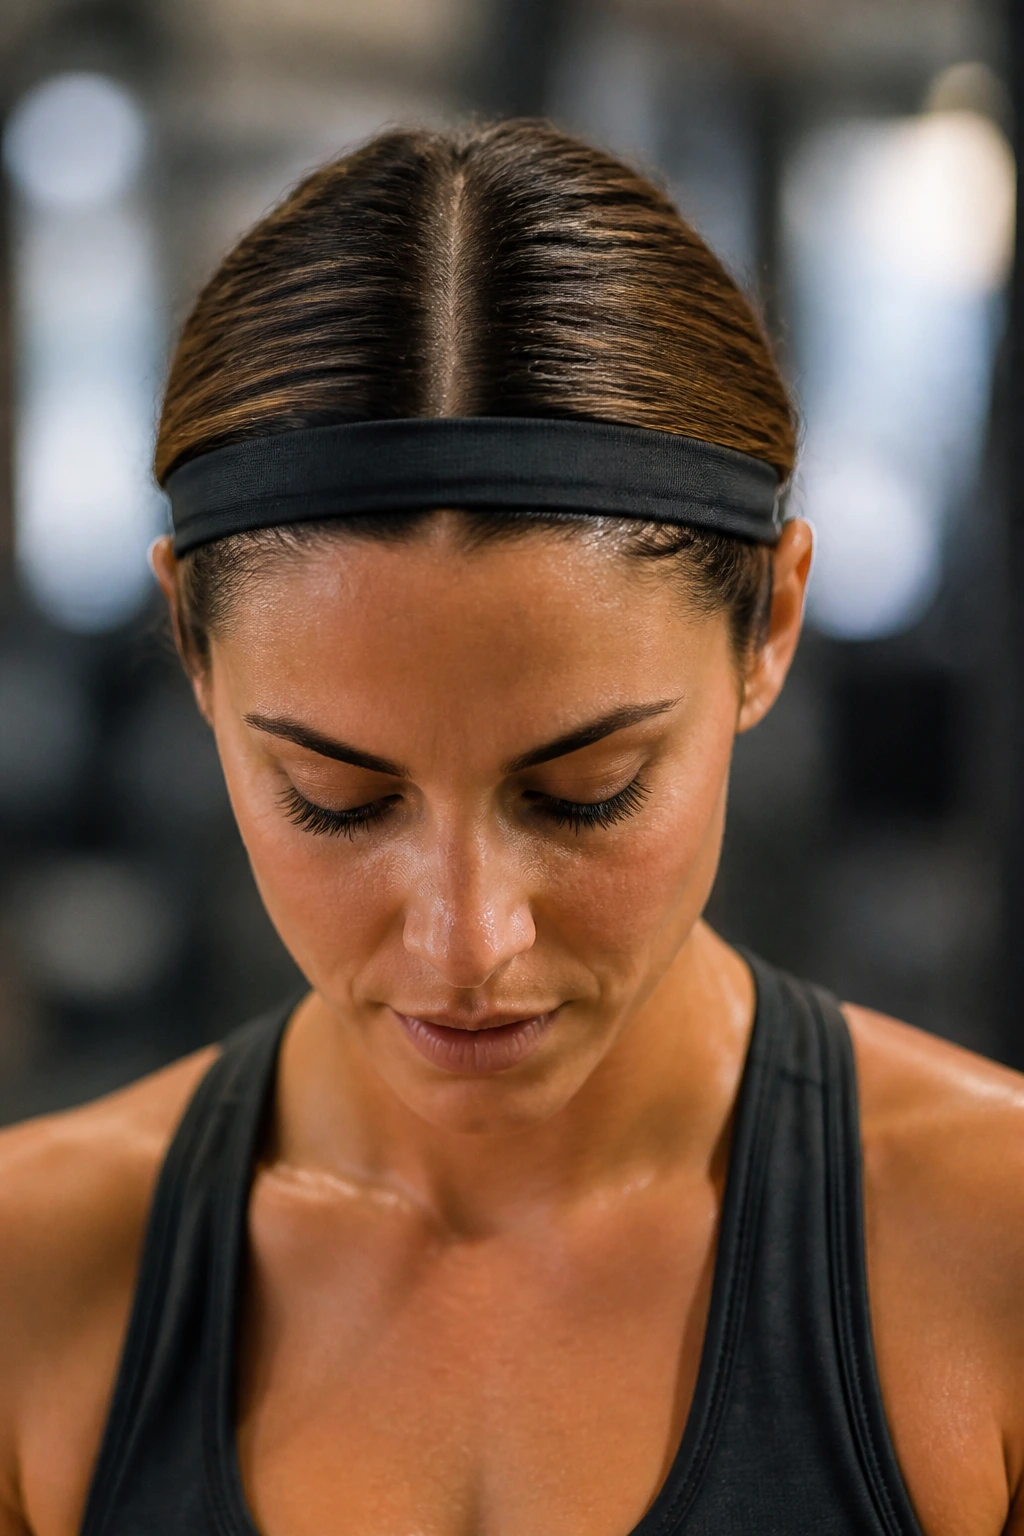
7. The Knotted Headband Style
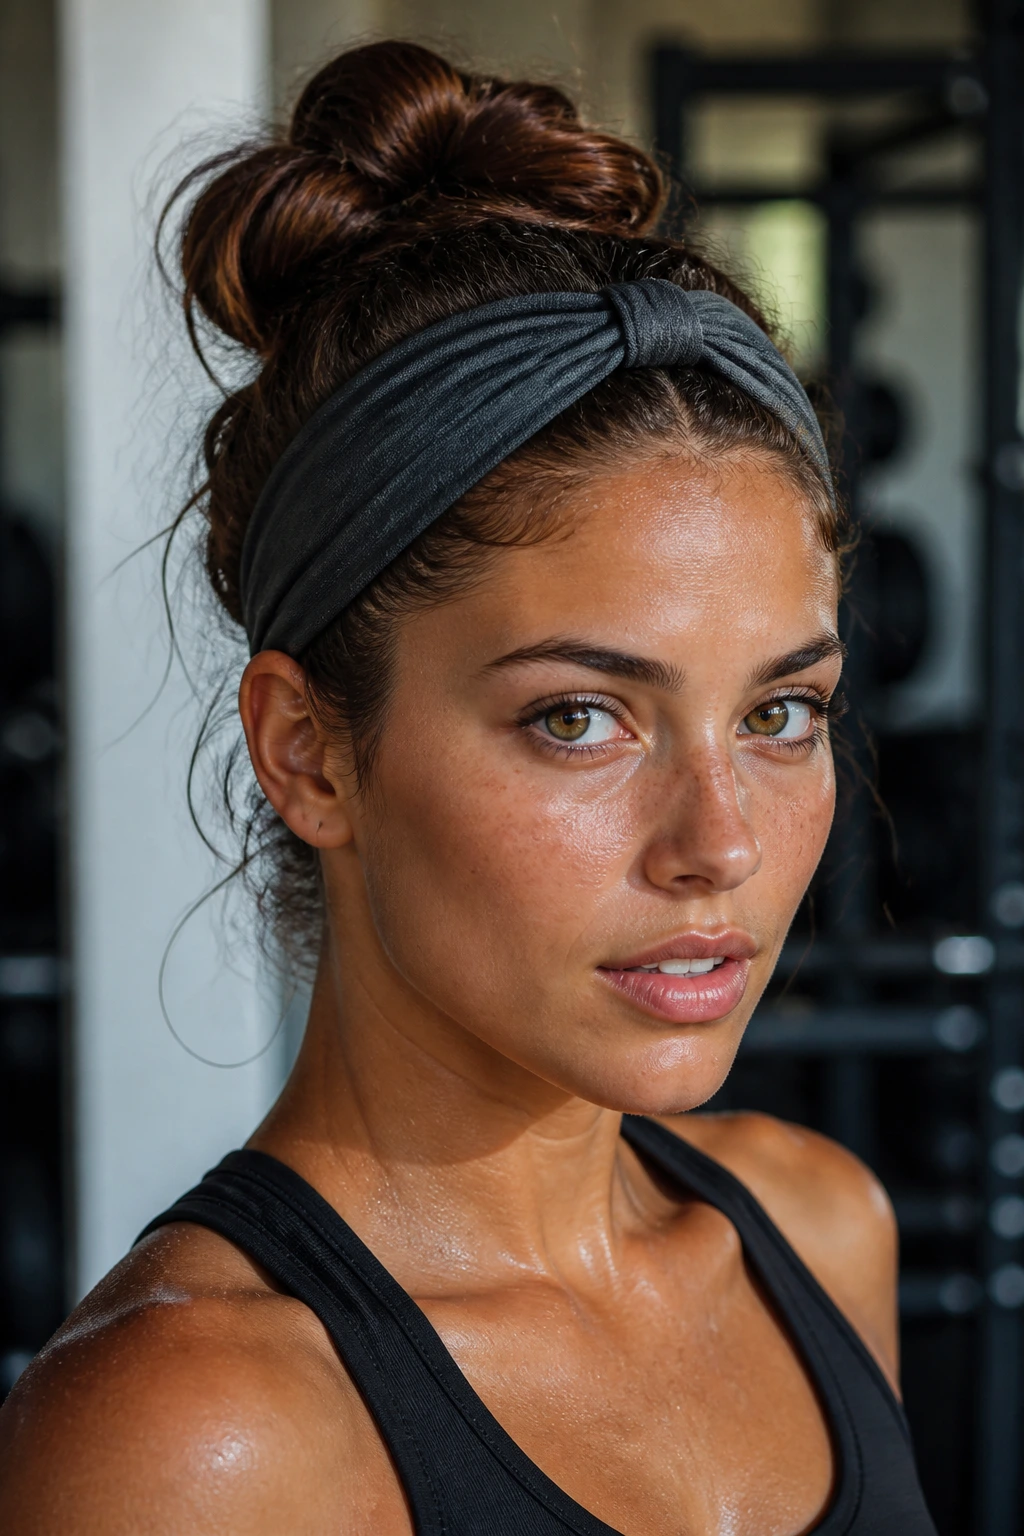
Sometimes the best hairstyle is actually a hair accessory. If your hair is too short to braid or if you are in a rush, parting your hair and wearing a moisture-wicking headband can keep the strands in place better than any bobby pin ever could.
Choosing the Right Fabric
Avoid cotton headbands; they soak up sweat and then stay damp against your skin, which can cause breakouts and discomfort. Look for performance synthetic blends that pull moisture away from the scalp and dry rapidly. This ensures that your hair—and your face—stays comfortable from start to finish.
Styling the Part
Before pulling the headband on, part your hair as desired. Slide the headband back so that it rests about an inch from your hairline, allowing just a hint of your part to be visible. This keeps the hair out of your eyes while maintaining your preferred aesthetic.
8. Double Space Buns
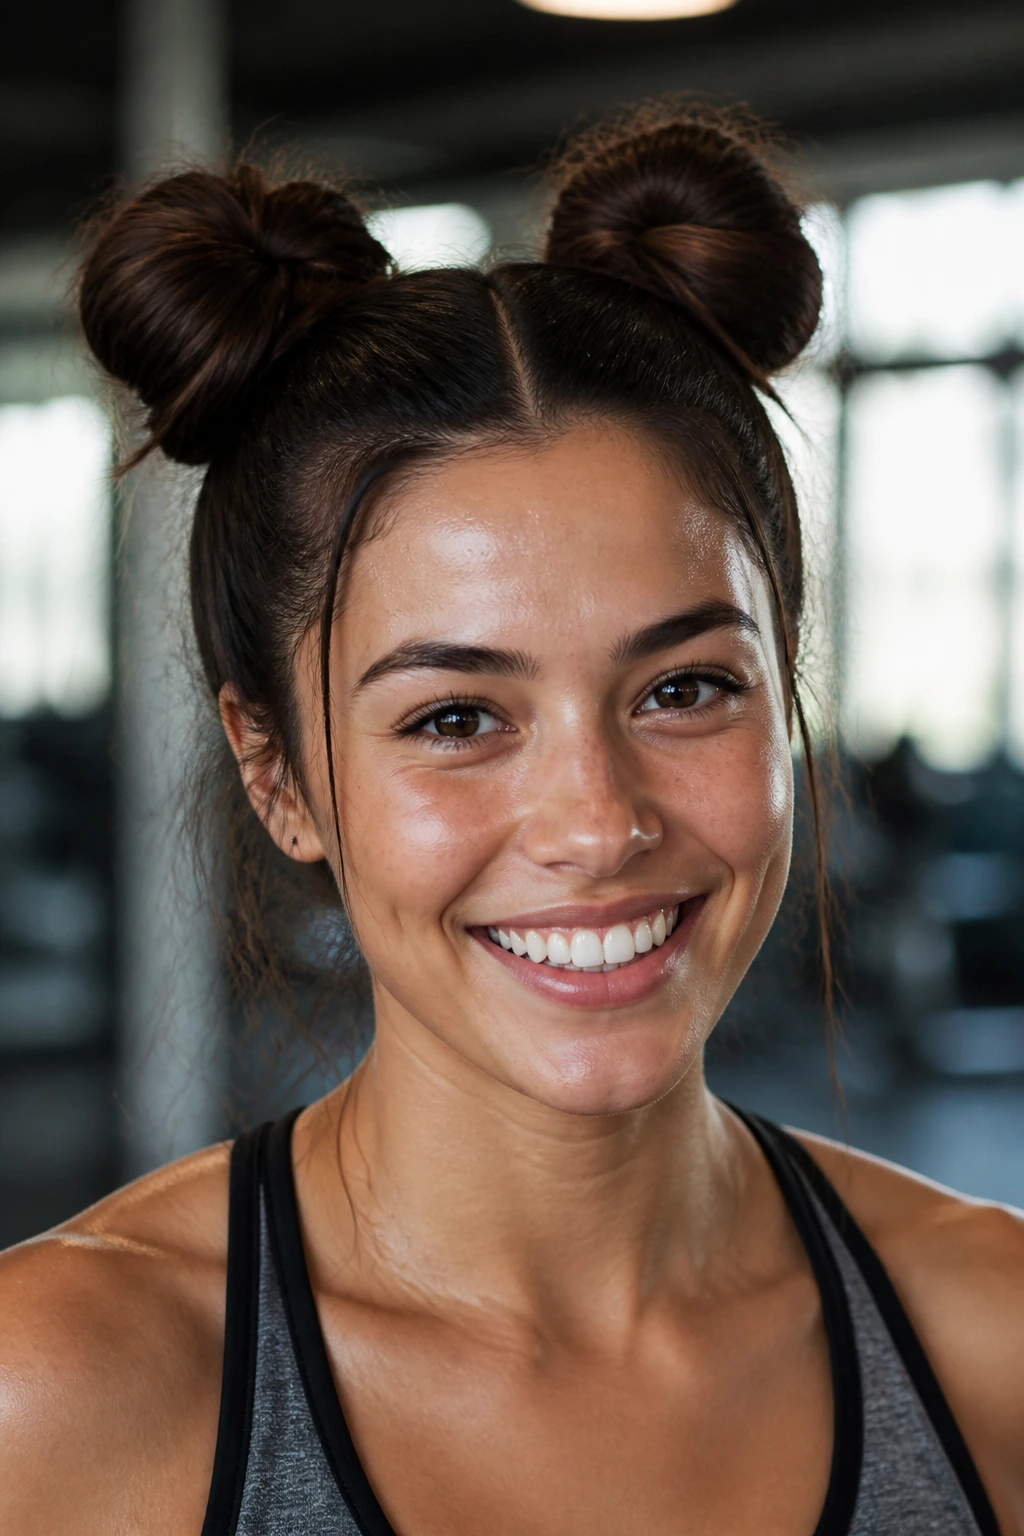
For those who enjoy a fun, high-energy look, double space buns are a fantastic way to secure your hair off your face and neck. They are incredibly stable and look great during high-movement activities like dance cardio or kickboxing.
Why They Are So Sturdy
By dividing the hair into two distinct, high-tension buns, you eliminate the single-point failure of a traditional ponytail. If one bun starts to loosen, the other still holds its own. Plus, the distribution of weight means the hair is less likely to pull on the scalp as you jump or twist.
Simple Assembly
- Create a sharp center part from your forehead to the nape of your neck.
- Gather each side into a high ponytail and secure with elastics.
- Twist each ponytail into a bun and secure with another elastic.
- If you have extra-long hair, use a few hairpins to tuck in any ends that poke out from the bun.
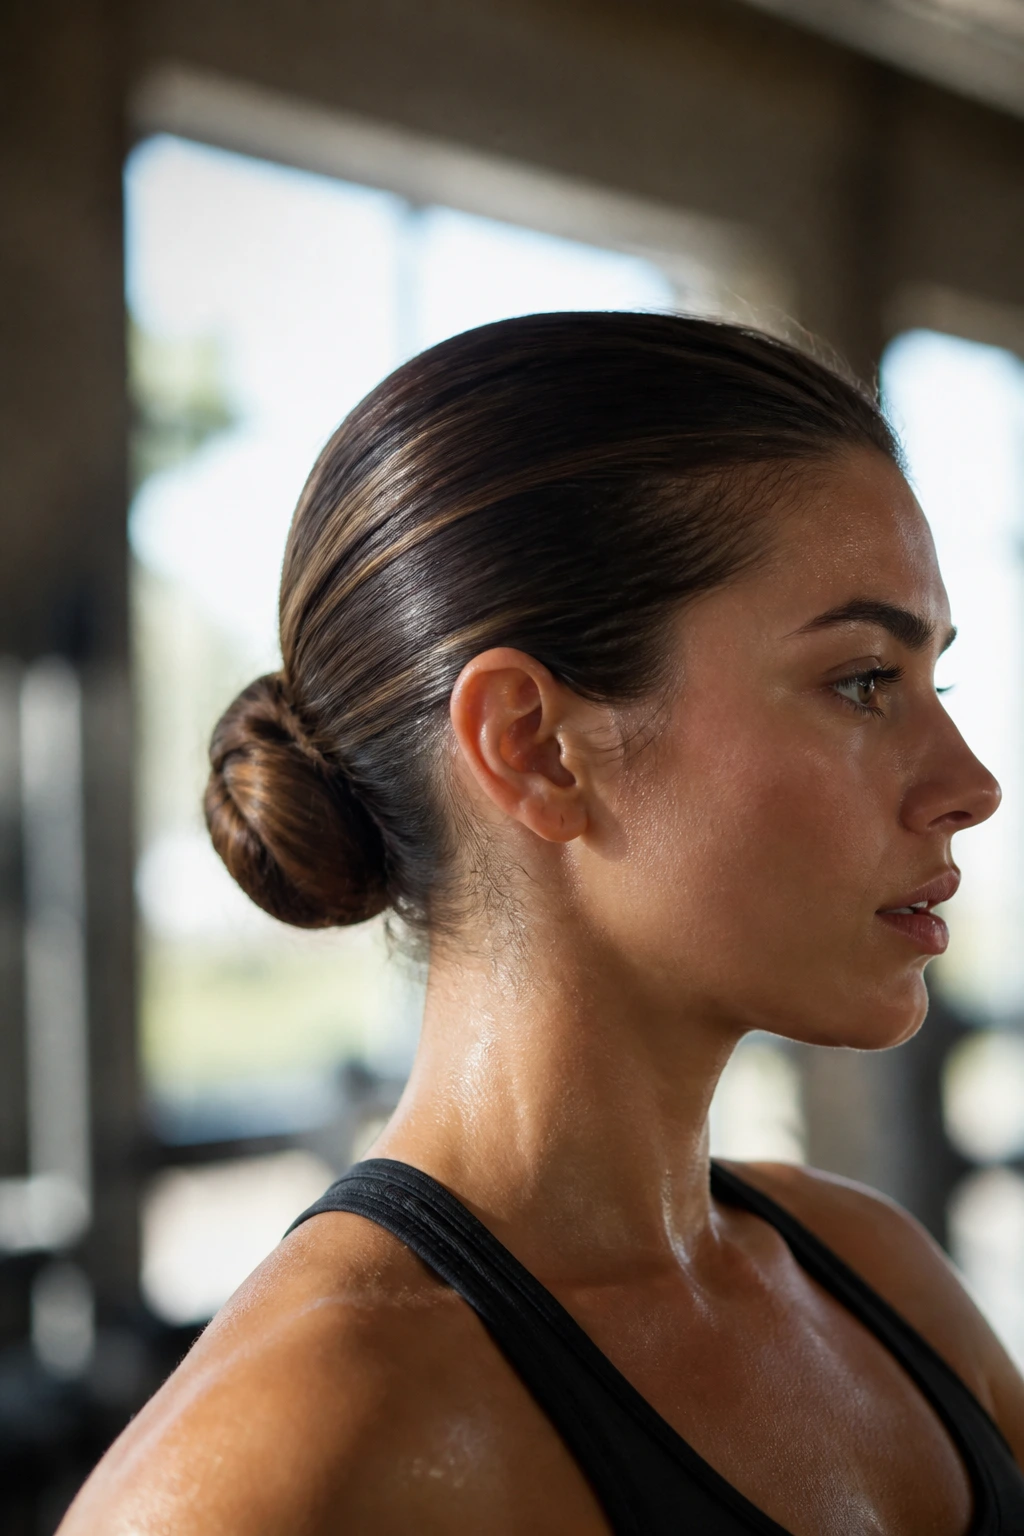
9. The Low Chignon with a Soft Part
If you are doing a low-impact workout like barre or yoga, you don’t need the high-tension hold of a braid. A low chignon, kept simple and slightly loose, allows you to maintain a soft part while keeping the bulk of your hair anchored at the base of your neck.
The Aesthetic Appeal
This style feels slightly more refined and is perfect if you are heading straight to a post-workout breakfast. The key is to keep the part loose and natural, rather than using a comb to create a harsh line. This relaxed approach minimizes the “gym-hair” look.
How to Style
Simply gather your hair into a low, loose ponytail. Before you finish the last loop of the hair tie, pull the hair through only halfway to create a loop. Wrap any remaining ends around the base and secure with a single, sturdy hair tie or a decorative pin.
10. Pull-Through Braid

The pull-through braid looks incredibly complex, but it is actually just a series of small, connected ponytails. It is one of the most secure hairstyles you can wear because it uses multiple elastics along the entire length of the hair.
The Security Advantage
Each elastic acts as an anchor, so even if you have layers that are prone to falling out, they are caught by the next elastic in the sequence. It creates a voluminous, full look that stays perfectly in place, making it excellent for long workouts where you don’t want to worry about touch-ups.
Technique for Beginners
- Start with a ponytail and secure it.
- Create a second ponytail just below the first, then divide the first ponytail into two sections and wrap them around the second.
- Repeat this process all the way down, adding new hair with each section.
- Pull at the edges of each loop to create a full, braid-like appearance.
11. The Side-Swept Braid
If you prefer a side part but find that the hair always falls into your face, a side-swept braid is your answer. It takes that heavy front section and incorporates it directly into the braid, effectively locking it away until you are done training.
Controlling the Front Sections
When you begin the braid, start it right at the temple where your part begins. By picking up small pieces of hair as you move downward, you ensure that the front strands are tightly woven in, preventing them from loosening and drooping into your eyes while you are mid-exercise.
Versatility
This works with French braids, Dutch braids, or even a simple three-strand braid. It is a fantastic option for anyone who wants a bit of style while maintaining total control over their front hair.
12. Messy High Bun with Face-Framing Pieces
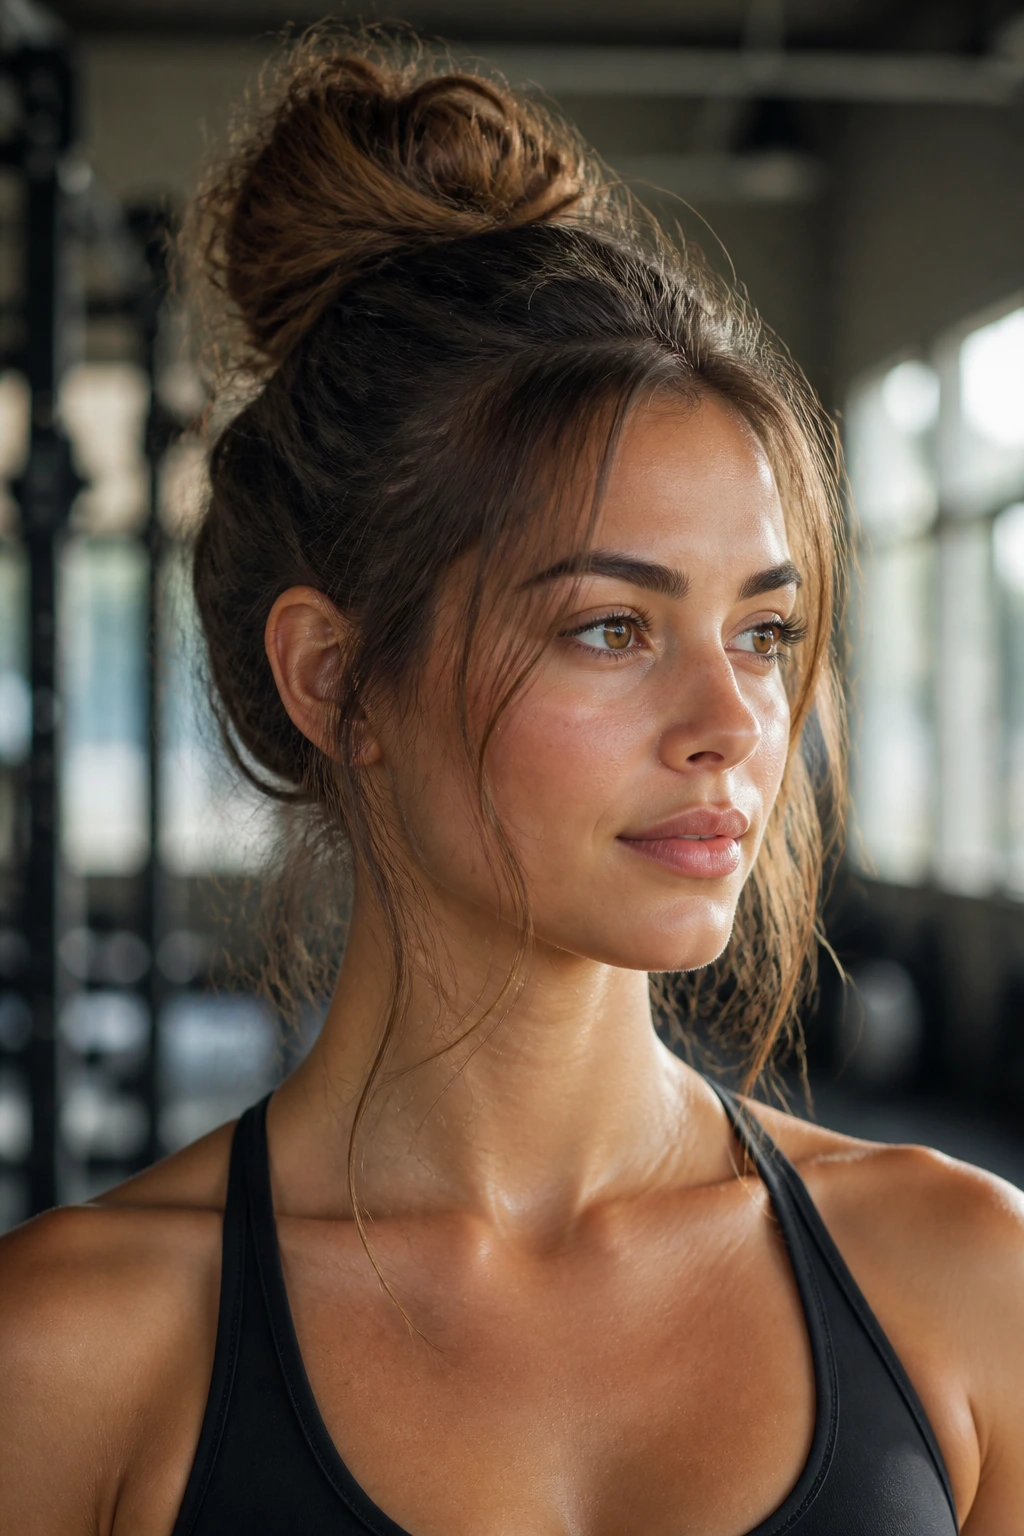
Some people find that pulling every single hair back creates too much tension and leads to headaches. A messy high bun allows for a bit of slack at the scalp while still keeping the main mass of the hair high up and out of the way.
Managing the Tension
By leaving a few intentional wisps around the temples, you reduce the pulling sensation on your hairline. This is particularly helpful for those with sensitive scalps or fine hair that breaks easily under the pressure of a traditional high ponytail.
Achieving the “Messy” Look
Gather your hair up into a high bun but do not pull it tight. Leave a few thin strands loose near your ears or forehead. Secure the bun with a large, soft scrunchie, which is much gentler on the hair than a thin elastic.
13. The Half-Back Twist
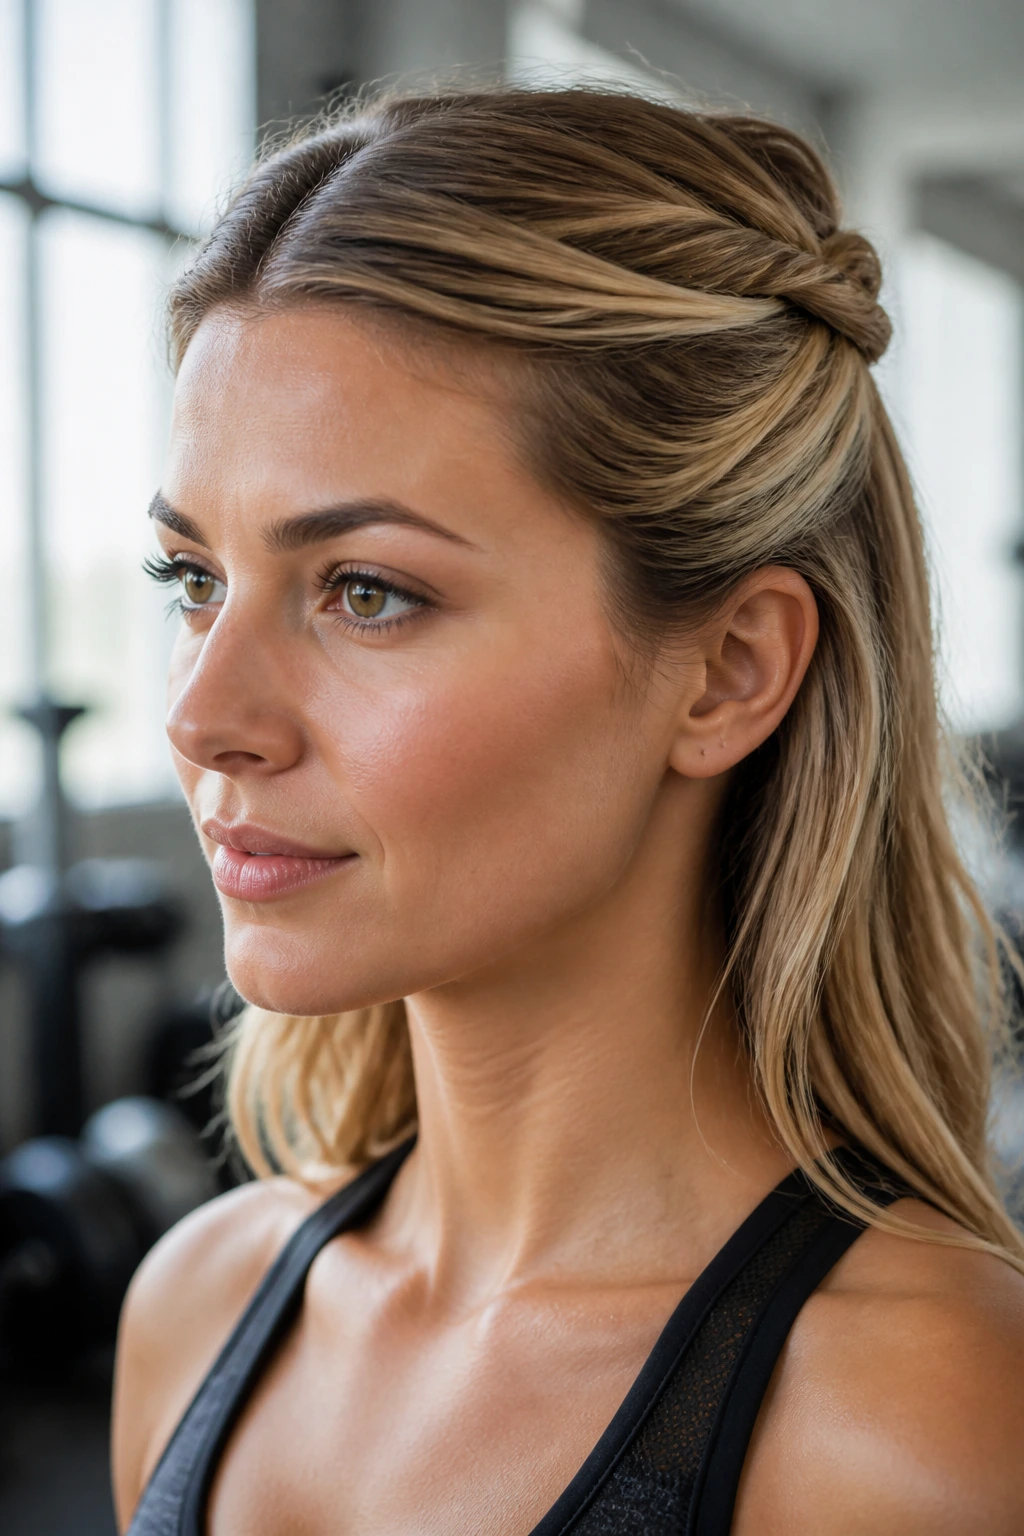
This is a subtle, elegant way to keep your hair back without the commitment of a full ponytail. By taking the sections near your part and twisting them back toward the crown, you clear your peripheral vision while keeping your style feeling light and airy.
Why It Works for Low-Impact Days
If you are working out in a cool environment or sticking to gentle movements, you might not want the heat of a full ponytail. The half-back twist offers just enough security to keep hair out of your eyes while allowing for better airflow around the neck and scalp.
Simple Steps
- Create your part.
- Take a two-inch section from the front on one side and twist it away from your face.
- Bring it to the back and pin it.
- Repeat on the other side. You can secure both twists in the center with a small barrette or a clear elastic.
14. The Undercut Pony (Low)
If you have layers or shorter hair in the back that always falls out of a high ponytail, the low undercut pony is a life-saver. By gathering the bottom half of your hair into a tiny, separate ponytail first, you can then join it to the top half for a super-secure hold.
Eliminating the “Falling Out” Problem
This technique is specifically designed for people with layers that never seem to make it into a standard ponytail. The lower tie catches all those pesky shorter hairs, and the second tie keeps the whole thing together, ensuring that nothing flops or drops during your workout.
How to Style
Separate your hair into two layers—top and bottom. Secure the bottom layer in a small, tight elastic at the nape of your neck. Then, gather the top layer and pull it back, joining it to the lower ponytail with a second, larger hair tie.
15. The “Tucked” Pony
This is a clean, modern look that involves taking the end of your ponytail and tucking it back into the base. It keeps the hair short and compact, which is perfect for workouts where you might be doing floor work or exercises where a long ponytail would just get in your way.
Performance Benefits
A long ponytail can be a liability when doing jump ropes, bench presses, or anything involving machinery. By tucking the tail back, you create a neat loop that stays tight against your head, preventing the hair from catching on anything.
Quick Execution
- Secure your hair in a low or mid-height ponytail.
- On the last loop of your hair tie, do not pull your hair all the way through; leave the ends tucked in, creating a loop.
- Tighten the elastic so the loop is secure and compact.
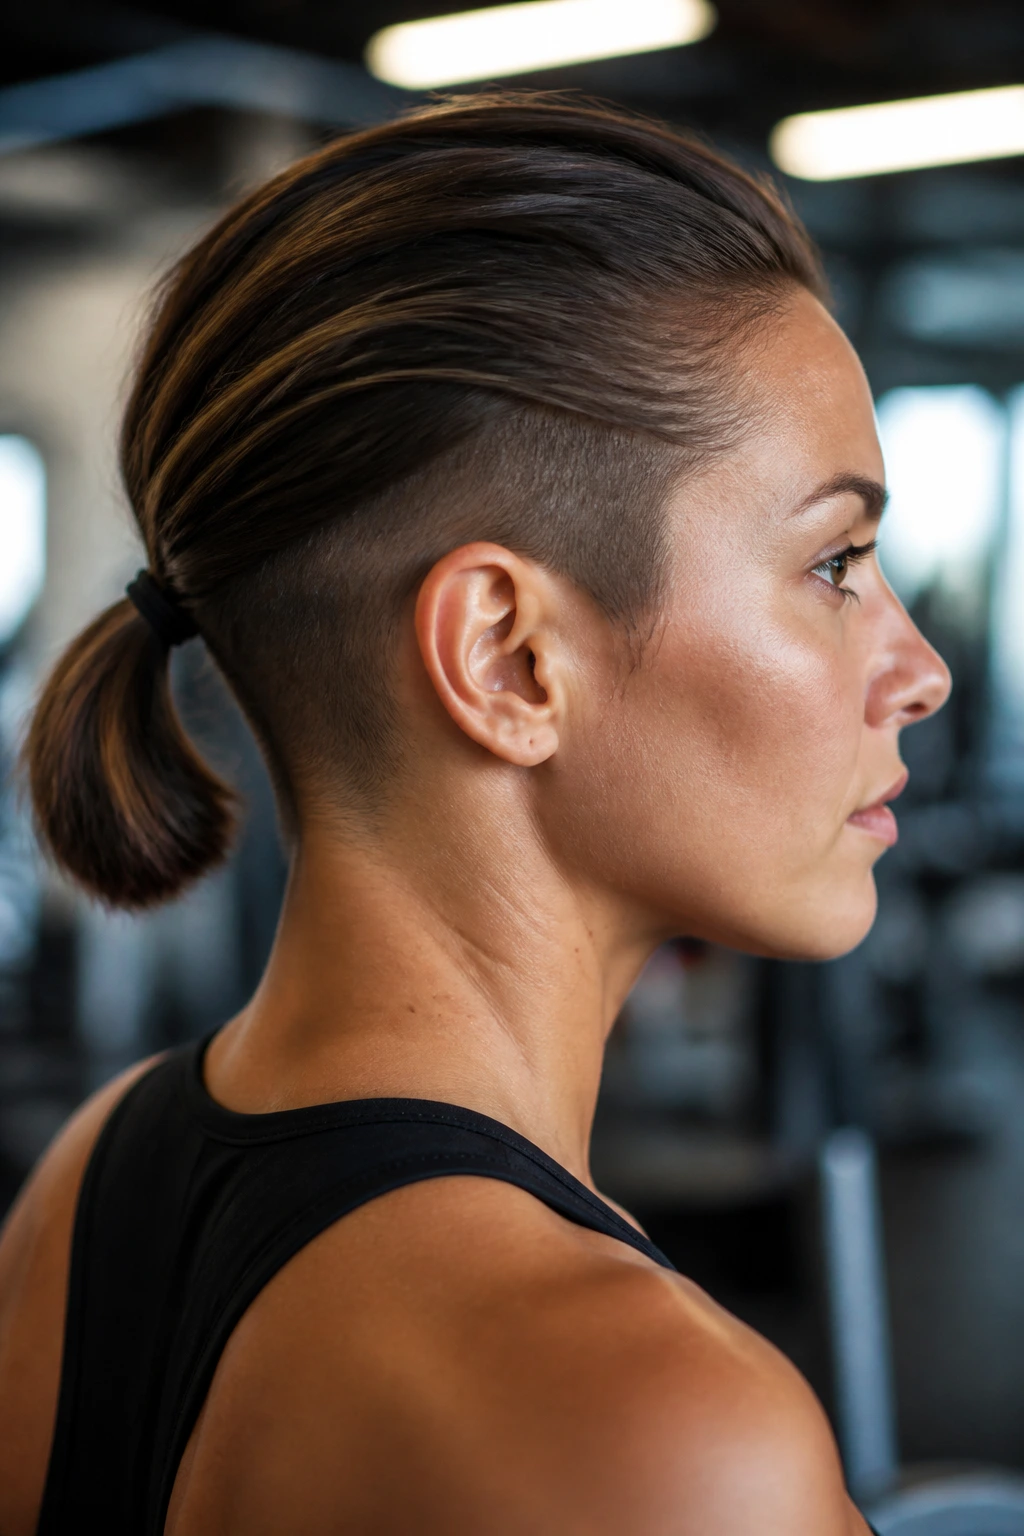
16. The Sleek Top-Knot with Bobby Pins

For those who prioritize absolute lockdown, the sleek top knot supported by bobby pins is unmatched. By parting your hair cleanly and smoothing it back with a small amount of product, you create a base that stays put regardless of how much you move.
Precision Styling
The secret here is the direction of the bobby pins. Place them so that the wavy side is against your scalp; this provides more grip than the flat side. Use as many as you need to anchor the hair firmly around the bun.
Who Should Use This
This is best for high-impact sports like gymnastics, cheerleading, or intense HIIT classes where your hair is constantly moving in every direction. It is the most “locked-in” hairstyle on this list, offering total security for every jump, flip, or sprint.
17. The Braided Headband

Instead of wearing an accessory, why not braid your hair to create the headband? This style is incredibly effective for keeping bangs or shorter layers out of your face, and it looks impressive while keeping your part clear and defined.
Why This is Better Than a Fabric Band
- It never slips or loses its elasticity during a workout.
- It feels more secure because it is woven directly into your hair.
- It doesn’t trap heat against your forehead, making it a great option for hot yoga or outdoor summer workouts.
Technique for Success
Start at one temple, French braid the hair along the hairline toward the other temple, and secure the end behind your ear with a clear elastic. It keeps every single strand of your front hair locked away, leaving your face completely free for the entire duration of your exercise.
18. The “Bubble” Ponytail
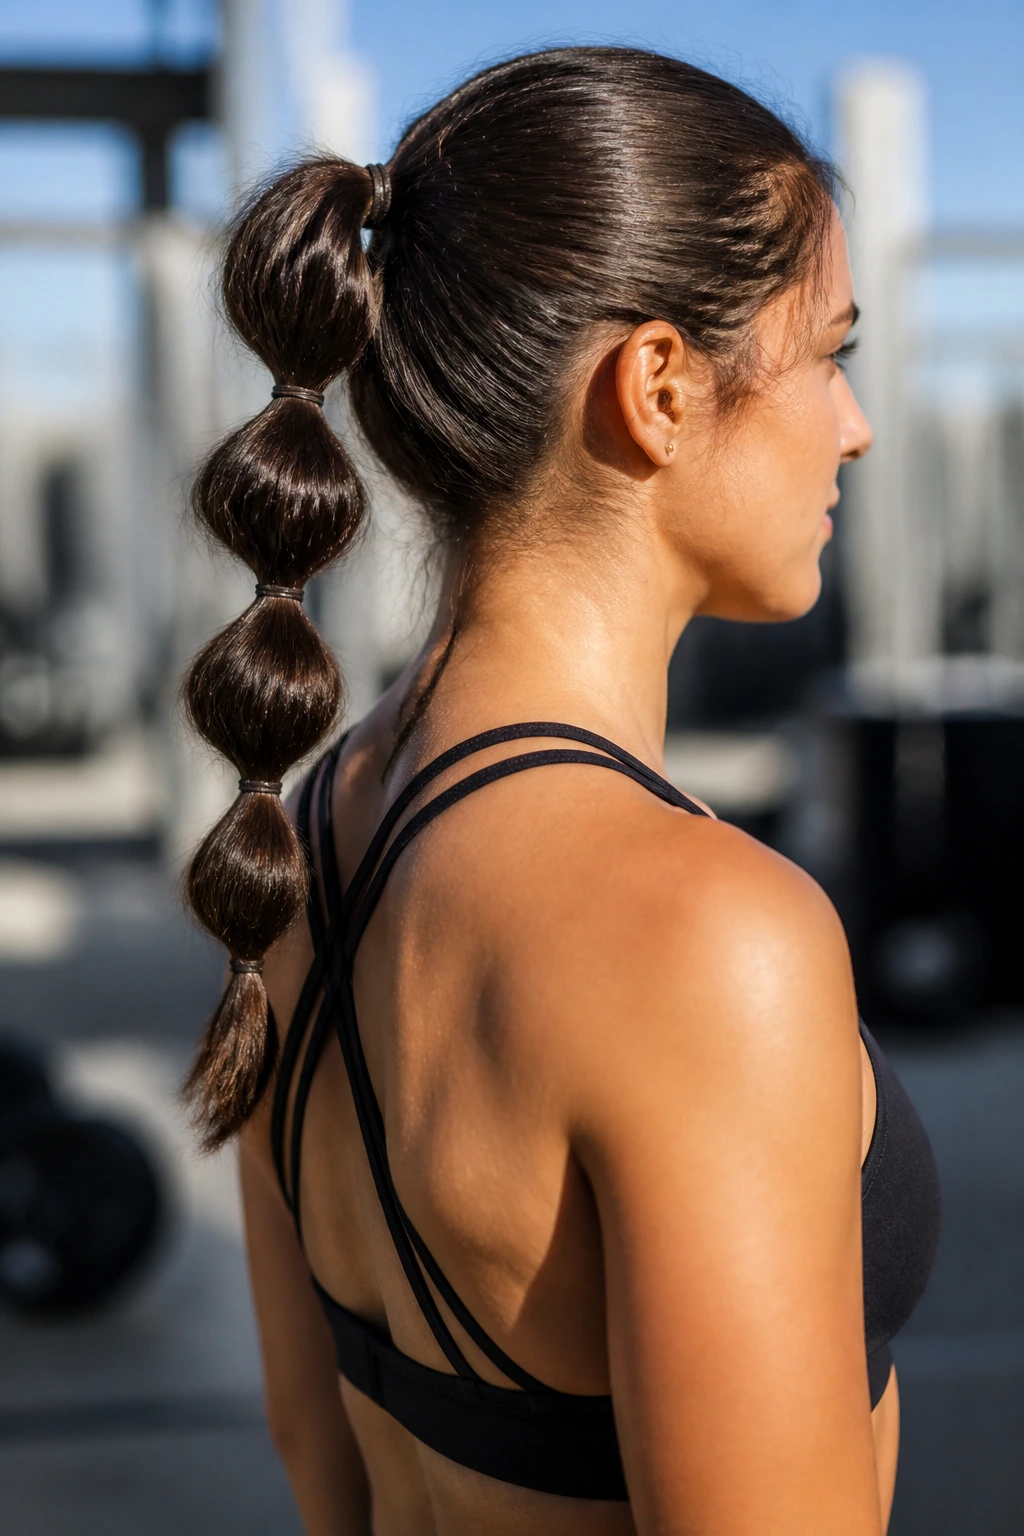
The bubble ponytail is essentially a standard ponytail divided into sections by elastic bands. It provides an excellent hold for people with long hair who struggle with their ponytail swinging around and hitting them in the face during movement.
Why It Minimizes Movement
By segmenting the ponytail, you significantly reduce the pendulum effect of a long tail. Each section of the “bubble” is smaller, meaning it carries less weight and moves less during high-intensity activity. It is both functional and stylish.
Assembly Details
- Create a ponytail and secure it at the base.
- Add another elastic about two inches down the ponytail.
- Gently pull the hair between the two elastics outward to create a “bubble” shape.
- Continue this process down the entire length of your hair.
Final Thoughts
The key to a successful workout hairstyle lies in understanding your hair’s natural movement. Whether you prefer a sleek, product-driven style or a high-tension braid, the goal is always to create a barrier between your hair and your face. It is often tempting to just throw your hair up in a haphazard bun, but taking two extra minutes to secure your part and ensure your hair is properly anchored will save you from constant, frustrating adjustments during your workout.
Do not be afraid to experiment with accessories like performance headbands if your hair is particularly stubborn. Sometimes, a high-quality, sweat-wicking band is the most effective tool in your kit. Once you find the one or two styles that work best for your specific hair texture and length, you will find that you can pour all of your focus into your training. Ultimately, the best hairstyle is the one you forget about the second you start your first set.