



Anyone who has ever stood in front of a bathroom mirror with a pair of kitchen shears knows the exact sequence of events. First comes the sudden spike of inspiration, followed by the satisfying snip of shears, and finally, the brief honeymoon phase where your new fringe looks fresh, sharp, and frame-perfect. Then, the inevitable happens. Your hair grows about half an inch, and suddenly those crisp lines turn into a chaotic, eye-poking curtain.
Growing out bangs when you have long hair presents a unique challenge. You are dealing with a massive contrast in length. While the back of your hair cascades down your shoulders, your front sections are stuck in a limbo that sits somewhere between your eyelashes and your jawline. This transition phase often makes people give up entirely and chop their fringe back.
But you do not have to fall into that cycle. The transition from blunt fringe to seamless layers can actually be a highly creative period for your hair. With the right sectioning, pinning, and styling techniques, those awkward middle-stage pieces can blend beautifully into your long hair.
The Reality of Hair Growth Timelines
The average human scalp hair grows at a rate of approximately half an inch per month. This means if you are transitioning from a straight-across, eyebrow-skimming fringe to jaw-length layers that easily tuck behind your ears, you are looking at a six-to-eight-month commitment.
Understanding this timeline helps you set realistic expectations. During the first two months, your main goal is simply keeping the hair out of your eyes. By months three and four, the hair reaches the bridge of your nose, which is the perfect time to start parting it down the middle or sweeping it to the side. By month six, the ends should reach your lips, allowing you to blend them into your longer lengths with light face-framing trims.
To keep your hair healthy during this process, focus on scalp health. A clean, stimulated scalp provides the best environment for hair growth. You do not need expensive serums; simple weekly scalp massages using your fingertips for four to five minutes can help encourage blood circulation to the hair follicles.
Tools Every Transitioning Fringe Needs
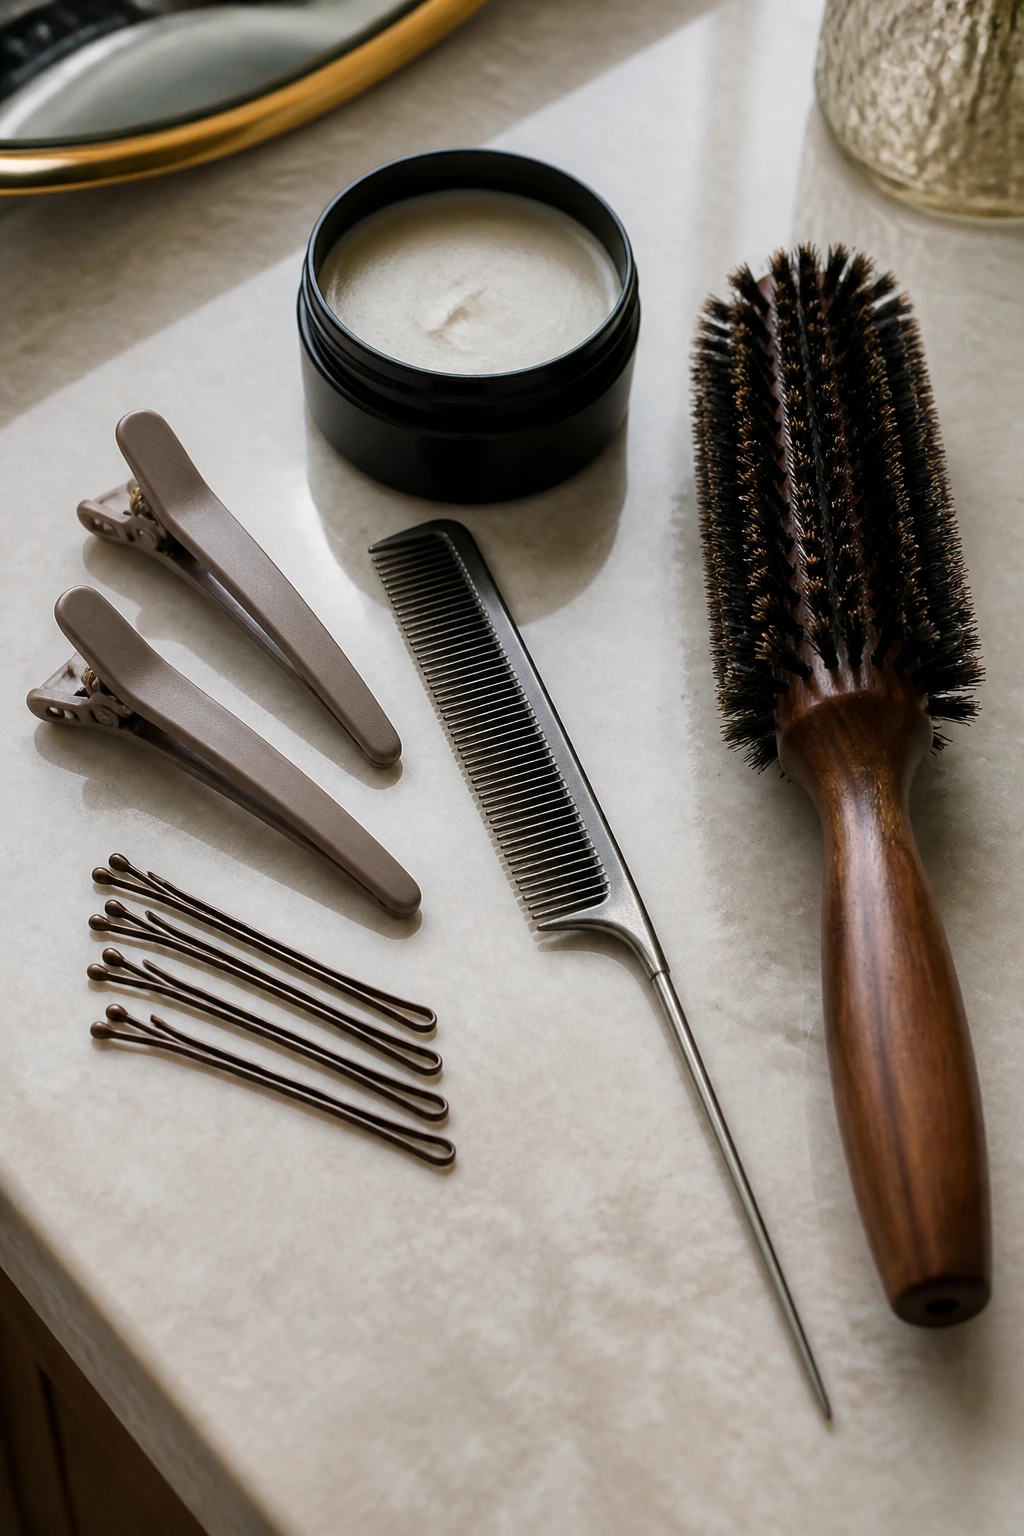
Before you start styling, you need a small toolkit to handle the stubborn direction of short hairs. Blunt bangs are trained to fall straight forward, and they will fight your attempts to part or sweep them.
- Two-inch seamless bobby pins: Look for pins that match your hair color and have secure plastic tips so they do not scrape your scalp.
- A fine-tooth metal tail comb: This is non-negotiable for creating clean parts and sectioning off the short pieces from your long lengths.
- A lightweight styling paste or matte pomade: A tiny dab of pomade keeps short, fuzzy ends from popping out of twists or braids without making your roots look greasy.
- Creaseless styling clips: These flat metal clips lined with plastic are perfect for holding your hair in place while it dries without leaving a dent.
- A small round brush with boar bristles: A brush with a diameter of one to one-and-a-half inches gives you the grip needed to tension and redirect short hair.
1. The Classic Split Curtain Bangs

This is the most common way to transition out of a full fringe because it works with the natural growth pattern of your hair. As your bangs grow past your eyelashes, they naturally want to split in the center. Instead of fighting this, you can shape them to curve outward, framing your eyes.
How to Style the Split Curtain Look
To get this look, damp the hair down at the roots. Take your small round brush and place it on top of your bangs, rolling the hair backward away from your face while directing the airflow of your blow dryer downward. Once dry, pull the hair gently down the middle with your fingers.
Quick Styling Facts
- Ideal length: Nose-bridge to tip of the nose.
- Holding product: Medium-hold hairspray or dry texture spray.
- Maintenance: Requires daily styling to keep the outward curve. Pro tip: Direct the blow dryer nozzle downward to keep the cuticle flat, which prevents the split ends from looking frizzy.
2. Side-Swept Cascading Layers
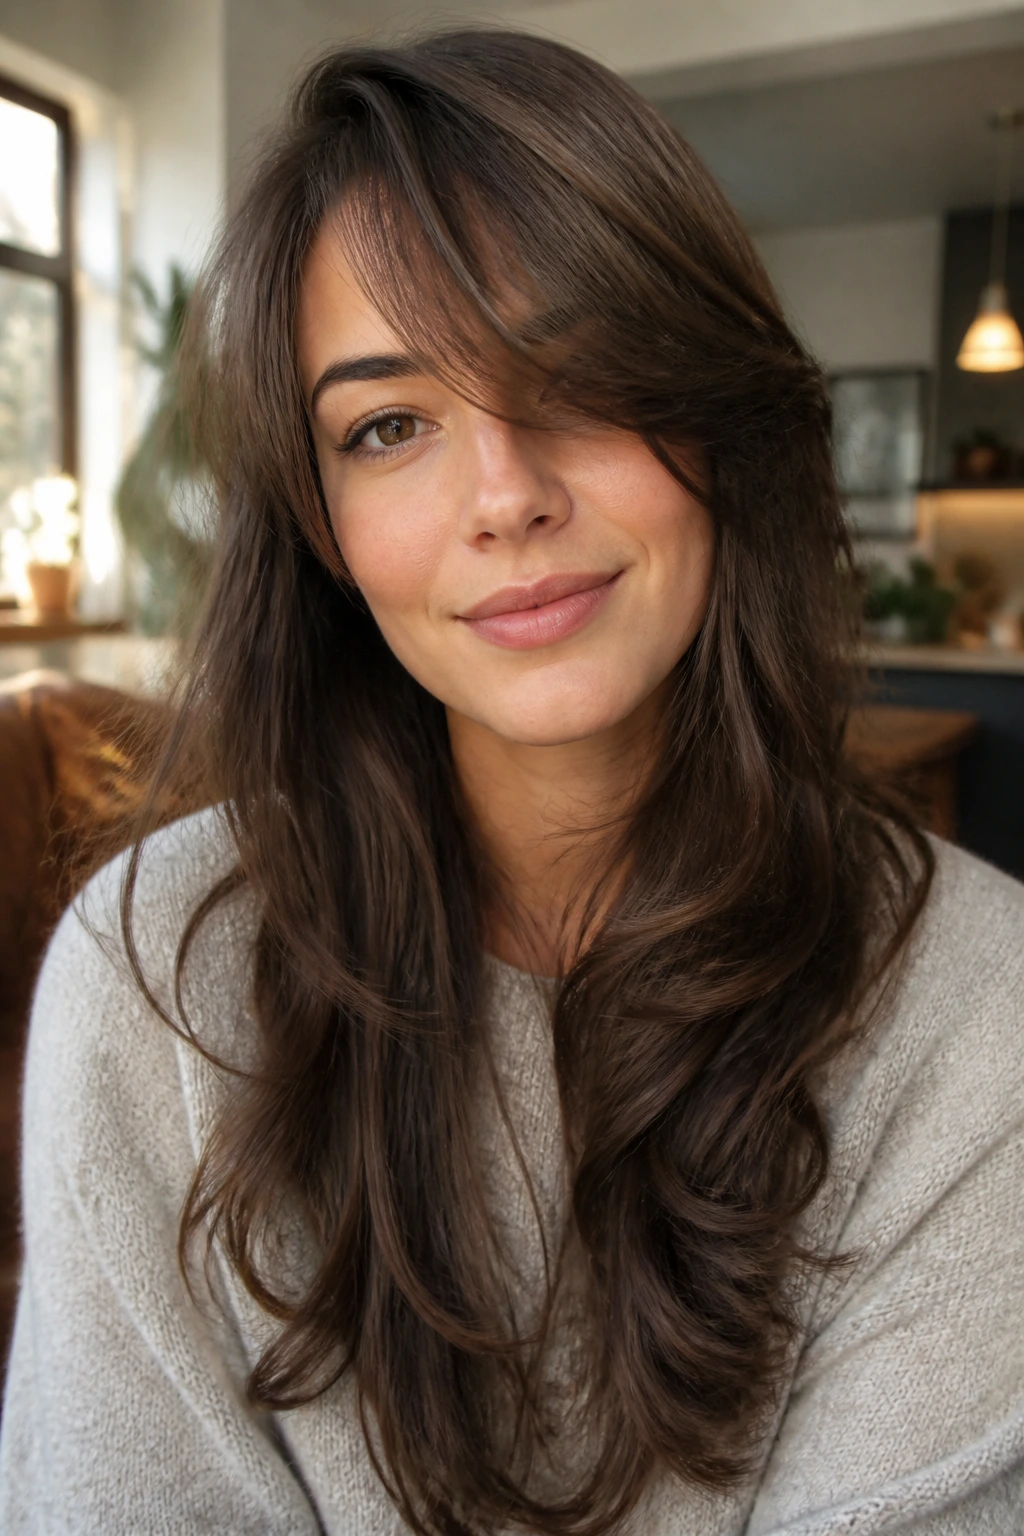
If you prefer a softer, asymmetrical frame, sweeping your growing fringe to one side is a classic option. This works exceptionally well for long hair because the swept bangs can easily merge with the longer front layers on one side of your face.
A deep side part is the secret to making this look work. Use your tail comb to line up the part with the arch of your eyebrow. Sweep the short hair across your forehead, using a tiny amount of styling cream to make it stick to the longer side sections.
This approach keeps the hair out of your eyes while creating a vintage, romantic shape that looks completely intentional rather than transitional.
3. The Hidden Bobby Pin Tuck
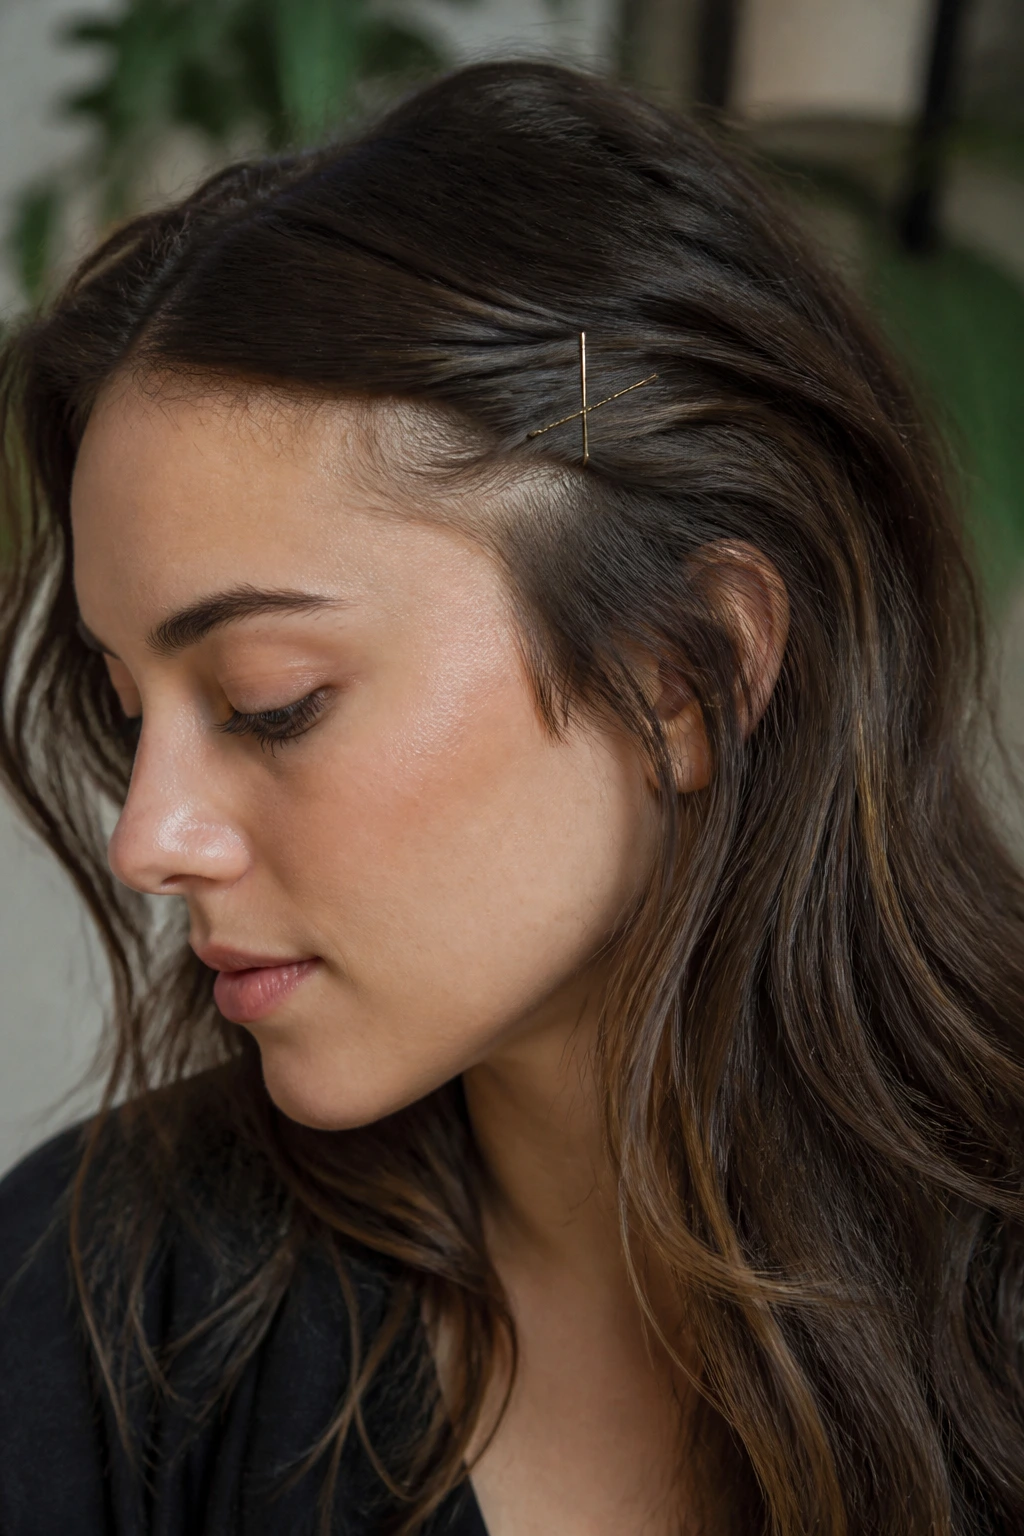
What do you do when your bangs are at that incredibly annoying length where they are too short to tuck behind your ear but too long to leave loose? You hide them under your longer hair using a simple pinning technique.
Why Does This Work?
By lifting the top layers of your long hair, pinning the short bangs flat against your scalp, and then letting the top hair fall back down, you completely erase the bangs from sight. This gives you a sleek, face-bearing style without revealing a single hair pin.
How to Use It
- Part your hair down the center or slightly to the side using your tail comb.
- Section off a two-inch layer of long hair right along your part and flip it over to the opposite side.
- Take your short bangs, comb them flat against your head toward your temple, and secure them with two bobby pins crossed in an “X” shape.
- Flip the long section of hair back over the pinned area, letting it drape naturally over your ear.
4. Textured Micro-Braids
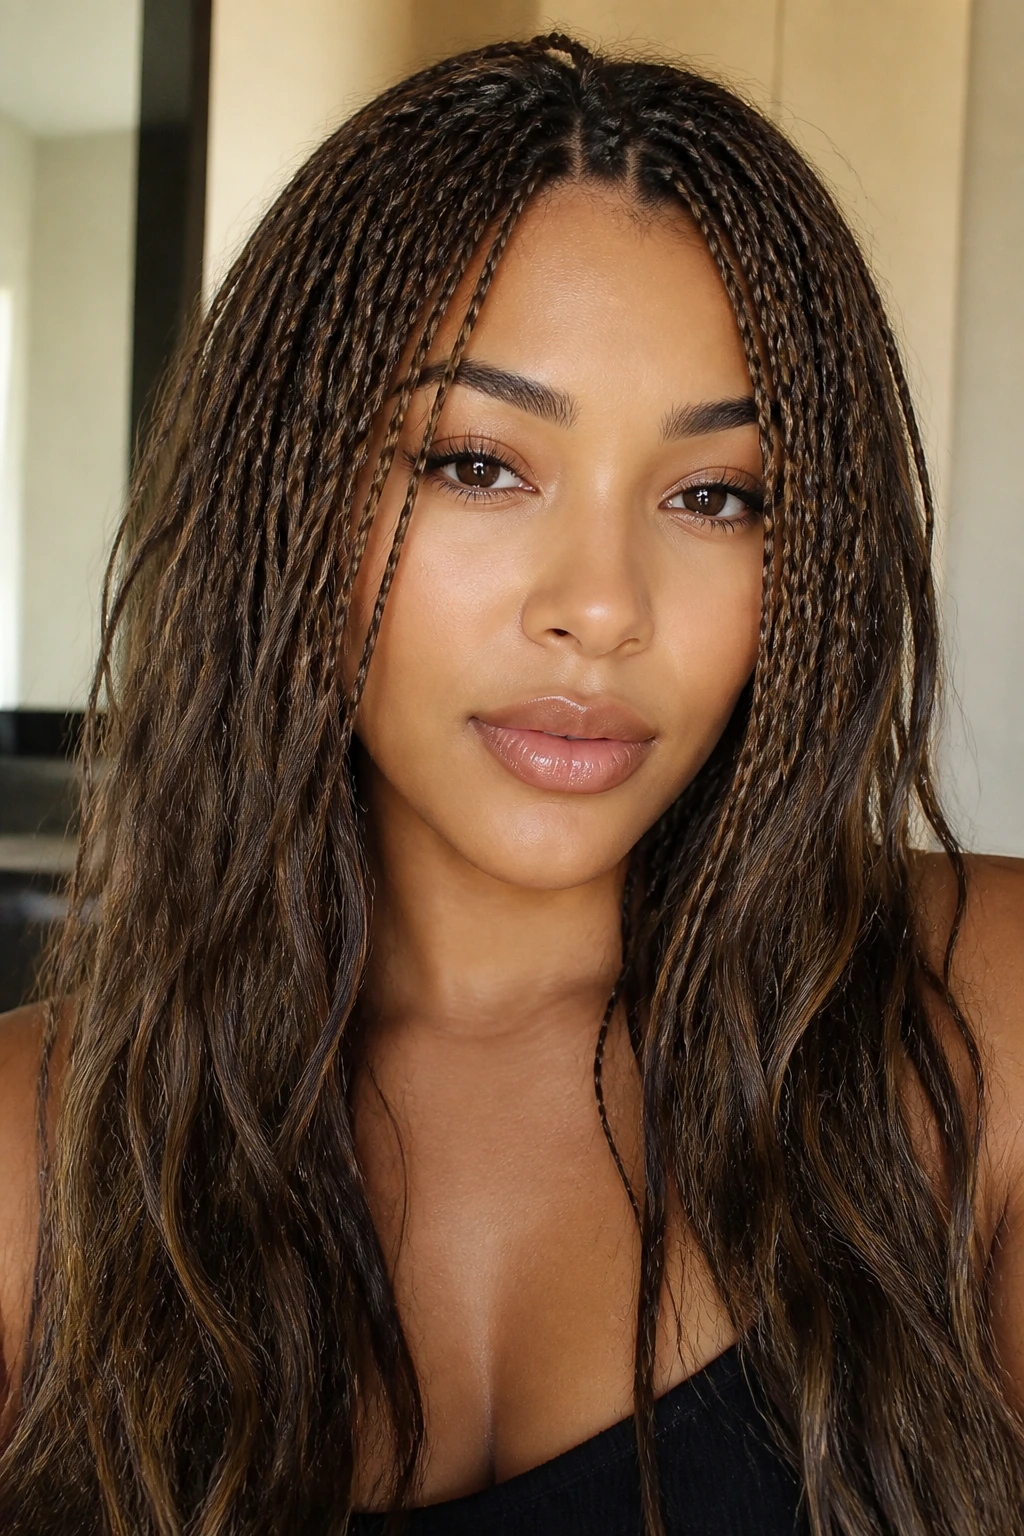
When you want your hair completely out of your face for an active day, braids are your best friend. Even two-inch pieces of hair can be locked into a braid if you use the right tension and a little bit of grip-adding styling paste.
The Mechanism of the French Braid Blend
A classic French braid or Dutch braid grabs hair as it goes, meaning you can start at your hairline with your shortest bangs and gradually build in the longer hair as you move down toward your ear. The longer hair acts as an anchor, holding the shorter pieces securely in place.
- Dampen the hair: Start with slightly damp hair or apply a light texturizing spray for grip.
- Three-strand start: Begin with three tiny sections right at your center part.
- Incorporate hair: Add small bits of the short bangs with each crossover.
- Secure and hide: Finish the braid behind your ear and secure it with a clear elastic, hiding the tail under your loose long hair. Pro tip: If small pieces stick out along the braid like little feathers, run a toothbrush coated with hairspray over the braid to smooth them down.
5. The Slicked-Back Wet Look
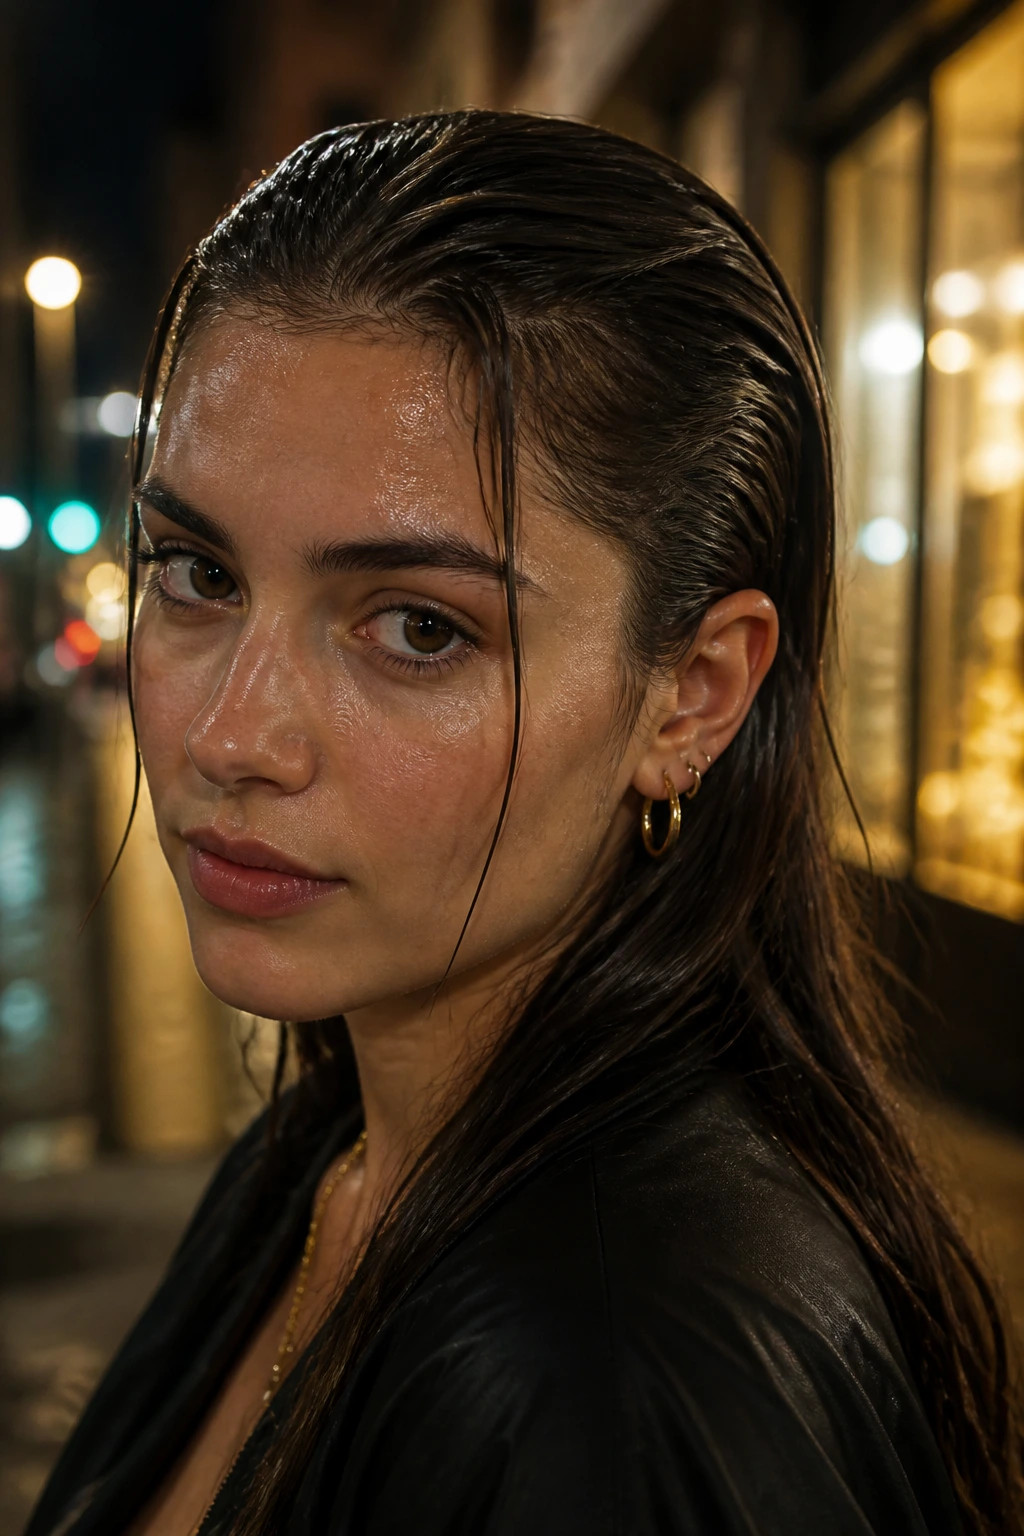
This style is perfect for nights when you want a sharp, high-fashion appearance that requires zero blow-drying. It works by using high-shine styling products to glue the short front pieces back into the rest of your long hair.
Start with damp, towel-dried hair. Mix a nickel-sized amount of strong-hold gel with three drops of hair oil in your palms—the oil keeps the gel from drying crunchy or flaking. Comb this mixture through your hair from the hairline back to the crown of your head, using a fine-tooth comb to ensure every short strand is coated.
Let the hair dry naturally. The wet-look finish holds the short hairs flat against the head, blending them seamlessly into your long lengths that cascade down your back.
6. Double Twisted Side Tendrils
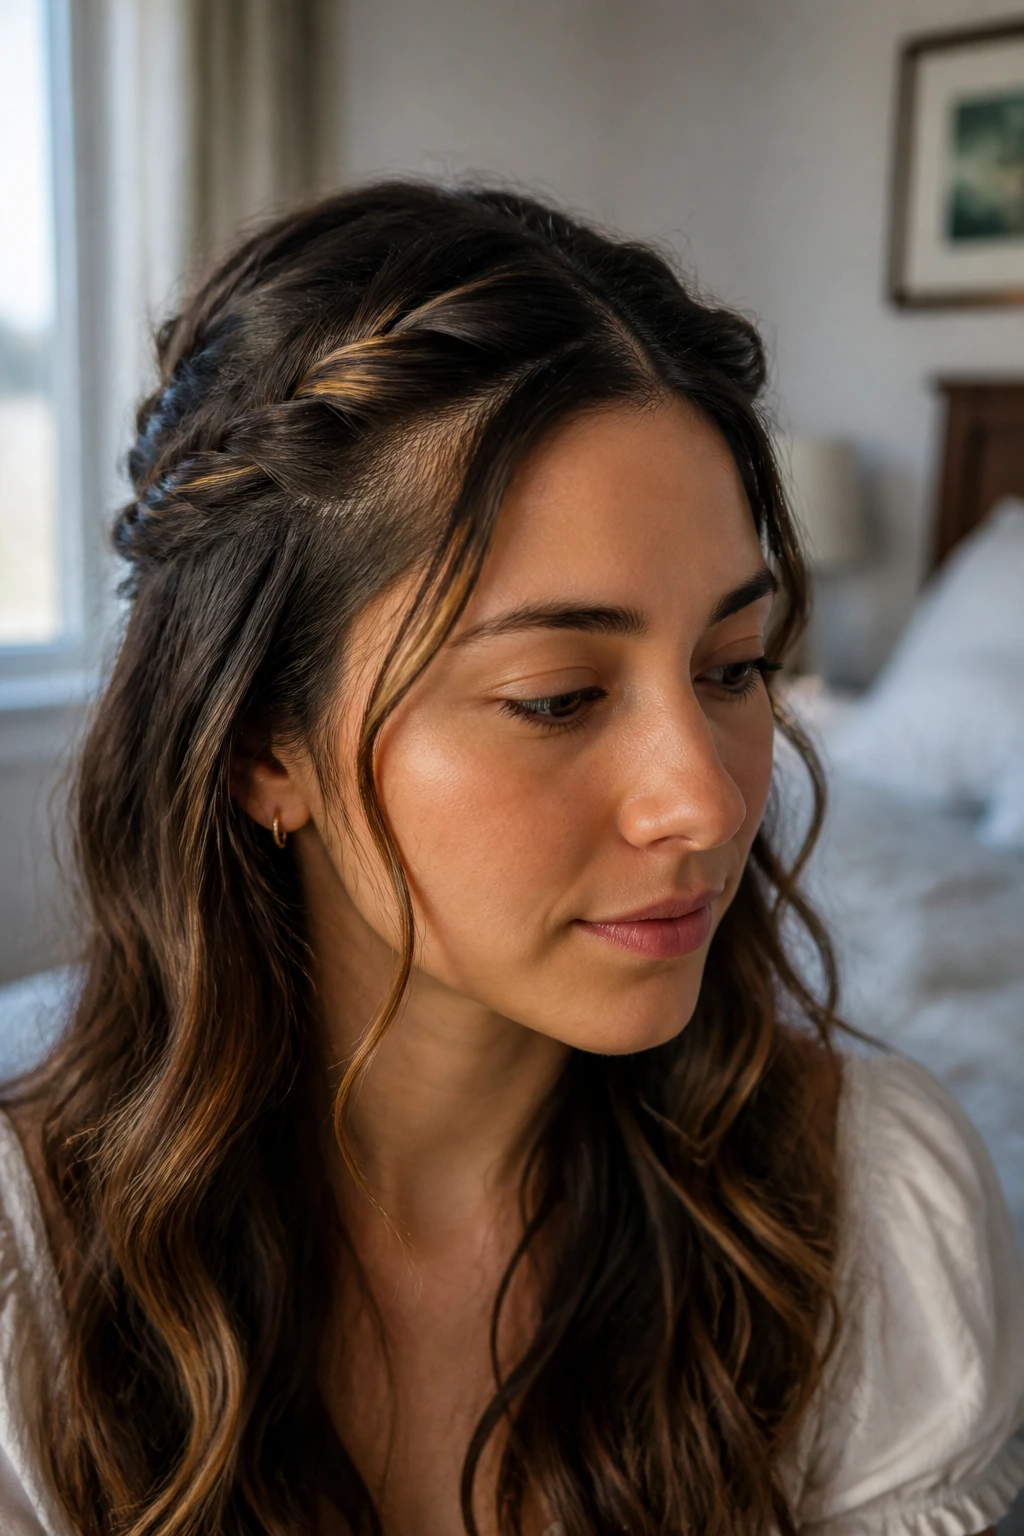
Unlike braids, which require three strands of hair and some finger dexterity, twists only require two strands. This makes them much easier to execute when you are in a rush.
Twists are softer than braids and create a romantic, rolled effect along your hairline. They are particularly good for wavy or curly hair textures, as the natural twist pattern matches the movement of your curls.
This style is best for medium-length transitions, specifically when your bangs have reached your cheekbones. Use a touch of curl cream to keep the two strands clinging to each other as you roll them back.
7. The Voluminous 90s Blowout Roll
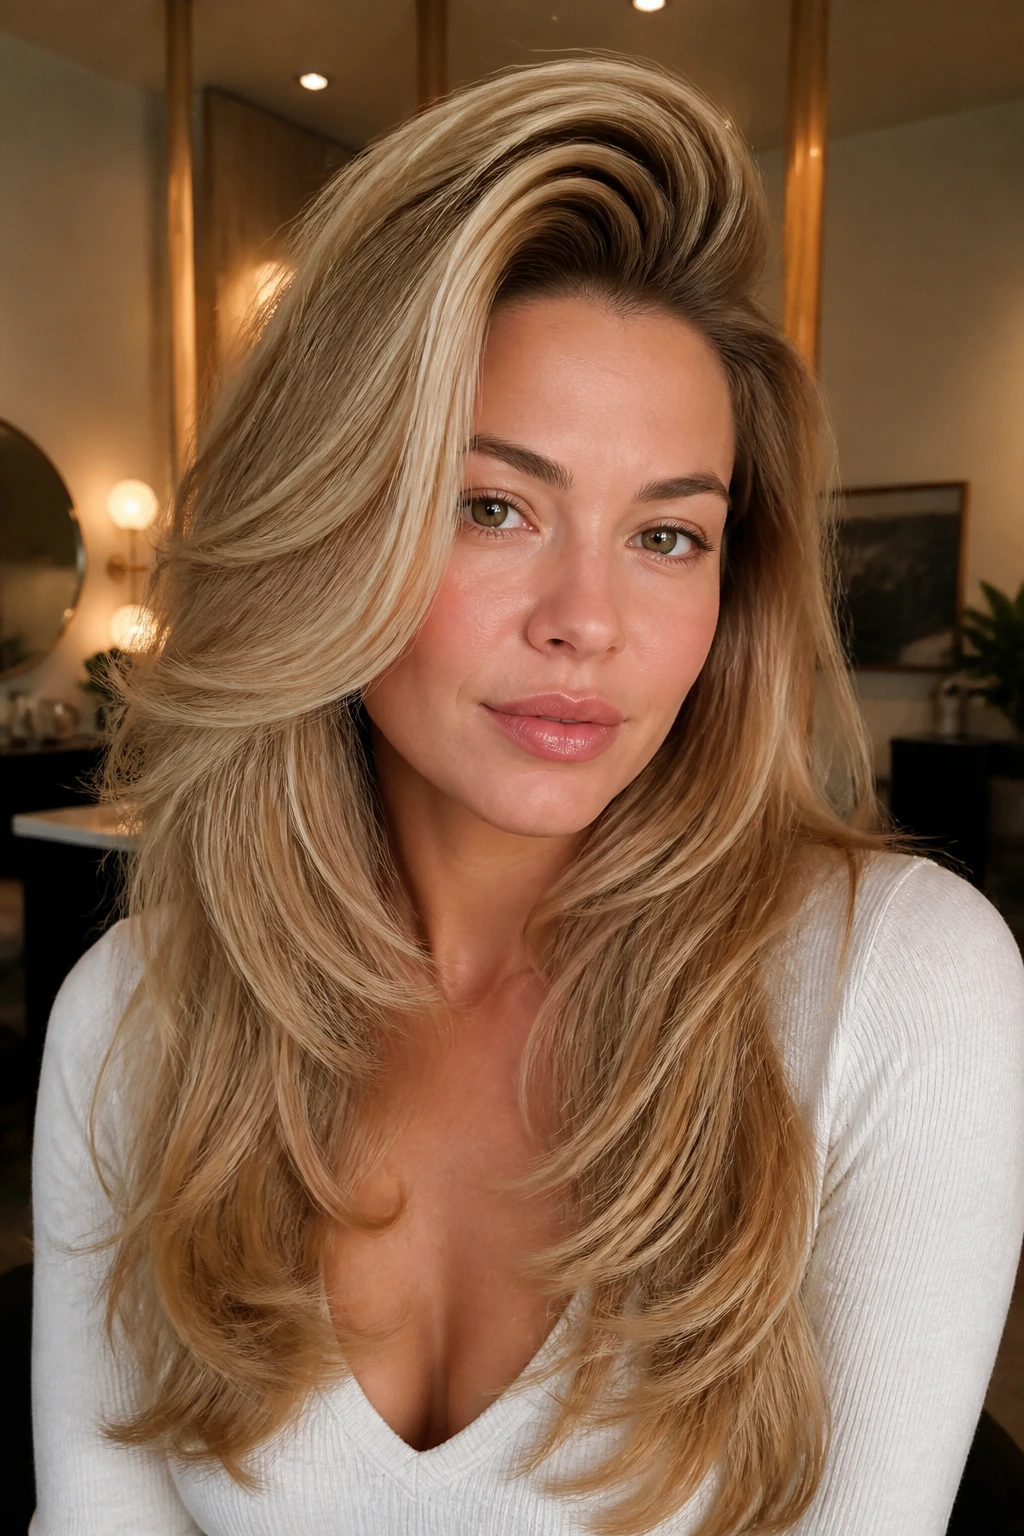
The bouncy, face-framing layers of the late twentieth century are fantastic for hiding growing bangs. By using big rollers or a large round brush, you can turn your short pieces into a voluminous swoop that blends into your long hair.
How to Create Maximum Root Volume
To get this look, you need to blow dry your bangs straight up from your head, rather than pulling them forward or down. This creates lift at the root, which shortens the visual length of the bangs and helps them drape backward into your long hair.
Quick Styling Facts
- Ideal length: Nose-tip to chin-length.
- Holding product: Volumizing mousse applied to damp roots.
- Maintenance: High; needs styling after every wash. Pro tip: Wrap your damp bangs around a two-inch velcro roller immediately after blow-drying while the hair is still hot, and leave it in for ten minutes to set the lift.
8. Half-Up Top Knot Transition
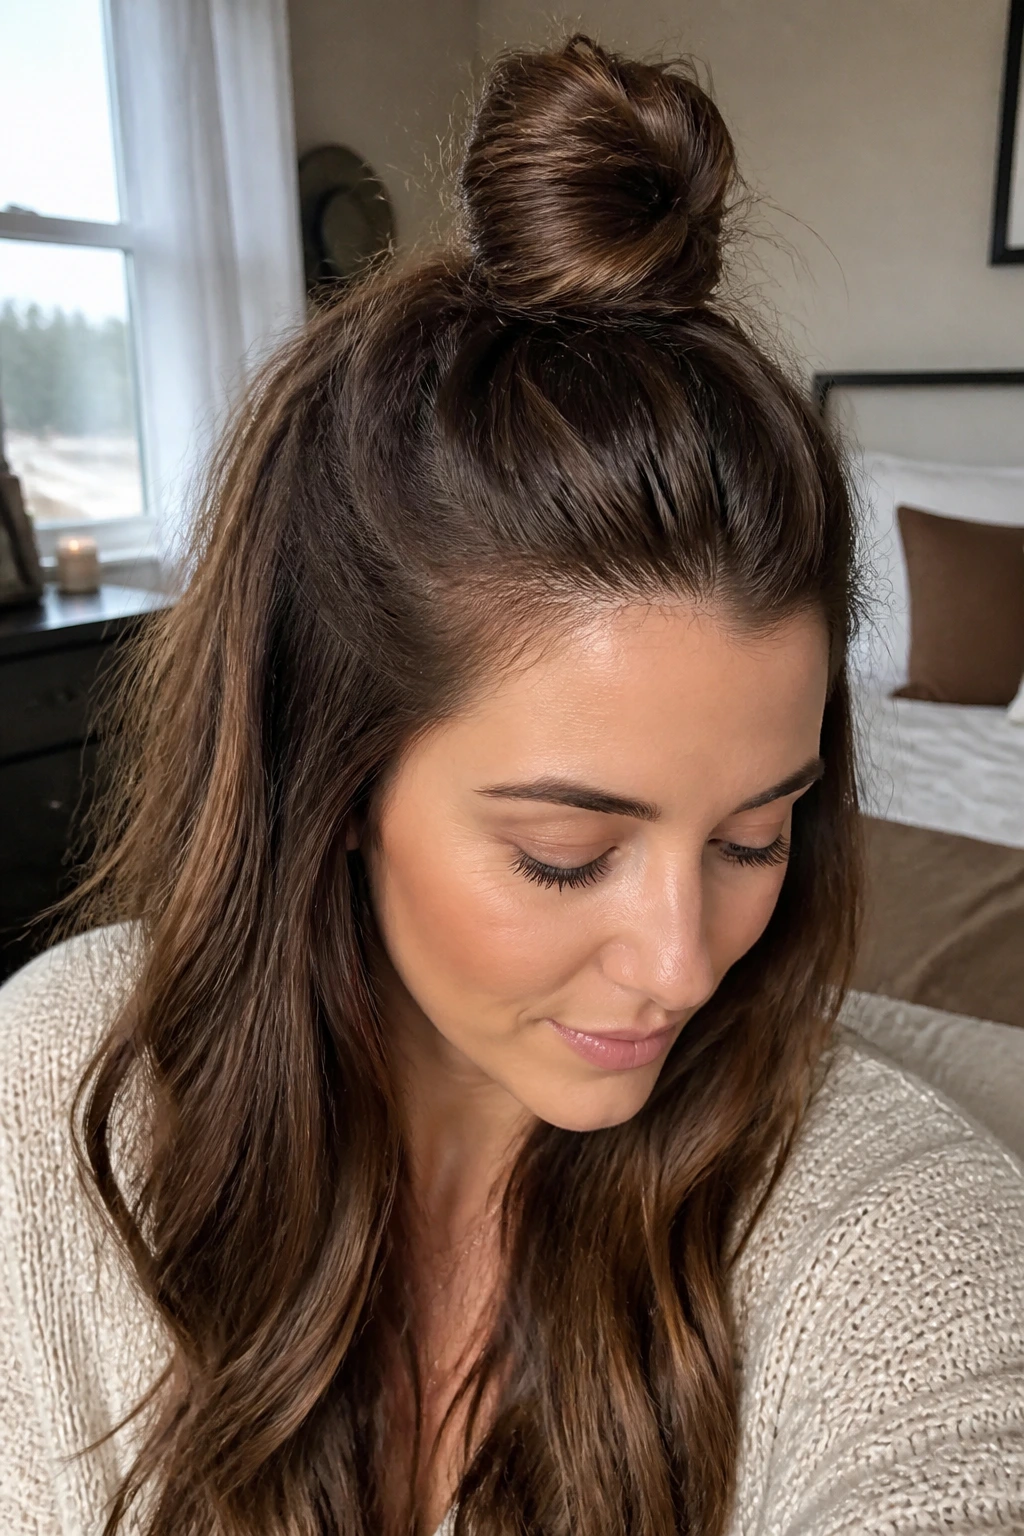
This style works by gathering the entire top section of your hair—including your bangs—and securing it into a small bun on top of your head, leaving the rest of your long hair down.
Your bangs might be too short to reach the bun on their own. The key is to position the bun further forward on your head, right at the crown, rather than at the back. This shortens the distance your bangs have to travel.
If any tiny hairs at your front hairline slip out of the bun, secure them with two matte-finish bobby pins that match your hair color, pushing them forward into the base of the top knot to keep them hidden.
9. Headband-Secured Crown Volume

When your bangs are simply refusing to behave, a classic headband is the easiest solution. It physically pushes the hair back and holds it there all day.
Why Does This Work?
A headband acts as a physical barrier. However, simply pushing your hair straight back can sometimes make your face look harsh or flat. The trick is to push the headband forward slightly after putting it on to create a small cushion of volume right behind the band.
How to Style It
- Place a fabric or plastic headband about two inches behind your hairline.
- Push the band forward toward your face by half an inch; this lifts the front hair and creates soft height.
- Use a fine-tooth comb to lightly tease the hair right behind the headband for extra support.
- Let your long hair flow naturally over your shoulders to balance the volume.
10. The Deep Side Part Swoop
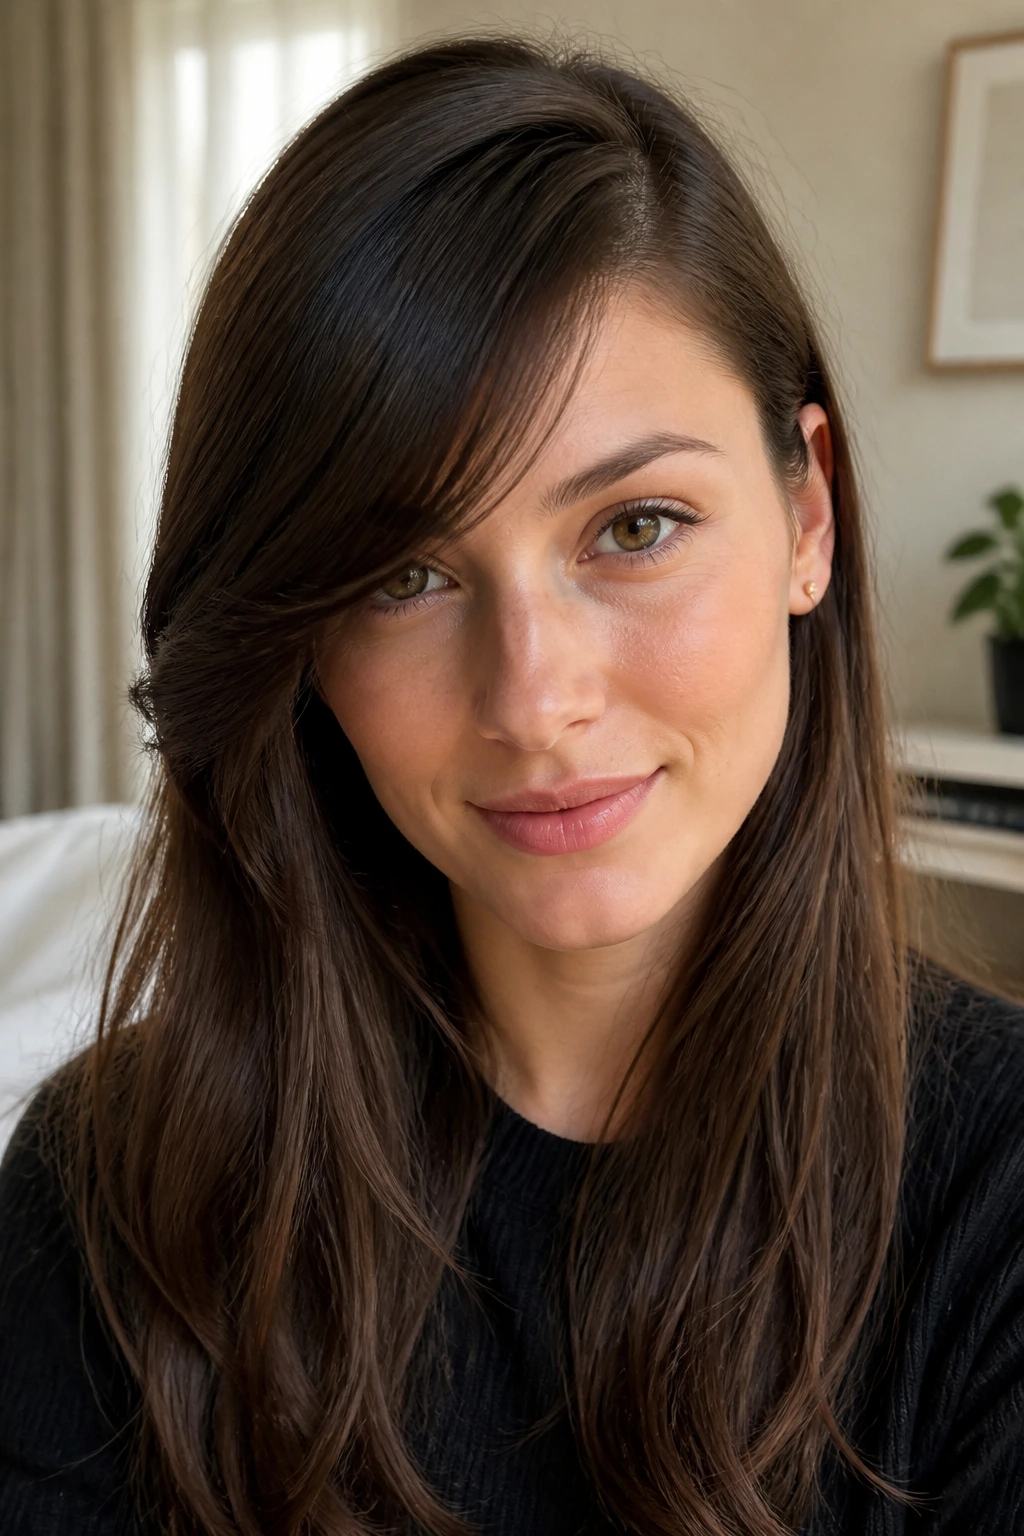
This style uses asymmetry to make your bangs look like a deliberate, dramatic choice. By shifting your part far to one side, you can sweep almost your entire fringe across your forehead in a elegant curve.
The Anatomy of the Swoop
This technique works because the long hair from the deep side of the part helps weigh down and control the short bangs underneath. The long strands act as a smooth top coat, keeping the shorter pieces from springing upward or parting.
- Locate the part: Use the outer corner of your eye as a guide for your deep side part.
- Prep the hair: Apply a light heat protectant and blow dry the hair across your forehead using a flat paddle brush.
- Smooth and tuck: Sweep the hair across, tucking the long ends behind the opposite ear.
- Lock it in: Spray a flexible-hold hairspray onto your palm and lightly smooth it over the swoop to catch any flyaways. Pro tip: Do not spray hairspray directly onto the swoop from close range, as this can make the hair look wet and heavy.
11. Piecey Wispy Curtain Transition
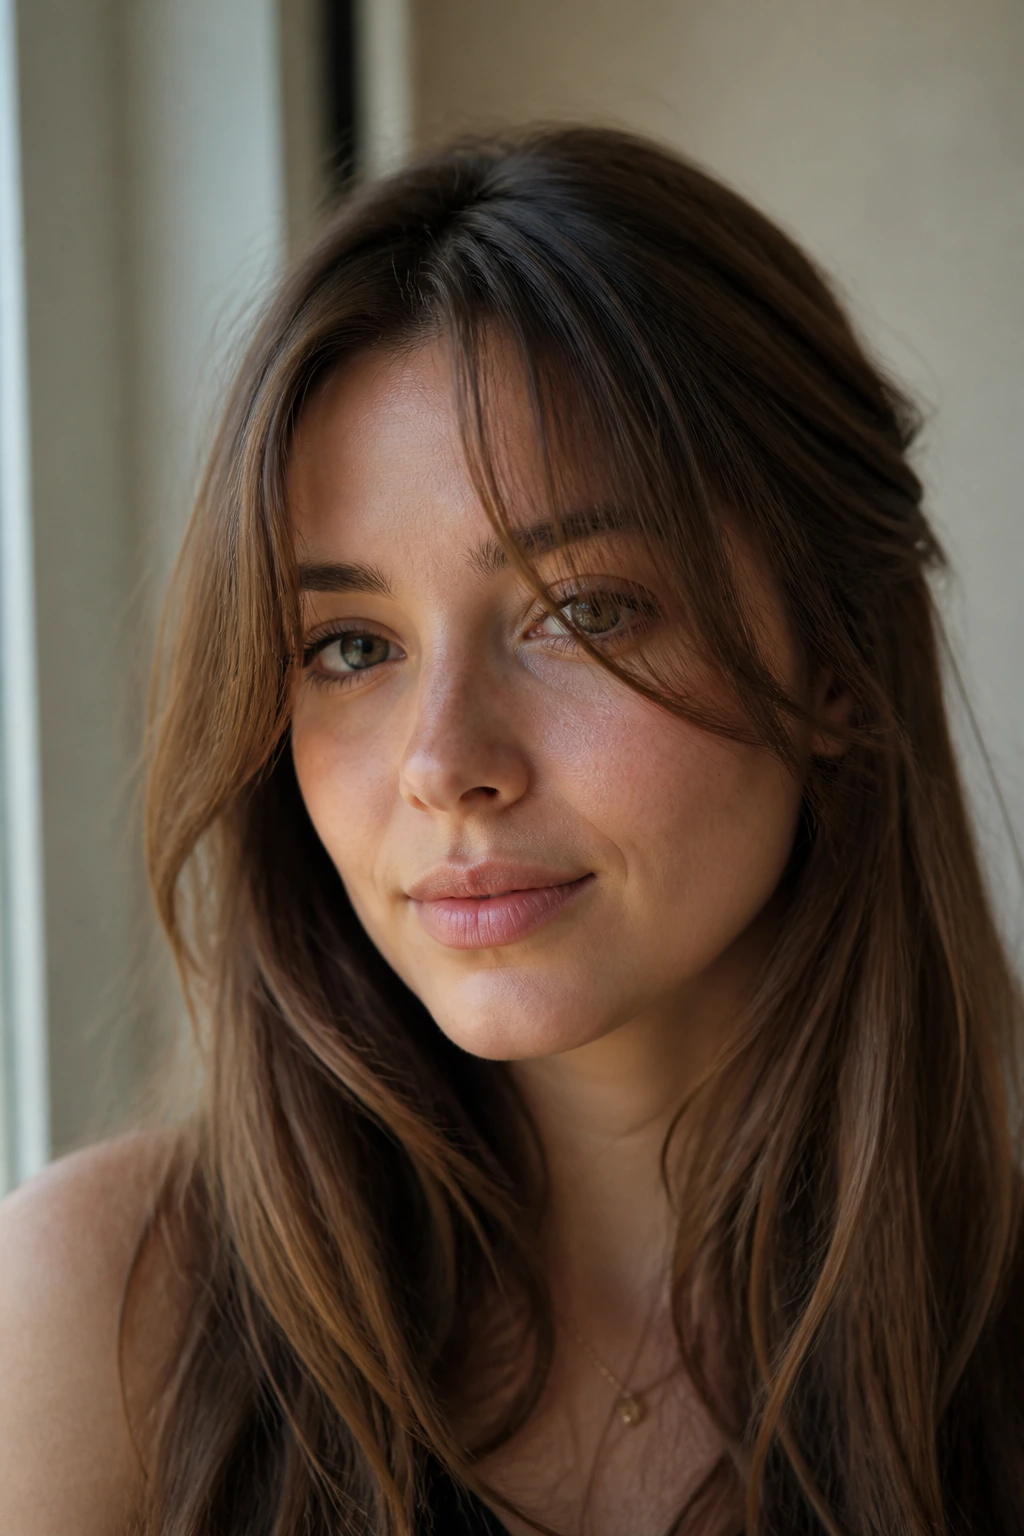
As your bangs get longer, you can transition them from a solid block of hair into a light, wispy frame. This style works beautifully for long, fine hair because it does not require heavy styling products that weigh the hair down.
Start by parting your hair down the center. Take a pea-sized amount of lightweight texturizing paste and rub it between your thumb and index finger. Gently pinch the ends of your bangs, pulling them slightly outward and down.
This creates small, separated clumps of hair rather than a solid wall. The spaces between the clumps allow your forehead to show through, making the transition look soft, airy, and effortless.
12. The French Twist Accent
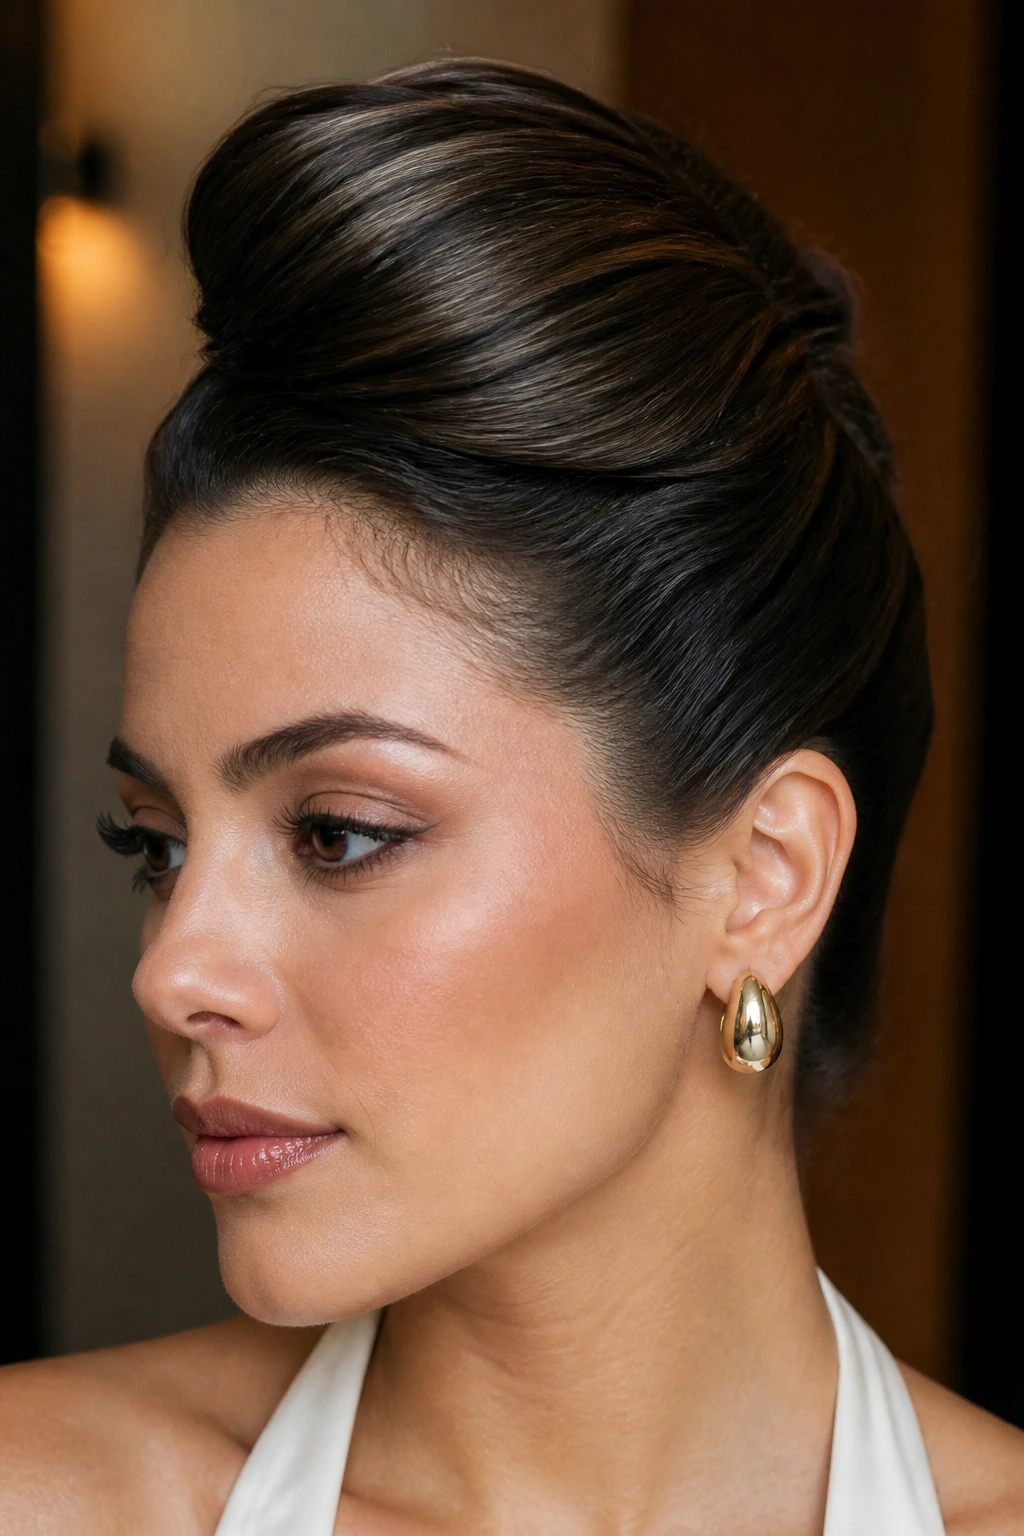
Unlike a basic twist that hangs loose, a French-style twist hugs the scalp, gathering hair as it moves along your hairline. It is an incredibly secure way to lock in short bangs.
This look is highly polished and works well for professional environments or formal events where loose, messy pins might look untidy. It keeps the hair flat and neat.
This style is best for hair that has not been washed for a day or two, as the natural oils provide the necessary grip to keep the twist from unraveling.
13. Pomade-Slicked Middle Part
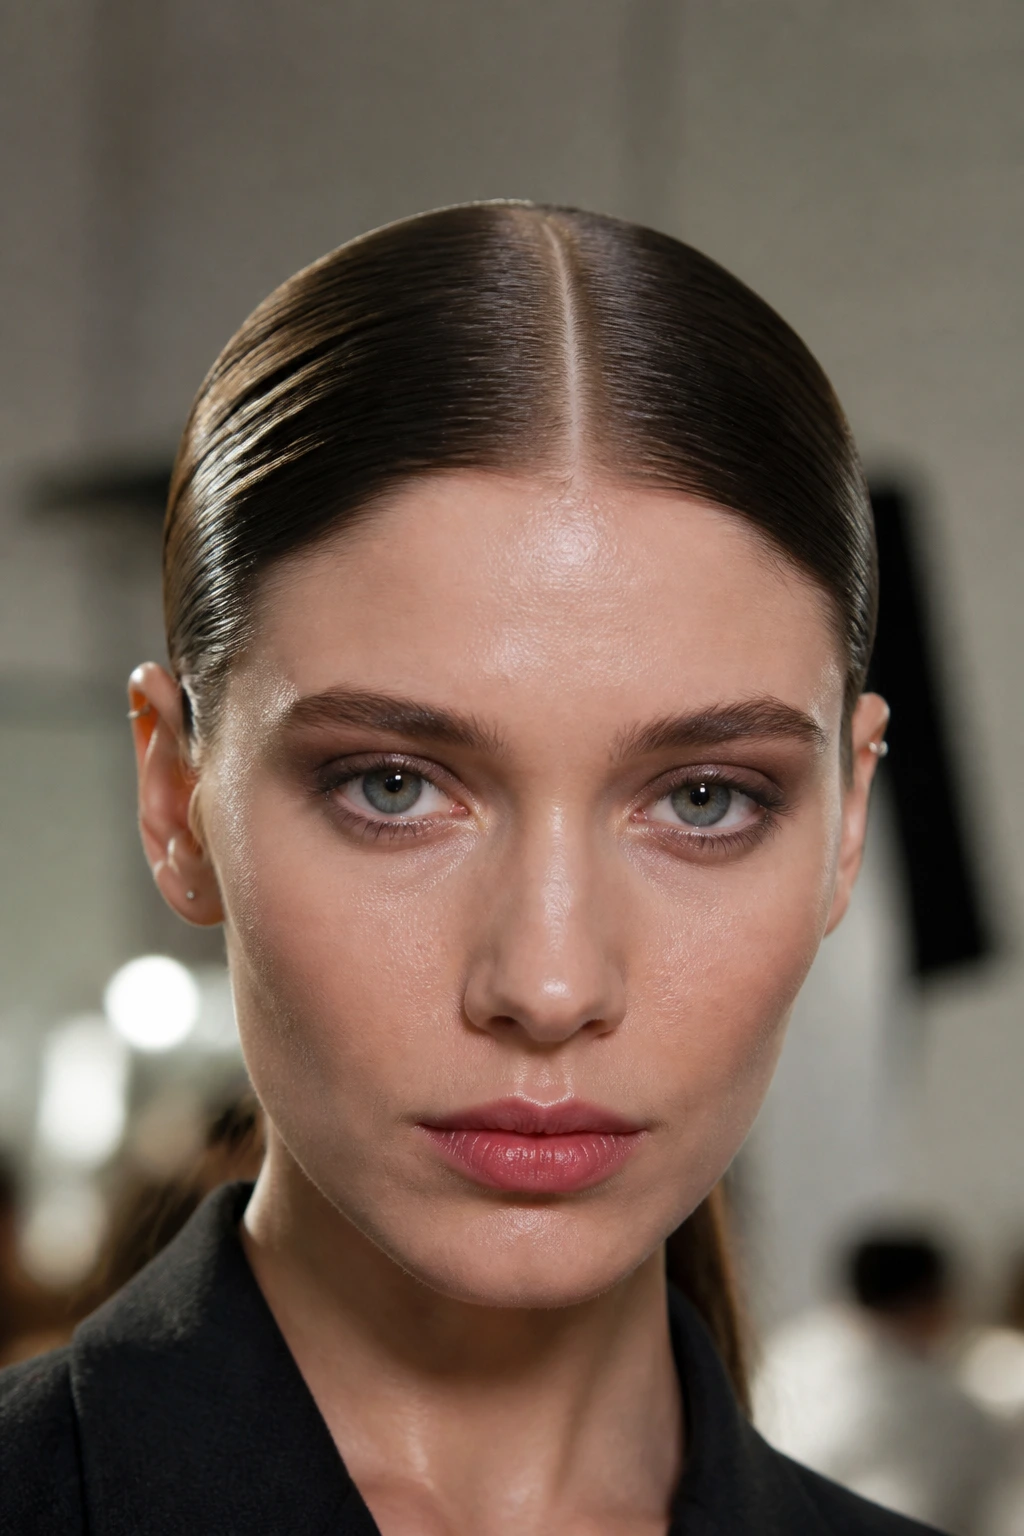
For a modern, clean look, a sharp middle part with slicked-down sides is incredibly effective. It completely hides your bangs by keeping them flat against your head.
How to Keep It Sleek All Day
To achieve this look, you must part your hair precisely down the middle while it is wet. Use a high-shine pomade or a heavy cream, applying it from the part line down to your cheekbones.
Quick Styling Facts
- Ideal length: Eye-level to nose-bridge.
- Holding product: High-shine pomade or styling wax.
- Maintenance: Low once styled; lasts all day. Pro tip: Use a clean, natural-bristle toothbrush to apply your styling product; this ensures even distribution and prevents clumping.
14. The Shag-Style Blend
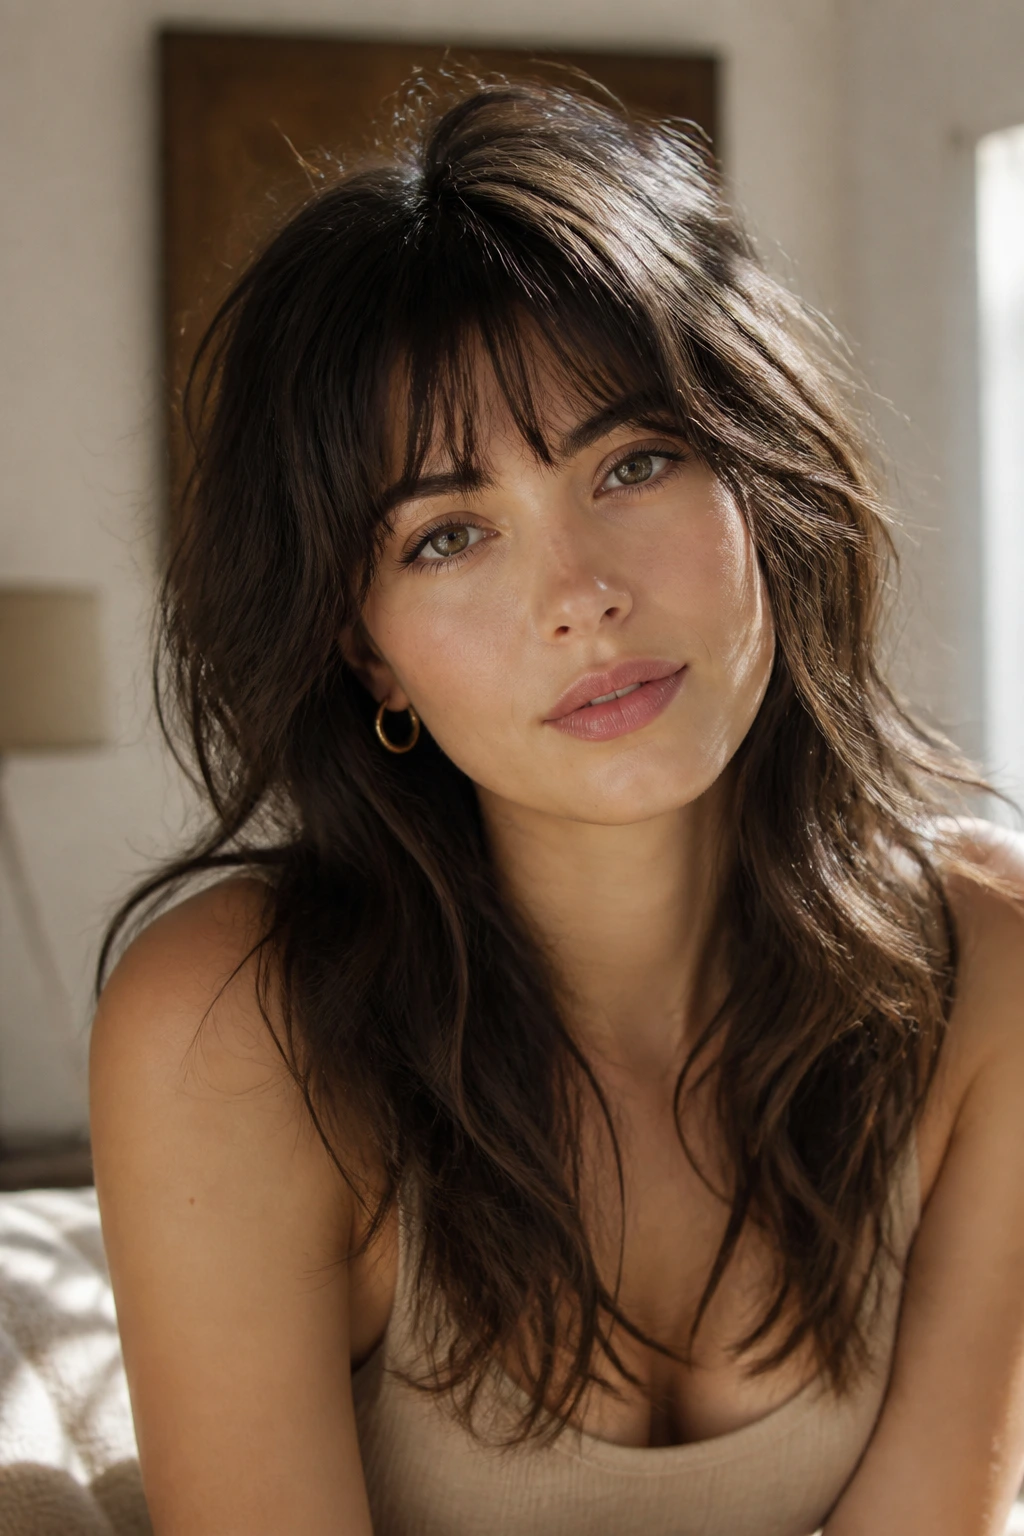
If you have a lot of natural texture or curls, blending your bangs into a modern shag haircut is a fantastic option. This haircut style embraces layers of all different lengths, meaning your growing bangs will fit right in.
Ask your stylist for short, choppy layers throughout the crown of your head that match the current length of your bangs. This bridges the gap between your short fringe and your long lengths.
To style this look, apply a generous amount of sea salt spray or texturizing mousse to damp hair and scrunch it with your hands while air-drying or using a diffuser.
15. Retro Victory Rolls
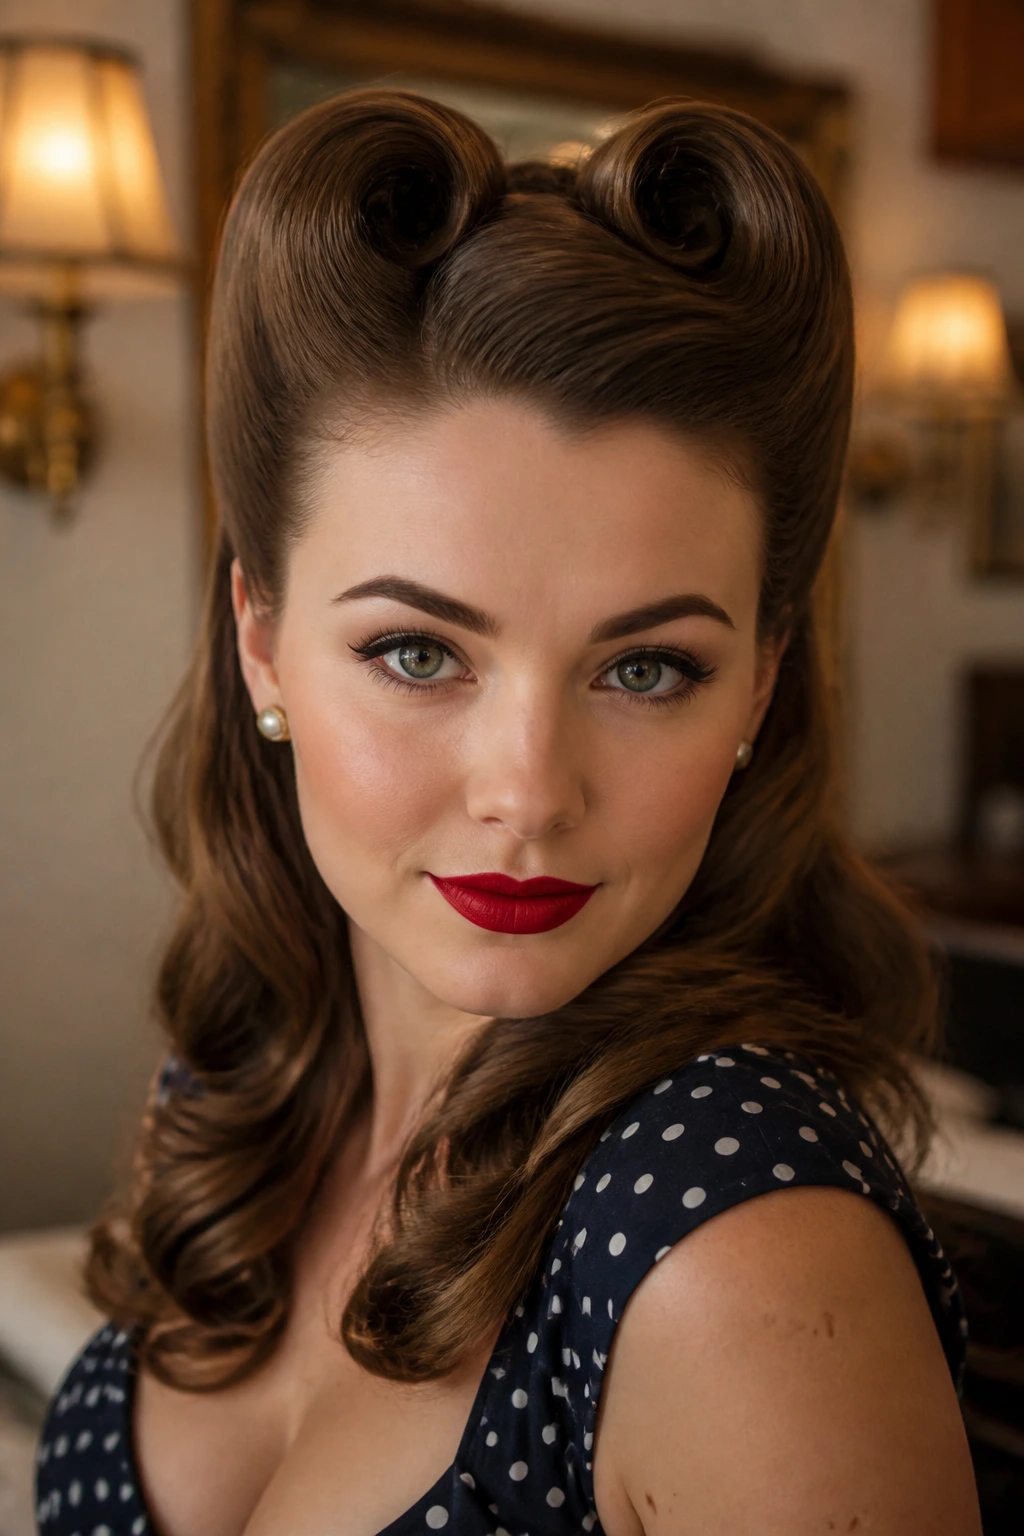
If you love vintage styling, victory rolls are a fun and highly secure way to keep short bangs completely tucked away. This technique rolls the hair upward and outward into neat cylinders.
Why Does This Work?
The structural roll of this style naturally holds short ends inside the coil. As long as the ends of your bangs are tucked into the center of the roll, they cannot escape or stick out.
How to Use It
- Section off a triangular portion of hair at the front of your head, containing your bangs and some longer hair.
- Backcomb the underside of this section lightly to create a solid base.
- Smooth the front of the section, then wrap the hair around two fingers to start the roll.
- Slide your fingers out and pin the roll from the inside down to your scalp using bobby pins.
16. The Bobby Pin Cross-Hatch Accent
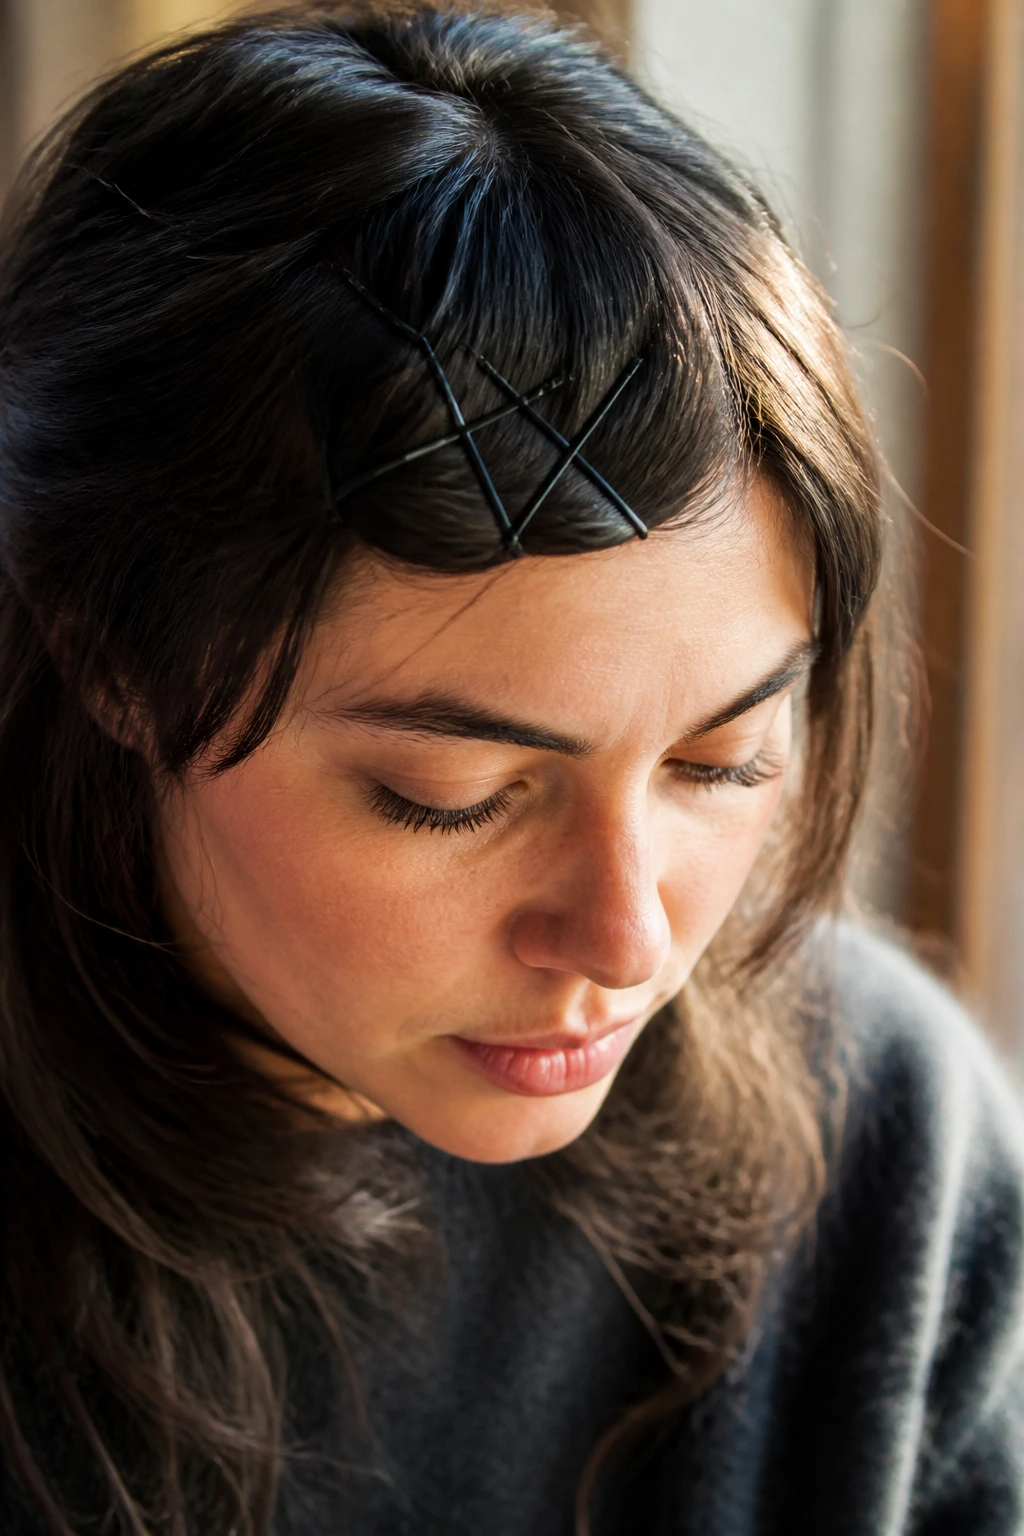
Sometimes, instead of hiding your bobby pins, you should show them off. Using colorful or metallic pins in a geometric pattern turns your transition tool into a style statement.
The Power of Mechanical Hold
Using pins in a cross-hatch or “X” pattern does more than look good; it actually doubles the holding power of the pins. The two pins lock against each other, preventing them from sliding down fine hair.
- Choose your pins: Pick pins that contrast with your hair color (e.g., gold pins on dark hair).
- Sweep and smooth: Comb your bangs to the side, smoothing them with a touch of wax.
- Insert the first pin: Slide the first pin in horizontally, pointing backward.
- Cross the second pin: Slide the second pin across the first at a 45-degree angle. Pro tip: Spray the inside of your bobby pins with dry shampoo before inserting them; this gives them a chalky grip that prevents sliding.
17. Messy Space Bun Integration
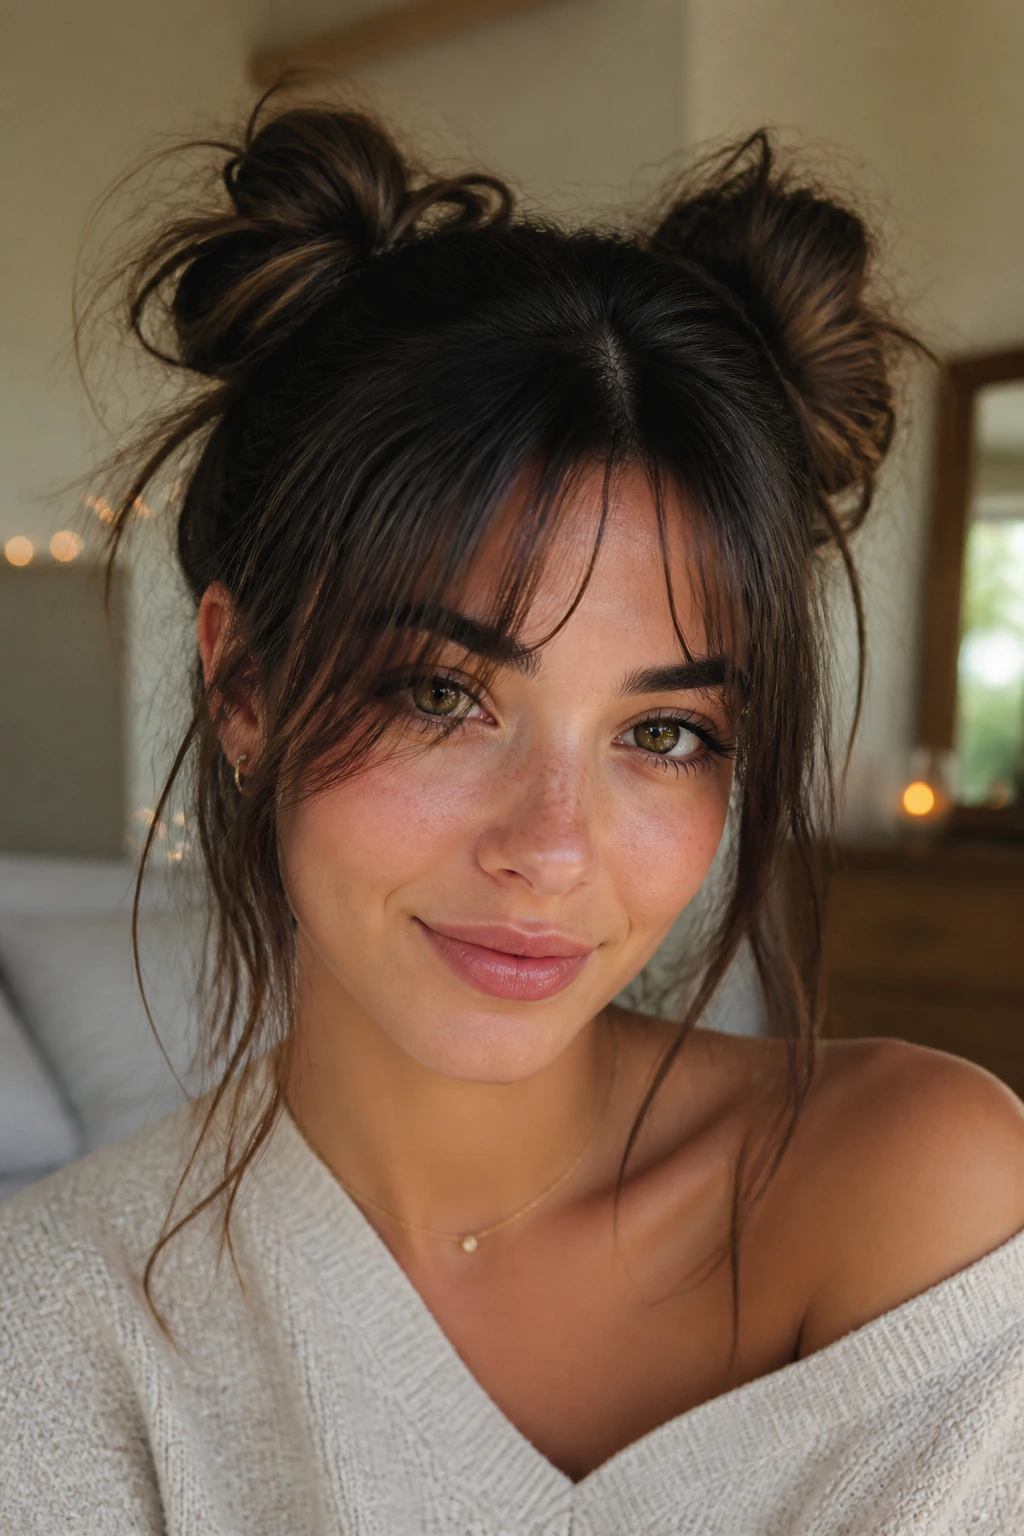
Space buns are a playful way to handle growing bangs, especially if you have thick, long hair. By splitting your hair into two high buns, you can easily pull the short side sections upward.
Because the buns sit on either side of your head, the distance your bangs have to travel is much shorter than if you were pulling them back into a single high ponytail.
Let a few longer tendrils fall loose around your face to soften the look, allowing any exceptionally short pieces of your bangs to blend in with these loose face-framing strands.
18. Textured Salt-Spray Wave Blend
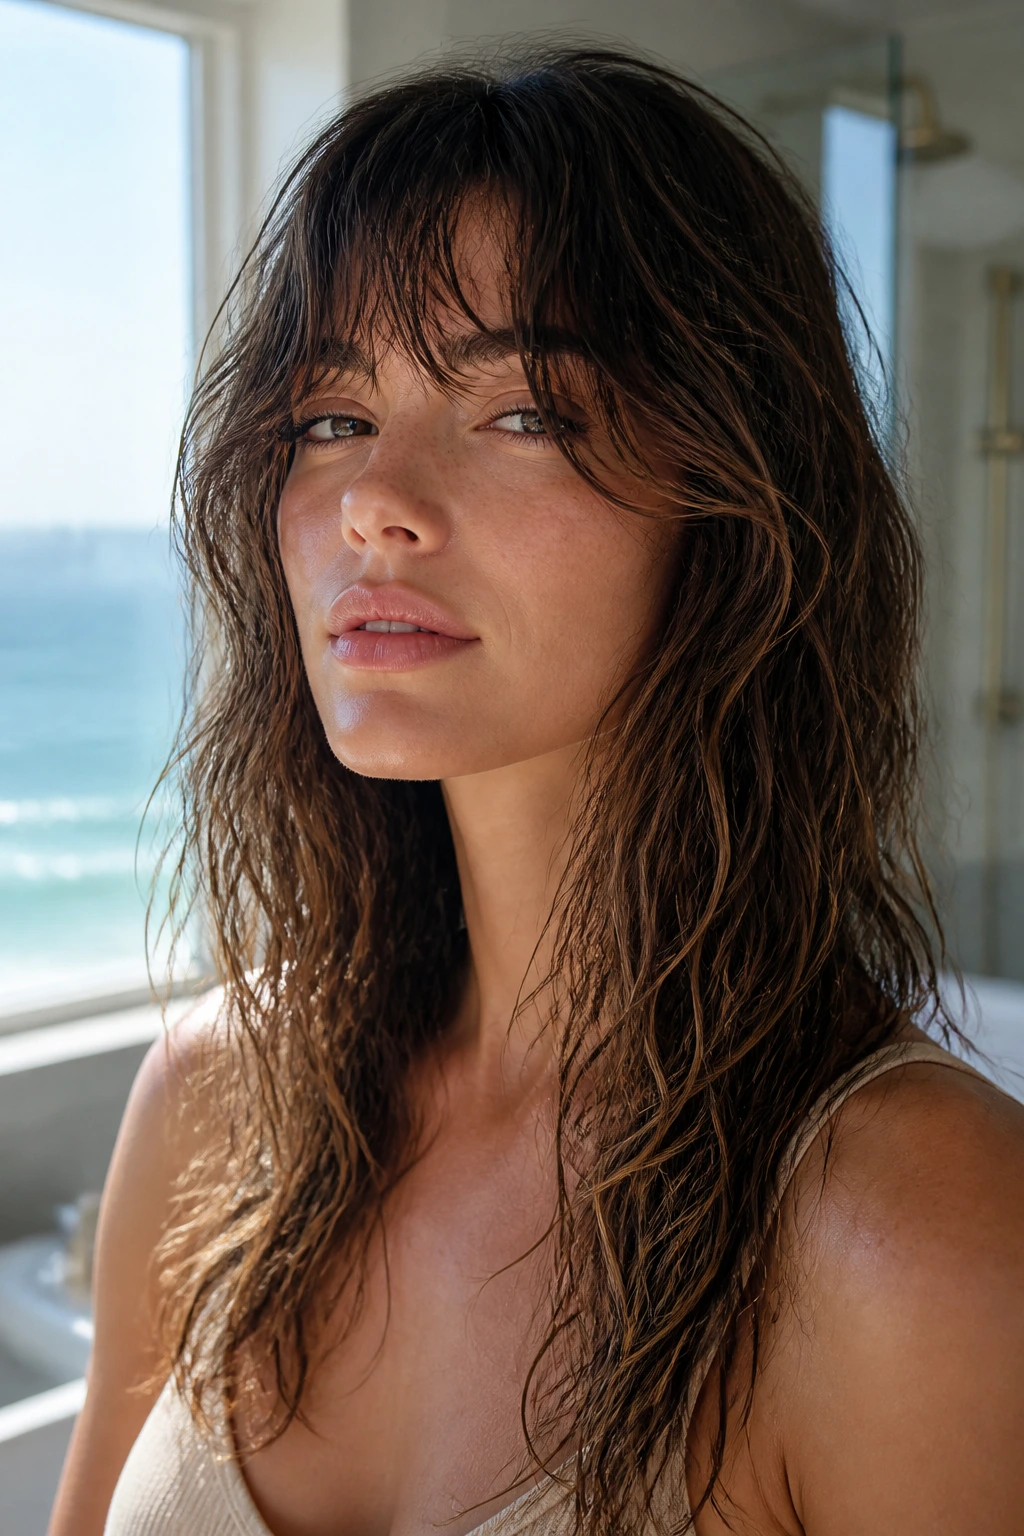
If you prefer a relaxed, beachy look, using a sea salt spray is a great way to blend your bangs into your longer layers without heat styling.
Unlike heavy gels or pomades, sea salt spray adds volume and texture, which helps short hair clump together with longer hair. The resulting waves hide the difference in length.
This style is best for naturally wavy hair. Spritz the spray generously onto damp hair, scrunch, and let the air do the rest of the work.
19. The Low Ponytail Slick-Back

When you want a clean, minimalist look, a low ponytail with slicked-back front sections is incredibly elegant and keeps you looking professional all day.
How to Secure the Short Pieces
The difficulty with a low ponytail is that your bangs are too short to reach the hair elastic at the nape of your neck. To fix this, you must secure the bangs separately before pulling the rest of your hair back.
Quick Styling Facts
- Ideal length: Nose-bridge and longer.
- Holding product: Strong-hold hair gel.
- Maintenance: Medium; requires careful combing. Pro tip: Section off your bangs, slick them back behind your ears, and pin them flat before gathering all your hair into the low ponytail.
20. Feathered Face-Framing Layers
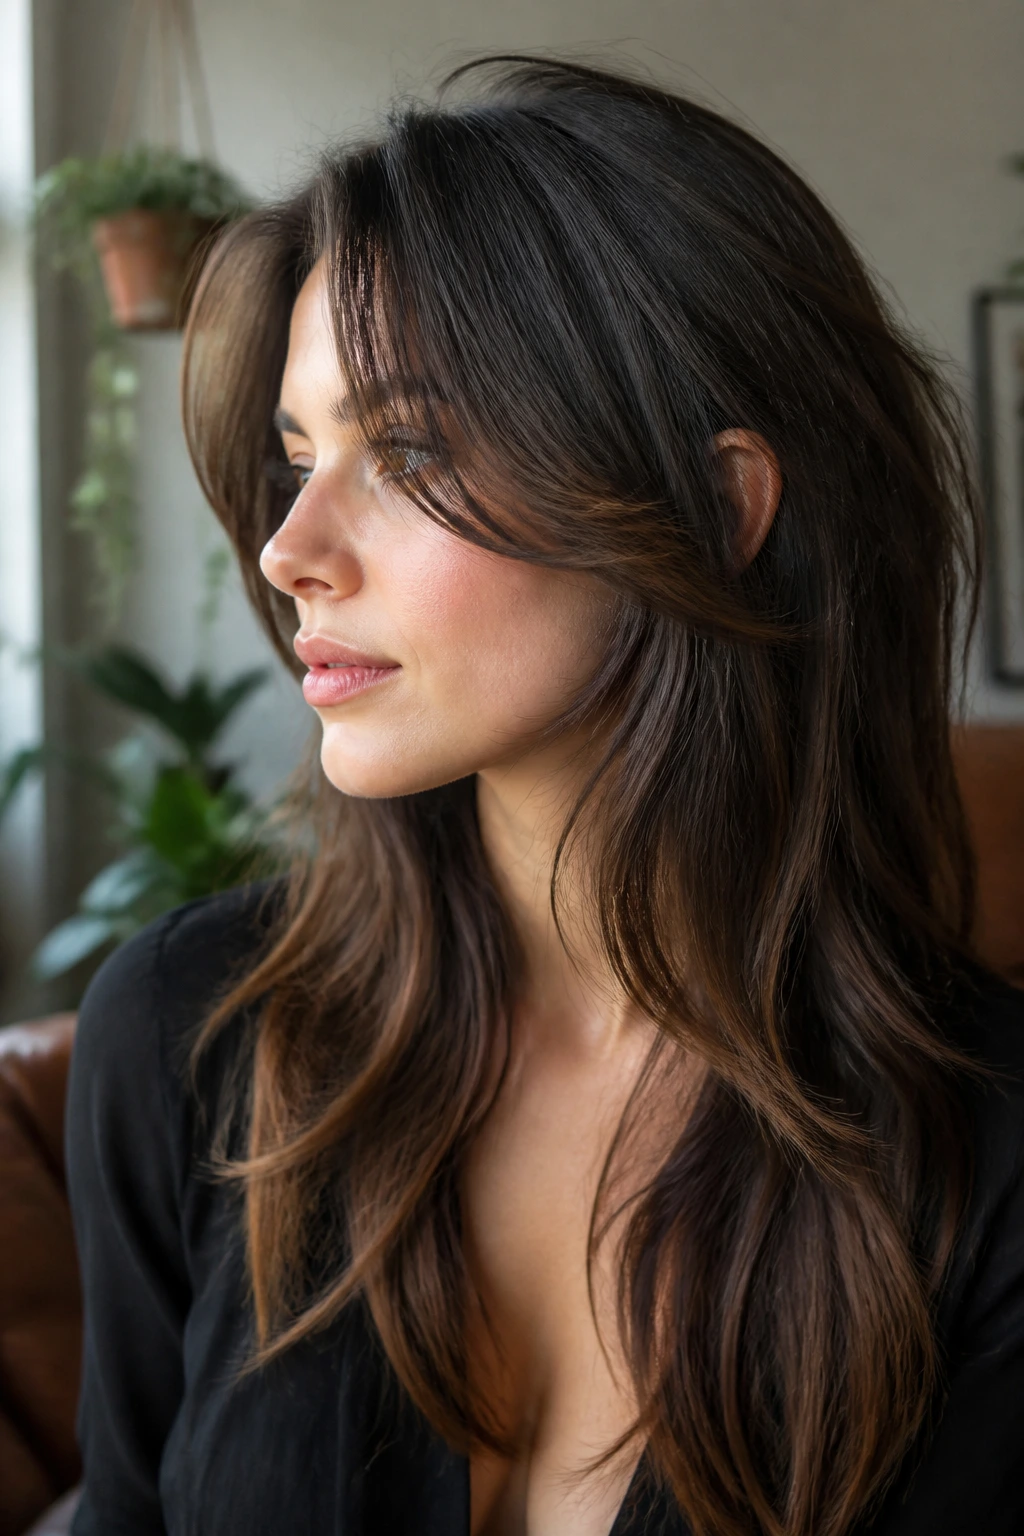
Once your bangs reach your jawline, you are finally in the home stretch. This is the perfect time to visit your stylist to have them lightened and feathered into layers.
Instead of keeping them as a heavy, blocky section, your stylist can use a razor or thinning shears to slide-cut the ends of your bangs, blending them into the longer front lengths of your hair.
This removes the blunt line completely, transforming your old bangs into beautiful, cascading face-framing layers that blend into your long hair.
How to Trim Your Own Transitioning Bangs
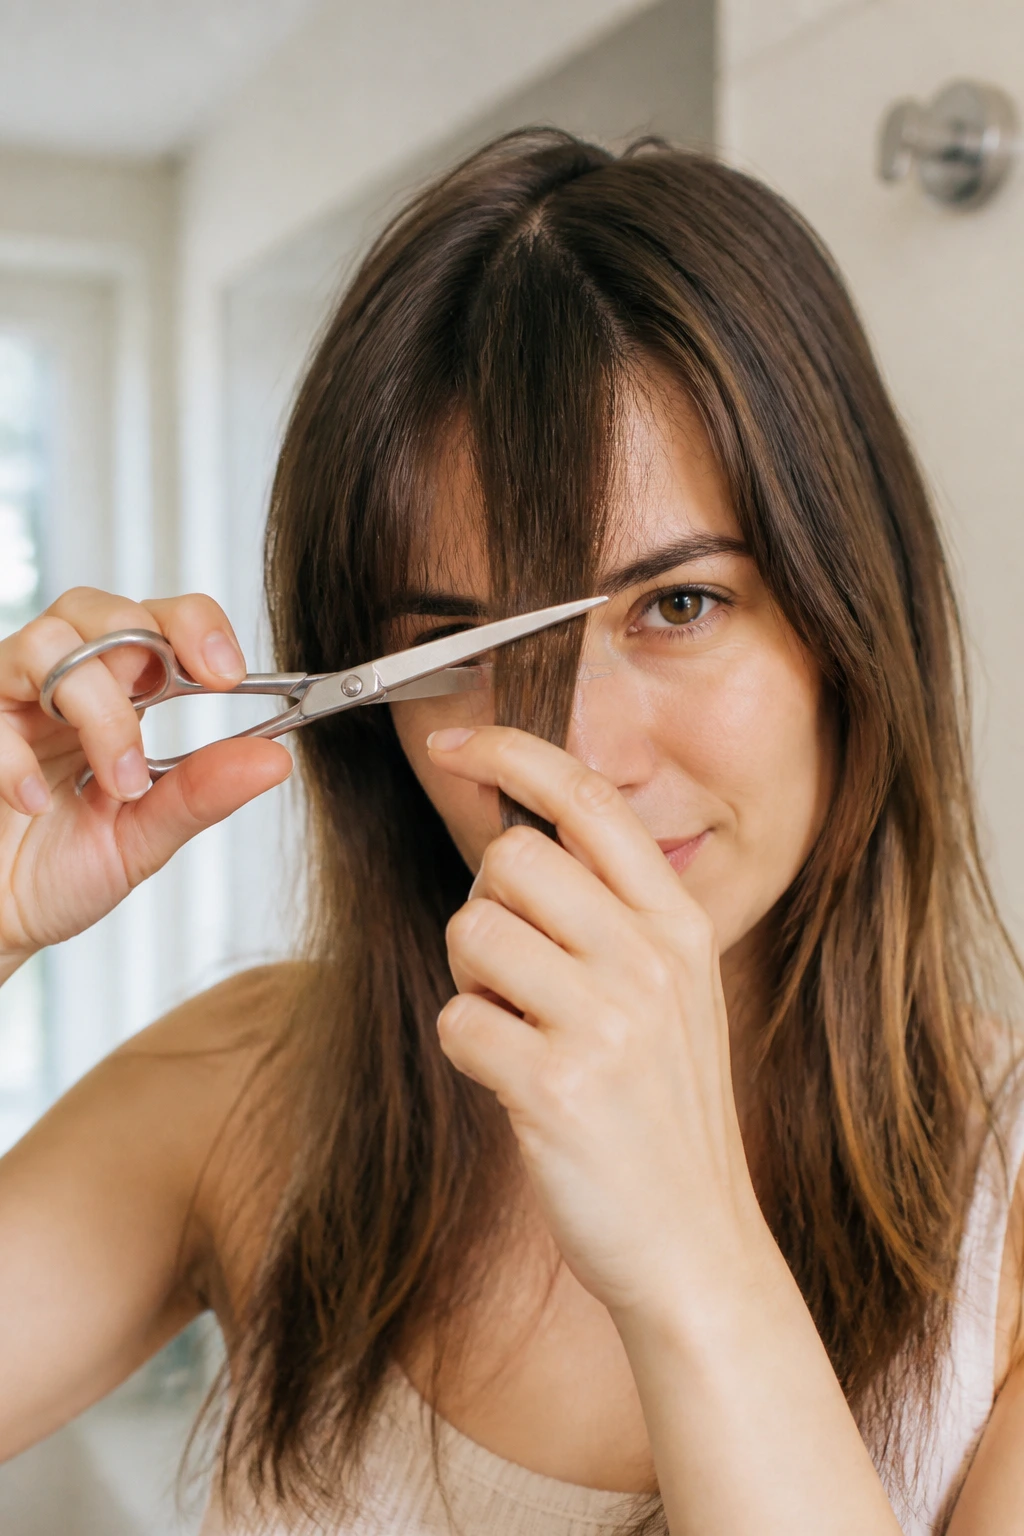
At some point during your grow-out process, you might feel the urge to trim. This is completely normal. However, you should not be trimming to make your bangs shorter; you should be trimming to change their shape.
A blunt fringe has corners that are square. As they grow, these corners can look heavy and push the hair into your eyes. To fix this, you want to round off those corners so the hair flows toward the sides of your face.
To do this at home, always work on dry hair in its natural state. Use proper hair shears—never kitchen scissors, which can crush the hair shaft and cause split ends. Part your bangs down the middle, slide your fingers down at a 45-degree angle pointing away from your face, and gently point-cut into the ends to soften the heavy line.
Product Formulas That Actually Hold
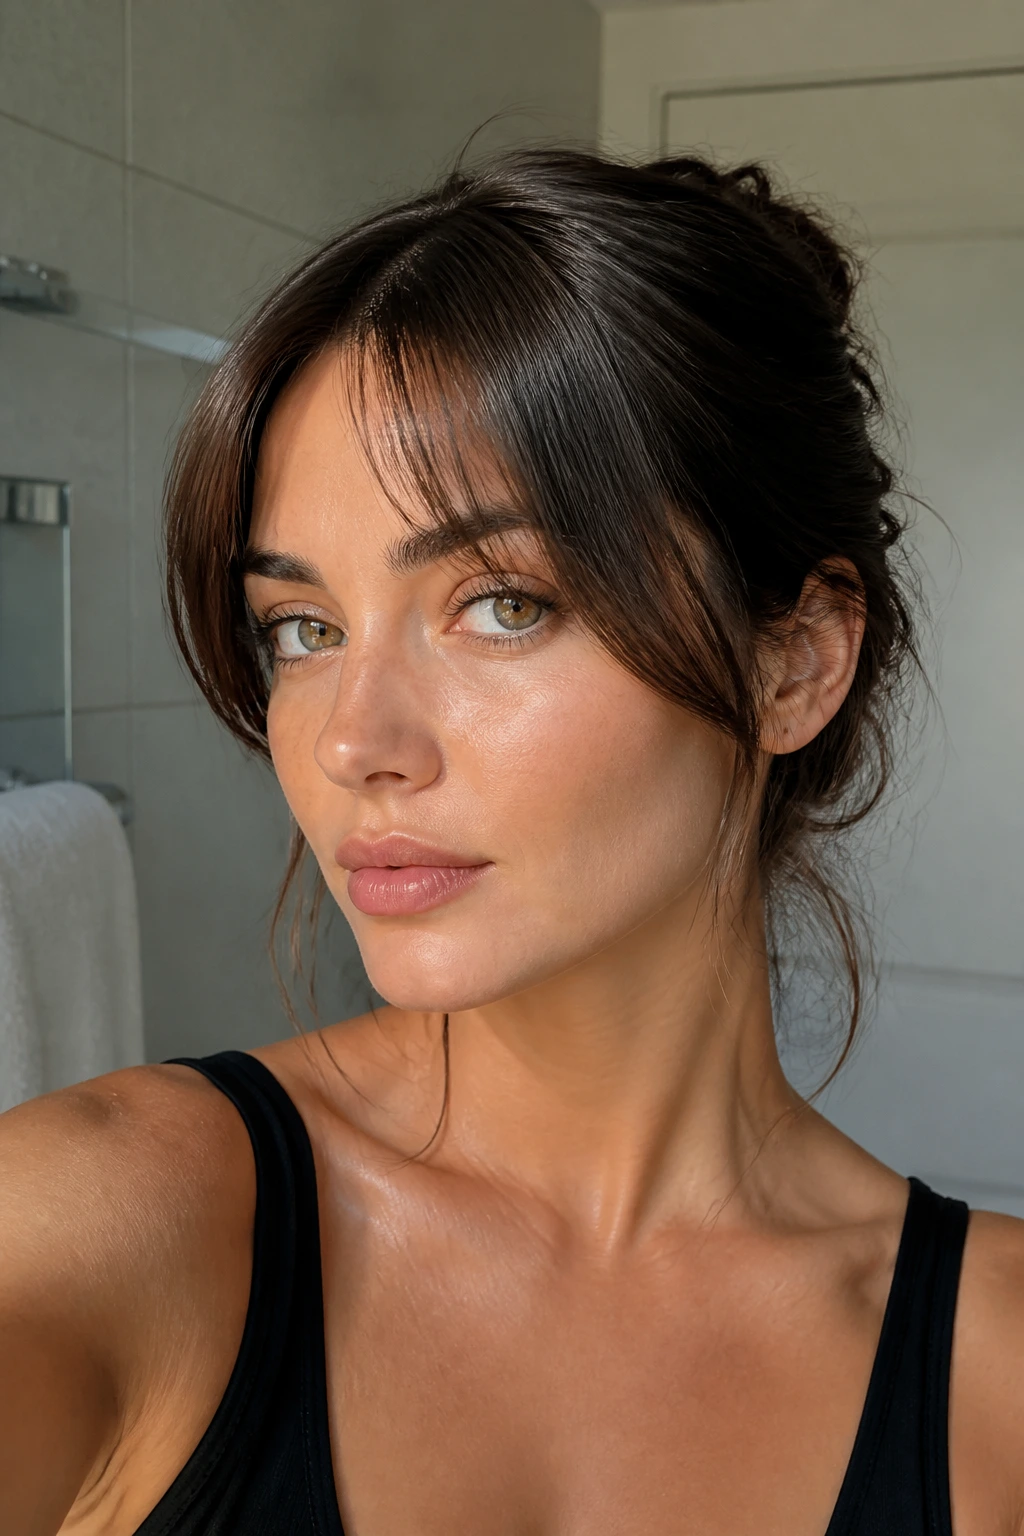
Choosing the right styling product can make or break your transition experience. Different stages of hair growth require different formulas to keep things in place.
For the Spiky, Short Stage (Months 1-2)
When your hair is short and stubborn, you need heavy-duty control that does not look wet or crunchy. Look for a matte clay or styling wax. These products have a high wax content that physically bends the hair and keeps it flat against the scalp.
For the Mid-Length Stage (Months 3-4)
Once your hair is slightly longer, you want touchable hold that allows for movement. A texturizing spray or dry shampoo is perfect here. They add grit to the hair fibers, allowing them to cling to each other and stay swept back without looking greasy.
For the Long, Blending Stage (Months 5-6+)
When your hair is almost long enough to tuck behind your ears, a lightweight cream or oil is best. These products smooth down frizz and flyaways, helping the ends of your growing bangs blend seamlessly into your long, healthy layers.
Wrapping Up
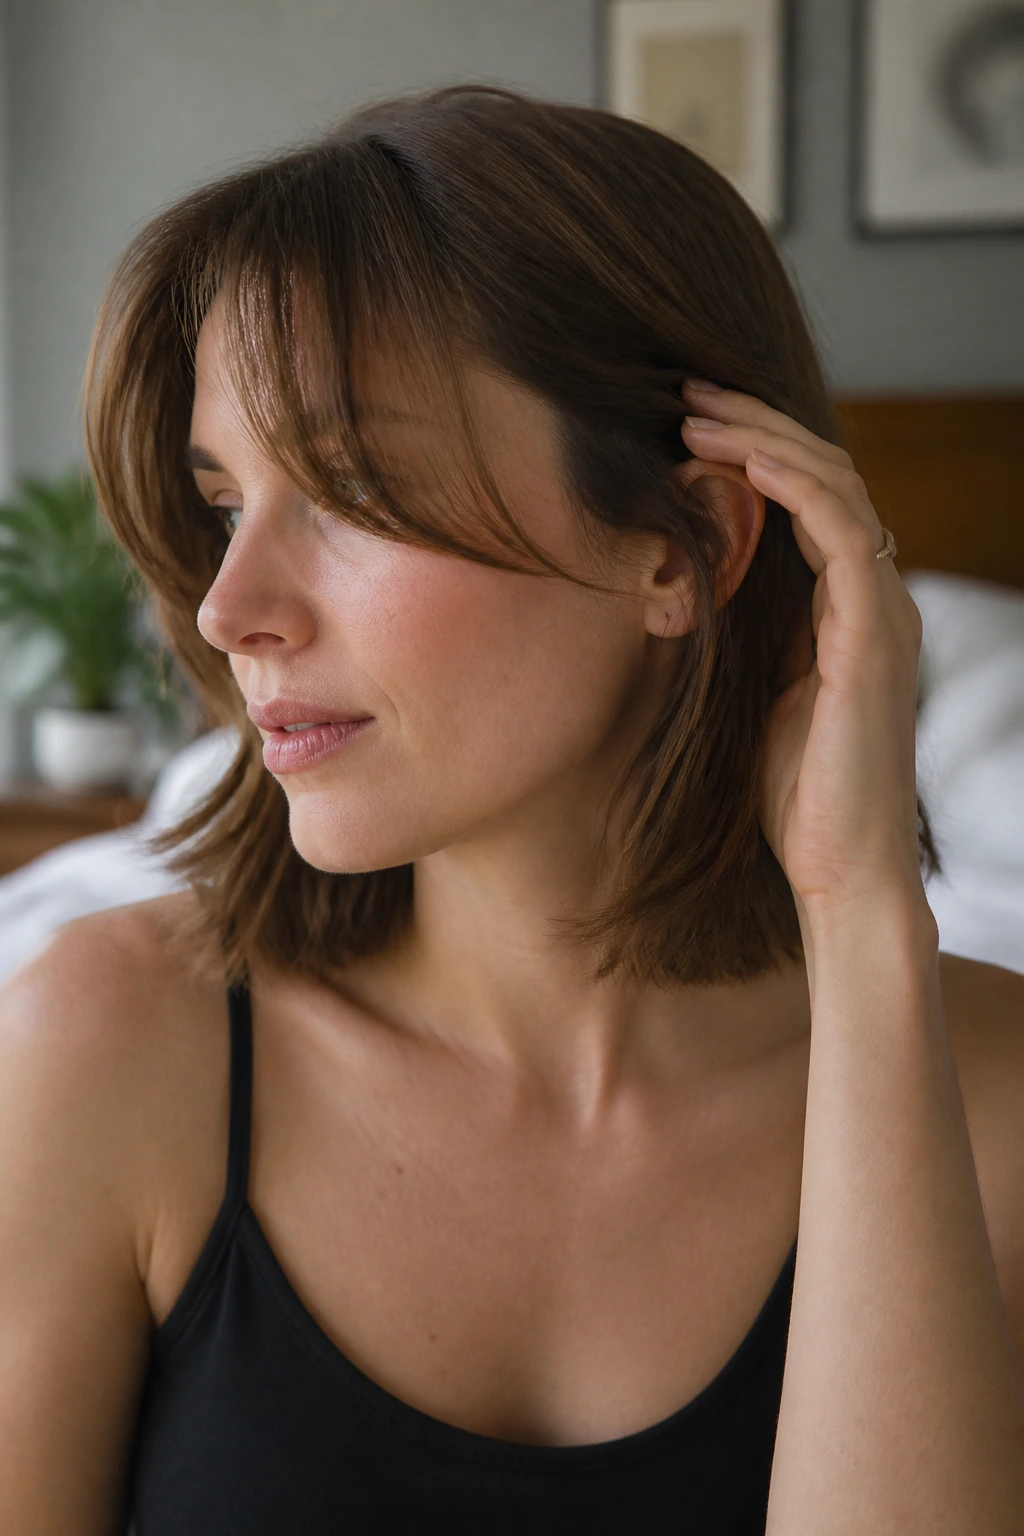
Growing out bangs is as much a mental game as it is a styling one. It requires patience, a few basic tools, and a willingness to try different looks as your hair moves through its various stages.
The process does not have to be a frustrating chore. By embracing these different styles, from sleek slick-backs to romantic braids and retro rolls, you can enjoy a variety of different looks that keep your long hair looking fresh and styled every single day.
Remember, hair growth takes time. But with the right approach, the transition from a blunt fringe to beautiful, long layers can be a seamless and stylish experience.
