Braided pigtails are far more than a nostalgic nod to childhood. For those with long hair, they offer a functional, stylish, and remarkably versatile solution to the daily “what do I do with my hair?” dilemma. Whether you are aiming for a gym-ready look that survives a high-intensity session or a polished, intricate style for a weekend event, the anatomy of a pigtail braid provides a solid foundation for endless creativity. The secret lies in the parting and the tension, which transform simple plaits into a deliberate aesthetic choice.
1. Classic Three-Strand Pigtails
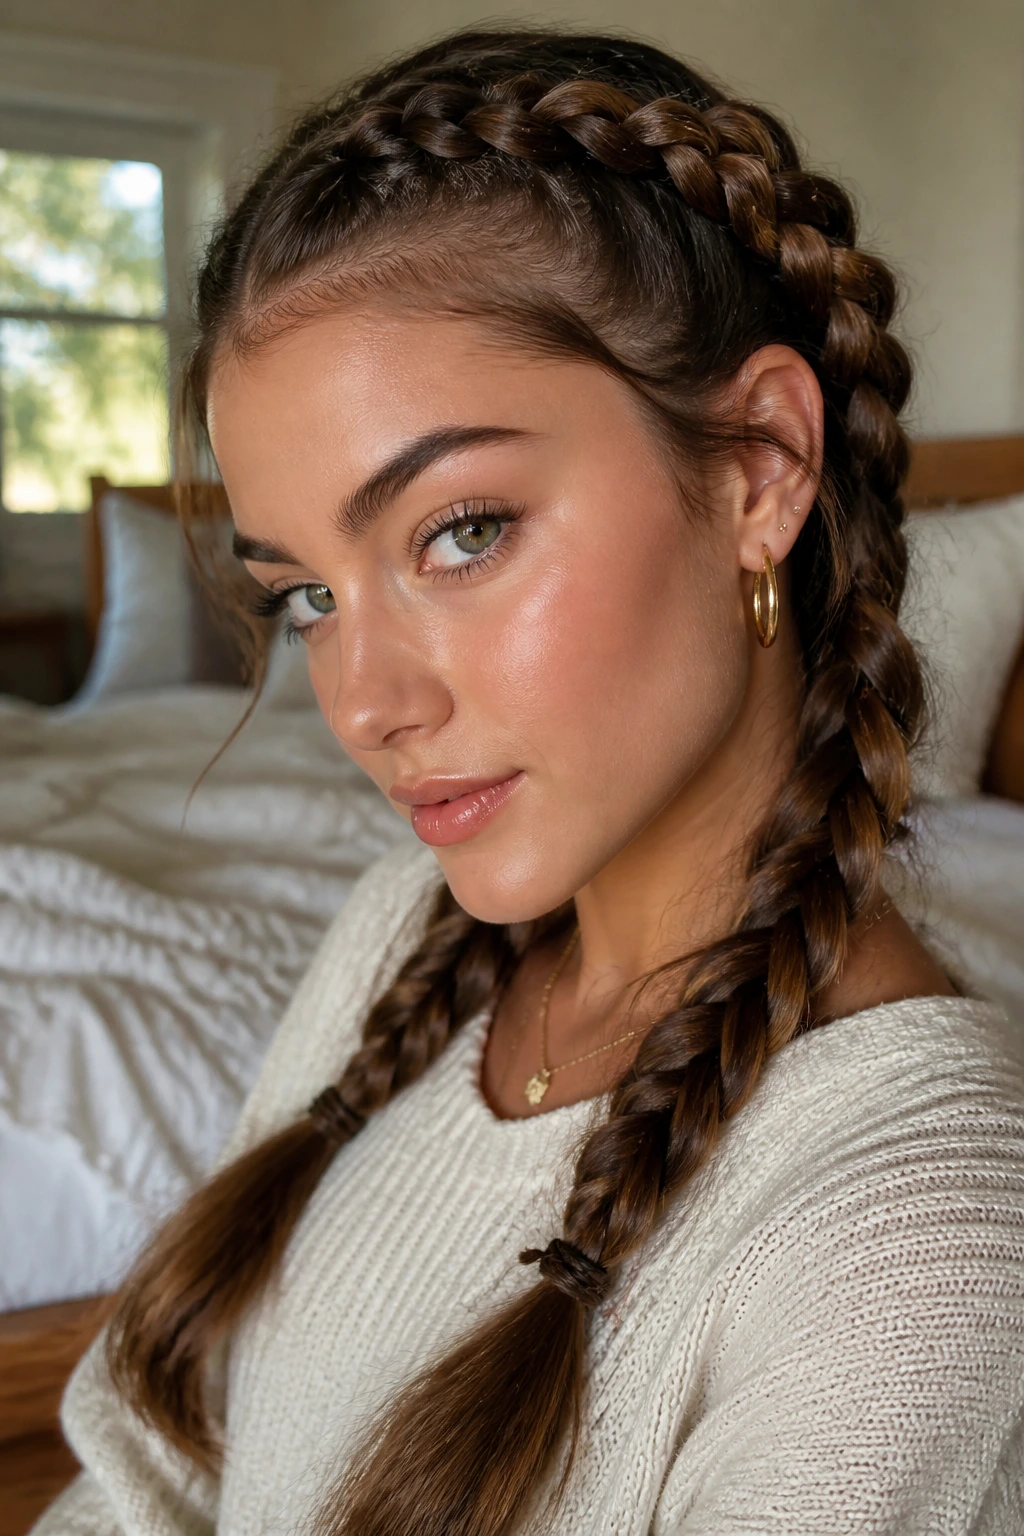
The foundation of all braided styles starts right here. There is something undeniably crisp about a clean, symmetrical middle part and two tight, uniform three-strand braids resting over the shoulders. Many people overlook the classic because it feels too simple, but when pulled taut and secured with high-quality, snag-free elastics, it creates a sleek silhouette that works in almost any setting.
How to Achieve the Look
- Section your damp hair into two equal halves using a tail comb for a precise center part.
- Apply a small amount of light-hold styling cream or a pomade to smooth down flyaways before you begin braiding.
- Start your braid as close to the nape of the neck or the ears as your preference dictates, ensuring even tension on all three strands.
- Secure the ends with clear silicone elastics to maintain a minimalist look that does not distract from the structure of the weave.
Pro tip: If you find the ends look thin, lightly mist them with a texturizing spray before braiding to give the hair more grip and body.
2. Loose and Messy Boho Pigtails
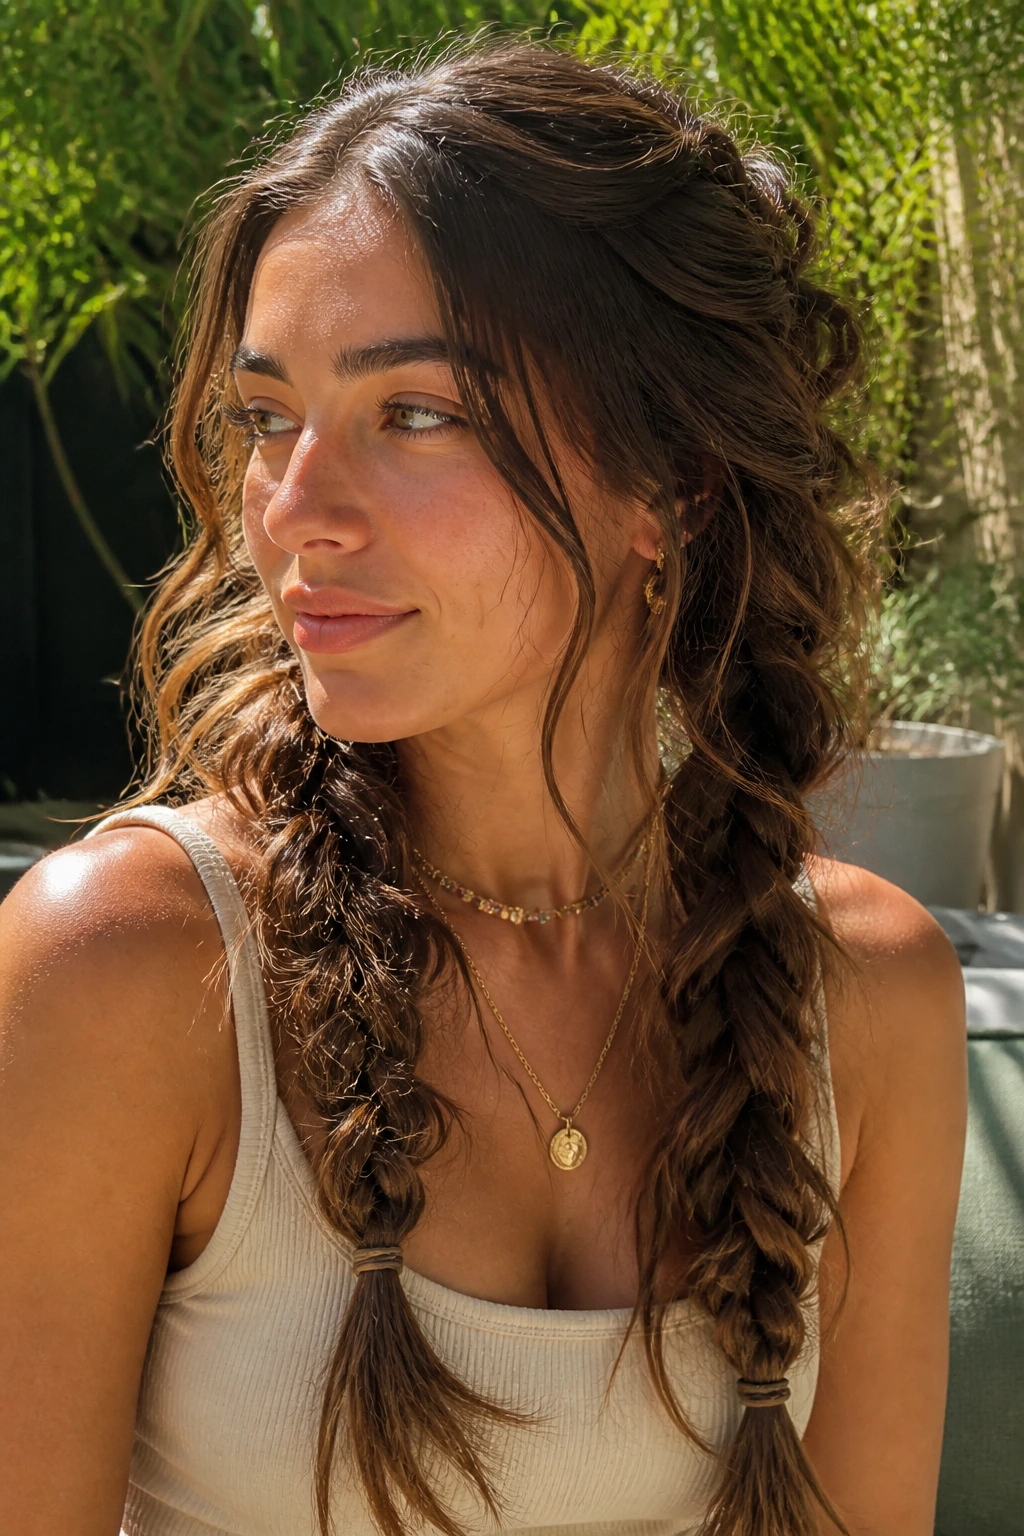
When the goal is a relaxed, effortless vibe, the “perfect” braid is actually your enemy. These pigtails rely on a looser initial weave and the intentional technique of “pancaking” the braids. By gently tugging at the edges of each loop after the braid is secured, you expand the volume significantly, creating a wide, ethereal texture that looks like it took hours of professional styling despite being finished in minutes.
The Art of Pancaking
- Begin by braiding your hair into two standard pigtails, but do not pull the tension too tight as you work down the length.
- Once you reach the bottom, secure with a tie and go back up the braid starting from the bottom-most loop.
- Use your thumb and index finger to gently pull the outer edges of the braid outward.
- Work your way toward the scalp, adjusting the thickness until both braids have a balanced, voluminous appearance.
Note: This style excels on second-day hair. The natural oils and added grit provide the necessary structure to keep the loosened strands from slipping out entirely.
3. Dutch-Braided Pigtails

Dutch braids, often called “inside-out” braids, sit prominently on top of the head rather than sinking into the scalp. They are visually striking because they follow the line of the hair, making them a favorite for those with highlights or balayage who want to show off the dimension of their color. Because they are woven under rather than over, they provide exceptional hold, making them ideal for high-impact activities.
Why They Work for Long Hair
- The “under-hand” technique naturally creates a 3D effect that makes long, dense hair look even fuller.
- By incorporating hair as you move down the scalp, the style creates a secure anchor that prevents hair from falling into your face.
- These braids are highly durable and can often be left in overnight to reveal voluminous, heatless waves the next day.
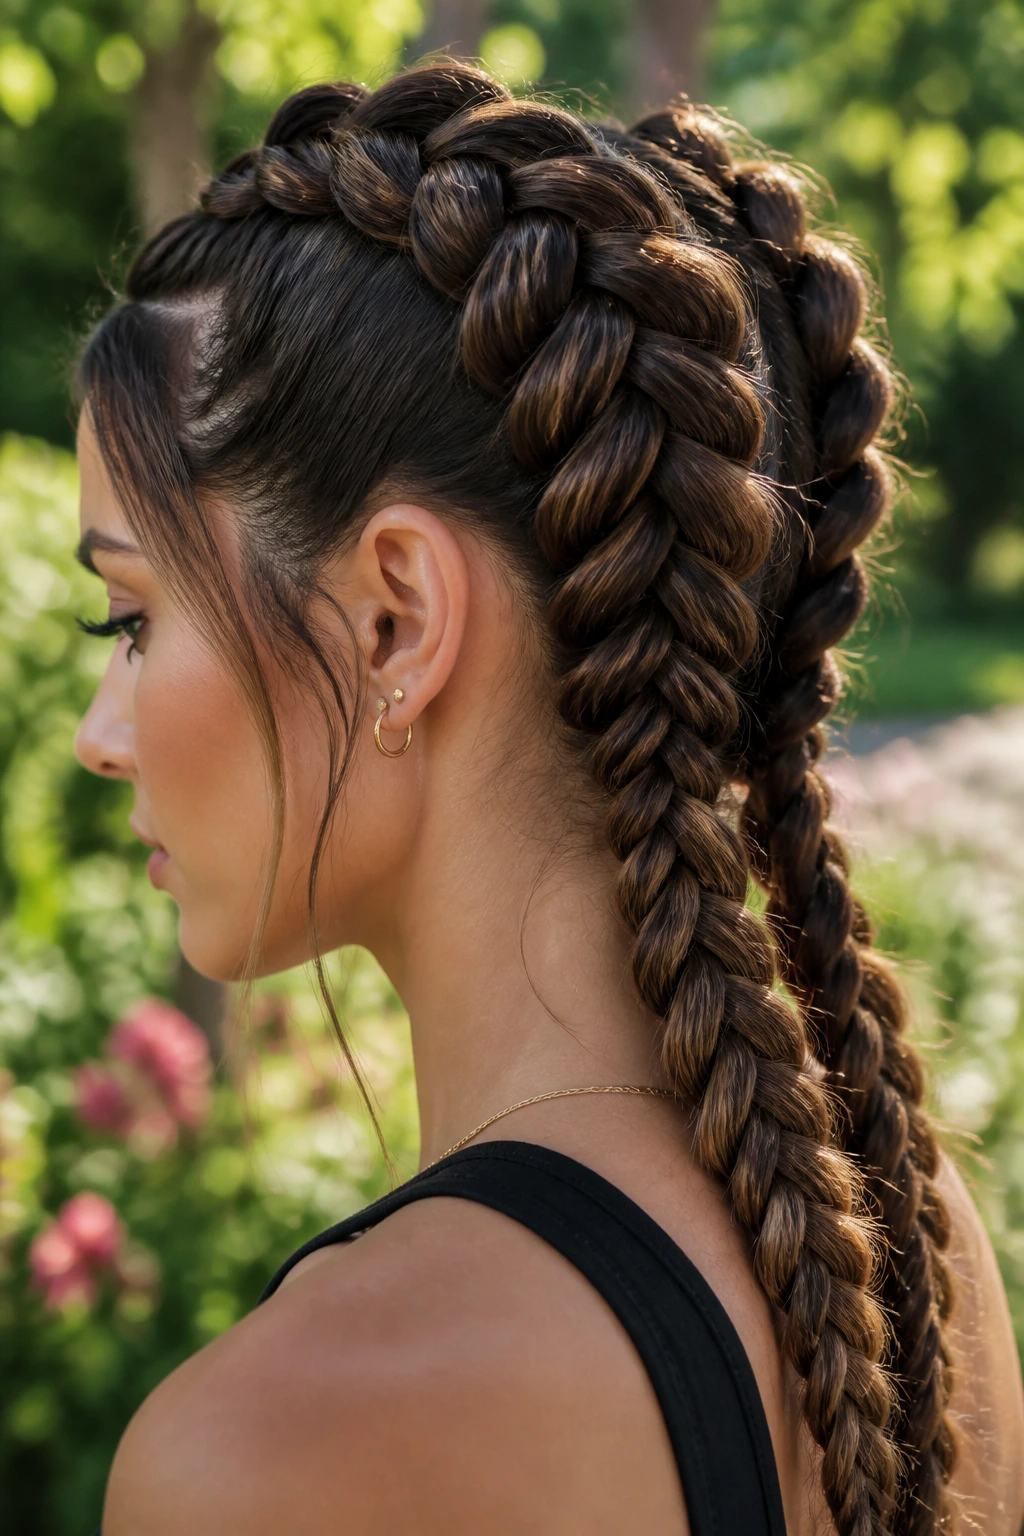
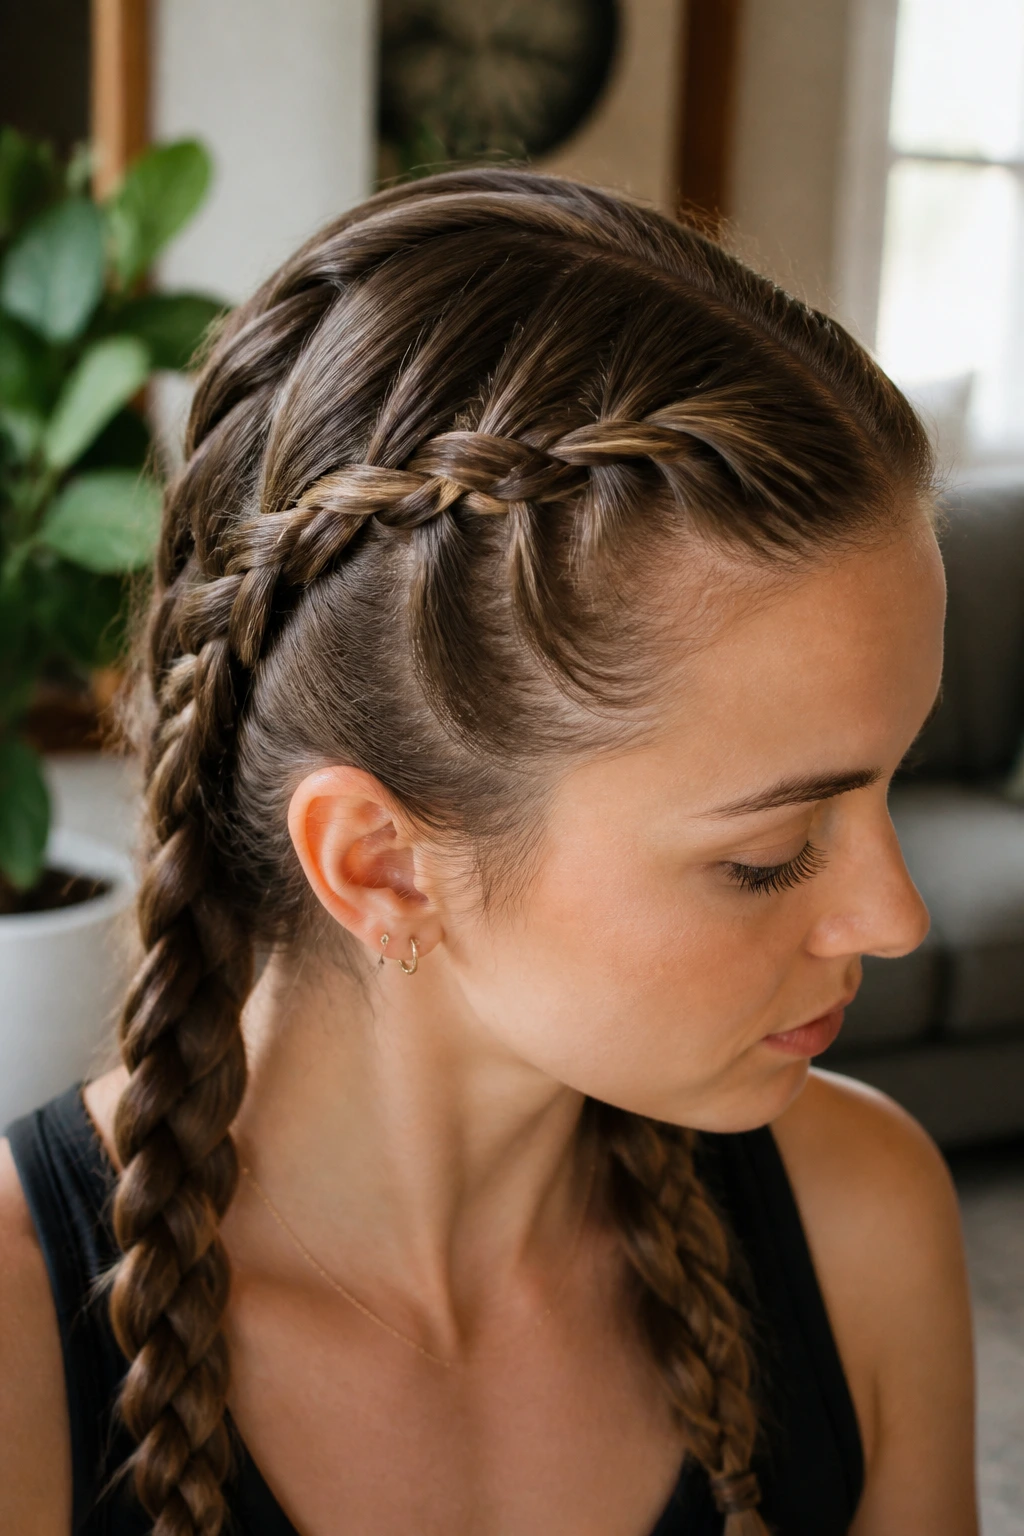
4. French-Braided Pigtails
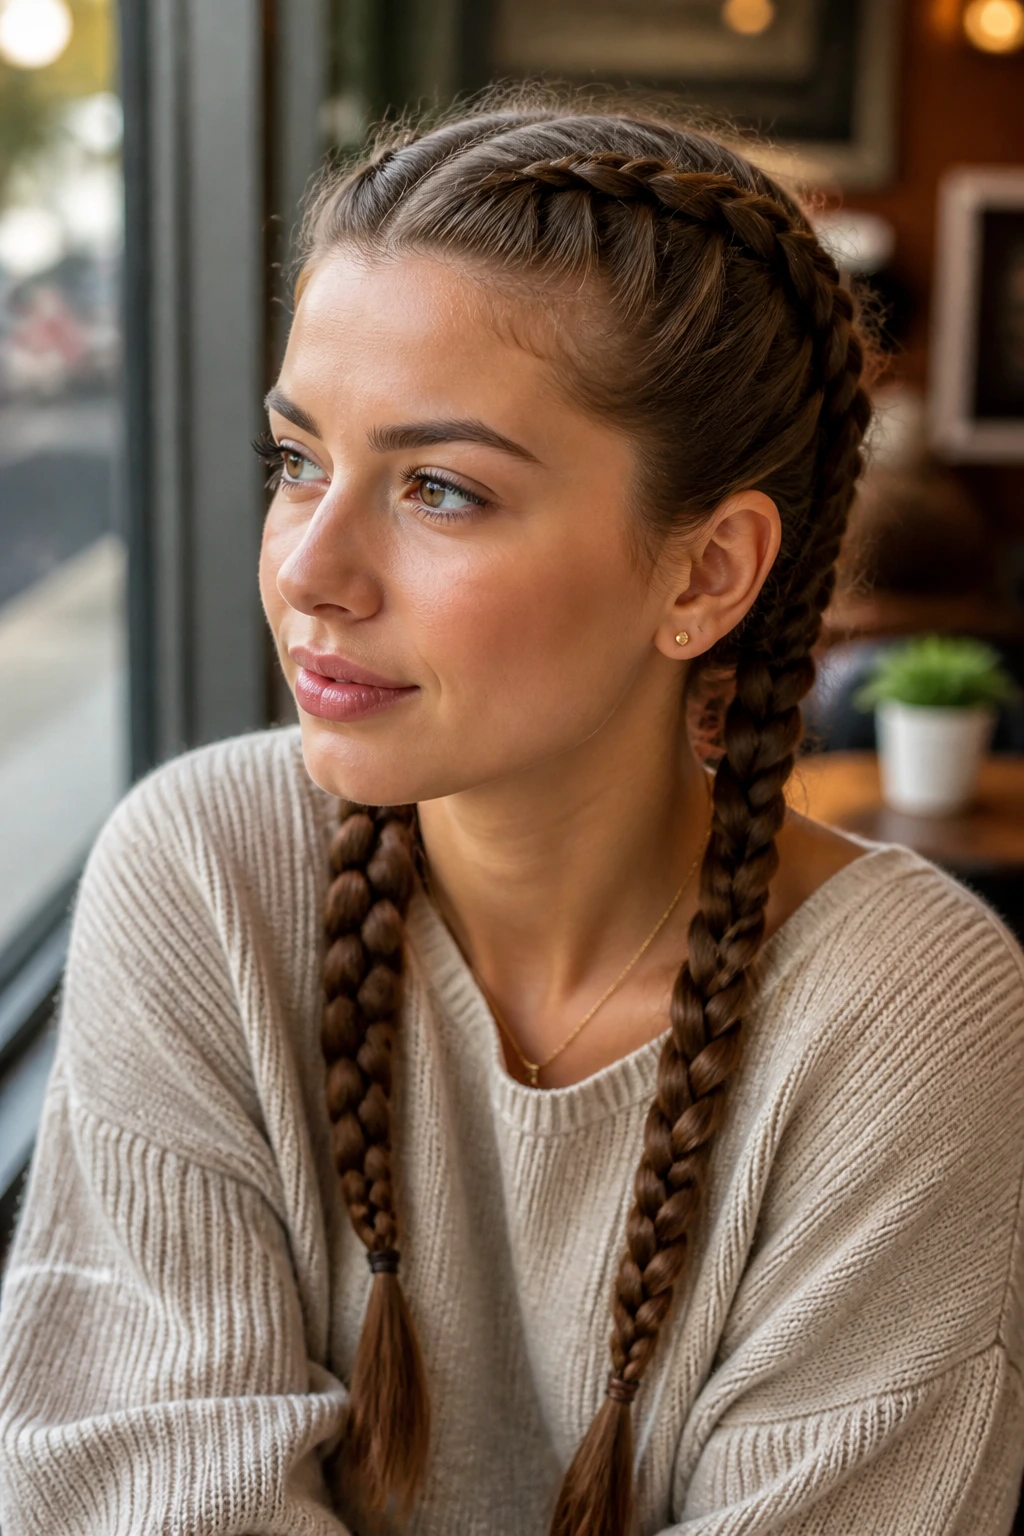
The classic French braid is a staple for a reason. Unlike the Dutch method, the French technique weaves strands over one another, resulting in a more subtle, sunken look that mimics the way hair naturally grows from the scalp. For those who prefer a cleaner, more understated appearance, the French pigtail provides a sophisticated base that can be dressed up with hair cuffs or silk ribbons.
Techniques for Precision
- Start with a tiny section at the very front of the hairline.
- As you move backward, add equal-sized small sections from the left and right, keeping your hands close to the scalp to ensure the braid remains tight and flat.
- If your hair is exceptionally long, keep a brush nearby to smooth the hair before it gets incorporated into the braid to prevent tangles and knots.
5. Fishtail Pigtail Braids
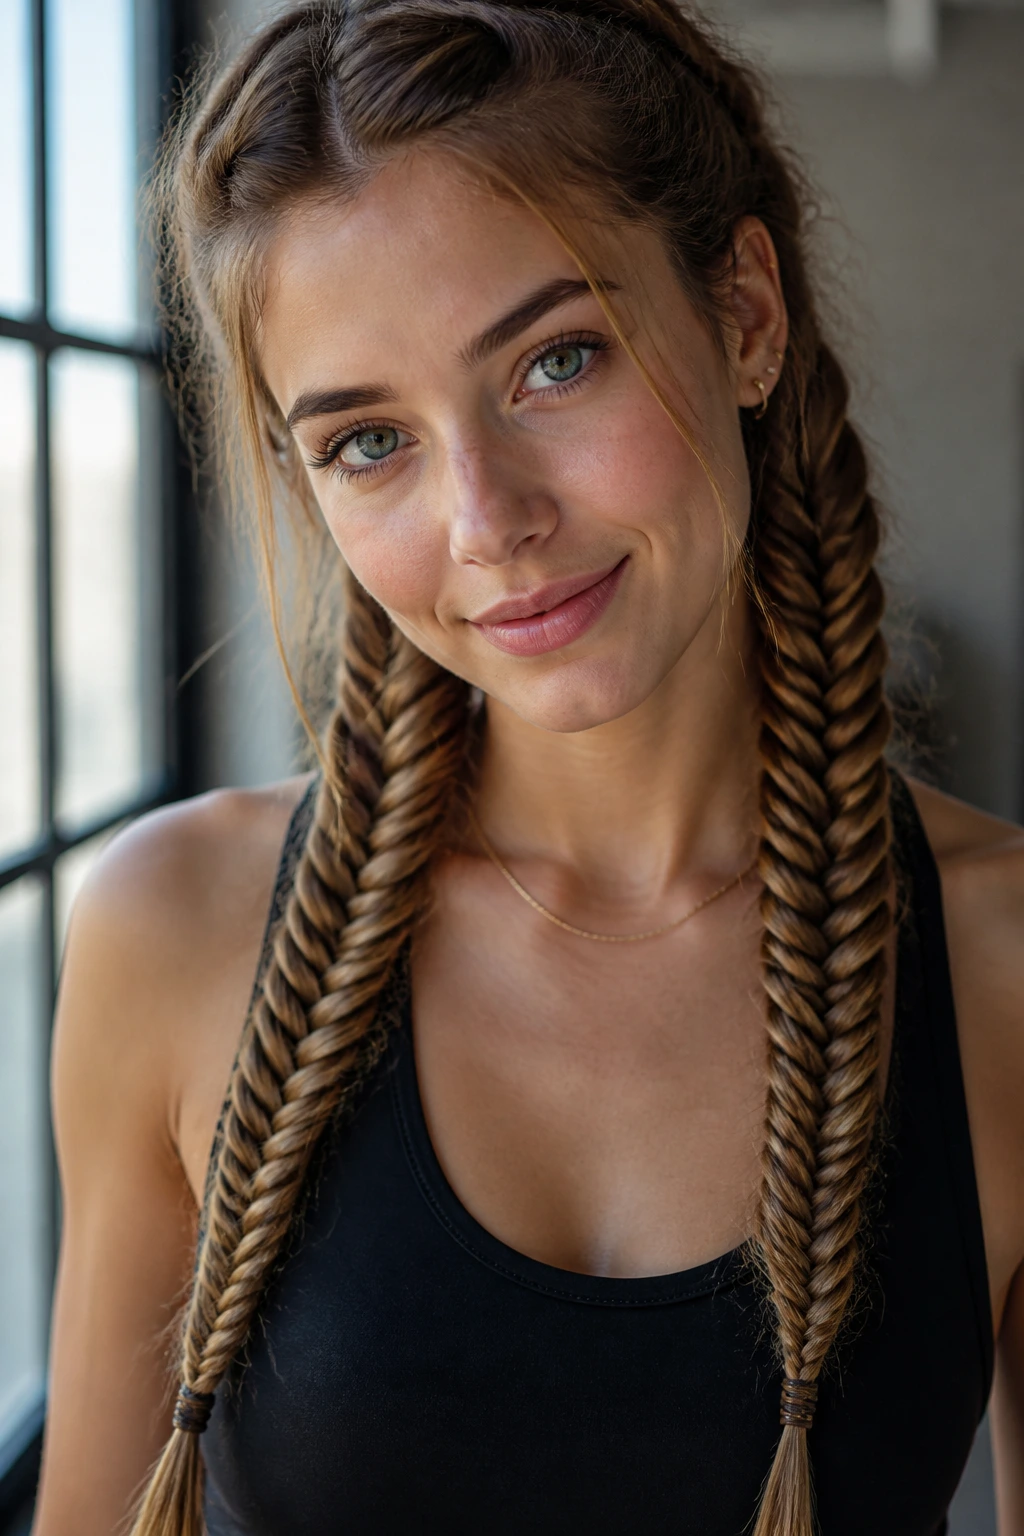
Fishtail braids take time and patience, but the result is a sophisticated, intricate texture that standard three-strand plaits cannot match. By dividing the hair into just two sections and crossing small outer strands over to the opposite side, you create a pattern that resembles the scales of a fish. On very long hair, this braid can look incredibly elegant, especially when left to drape over the shoulders.
Making the Process Faster
- Divide each pigtail section into two smaller, equal segments.
- Take a tiny piece from the outer edge of the left segment and pull it over to the right side.
- Repeat the process from the outer edge of the right segment, pulling it over to the left.
- Consistency is key: Keep the segments small to ensure the braid looks dense and tight. Larger segments tend to look messy and may unravel over the course of the day.
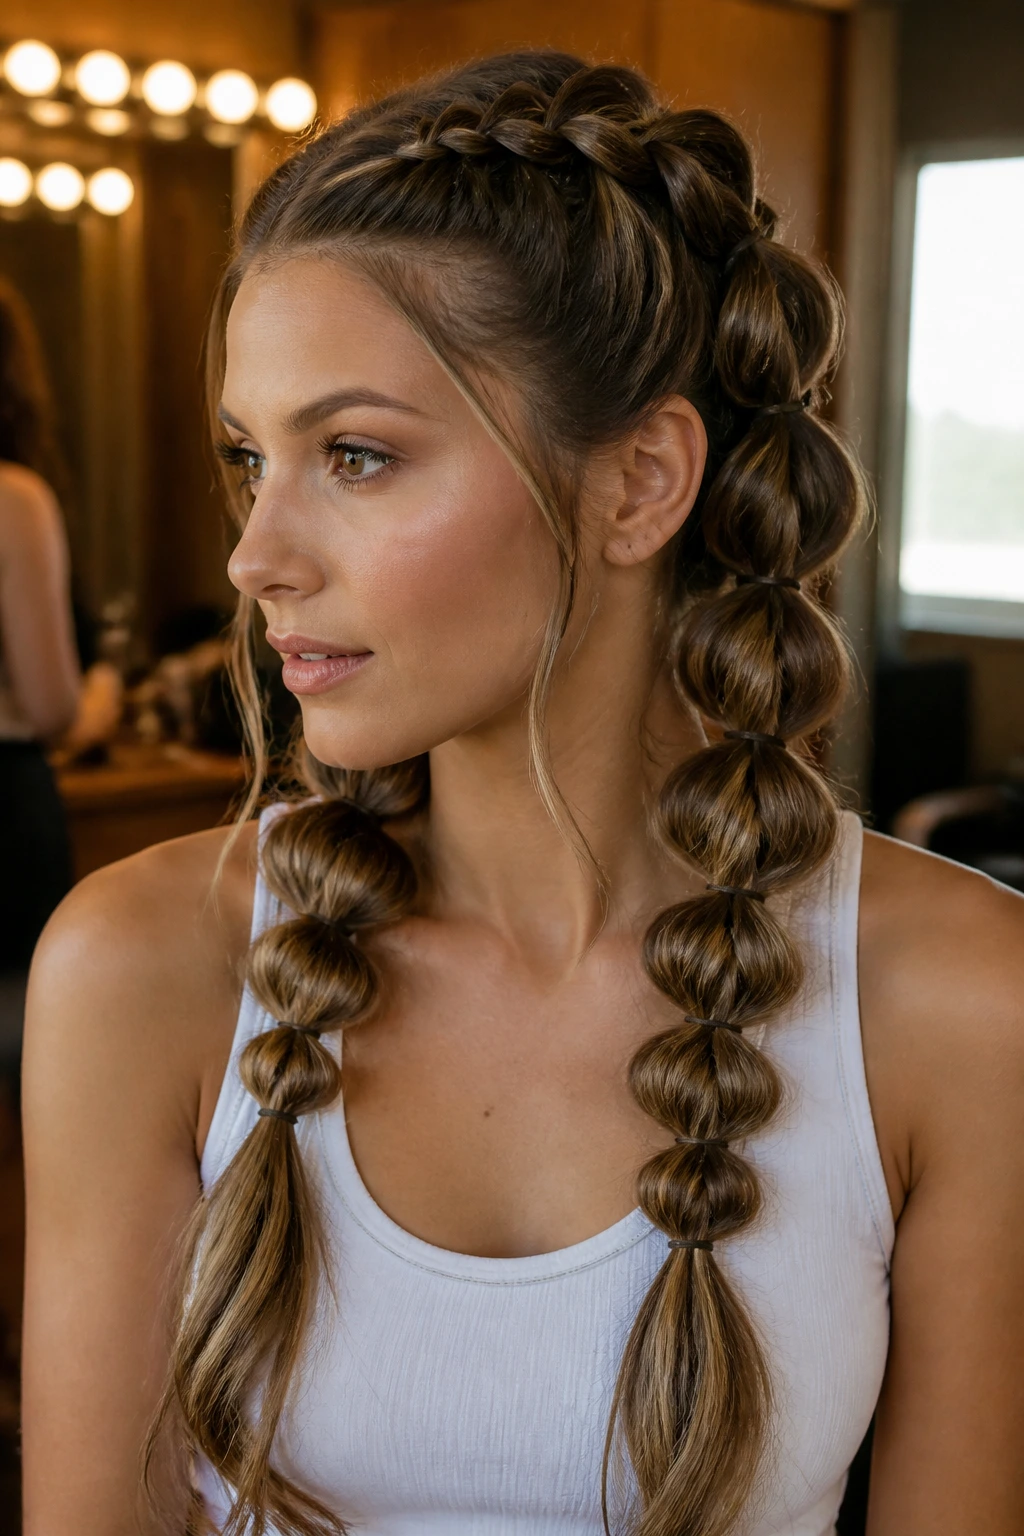
6. Bubble Braid Pigtails
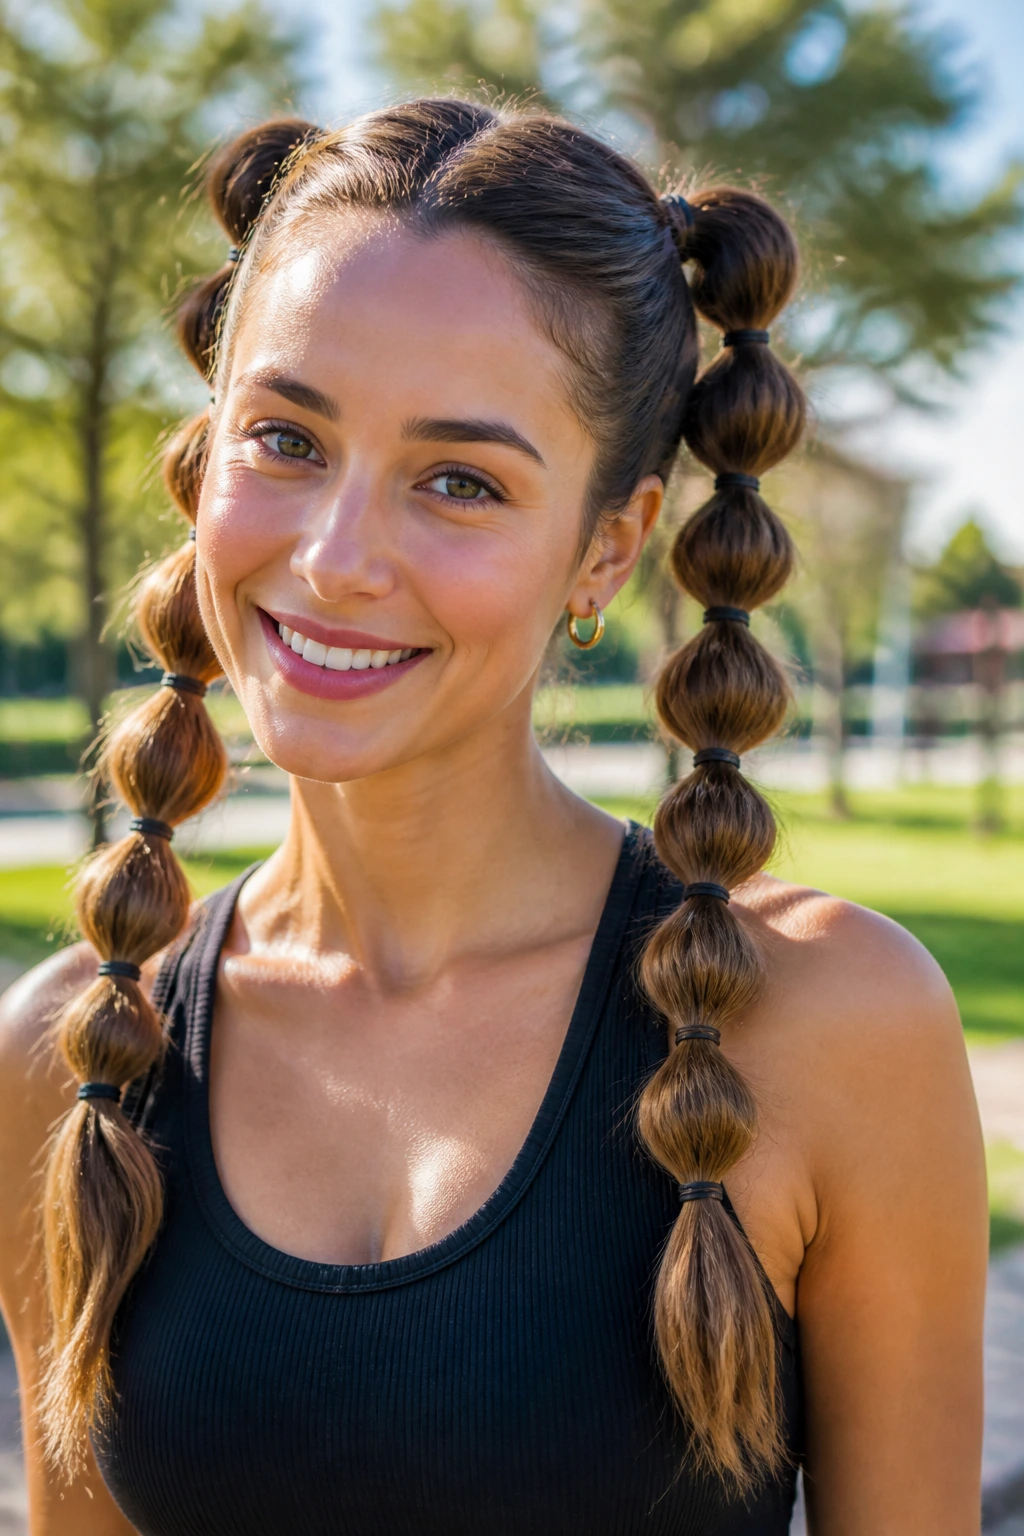
Bubble braids have become a massive favorite because they require almost no traditional braiding skill. Instead, they utilize hair elastics to create “bubbles” of hair down the length of each pigtail. This is an incredibly playful look, especially for long hair where you can create five or six bubbles per side.
Why This Style Is Popular
- It is significantly faster than standard braiding for those who struggle with coordination.
- It is excellent for protecting the ends of the hair, as the length is contained within the sections.
- You can customize the look by using colorful elastics or matching them to your hair color for a cleaner aesthetic.
7. Rope Twist Pigtails
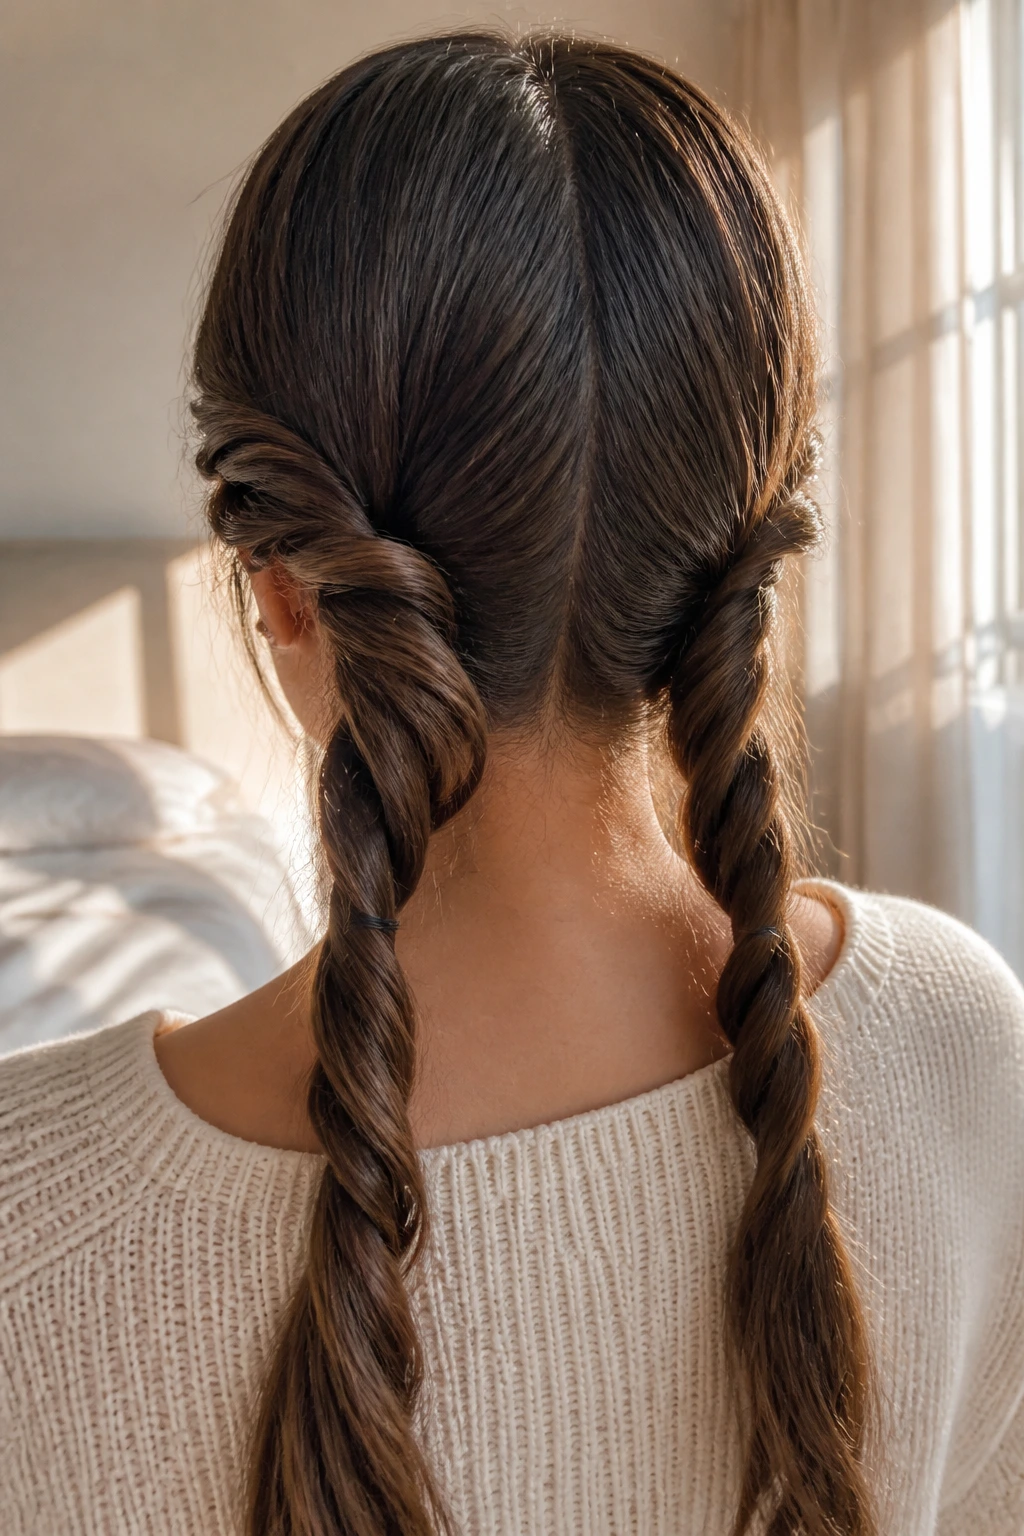
Sometimes, you just don’t want a woven look. A rope twist (or two-strand twist) offers a smooth, architectural style that looks remarkably refined. By twisting two strands individually in one direction and then twisting them together in the opposite direction, you create a spiral effect that holds up surprisingly well throughout the day.
Getting the Tension Right
- Secure your two pigtail sections at the nape of the neck.
- Divide each pigtail into two even halves.
- Twist both halves clockwise.
- Then, twist them around each other counter-clockwise, keeping the tension constant as you work toward the ends.
Tip: Use a tiny amount of hair wax on your fingers to keep the strands from fraying as you twist.
8. Pull-Through Pigtail Braids
If you love the look of a thick, voluminous braid but struggle with complex plaiting techniques, the pull-through method is your best friend. It mimics the appearance of a Dutch braid but is actually constructed using a series of tiny ponytails pulled through one another. The result is a seamless, architectural masterpiece that looks like it belongs on a runway.
The Construction Process
- Start with a high or low pigtail base.
- Add a second elastic a few inches down, creating a segment.
- Split that segment in half and pull the hair from the segment below it through the middle.
- Continue this cycle until you reach the ends.
9. Messy Side-Part Pigtails

Not every pigtail style requires a stark center part. For a softer, more romantic look, try a deep side part. This pulls more volume to one side of the face, creating a flattering, asymmetrical frame. It feels less like a schoolgirl hairstyle and more like a deliberate, fashion-forward choice.
How to Style
- Part your hair deep on the left or right side before sectioning into two.
- Braid the side with more hair first, making sure to keep the braid loose and relaxed.
- Allow a few face-framing strands to pull free near the temples.
- Use a light-hold hairspray to ensure the soft texture stays in place without feeling crispy.
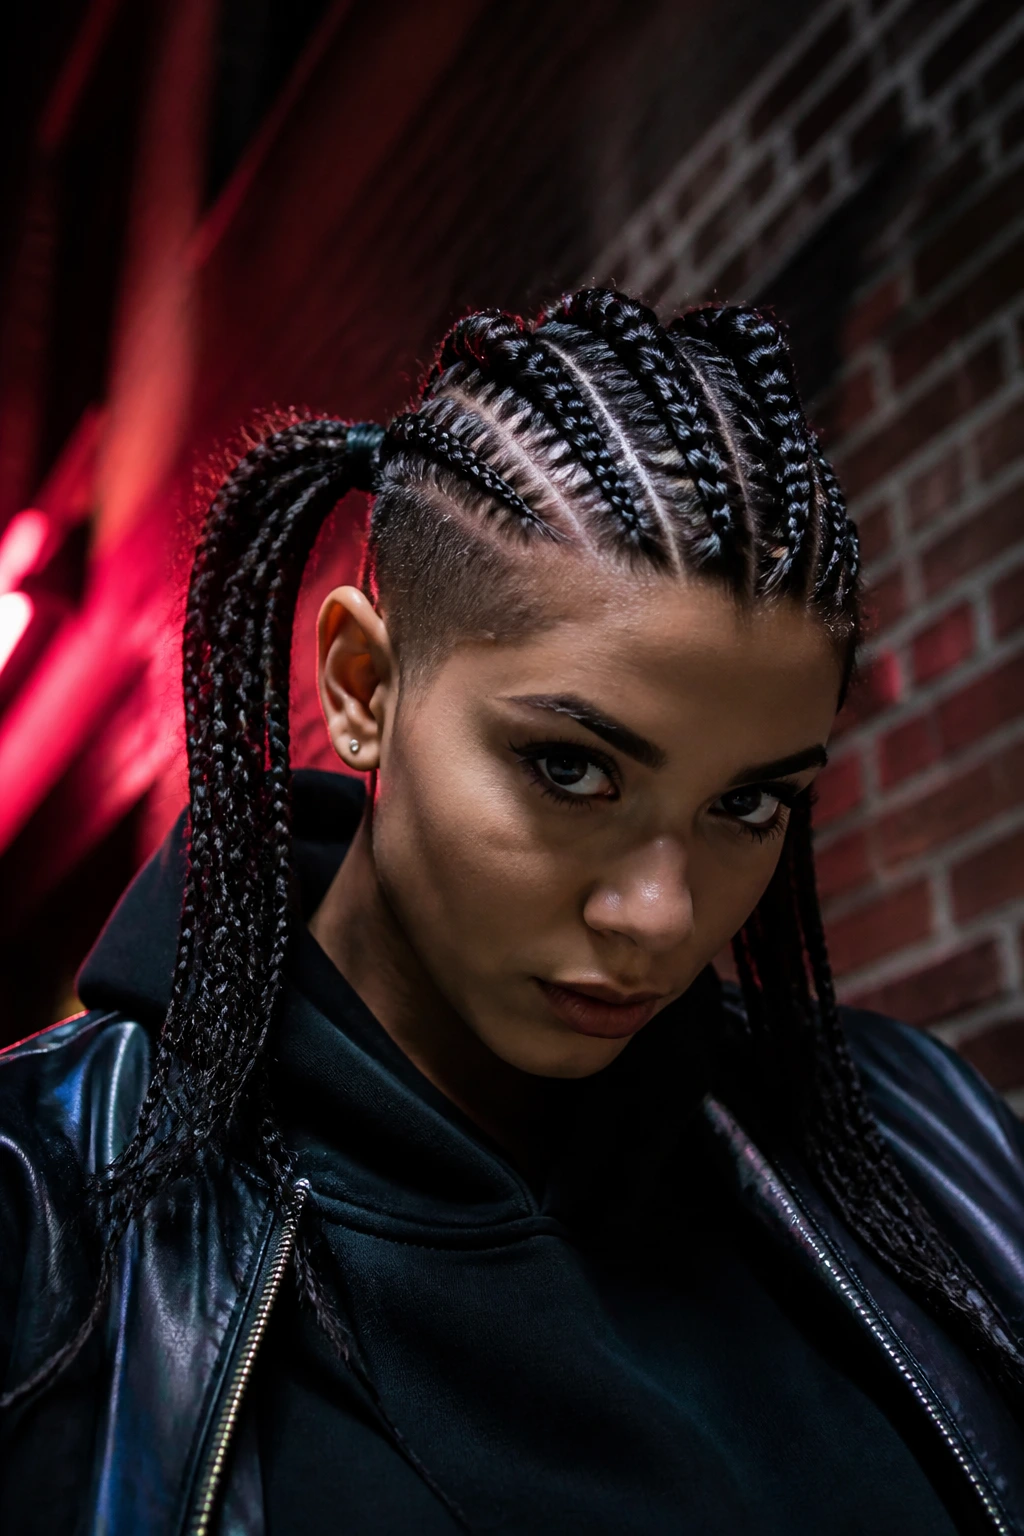
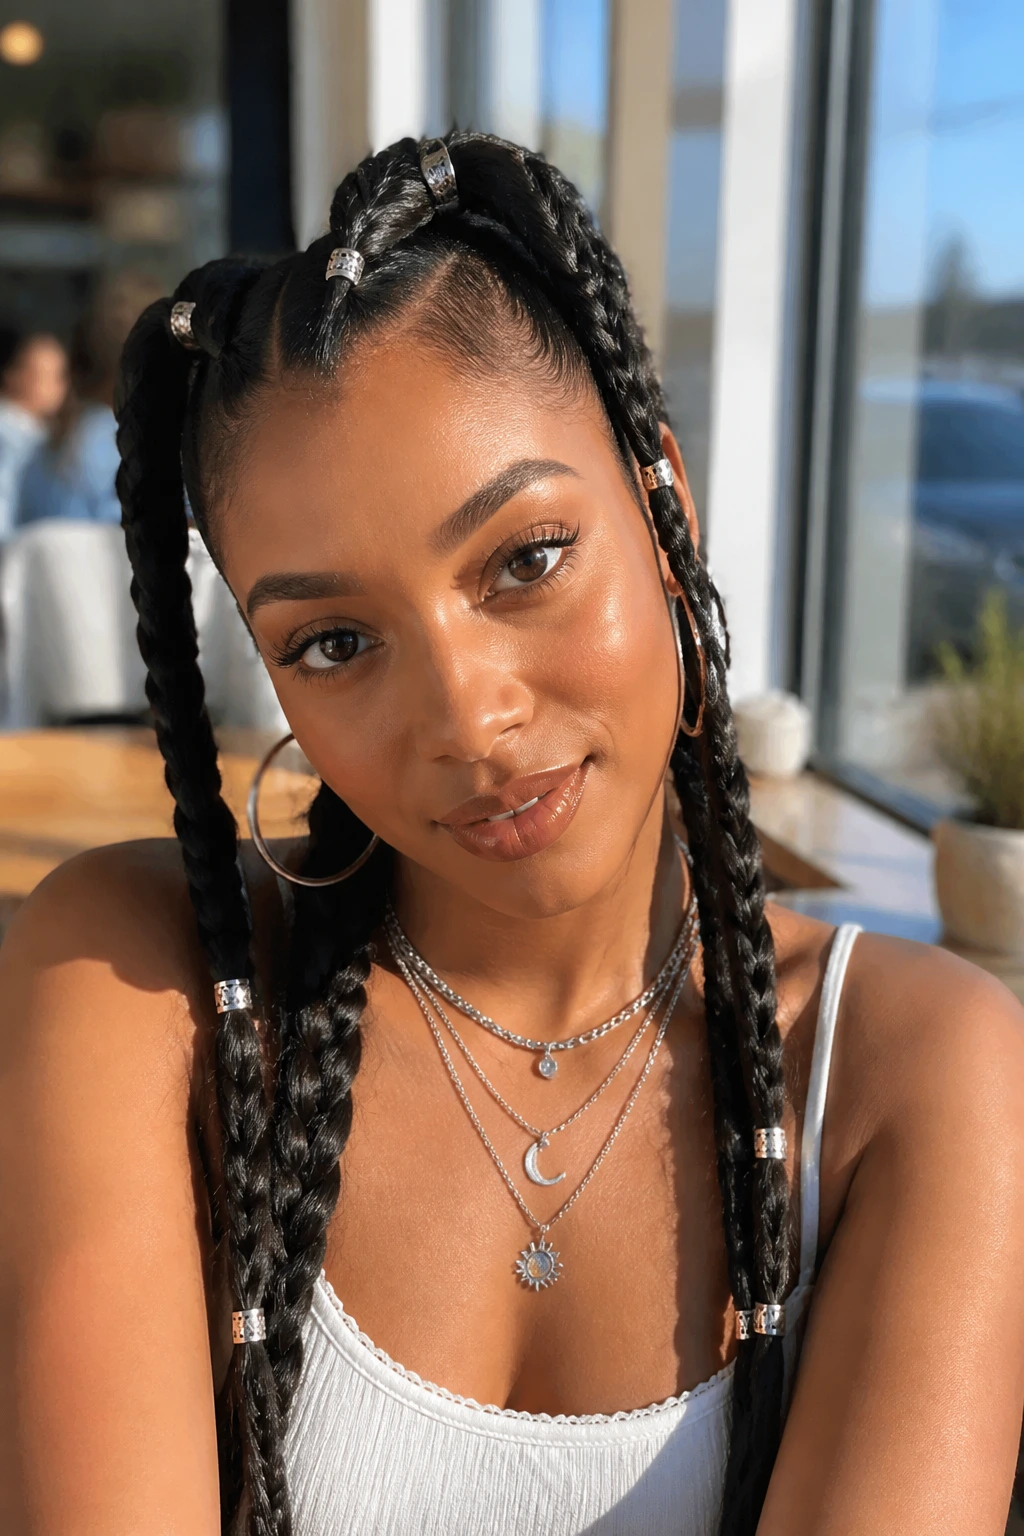
10. Cornrow-Inspired Pigtail Braids
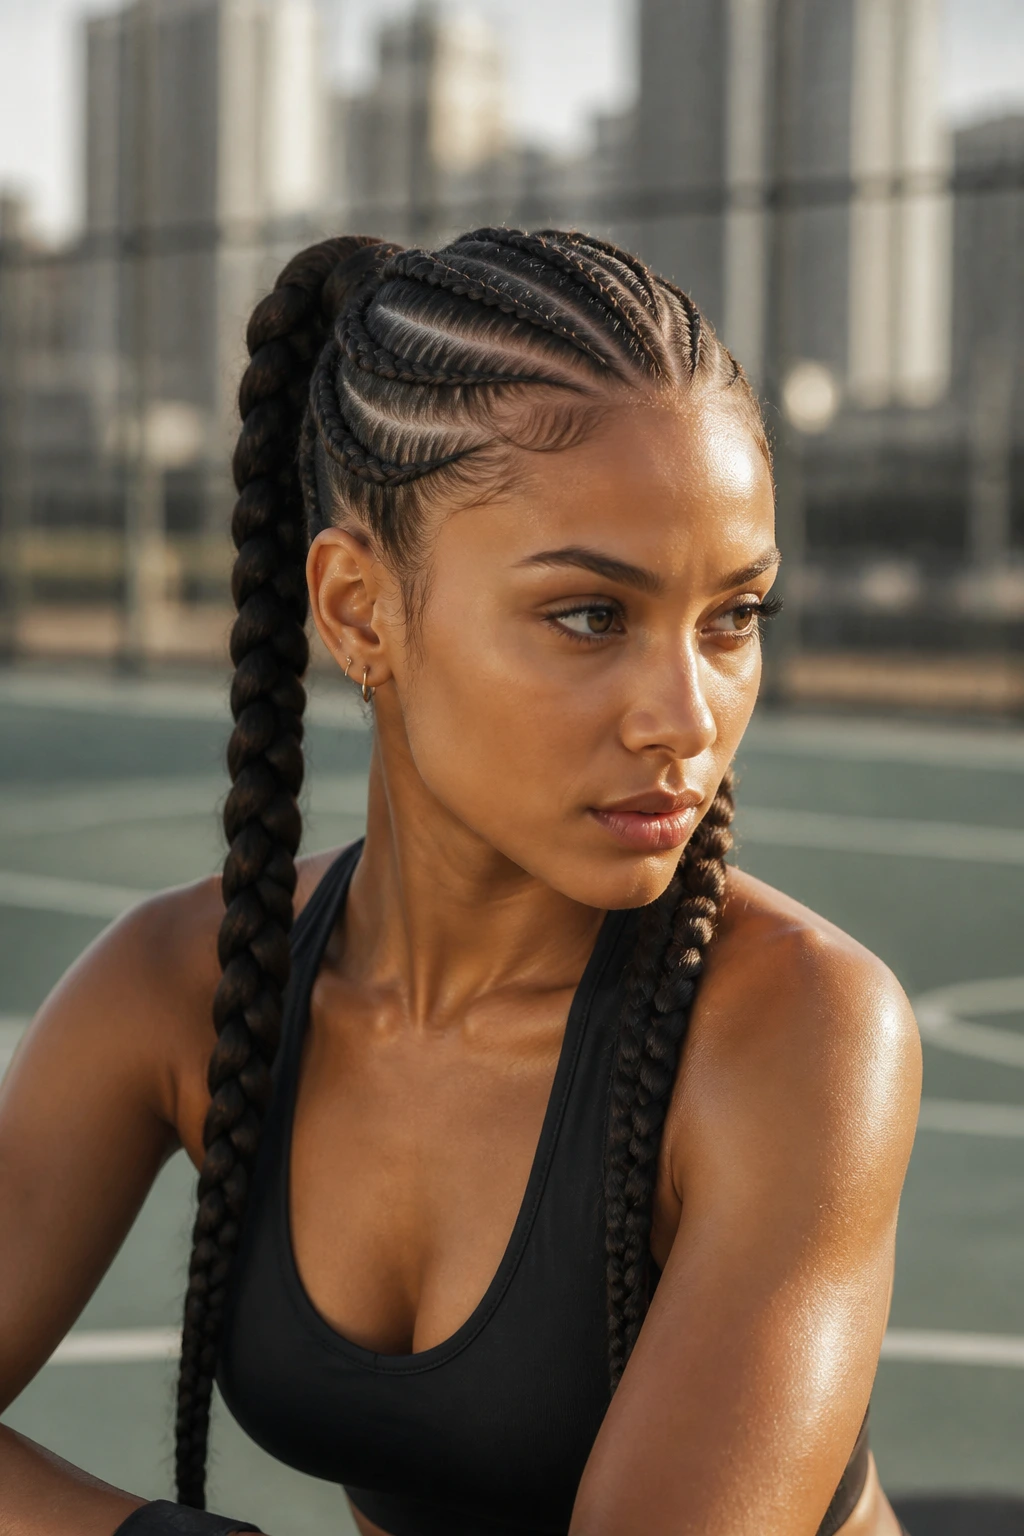
These are not traditional cornrows in the cultural sense, but rather a style that mimics the tight, scalp-hugging appearance of multiple thin braids leading into two larger pigtails. This is a high-maintenance look that requires time and a steady hand, but the results are incredibly stylish and sporty.
Why It Works for Long Hair
- It keeps every single strand of hair under control.
- It looks excellent with accessories like gold or silver hair rings.
- It is the ideal choice for activities like swimming or heavy exercise where you need maximum hair security.
11. Braid-into-Ponytail Hybrids
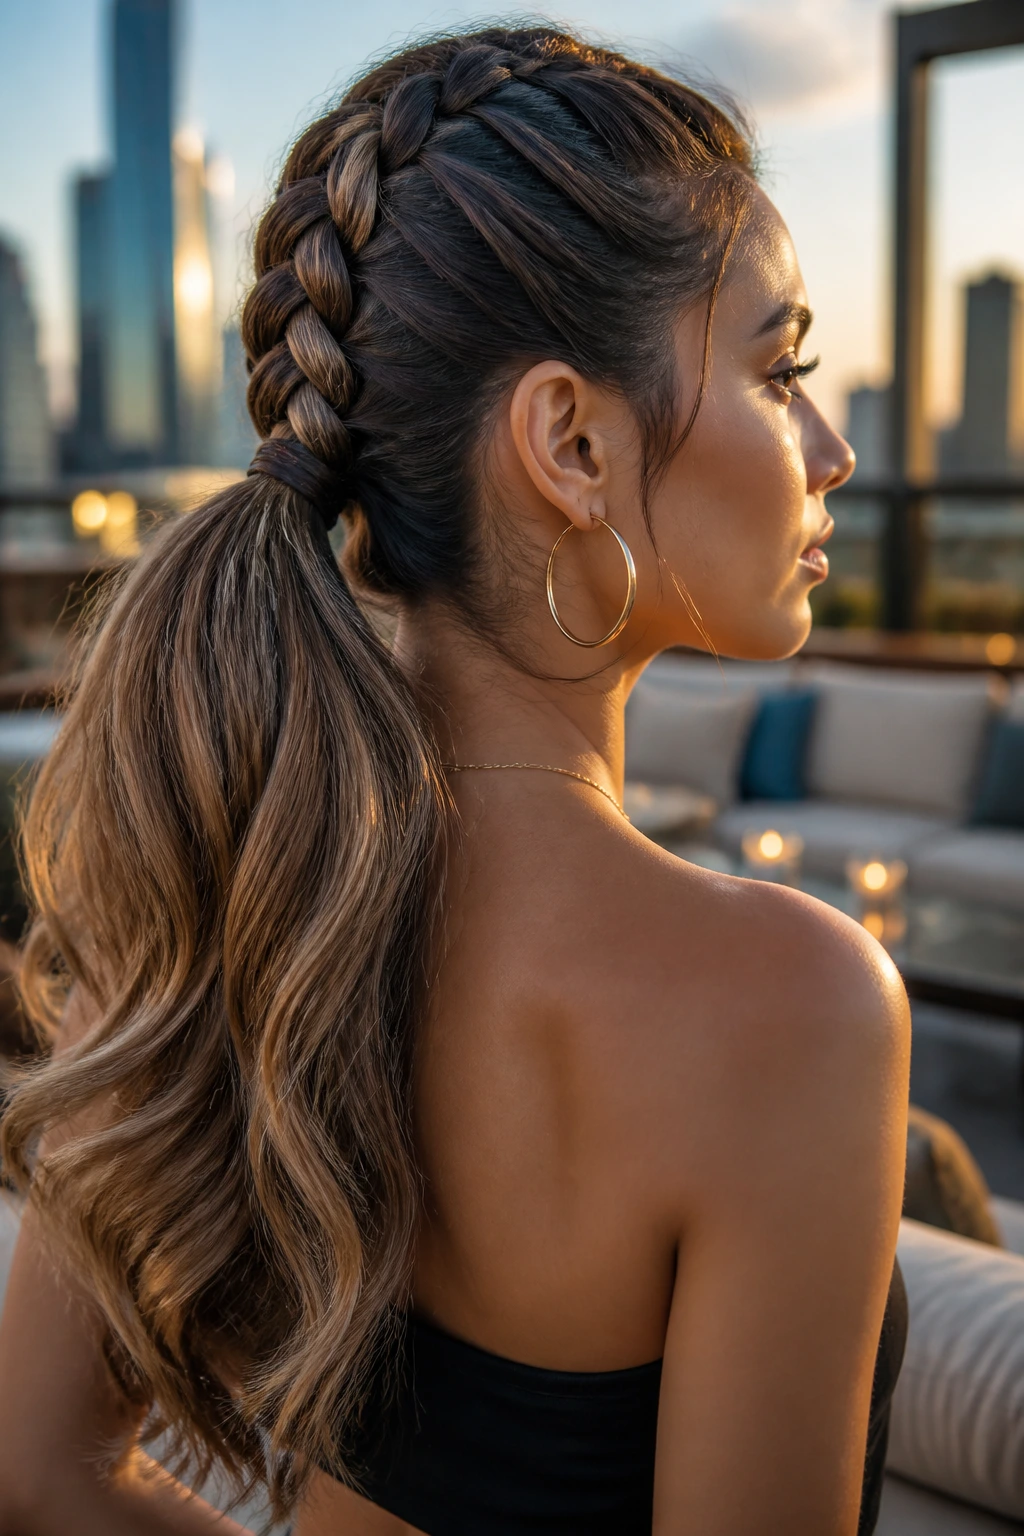
This style bridges the gap between a sleek ponytail and a textured braid. You begin the hair as a tight, scalp-hugging French or Dutch braid, but you stop halfway down the head. The remaining length of the hair is left as a free-flowing ponytail, creating a look that is both structured and dynamic.
Balancing the Textures
- Ensure the transition point is perfectly aligned on both sides of your head.
- Use a decorative metal clip or a thick fabric scrunchie at the point where the braid ends to hide the connection.
- If you have thin hair, you might want to tease the loose ponytail sections to give them more volume to match the density of the braid above.
12. Mohawk-Style Braided Pigtails
By concentrating the braiding in the center of each side, you create a raised, ridge-like effect that mimics a mohawk. This is a bold, edgy style that works beautifully with long hair. It is all about the sectioning—taking a larger middle section and leaving smaller side sections to be incorporated as you go.
Tips for Edge
- This style requires clean, sharp partings.
- Use a rattail comb to create precise lines that stand out.
- Keep the braids tight to the scalp to ensure the “ridge” effect is prominent rather than falling to the sides.
13. Double-Braided Pigtail Wraps
Why settle for one braid per side when you can have two? A double-braided style involves creating one thin, tight braid and one larger, looser braid on each side. By weaving them together or simply wearing them side-by-side, you add a complex, layered dimension that makes your hair look exceptionally thick.
How to Layer
- Braid a smaller section near the part first.
- Incorporate that finished braid into the larger braid as you work down the side of your head.
- This creates an interlocking effect that looks far more complicated than it actually is.
14. Pigtail Braids with Ribbon Weaving
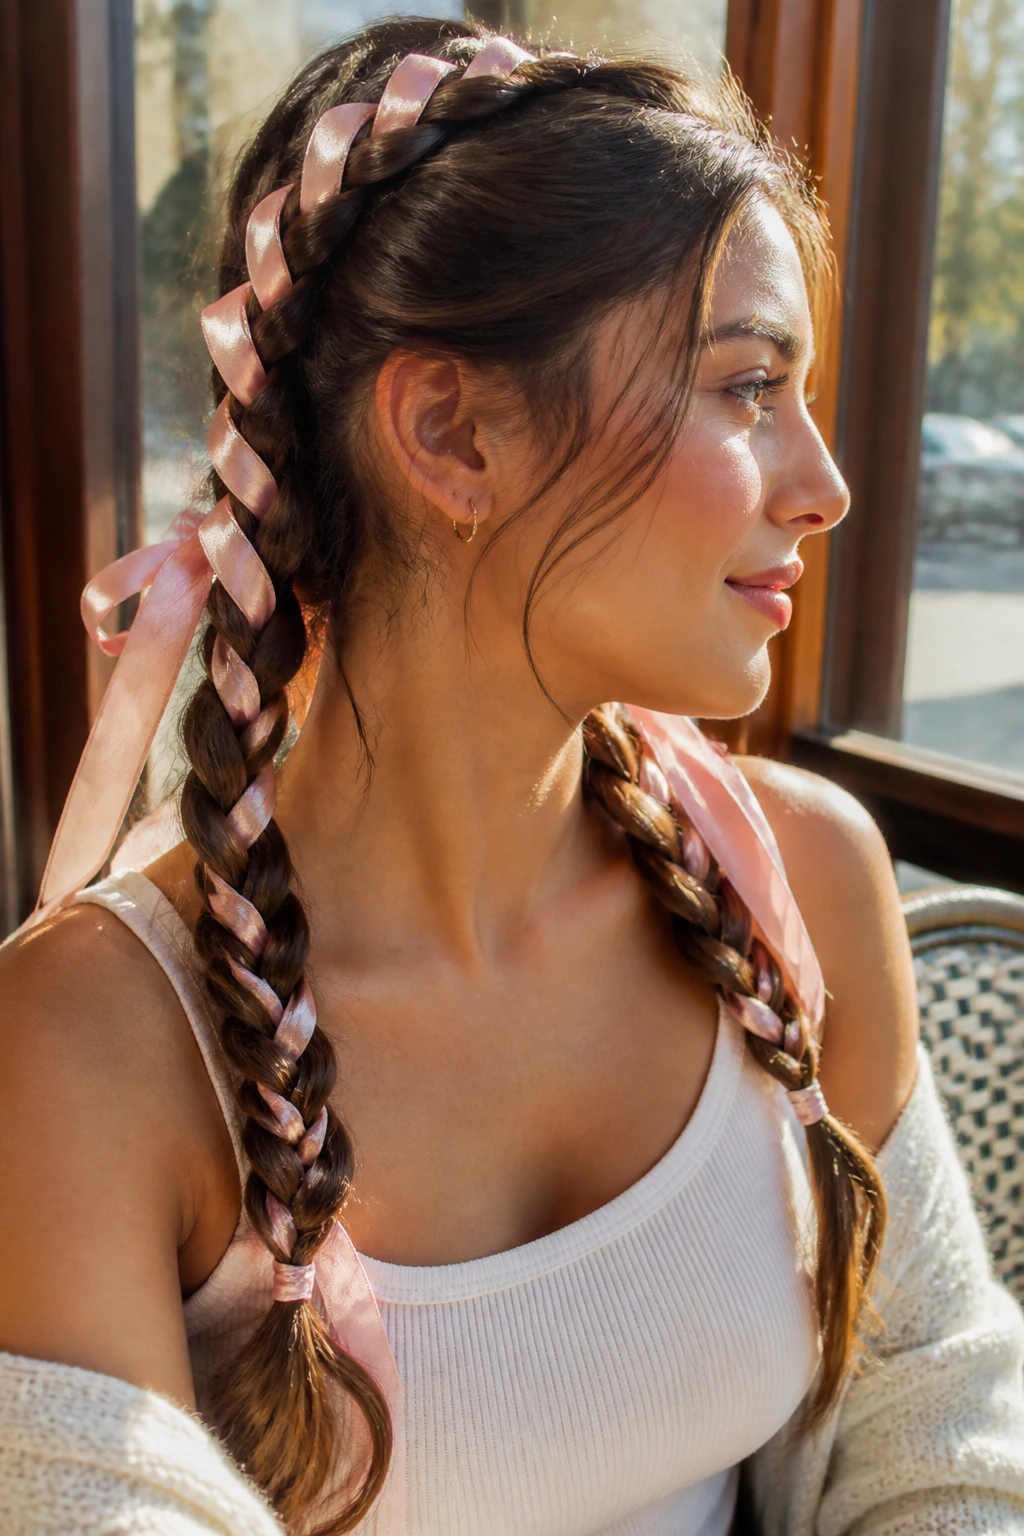
Long hair provides the perfect canvas for accessories. By threading a satin ribbon through your hair while you braid, you transform a casual style into something whimsical and intentional. This is a classic trick for adding color or matching an outfit without using chemical dyes or heat styling.
Choosing Your Ribbon
- Use silk or satin for a luxe, smooth finish.
- Choose a ribbon length that is at least twice the length of your hair to ensure you have enough to tie a bow at the bottom.
- Secure the ribbon to the base of your braid with a bobby pin so it doesn’t slip out as you weave.
15. The “Dragon” Braid Style
The dragon braid is essentially a high-tension Dutch braid that has been pancaked to the extreme. The key difference is the shaping—you pull the edges so far that they start to overlap, resembling the back of a mythical creature. For long hair, this creates a massive, singular-looking braid on each side.
Achieving Maximum Volume
- Do not be afraid to pull quite hard.
- Start your pancaking while the braid is still on your head, checking the shape in a mirror frequently to ensure the symmetry remains intact.
- Use a dry texture spray to add “grip” to the hair, as this will help the pancaked loops stay in their expanded shape.
16. Accent Braids within Pigtails

If you want to keep your hair down but still incorporate the pigtail look, use two small, thin braids that start at the hairline and tie back into a half-up style. Leave the rest of your long hair loose and wavy. This is a great transition style for days when you can’t decide between an updo and a down-do.
Styling the Half-Up Look
- Keep the braids close to the center part.
- Pull them back to the back of the head and secure with a decorative barrette.
- Make sure the loose hair below is brushed smooth so the transition from braid to loose hair looks seamless.
17. The Twisted French Braid
Instead of a standard weave, twist the two strands as you add them into the braid. This creates a rope-like texture that runs along the scalp. It is subtle but adds a lovely, intricate detail that is visible when looking at the hair from a side angle.
Why It’s Unique
- The twist adds a reflective quality to the hair, catching the light differently than a flat weave.
- It works exceptionally well on fine hair that might otherwise look flat in a standard braid.
18. Braided Pigtails into Low Buns
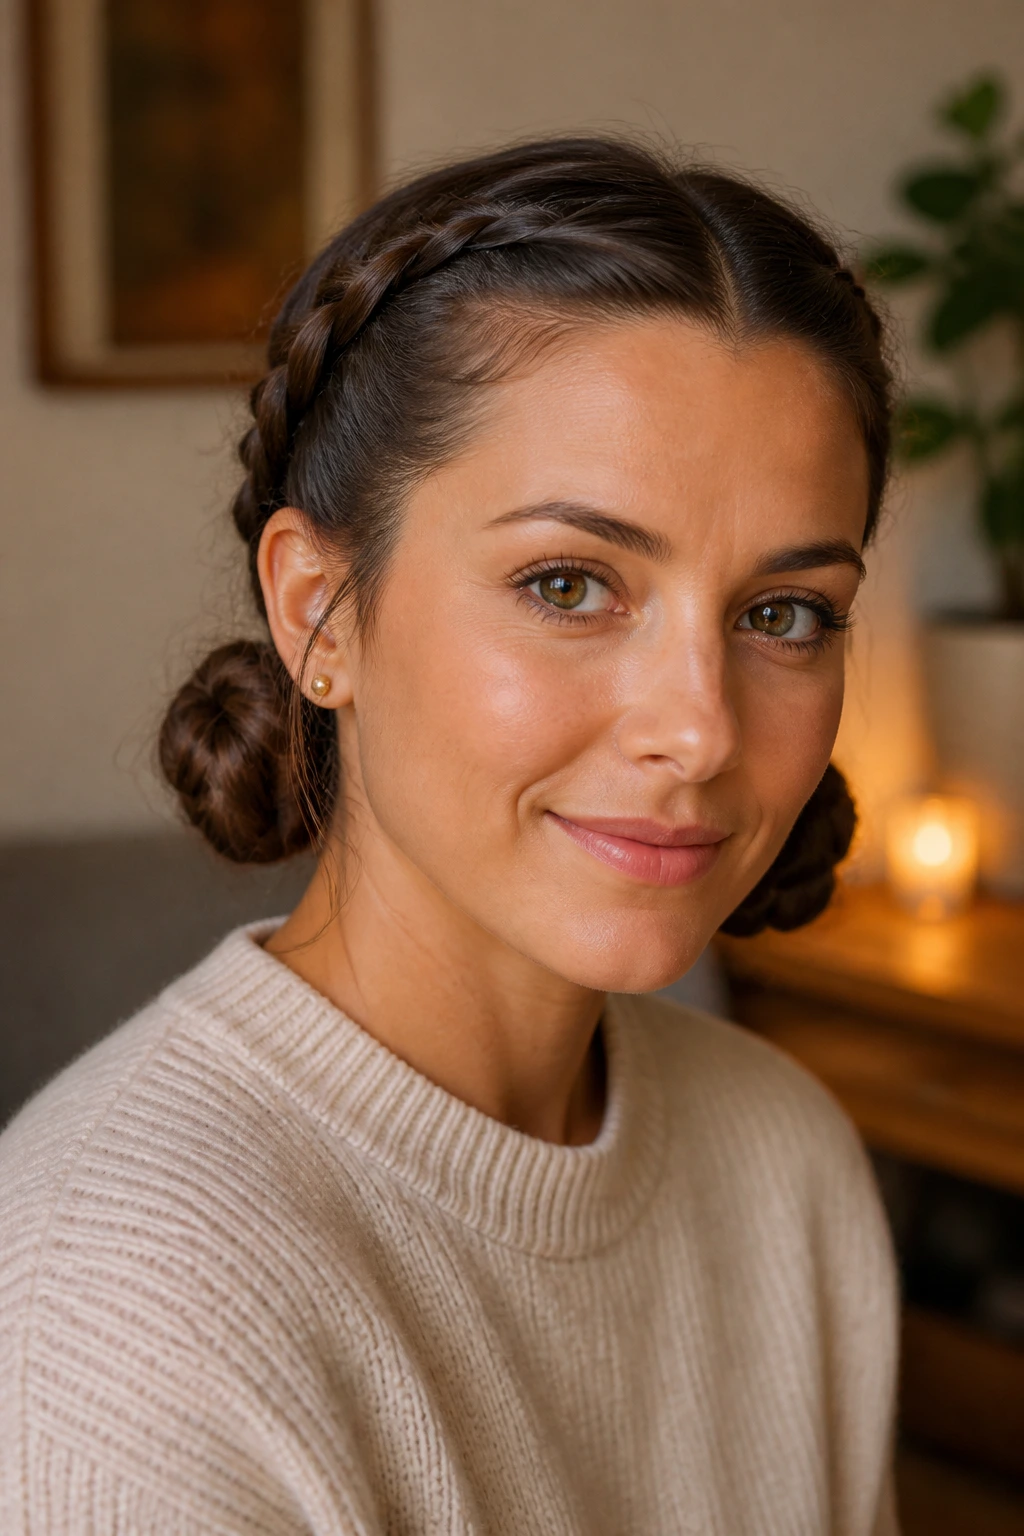
If you need your hair off your neck, take your finished pigtail braids and coil them into two low, rounded buns at the nape of the neck. Secure them with bobby pins. This creates a neat, clean aesthetic that is perfect for professional environments or long days where hair management is a priority.
Bun Security
- Use “u-shaped” hairpins rather than standard bobby pins for better grip on long hair.
- Tuck the ends of the braids underneath the bun before pinning to create a sleek, seamless finish.
19. The “Reverse” Braid
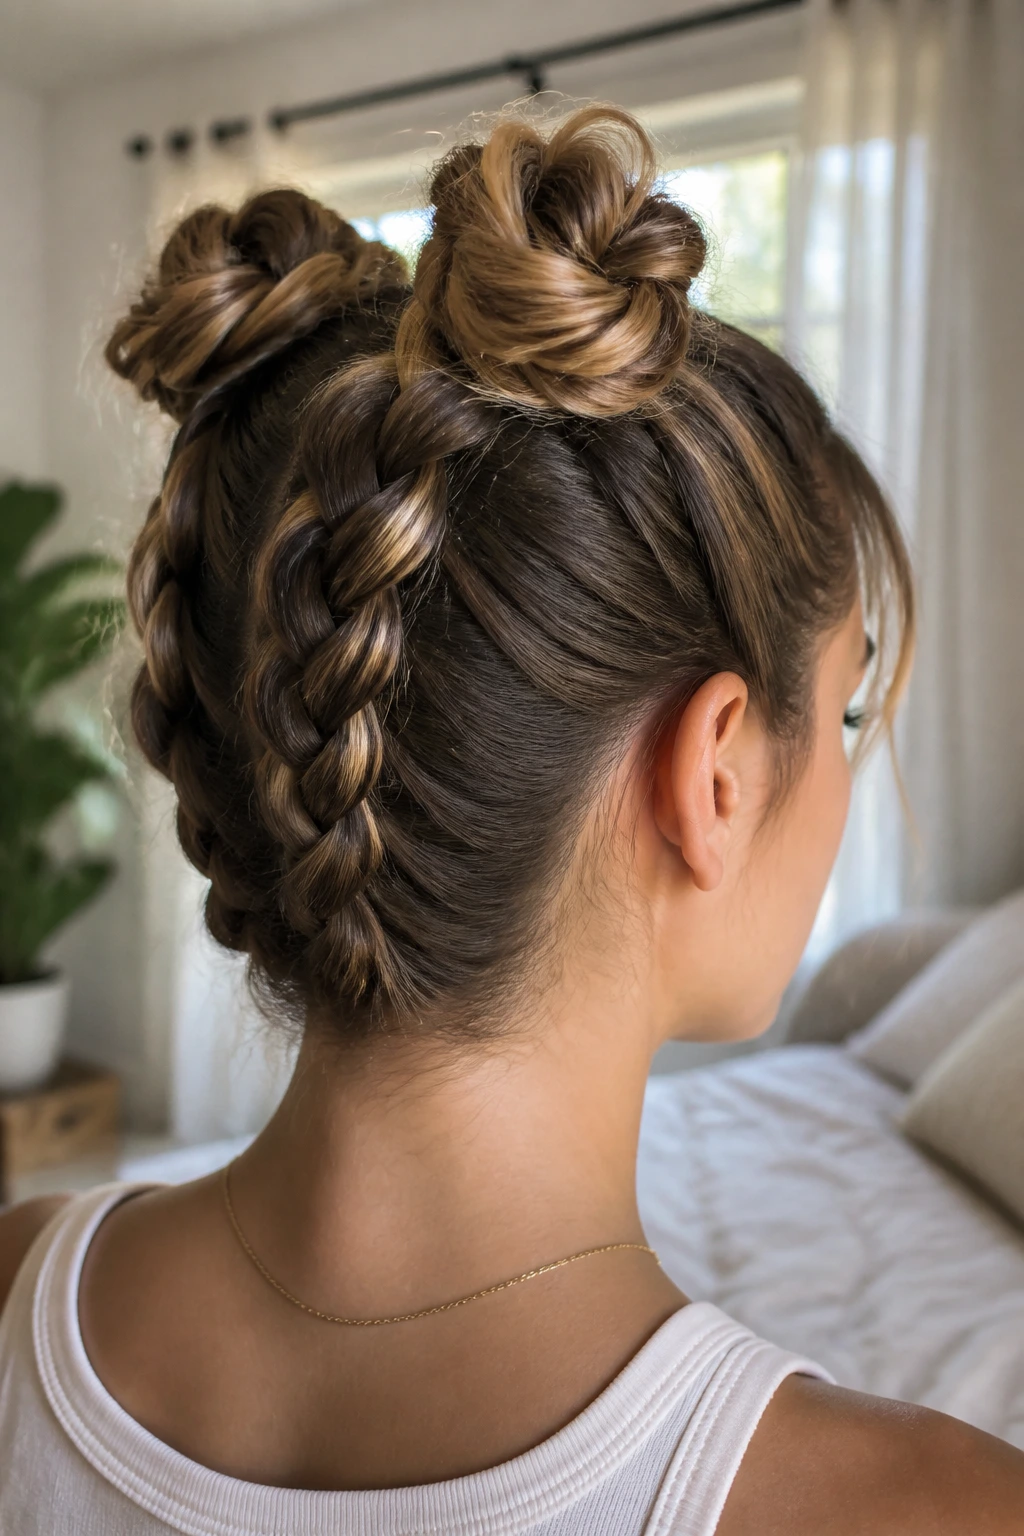
For those who are confident with their braiding skills, the reverse braid is a fun challenge. Start at the nape of the neck and braid upward toward the crown, finally finishing the pigtails into two high, looped buns or loose ends at the top. It is a striking, unconventional look that is guaranteed to turn heads.
Technique Notes
- This is best achieved by flipping your head upside down to begin.
- Ensure your arms are rested and you have enough hair product on your hands to keep the strands smooth as you fight gravity.
20. Accessorized Pigtail Braids
Sometimes the braid itself is secondary to the jewelry you put in it. For long hair, the sky is the limit. Think silver hair cuffs, tiny pearl pins, or even small colorful beads threaded through the loops. Accessories can define the vibe of the entire look, turning a standard gym braid into a festival-ready style.
Tips for Hair Jewelry
- Place cuffs on the thicker parts of the braid for the most visibility.
- Avoid using heavy metal accessories if you have fine hair, as they will cause the braid to sag.
- Use small, clear elastic bands to anchor the jewelry if you find they are sliding out of the hair.
Common Mistakes to Avoid

Many people struggle with pigtail braids because they try to do too much at once. The most frequent error is neglecting the tension. If your scalp sections are uneven, the entire braid will look lopsided. Take an extra minute to clean up your parts with a comb before you start. Another common issue is losing grip. If your hair is too silky, the braid will unravel within an hour. Use a dry shampoo or texturizing spray even on clean hair; this provides the necessary “teeth” for the strands to hold onto each other, keeping your work secure for the entire day.
Finally, consider your tools. Low-quality elastics can snap in the middle of the day, leaving you with a half-undone braid. Always invest in seamless, snag-free ties that won’t tear your hair when you take the style out. Your long hair will thank you, and your future braiding sessions will be much more successful.
Storage and Care for Braided Hair
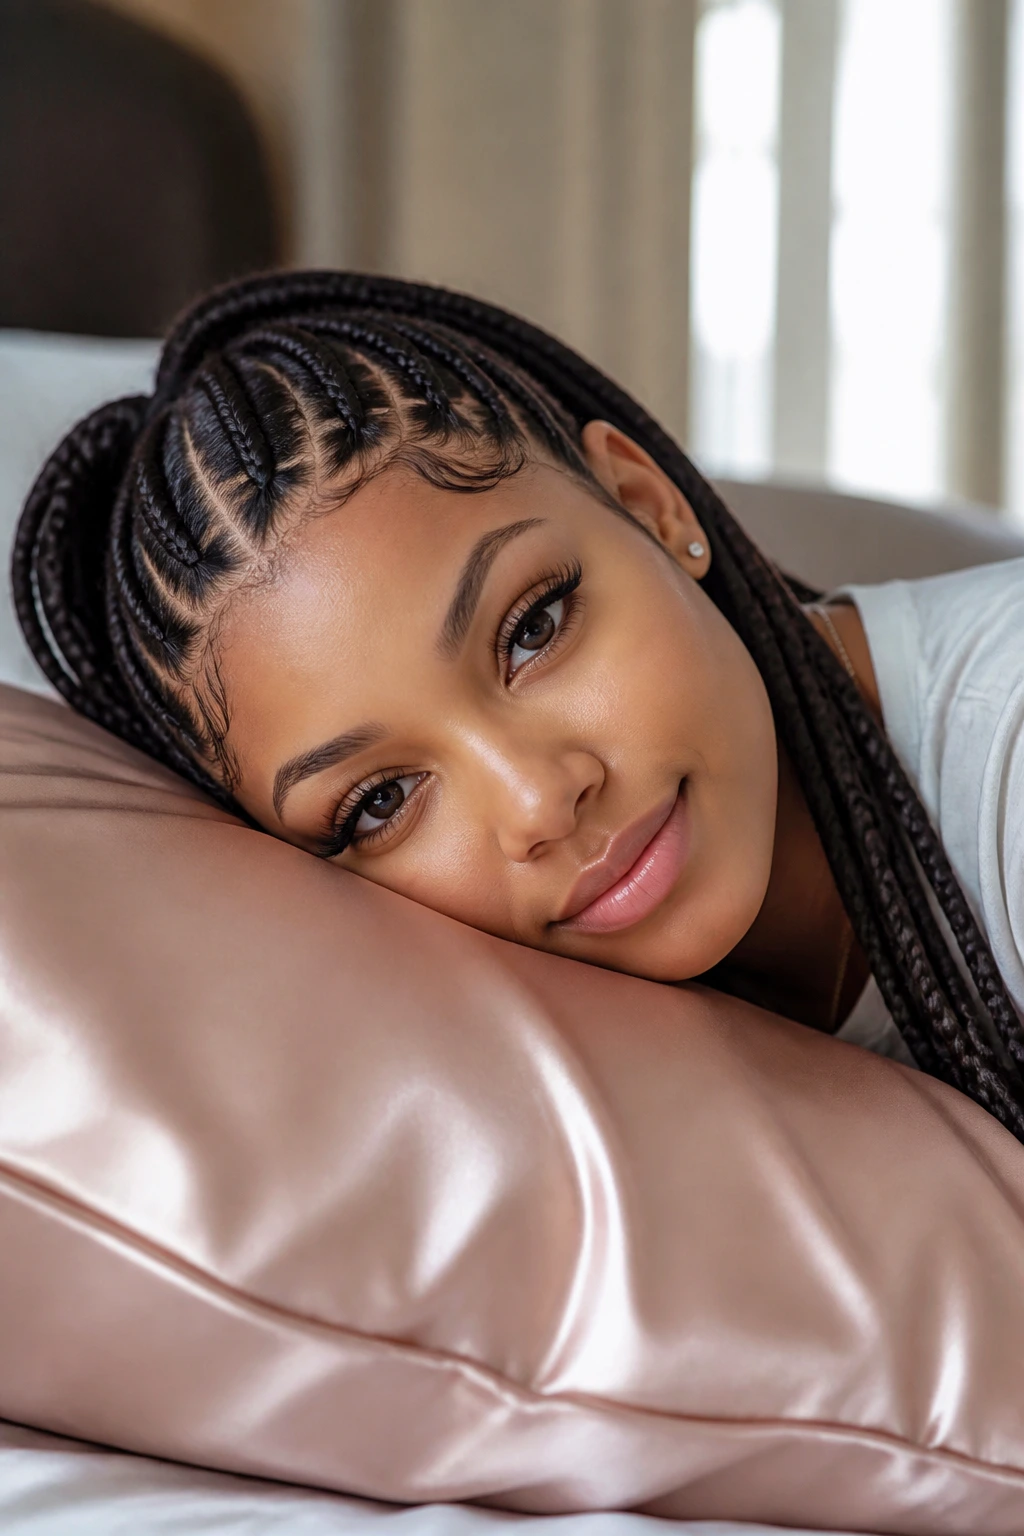
If you plan to keep your braids in for more than one day, protection is paramount. Sleeping with a silk or satin pillowcase is the best way to prevent the braids from becoming frizzy or unraveling overnight. If you are doing a high-intensity workout, a light mist of hairspray will keep the flyaways down. When it is time to take the braids out, do not rip the elastics off. Carefully cut them or slowly slide them down the length of the hair to avoid breakage. Once the braids are out, your hair will likely have beautiful, crimped waves—just run your fingers through it and add a little bit of hair oil to smooth the ends for a fresh, post-braid look.
Pairing and Occasions
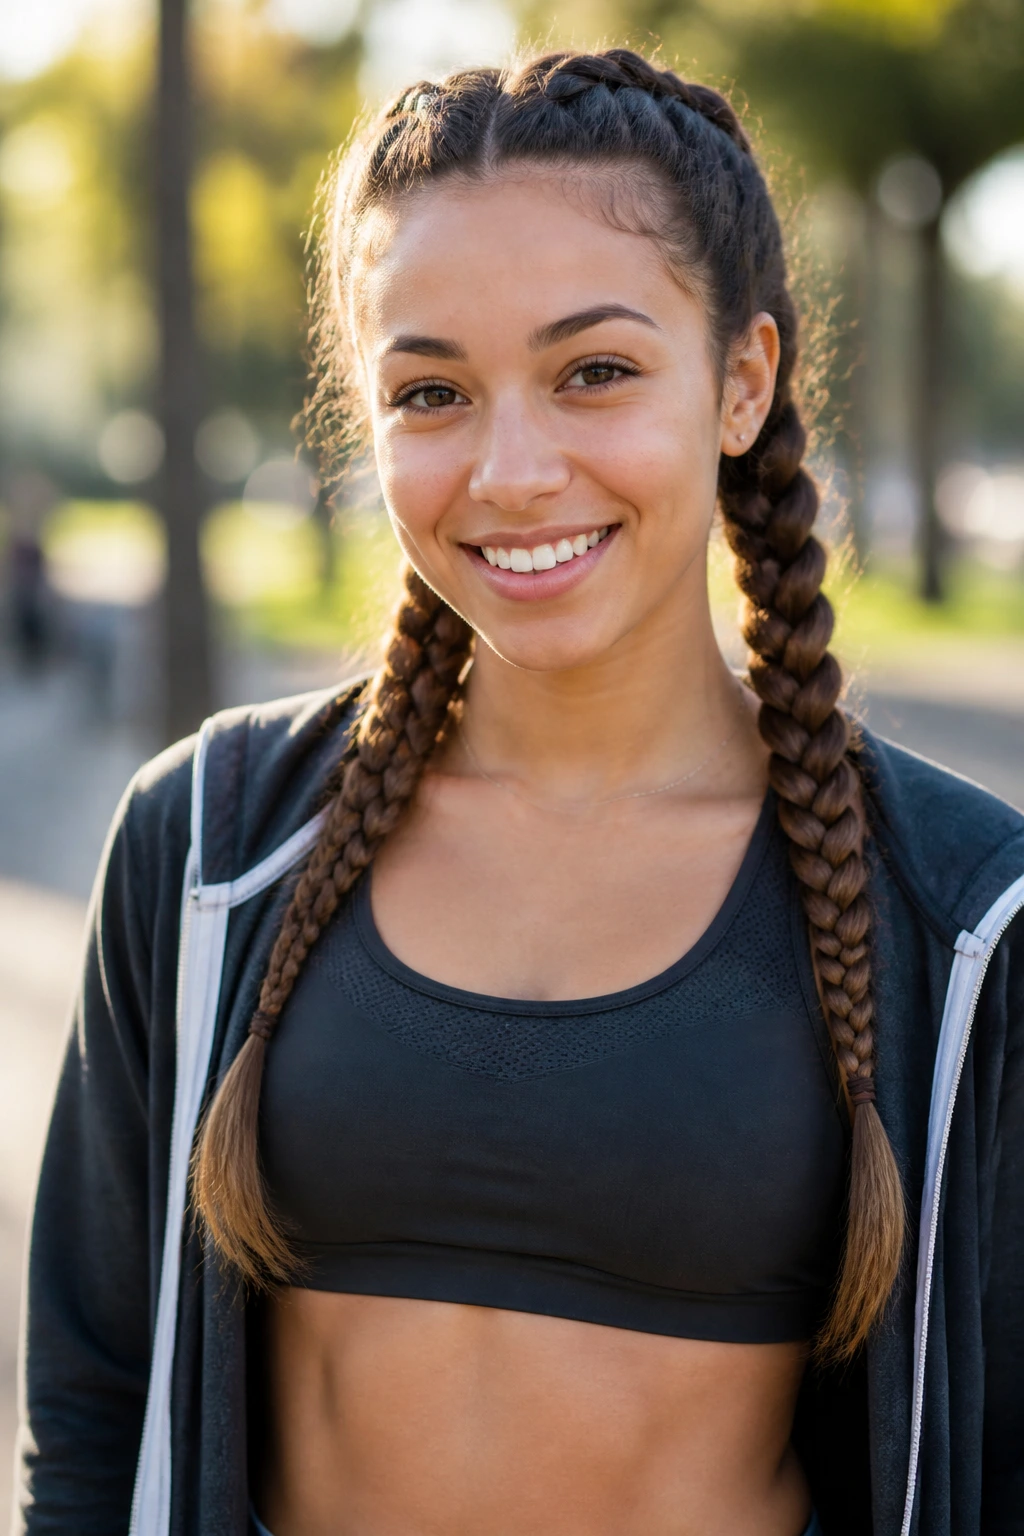
These styles are incredibly adaptable. A pair of tight Dutch braids is naturally athletic, pairing perfectly with workout gear or casual streetwear. Conversely, if you pancaked those same braids and added a few pearl pins, they suddenly become appropriate for a casual brunch or a semi-formal event. Long hair is a luxury, and pigtail braids are the most effective way to manage that length while still showcasing the health and volume of your tresses. Whether you choose the simplicity of a three-strand or the complexity of a pull-through, remember that the best braid is the one that makes you feel put-together and confident.
Final Thoughts

At the end of the day, the beauty of pigtail braids lies in their evolution. They started as a way to keep hair out of the way, but they have grown into a versatile accessory that belongs in any style rotation. Experiment with the thickness, the tightness, and the accessories. Once you master the basic motions, you will find that these twenty styles are merely the starting point for your own custom designs. Take your time, focus on the sectioning, and remember that some of the best-looking braids happen when you simply allow yourself the room to be a little bit messy.