If you have spent your life struggling with fine, limp strands that seem to wilt the moment you step out the door, the idea of a braid can feel more like a taunt than a style. Most tutorials show thick, lush locks being woven into intricate, voluminous designs that seem physically impossible for anyone with thinning hair. I have been there, watching a braid vanish into a wispy, pathetic tail before I even reach the nape of my neck. But here is the secret that nobody tells you: the right side braid doesn’t need a mountain of hair; it just needs a little bit of tactical deception.
The goal when working with thin hair is to manipulate the optics. We aren’t aiming for the heavy, chunky plaits you see on social media; we are aiming for texture, tension, and strategic placement. By shifting the hair to one side and utilizing specific techniques like “pancaking”—that lovely, subtle pulling-out of the braid loops—we can create an illusion of density that holds up through a workday or a windy walk. This approach is about working with the hair you have, rather than mourning the hair you wish you had.
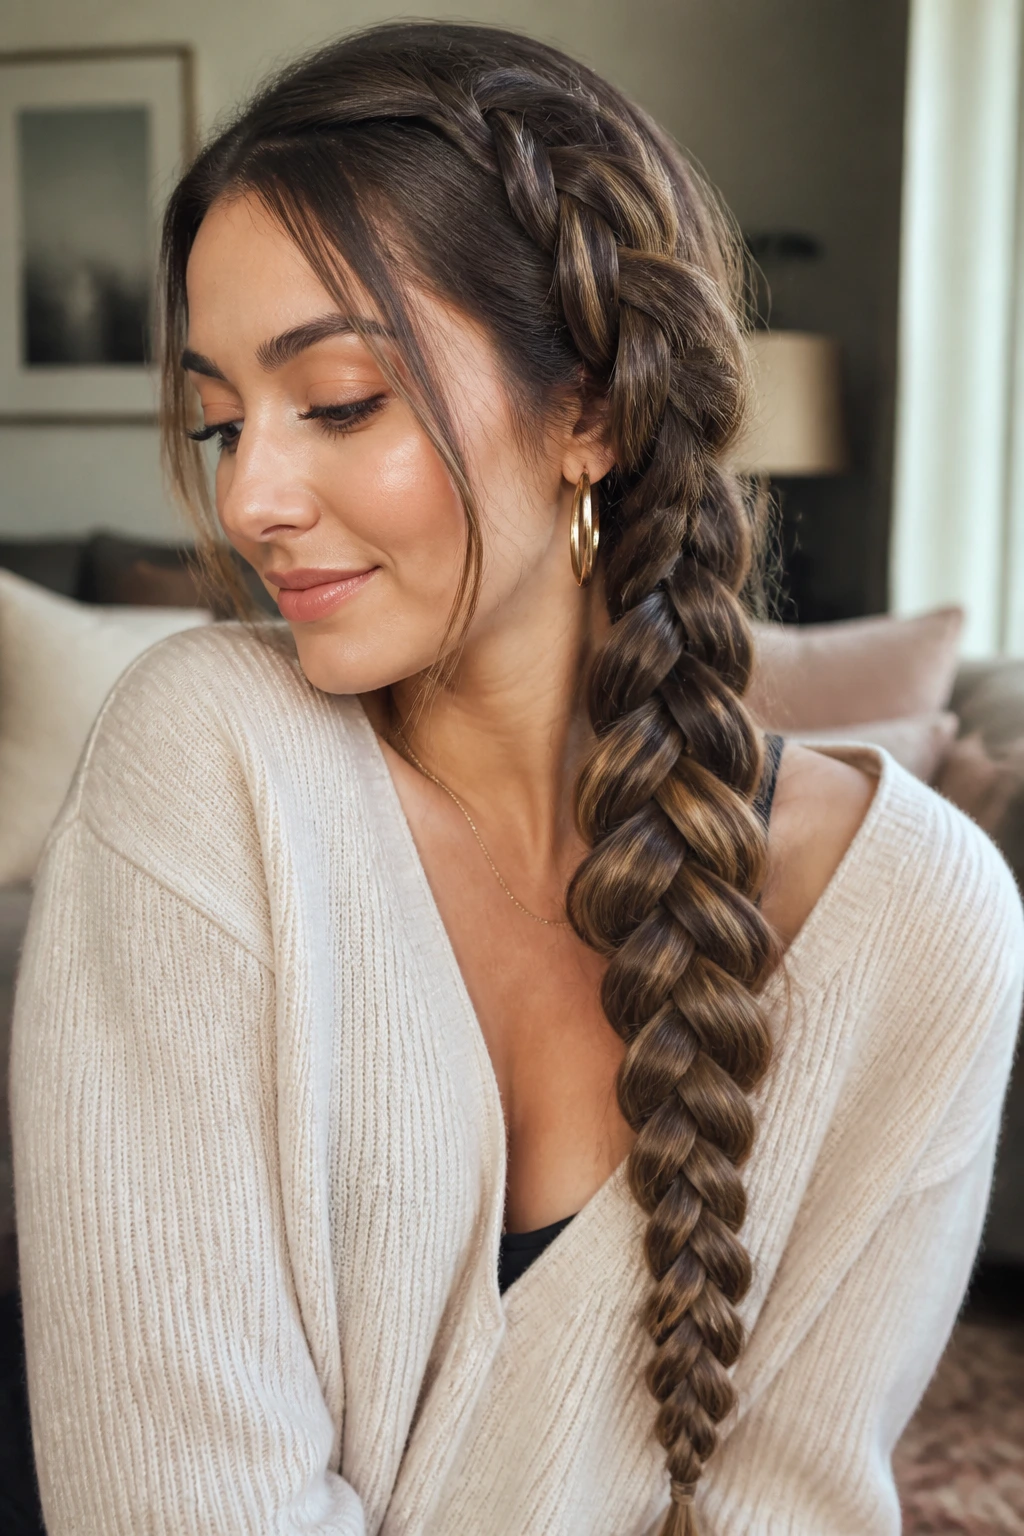
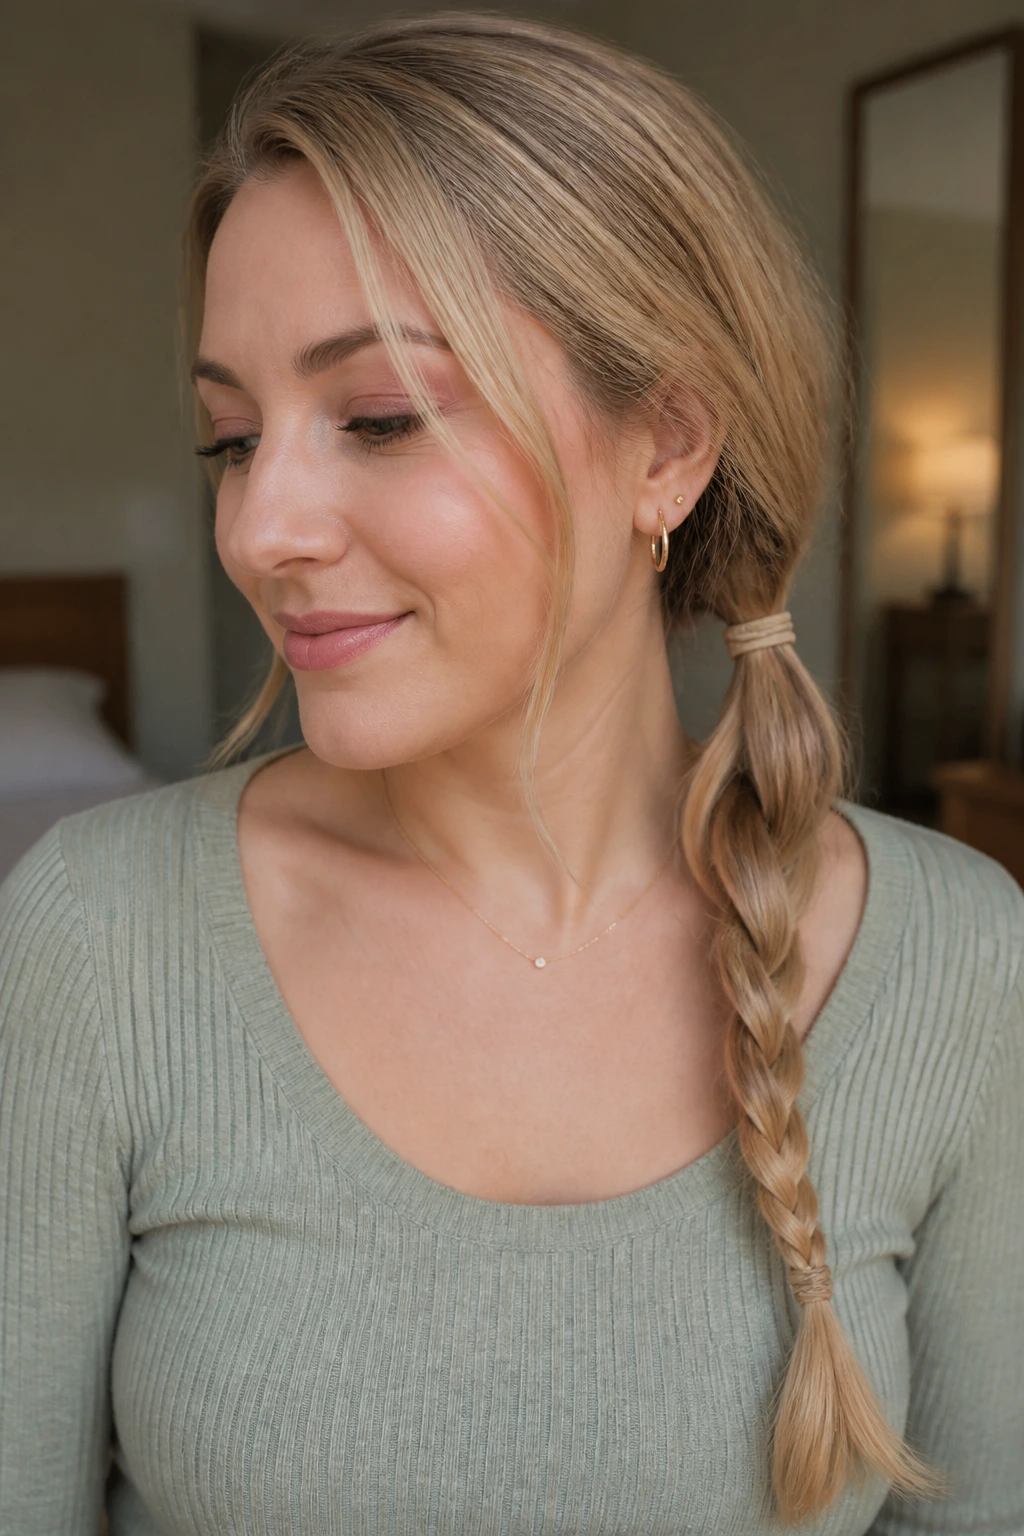
1. The Classic Three-Strand Side Braid
Starting with the basics is essential because, surprisingly, the simplest version of this style is often the most forgiving for those with fine strands. When you have less volume, a complex weave often creates more gaps, showing off your scalp or the thinness of the hair. A tight, uniform three-strand braid keeps the hair compact, preventing the “bunching” effect that makes thin hair look even sparser.
To make this work, focus on the prep. Wash your hair with a volumizing shampoo and apply a light texturizing spray before you even reach for a hair tie. The texture provides the “grip” necessary so the braid doesn’t slip out within an hour. Once you have braided the hair to the side, do not pull it apart aggressively. Just give it a gentle, soft tug to create a tiny bit of width, ensuring the braid looks intentional rather than desperate.
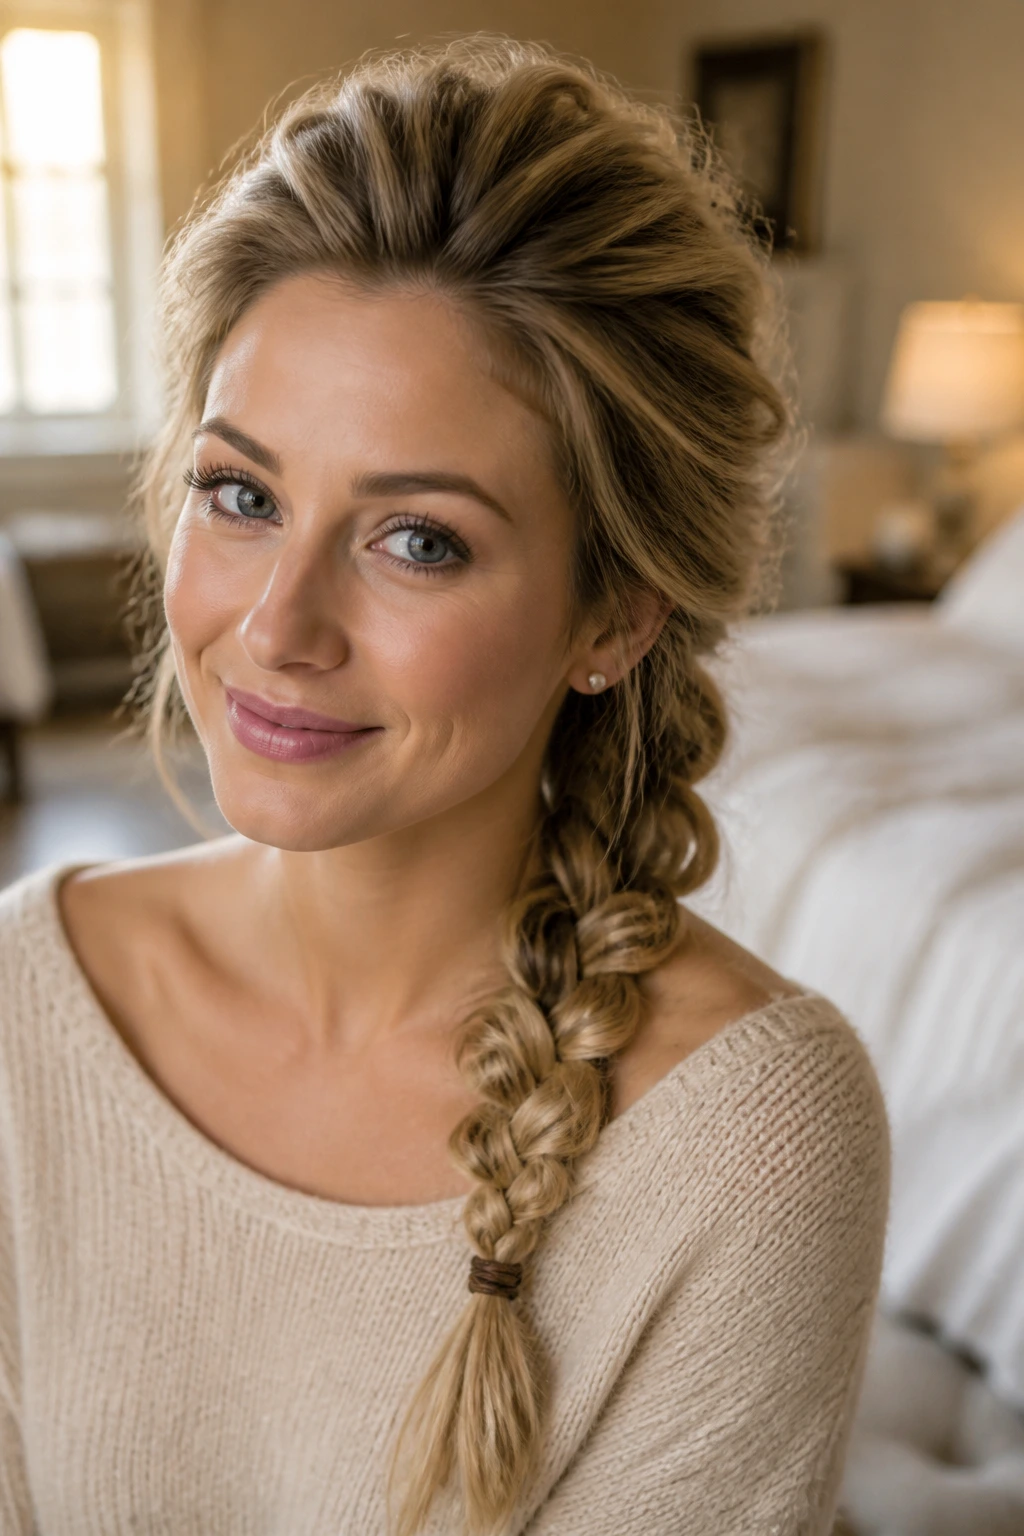
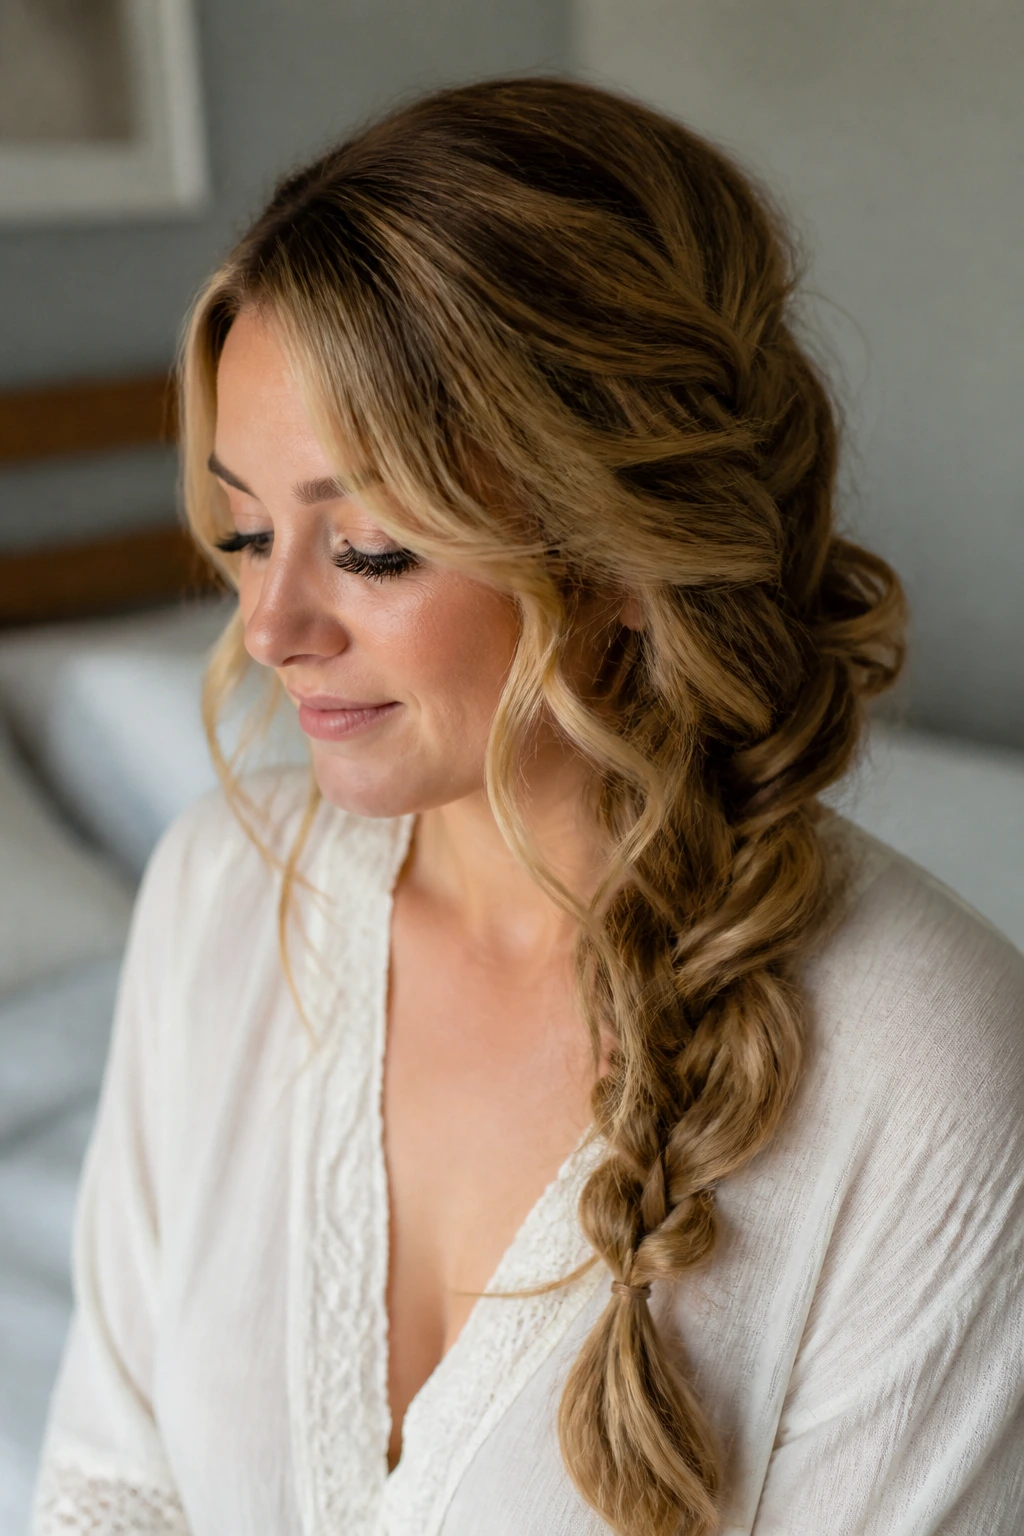
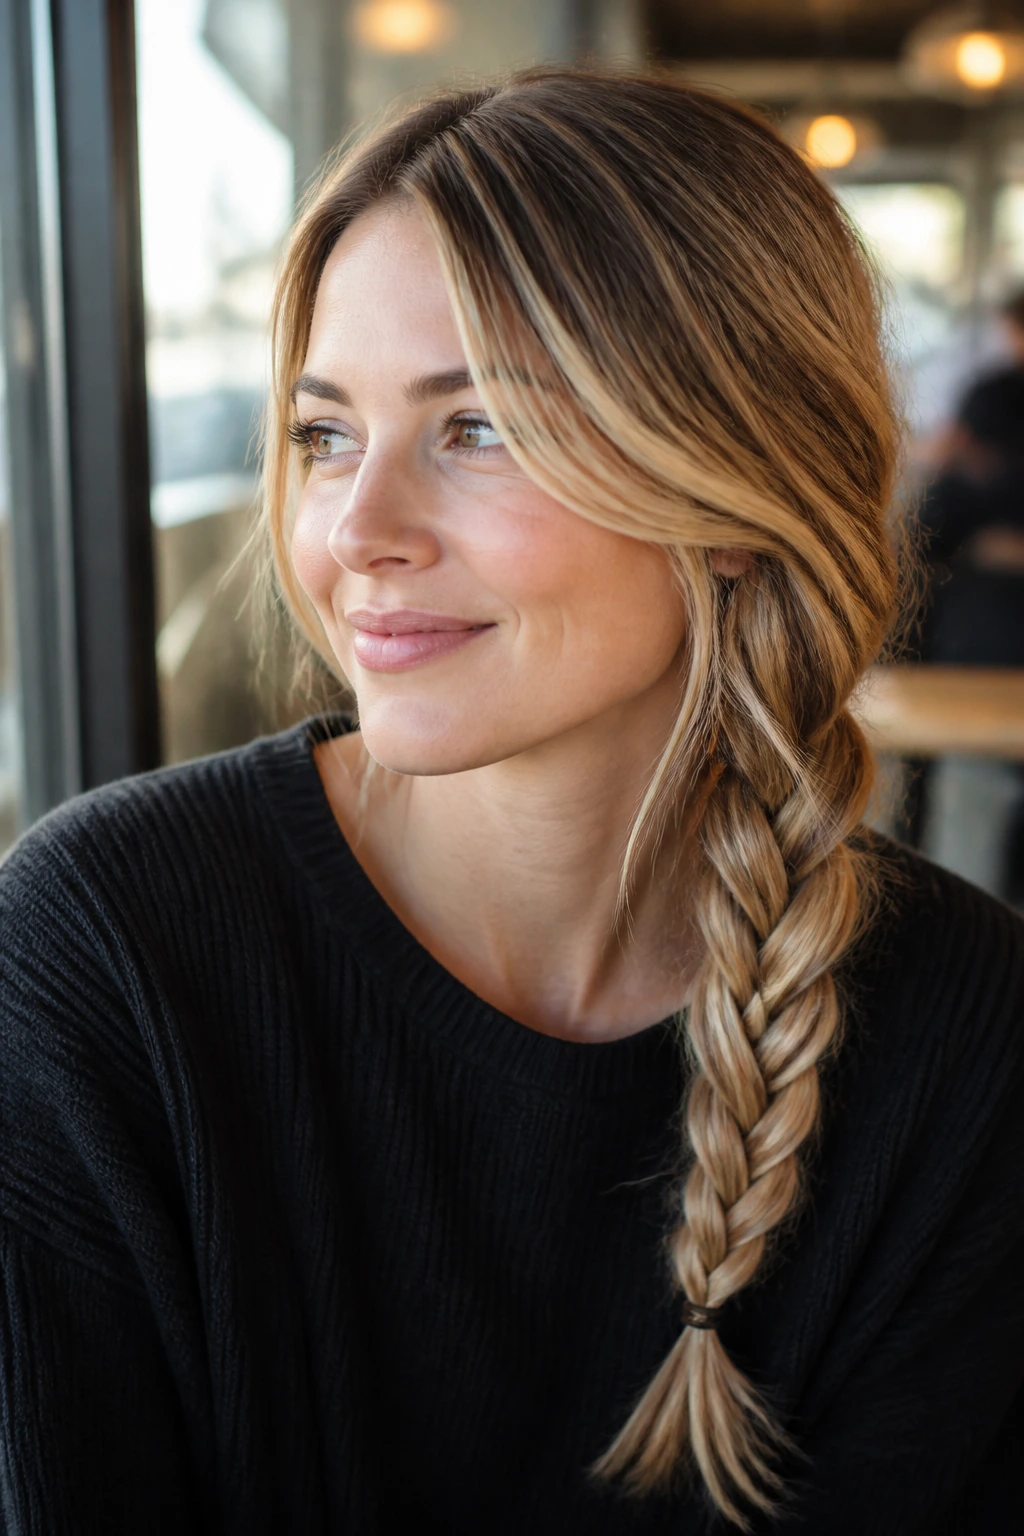
2. The Messy Boho Side Plait
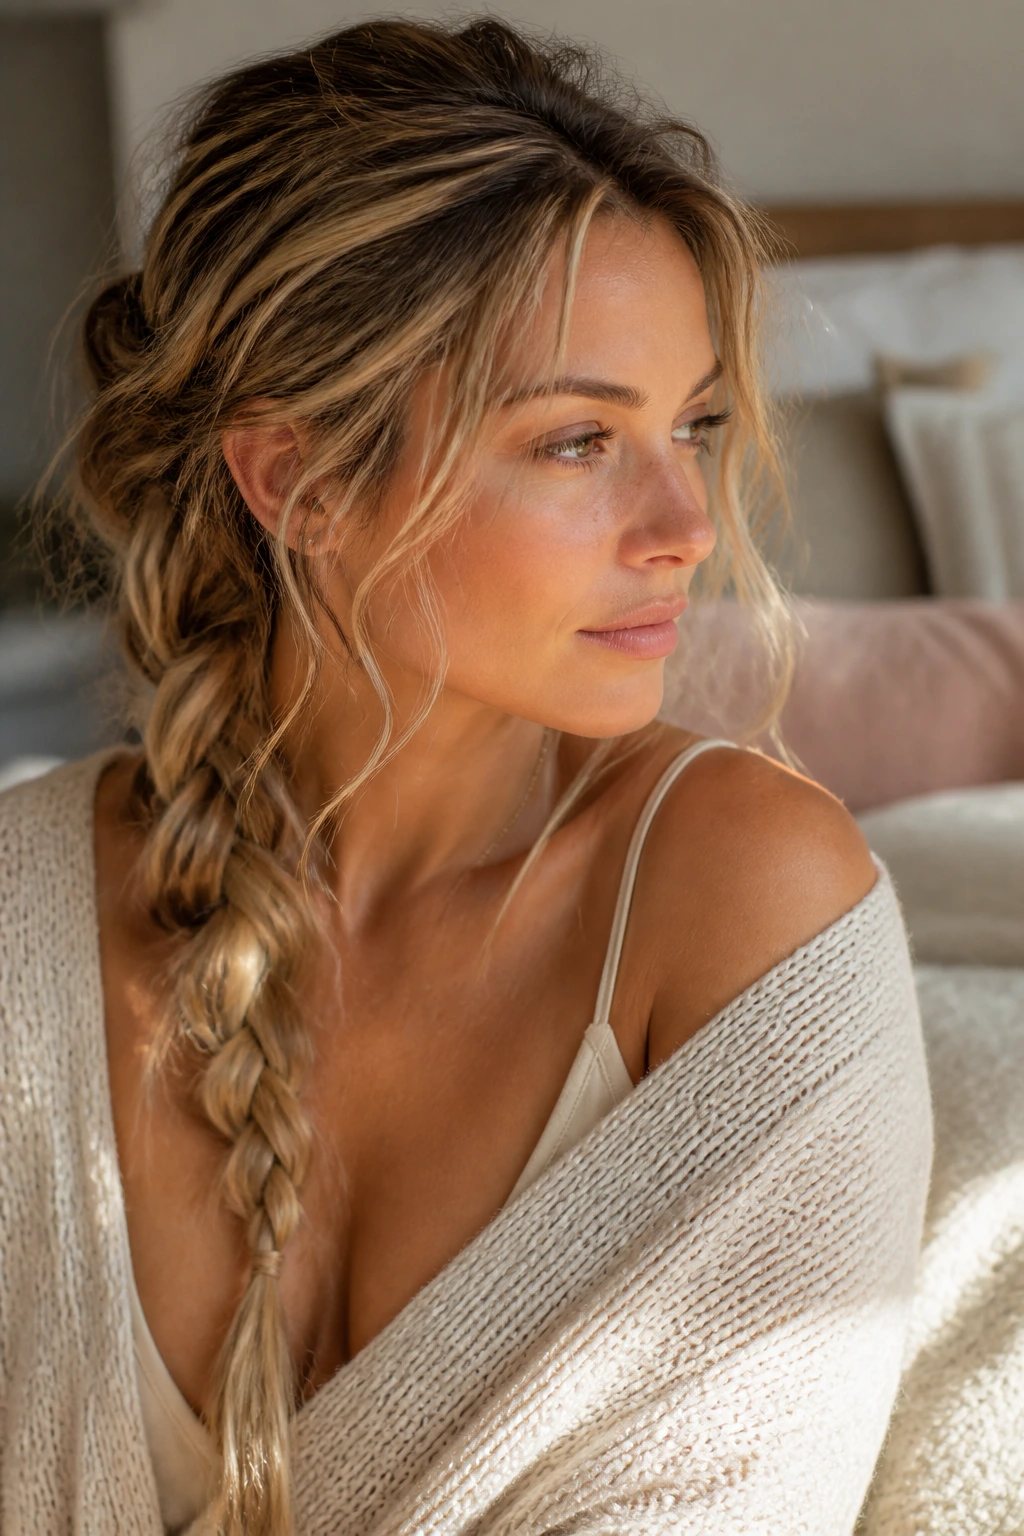
If your hair is particularly fine, you might find that a sleek look highlights the lack of density. The messy boho braid is your best friend here because the whole point of the aesthetic is to be undone, wispy, and uneven. When you embrace the “mess,” thinness becomes a design feature rather than a flaw.
Start by gathering your hair to one side, but leave a few loose, face-framing pieces around your forehead. Do not brush your hair perfectly smooth; a little bit of bedhead texture actually aids the braid’s structure. After you tie off the end, go back through and gently pull at the edges of each loop, specifically focusing on the outer perimeter. If a few strands escape entirely, let them fall. The chaotic nature of the style draws the eye toward the overall shape rather than the amount of hair inside the weave.
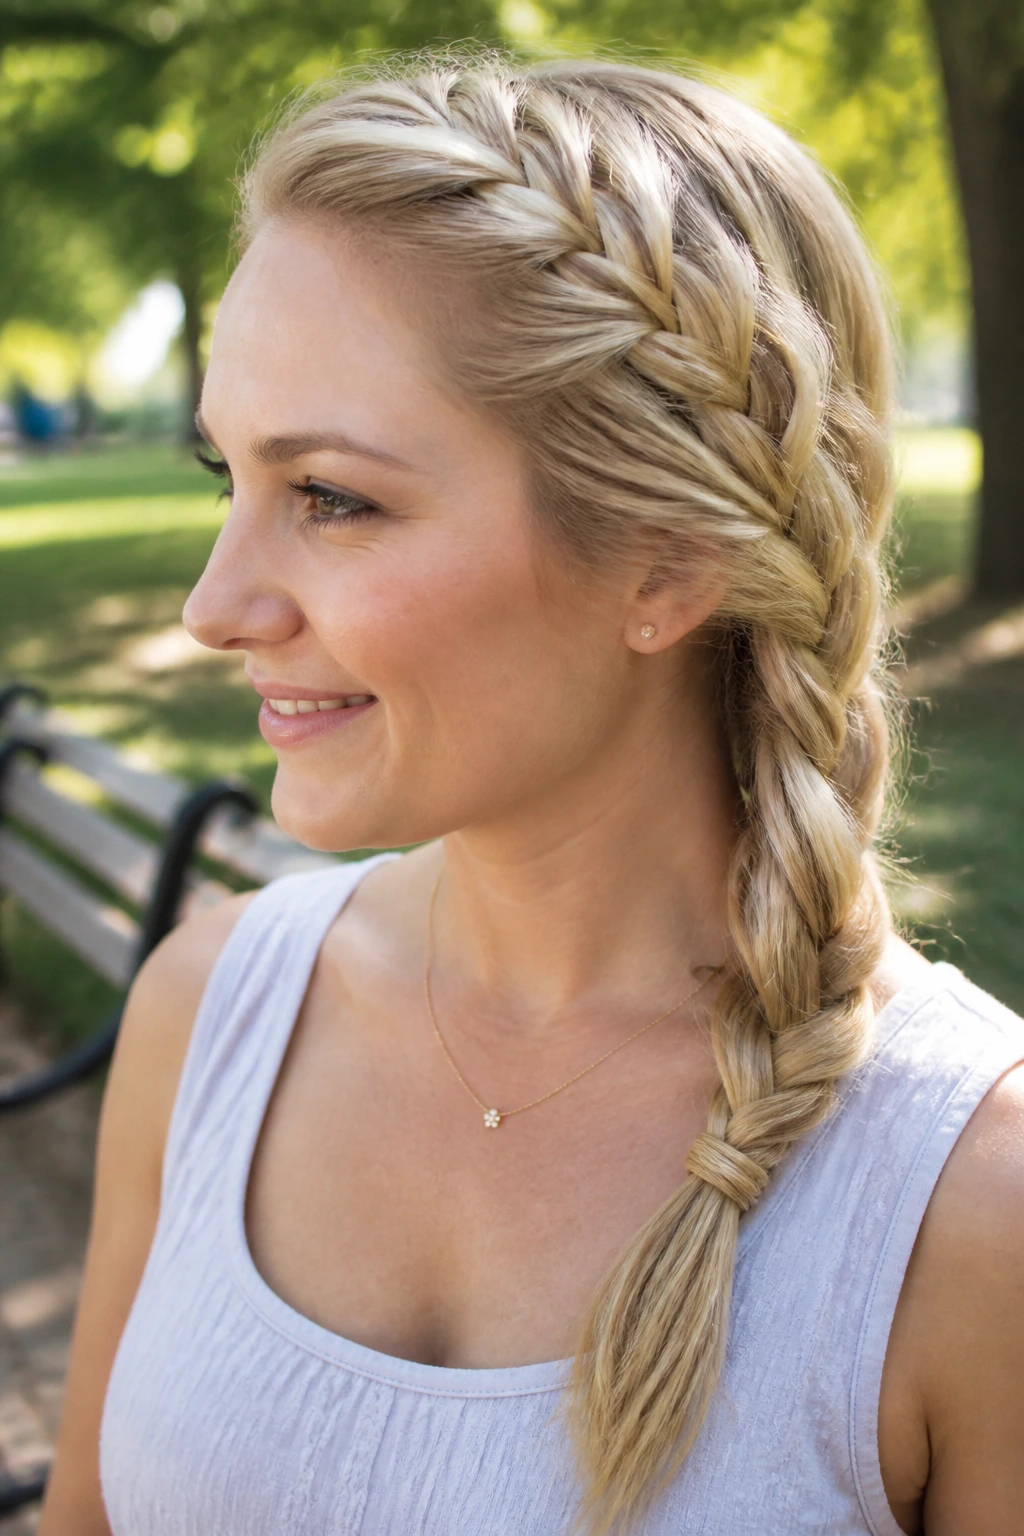
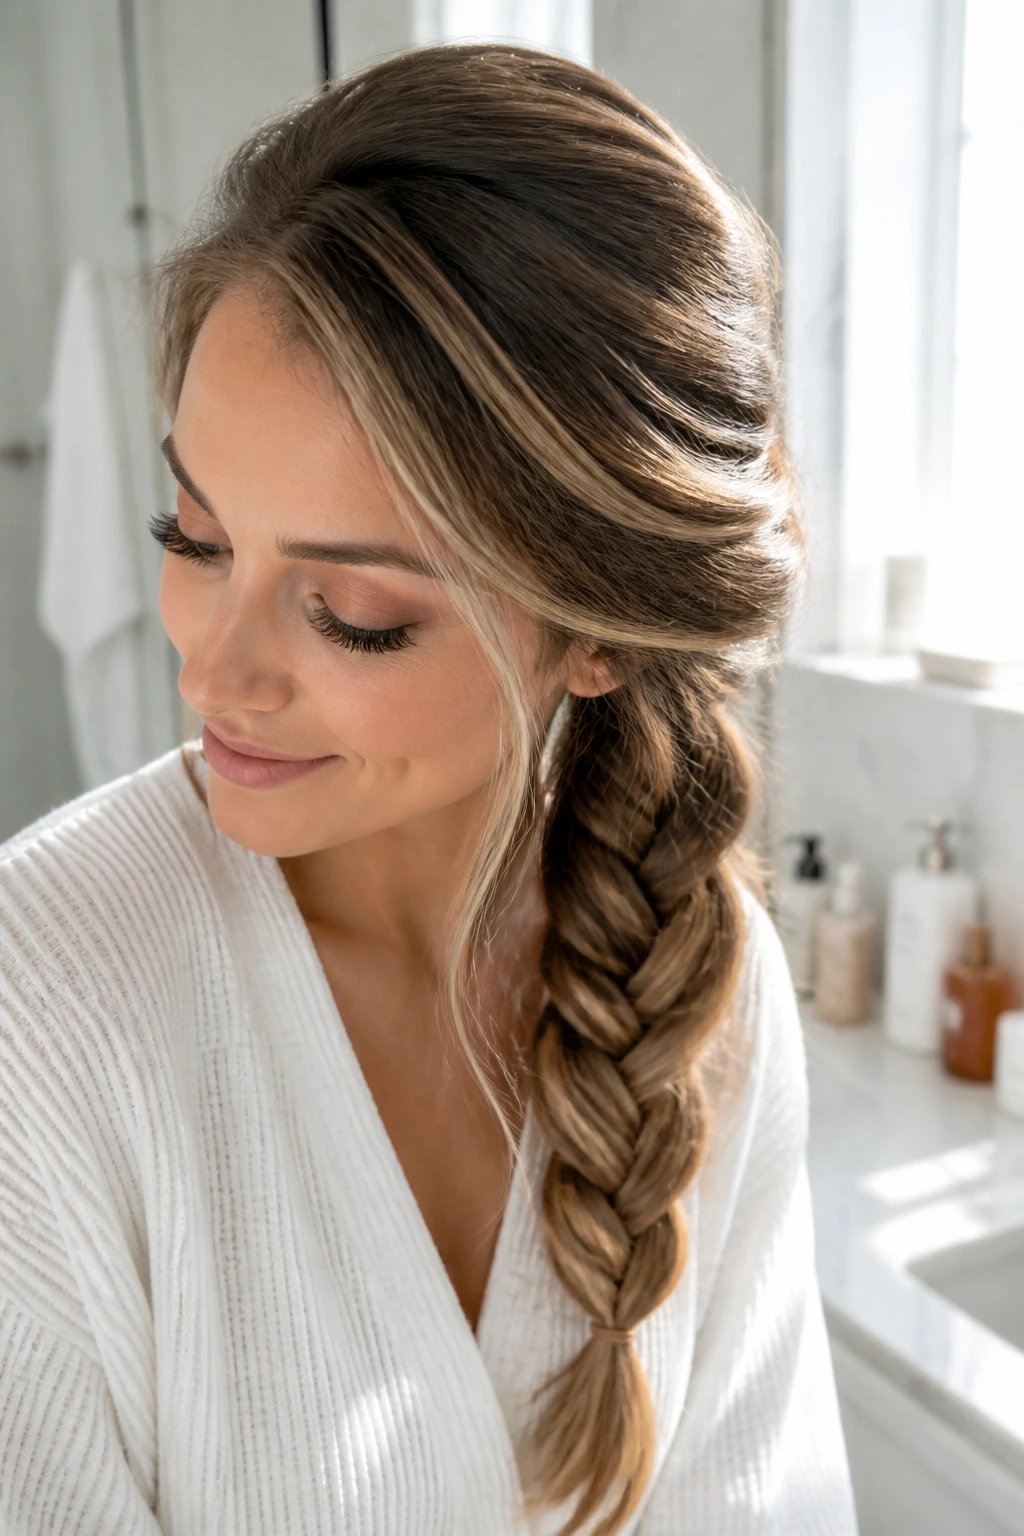
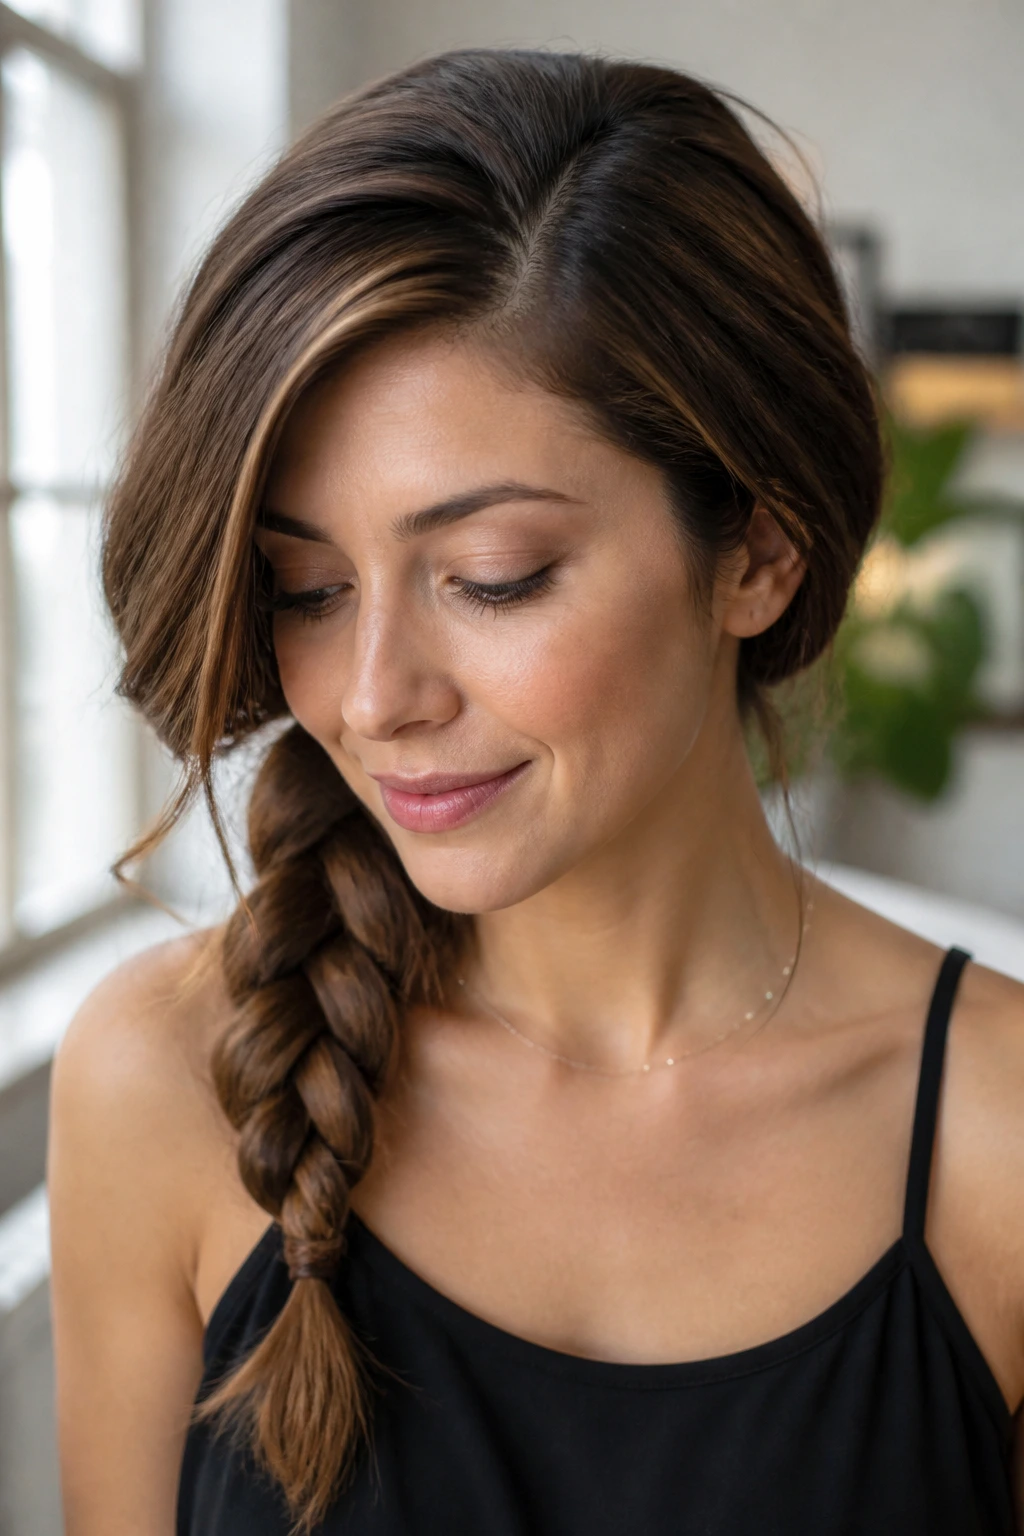
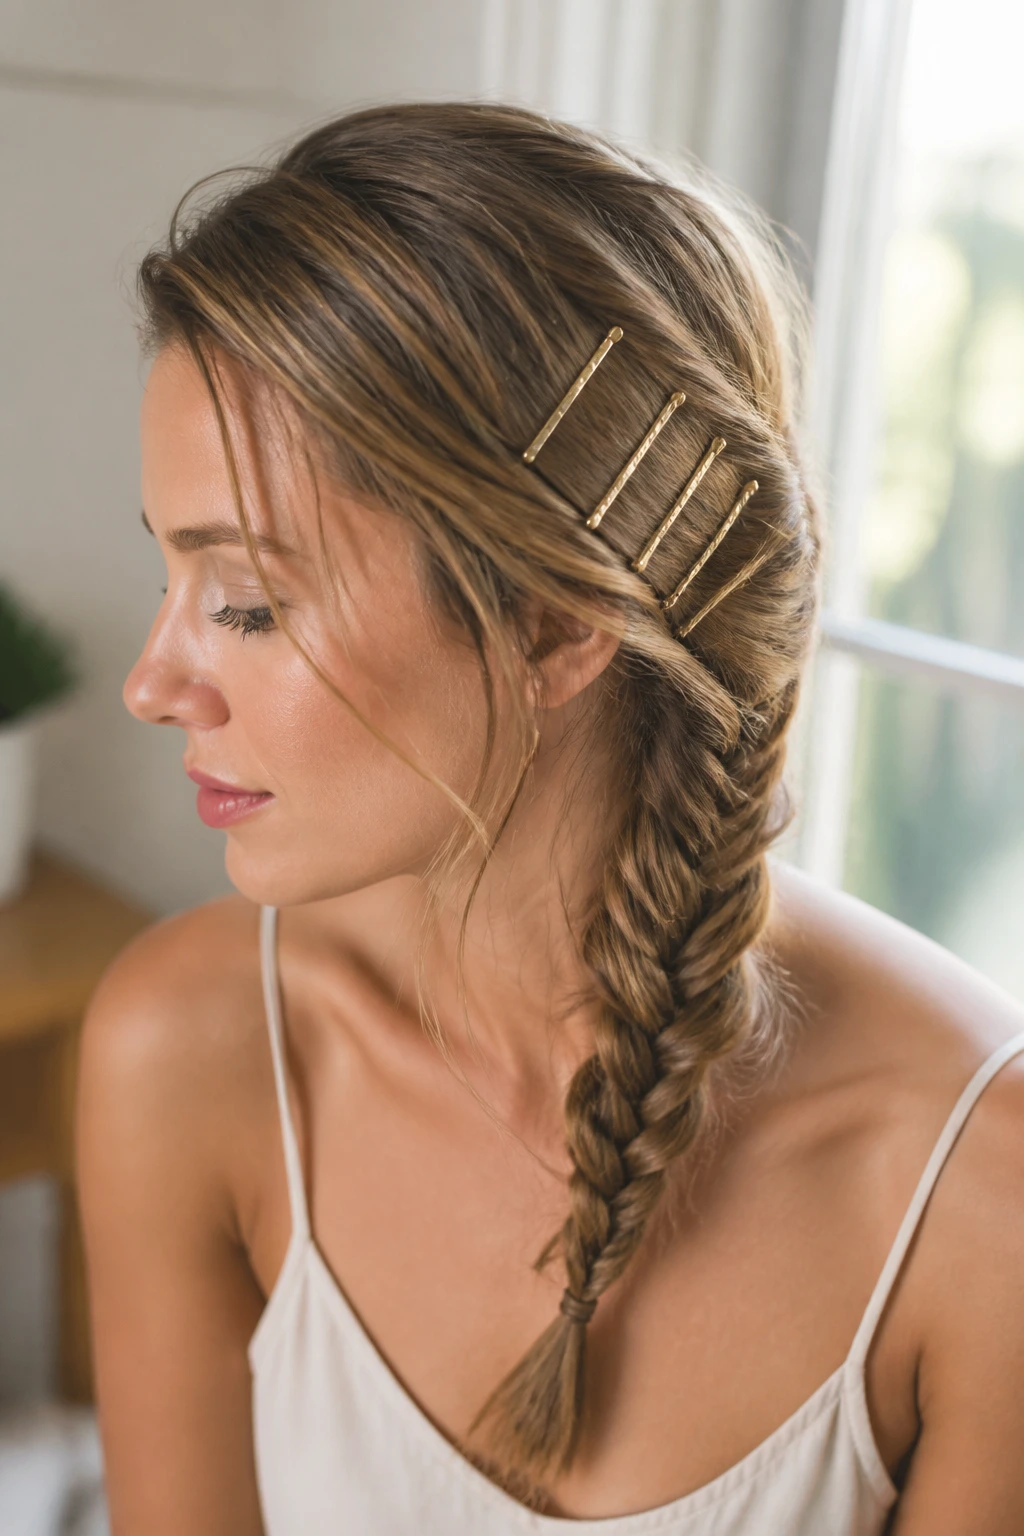
3. The Side Fishtail Twist
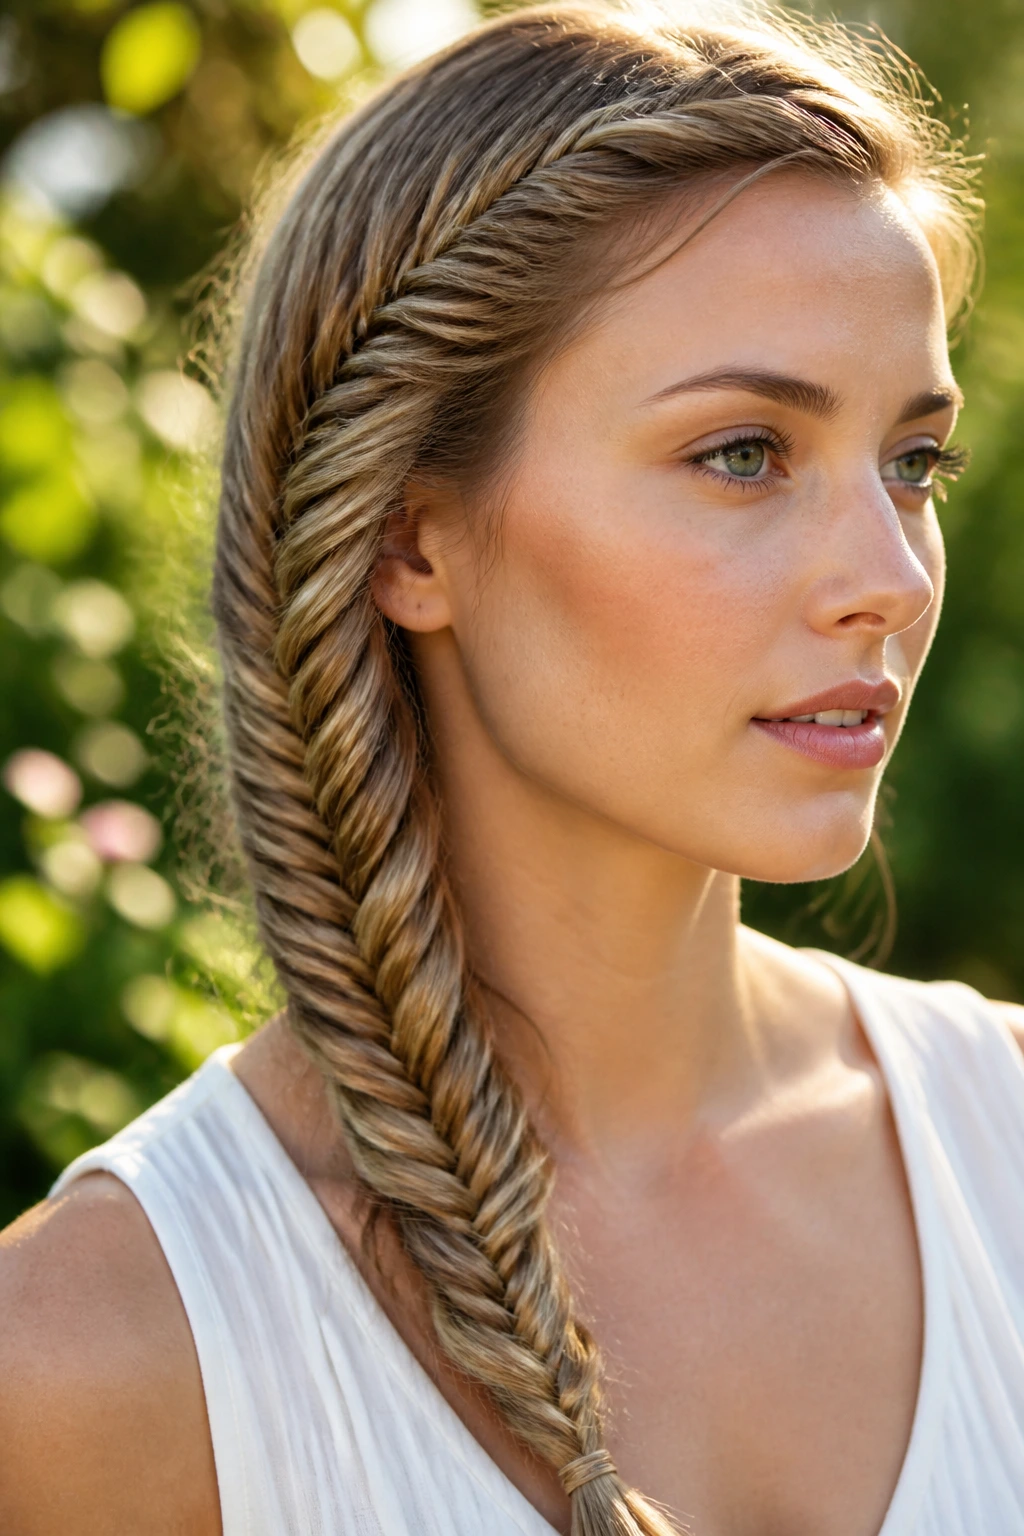
Fishtail braids have a reputation for being tedious, but for thin-haired individuals, they are a miracle worker. Unlike a three-strand braid which relies on thickness, a fishtail relies on the repetition of tiny, precise segments. This keeps the hair tight and controlled, which stops it from looking like a stringy mess at the ends.
Because thin hair can easily become tangled during this process, I always recommend keeping a lightweight dry shampoo or texturizing powder on hand. Sprinkle it through your lengths before you start. The powder gives the hair a “thickened” feeling, making each strand easier to pick up and cross over. Work slowly. If you try to grab large chunks of hair, you will lose the intricate pattern that makes the fishtail look so sophisticated.
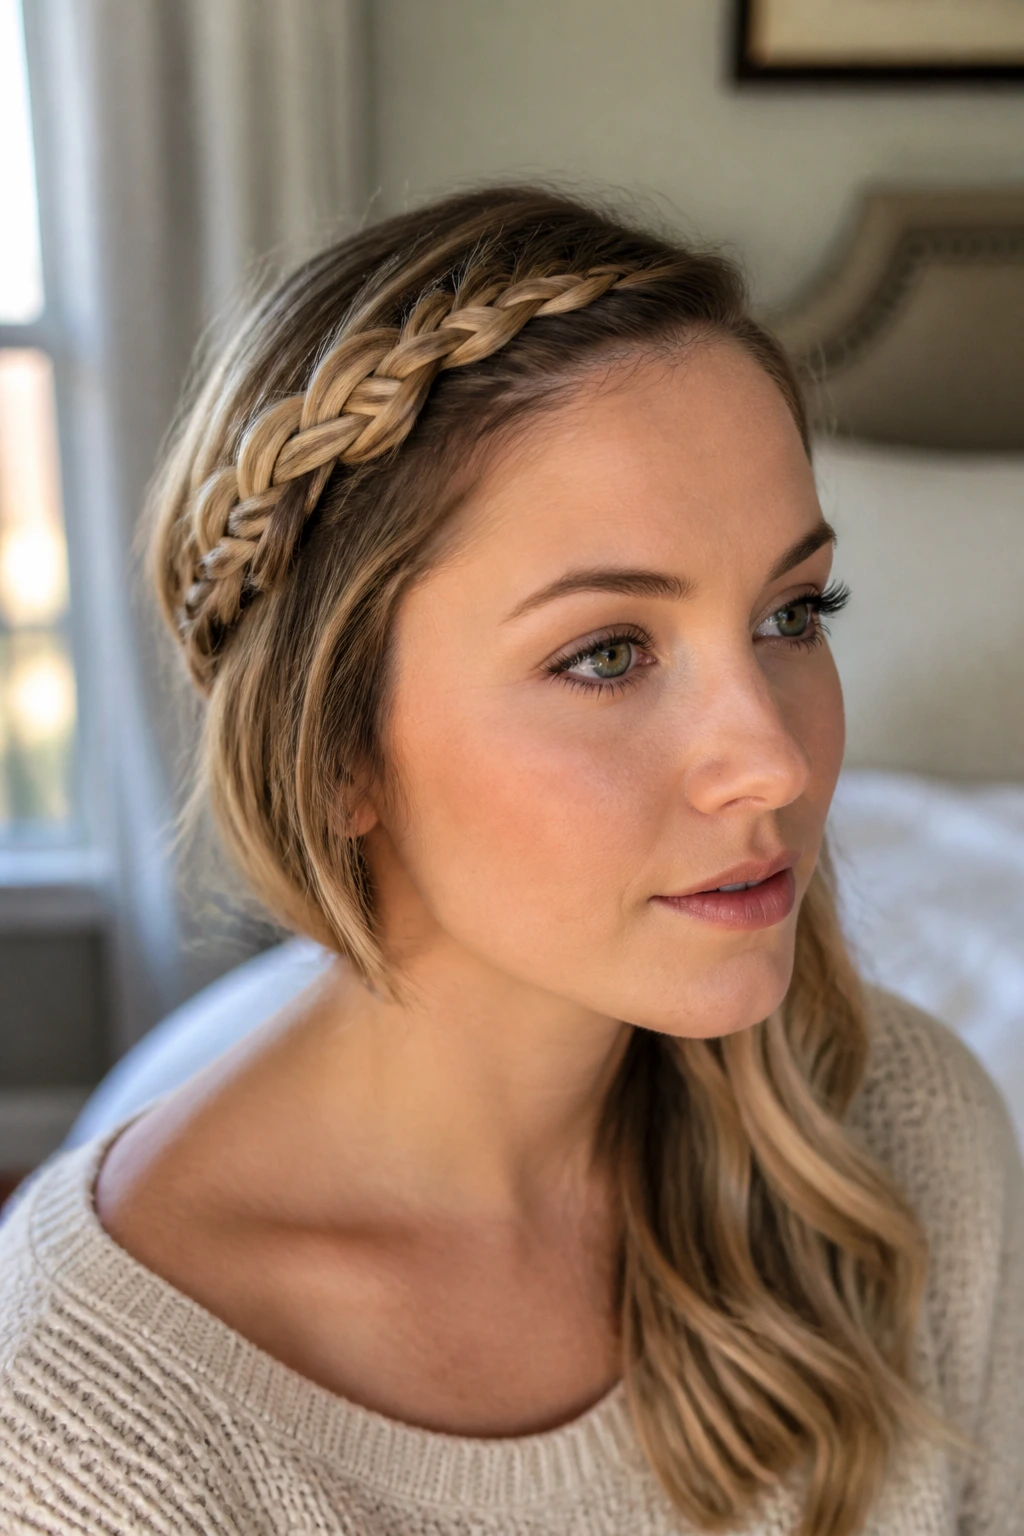
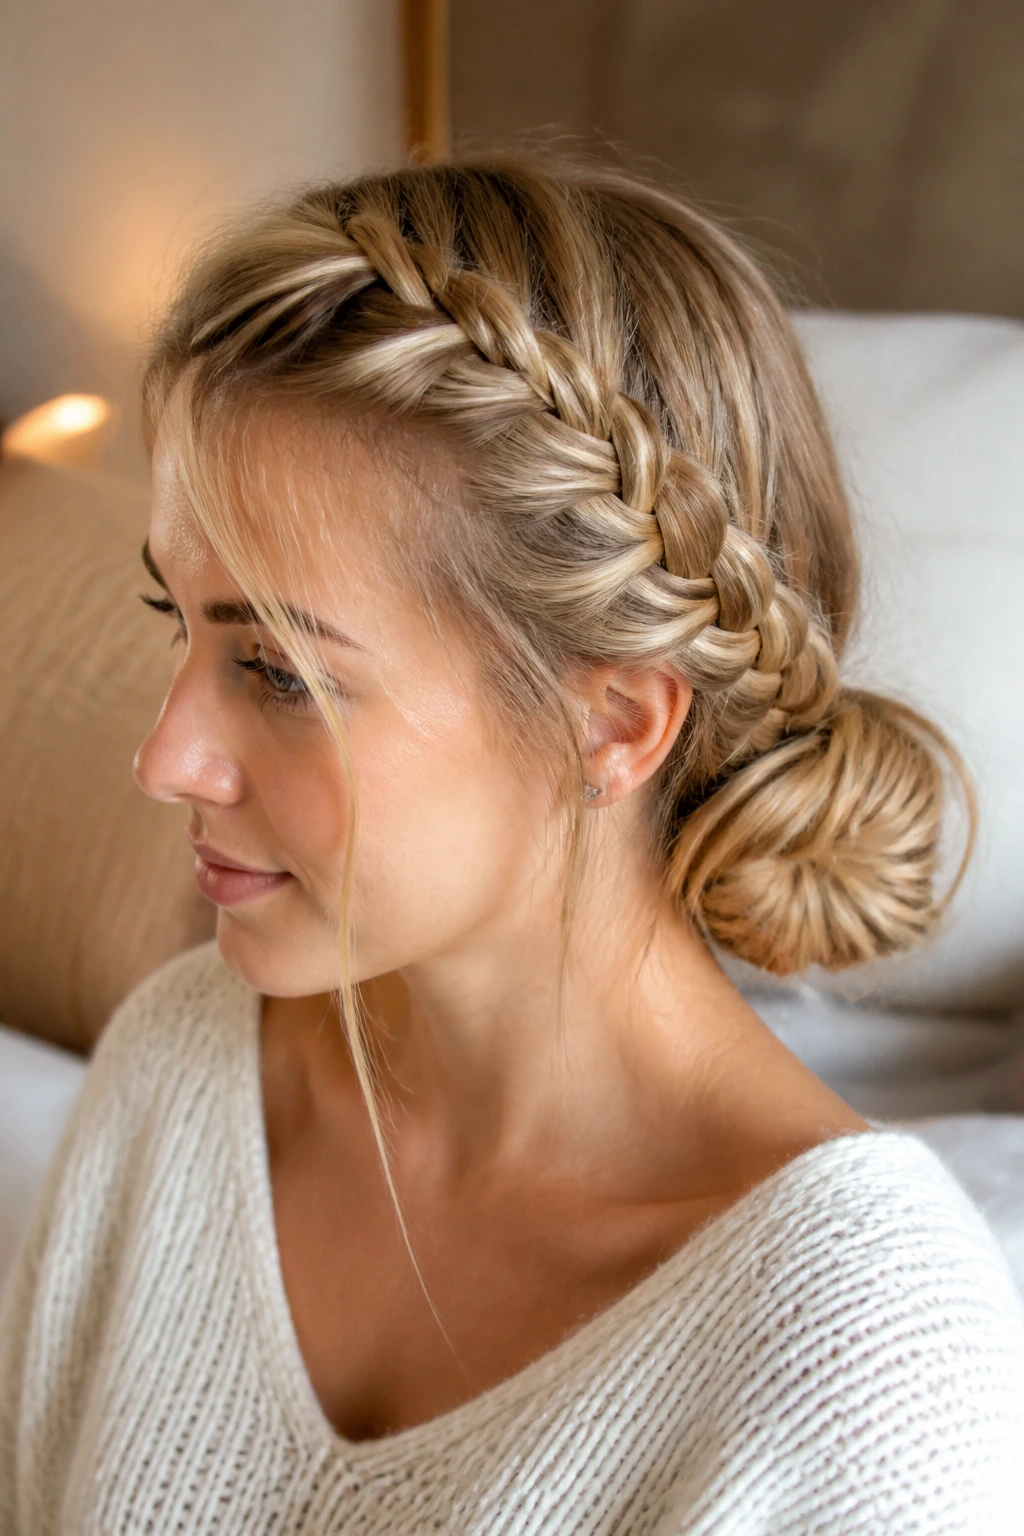
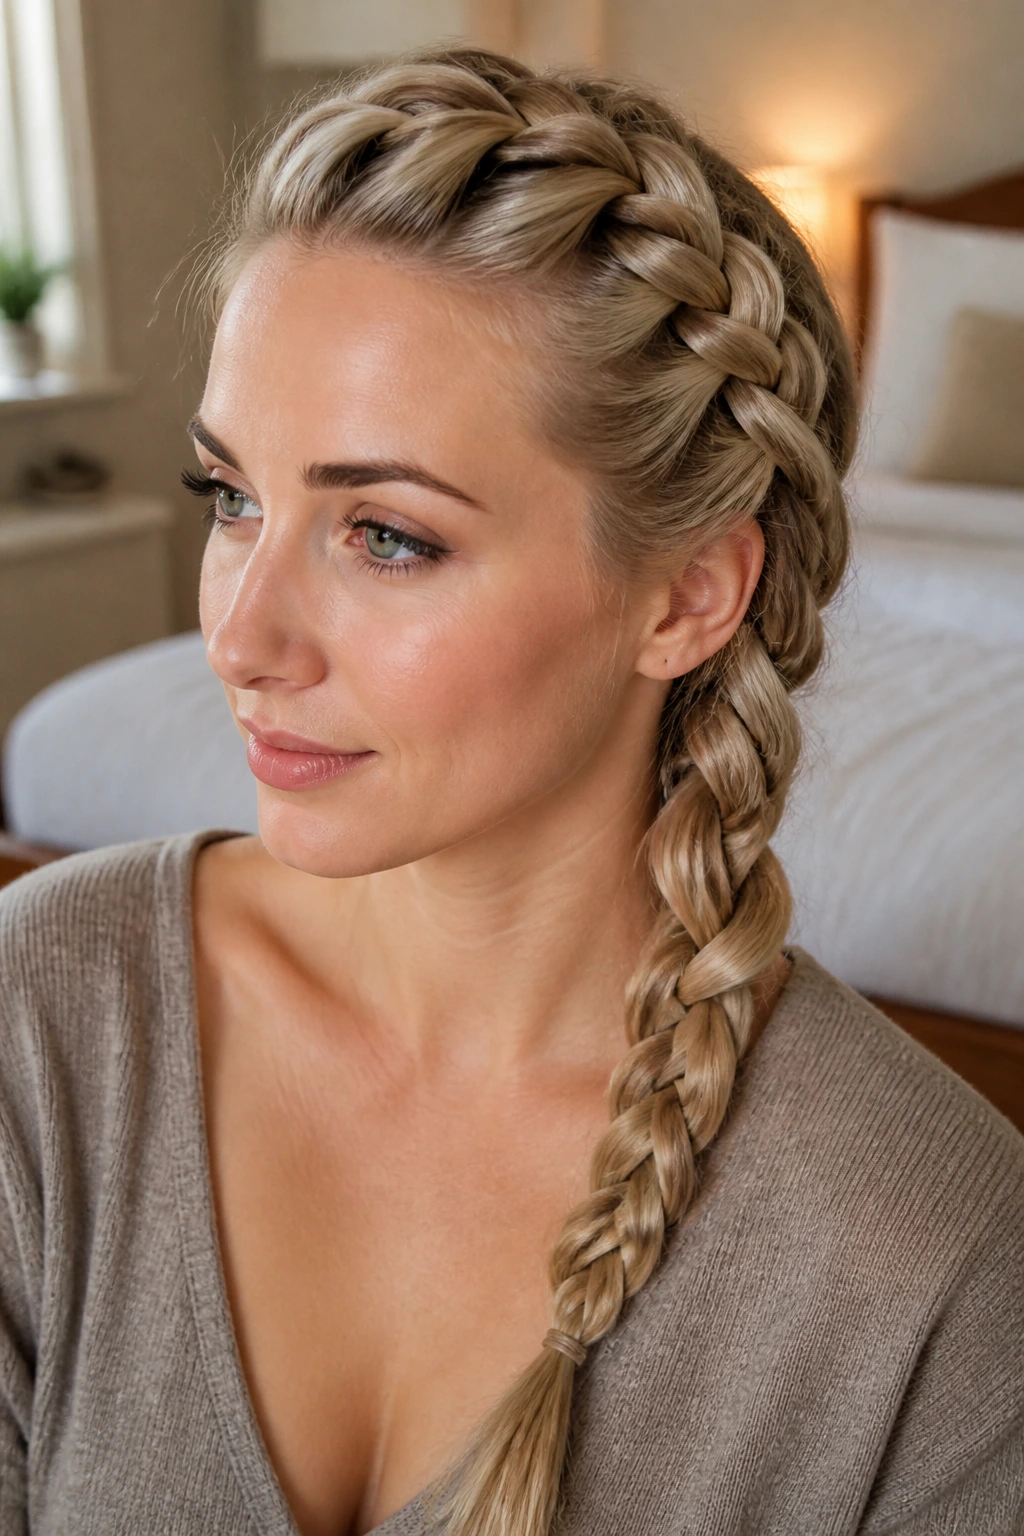
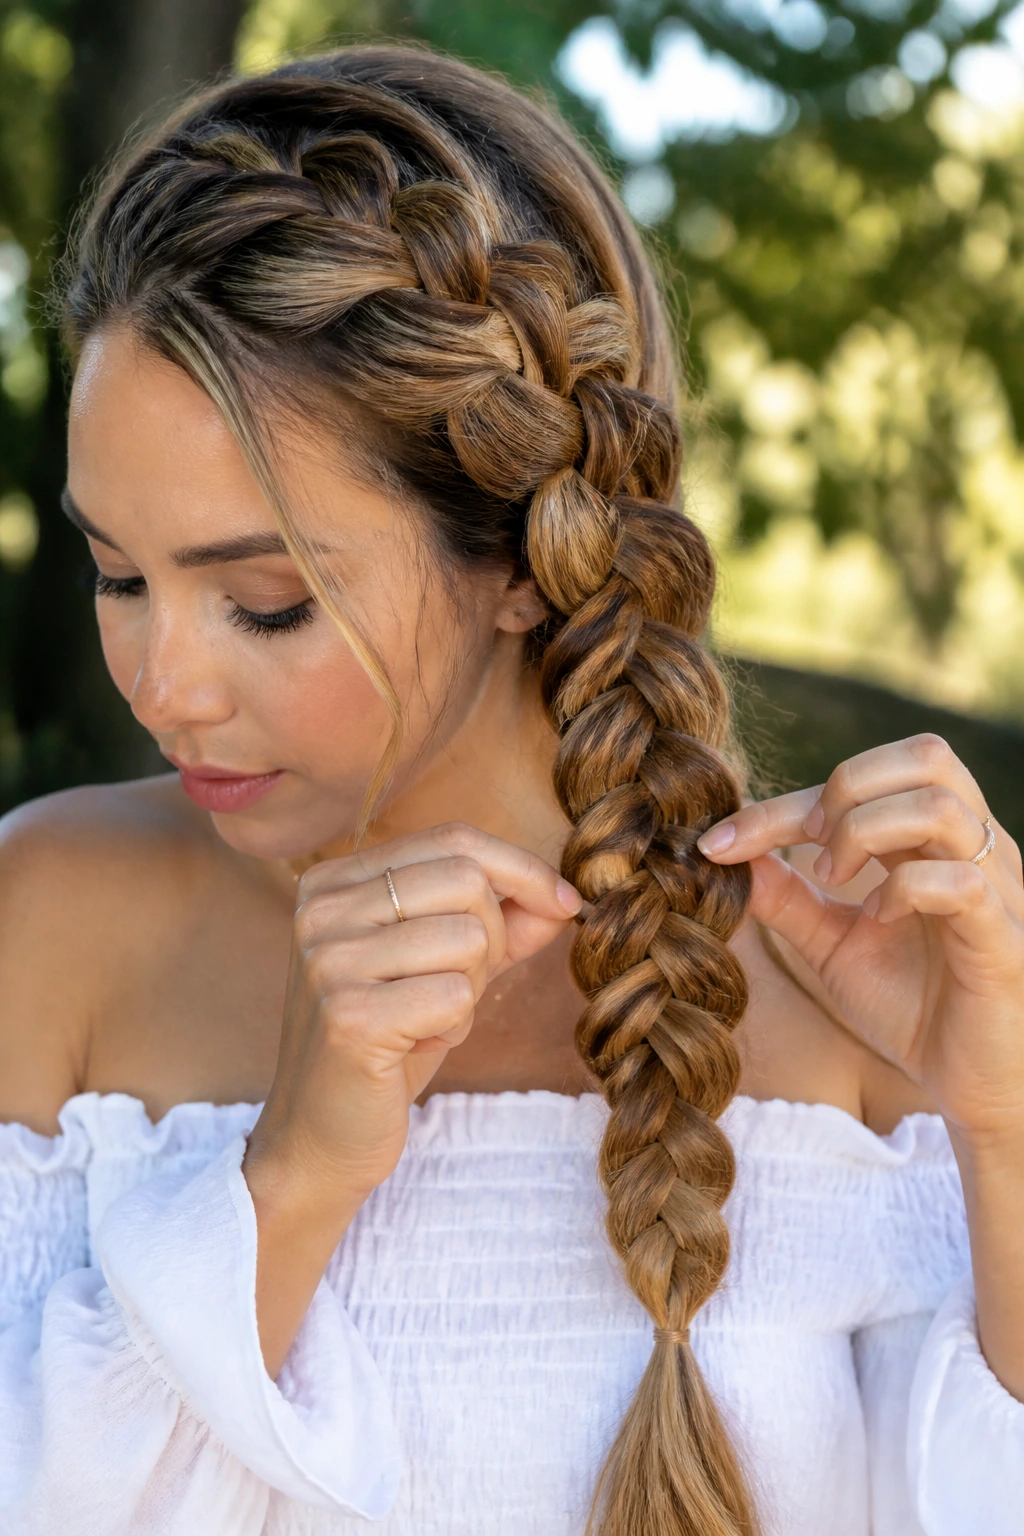
4. The Half-Up Side Dutch Braid

Sometimes the issue with thin hair is not just the volume, but the weight. Pulling all your hair to one side can leave your scalp feeling exposed. A half-up Dutch braid allows you to anchor a portion of your hair in a braid that hugs your hairline, while the rest of your hair remains loose to create the illusion of fullness.
Dutch braids are “inside-out” braids, meaning you cross the strands under rather than over. This pushes the braid out, making it sit on top of your head like a crown rather than being flattened against your skull. By starting the braid at your temple and working it down toward your ear, you create a beautiful, decorative border. Secure it with a clear elastic tucked beneath the loose hair, and you have effectively added visual texture without having to braid your entire head.
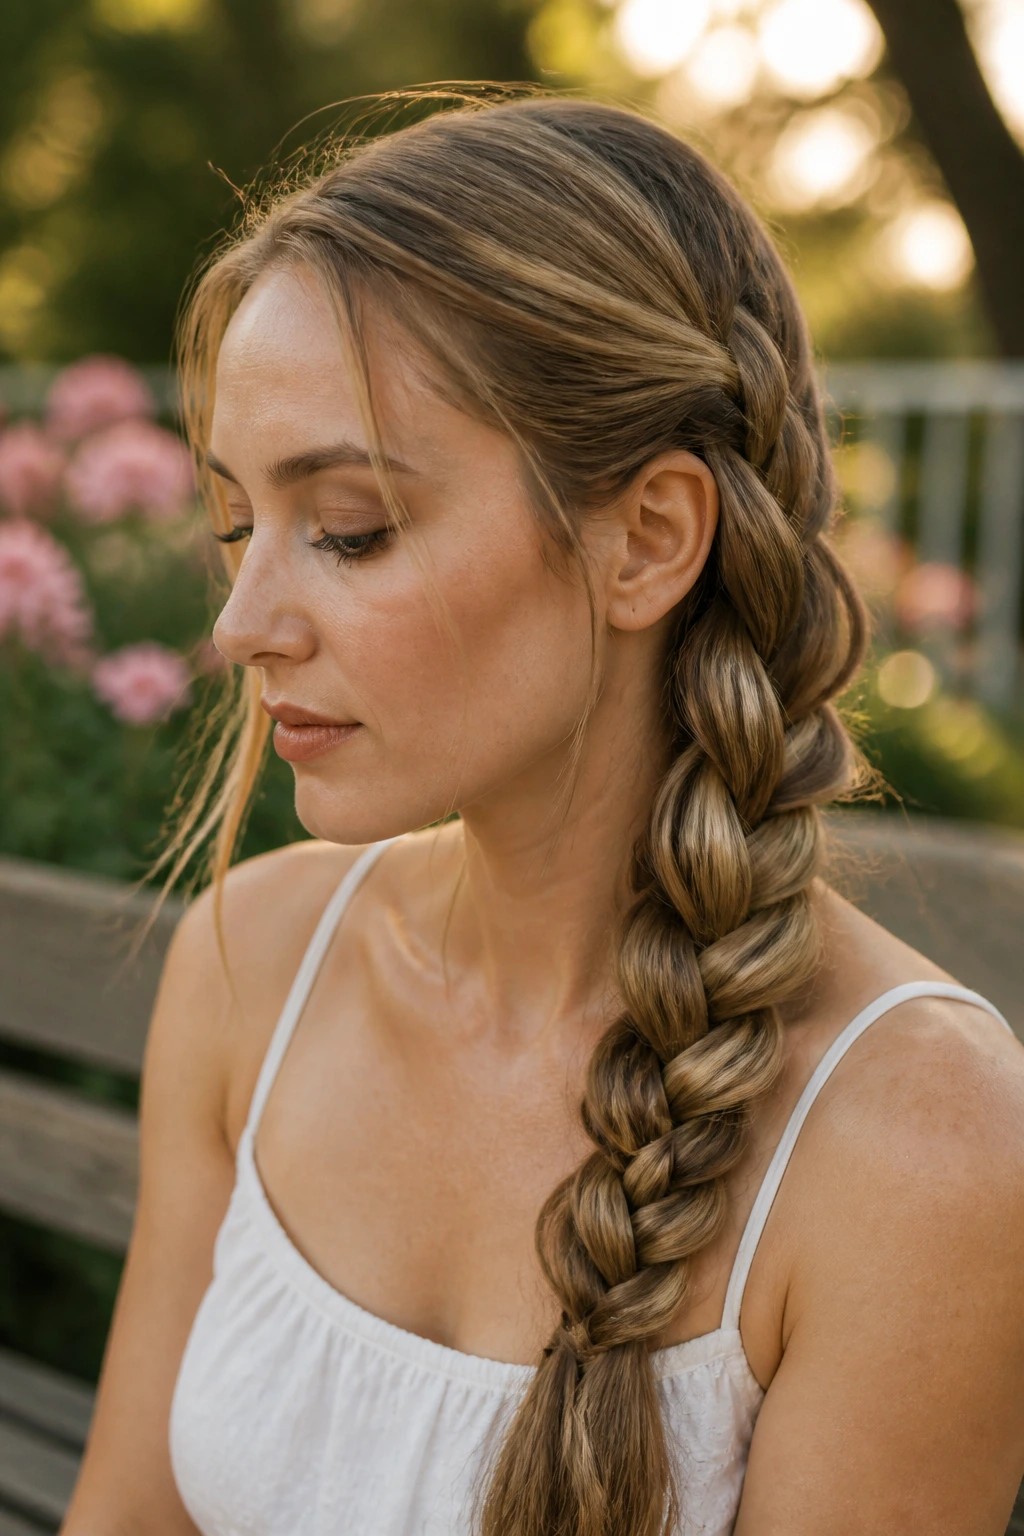
5. The Twisted Side Rope Braid

If you find braiding techniques confusing, the rope braid is a fantastic alternative that uses two sections of hair rather than three. It is effectively a twist, which is much kinder to fine hair that breaks easily during aggressive weaving.
Divide your hair into two even sections at the side. Twist each section in the same direction, then wrap them around each other in the opposite direction. The tension is key here. If you twist too loosely, the braid will unravel in minutes. Secure the end with a small elastic, and then use your fingers to “back-tease” the twist slightly. This creates a fuller, more substantial rope that looks great in a ponytail or a low side-gathered style.
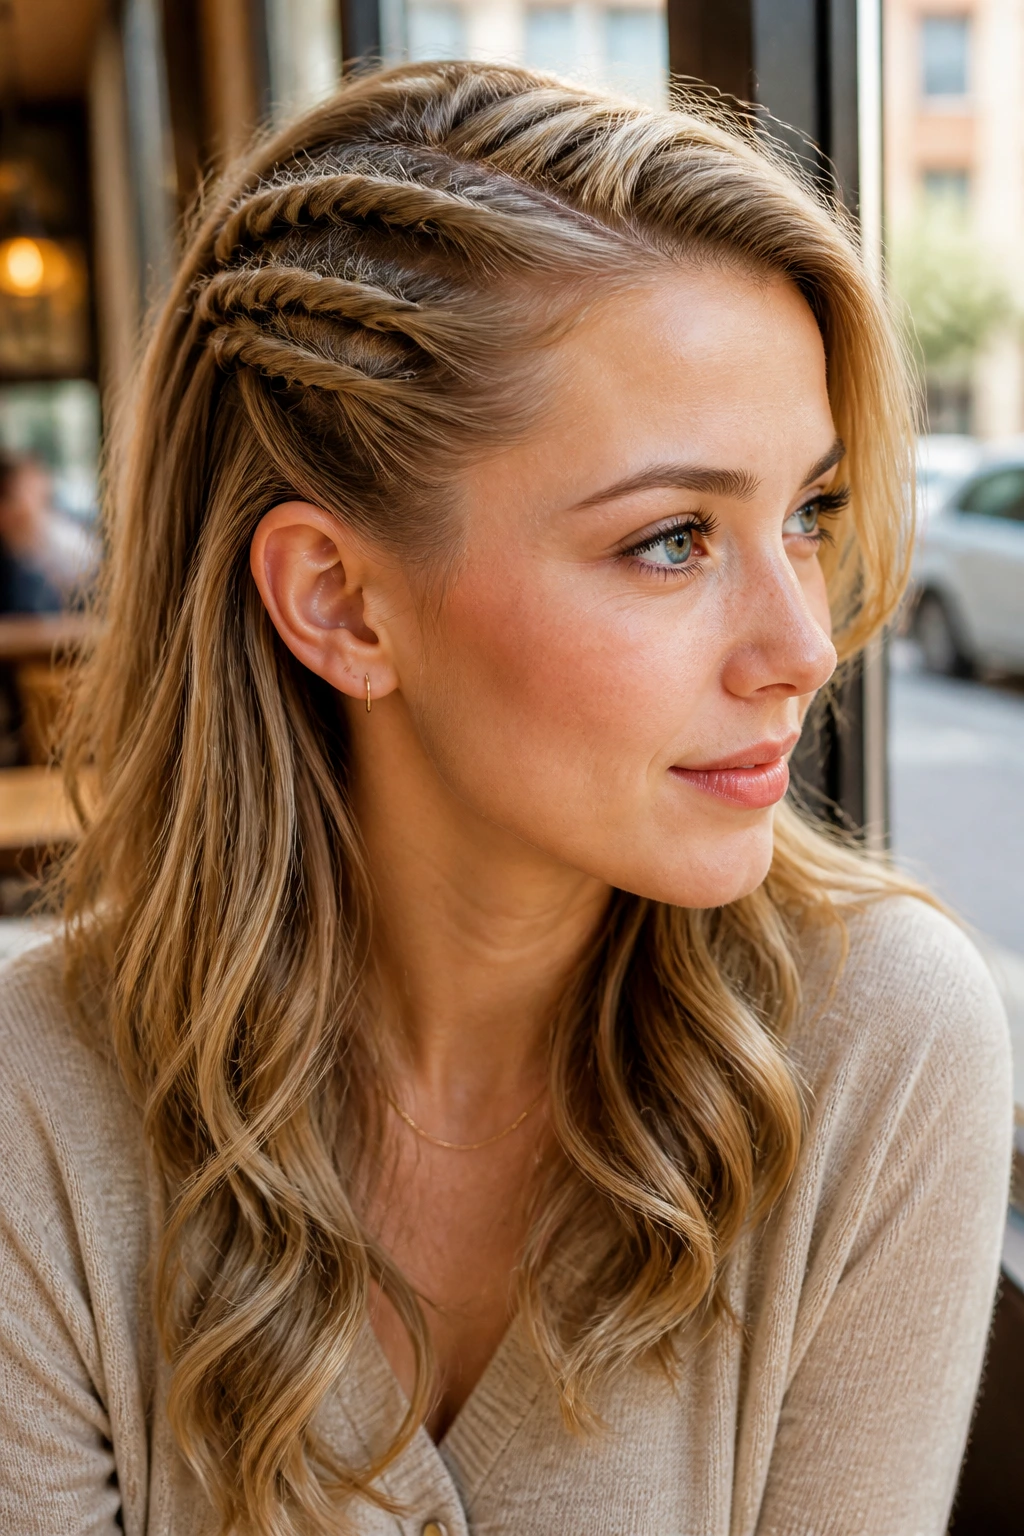
6. The Double Side Braid Combo
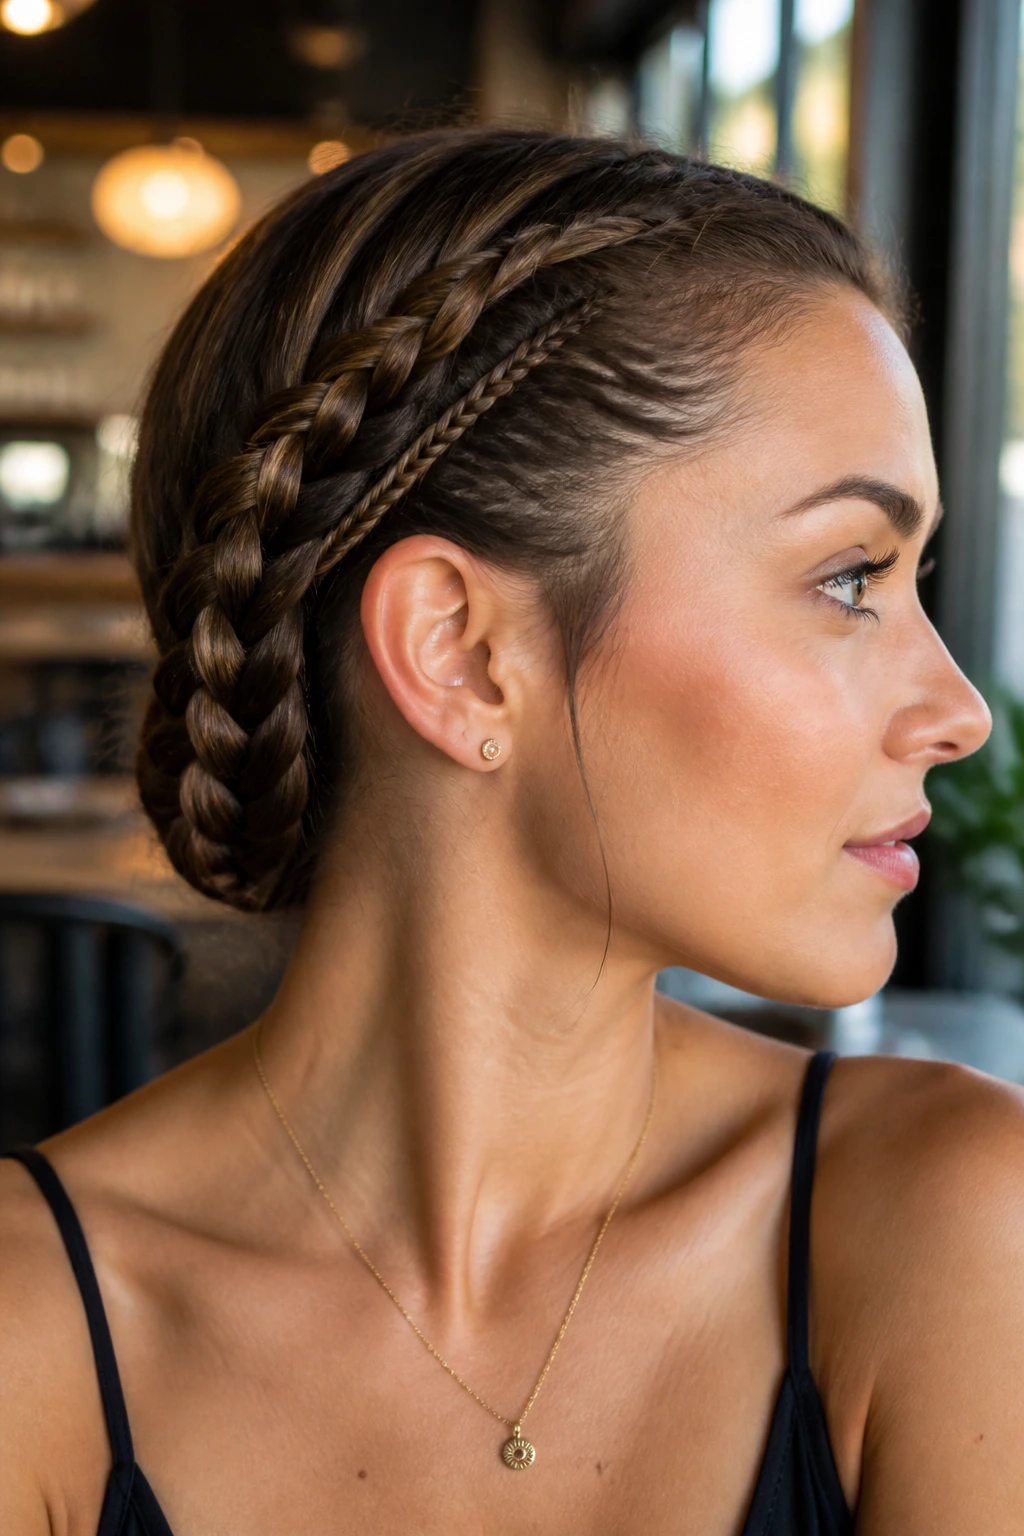
Who says you only get one braid? By layering two smaller braids on one side, you can increase the overall surface area of the style, making your hair appear as if it is taking up more space than it actually is.
Try creating a thin, tight cornrow-style braid along your temple and a slightly larger, looser side braid further back. Once both are finished, pin them together at the nape of your neck or feed them into a single, combined plait. The layering trick is a classic editorial technique used to make models’ hair look more complex and substantial. It is simple, effective, and works beautifully for events where you want a polished, styled appearance.
7. The Side Braid with Extensions
Let’s be honest: sometimes you just want the volume. There is no shame in using a few clip-in extensions to achieve a look that would otherwise be impossible. For a side braid, you only need one or two tracks of hair, placed strategically to add thickness to the sections you are braiding.
The trick is to backcomb the roots of your natural hair where the clip is going to be attached. This gives the extension something to hold onto so it doesn’t slide down throughout the day. Once the extensions are clipped in, braid your hair with the fake strands blended in. The result is a thick, dramatic side braid that holds its shape and style for hours. Just ensure the extensions are a close color match to your natural hair to keep the look seamless.
8. The Pull-Through Side Braid
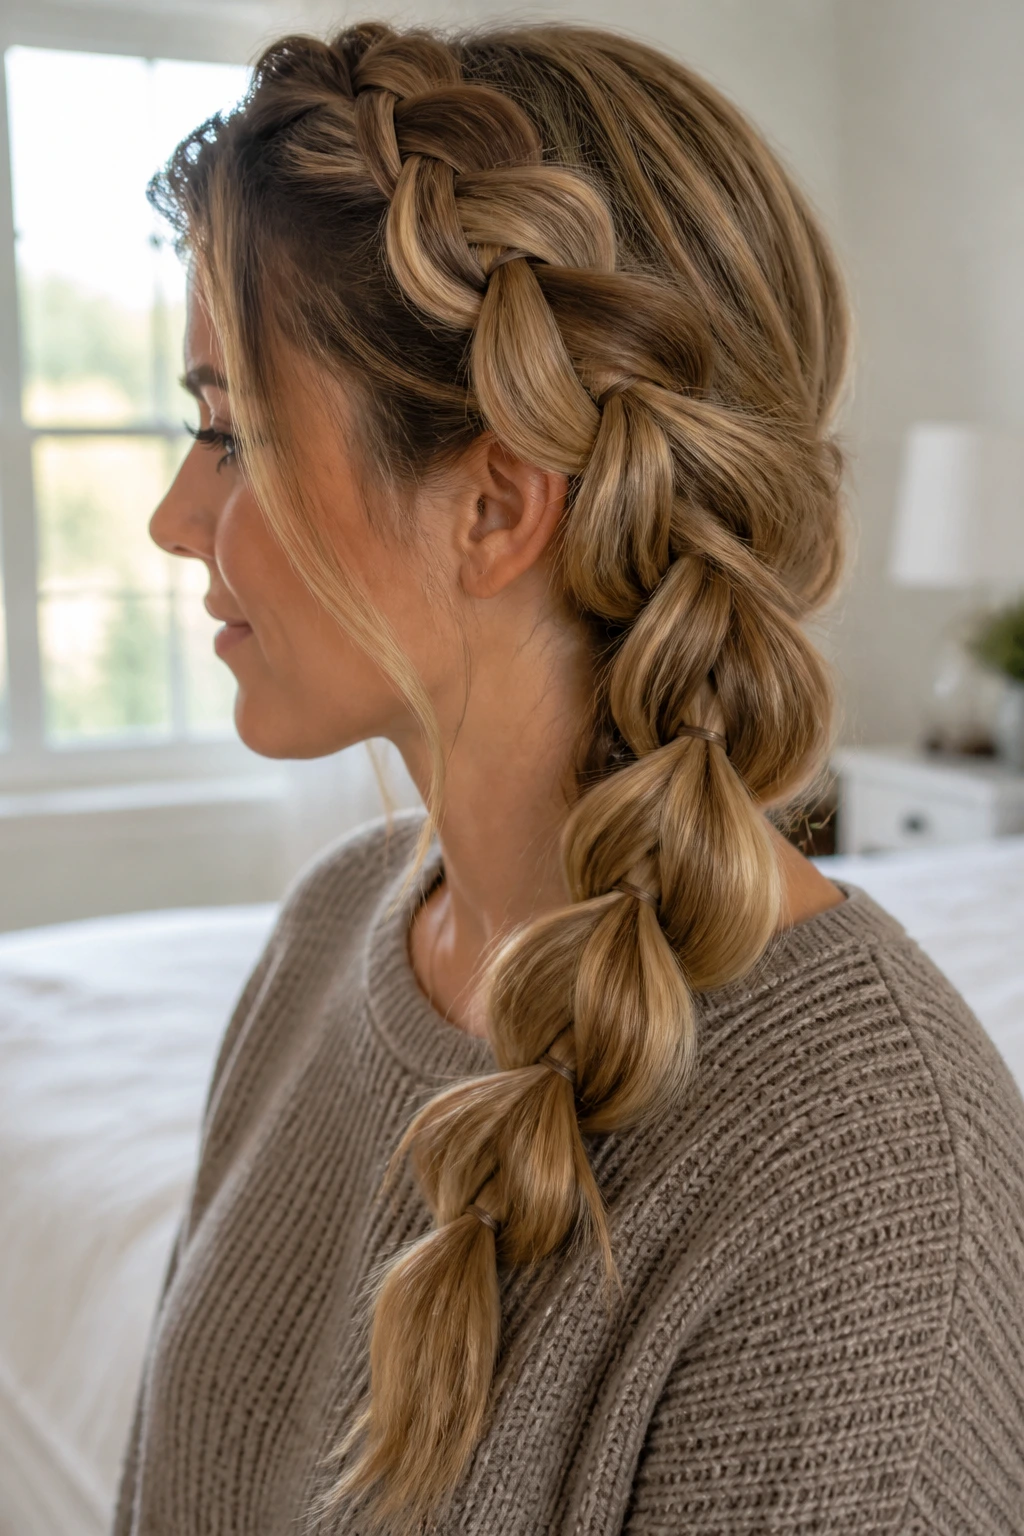
This is arguably the greatest “hack” in the hair world. It looks exactly like a complex, professional-grade braid, but it is actually a series of small, individual ponytails joined together. Because it uses elastics to hold each section in place, you don’t have to worry about the hair slipping or the braid going thin toward the bottom.
To do this, start by making a side ponytail. Then, create a second ponytail a few inches down, split the top one in half, and pull the second one through the middle. Repeat this down the length of your hair. As you pull the sections apart, you are essentially “blooming” the braid. It is remarkably sturdy and gives a massive boost of volume to even the limpest locks.
9. The Waterfall Side Plait
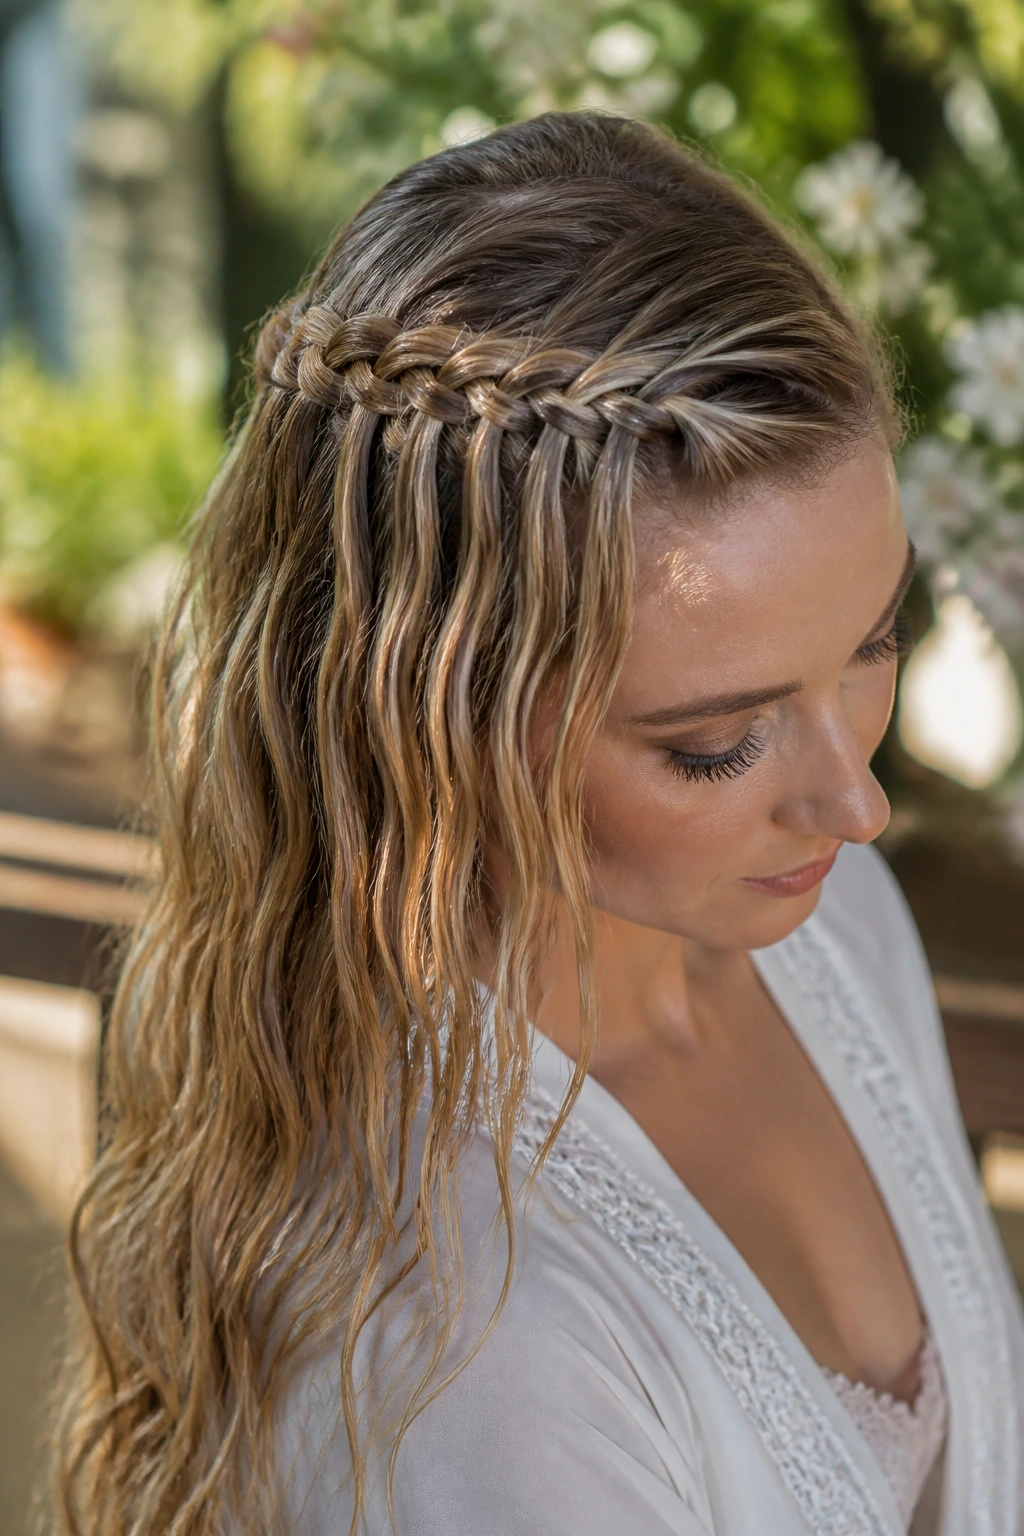
A waterfall braid is lovely, but doing it on thin hair can feel daunting. The key here is to keep the “dropped” strands very thin. If you drop too much hair, your braid will look like it is disappearing.
The aesthetic is soft and romantic, perfect for a wedding or a garden party. Because you are incorporating hair as you go, it helps to start with damp, wavy hair. The natural texture adds grip and makes the “waterfall” effect look intentional. Secure the end of the braid with a decorative pin or a clear band hidden under a small piece of hair to keep the look clean and elevated.
10. The Side Braid with a Scarf

When you don’t have enough hair to create a thick, impressive braid, use an accessory to fill the void. A silk or chiffon scarf can be woven directly into a three-strand side braid as one of the three sections.
Choose a scarf that matches your outfit or adds a pop of color. As you braid, the scarf creates a thick, colorful backbone for the plait. It essentially acts as a faux-extension, making the braid look significantly larger than it is. This is a brilliant way to add personality and volume without having to use heat or hair products that might weigh down fine hair.
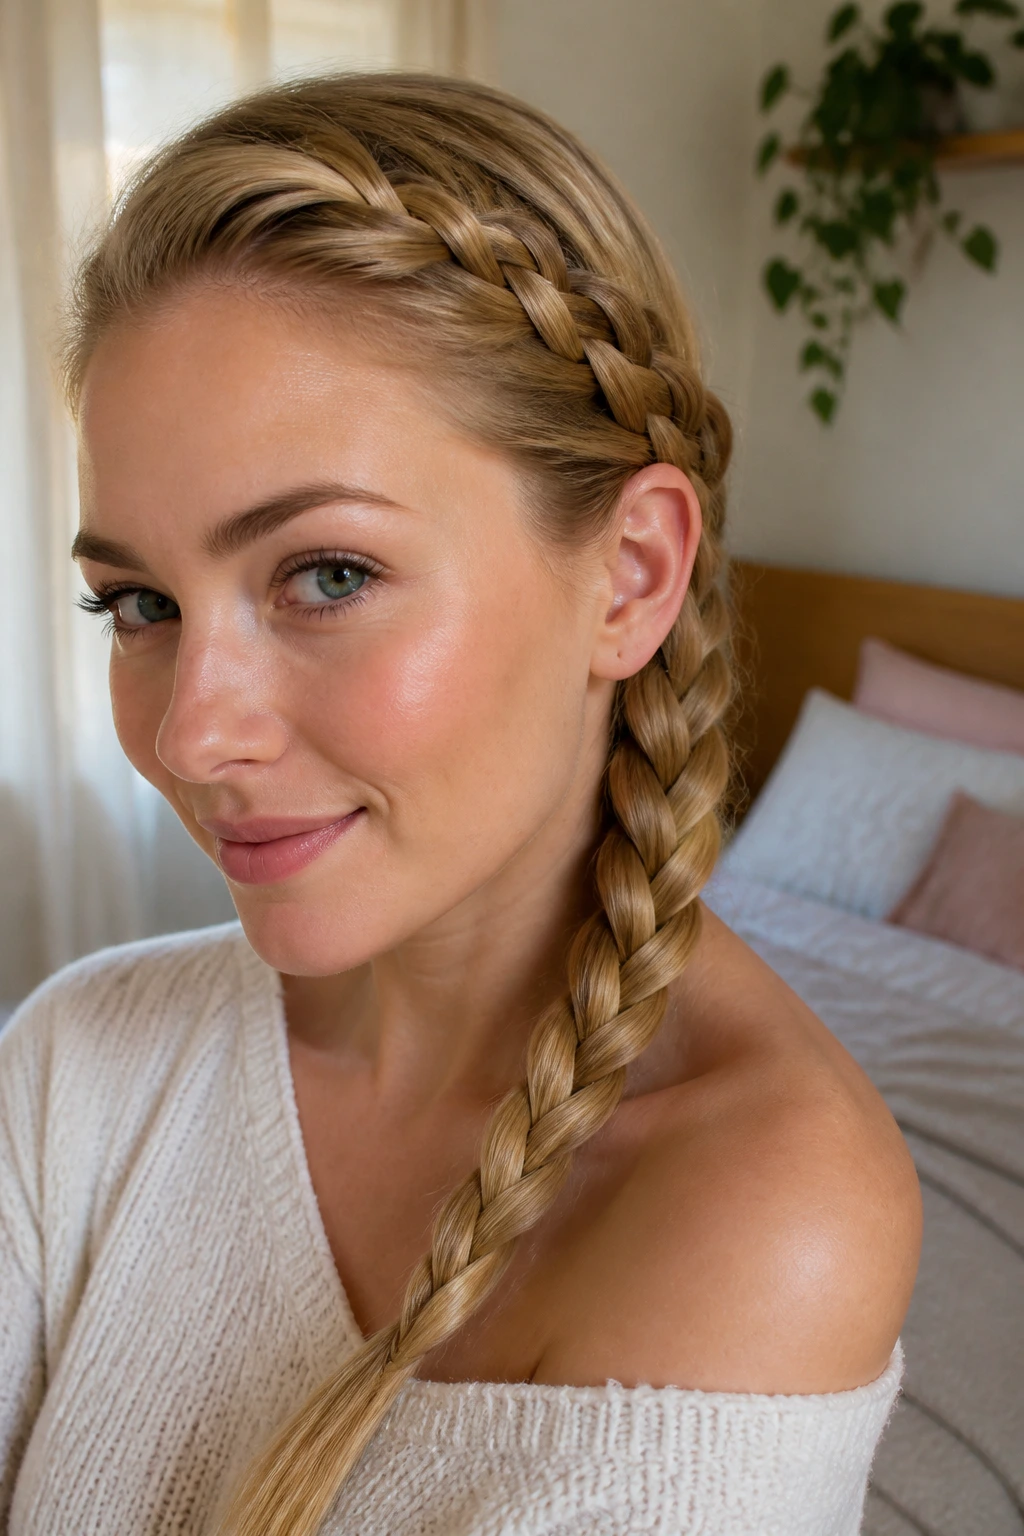
11. The French Side Braid
A classic French braid, swept to the side, creates a sleek and sophisticated look. For thin hair, the danger with a French braid is that it can look “scalpy” if you pull too tight.
Avoid pulling the hair flat against your head. Instead, as you cross each strand, pull it slightly upward and outward. This creates a gentle lift from the root. Because this style keeps most of your hair contained, it is excellent for keeping thin hair from tangling during a busy, active day. It is an enduring style that works for everything from office wear to a casual Sunday brunch.
12. The Milkmaid Side Braid
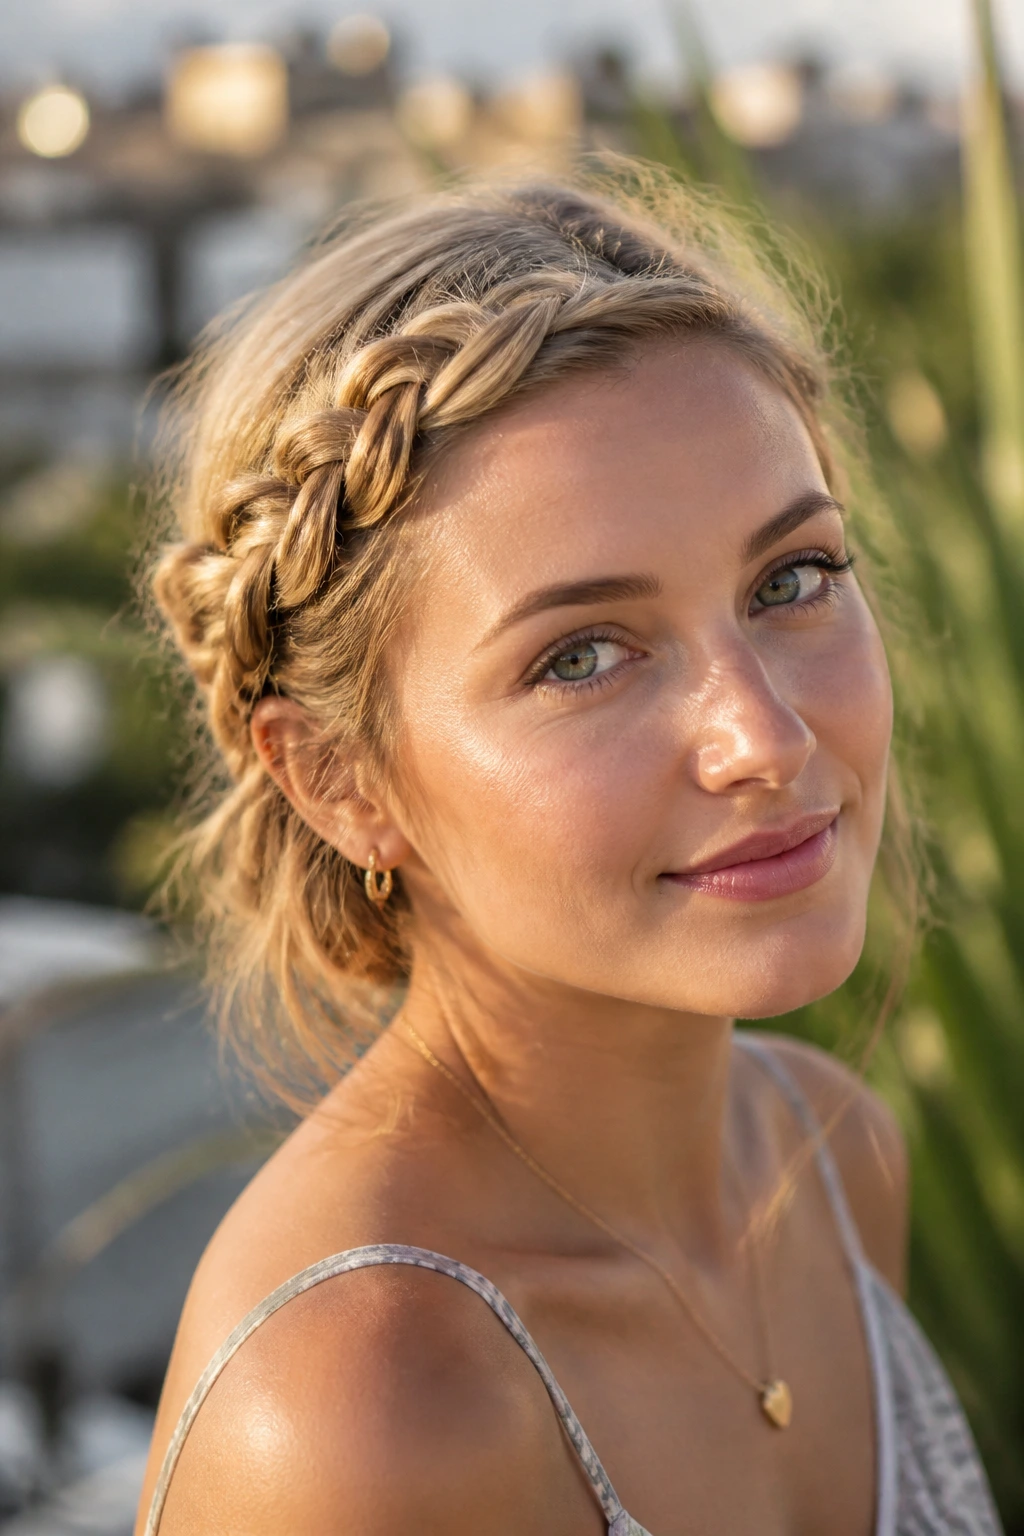
If you have long but fine hair, the milkmaid style—where the braid is draped across the side of the head—can be very flattering. It frames the face and creates a frame of hair that hides the fact that the strands are sparse.
Instead of wrapping the braid completely around your head, gather all your hair to one side and do a standard, slightly loose braid. Pin it so it arches across the side of your hairline. The curvature of the braid creates depth, and the volume is concentrated where it matters most: framing your features.
13. The Headband Side Braid
This style is less about the braid itself and more about how the braid acts as an accessory. By braiding a strip of hair along your hairline and then pulling the rest of your hair to the side, you create an optical illusion.
The braid acts as a frame, drawing the eye toward your face and away from the length of your hair, which is often where thinness is most apparent. I like to finish this look by wrapping the end of the braid into the side-swept hair, hiding the elastic entirely. It’s a clean, polished way to style your hair that feels far more intricate than it actually is.
14. The Triple Side Twist
This is for those days when you just don’t have the time for a real braid. Divide your hair into three horizontal sections on one side of your head. Twist each section away from your face and secure it with a bobby pin near your ear.
Once all three are secured, gently tug at the twists to “fatten” them up. They will blend together to look like one thick, braided side-sweep. It takes less than three minutes to do, and it provides a surprising amount of texture and interest. It is my go-to move for when I have second-day hair that needs a little bit of structure to look presentable.
15. The Volumized Side Braid with Dry Shampoo
Sometimes the best “braid style” is simply the one you make after using the right products. Before you begin any of the styles listed here, use a dry shampoo or a volumizing powder on your roots and through the lengths of your hair.
The white residue (which you can brush out) provides a grip that makes the braid feel twice as thick. It also stops the hair from sliding out. When you finish the braid, flip your head upside down and spray a light-hold hairspray onto the braid from a distance. The airiness of the spray settles into the weave, locking in the volume you have created through your careful tension and pulling.
16. The Side Braid with a Hidden Knot
Knotted braids are a fantastic way to add bulk to thin hair. By tying your hair into a series of knots instead of weaving it, you occupy more space and create a thicker visual density.
Start by taking two pieces of hair from the side and knotting them together. Then, incorporate more hair from below and knot again. Continue this down the side of your neck. The knots stay in place remarkably well without the need for excessive elastics, and the result is a rugged, modern look that feels much substantial than a standard plait.
17. The Side Braid into a Low Bun
If you are worried that a braid will look too thin, incorporate it into a bun. The braid provides the texture at the front and sides of your head, while the bun provides the density at the back.
Start by French braiding the hair along your side, then collect all the remaining hair into a low, messy bun at the nape of your neck. Wrap the end of the braid around the base of the bun to hide the elastic. The contrast between the sleek braid and the soft, messy bun makes your hair look like a deliberate, artistic choice rather than a struggle against thinness.
18. The Side Fishtail with a Ribbon
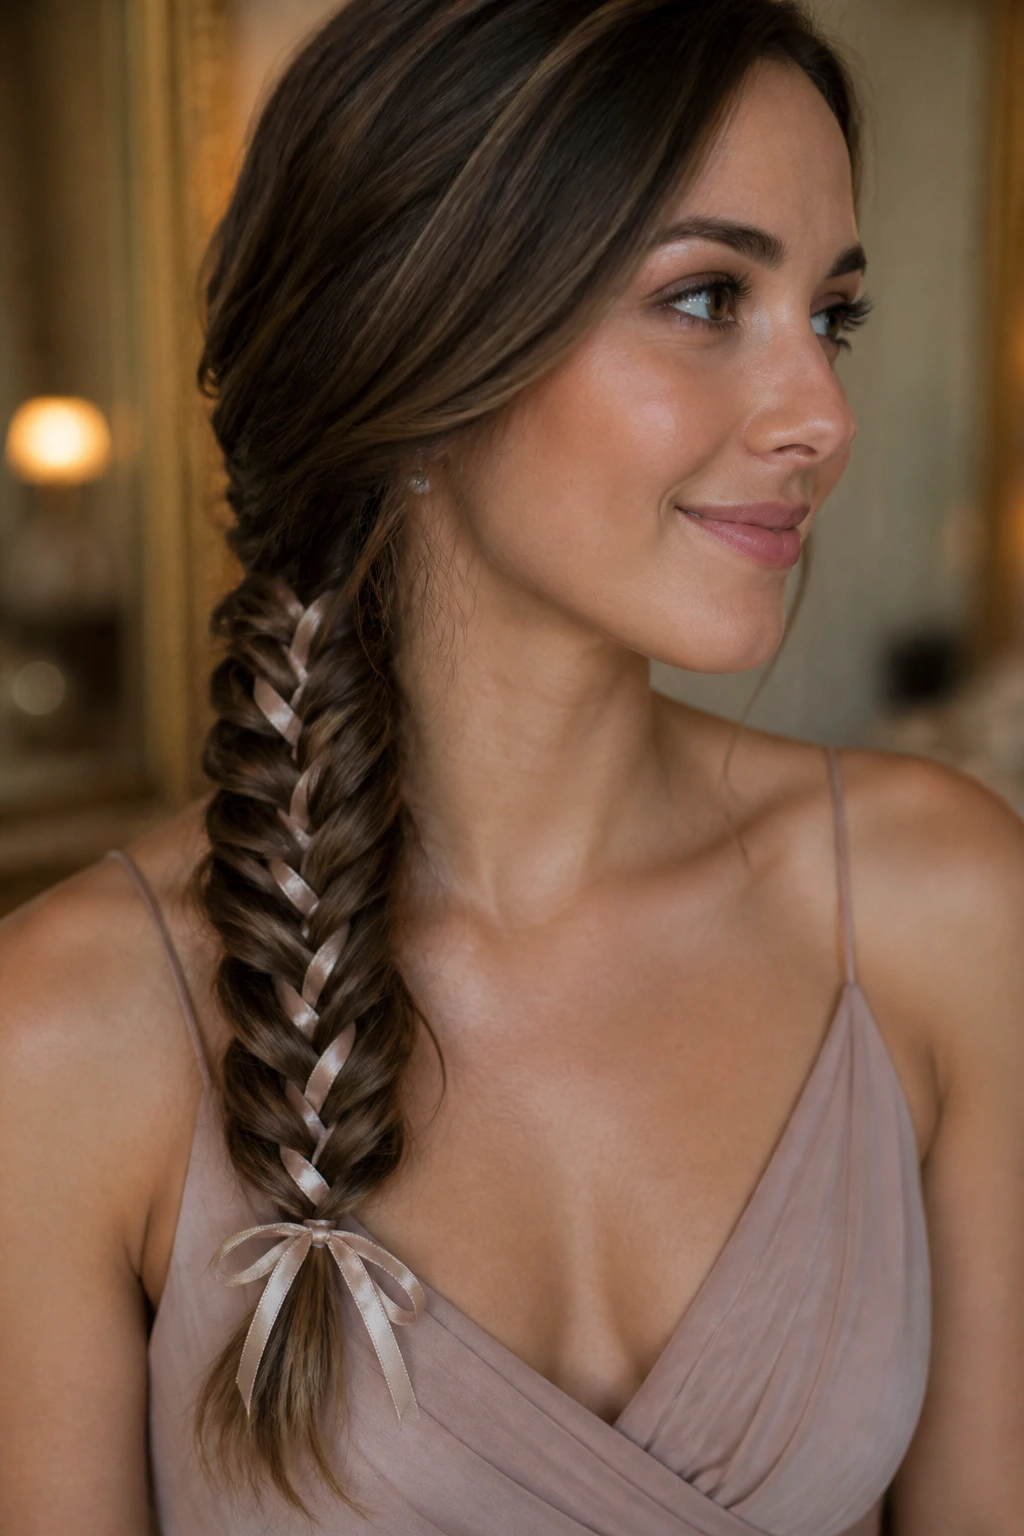
Adding a ribbon is a subtle way to change the vibe of your hair while adding a bit of thickness. Weave a velvet or silk ribbon into a side fishtail braid.
The ribbon acts as a filler, and because it is thinner than a scarf, it doesn’t overwhelm your face. It adds a touch of elegance that works particularly well for dressier occasions. Choose a ribbon that is about half an inch wide—any thicker and it will fight with your hair for space; any thinner and it won’t add the volume you are looking for.
19. The Side Braid with Teased Roots
Before you start any side braid, spend one minute backcombing the hair at your crown. This is a non-negotiable step for thin hair. If the hair at the top of your head is flat, the side braid will highlight the lack of volume by comparison.
Teasing creates a “cushion” of hair that provides lift. When you sweep the hair to the side, that lift remains, giving your style a balanced, full-bodied look. Use a fine-tooth comb to backcomb the underside of your hair, then gently smooth the top layer over to hide the teasing. Once that volume is set, proceed with your braid of choice.
20. The Side Braid with a Deep Side Part
Sometimes the simplest change makes the biggest difference. Changing your part to be very deep on one side allows you to sweep more hair across your forehead before it hits the braid.
This creates a massive amount of volume on one side, which makes the braid feel like a natural extension of that volume. It is a very “Hollywood” trick for making hair look thicker. Pair this with a slightly messy side plait, and you have a style that looks intentionally styled and full of character.
21. The Side Braid with Bobby Pin Details
If your braid looks thin, don’t try to hide it—accessorize it. Use a row of gold or metallic bobby pins to pin back the sections of hair leading into your braid.
The pins add a point of focus. Instead of people looking at the braid and thinking, “that’s a thin braid,” they look at the pins and think, “that’s a cool hairstyle.” It is a classic misdirection tactic that works in every aspect of life, especially in beauty.
22. The Side Braid with Curls
Straight hair is the enemy of the thin-haired braid. If your hair is poker-straight, it will naturally want to lay flat and reveal all the “holes” in your braid.
Take five minutes to add a few loose waves with a curling wand before you start braiding. Even if the curls fall out by the end of the day, the leftover texture will make the braid significantly thicker and more interesting. You don’t need perfect curls—you just need the bend in the hair to give it some life.
23. The Side Braid with a Feathered Finish

When you reach the end of your side braid, don’t just wrap it with a tight hair tie and call it a day. Gently tease the very ends of the hair—the tail that hangs out of the braid—so that it looks like a soft, feathery tassel.
This hides the fact that the braid inevitably thins out at the bottom. A soft, airy tail looks intentional, like a deliberate choice to leave the ends undone. It’s a small detail, but it prevents the “sad ponytail” look that often haunts thin braids.
24. The Side Braid with a Ponytail Anchor
If you find that your side braid starts to sag or slip throughout the day, use a ponytail as an anchor. Gather your hair into a side ponytail, tie it securely with a clear elastic, and then braid the ponytail.
The elastic holds everything in place, and because the braid is anchored at the base, it maintains its shape and tension much longer. This also allows you to braid the hair tighter because you aren’t worried about pulling the hair too hard from your scalp.
25. The Inverted Side Braid
An inverted braid, or a Dutch braid that you’ve pancaked, is the holy grail for thin hair. Because the strands are crossed under, the braid “pops” away from the skin.
Once the braid is tied off, go through every single link and tug it gently. Do not be afraid to pull it until it looks quite wide—it is much easier to collapse a wide braid if you want it smaller than it is to build volume into a tight one. This method is the single most effective way to make a thin braid look voluminous.
26. The Side Braid with Highlights
This is a visual trick rather than a physical one. If your hair is all one solid, dark color, any thinness is immediately obvious because the scalp and the hair lack contrast.
Highlights and lowlights create dimension. When you braid hair with multiple shades, the movement and texture of the plait are more visible to the eye. It creates the illusion of depth, making the hair look thicker and more dynamic. If you aren’t ready for a full color treatment, a few face-framing balayage pieces can do wonders for the way your side braid looks in photos.
27. The Side Braid with a Low Chignon

If the braid ends look a bit thin, tuck them into a small, tight chignon at the side of your neck. It gives the braid a purpose—it’s now the “detailing” for an elegant low bun.
This style is perfect for work or formal events. By using the braid as the lead-in to a larger structure, you disguise the ends of your hair entirely. It looks incredibly polished and professional, and nobody will ever know that the braid itself might have been a bit wispier than you’d like.
28. The “Pancaked” Side Braid
We have mentioned it before, but the technique of pancaking deserves its own spot as the ultimate solution for thin hair. Once your side braid is complete and tied at the end, hold the very bottom of the braid with one hand.
Use your other hand to gently pull at the loops of the braid from the outside in. Start from the bottom and work your way up to the top. The secret is to use tiny, incremental tugs. If you pull too hard, you’ll lose the structure of the braid. If you pull just right, you effectively double the width of your braid, creating a luscious, full-looking plait that defies the reality of your fine strands.
Final Thoughts
At the end of the day, styling fine hair is about accepting its unique texture and learning the tools that make it work for you. Do not compare your braids to the thick, coarse hair you see on your feed—that isn’t a fair comparison. Instead, look for the techniques that add structure, grip, and deliberate volume.
Whether you are using a bit of dry shampoo for grip, weaving in a ribbon for bulk, or mastering the art of the pull-through braid, remember that the best style is the one that makes you feel confident. Play around with these methods, don’t be afraid to let a few strands go loose, and stop worrying about “perfection.” Sometimes the messiest, most undone braids are the ones that actually look the thickest. Just keep practicing your tension, and you will find the rhythm that turns your thin hair into a beautiful, braided masterpiece.