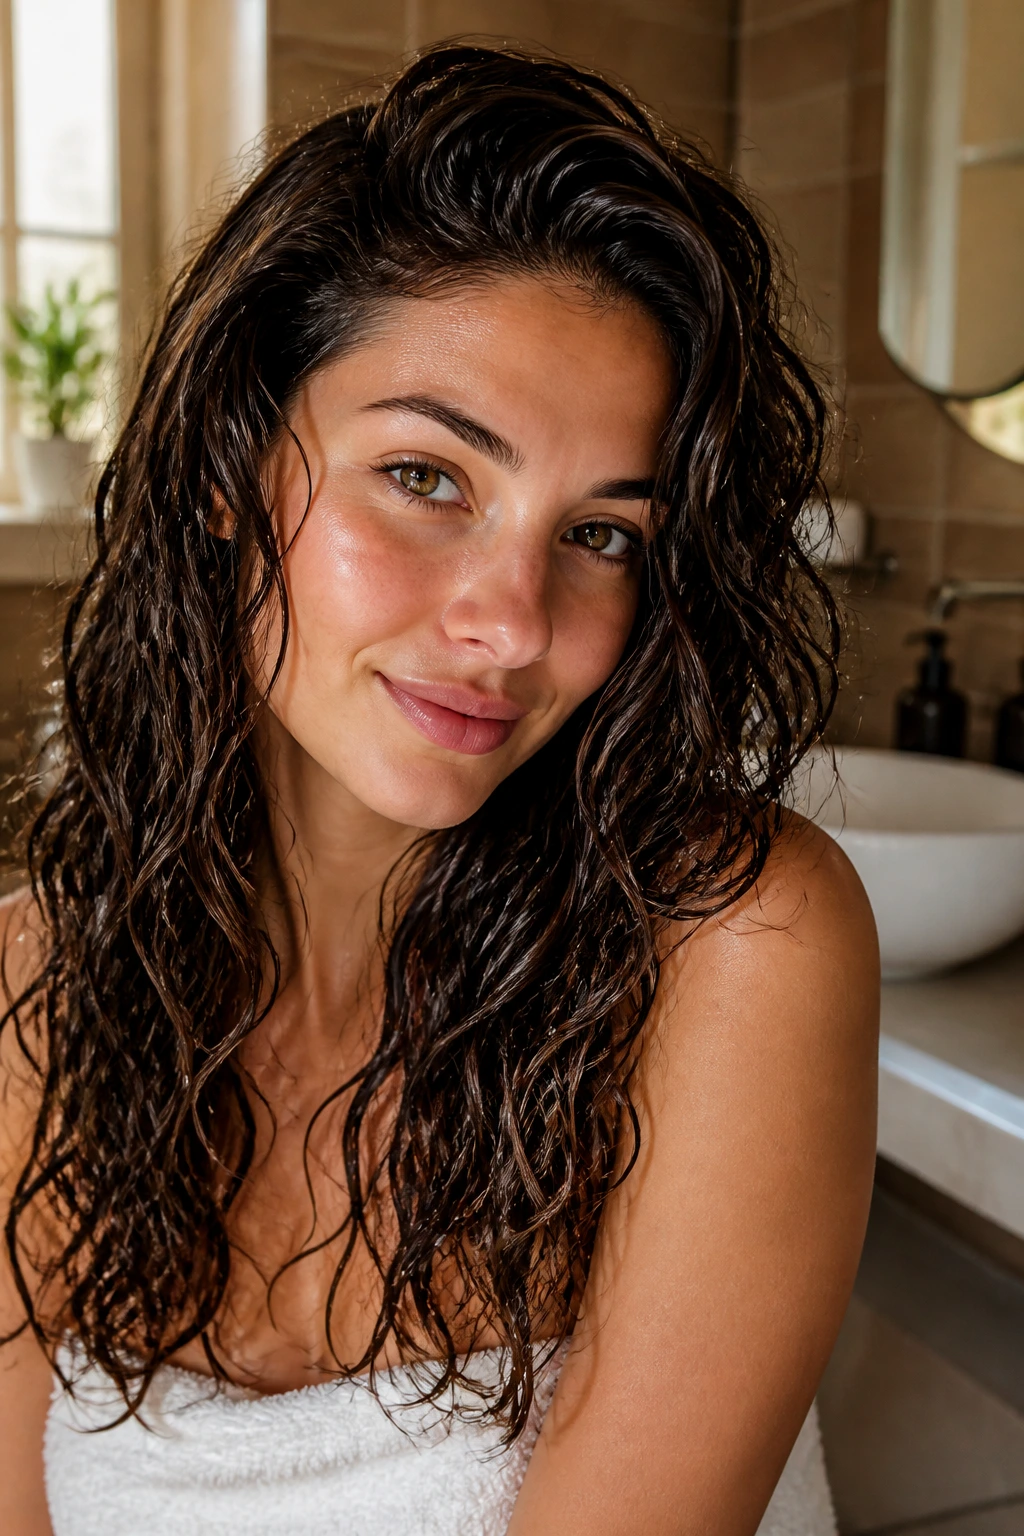
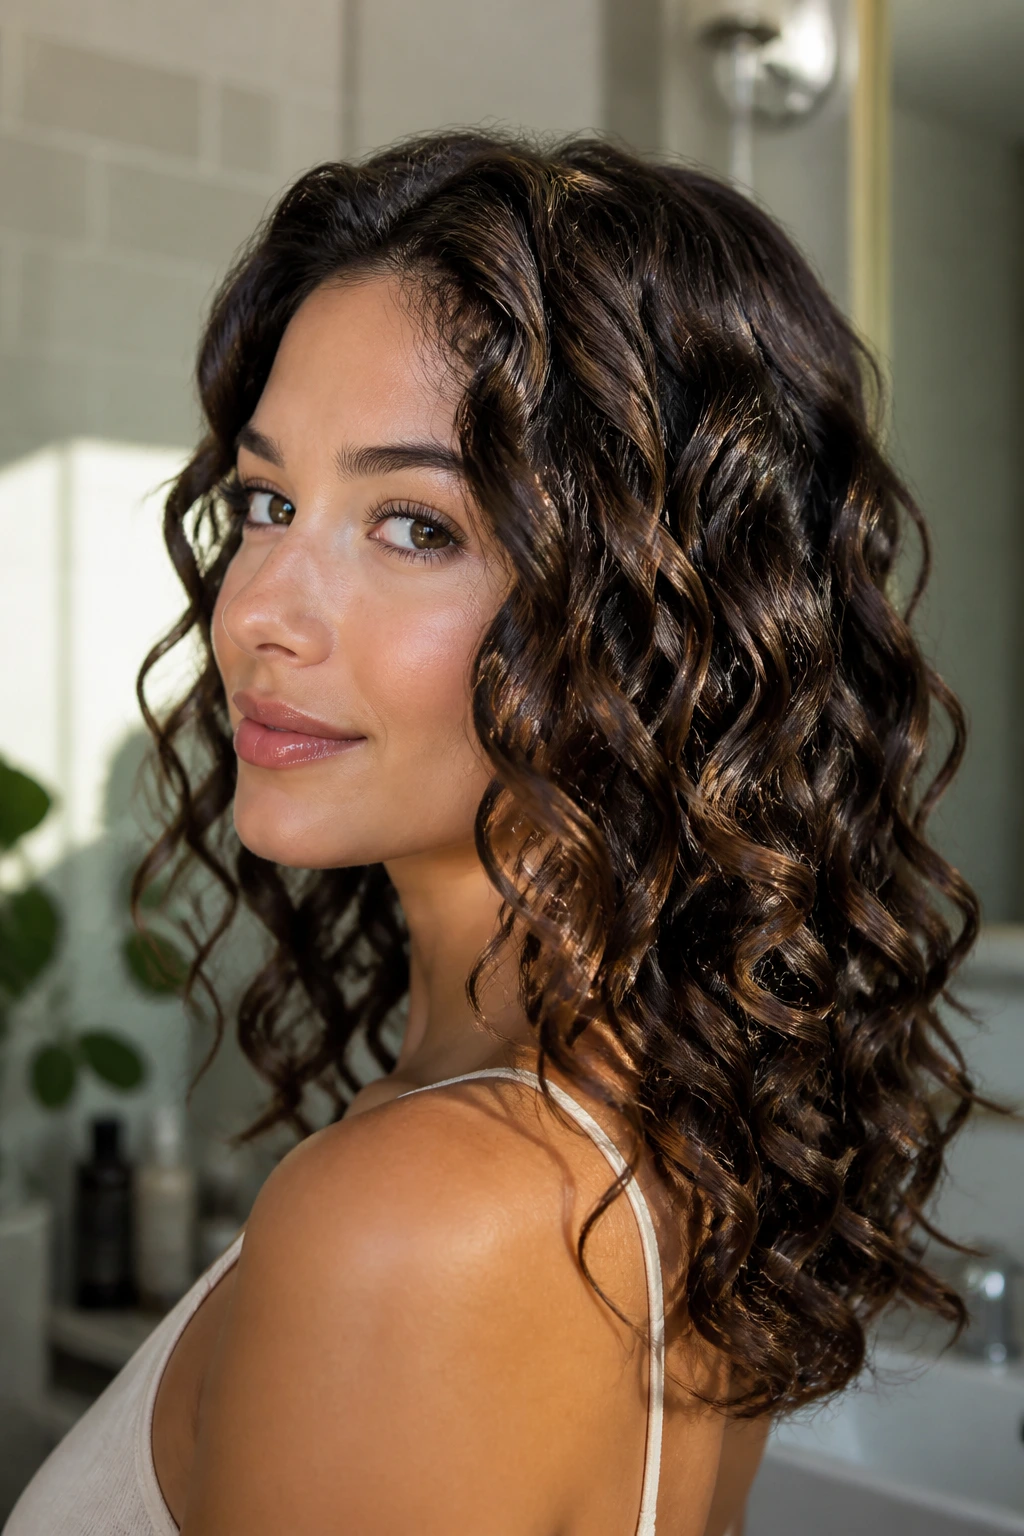
Wavy hair often exists in a frustrating middle ground. It is too heavy to stay straight for long, yet it lacks the tight, consistent structure of a true coil. Many people with this hair type spend years fighting their natural texture, oscillating between heat damage from flat irons and the exhaustion of trying to coax a beachy wave into something that actually looks intentional. If you have been searching for a way to turn those unpredictable bends into something polished and consistent, you are essentially looking for ways to boost your hair’s “curl factor” through intentional care and styling techniques.
The secret to moving from “frizzy mess” to “defined ringlets” lies in how you treat your hair from the moment it touches water. It is not about buying more products; it is about how you layer the moisture and how you manipulate the strands while they are wet. When you stop treating waves like straight hair that happens to be bent and start treating them like curls that need a bit more encouragement, everything changes.
1. The Power of a Strong Foundation
You cannot build a defined curl on a foundation of dry, brittle hair. Before you even think about styling products, your wash day routine needs a complete overhaul to prioritize hydration. Wavy hair is notoriously thirsty because the natural oils from your scalp struggle to travel down the bends in the hair shaft, leaving the ends dehydrated and prone to snapping.
Essential Washing Techniques
- Switch to a moisturizing, sulfate-free cleanser to remove buildup without stripping away every bit of natural oil.
- Apply a deep conditioner every single time you wash, focusing exclusively on the mid-lengths and ends to avoid weighing down your roots.
- Use a wide-tooth comb only when your hair is saturated with conditioner, then leave it alone—never brush dry waves unless you are actively looking for a frizzy, voluminous look.
Pro tip: Rinse your final conditioner out with cool water to help “seal” the hair cuticle, which reduces the amount of frizz that develops during the drying process.
2. The Squish-to-Condish Method
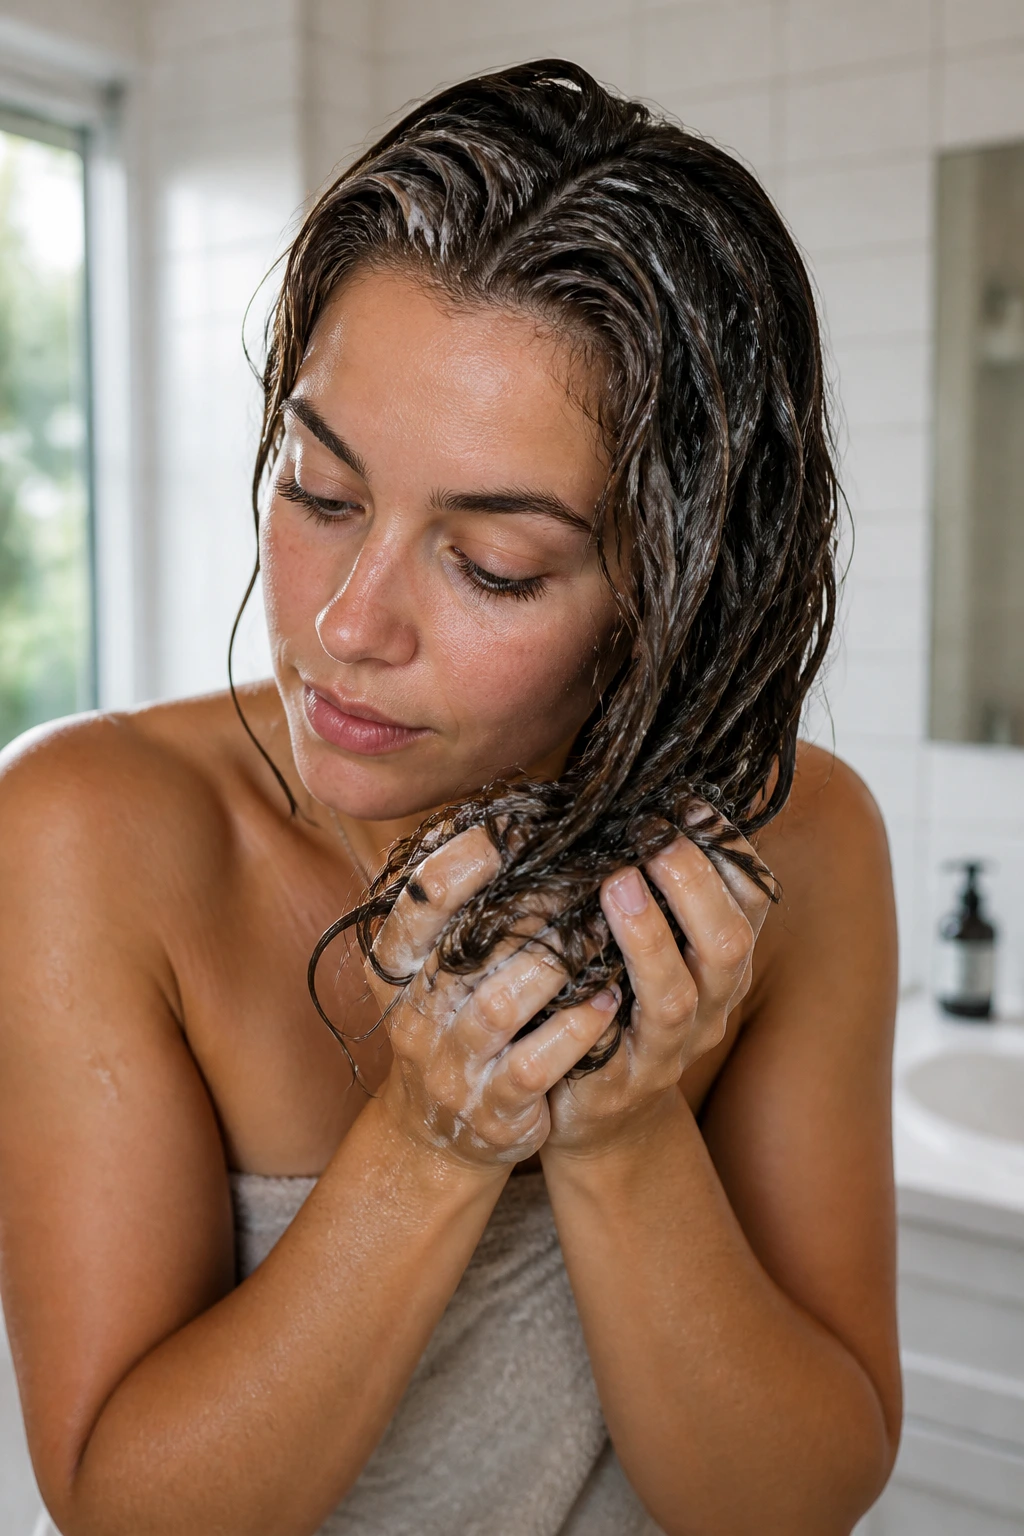
If your waves are falling flat by midday, you are likely not getting enough water inside the hair shaft. This technique is legendary among those with wavy hair for a reason. Instead of just rinsing your conditioner off, you are going to incorporate it into your hair by gently “squishing” the product toward your scalp.
Why This Technique Works
The sound—and the look—might seem a bit strange at first. You are effectively forcing moisture into the cuticles while the hair is at its most pliable state. By creating that distinct “squelching” sound, you ensure that the product is fully absorbed rather than just sitting on the surface.
How to Execute the Squelch
- Apply a generous amount of conditioner to soaking wet hair.
- Cup your ends in your palms and push the hair upward toward your scalp, squeezing gently to work the water and product in.
- Continue this process until your hair feels slippery, soft, and completely hydrated, then rinse with a light splash of water while continuing the squeezing motion.
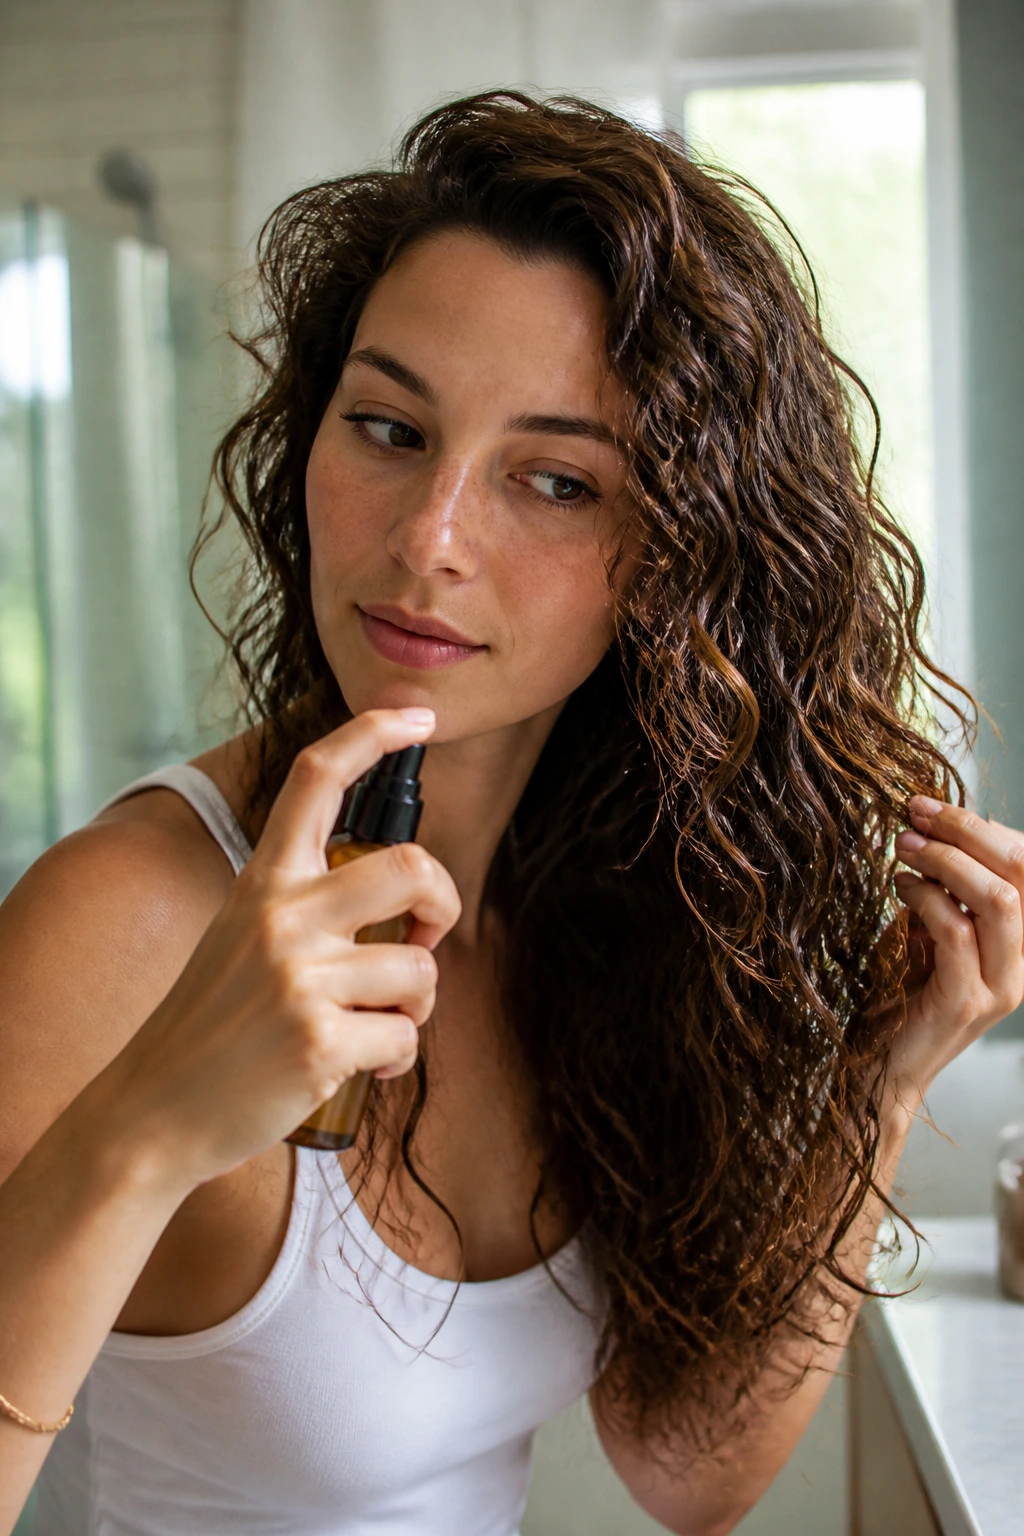
3. Selecting the Right Lightweight Leave-In
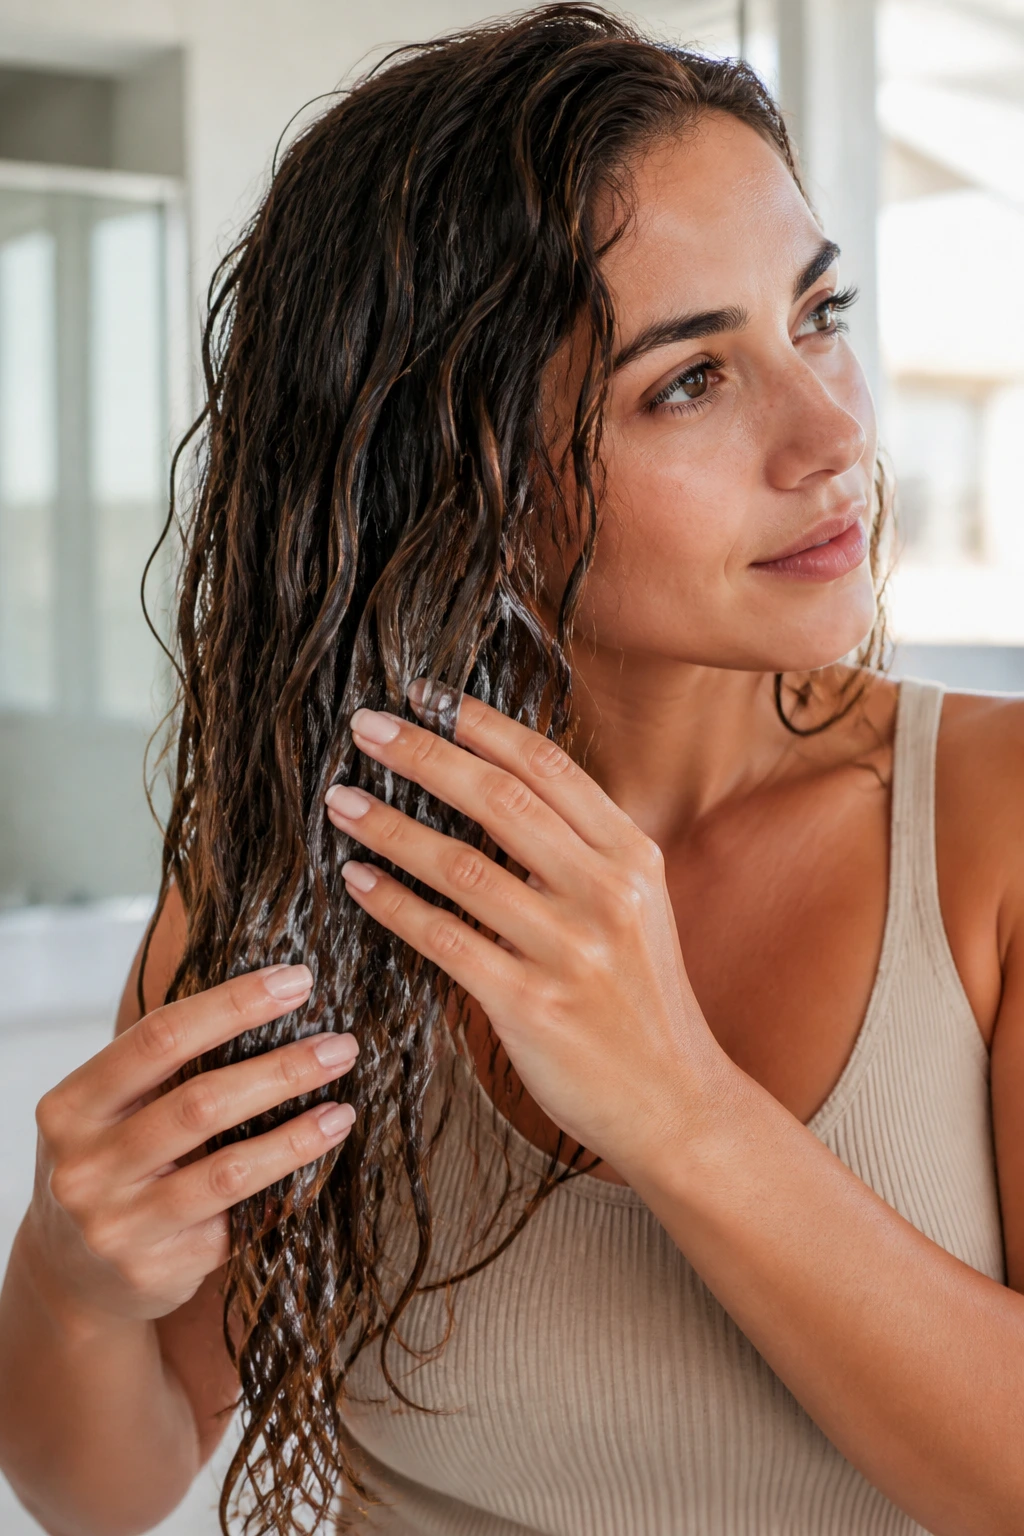
Heavy creams and thick butters are the enemy of wavy hair. If you use a product designed for 4C hair, your waves will likely become weighed down, stringy, and greasy. You need a formula that offers slip and moisture without the density of a heavy oil.
What to Look For
Look for sprays, milky lotions, or watery gels that emphasize “volume” or “curl enhancement.” These products are formulated to be light enough that they won’t collapse your wave pattern. If you find your hair feeling sticky or tacky after styling, your leave-in might be too rich for your hair’s specific density.
Product Application Rules
- Apply your leave-in while your hair is still dripping wet to ensure even distribution.
- Use the “praying hands” method: rub the product between your palms and glide them down your hair as if you are smoothing it into a ponytail.
- Do not rake your fingers through your hair, as this breaks apart the clumps that naturally want to form together.
4. Why Gel Is Your Best Friend
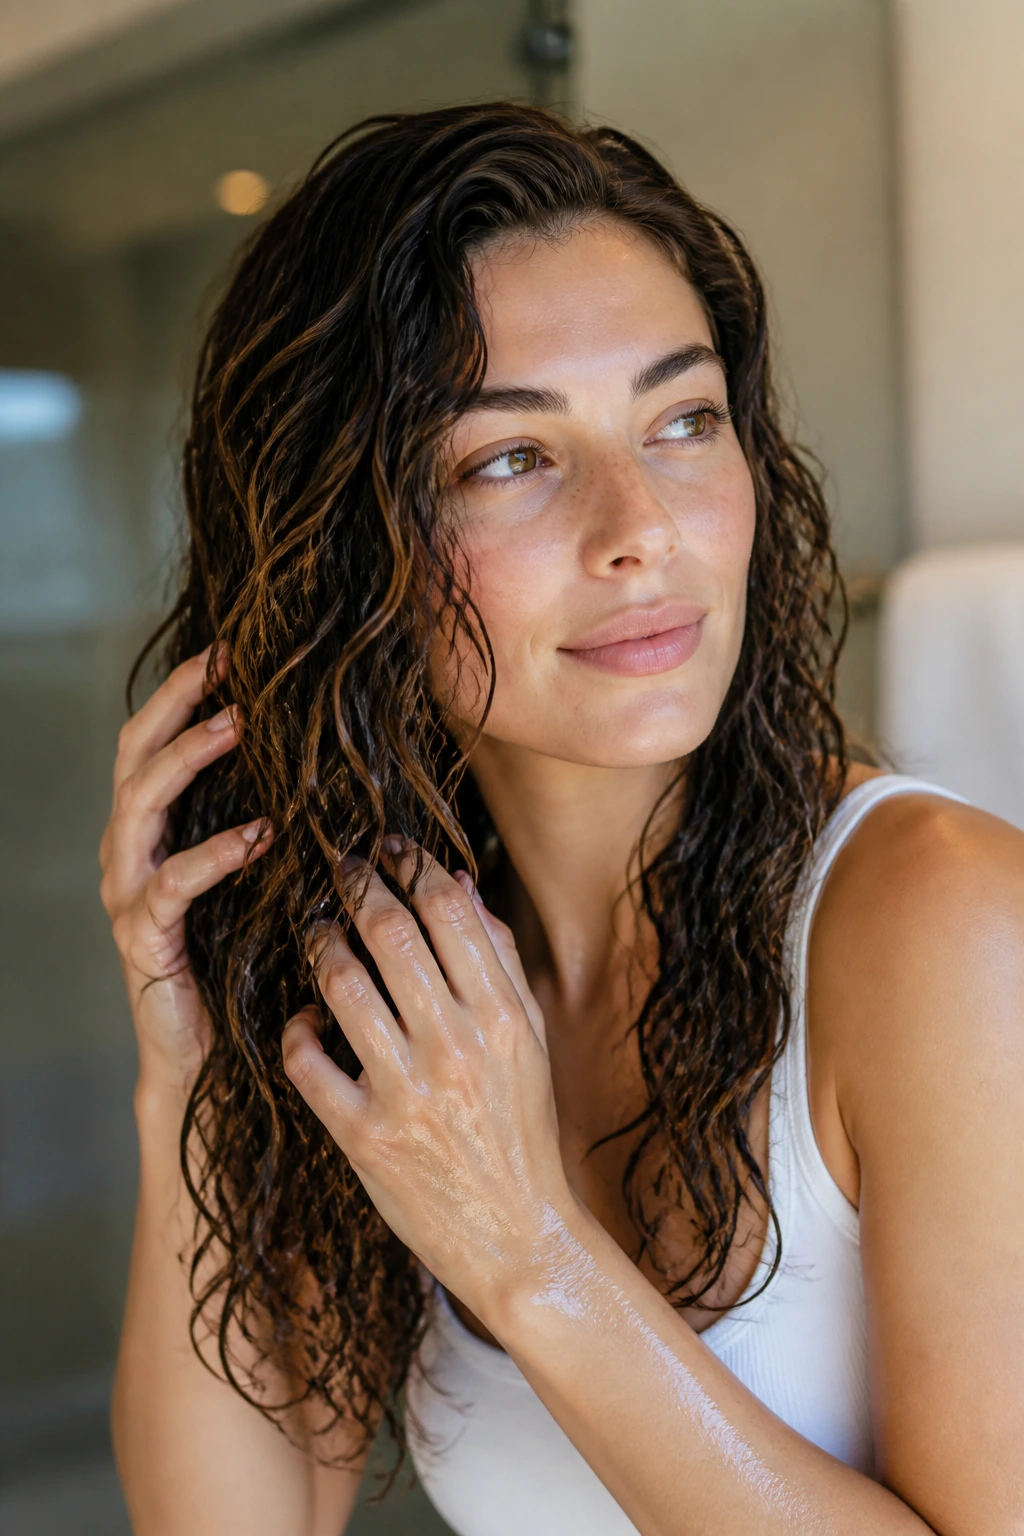
There is a pervasive myth that hair gel makes curls crunchy and stiff, but that is only true if you don’t know how to “scrunch out the crunch.” For wavy hair, gel is the most effective tool to provide the hold necessary to keep those curls defined for more than a few hours.
Selecting the Right Gel
You want a gel with a medium to strong hold. Wavy hair is prone to gravity, and a weak hold will cause your curls to lose their shape before you have even left the house. Look for options that do not contain drying alcohols, which can lead to breakage over time.
The Art of the Gel Cast
- Apply the gel using the same “praying hands” method you used for your leave-in.
- Once applied, scrunch your hair toward your scalp to encourage the wave pattern to snap back into place.
- Let your hair dry completely without touching it—this creates a “cast” or a hard, protective layer that keeps the wave intact as the water evaporates.
5. Micro-Plopping for Better Texture

Standard terrycloth towels are disastrous for waves. They are rough, create unnecessary friction, and soak up way too much water, which causes the hair to frizz instantly. Micro-plopping is a method of drying that keeps your waves clumped together and prevents the hair from losing its shape.
The Tools You Need
- A microfiber towel or an old, soft cotton t-shirt.
- A flat surface for setting your hair after you finish your shower routine.
The Steps to Success
- Lean forward and flip your head over, letting your wet hair dangle.
- Take your t-shirt or microfiber towel and gently press it against your hair in a scrunching motion.
- This pulls out excess moisture without disrupting the clumps of hair that you carefully formed with your gel.
- Repeat this for several minutes until your hair is damp but not dripping wet.
6. The Diffusing Technique
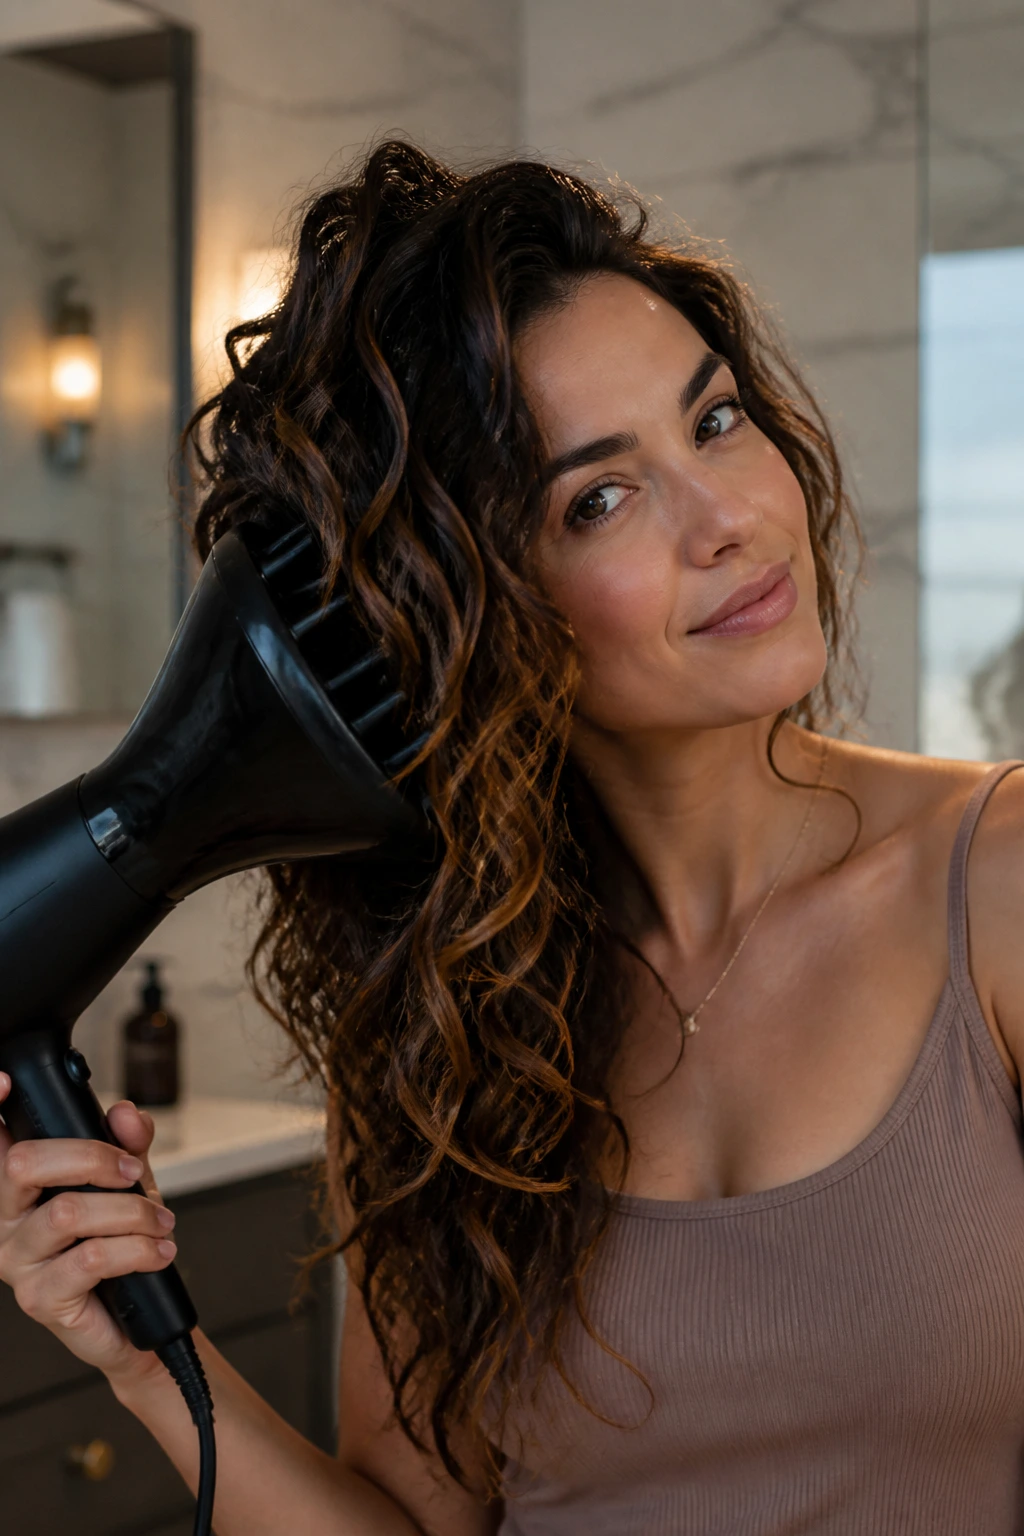
Air drying is beautiful, but it can be slow and often results in flat roots because the weight of the water pulls the waves straight while they dry. Diffusing—the process of using a blow dryer with a specialized attachment—adds volume and speeds up the process significantly.
Essential Diffusing Rules
- Set your dryer to low heat and low speed.
- Hover the diffuser around your head before touching your hair to set the gel cast.
- Once the cast is firm, place sections of your hair into the diffuser bowl and hold them against your scalp for 30 seconds at a time.
- Avoid moving the diffuser around constantly, as this constant motion causes frizz.
7. Scrunching Out the Crunch

Once your hair is 100% dry and the gel cast feels hard or slightly stiff, do not panic. This is the moment you have been waiting for. You need to break the cast to reveal the soft, defined waves hidden underneath.
The Removal Process
- Use a tiny drop of lightweight oil or a smoothing serum on your hands to prevent creating new frizz.
- Scrunch your hair in the same motion you used to apply the gel.
- The hard cast will shatter, leaving behind soft, shiny, and highly defined curls that won’t lose their shape.
Important: If you scrunch before the hair is fully dry, you will introduce frizz that cannot be undone. Be patient and wait until you are certain that every single strand is completely dry to the touch.
8. Root Clipping for Volume
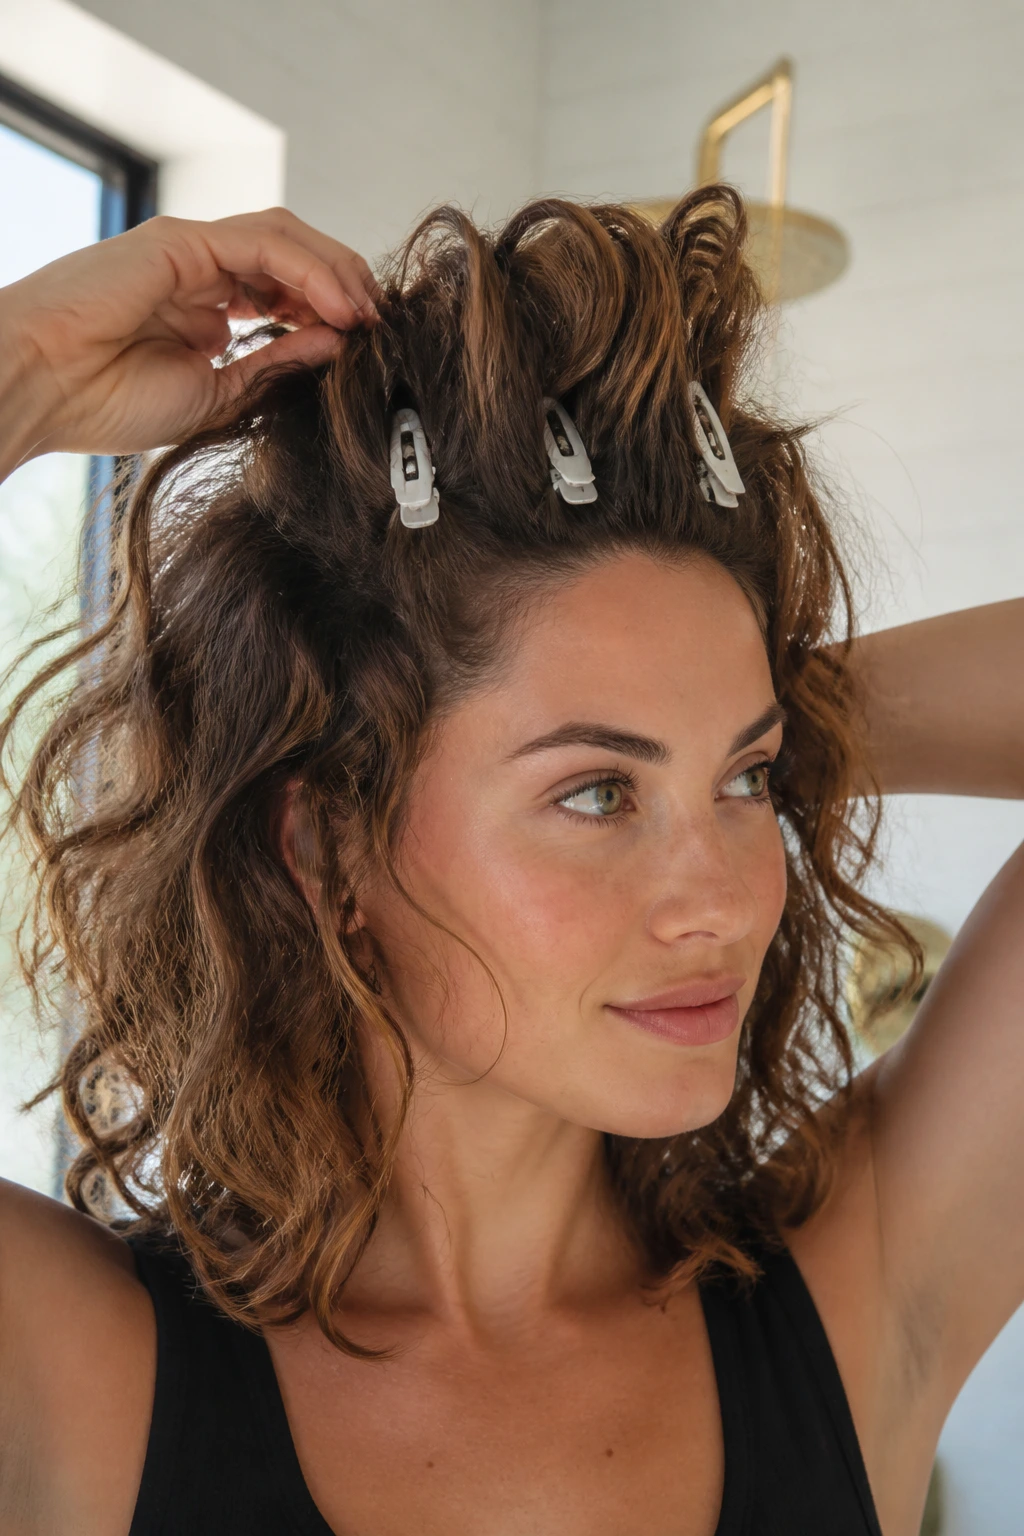
Wavy hair often suffers from “triangle hair,” where the roots are flat and the ends are voluminous. To fix this, you need to lift the roots away from your scalp while the hair dries. This is a pro-level technique that makes a massive difference in how polished your final style looks.
How to Use Root Clips
- Take small sections of hair at your roots and lift them upward.
- Insert a small, metal-free hair clip or a specialized root clip at the base of the section.
- Leave these clips in place while you diffuse or air dry.
- Remove them only when your hair is completely dry to reveal instant, natural-looking volume.
9. Dealing with the “Second Day” Problem

Wavy hair rarely looks as good on day two as it does on day one. By the time you wake up, your hair has likely been flattened by your pillowcase. However, you do not need to wash it again. You can “refresh” your waves with a few simple steps.
The Refresh Routine
- Use a spray bottle filled with a mix of water and a tiny bit of leave-in conditioner.
- Lightly mist your hair—do not soak it.
- Use your hands to gently “re-scrunch” the waves back into their original shape.
- If a few pieces look completely straight, you can dampen them individually and wrap them around your finger for a few seconds to encourage the curl.
10. The Importance of Silk Pillowcases

Cotton pillowcases are abrasive. As you toss and turn at night, the friction against your hair creates knots and frizz, essentially undoing all the hard work you put into your routine. A silk or satin pillowcase allows your hair to glide across the surface, which keeps your wave pattern intact.
Benefits of the Switch
- You will wake up with significantly less morning frizz.
- Your hair will stay hydrated longer because silk does not soak up the moisture from your hair like cotton does.
- It is a one-time investment that saves you time every single morning.
11. Trimming for Shape

Sometimes, your waves are not defined because they are weighed down by dead ends. Split ends travel up the hair shaft, weakening the structure and causing the hair to lose its ability to hold a curl. Getting a regular trim—even if it is just a quarter-inch—can instantly make your waves look bouncier and healthier.
Choosing the Right Cut
Ask your stylist for a cut that incorporates layers. Blunt, one-length cuts often pull wavy hair down, making the bottom look heavy and the top look flat. Strategic layers allow the hair to spring up, encouraging more definition throughout the entire length of your hair.
12. Understanding Porosity

If you follow all these steps and your hair still looks dry or feels “coated,” you might be ignoring your hair’s porosity. Porosity is simply how well your hair absorbs and retains moisture. High-porosity hair absorbs water quickly but loses it just as fast, while low-porosity hair struggles to let moisture in at all.
Identifying Your Porosity
- If your hair takes hours to dry, you likely have low porosity and should avoid heavy oils that sit on the surface.
- If your hair dries in minutes and feels very dry, you have high porosity and need protein-rich treatments to fill in the gaps in your hair cuticles.
13. Avoiding Heat Damage
This is the hardest rule to follow, but it is the most critical. Flat irons, curling wands, and high-heat blow drying are the primary enemies of natural curl definition. When you use heat, you break the hydrogen bonds in your hair, which eventually leads to a permanent loss of texture.
A Gentle Alternative
If you must use heat, always use a heat protectant spray. However, try to limit heat styling to once or twice a month at most. Most people find that once they commit to a proper wavy-hair routine for three months, they don’t even miss the look of straight hair.
14. Protecting Your Style in Humidity
Humidity is a wavy-hair nightmare. The extra moisture in the air causes the hair shaft to swell, which breaks up your carefully formed wave clumps and creates instant frizz. The best defense is a product with a “film-forming” humectant or a light-hold humidity spray.
Strategies for High Humidity
- Apply a small amount of an anti-frizz serum after your hair is dry.
- Make sure your gel cast is strong, as it provides a physical barrier between the air and your hair.
- Avoid touching your hair once it is dry, as your hands transfer oils and moisture that can trigger a frizz reaction.
15. The Role of Protein
While moisture is key, too much moisture can make your hair mushy and weak. If your waves feel like they are losing their structure, they might be “over-moisturized.” Introducing a protein-rich treatment, like a rice water rinse or a hydrolyzed keratin mask, can help restore the strength and structure of your hair.
When to Use Protein
- Use protein treatments sparingly, perhaps once or twice a month.
- Look for “hydrolyzed” proteins in your ingredient list, as these are small enough to actually penetrate the hair shaft.
- Pay attention to how your hair feels; if it feels brittle or stiff, you have used too much protein and need to return to moisturizing products.
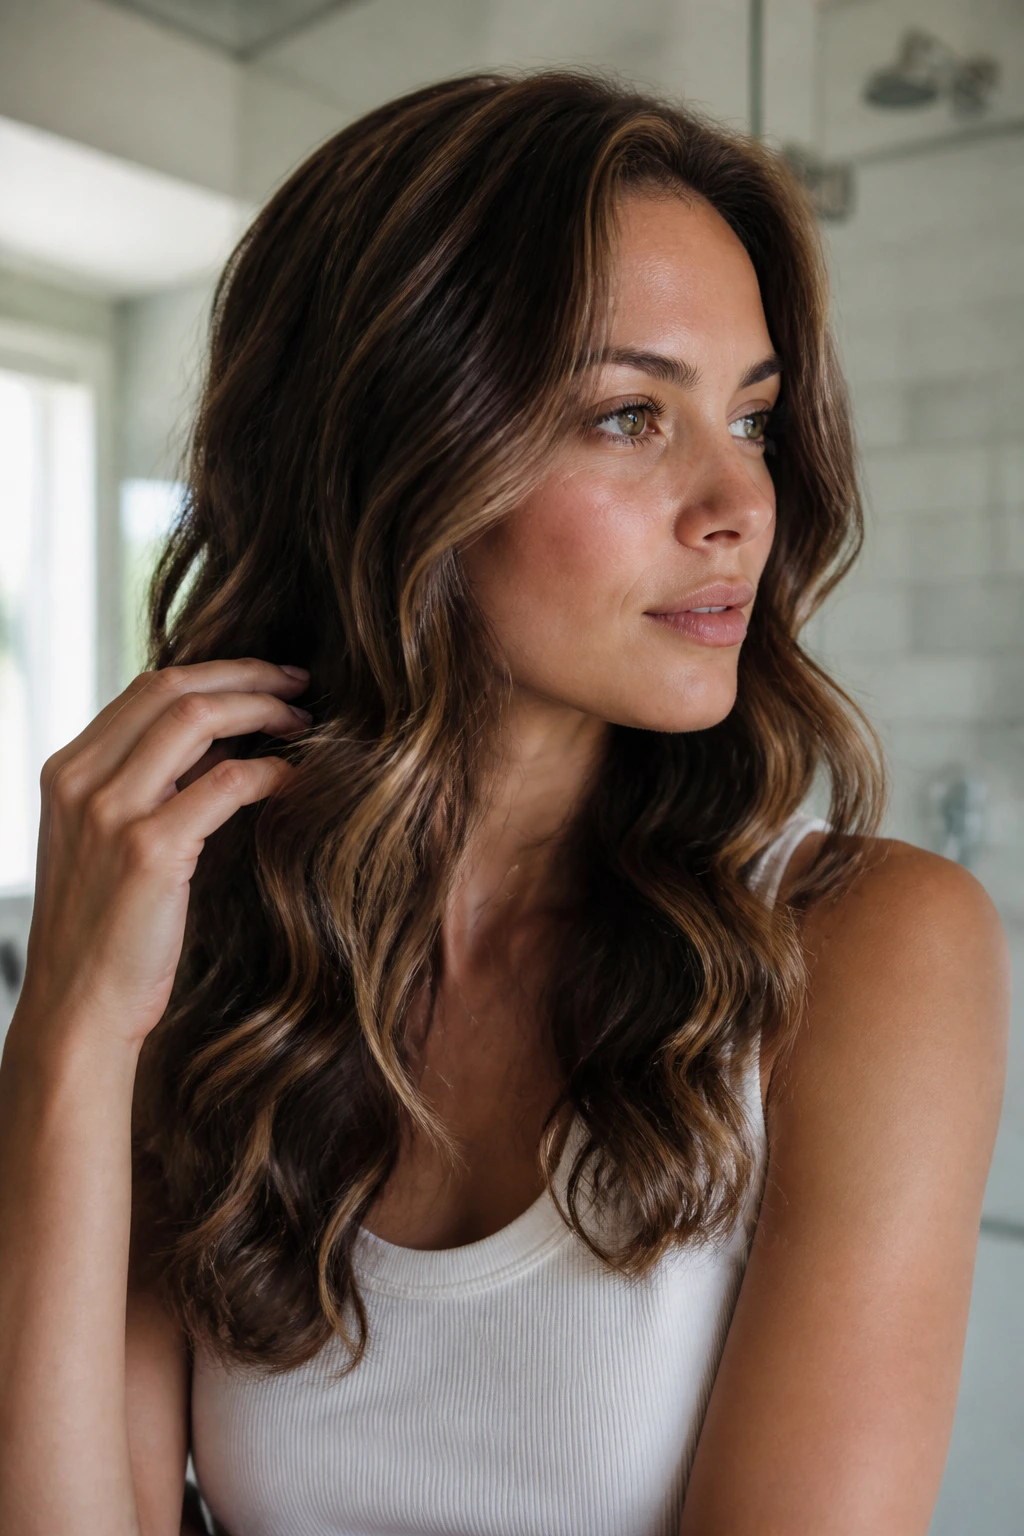
16. Final Thoughts

Defining your waves is a process of learning to listen to what your hair needs. There will be days when the humidity wins, or when you are rushing and forget to squish your conditioner, and that is perfectly okay. The goal is not to have a perfect, salon-styled head of curls every single day; the goal is to develop a routine that highlights your natural texture and makes you feel confident.
Start small. Try incorporating the “squish-to-condish” method or switching to a silk pillowcase first, and observe how your hair responds. As you become more familiar with your hair’s unique pattern, you will naturally start to intuit which products and techniques provide the best results. Focus on the health of your hair, stay consistent with your hydration, and eventually, those defined waves will become your signature look.