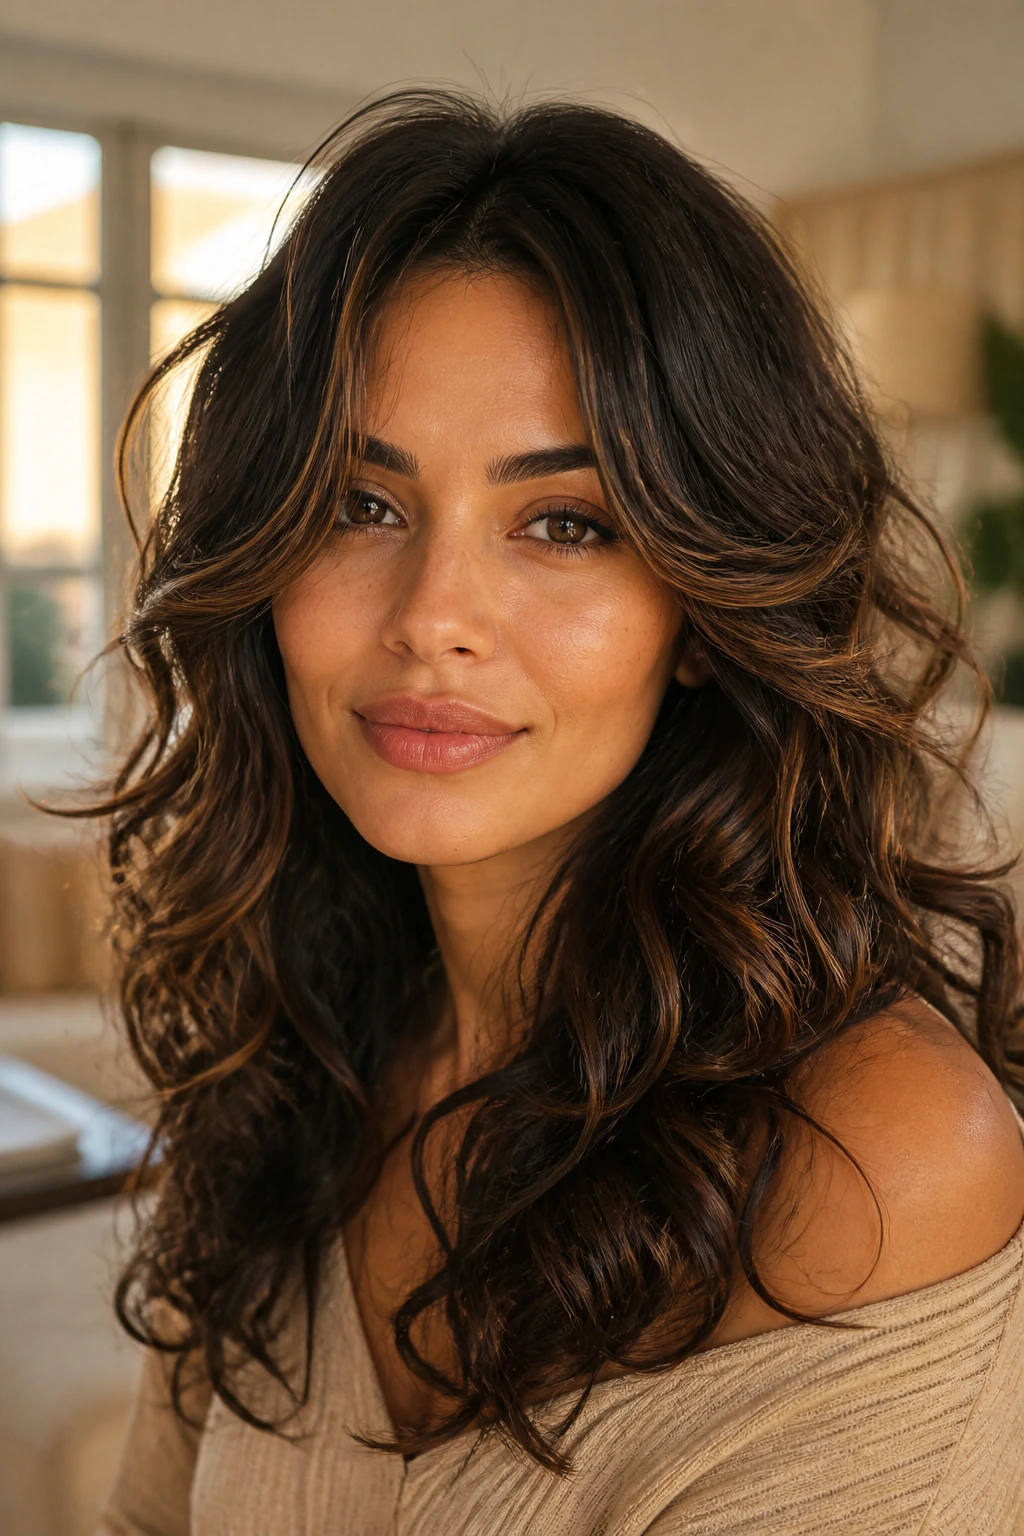
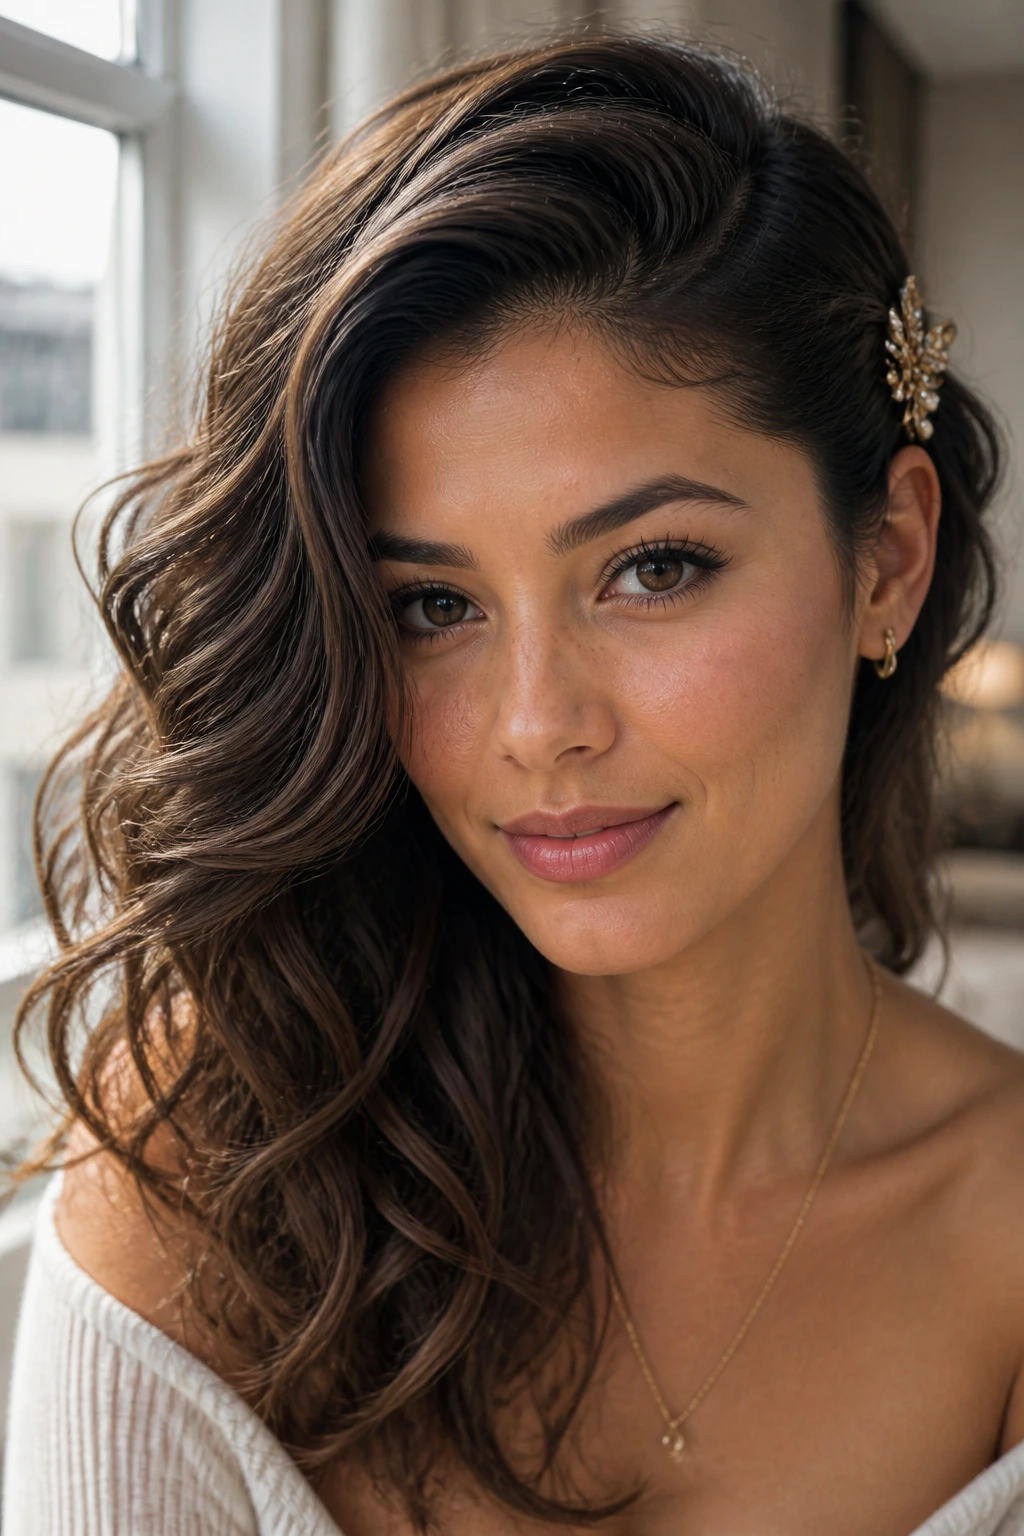
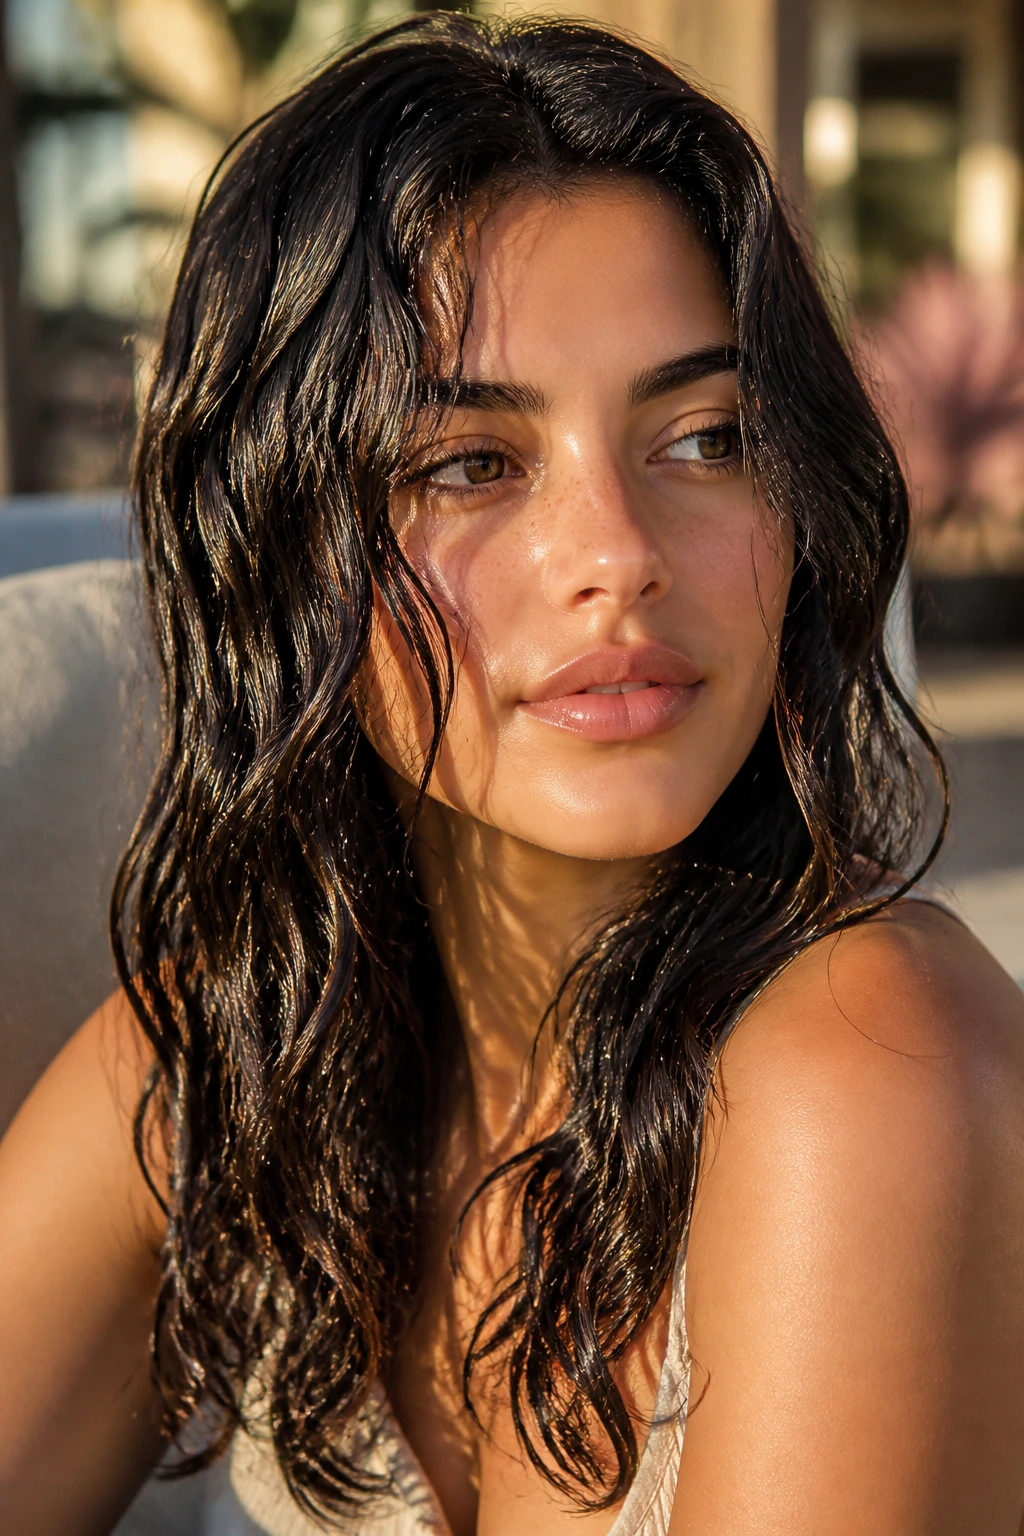
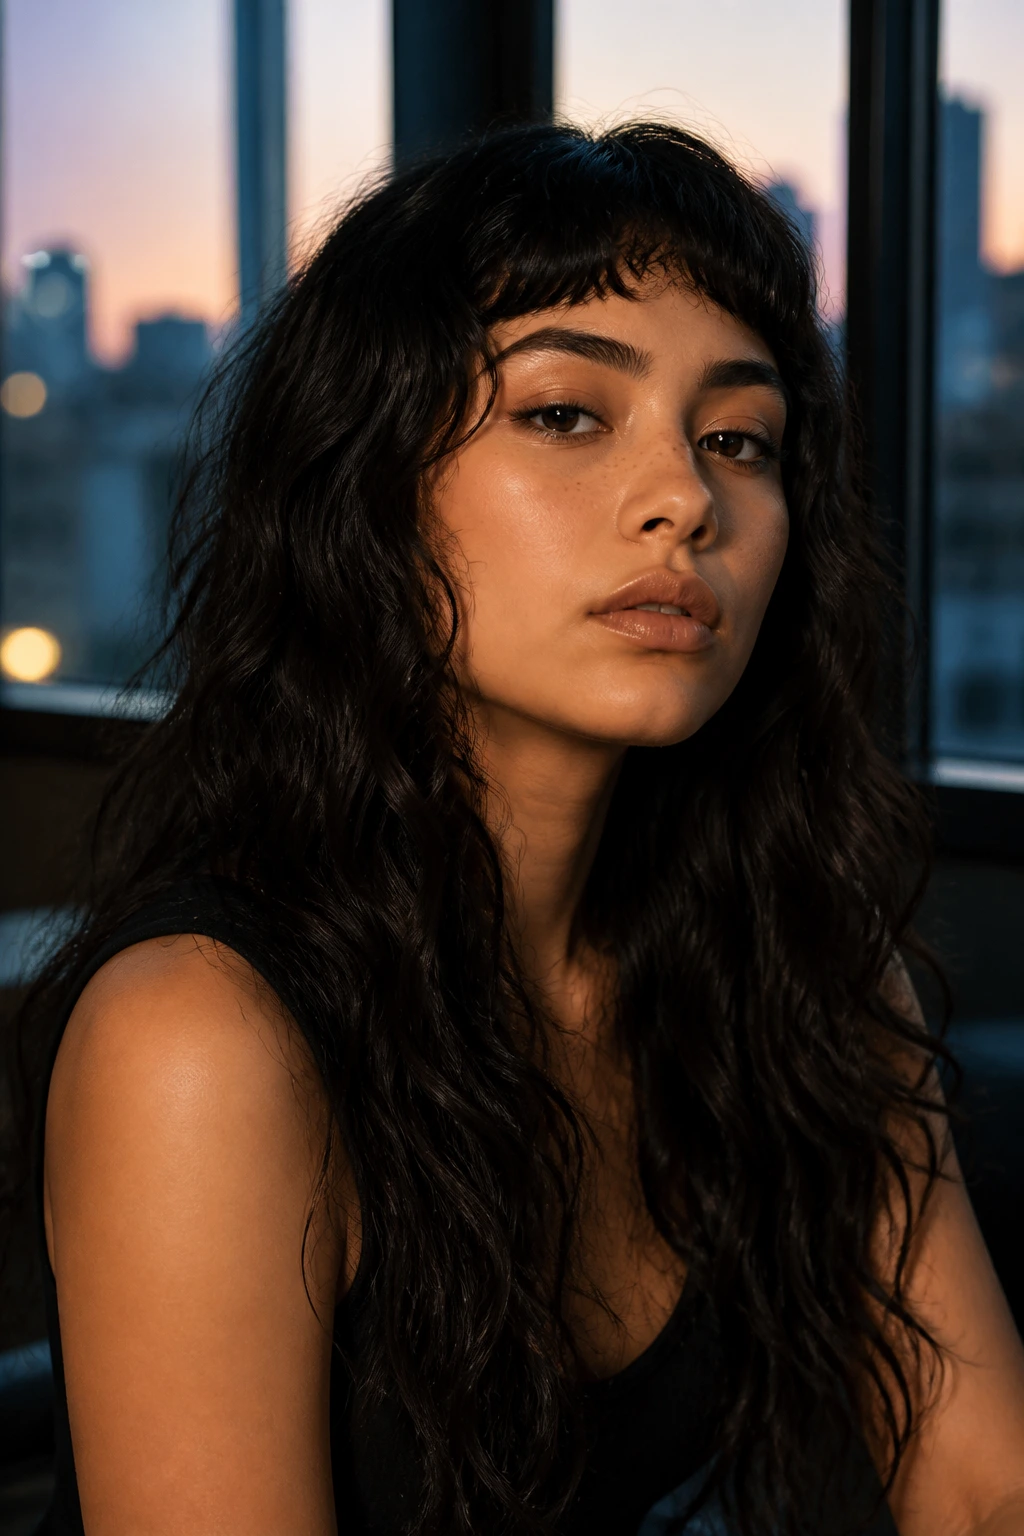
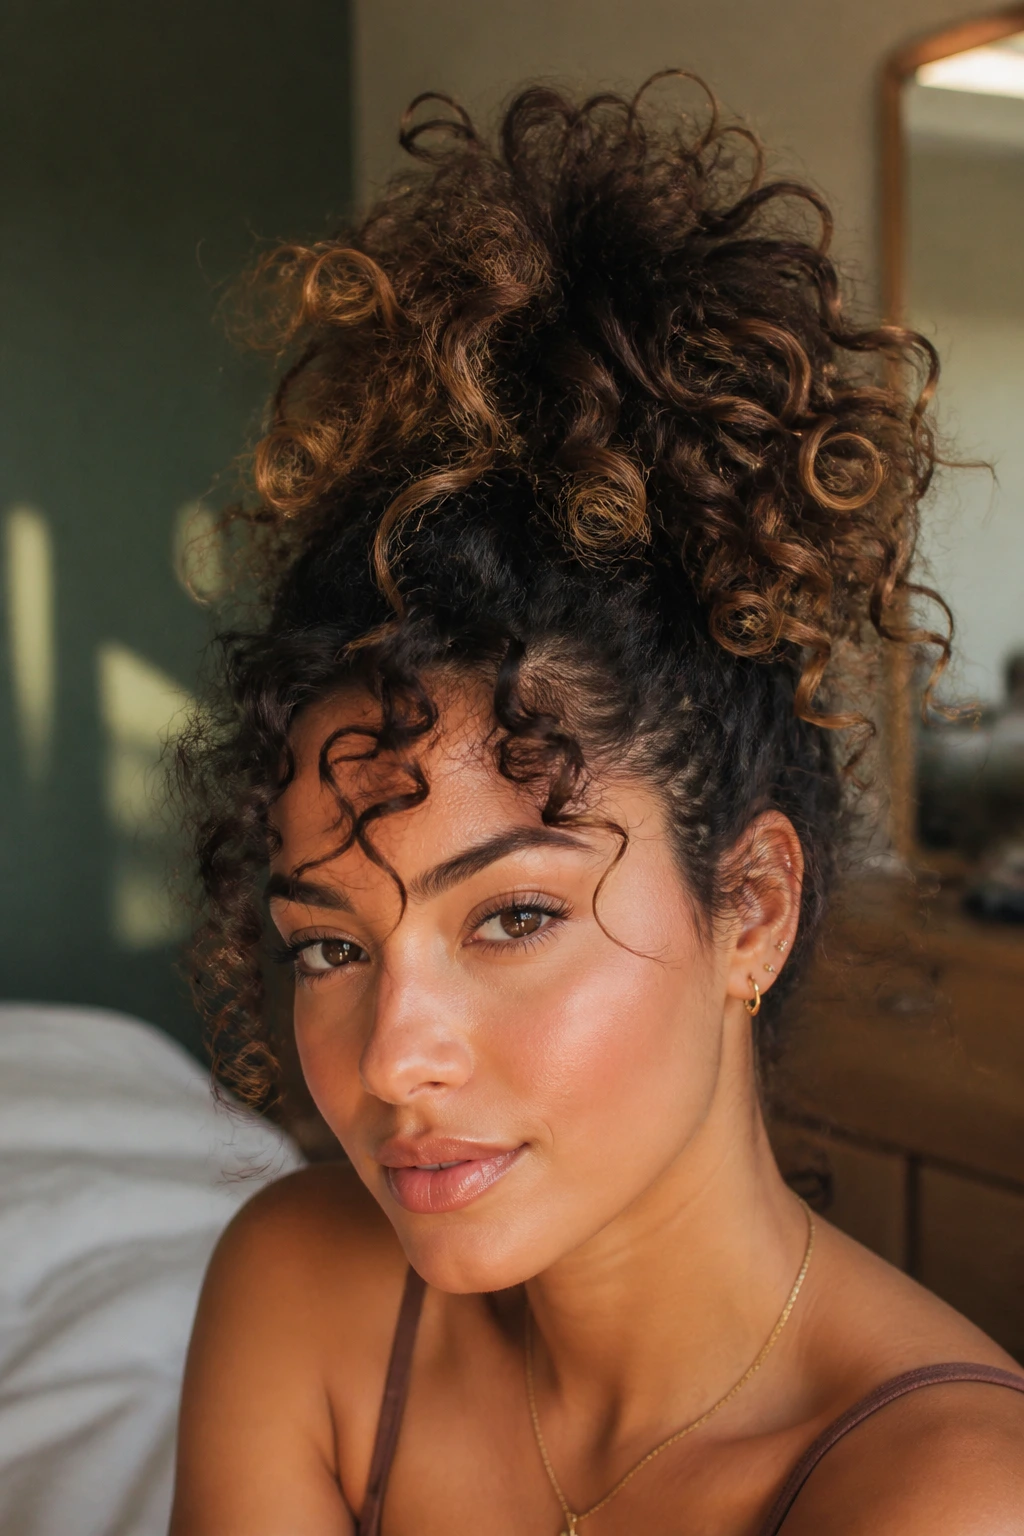
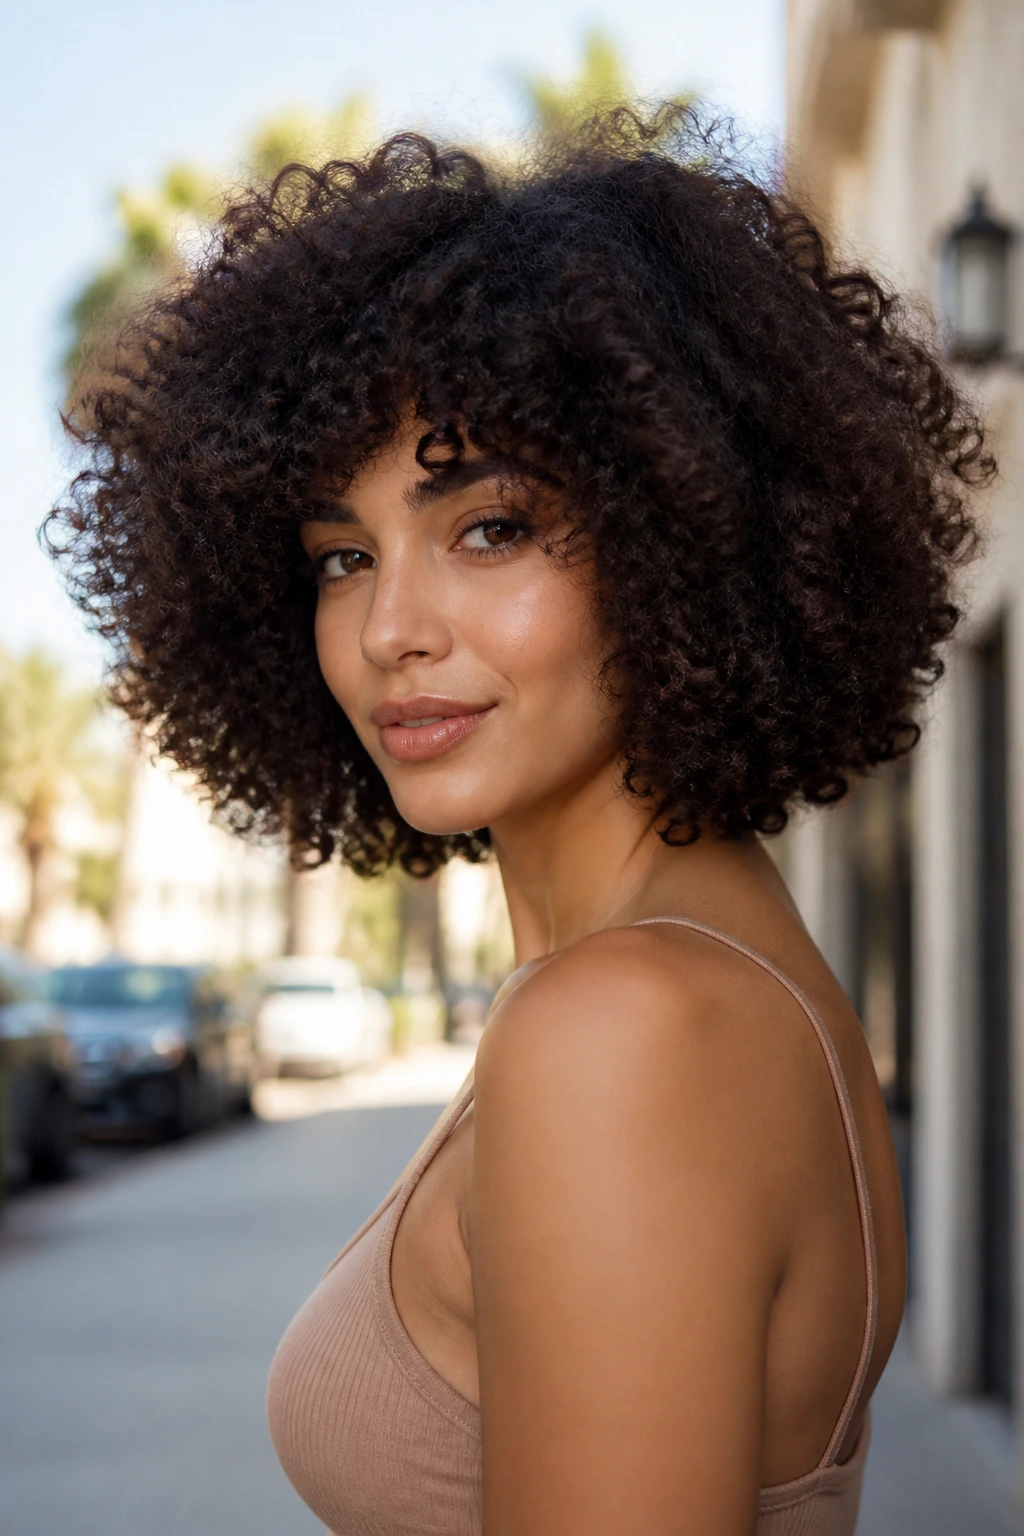
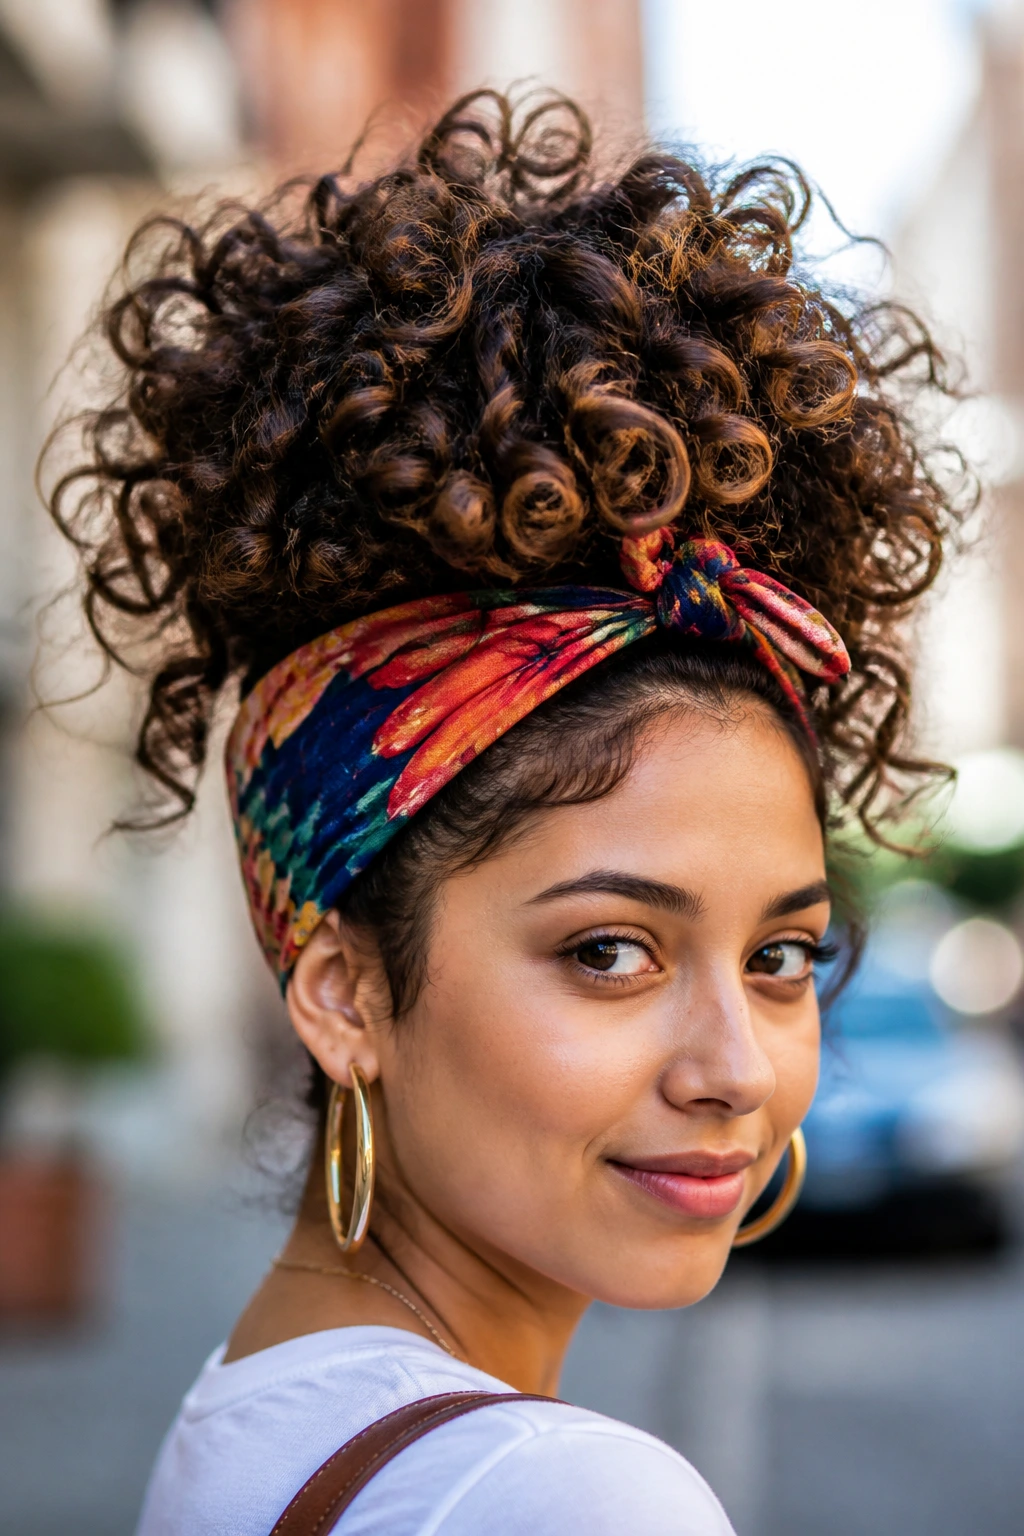
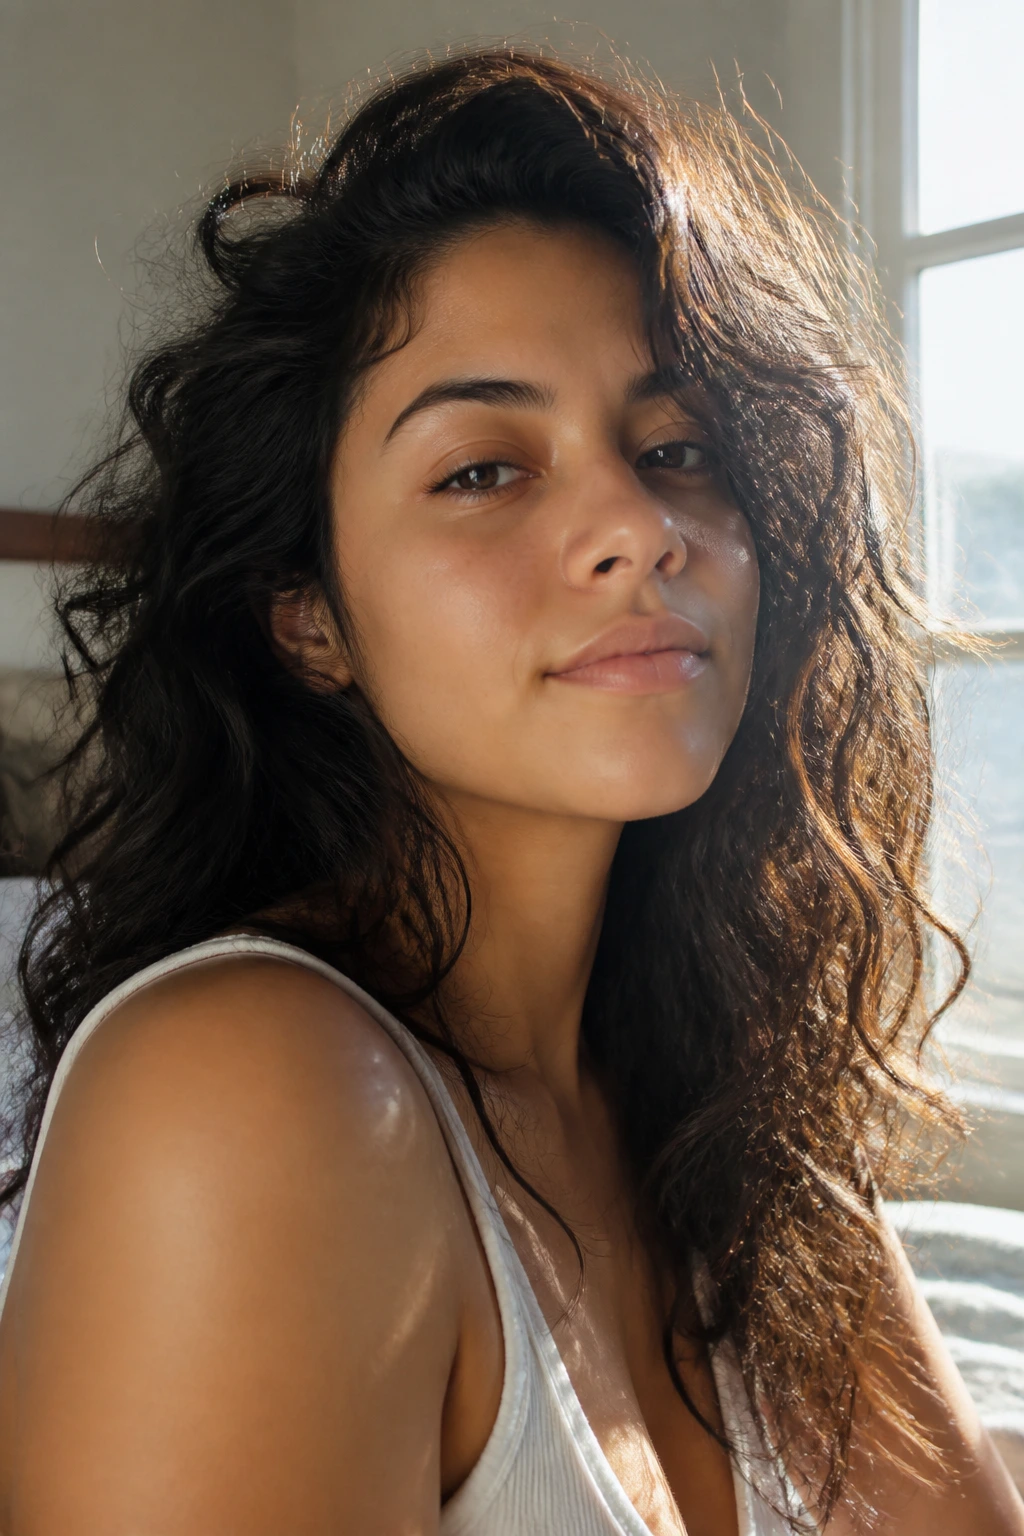
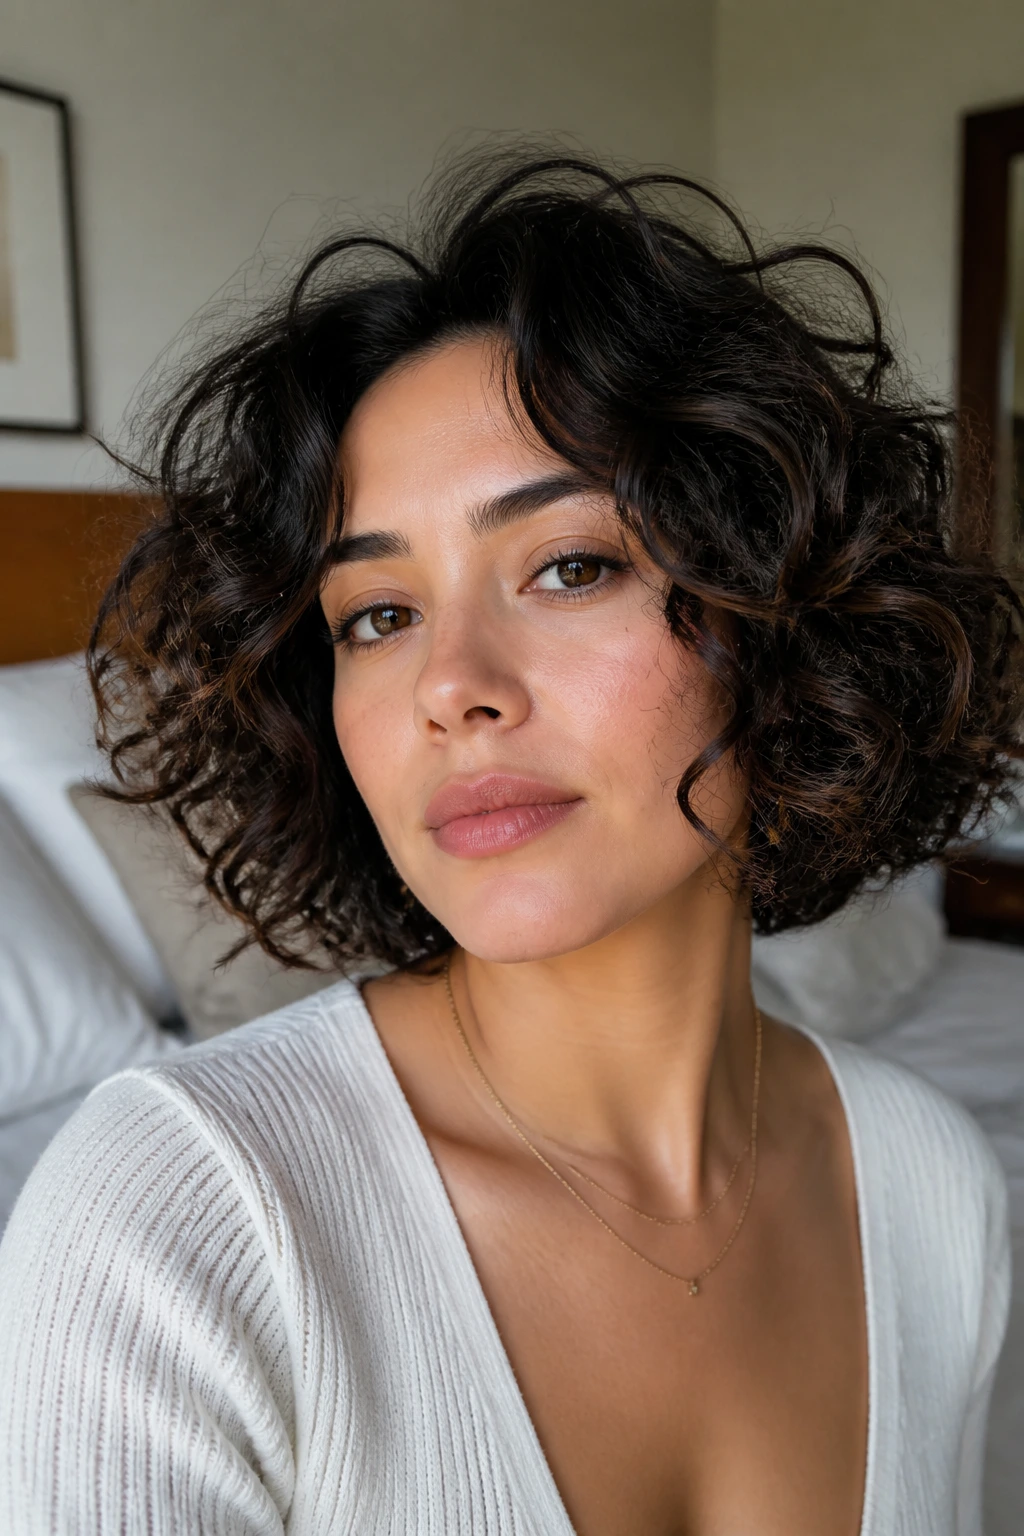
Latina hair is a beautiful, complex mosaic of textures. It often sits right in that sweet spot where it is thick enough to hold a style but soft enough to require specific, thoughtful handling. When we talk about light curls, we are moving away from the tight, spiraled coils and into the realm of loose waves, bouncy ringlets, and soft, airy texture. This specific category of curl offers a blend of volume and manageability that many strive for, yet it frequently suffers under the weight of heavy products designed for coarser hair types.
Achieving the perfect, light curl starts with understanding that your hair’s natural state is the blueprint. Often, people with this texture try to force their hair into being straighter or tighter, which leads to breakage and a lack of definition. Instead, the goal is to enhance the natural spring of your hair without weighing it down. You want movement, you want shine, and most importantly, you want curls that don’t just collapse by midday.
Whether you are working with waves that lean toward a beachy aesthetic or soft, medium-sized curls that frame the face with ease, the approach is remarkably similar. It is about hydration, selective product application, and learning how to manipulate the hair when it is wet versus dry. Let’s look at twenty-five distinct ways to style, maintain, and celebrate these light, airy curls that feel entirely your own.
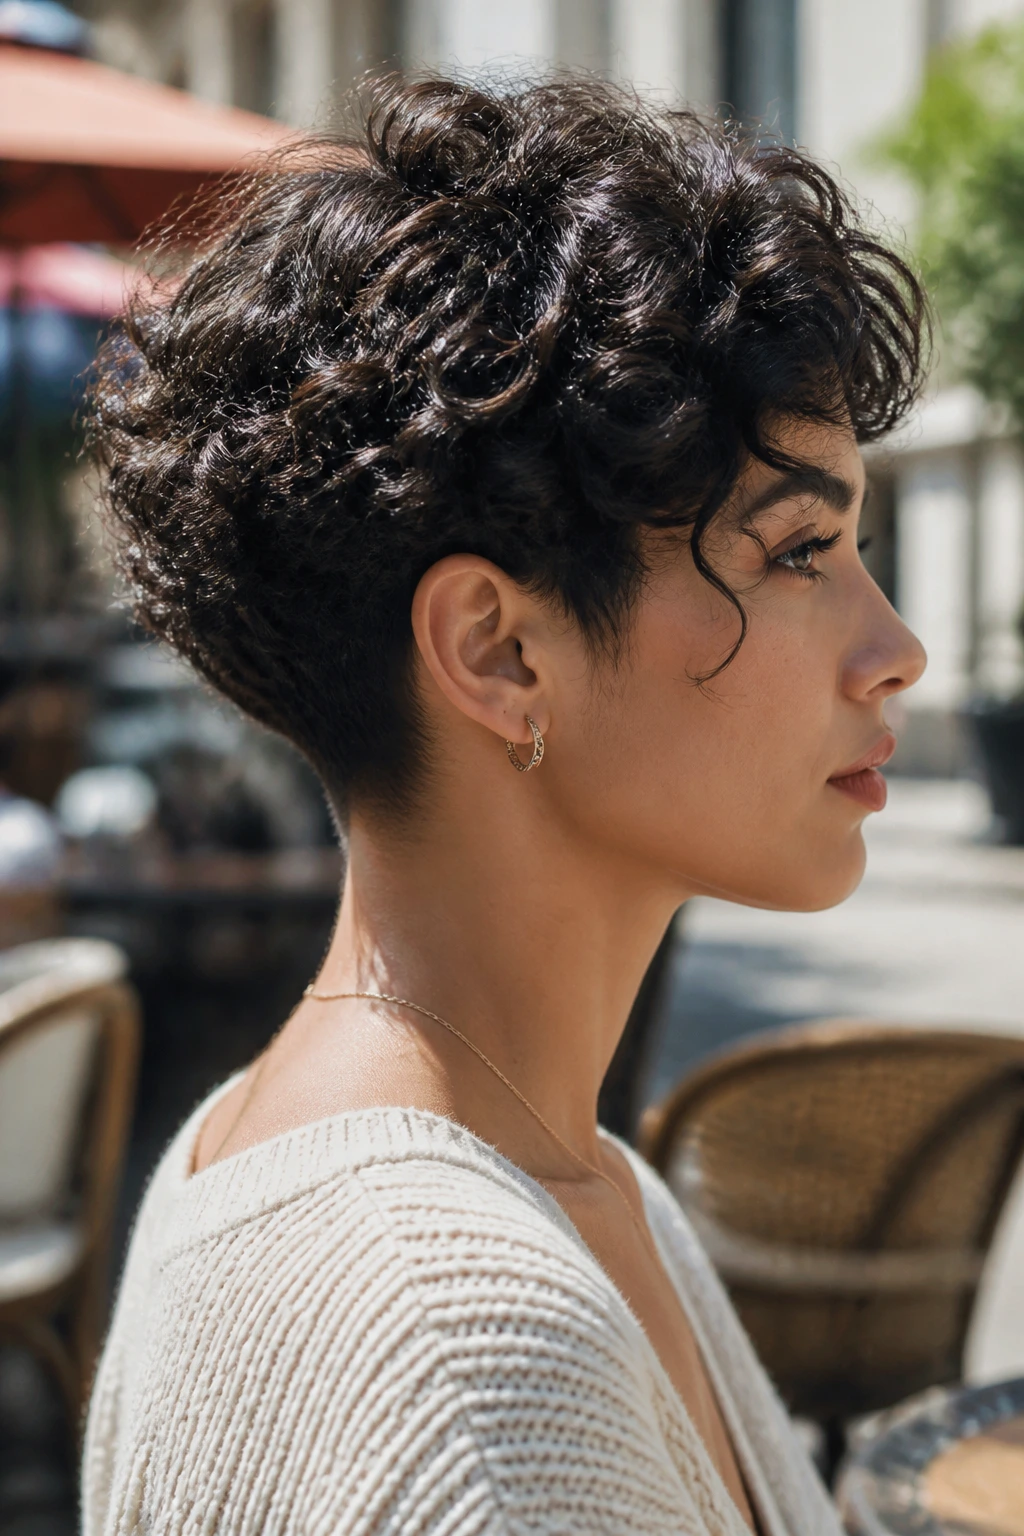
1. The Classic Diffused Volume Bob
This style is all about embracing the shorter length to maximize the spring factor of a light curl. By cutting the hair to chin length or just above the shoulders, you remove the “dead weight” that often pulls waves flat.
Why It Works for Light Texture
When the hair is shorter, gravity has less of an opportunity to stretch out your natural wave pattern. This allows the curl to recoil fully, creating a fuller, more rounded silhouette that feels intentional and stylish.
How to Style
- Apply a light-hold styling cream to soaking wet hair.
- Scrunch the ends upward toward the scalp to encourage the curl formation.
- Use a diffuser attachment on your blow dryer on a low-heat, low-airflow setting.
- Flip your head upside down for the last two minutes of drying to lock in maximum volume at the roots.
Pro tip: Do not touch your hair while it is drying, as this is the primary cause of unwanted frizz in shorter, lighter textures.
2. Face-Framing Soft Layers
If you prefer keeping your length, layers are your best friend. Without them, light curls can end up looking like a heavy, triangular curtain. Layers allow the curls to sit on top of each other, creating a cascading effect.
The Science of Internal Weight Removal
Layers work by redistributing the volume. Instead of all the weight sitting at the bottom of your hair, it is dispersed throughout the mid-lengths. This encourages the curls to spiral in different directions rather than clumping together into one solid block.
Styling for Maximum Movement
- Use a light-weight mousse that provides hold without the “crunch” of traditional gels.
- Concentrate the product on the mid-lengths where the curls are most prone to dropping.
- When dry, use a wide-toothed pick to gently lift the hair at the crown for added height.
3. The Side-Swept Romantic Wave
This is a sophisticated look that utilizes a deep side part to create instant drama. It works exceptionally well for light curls that have a natural “S” pattern rather than a tight circle.
Achieving the Deep Part
The key here is to shift your part while the hair is still damp. By training the hair to lie across the forehead, you create a natural lift that stays put throughout the day. It provides a touch of elegance that works just as well for a dinner date as it does for a casual morning in the office.
Finishing the Look
- Gently smooth the side with less volume behind your ear.
- Use a single, decorative clip to hold the hair in place.
- Let the larger side fall naturally over the face, allowing those light curls to soften your features.
4. The Half-Up Top Knot

This style provides the best of both worlds: it keeps the hair out of your face while letting the rest of your light curls flow freely down your back.
Why It’s Perfect for Busy Mornings
It takes less than a minute to execute but looks like a deliberate styling choice. The trick is to gather only the top third of your hair, leaving plenty of movement for the lower sections.
Keeping the Curls Defined
- Gather the hair at the crown and secure it with a soft silk scrunchie to prevent breakage.
- Mist the loose curls with a lightweight finishing spray that contains a tiny amount of oil to add a healthy, non-greasy glow.
- If the curls at the nape of the neck look a little flat, hit them with a tiny amount of water and a quick scrunch to bring them back to life.
5. The “Wet-Look” Beach Wave
Contrary to popular belief, you do not need to be at the ocean to rock this look. It’s all about high-gloss definition and a relaxed, almost slept-in vibe.
Choosing the Right Product
Avoid heavy pomades, which can make fine or light curls look greasy. Look for “jelly” based stylers that offer high water content. These allow your light curls to clump together in larger, distinct ribbons, which is the hallmark of the beach wave aesthetic.
Application Technique
- Apply the product to hair that is about 70% dry.
- Use your hands to rake the product through from root to tip.
- Let the hair air-dry completely without using any heat tools.
6. Micro-Bangs with Long Waves
For those with a adventurous streak, pairing short, curly micro-bangs with long, light waves creates a striking, high-fashion look.
Does it Require Constant Styling?
Actually, no. Curly bangs are notoriously low-maintenance if you let them air-dry into their natural shape. They provide an immediate focal point that makes the rest of your hair seem much more styled than it actually is.
Proportional Balance
- Ensure the rest of the hair is long enough to provide a clear contrast to the short bangs.
- If the bangs start to look frizzy, simply wet your fingertips and run them through to re-clump the coils.
- Keep the bangs separated with a small amount of leave-in conditioner to prevent them from becoming one solid piece of hair.
7. The High Pineapple Pony
This is the ultimate style for preserving light curls overnight or for a quick, high-energy daytime look.
Preserving the Curl Structure
The reason this is called a “pineapple” is that it gathers the hair at the very top of the head in a loose bundle. Because the weight of the hair is not resting on the curls, they retain their bounce and don’t get flattened by the pillow or your own movement.
Creating the Style
- Bring all your hair to the top of your head, near your hairline.
- Secure it loosely with a fabric-covered elastic.
- Leave the ends dangling over your forehead for a fun, casual look.
8. The Sleek-Back Crown
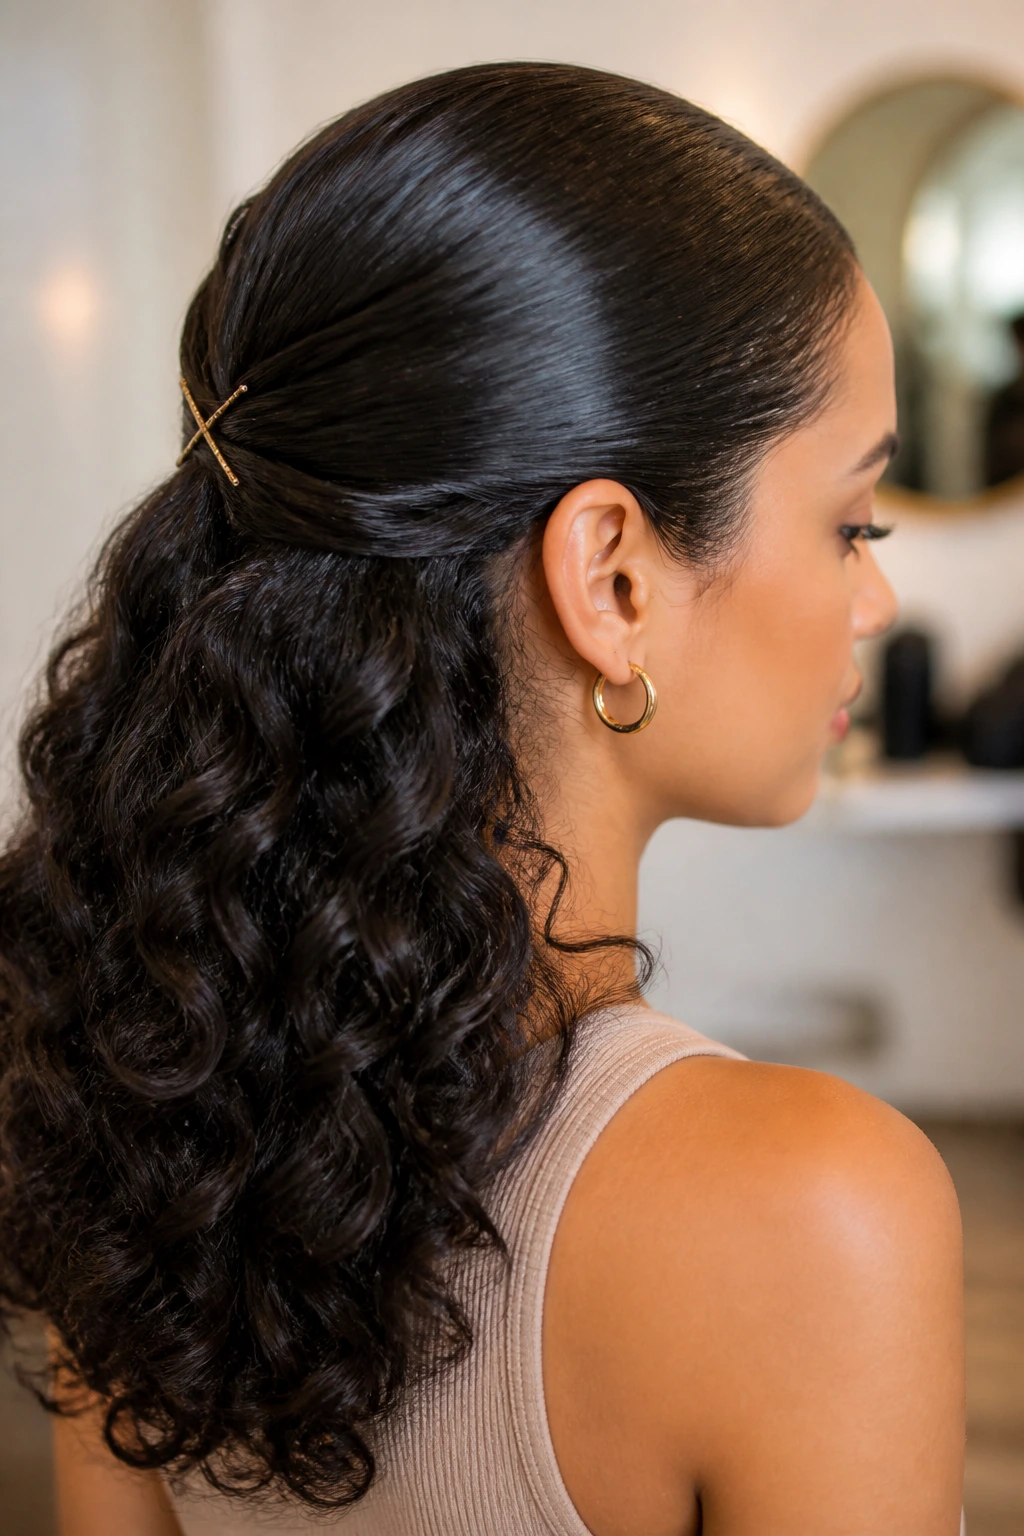
When you want to look polished but still want to show off your natural texture, a sleek crown is a fantastic compromise.
Transitioning from Roots to Ends
The key to this style is the contrast. You use a boar bristle brush and a small amount of styling cream to smooth the hair from the hairline back to about two inches behind the ears. The rest of the hair is left to expand into its natural, light curly state.
The Contrast Factor
- Use a small amount of non-alcoholic gel for the smoothed section.
- Secure the hair at the back of the head using two bobby pins placed in an “X” shape.
- Allow the remaining curls to fall over the pinned section to hide the hardware.
9. Defined Ringlets with a Pick
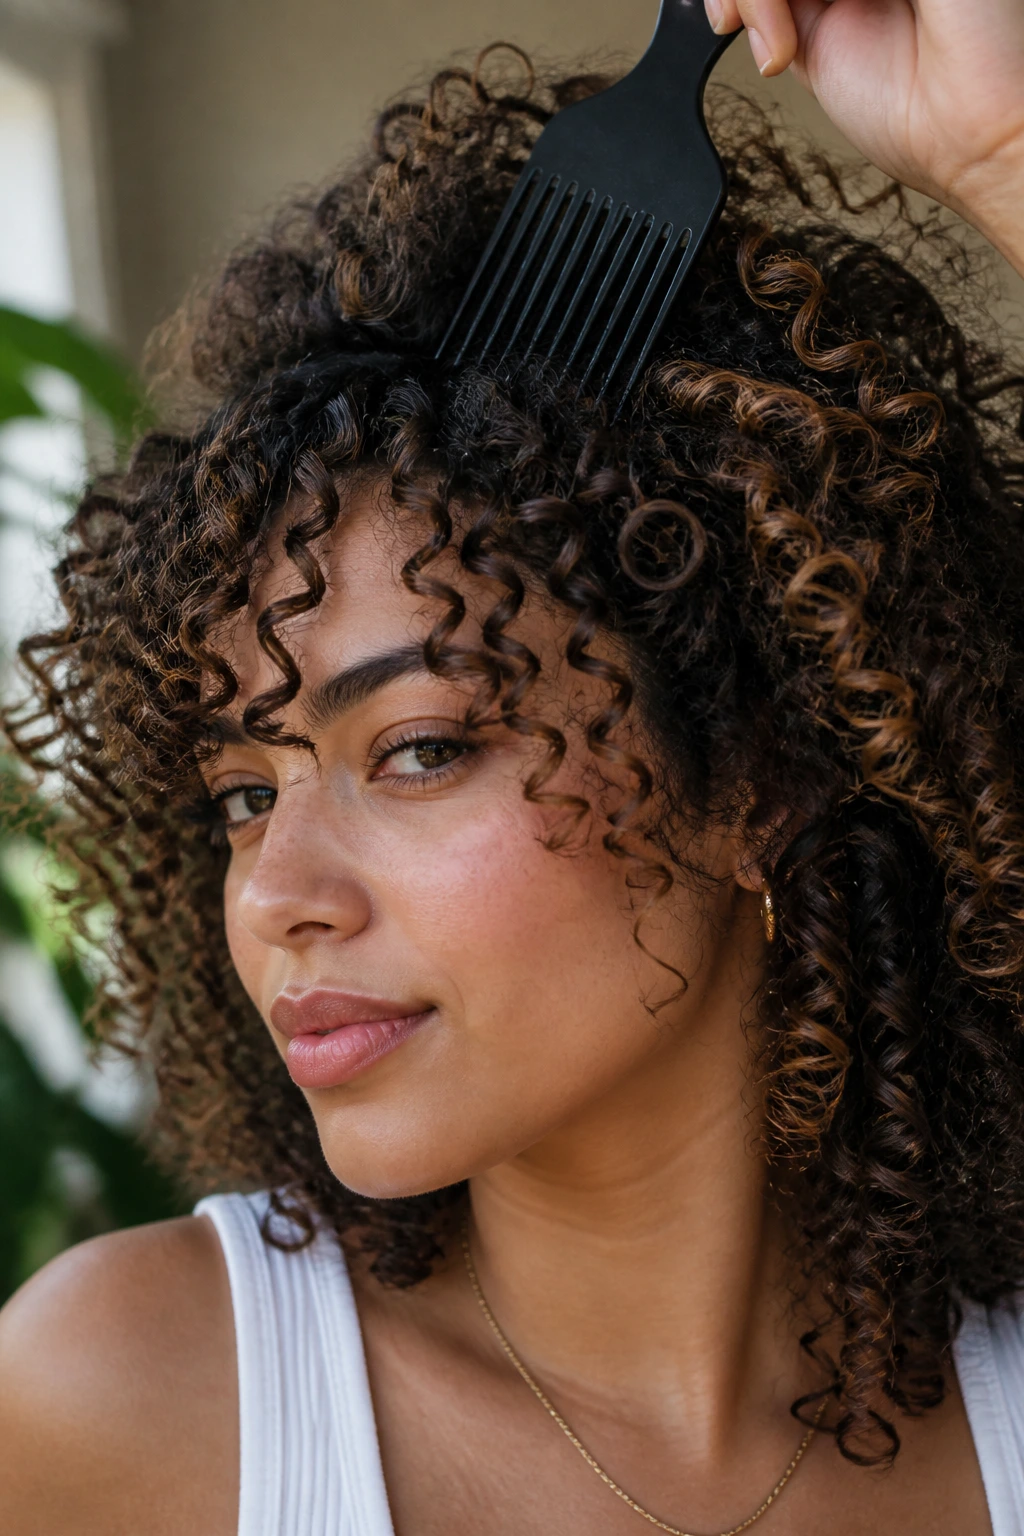
Sometimes, all a light curl needs is a bit of help in the volume department. A pick is an underrated tool that can change the entire shape of your hairstyle.
Why a Pick Beats a Brush
A brush disrupts the curl pattern, leading to frizz. A pick, however, allows you to target the roots specifically. By lifting at the root, you create a “halo” of hair that makes your light curls appear much more voluminous without sacrificing the definition of the individual spirals.
Step-by-Step Volume
- Start with completely dry, styled hair.
- Insert the pick at the root of the hair, perpendicular to the scalp.
- Give it a gentle lift and remove.
- Work your way around the head until you reach the desired fullness.
10. The Deep Side Part with Claw Clip
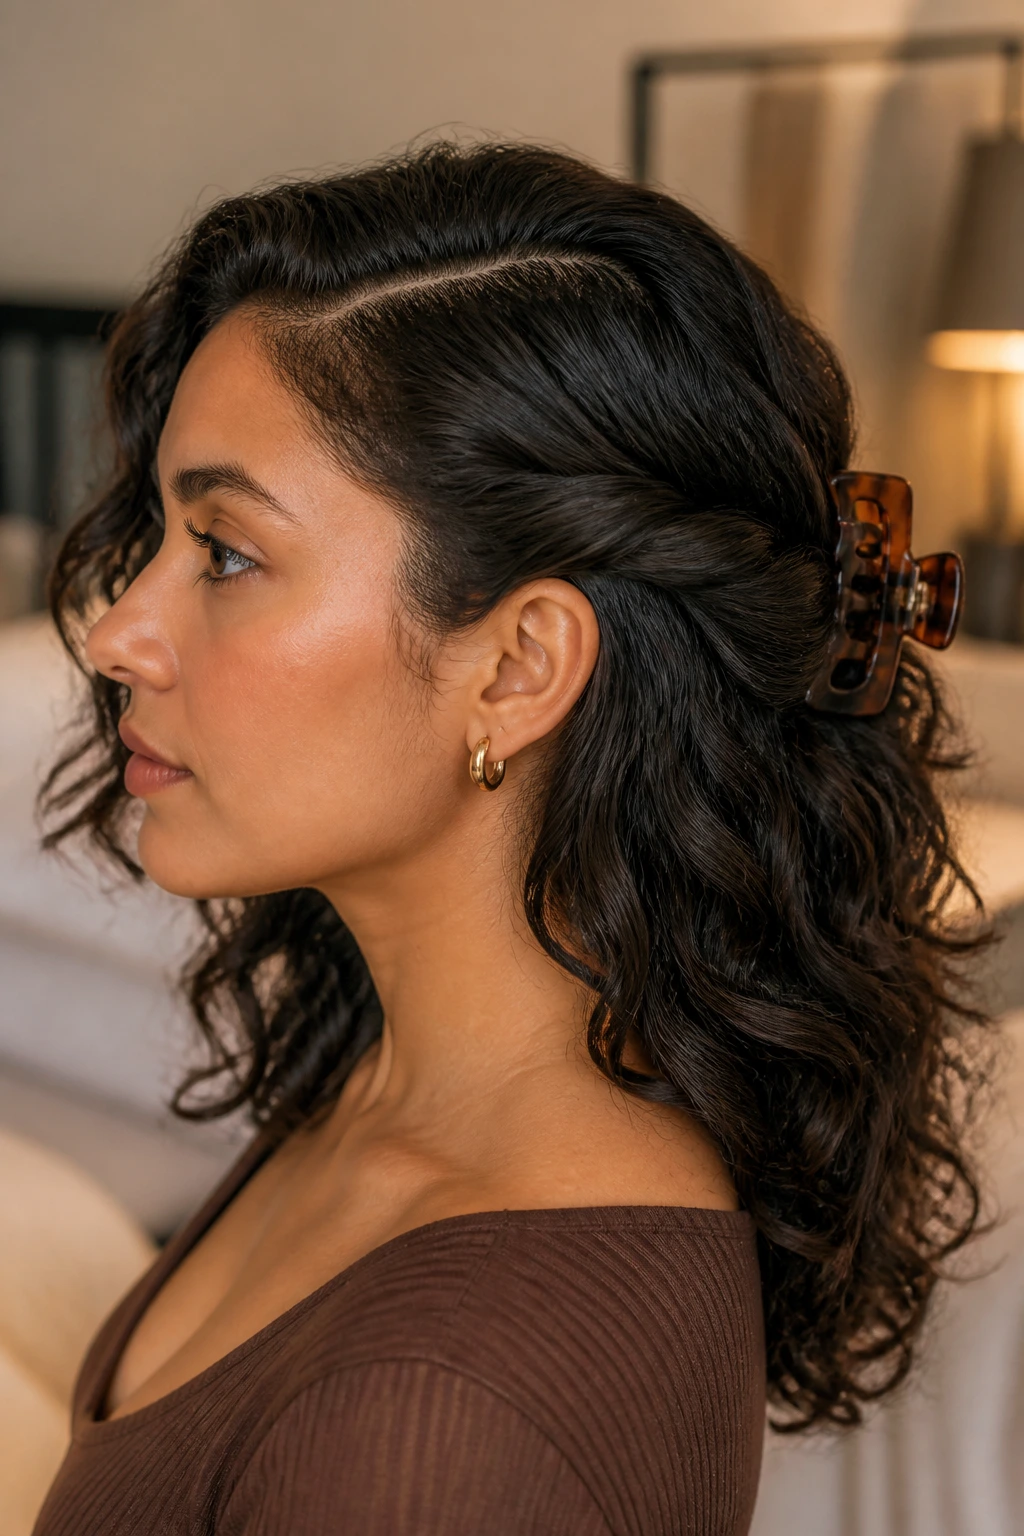
This is a revival of a vintage style that works incredibly well for medium-length curls. The claw clip is the star here because it holds the hair securely without the tugging and breaking associated with tight elastic bands.
The Styling Secret
- Part your hair on the far left or right.
- Gather the hair from the heavy side and twist it toward the back of your head.
- Secure it with a medium-sized claw clip.
- Let the curls from the twist tumble naturally over the clip for a soft, effortless finish.
11. Scarf-Wrapped Updo
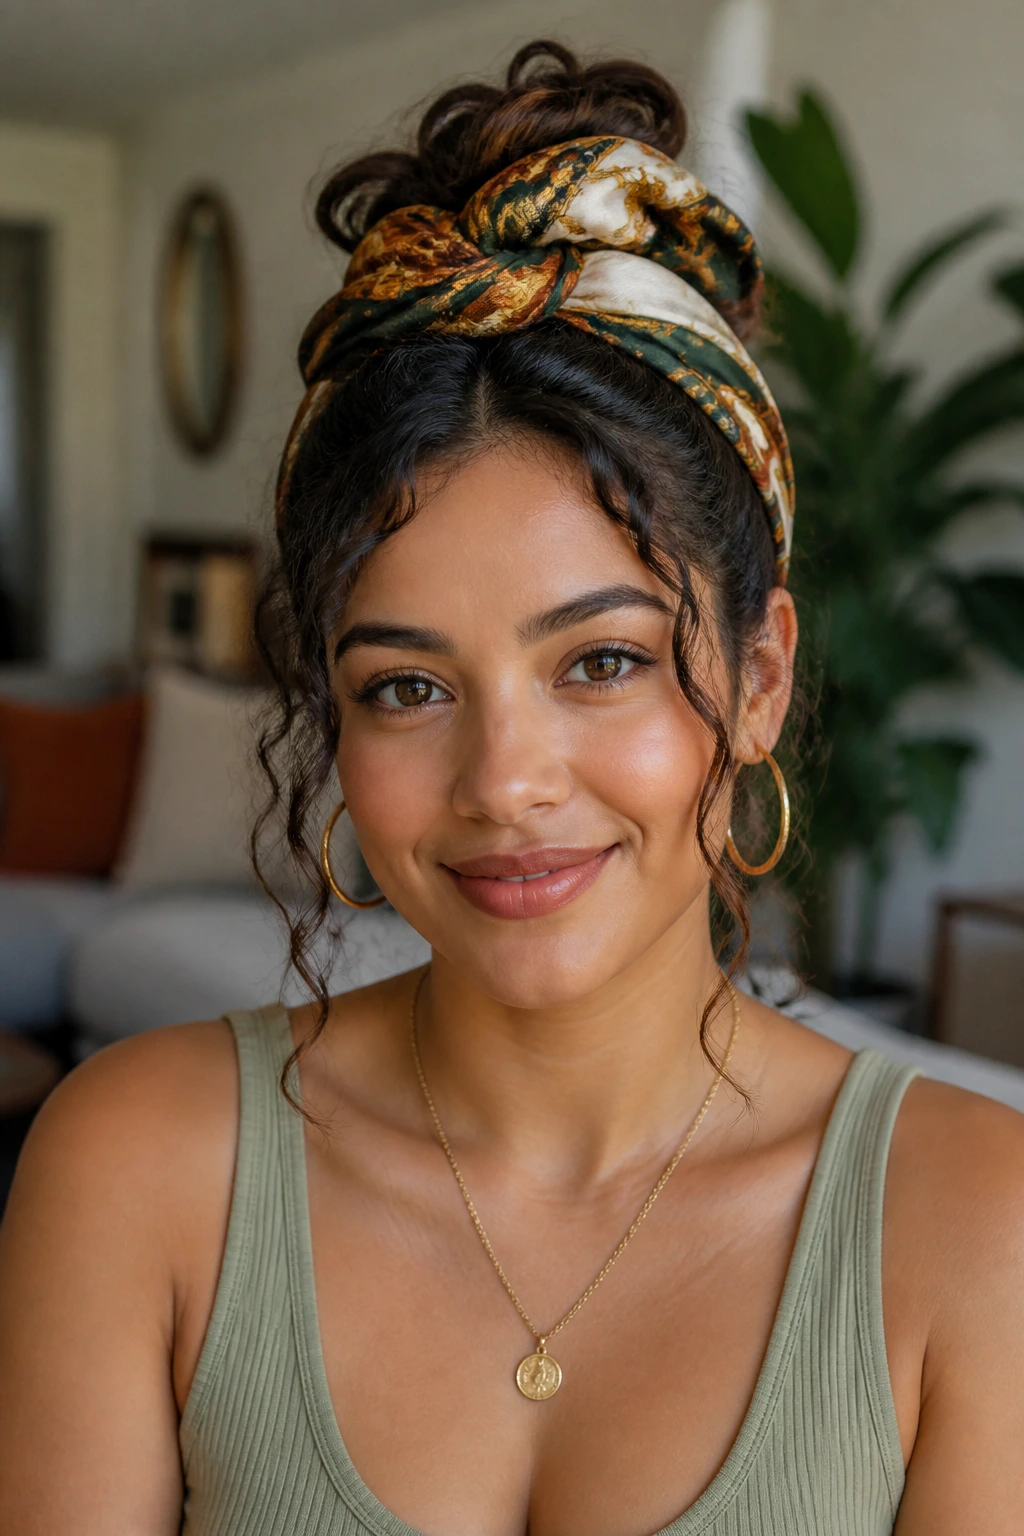
A silk scarf is an essential tool for protecting light curls, but it also doubles as a chic accessory. This style is perfect for those days when your curls might be a bit unruly or when the humidity is particularly high.
Protecting While Styling
Using a scarf prevents friction, which is the enemy of light, defined curls. By tucking your hair into a loose knot or fold with a scarf, you lock in moisture and keep the shape intact.
How to Tie It
- Fold a square scarf into a triangle.
- Drape it over your head like a hood.
- Tie the ends at the back, then bring them around to the front and tie again.
- Pull a few curls out at the front to frame your face.
12. The Tapered Nape
For a more modern, edgy look, keeping the hair at the nape of the neck shorter than the rest allows your curls to transition from a soft, voluminous top to a neat, tight bottom.
Managing the Nape Area
Often, the hair at the back of the neck is the most prone to tangling and matting. By keeping it trimmed, you avoid the “nesting” that can occur with long, light curls.
Styling for Contrast
- Use a defining curl cream on the top, longer sections.
- Keep the nape area slightly moisturized but don’t overload it with heavy product.
- Let the natural curl pattern of the nape hair sit close to the neck for a clean silhouette.
13. Double Braided Headband
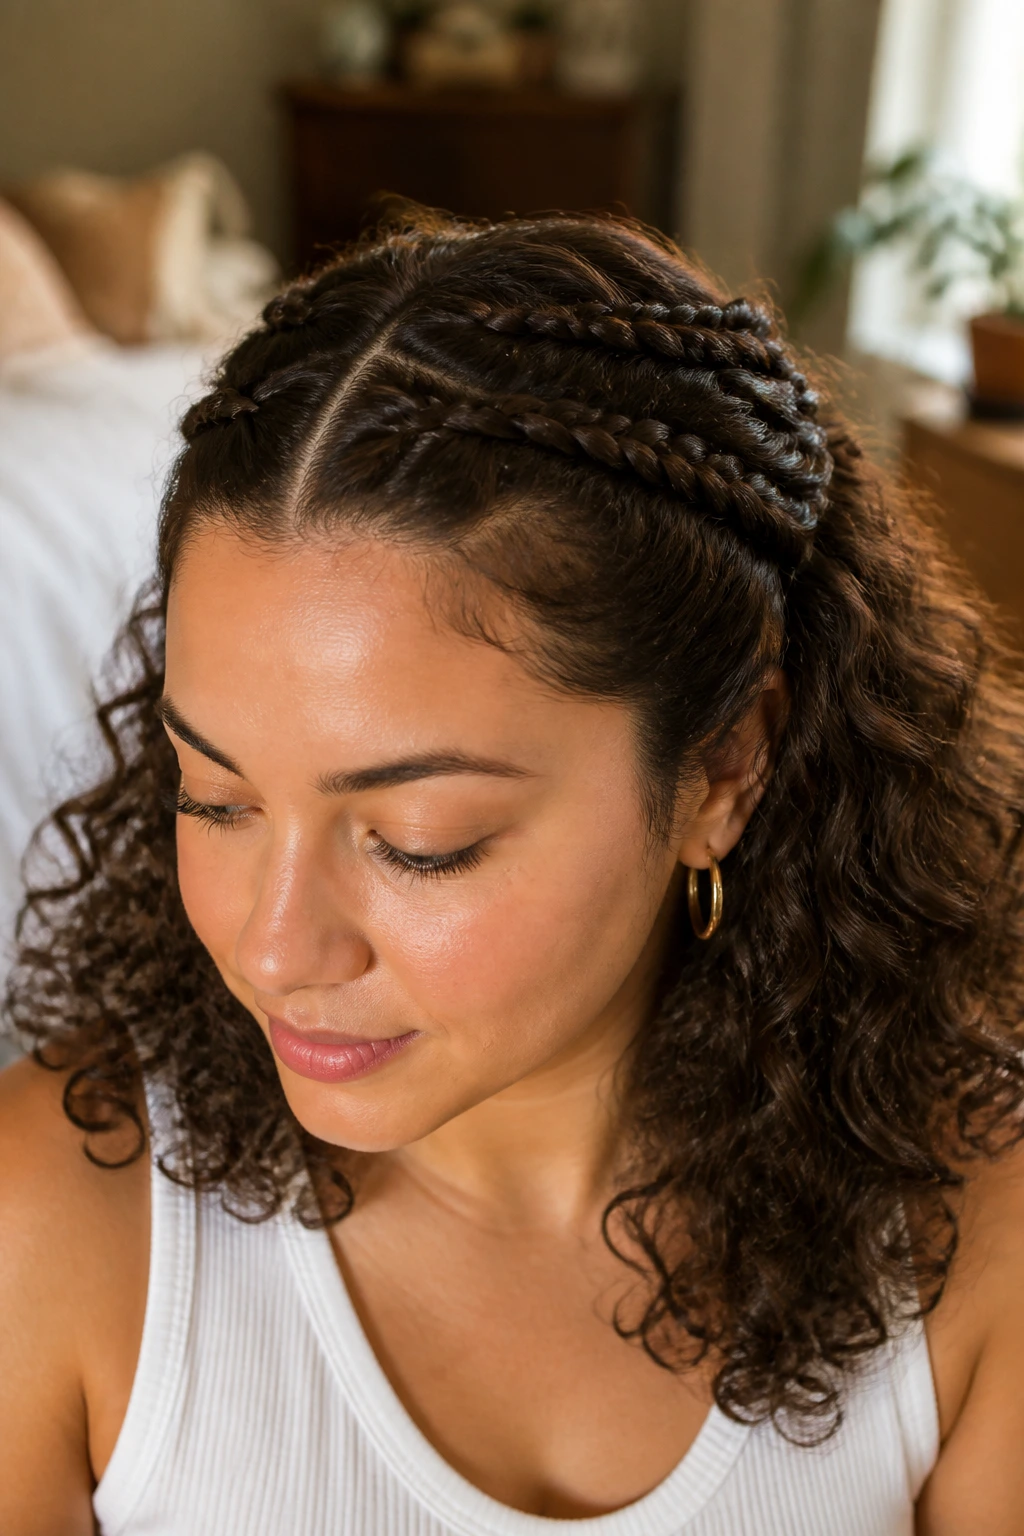
Braids are a great way to manage your light curls while keeping them protected from the elements.
The Strength of the Braid
By braiding the front section of your hair, you create a natural headband. This removes the hair from your eyes while allowing the curls in the back to remain loose and full of life.
How to Execute
- Part your hair in the middle.
- Take a one-inch section near the hairline on both sides.
- French braid each side back toward your ears.
- Pin the ends of the braids underneath the loose curls at the back of your head.
14. The Low Chignon
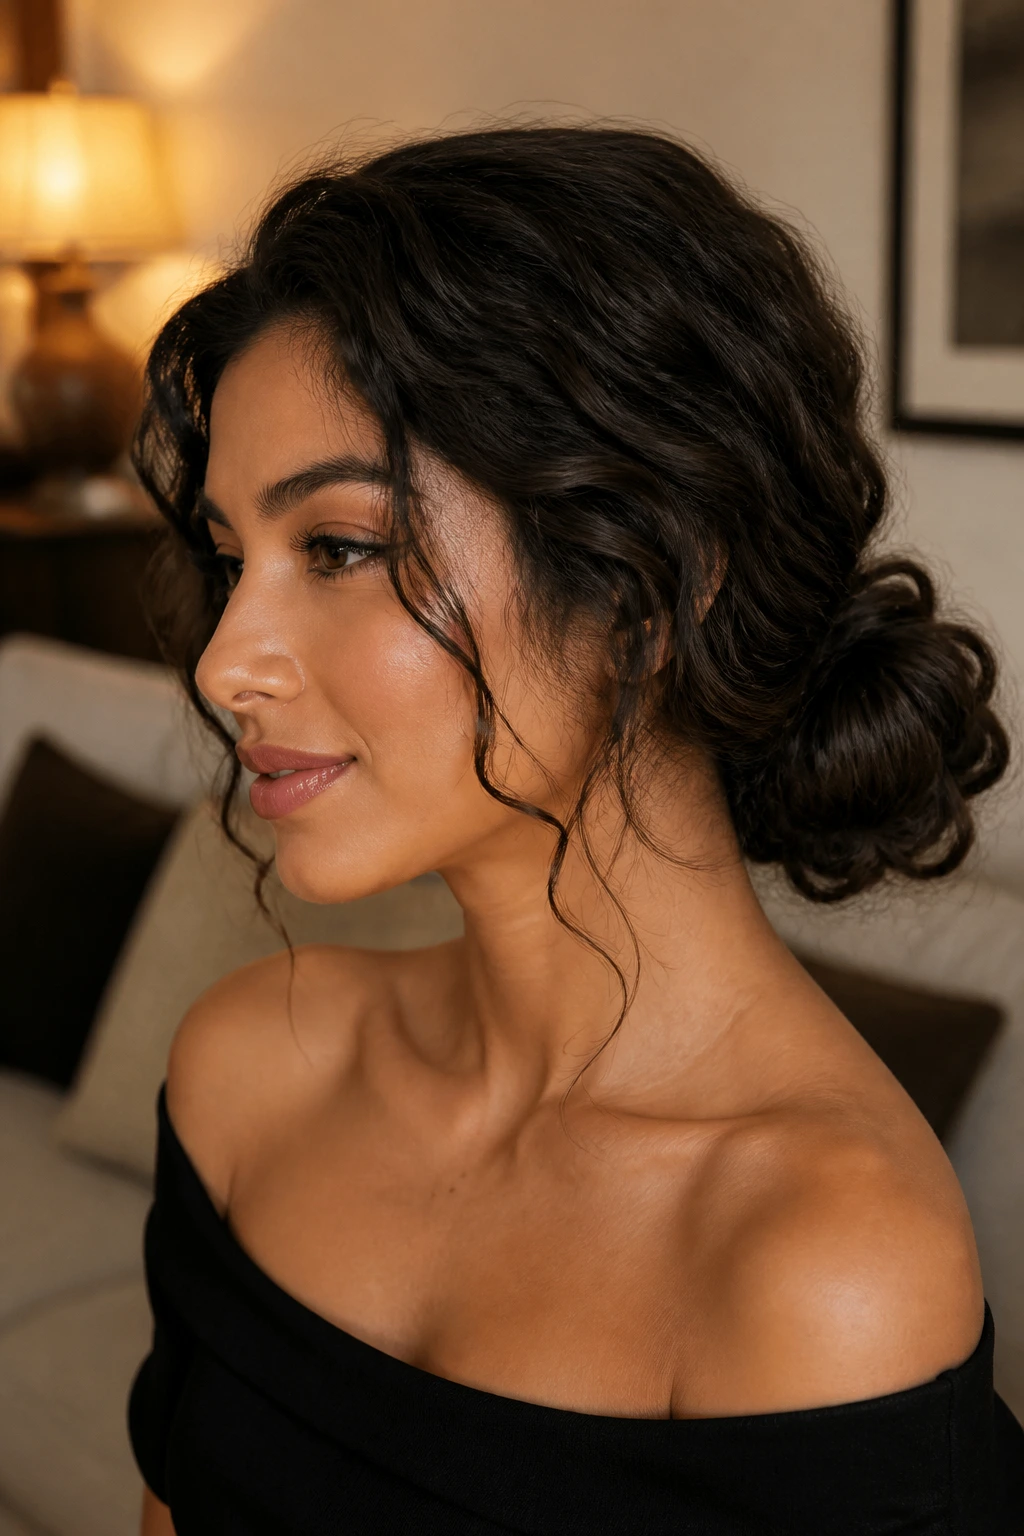
A low chignon is elegant and can be dressed up or down depending on the occasion. It works surprisingly well with light curls because the natural texture adds body to the bun, so it never looks flat or skimpy.
Achieving Texture in an Updo
- Pull your hair into a low, loose ponytail.
- Twist the hair around the base, but do it loosely to keep those light curls visible within the bun.
- Secure with pins.
- Pull out a few loose curls around the ears to soften the look.
15. The Diffused Afro-Bob
This is a bold, high-volume style that celebrates the width of your light curls. It’s perfect for someone with a lot of hair who wants to lean into the maximum volume potential of their texture.
Getting the Shape
You want the hair to expand horizontally. Use a wide-tooth comb to tease the hair at the roots, and then follow up with a diffuser on a high-airflow, low-heat setting.
Maintaining the Shape
- Use an anti-humidity spray before you begin diffusing.
- Once you reach the desired volume, stop touching the hair.
- Avoid heavy oils at the end, as they will collapse the volume you’ve built.
16. Ribbon-Tied Ponytail
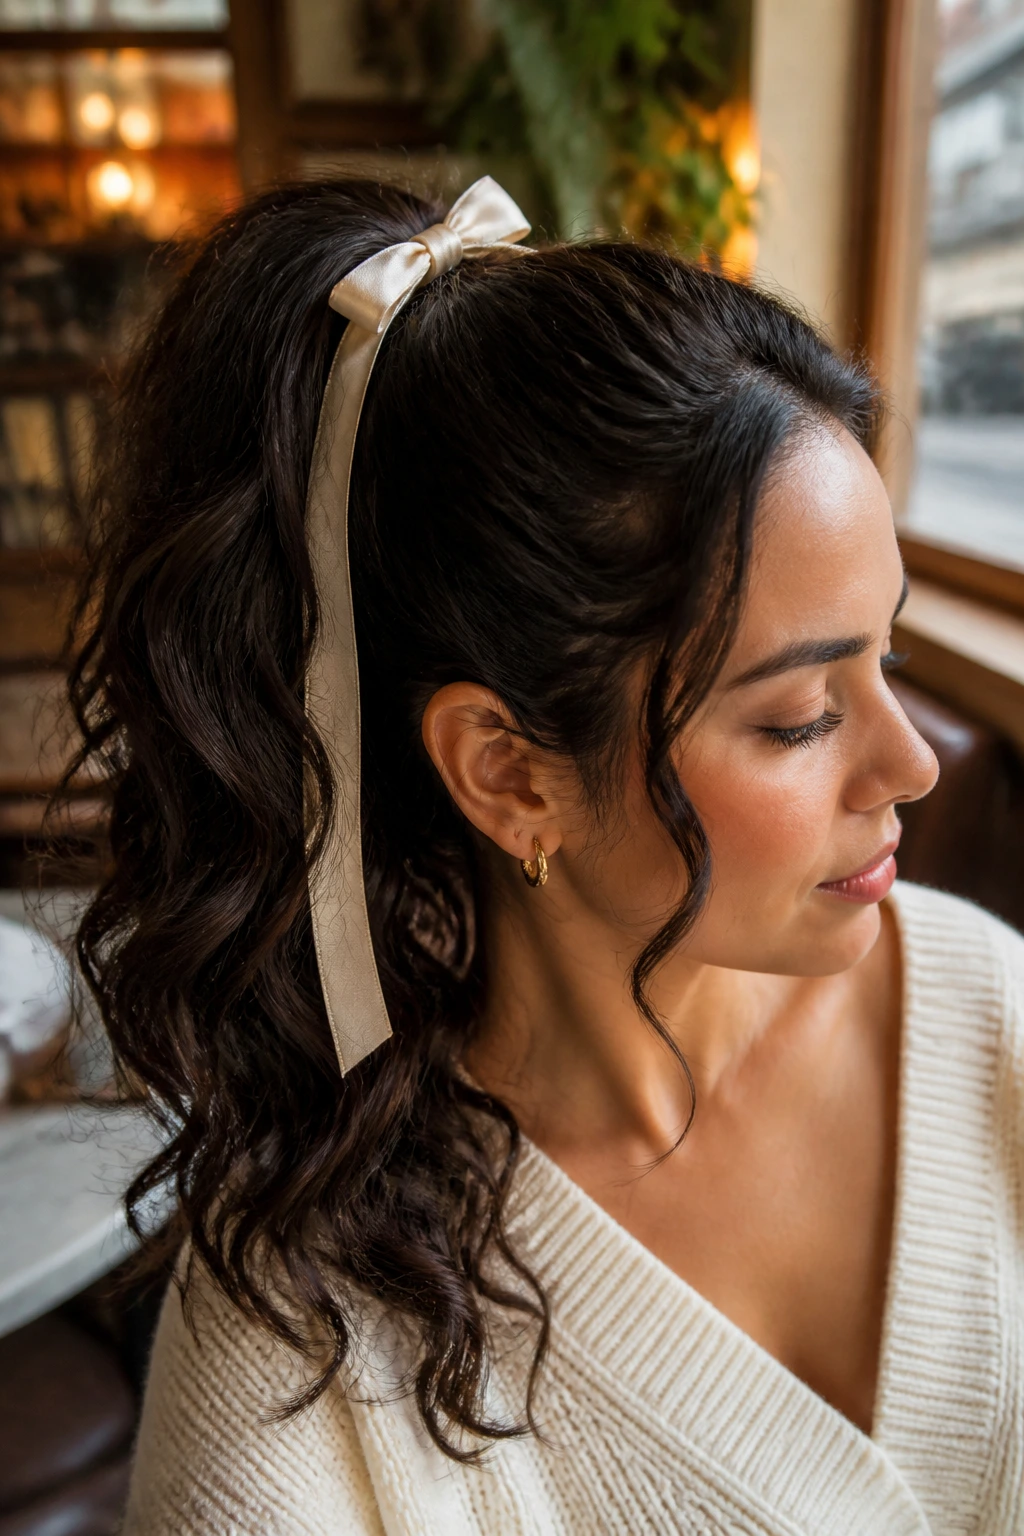
Adding a ribbon is a simple way to elevate a standard ponytail. It brings a touch of femininity and, if the ribbon is made of satin or silk, it provides a gentle grip that doesn’t damage the delicate curl structure.
Choosing the Right Ribbon
- Opt for a wider ribbon for a bolder look.
- Wrap it around the base of your ponytail several times to create a thick “cuff” effect.
- Let the ends of the ribbon hang down with the curls.
17. The Asymmetrical Crop
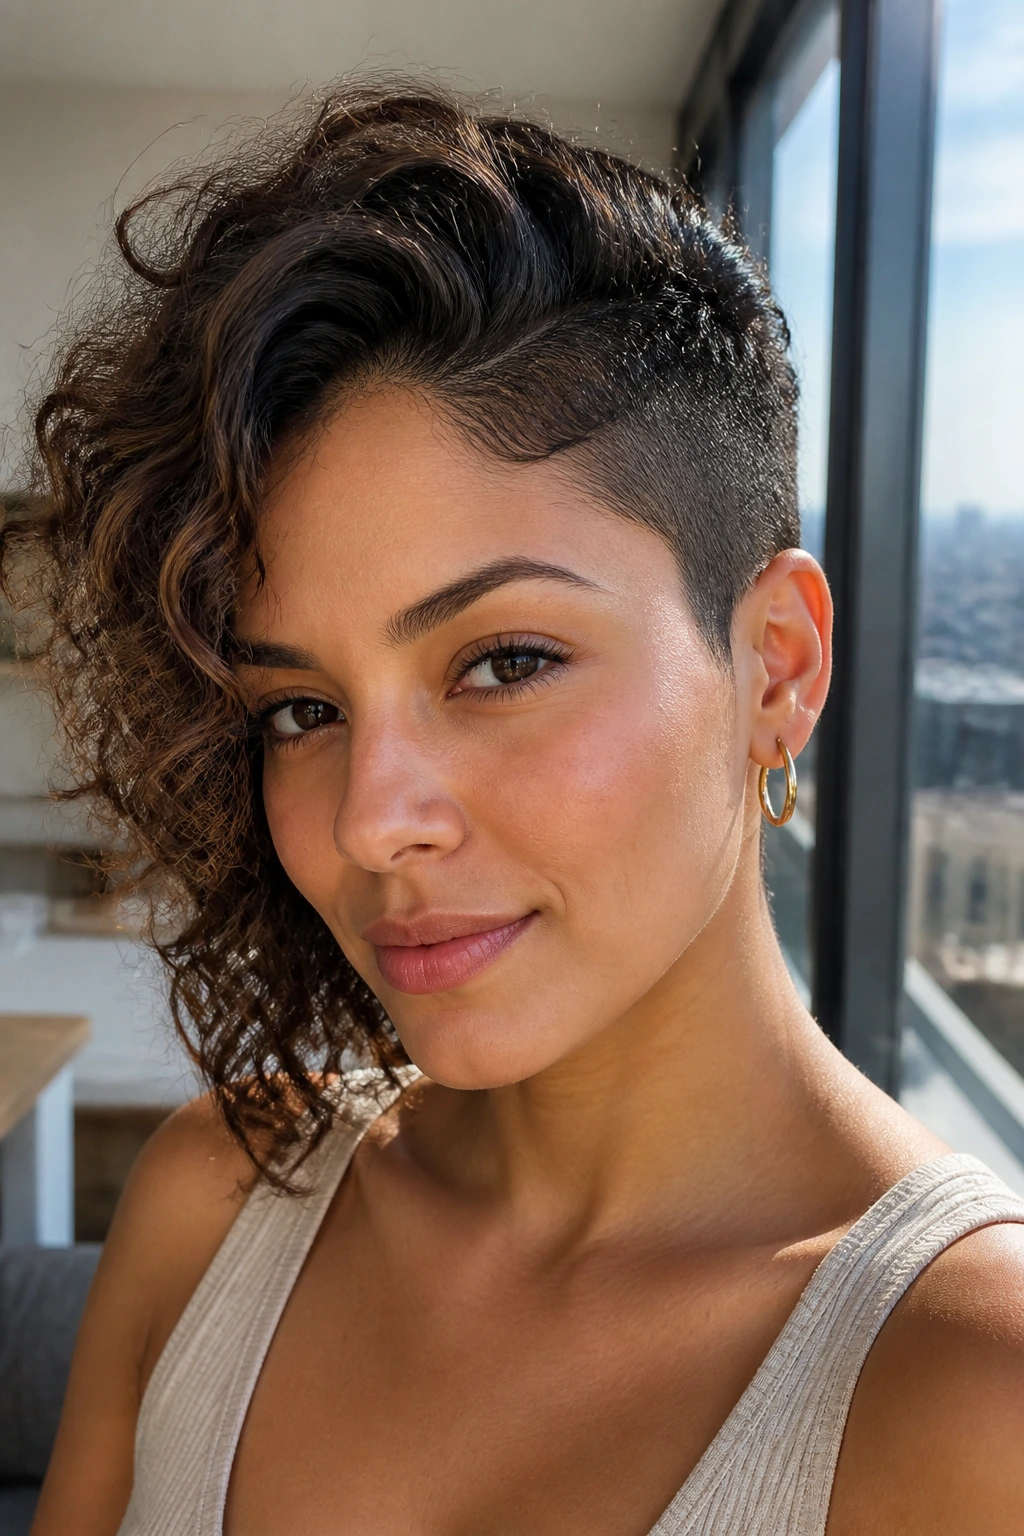
An asymmetrical cut, where one side is significantly shorter than the other, draws attention to the face and highlights the natural bounce of light curls.
Why Asymmetry Works
It breaks up the uniformity of the hair. Light curls tend to look most interesting when they are allowed to spiral in different directions, and an asymmetrical cut provides the structure to support that movement.
Styling the Sides
- Use a small amount of curl-enhancing gel on the shorter side to keep it looking tidy.
- Let the longer side air-dry for a more relaxed, playful appearance.
18. The “Plopped” Look
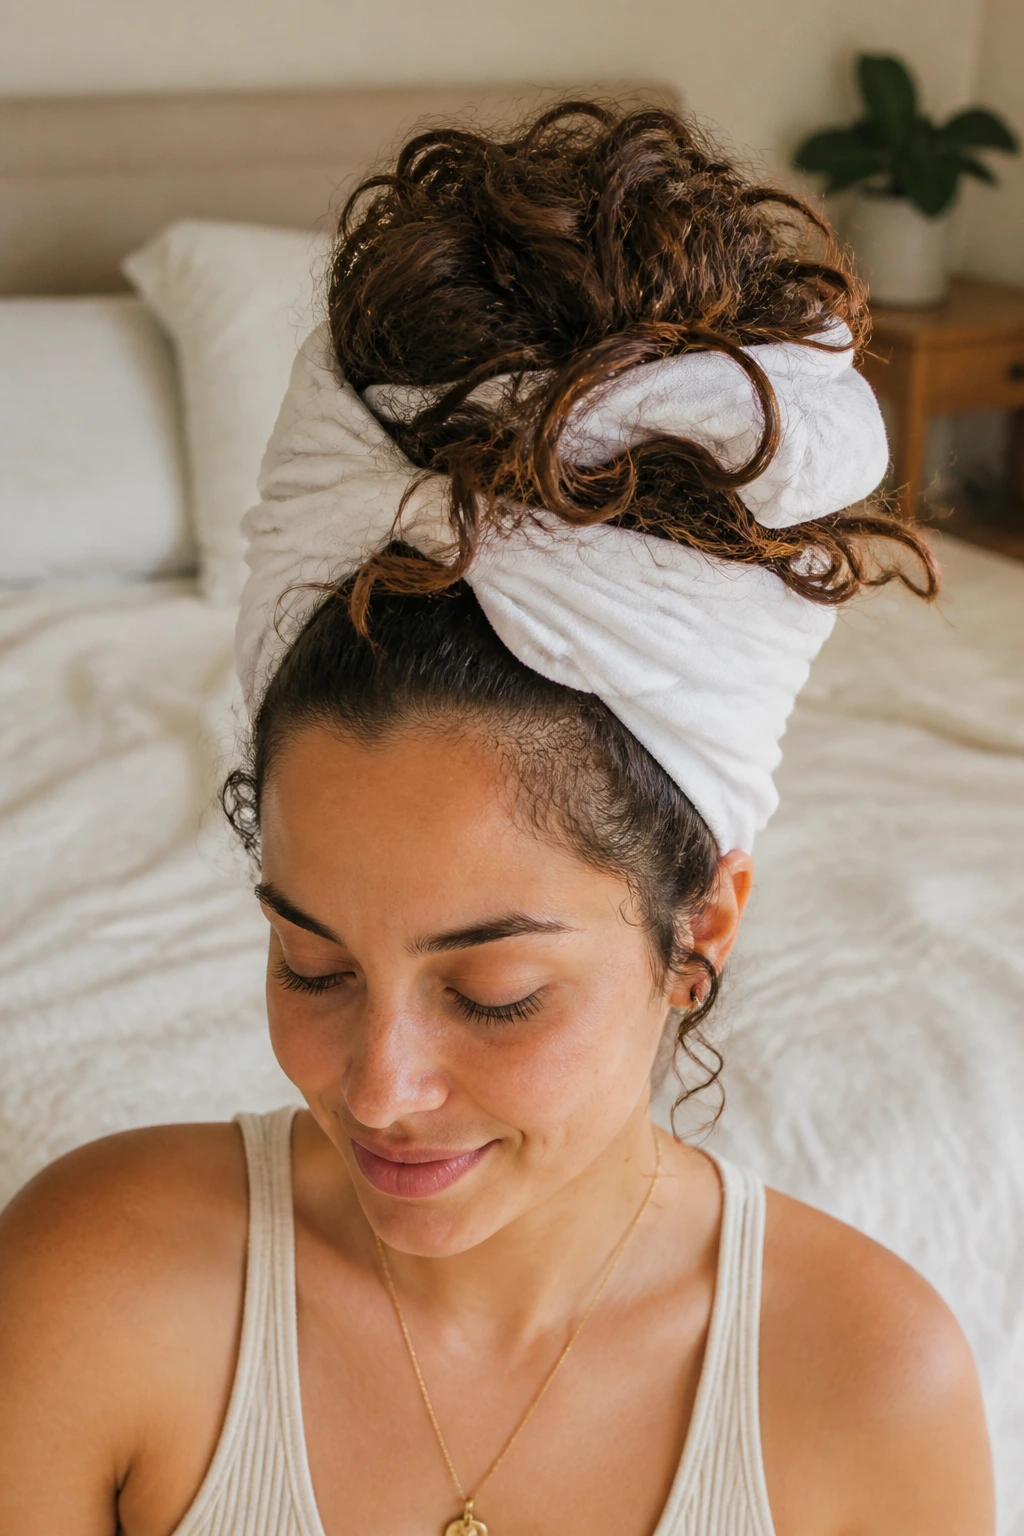
Plopping is a technique that uses a cotton t-shirt to encourage curl formation while the hair is drying. It is perfect for those with very fine, light curls that lose their shape easily.
The Mechanism
By piling the hair on top of your head in a t-shirt, you allow the curls to dry in their natural, spiraled shape without gravity pulling them out. It’s an overnight or “while-you-get-ready” method that yields incredibly consistent results.
The Steps
- Apply your styling product to wet hair.
- Lay a cotton t-shirt flat on a surface.
- Lower your head onto the shirt and fold the sleeves over your head.
- Tie the ends securely and leave for 20 to 30 minutes.
19. The Faux-Hawk with Side Twists
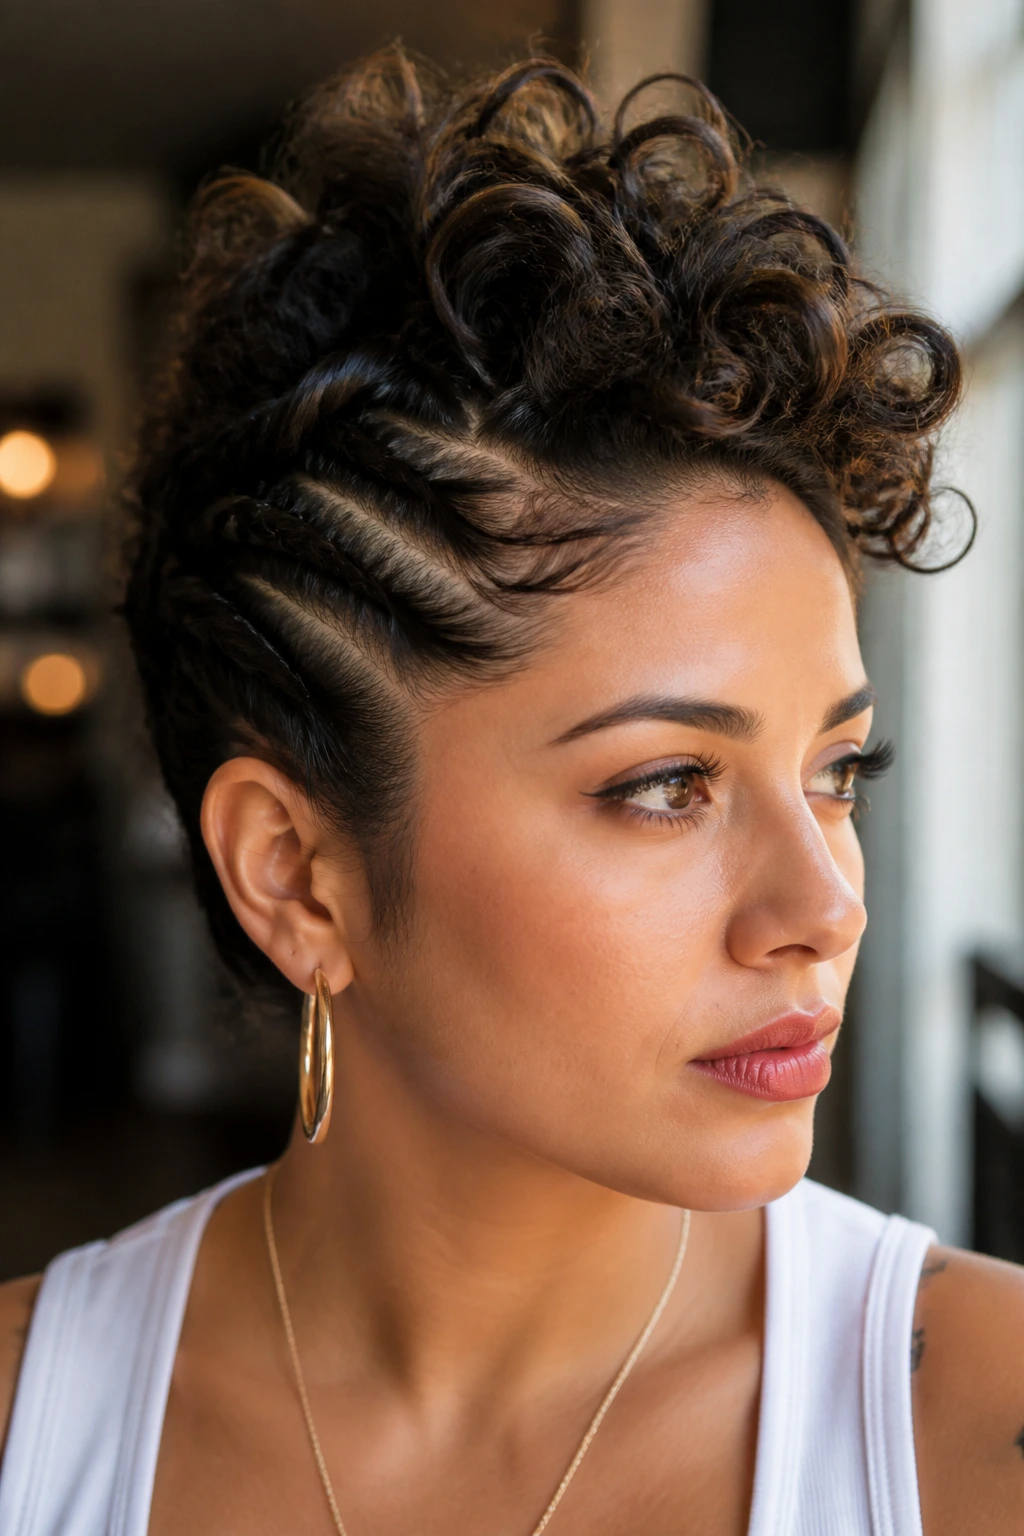
If you want to showcase your curls without having them all over your face, a faux-hawk is a fantastic option that adds a bit of edge.
The Twist Technique
- Instead of shaving the sides, twist the hair at the temples tightly toward the back and pin it.
- Leave the center section of curls free to create the “hawk” effect.
- The tension of the twists will pull the face back, making your eyes the focus.
20. The Curly Shag
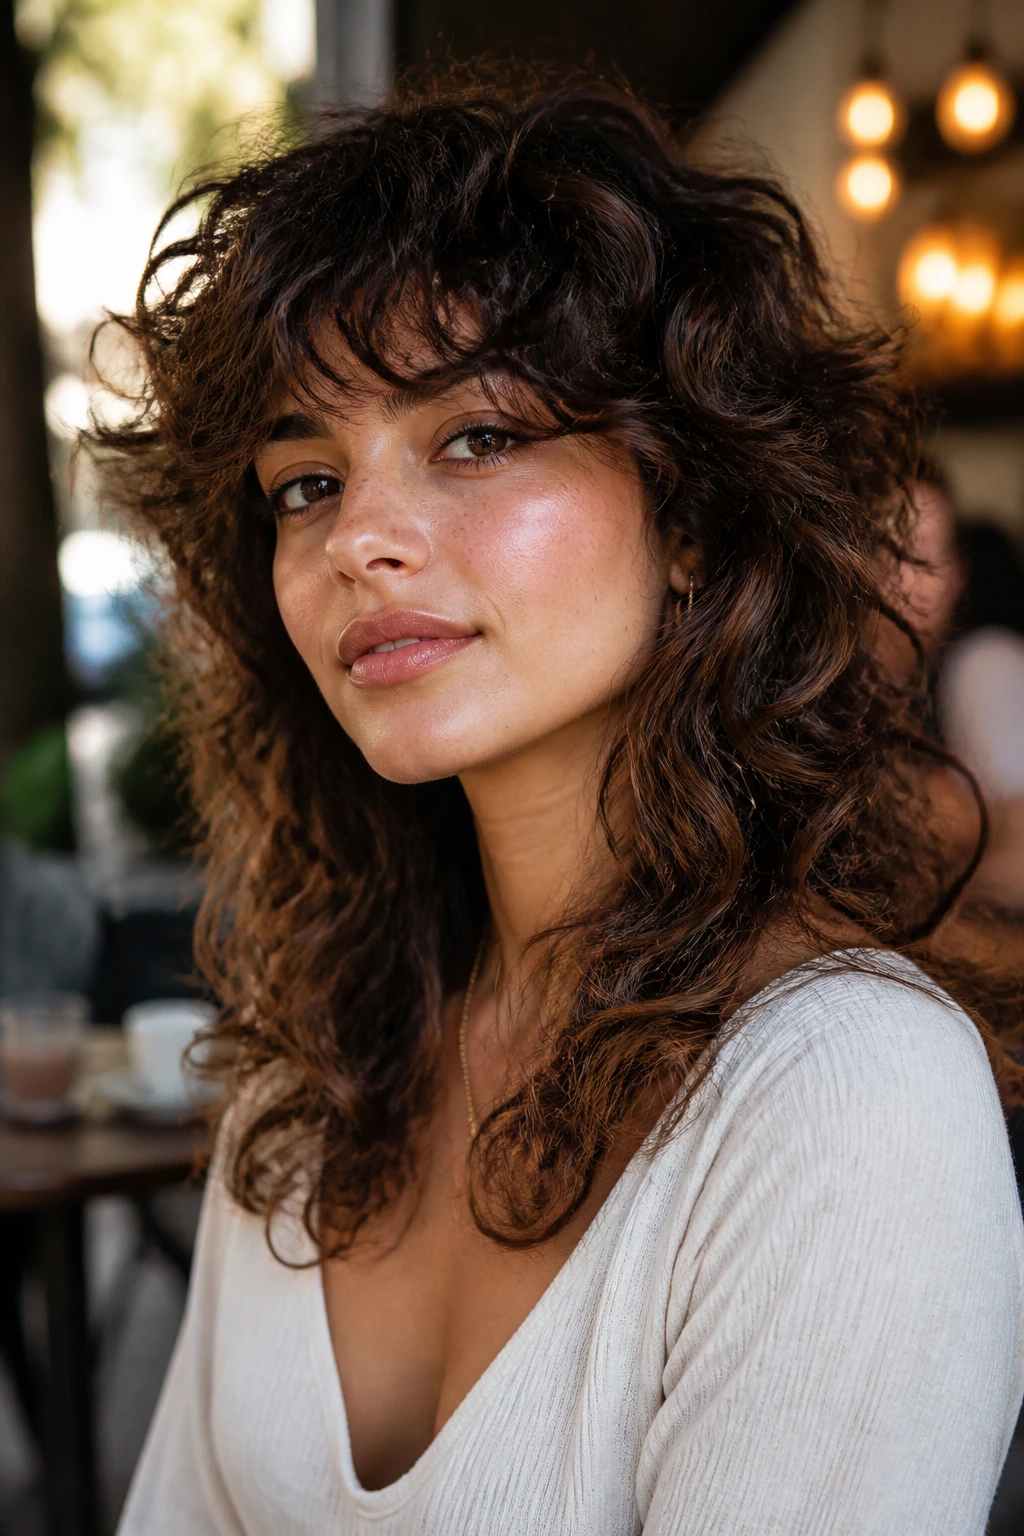
The shag cut has made a huge comeback, and it is a match made in heaven for light, curly hair. It is built entirely on layers, which is exactly what this hair type craves.
The Layering Logic
- Start with shorter layers at the top and transition to longer layers at the bottom.
- This creates a soft, feathered look that feels modern and easy to manage.
- It’s the kind of cut that looks great even when you don’t style it at all.
21. The Side-Pinned Waterfall
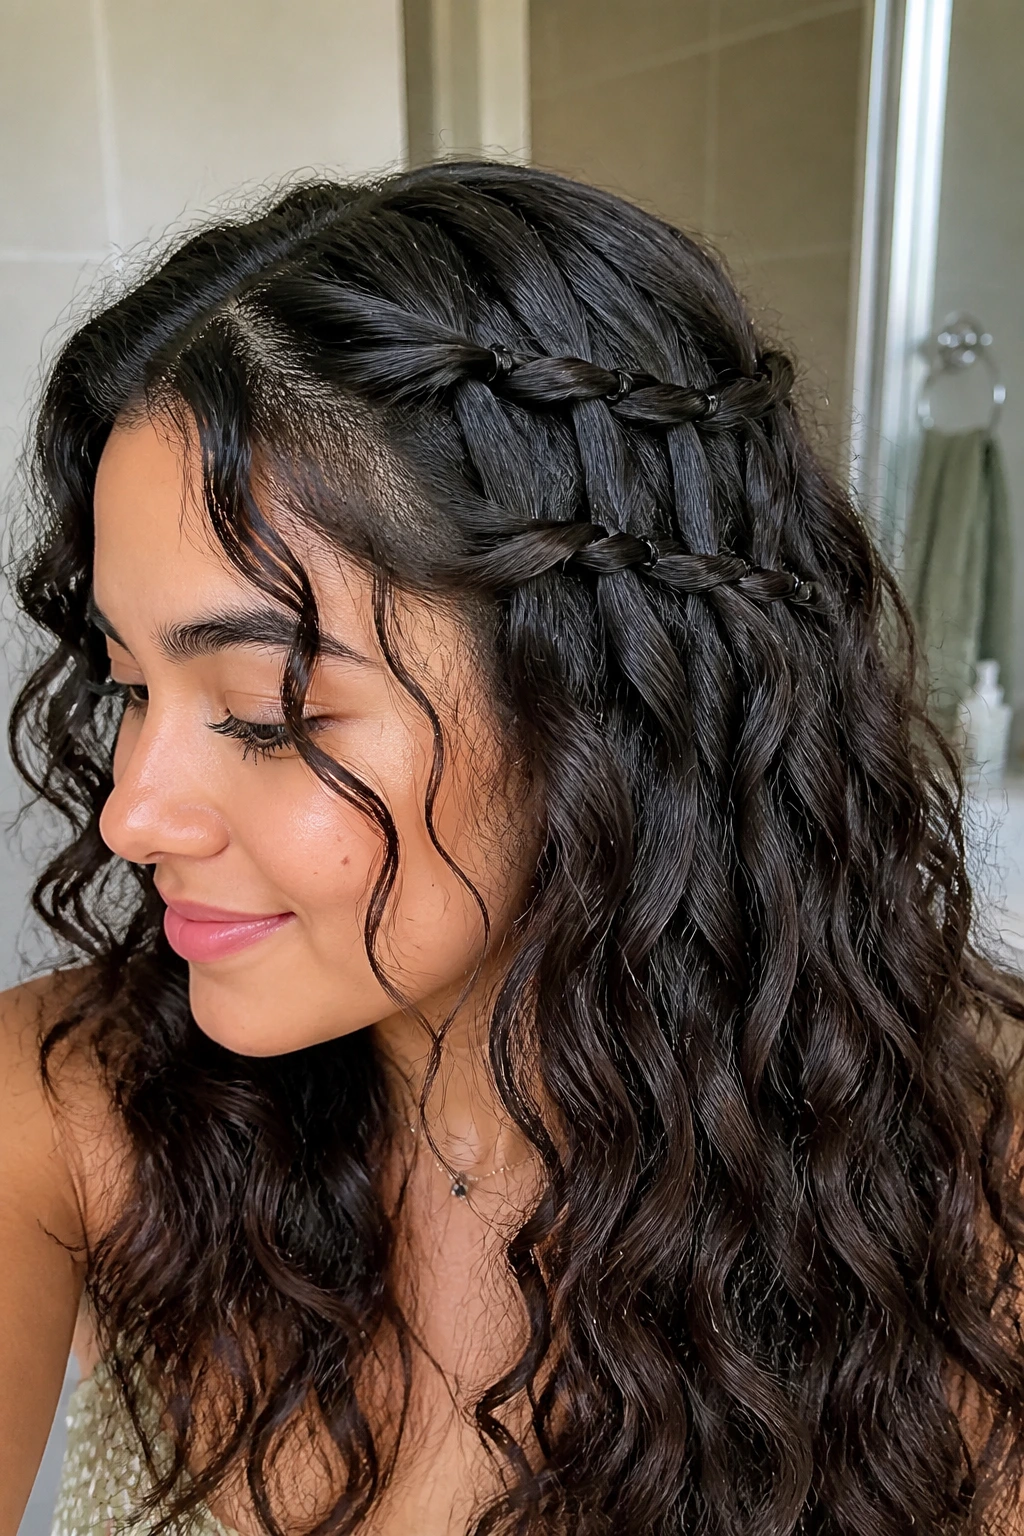
This style mimics the look of a waterfall braid but is much simpler to achieve. It involves taking small sections of curls from the front and pinning them back in a staggered pattern.
Creating the Effect
- Take a half-inch section of hair near your part.
- Twist it back and pin it with a small, discreet bobby pin.
- Repeat the process an inch lower.
- The pins will be hidden by the rest of your hair, creating the illusion of a waterfall effect.
22. The Crown Braid Halo
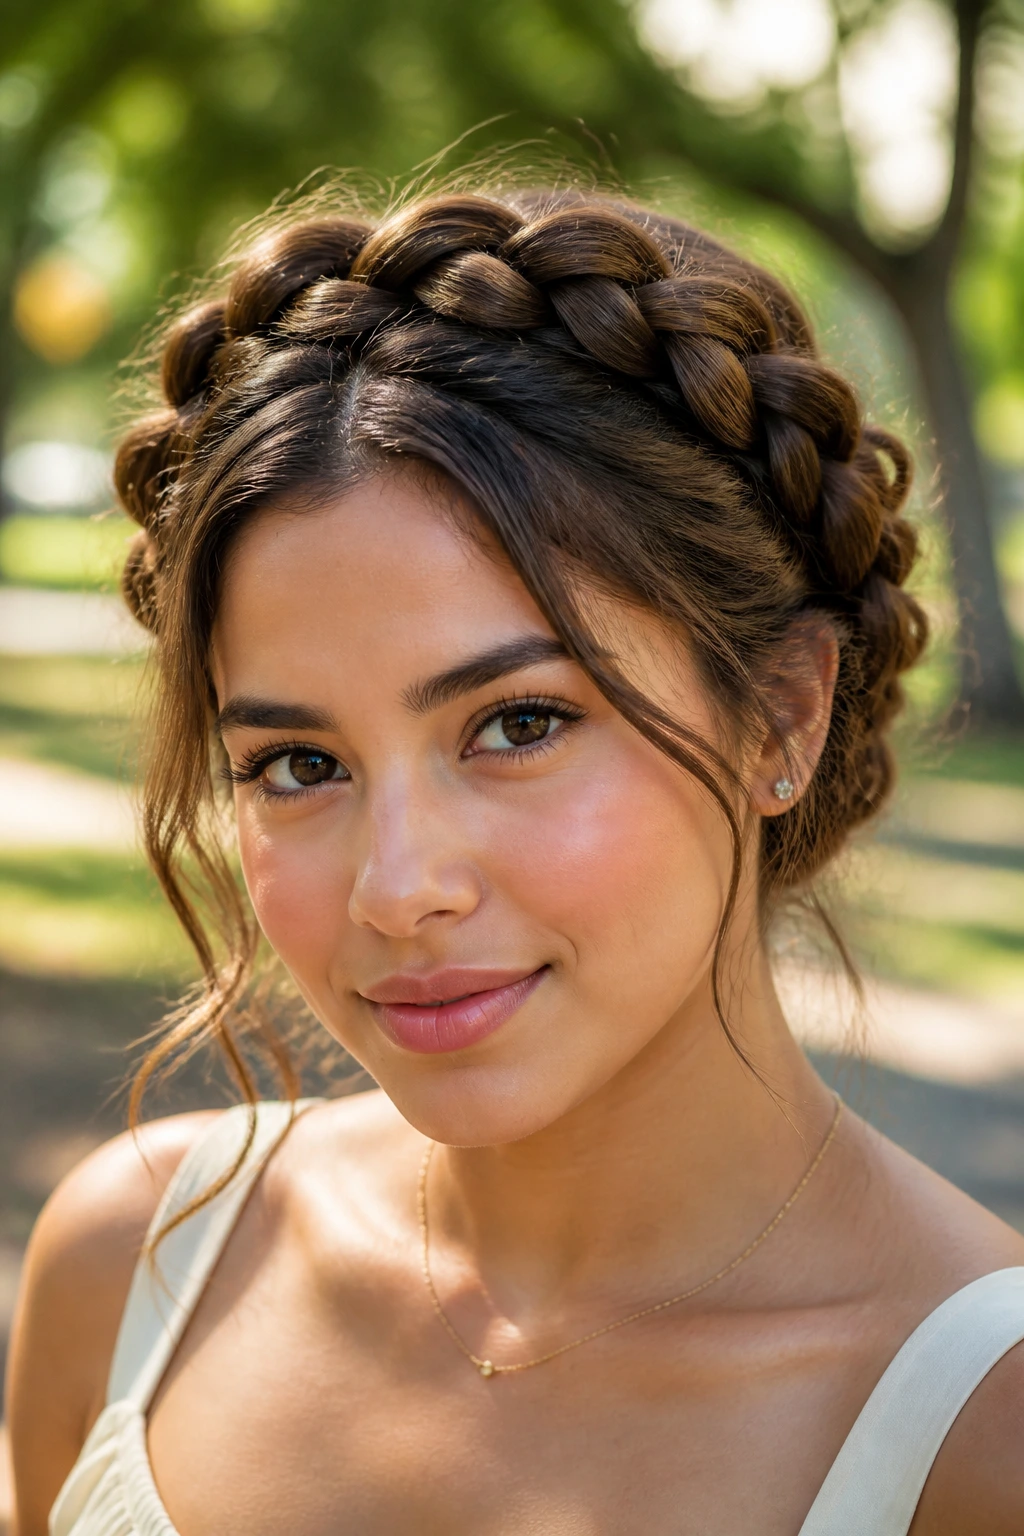
A crown braid is a classic, but for light curls, it’s best done in a loose, slightly messy way. You don’t want it to look too perfect, as that can make the hair look thinner.
Managing the Texture
- Braid the hair loosely around the head, using a Dutch braid technique so the braid sits on top.
- Once you reach the end, gently pull at the sides of the braid to fluff it up.
- Pin the end into the start of the braid for a seamless, halo effect.
23. The “Curly-Girl” Pineapple with a Bandana
Similar to the pineapple, but this time you use a bandana to cover the edges. This keeps the hair sleek at the front while allowing the curls to remain big and bold at the top.
Color and Pattern
Using a colorful or patterned bandana is an easy way to dress up an outfit. It also helps to keep your hair from frizzing due to contact with fabrics or harsh environments.
The Look
- Fold the bandana into a strip about two inches wide.
- Place it at the nape of your neck and tie it at the forehead.
- Tuck the ends underneath for a clean finish.
24. The Deep-Conditioning “Co-Wash” Style

Sometimes the best “style” for light curls is just ensuring they are incredibly hydrated. A co-wash—using conditioner instead of shampoo—keeps the hair soft and clumped together naturally.
Why Co-Washing Helps
Shampoos can be harsh on light, wavy textures, stripping away the natural oils that keep the curl defined. Co-washing adds moisture back into the hair, allowing the curls to clump naturally without any styling product at all.
When to Use
- Best for days when your hair feels dry or brittle.
- Pair with a light leave-in conditioner to seal in the moisture.
25. The Natural Air-Dry with Minimal Product
We often overthink our hair, but sometimes the most beautiful result comes from leaving it completely alone.
The Power of Less
By using nothing but a tiny amount of leave-in conditioner on damp hair and letting it be, you allow your natural pattern to emerge without interference. This is the ultimate test of your hair’s health.
Embrace the Frizz
A little bit of frizz is not a sign of failure—it is a sign of life. Embrace the volume and the slightly wilder, softer shape that comes from a completely natural air-dry.
Final Thoughts
Caring for light, curly Latina hair is less about control and more about collaboration. You are working with your hair’s natural tendency to wave and spiral, not against it. The key throughout all these styles is hydration—using products that offer moisture without heavy waxes or silicones that can weigh down the hair. Remember that your hair will change based on the weather, your hydration levels, and even the products you used during your last wash.
Do not get frustrated if a style doesn’t look exactly like a photo. Your curls have a personality all their own, and learning how to interpret that personality is part of the joy. Experiment with the amount of product you use, the way you part your hair, and the tools you choose. As you continue to refine your routine, you will find that these light, bouncy curls aren’t just a hairstyle—they are a hallmark of your unique look. Keep the hair moving, keep it hydrated, and let those curls be exactly what they want to be.