Getting out the door on time during busy mornings requires a strategy that balances speed with style. If you are handling hair for yourself or a student, you know that the “school-day crunch” is real. You need hairstyles that look polished enough for the classroom but are rugged enough to survive a full day of gym class, extracurriculars, and the inevitable commute back home. Braiding is the ultimate solution here because, once a braid is set, it typically holds its shape far better than loose styles, curls, or simple ponytails.
Whether you are working with fine, straight strands, thick waves, or tight coils, the following styles are designed to be completed in minutes. We are moving past the basic three-strand plait into territory that offers durability, flair, and—most importantly—ease. These aren’t just for fashion; they are for function. A well-placed braid keeps hair out of eyes during exams and prevents tangling while sitting at a desk for hours. Let’s look at thirty-five ways to master the school-day braid.
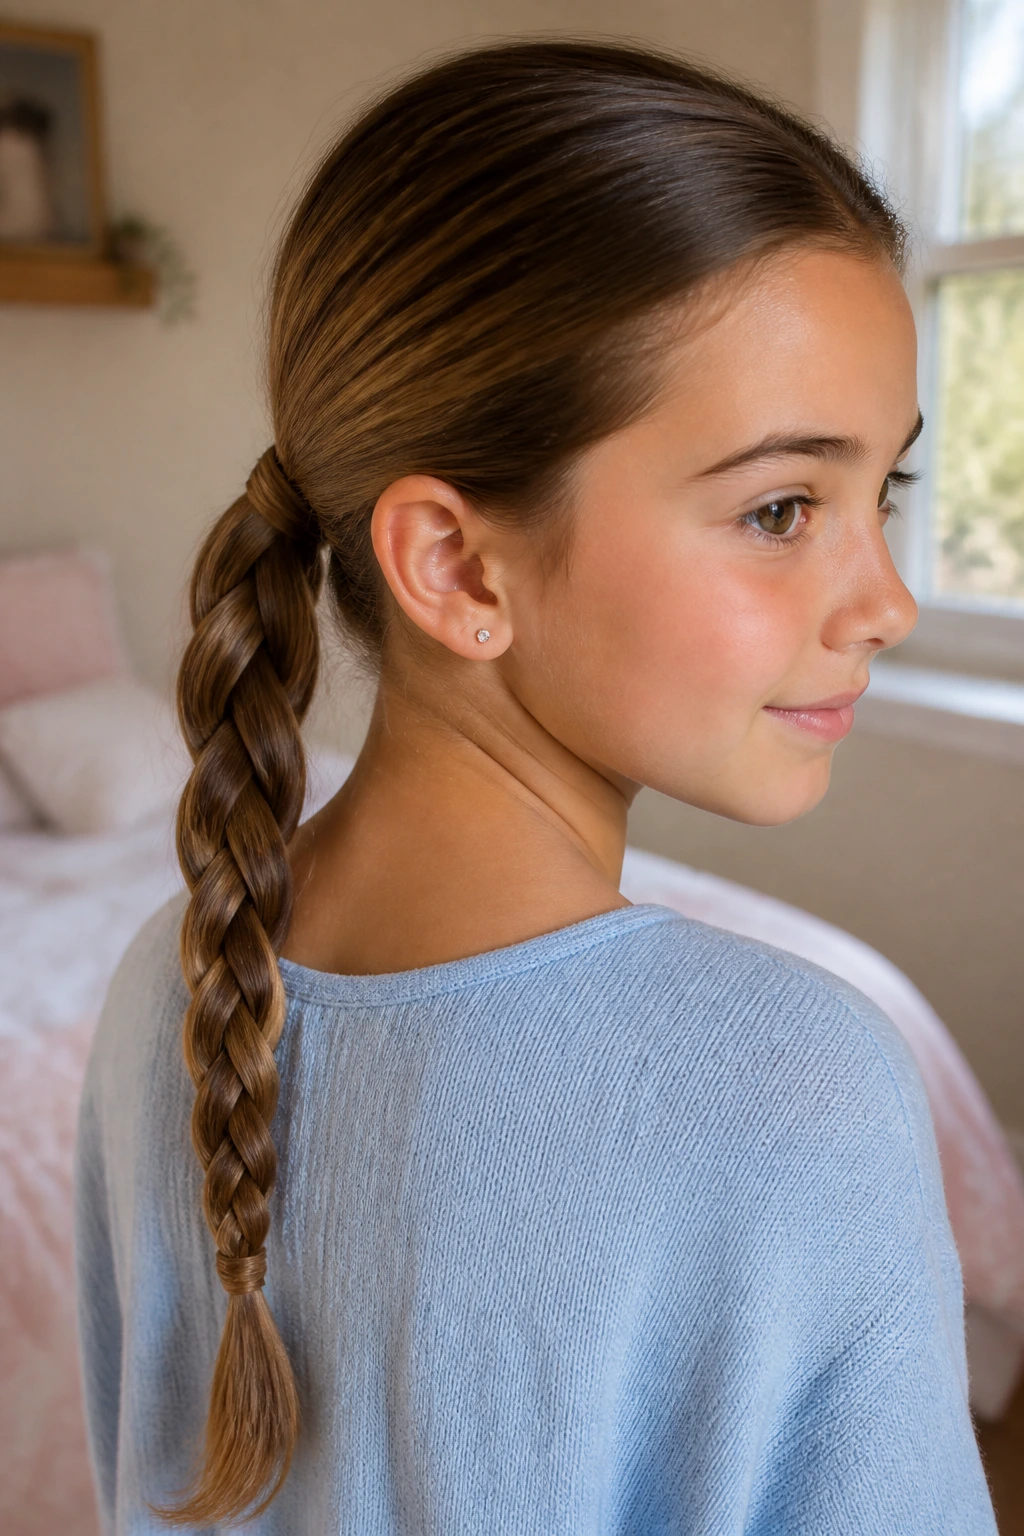
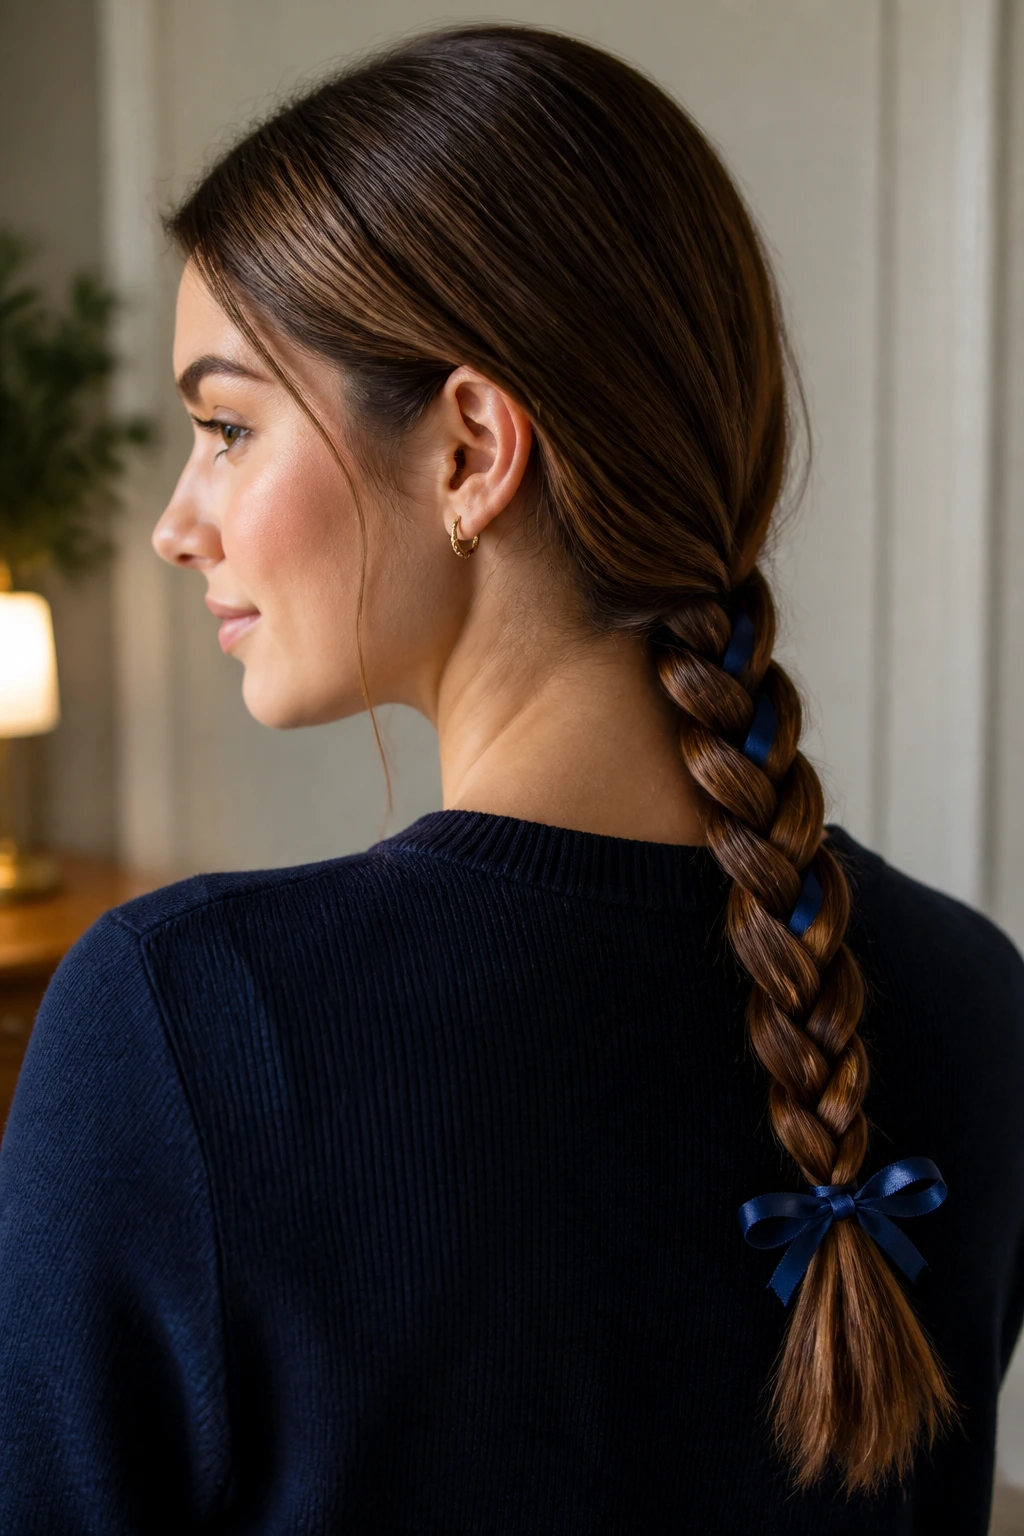
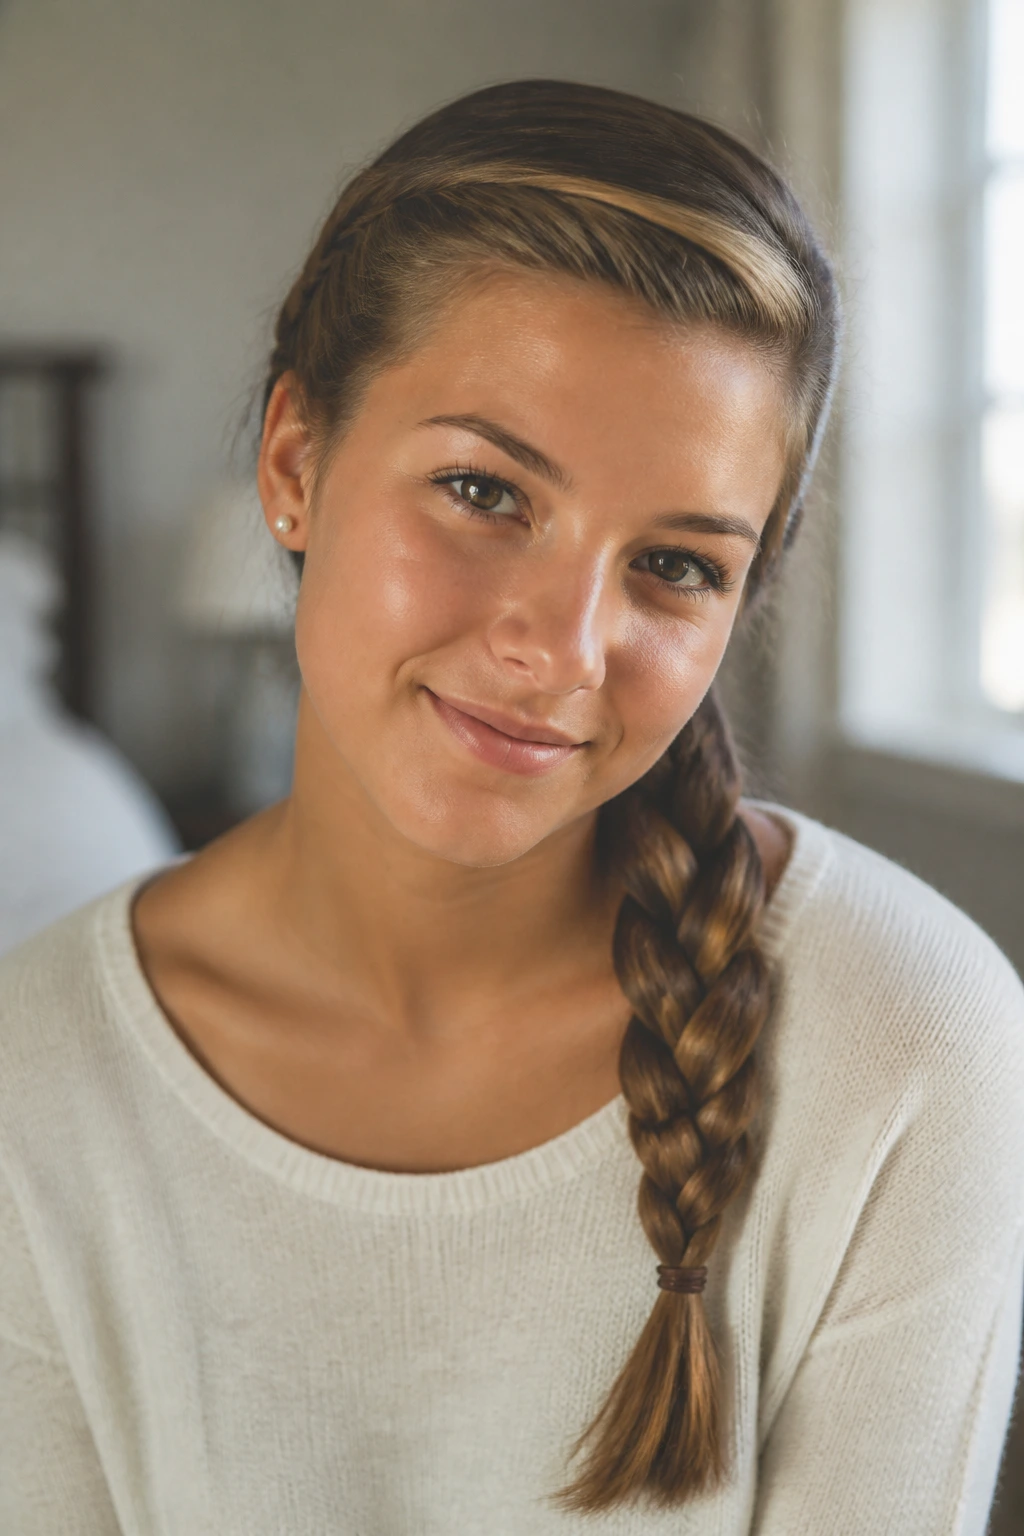
1. The Classic Three-Strand Side Braid
This is the foundational skill for every other style on this list. It is simple, quick, and provides a clean look that works with almost any outfit. Start by gathering all hair to one side, dividing it into three equal sections, and alternating the outer sections over the middle one. If you want a more relaxed vibe, pull on the edges of the loops once you secure the end with an elastic.
Why This Style Lasts
The reason this style is a staple is because it locks the hair into a structural pattern that resists wind and movement. If you find your hair slipping out, spray a little dry shampoo or texturizing spray on your palms before you begin. The extra grip makes a world of difference for silky hair types.
Pro Tips for Beginners
- Use a clear silicone elastic at the end to keep the focus on the weave rather than the hardware.
- If you have layers, keep a small bottle of water or leave-in conditioner spray nearby to tame any flyaways that pop out during the process.
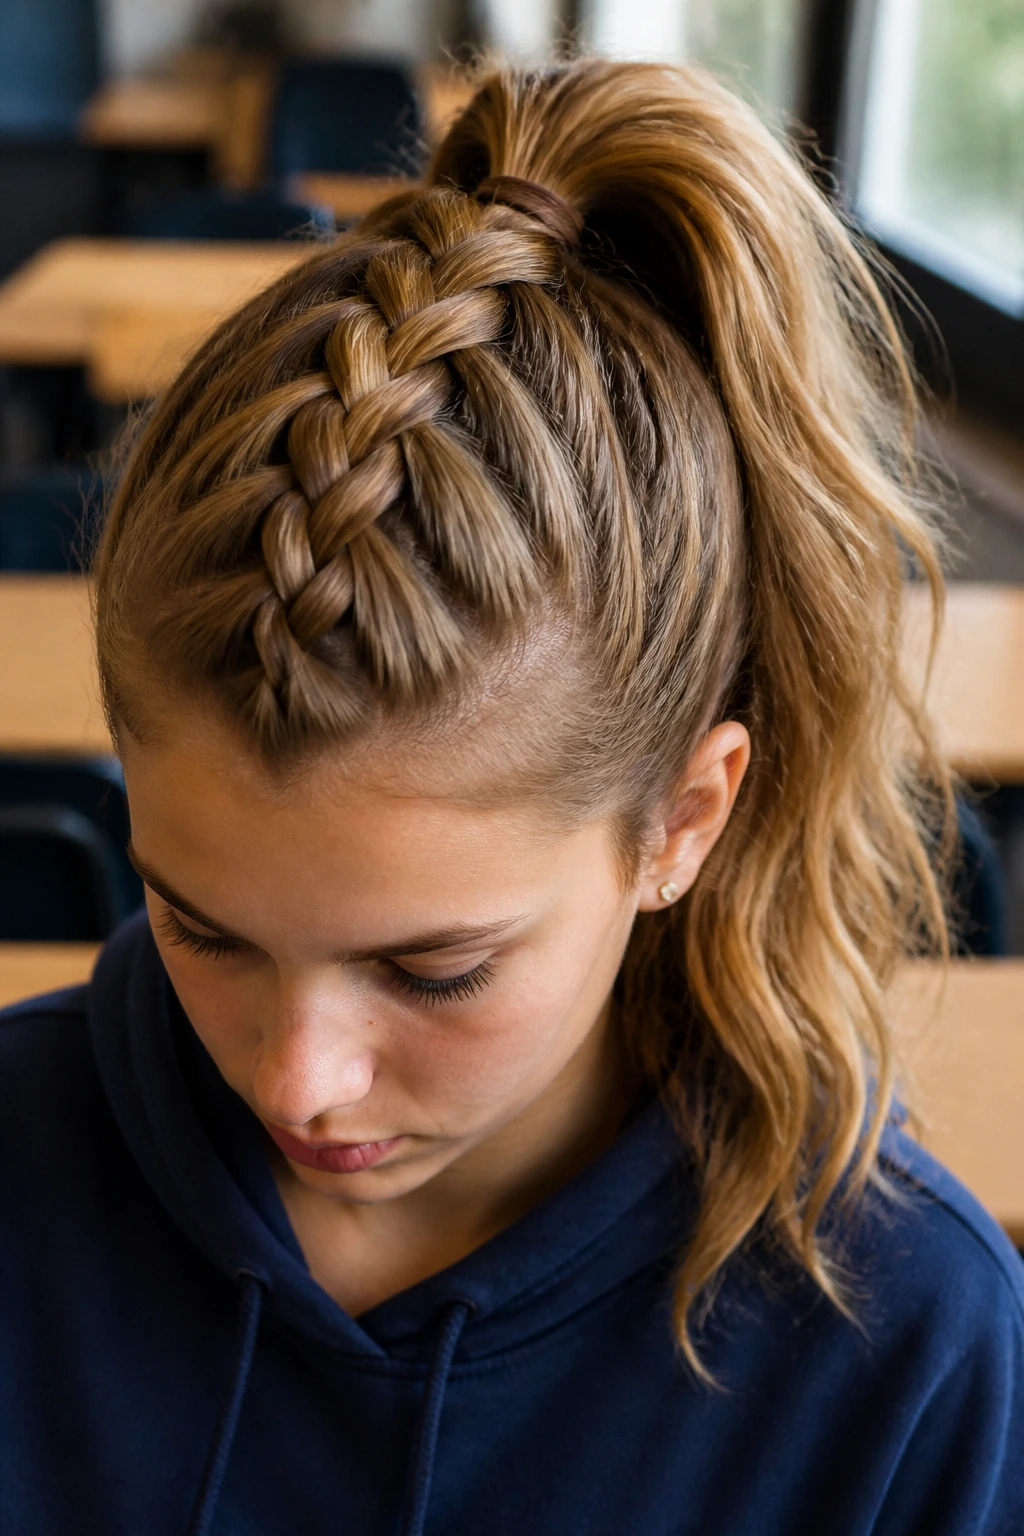
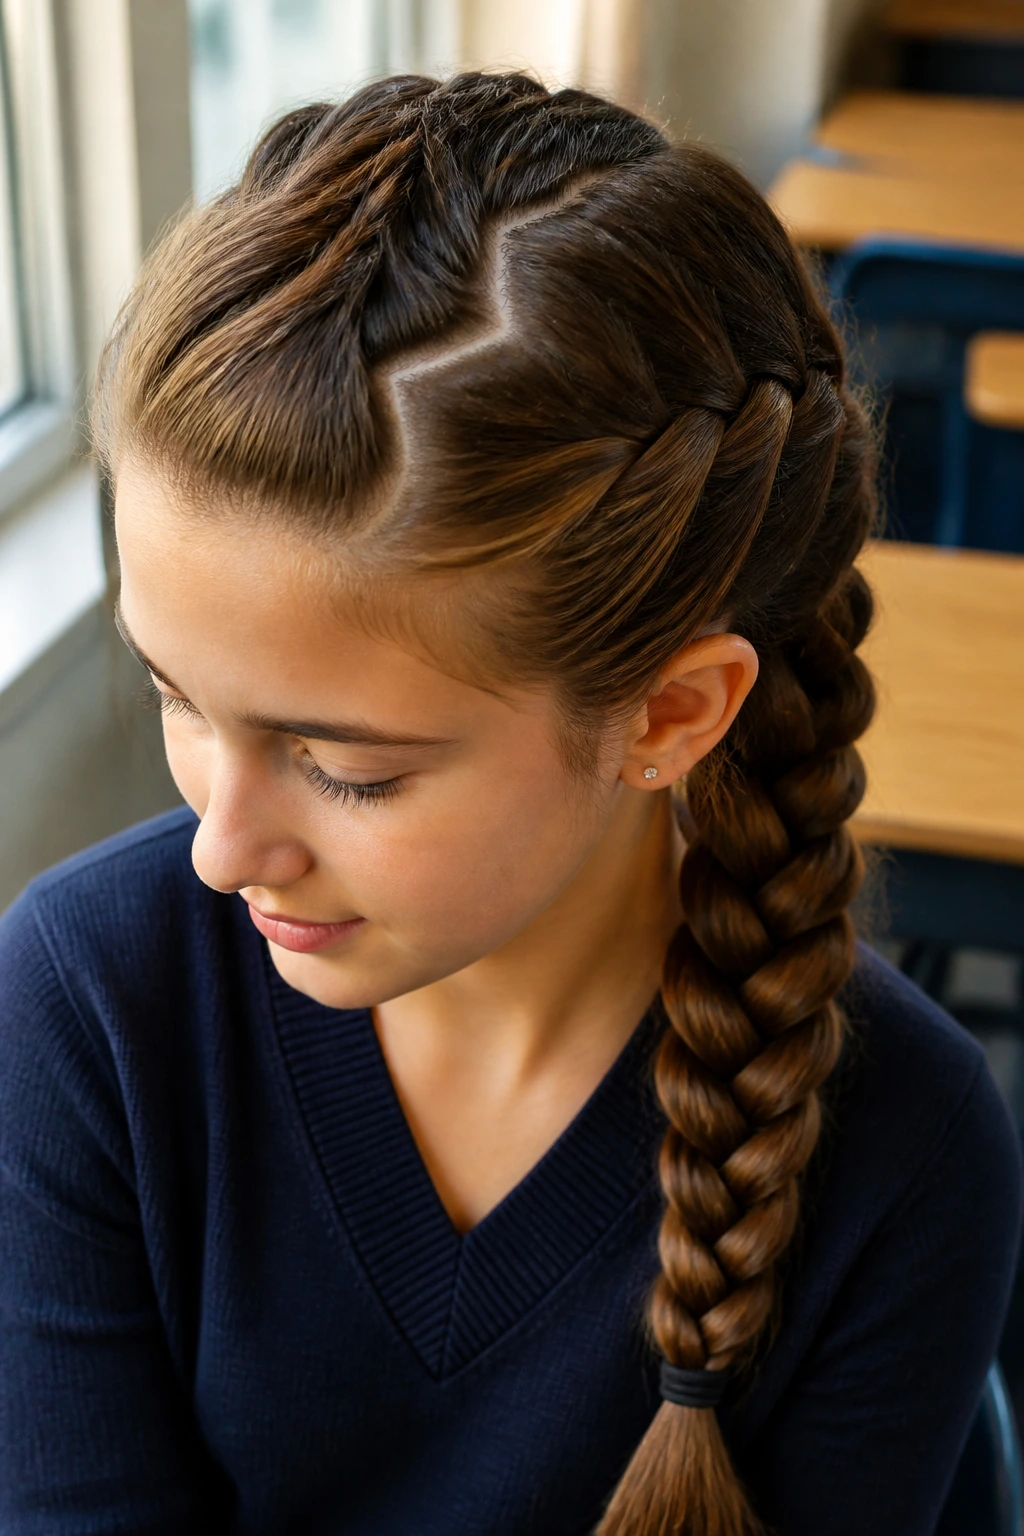
2. The High-Volume Dutch Ponytail
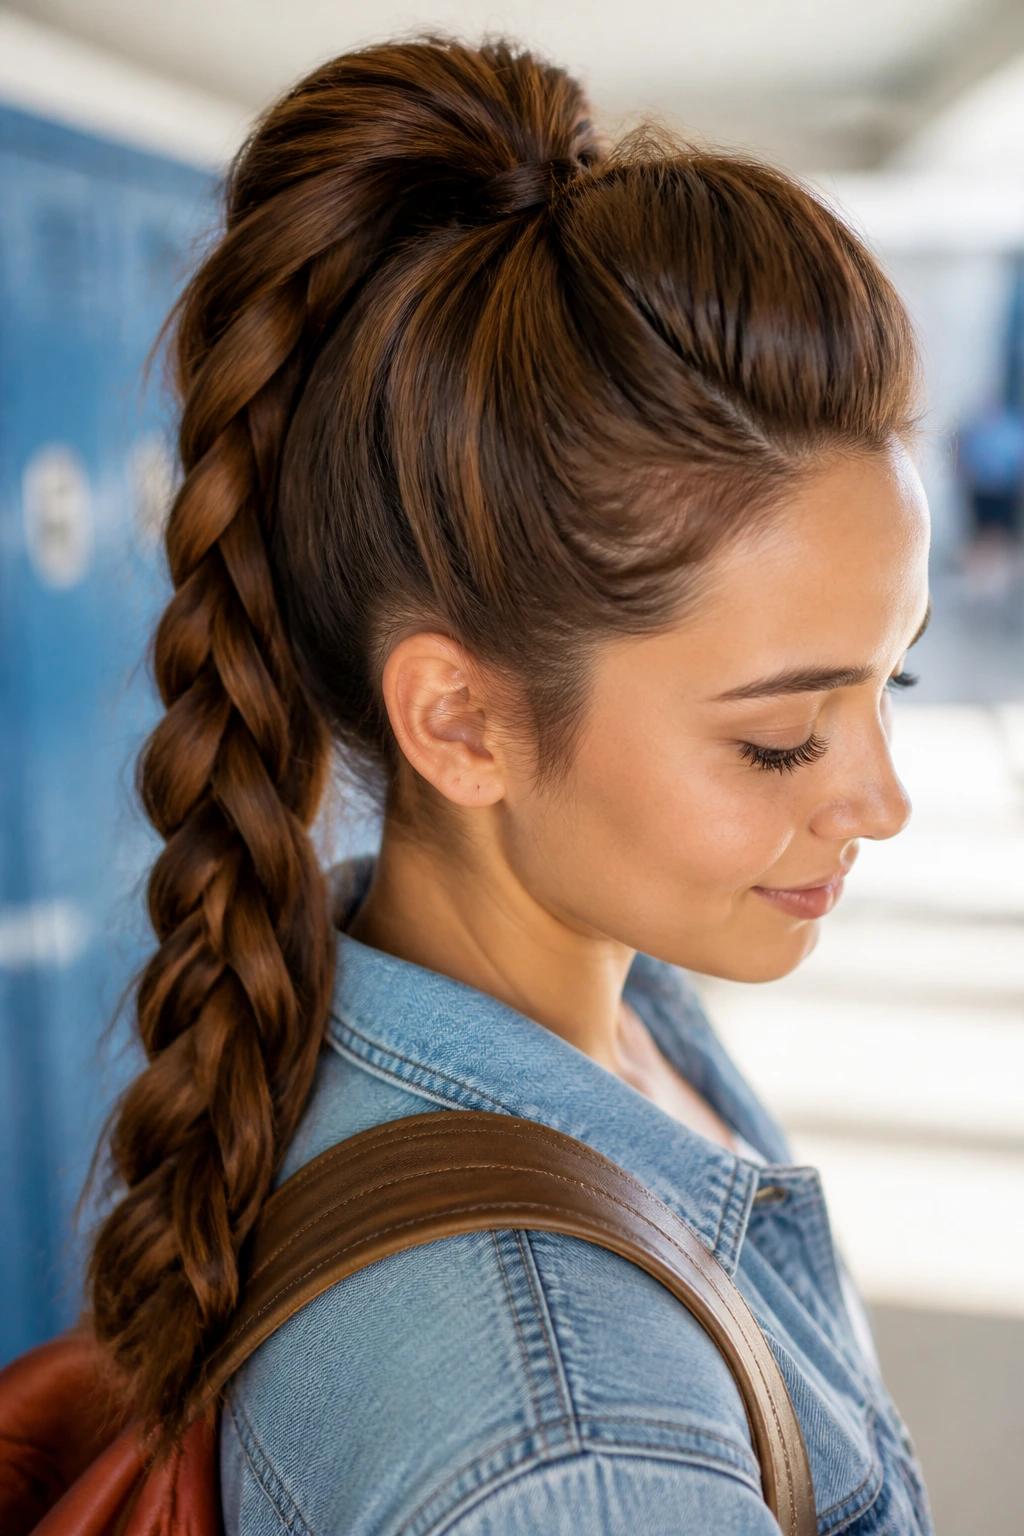
Start by gathering the hair into a high ponytail, securing it tightly. Divide the ponytail into two sections and Dutch braid the length of it. A Dutch braid involves crossing the strands under the middle rather than over, which creates an “outside-out” look that pops against the rest of the head.
Achieving That Maximum Lift
To make the braid look thick and full, wait until you have tied off the end. Start from the bottom and gently pull the outer edges of each “stitch” outward. This creates a fanned-out, voluminous appearance that hides the thinness of a regular ponytail. It is a fantastic trick for those with finer hair density.
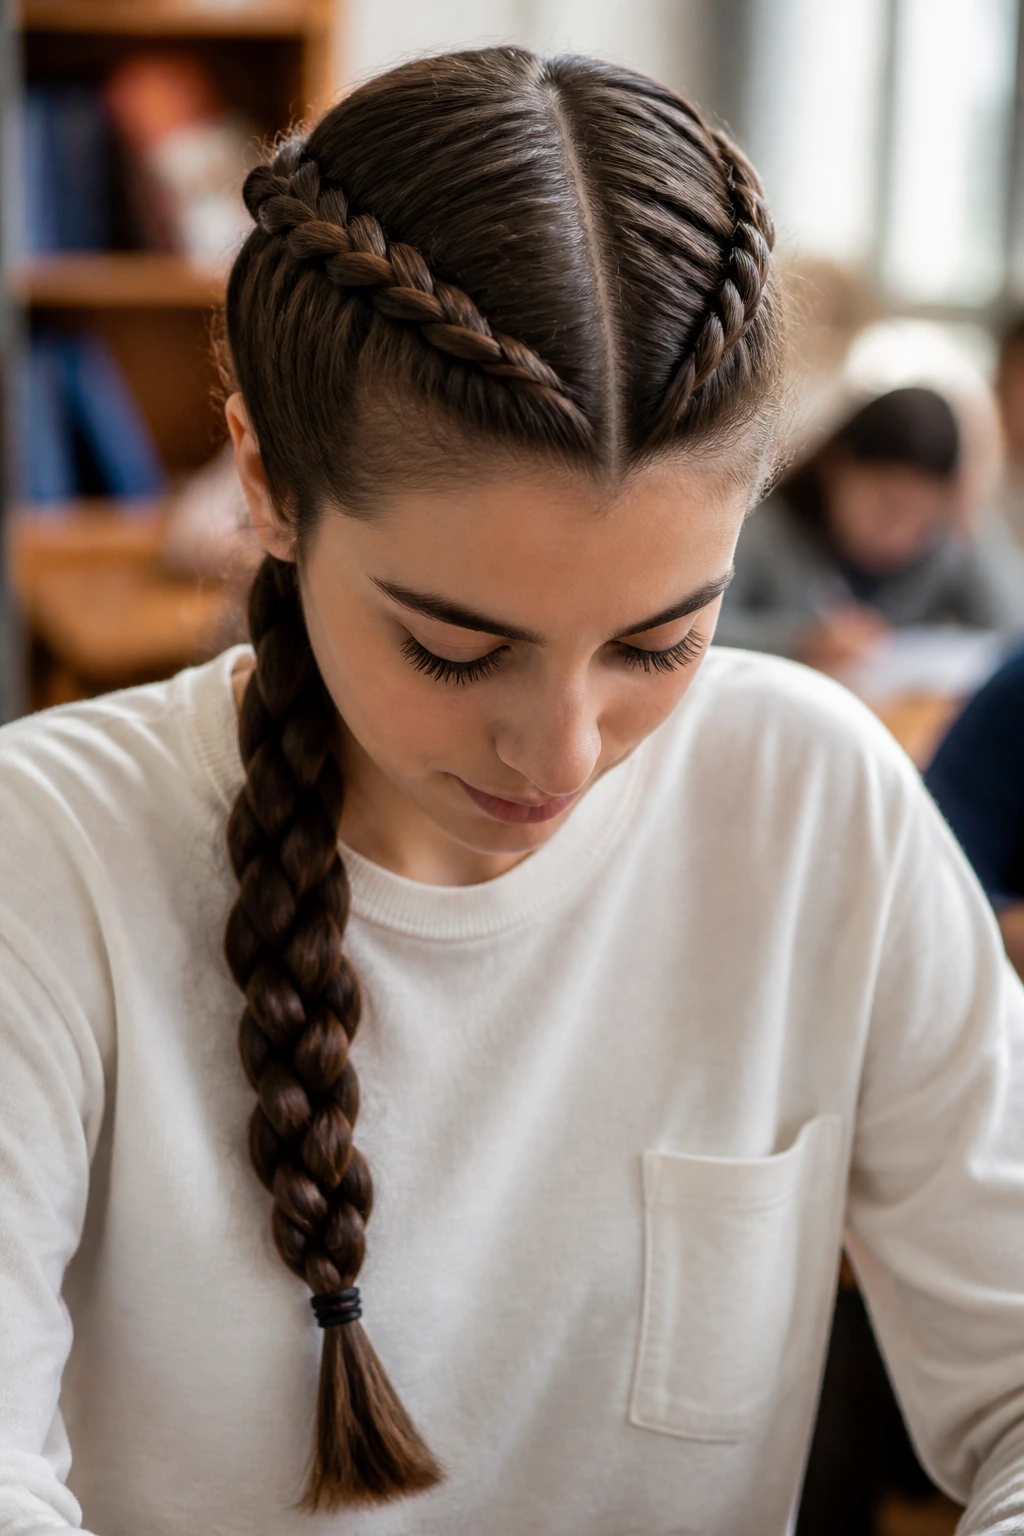
3. The Dual French Crown

This look involves parting the hair down the center and creating a French braid on both sides of the head. French braids incorporate new sections of hair as you move down, starting from the hairline. This style is exceptional for keeping the hair completely off the face, which is perfect for students who focus better when their hair isn’t tickling their ears.
Managing the Tension
The secret here is even tension. If one side is tighter than the other, the symmetry will look off. Try to keep your hands close to the scalp as you add hair into the mix. If you do make a mistake, don’t worry—a slightly messy, bohemian crown is just as popular as a tight, athletic one.
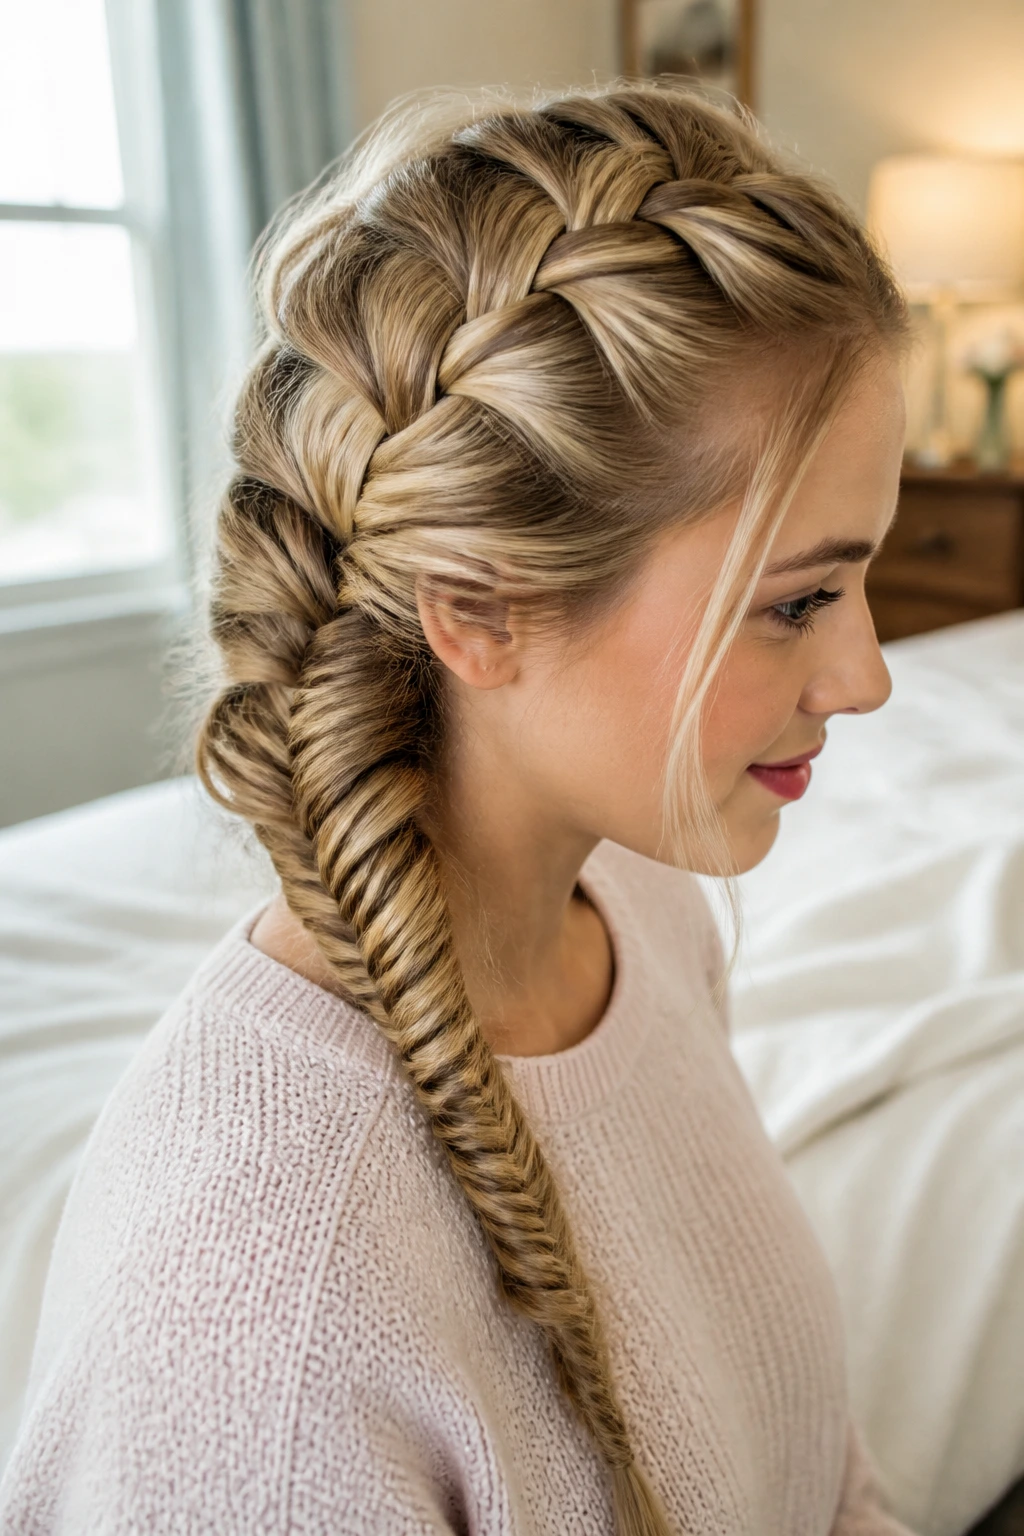
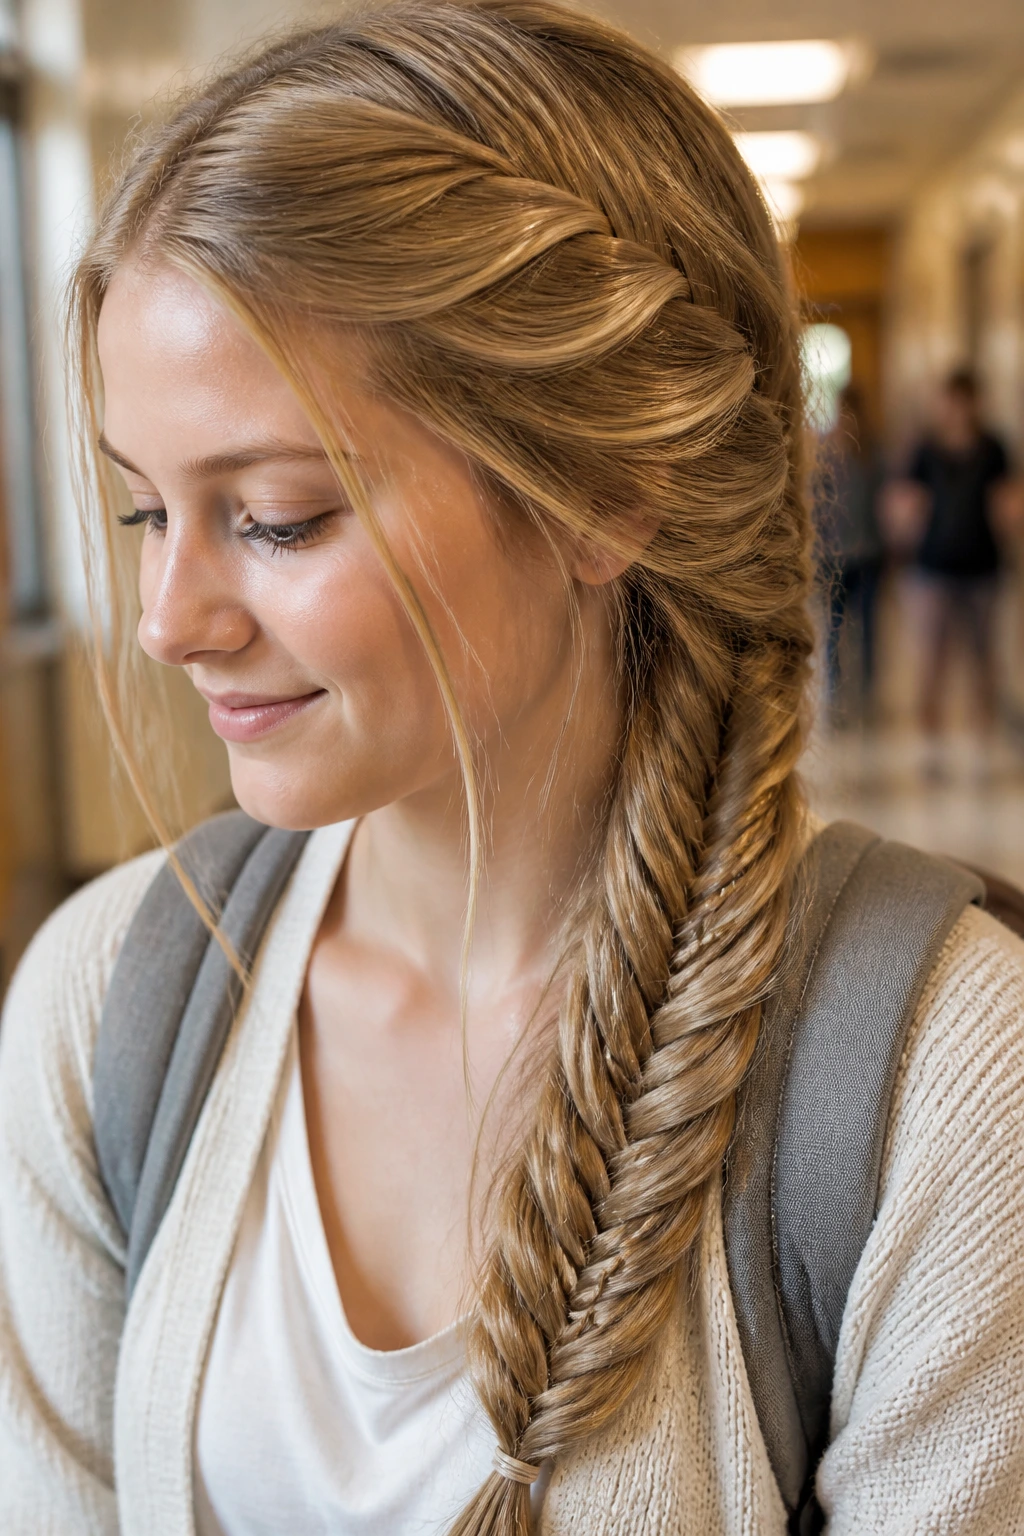
4. The Messy Fishtail Side-Sweep
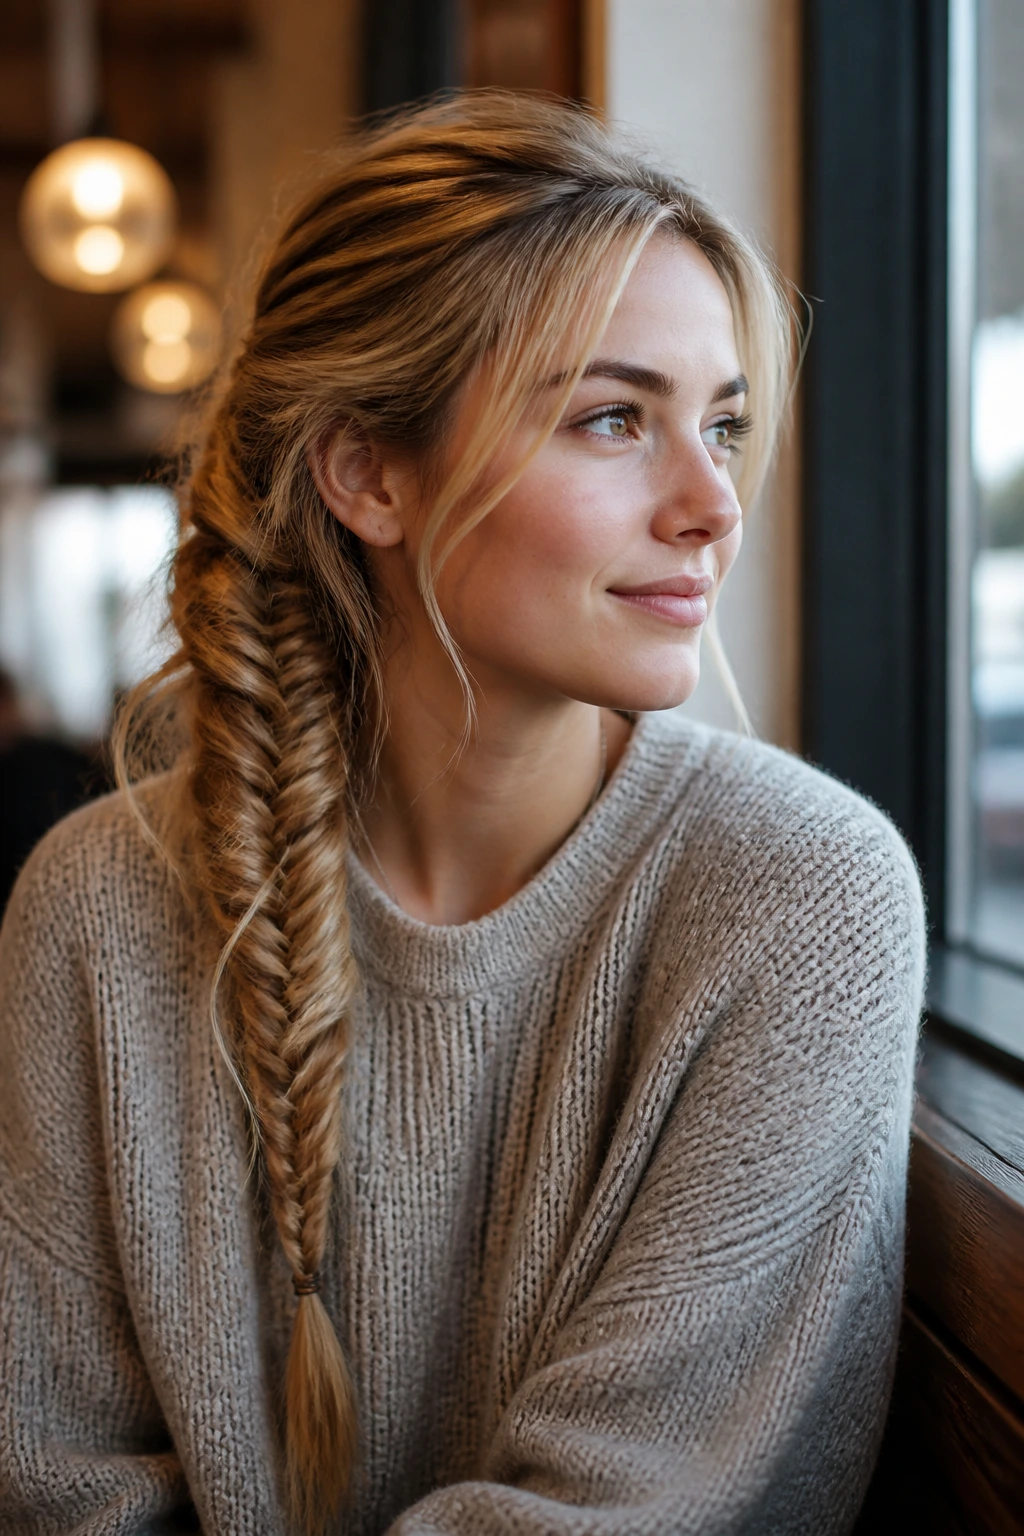
Fishtail braids look intricate, but they are surprisingly meditative to perform once you get the hang of the rhythm. You take tiny pieces from the outer edges of two main sections and cross them over. For school, you don’t need it to be perfect. Aim for a slightly tousled look by pulling the braid apart significantly after you finish.
When to Use This Style
This is the best look for “second-day hair.” If your hair has a bit of natural oil or grit from the day before, the fishtail holds much better. It’s a stylish way to hide roots or a bad hair day while looking completely intentional.
5. The Double Dutch Pigtails
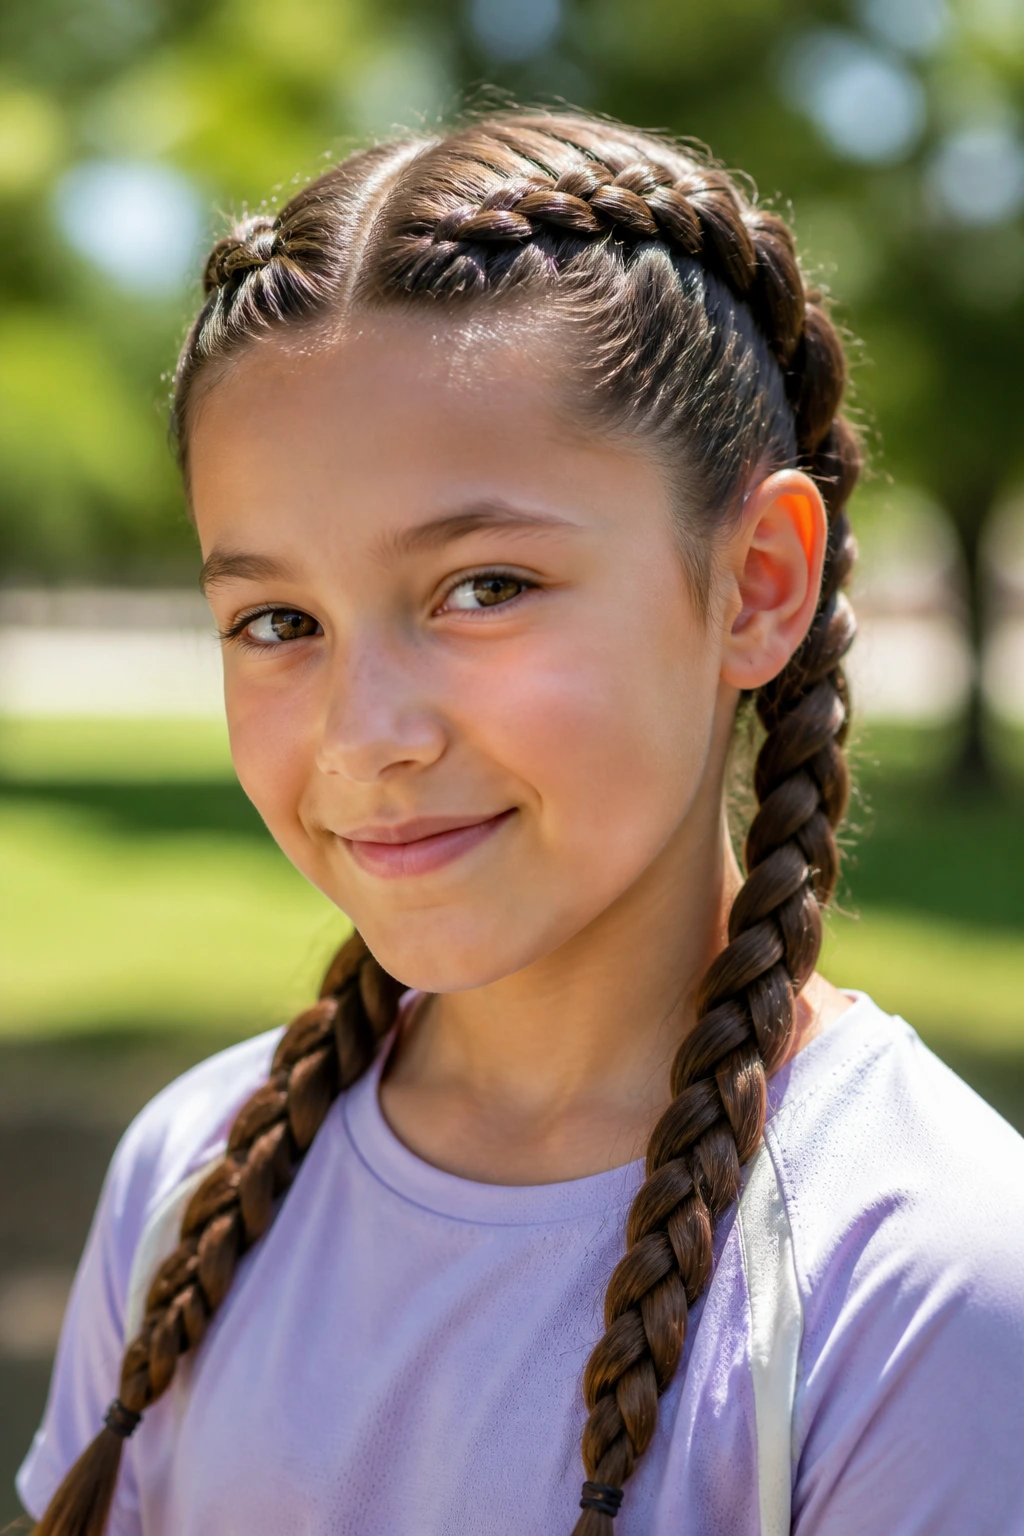
Pigtails are often dismissed as a young style, but the double Dutch approach is incredibly sporty and chic. Part the hair down the middle and create two Dutch braids that travel from the forehead to the nape of the neck. You can stop at the neck and let the remaining hair hang loose as pigtail ponytails, or braid all the way to the ends.
Why They Work for Sports
If the day involves soccer practice or a track meet, this is the most secure style available. Because the hair is braided against the scalp, there is almost no movement. It stays exactly where you put it, even during high-intensity activity.
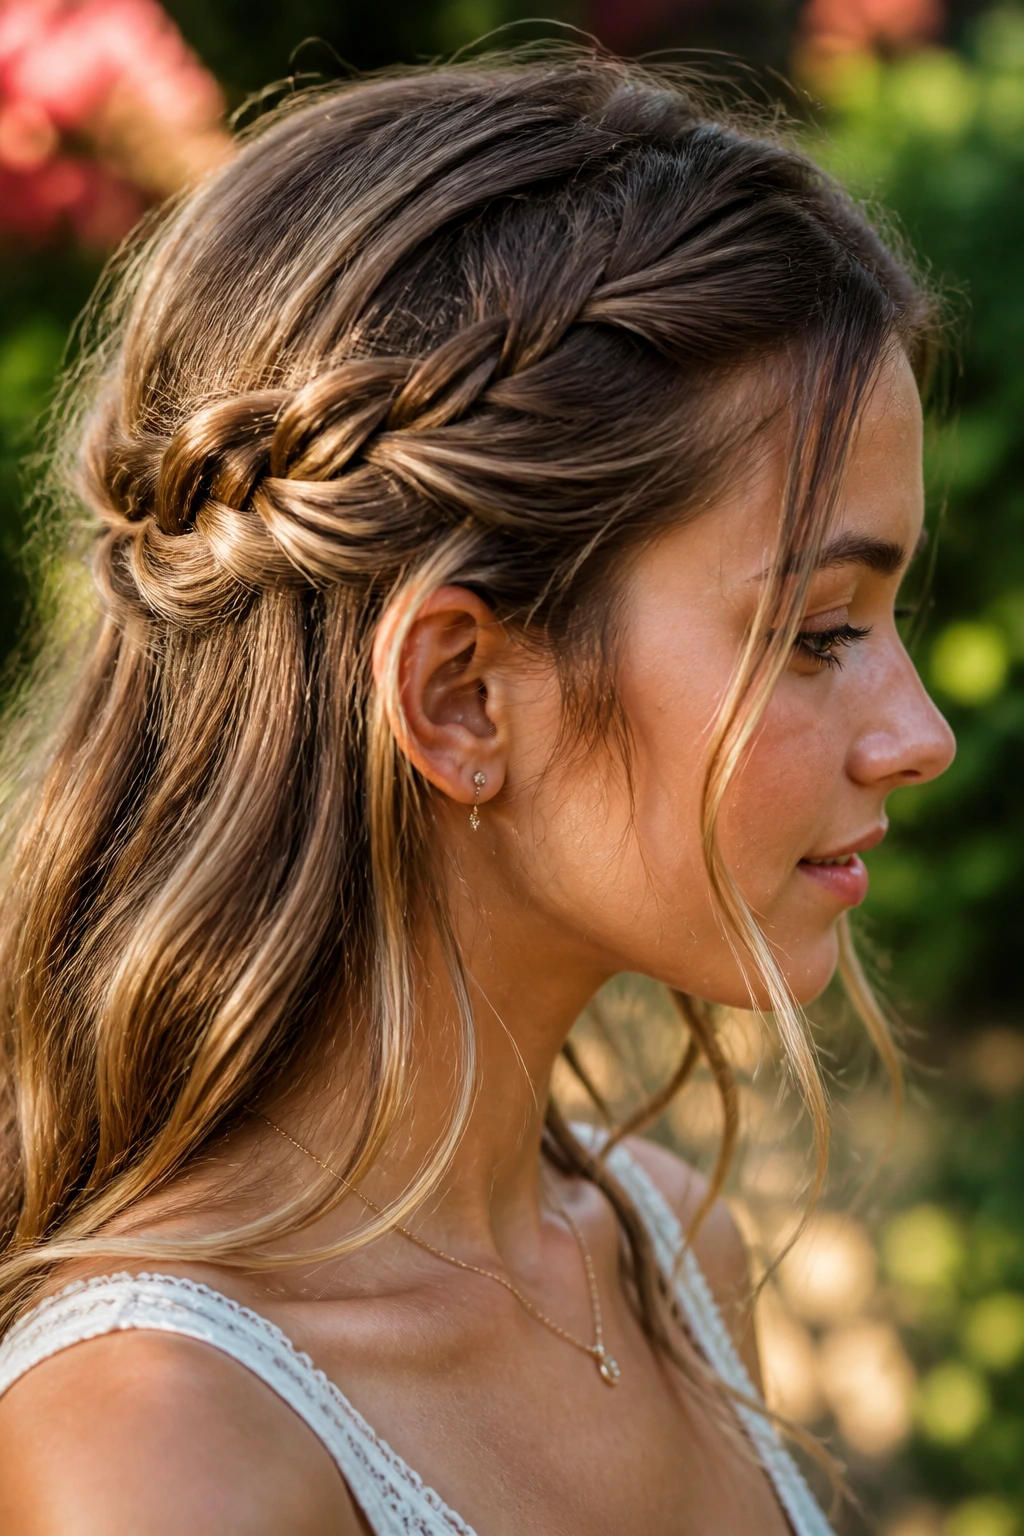
6. The Single Waterfall Braid
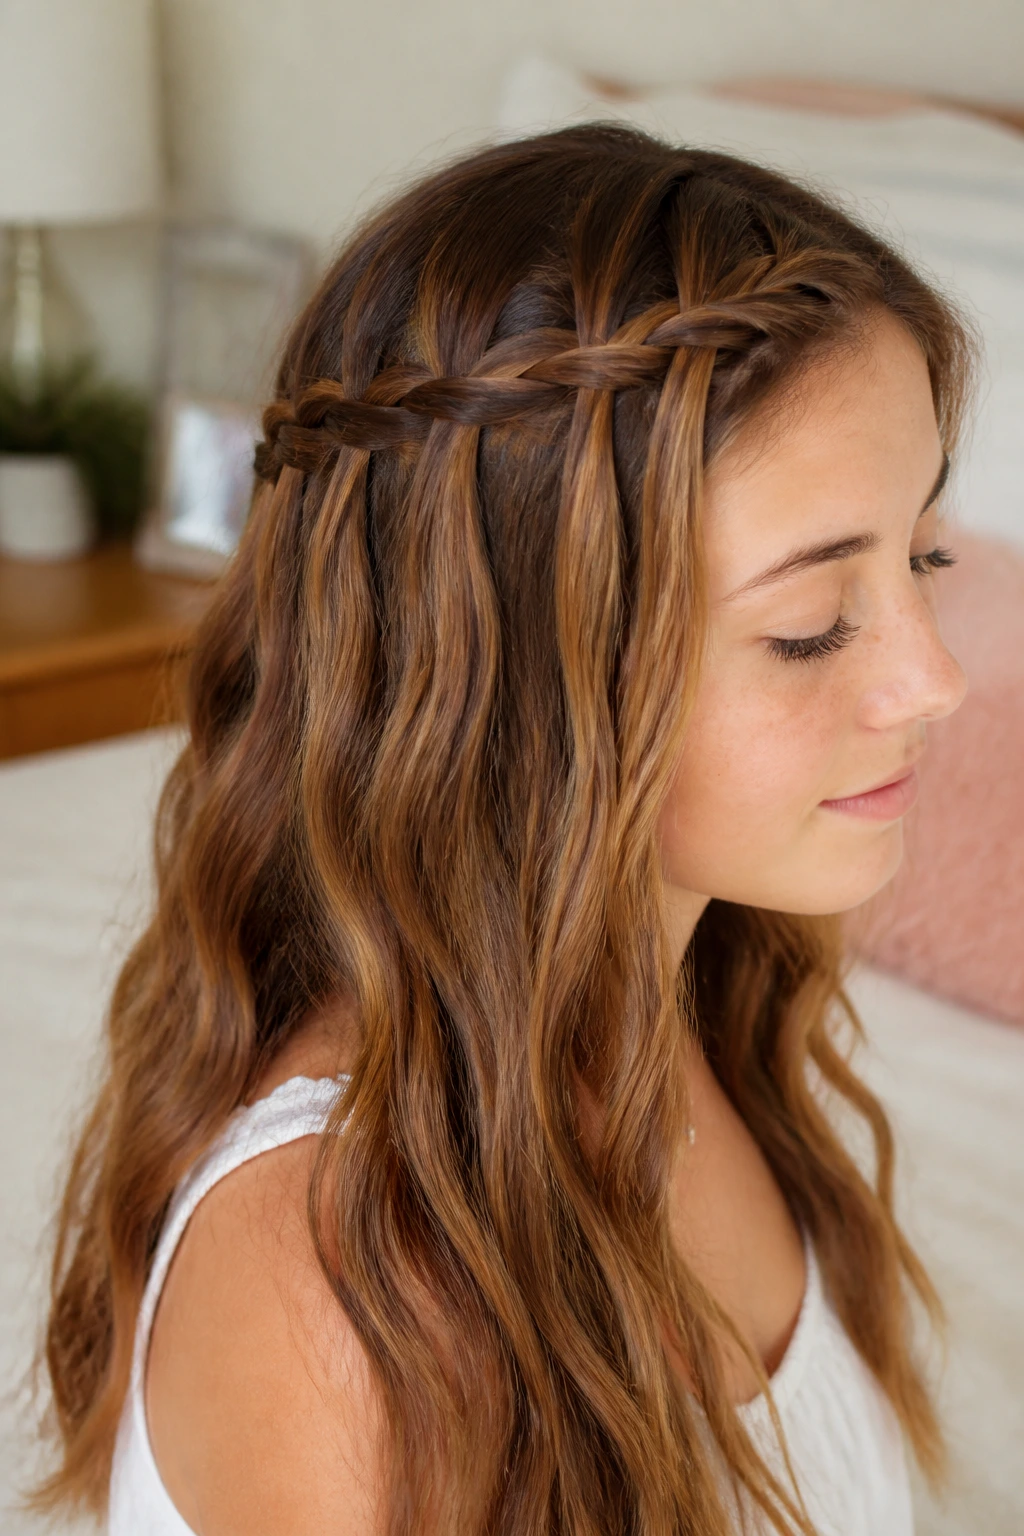
If you prefer wearing your hair down, the waterfall braid is a clever way to keep the front pieces out of your face. You essentially create a horizontal braid across the side of your head, but instead of keeping all the hair inside the braid, you “drop” one section at every step. This creates a cascading, waterfall-like effect.
A Sophisticated Finish
This looks particularly great on hair that has a bit of wave to it. You don’t have to braid the entire way around; even a small section near the temple adds a unique, polished detail that distinguishes the style from a standard headband.
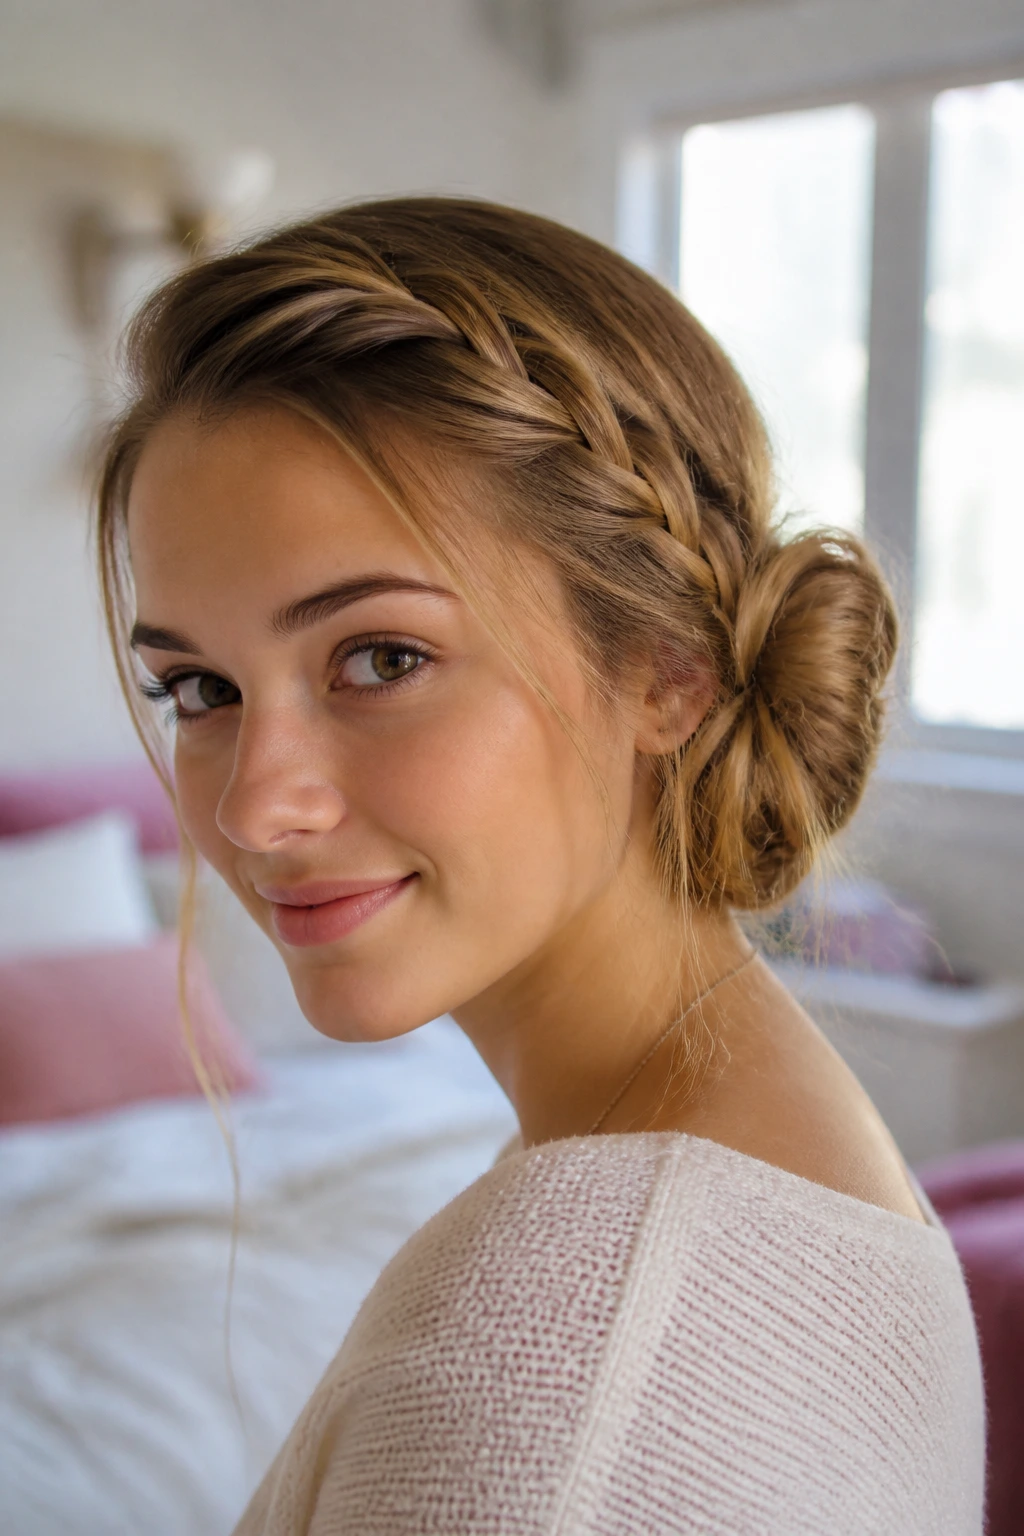
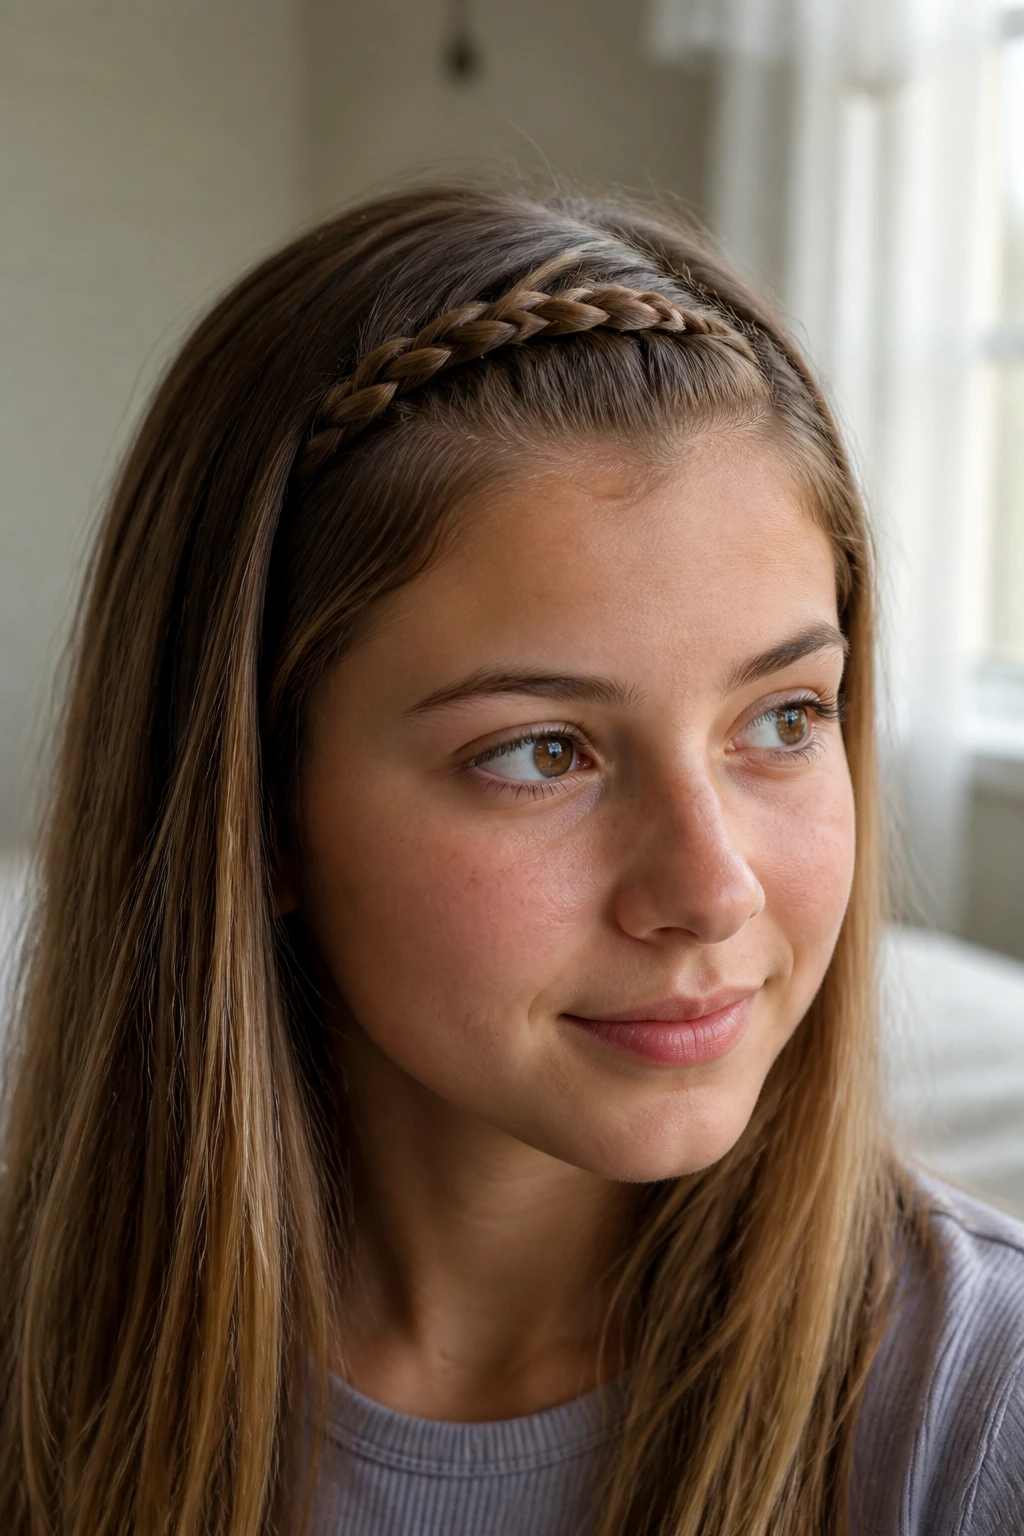
7. The Wrapped Braid Headband
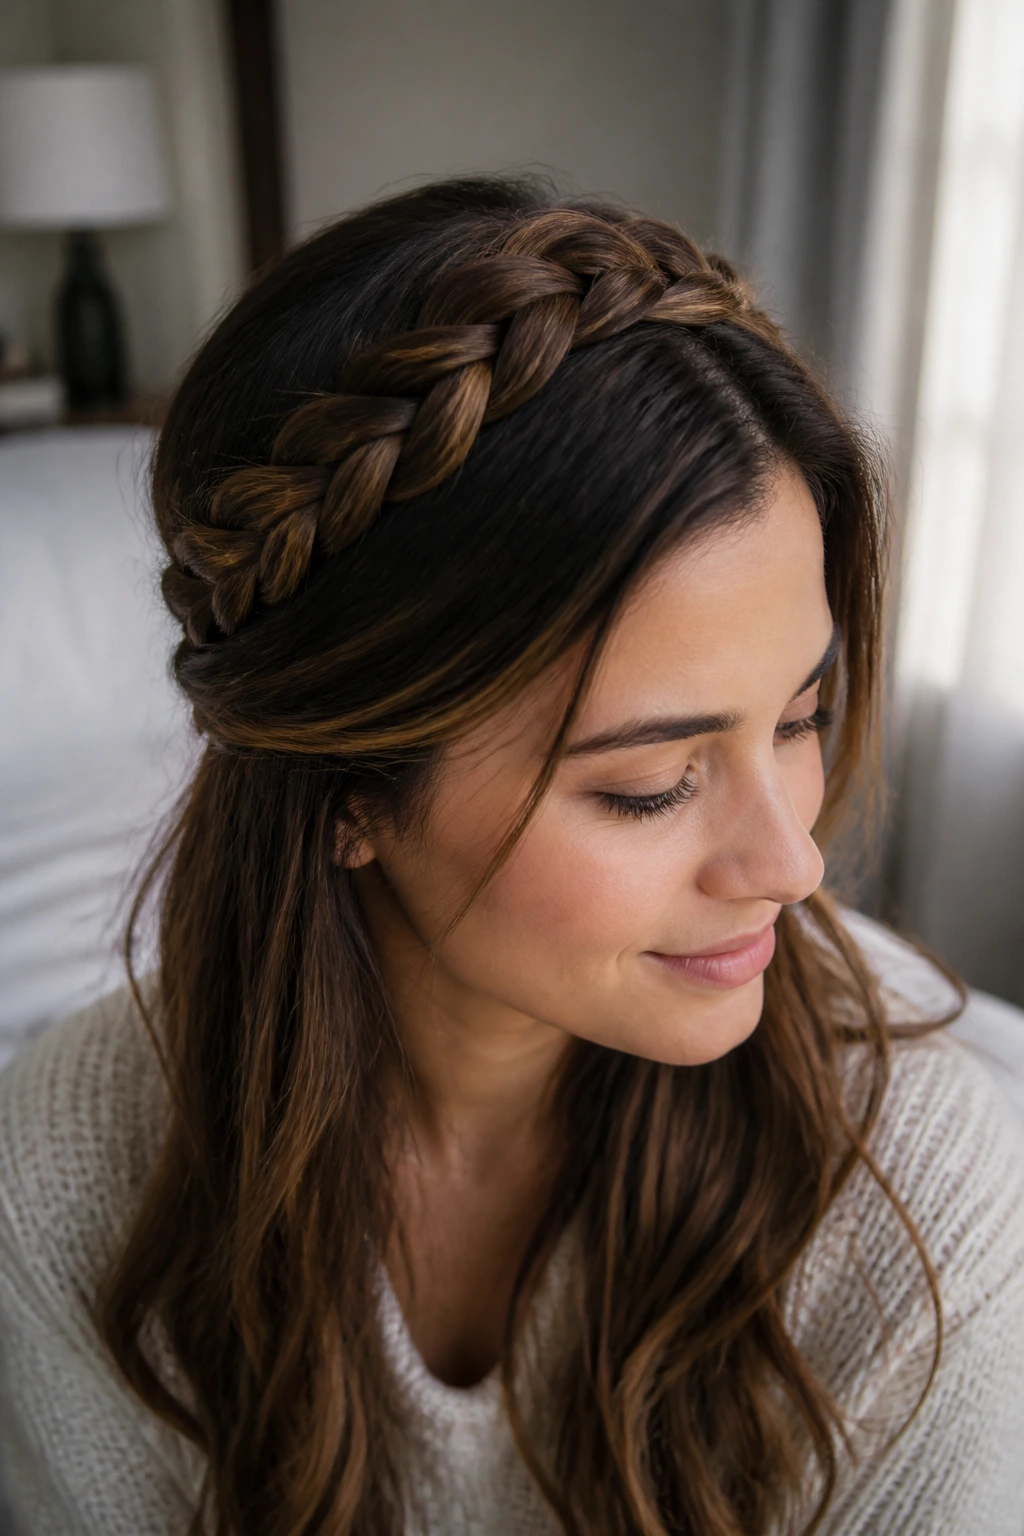
Start by taking a two-inch section of hair from behind your ear. Braid it normally, then pull it across the top of your head like a crown. Secure it with a bobby pin tucked discreetly behind the opposite ear. It mimics the look of a store-bought headband but uses your own natural hair.
Hiding the Pin
To ensure the headband doesn’t slide, use two bobby pins in an “X” shape. This anchors the braid more firmly than a single pin. If your hair is very slippery, mist the pins with hairspray before inserting them.
8. The Pull-Through Faux Braid
This isn’t a traditional braid, but it is a massive time-saver. You create a series of small, stacked ponytails and pull the hair from one into the next, splitting it to create volume. It results in a thick, braided look that takes half the time of a French or Dutch plait.
The Best Tool for the Job
You will need about six to eight small, clear elastic bands. By using clear bands, the focus stays on the “braid” texture rather than the colorful rubber. It’s a fantastic illusion for those who haven’t mastered traditional braiding techniques yet.
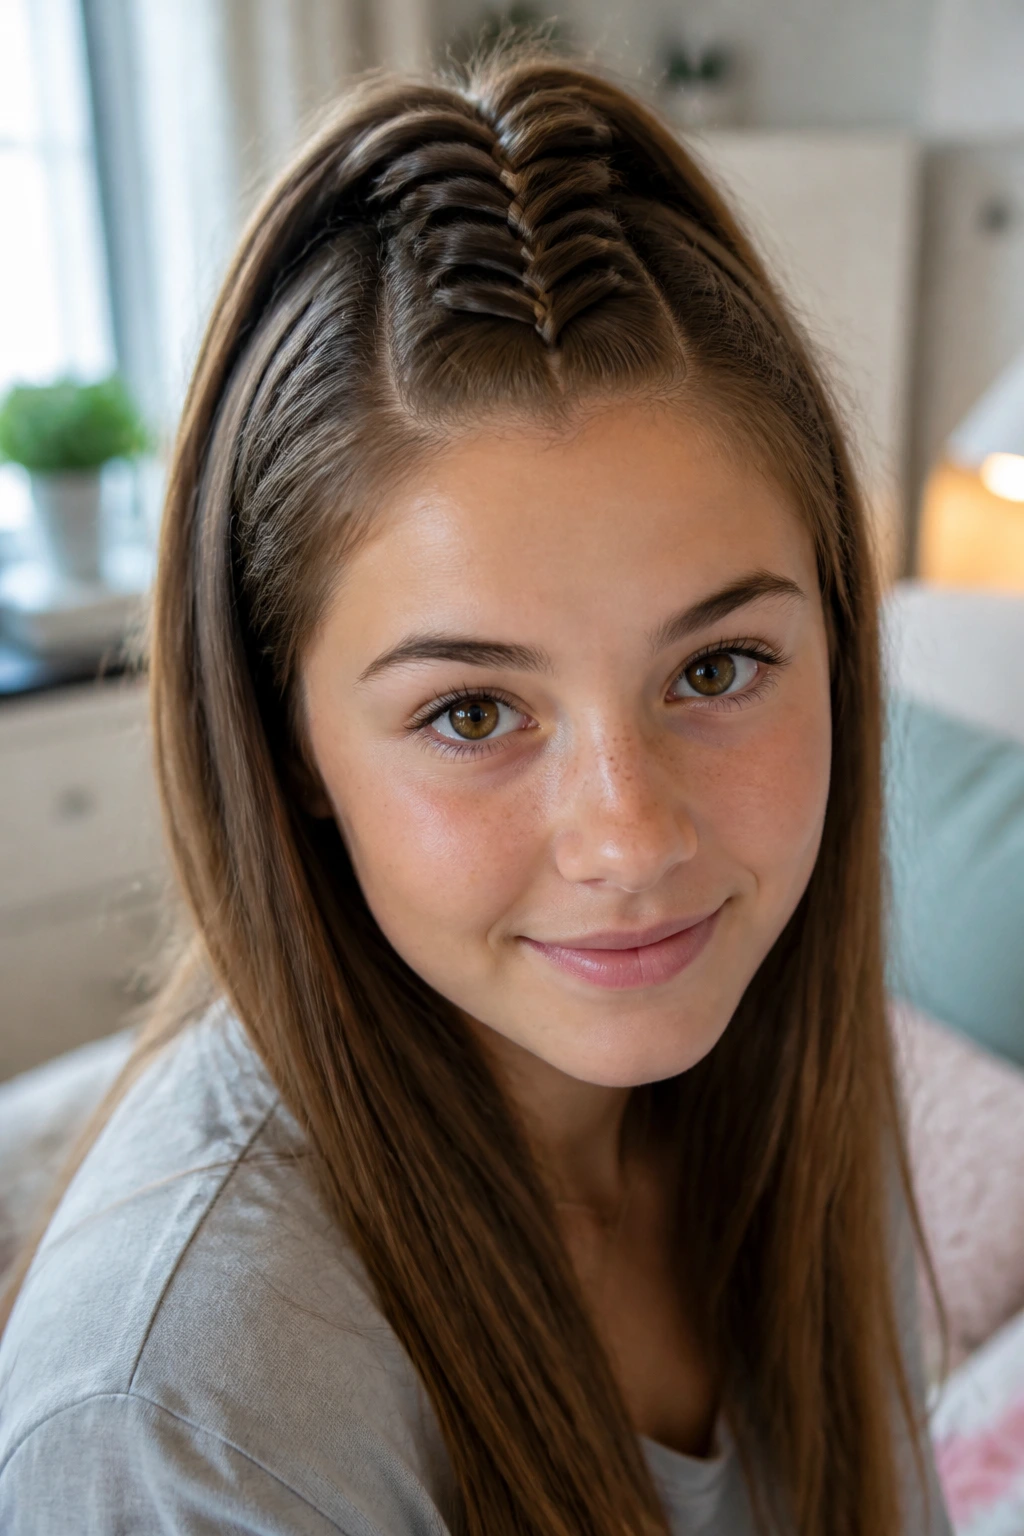
9. The Accent Micro-Braid
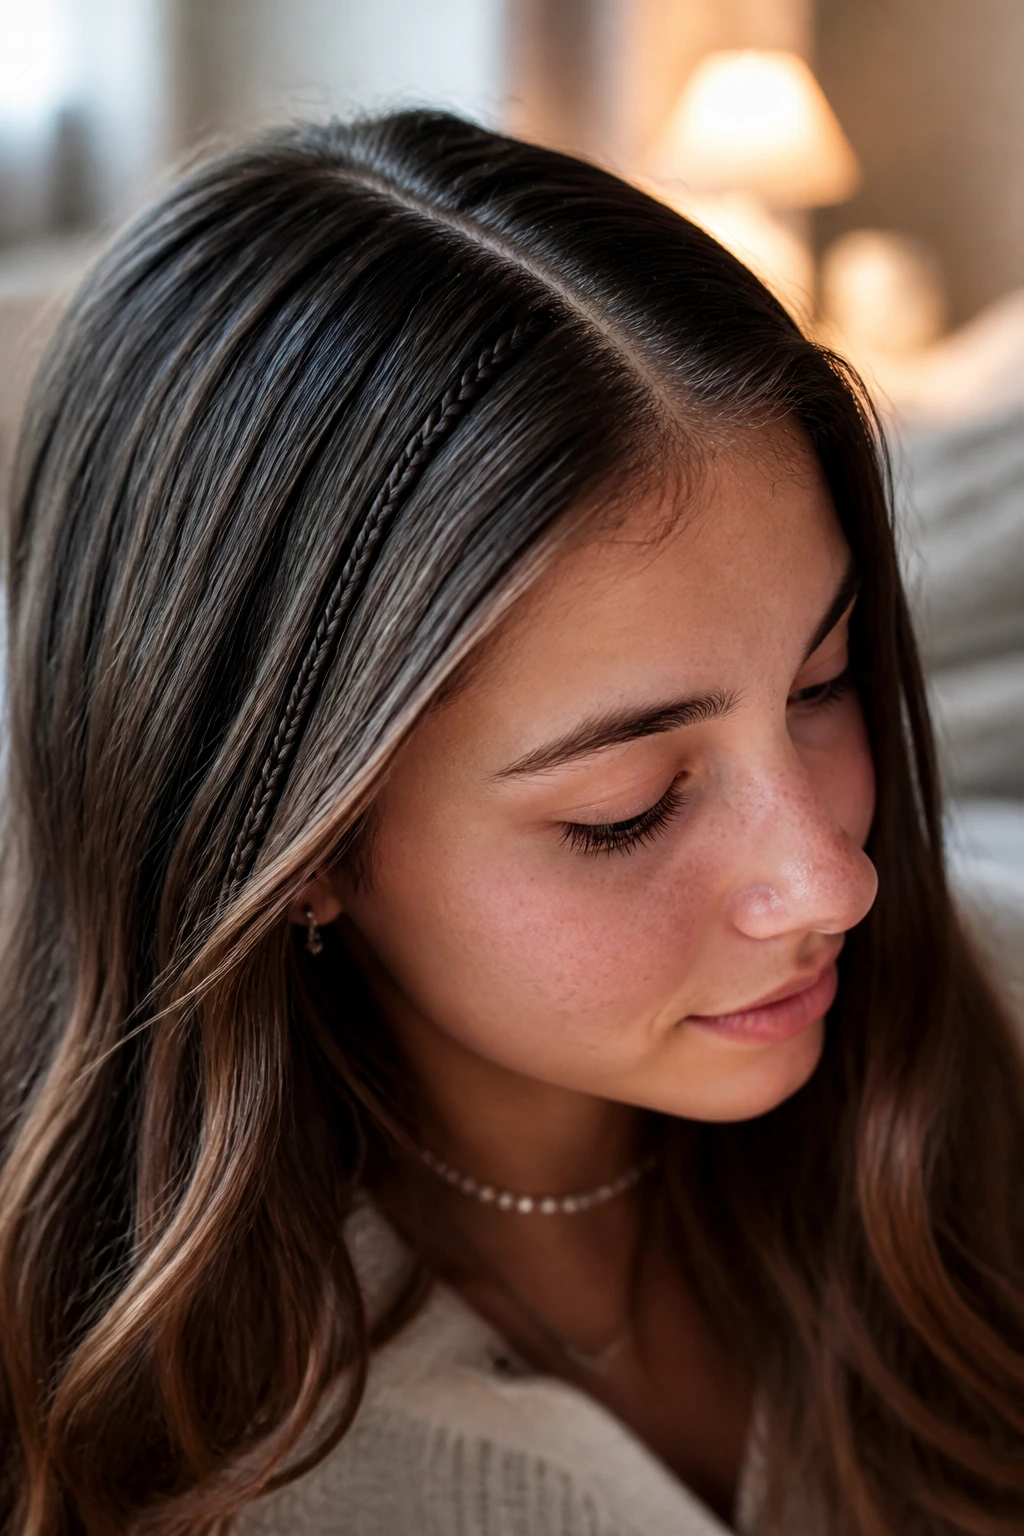
Sometimes you don’t need a full-head style. Simply take a small section of hair near your part and create a tight, three-strand micro-braid. Let the rest of your hair hang loose or pull it into a messy bun. It’s an easy way to add a bit of personality to a standard hairstyle.
Why It’s a School Favorite
It’s incredibly low-maintenance. If the micro-braid gets messy, you can just take it out and re-do it in seconds. It also works perfectly for hair that is transitioning between lengths, as it holds back shorter layers that might otherwise fall into your eyes.
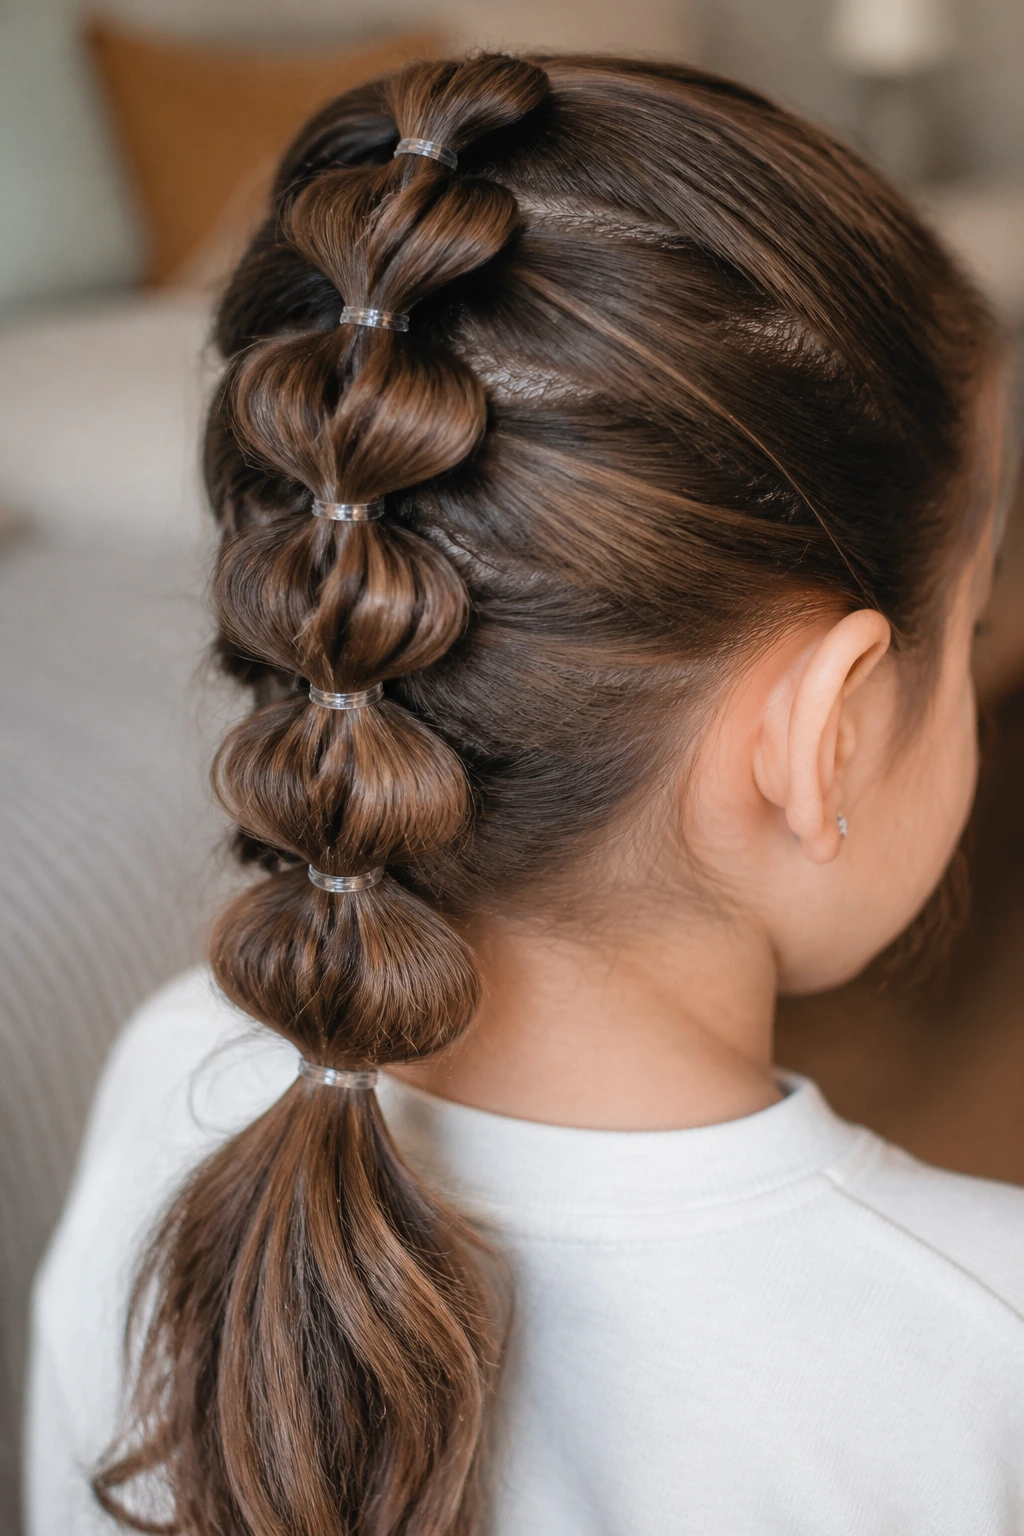
10. The Bubble Braid Ponytail
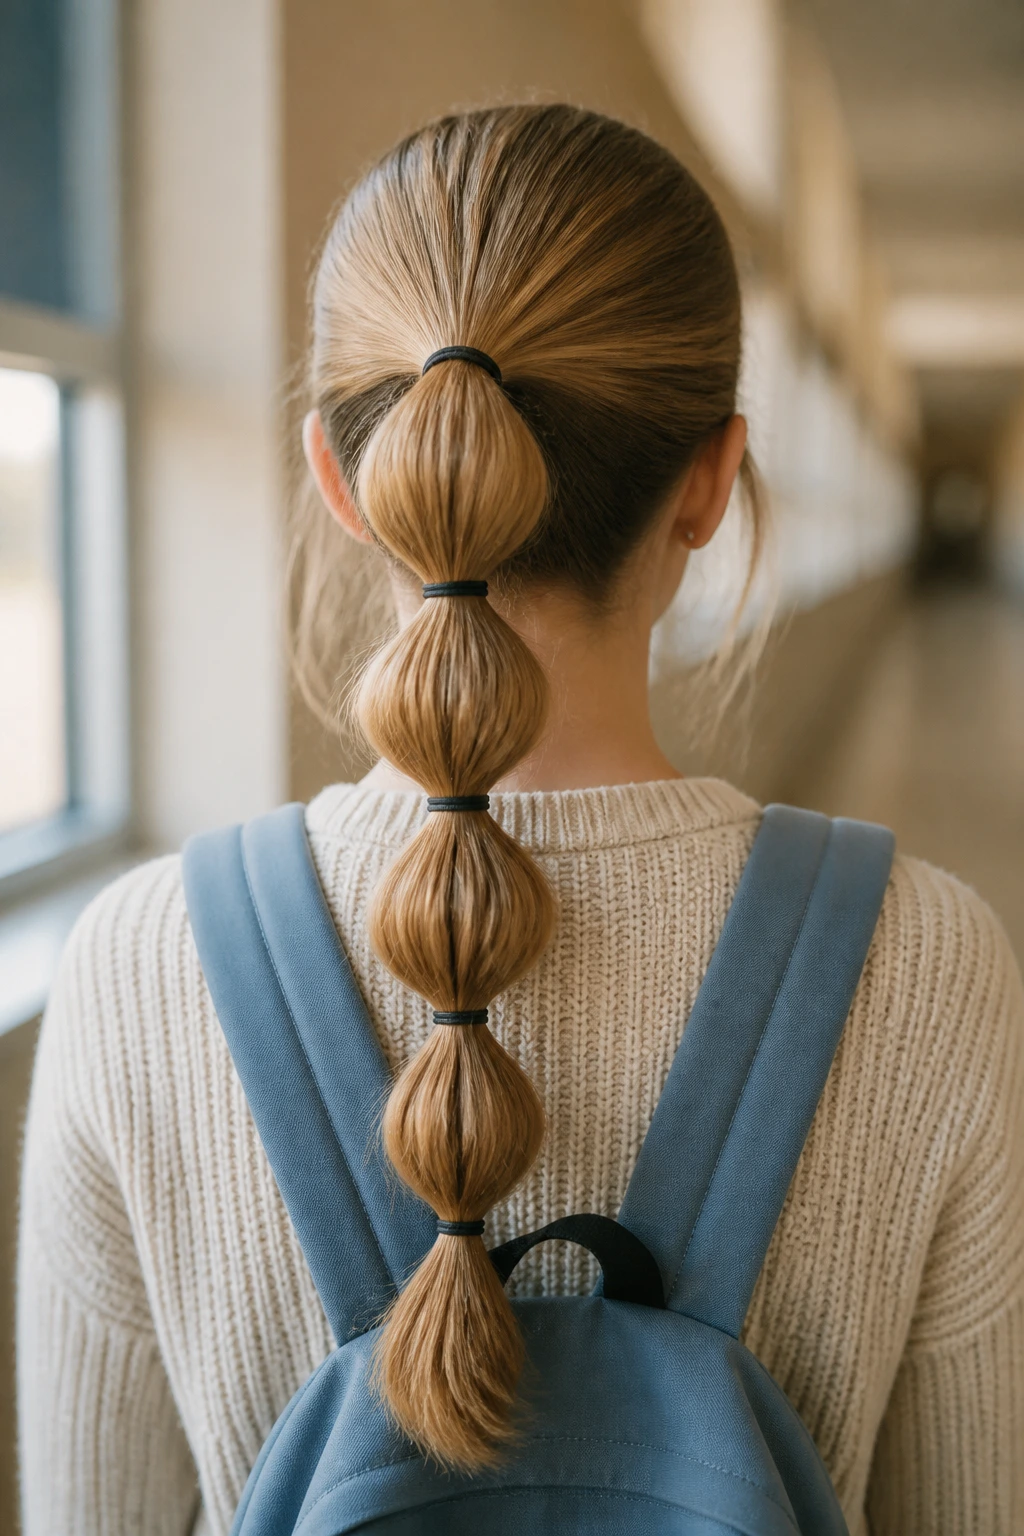
Bubble braids have become a massive favorite because they require zero actual braiding. Tie your hair into a ponytail, then add elastics every two inches down the length of the tail. Gently tug on the hair between each elastic to create a rounded, “bubble” shape.
Customizing the Volume
If you want the bubbles to look massive, tease the hair slightly before smoothing it over with your fingers. This gives the bubbles a structural base so they don’t flatten out by the time you reach the school bus.
11. The Side-Part French Braid
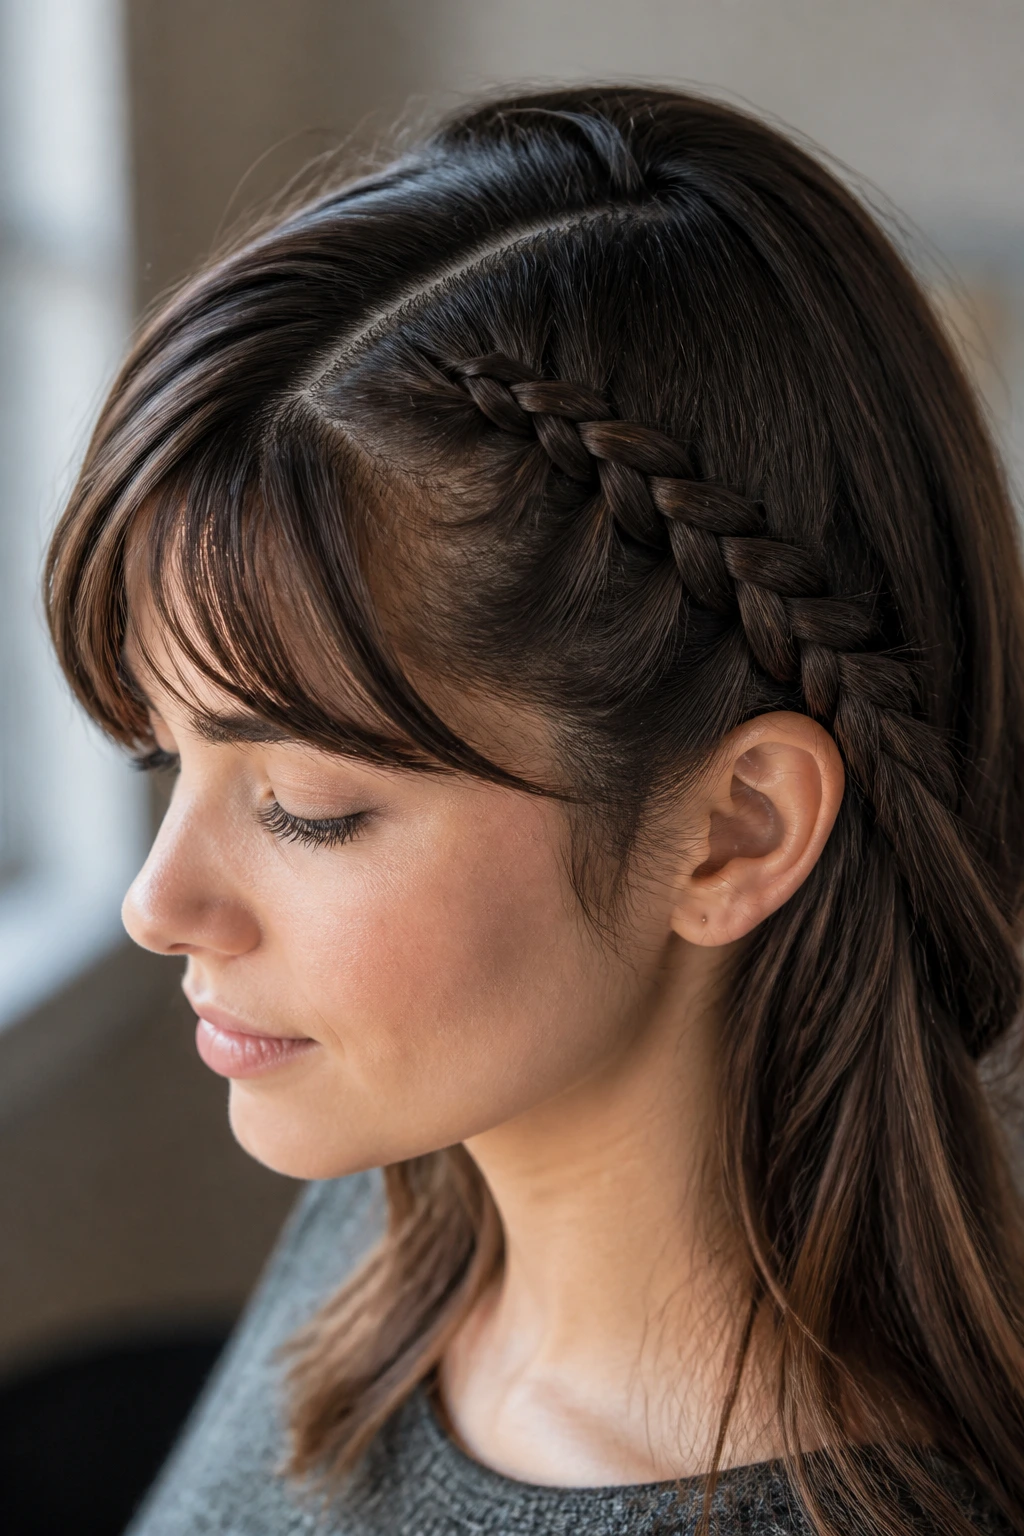
Instead of a center part, sweep your hair into a deep side part. Start a French braid along the hairline, following the curve of your head. This frames the face beautifully and works well for those with bangs or shorter face-framing layers.
Perfecting the Line
Since this braid follows the hairline, the “part” line is very visible. Make sure to use the end of a rat-tail comb to get a crisp line before you start braiding. A clean start to the braid makes the whole style look significantly more professional.
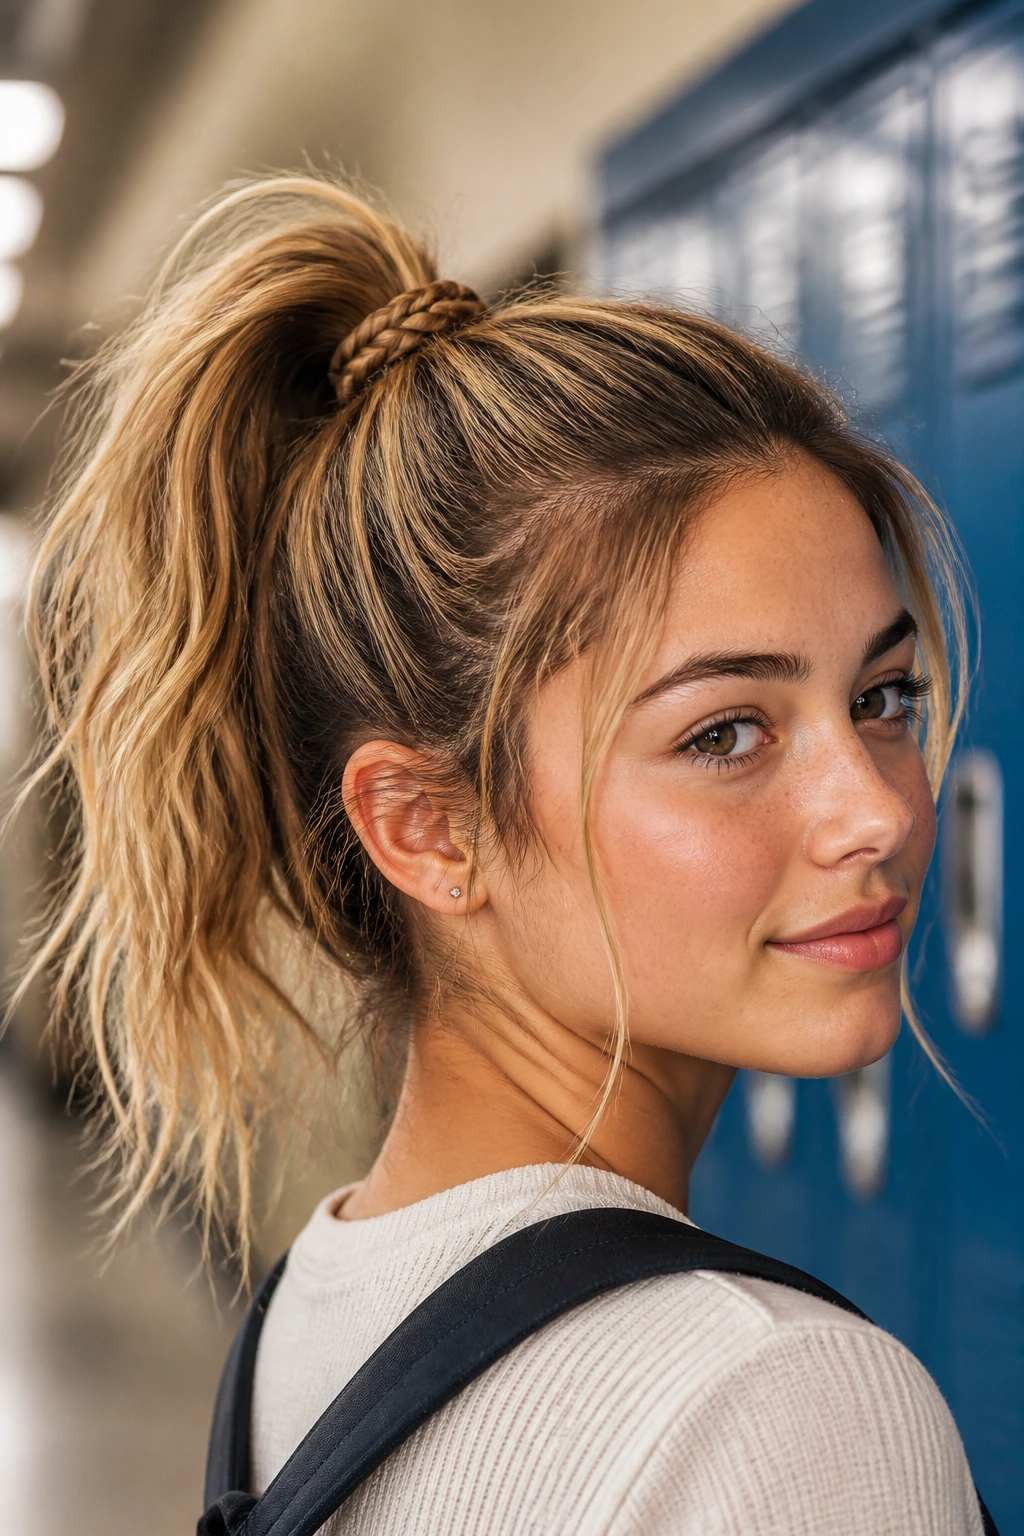
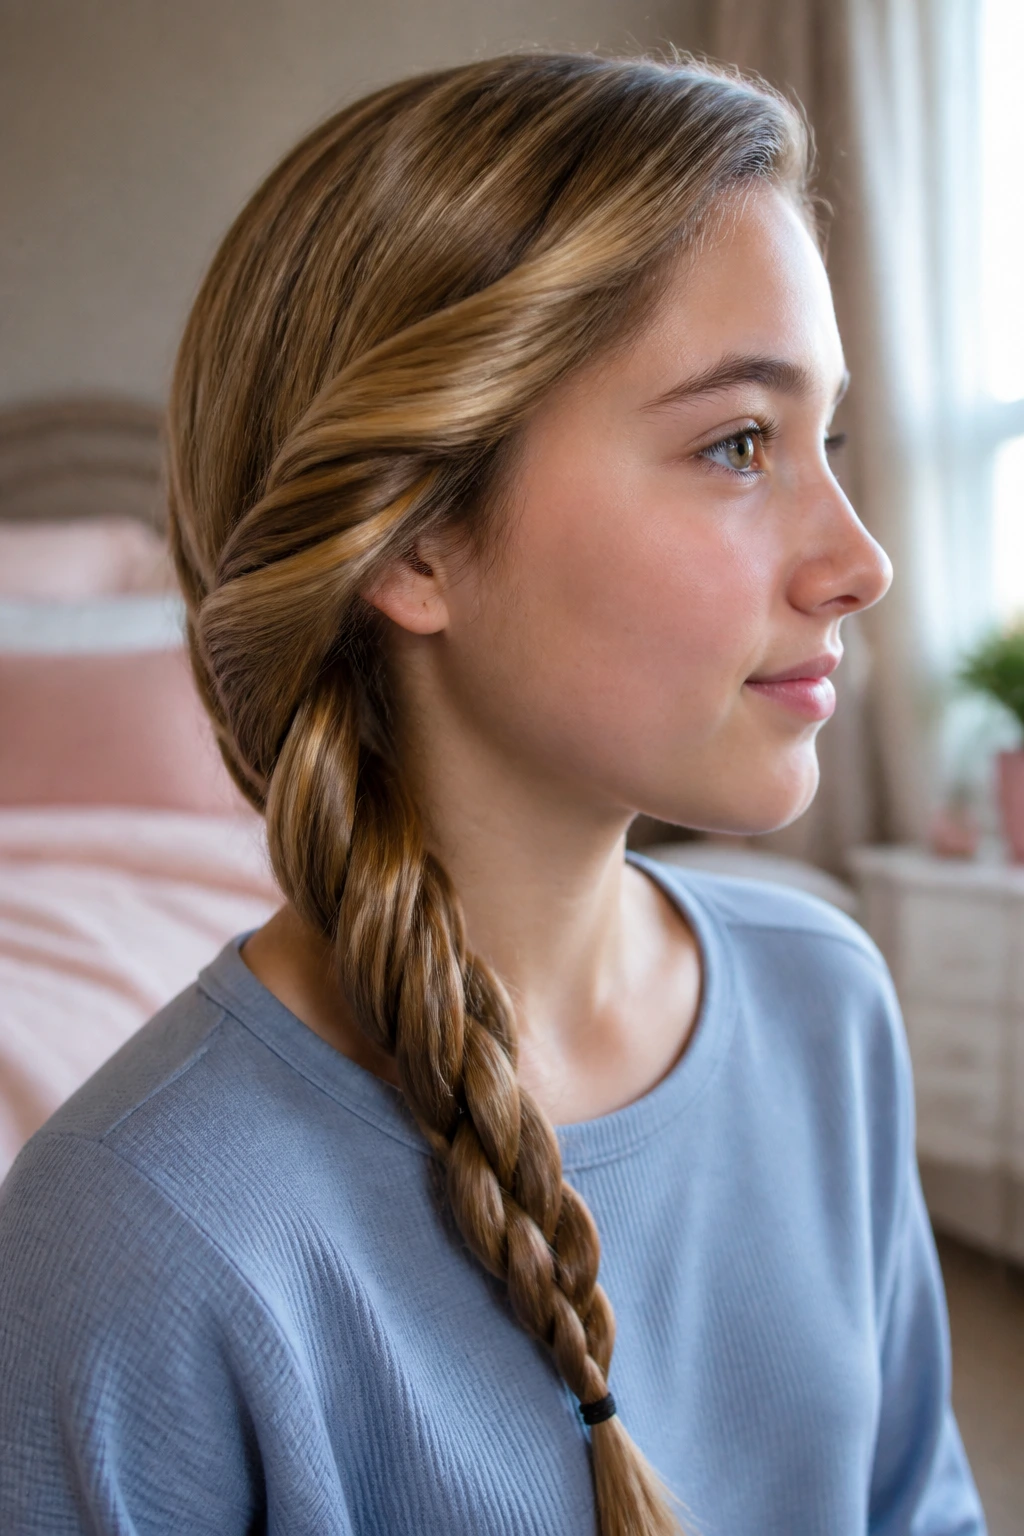
12. The Knotted Rope Braid
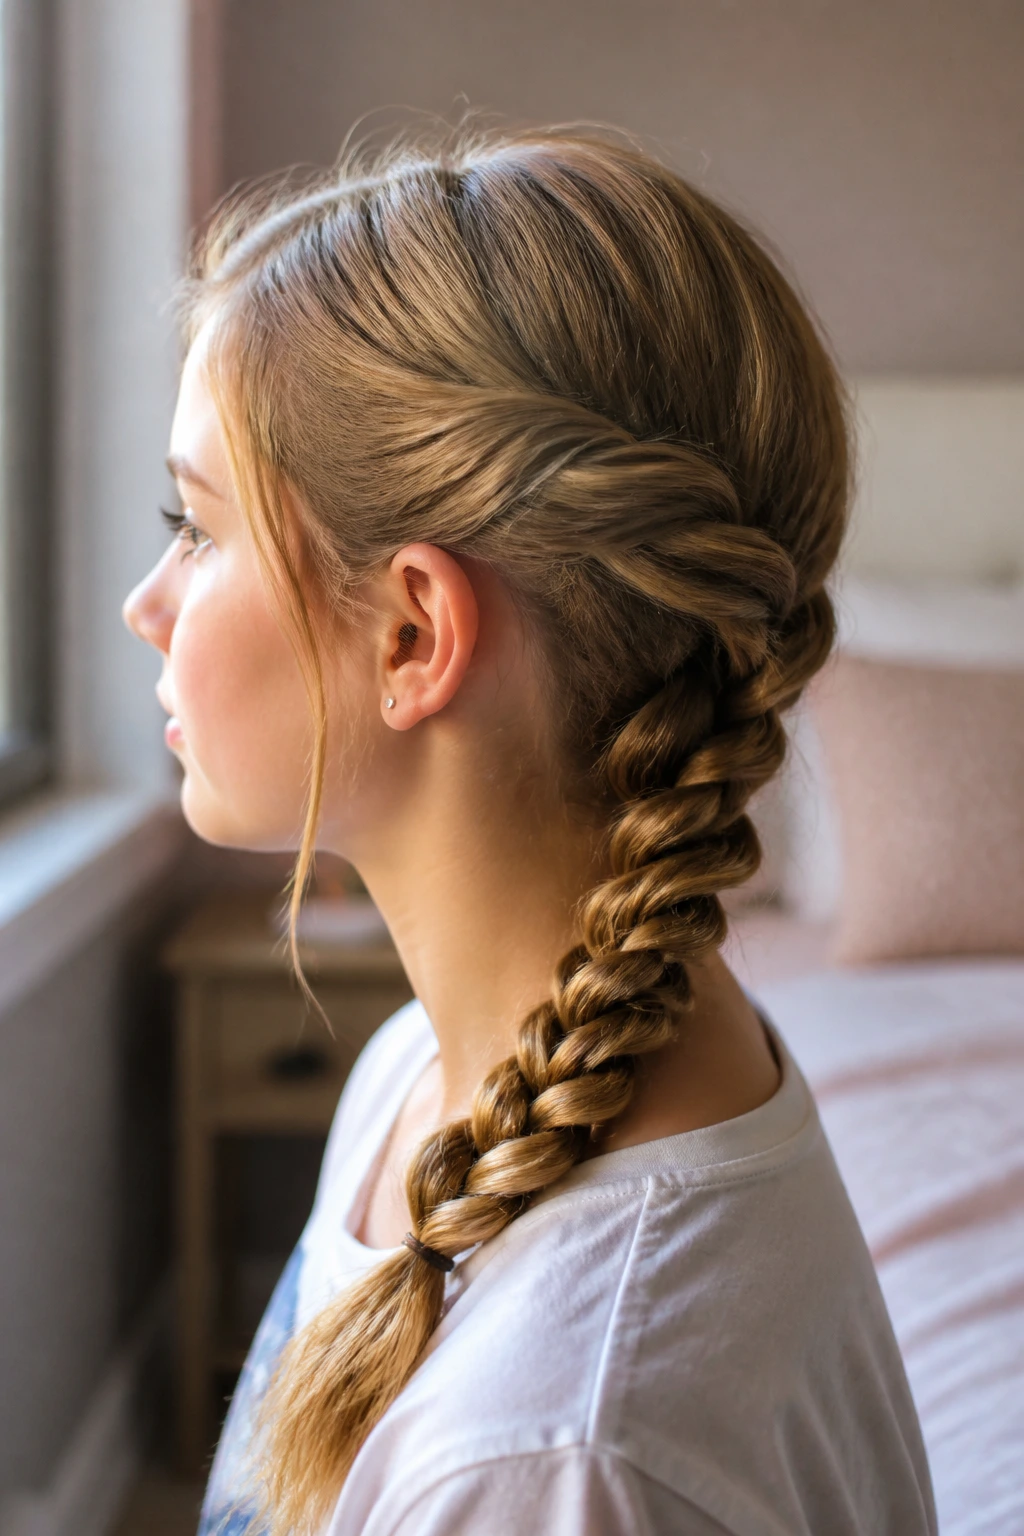
Rope braids are visually striking because they look like two strands twisted together rather than three woven. To do this, divide your hair into two sections, twist each section in the same direction, and then twist the two sections around each other in the opposite direction.
Why It Holds
The opposing tension keeps the braid from unraveling. It is tighter than a standard braid, which makes it ideal for long days. If you have very long hair, this is a great way to keep it under control without the bulk of a traditional three-strand weave.
13. The Half-Up Dutch Crown
Pull the top section of your hair back and create two small Dutch braids starting at your temples. Meet them at the back of your head and tie them together with a decorative clip or bow. Leave the rest of your hair loose.
A Balanced Aesthetic
This is the ultimate “school meeting” or “presentation day” style. It’s pulled together but still allows you to wear your hair down, which is often a confidence booster for students. It feels very intentional without looking like you spent an hour on it.
14. The Low-Slung Chignon Braid
Braid your hair into a loose side braid, then coil the braid into a low bun at the nape of your neck. Secure it with hidden pins. This is a mature, elegant style that keeps the neck clear and provides a great look for days when it’s warmer outside.
Managing Hair Texture
If your hair is very thick, you may need a hair net or extra-long bobby pins to keep the bun in place. Because it is a braid-based bun, it is much more secure than a standard twisted bun, which tends to loosen up as the day progresses.
15. The Triple-Threat Sectioned Braid
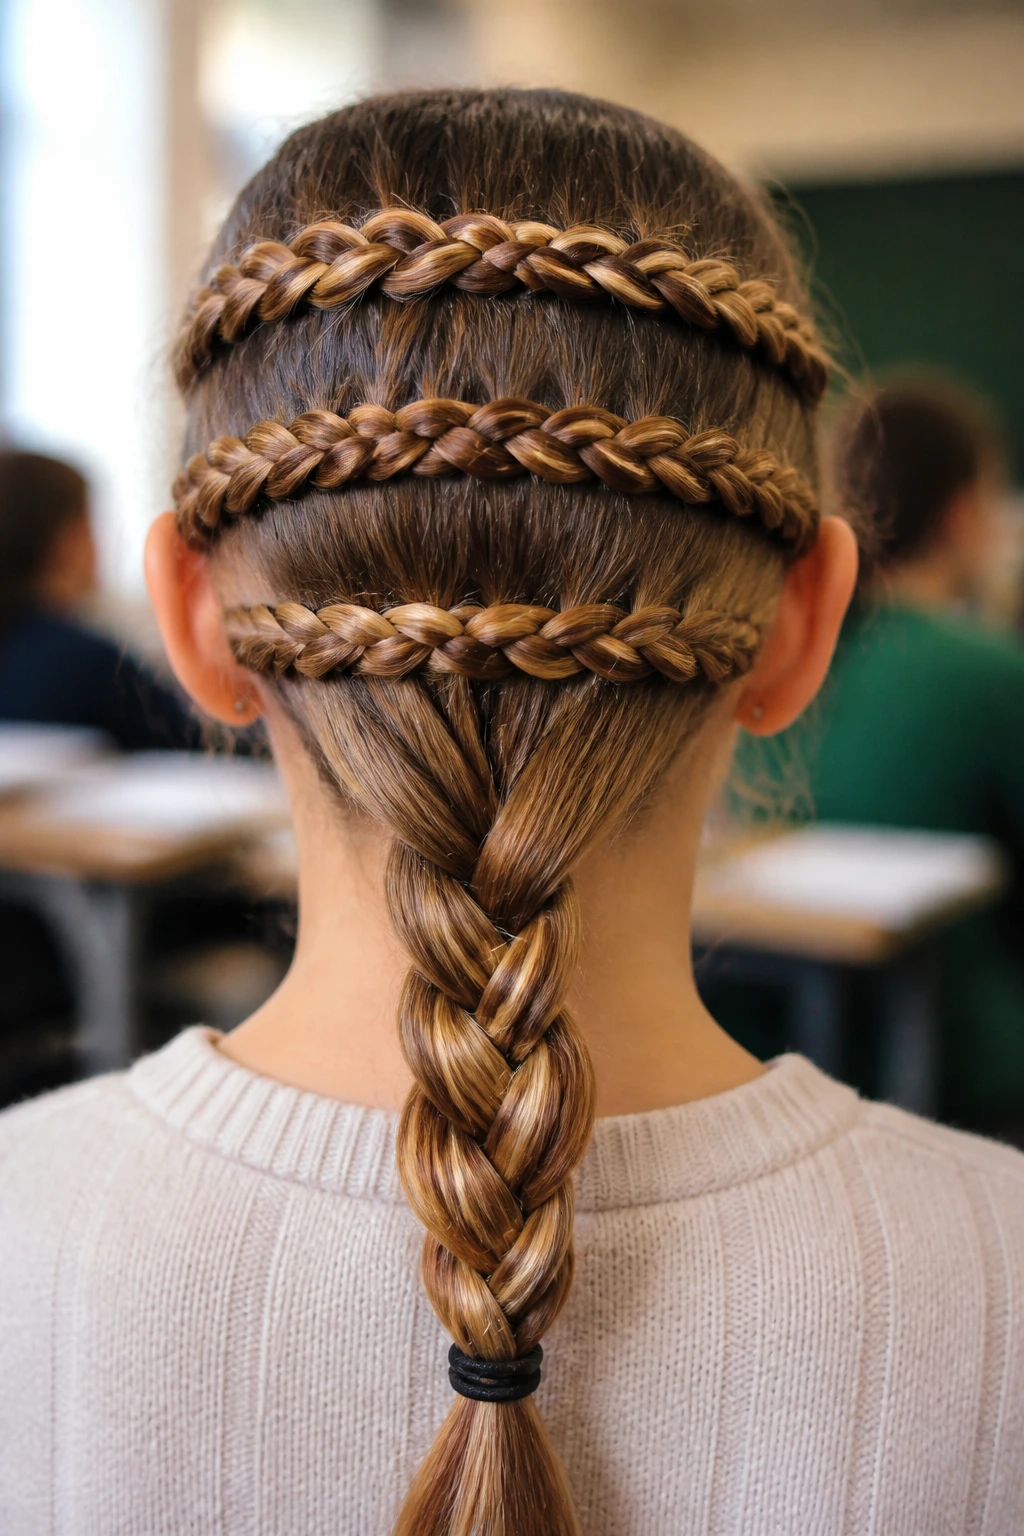
Divide the back of your hair into three horizontal sections. Braid each section separately into a standard three-strand braid, then gather all three braids into one final, larger braid at the bottom. It creates a multi-dimensional, complex-looking weave that is actually quite simple to execute.
Visual Impact
This style works wonders for color-treated hair or hair with highlights. Because the braids are layered, the different colors overlap and create a beautiful, woven texture that looks different from every angle.
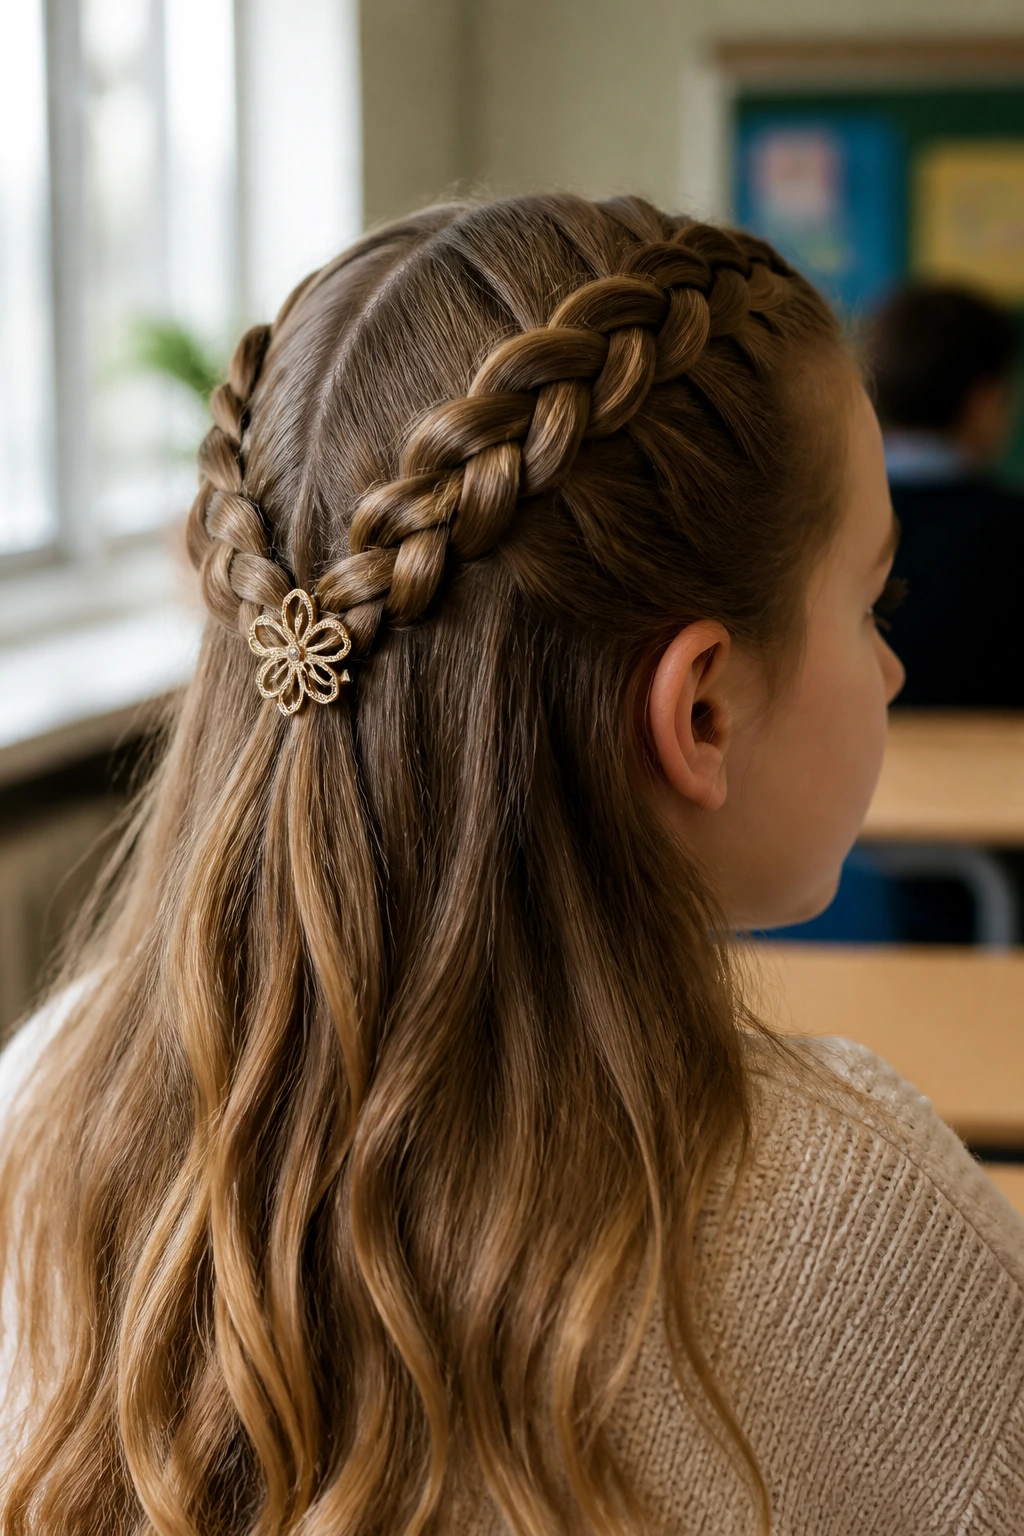
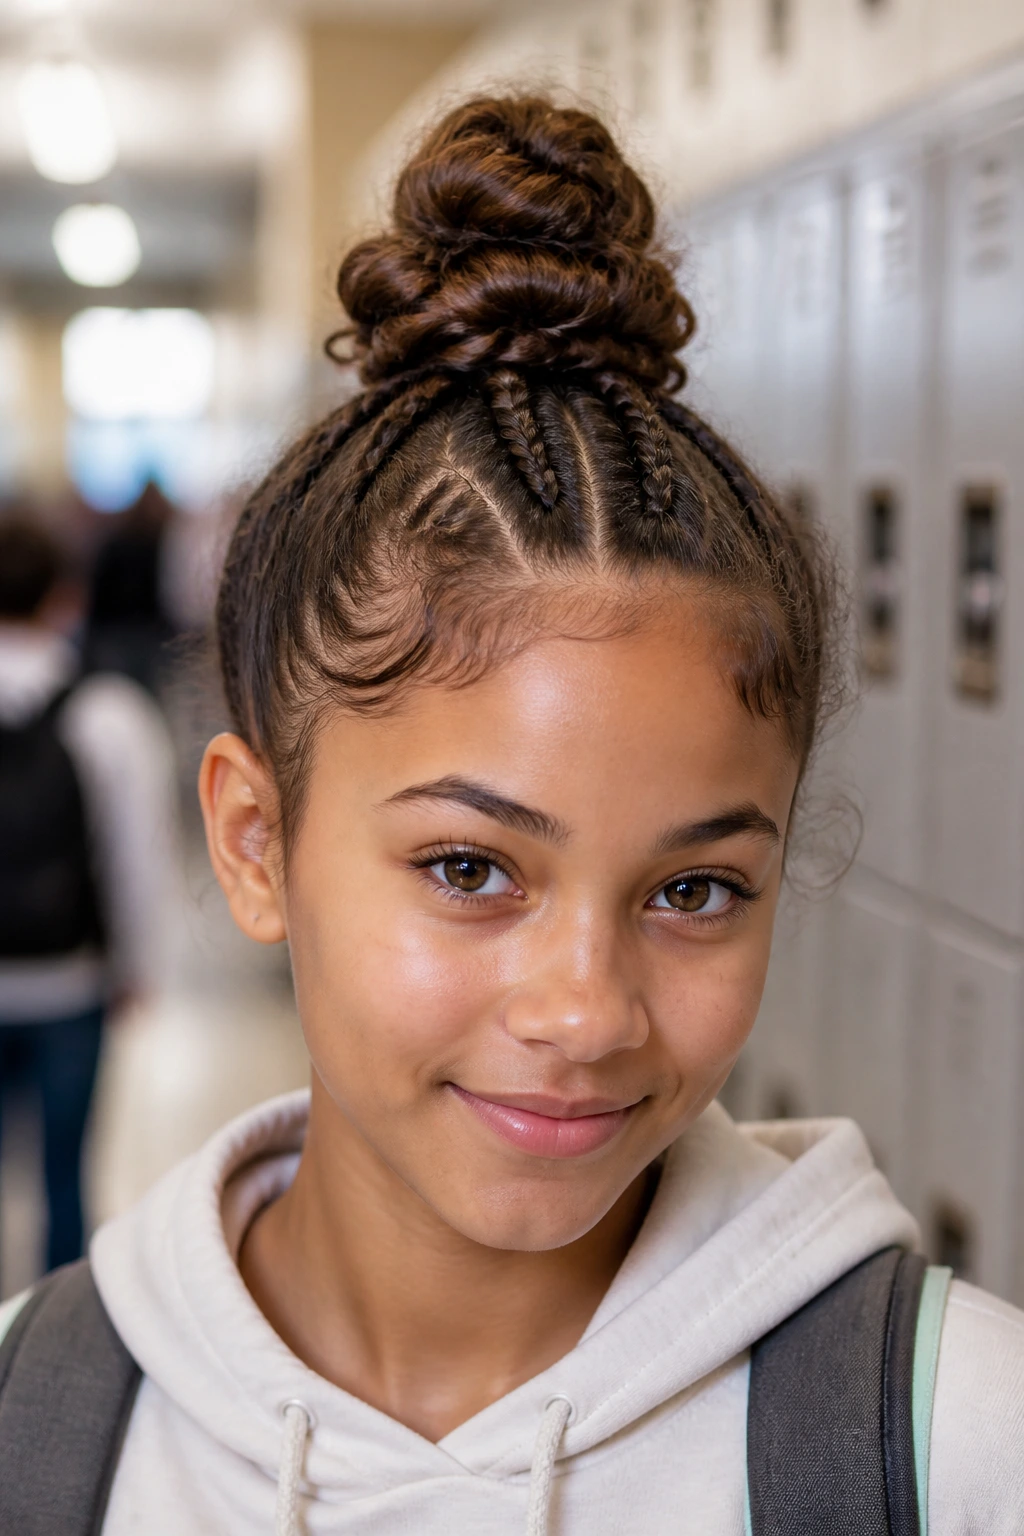
16. The Crown Braid for Long Hair
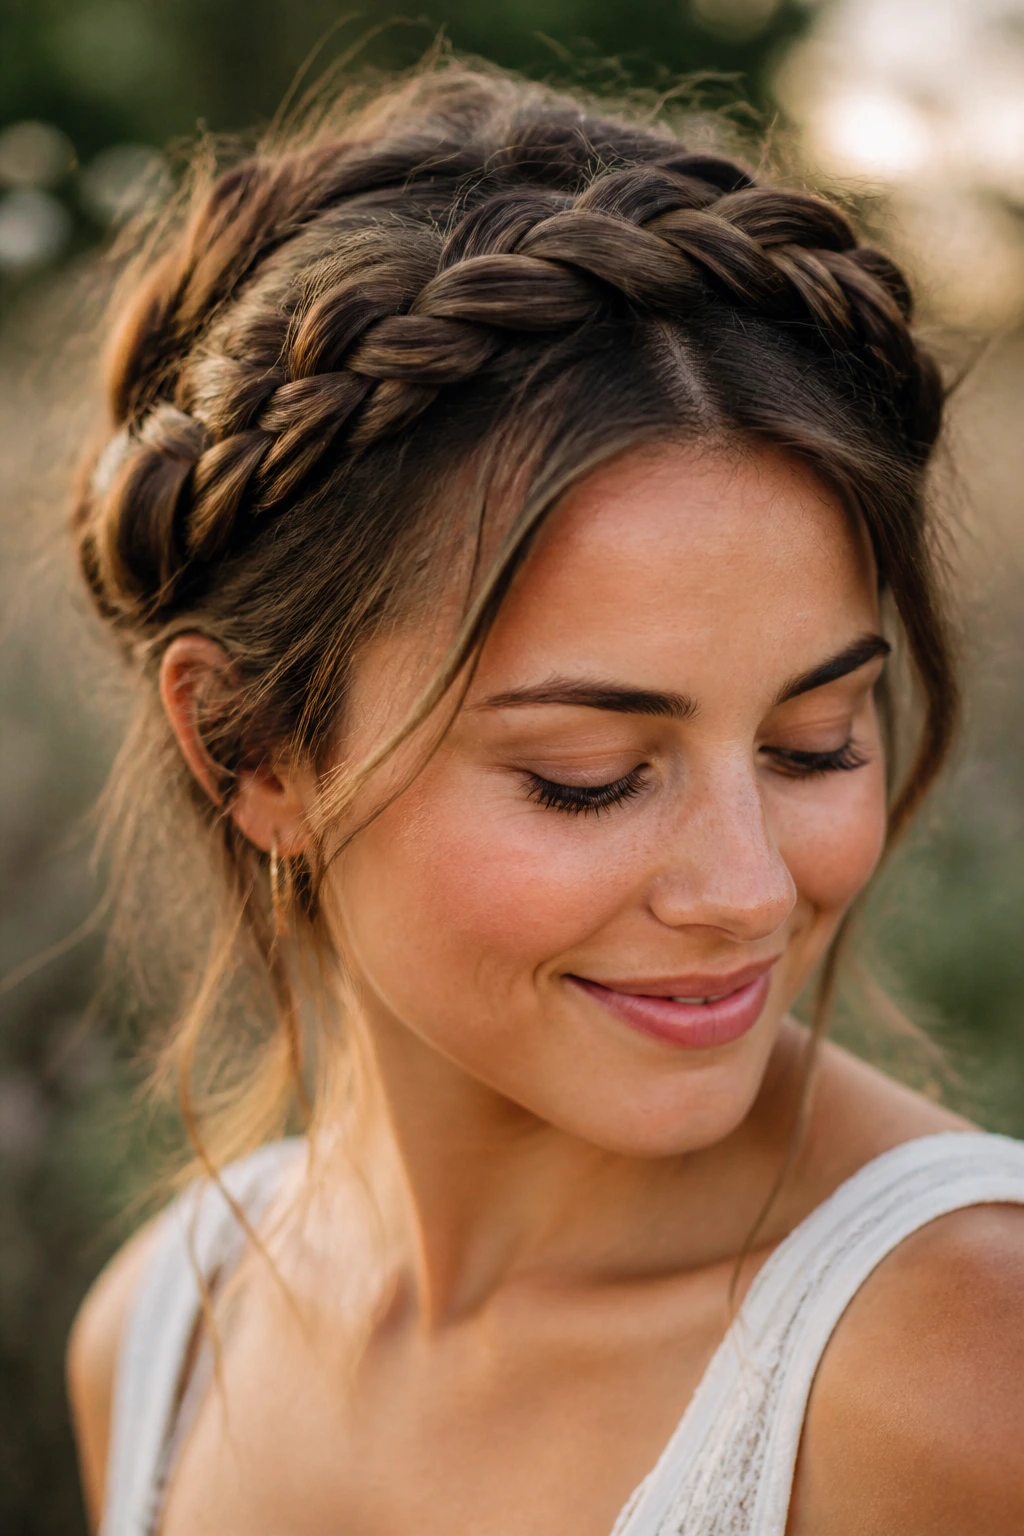
If your hair is long enough, wrap two Dutch braids around the sides of your head and pin them to form a complete crown. This is the “boho-chic” classic that remains popular because it is genuinely practical. It’s like wearing a crown, but it’s made of your own hair.
Ensuring It Stays Put
The trick to a crown braid is pinning it from the bottom up. Do not rely on one large pin; use small, U-shaped hairpins that slide into the braid and grab the hair underneath. This prevents the “sag” that usually happens after a few hours of walking around.
17. The Twisted Pigtail Hybrid
Take the top half of your hair and create two small twists that lead back to a central point. Braid the remaining length into a single, thick braid. It’s a hybrid style that combines the ease of twists with the security of a braid.
Why It’s Unique
Twists are faster than braids. By starting with twists, you cut down your “prep time” in the morning. When the school day is long, this style provides a secure hold at the crown while letting the length be managed by the braid.
18. The “Undone” Mohawk Braid
Create a Dutch braid down the exact center of your head, but keep it loose. Don’t worry about tight sections. Once you reach the neck, gather it into a high ponytail. It looks like a sporty mohawk but feels much more casual and wearable for a daily environment.
Adding Edge
If you want to make it look a bit sharper, pull the edges of the braid wider once it is secured. This adds a soft, “lived-in” aesthetic that feels modern and intentional.
19. The Classic Pull-Back with Braid
Simply pull your hair back into a low ponytail and braid the tail. It’s the easiest way to elevate a boring ponytail. If you have extra time, wrap a small piece of hair around the elastic to hide it.
Why It’s Efficient
This is a “set it and forget it” style. You don’t have to worry about your part shifting or the braid loosening on the sides of your head. It is entirely contained within the ponytail, making it the most resilient style for a busy schedule.
20. The Zig-Zag Part French Braid
Use a rat-tail comb to create a zig-zag part before you start your French braid. It adds a bit of geometry and fun to an otherwise standard look. It shows attention to detail without requiring any extra skill in the actual braiding process.
Subtle Details
The zig-zag part is a subtle nod to personal style. It makes the hair look like it has more volume at the roots, which is always a bonus. It’s a small tweak that makes a big impact on the final silhouette.
21. The Side-Braid Bun
Braid one small section of hair starting from your part, and lead it into a messy bun. This frames the face while keeping the bulk of the hair securely tied up. It is excellent for students who want to keep hair off their neck but still want some framing pieces around their face.
Framing the Face
Don’t pull your hair too tight into the bun. Leave a few soft, wispy pieces near the ears to keep the look from appearing too severe. The contrast between the tight braid and the loose, messy bun is what makes this style so visually appealing.
22. The “Ladder” Braid Effect
This is a more advanced technique where you create a vertical Dutch braid and pull small sections from the sides into the center, creating a “ladder” look. It’s striking and definitely catches the eye.
When to Practice
Since this requires a bit more coordination, try this on a weekend morning before you need to use it for school. Once you get the muscle memory, it’s a quick five-minute style that looks like it took much longer.
23. The Braided Headscarf Look
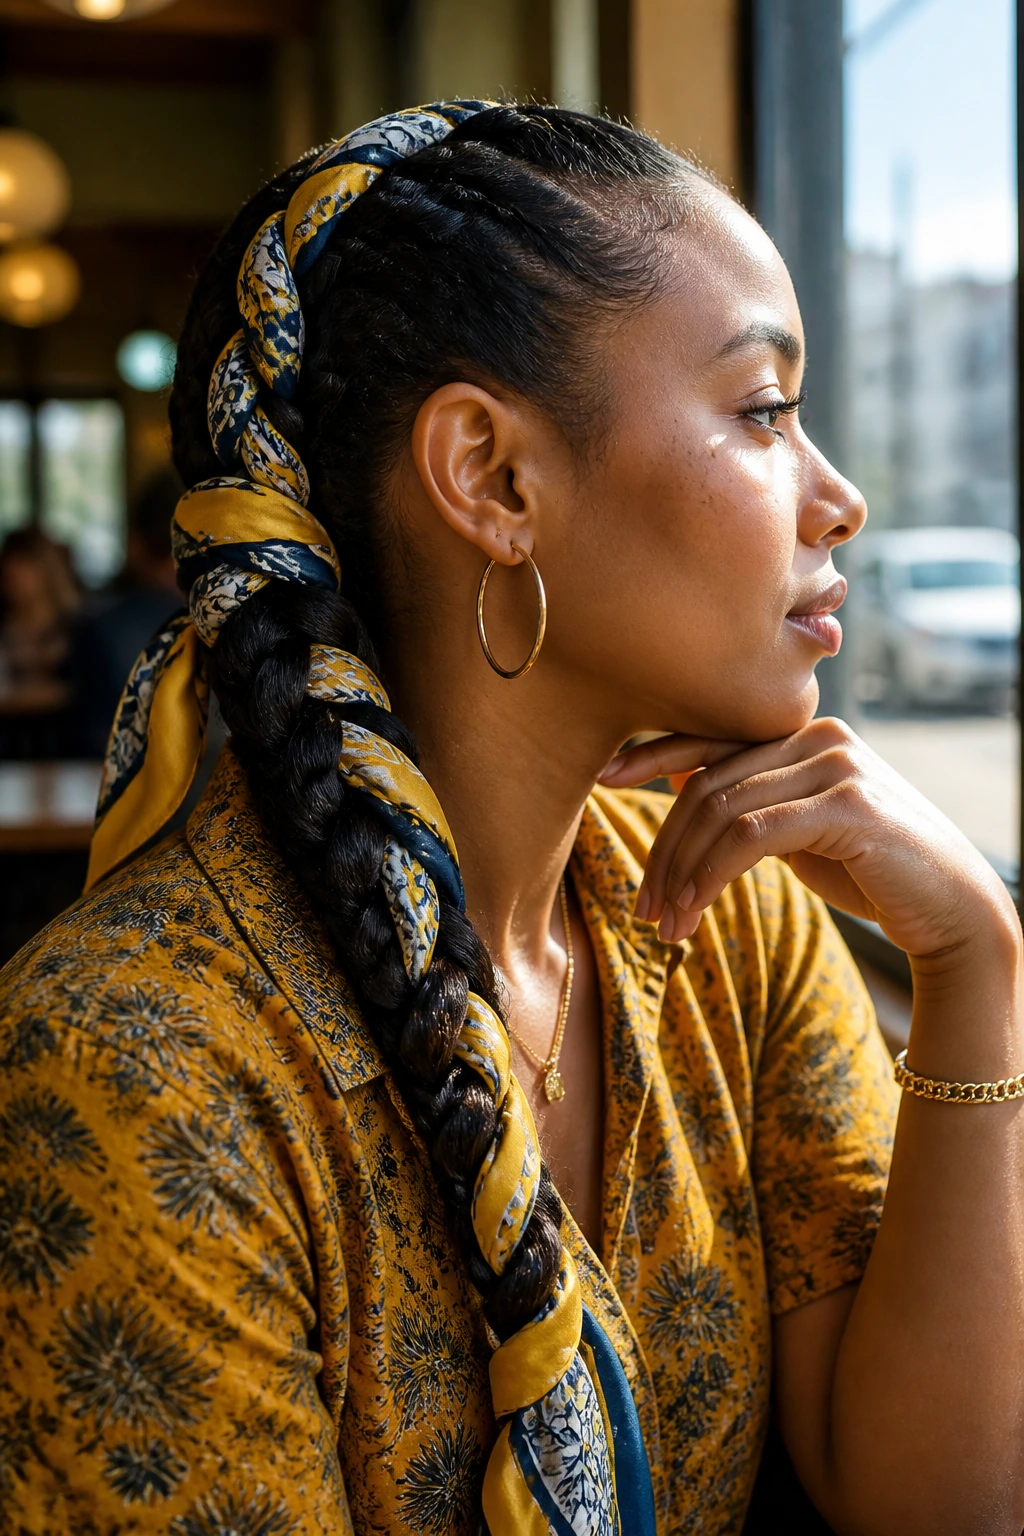
If you have a silk scarf, weave it into your braid. Start with the scarf at the base of your ponytail or hairline, and treat it as one of the three strands of your braid. It’s a great way to add color and texture to your outfit.
Protecting the Hair
Silk or satin scarves are gentler on the hair than rubber elastics. If you tend to suffer from breakage near your ends, weaving a scarf into your braid is a fantastic way to protect your strands while looking stylish.
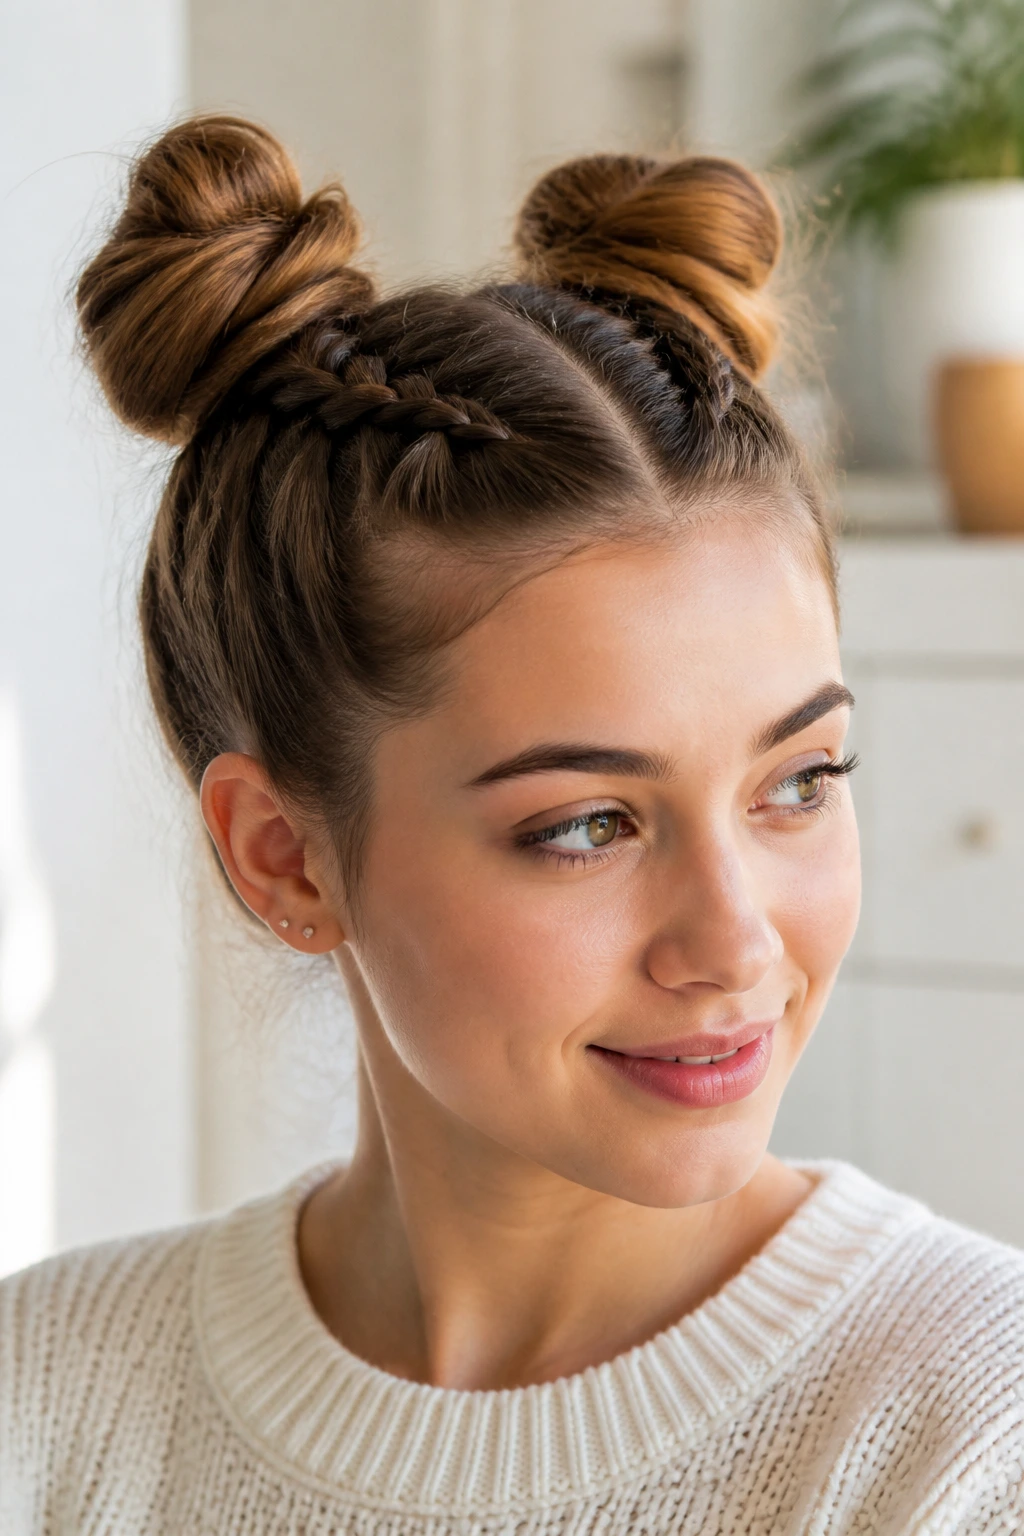
24. The Double-Braided Top Knot
Separate the hair into a top section and a bottom section. Braid the top section into two small plaits, then pull them into a top knot along with the rest of the hair. It’s a playful, high-energy style that is perfect for younger students.
Why It’s Fun
It mixes textures. You have the tight, woven texture of the braids meeting the soft, rounded volume of the bun. It’s a style that stays put through recess and doesn’t require any touch-ups during the day.
25. The Fishtail-French Hybrid
Start with a French braid at the top for security, and transition into a fishtail braid halfway down for texture. This gives you the best of both worlds: a secure crown and a detailed, intricate tail.
Transition Tips
When you reach the point where you want to transition, simply gather all the hair into two sections and start the fishtail. It will look like a seamless changeover. It’s a fantastic way to show off the length of your hair without it feeling “too much.”
26. The Messy Braid-Wrapped Ponytail
Braid a thin section of hair and wrap it around the base of a high ponytail. It looks like a high-end accessory but it is made entirely of your own hair. It keeps the elastic hidden and elevates the look from casual to intentional.
Security
Make sure to secure the end of the thin braid with a bobby pin underneath the ponytail, so the tail of the braid isn’t visible. This keeps the look sleek and clean throughout the entire school day.
27. The Side-Swept Rope Twist
Sweep all your hair to one side and do a rope twist all the way to the end. It looks like a complex braid but takes half the time. If you have layers, secure the end with a small elastic and let the layers poke out naturally for a soft, textured look.
Handling Layers
Rope twists can sometimes pull at shorter layers. If you have many layers, spritz them with a little water before twisting. This keeps everything unified and prevents the twist from loosening up.
28. The Multi-Elastic Dutch Braid
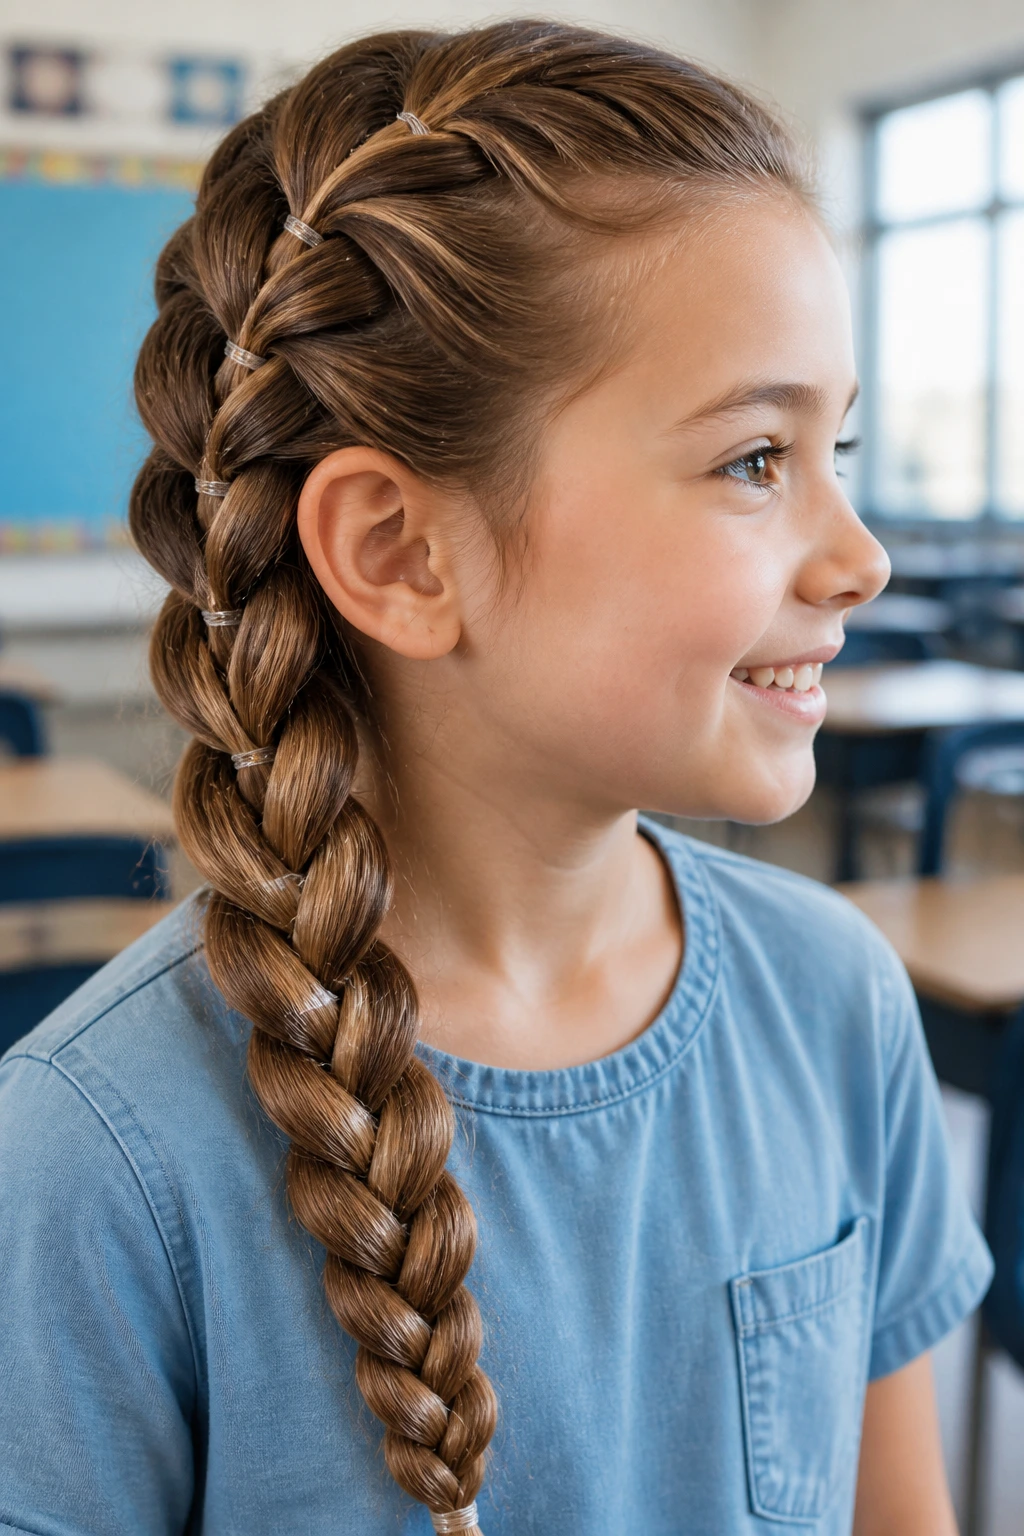
Use small elastics throughout your Dutch braid to keep it secure. This is a common method for those with thick, heavy hair that tends to slide out of standard braids. The elastics provide a “staged” security that keeps the braid locked in.
Why It’s Functional
You don’t have to worry about the braid coming undone if you accidentally tug on it. The extra elastics act as reinforcement points along the entire length of the braid. It’s a life-saver for long, heavy hair.
29. The Half-Braided Pigtails

Braid only the top half of your pigtails, leaving the bottom halves loose. It’s a fun, bouncy look that’s perfect for warmer months. It provides the security of braids at the top but allows for the movement of loose hair at the bottom.
Managing Ends
If the ends of your hair get frizzy, apply a tiny drop of hair oil to the ends after braiding. This gives the loose sections a healthy, finished look that contrasts nicely with the tight, braided sections at the top.
30. The “Double-Woven” Fishtail
Create a fishtail braid, but incorporate a small three-strand braid into one of the sections. It’s a “braid-within-a-braid” that looks incredibly intricate. It’s a great way to showcase a bit of artistry during school hours.
Precision Matters
Because this style is so detailed, it works best on hair that isn’t overly layered. If your hair is all one length, this will look perfectly sharp and defined.
31. The Braided Bangs
If you are growing out bangs, a small braid along the front hairline is the best way to manage them. It keeps them out of your face and blends them into the rest of your hair. It’s essentially a “grown-out bang” survival tactic that looks cute.
Keeping It Neat
Don’t braid too far back. Keep the braid tight to the forehead so it doesn’t create a “poof” at the front. If you have a few stubborn hairs, use a small amount of pomade to smooth them down.
32. The Low-Braid with Ribbon
Take a long ribbon and tie it into your hair at the base of your neck. Braid the ribbon into the hair as you go. This adds a pop of school spirit color to your hair without needing any complicated styling.
Choosing the Ribbon
Use a grosgrain ribbon if you want it to hold its shape well. Satin ribbon is smoother and easier to weave, but it might slip out of the braid if you don’t secure it tightly at the top.
33. The Dutch Braid Space Buns
Create two Dutch braids that travel upward, and wrap the remaining length into two high “space buns.” It’s youthful, fun, and stays incredibly secure. This is a great look for energetic days.
Achieving Symmetry
The key to space buns is starting the braids at the exact same point on each side of the head. Use your ears as a guide—if the braids start in line with the top of your ears, your buns will end up perfectly symmetrical.
34. The Bohemian Side-Crown
Braid a section from behind one ear and wrap it across the head to the other side. This creates a partial crown. It’s less formal than a full crown braid but just as effective for keeping hair back.
The “Boho” Vibe
Pull a few strands loose around the face to make it look relaxed. You don’t want this style to look too “done.” The messy, slightly loose aesthetic is exactly what makes this style so popular.
35. The Infinity Braid
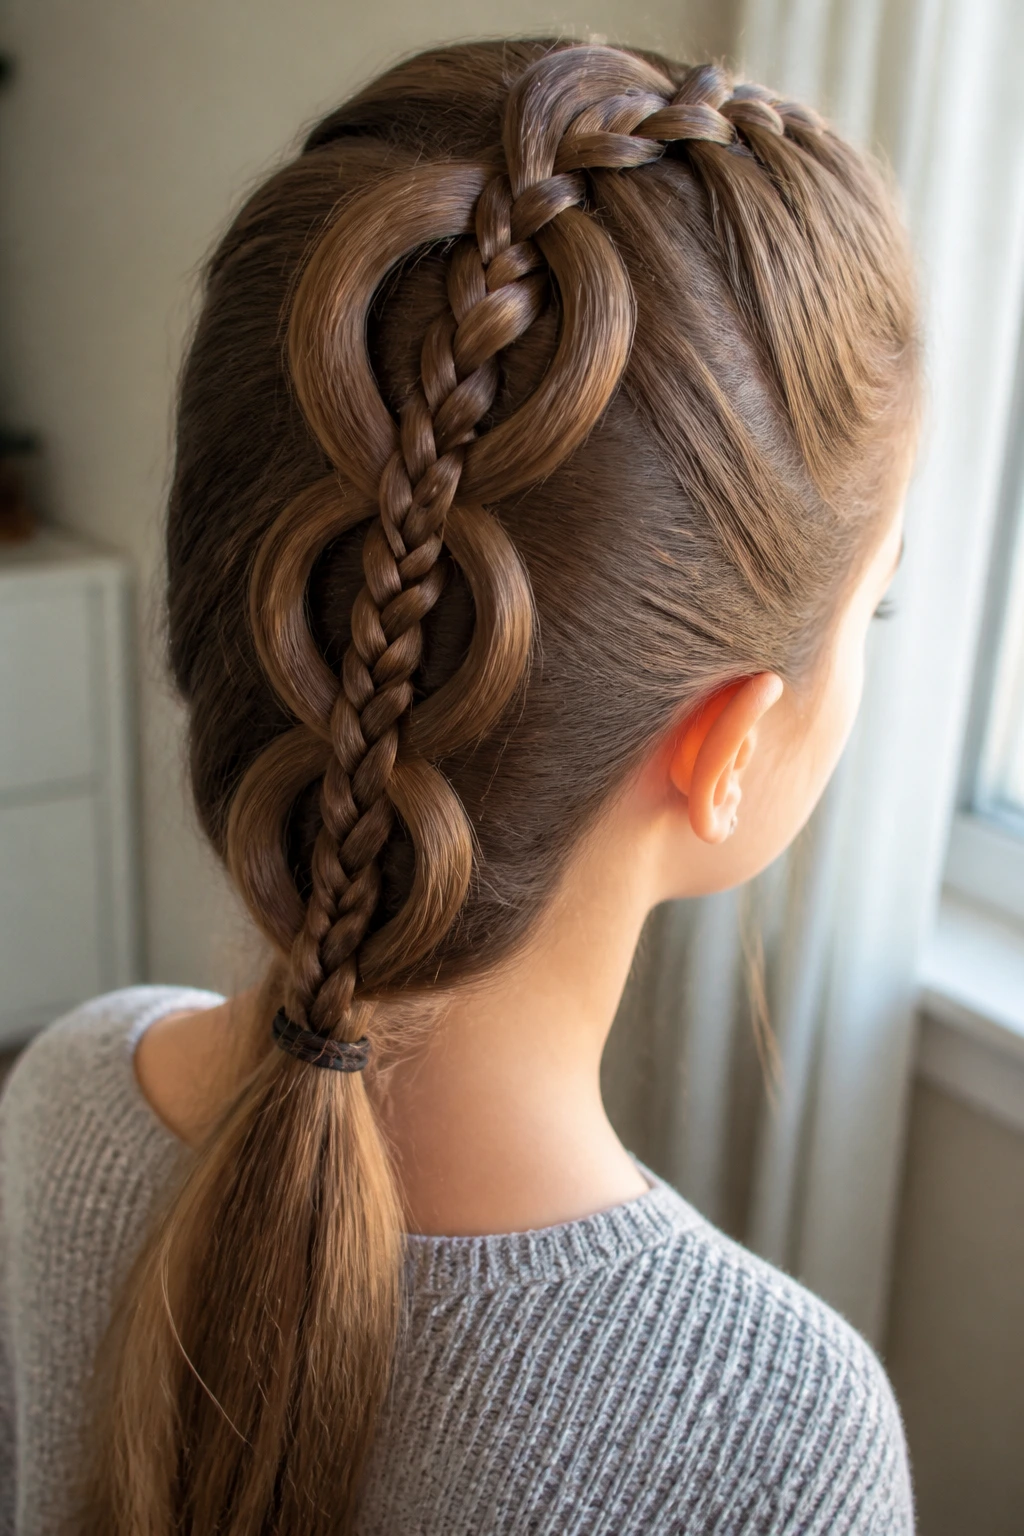
The infinity braid is named for the “8” pattern you create with the hair. It is a stunning, unique look that stands out from the standard three-strand plait. It takes a little practice to get the hand motion, but it is worth the effort.
Why It’s Unique
People will definitely ask how you did it. Because it creates an “X” or “8” pattern, it looks far more complex than it actually is. It’s the perfect braid to master if you want to impress your friends without actually doing anything difficult.
Final Thoughts
Mastering these thirty-five styles is less about being a professional stylist and more about having a toolkit of reliable options. Start by practicing the ones that feel most comfortable to you. Once you have a rotation of three or four favorites, your morning routine will become significantly faster and much more enjoyable. Remember, the goal of a school-day style is confidence; pick the one that makes you feel ready for the day ahead.