The ponytail is far more than a simple act of gathering hair behind your head to get it out of your eyes. It is the ultimate utility player in your hair arsenal, capable of shifting from a polished office look to a relaxed weekend vibe in less time than it takes to brew a cup of coffee. When you have mastered the right techniques—like knowing exactly where to place the base for the most flattering angle or how to hide your elastic—this basic style becomes a foundation for endless variety. You don’t need a stylist on call to elevate your daily routine; you just need to understand the structural nuances of how hair wraps, secures, and creates volume.
1. The Classic Sleek Mid-Height Pony
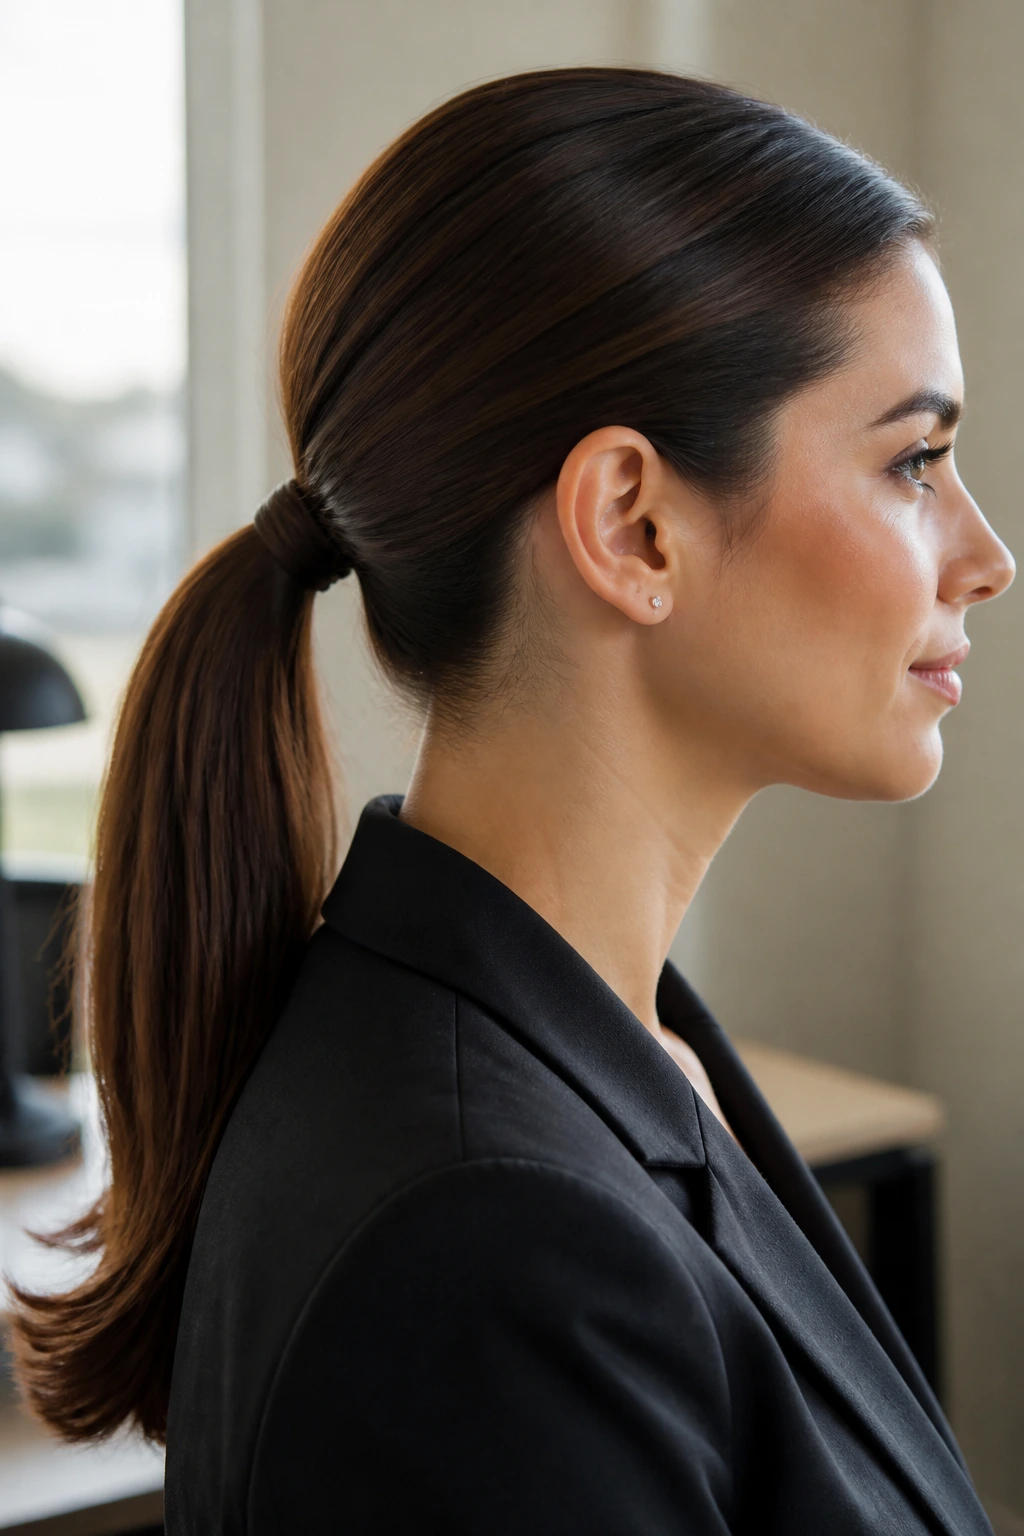
This is the workhorse of your hair wardrobe. It sits perfectly at the nape of the neck or just slightly higher, offering a clean, professional aesthetic that works with everything from a structured blazer to a casual crew-neck sweater. The key to getting that polished finish isn’t just a strong hair tie; it’s about control during the initial gathering phase.
How to Achieve the Smooth Finish
Use a fine-tooth comb to distribute a small amount of lightweight styling cream or pomade through the hair before you even lift it. This prevents those pesky flyaways that always seem to appear right at the crown. When you pull the hair back, gather it in two stages: first the top section, then the bottom. This ensures the underside stays tight against the scalp, preventing that loose, bumpy look that can happen when you try to grab everything at once.
Pro tip: Once the hair is secured, take a tiny, quarter-inch strand from the underside of the pony, wrap it tightly around your elastic, and pin it underneath with a bobby pin. It transforms the style from “gym hair” to a deliberate, high-end look instantly.
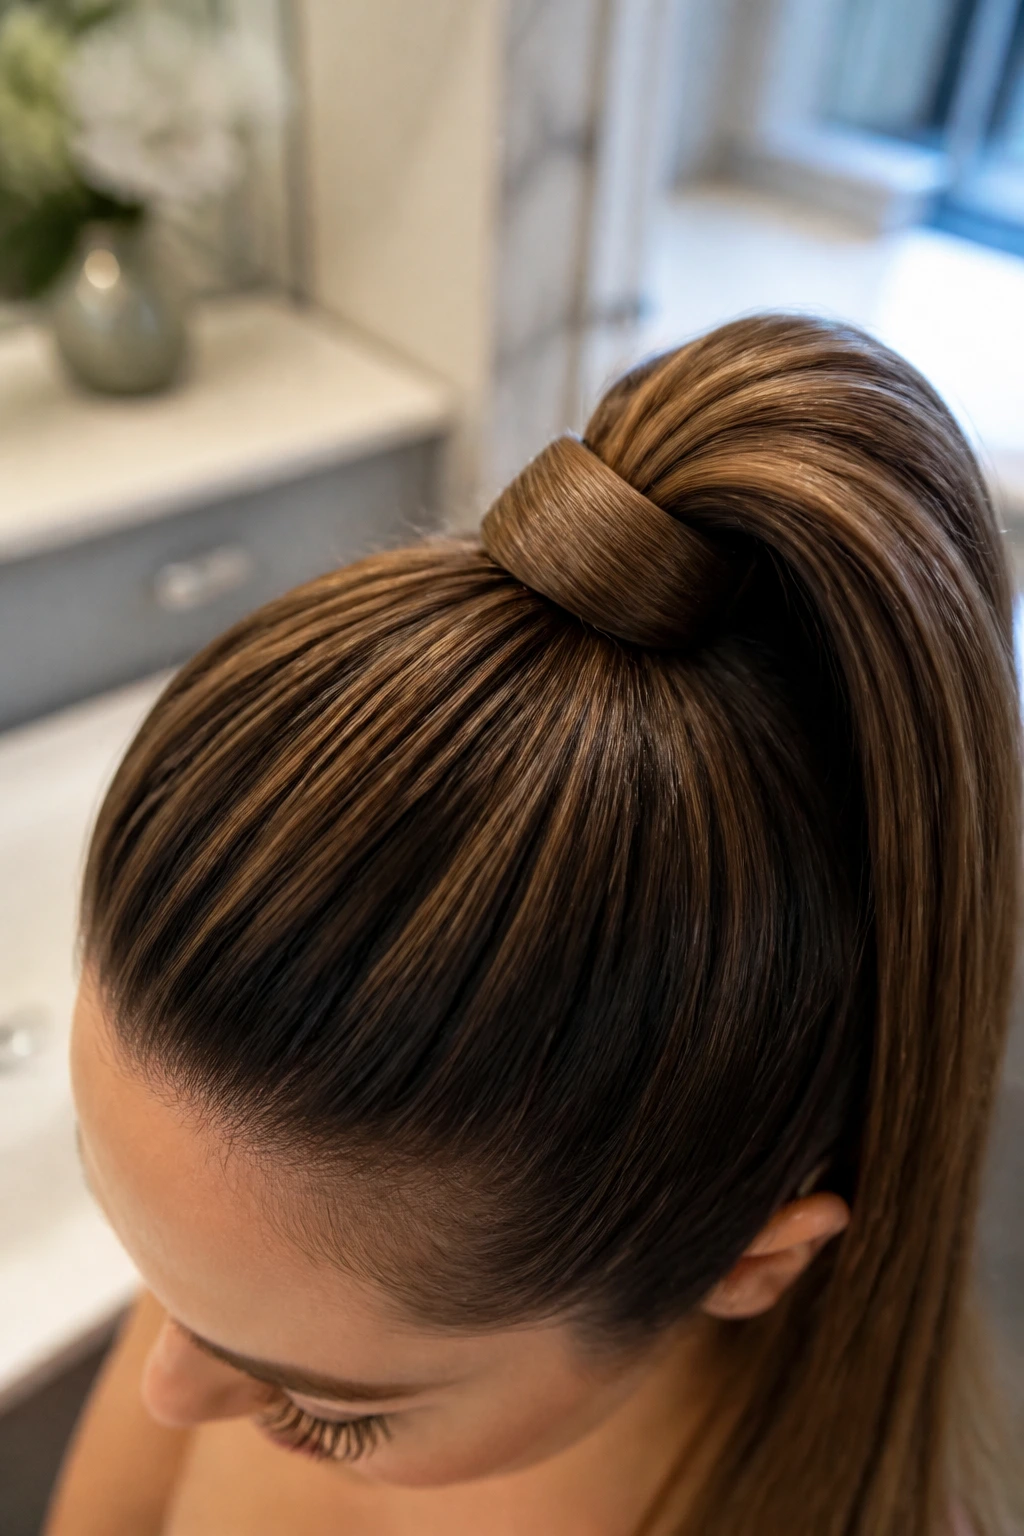
2. The High-Volume Messy Bun-Pony Hybrid
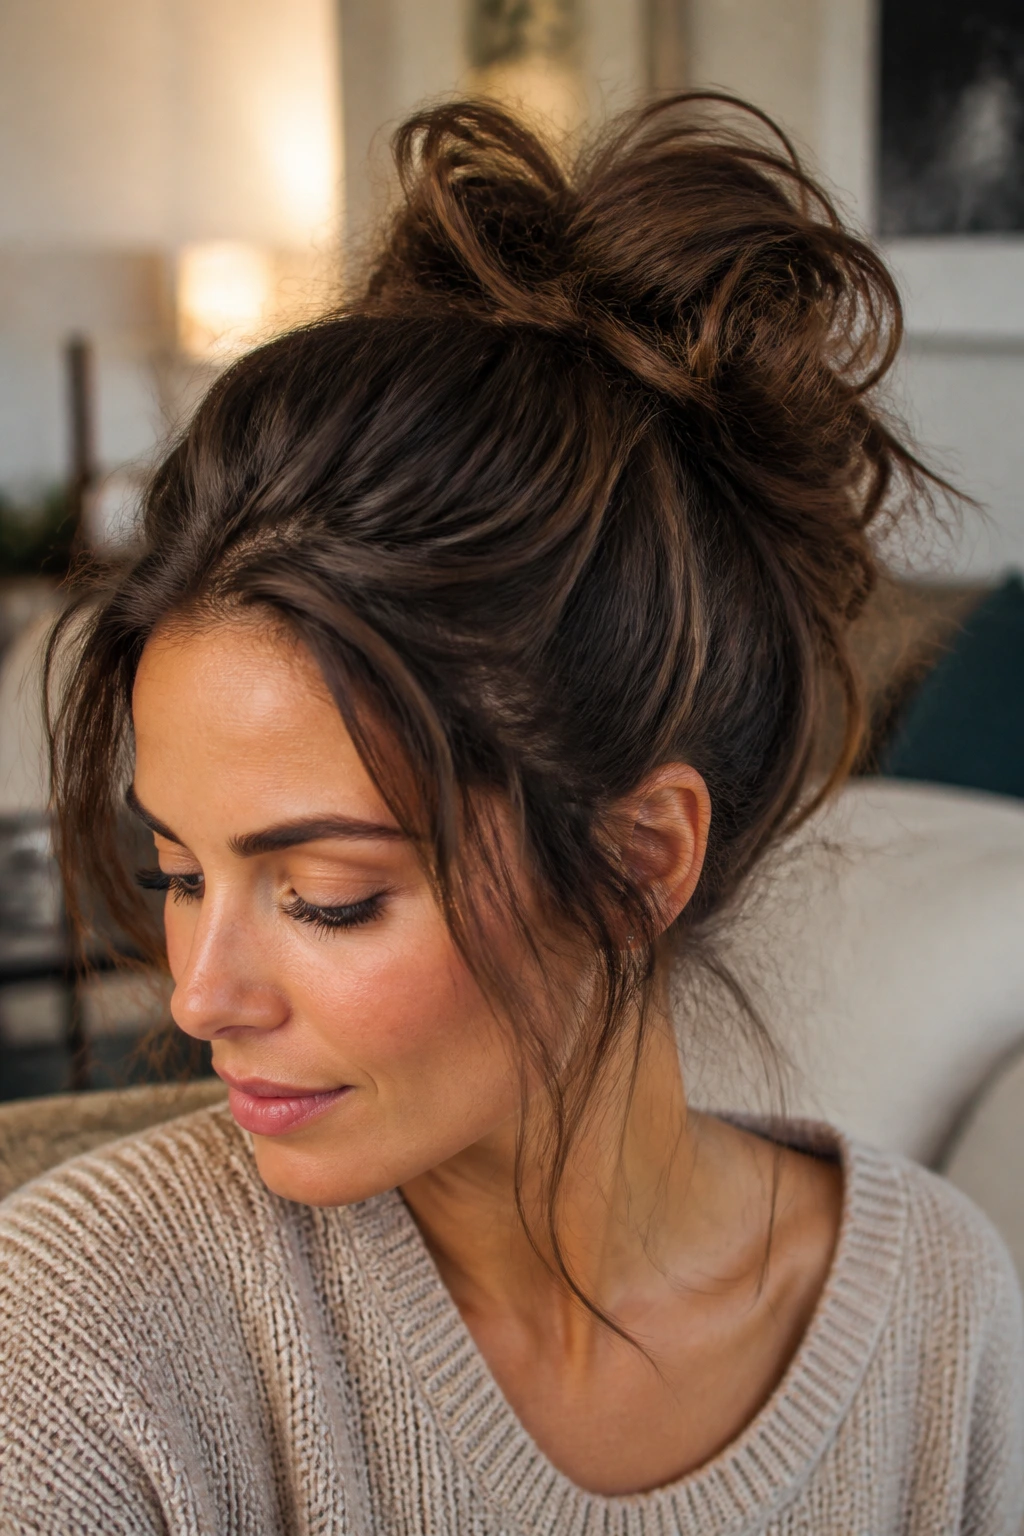
Sometimes you want the security of a ponytail but the relaxed, voluminous texture of a messy bun. This style provides the best of both worlds. It creates the illusion of a thicker head of hair while maintaining a playful, youthful silhouette that looks great even when it’s slightly undone.
Building Texture for Maximum Lift
Start by adding a generous spritz of dry shampoo or texturizing spray at the roots. You want the hair to have some “grip” so that the ponytail doesn’t slide down throughout the day. When you secure the elastic, don’t pull the final loop of hair all the way through—leave the ends tucked, creating a loose loop. Gently pull at the strands near the crown to add height, then lightly tug at the sides of the ponytail itself to fluff it out. If it looks too perfect, it’s not working; the magic is in the slight imperfections.
3. The Double-Elastic Segmented Pony
If you struggle with thin hair, this technique is a complete game changer. By segmenting the ponytail, you create the appearance of a longer, fuller cascade of hair. It takes only a few extra seconds and utilizes the extra elastics you probably have sitting in your bathroom drawer.
How to Execute the Segmented Look
Secure your initial ponytail at the mid-crown. About two to three inches down the length of the tail, add a second small, clear elastic. Gently tug on the hair between the two bands to “bubble” it out. Repeat this as many times as your hair length allows. The secret here is to be consistent with the spacing; if the sections are too large, the hair will sag, but if they are too small, it looks like a series of tiny knots. This style holds up incredibly well during long days because the hair is secured in multiple spots, meaning it doesn’t lose its shape as you move.
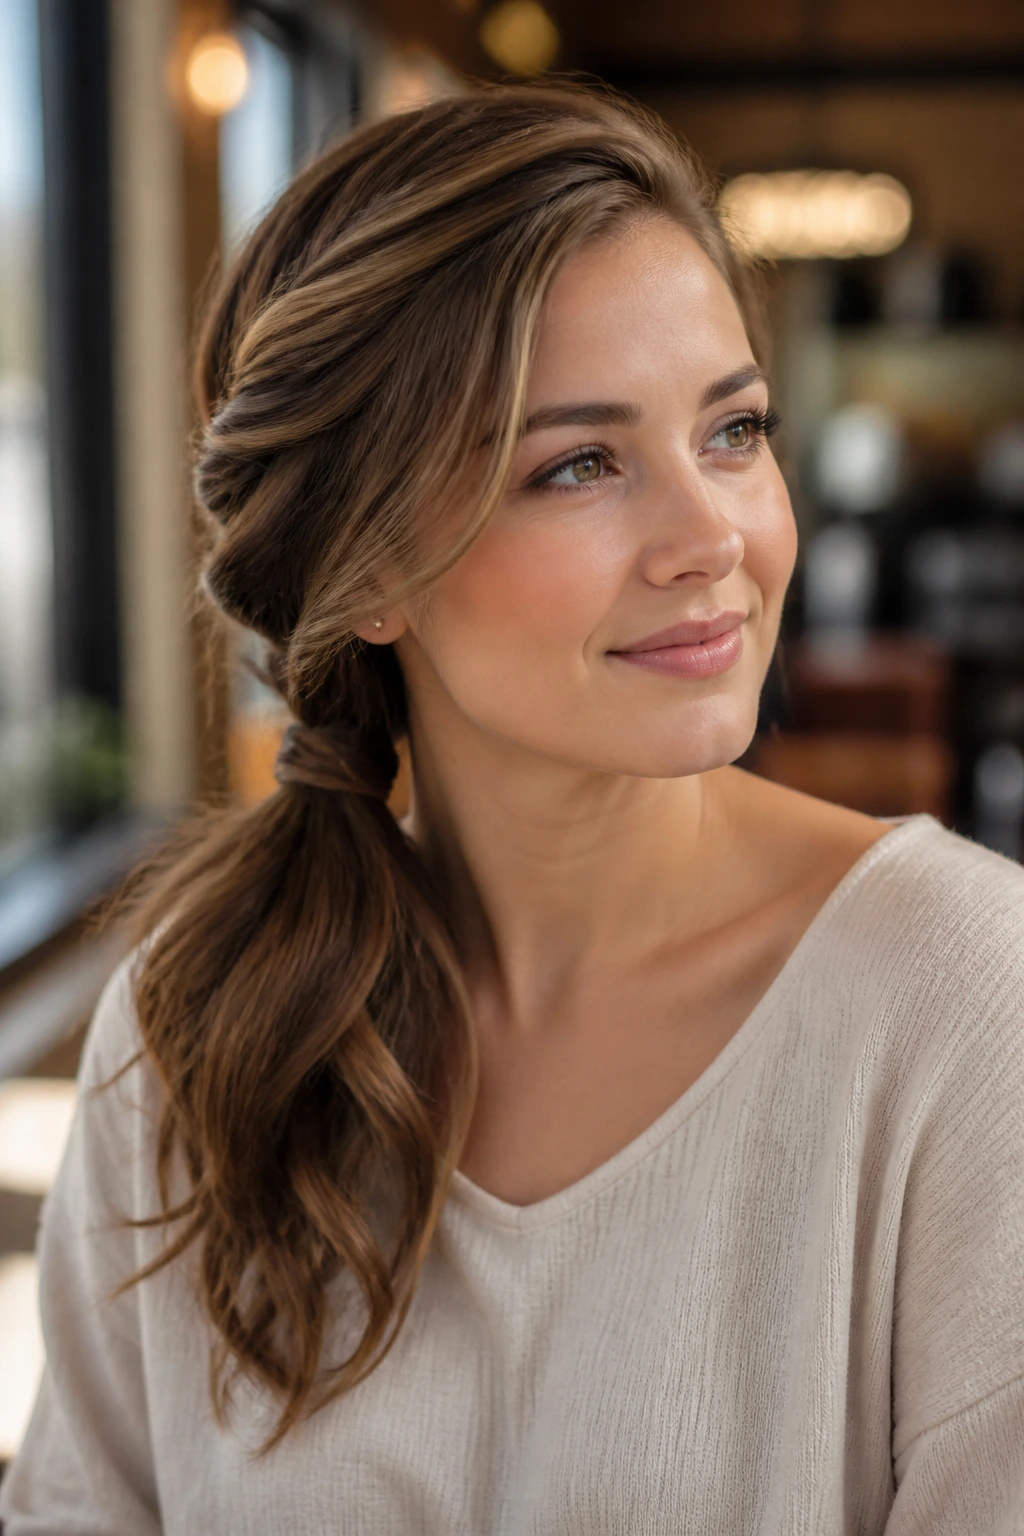
4. The Deep Side-Part Low Pony
There is an inherent elegance to a deep side part that a middle part just cannot replicate. It frames the face differently, drawing attention to your eyes and cheekbones while creating a sophisticated, vintage-inspired silhouette. This is my go-to choice for days when I want to feel a bit more put-together without spending an hour on my hair.
Positioning the Part
Use the arch of your eyebrow as a guide for where to start the part. Once the hair is parted, brush the larger section across your forehead before gathering it into a low ponytail at the base of your neck. You can choose to tuck the side behind your ear for a clean, minimalist look, or let it fall loosely to soften the jawline. Because this style emphasizes the hairline, make sure to keep your edges neat. A touch of hairspray on a clean mascara wand is perfect for smoothing down any stray baby hairs along the temple.
5. The Braided-Wrap Low Pony
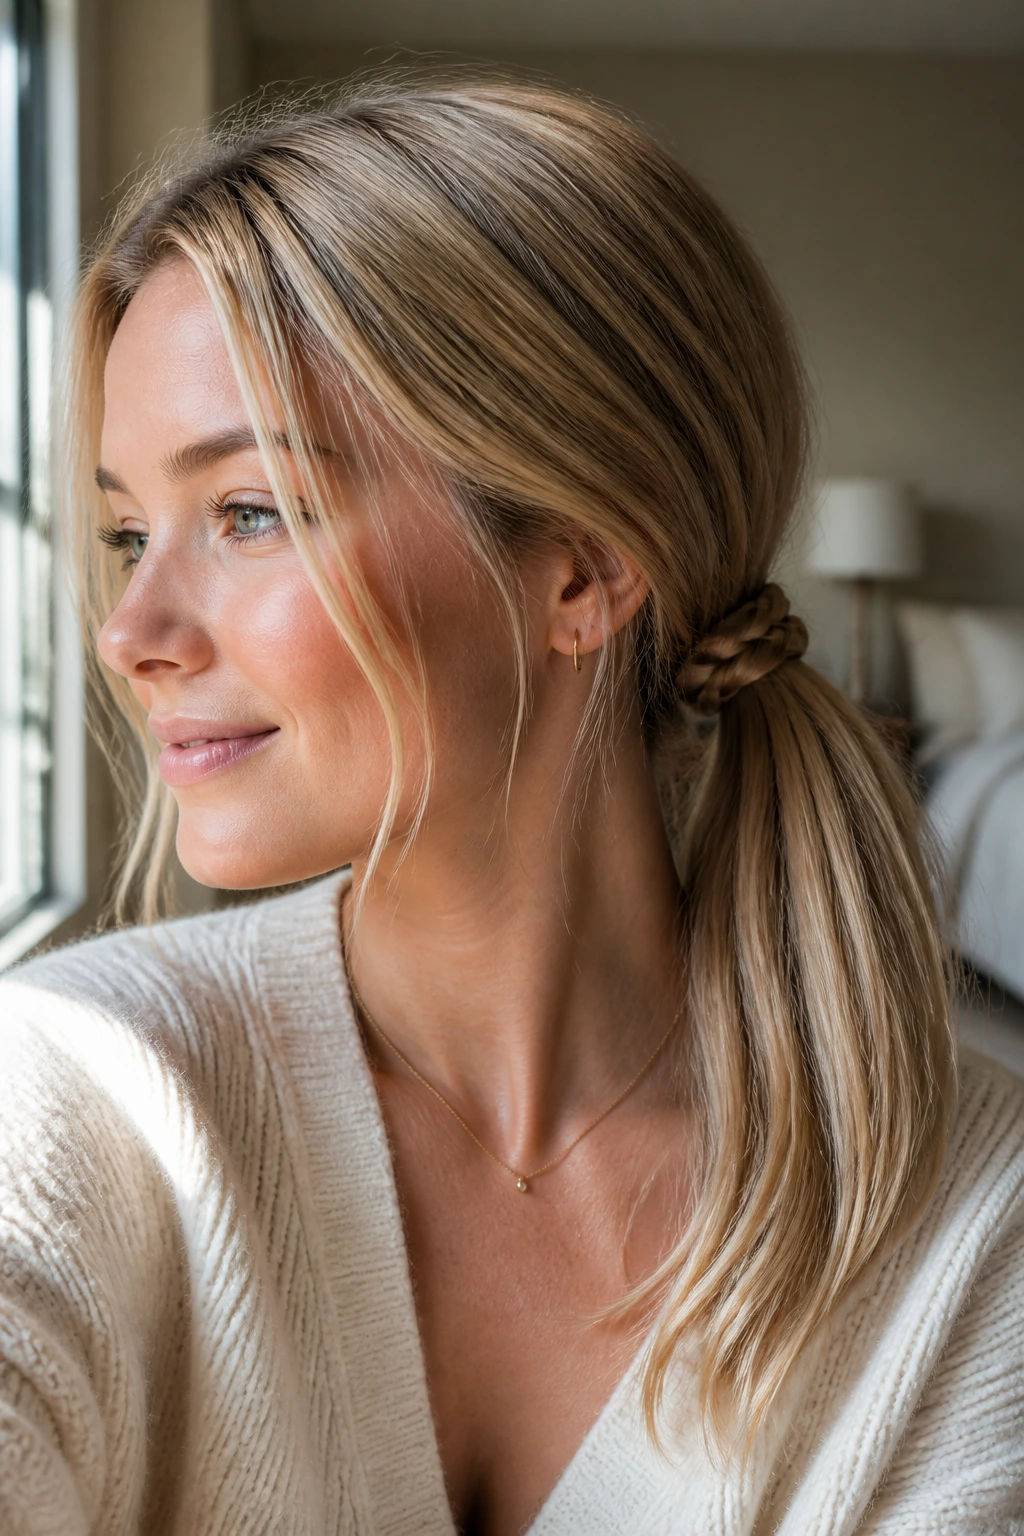
Why settle for a plain hair tie when you can use your own hair as the accessory? A braided wrap adds a layer of intricate detail that makes a simple low ponytail look like it took twenty minutes to style. It is surprisingly simple once you get the hang of the mechanics.
Crafting the Braid
After securing your ponytail with a neutral-colored elastic, separate a small one-inch section of hair from the underside. Create a standard three-strand braid, keeping it relatively tight, and secure the end with a tiny clear elastic. Wrap this braid around the base of your ponytail until it covers the main hair tie completely. Tuck the end of the braid underneath the ponytail and secure it with a bobby pin, making sure the pin is inserted upward into the ponytail base so it remains hidden.
6. The Sophisticated Scarf Pony
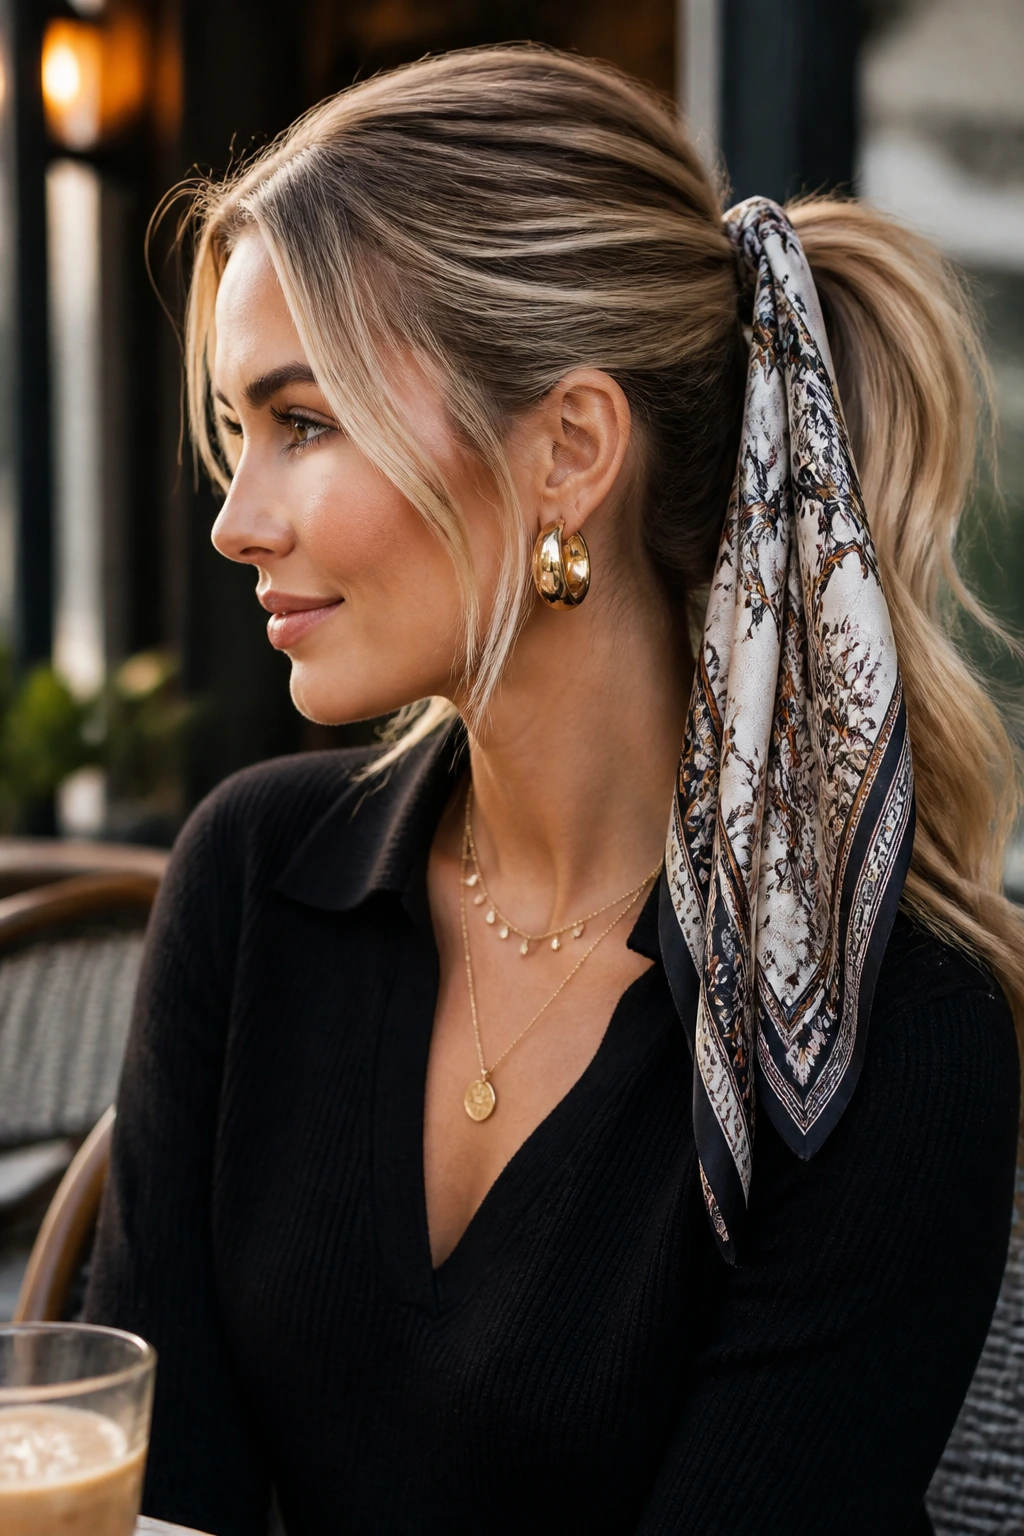
Accessories aren’t just for cold weather; a silk or cotton scarf tied around your ponytail is the ultimate way to add color and texture to a neutral outfit. This style is incredibly forgiving, as the fabric covers the mechanics of the hair tie, allowing you to hide any messiness.
Selecting the Right Material
Avoid heavy synthetic fabrics that will slip off your hair within minutes. A lightweight silk or a matte cotton scarf works best because the fibers have just enough texture to stay put. Tie the scarf around the base of the ponytail once, then let the ends hang down alongside your hair. If your scarf is particularly long, you can weave it through a loose braid for a completely different look. This is the easiest way to elevate a standard pony for a brunch date or a casual afternoon outing.
7. The Half-Up Mini Pony
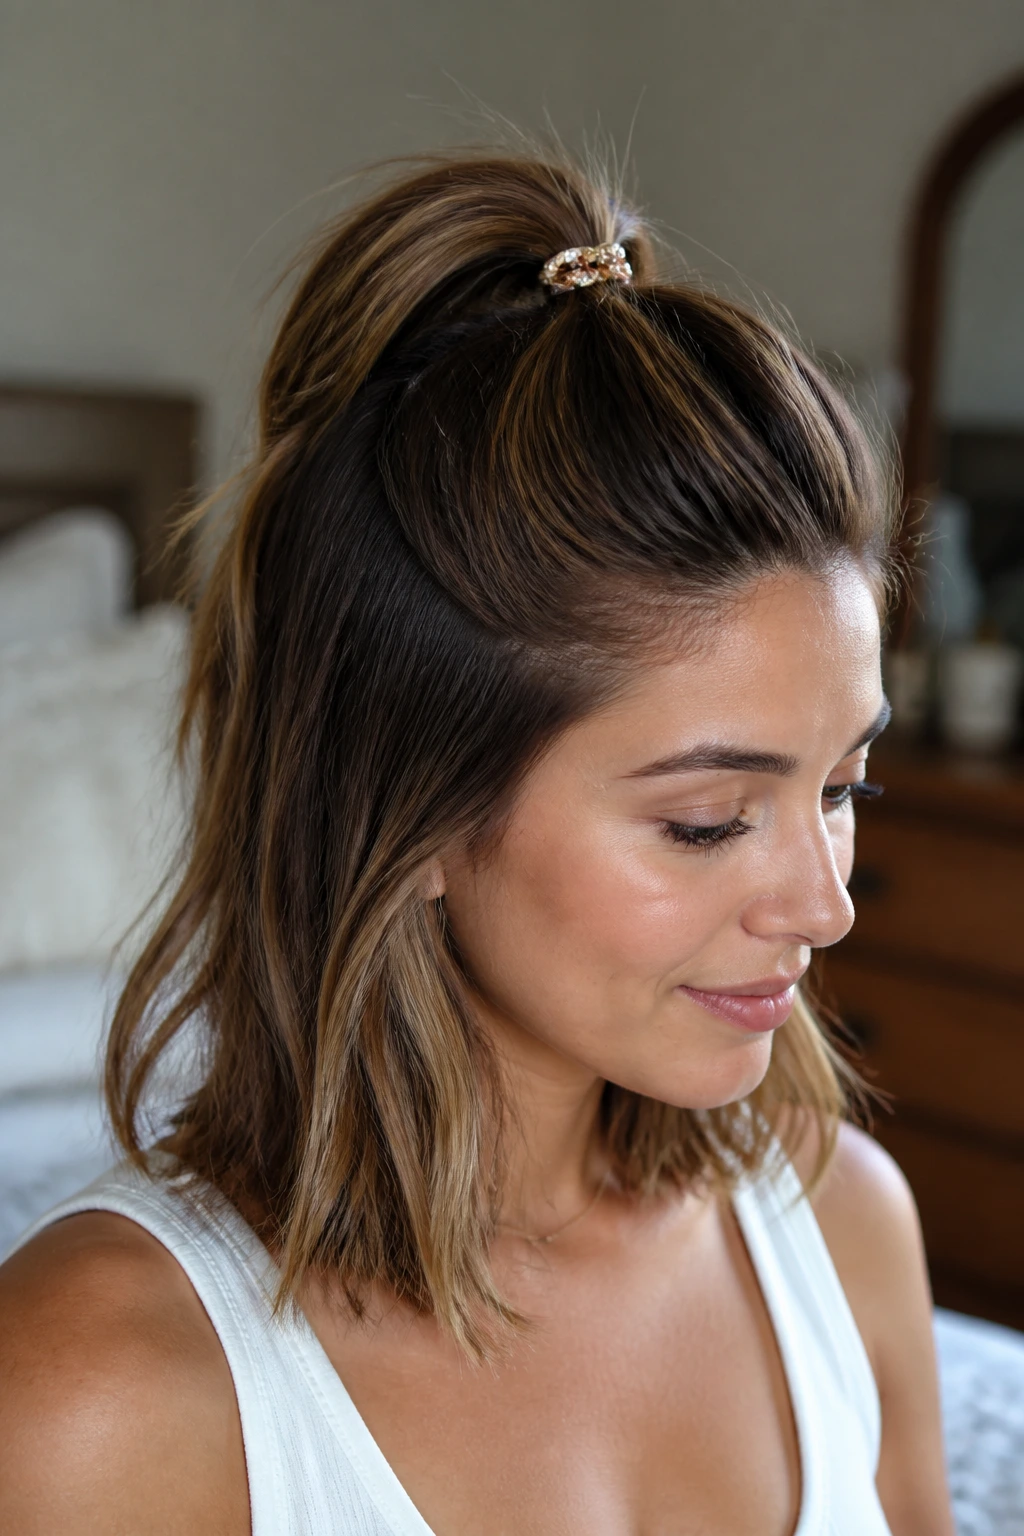
This style is ideal for when you want your hair down but need the front sections out of your eyes. It offers a balanced look that works with both straight and wavy textures. Because you are only gathering about a third of your hair, the ponytail stays light and doesn’t pull on your scalp.
Finding the Sweet Spot
Gather the hair from the temples back toward the crown, but don’t pull it too far back or you’ll lose the volume at the top. Secure it with a small elastic, then use a decorative clip or a ribbon over the top to hide the band. If your hair is naturally stick-straight, adding a slight wave with a curling iron before you pull it up will give the style more movement and depth. This look is inherently soft and feminine, and it’s particularly effective for showing off your features.
8. The Textured Wavy High Pony
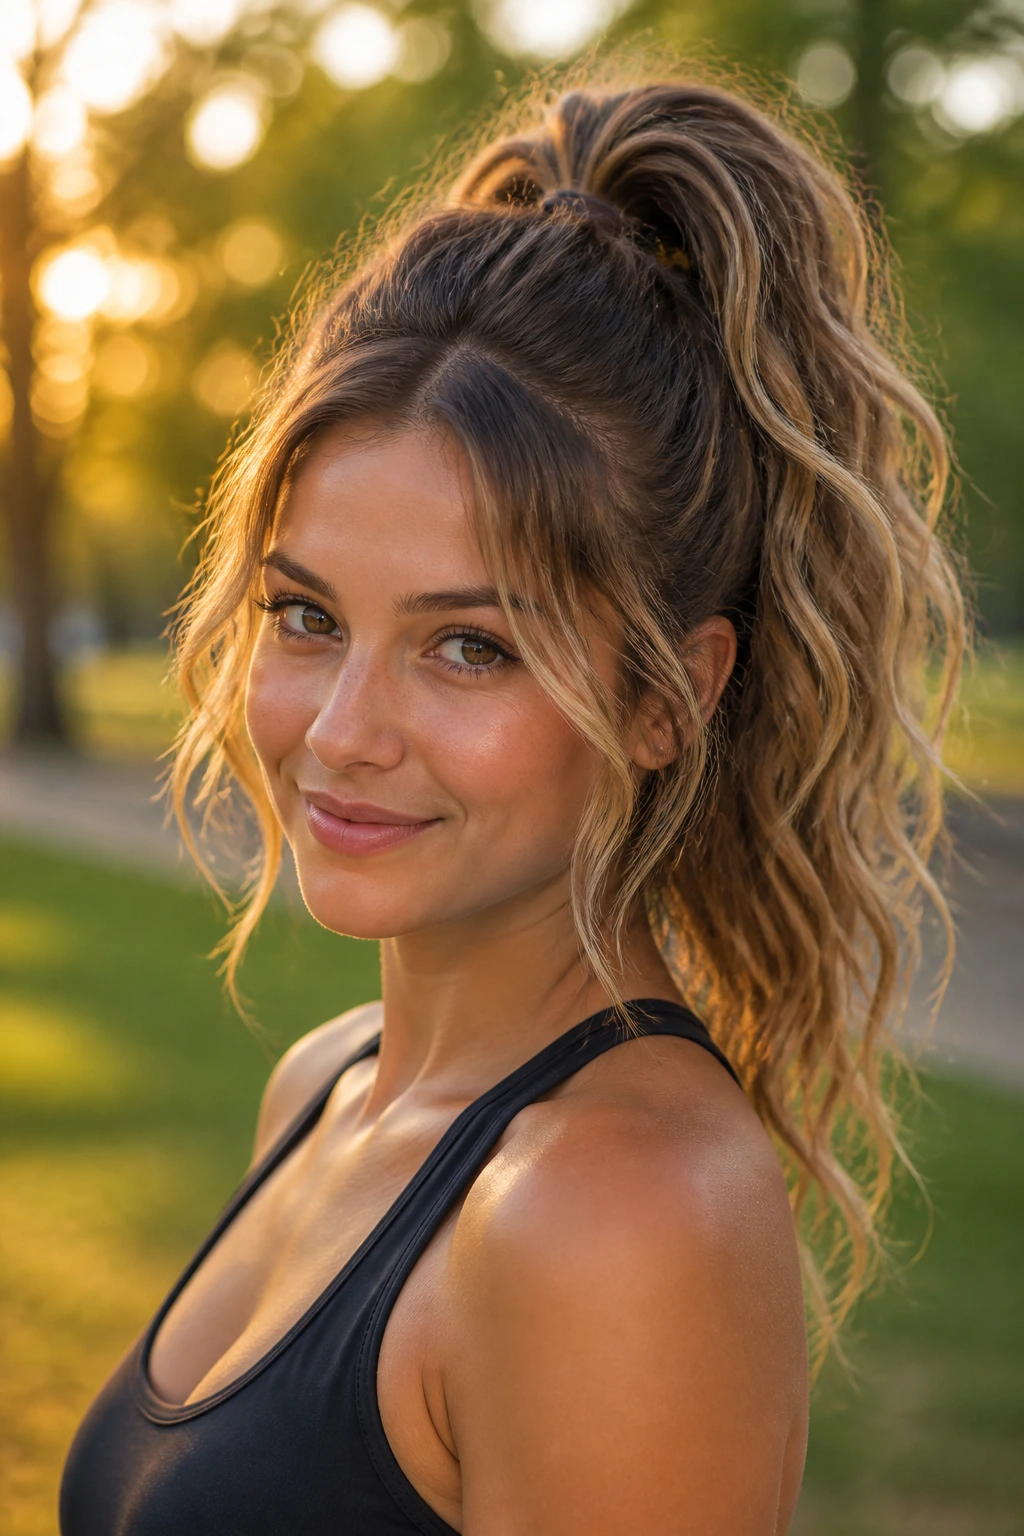
A high ponytail can sometimes look a bit harsh if it’s pulled too tight. By adding waves, you soften the edges of the face and add bounce to the tail itself. This is a classic “cool girl” style that manages to look both athletic and chic.
Styling the Waves
Don’t worry about perfect, uniform curls. You want a lived-in, beachy texture. Use a large-barrel curling iron to create loose bends in your hair, then flip your head upside down to gather it into a high ponytail. Secure it tightly, then pull at the strands near your hairline to create that effortless, slightly loose effect. If your hair is naturally very straight, use a sea salt spray before you curl to help the waves hold their shape.
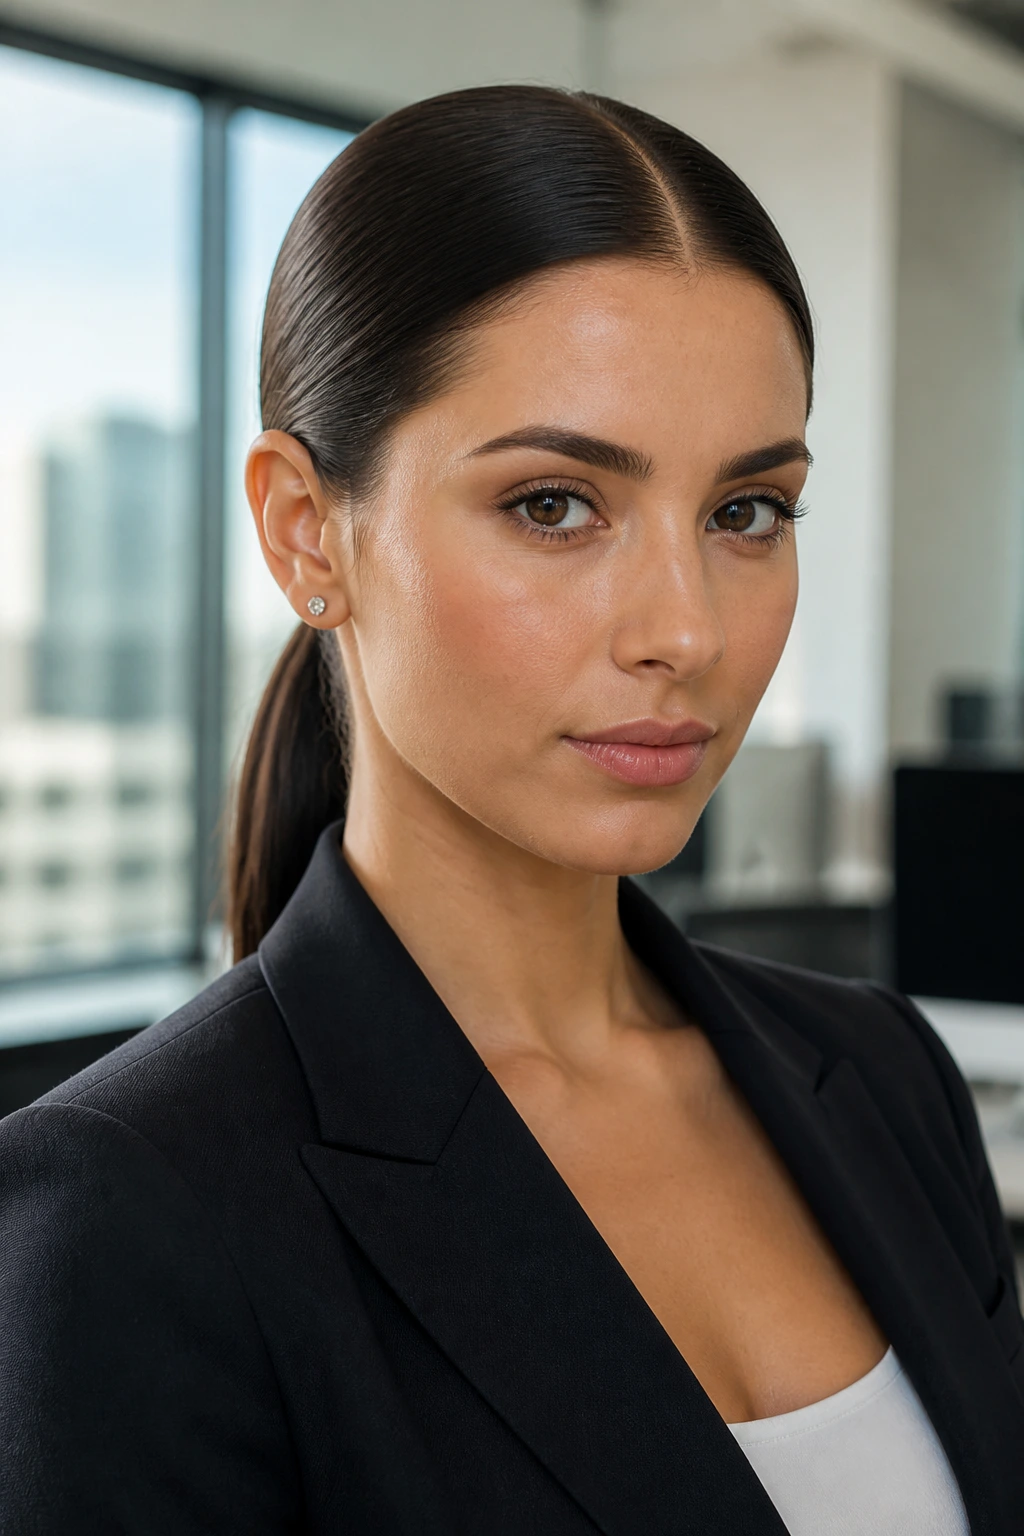
9. The Sleek Center-Part Pony

Minimalism is a powerful design choice. A sharp, precise center part combined with a tight, low-slung ponytail creates a look that is architectural and bold. It removes all distractions, allowing your face and accessories to take center stage.
Why Precision Matters
The success of this look hinges entirely on the straightness of the part. Use the tail end of a rat-tail comb to ensure the part runs perfectly down the center of your head from the hairline to the crown. Brush the hair back flat against the scalp, using a light pomade or styling wax to ensure there is zero frizz. By keeping the ponytail low and the hair tight, you create a look that feels extremely intentional. It is the perfect choice for days when you have an important meeting or an evening event where you want to look sharp and confident.
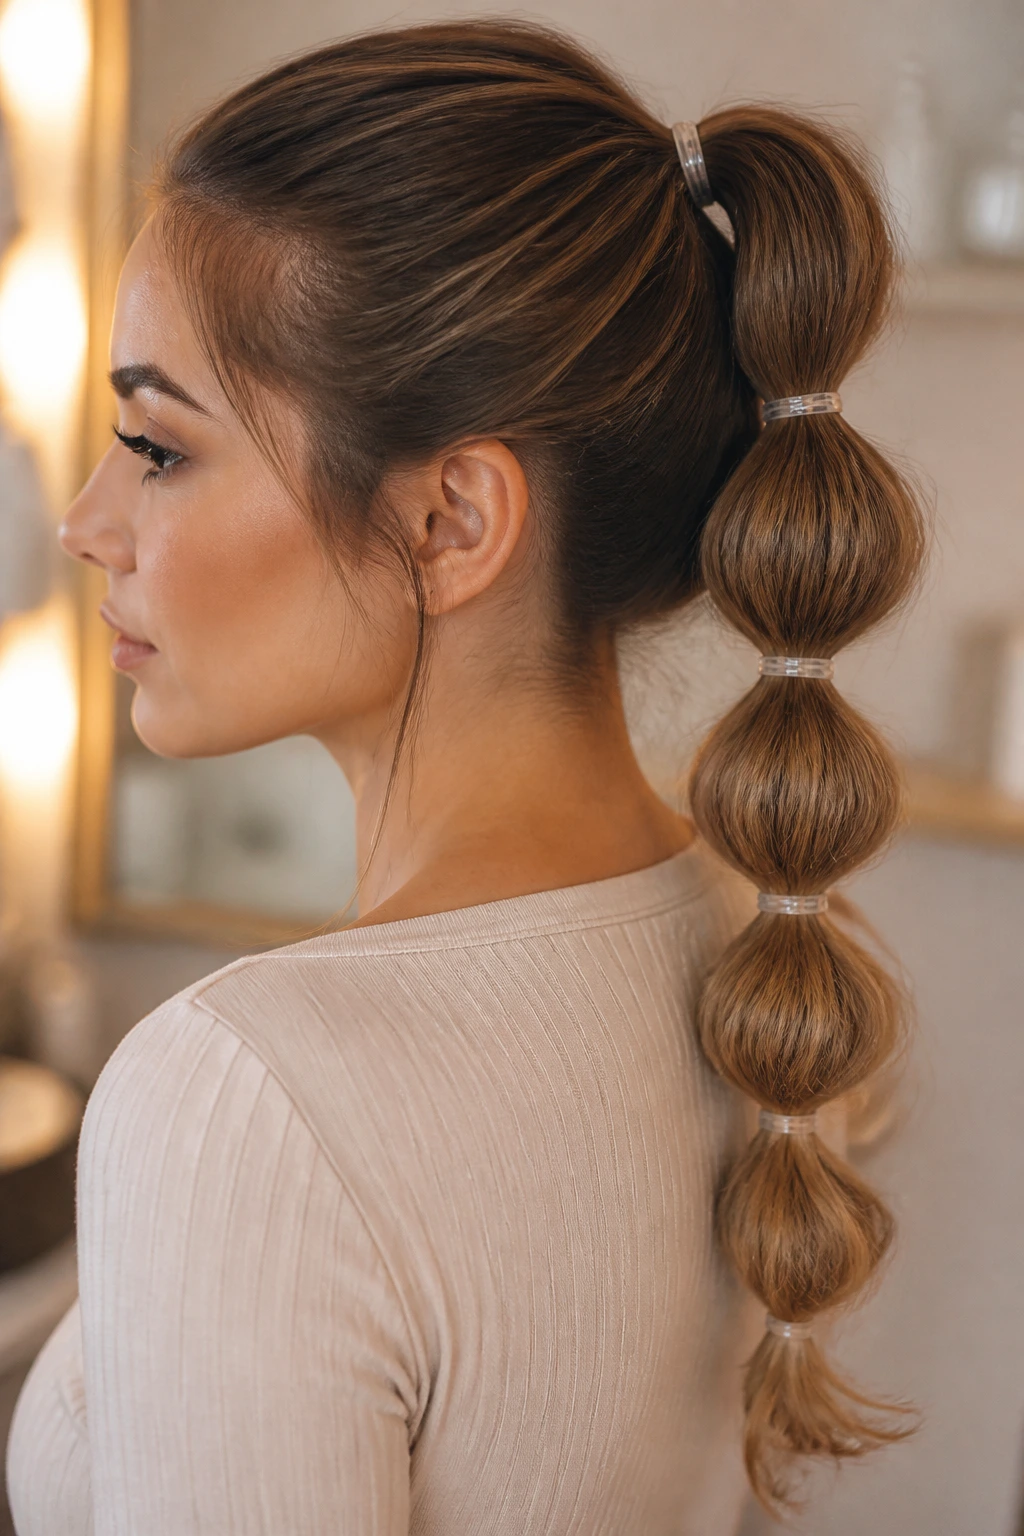
10. The Bubble Pony for Long Hair
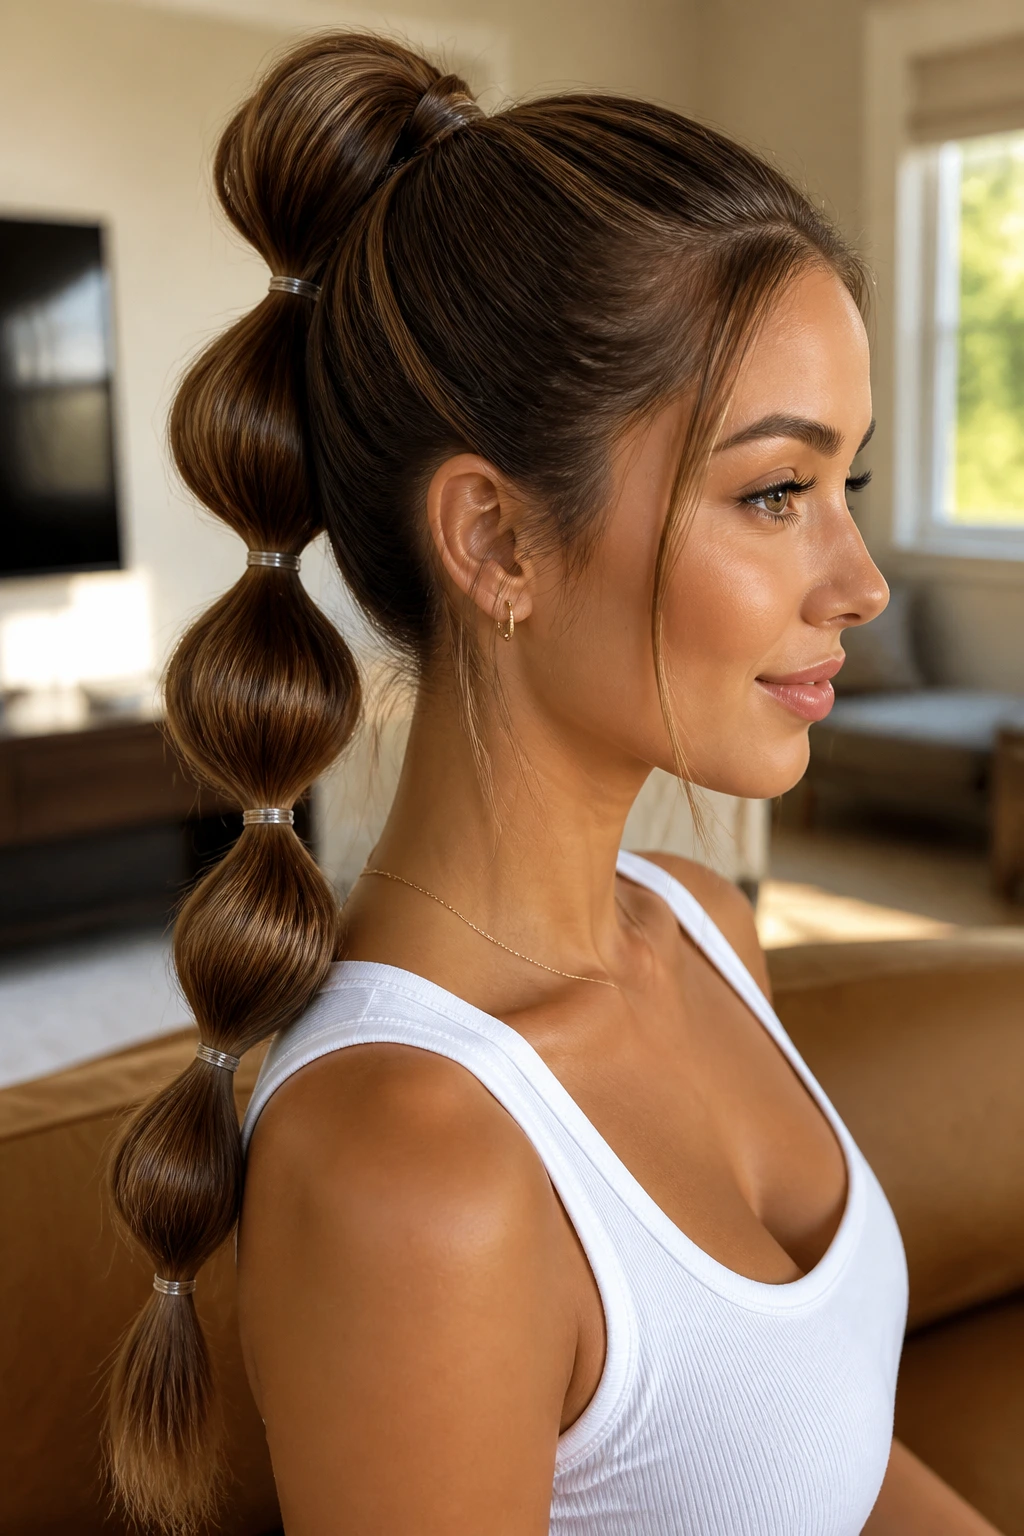
If you have long, thick hair, the bubble pony is your best friend. It breaks up the length and prevents the hair from just hanging like a heavy sheet behind you. It’s also incredibly practical because it keeps the hair from tangling during the day.
Technique for Even Bubbles
The trick here is to use very small, clear rubber bands. Start by tying your hair into a standard ponytail, then add bands every two or three inches down the length. After each band is secured, take the hair between your hands and gently “pancake” it—this means pulling the sides of the hair outward to create the rounded, voluminous bubble shape. Don’t be afraid to pull quite a bit; the bubbles should look full and rounded, not flat.
11. The Twisted Side-Swept Pony
Sometimes a ponytail doesn’t need to be perfectly centered. Sweeping it to the side introduces an asymmetrical element that feels elegant and slightly more romantic than a standard back-of-the-head style.
The Twist Detail
Start by creating a side part, then take a section of hair from the side with more volume. Twist that section back toward the nape of the neck, adding more hair as you go—much like a French braid, but with a twist. Once you reach the center, gather all your hair into a ponytail at the side of your neck. It’s an easy way to make an everyday hairstyle feel like you put in extra effort. This style works best with hair that has a bit of natural wave to it, as the movement of the twist blends seamlessly into the waves of the ponytail.
12. The Retro-Inspired High Pony
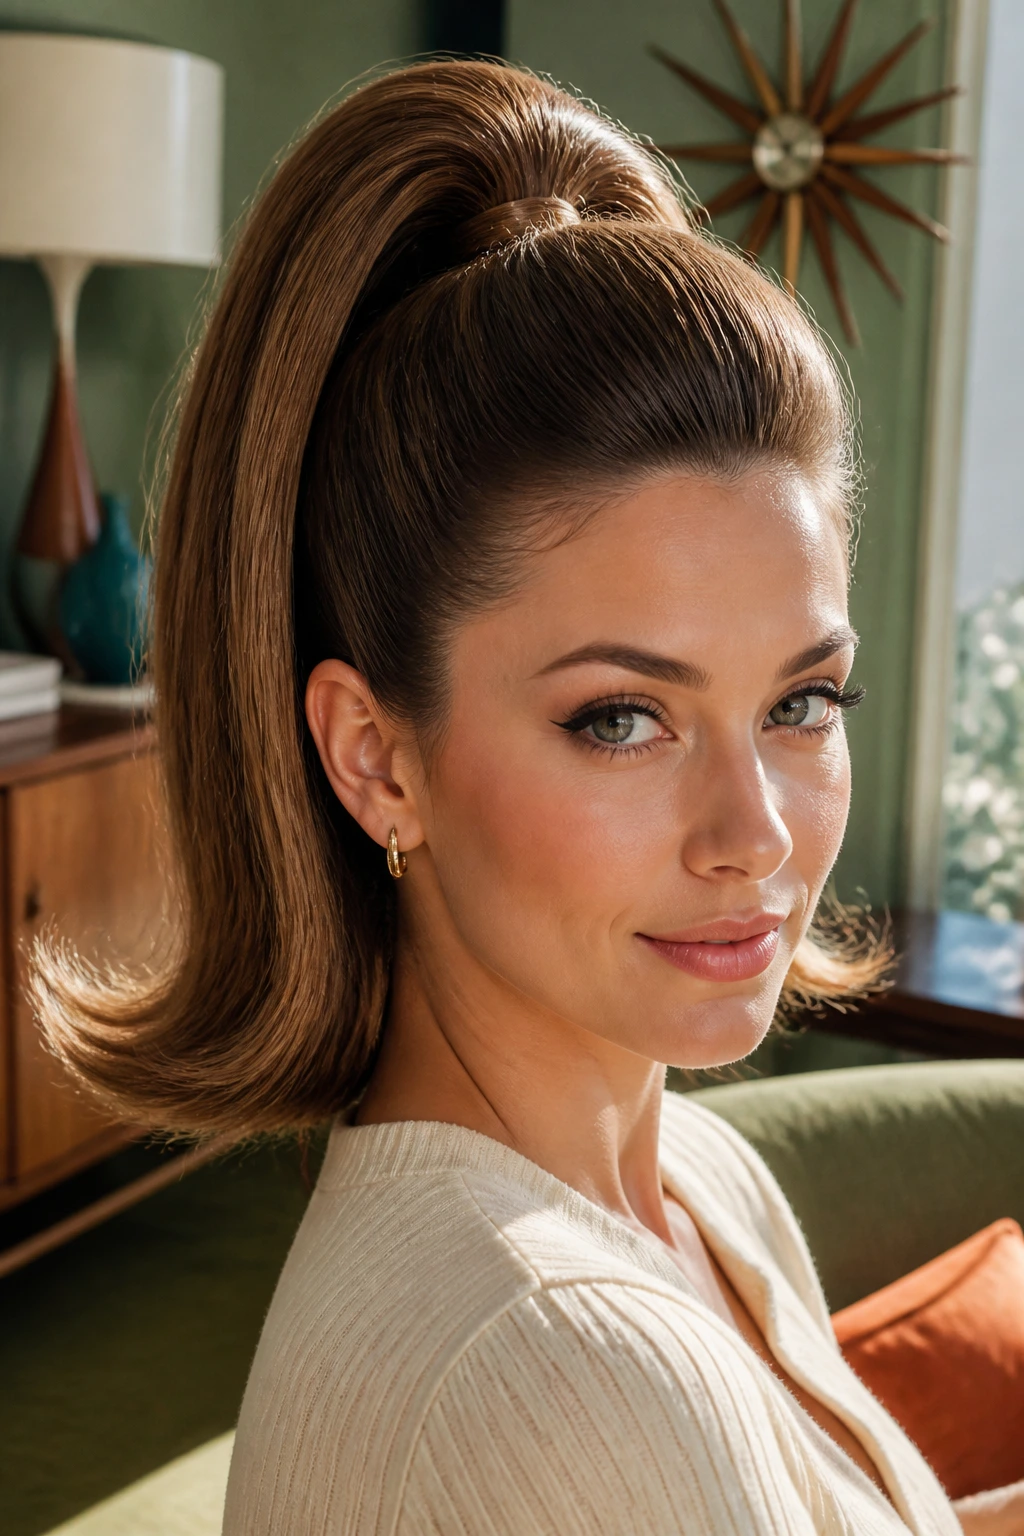
Think of the high, swinging ponytail of the mid-twentieth century. It is defined by its height, its slight flip at the ends, and its absolute commitment to volume at the crown. It’s playful, nostalgic, and surprisingly practical for keeping hair off your neck during warmer months.
Creating the Lift
Before pulling your hair back, use a teasing comb to backcomb the hair at the crown of your head. This provides the internal structure that keeps the ponytail from falling flat. Once you’ve secured the hair in a high, tight pony, take a round brush and a blow dryer to the ends, curving them slightly upward to get that classic, bouncy flip. It’s a bold look, so be prepared for it to grab some attention—it has a lot more personality than a standard, flat ponytail.
13. The Knotted Pony Detail
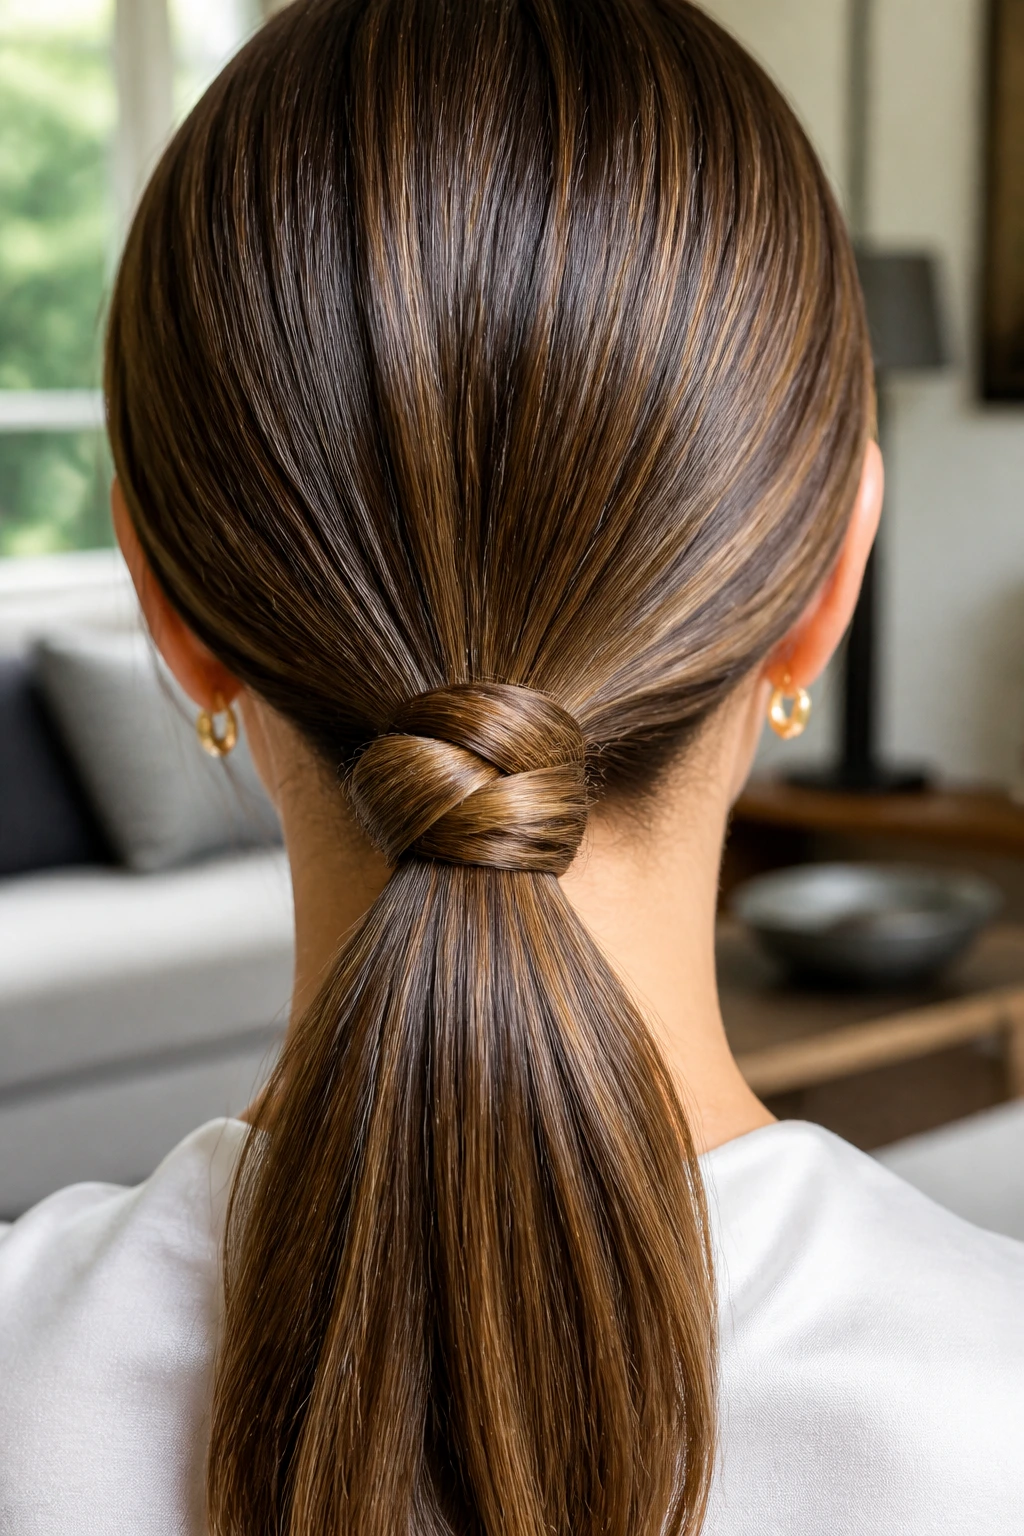
Instead of wrapping your hair around the elastic, try knotting it. This is a subtle, clever detail that looks sophisticated without being overly flashy. It’s a great way to use your hair as the accessory while keeping the overall profile very sleek and clean.
How to Tie the Knot
Separate your ponytail into two equal sections. Tie them together in a simple knot, as if you were starting to tie a shoelace. If your hair is long enough, you can repeat this for a double-knot effect. Secure the hair just beneath the knot with a clear elastic, hiding the band as much as possible. It creates a neat, graphic look at the base of the ponytail that is visually interesting but entirely professional.
14. The Low Pony with Face-Framing Tendrils
This is the ultimate “I woke up like this” look. It’s soft, approachable, and incredibly flattering. By leaving two thin sections of hair out at the front, you create a soft frame for your face that makes the entire style feel less formal and more relaxed.
Managing the Tendrils
Don’t just pull the hair back and let random strands fall out. For this look to work, the tendrils should be deliberate. Use your fingers to pull out a few thin sections near your temples and ears before you secure your ponytail. If you want a more polished vibe, give those tendrils a quick curl with a small wand. Keeping the ponytail low and the rest of the hair relatively smooth ensures the face-framing pieces don’t look like an accident, but rather a carefully planned aesthetic choice.
15. The Wrapped-Base High Pony
High ponytails can be difficult because the base often becomes the focal point. Wrapping the base is the best way to clean up the look, but you can elevate this further by using a thicker section of hair.
The Wrap Technique
After pulling your hair into a high ponytail, take a section of hair that is at least one inch wide—don’t be shy with the volume here. Wrap it around the base and secure it with two bobby pins, one on either side of the base, pointing downward. This prevents the wrap from unraveling as you move throughout the day. Using a larger section of hair makes the pony look thicker at the connection point, which is a great trick for making the overall style appear more luxurious.
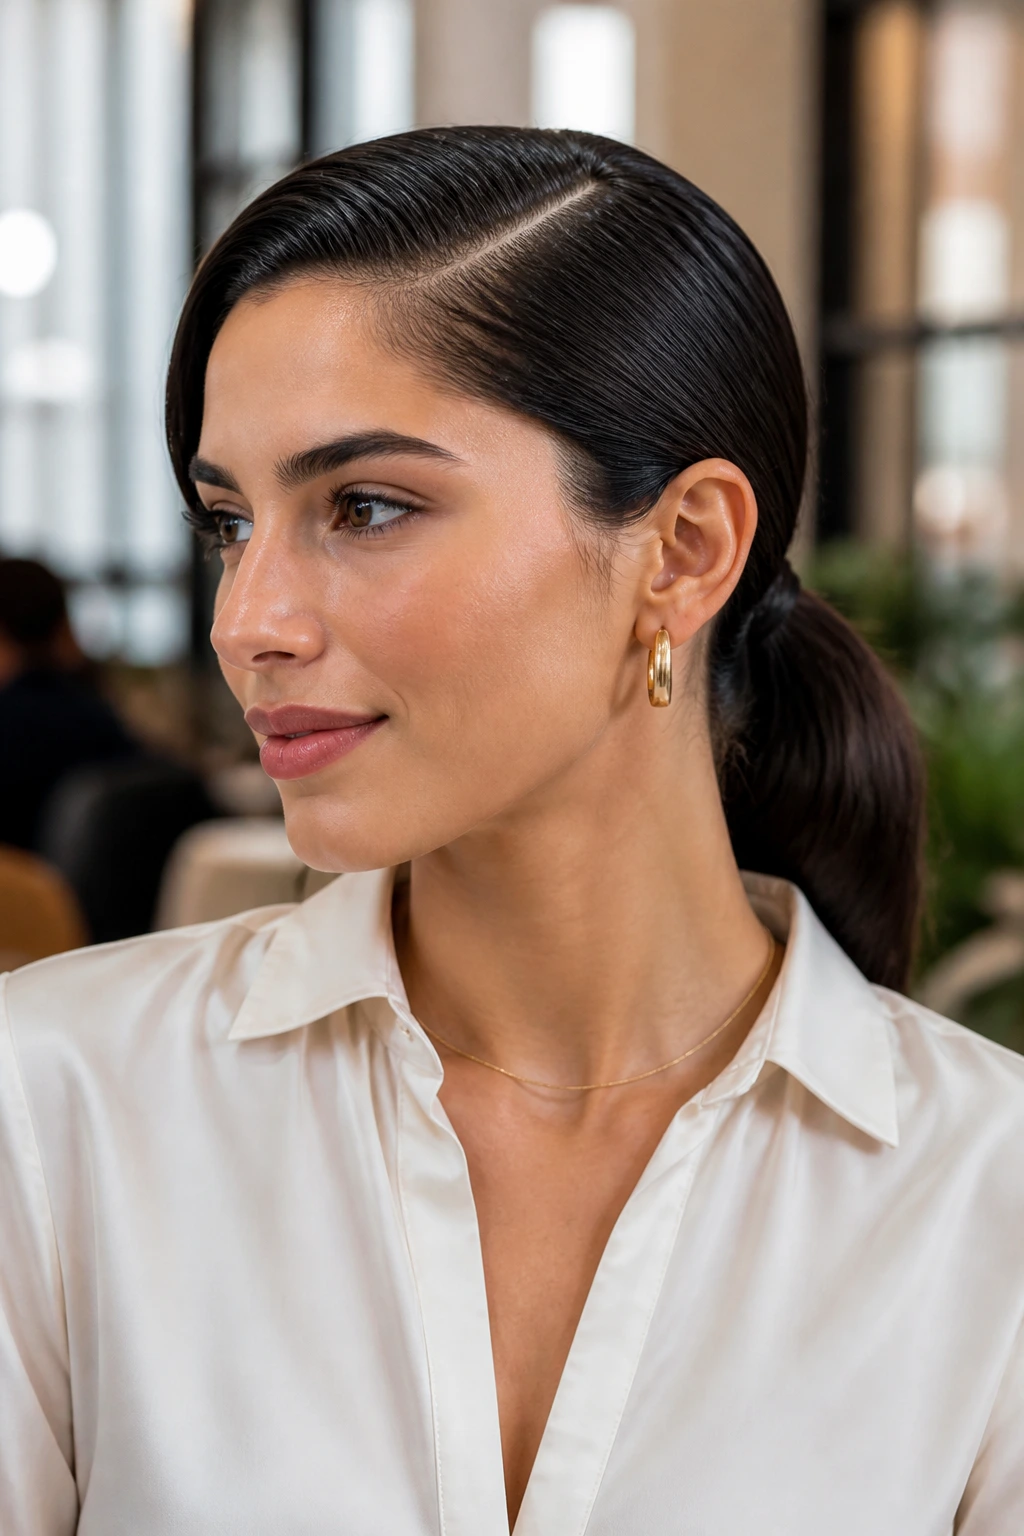
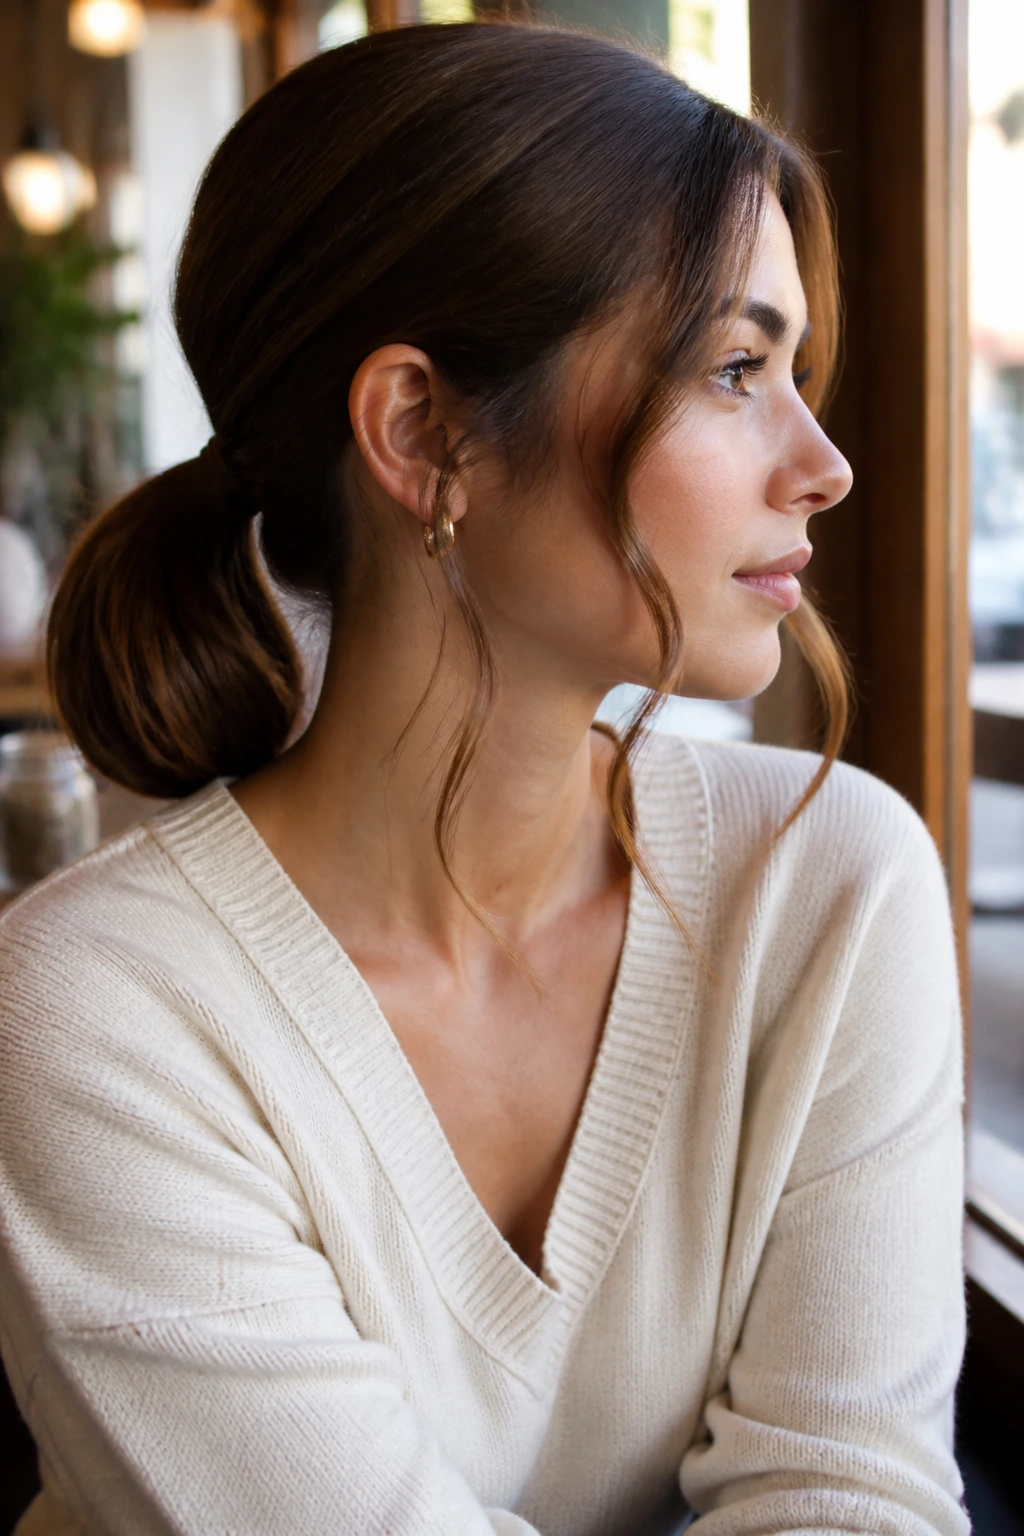
16. The Sleek Low Pony with a Middle Part
This is the refined, modern cousin of the messy pony. It is all about clean lines, sharp angles, and a polished, professional finish. It looks particularly stunning with statement earrings, as the hair is kept well away from the face.
Maintaining the Tension
The biggest mistake people make with a middle-part pony is letting the hair bunch up at the temples. You want the hair to lie completely flat against the sides of the head. Use a boar-bristle brush to smooth the hair back in small sections, adding a tiny amount of hair oil to the length of the pony to give it a high-shine, healthy finish. This is a very “high fashion” style that is surprisingly easy to do if you have the right tools—a good brush and a high-quality styling product are non-negotiable here.
17. The Braided-Tail Pony
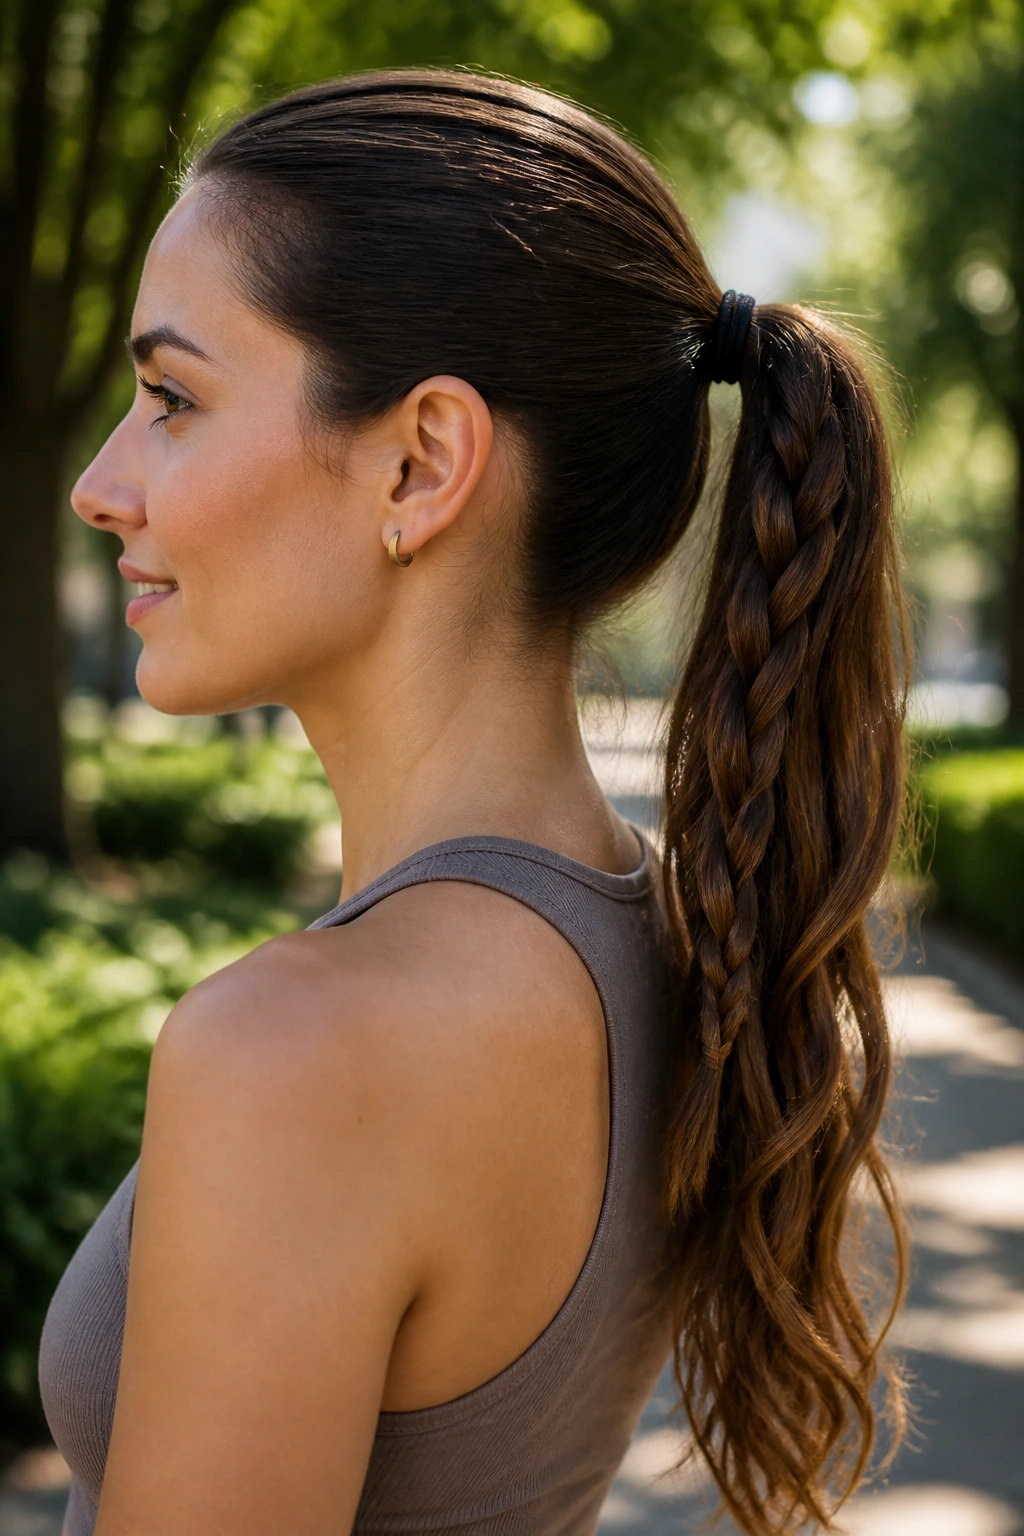
If you have a long ponytail, why stop at the base? Incorporating a braid into the tail of the pony keeps your hair contained and looks infinitely more interesting than just a loose tail.
Braid Styles for Every Occasion
You can go with a simple three-strand braid, a fishtail, or even a Dutch braid depending on your skill level. A fishtail braid creates a beautiful, intricate texture that looks much harder to do than it actually is. Because the ponytail base is already secured, you don’t have to worry about the hair slipping out of place while you’re braiding. It’s a great style for active days or long commutes where you want your hair to stay pristine from morning until night.
18. The Ribbon-Tie Pony
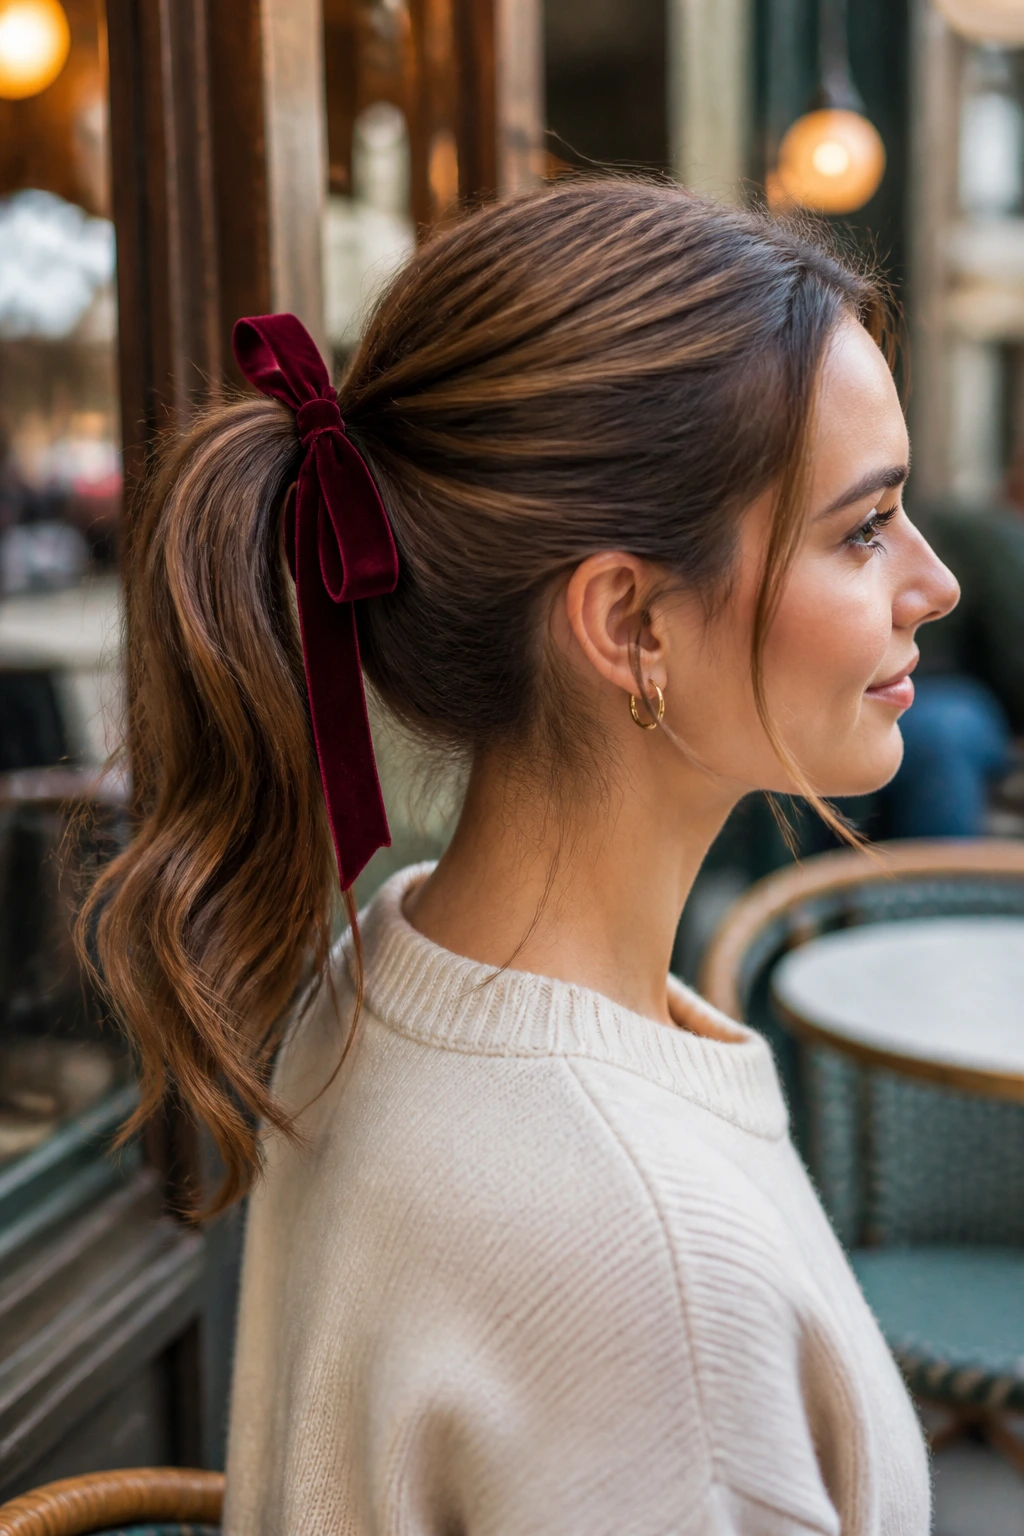
Sometimes, simple is truly better. A velvet or silk ribbon tied into a bow over your hair elastic is a trend that is not going anywhere. It’s incredibly feminine and adds a soft, tactile element to an everyday look.
Choosing Your Ribbon
A velvet ribbon feels luxurious and works perfectly for more formal or polished occasions, while a thin grosgrain or silk ribbon is ideal for everyday wear. To keep the ribbon from sliding off, tie it in a double knot before making the bow. It works well with both high and low ponytails, but I find it looks particularly charming with a slightly messy, mid-height pony. It turns a basic hair accessory into the centerpiece of your hairstyle.
Final Thoughts
The beauty of the ponytail is that it adapts to your needs, whether you are rushing out the door or spending time perfecting a specific look. You have the freedom to experiment with placement, texture, and accessories until you find the variations that make you feel most comfortable. Remember that the “perfect” ponytail isn’t just about the hair tie—it’s about how you prep the hair, where you position the base, and how you choose to finish the details. Take these techniques and mix them up; your everyday style is meant to be a playground for your personal taste.