Curly hair has a reputation for being difficult to braid, but that’s largely a misconception born from trying to treat curls like pin-straight strands. When you work with the natural volume and coil of curly hair, braids don’t just stay in place better—they gain a structural integrity that flat hair simply cannot achieve. A fishtail braid, in particular, relies on the texture and “grip” that your curls provide. Because each small section of hair has its own natural bend, the weave of a fishtail doesn’t slip the way it would in silky, straight hair.
Think of your curls as the ultimate styling tool rather than an obstacle. Instead of forcing your hair into submission with excessive heat or heavy products, you’re using the inherent pattern of your hair to build a scaffold for the braid. Whether you are dealing with loose, beachy waves or tight, springy coils, the fishtail braid is surprisingly forgiving. It thrives on the slightly messy, piecey look that curls create naturally. If you’re ready to stop fighting your texture and start working with it, here are twenty-two ways to incorporate the fishtail into your rotation.
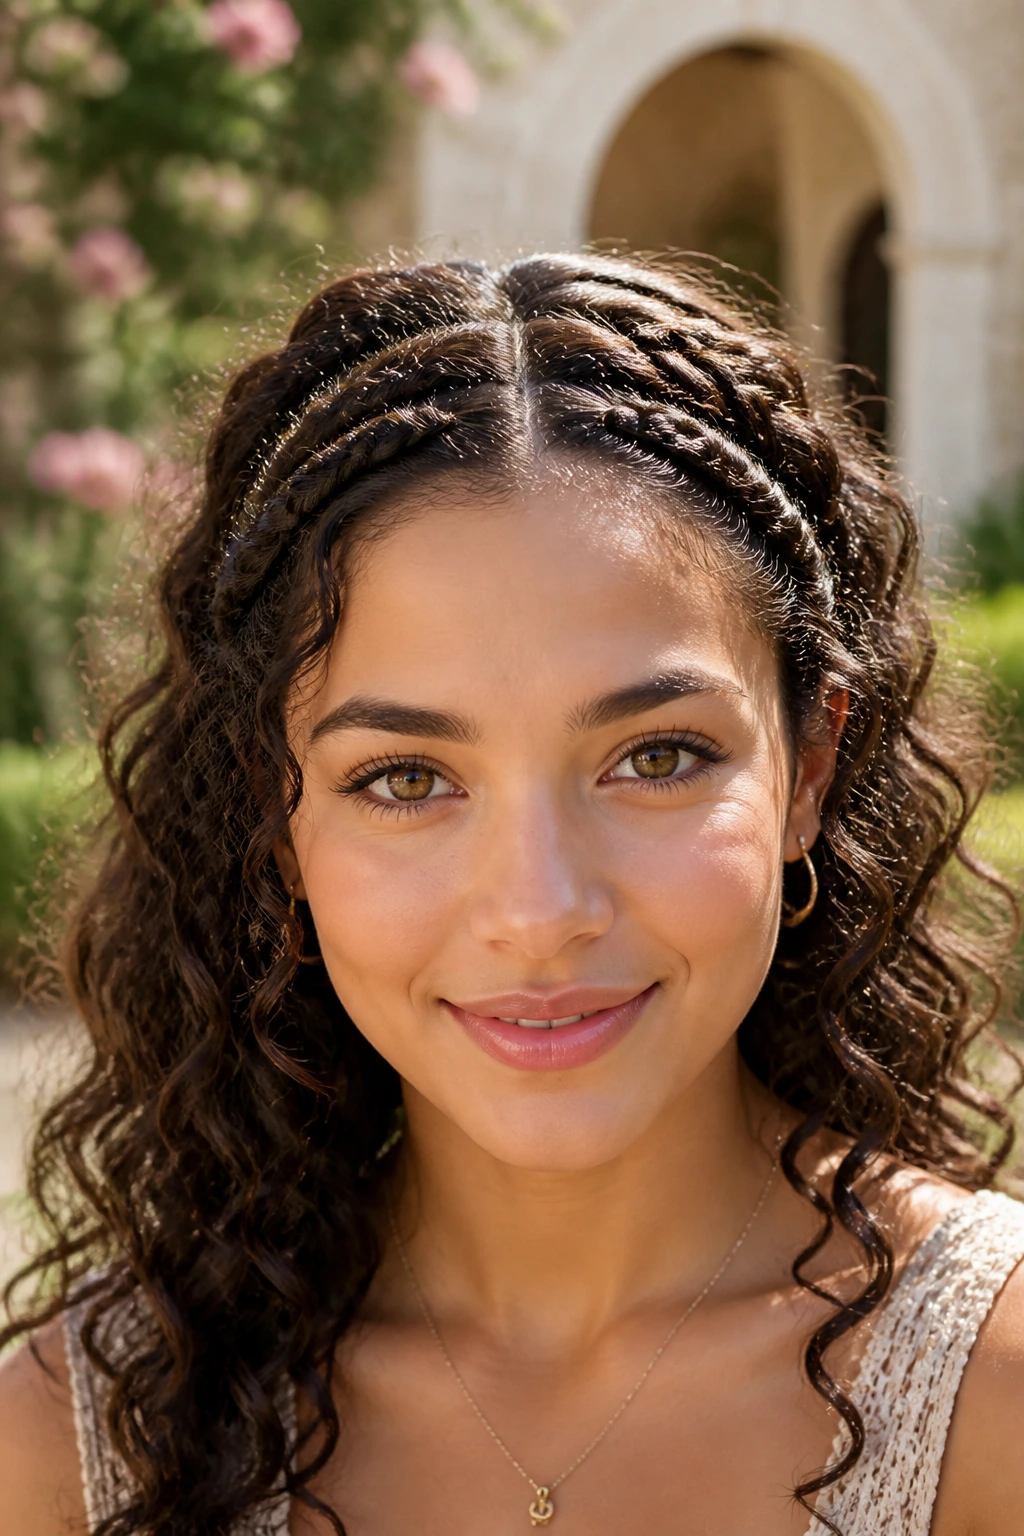
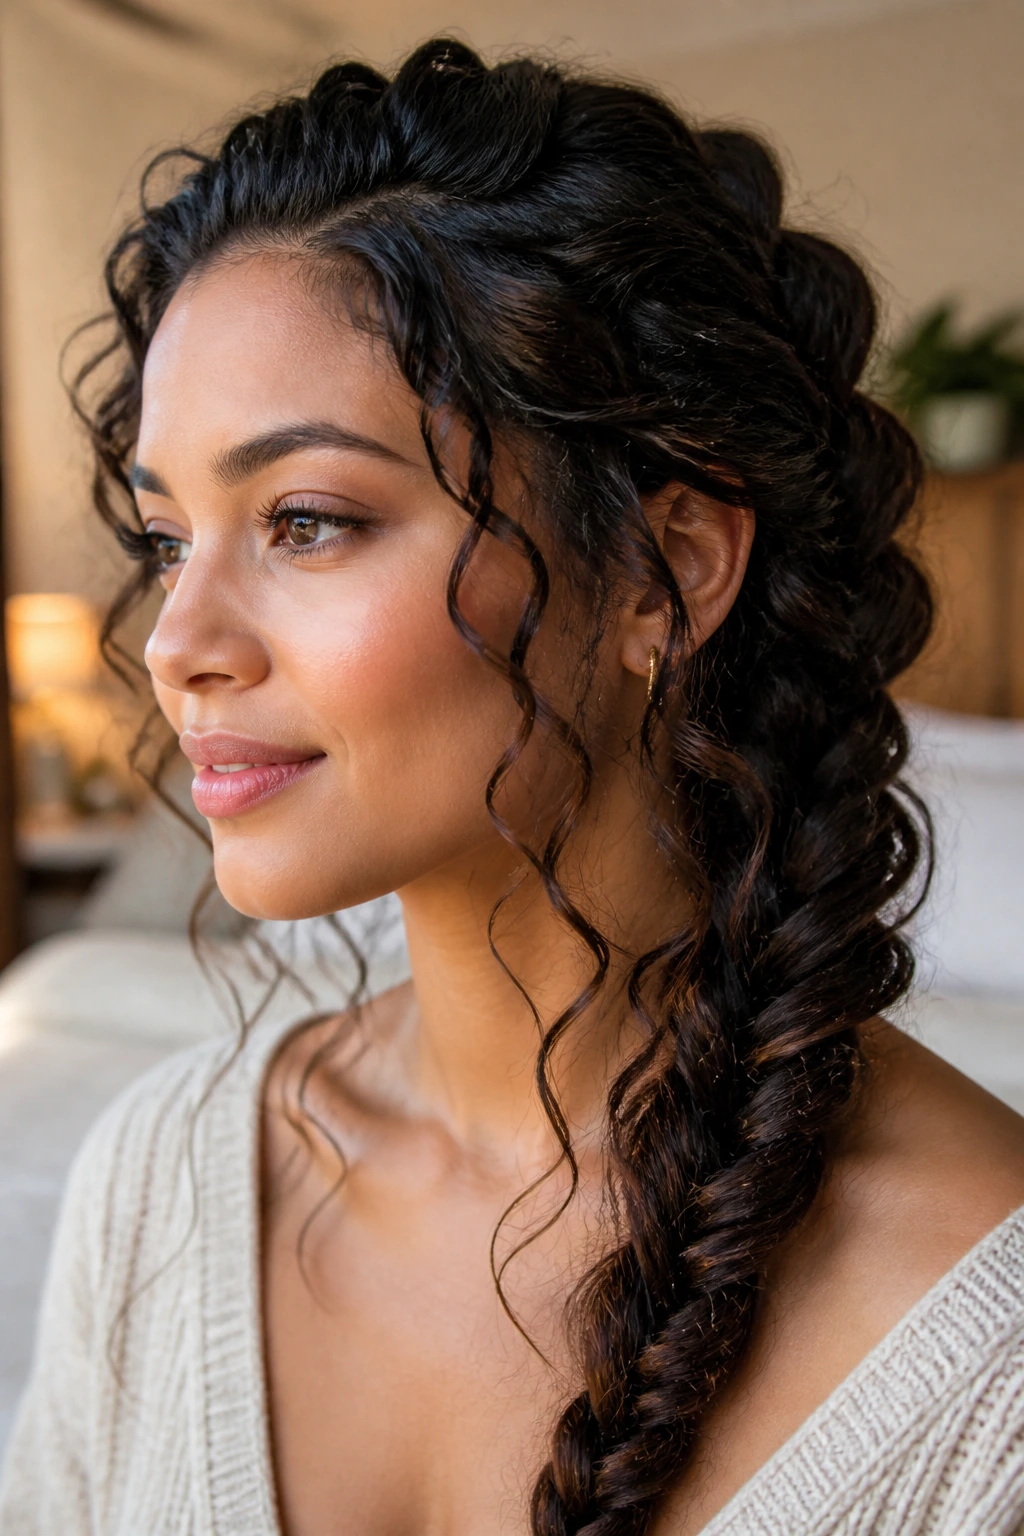
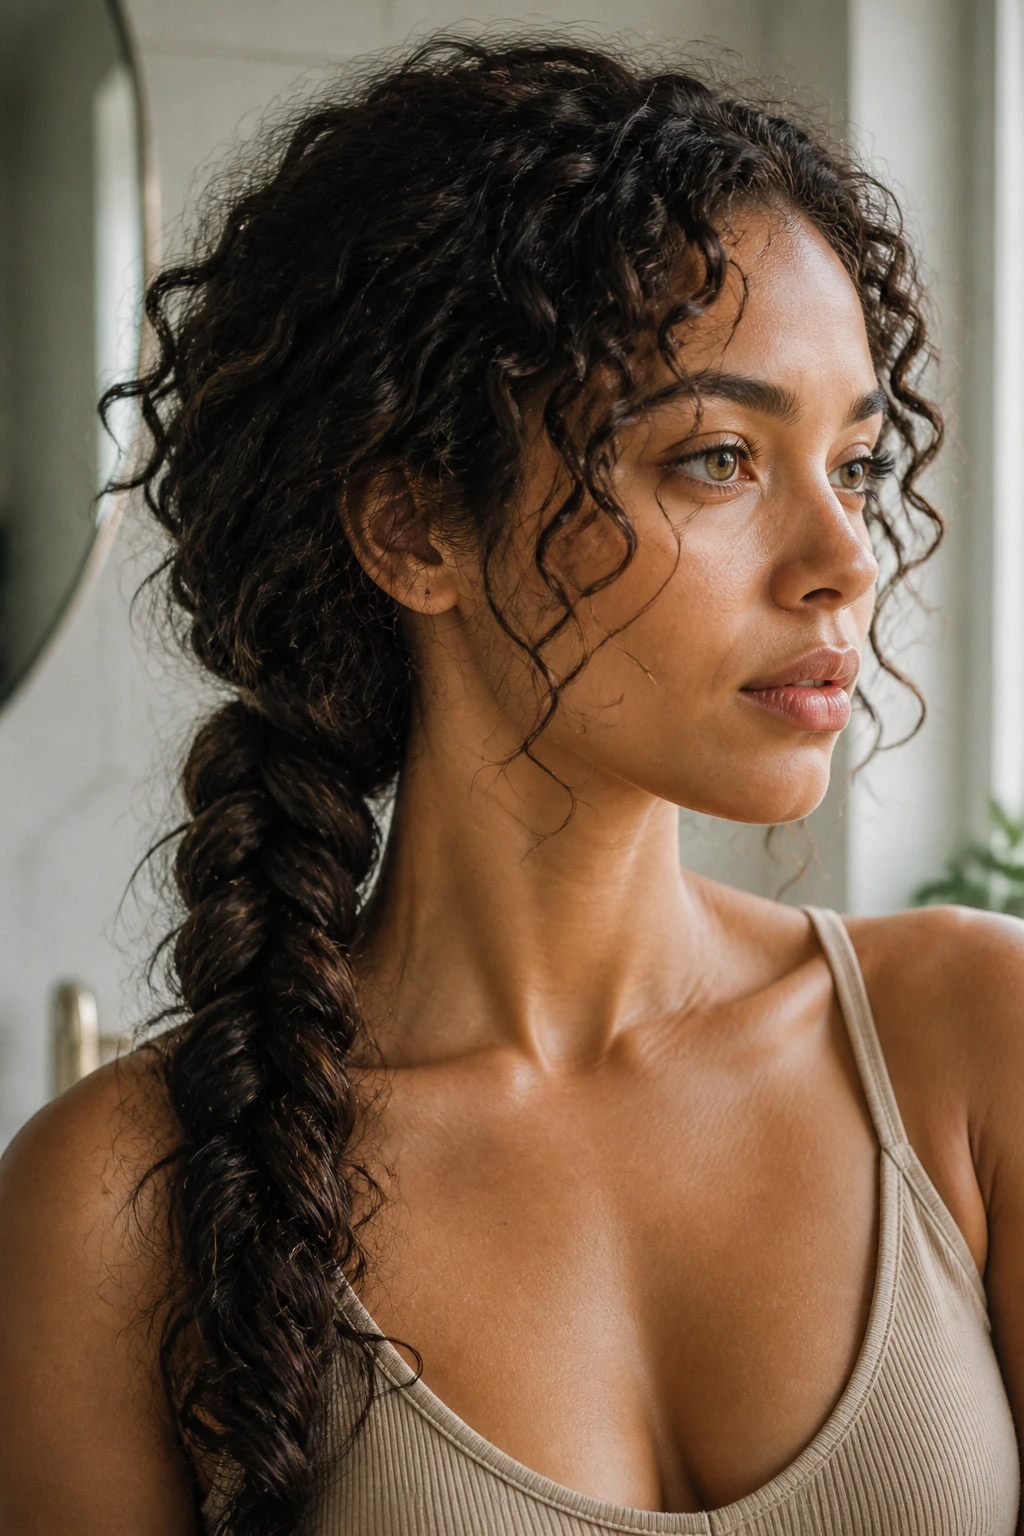
1. The Classic Low Fishtail Pony
Sometimes the most straightforward approach is the best one, especially when your curls are having a particularly good day. This style pulls your hair back at the nape of the neck, keeping the bulk of your curls contained while allowing the fishtail to act as a structured focal point. You don’t need to worry about absolute perfection here; the stray curls that escape the braid only add to the charm.
How to Achieve the Look
Start by gathering your curls into a loose, low ponytail and securing them with a snag-free elastic. Divide the ponytail into two equal sections. Take a tiny strand from the outer edge of one section and cross it over to the inside of the opposite section. Repeat this, alternating sides, until you reach the ends of your hair. Secure with a small, clear elastic and gently pull at the sides of the braid to create a looser, fuller effect.
Essential Tips for Curly Fishtails
- Texture is your friend: Do not attempt this on freshly straightened hair. The braid will hold much longer if your hair has a little bit of second-day grit or a light application of sea salt spray.
- Hide the band: Take a small section of hair from the underside of your ponytail and wrap it around the base elastic, pinning it in place with a bobby pin to give the style a professional, polished finish.
2. Double Fishtail Headband Braid
This style is an excellent way to keep your hair out of your eyes during warmer months or when you’re working on a project that requires focus. By creating two parallel fishtail braids that run along the hairline, you effectively create a natural crown that highlights your curl pattern without needing a separate headband accessory.
Creating the Symmetry
Part your hair down the center and section off a two-inch wide portion on either side near your forehead. Begin a Dutch-style fishtail braid—meaning you cross the strands under rather than over—to create a more defined, raised look. As you braid along the hairline toward your ears, incorporate small additions of hair from the crown to ensure the braid stays flush against your scalp. Once you pass your ears, switch to a standard fishtail braid to finish the lengths, tucking the ends away under the rest of your hair at the back.
Styling for Volume
If your curls are particularly tight, don’t feel the need to pull the braid apart for volume. Instead, use a lightweight finishing oil to smooth down any flyaways along the hairline. This creates a clean, intentional contrast between the sleek, controlled braid and the wild, bouncy curls left loose in the back.
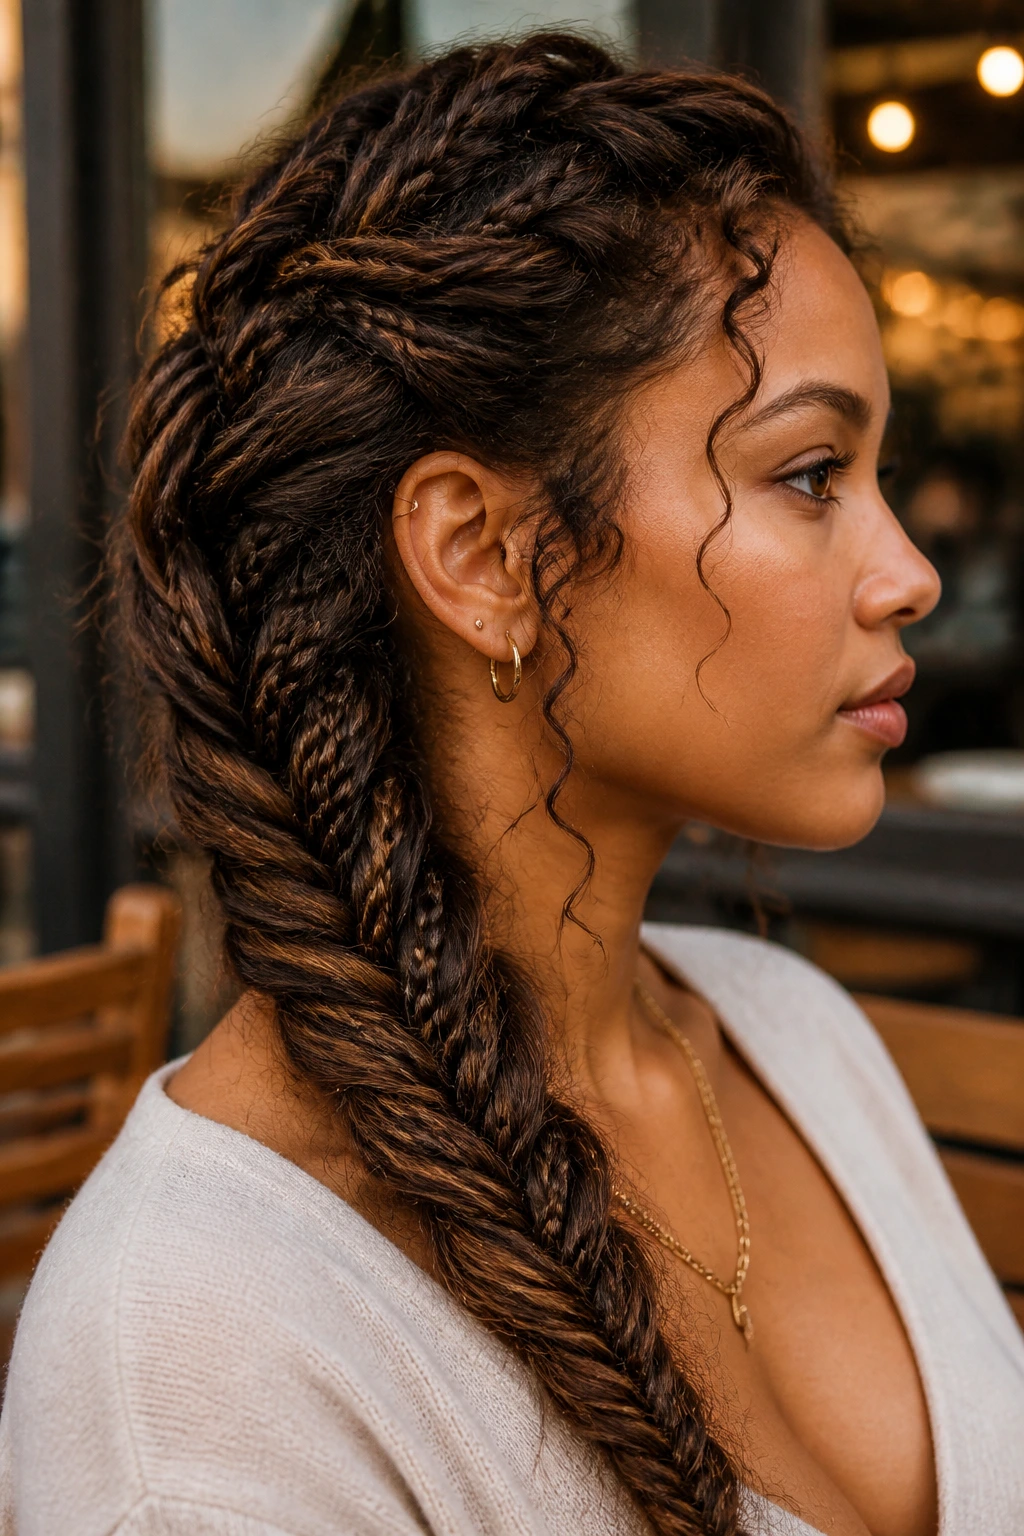
3. The Messy Side-Swept Fishtail
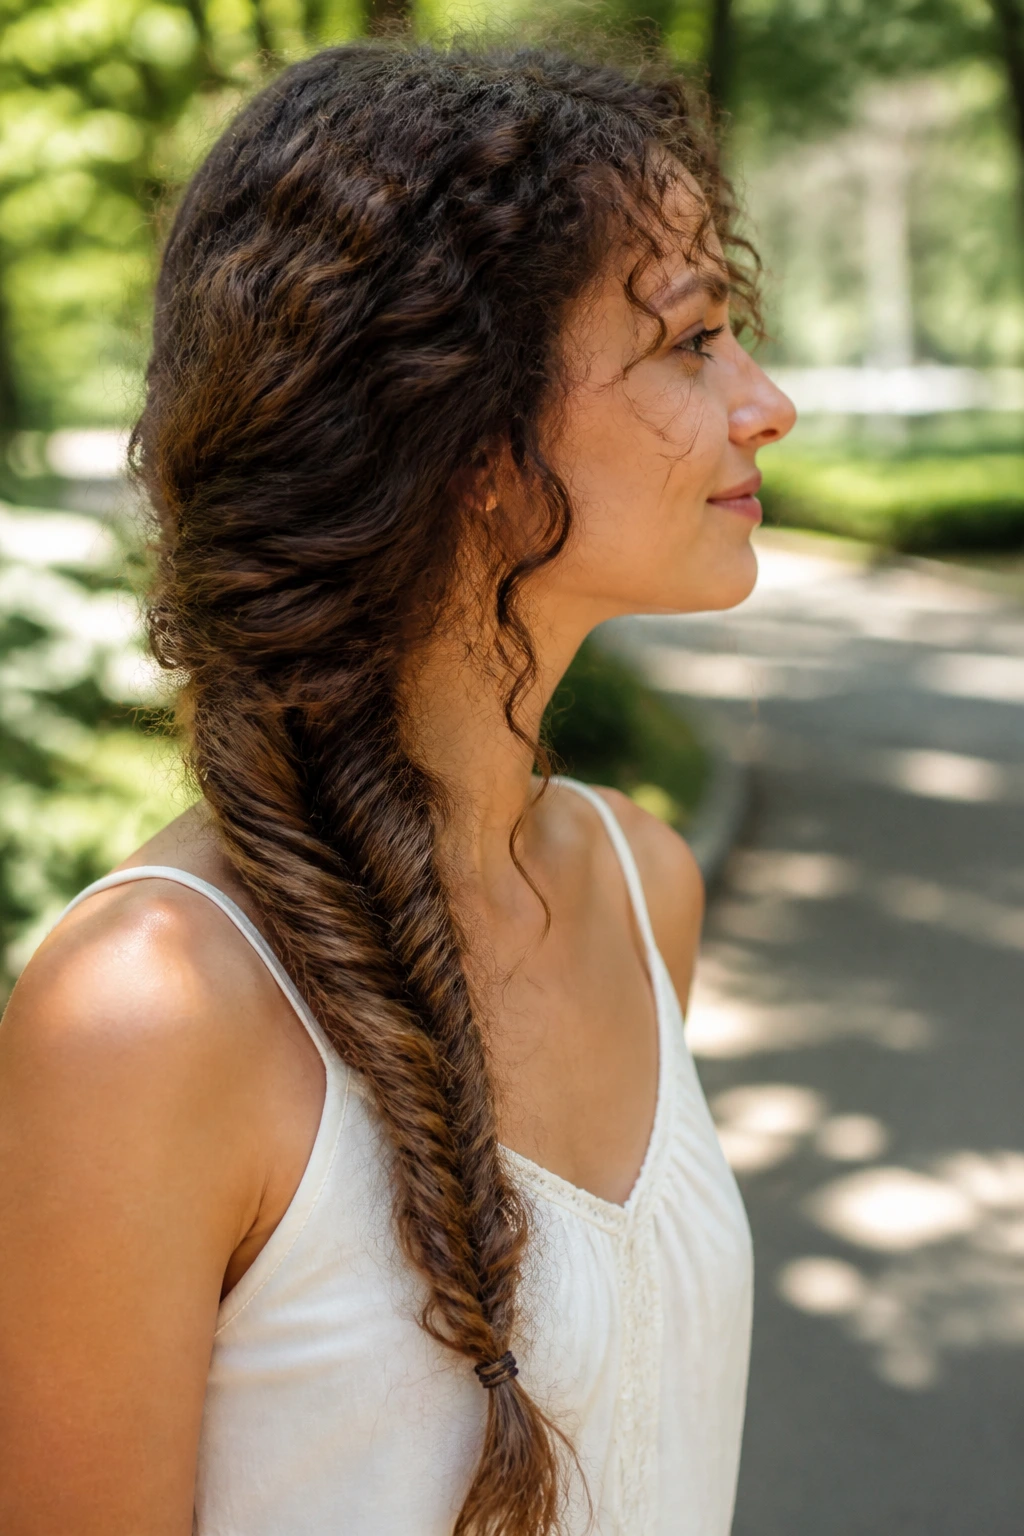
There is something inherently romantic about a side braid, and when combined with the depth of curly hair, it feels like something out of a period drama. This style is meant to look lived-in and slightly undone, making it a perfect choice for casual outings where you want to feel put-together but not formal.
Why It Works for Curly Textures
Curly hair provides the necessary “friction” to keep the braid from unraveling throughout the day. In straight hair, this style often requires a mountain of hairspray to keep the layers from poking out, but with curls, the layers just blend into the weave.
Execution Details
Sweep all of your hair to one side—pick your preferred side based on where your hair naturally parts—and begin your fishtail braid. Since this style is intended to be loose, do not start your braid too high. Start it behind your ear or even lower down the neck. Once you’ve completed the braid, use your fingers to tug at every single link, starting from the bottom and working your way up. This technique, often called “pancaking,” is essential for making the fishtail look thick and voluminous.
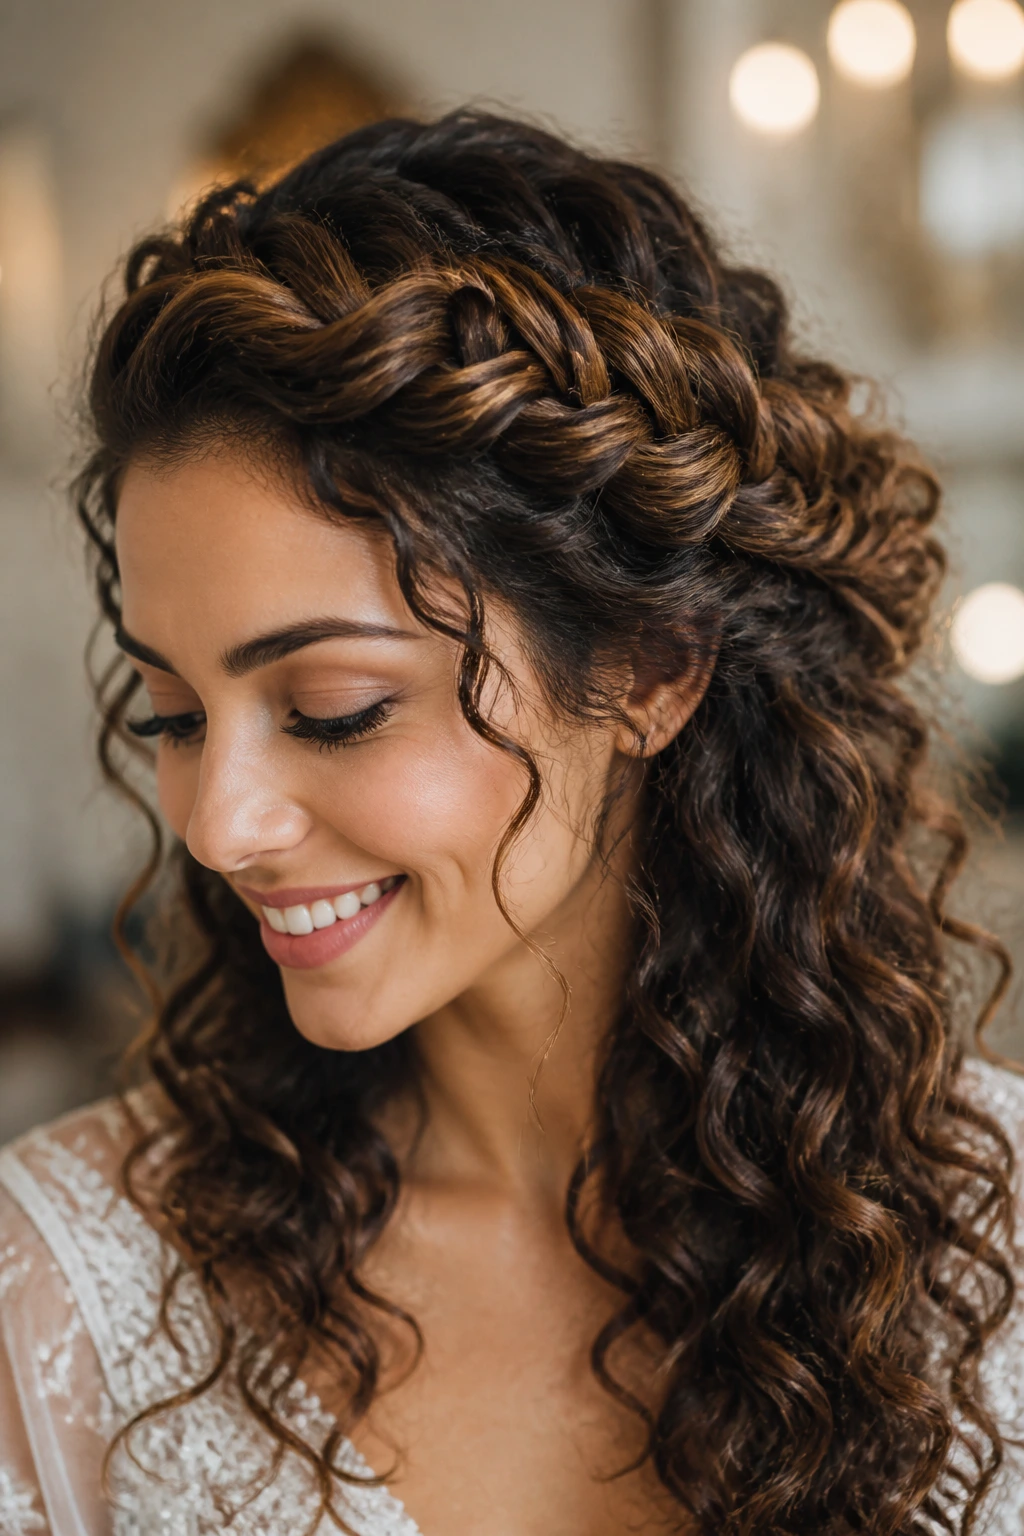
4. Half-Up Fishtail Crown
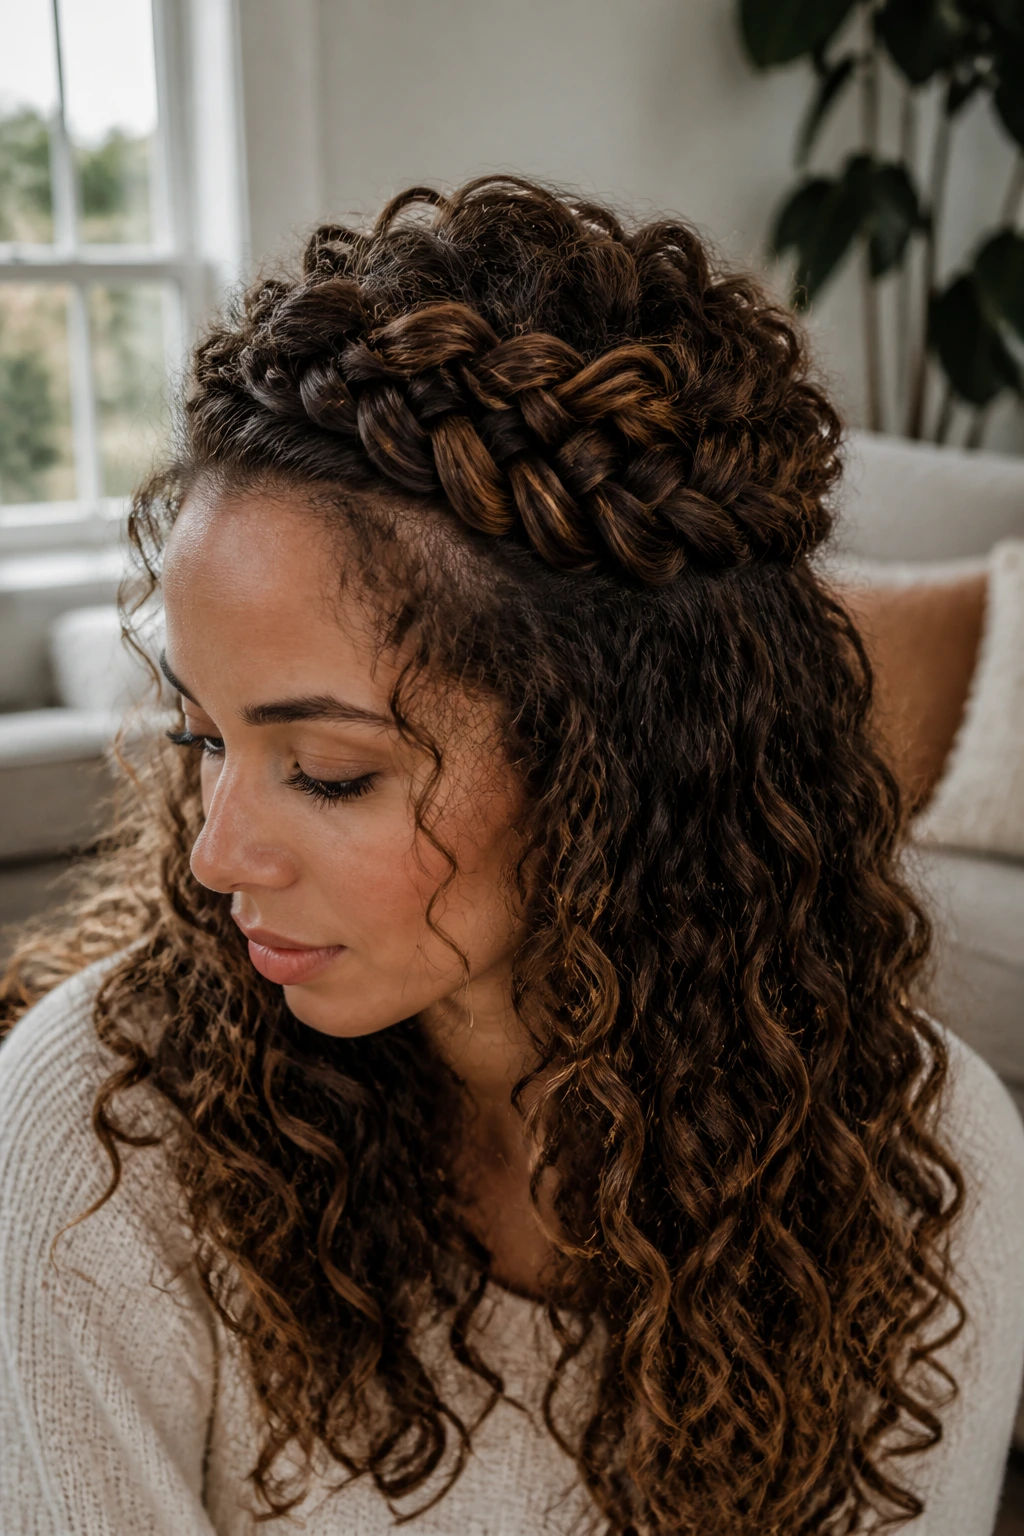
When you want the benefit of a braid but aren’t ready to sacrifice the drama of your full head of curls, the half-up approach is the best compromise. This style works beautifully with all hair lengths, from shoulder-length bobs to long, cascading layers.
Constructing the Half-Up
Section off the top half of your hair, starting from the temples and gathering back toward the crown. You can choose to create two smaller fishtail braids on the sides that meet in the middle, or pull everything into a single, centralized braid that sits like a waterfall over your loose curls.
Why This Style Succeeds
By only braiding the top portion, you significantly reduce the amount of hair you have to manage. It’s a great style for those mornings when you’ve overslept but still want to look like you put in extra effort. A quick tip: if your curls are prone to frizz, use a small amount of leave-in conditioner on the braid sections before you start weaving, as it will make the strands much easier to separate and cross.
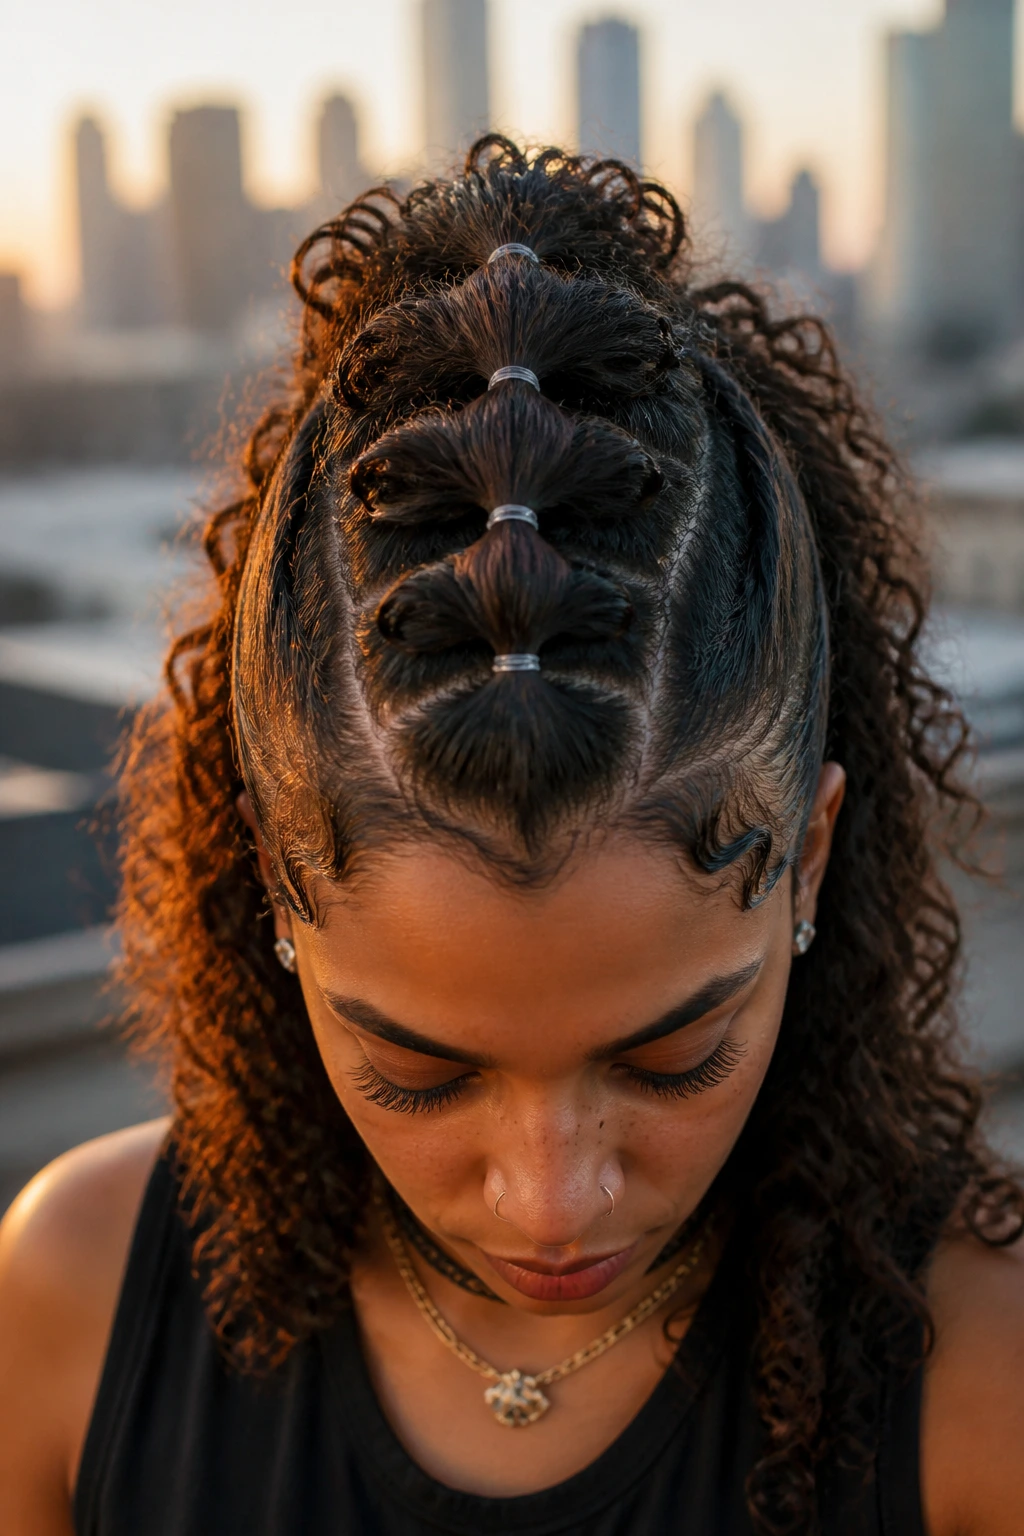
5. The Triple-Threat Fishtail Mohawk

This is for the person who isn’t afraid to make a statement. It uses three separate fishtail braids that run from the forehead to the nape, mimicking the look of a mohawk without the commitment of a razor. It is sharp, angular, and incredibly effective for showcasing a distinct, well-defined curl pattern.
How to Map the Sections
Divide your hair into three distinct longitudinal sections. Use a rattail comb to create clean, straight parts—this is crucial because the parts will be visible. Secure the side sections temporarily with clips while you work on the center section first.
The Braid Technique
- Start the center braid at the hairline.
- As you braid, pull the braid tighter than you would for a standard fishtail to ensure it sits securely against the scalp.
- Once the center braid is secured with a small elastic, move to the side sections.
- Bring the side sections up and toward the center, feeding them into the middle braid or keeping them as separate, parallel braids depending on the final look you desire.
6. Fishtail Braids with Ribbon Inlay
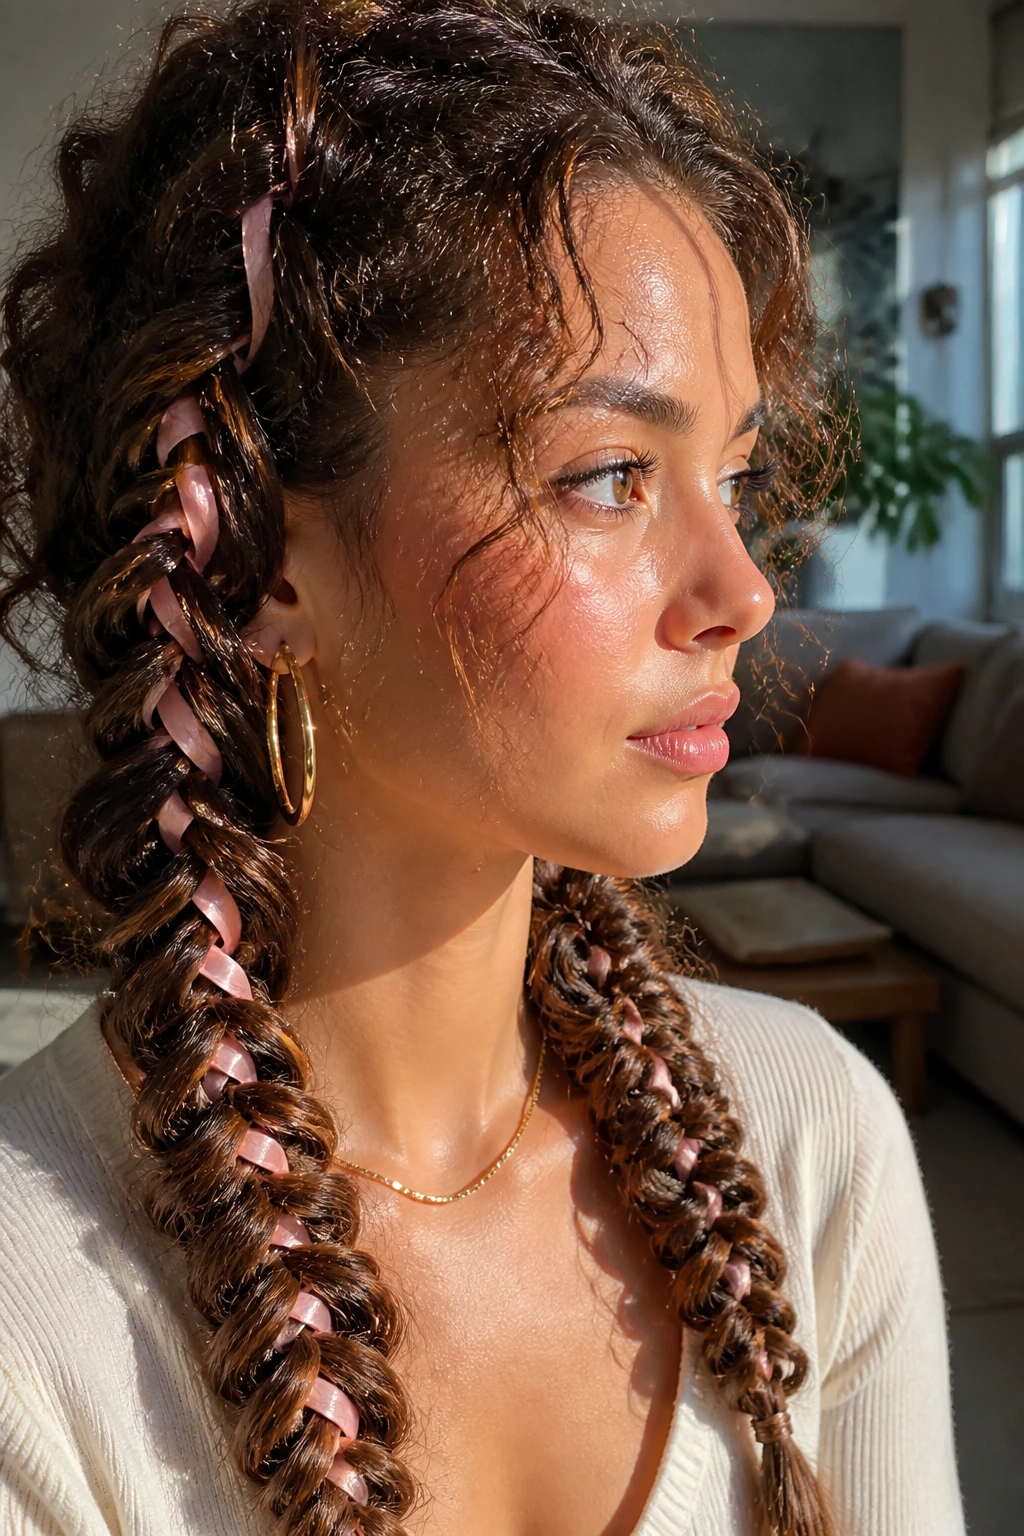
Incorporating a velvet or satin ribbon into your fishtail braid adds a pop of color and a touch of sophistication that elevates the hairstyle from “gym-ready” to “party-ready.” The ribbon also provides extra structural support, which is useful if your hair is on the finer side.
Weaving the Ribbon
Fold your ribbon in half and secure the center point to the base of your ponytail using a bobby pin or a discreet elastic. Divide your hair into two sections as usual, but treat the ribbon as part of one of the sections.
Aesthetic Advice
Choose a ribbon color that contrasts with your hair for a bolder look, or go monochromatic for something more subtle. Because curly hair has more visual texture, you don’t need a wide ribbon to make an impact—a thin quarter-inch ribbon often looks more refined and prevents the braid from feeling too bulky.
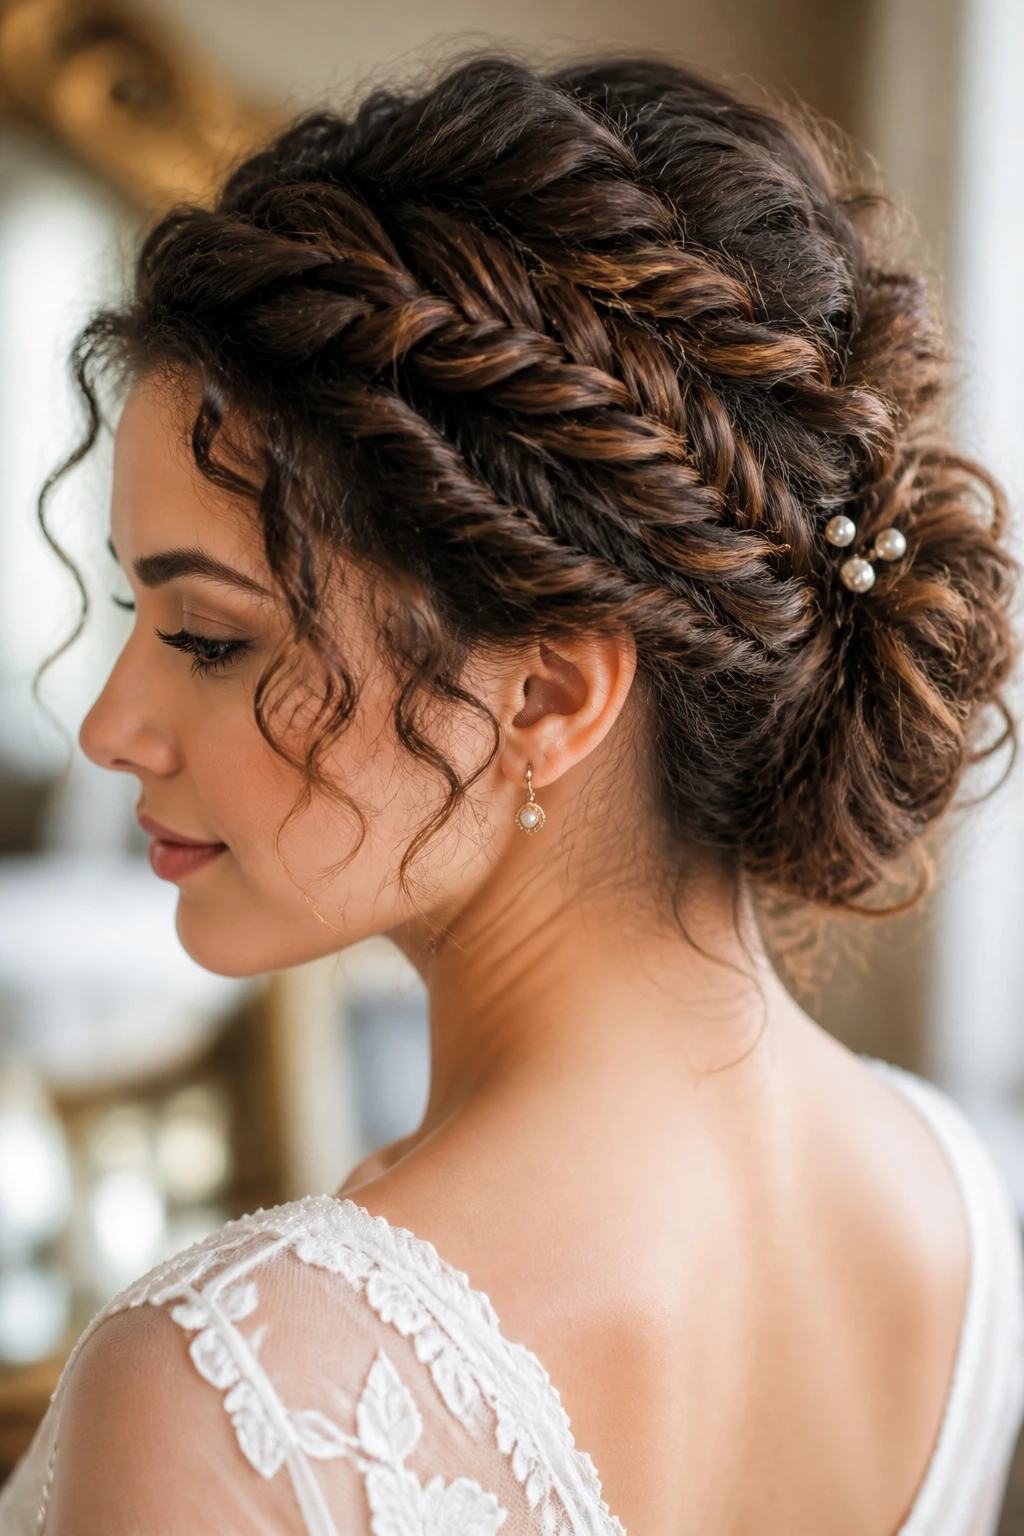
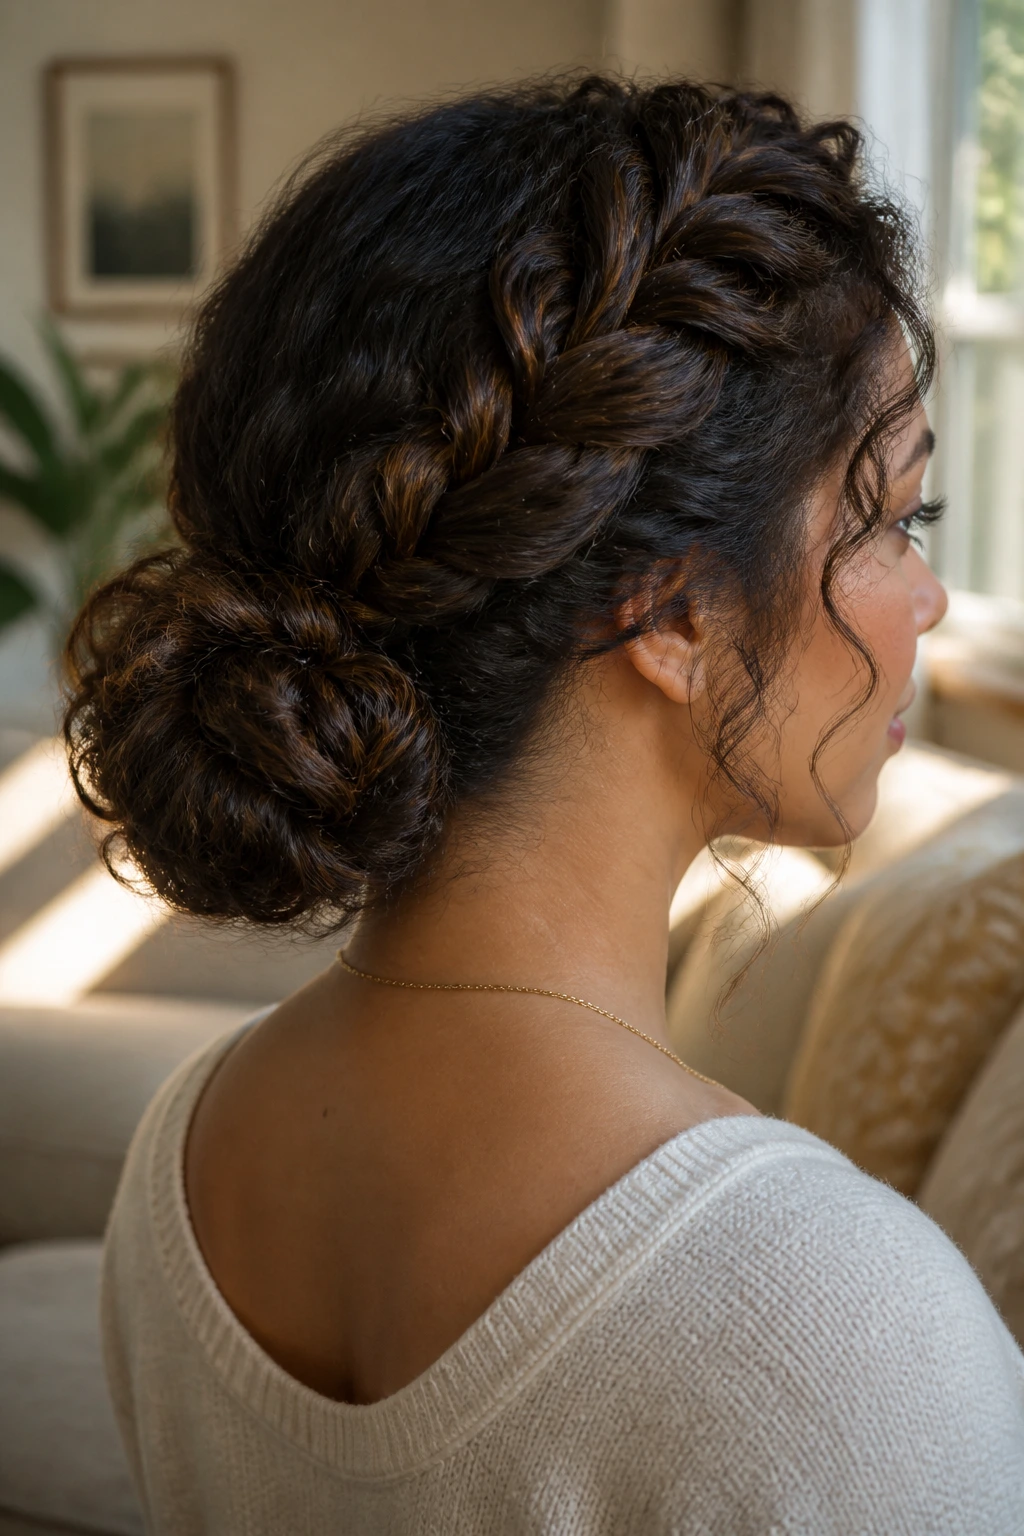
7. The Boho Fishtail Updo
This style is the ultimate solution for formal events like weddings or evening galas. It involves braiding the hair into two fishtails and pinning them up into a low bun or a crown of coils. It looks complex, yet it relies on the same basic fishtail mechanics you’ve already mastered.
Steps to the Updo
Create two fishtail braids, one on each side of your head. Once finished, pancake them until they are quite loose and wide. Take the left braid and sweep it over to the right side, tucking the end behind the right ear or pinning it into the nape. Repeat with the right braid, pinning it over the left. You’ve now created a soft, woven nest that highlights the individual coils of your hair. Use decorative pins with pearls or floral accents to hide the bobby pins and add a touch of elegance.
8. High Ponytail Fishtail
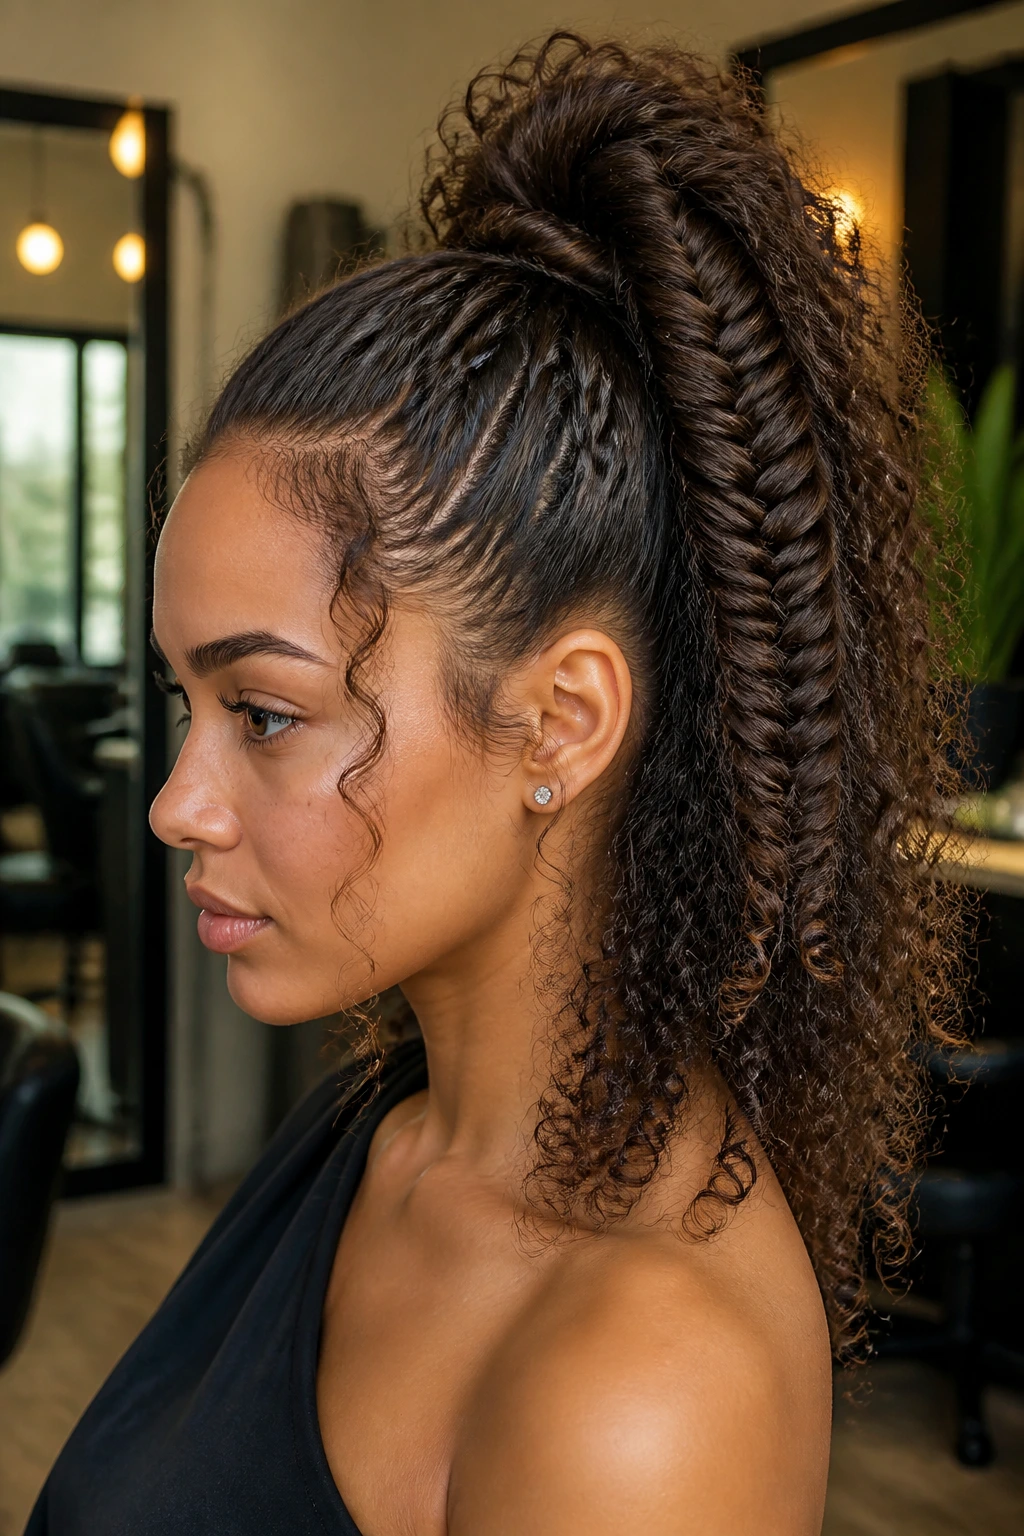
A high ponytail is an inherently youthful and energetic style. Adding a fishtail to it transforms it from a basic “I’m in a rush” look into something intentional and stylized. This version works best for those with longer curly hair, as it allows for a decent length of braid to hang down.
Securing the Base
The secret to a great high ponytail is the tilt of your head while securing the elastic. Tip your head back and gather your curls toward the crown of your head to ensure there is no sagging or bubbling at the base.
Why Curly Hair Wins Here
In a standard high ponytail, the tail can sometimes look flat or limp. A fishtail braid adds weight and structure, causing the ponytail to stand out rather than lie flat against your back. Plus, the transition from the roots to the braid allows you to show off the root volume, which is often the best part of a curly hairstyle.
9. The Waterfall Fishtail Twist
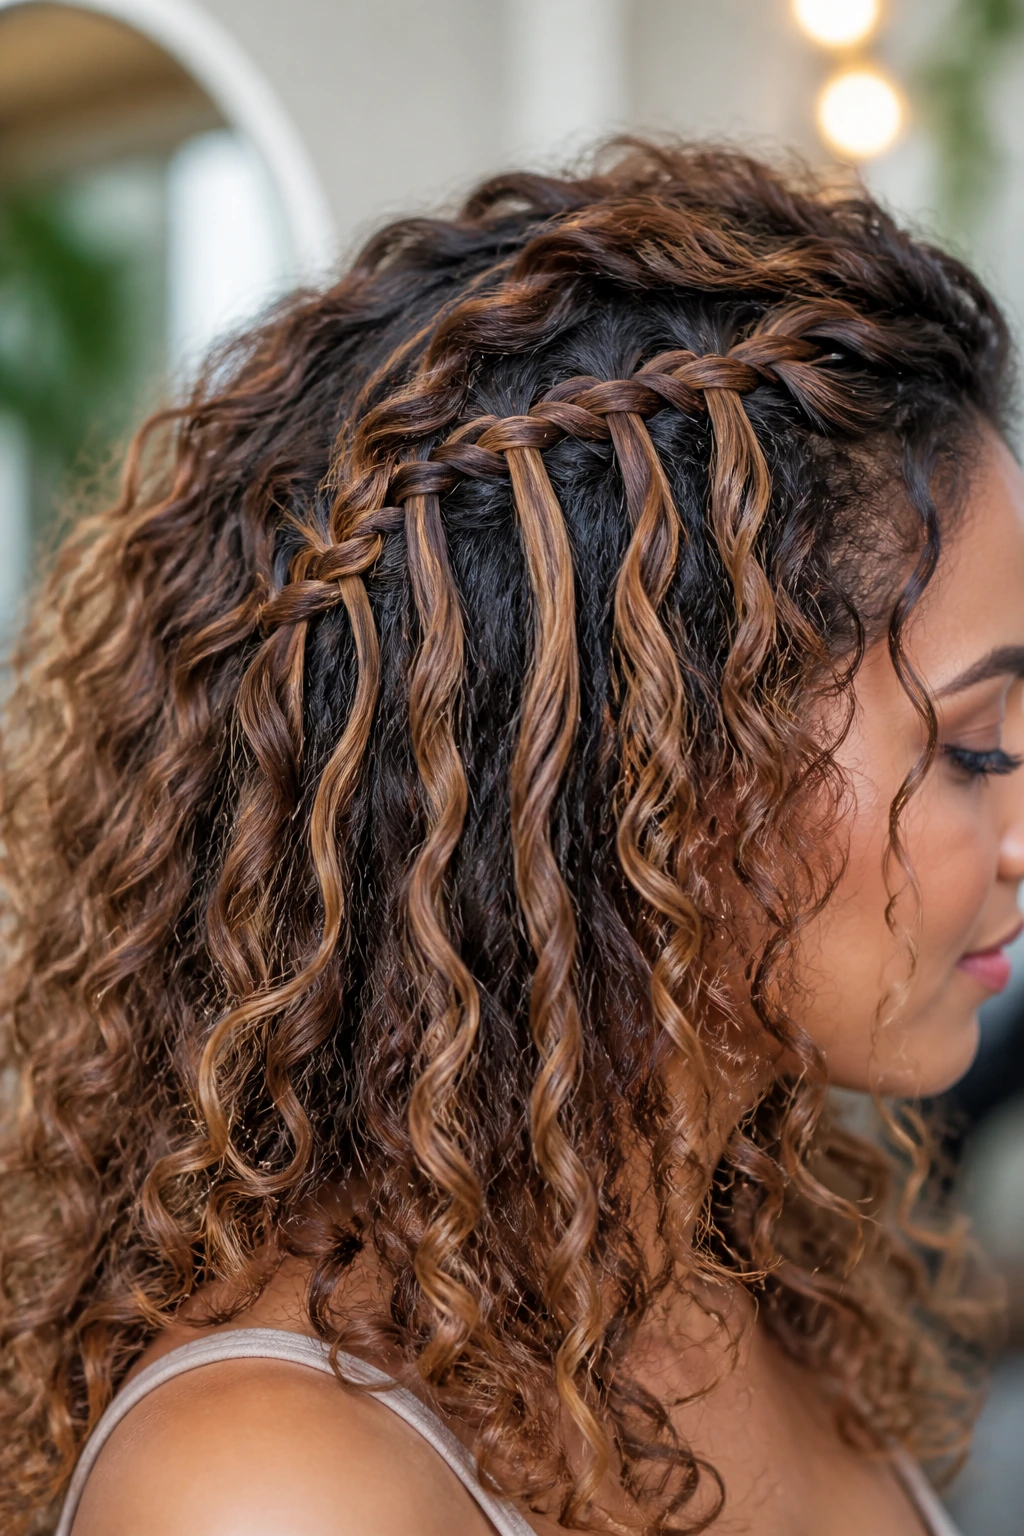
This technique combines the loose, flowing aesthetic of a waterfall braid with the intricate weave of a fishtail. It is technically a bit more advanced but offers a stunning, ethereal result that looks like it takes hours to complete.
The Mechanism
Instead of incorporating all your hair into the braid, you leave sections “falling” out as you go. You cross a strand over, pull a new piece in, but then leave the original strand to hang free. It’s perfect for those who want to keep their hair down while still having a secure, braided element to keep hair away from the face.
10. The Fishtail Top-Knot
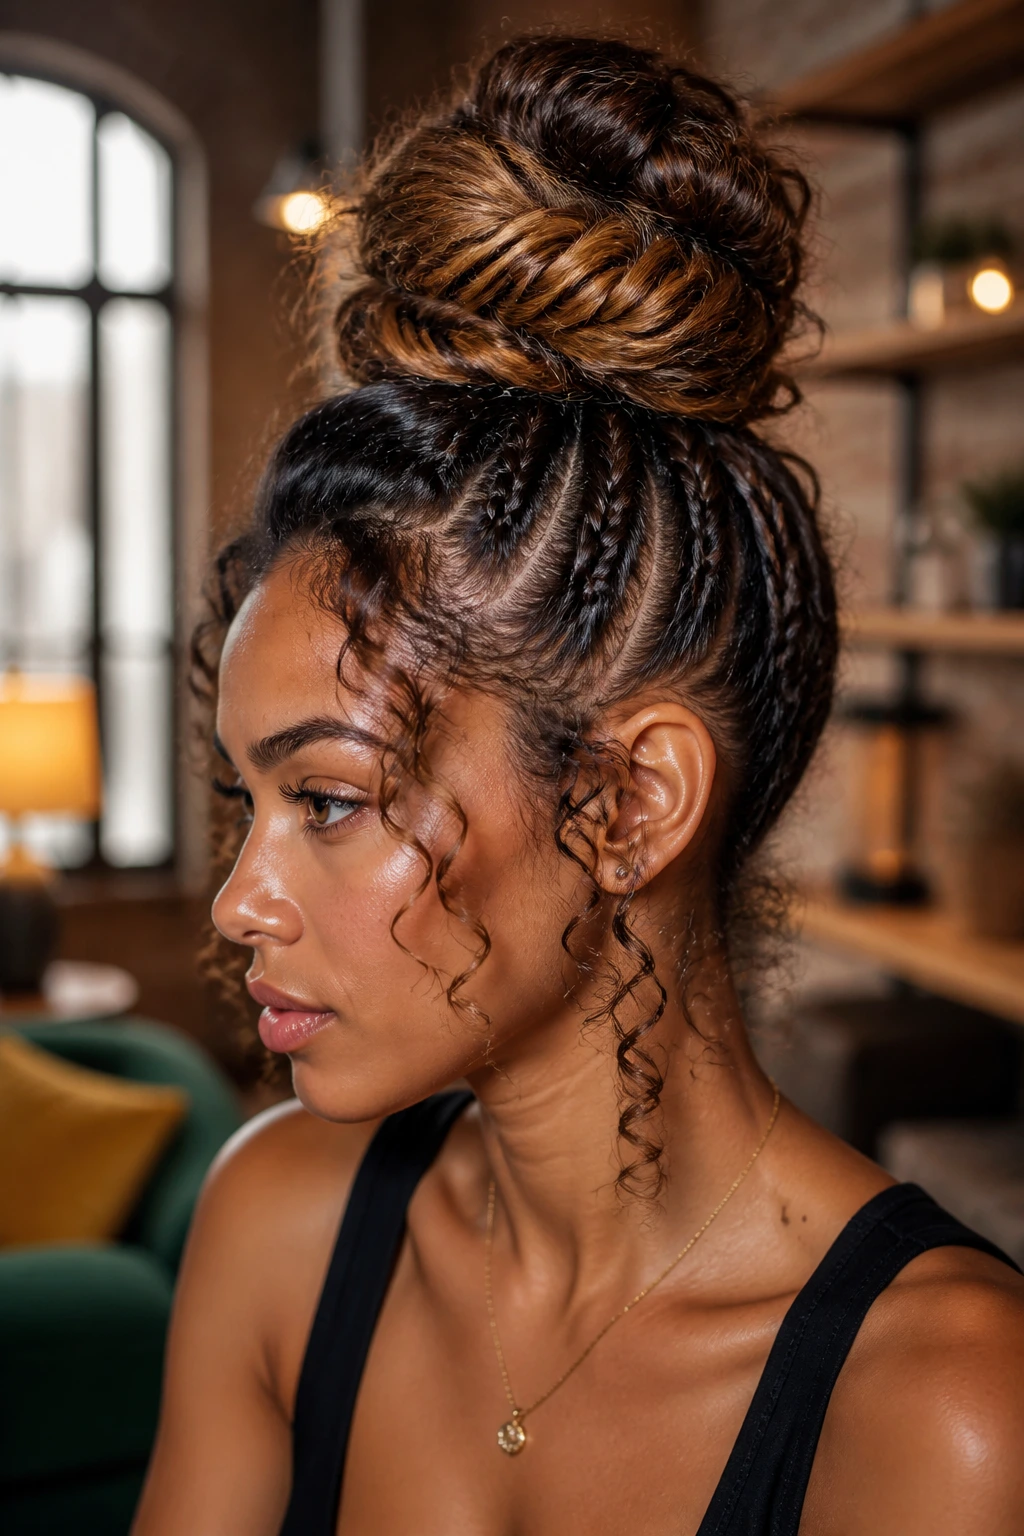
For days when you want a completely contained look, the fishtail top-knot is your best friend. It’s essentially a standard fishtail braid that is then coiled into a bun at the very top of your head. It’s a very architectural look that stands out, especially against a bold earring.
Achieving the Height
Start by putting your hair into a high ponytail. Braid it entirely to the ends. Then, coil the braid around its base, like a cinnamon roll. Secure it with as many bobby pins as necessary to ensure it doesn’t wobble. Because curly hair is naturally textured, you won’t need to do much to make the bun look “full”—it will naturally take up more space and look more substantial than a bun made from straight hair.
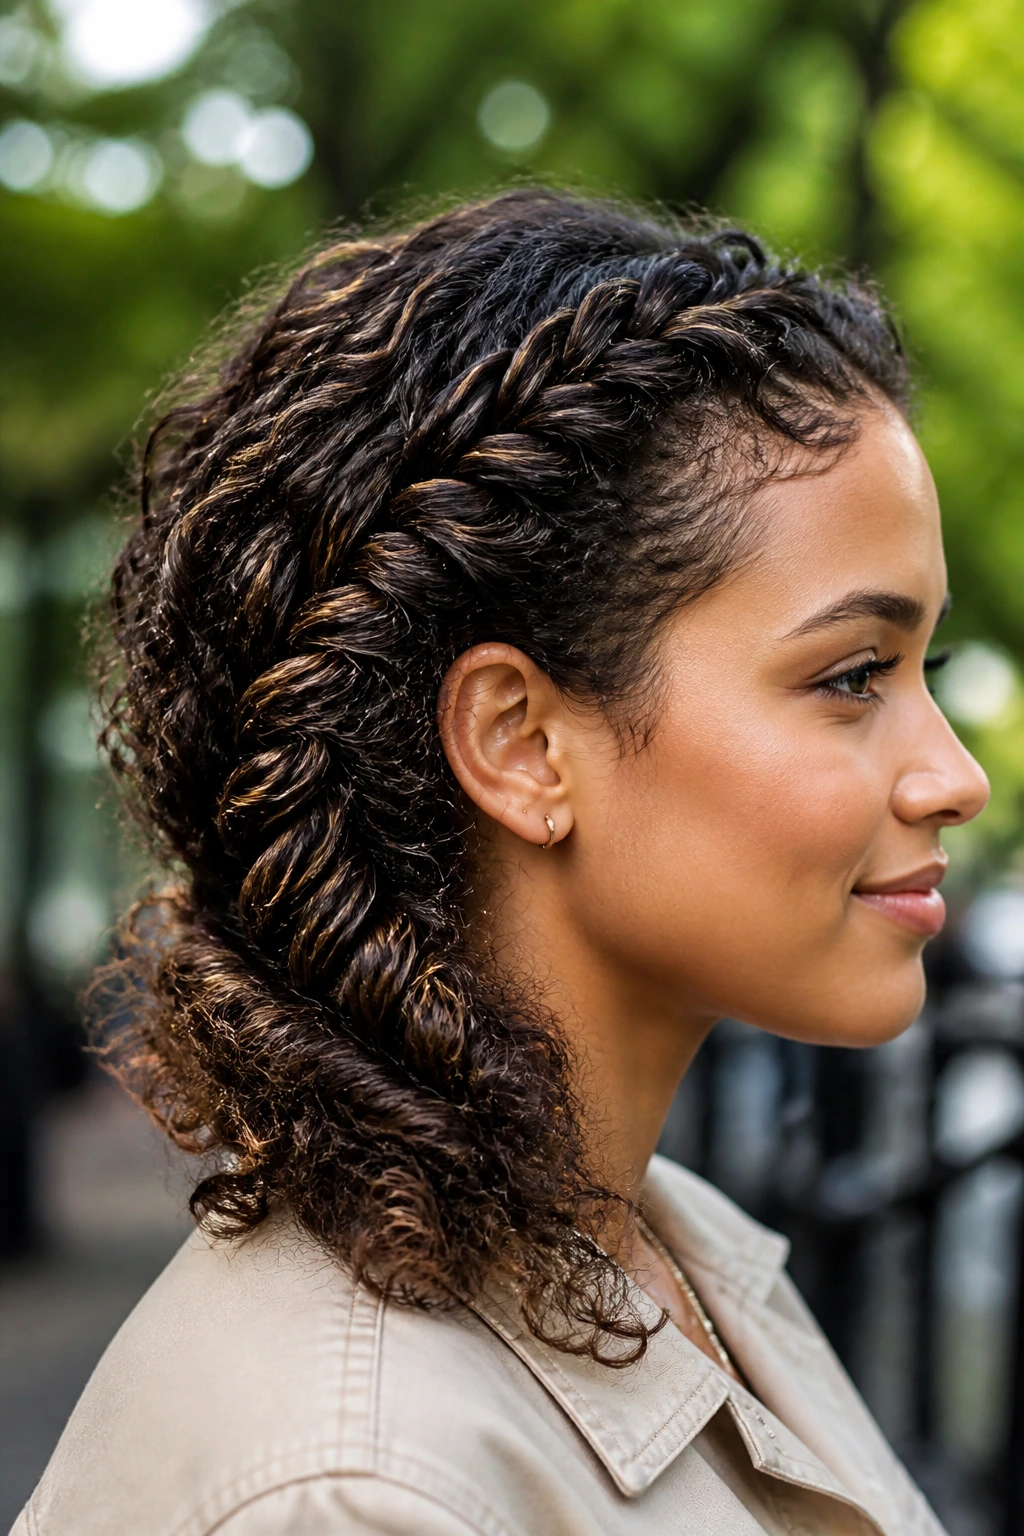
11. Dutch Fishtail with Accents
Most people stick to the standard fishtail, but a Dutch fishtail is a complete game-changer. By crossing the strands under instead of over, the braid sits on top of your hair, becoming a three-dimensional element that catches the light and emphasizes your curl pattern.
Why It’s Unique
This style is specifically useful if you want to create the illusion of thicker hair. The outward-projecting nature of the Dutch fishtail naturally adds visual width. If you find your curls are being flattened by the braid, try to keep your tension loose as you work, then pancake the edges aggressively once you’ve secured the end.
12. Fishtail Pigtails
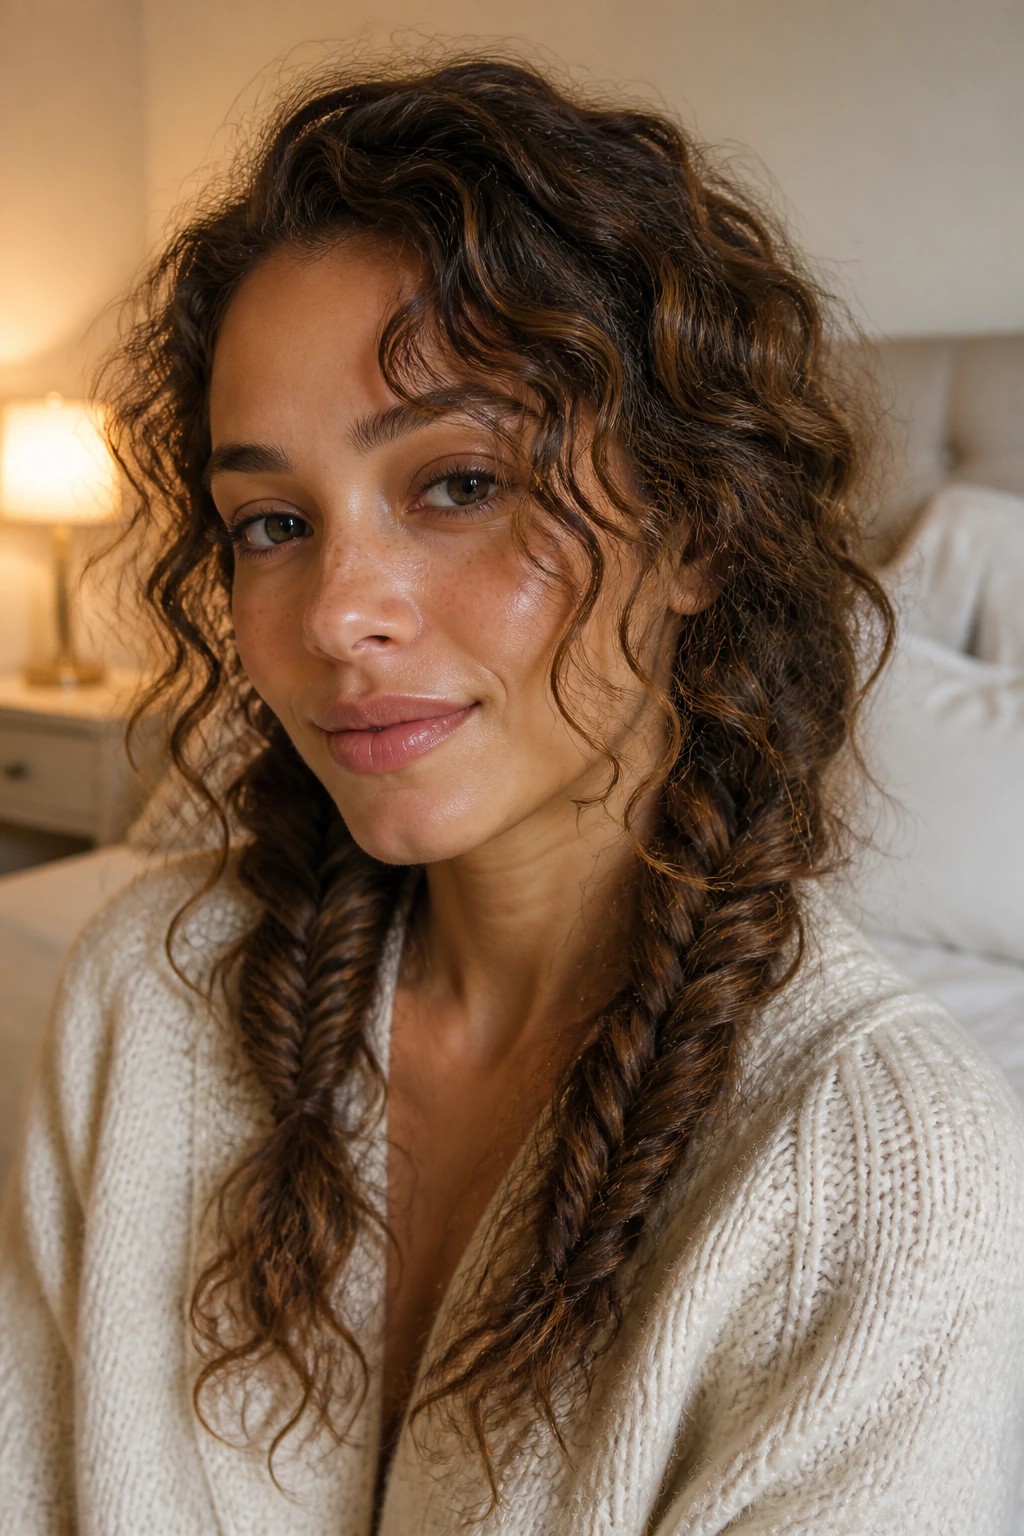
Pigtails aren’t just for children. When styled as two low, loose fishtail braids, they look remarkably chic and grounded. This is a very comfortable style for long days, as it distributes the weight of your hair evenly across both sides of your head.
Achieving a Mature Look
To avoid the “schoolgirl” vibe, keep the braids low, near the neck, rather than starting them high on the sides of the head. Don’t pull them tight. Let them hang loosely, and feel free to pull a few stray curls out around your face to frame it softly.
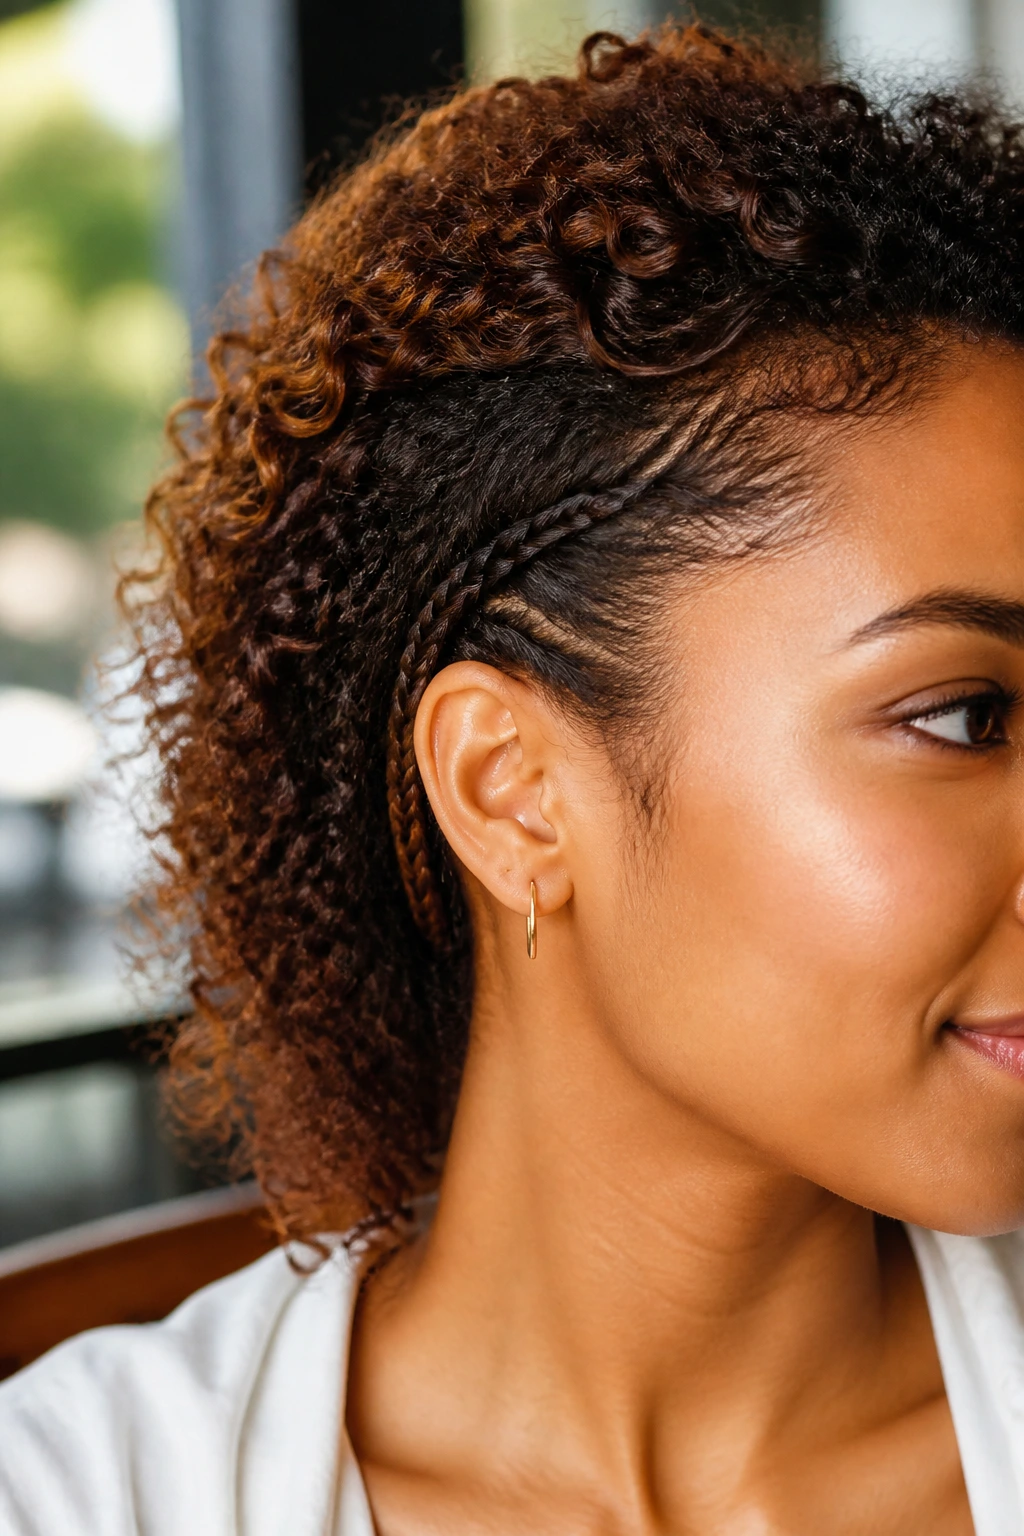
13. The Half-Crown Fishtail
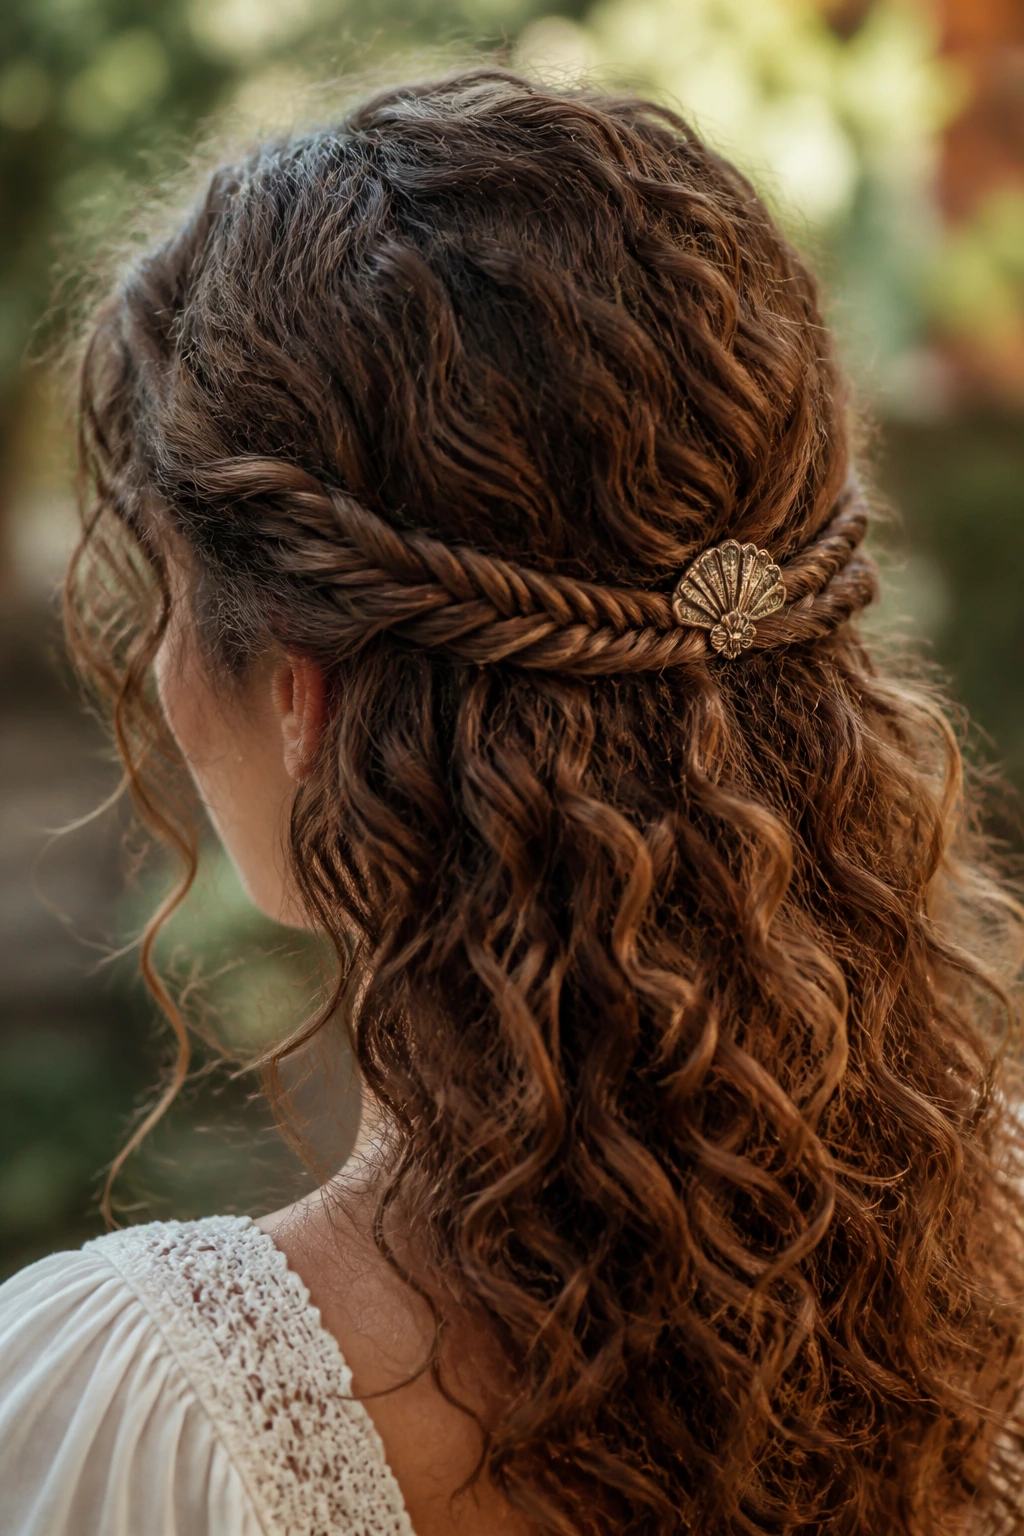
This style is a variation of the head-band braid but is more focused on the back of the head. By taking two sections from the temples and pulling them toward the back of the crown, you can join them in a fishtail braid that sits horizontally.
Styling Tip
If you want to add a bit of flair, combine this with a small decorative comb or barrette at the center where the two sections meet. It is a very soft, bohemian look that pairs well with light fabrics and summer clothing.
14. Fishtail Braid with Micro-Braids
Sometimes a single braid isn’t enough. By incorporating micro-braids—tiny, three-strand braids—into your fishtail braid, you create a complex, layered look that feels very intentional and high-fashion.
How to Mix Textures
Start by braiding a few small three-strand braids throughout your hair before you even begin the fishtail. Once they are secured, treat them as part of the hair sections as you build your main fishtail braid. The contrast between the tight, small three-strand sections and the larger, woven fishtail creates an amazing visual depth.
15. The “Wrapped” Fishtail
This is a sophisticated technique where you take your finished fishtail braid and wrap it around the head like a crown. It requires a decent amount of hair length, but it creates a regal, elegant appearance that is perfect for formal occasions.
Finishing the Look
Ensure that you use hairpins that match your hair color so they are invisible. If you have any frizz along the hairline, use a tiny amount of pomade to smooth it down—the contrast between a perfectly sleek crown braid and the loose, frizzy curls in the back is often what makes this look so striking.
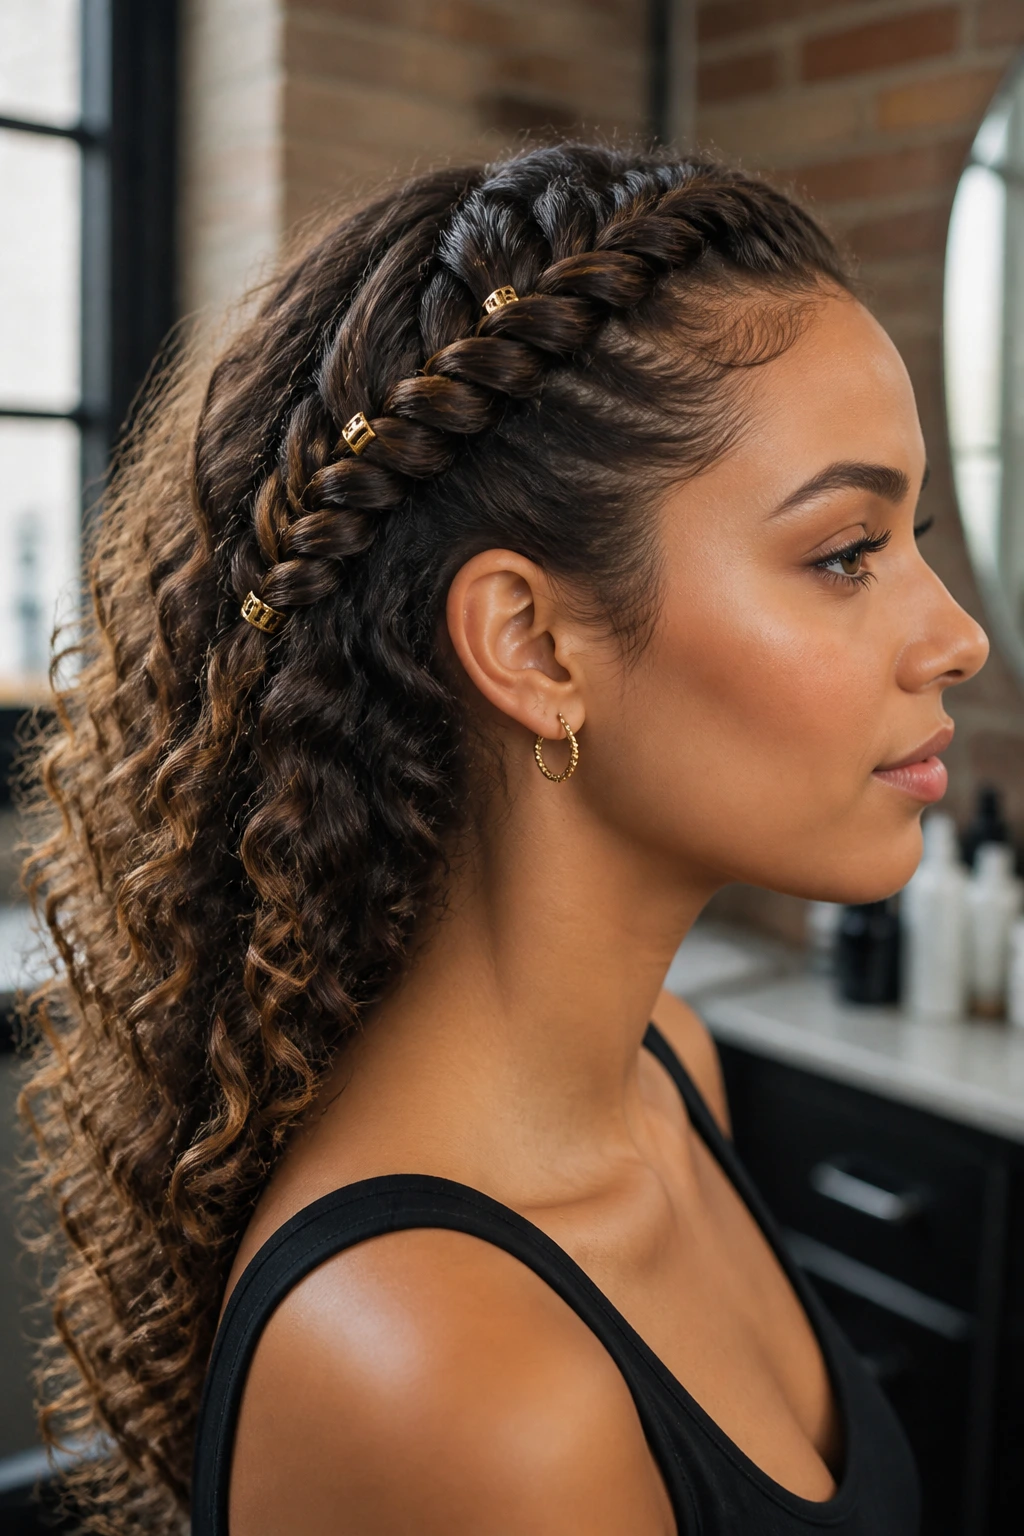
16. Fishtail Braid with Jewelry
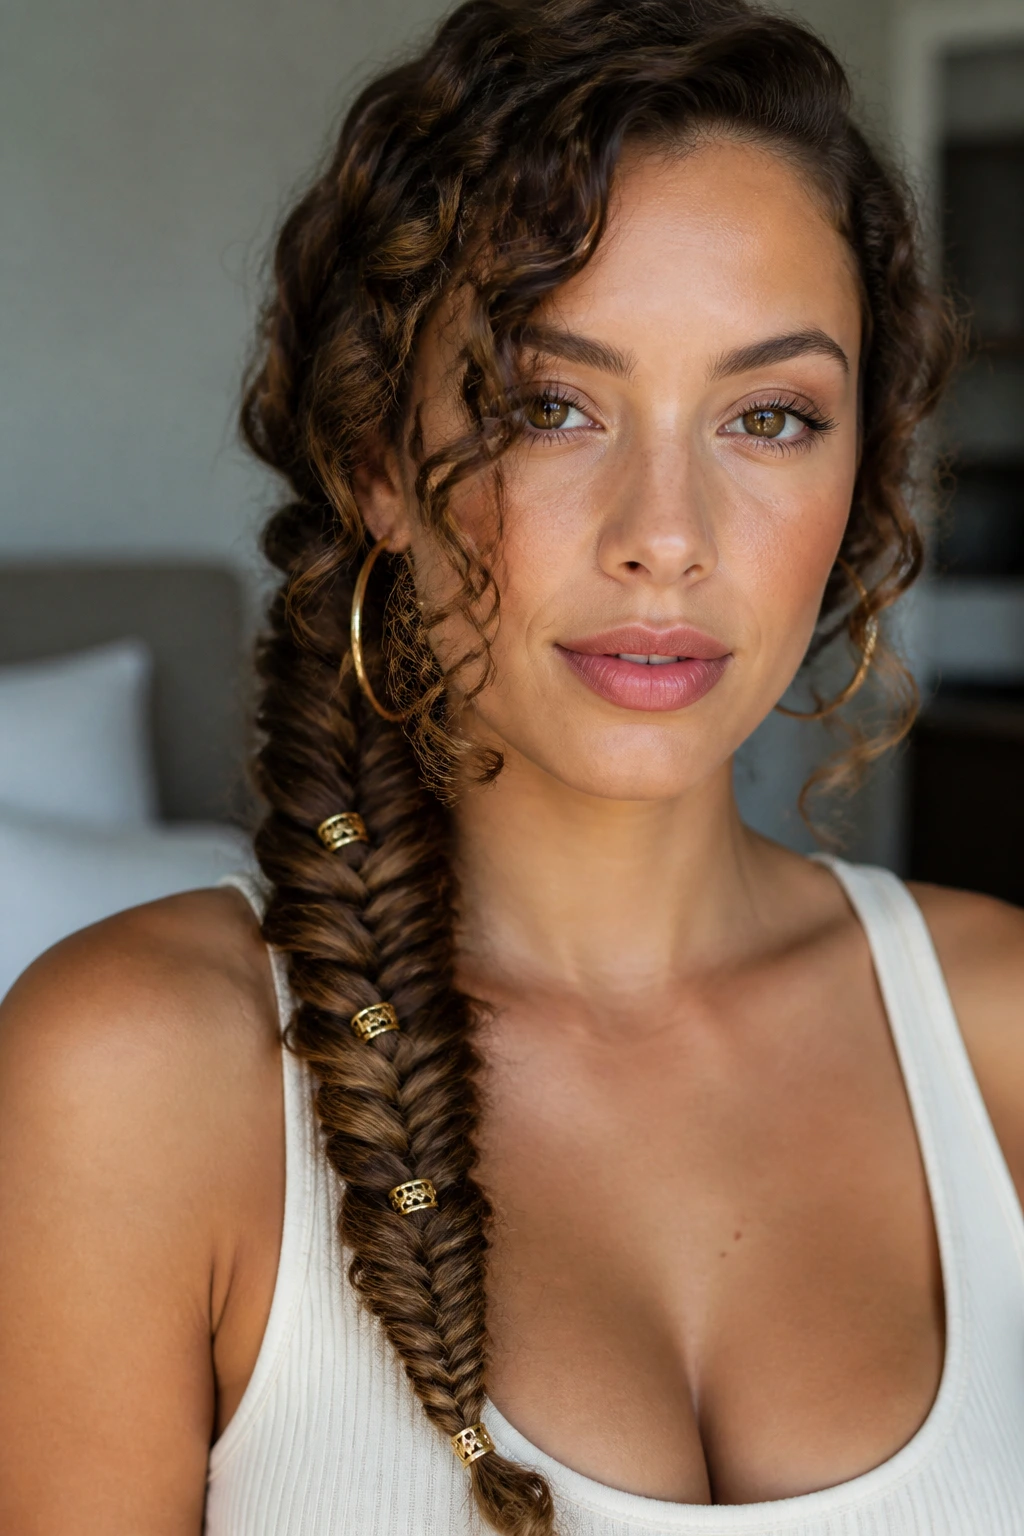
Hair jewelry has become a massive part of modern styling, and the fishtail braid is the perfect canvas for it. Because the braid is composed of many small, crossing sections, it’s incredibly easy to weave metal rings, beads, or small charms into the weave.
Choosing Your Accents
Gold cuffs or silver rings are classic choices. Simply slide them onto the strands as you braid. Don’t overdo it—placing one every two inches is more than enough to create a sophisticated, decorated effect without weighing your hair down.
17. The Asymmetrical Fishtail
Asymmetry can be a very powerful styling tool. By braiding a fishtail that starts near one temple and pulls across the head diagonally to the opposite nape, you create a dynamic, flowing line that adds visual interest to any look.
Why This Style Works
It feels very natural because it follows the grain of your hair growth. It’s also a great way to handle layers. If your hair is cut with lots of shorter pieces, the diagonal path of the braid will naturally catch those layers and pull them into the weave, keeping them from poking out.
18. Tight Fishtail for Frizz Control
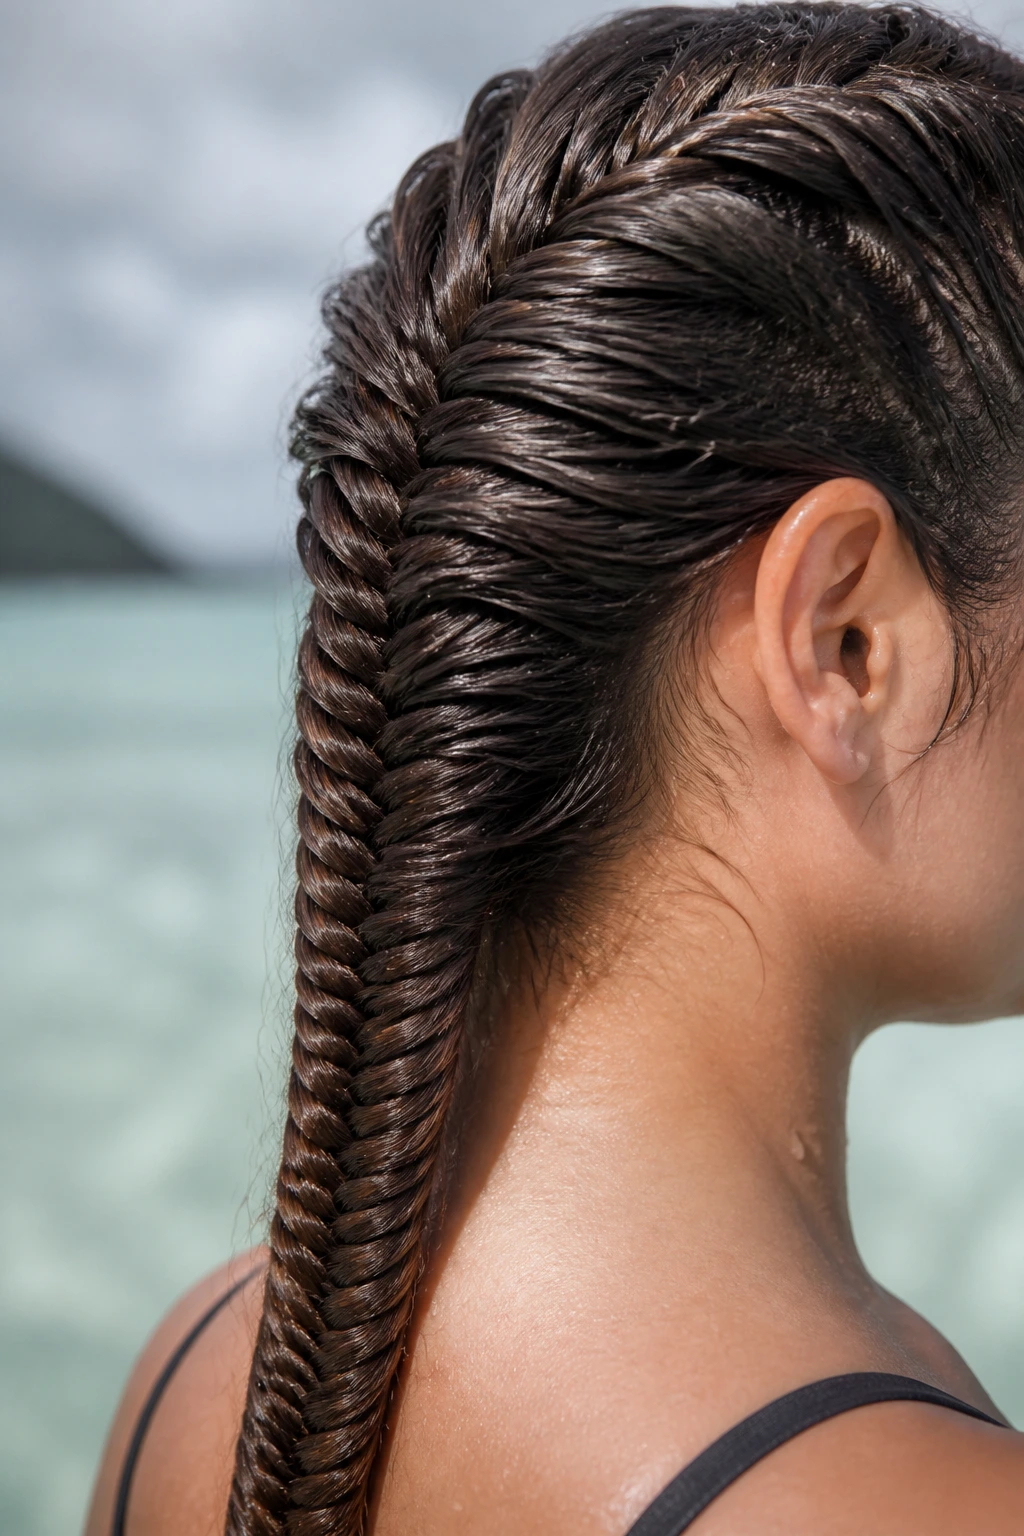
When the weather is humid and your curls are prone to expand, a very tight fishtail braid is the best way to regain control. By braiding as tightly as possible, you minimize the surface area of your hair that can react to moisture in the air.
Maintenance
Use a slightly heavier styling cream before you begin braiding. This will ensure that every single strand is coated and smoothed before it is locked into the braid. Once you’re finished, don’t pancake the braid—keep it tight and structured to hold the shape all day long.
19. Fishtail Braid with Loose Tendrils
If you find that having all your hair pulled back feels too severe, the tendril technique is for you. Simply leave out sections of hair around the ears and the back of the neck before you start your fishtail.
Softening the Shape
Once the braid is finished, you can use a curling wand to touch up those loose tendrils, giving them a more defined, uniform shape that mirrors the elegance of the braid. This provides a soft, face-framing effect that is universally flattering.
20. The “Faux-Hawk” Fishtail
This is a fun, edgy look that creates the appearance of a mohawk using only your hair. It’s achieved by creating a series of small, connected fishtail buns or loops down the center of the head.
The Construction
Instead of one long braid, you create a vertical row of small fishtail-braided sections, securing each one with a small clear elastic. It creates a bold, sculptural look that works beautifully with all types of curly hair, from tight corkscrews to loose waves.
21. The Fishtail into a Bun
Combining a braid with a bun is a classic styling move, but using a fishtail specifically adds a level of complexity that a standard three-strand braid lacks. The fishtail has a more “rope-like” texture, which translates into a very interesting, textured bun.
Achieving Texture
Start with a side-swept fishtail braid. Once finished, pancake the braid until it is quite wide. Then, start coiling it into a low, messy bun at the nape of your neck. The texture of the fishtail will make the bun look much larger and more deliberate than it would with any other type of braid.
22. The Minimalist Fishtail
Sometimes, you just want a small, understated detail. A minimalist fishtail braid uses only a small section of hair, perhaps hidden behind the ear or used to pull back one side of your bangs.
Why It’s Effective
It doesn’t take much time—two minutes, max—but it adds a level of polish to a wash-and-go day. It’s perfect for showing off your natural curl pattern while still adding an element of intentional design to your look.
Final Thoughts
The beauty of styling curly hair lies in the realization that your texture is not a limitation; it is an aesthetic advantage. Fishtail braids, with their intricate, woven appearance, are the perfect partner for the natural bounce and volume of curls. Whether you are aiming for a messy, boho-inspired look or a tight, architectural updo, the key is to embrace the process rather than fight the friction.
Start small if you are new to the technique. Master the basic motion—crossing small sections from the outside of one side to the inside of the other—and don’t worry about the stray curls that refuse to cooperate. They are part of the style’s inherent charm. With a little practice, you will find that these twenty-two styles are just the beginning of what you can achieve when you start using your curls to build beautiful, lasting braids.