The mirror often becomes our greatest adversary when attempting to master the art of self-braiding. We have all stood there, arms aching, fingers fumbling with synthetic hair, trying to mimic the crisp, clean parts we admire on others. Braiding your own hair is a skill that demands patience, a fair amount of shoulder stamina, and the willingness to embrace a few imperfect practice runs before achieving that elusive, professional look. You are not just learning a hairstyle; you are mastering a ritual that has been passed down through generations, reimagined for the modern pace of life.
Whether you are aiming for knotless box braids that sway with every step, a sleek set of cornrows that last through a long week, or a protective crown of twists, the secret lies in preparation and partitioning. It is far less about being a natural-born talent and much more about the mechanics of sectioning and the tension you apply. Before you even pick up the kanekalon or expression hair, let’s talk about the foundation that makes or breaks the style.
1. Preparing Your Natural Hair for Longevity
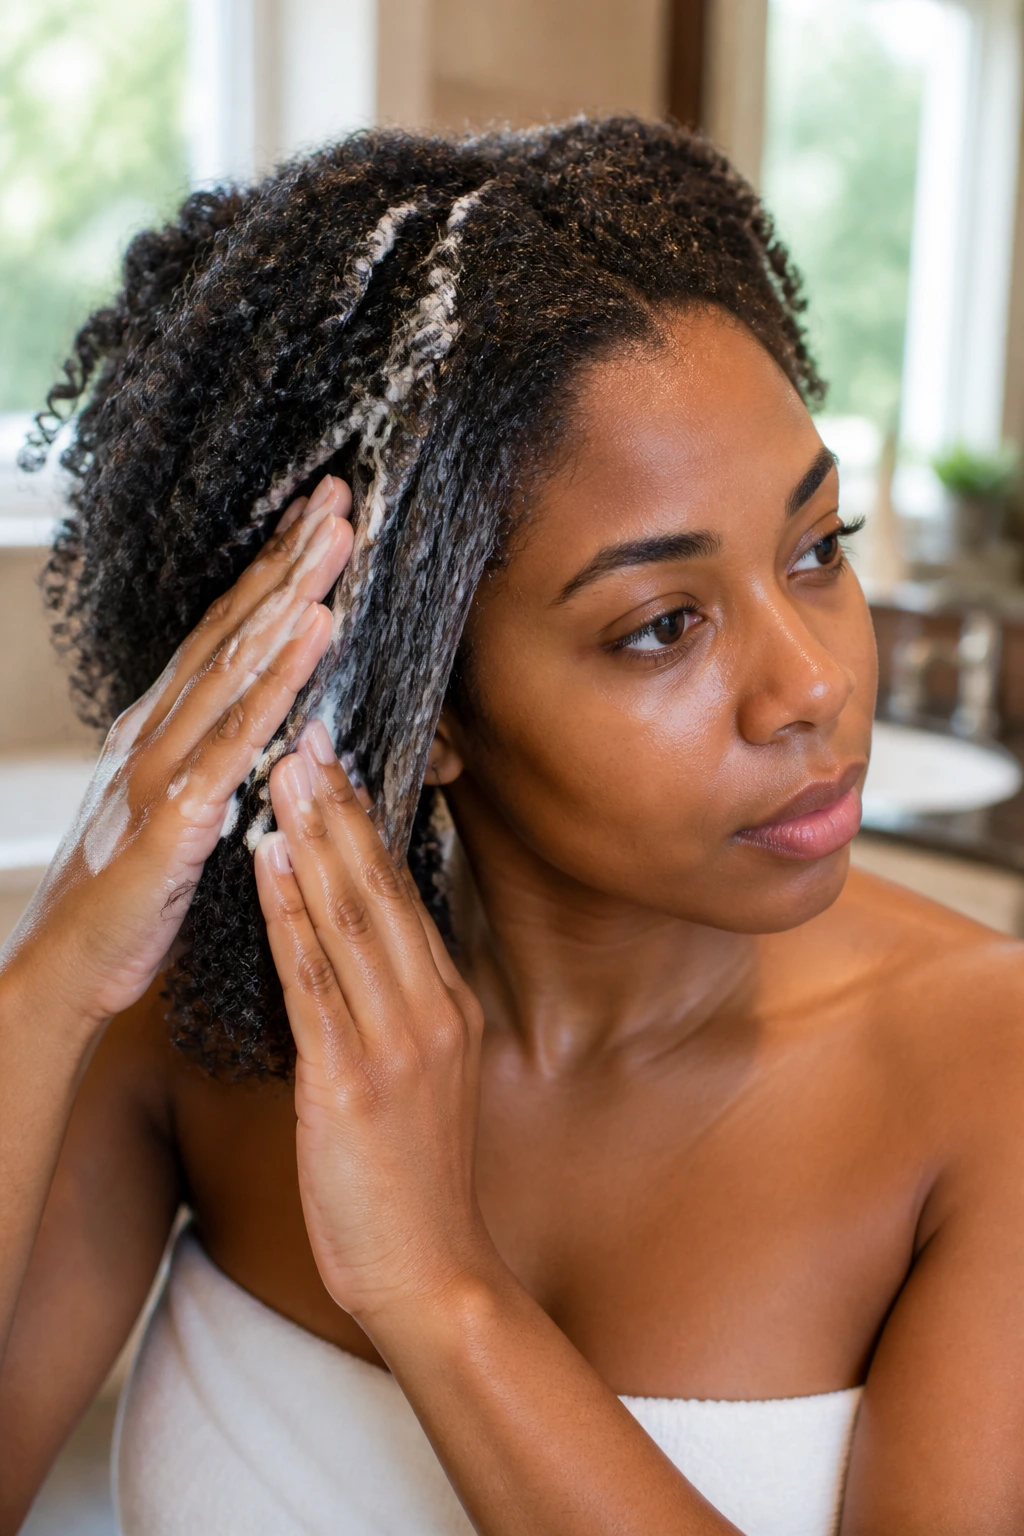
The foundation of a long-lasting style starts long before you pick up a comb. If your hair is brittle or dry, the braid will slide out, or worse, cause breakage at the root. Start with a deep conditioning treatment two days before you plan to braid. You want your hair hydrated and resilient.
The Importance of a Clean Scalp
A dirty scalp combined with weeks of braiding can lead to buildup, itching, and flaking. Always use a clarifying shampoo to strip away excess oils and product residue. Follow this with a leave-in conditioner that is lightweight; if it is too heavy, your hair will be too slippery to grip properly, turning your braiding session into a frustrating game of tug-of-war.
Stretching for Easier Handling
Unless you are aiming for a specific kinky texture, stretching your hair makes sectioning significantly easier. You do not need extreme heat. Use a blow dryer with a comb attachment on a low-heat setting, or opt for a heatless method like threading or banding the night before. This gives you a smoother base, allowing the braiding hair to blend seamlessly with your own.
2. The Essential Toolkit for a Seamless Braiding Session
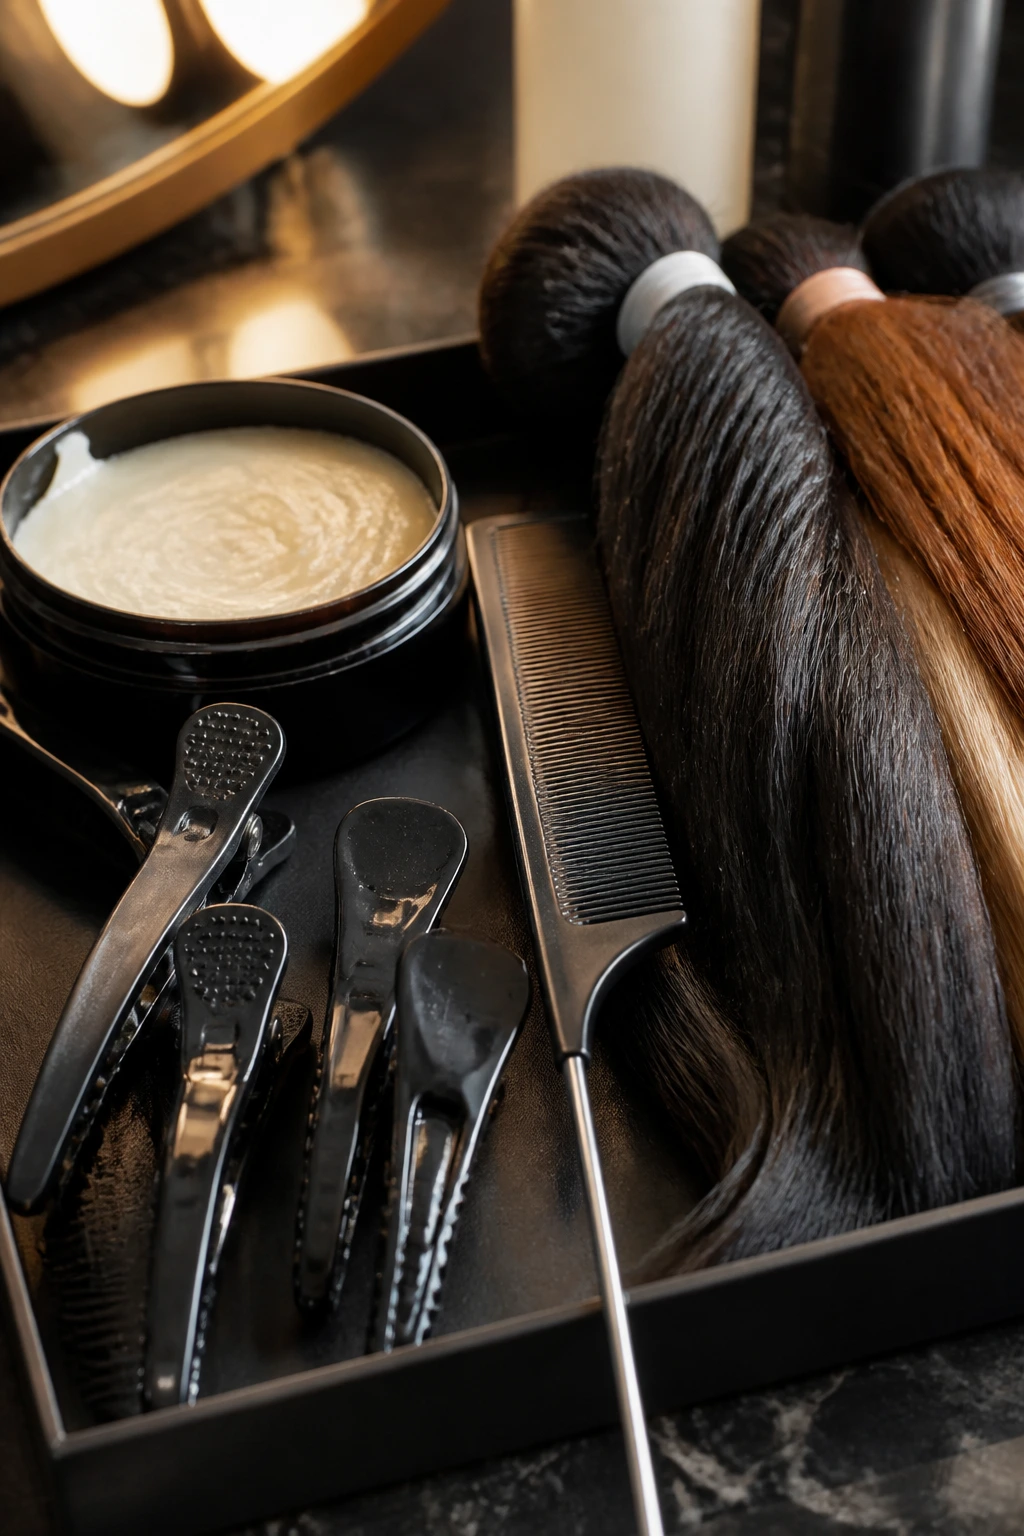
Do not underestimate the power of having your tools within arm’s reach. Nothing kills your momentum like having to stop mid-braid because your edge control is on the other side of the room. A well-organized station saves time and prevents you from losing your place in a section.
What to Keep at Your Station
- Rat-tail comb: This is your precision instrument for perfect, straight parts.
- Edge control or foaming mousse: Use a firm-hold edge control for the roots and a high-quality mousse to lay down flyaways once you finish the braid.
- Duckbill clips: These are non-negotiable for holding excess hair out of the way while you focus on one square at a time.
- Braiding hair: Keep your extensions pre-pulled and separated. If you are using pre-stretched hair, keep it on a rack or a hook nearby to avoid tangles.
Pro tip: Keep a small mirror behind you—or use a vanity mirror with side panels—to ensure your parting at the back of your head is as clean as the parts in the front.
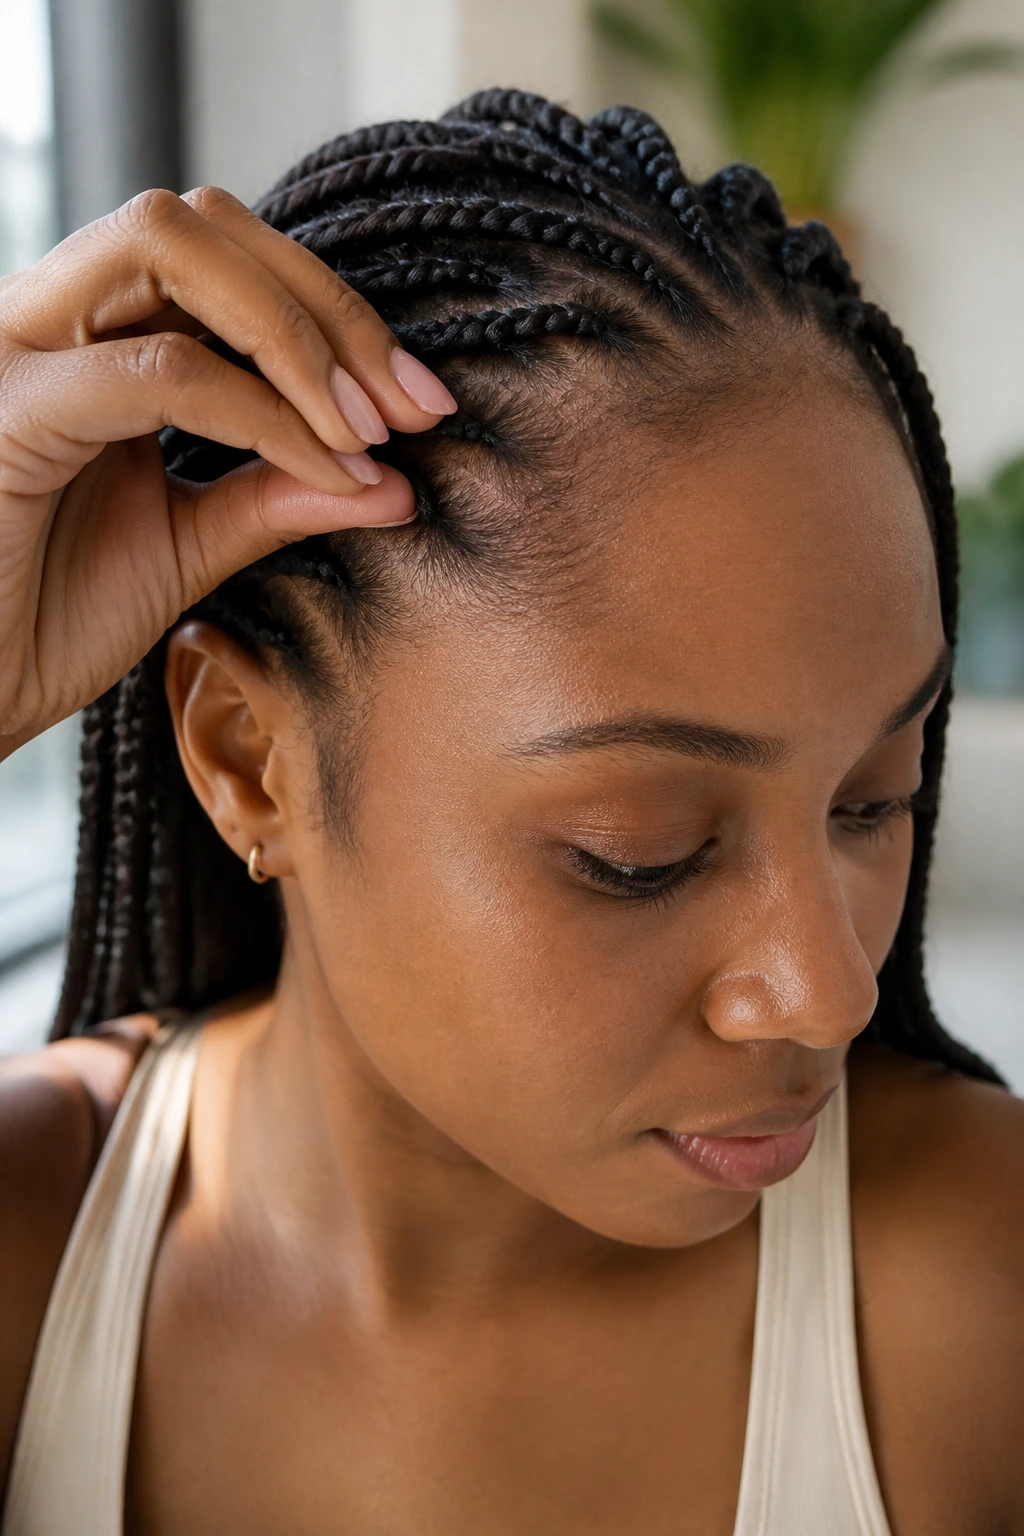
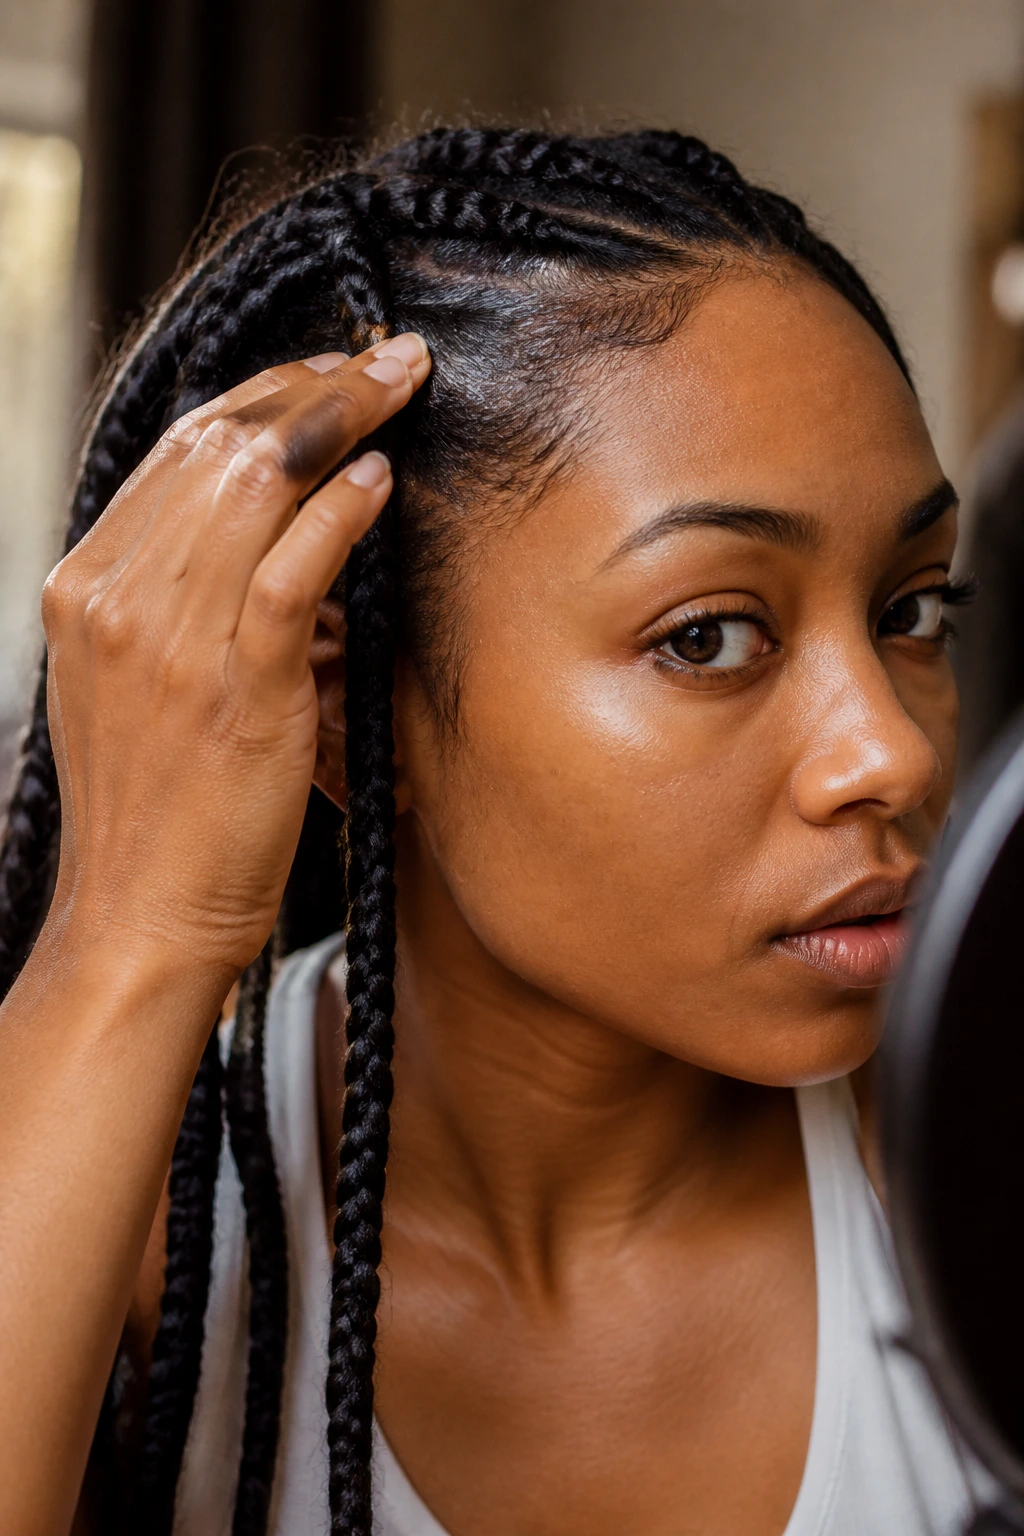
3. Mastering the Art of Clean, Square Parting
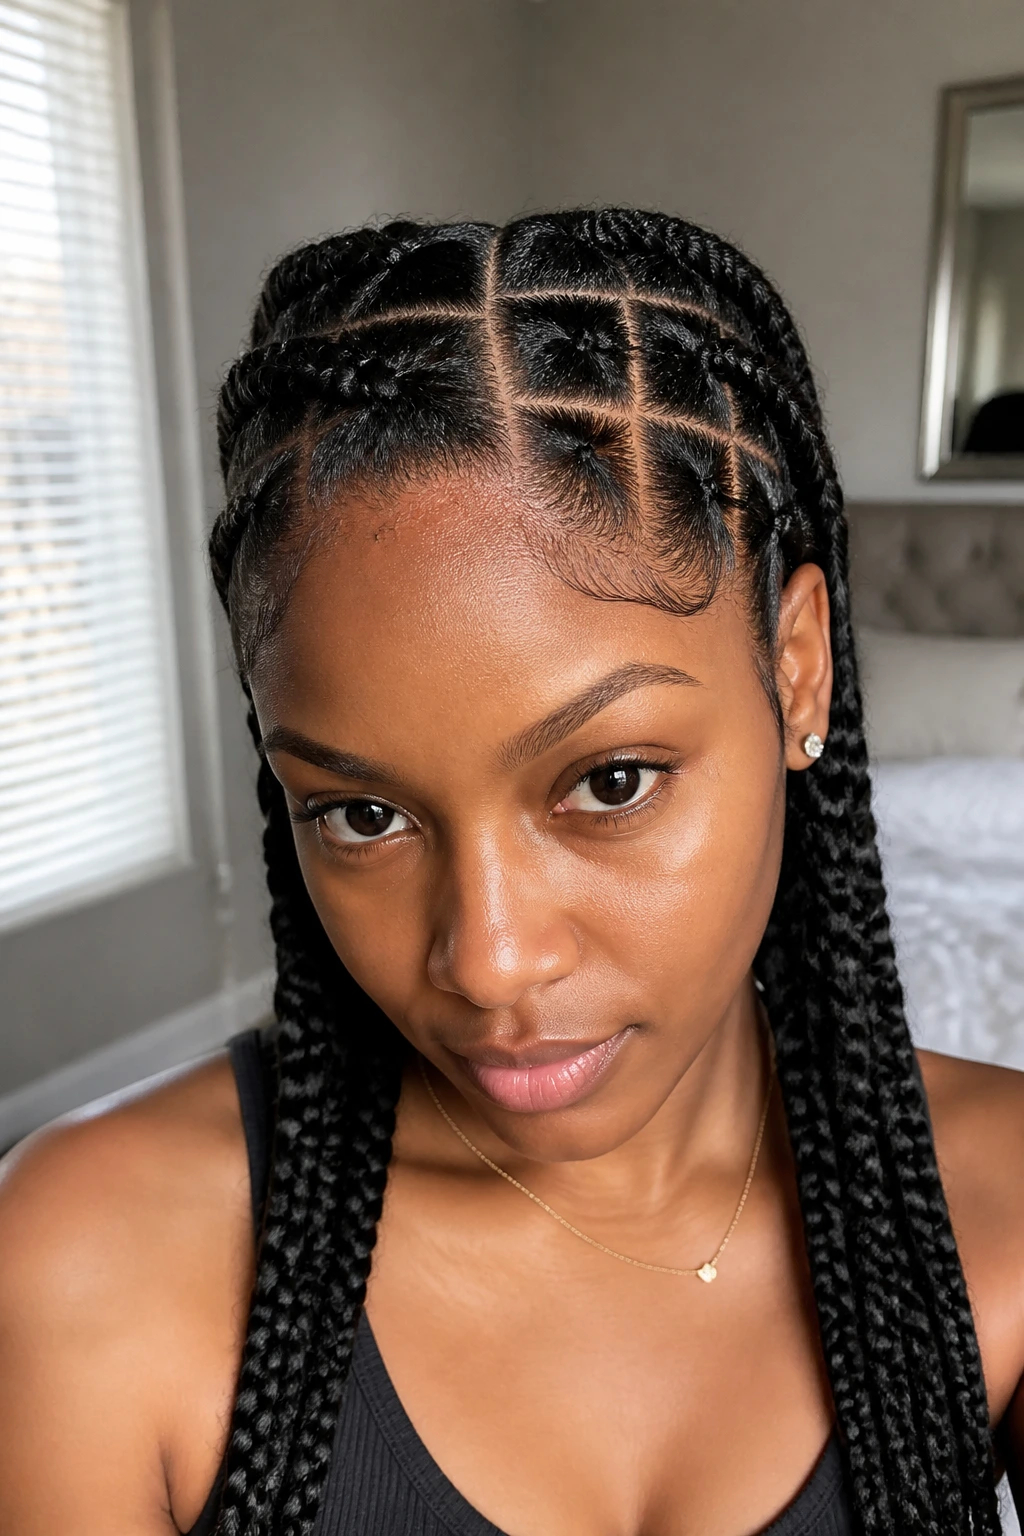
If your parts are crooked, the braids will look uneven, regardless of how tight they are. The trick is to use the rat-tail comb to create a grid before you start braiding. Do not try to wing it section by section as you go.
Establishing Your Grid
Start by parting your hair down the center from your forehead to the nape of your neck. Then, create horizontal rows. Use your clips to keep each section isolated. When you are looking in the mirror, check that your horizontal lines are parallel to your ears. If you lean your head slightly forward, you can see the crown of your head better, which is where most people struggle with irregular shapes.
Dealing with the Back of Your Head
This is where most self-braiders want to quit. The key here is to rely on your sense of touch. Use your comb to carve a line, then run your index finger along that line to ensure it is smooth. If it feels bumpy, it means you have snagged some hair from an adjacent section. Smooth it out with a little bit of pomade or edge control before you commit to the braid.
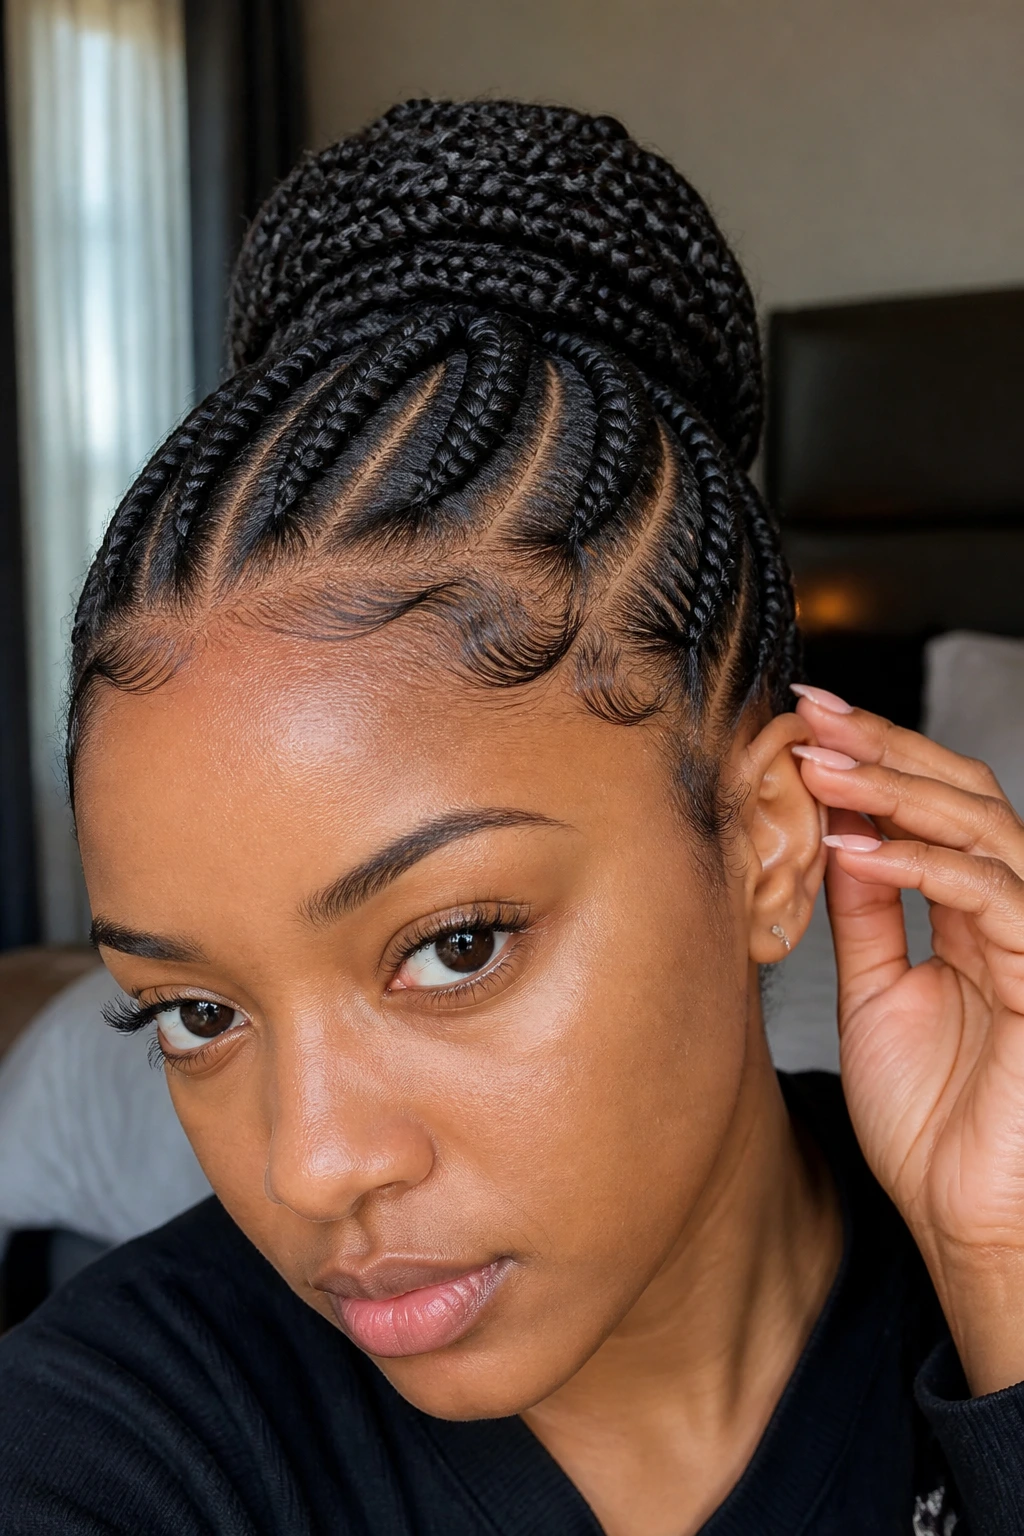
4. The Feed-In Method: Creating a Natural Look
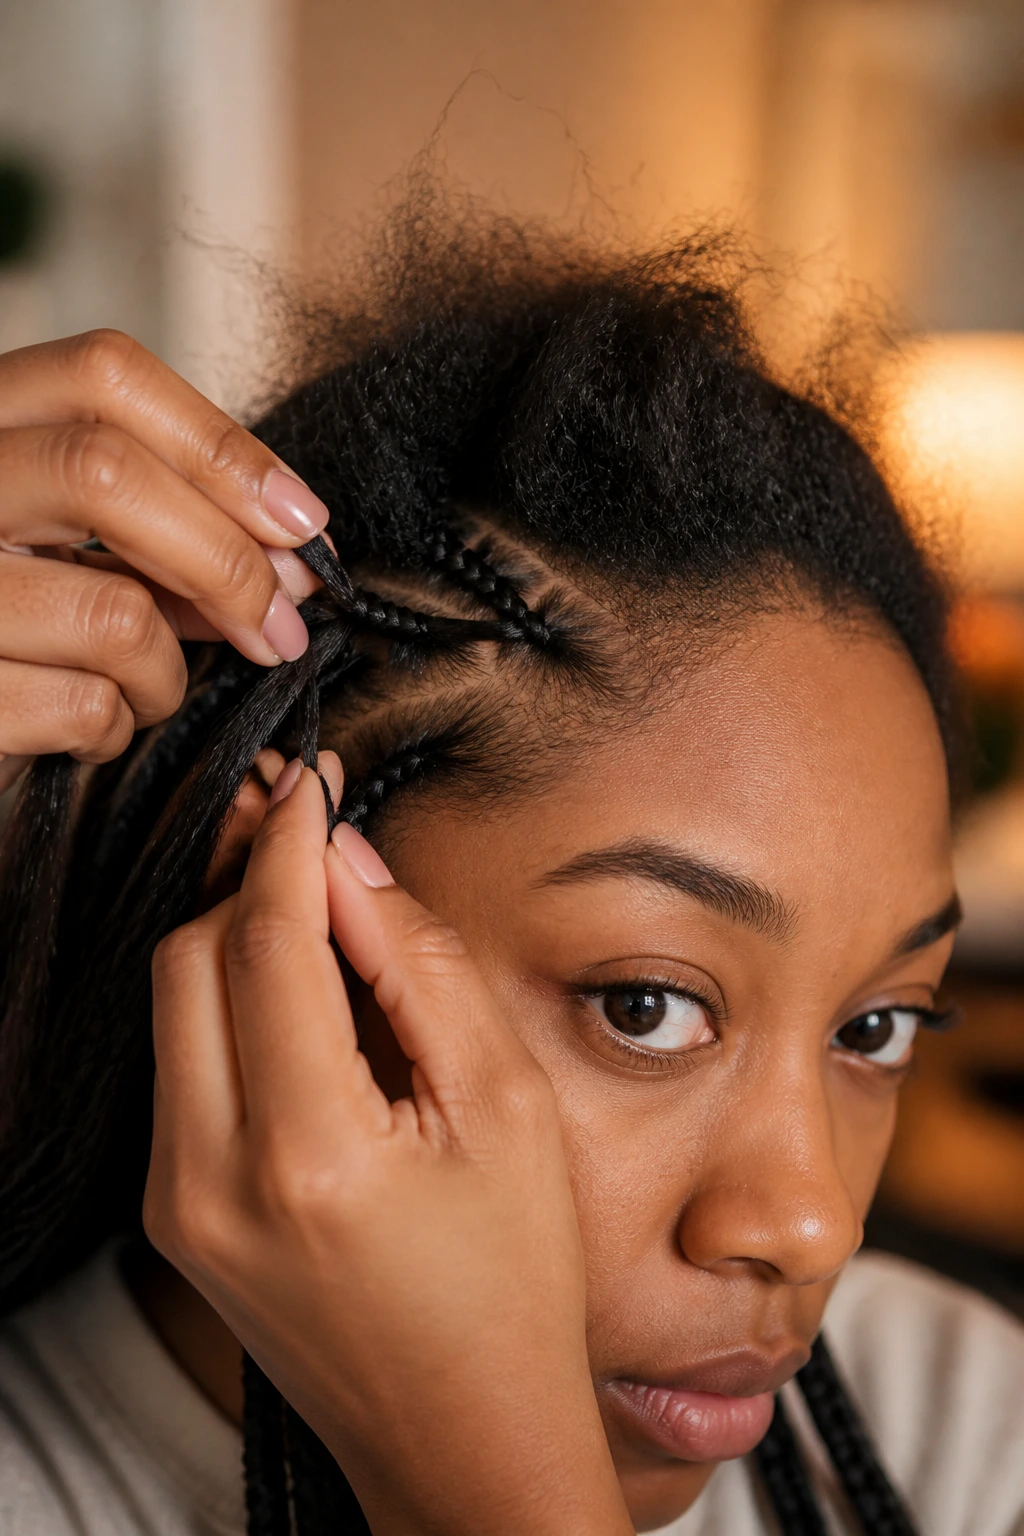
Feed-in braids have become the gold standard because they eliminate the bulky knot at the hairline. By starting with your natural hair and gradually adding small strands of extensions, the braid lays flat against your scalp, mimicking the appearance of natural hair growing directly from the root.
How to Execute the Feed-In
- Start with a tiny section of your natural hair, split into three parts.
- Begin a standard cornrow or flat braid.
- Once you reach the second or third crossover, take a small piece of synthetic hair and tuck it into the middle strand.
- Continue braiding, adding hair consistently every one or two rotations.
Why this works: The secret to a perfect feed-in is the size of the added hair. If you add too much hair at once, the braid will become bulbous. Keep the added pieces small and uniform for that sleek, professional finish that blends flawlessly with your edges.
5. Controlling Tension to Prevent Hairline Damage
We have all seen the damage that comes from braiding too tightly. If your eyes are watering or you feel a constant pulling sensation at your temples, the braid is too tight. Tension leads to traction alopecia, and no hairstyle is worth losing your edges over.
The Sensitivity Test
When you braid, your goal is to hold the hair firmly enough to keep it secure, but never to the point of pain. If you find yourself braiding too tightly, practice using a slightly larger section of hair at the base. A larger base distributes the weight of the extension across more of your scalp, which actually keeps the braid secure without the need for excessive pulling.
What to Do If It Is Too Tight
If you finish a braid and it feels painful, do not just leave it. Loosen it by gently pulling at the base with your fingers or using a rat-tail comb handle to lift the hair slightly from the scalp. If the pain persists, take it out. It is a harsh truth, but the health of your scalp is the only real priority.
6. Managing Synthetic Hair Tangles
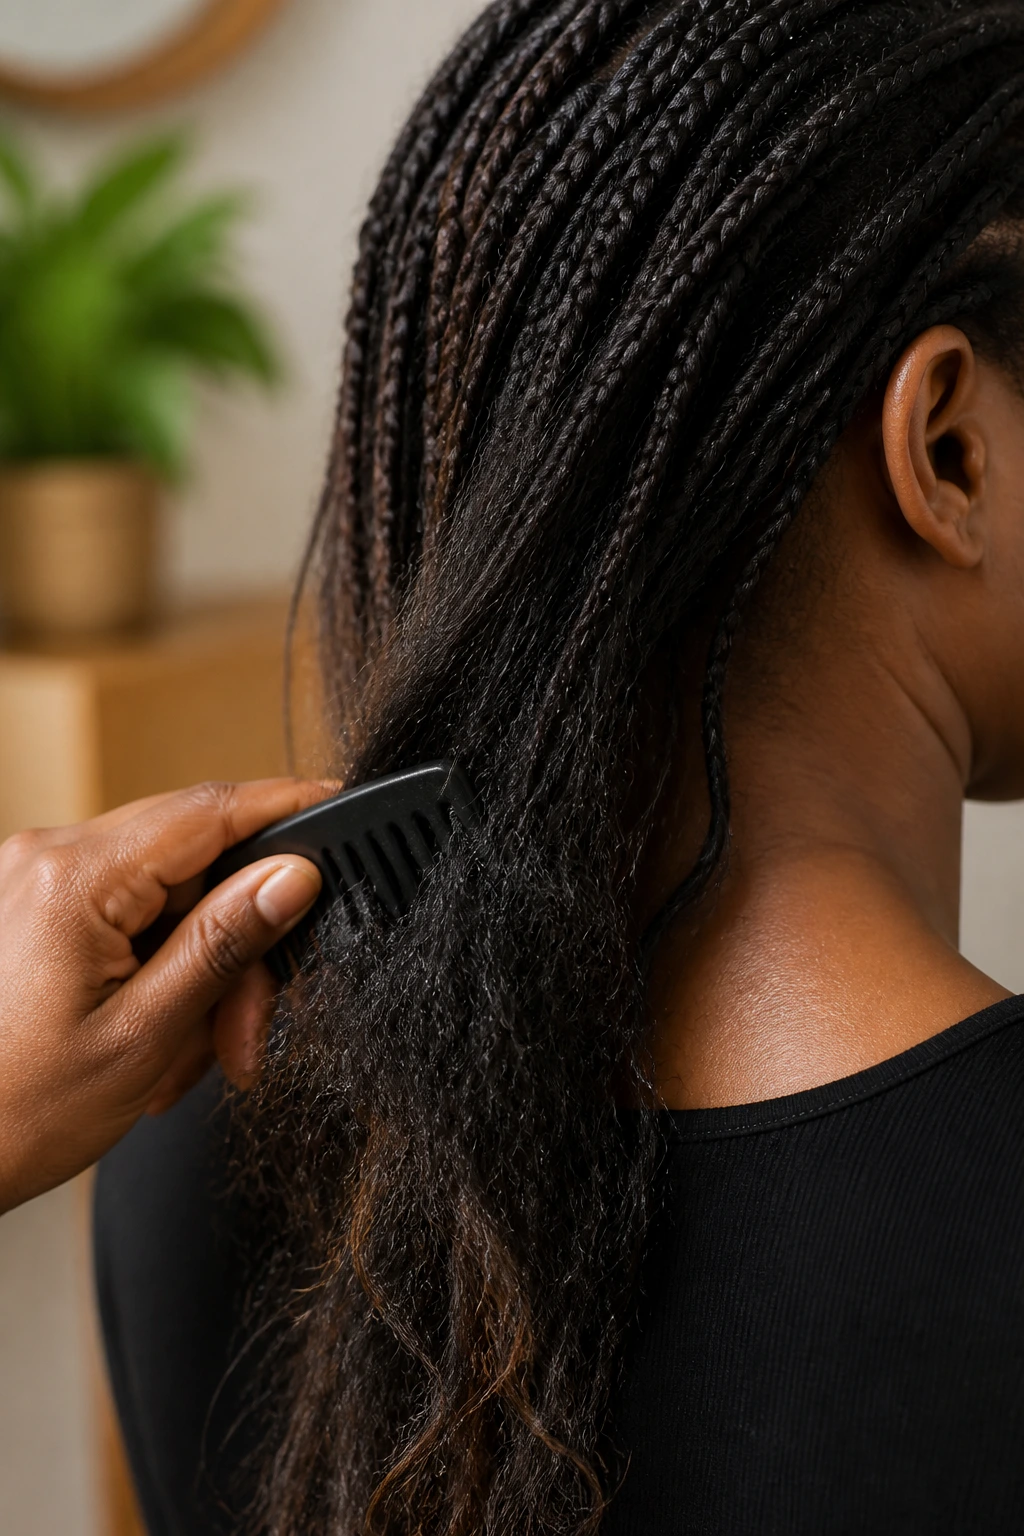
Synthetic hair has a mind of its own. It loves to knot, fray, and tangle just when you are trying to reach the end of a long box braid. Preventing this requires constant maintenance throughout the braiding process.
The Pre-Braiding Prep
Before you start, hang your bundles of hair on a towel rack or a braiding stand. Gently pull the hair from the bottom to loosen it, and trim any stray ends that look frayed. If the hair is overly “plastic” or shiny, you can dip it in a bowl of warm water with a capful of fabric softener for a few minutes, then let it air dry completely before using it. This makes the synthetic fibers behave more like natural hair and significantly reduces the amount of static you experience.
7. The Knotless Technique for Beginners

Knotless braids are a blessing for those who struggle with the weight and tension of traditional box braids. They start with your natural hair, meaning they are far more flexible and less likely to cause a headache.
Why They Are More Forgiving
Because you are not starting with a knot, you have more control over the braid from the very first inch. You can adjust the braid as you go, and you do not have to worry about the “bulk” of the knot pushing the braid into an awkward position. They also last longer because they don’t weigh down the follicle, allowing your natural hair to breathe during the protective style period.
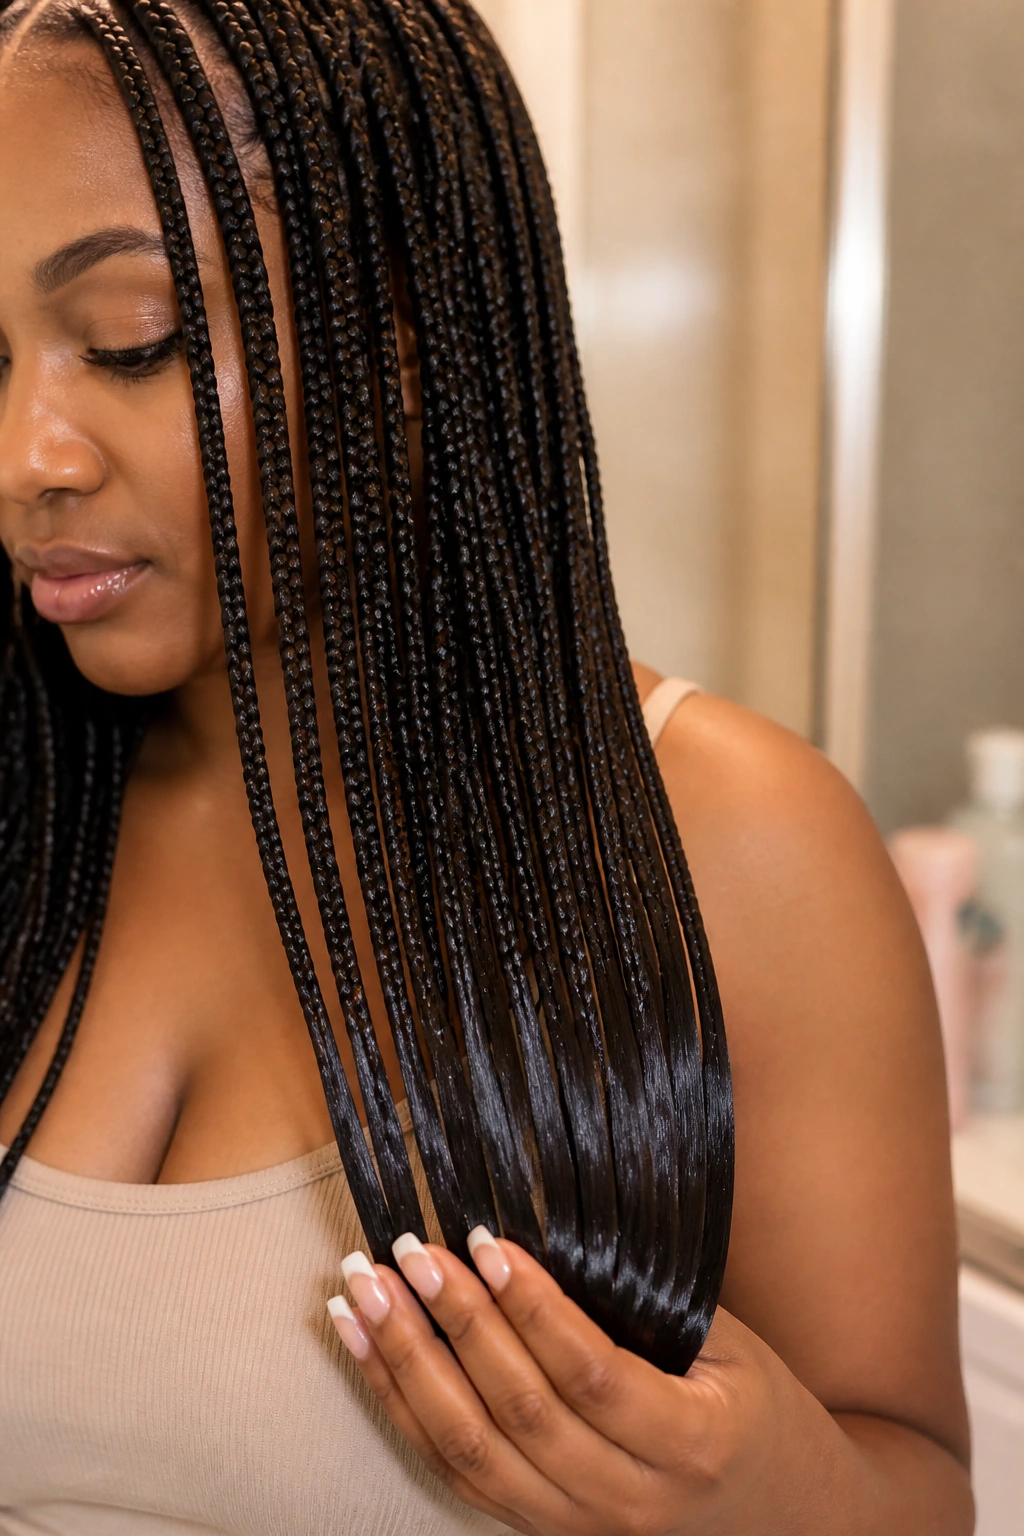
8. Tips for Perfecting Your Box Braid Consistency

Consistency is the visual language of a good braid job. If your braids vary significantly in thickness, the style can look messy. Your hands need to develop muscle memory so that the amount of hair you pick up for each braid becomes second nature.
Measuring the Amount of Hair
Use a standardized piece of cardboard as a template to measure your hair extensions. If you take a chunk of synthetic hair that is the width of your index finger, try to stick to that width for the entire head. Use the same number of “pulls” from your hair rack for every single braid.
The “Equal Pressure” Rule
When you are holding the three strands, apply the same level of pressure to the left, middle, and right strands. If one strand is loose while the others are tight, the braid will loop and look uneven. Keep all three strands pulled taut as you cross them over one another.
9. Handling Baby Hairs and Edges
Styling your baby hairs is the final touch that elevates a self-braided look from “home-grown” to “salon-fresh.” However, over-styling can cause thinning. The key is to use a soft-bristled toothbrush and a light-hold gel.
Gentle Styling Techniques
- Sweep your edges toward the braid rather than pulling them back aggressively.
- Use a tiny amount of product; excess gel creates a white crust that is difficult to hide.
- Allow the product to set for a few minutes before putting on a silk or satin scarf to “lay” them down.
Pro tip: Do not style your baby hairs every single day. The friction of the brush and the alcohol in some gels can dry out the delicate hair at your hairline. Give your edges a break at least two days a week.
10. Achieving the Perfect Dip for Sleek Ends
Dipping your braids in boiling water is the classic way to seal the ends and give them a professional, finished look. It turns jagged, synthetic ends into a smooth, tapered point.
The Dipping Process
- Bring a pot of water to a rolling boil and turn off the heat.
- Carefully submerge the ends of your finished braids into the water, being mindful not to touch your skin or scalp with the hot water.
- Hold the braids in the water for 10 to 15 seconds.
- Remove them and immediately wrap the wet ends in a towel to soak up excess moisture.
Warning: Always ensure the water is not too hot for your hair texture. Synthetic hair can melt or get frizzy if the water is boiling aggressively. Let it sit for a moment after taking it off the stove.
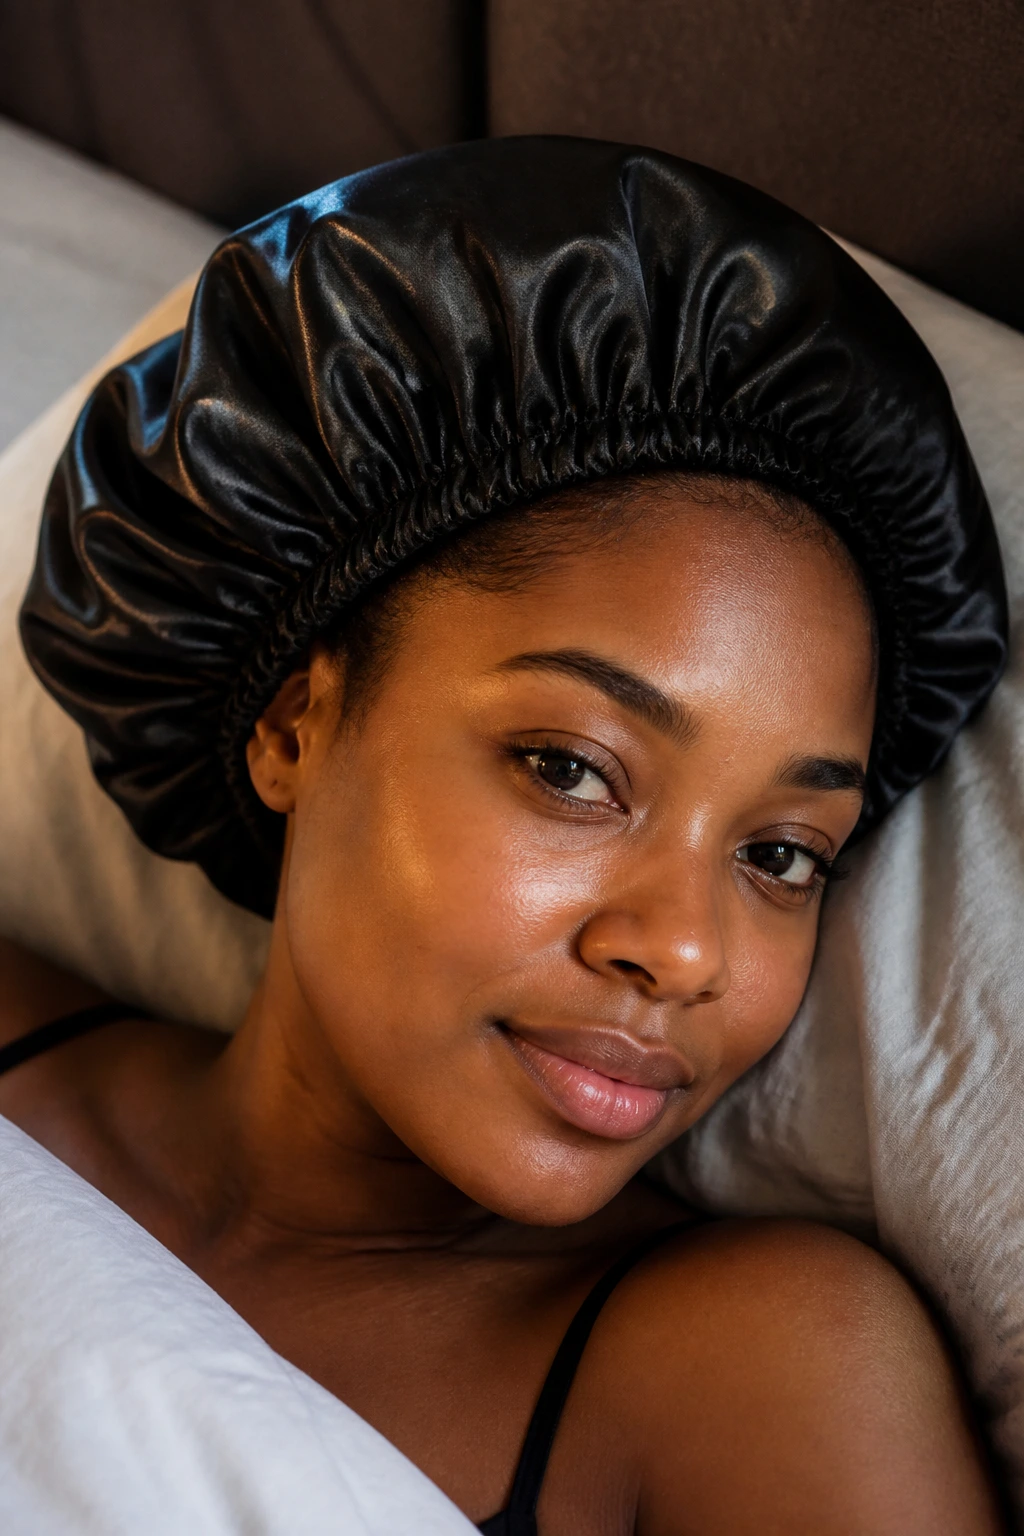
11. Maintaining Your Braids Overnight
The way you treat your braids while you sleep determines how long they last. If you do not cover your hair, you are inviting friction, frizz, and unwanted debris into your braids.
The Nighttime Ritual
Invest in a large satin or silk bonnet. Cotton pillowcases are your enemy; they absorb moisture from your hair and cause the synthetic fibers to frizz overnight. If your braids are long, tie them up into a loose high bun before putting on your bonnet to ensure they aren’t tugging at your neck or shoulders while you sleep.
12. Troubleshooting Common Braiding Mistakes
Even the most experienced braiders make mistakes. If you notice a braid is starting to look fuzzy after a week, don’t rush to take the whole style down. There are ways to salvage your hard work without starting over.
Dealing with Frizz
A little frizz is natural, but if your braids look like they have a halo, use a small amount of mousse and gently smooth it down the length of the braid. Then, tie a silk scarf over your hair for ten minutes. The pressure and the moisture from the mousse will “reset” the synthetic hair and bring back that sleek look.
Fixing a Loose Braid
If the root starts to feel loose, you can use a crochet hook to pull a tiny piece of hair from the braid back into the root, essentially “re-tightening” it. Be extremely careful when doing this so you don’t break your own natural hair strands.
13. Understanding When to Take the Style Down
Protective styles are meant to protect, but keeping them in for too long does the opposite. Leaving braids in for more than eight weeks can lead to severe matting at the roots, making the take-down process a nightmare for your natural hair.
The Signs It Is Time
- Your roots have grown out more than an inch.
- You notice excessive buildup that shampoo can no longer reach.
- The ends of your natural hair are starting to poke through the braids.
When you take the style down, do it slowly. Use a detangling spray and a wide-tooth comb. Never rip through the tangles, no matter how tired you are. Your hair has been in a restricted state for weeks; treat it with gentle care during the release phase.
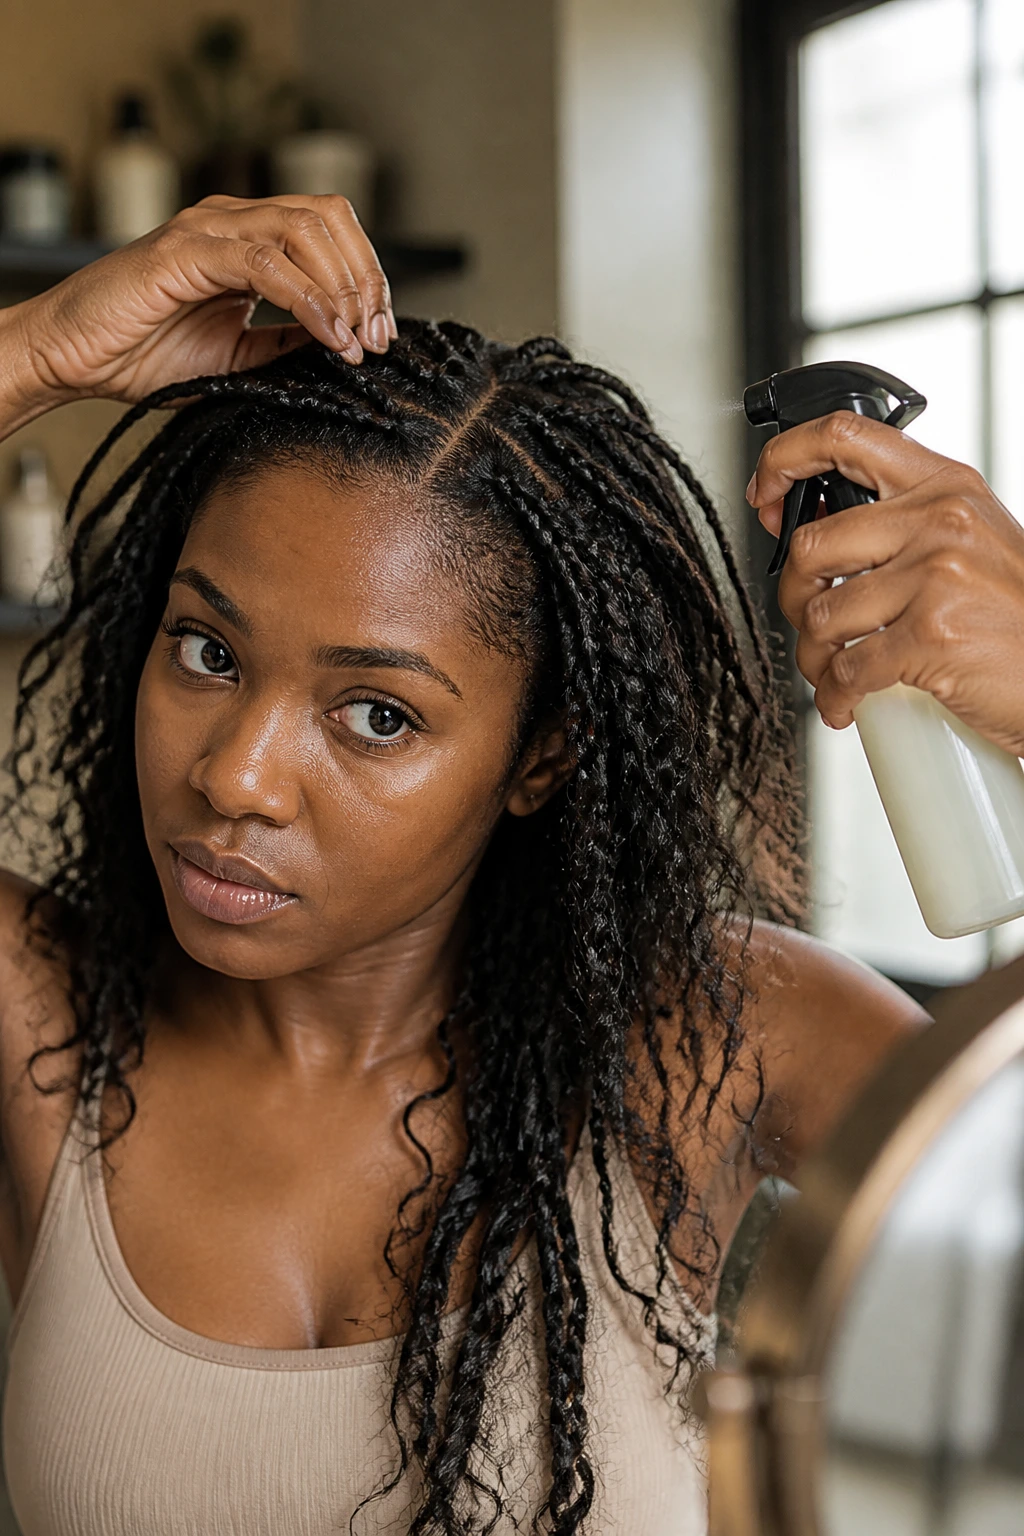
14. Managing Scalp Health During the Style
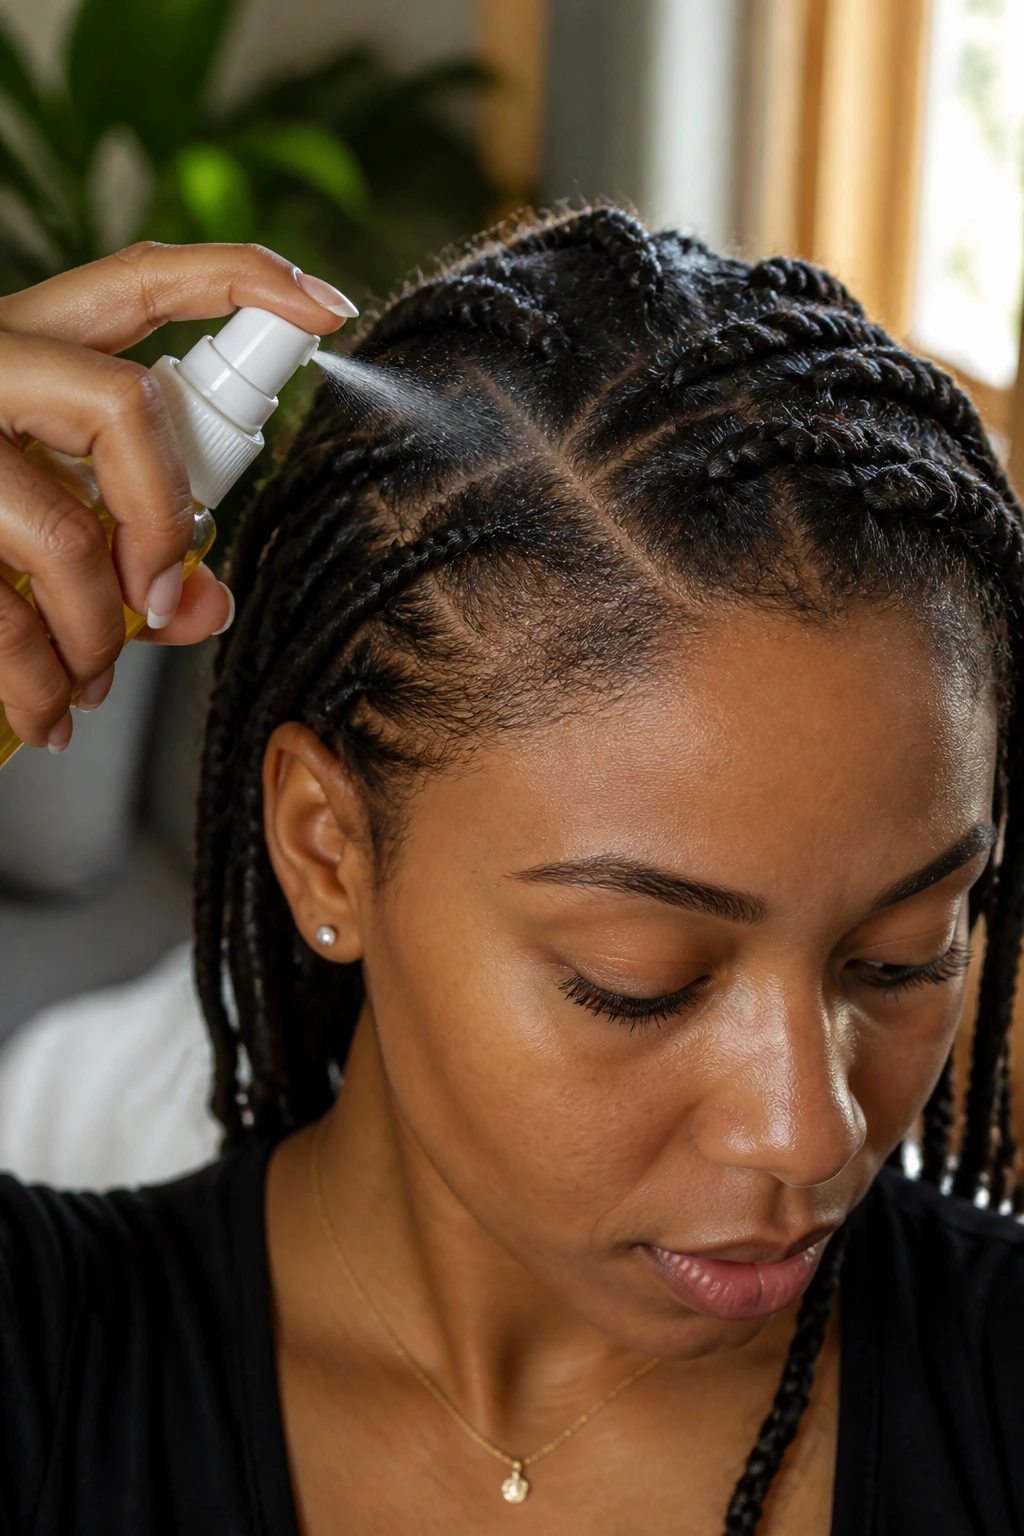
A dry, itchy scalp is the most common complaint among those who wear braids. Because your scalp is hidden, it is easy to forget about it, but it still needs to be moisturized and cleaned.
The Best Way to Moisturize
Use a light oil, such as jojoba or sweet almond oil, in a spray bottle. Mix it with a little bit of rose water to add hydration. Spray this mixture directly onto your scalp where you see your parts. Avoid heavy greases or petroleum-based products, as these will trap dirt and create an environment for bacteria.
15. The Benefits of Braiding Your Own Hair

Beyond the money saved, there is a deep sense of accomplishment that comes from braiding your own hair. It is a meditative process. It forces you to slow down, look at yourself in the mirror, and spend time learning the unique growth patterns and textures of your own hair.
Building Confidence
The first time you successfully finish a full head of braids, you will feel a shift in your self-reliance. You stop being dependent on a stylist’s schedule or budget. You become the curator of your own look, and that is a powerful feeling. It allows you to change your style on a whim, experiment with colors you might have been too shy to ask a stylist for, and truly own your aesthetic.
16. Variations and Creative Adaptations

Once you master the basic box braid or cornrow, you can start experimenting. Try incorporating gold beads, cuffs, or different parting shapes like triangles or diamonds.
Playing with Texture
If you want a more bohemian look, consider “goddess braids,” where you leave out curly synthetic hair throughout the braid. This is a bit more advanced but adds a beautiful, soft element to the style. You can also mix in different colors of braiding hair to create custom highlights that look like they were professionally dyed.
17. Final Thoughts

Braiding your own hair is a journey of trial and error. Some sections will be neater than others, and some days will be more frustrating than others. Do not aim for immediate perfection. Instead, focus on the process, the feel of the hair, and the way you can manipulate it to suit your face shape.
Eventually, the muscle memory will take over. Your arms won’t tire as quickly, and your parts will become second nature. Treat your hair with kindness during every stage—from the first wash to the final take-down—and you will find that braiding is not just a style choice, but a rewarding way to care for and celebrate your crown.