If you possess naturally straight, fine hair, you have likely encountered the specific frustration of trying to execute a complex braid only to have it slip, unravel, or lack the volume needed for a truly “Pinterest-worthy” result. Many people assume that intricate styles are reserved for those with textured or curly hair, but the truth is that your hair’s smooth cuticle can be a massive advantage for clean, sharp, and polished looks. Among the many techniques available, the “banana braid”—often characterized by its rounded, voluminous, and curved structure—is a transformative style that utilizes your hair’s natural sleekness to create a striking, sculptural aesthetic.
The secret to mastering this style on straight hair isn’t about having more hair; it is about using the right preparation to build friction and grip. If you go in with freshly washed, silky-smooth locks, the braid will slide apart in minutes. Instead, the foundation should always be slightly “dirty” or enhanced with texture-building products that change the physical properties of your strands. By building that base, you can achieve styles that look dense, intricate, and impeccably held, even when your natural hair texture is fine or slippery.
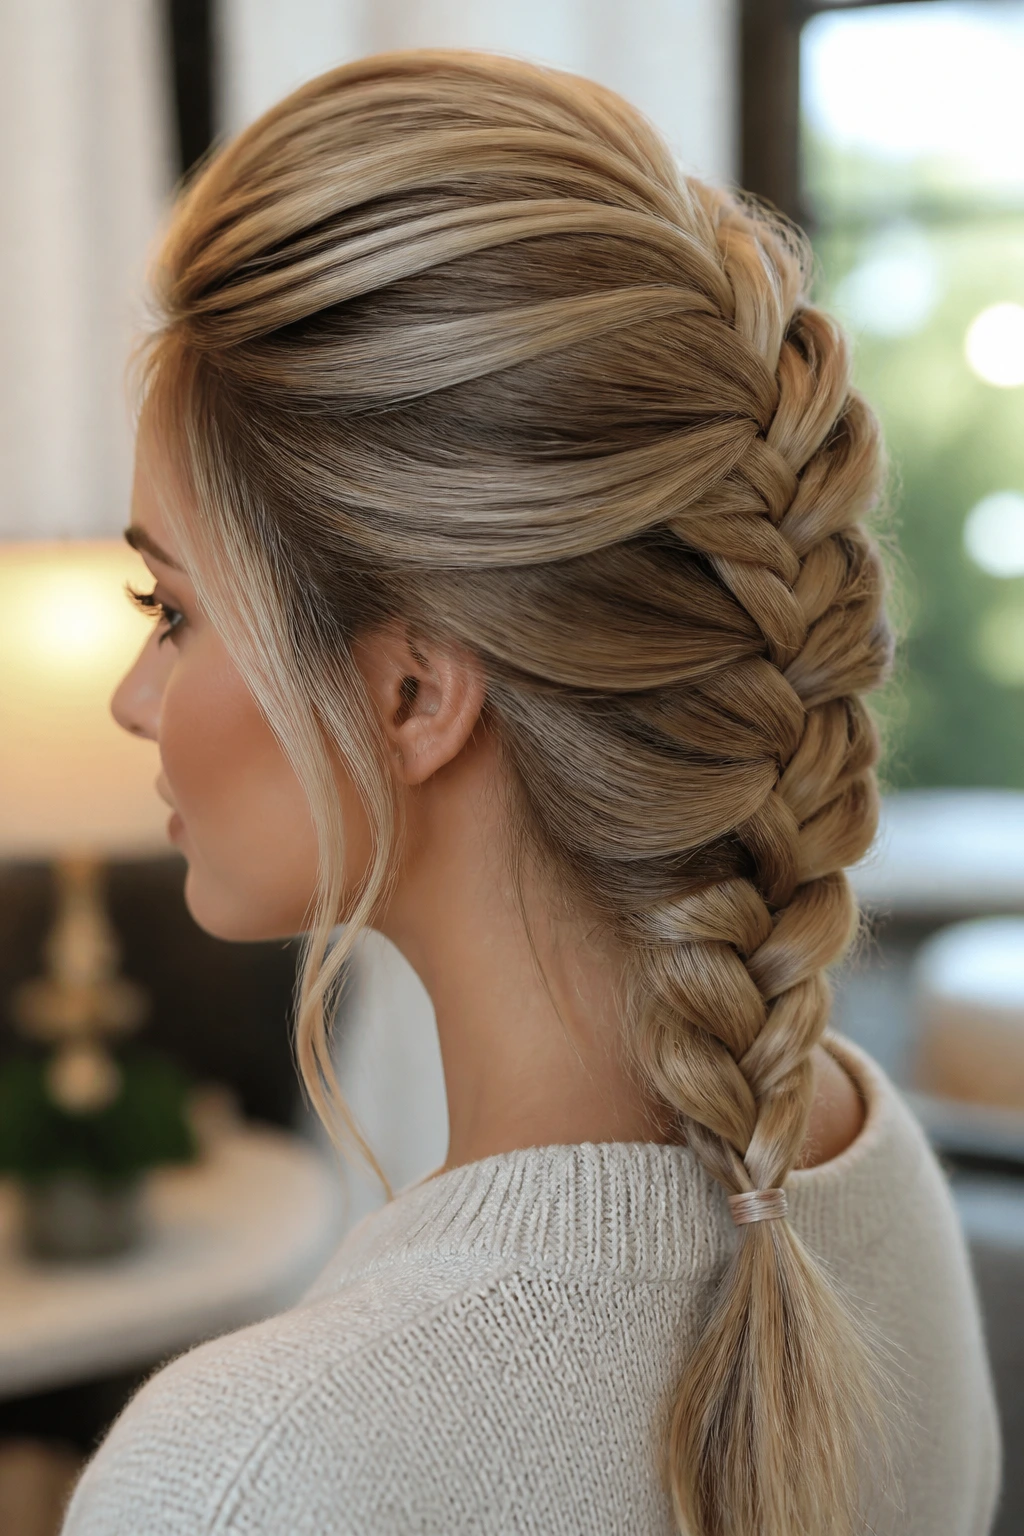
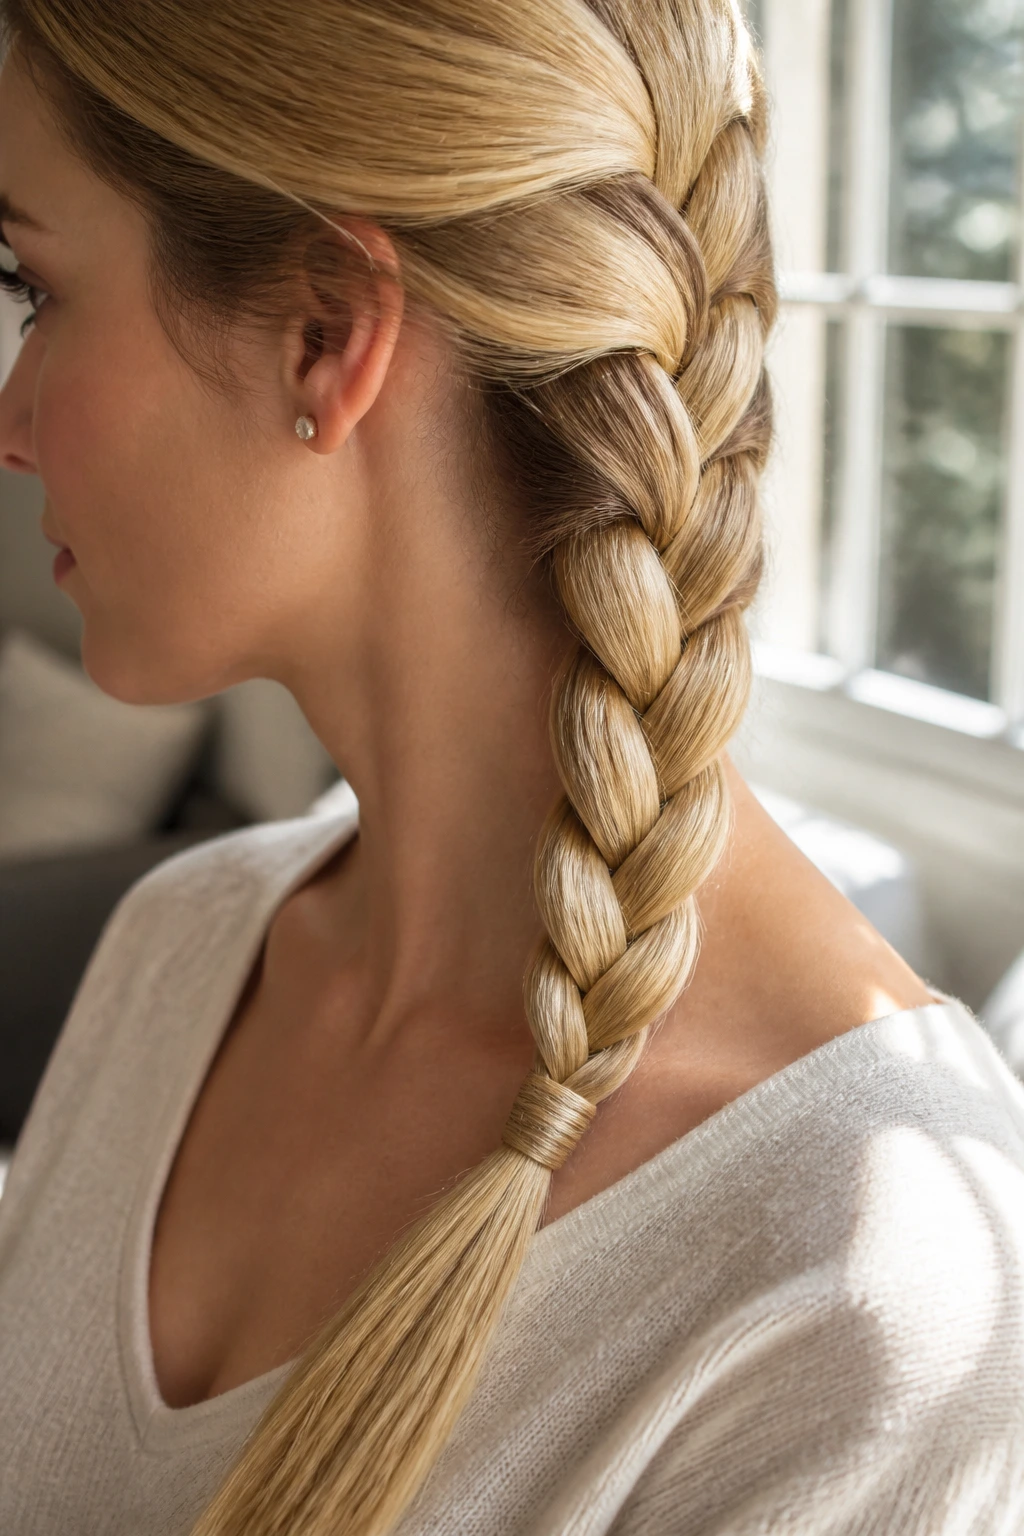
1. The Classic French Banana Braid
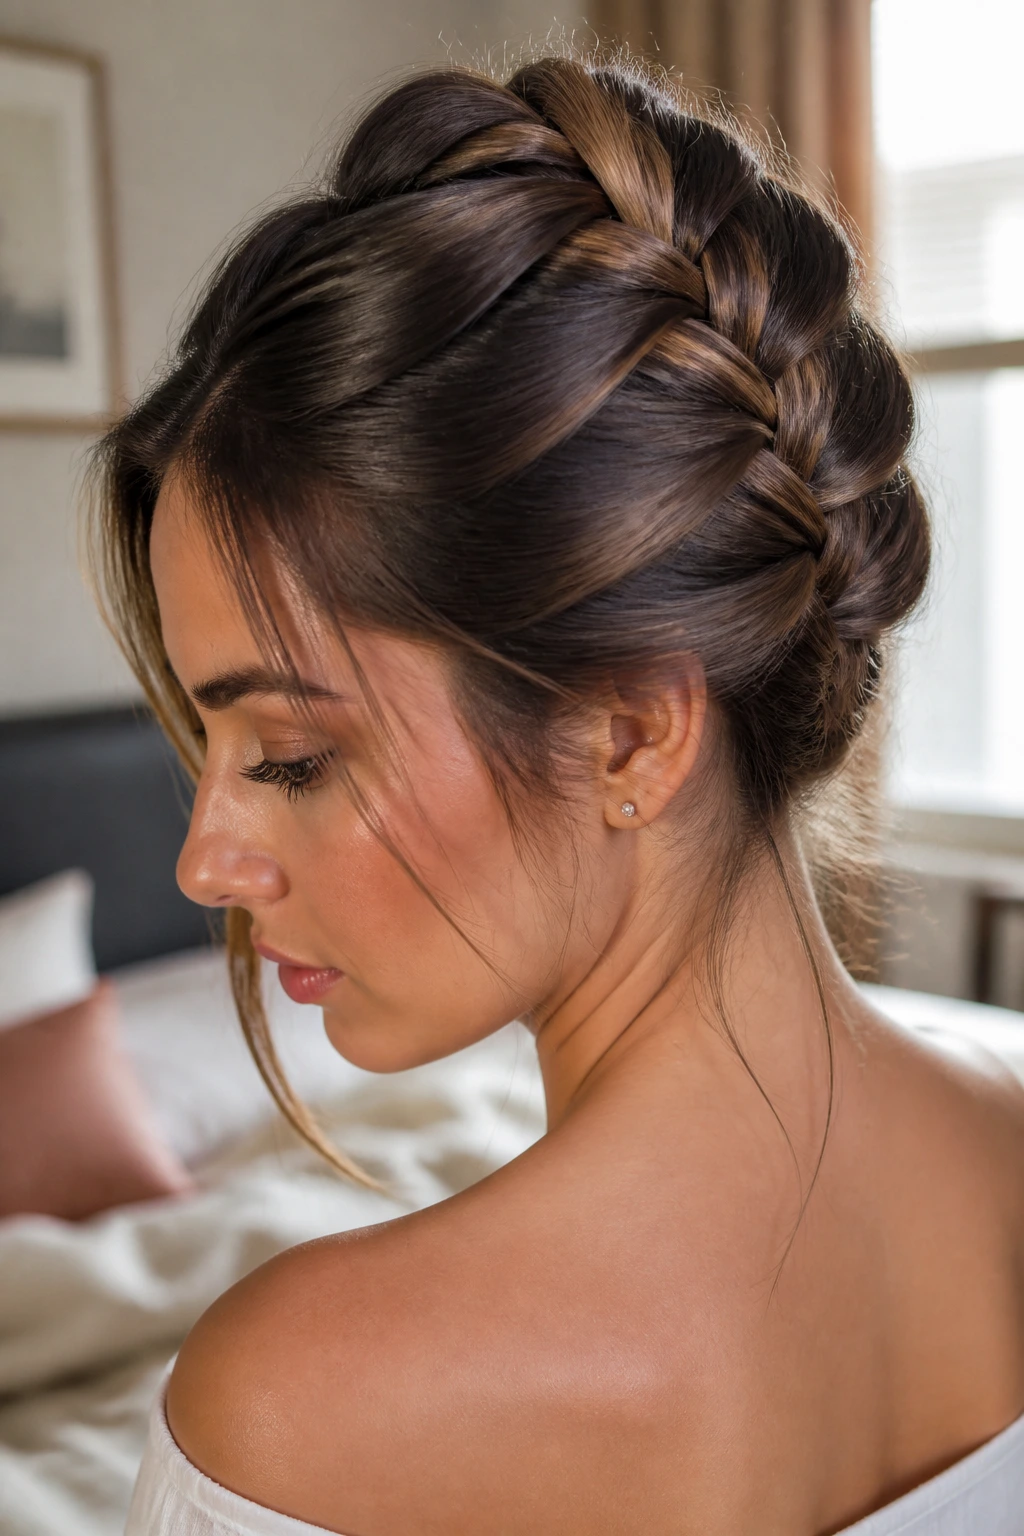
This is the foundational style that defines the look. It works by taking small, consistent sections from the crown and braiding them in a slight arc toward the nape of the neck. Because straight hair is prone to flyaways, the key here is to keep your tension consistent. If you pull too hard, the braid looks tight and flat; if you pull too loosely, the braid loses its rounded, “banana” shape. Focus on feeding equal amounts of hair into the braid at each crossing to ensure a symmetrical curve. For those with layers, a light mist of sea salt spray before you start can provide the necessary grip to keep those shorter pieces tucked neatly into the braid.
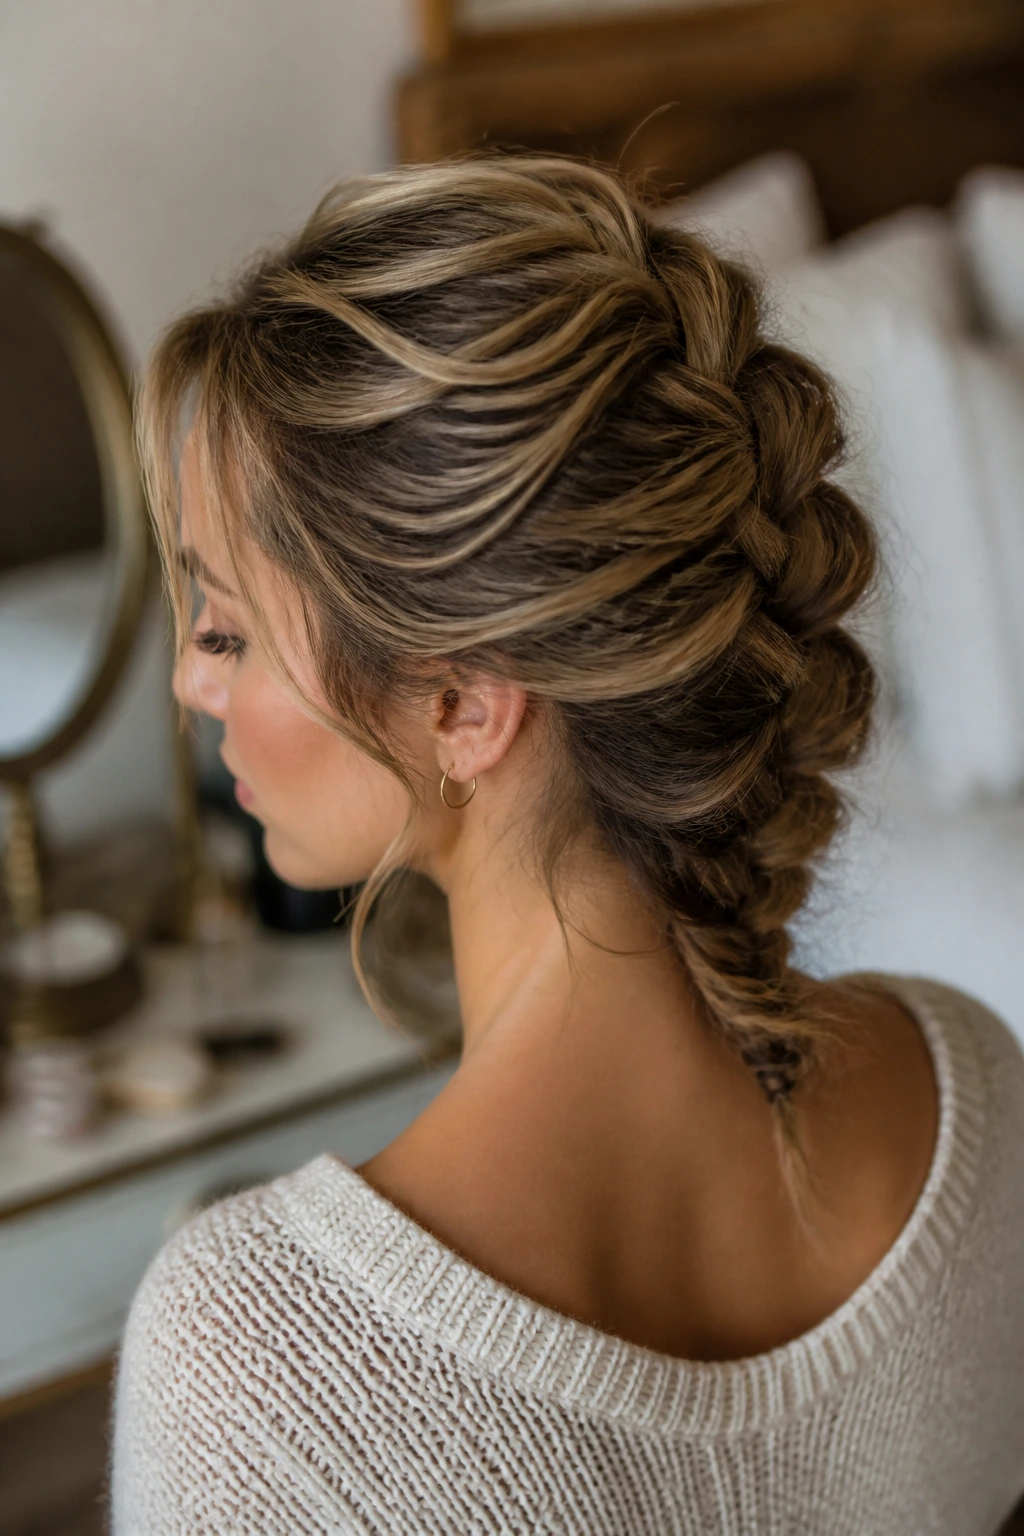
2. Dutch-Inspired Banana Braid

While the French version crosses hair over the top, the Dutch version requires you to cross the strands under each other. This creates a 3D, popped-out effect that makes even the thinnest hair appear substantial. On straight hair, this technique is particularly effective because it clearly delineates each section, showcasing the sleekness of your locks while adding the dimension that Dutch braids are famous for. To maximize the impact, gently “pancake” (pull at the edges of) the braid once you have finished. Do this slowly, working from the bottom up, to ensure you don’t pull the whole structure loose.
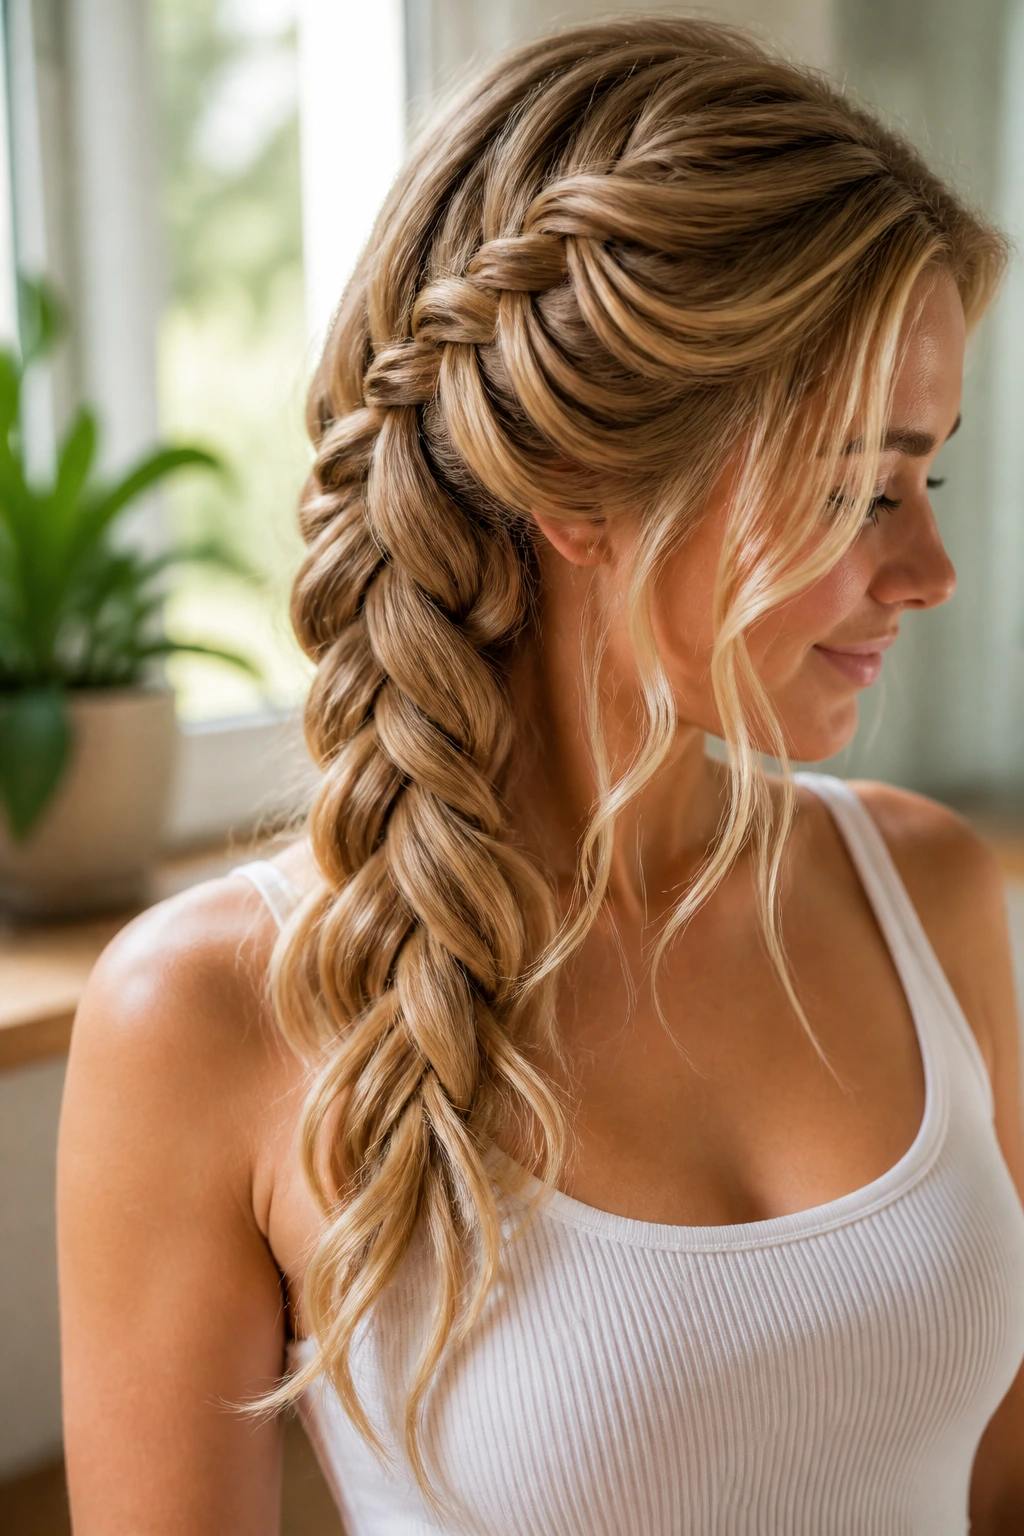
3. The Low-Slung Side Banana Braid
For a more romantic or formal look, shift the focus of your braid toward one shoulder. This style begins just behind one ear and sweeps in a long, elegant curve across the nape of your neck. The natural weight of your hair will help keep this braid in place, but since straight hair tends to be slippery, use a small, clear elastic at the base of the arc to anchor the design before you continue braiding down the length. This prevents the “banana” shape from drooping as you progress. It is a perfect choice for events where you want a style that feels intentional but not overly rigid.
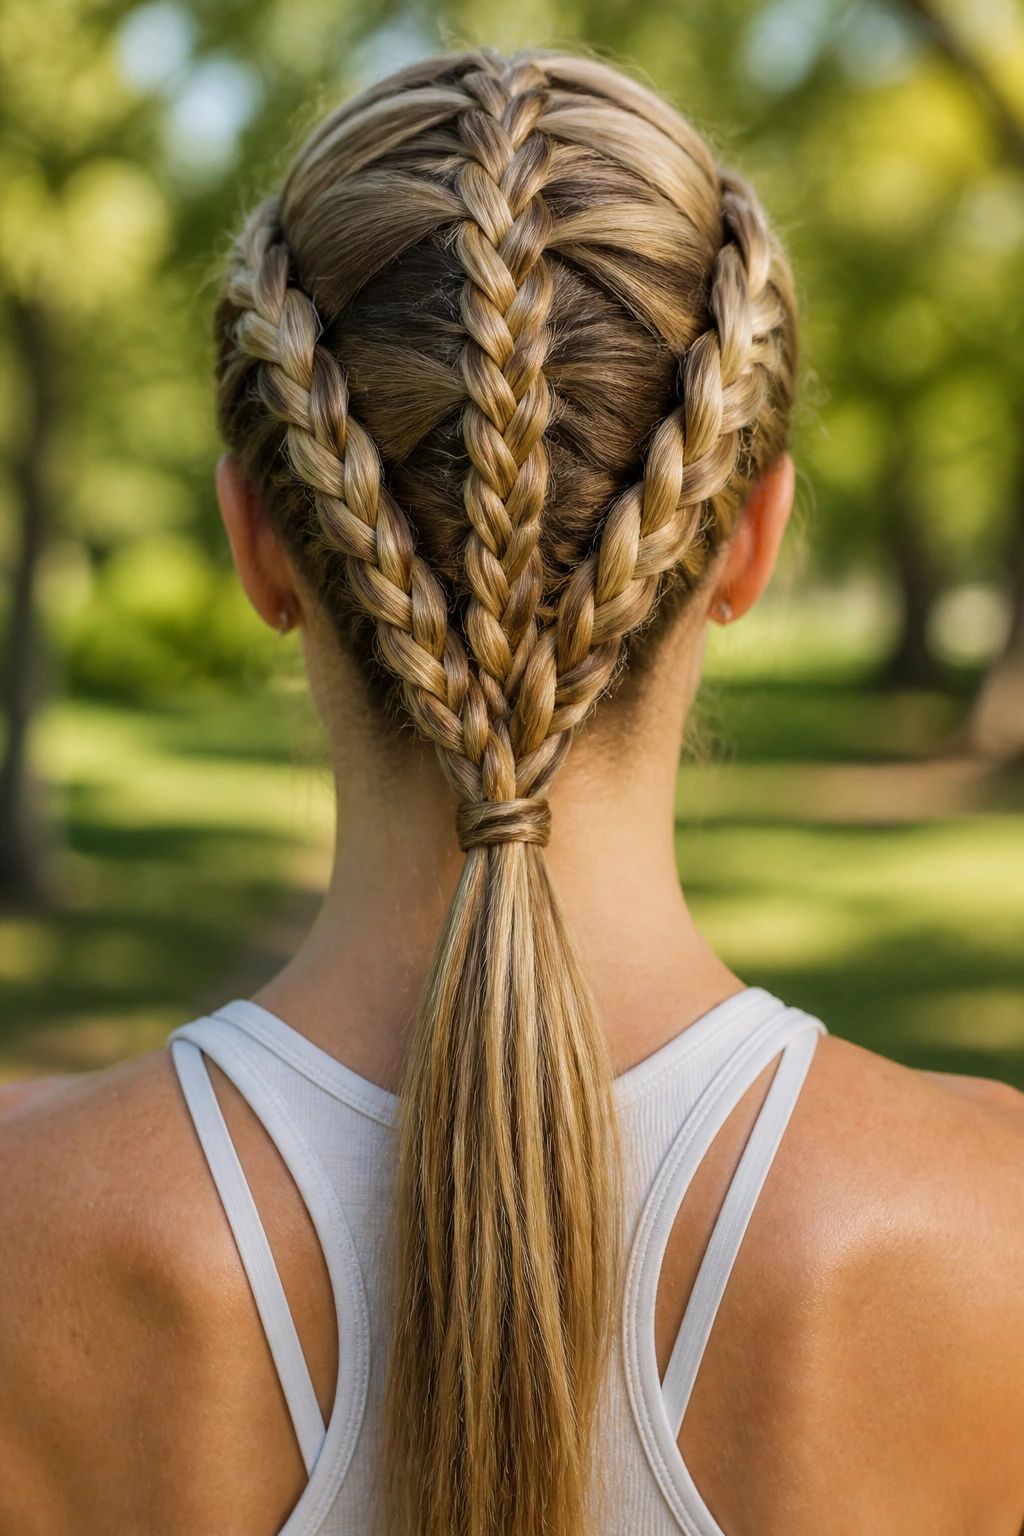
4. Double-Sided Banana Braids
Why settle for one when you can have two? This style features a mirrored pair of braids, each curving toward the center of the scalp or moving outward in opposite arcs. Because straight hair lacks the natural volume of curls, placing two braids close together helps fill out the back of the head. When you finish the braids, cross them over one another and pin them in place at the nape of the neck. This creates a complex, woven basket-weave appearance that looks far more difficult than it actually is. Use a dry texture spray to add a matte finish, which hides the sheen of straight hair and makes the individual strands look thicker.
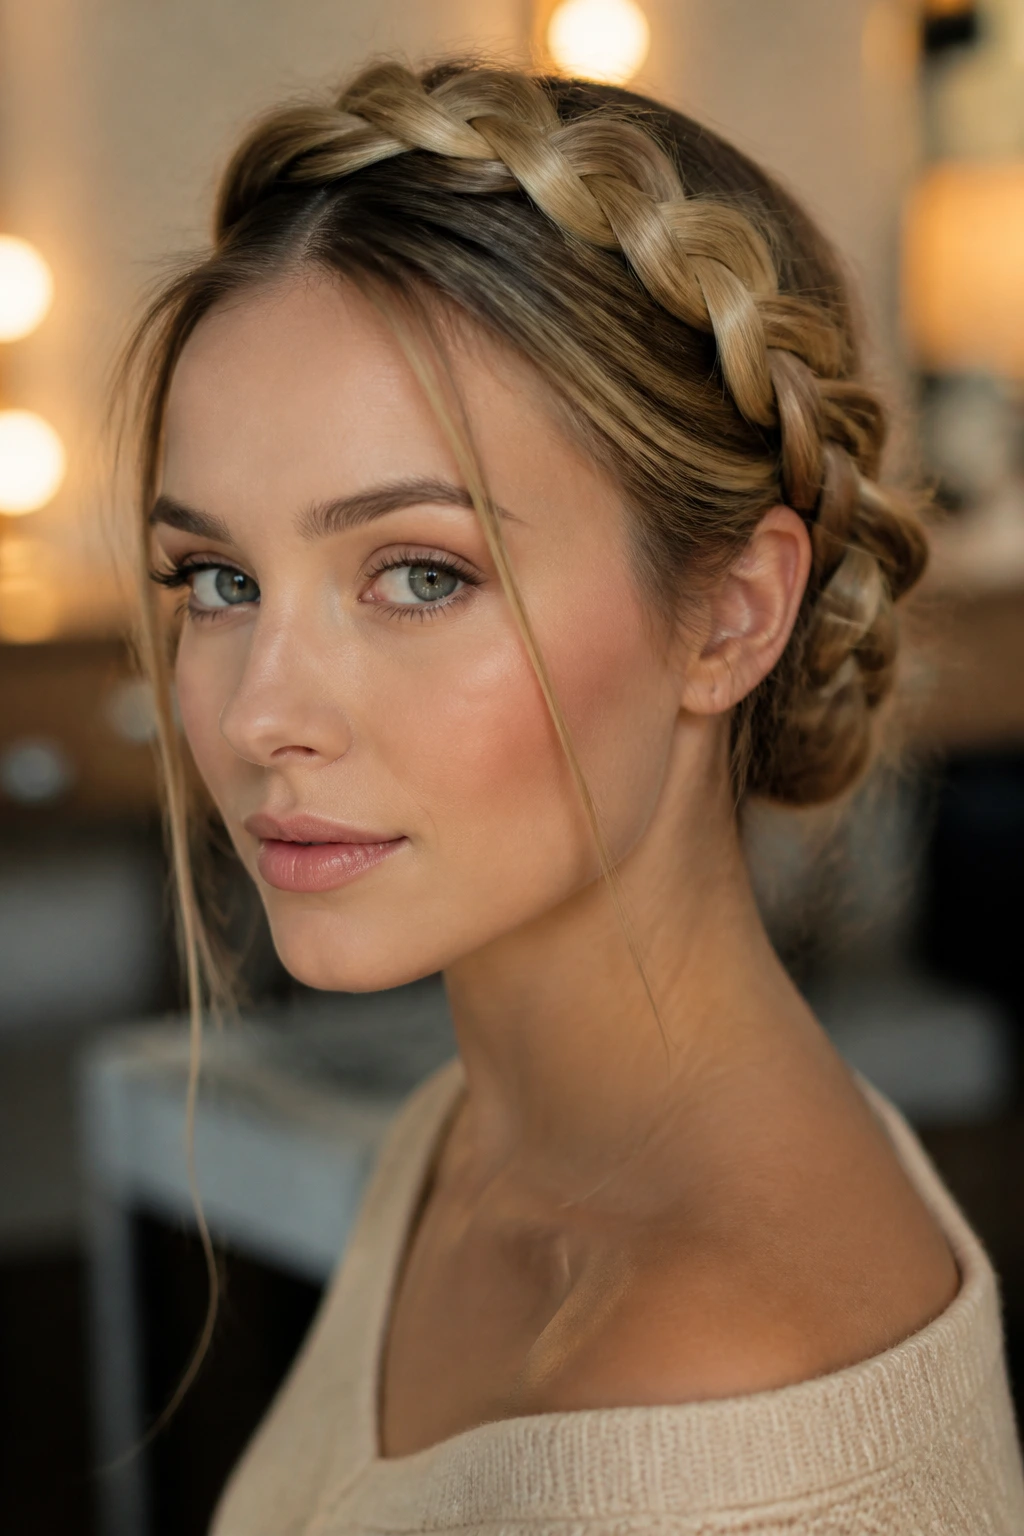
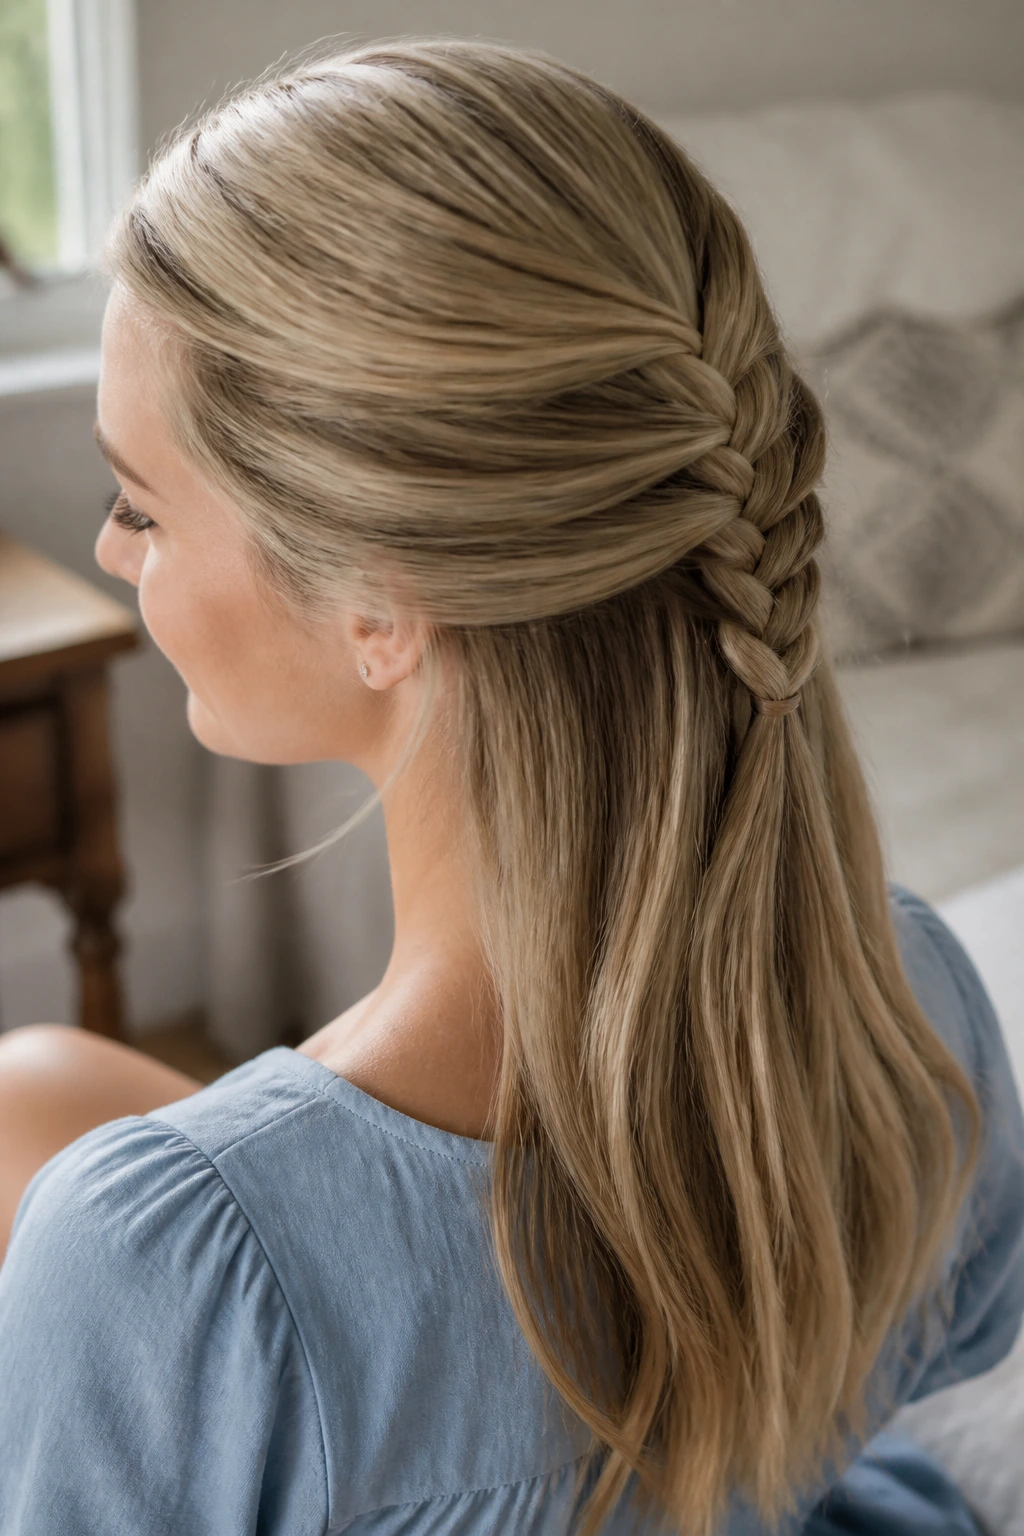
5. The Half-Up Banana Braid Crown
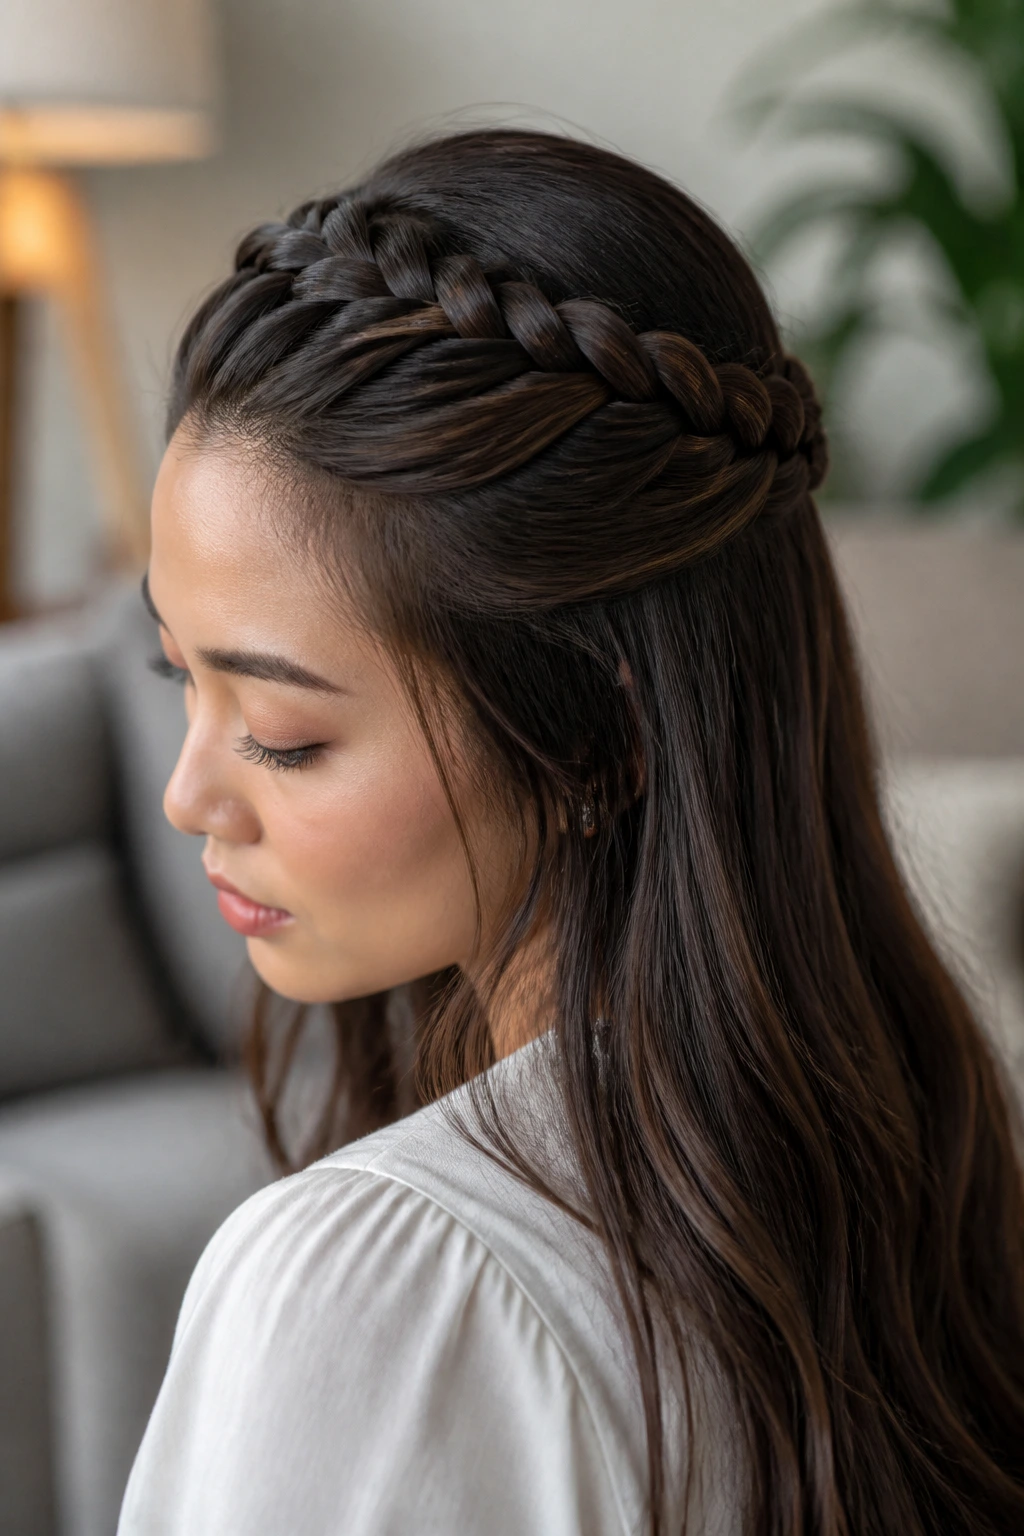
If you prefer wearing your hair down, this half-up variation is a subtle way to incorporate the look. Simply pull the top third of your hair into a curved, banana-shaped braid that rests horizontally across the crown of your head. Secure it with a hidden bobby pin, letting the rest of your hair flow naturally from underneath. Because you aren’t braiding the entire length of your hair, this is a very manageable style for those who are new to intricate braiding. Ensure that you catch only enough hair to create the shape, leaving plenty of length loose to frame your face.
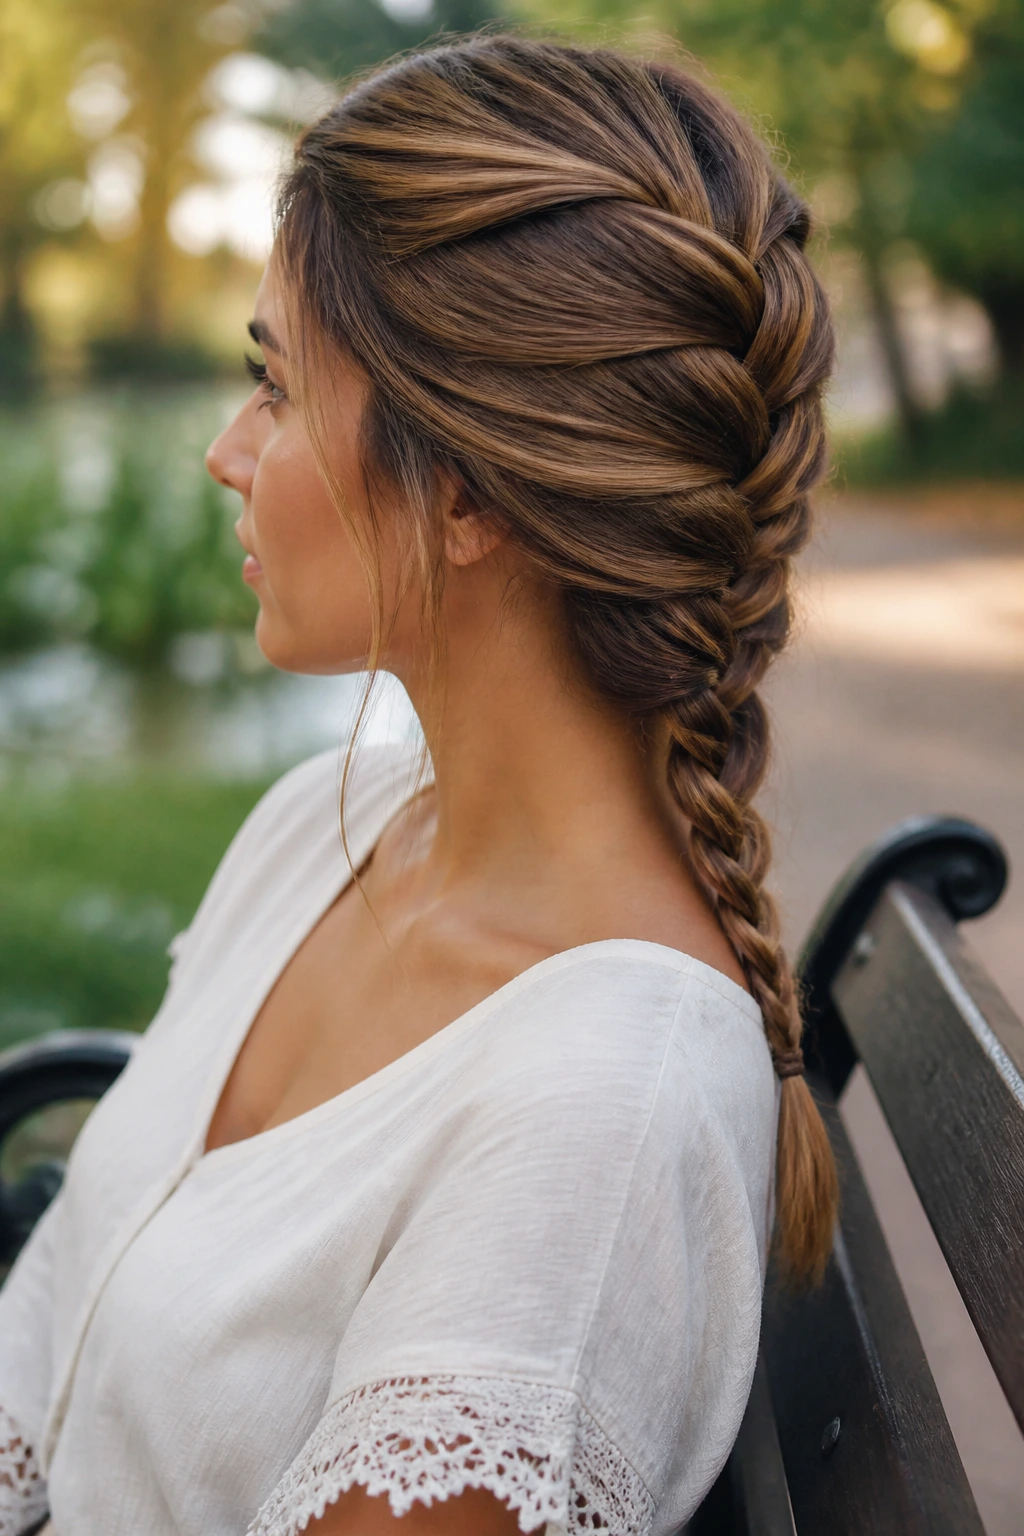
6. The Rope-Twist Banana Braid
Sometimes the best way to handle straight, slippery hair is to bypass the traditional three-strand braid entirely. The rope twist involves dividing your hair into two sections and twisting them around each other, all while incorporating new hair into each section as you go. Because the rope twist relies on the tension of the two-strand rotation, it actually holds tighter on straight hair than a traditional braid does. The resulting “banana” shape has a unique, nautical look that stands out from more conventional styles. It provides a clean, modern aesthetic that works perfectly with professional attire.
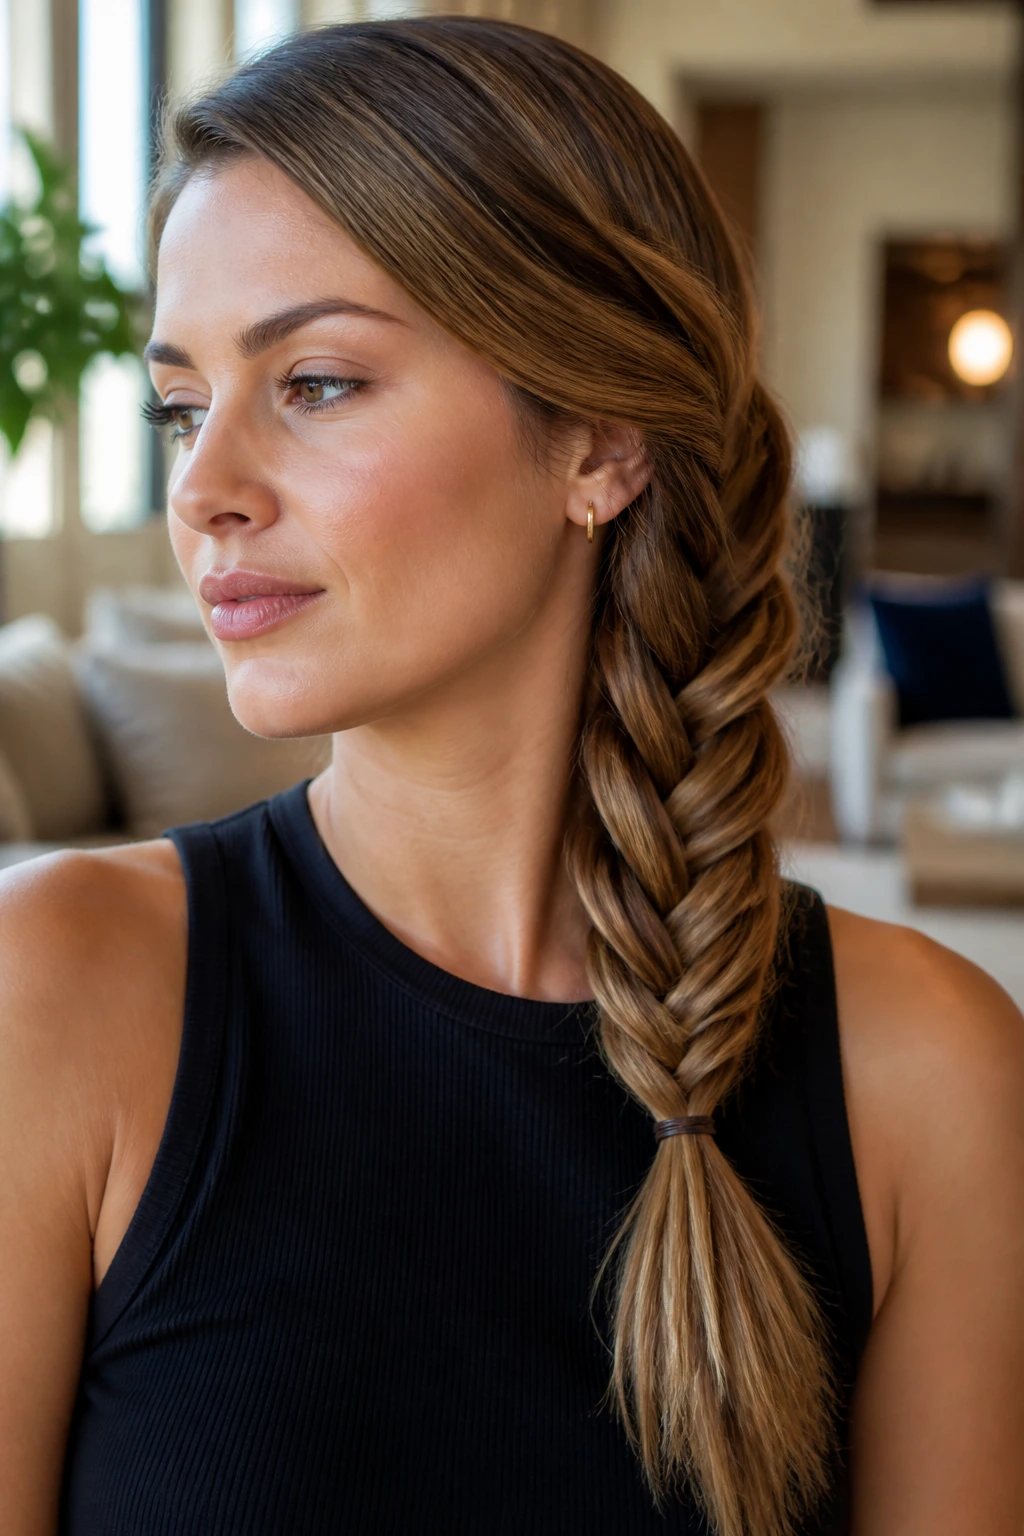
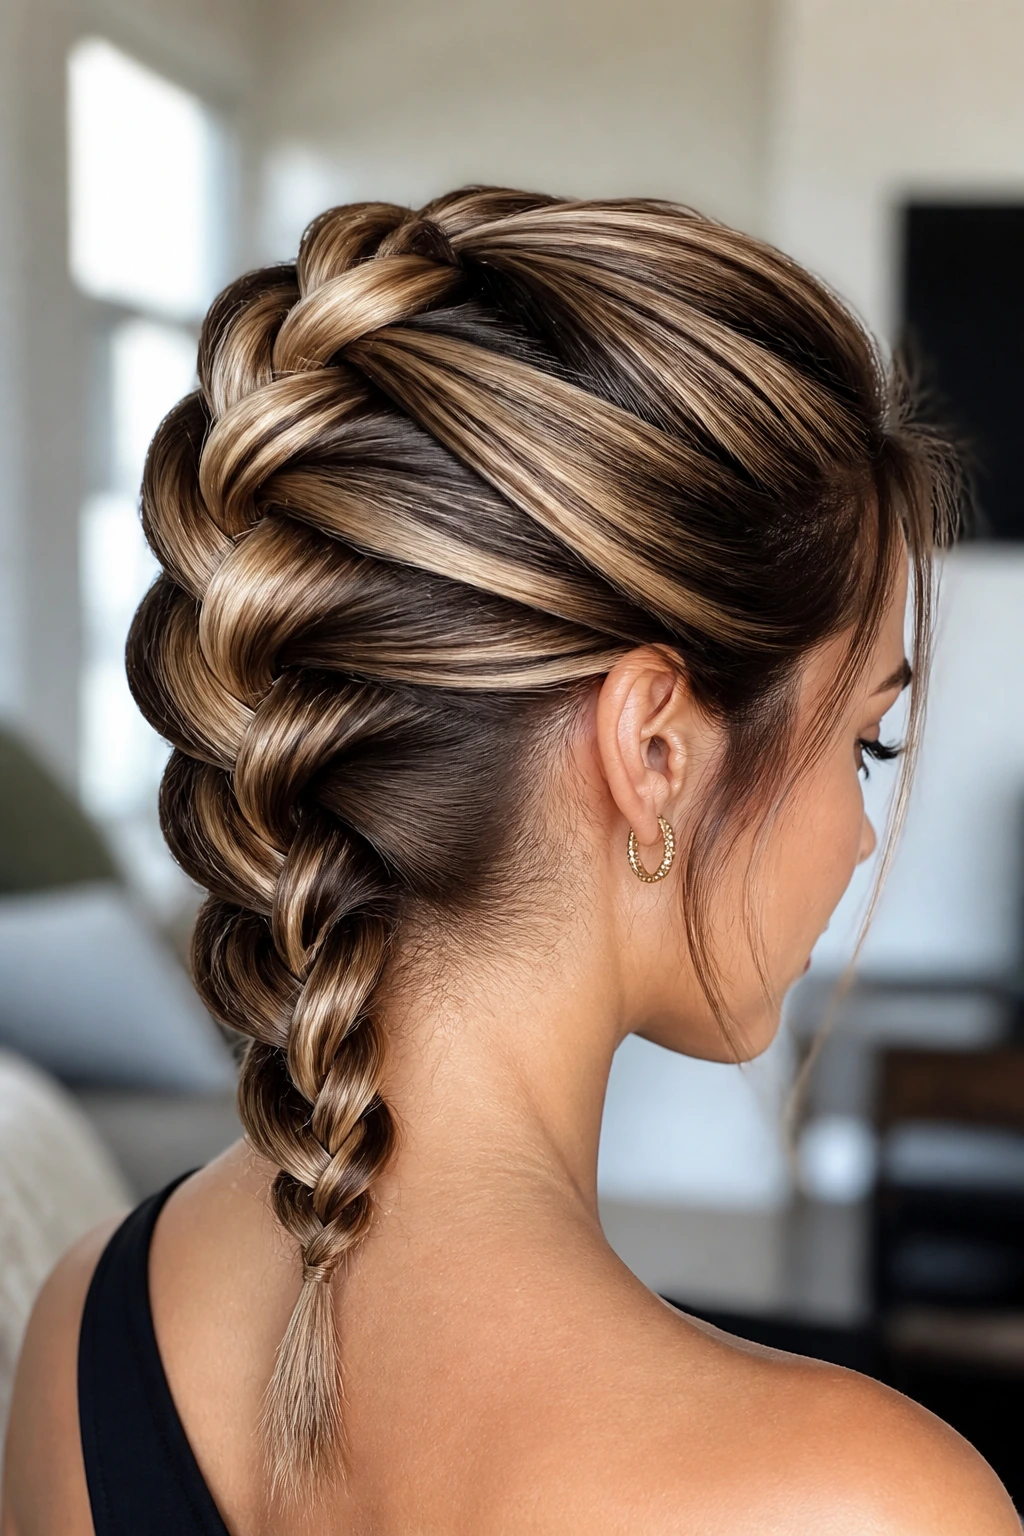
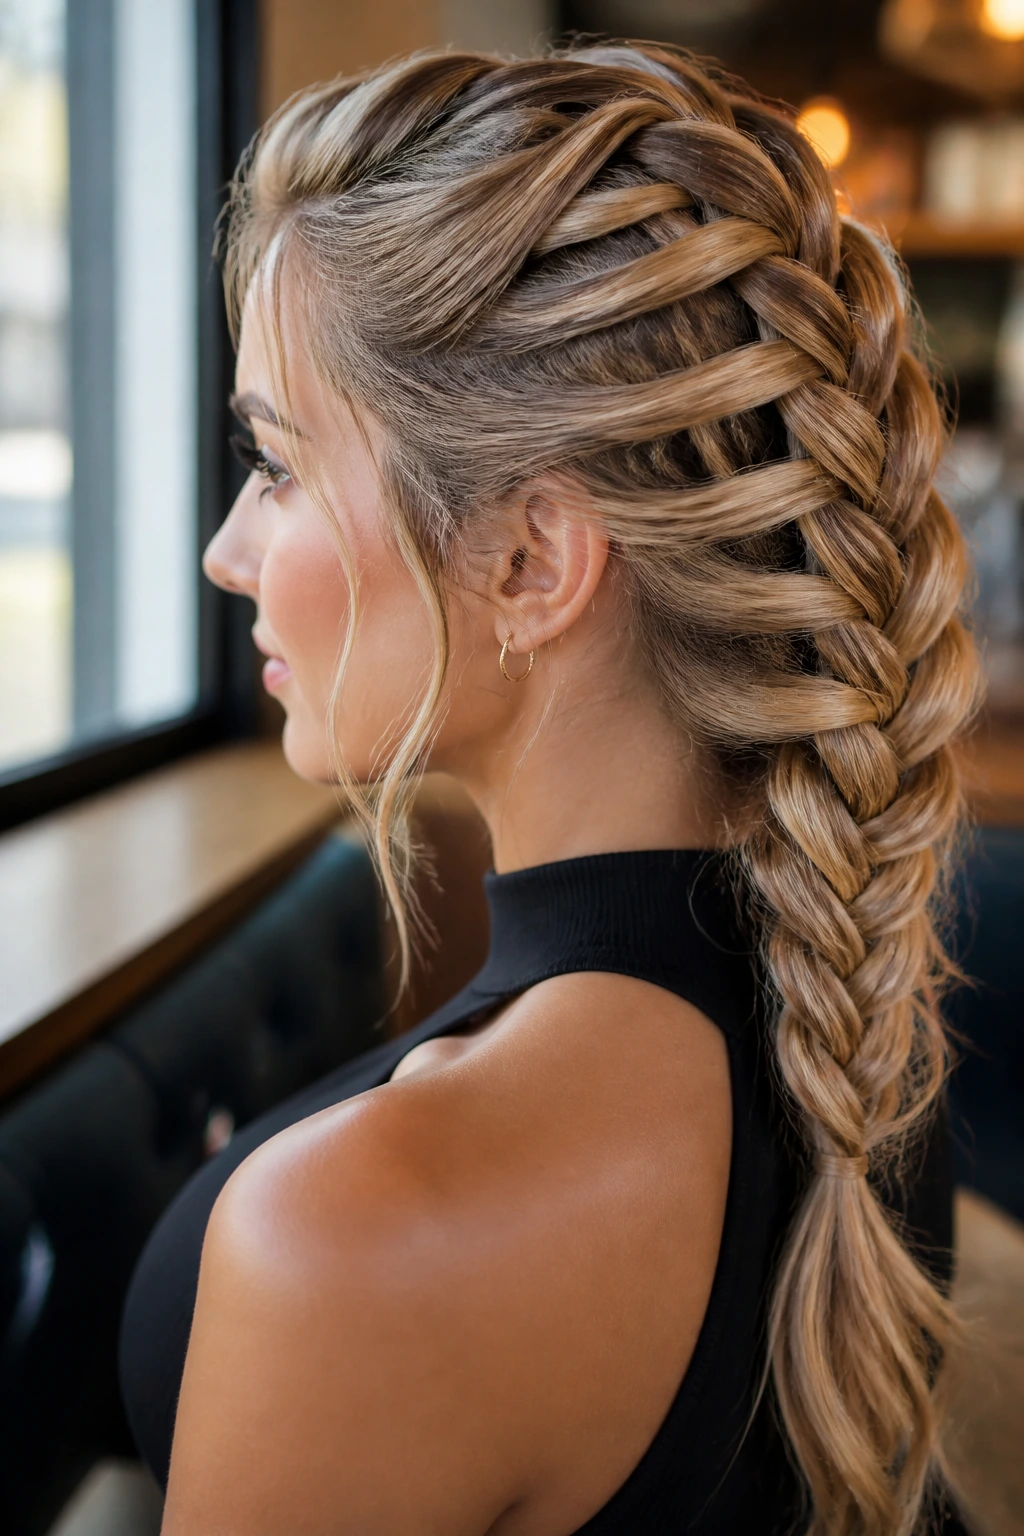
7. Fishtail-Integrated Banana Braid
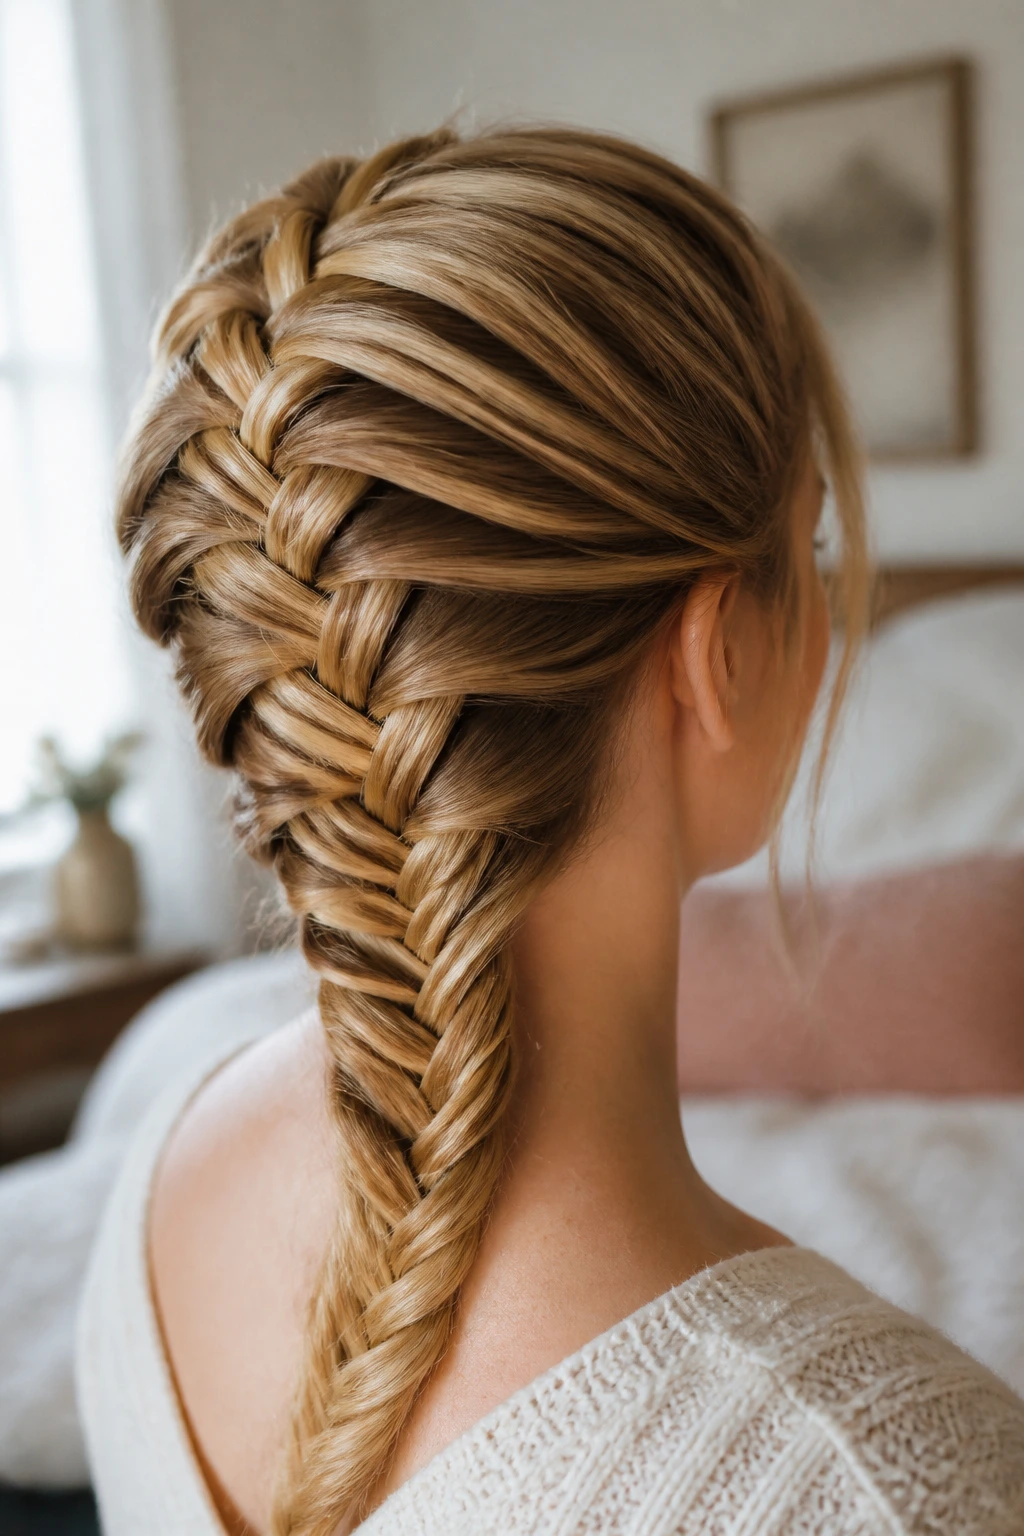
If you want to add intricate detail, combine the curved structure of a banana braid with the tight, rhythmic pattern of a fishtail braid. Begin your banana braid using the traditional three-strand method, but once you reach the nape of the neck, transition into a fishtail braid for the remaining length. The transition from the wide, rounded curve to the narrow, pointed tail creates an amazing visual contrast. This is one of the most effective styles for straight hair because the tight weave of the fishtail prevents the ends from fraying, keeping the overall look polished for an entire day.
8. The Pull-Through Banana Braid
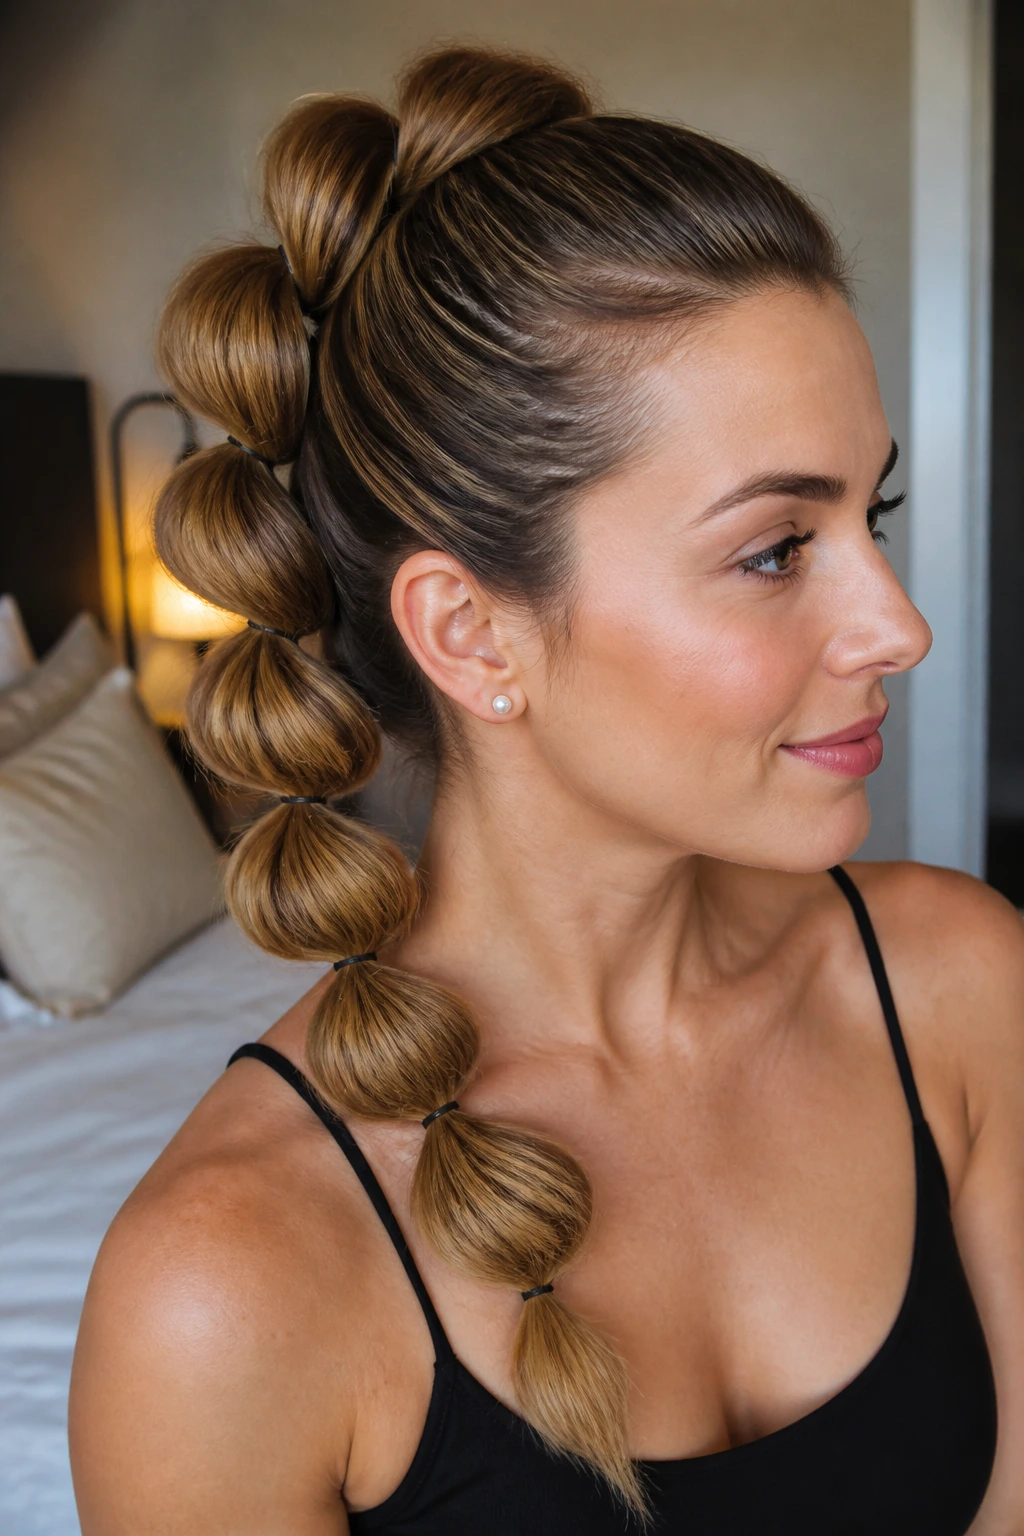
This is not a traditional “braid” but rather a series of elastic bands that mimic the appearance of one. You create a series of small, overlapping ponytails and then pull the hair through to create rounded “bubbles.” By angling these bubbles along a curved path, you get the distinct banana silhouette with zero risk of the braid unraveling. This is the absolute best option for anyone with very fine, slippery hair who finds that normal braids don’t have enough “heft” or volume. The elastics do the heavy lifting, ensuring your style stays in place regardless of your hair’s texture.
9. Messy-Style Banana Braid
The “messy” aesthetic is notoriously difficult for straight-haired individuals, as the hair often looks frizzy rather than intentionally unkempt. To achieve a messy banana braid, you must start with a clean, tight, and perfect braid first. Once finished, spray it heavily with a flexible-hold hairspray. Only after the structure is secured do you gently tug at random sections to create volume. Focus on loosening the loops near the scalp first, then work your way down. The key is to keep the braid tight at the base so that it maintains its curved shape even while the rest of the style looks soft and lived-in.
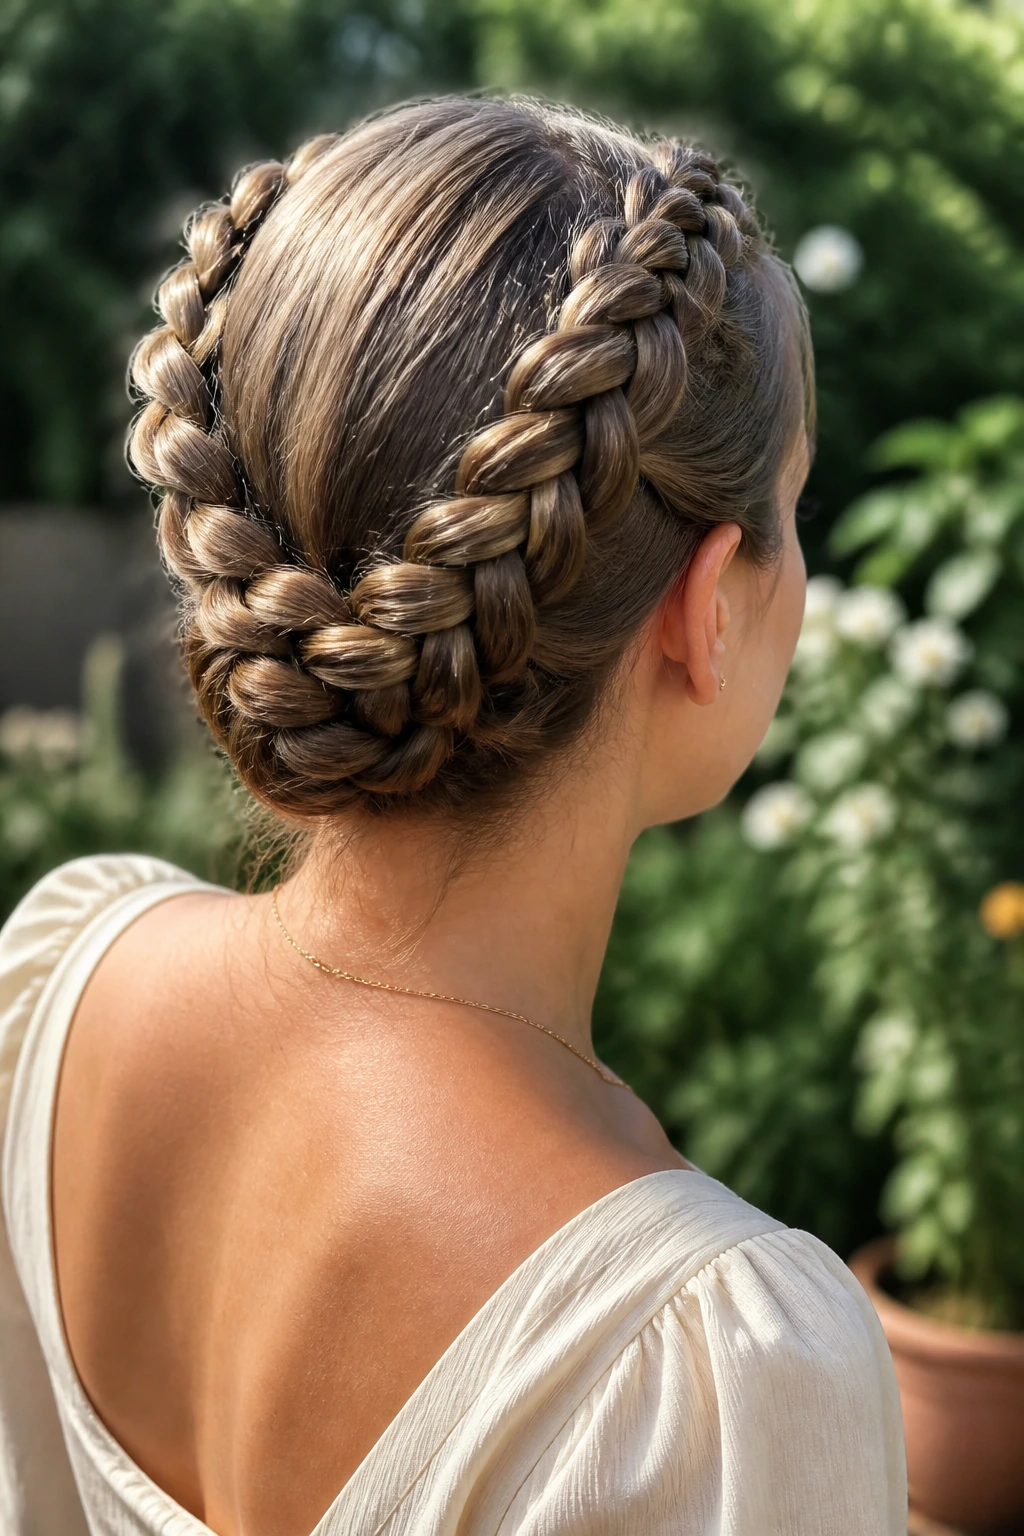
10. The Wrapped Banana Braid
This style is all about geometry. After forming your banana braid, wrap it around the side of your head until it rests behind the opposite ear. This effectively turns a standard braid into an architectural element. Because straight hair is naturally longer-looking (since it lacks the “shrinkage” of curls), this wrap usually reaches quite far across the head, providing a full, halo-like effect. Secure it with long, decorative hairpins that match your style. This creates a refined, classic silhouette that looks fantastic with evening wear.
11. High-Volume Teased Banana Braid
For those who feel their straight hair looks “flat,” teasing is a requirement. Before you begin braiding, lift small sections at the crown and back-comb them at the roots. This creates a hidden cushion of hair that gives the braid an immediate boost in height and depth. When you braid over this teased base, the result is a massive, rounded banana braid that looks double the size of your natural hair. Use a fine-tooth comb to smooth over the top layer of hair so the teasing isn’t visible, ensuring the surface looks sleek and professional.
12. The Micro-Braided Banana Accent
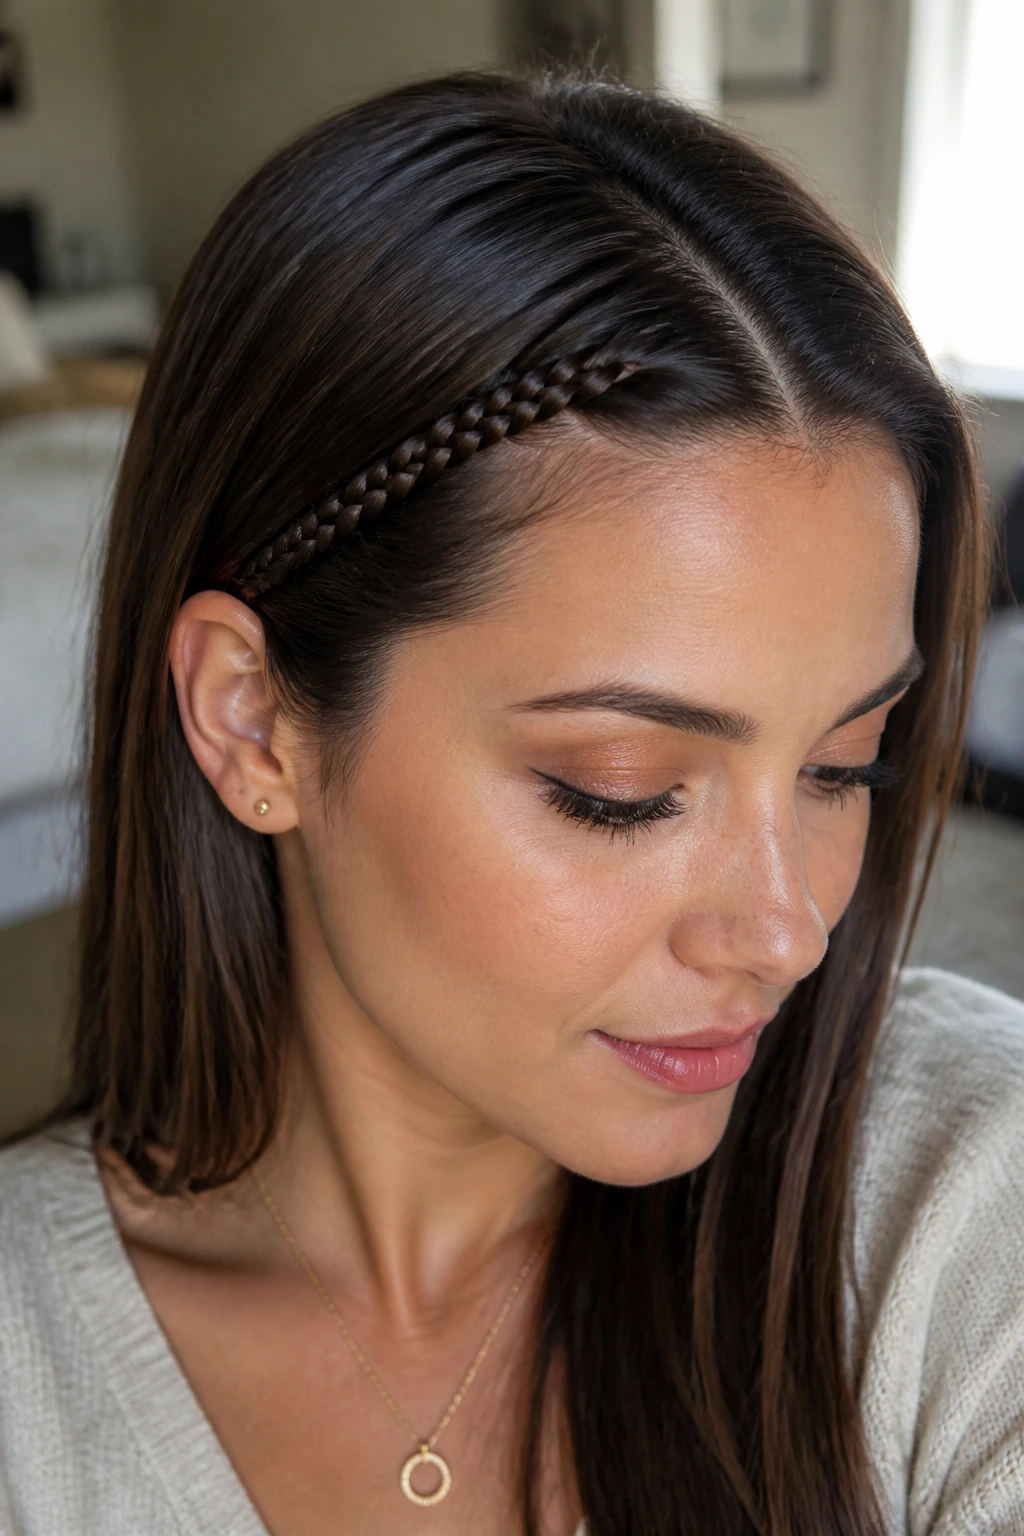
If you want to keep your hair mostly free, consider adding a micro-banana braid as an accent piece. Take a small, one-inch section of hair near your hairline and create a tight, curved braid that follows the shape of your temple. This is a subtle, feminine way to incorporate the look without committing to a full-head style. It draws attention to your face and adds a touch of detail to an otherwise simple hairstyle. Because the section is so small, even the straightest hair can be easily controlled with a bit of texturizing paste.
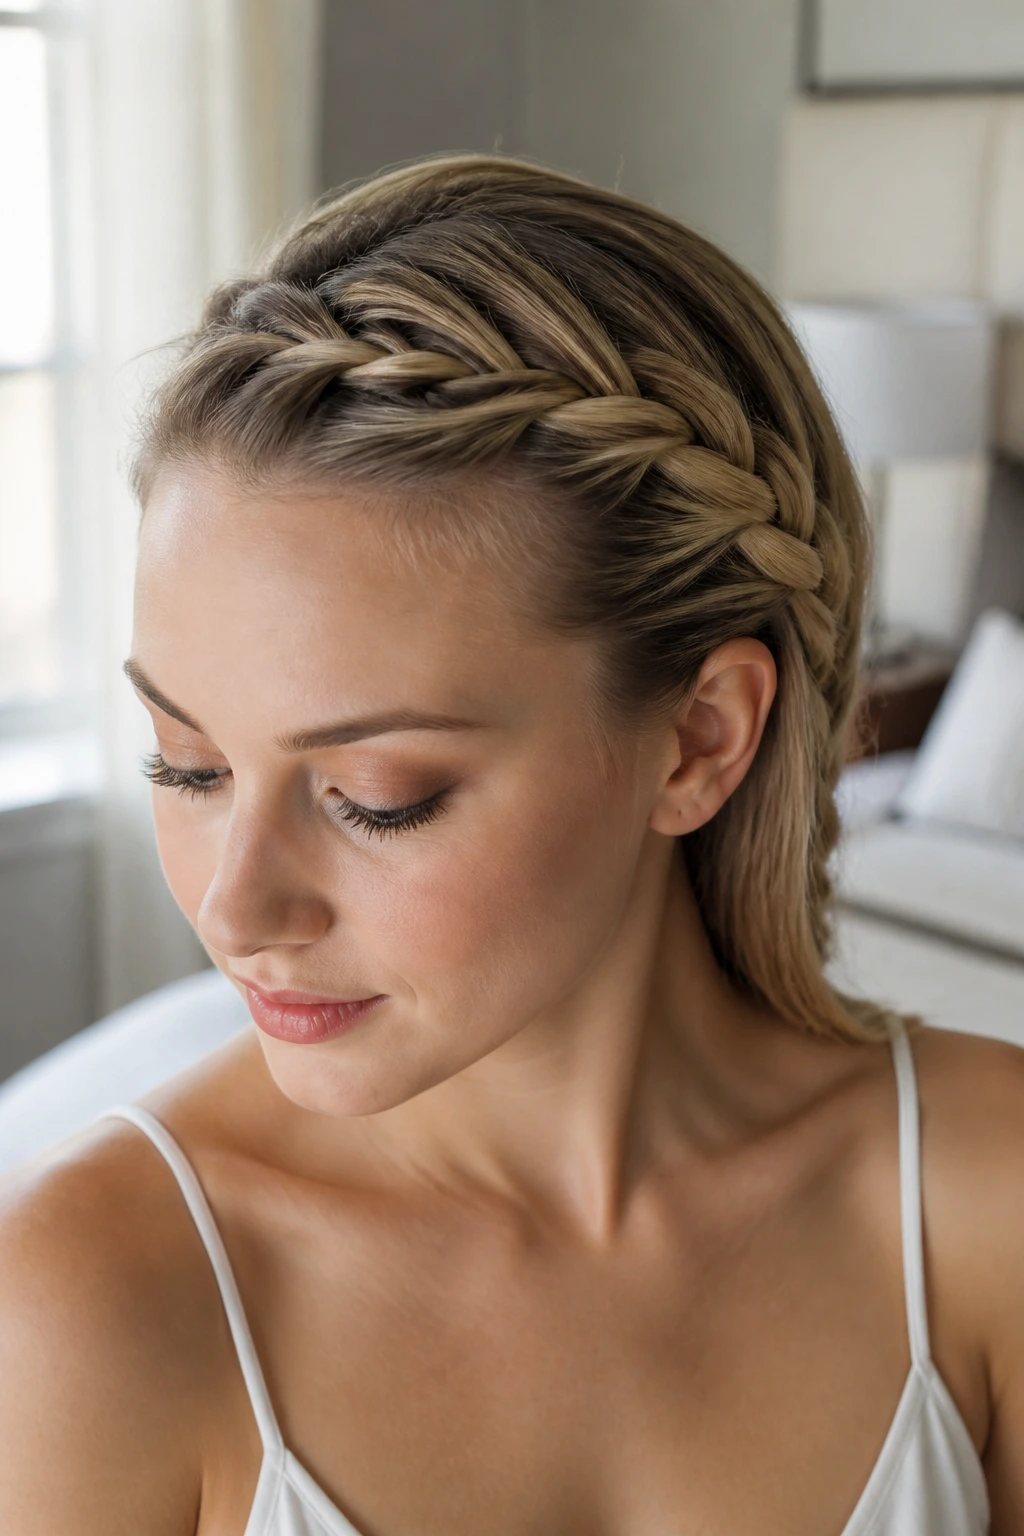
13. The Headband-Style Banana Braid
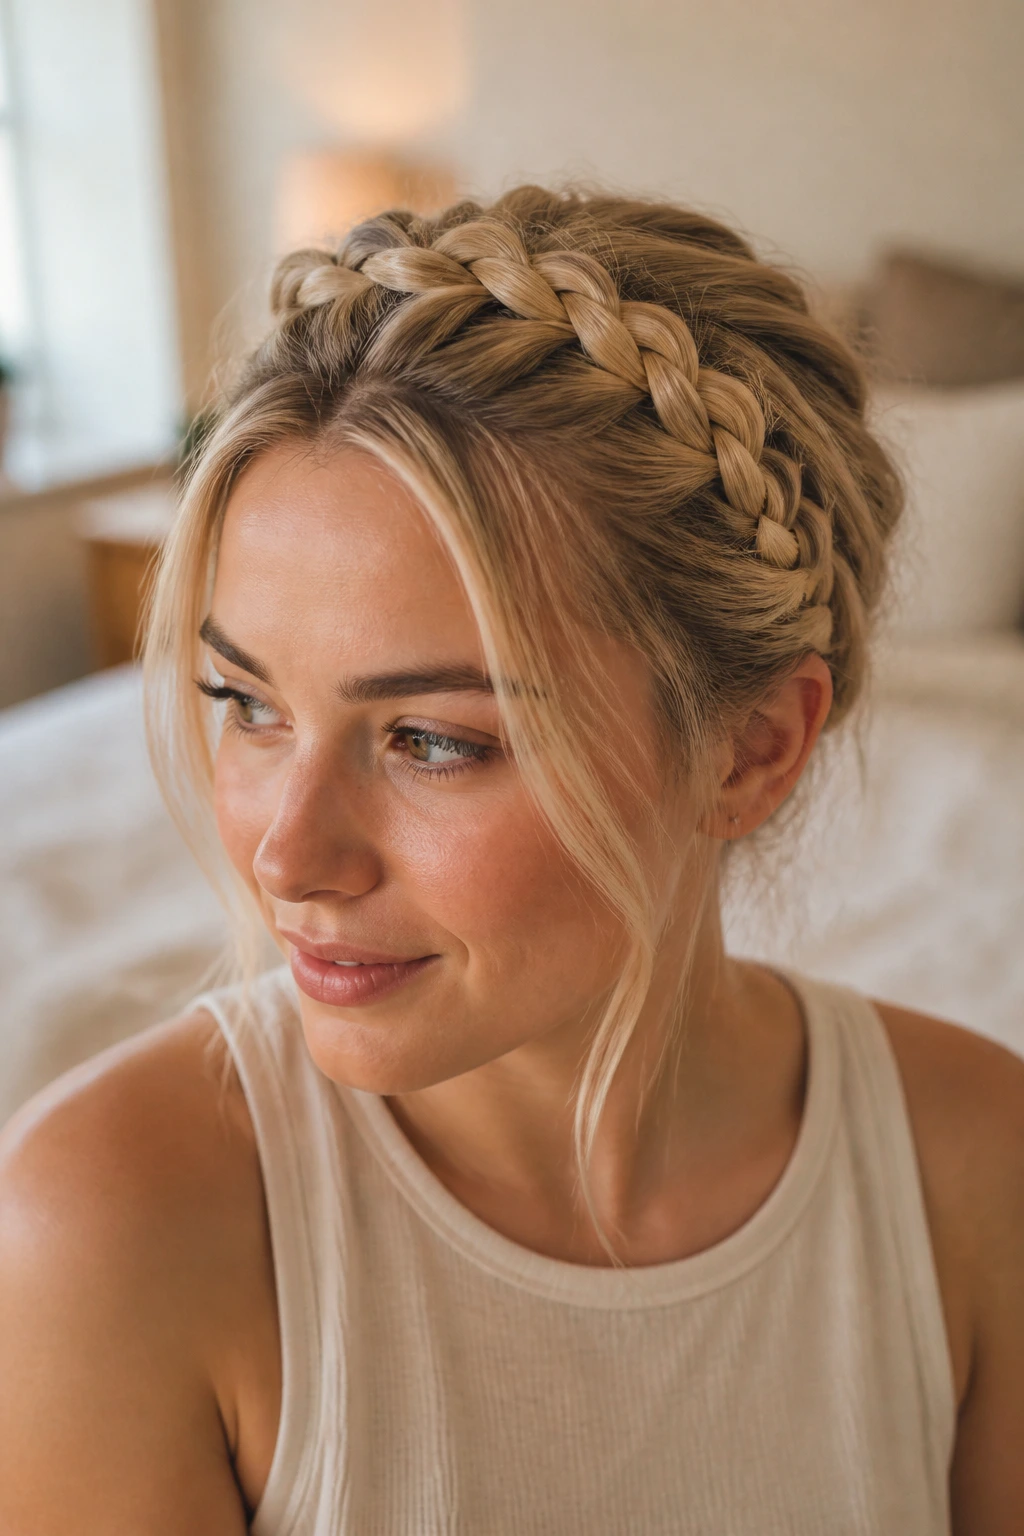
This style uses a braid to serve the function of an accessory. Starting at one temple, create a banana braid that arches across the top of your head like a crown or headband. Once you reach the opposite side, tuck the ends under the hair or continue the braid downward into the length. It keeps your hair off your face while adding a clear, defined pattern that is very easy to see against the smooth texture of straight hair. It’s an ideal look for warmer days when you want to look put-together without much effort.
14. Cascading Banana Braid
This style creates a “waterfall” effect by dropping a strand of hair after every crossing of the braid. The banana curve leads the eye, while the loose strands falling from the braid add movement. Because straight hair is so reflective, this style looks stunning in natural light. The key is to ensure the loose strands are perfectly smooth. You might want to run a flat iron through the ends of the loose hair before you begin braiding to ensure the contrast between the braided structure and the free-flowing ends is as sharp as possible.
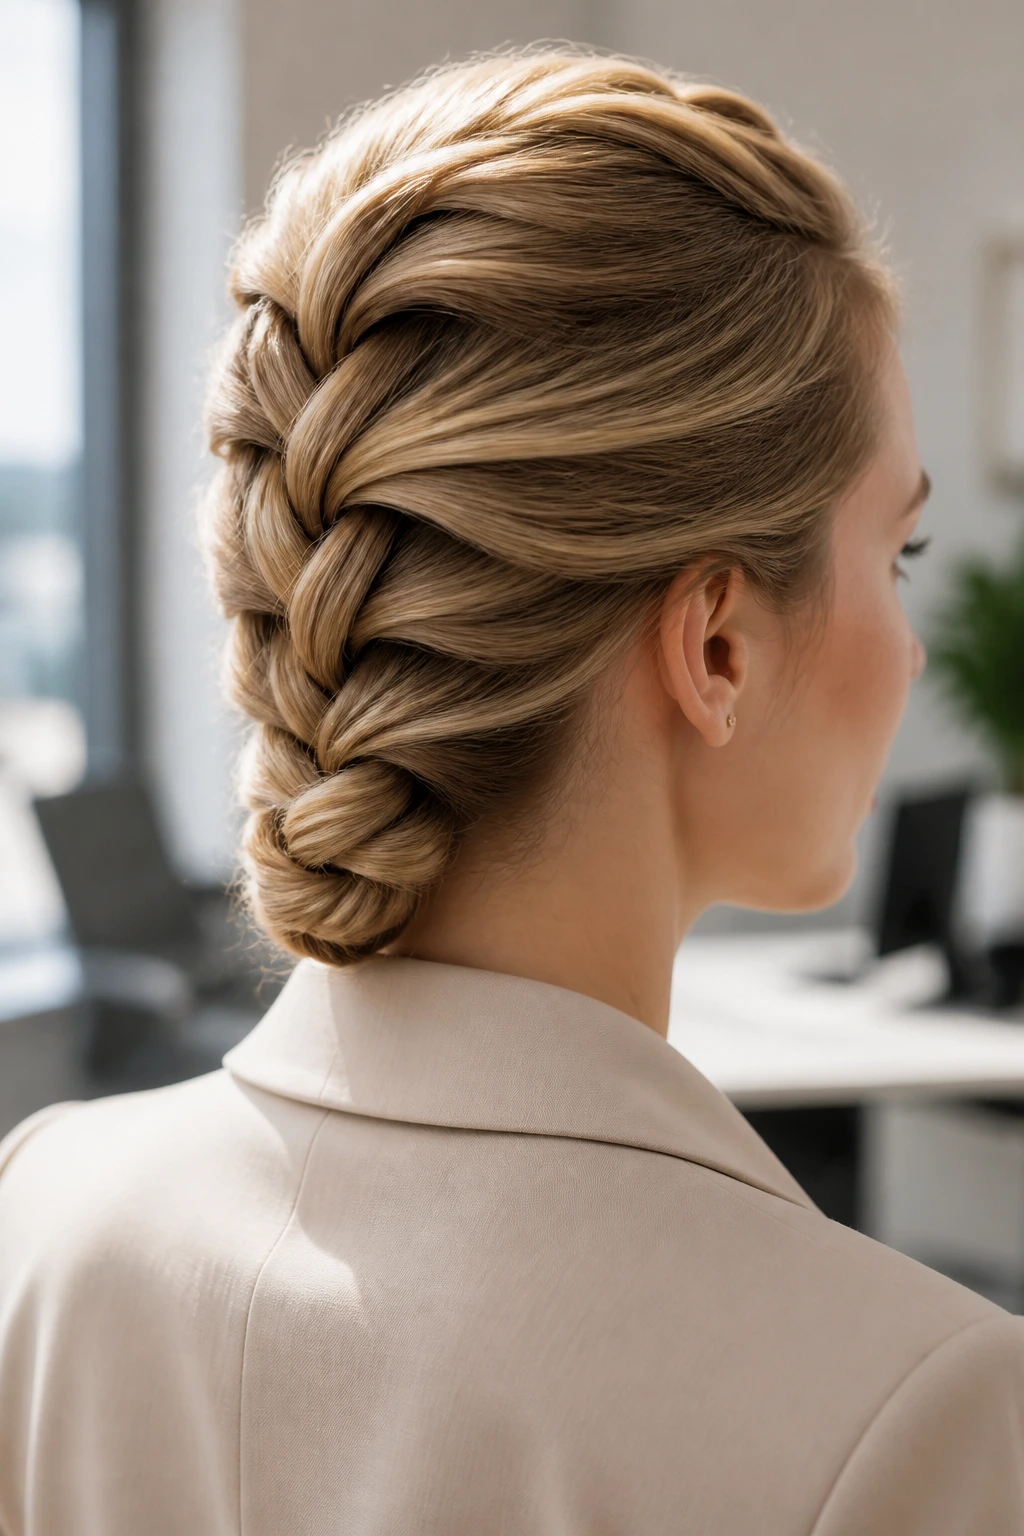
15. The Low-Bun Banana Transition
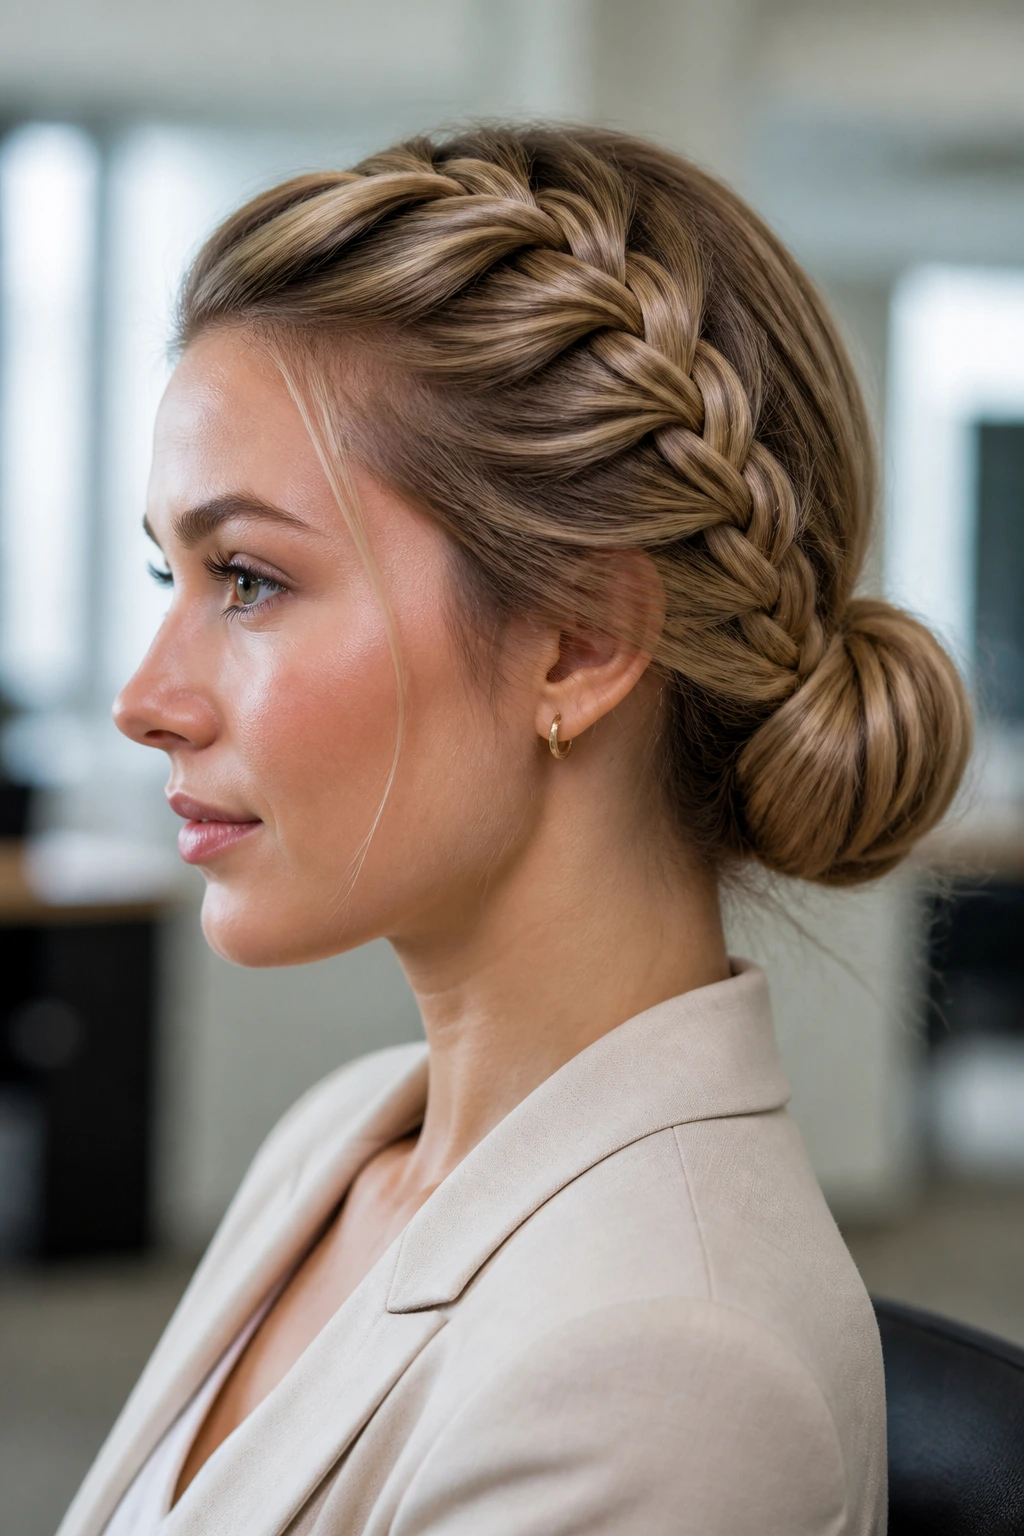
Once you have formed your banana braid, don’t let it hang loose. Gather the remaining length of the braid and pin it into a low, tucked bun at the nape of your neck. The curved path of the braid leading into the bun creates a sophisticated look that is essentially two styles in one. This is perhaps the most professional-looking version of the banana braid, making it perfect for office environments or meetings. The braid adds the interest, while the bun provides the containment needed for a long, productive day.
16. The Embellished Banana Braid
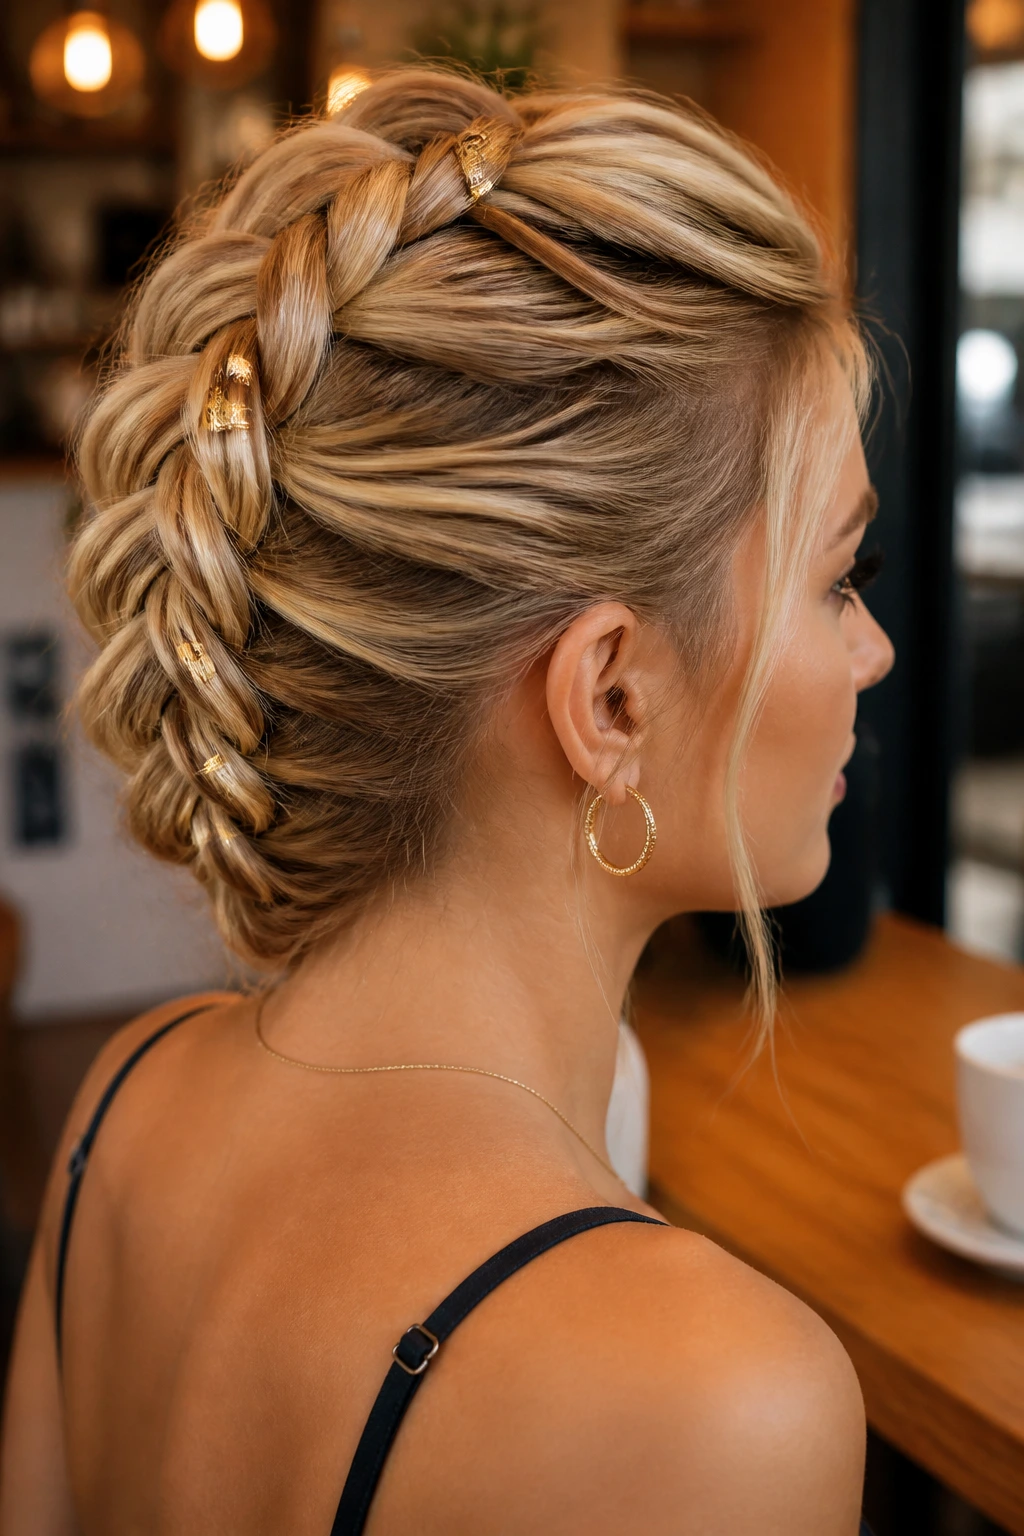
Straight hair is the perfect canvas for accessories because the lack of texture means your clips, pins, or ribbons will always be the center of attention. Once you have finished your banana braid, tuck small gold clips or beads into the links of the braid. Because the braid itself is so smooth, these items will sit flat and securely. Be mindful of the weight of the items; if they are too heavy, they will pull your braid down. Stick to lightweight metallic clips to ensure your style keeps its shape from morning until night.
17. The Sleek High-Contrast Braid
If you have highlights or a balayage, the banana braid is your best friend. The way the hair twists and curves forces the different colors to overlap and blend, creating a beautiful multidimensional effect. To make this really pop, apply a high-shine serum to your hair before braiding. This will amplify the difference between your base color and the light catching on the raised strands of the braid. The result is a glossy, high-fashion look that accentuates the depth of your color treatment.
18. The Infinity Banana Braid
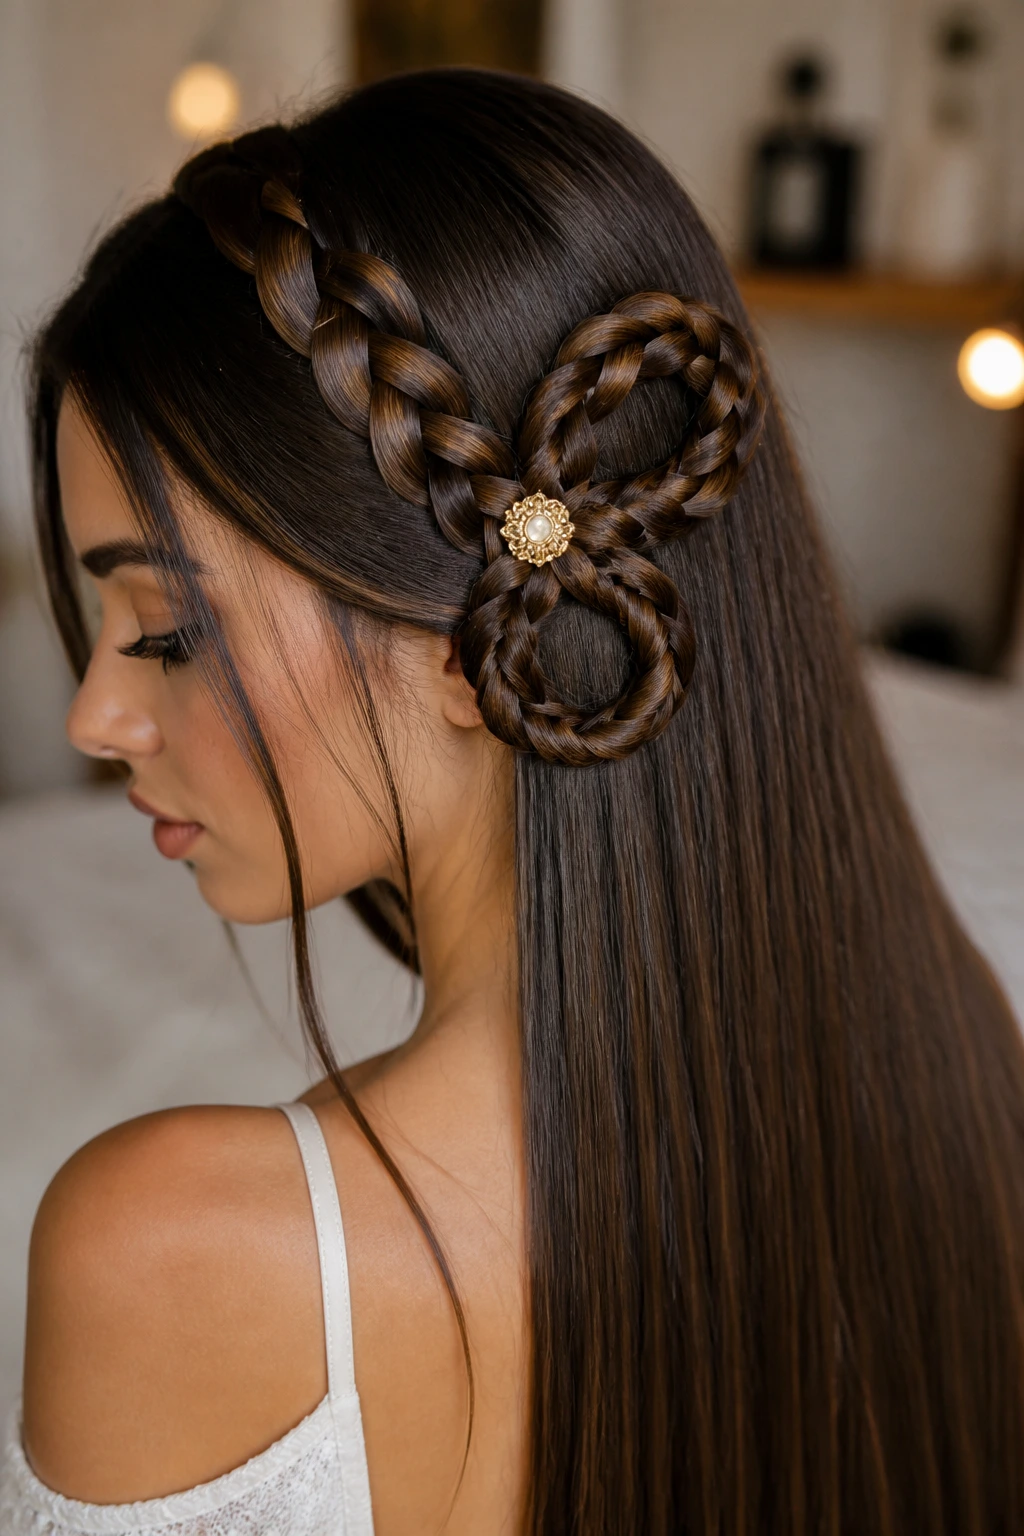
This involves taking the banana braid and looping it back on itself in a figure-eight or infinity pattern. It works best on very long, straight hair. Because the hair is so uniform, the curves of the infinity pattern look incredibly clean. Secure the center of the loop with a single, decorative pin. This style is quite sculptural and looks almost like a piece of jewelry attached to your head. It is an advanced technique, but with enough practice, it becomes a reliable go-to for special events where you want to show off your length.
19. The Side-Swept Banana Braid
Instead of a centered arc, start the braid behind one ear and pull it across the top of your head toward the other. This creates an asymmetrical look that feels very modern. Because you are working with straight hair, the path of the braid will be very defined. It’s a great way to hide grown-out bangs or to keep layers from falling into your eyes. If you find the braid is slipping, spray the section with a dry shampoo first—the starch in the spray provides the “grip” that fine, straight hair desperately needs.
20. The Hidden-Elastic Banana Braid
This technique involves using a tiny piece of hair from the braid itself to wrap around the elastic at the end. It’s a small detail, but on straight hair, it makes a massive difference in how expensive and polished the style looks. By hiding the band, you ensure that the braid looks like one continuous, seamless piece of art rather than a DIY project. It adds that final touch of professionalism that takes a style from “casual” to “finished.”
21. The Half-Back Banana Braid
Similar to the crown braid, but instead of crossing the top, you pull the hair from both sides of the temples back into a single, curved banana braid at the center of the back. This style is remarkably quick to do. It opens up your face and shows off the length of your hair without it feeling like you’ve just pinned everything back. Use a slightly thicker braid to ensure it sits prominently against the back of your head; if your hair is fine, don’t be afraid to use a hair-thickening powder to give the braid some extra “body” before you finish.
22. The Triple-Threat Banana Braids
Create three separate, thinner banana braids that all converge at the same point. Because they are smaller, they are much easier to manage than one massive braid. Once they all meet at the nape of the neck, you can either braid them together into one long tail or gather them into a high ponytail. This style is excellent for very active days because the multiple braids distribute the tension, meaning your hair is less likely to pull or sag during movement.
23. The “Ladder” Banana Braid
This style incorporates horizontal strands of hair into the braid at intervals, creating a “ladder” effect. The banana curve of the braid provides the main structural path, while the horizontal additions add interest to the sides. This is an intricate look that thrives on the precision that only straight hair can provide. Because you aren’t pulling large sections, the braid stays very tight and maintains its structural integrity without needing a massive amount of hairspray or heavy product.
24. The Reverse-Tapered Banana Braid
Start your banana braid with large, loose sections at the top and gradually tighten the braid as you move toward the nape of the neck. This creates a natural “taper” that looks very organic. The wider top gives you the volume you need, while the tighter bottom ensures the braid stays secure. It mimics the natural flow of hair, making the style look less like a manufactured braid and more like a natural feature of your hairstyle.
25. The Final-Flourish Banana Braid
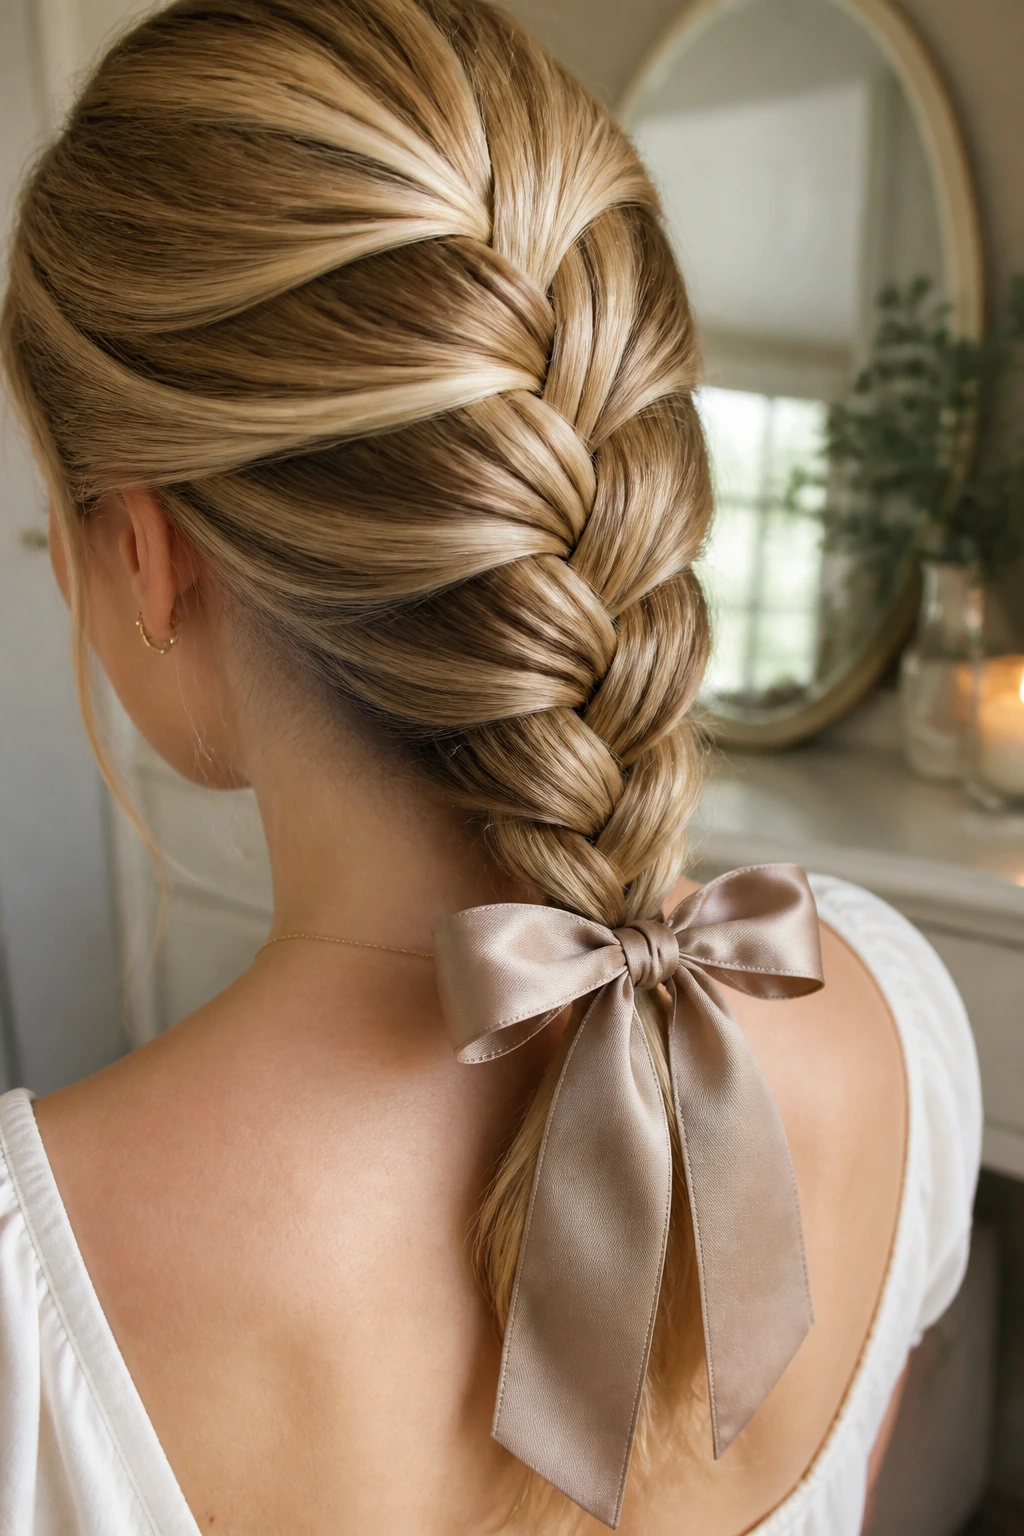
This style is simply the addition of a bow or ribbon to the end of any of the previous banana braid variations. Since straight hair is smooth, ribbons can easily slide out, so try pinning the ribbon through the braid rather than just tying it around the elastic. The contrast between a matte silk ribbon and the natural, polished sheen of your straight hair is a perfect, timeless look. It adds a touch of softness to the structural, curved lines of the braid, making it the perfect finishing touch.
Essential Preparation for Success

Before you attempt any of these styles, you must address the slip factor. Straight hair is naturally shiny, but that shine is a byproduct of a smooth cuticle that hates holding onto itself. If you attempt a complex braid on “fresh” hair, you will be fighting a losing battle. Instead, wash your hair the day before, or use a generous amount of sea salt spray or texturizing paste throughout the lengths. Think of these products as adding microscopic “hooks” to your hair; they provide the friction needed to hold a shape.
When you begin the actual braiding process, pay close attention to the tension at the base. Most people make the mistake of pulling too tight at the very top, which leads to a “flat” braid. You want the hair to feel firm, but you should not be pulling at your scalp. If you feel a tugging sensation, back off and loosen your grip. A banana braid relies on the curve, and a curve can only exist if there is enough hair moving across the arc to allow the shape to settle naturally.
Do not worry if the braid feels too thin when you first finish it. This is where the pancaking technique comes in. Gently pull at the sides of each loop, moving from the bottom toward the top. This effectively stretches the hair and creates the illusion of a much thicker braid. If you see a gap or a piece of hair sticking out, use a small bobby pin—the kind that matches your hair color exactly—to tuck it back in. It is common to need a dozen or so pins to keep a complex style looking perfect.
Maintenance throughout the day is simpler than it seems. Because straight hair is prone to flyaways, keep a small, portable bottle of light-hold hairspray or a wax stick in your bag. If a piece escapes, you don’t need to redo the whole braid; just smooth the flyaway with the wax stick and tuck it away. Ultimately, the beauty of the banana braid on straight hair is in its clean lines. As long as you maintain that neatness and build the right texture foundation, you can achieve a look that is just as impressive as the styles found on those with significantly more natural volume.