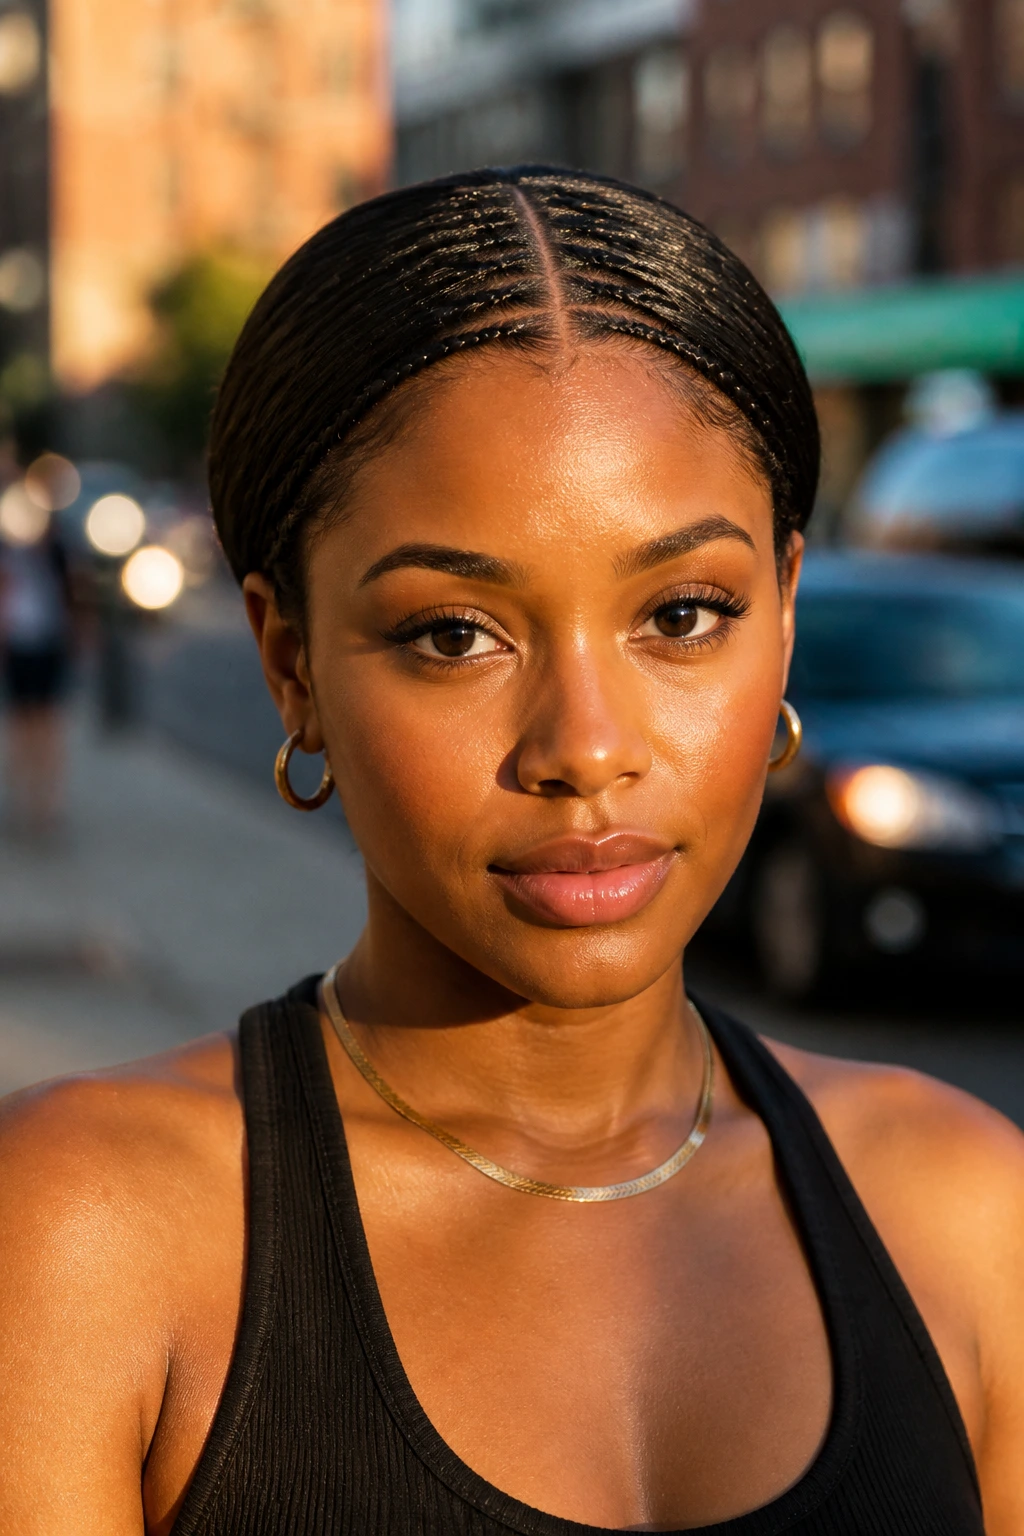
Short hair gets an unfair reputation for being “limited” when it comes to styling. Most people assume that if you cannot pull your hair into a waist-length mermaid braid, your styling options are effectively over. That is simply not true. Having shorter lengths actually forces you to become more creative with your texture, your parting, and the way you secure your ends. Braids on short hair often look punchier, cleaner, and more intentional than they do on longer lengths because you are working with less hair to manage, which minimizes the “messy” factor that often plagues complex updos.
Whether you are working with a blunt bob, a layered lob, or a pixie cut that is just starting to grow out, there is a braid configuration that works for you. You do not need extensions to get the look you want, and you certainly do not need a degree in cosmetology to master these styles. The secret isn’t in having more hair; it is in knowing how to anchor your braids so they stay secure throughout the day. Let’s look at exactly how to tackle these styles with confidence.
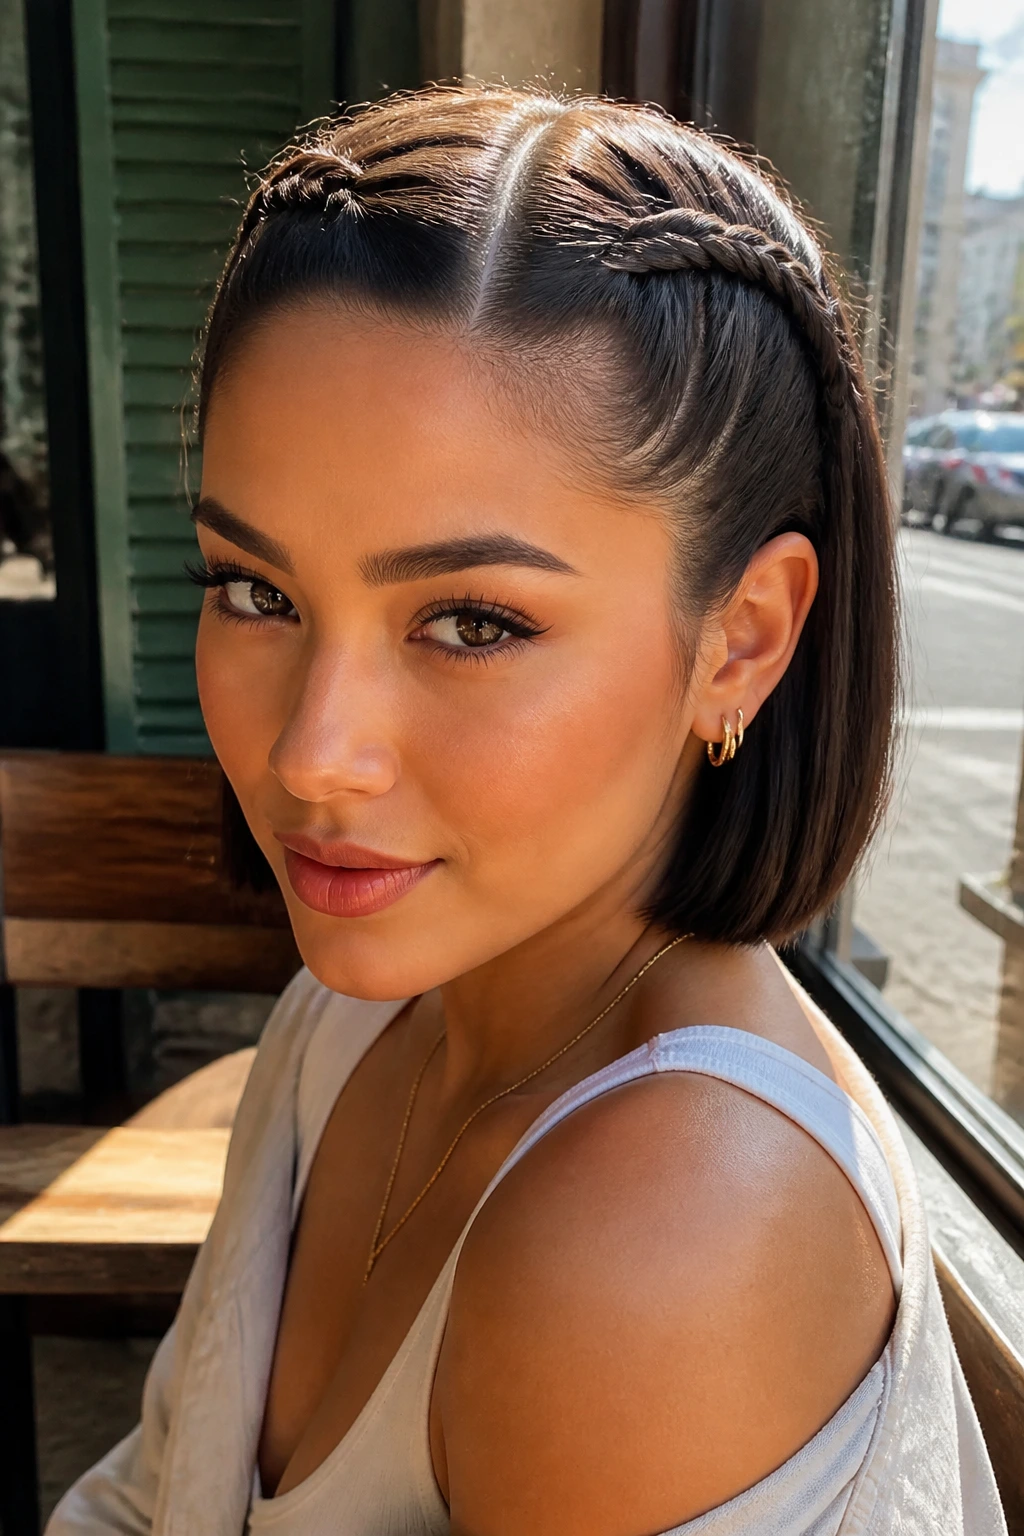
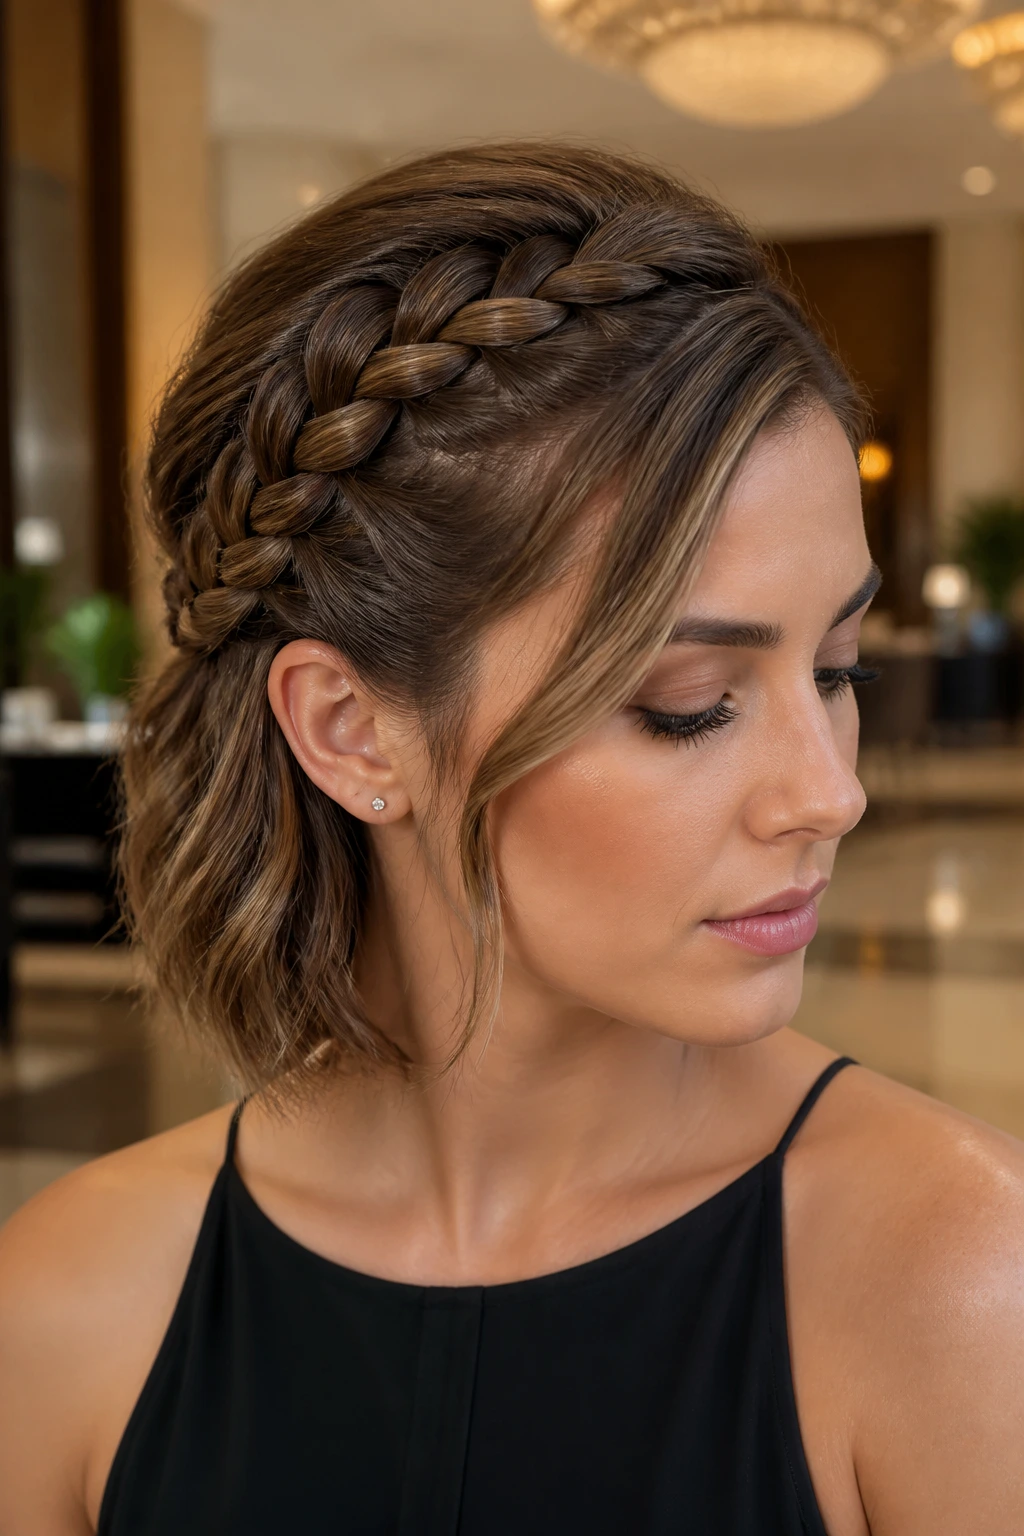
1. The Classic French Side Braid
This is the foundational style for anyone with a bob. By starting at your hairline and working toward the back, you keep those shorter, unruly layers around your face neatly tucked away. Because your hair is shorter, you will find that you need to use more tension than you might expect.
How to Make It Stay
- Start with damp hair or use a light styling cream to give your layers some “grip.”
- Pull the braid toward your ear, not the center of your head, to avoid a weird “bump” at the back.
- Secure the end with a small, clear elastic that matches your hair color, then hide the elastic by tucking it under the braid and pinning it with a bobby pin.
- Pro Tip: Gently pull on the edges of the braid (a technique called “pancaking”) to make it look twice as thick as it actually is.
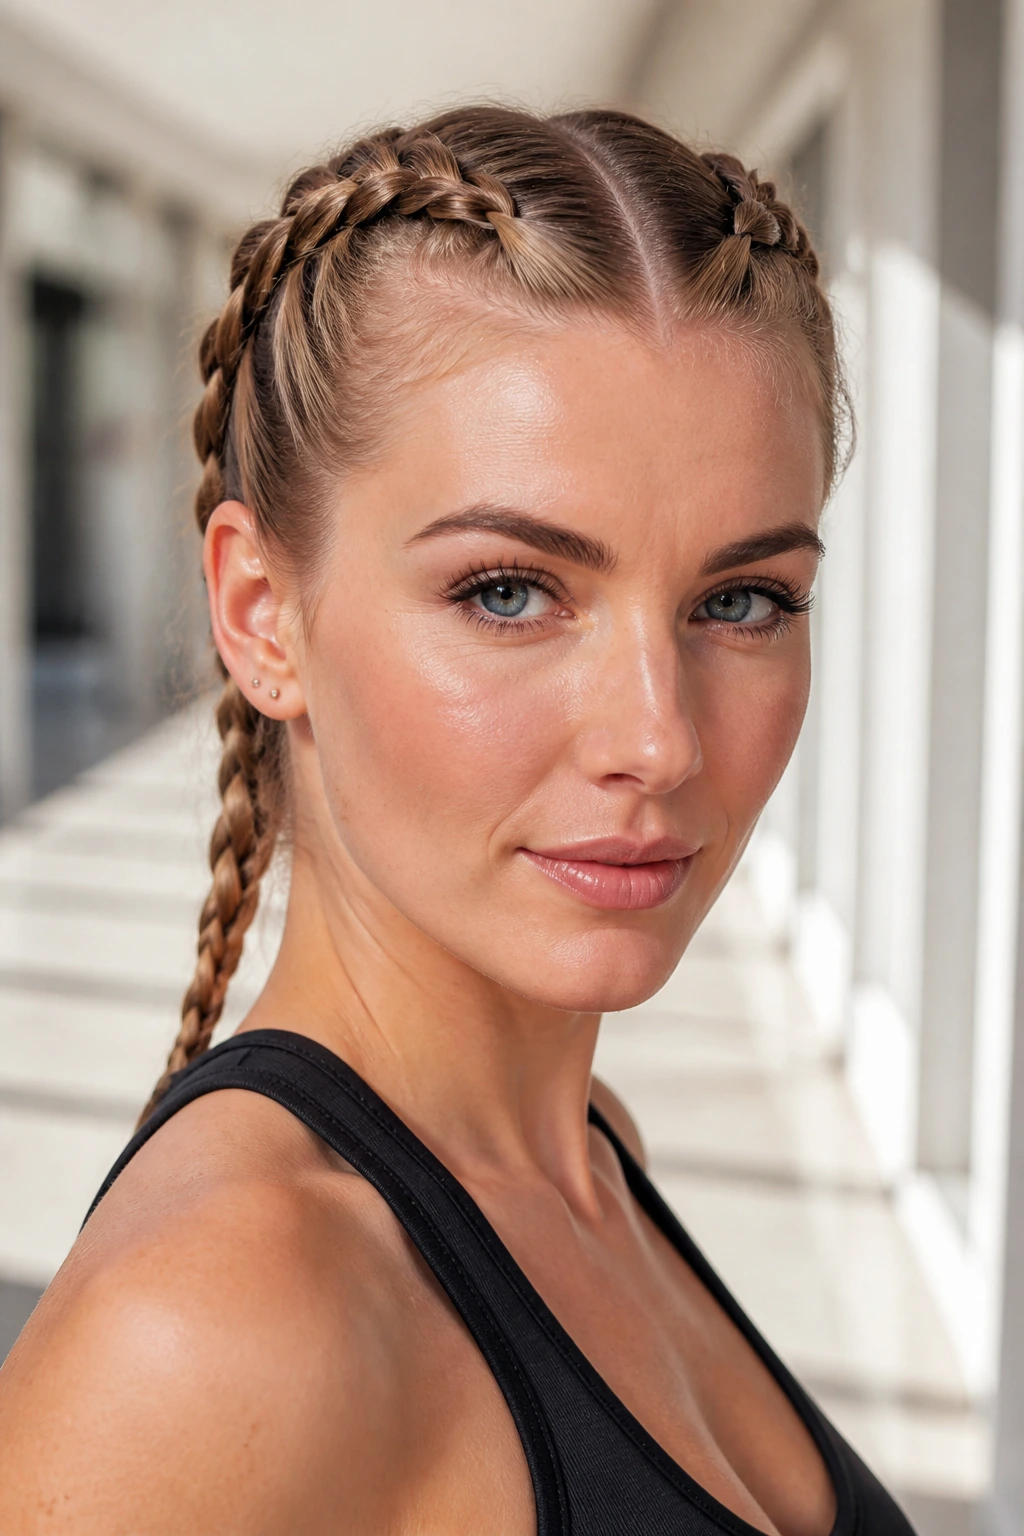
2. Double Dutch Braids on a Blunt Bob
Dutch braids look like they are sitting on top of your hair, which creates a really cool, raised effect. On a blunt bob, these look particularly sharp and structured. You will want to create a clean center part first, as that provides the symmetry needed for this style to really pop.
Achieving the Tight Finish
Since your hair is short, the ends will naturally want to pop out of the braid. To avoid this, keep your sections very small and keep the braid tight against the scalp. If you feel like your arms are getting tired, try braiding while looking down into a mirror rather than straight ahead. This helps keep your posture in check and makes it easier to see exactly where you are placing your fingers.
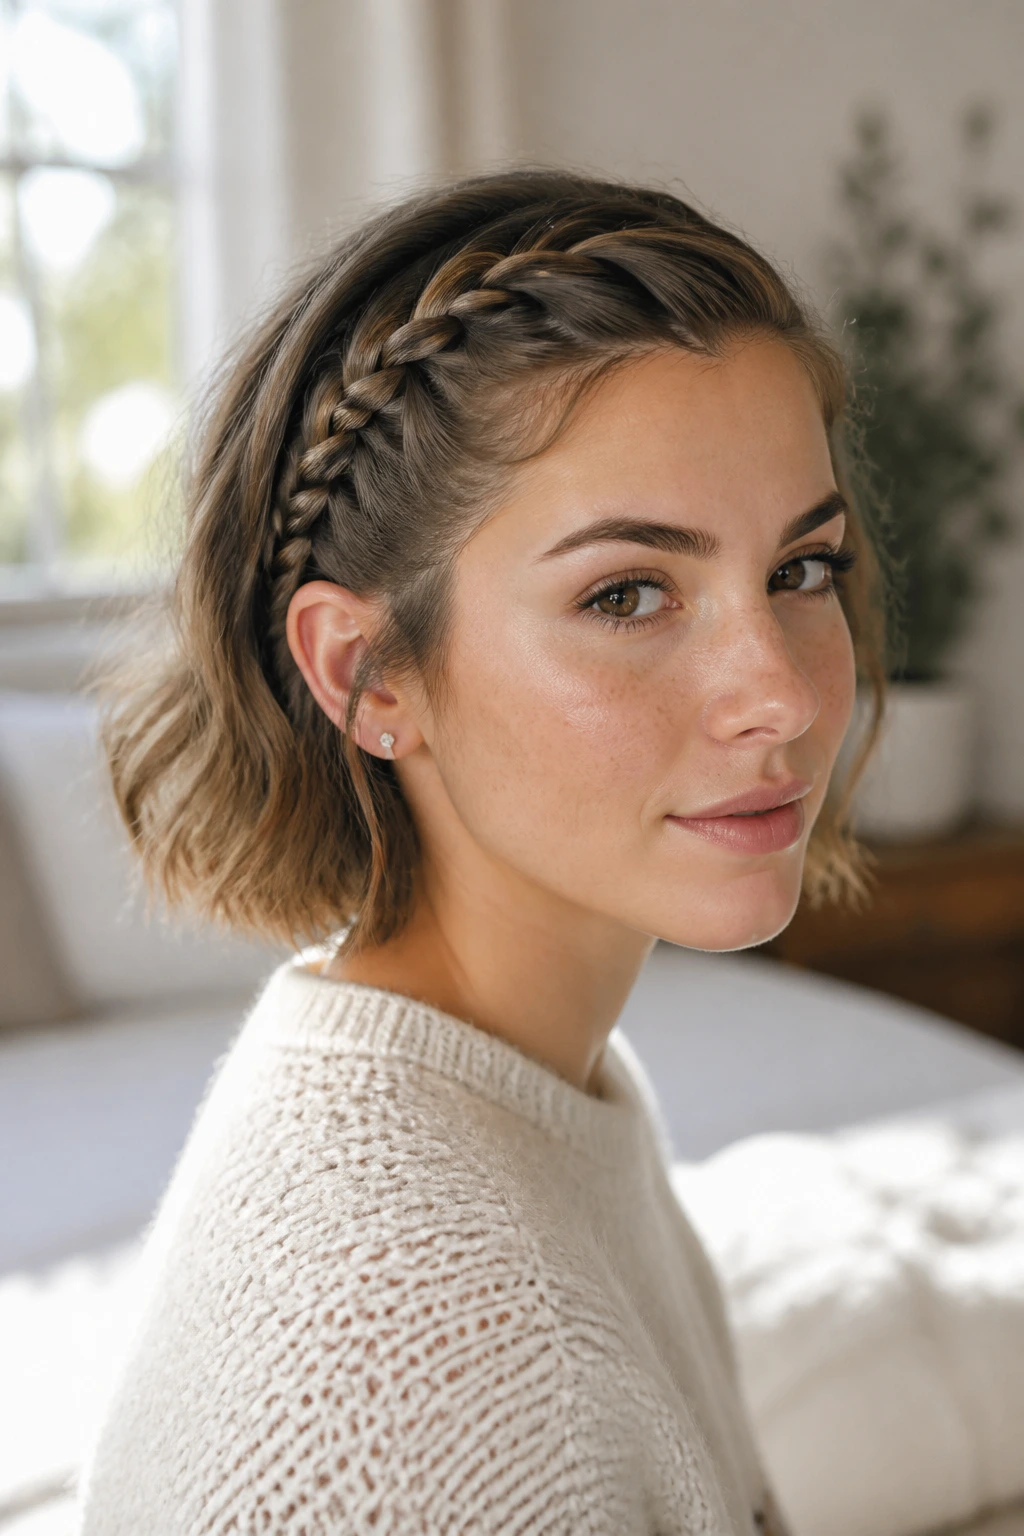
3. The Crown Braid for Lobs
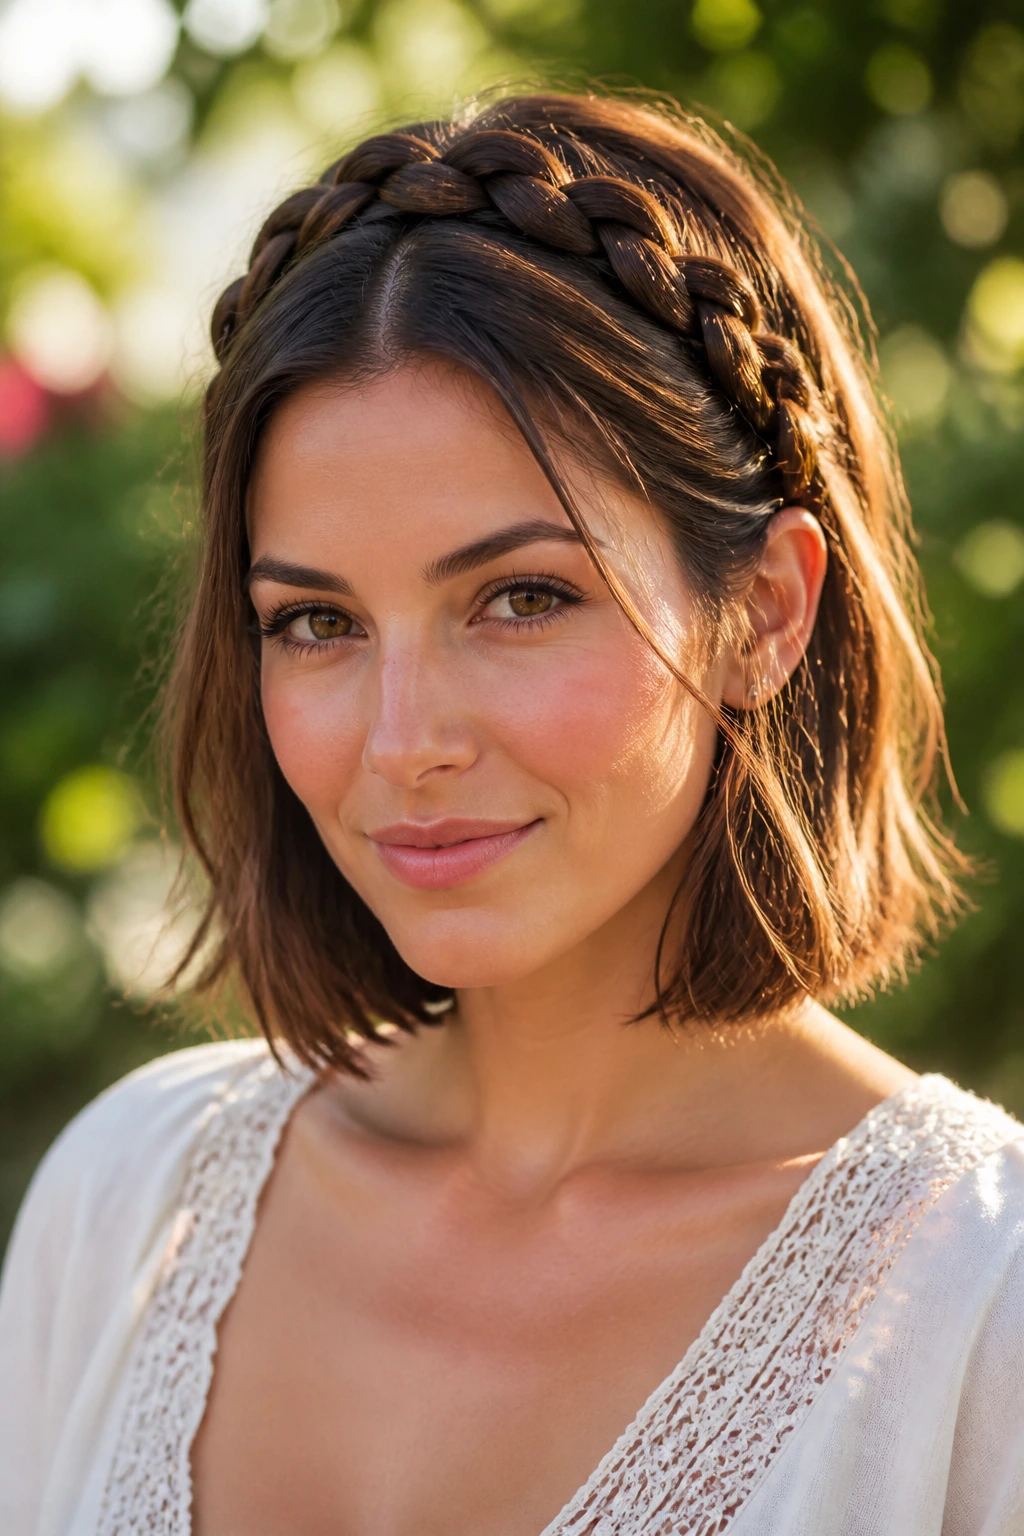
If your hair is long enough to pull behind your ears, you have enough length for a crown braid. You are essentially creating a headband out of your own hair. This style is fantastic for warmer weather because it keeps the hair completely off your neck while looking surprisingly elegant.
Managing the Layers
If you have layers, you might find that some shorter pieces want to poke through. Don’t fight them. Use a flexible-hold hairspray and a fine-tooth comb to gently smooth the surface, but accept that a few wispy strands actually make the crown braid look softer and more natural.
4. Twisted Front Braids
Sometimes a traditional braid is just too much bulk for a short haircut. Twisting two strands of hair together can mimic the look of a rope braid without the extra weight. Start at your temple and twist backward, adding a tiny bit of hair to the twist as you move toward your ear.
Why This Works for Pixie Cuts
Because this style only requires a small amount of hair at the front, it is the perfect “braid” for someone with a pixie cut. You are essentially just pinning back the bangs or the front fringe. Use a decorative hairpin at the end to make the transition from the twist to the rest of your hair look intentional rather than functional.
5. The Half-Up Waterfall Braid
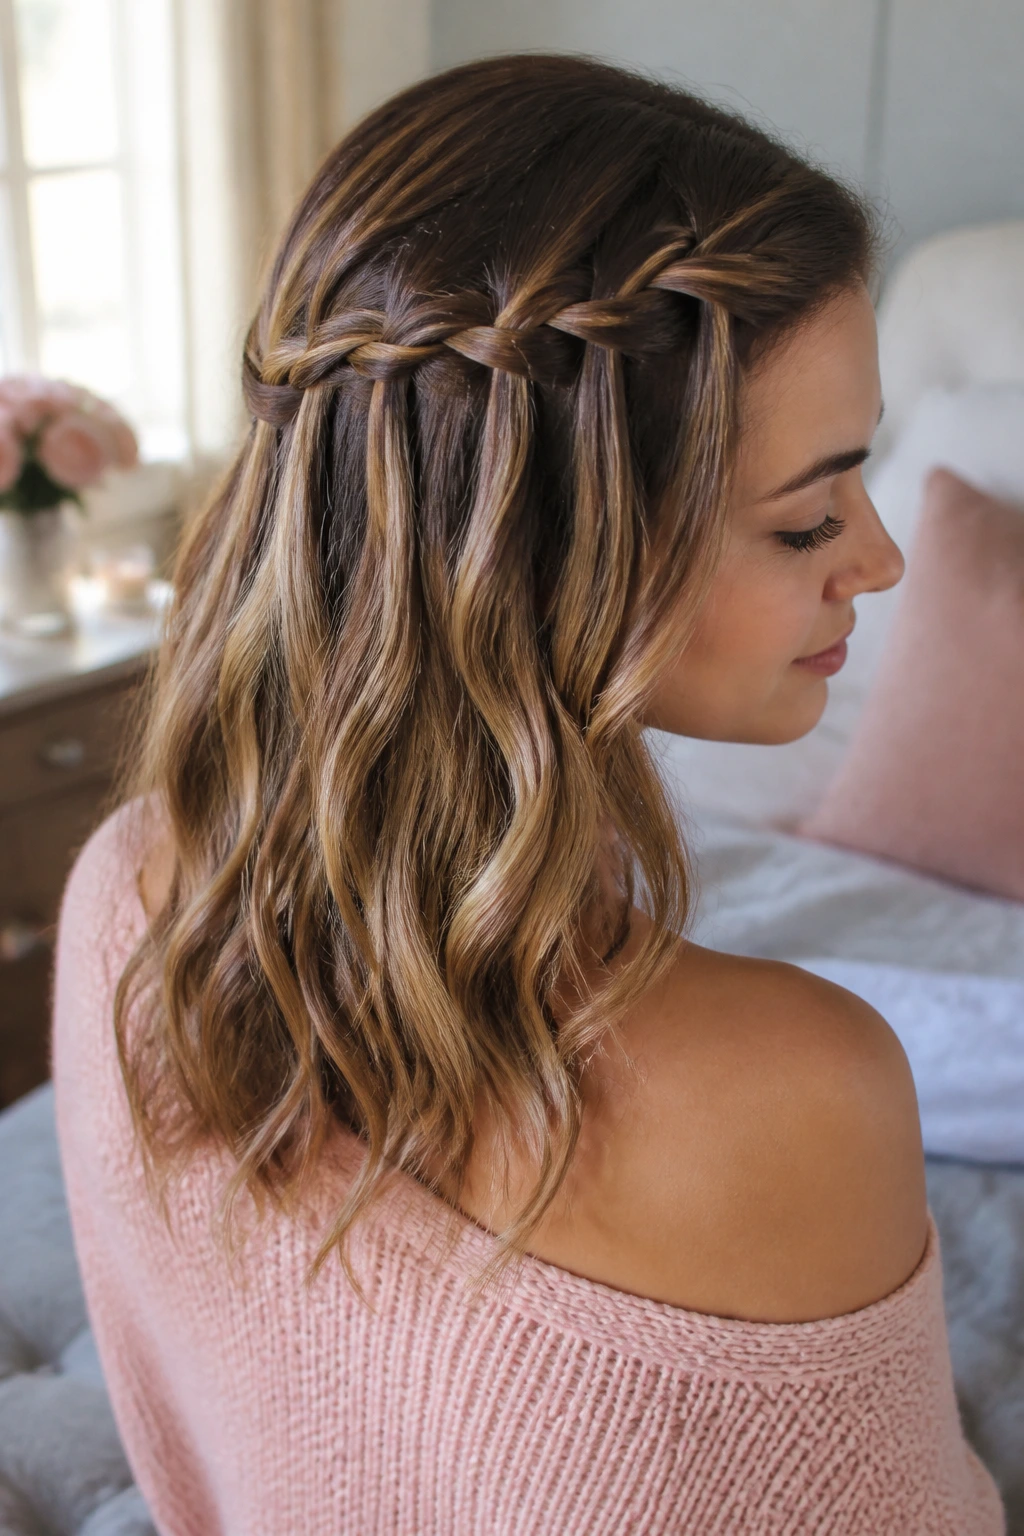
This style is arguably the most romantic look for short hair. It allows you to wear your hair down while still incorporating a bit of intricate detail. The key to a waterfall braid is that you drop one section of hair in each “loop” of the braid and pick up a new piece from underneath.
Troubleshooting the Drop
If you find that your “waterfall” pieces look too short, try curling your hair before you begin. The curls give the dropped pieces enough volume so they don’t just hang limply against the rest of your hair. This is one of the few braided styles where a little bit of heat styling actually helps the integrity of the finished product.
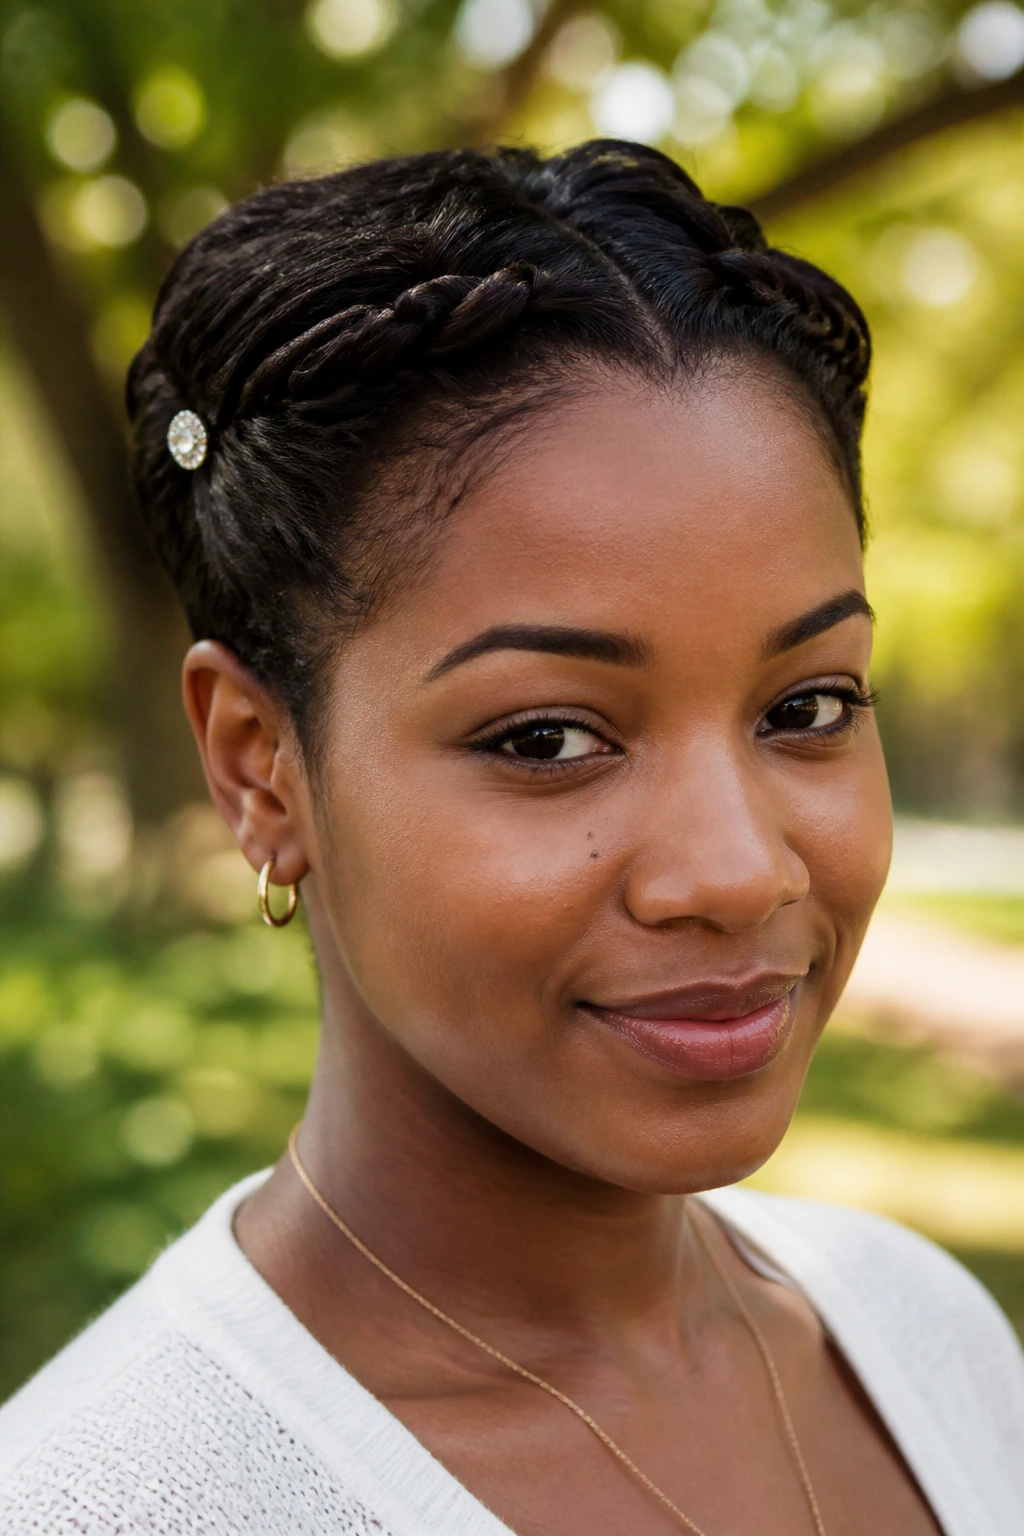
6. Micro-Braids Along the Part
Adding two or three tiny, tight micro-braids right along your natural part is a major trend that brings a lot of personality to a simple straight haircut. It creates a “hard” edge to your style that looks sophisticated and clean.
Execution Details
- Keep the braids extremely small—use no more than half an inch of hair width.
- Secure them with tiny rubber bands that are nearly invisible.
- Instead of braiding all the way to the ends, stop at the crown of your head and pin the braids underneath the rest of your hair so they just vanish. This is a great way to handle ends that might be too short to look good in a tail.
7. The Messy Pull-Through Braid
A pull-through braid isn’t technically a braid—it is a series of ponytails pulled through one another—but it mimics the look of a thick, complex braid perfectly. Because you are using small elastic bands, you have total control over every section, which is a lifesaver if your hair has layers of different lengths.
Why It’s Great for Volume
This technique creates the illusion of thickness. By pulling on the loops of the “braid,” you can create width where you might otherwise have thinness. If you have fine hair, this is your best friend. Start with a texturizing spray to ensure the hair has enough grip so the elastics don’t slide down throughout the day.
8. Braided Headband with Loose Waves
This is a classic “boho” look that works beautifully on a lob. You create two small braids, one on each side of your part, and pull them back to meet in the middle, securing them with a small clip. The rest of the hair is then curled into soft, loose waves.
Achieving the Best Texture
The contrast between the tight, structured braids and the loose, messy waves is what makes this style work. Do not try to make the waves too perfect; you want them to look lived-in and soft. A sea salt spray is ideal here because it gives the hair that slightly gritty texture that holds the braids in place better than smooth, slippery hair would.
9. The Faux-Hawk Braid
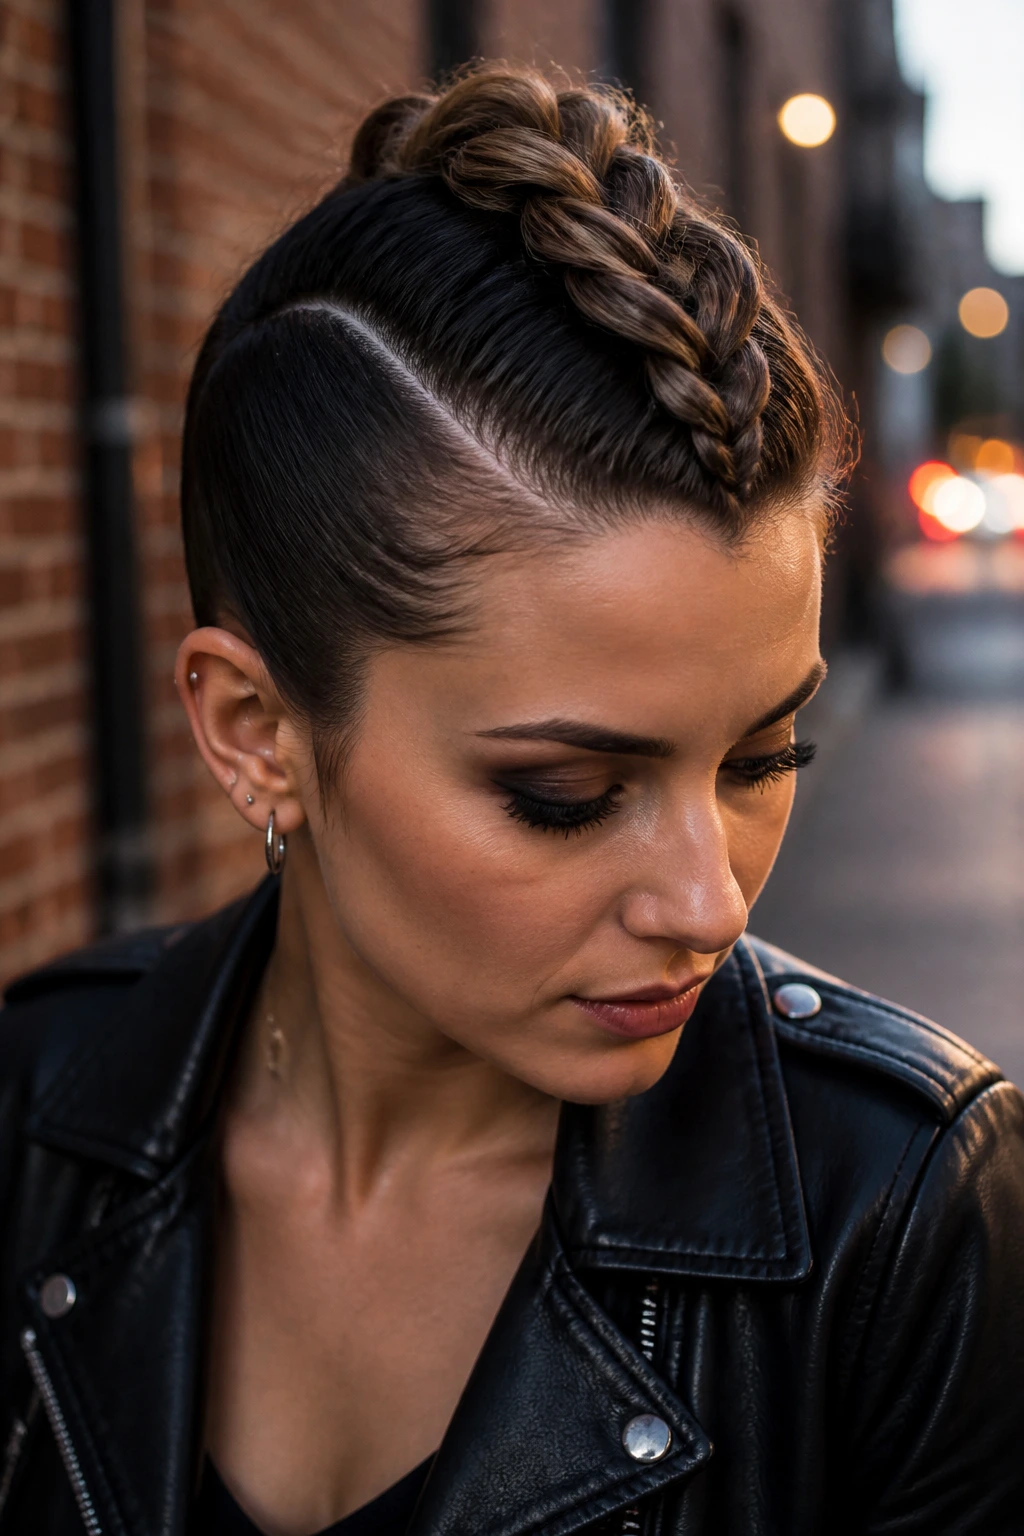
If you are feeling a bit rebellious, a French braid down the center of your head creates a faux-hawk effect. This style is excellent for people with an undercut, but it works just as well on a uniform length if you have enough skill to keep the braid tight against the middle of your scalp.
Styling the “Hawk”
Once the braid is secured at the back, use your fingers to pull the braid apart significantly. You want the braid to look wide and “puffy” so it has that mohawk silhouette. Use a medium-hold pomade on the sides of your head to keep the hair slicked back toward the braid, emphasizing the height in the center.
10. Side-Swept Dutch Braid
This style focuses on the side where your hair is heaviest. By Dutch braiding just one side of your head and pinning it behind your ear, you create a dramatic asymmetrical look that frames the face beautifully. It is a fantastic option for a formal event where you want to show off earrings.
The Anchor Point
The most important part of this style is where you pin the braid. Make sure you use at least two bobby pins in an “X” shape to ensure it doesn’t slip. If your hair is very silky, spray the bobby pins with a bit of dry shampoo before putting them in; the added texture helps them grab onto the hair and stay put for hours.
11. Three-Strand Accented Ponytail
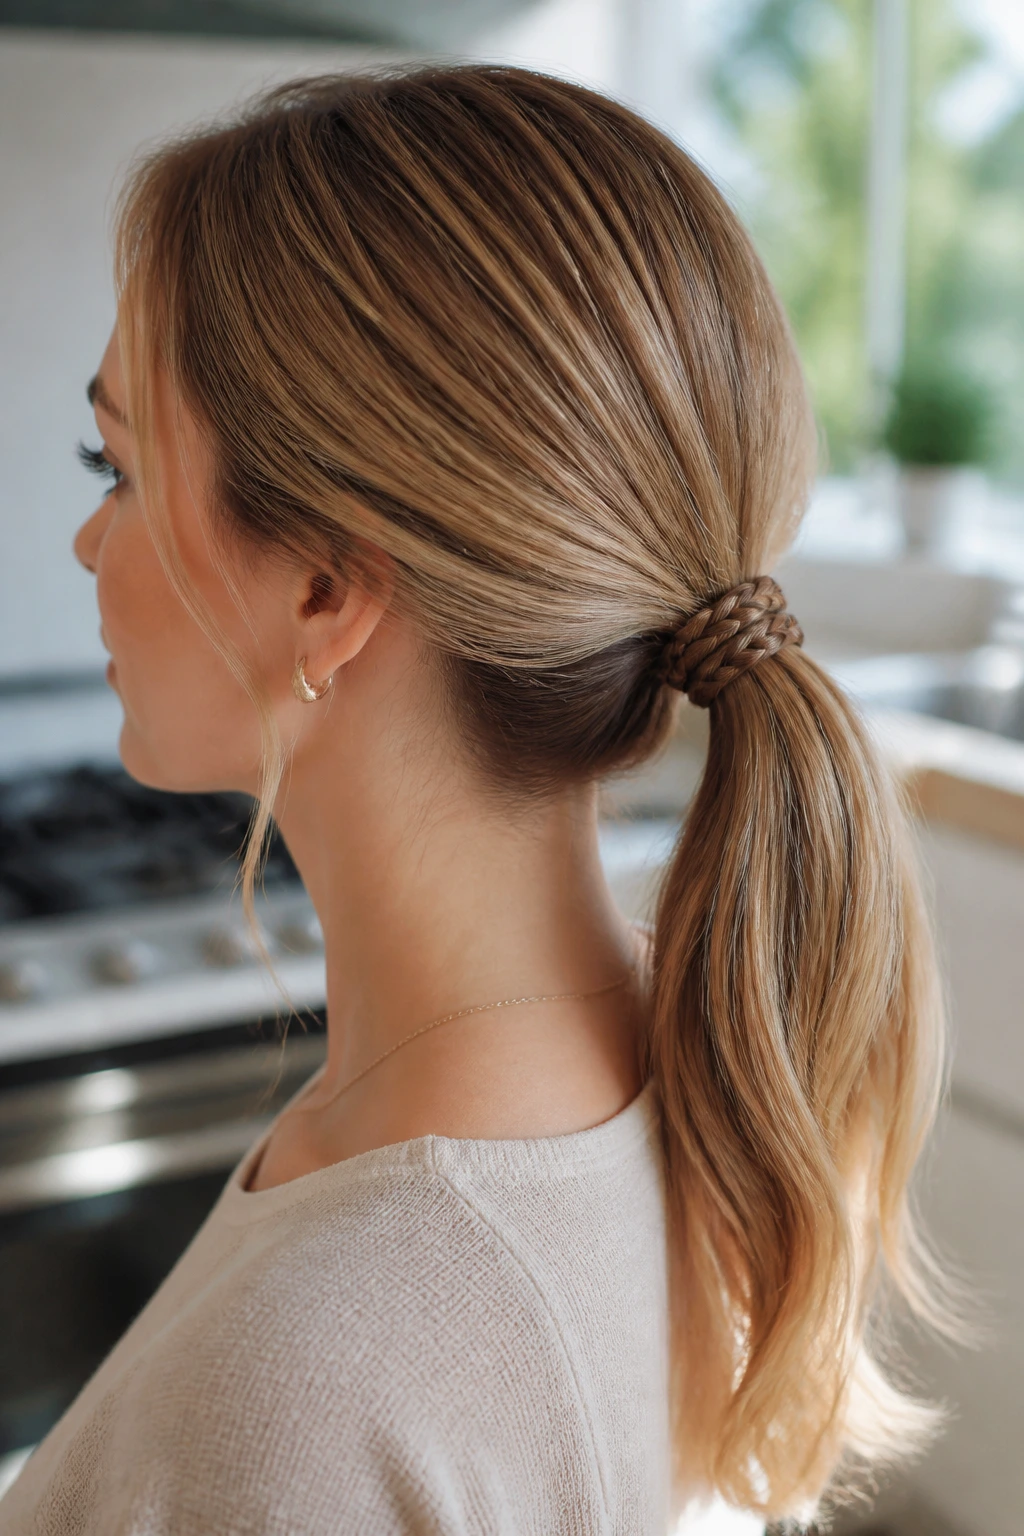
If you have just enough hair to pull into a small ponytail at the nape of your neck, you can elevate it with a small three-strand braid. Take a tiny section from the front, braid it, and then incorporate it into the ponytail elastic.
Simple Elegance
- This is a five-minute style that looks like it took much longer.
- Wrap a tiny piece of hair around the elastic to cover it completely.
- Use a small dab of smoothing cream on your flyaways before you start so the entire look feels polished rather than haphazard.
12. The Braided Bangs Look
For those growing out their bangs, the transition phase can be infuriating. A simple French braid that sweeps across your forehead and tucks behind the ear is the ultimate solution. It keeps the hair out of your eyes while making the grow-out process look like a deliberate style choice.
Maintaining the Tension
You have to be careful not to pull too hard on your hairline. If the braid is too tight, it will look forced and could cause tension breakage. Give it just enough slack so it sits comfortably against your forehead without pulling on your roots.
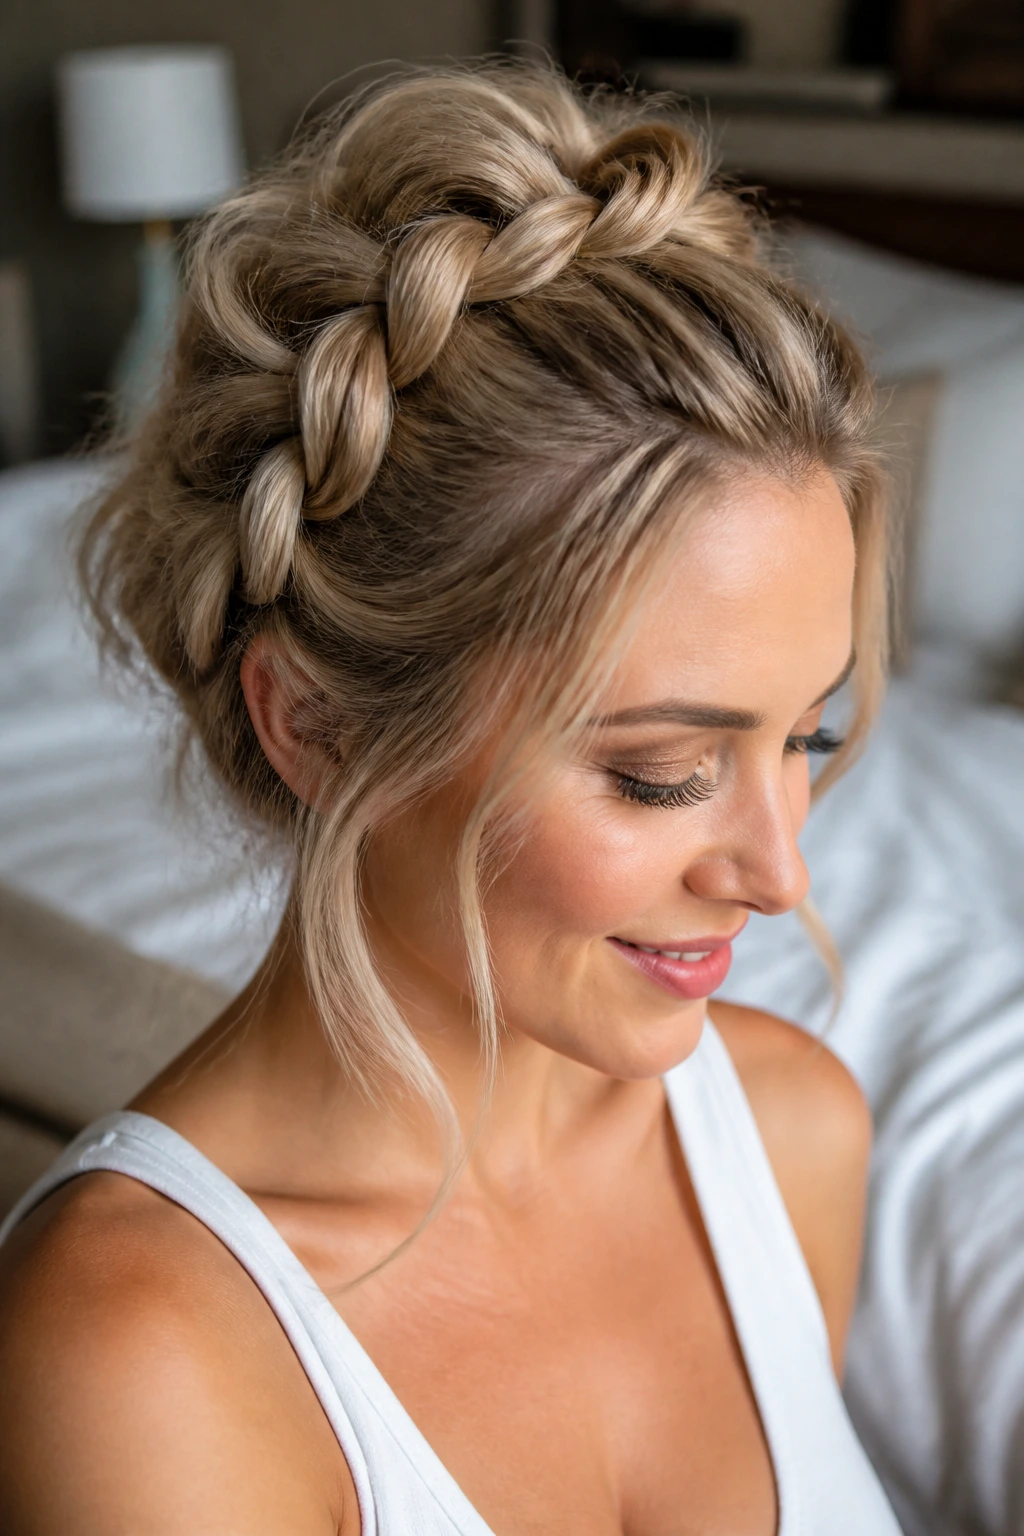
13. Double-Braid Top Knot
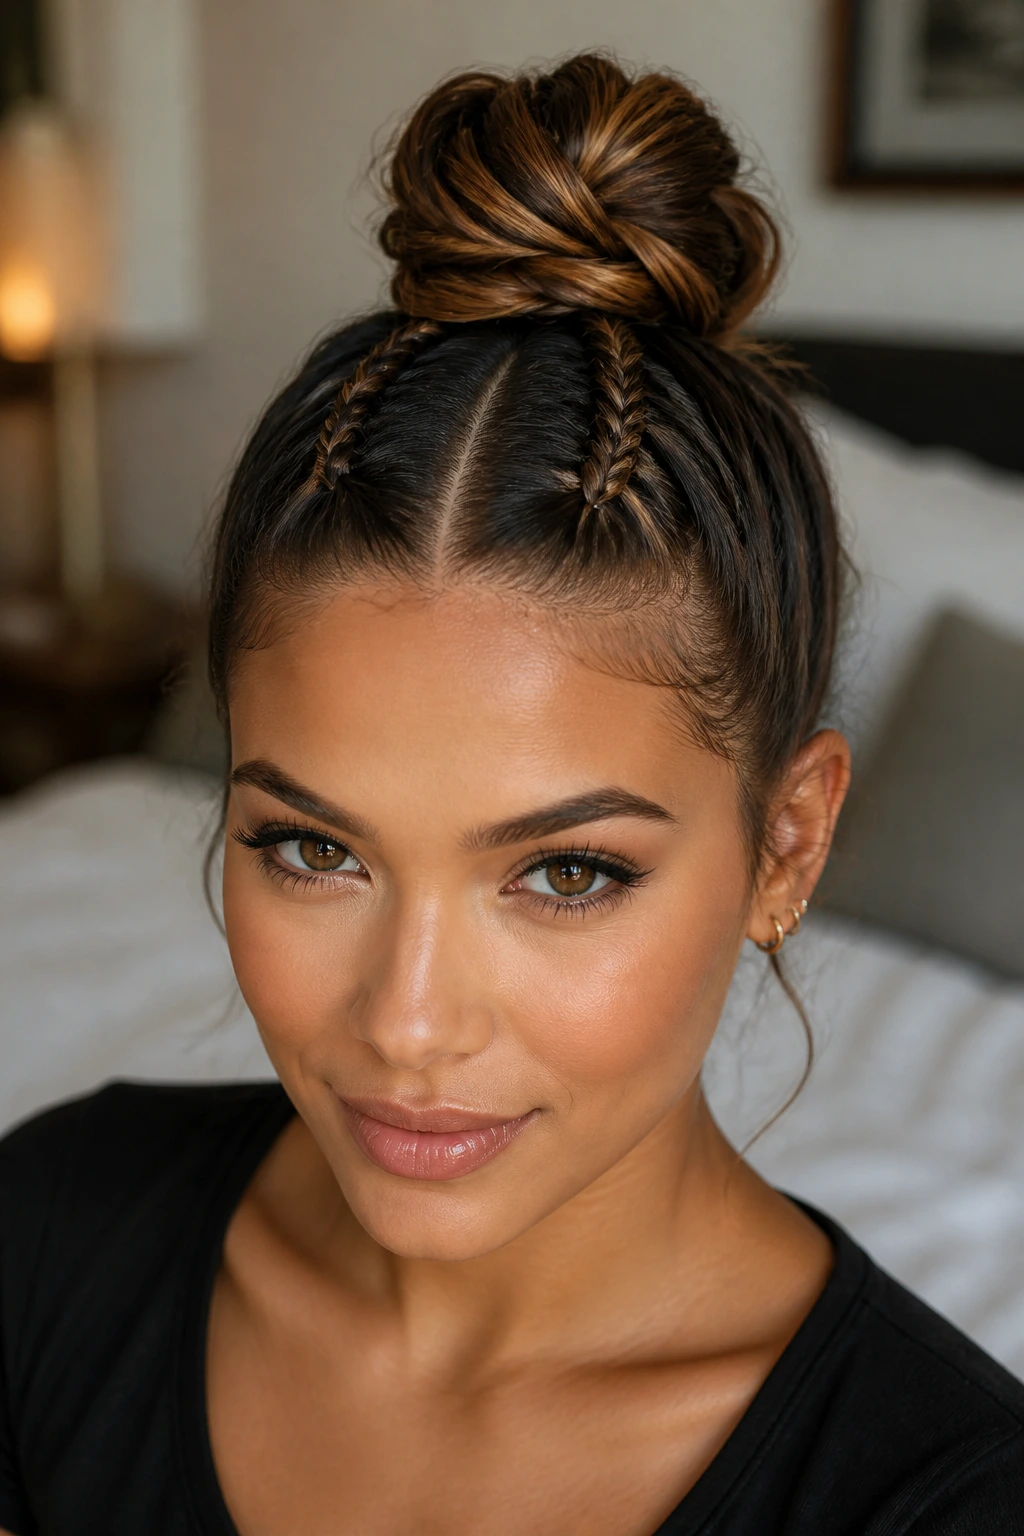
If you have enough length to do a tiny top knot, you can add detail by braiding two small sections at the front that lead into the knot. It adds a bit of “edge” to a standard high-ponytail bun.
Proportion Matters
Because your bun is likely small, keep the braids narrow. If the braids are too wide, they will overwhelm the tiny bun and make the whole look feel unbalanced. Think of the braids as subtle details rather than the main event of the style.
14. Bohemian Fishtail Braid
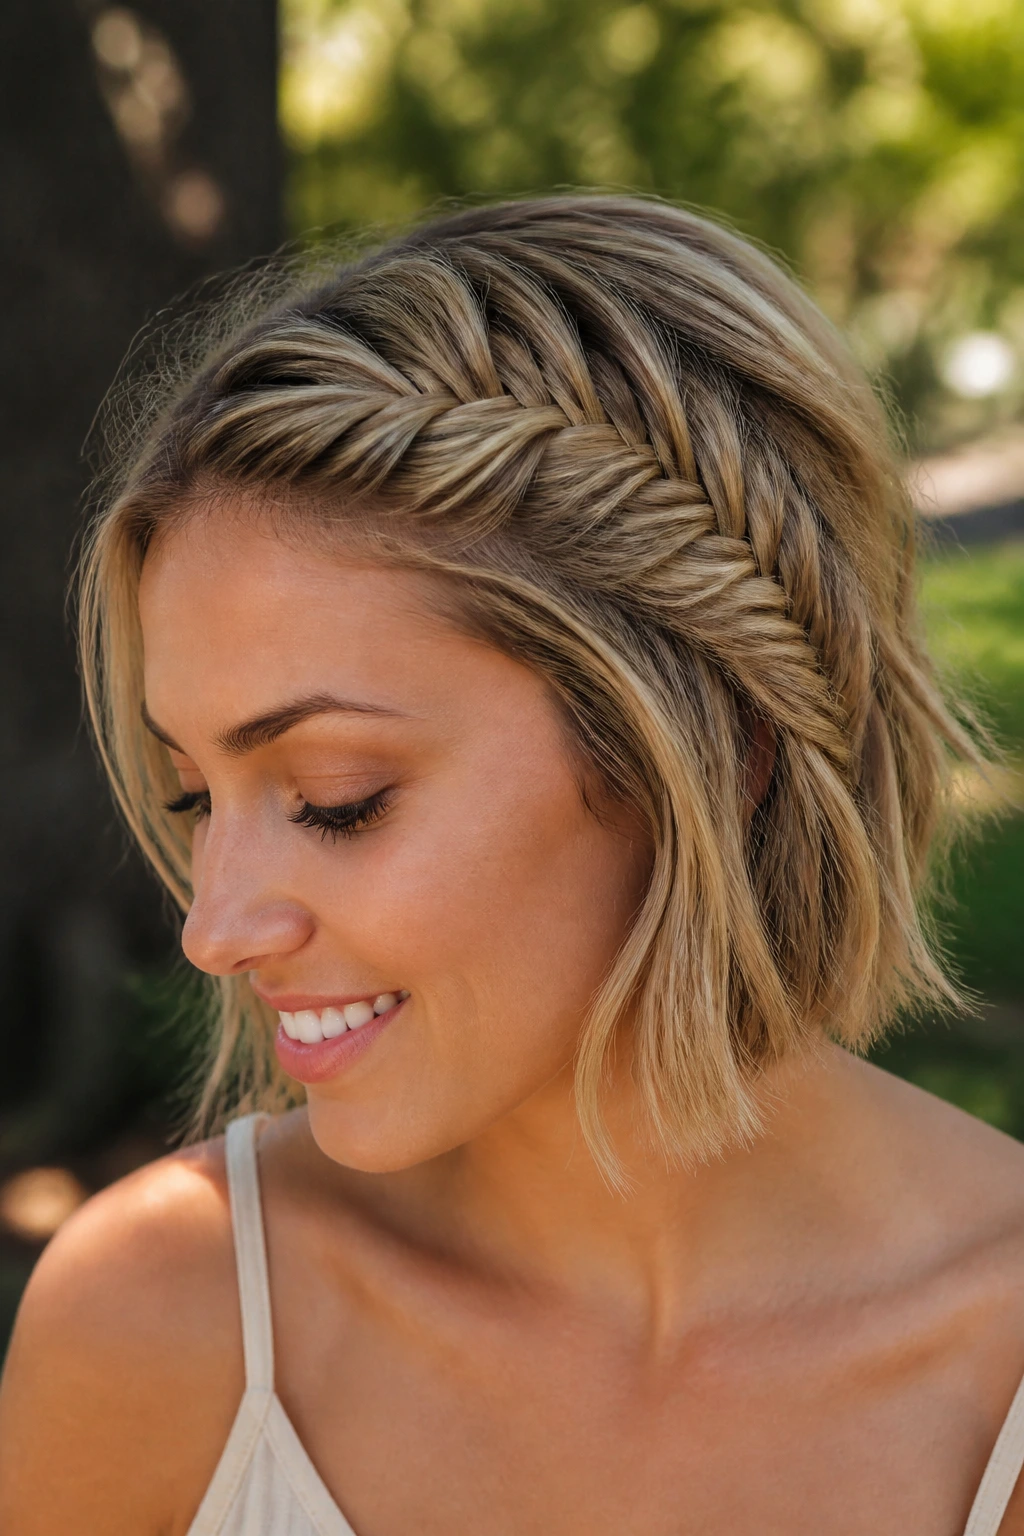
Fishtail braids usually take forever on long hair, but on short hair, they are surprisingly quick. The beauty of a fishtail is the intricate “herringbone” look it creates. Even a short fishtail braid looks sophisticated and highly technical.
The Technique
The secret is keeping the two main sections separate and only moving tiny bits of hair from one side to the other. If you take too much hair at once, the herringbone pattern disappears and it just looks like a messy twist. This is a great style to practice while watching a movie, as it requires more patience than focus.
15. Braids with Headscarf Integration
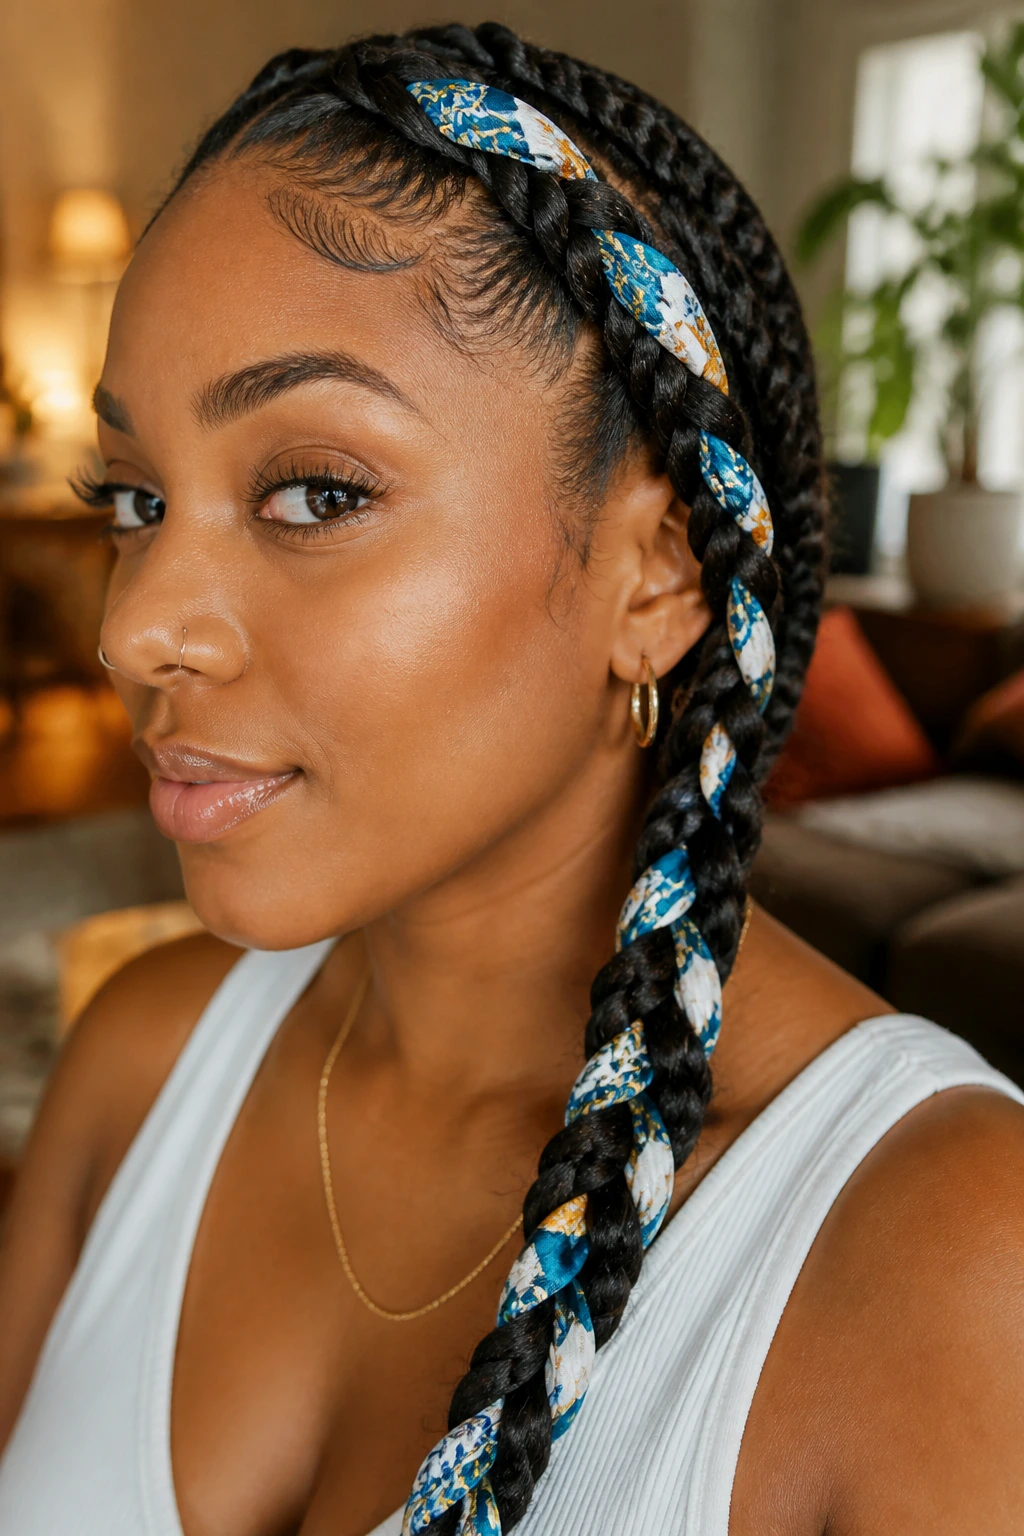
Sometimes, the easiest way to braid short hair is to incorporate a thin silk scarf into the braid. The scarf provides the length that your hair lacks and adds a pop of color to your style.
Why This Works
The scarf acts as one of the three strands of a standard French braid. As you braid, the fabric blends with your hair, effectively masking where your actual hair ends and the fabric takes over. This is the ultimate “cheat” for short hair, and it allows you to create thick, long-looking braids that stay secure because the fabric holds the tension.
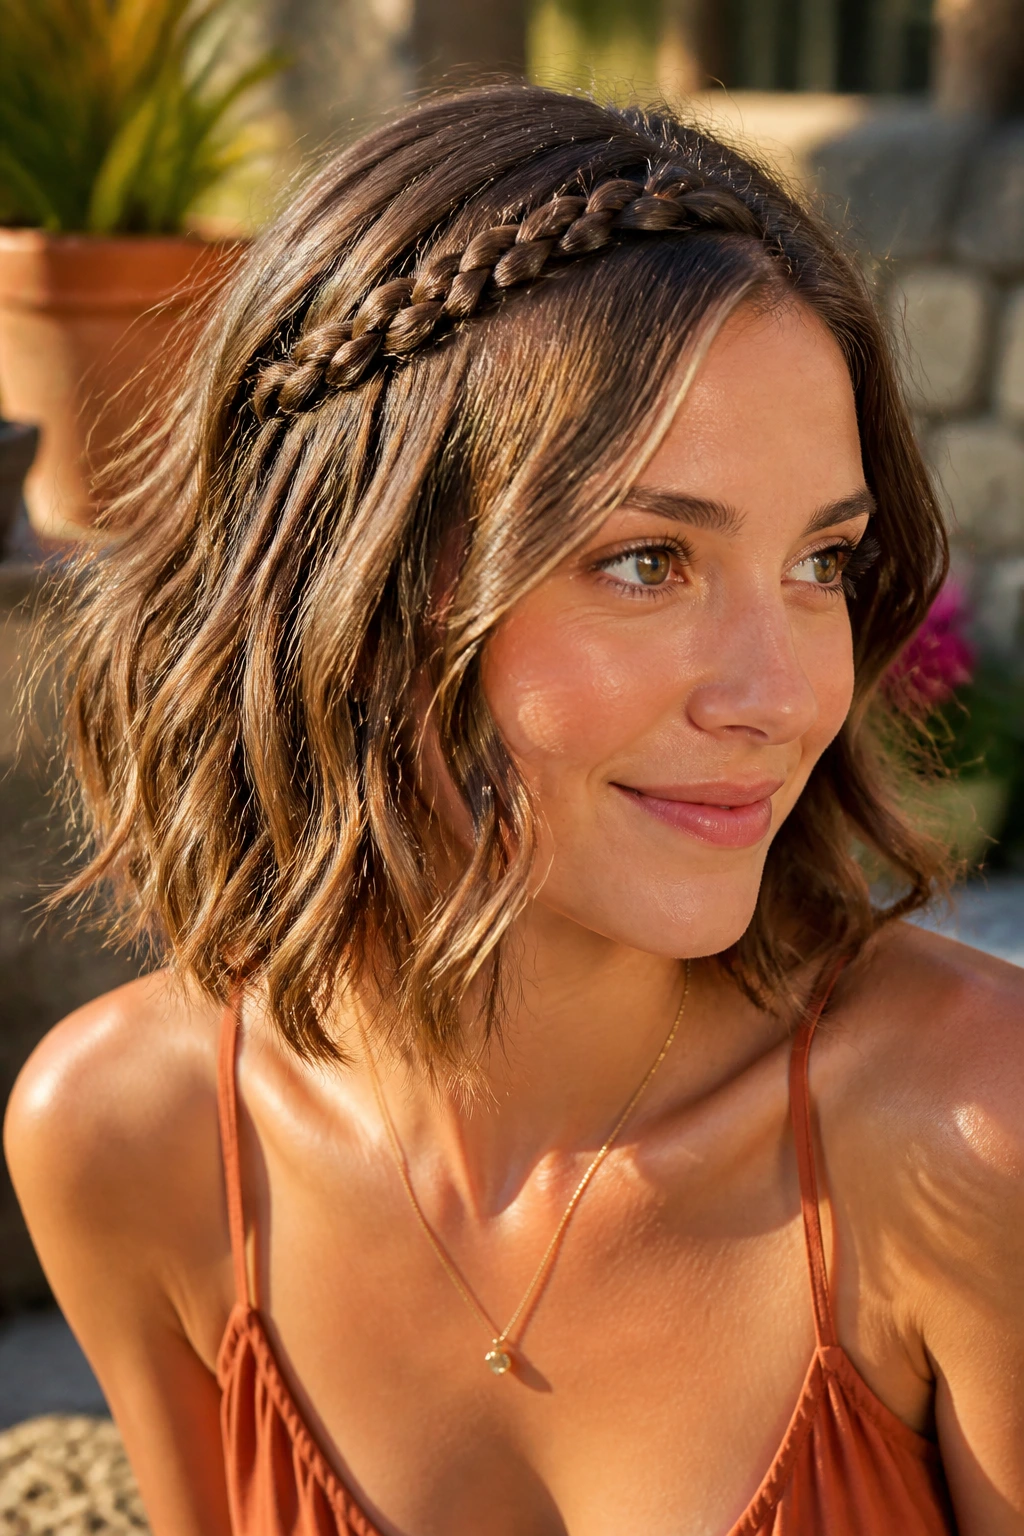
16. The Zig-Zag Part Braid
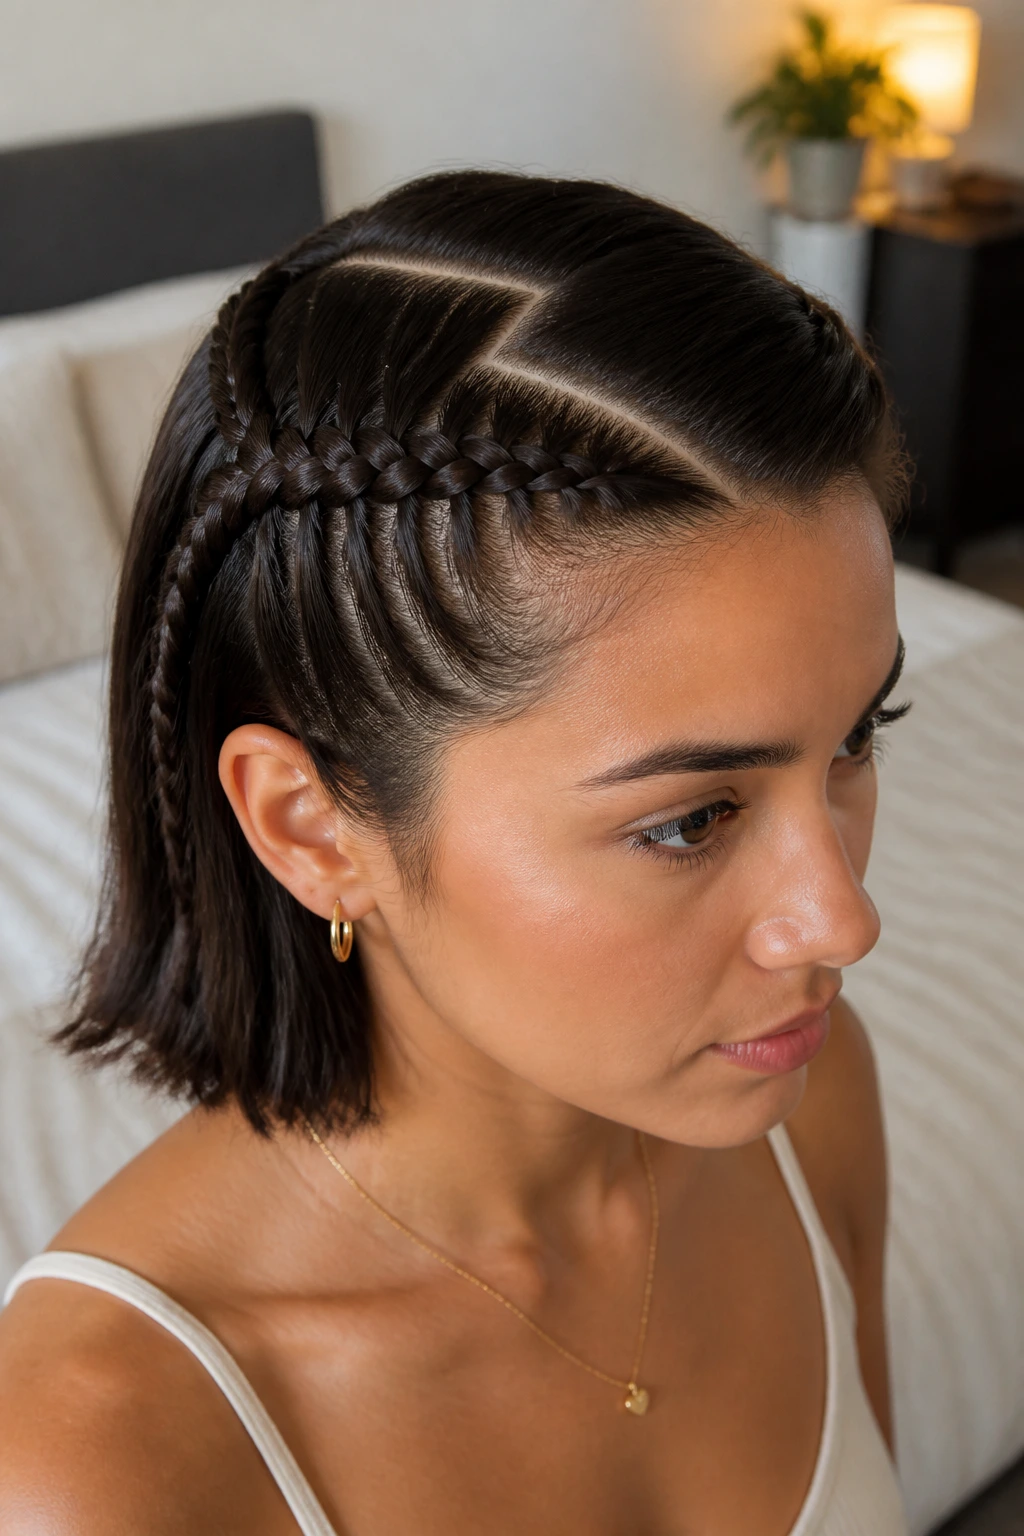
By creating a zig-zag part and then braiding down the sides, you add a graphic element to your hairstyle. This is a bold, 90s-inspired look that feels fresh again. It requires a fine-tooth comb to get the part perfectly sharp.
Keeping It Sharp
Use a bit of styling gel on the teeth of the comb as you create the zig-zag. This ensures the hair stays put and doesn’t fall back into the part. Once the part is set, the braids on either side act as the frame for your face. It is a very structured, high-fashion look that works best with poker-straight hair.
17. The Knotted Braid
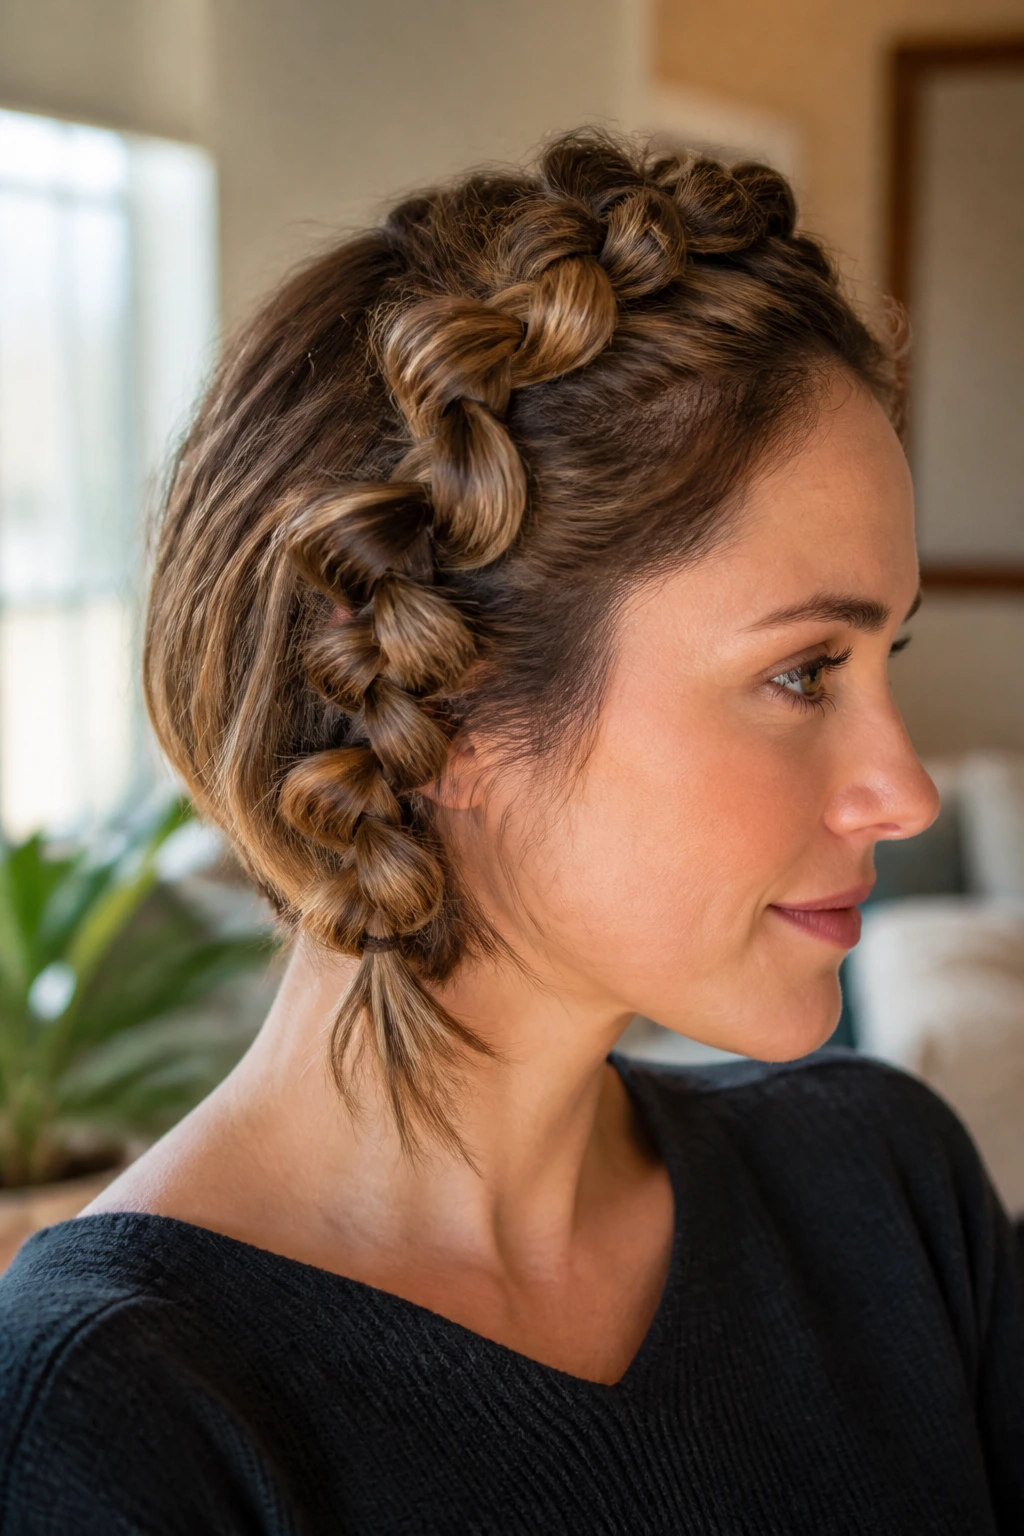
Instead of traditional weaving, use a series of knots. Take two strands, tie them in a basic overhand knot, and then pull more hair into the strands before tying the next one. This creates a really unique, chunky texture that looks incredible on short, blunt cuts.
Why Knots Are Different
Knots hold their shape better than braids on short hair because they aren’t relying on the hair being long enough to overlap repeatedly. Each knot is an independent structure, making it much harder for your hair to slip out. It is a very sturdy style for those who have a busy day ahead.
18. Braided Pigtails
Pigtails aren’t just for children. Two neat, tight Dutch braids—one on each side of a center part—are actually a very chic way to keep a short haircut out of your face.
The Mature Look
To keep this from looking too youthful, avoid bows or bright, colorful elastics. Go for clear elastics or ones that match your hair color. Keep the braids close to your head rather than letting them hang loosely. This creates a “sporty” vibe that feels perfectly appropriate for an adult’s daily routine.
Final Thoughts
The most common mistake people make with short hair is trying to force it to behave like long hair. Do not be afraid of the ends that poke out; sometimes those little stray hairs add the texture and movement that keep a short style from looking too “stiff.” Your best tools will always be bobby pins that match your hair color, a decent dry texturizing spray, and a bit of patience.
If you find that your braids are falling out, don’t assume your hair is the problem. It is usually a lack of “grip.” Invest in a quality texturizing powder or a light wax, and apply it before you even touch your hair. You will find that suddenly, your braids stick exactly where you put them. Keep experimenting with these techniques, and you will find that short hair offers a world of styling potential that long-haired people simply cannot access with the same level of ease and speed.