Braids are rarely just a hairstyle. For many of us, they represent a quiet confidence, a morning ritual that buys us back time, and a versatile armor against the chaos of daily life. When we talk about queen braids—those regal, structured, and undeniably sophisticated styles—we are moving past simple three-strand plaits. We are stepping into a territory where sectioning, tension, and precision turn hair into a work of art that holds up from the morning commute through a late-night dinner.
There is a rhythm to the scalp-level precision of a clean part and the steady pull of the braid. Whether you are dealing with natural textures that demand moisture and control or sleek, straight hair that requires a bit of texturizing product to hold, the right braid style changes how you carry yourself. You don’t need a professional stylist on retainer to achieve these looks, but you do need a bit of patience, a steady hand, and a handful of reliable techniques that work for your specific hair type.
We are going to walk through twenty specific styles that elevate your everyday look. Some are fast enough to pull together in five minutes while you drink your coffee, while others lean into the “queen” aesthetic—complex, deliberate, and striking. The goal is to move beyond the standard ponytail and embrace the structure that braid patterns provide, turning your hair into the most consistent accessory you own.
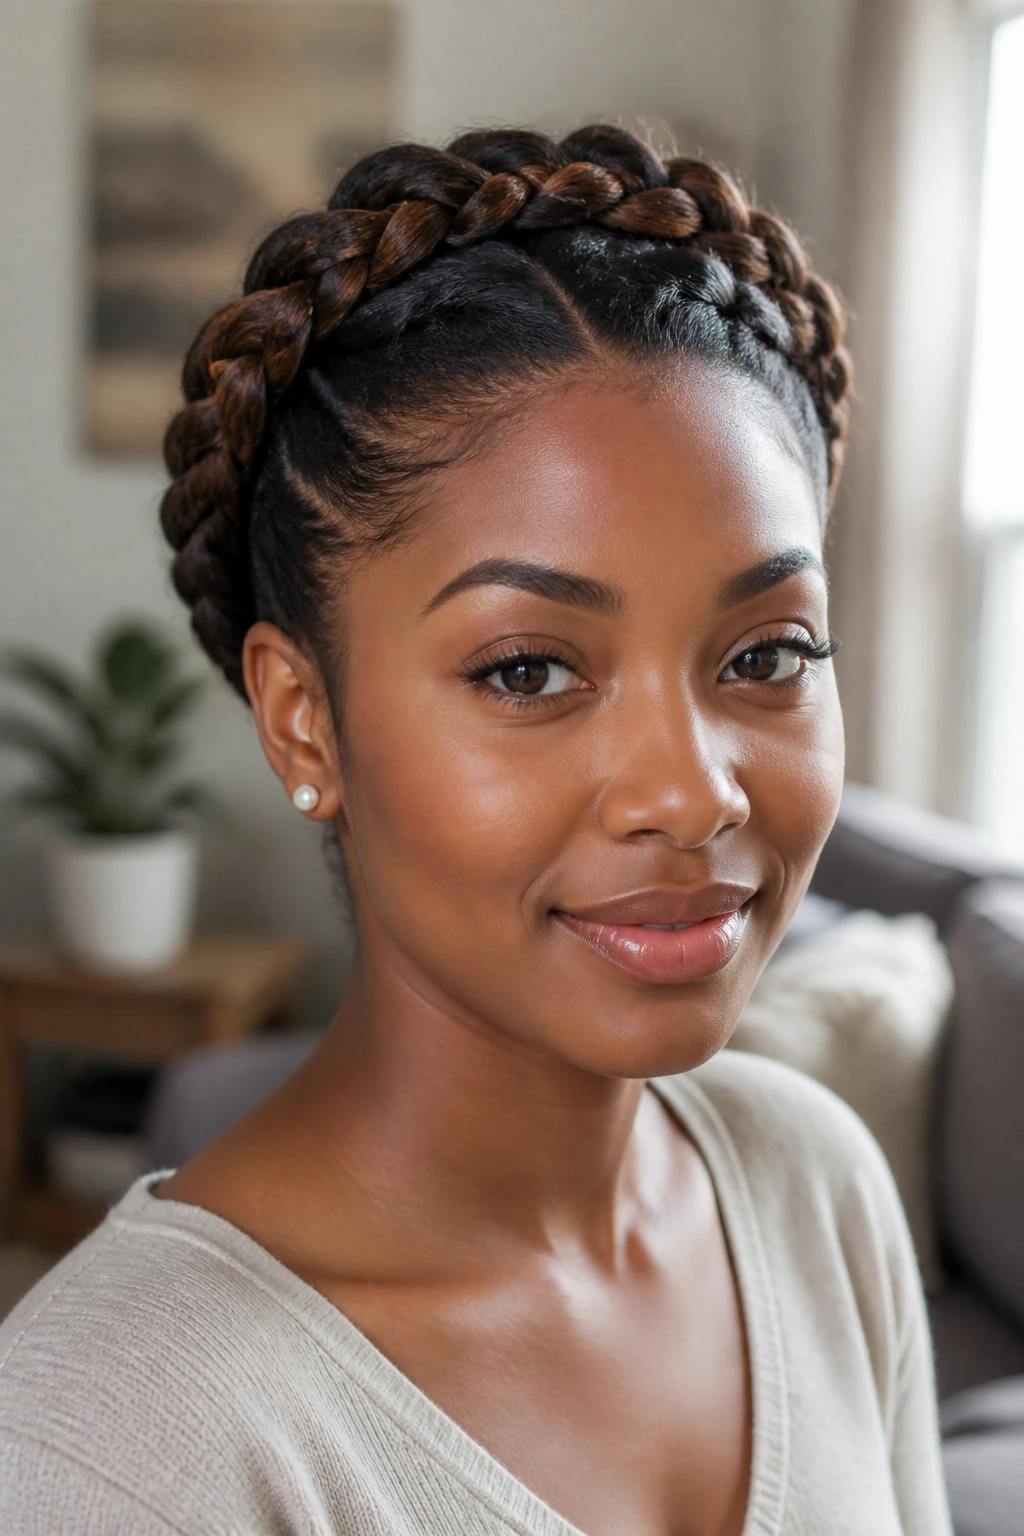
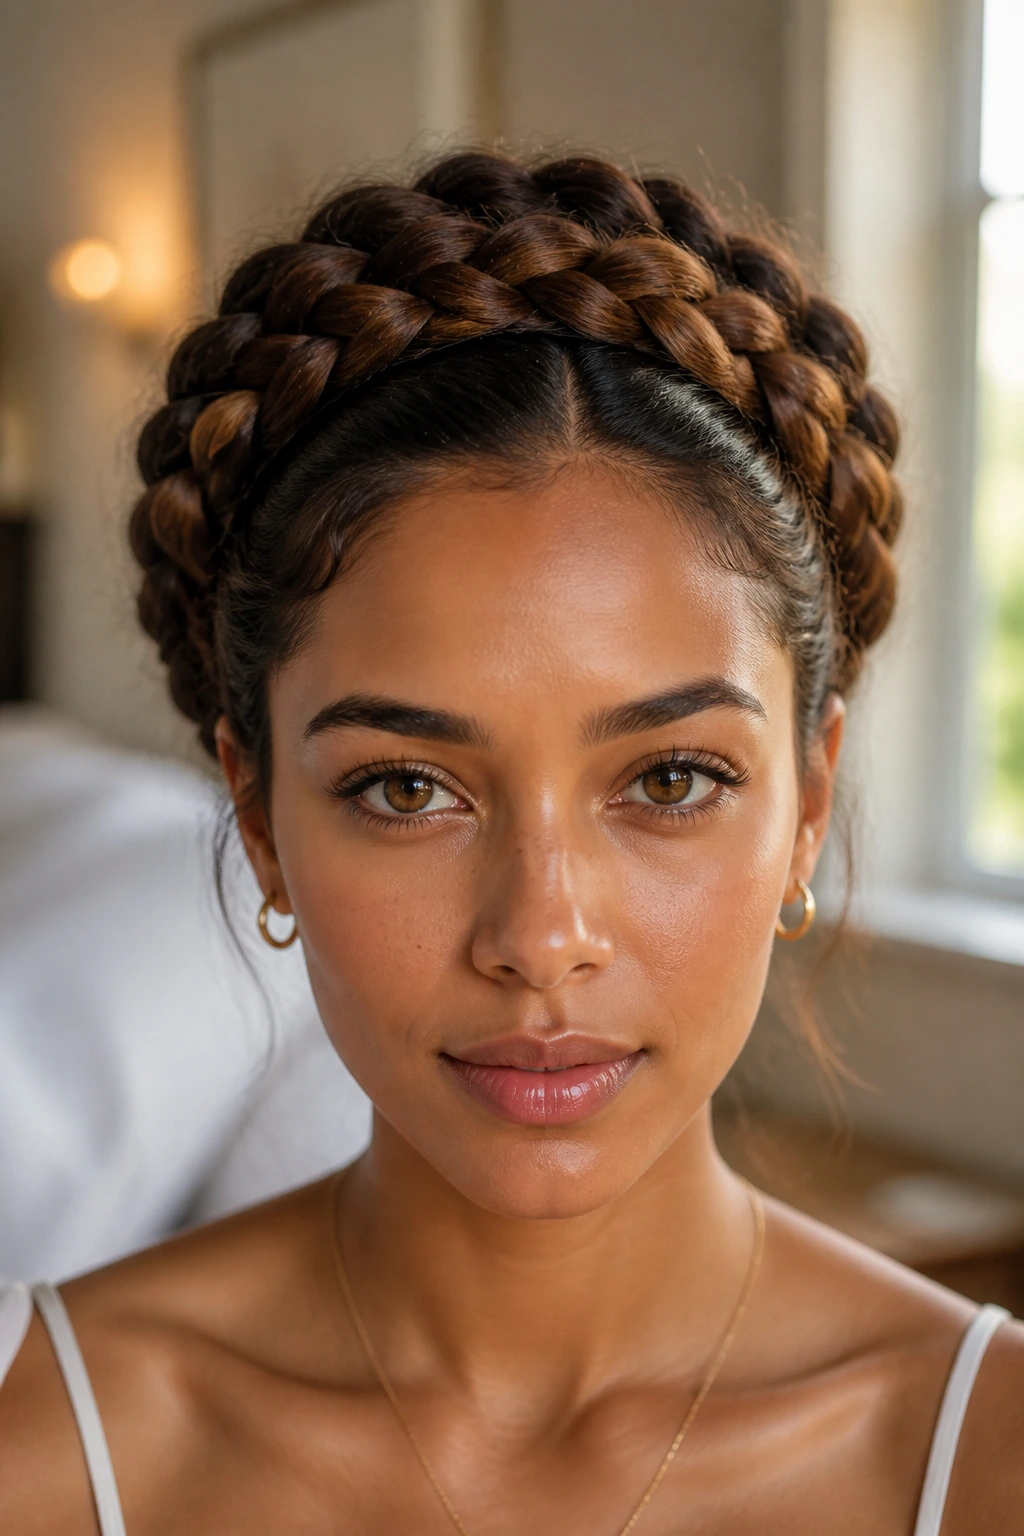
1. The Classic Crown Braid for Maximum Elegance
There is something inherently regal about a crown braid. It sits atop the head like a literal halo, framing the face and pulling every strand away from your neck. This is a brilliant choice for days when the humidity is high or you need to keep your hair perfectly contained for eight hours or more.
How to Build the Crown
You start at the nape of the neck or the side, working a Dutch braid—where you cross the strands under rather than over—all the way around the perimeter of your hairline. The trick is to keep the tension consistent. If you pull too hard near the temples, you get a headache; too loose, and the braid sags by noon.
Finishing the Look
Once you reach the starting point, tuck the tail of the braid underneath the beginning of your plait and pin it securely with two or three U-shaped hairpins. Always use U-pins instead of standard bobby pins for this style; they grip more hair with less distortion to the braid’s shape. A light mist of holding spray keeps the baby hairs around the forehead from turning into a frizzy halo, unless, of course, you prefer that soft, organic look.
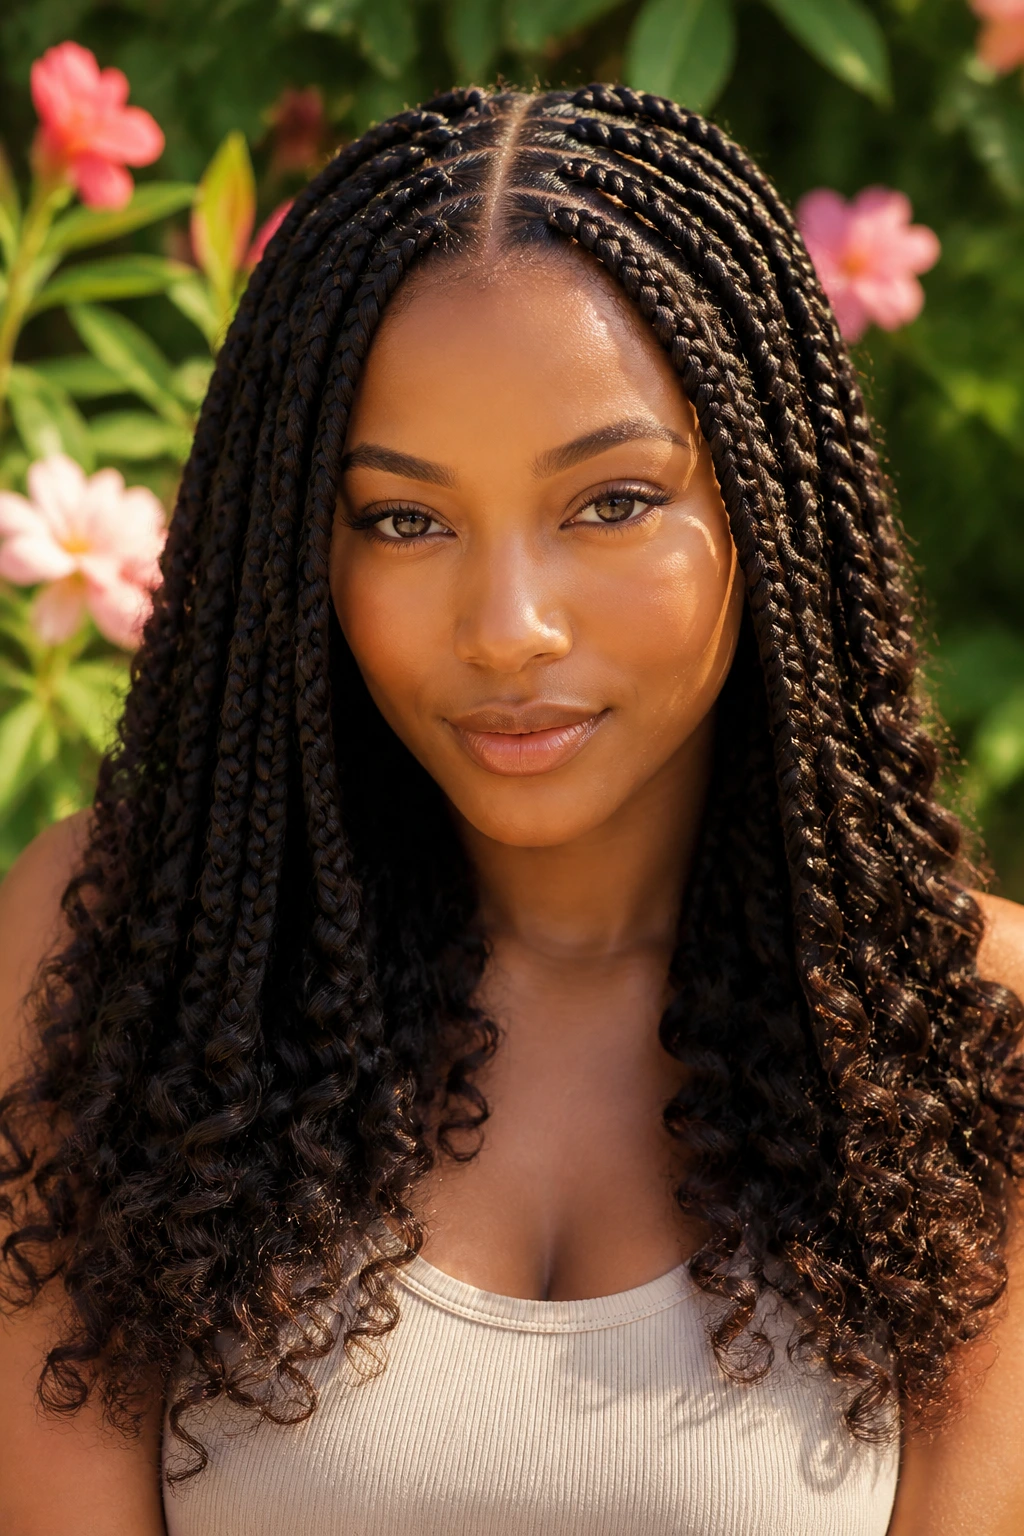
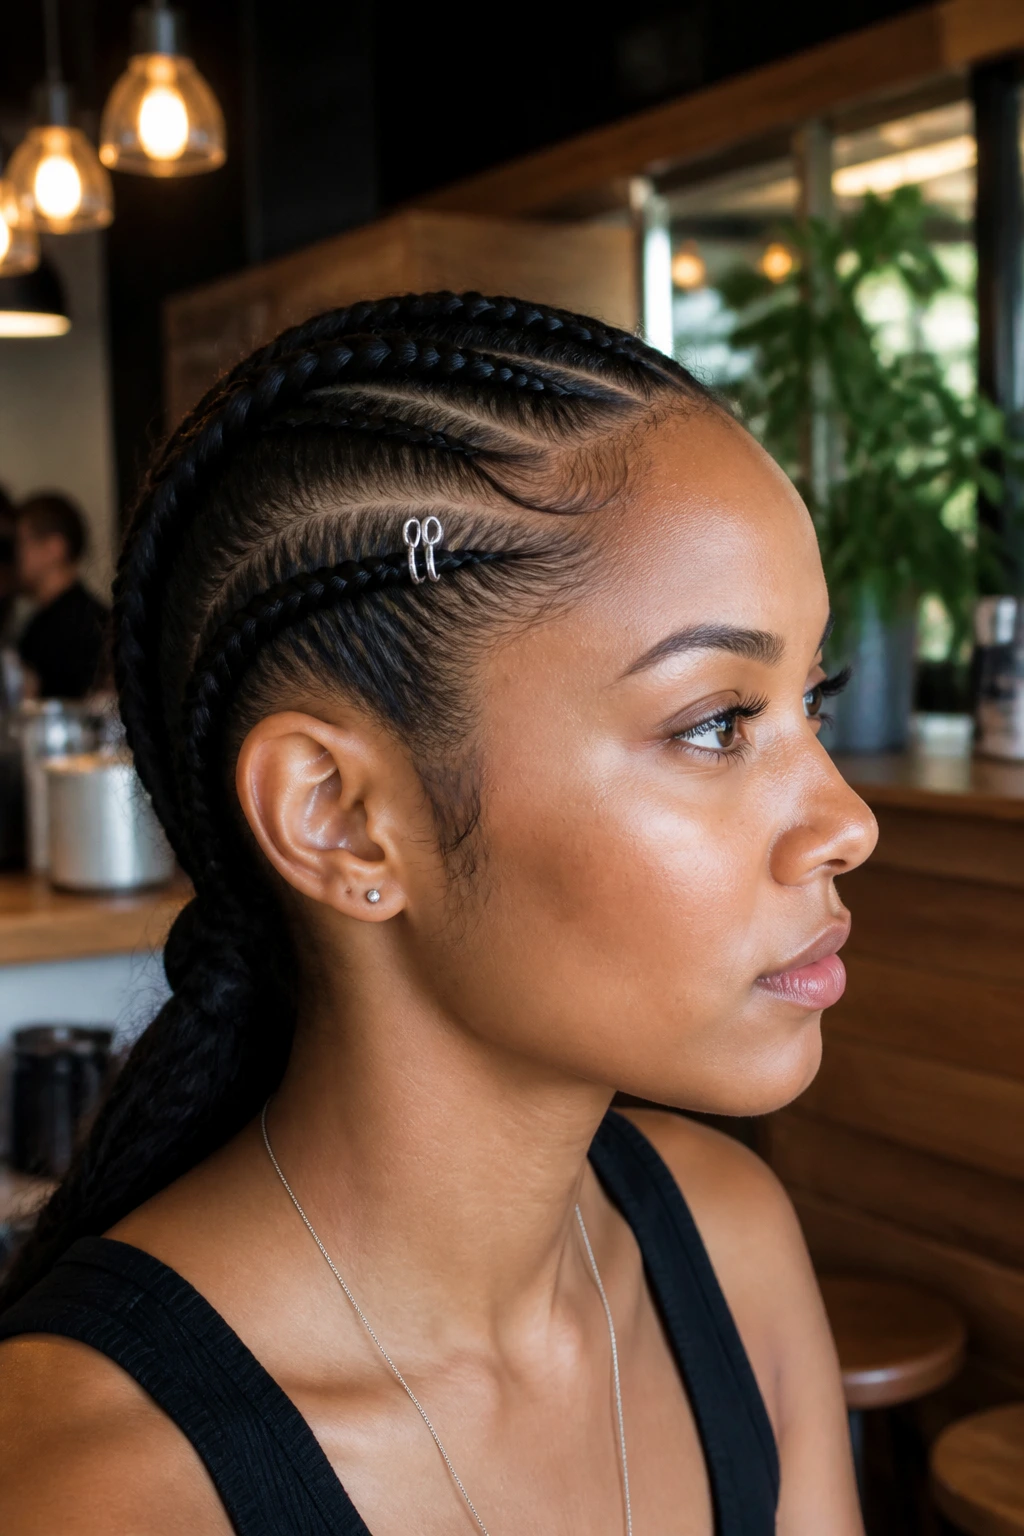
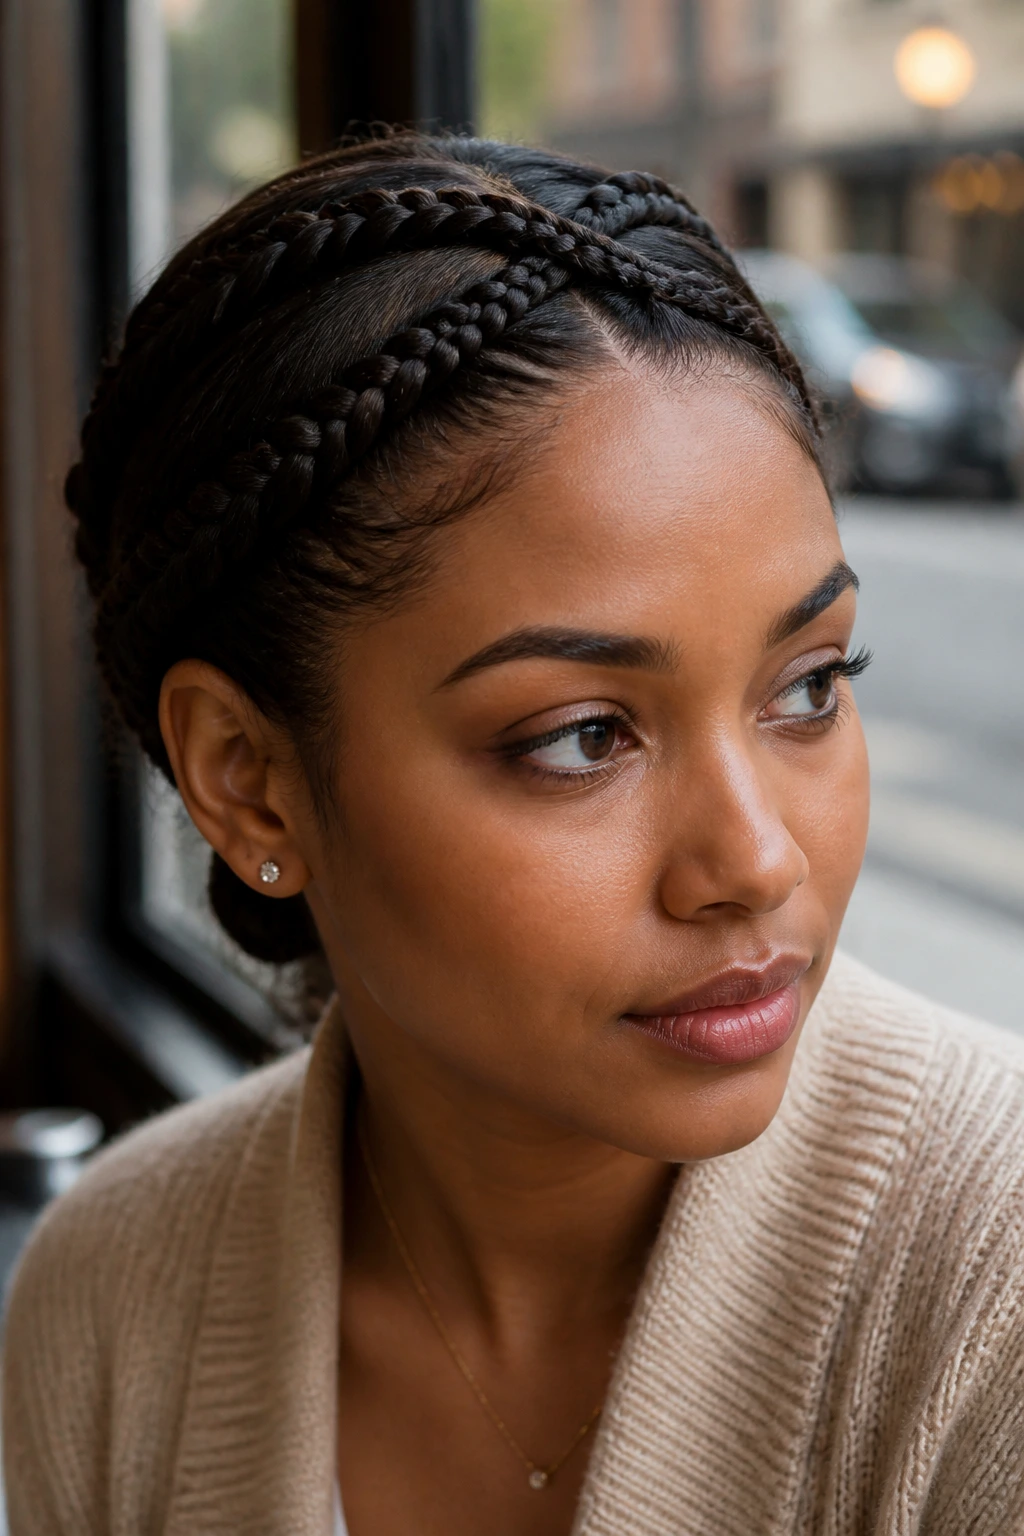
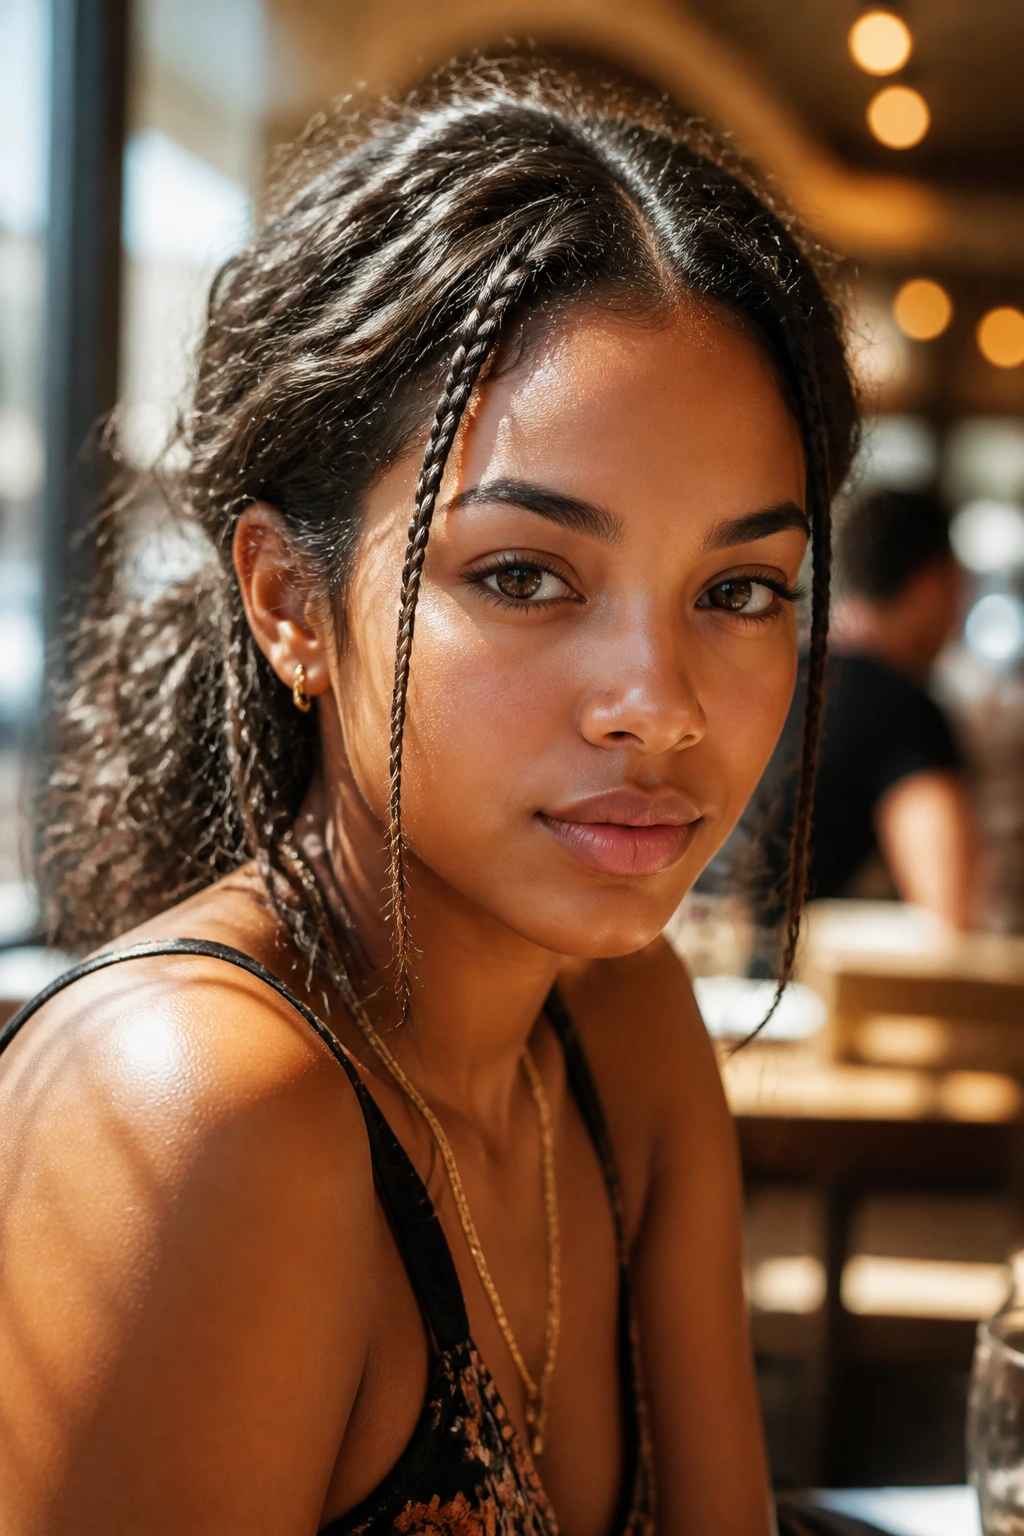
2. Sleek Center-Part Feed-In Braids
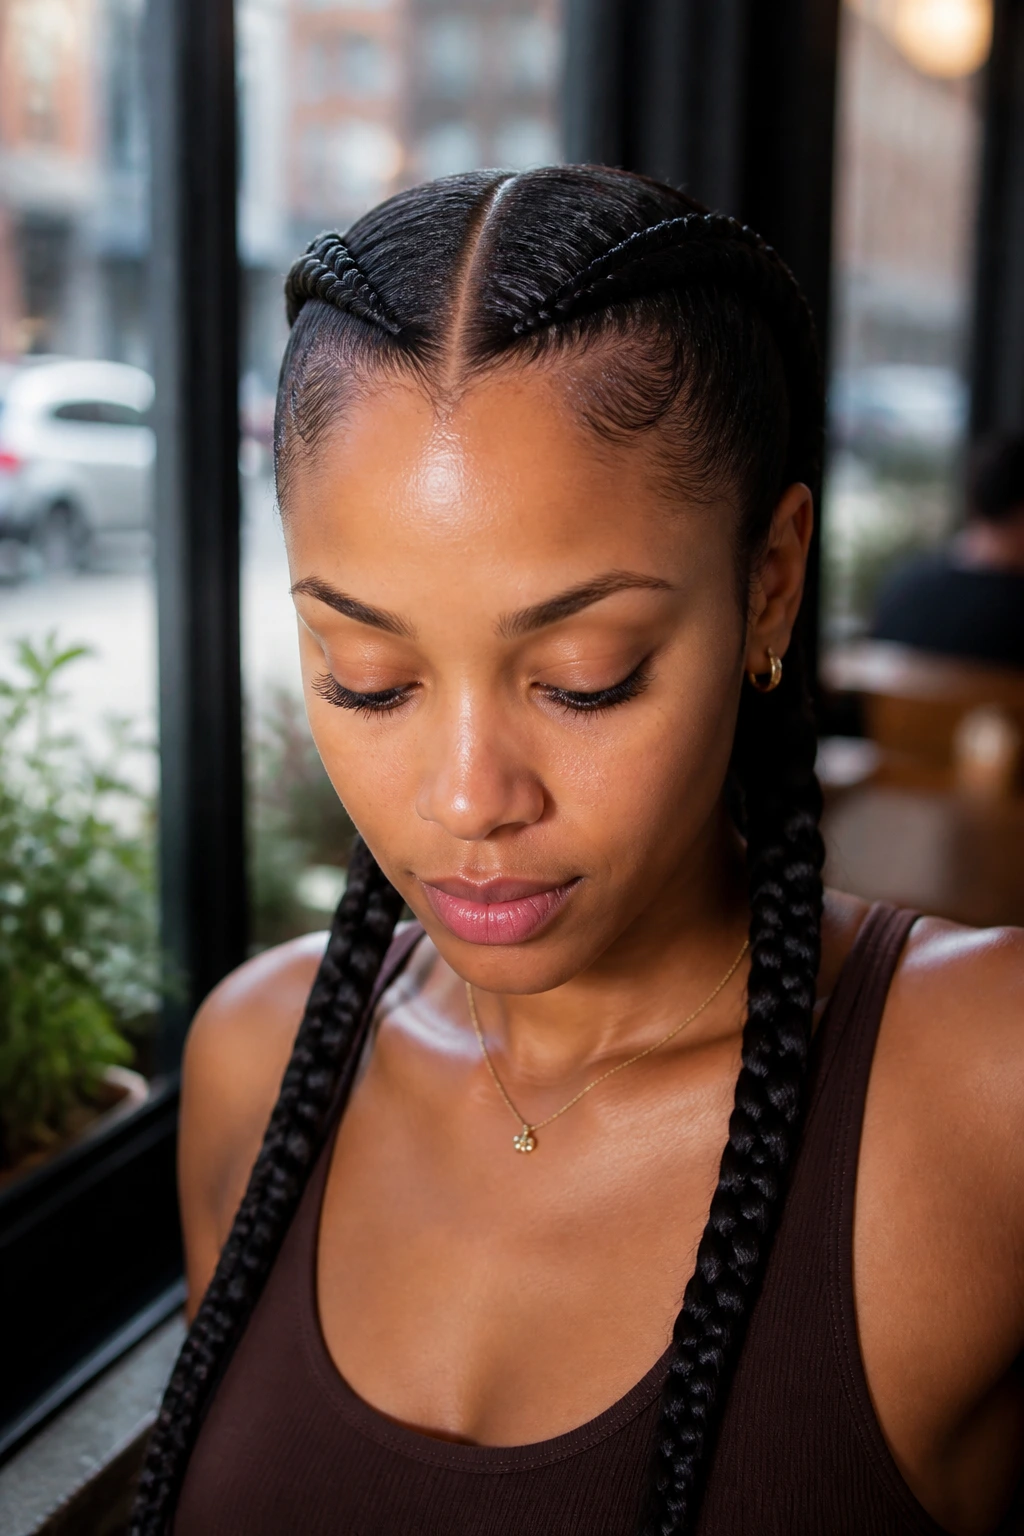
Center parts have a way of balancing the face and highlighting strong features. When you combine a crisp, razor-sharp part with two long, sleek feed-in braids, you create a look that feels both minimalist and powerful. This style works best with added braiding hair, which allows you to extend the length well past your natural tips.
Why This Style Works for Daily Wear
The feed-in technique—where you add synthetic hair gradually as you braid—prevents that bulky “bump” at the hairline that often makes braids look heavy or uncomfortable. Because the transition is gradual, the braid lies flat against the scalp, creating a seamless, natural look that feels lightweight.
Styling Tips for Longevity
Keep your scalp hydrated with a lightweight oil—jojoba or tea tree work wonders—and use a silk scarf at night to prevent friction. If you find your edges getting a bit fuzzy after a few days, a tiny dab of edge control on a soft-bristled toothbrush can bring that sleekness right back.
3. The Low-Slung Side Fishtail
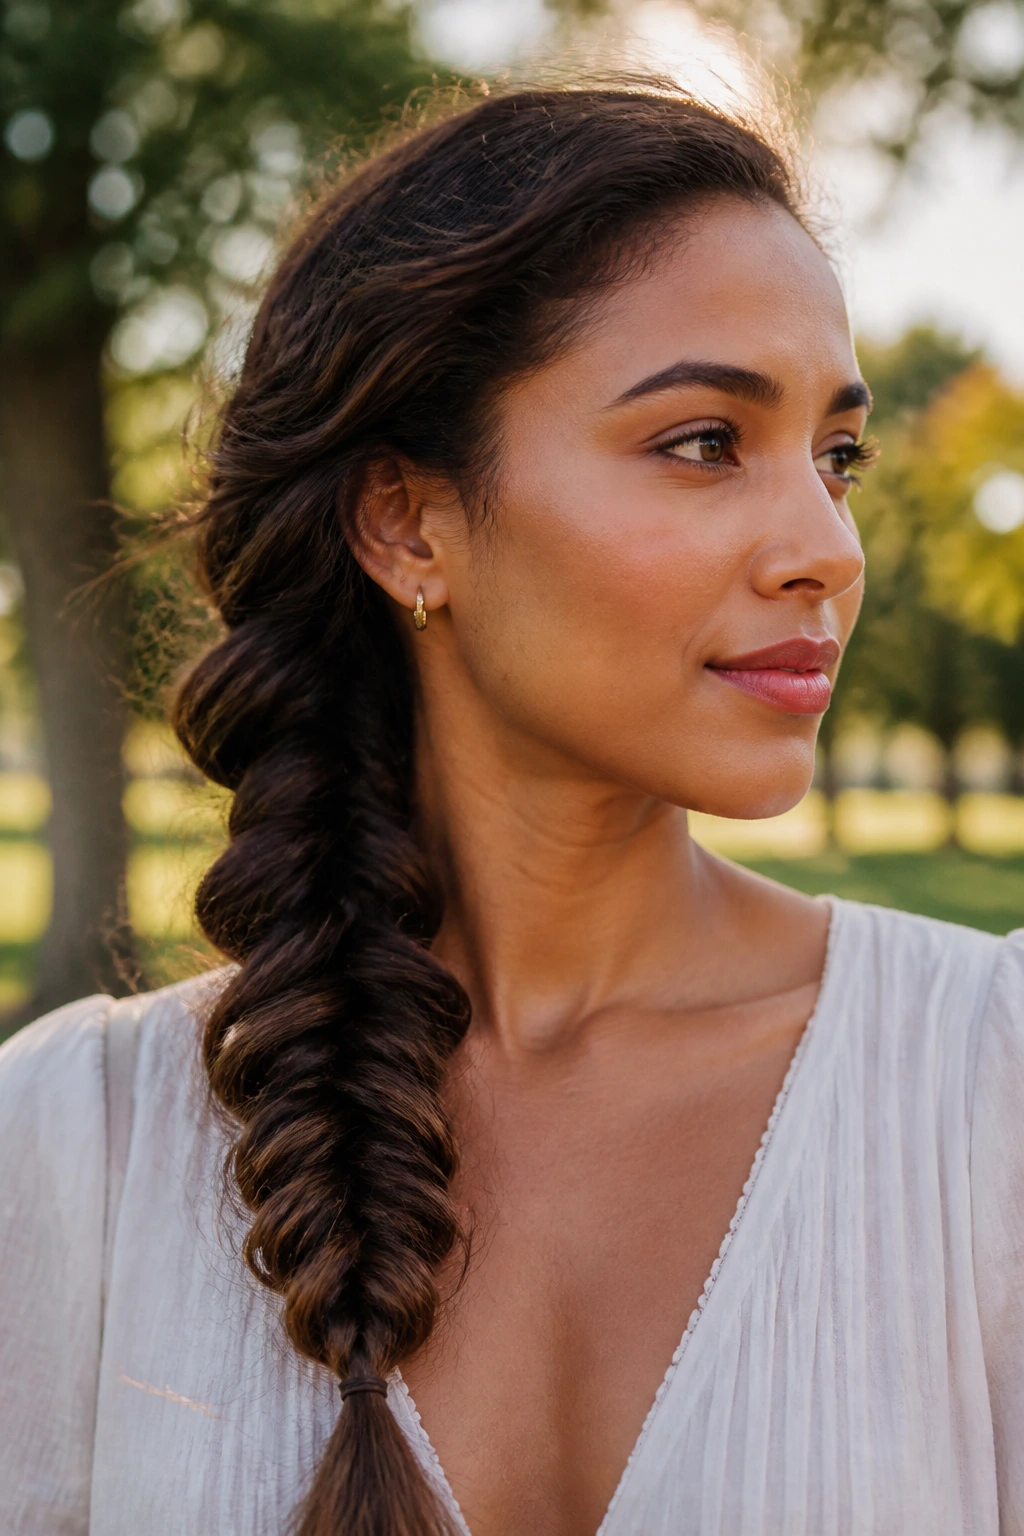
If you want something that feels effortless but looks like you spent half an hour in front of the mirror, the side-swept fishtail is the answer. It trades the complexity of a Dutch or French braid for a dense, woven texture that feels heavy and luxurious.
Creating the Weave
Gather all your hair to one shoulder. Split it into two equal sections. Take a very small, thin strand from the outside of the left section and cross it over to the inside of the right section. Repeat on the other side. The smaller the strands you pull, the more intricate the final braid looks.
Expanding for Volume
Once you have finished the braid, don’t just leave it tight. Gently pull at the outer loops of the braid, starting from the bottom and working your way up. This “pancaking” technique makes the braid look twice as thick as it actually is. It’s the secret to making fine hair look dense and intentional.
4. Double-Dutch Braided Space Buns
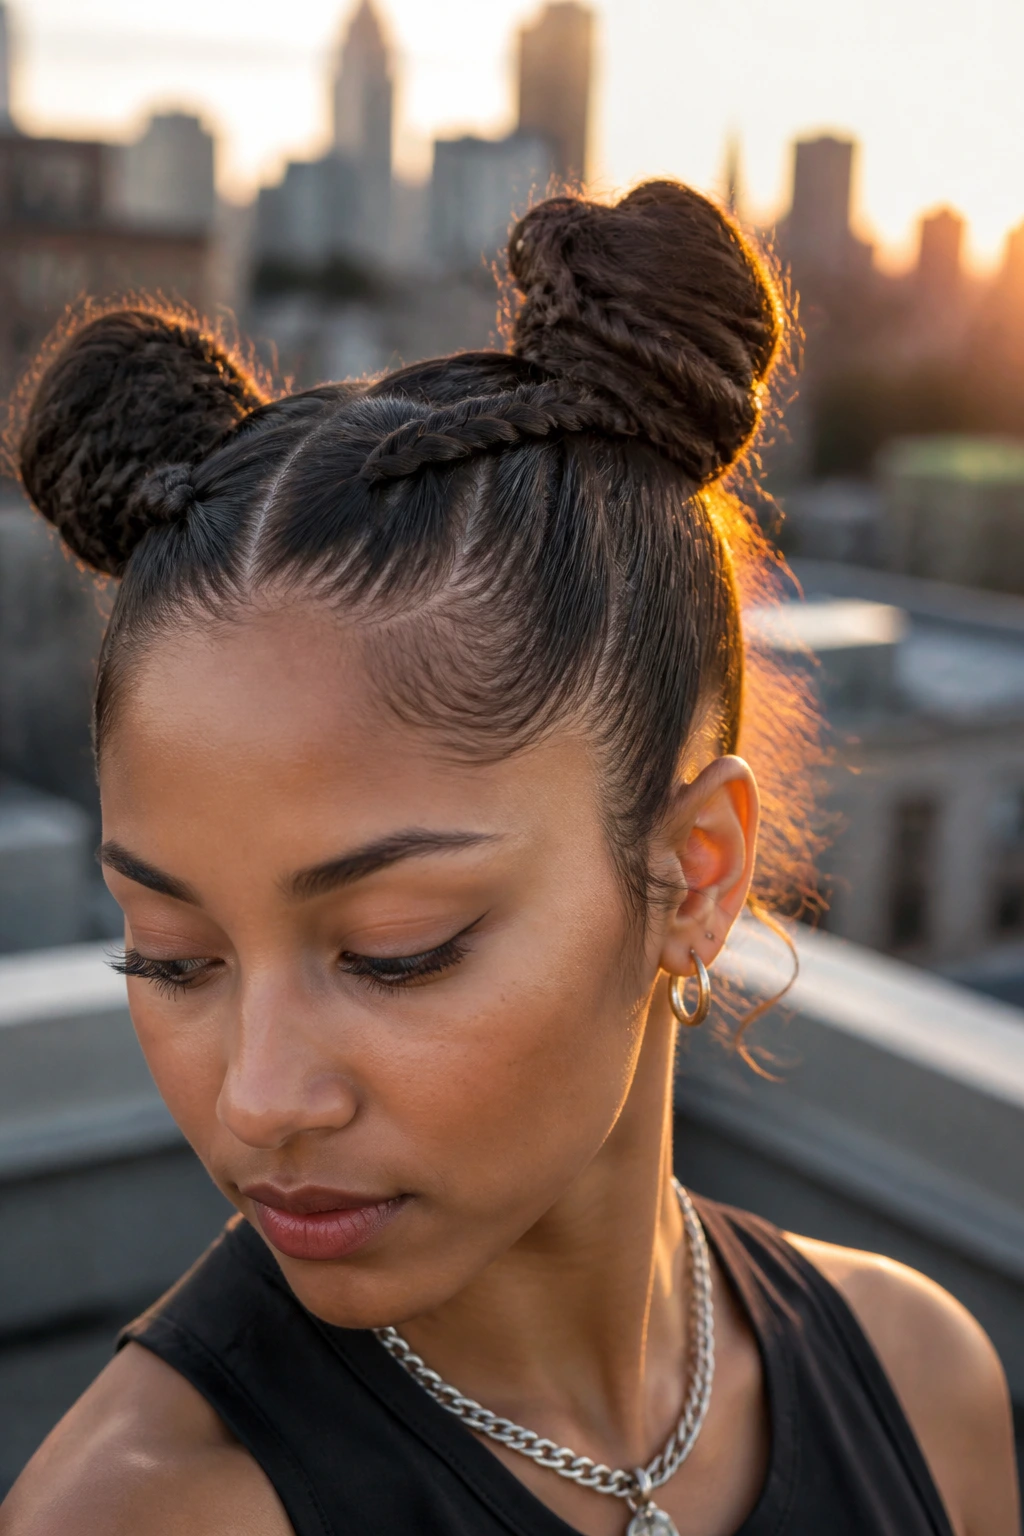
Space buns are not just for festivals; when braided into a Dutch pattern starting from the nape of the neck and traveling upward, they become an architectural, sophisticated style. By working from the neck to the crown, you ensure the hair is pulled tight and secure against the back of your head.
The Construction Process
Flip your head upside down and begin two Dutch braids at your neckline. Braid upward until you hit the crown, then secure the remaining length with an elastic. Twist the remaining length into a bun, pinning it firmly. Make sure your elastic is strong; if the bun slides, the whole tension of the neck braid will unravel.
Who Should Wear This
This is a go-to for active days. It stays out of your face, doesn’t budge during a workout, and keeps your hair protected from environmental wear. If you have layers, use a touch of pomade before braiding to keep the shorter pieces from poking out as you work.
5. The Waterfall Braid with Loose Waves
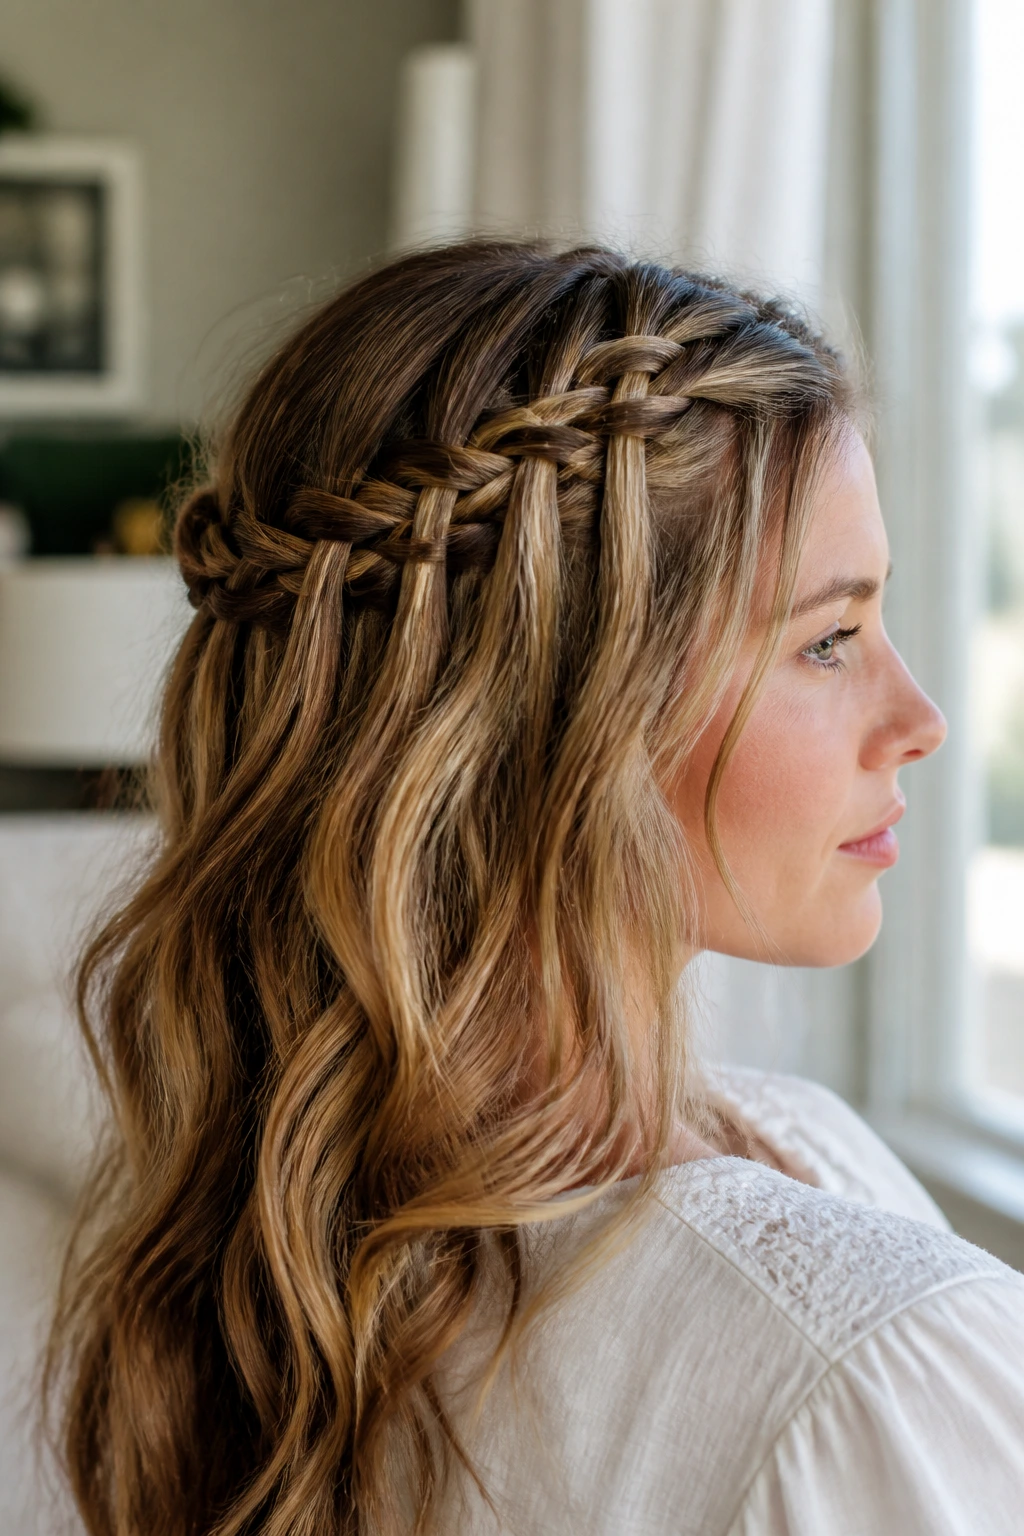
The waterfall braid is the ultimate “romantic” look. It’s less about containment and more about decoration. You are creating a horizontal braid that allows most of your hair to flow freely, which is perfect for days when you want to look polished but still show off your length.
Technique for the Waterfall
As you braid horizontally across the crown, you drop one strand of hair after every “over” pass and pick up a new piece from the top. It creates the illusion of hair cascading through the braid. It’s tricky at first, but once the muscle memory clicks, it takes less than five minutes.
Pairing with Texture
This style looks incredible with loose, iron-curled waves. Use a medium-barrel curling iron on the ends of your hair before you start the braid. The extra grip from the heat-styled texture helps the braid stay in place and prevents the “dropped” strands from looking limp.
6. Goddess Braids with Curly Ends
Goddess braids, characterized by their larger size and the intentionally loose, bohemian curls left at the ends, offer a high-impact aesthetic with surprisingly low maintenance. These are usually thicker than standard cornrows, giving you a bolder, more queen-like silhouette.
Maintaining the Curls
The curls at the ends are the focal point. To keep them from tangling, apply a curl-defining mousse or a light, leave-in conditioner as soon as you finish braiding. Avoid heavy creams that might weigh the curls down or attract lint.
Why They Last
Because goddess braids are usually thicker, you have less tension on the scalp than you would with micro-braids. This makes them a fantastic protective style that you can wear for weeks, provided you protect them with a satin bonnet while sleeping.
7. The Half-Up Dutch Crown
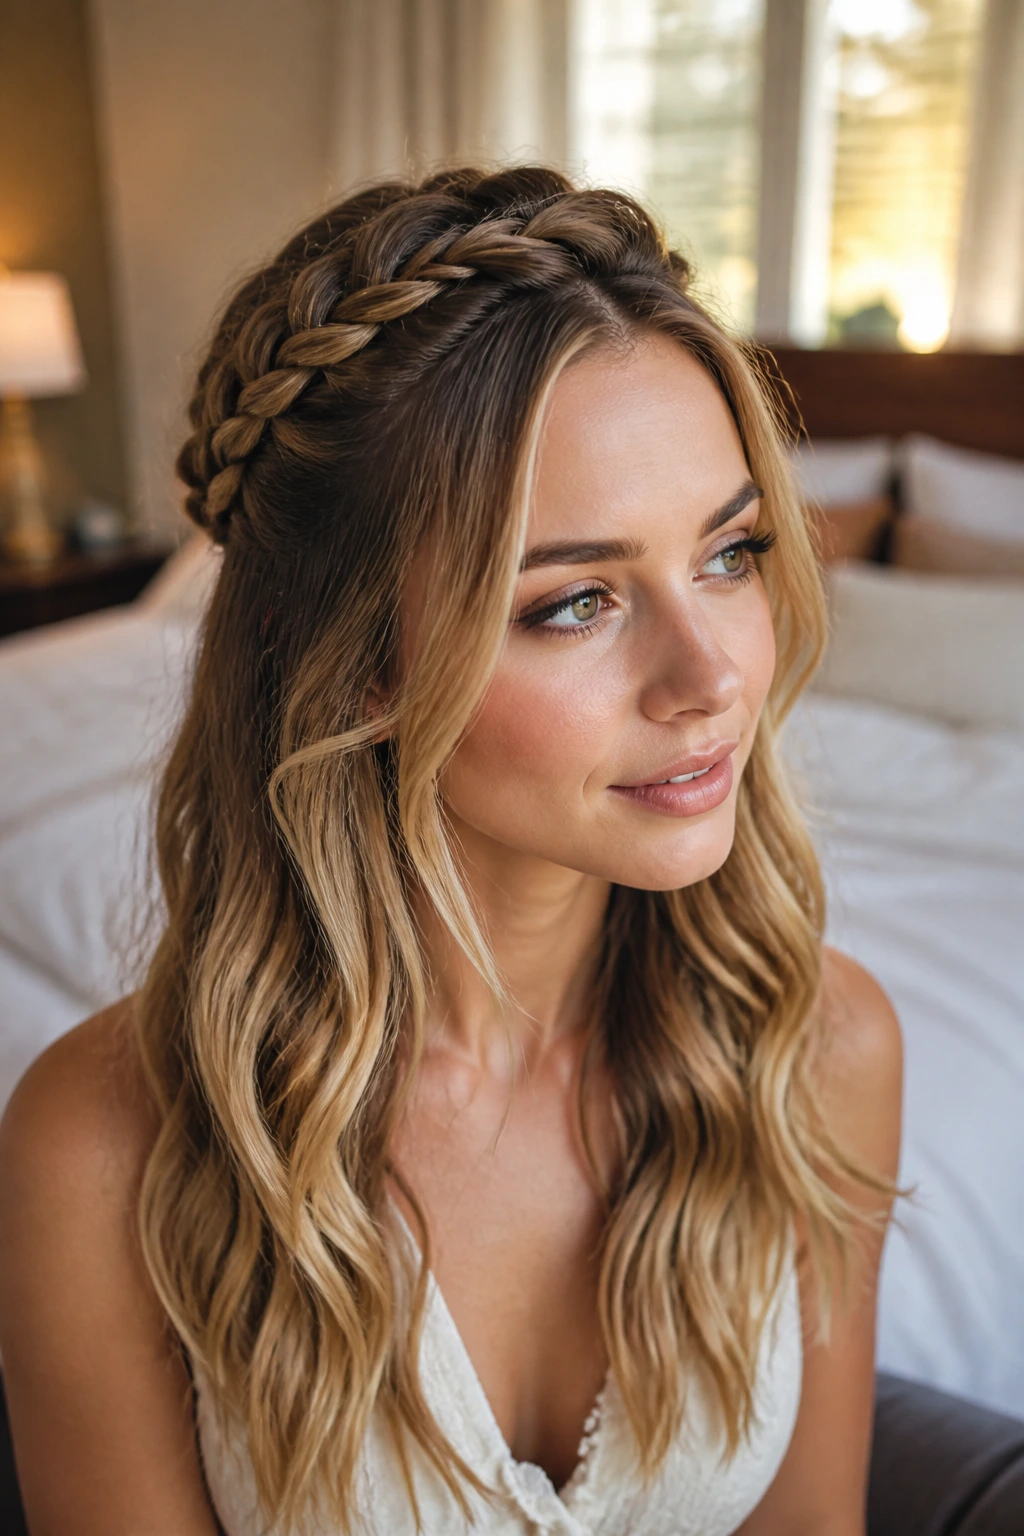
If you are torn between wearing your hair down and keeping it out of your face, the half-up Dutch crown is the perfect middle ground. It gives you the regal feeling of a full crown braid without the commitment of braiding all your hair.
Steps for the Half-Up
Section off the top half of your hair from temple to temple. Dutch braid this section along the crown of your head, essentially creating a headband made of your own hair. Instead of going all the way around, stop at the back and secure with a decorative clip or a clear elastic that hides under the rest of your hair.
Why This Style Works
It keeps the volume on top while leaving your length loose and flowing. It’s the kind of style that transitions perfectly from a casual morning at the desk to a professional meeting. It highlights the face without hiding your hair’s natural movement.
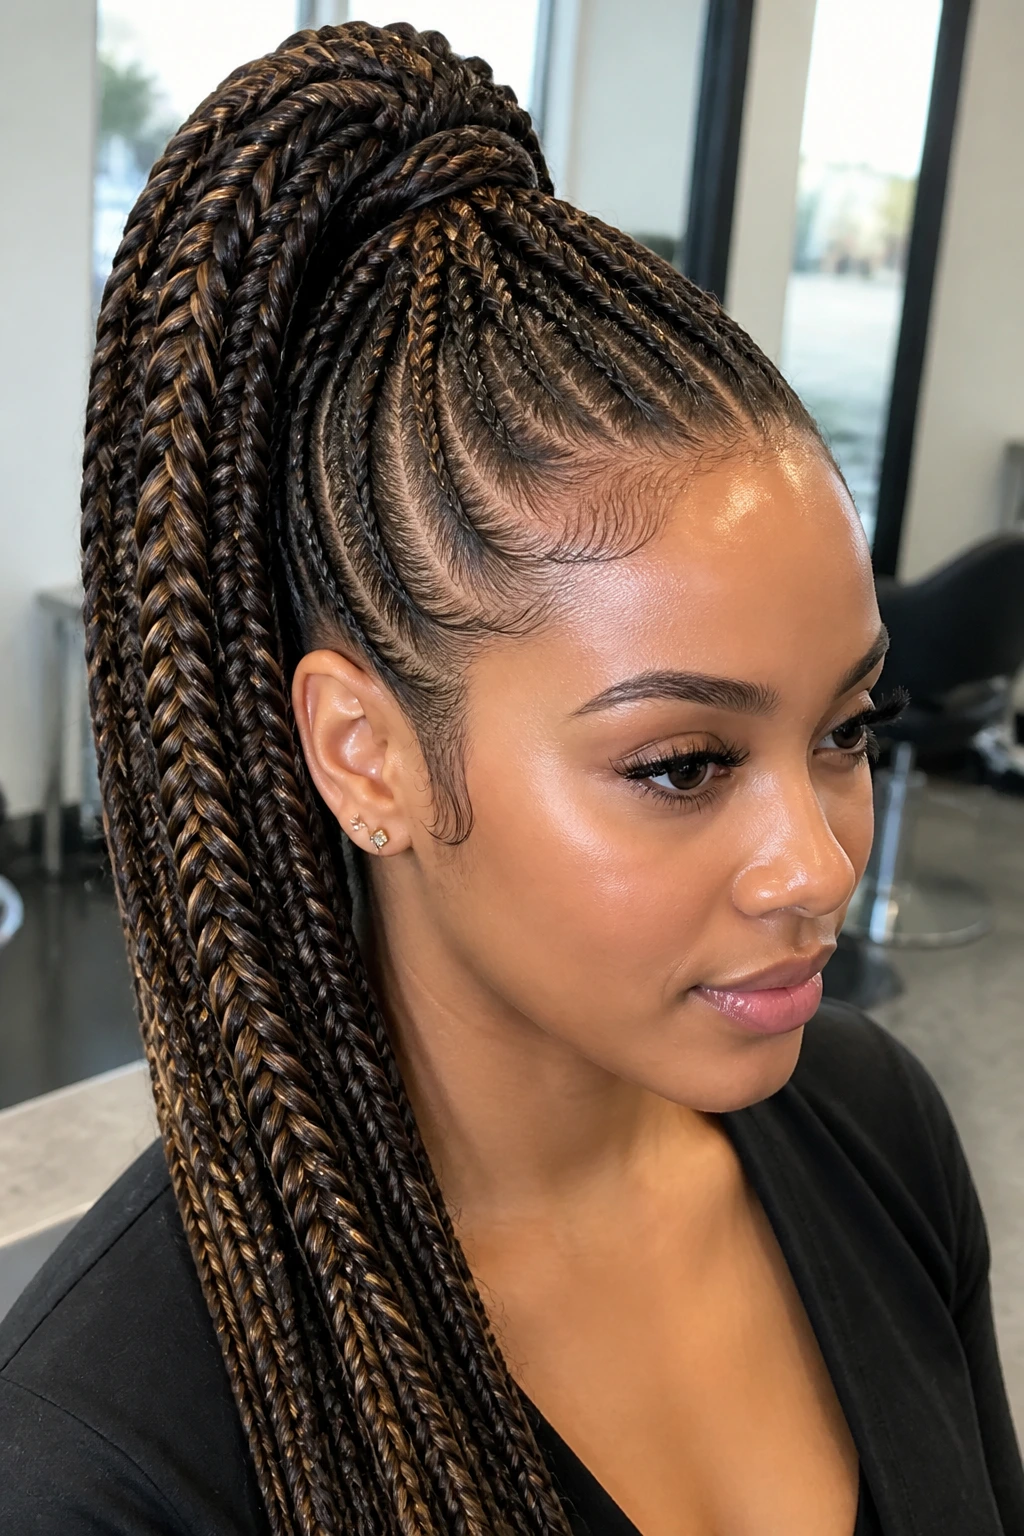
8. Tribal-Inspired Fulani Braids
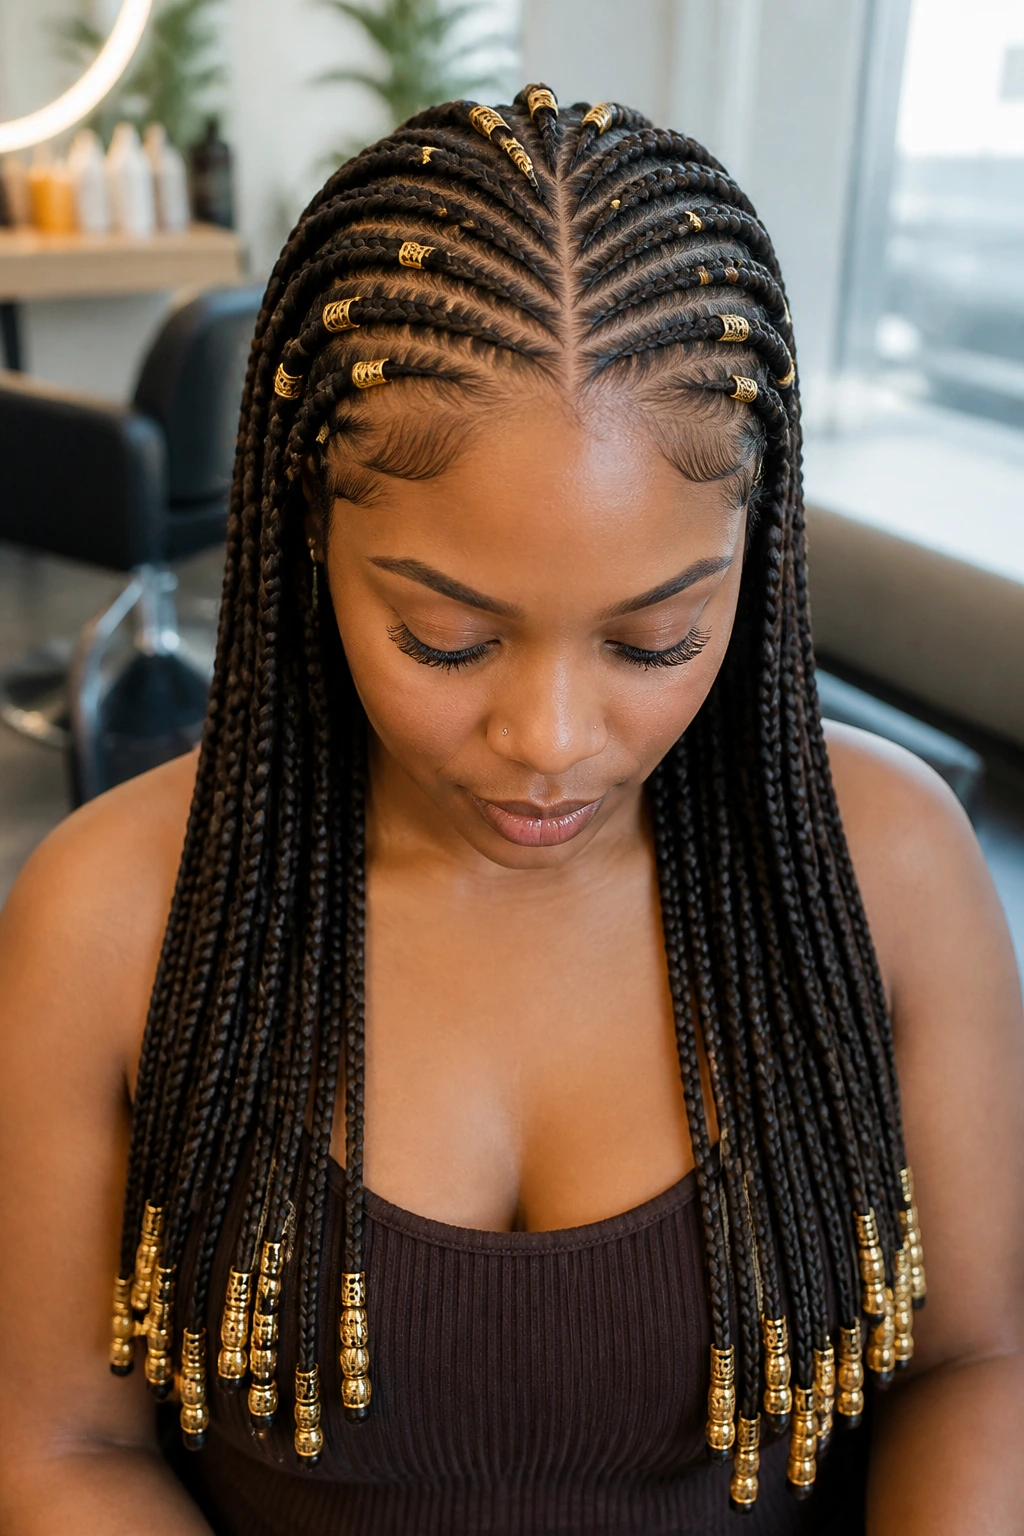
Fulani-style braids are iconic, often featuring a center part and a combination of cornrows braided to the front and back, usually accessorized with gold beads or cuffs. This style feels deeply rooted in tradition and is incredibly stylish for everyday wear.
The Importance of Accessories
Gold beads are not just decoration here—they add weight that keeps the braids hanging straight and prevents them from curling upward. Keep the accessories balanced. A few gold rings near the hairline or at the ends of the braids are enough to make a statement without feeling cluttered.
Customizing Your Parts
You can get creative with the parting. Try zig-zag parts or curved lines to give the style a modern twist. The precision is key; using a rat-tail comb to get a clean, sharp line is the difference between an amateur attempt and a professional-grade look.
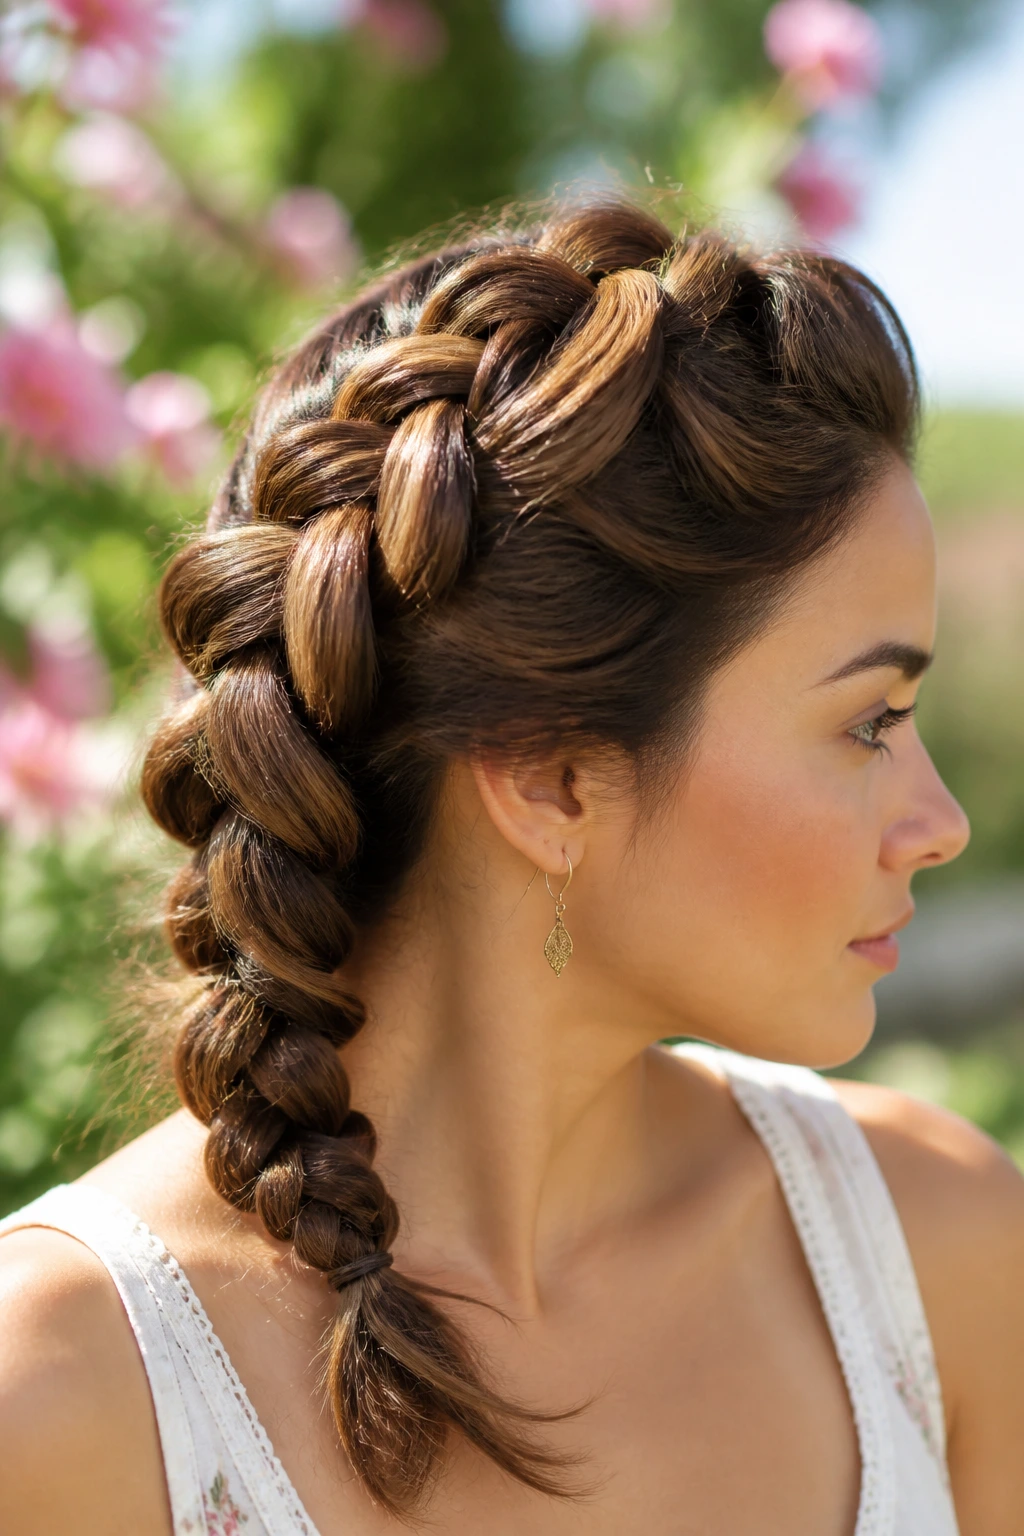
9. The Messy Boho-Chic Rope Braid
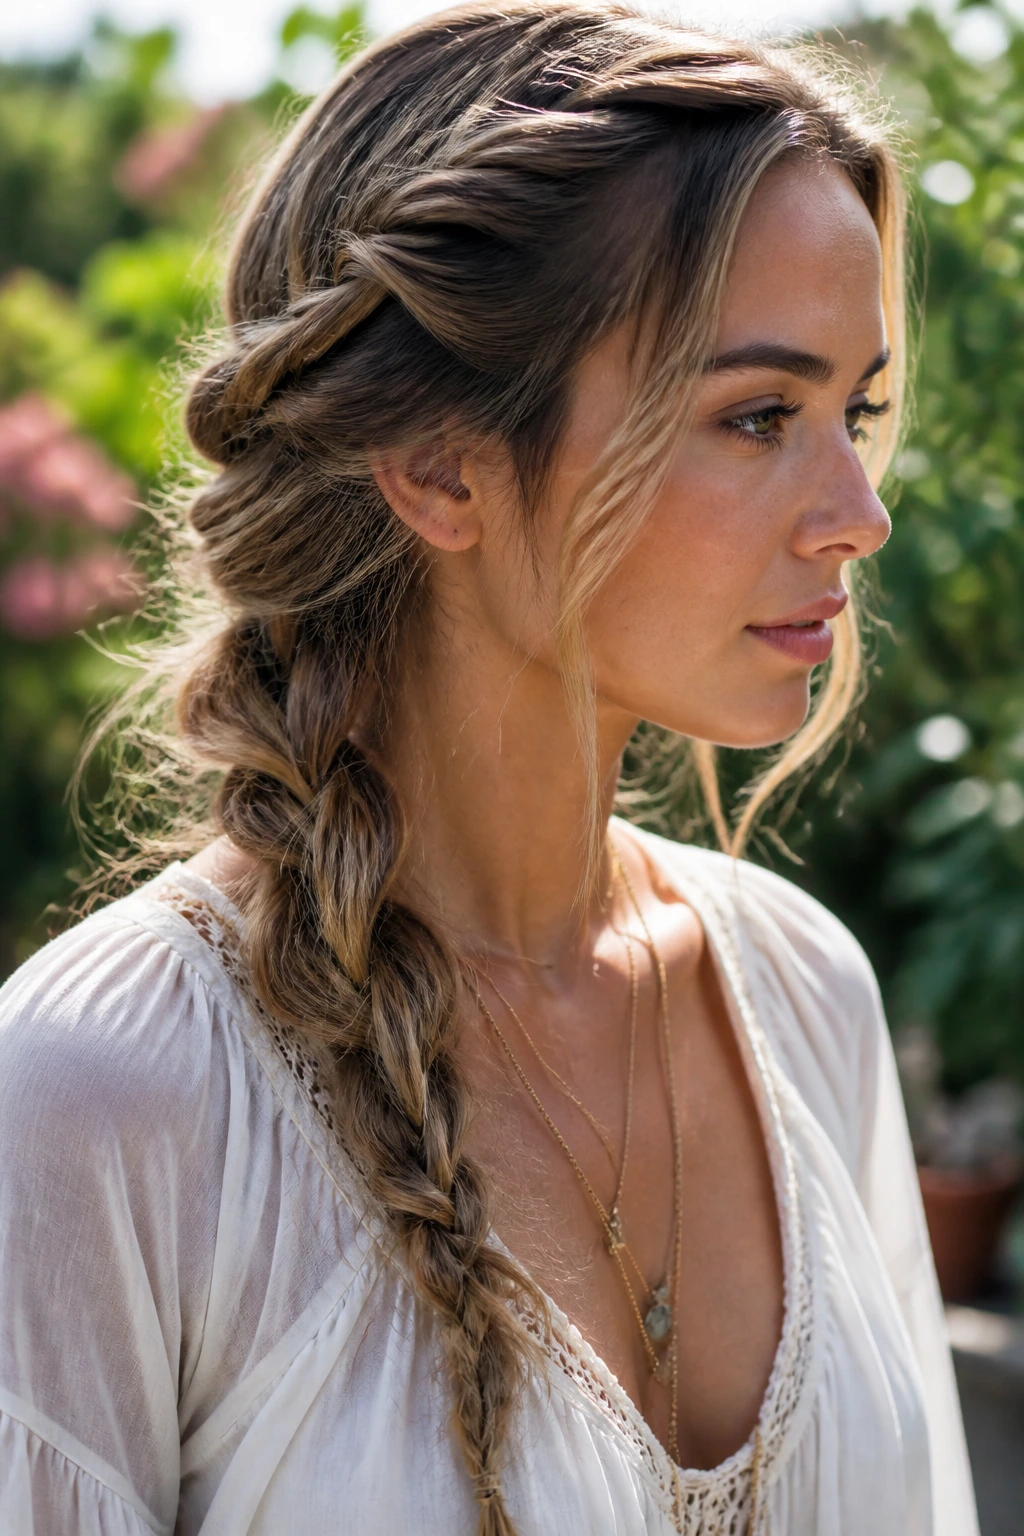
Rope braids are arguably the easiest of all braids to master. You simply divide the hair into two sections, twist each section in the same direction, and then cross them over each other in the opposite direction. It sounds complex, but it’s essentially two ropes becoming one.
Mastering the Tension
The beauty of a rope braid is that it can look better when it’s a little “undone.” Once you’ve secured the end, pull at the loops to create a wider, softer appearance. If a few pieces pull loose around your face, let them stay. It contributes to the effortless, bohemian vibe.
When to Use This
This is the ultimate “second-day hair” style. If your hair is slightly textured or you have some dry shampoo in the roots, the rope braid will hold its shape better than it would on freshly washed, slippery hair. It’s a great way to hide the fact that your hair is due for a wash.
10. The Embellished Side Cornrow
Sometimes, you don’t need a full head of braids. One or two crisp cornrows on the side of your head—either leading back toward a ponytail or stopping behind the ear—can create an edgy, clean look that frames your face brilliantly.
Adding the Edge
You can weave small, silver hoops or beads into the braid for a bit of grit. If you are going for a professional look, keep the accessories minimal, perhaps just one or two near the temple. If you are heading out for the evening, add more as you move toward the back of the head.
The “Faux-Undercut” Effect
If you braid the side very tightly against the scalp, it creates a sleekness that mimics an undercut without you having to touch a pair of clippers. It’s a classic way to add character to a standard loose-hair style.
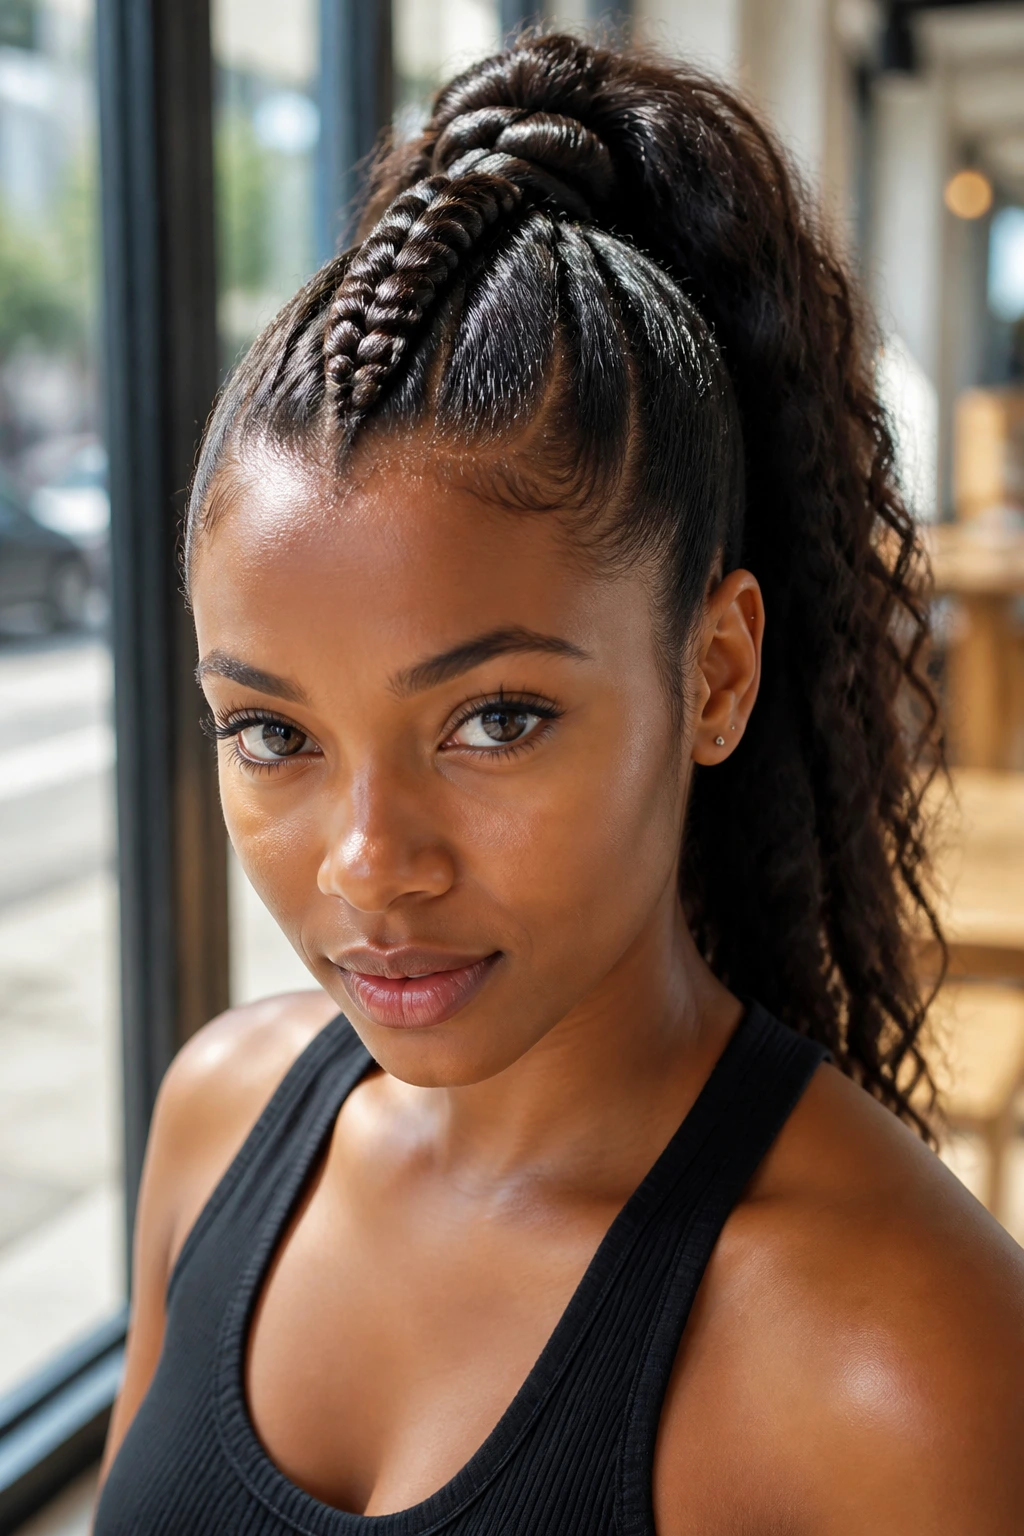
11. Multi-Strand Fishtail Ponytail
Why have one braid when you can have several woven into a single, cohesive tail? This is a high-skill look that impresses everyone, yet it is really just a matter of repetition. You braid individual small fishtails and then weave those braids into a final, larger tail.
Preparing the Foundation
Start with a high, tight ponytail. If you have thin hair, add a little texturizing powder at the base of the ponytail to give your hair some grip. Divide the ponytail into three sections and do a simple fishtail on each one, then braid those three together.
The Final Result
The result is a thick, multi-dimensional braid that looks incredibly professional. This style holds up all day because the foundation is a high ponytail. It doesn’t drag on your scalp, and it keeps your hair completely contained.
12. The Classic French Braid into a Bun
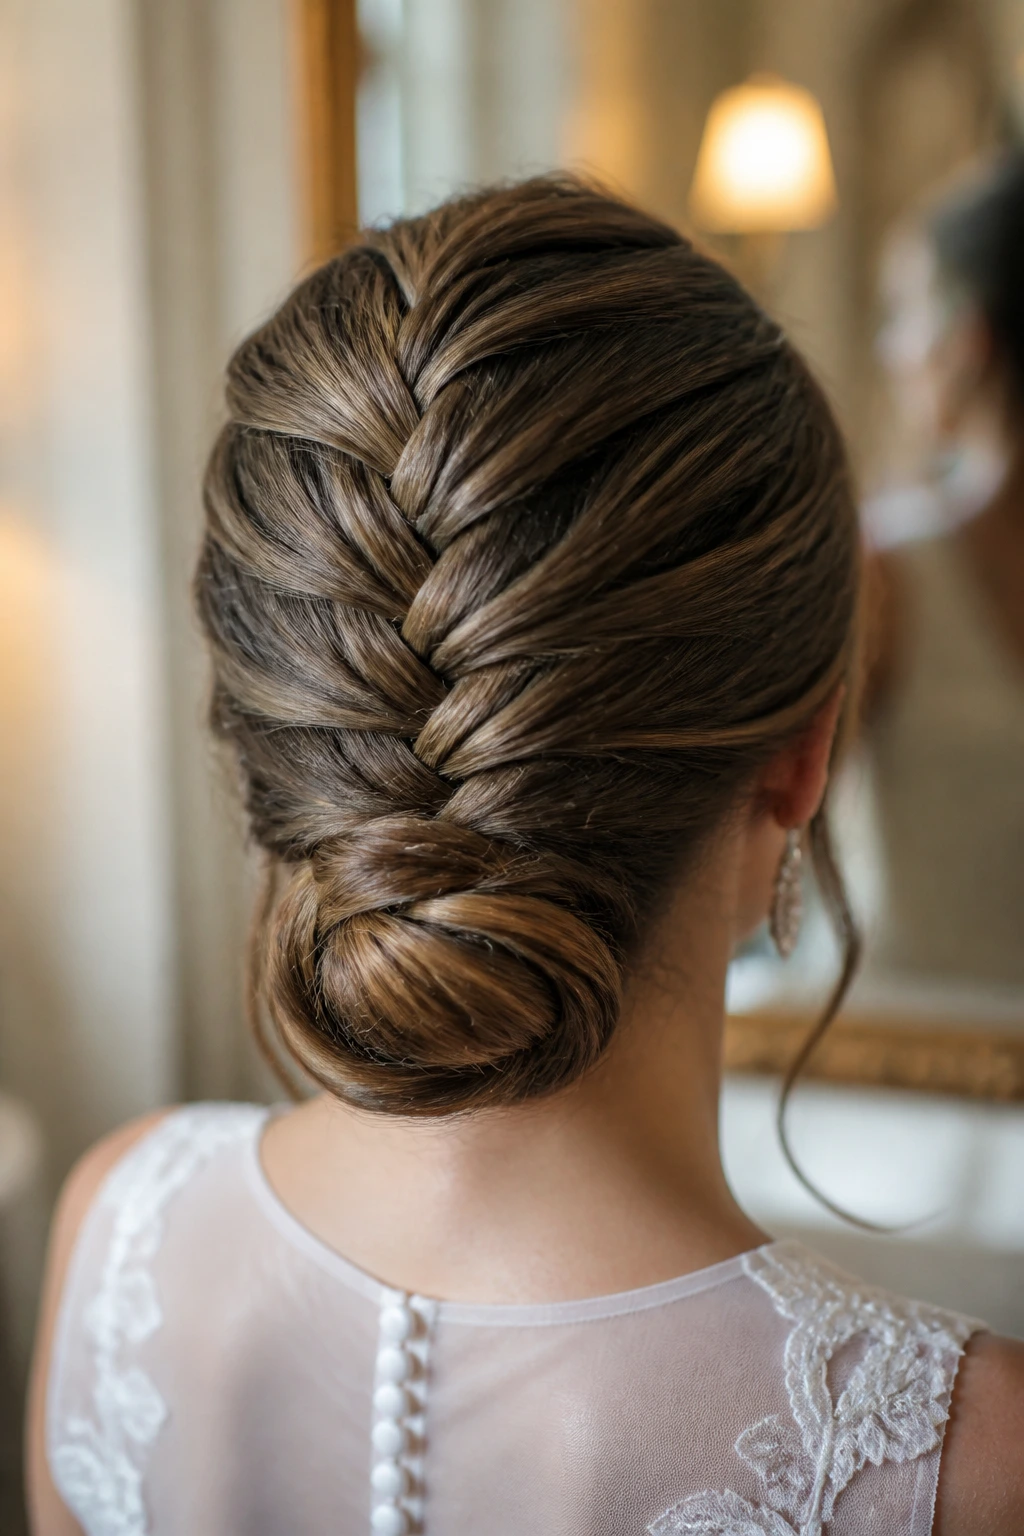
The French braid is the baseline for all braided styles, but putting it into a low bun transforms it from a gym look into something elegant enough for a wedding or a board meeting. It’s understated and incredibly functional.
The Transition
Braid your hair back from the hairline, adding hair as you go. Once you reach the nape of the neck, stop adding hair and finish the braid normally. Instead of leaving the tail out, coil it into a bun. If you have very long hair, secure the bun with a large decorative hair stick instead of elastics for a more sophisticated silhouette.
Tips for Fine Hair
If you have fine hair, don’t forget to loosen the braid. A tight, thin French braid can look severe. Pulling the loops gives you that soft, voluminous look that makes the hairstyle feel finished and intentional.
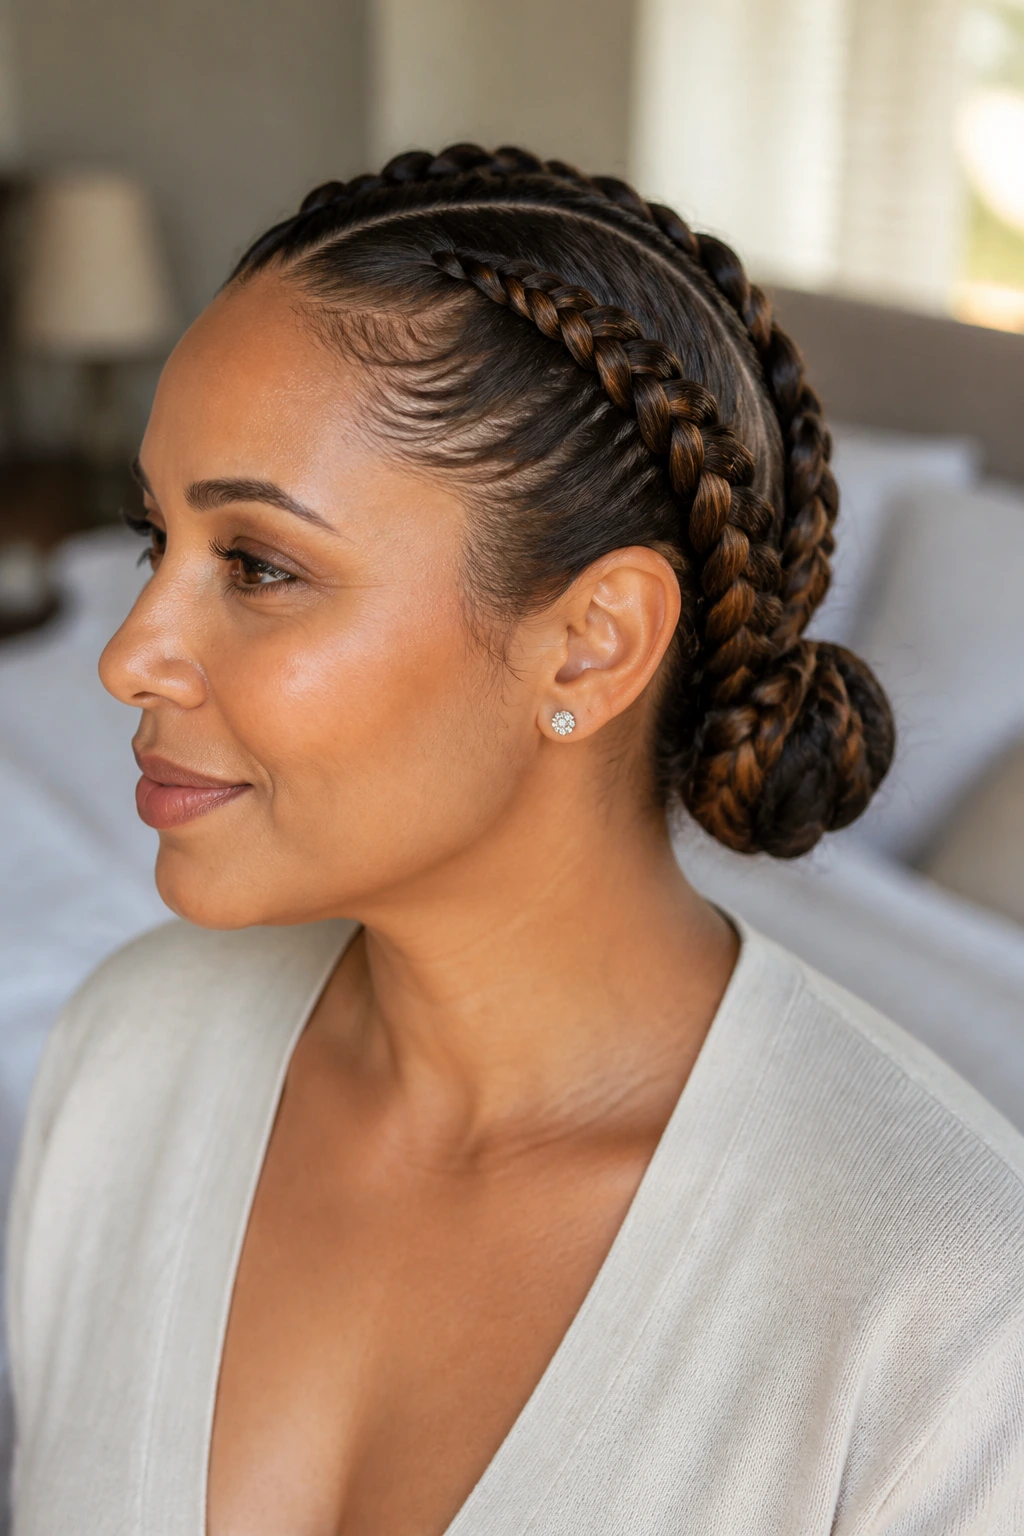
13. Box Braids with a High Knot
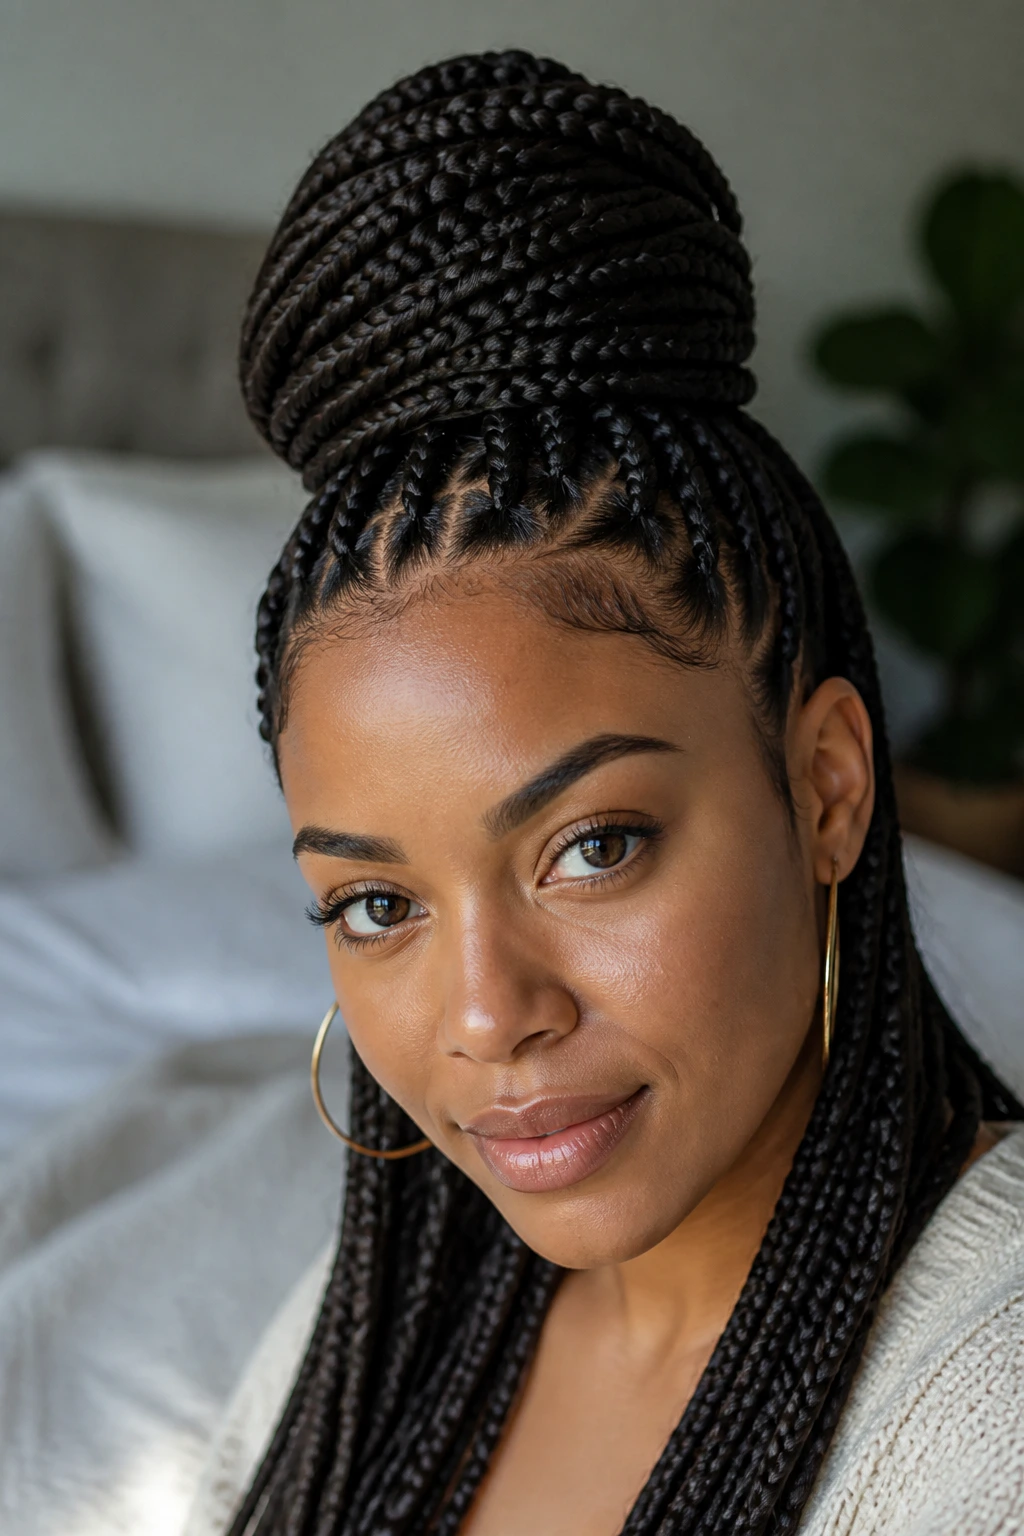
Box braids are a classic for a reason—they are the gold standard for protective, long-term styling. Styling them up into a high, structural knot at the crown of your head is the quickest way to look like royalty.
The Weight Factor
The key to a high knot with box braids is to make sure you aren’t pulling the hairline too tight. Use a large, heavy-duty elastic that can wrap around the base at least twice. If the bun feels too heavy, try a “half-up, half-down” style where you only gather the top half into a topknot.
Maintaining the Style
Keep the scalp clean. Use a witch hazel-based spray or a specialized scalp cleanser to refresh your roots without having to wash the actual braids, which take an eternity to dry.
14. The Criss-Cross Braid Headband
This is a playful, intricate style that looks like you spent hours braiding, but it’s actually just a clever use of simple techniques. You create two braids that cross over each other at the front of your hairline, acting as a functional headband.
Sectioning Your Hair
Part your hair where you usually do. Take a section from the right side and braid it toward the left. Then take a section from the left and braid it toward the right. Let them cross each other near the top of your forehead.
Securing the Cross
Use a small, transparent elastic or a bobby pin that matches your hair color to secure the ends of these braids behind your ears. This keeps the hair off your forehead while adding a level of detail that elevates a simple loose-hair style.
15. The Wrapped Braid Ponytail
Sometimes a regular ponytail is just too boring. By taking a small section of hair from the underside of your ponytail and braiding it, you can wrap that braid around the base of the ponytail, creating a clean, professional finish.
Why It Works
It covers the elastic completely. This small detail makes the style look “boutique” rather than “homemade.” It takes all of 60 seconds to execute, but it changes the entire visual impression of your ponytail.
The Variation
Instead of a simple three-strand braid, try a fishtail for the wrap. It adds a bit more texture and looks like you really put thought into the accessory choices for your hair.
16. Chunky Side-Swept Dutch Braid
If you have thick hair, this is your best friend. A chunky, side-swept Dutch braid is essentially a single, high-tension braid that runs from the forehead all the way down to the opposite side of the neck.
Why This Style Rocks
It’s big, it’s bold, and it feels very secure. Because it’s a Dutch braid, the braid sits “on top” of the hair, making the texture pop. It’s perfect for showing off highlights or multi-dimensional color, as the different strands will weave together in a high-contrast way.
The Finishing Flourish
Don’t be afraid to pull the braid apart as much as you can. A “chunky” braid is all about volume. If it starts to look a little messy, that’s actually a benefit—it looks lived-in and comfortable, not like you’re trying too hard.
17. The Twisted Crown
If you are intimidated by braiding, you can achieve a similar regal aesthetic with twists. A twisted crown follows the same path as a crown braid, but you simply split two sections and twist them over one another, adding new hair as you work around the head.
Why Twists Matter
Twists are much more forgiving than braids. If you miss a section or if your hair is a bit slippery, twists don’t show the “gape” that a braid might. They provide a smooth, rope-like texture that feels very clean and polished.
Secure the Ends
You must pin the ends of your twists very securely, or they will unravel within minutes. Use extra-long bobby pins tucked underneath the twist to ensure they hold for the duration of the day.
18. Micro-Braided Accent Pieces
You don’t have to braid all of your hair to benefit from the trend. Adding two or three tiny, thin braids into a loose hairstyle is a great way to inject personality without needing to do an entire head of hair.
Where to Place Them
Place these tiny braids near the face—one on each side is classic. You can incorporate them into your hair while you are wearing it down, or tuck them into a low ponytail.
Adding Color
This is also a great place to weave in a bit of colored thread or a tiny bead. It’s a very subtle touch, but it makes your everyday hair feel much more custom and thought-out.
19. The Pigtail-to-Bun Transformation
Pigtails aren’t just for children. When you braid them tightly and then pin them into two low, sleek buns at the nape of the neck, they look sophisticated and mature.
The Construction
Start with two Dutch braids starting from the center part and moving back. Stop at the nape of the neck and tie them off. Then, loop each braid into a bun and pin. It’s a symmetrical, clean look that feels very put-together.
Managing Layers
If you have layers, use a light holding pomade. It will act like glue, keeping those stray ends tucked safely inside the braid so they don’t pop out as you move through your day.
20. The Faux-Hawk Braided Pony
The faux-hawk is edgy, bold, and incredibly stylish. By braiding the center strip of your hair from the hairline back to the crown and letting the rest of the hair flow into a ponytail, you get the dramatic look of a mohawk without cutting a single hair.
Why This Style Is A Winner
It creates a beautiful line down the center of the head. It’s a great way to show off a new cut or color. The braid acts as a structural anchor, keeping your hair high and secure throughout the day.
Customizing the Braid
You can make the braid as wide or as narrow as you like. A wide, thick Dutch braid in the center will give you more volume, while a tighter, smaller cornrow will look more sleek and sharp.
Final Thoughts
When we commit to wearing braids, we are making a choice to prioritize order and structure in our daily routines. These styles are not just about aesthetics; they are about the reliability of a look that stays put. Whether you choose the soft romance of a waterfall braid or the crisp intensity of feed-in cornrows, the best style is the one that feels like an extension of your own personality.
Take a few minutes to experiment with these techniques on a quiet day. You will quickly find that what felt difficult at first becomes second nature. Once you master the basic tension—the way you hold your fingers and pull the strands—you will never again feel stuck with a boring ponytail. Your hair is an asset, and treating it with the care of a well-crafted braid is the simplest way to honor that.