



Waking up with a bedhead that looks less like a styled alternative masterpiece and more like a bird’s nest is a daily reality for anyone committed to the subculture. The classic aesthetic—characterized by gravity-defying volume, razor-sharp asymmetry, and bold colors—historically demanded hours in front of a mirror with a flat iron and a can of industrial-strength hairspray. But nobody has forty-five minutes to spend backcombing before a morning lecture or an early work shift. Finding reliable ways to style scene hair for busy mornings is the key to maintaining your alternative identity without sacrificing sleep.
Let’s be completely honest: the classic mid-aughts styling routine is unsustainable for daily life. Those towering crowns and pin-straight fringes require constant maintenance. Fortunately, you do not have to abandon your favorite look just because the clock is ticking. By focusing on strategic teasing, smart accessory placement, and textures that embrace a bit of natural messiness, you can recreate the iconic silhouette in under ten minutes.
The secret lies in working with your hair’s natural state rather than fighting it. If your layers are slightly flat from sleeping, that is actually the perfect foundation for a textured, piecey look. You do not need to wash, blow-dry, and flat-iron every single day. Instead, targeting key areas—like the fringe and the very top crown—gives the illusion of a fully styled shag with minimal active effort.
This practical guide walks through several fast, reliable methods to get that signature alternative edge before your coffee even finishes brewing. From clever clip-in cheats to rapid styling hacks that work on any hair texture, these techniques keep your hair looking sharp, spiky, and unapologetically bold, even when you are rushing out the door.
1. The Half-Teased Side Pony with Neon Bow
This style offers a quick shortcut to the classic asymmetric silhouette without requiring you to flat-iron your entire head of hair. By pulling the bulk of your hair to one side, you instantly create that coveted heavy side slope while keeping the rest of your hair neat and out of your face. It is a lifesaver when you are running twenty minutes late.
Why the Asymmetric Silhouette Works
By concentrating your volume on one side of your head, you mimic the dramatic weight distribution of a classic razor-cut shag. The high side ponytail gathers the length, leaving the shorter top layers free to be teased into a messy halo. It looks intentional, complicated, and incredibly nostalgic, but it actually only takes about four minutes from start to finish.
Step-by-Step Styling Quick Facts
- Prep time: 3 minutes on dry hair.
- Tools needed: A paddle brush, one clear elastic band, and an oversized alligator bow clip.
- Key step: Backcomb the base of the ponytail before adding the bow to create a dramatic, flared-out puff.
- Hold level: Medium—use a light mist of working spray to keep the flyaways in check.
Pro tip: Position the hair tie slightly higher and further forward than a standard ponytail—almost directly behind your ear—for maximum visibility from the front.
2. Choppy Faux-Hawk with Claw Clips
Traditional mohawks require serious dedication, gel, and blow-drying. This rapid alternative uses small claw clips to pull the side sections of your hair back tightly, leaving a thick, messy strip of choppy layers running down the center of your head. It is edgy, fast, and completely heat-free.
No flat iron is needed for this look. In fact, second-day hair with a bit of natural texture or wave works significantly better than freshly washed strands because the claw clips need some grip to stay in place. Simply section off the hair above your ears, pull it toward the back-center of your scalp, and secure it with three or four small, brightly colored clips.
Once the sides are pinned flat, use your fingers to pull at the center strip, fluffing up the layers to create a jagged, spiky ridge. If your top layers are too long to stand up on their own, let them flop over slightly to one side—this adds to the casual, unbothered alternative charm.
3. The Faux-Mullet Claw Clip Tuck
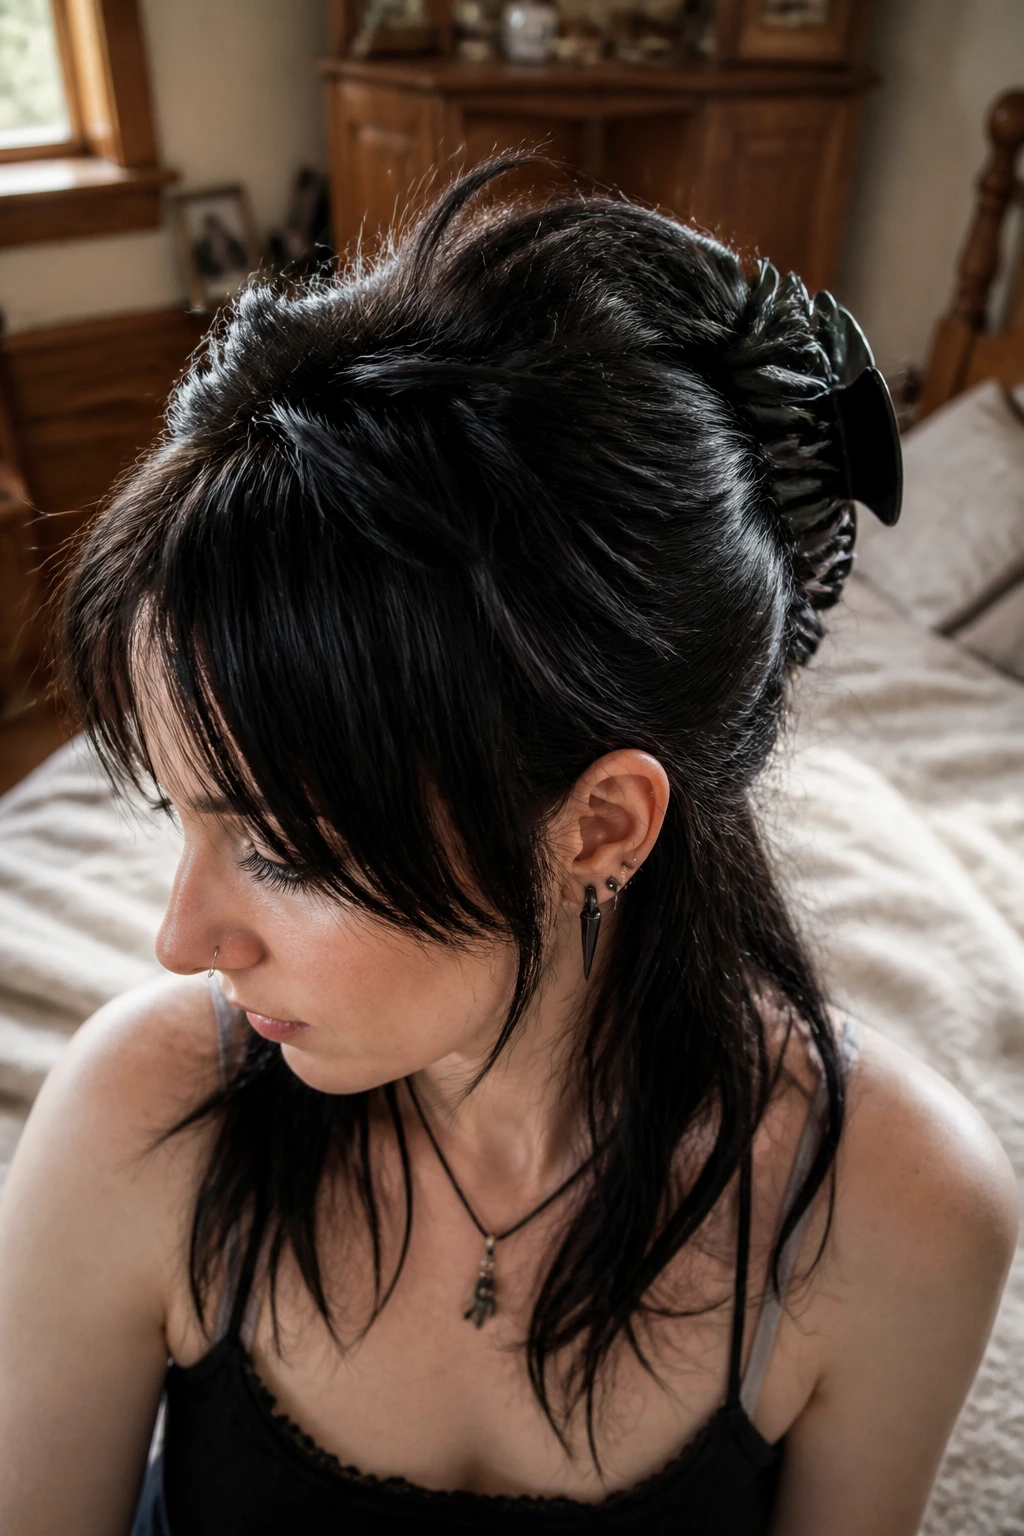
How do you get the classic short-on-top, long-in-the-back contrast when your hair is actually all one length? You cheat. This method uses a single large claw clip to tuck away the middle section of your hair, leaving the top layers short and spiky while letting the bottom lengths drape over your shoulders.
Why This Style Mimics a Shag
By pulling the middle section of your hair into a loose twist and securing it flat against the back of your head, you hide the bulk of your hair’s length. The shorter layers on top fall naturally over the clip, creating the illusion of a heavily layered, choppy crown. Meanwhile, the very bottom section of your hair remains free to hang down, instantly giving you that iconic mullet-like silhouette.
How to Style It
Start by separating your hair into three horizontal sections: top (your bangs and crown), middle (ear-to-ear), and bottom (nape of the neck). Take the middle section, twist it upward once, and clip it flat against your scalp with a flat-profile claw clip. Let the top section fall naturally over the top of the clip, lightly backcombing it for extra volume. Let the bottom section hang straight down your back or drape it forward over your shoulders.
4. Deep Side-Part Bangs with Bobby Pin Crosses
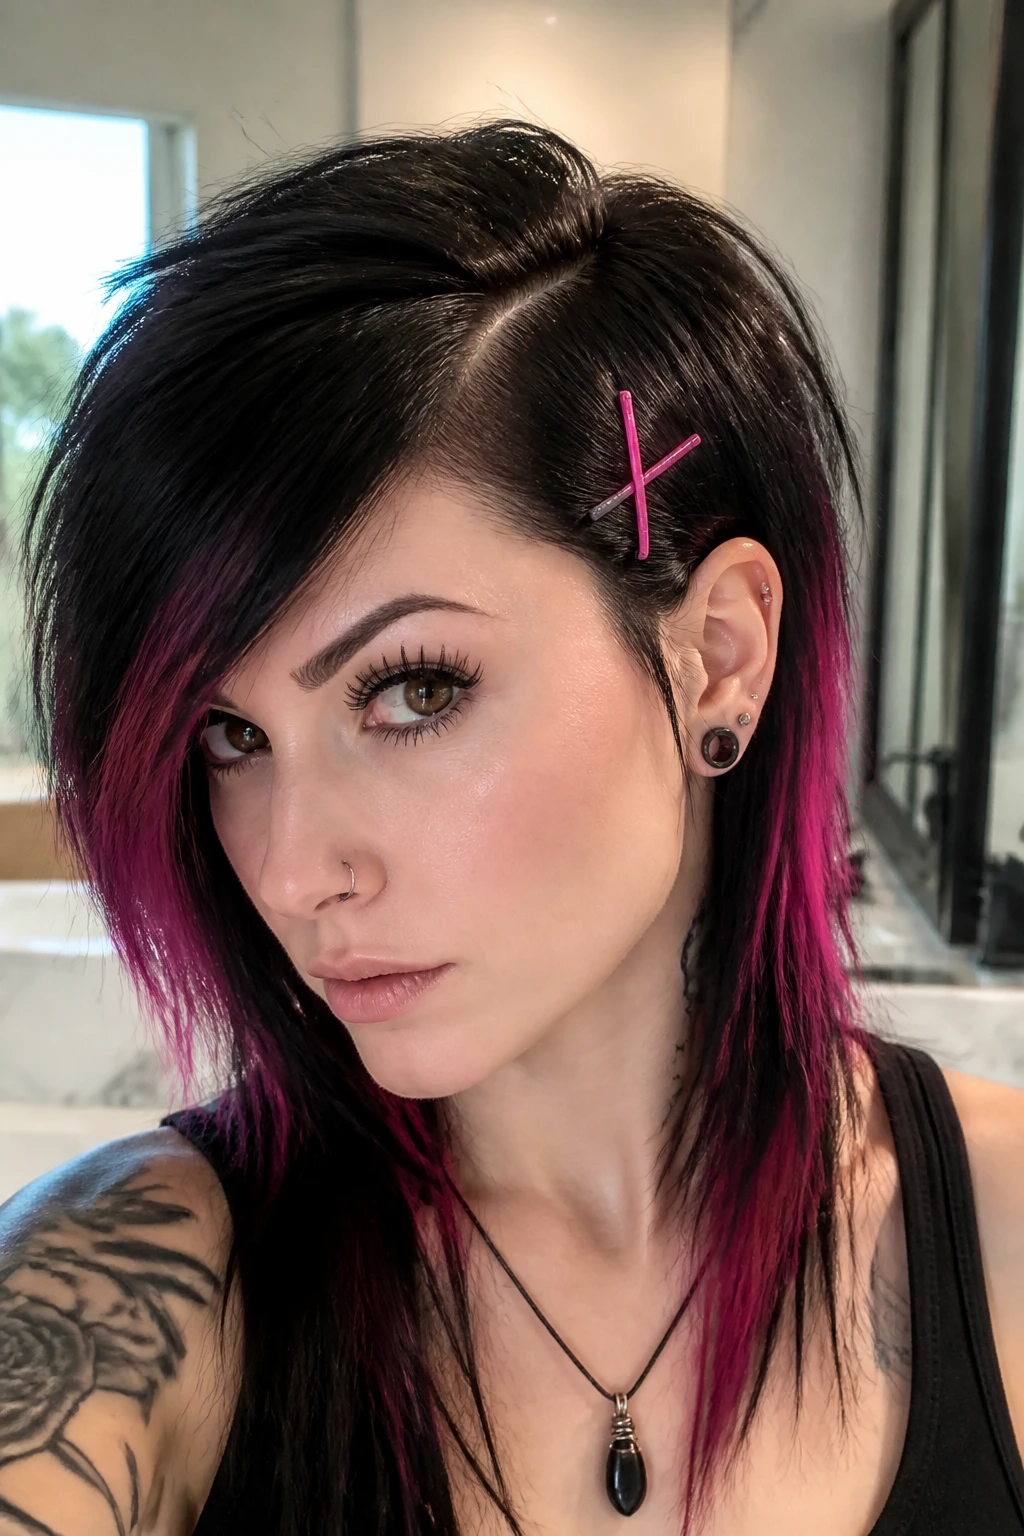
Sometimes you only have exactly sixty seconds to make your hair look alternative before running out the door. When time is that short, focus entirely on your fringe. A deep, dramatic side part secured with crisscrossed bobby pins in neon shades screams subculture style with almost zero effort.
This trick is especially useful if your bangs are in that awkward growing-out stage. I remember spending hours trying to get my fringe to sweep perfectly across my eyes without blinding me—this clip technique solves that exact problem while looking entirely intentional.
Styling Elements
- The Part: Use the outer corner of your eyebrow as a guide for how deep to make the side part.
- The Pin Placement: Place two brightly colored bobby pins in an “X” shape just above your ear on the shallow side of the part.
- The Texture: Rub a tiny dab of styling wax between your fingertips and piece out the ends of your bangs.
It is a simple, high-contrast look that keeps your hair out of your eyes while still framing your face in that classic swooping fashion.
5. Quick Teased Crown with Headband for Busy Mornings
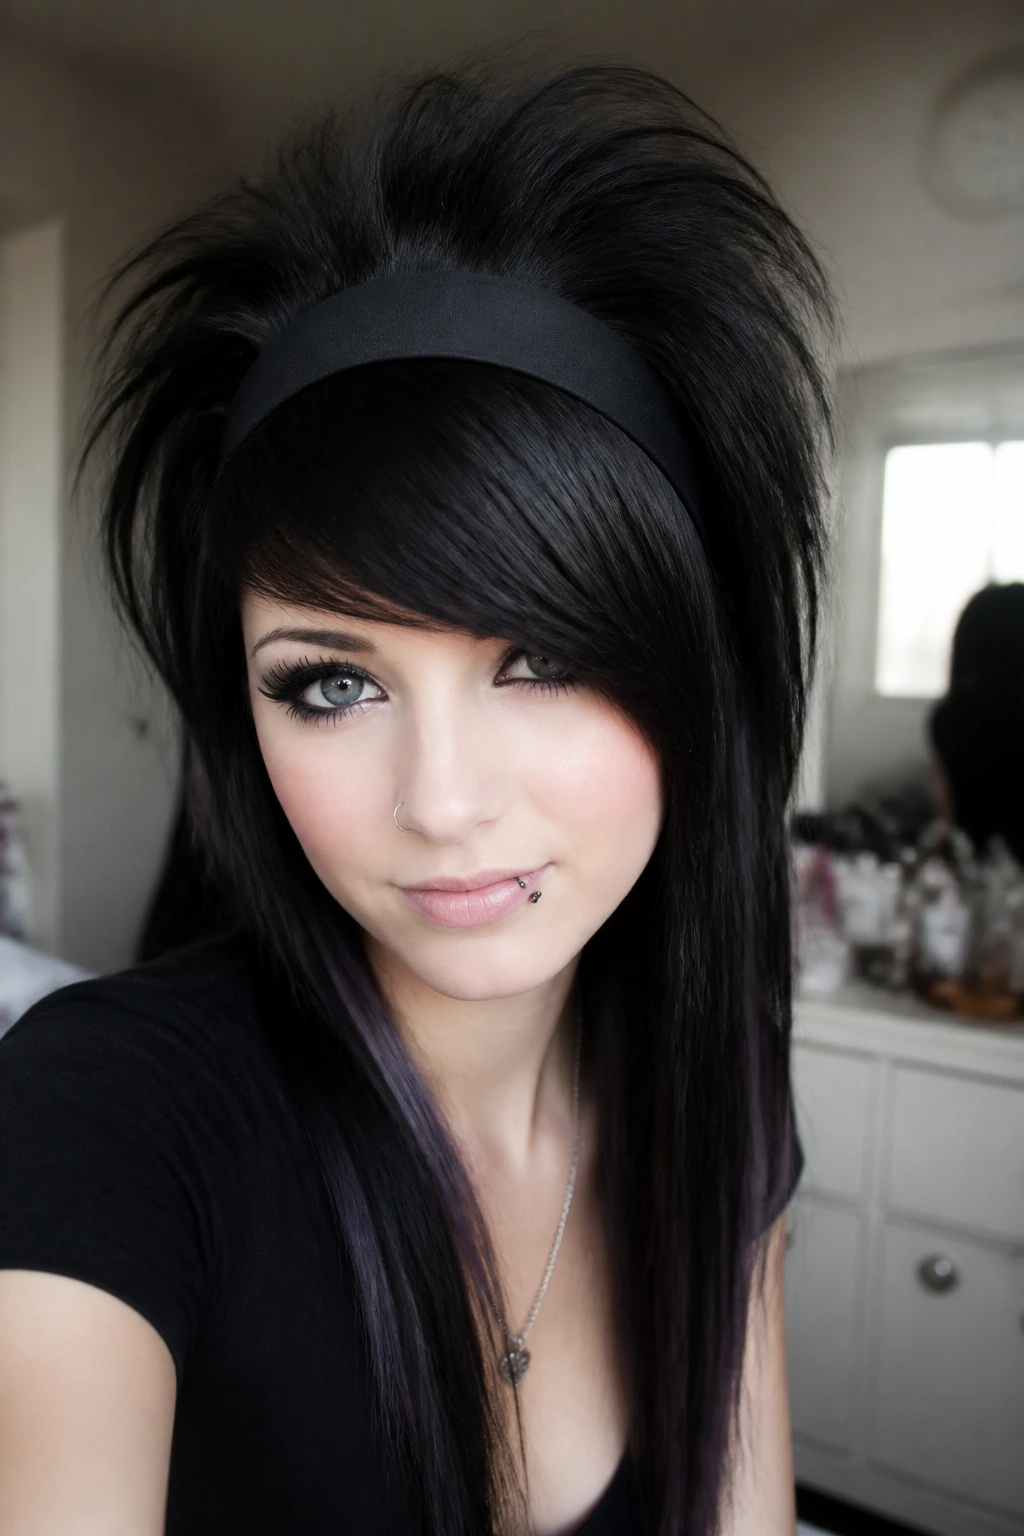
For those who refuse to give up their high-volume crowns even when the alarm did not go off, a wide headband is your best friend. This style relies on the headband to act as a dam, pushing your teased hair backward and locking in the height at the crown while keeping your fringe flat and sleek in the front.
Start by separating your bangs from the rest of your hair. Take a fine-tooth comb and backcomb a three-inch section of hair directly behind your bangs, spraying the roots with a firm-hold hairspray. Do not worry about making it look neat; you just want raw volume at this stage.
Once you have a solid nest of teased hair, slide a wide fabric or plastic headband onto your head, stopping it right where your bangs meet the crown. Gently smooth the very top layer of the teased section backward with a comb to hide the messy tangles underneath. The headband will hold the volume forward, preventing your crown from going flat as you go about your day.
This approach gives you that striking high-contrast look—flat, side-swept bangs in the front, and a dramatic, voluminous lift immediately behind the headband.
6. Messy Space Buns with Face-Framing Layers
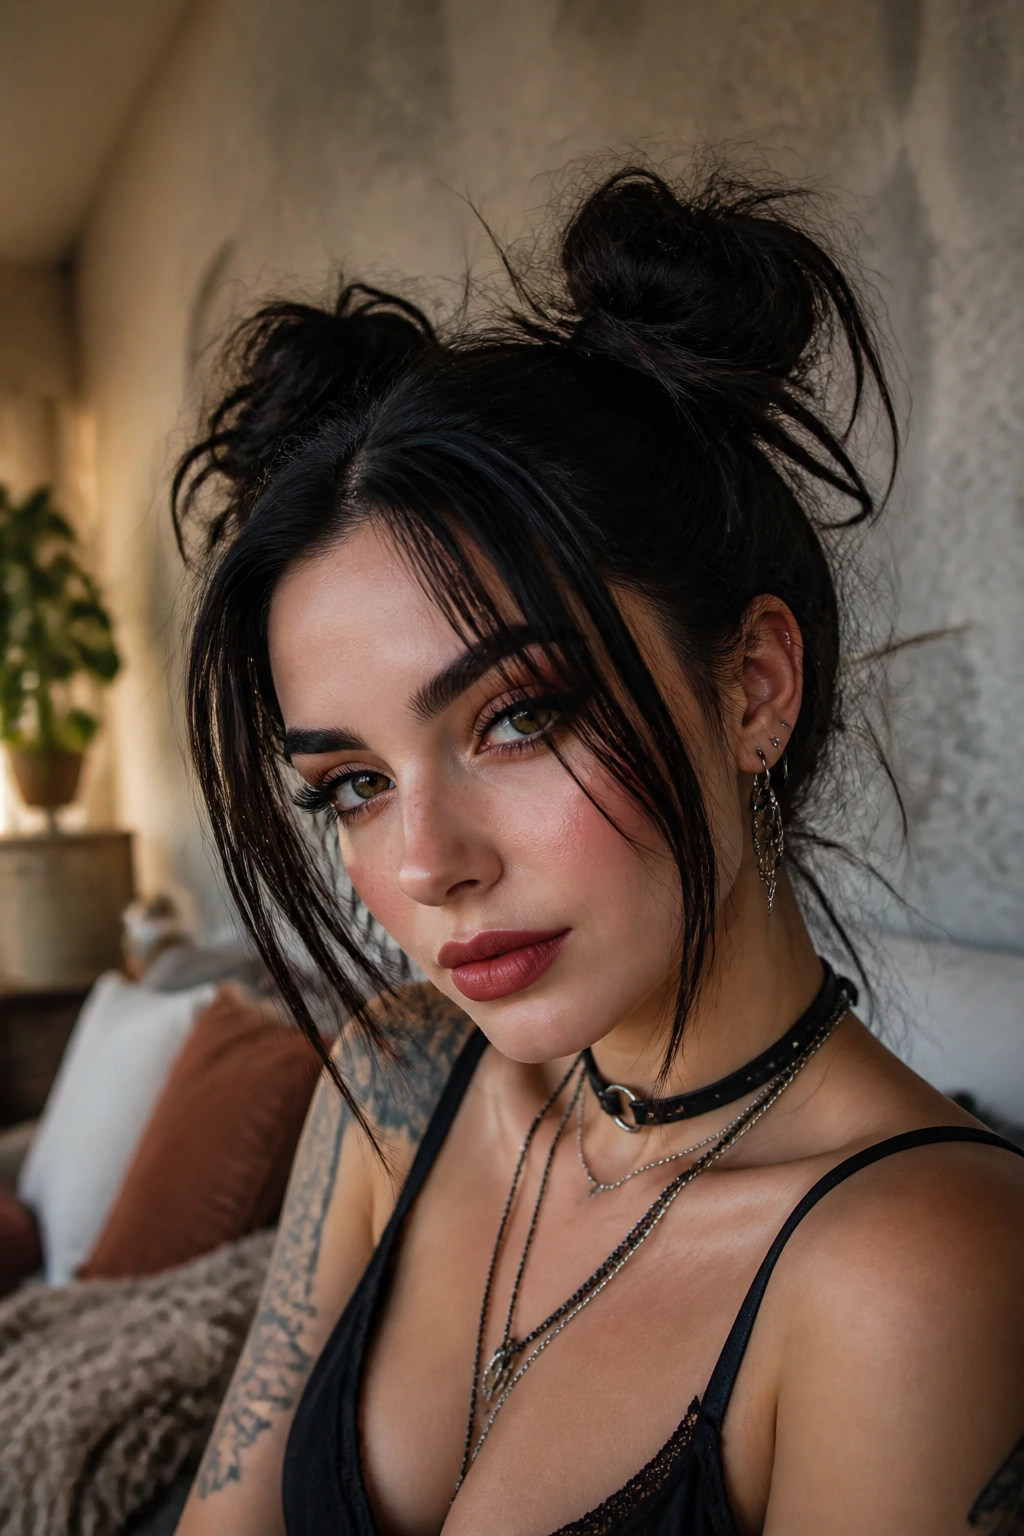
Unlike the perfectly neat space buns found in mainstream styling tutorials, alternative space buns should look a little lived-in, spiky, and rough around the edges. This style is incredibly forgiving for unwashed hair, as the natural oils actually help the buns hold their shape without slipping.
The key to making space buns fit the scene aesthetic is leaving plenty of hair out of the buns. You want to preserve your heavy side bangs and a few long, choppy tendrils around your ears to frame your face. This prevents the style from looking too round or polished.
Divide your hair into two high pigtails, leaving your fringe and side layers free. Twist each pigtail loosely and wrap it around its base, securing it with a hair tie. Instead of tucking the ends of your hair into the bun, let them stick out wildly in different directions, using a touch of hair wax to make the ends look sharp and piecey.
7. The Clip-In Synthetic Neon Extension Cheat
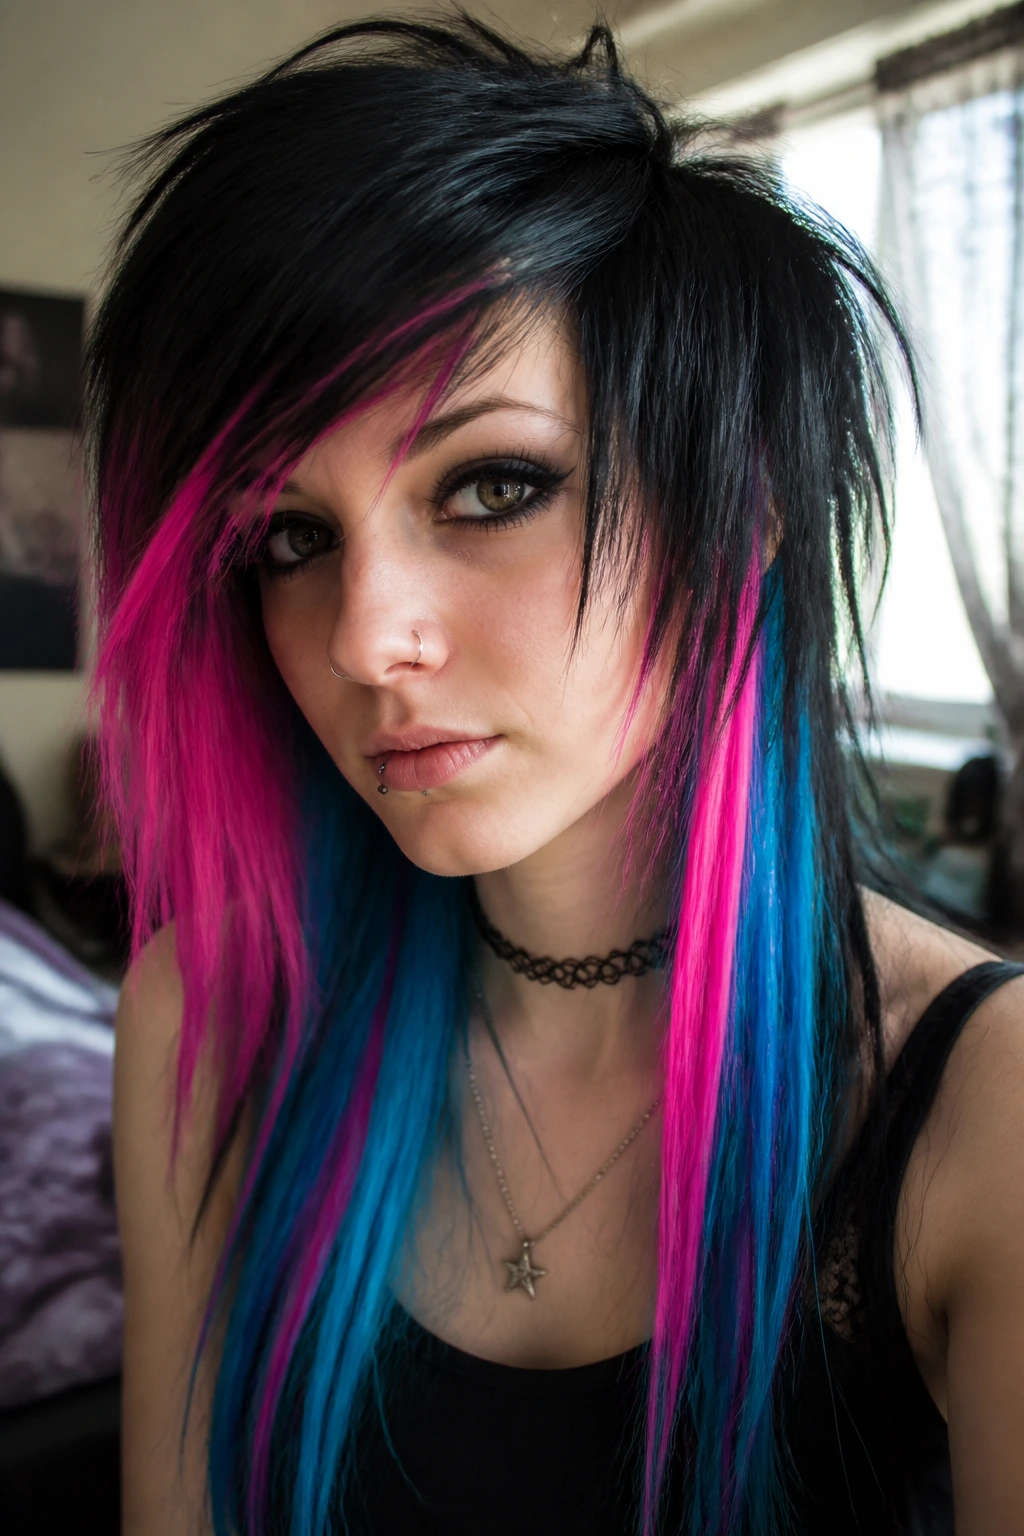
Authentic alternative hair color is high-maintenance, expensive, and prone to fading. If you want the high-contrast look of neon streaks without the commitment—or the hours spent in a salon chair—clip-in synthetic extensions are the ultimate morning shortcut.
The Illusion of Professional Color
Synthetic hair clips hold their vibrant color forever and come pre-straightened, meaning you do not have to waste time flat-ironing them. By clipping them in strategically beneath your top layers, you get instant pops of neon pink, electric blue, or lime green that peek out as you move.
Step-by-Step Styling Quick Facts
- Prep time: 2 minutes.
- Tools needed: Two or three clip-in colored hair wefts and a comb.
- Placement: Lift up a thin section of hair just below your crown, tease the roots slightly to give the clip something to grip, and snap the extension closed.
- Integration: Let your natural hair fall over the clip and trim the synthetic hair with scissors so it matches your layer lengths.
Pro tip: Synthetic hair cannot handle heat well, so do not try to flat-iron these clips while they are in your hair unless they are specifically labeled as heat-safe.
8. Piecey Flat-Ironed Bangs with Messy Bun
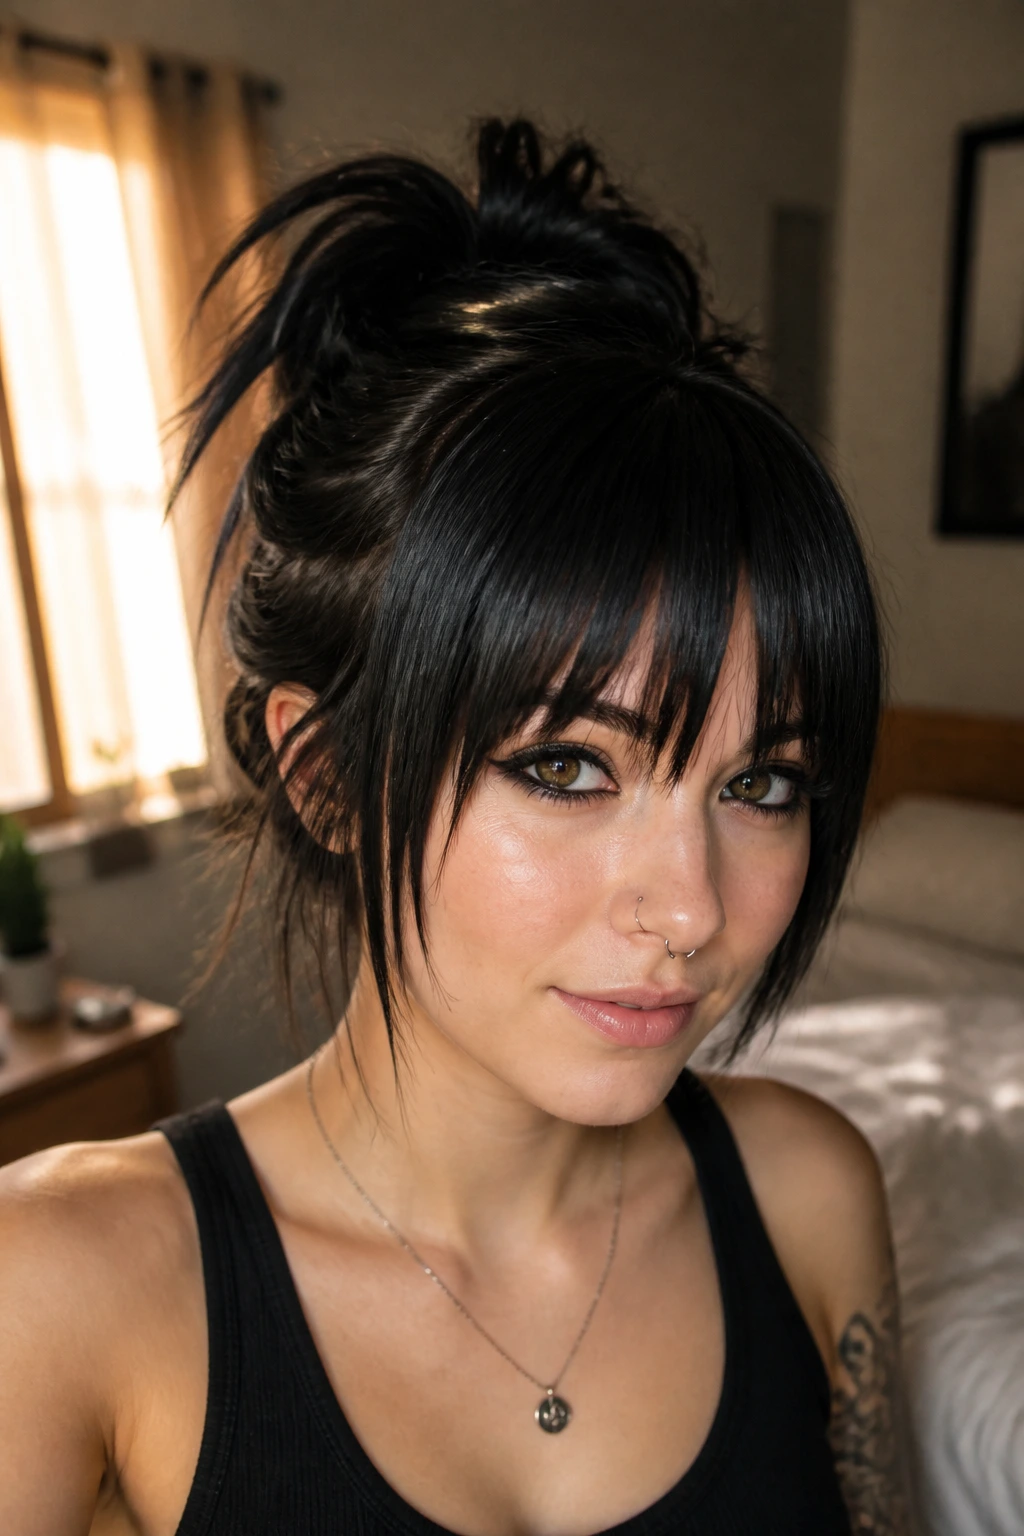
You do not need to straighten your entire head of hair to look put together. If you are short on time, leave the length of your hair in a messy, unstructured bun and spend your precious five minutes flat-ironing only your bangs and the face-framing layers around your ears.
This high-contrast styling technique is a classic alternative shortcut. The juxtaposition of pin-straight, razor-sharp fringe against a completely chaotic, untamed bun looks incredibly stylish and deliberate. It shows that you care about your look, but you also have things to do.
Simply pull the back of your hair into a high, loose bun, letting the shorter layers fall out naturally. Run your flat iron over your bangs, pulling them downward and slightly to the side. Apply a tiny amount of pomade to the tips of your bangs to give them that piecey, textured finish that defines the look.
9. The Zig-Zag Part with Low Pigtails
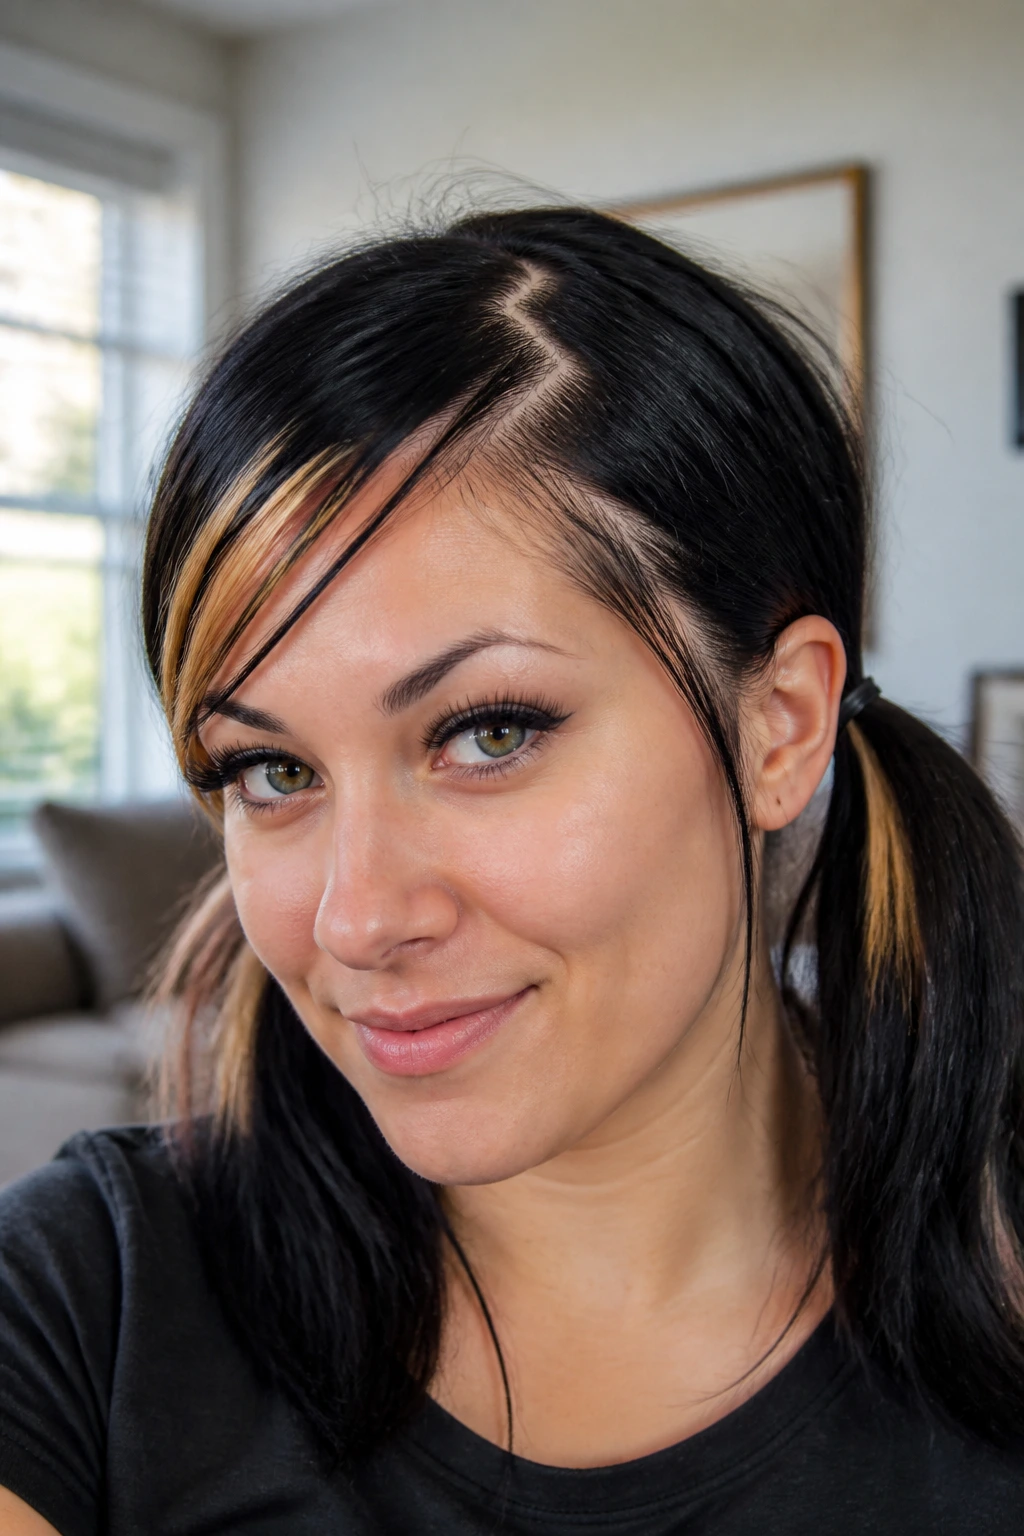
Why settle for a straight, boring part when you can create a jagged zig-zag in seconds? This nostalgic styling element instantly adds a playful, alternative edge to a pair of simple low pigtails, making a basic hairstyle look complex and retro.
Why the Zig-Zag Part Works
A zig-zag part breaks up the flatness of your scalp and adds natural volume at the roots. It draws the eye and gives a nod to classic late-nineties and early-aughts subcultures. Best of all, it hides uneven roots if you are overdue for a dye touch-up.
How to Style It
Take the tail of a metal rat-tail comb and place it at your front hairline. Draw a sharp diagonal line back about two inches, then quickly switch directions, drawing another diagonal line. Continue this pattern to the crown of your head, then separate the hair along the line you just drew. Secure the rest of your hair into two low, messy pigtails behind your ears, leaving your bangs free to sweep across your forehead.
10. Backcombed Top Knot with Loose Side Tendrils
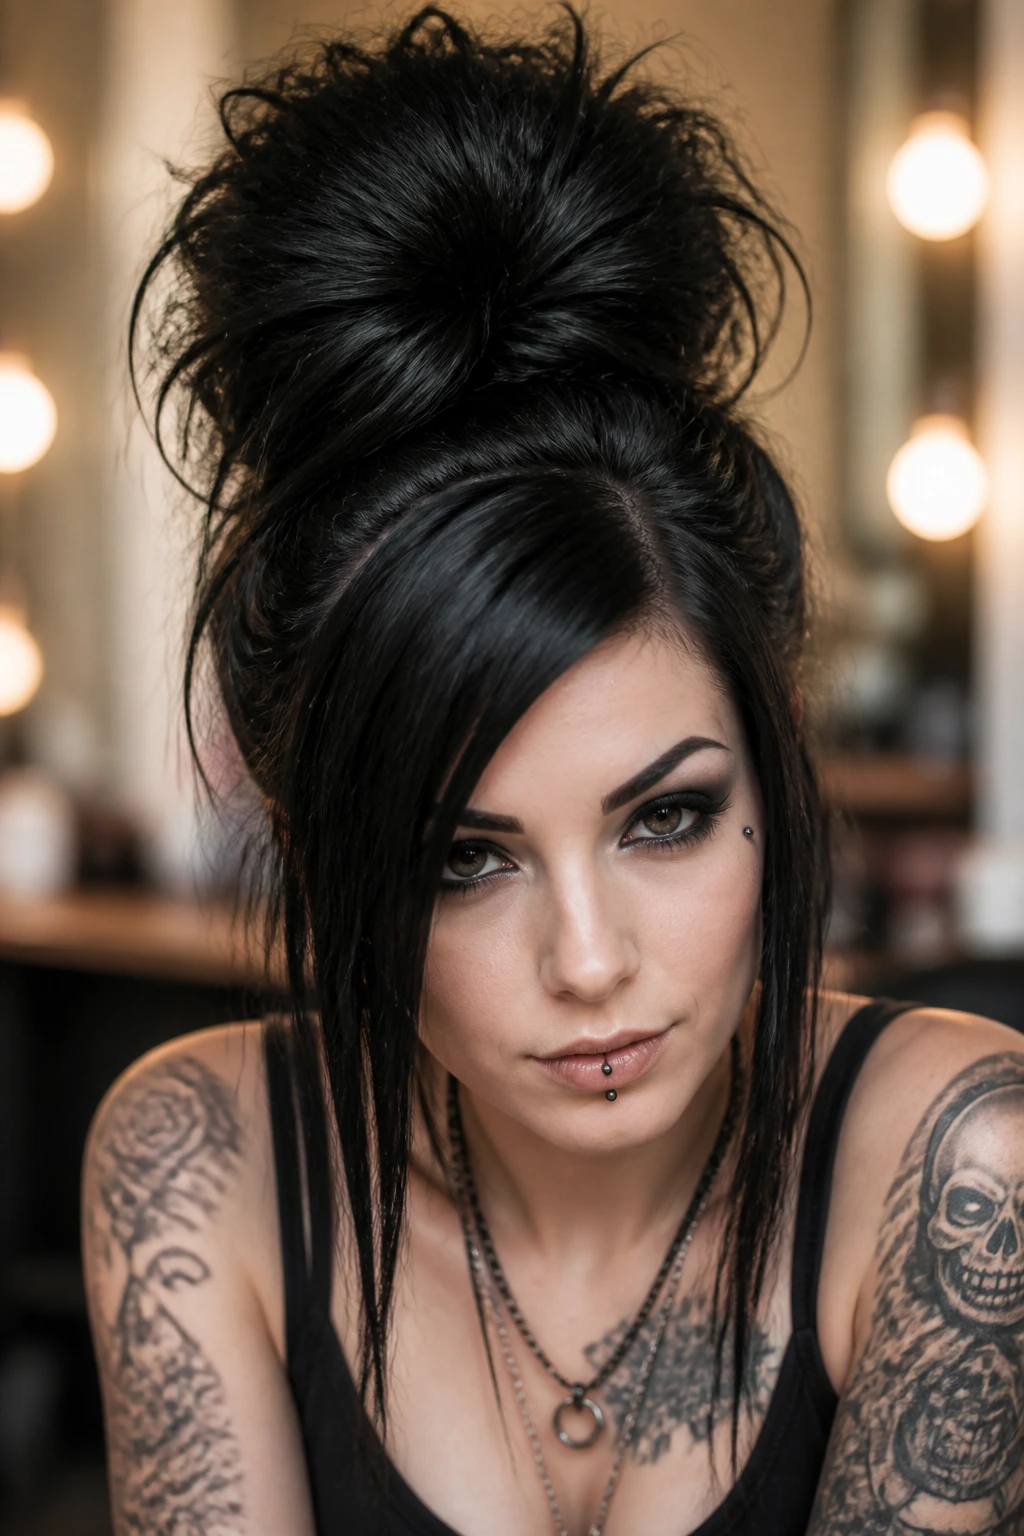
This style is perfect for mornings when your hair is completely unruly and refusing to lie flat. Instead of fighting the volume, lean into it by gathering all that texture into a high, exploded top knot that sits right at the apex of your head.
I always rely on this look when my hair has too much dry shampoo in it to look sleek. The extra grit and texture actually make the top knot look massive and dramatic, which is exactly what you want.
Styling Elements
- The Base: Pull your hair into a sky-high ponytail at the very top of your head.
- The Tease: Backcomb the ponytail aggressively from mid-shaft to roots until it looks like a large pom-pom.
- The Secure: Gently wrap a second hair tie around the teased mass, leaving the ends of your hair sticking out of the front.
Pull a few long, thin strands of hair down in front of your ears to frame your jawline, giving the messy style a deliberate, face-framing shape.
11. The Sleep-In Heatless Wave and Side Sweep
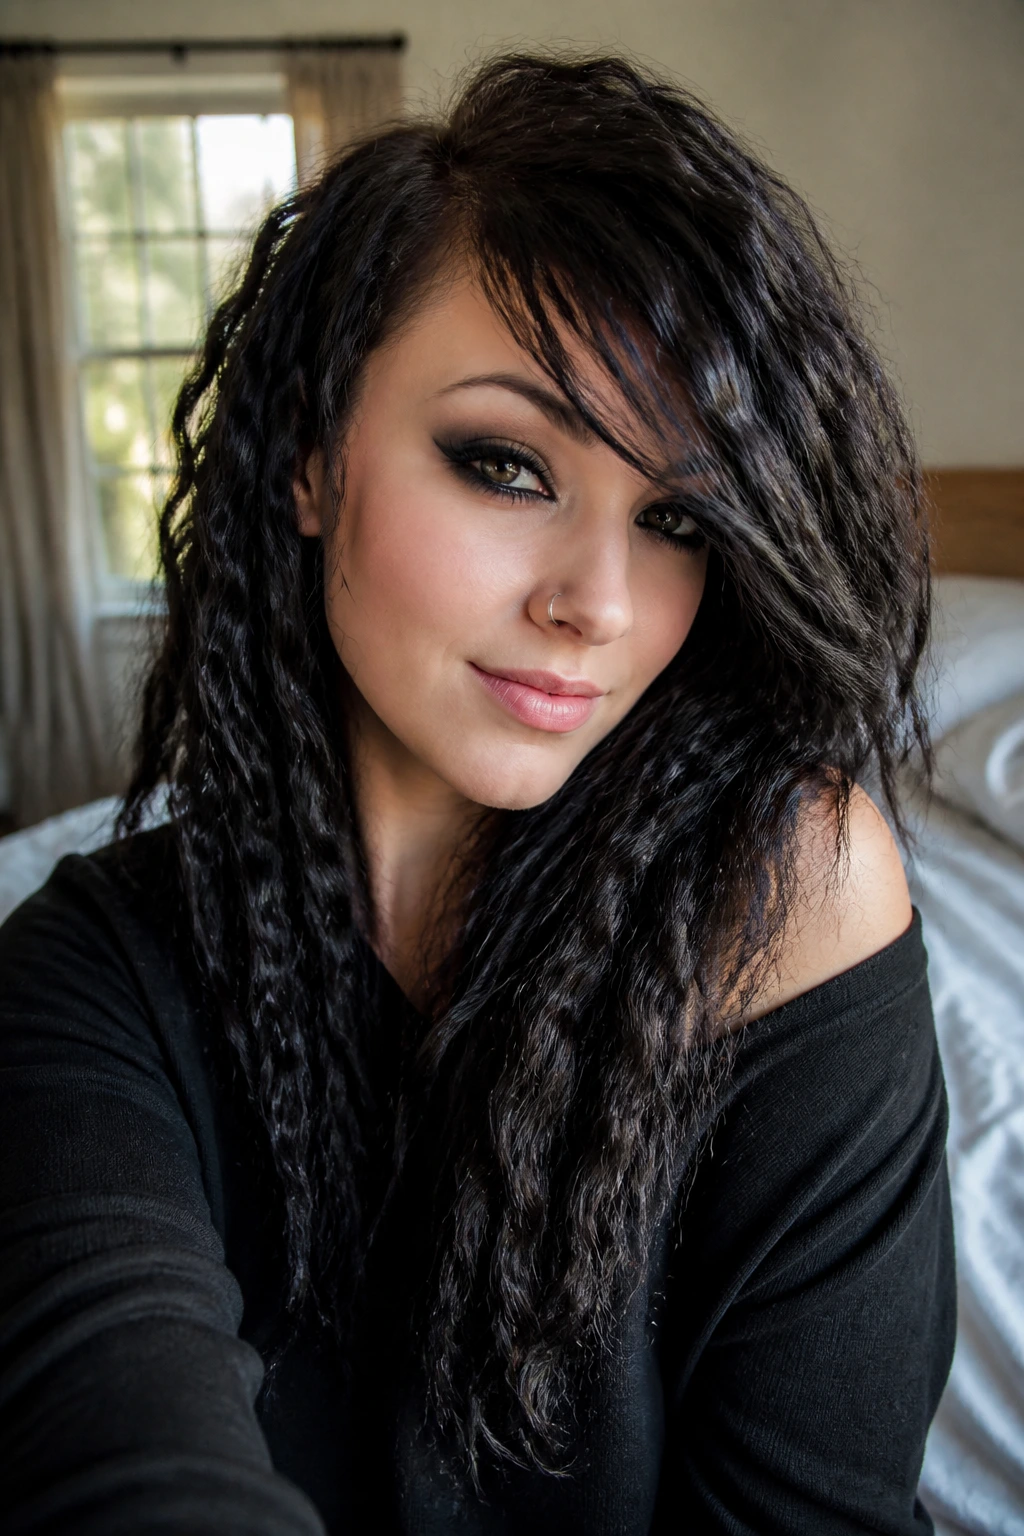
If you want textured, wavy layers without spending twenty minutes with a curling wand in the morning, do the prep work the night before. This heatless method relies on sleeping in loose braids to create a crimped, voluminous texture that is ready to style the second you wake up.
Before going to bed, damp your hair slightly with water and a tiny bit of leave-in conditioner. Divide your hair into four to six braids—the tighter the braids, the more intense the crimped texture will be in the morning. Secure the ends with soft scrunchies to prevent harsh creases.
When you wake up, undo the braids and run your fingers through your hair to break up the waves. Do not brush it, as this will create unwanted frizz. Instead, shake your head upside down to build volume at the roots, then flip your hair back up and create a deep, dramatic side part.
The resulting texture is full, choppy, and perfectly imperfect. Finish the look by misting your roots with a texturizing spray to hold the volume throughout the day.
12. Raccoon Tail Clip-Ins on Messy Shag
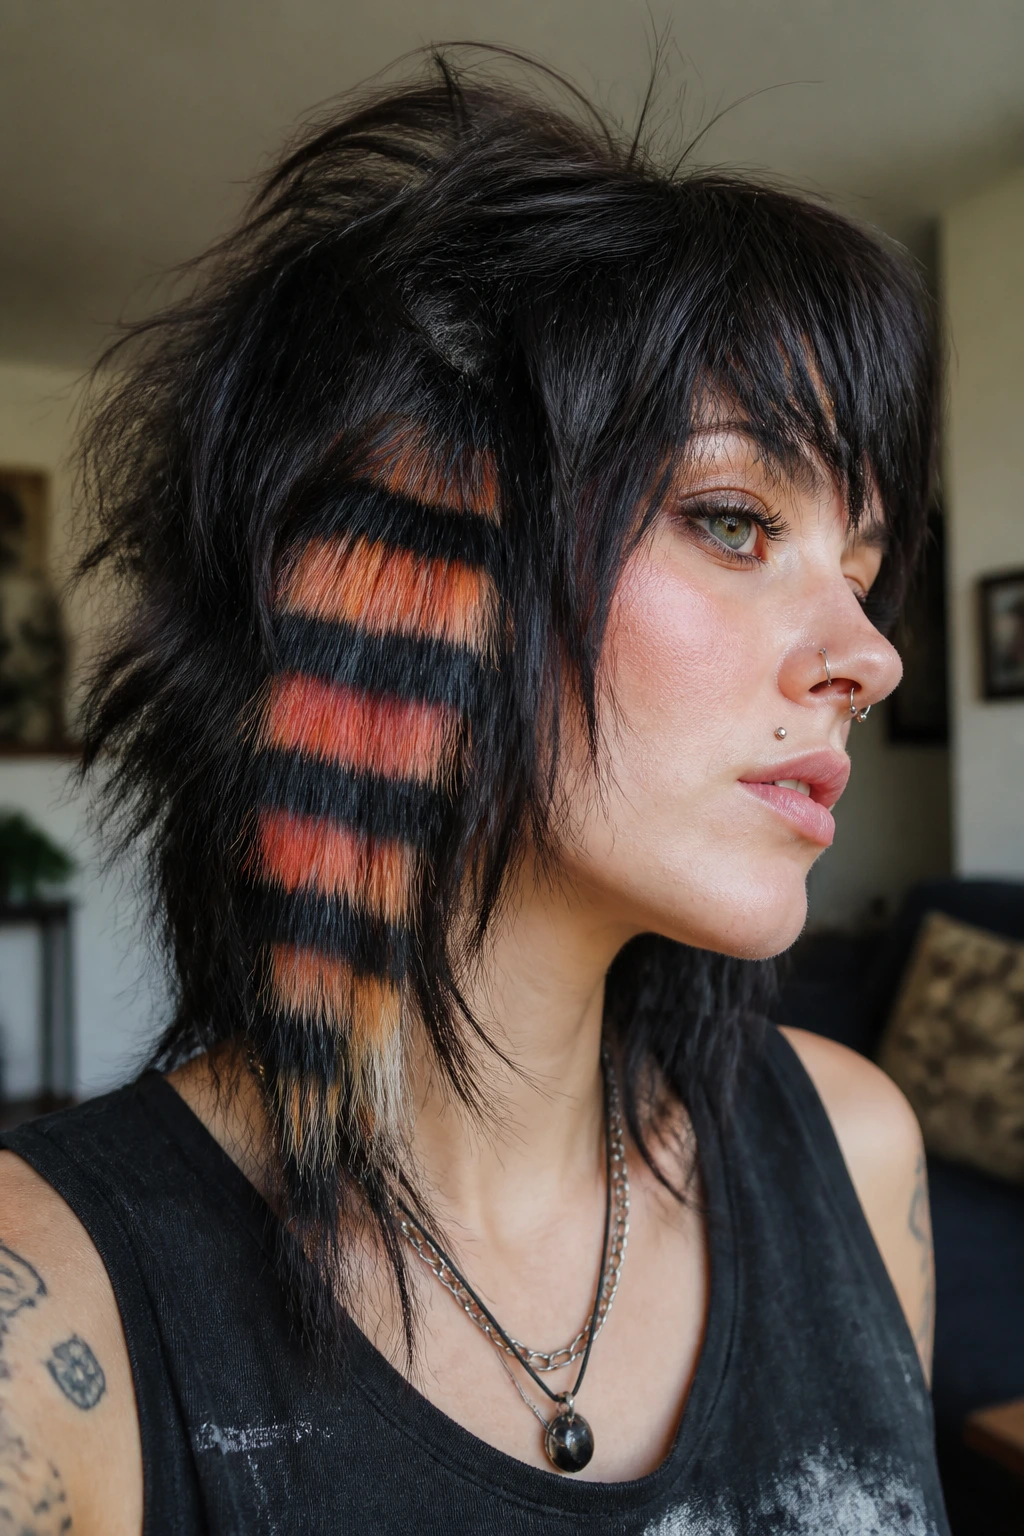
Unlike modern subtle highlights, raccoon tails—horizontal stripes of contrasting color dyed onto a strip of hair—are a bold, unmistakable marker of alternative style. Dyeing them yourself can be a tedious process of taping off sections and applying dye, but a clip-in version gives you the exact same look instantly.
This style is best for anyone who wants a heavy dose of classic aesthetic without spending hours in front of a mirror. It instantly elevates a simple, messy shag into something that looks highly customized and authentic.
Place one or two striped clip-ins right beneath your top layers on the side of your head with the most volume. The stripes will peek through your natural hair, adding visual contrast and a distinct early-alternative vibe with zero effort.
13. The Swooping Fringe with Skate Cap
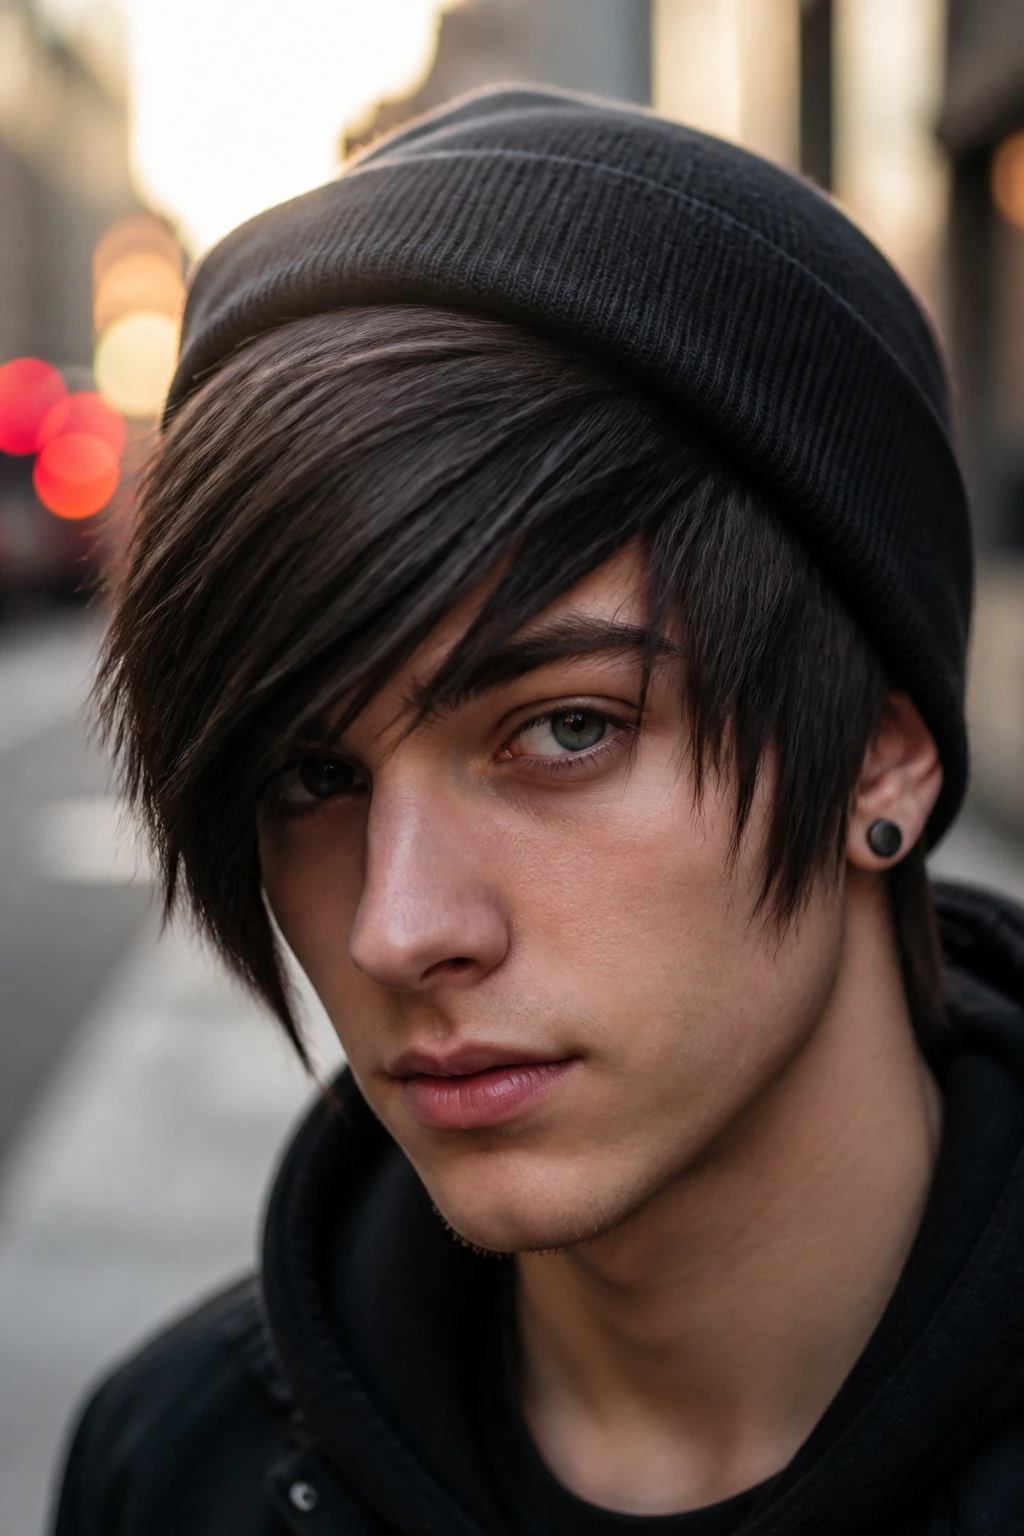
Caps are not just for hiding bad hair days; they are a core styling accessory that can help lock your hair into the perfect shape. By wearing a fitted knit cap or snapback over your hair, you can flatten the top sections while letting your choppy layers and heavy bangs flare out below.
The Power of Accessory Styling
The cap does all the heavy lifting here. It compresses the roots, forcing your bangs to sweep low across your forehead in a sleek, dramatic curve. It is a fantastic option for mornings when you do not have time to style your crown but still want your fringe to look sharp.
Step-by-Step Styling Quick Facts
- Prep time: 2 minutes.
- Tools needed: A flat iron (optional) and a fitted knit cap or snapback.
- The Technique: Sweep your bangs across your forehead, then pull the cap down firmly over your head, stopping just above your eyebrows.
- The Finish: Pull your side layers forward so they frame your cheeks beneath the edge of the cap.
Pro tip: Position the cap slightly back on your head to show off your side part, or pull it low over your forehead for a more mysterious, heavy-fringed look.
14. Textured Dry Shampoo Tease on Second-Day Scene Hair
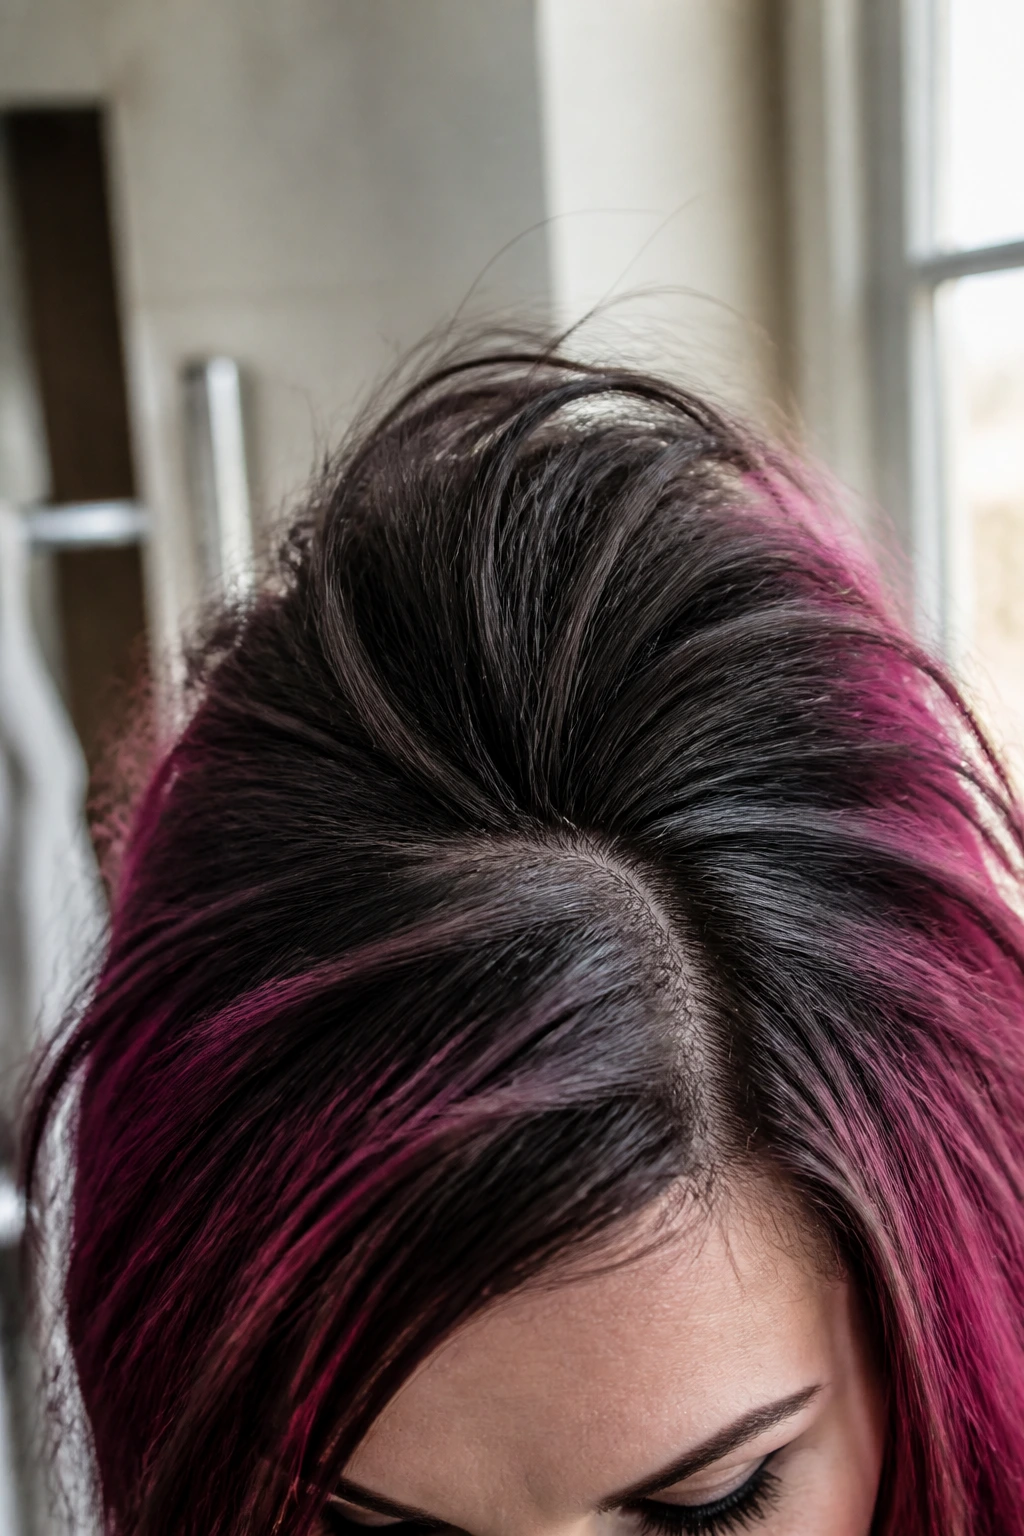
Second-day hair is often much easier to style than freshly washed hair because it has natural grip and holding power. If your roots are looking a little flat or oily, a generous blast of dry shampoo can restore your volume and give you that matte, gritty texture that makes teasing effortless.
Spray the dry shampoo directly into your roots, focusing on the crown and the area around your part. Let it sit for about thirty seconds to absorb any excess oil, then massage it in with your fingertips to build instant lift.
Once your roots are primed, take a small section of hair at your crown, lift it straight up, and backcomb it twice near the roots. Smooth the top layer down gently with your fingers. The dry shampoo acts like a styling powder, locking the teased structure in place without the stiff, sticky feeling of heavy hairspray.
15. Faux Choppy Bangs via High Ponytail Drape
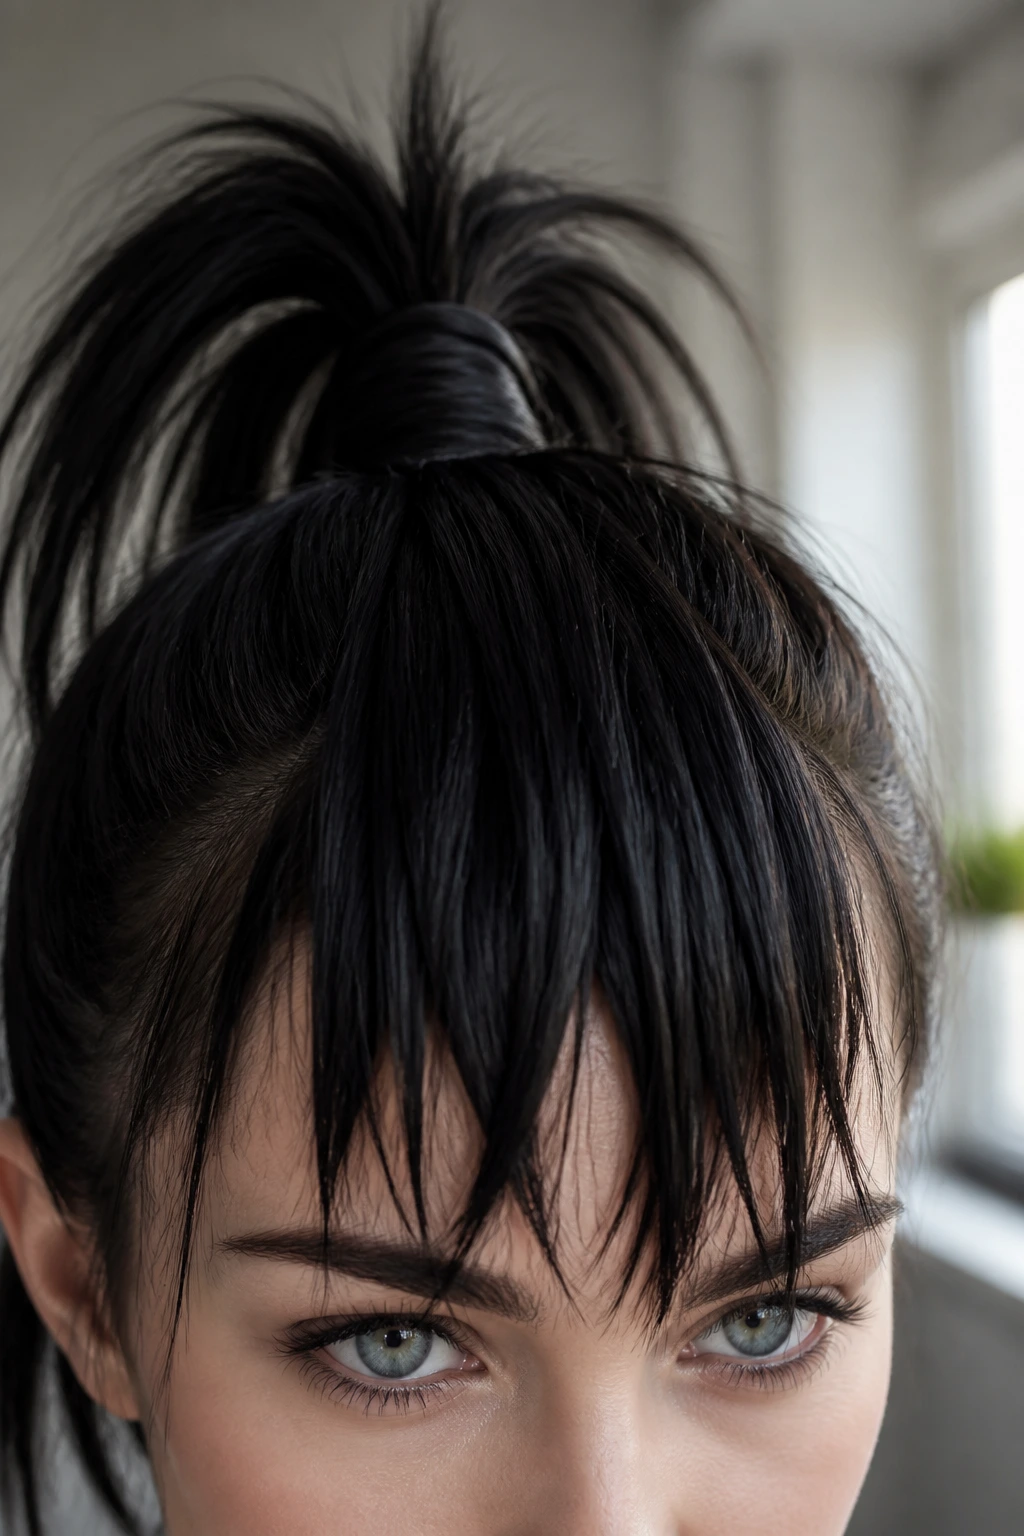
If you love the look of thick, heavy bangs but do not actually want to commit to cutting them, this clever styling trick allows you to fake a fringe using the ends of your own hair. It is a brilliant option for a quick styling switch-up.
How to Fake a Fringe
This method uses the tips of your hair to create a temporary, choppy bang. By pulling your hair into a high ponytail and draping the ends forward over your forehead, you can adjust the length to match your face shape perfectly before pinning it in place.
How to Style It
Pull your hair into a very high ponytail at the crown of your head and secure it with a sturdy elastic. Take a section of hair from the ponytail, drape it forward over your forehead, and use bobby pins to secure it flat against your scalp just in front of the ponytail base. Use a flat iron to smooth these faux bangs down, then cover the bobby pins with a wide headband or a large bow clip.
16. The Twisted Crown Braid with Spiky Ends
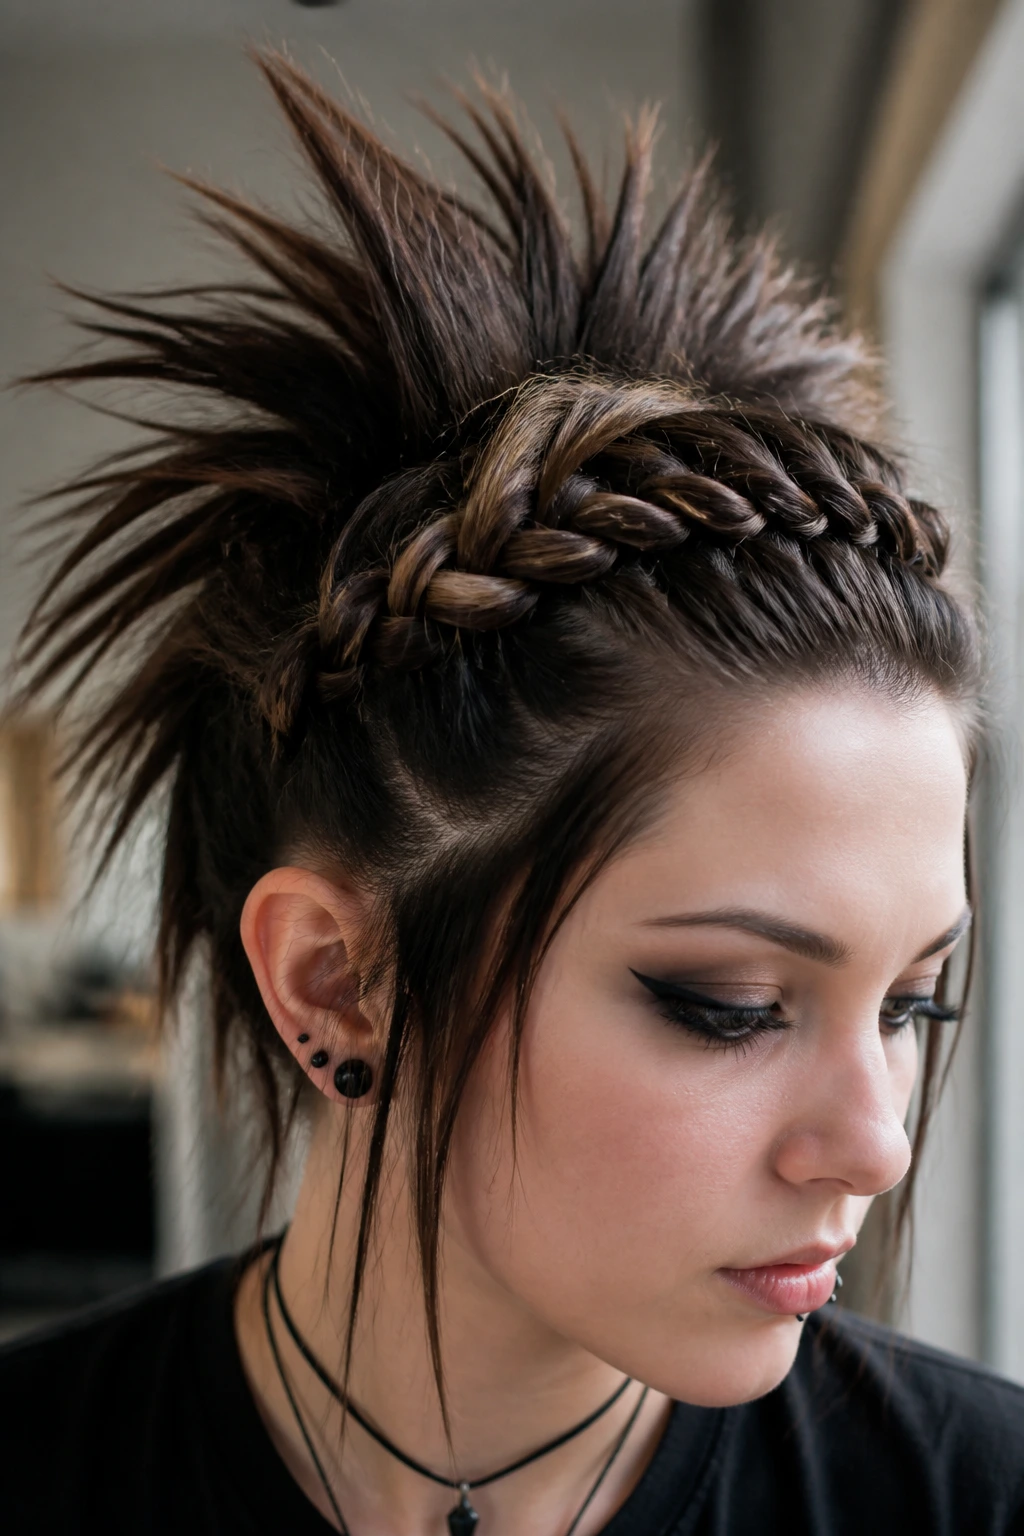
This style combines a neat, secure front with a messy, spiky back, giving you a unique twist on the classic alternative silhouette. It is an excellent choice for active days when you need your hair to stay out of your face but still want to maintain an edgy look.
I love this style because it keeps the front of your hair incredibly neat while letting the back show off all your choppy, spiky texture. It is the perfect balance of practical and alternative.
Styling Elements
- The Braid: Create a loose French braid or twist starting from your side part and running along your hairline to just behind your ear.
- The Secure: Pin the end of the braid flat against your head with two crossed bobby pins.
- The Texture: Tease the unbraided hair at your crown to create a messy, textured contrast to the sleek braid.
It is a fast, secure style that holds up well throughout the day, even if you are running around or working a busy shift.
17. Double Side-Clips with Volumized Crown
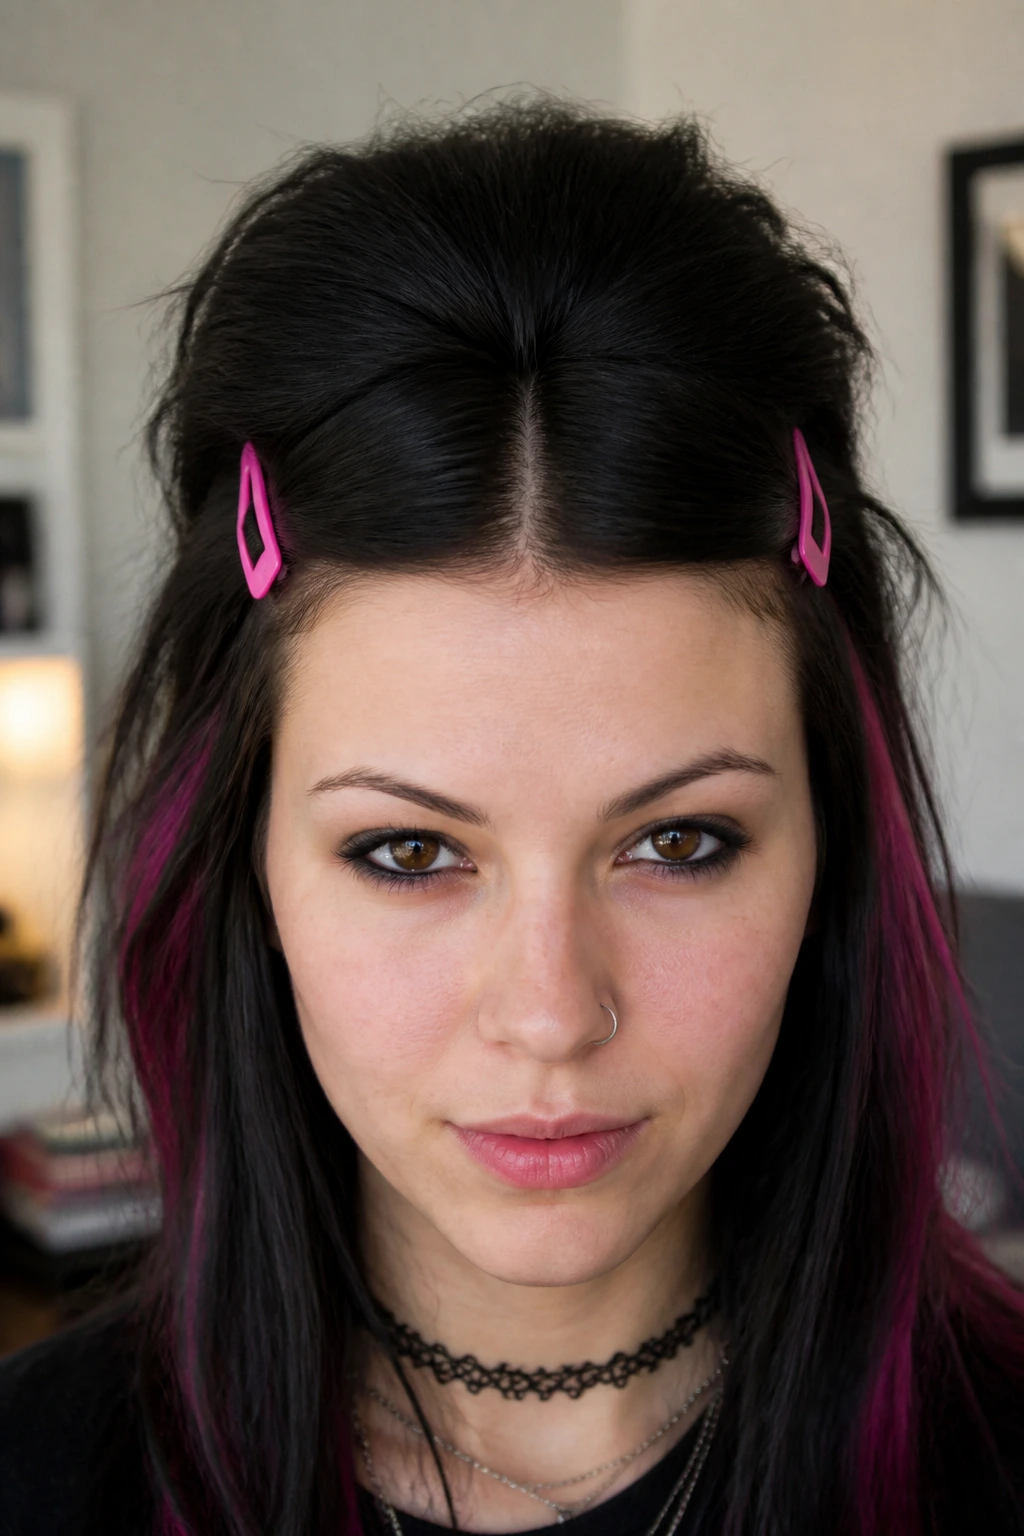
If you want a simple, symmetrically balanced look that still has plenty of alternative attitude, try using matching clips on both sides of your head. This style frames your face beautifully while keeping your hair securely out of your eyes.
Start by parting your hair down the center or slightly to one side. Take a small section of hair above each ear, pull it back tightly, and secure it with a bright, contrasting clip. This pulls the sides flat against your head, highlighting your jawline and cheekbones.
Once the sides are pinned back, focus on building volume at the crown. Gently backcomb the hair behind the clips to create a rounded, volumized shape that contrasts with the sleek, pinned-back sides. This creates a beautiful, eye-catching silhouette that looks incredibly polished but takes less than five minutes to achieve.
18. Crimped Accents in a Messy Ponytail
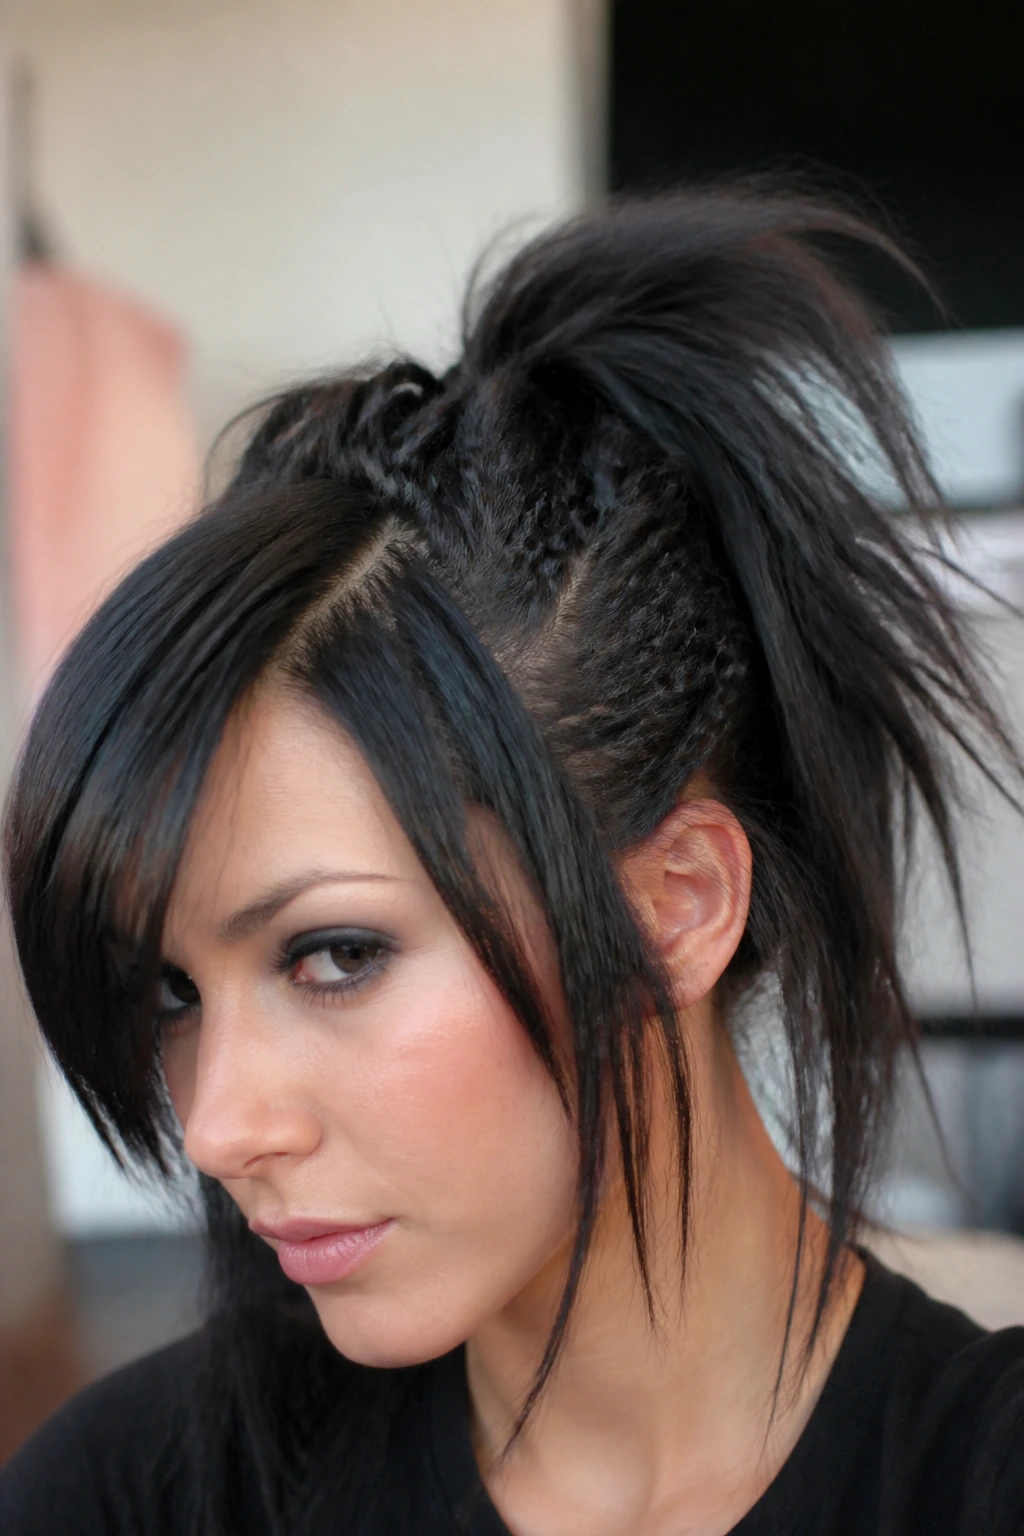
Unlike styling an entire head of crimped hair, adding just a few crimped accents to a simple ponytail is incredibly fast and adds a wonderful, unexpected texture to your look. It is a fantastic way to update a basic style with a nod to classic alternative trends.
This style is perfect for those mornings when you want to add a bit of detail to your hair but do not have the time for a full styling routine. The small crimped sections catch the light beautifully and add a lovely, subtle texture to your ponytail.
Why Crimped Accents Work
By crimping only two or three small sections of hair before pulling everything into a ponytail, you create a beautiful contrast of textures. The crimped strands stand out against the smoother sections, adding visual interest and depth to your style without requiring a lot of time.
Simply crimp a few random pieces of hair, pull everything into a high ponytail, and let the textured strands mix with the rest of your hair. It is a simple, high-impact style that looks incredibly cool and modern.
19. The Slicked-Back Sides with Spiky Mohawk Top
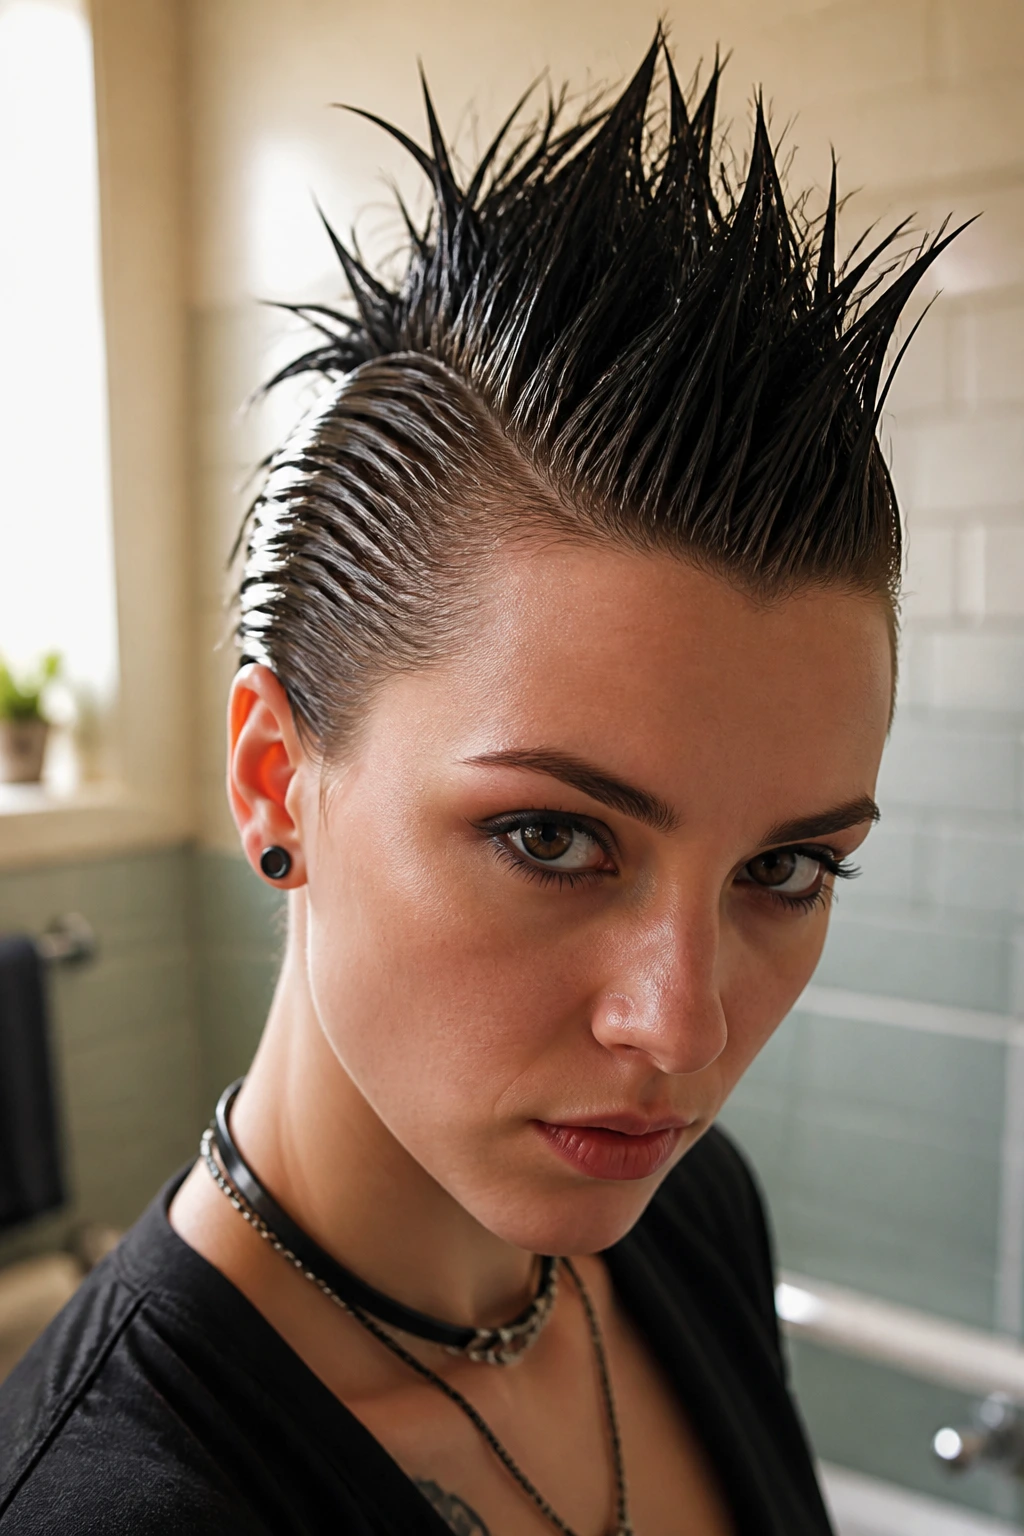
This style is a wonderful option for shorter shag cuts or pixie styles, offering a sharp, dramatic look that is incredibly quick to style. By slicking the sides of your hair flat, you can create a faux-undercut effect that highlights your spiky top layers.
The Faux-Undercut Silhouette
Slicking the sides back tightly mimics the shape of a shaved undercut, making your top layers look even more dramatic and voluminous. It is a high-contrast, edgy style that is perfect for busy mornings when you want to make a statement.
Step-by-Step Styling Quick Facts
- Prep time: 3 minutes.
- Tools needed: Styling gel or pomade and a fine-tooth comb.
- The Technique: Apply a small amount of gel to the sides of your hair and comb them back tightly behind your ears.
- The Finish: Use your fingers and a bit of styling wax to twist the top layers into sharp, defined spikes.
Pro tip: Use a firm-hold gel that dries with a wet look to make the sides look incredibly sleek and high-contrast.
20. Pigtail Buns with Oversized Bow Clips
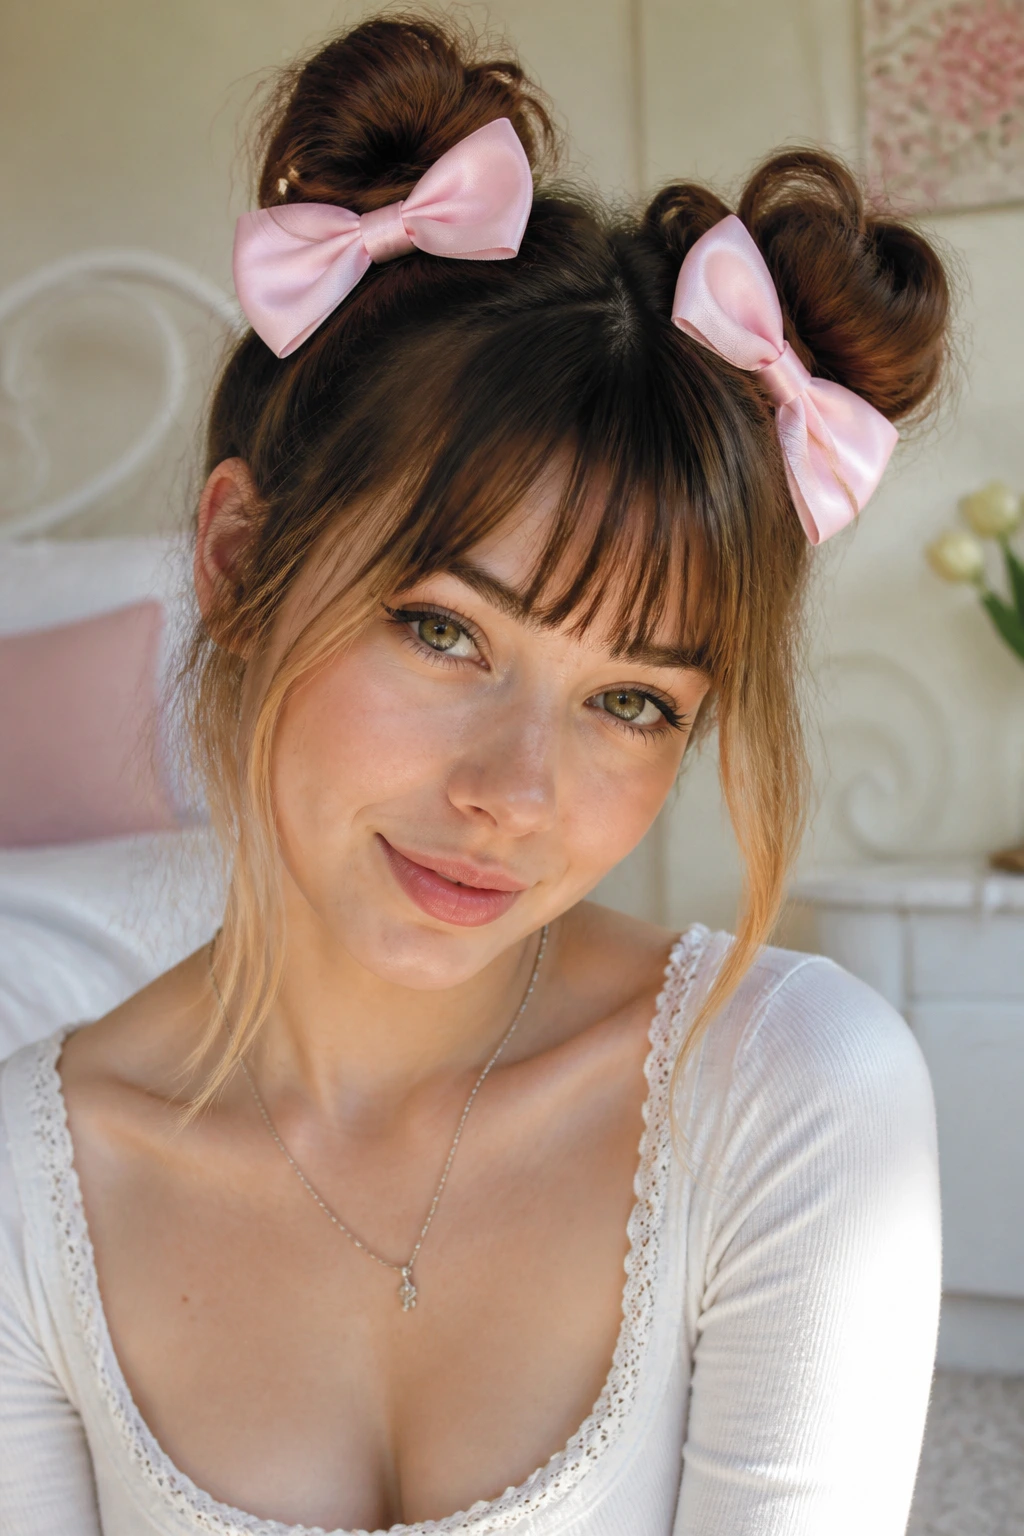
This playful, retro style is incredibly fast to create and adds a lovely, youthful energy to your look. By securing your buns with oversized bow clips, you can hide any messy hair ties or uneven sections instantly.
I love this style for mornings when my hair is feeling completely uncooperative. The giant bows are fantastic for covering up any styling mistakes while adding a classic, eye-catching element to your hair.
Simply pull your hair into two high pigtails and twist them into loose buns. Secure each bun with a hair tie, then clip an oversized bow right over the base of each bun. The bows will instantly dress up the style, making it look incredibly intentional and styled.
21. The Half-Up Shag with Choppy Top Layers
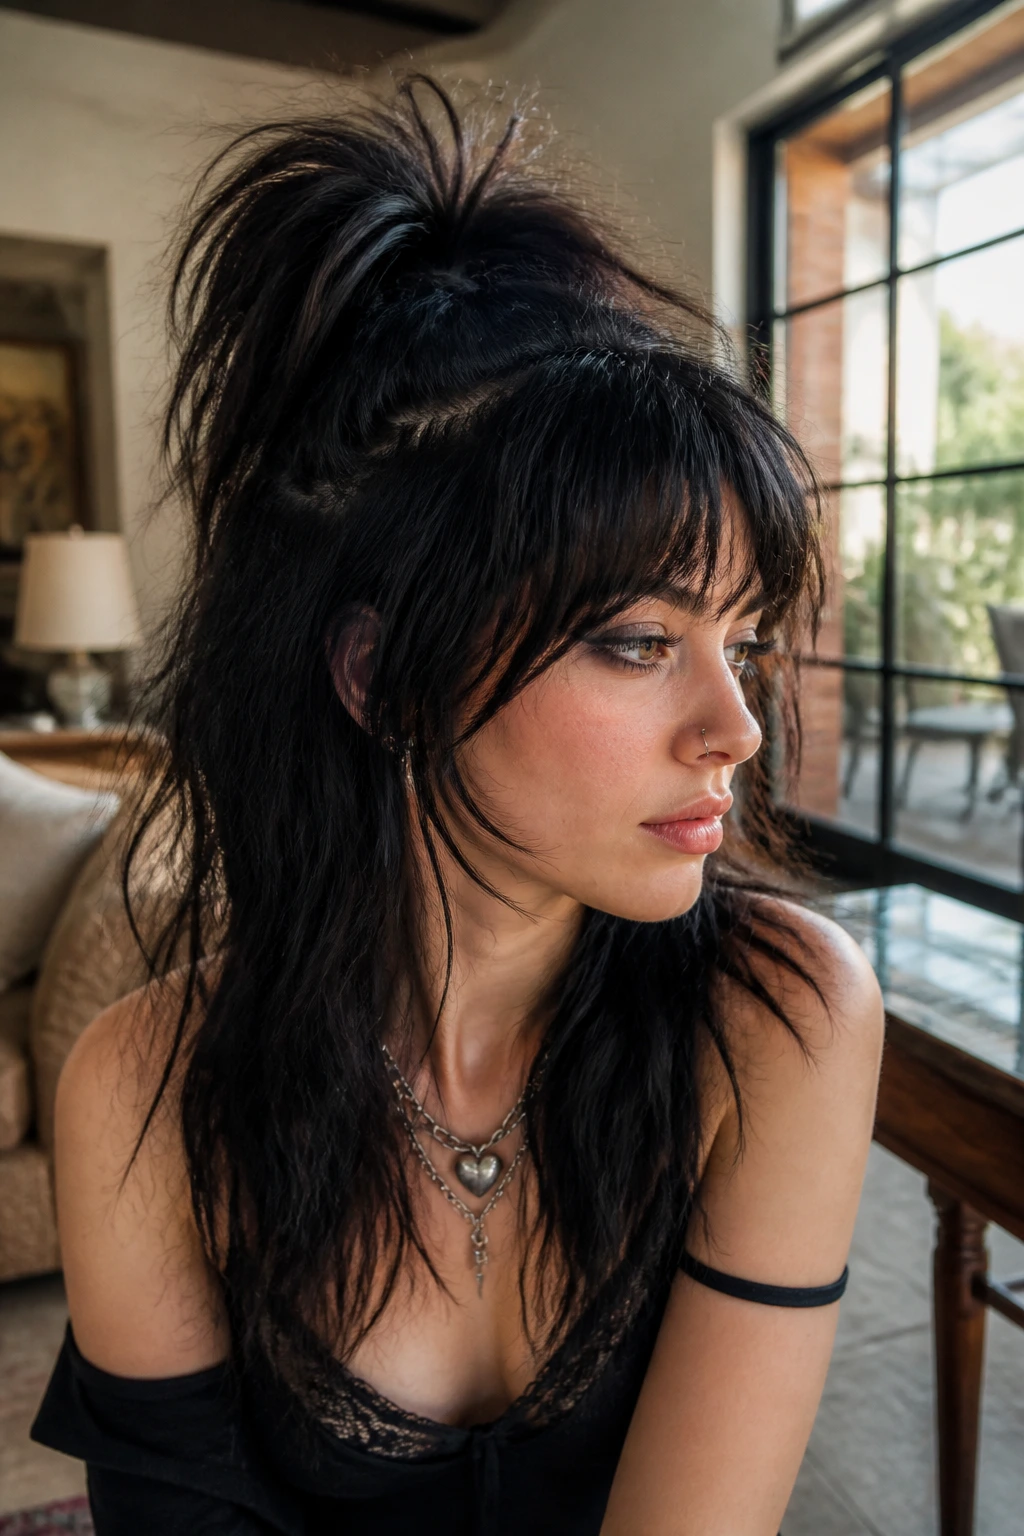
The half-up, half-down style is a timeless classic that works beautifully with the choppy, layered cuts typical of alternative hair. It allows you to show off your length while keeping the top layers neat and voluminous.
Why the Half-Up Shag Works
By pulling only the top layers of your hair into a high ponytail or bun, you can show off your choppy, layered texture while keeping your face clear. It is a very flattering, easy-to-style option that works well on all hair types.
How to Style It
Gather the hair from the crown and sides of your head, leaving the bottom layers loose. Pull this top section into a high, messy ponytail or bun right at the crown of your head. Use your fingers to fluff up the top layers, adding a bit of styling wax to the ends to make them look sharp and textured. Let the bottom layers hang naturally down your back.
22. Criss-Cross Headbands on Tousled Short Shag
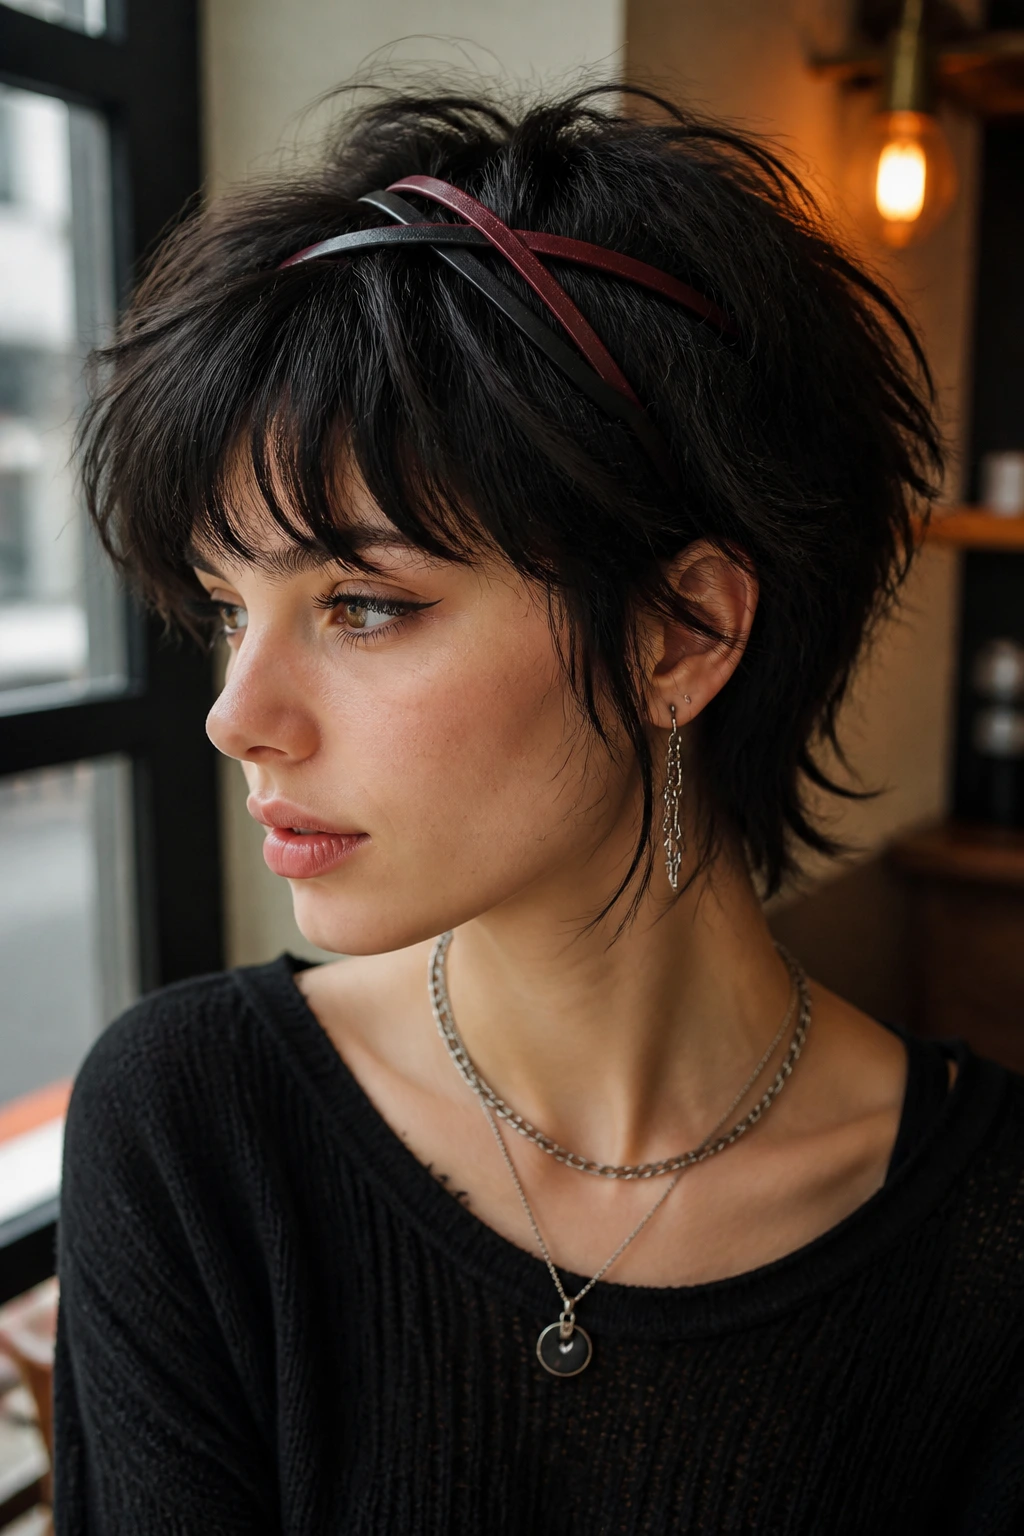
Using multiple headbands is a fantastic way to add structure and detail to a short, messy shag. By crossing two thin headbands over each other, you can create a beautiful, geometric pattern that holds your hair securely in place.
This style is incredibly fast and works beautifully on short, textured cuts. The headbands do all the work, keeping your hair out of your eyes while creating an interesting, layered look.
Styling Elements
- The Headbands: Choose two thin, contrasting headbands (like neon pink and black).
- The Placement: Place the first headband about an inch back from your hairline, then place the second headband behind it, crossing it over the first to create an “X” shape at the top of your head.
- The Finish: Use your fingers to pull small sections of hair forward in front of the headbands to frame your face.
It is a simple, creative styling option that takes less than two minutes but looks incredibly detailed and unique.
23. Under-Layer Braids with Voluminous Top
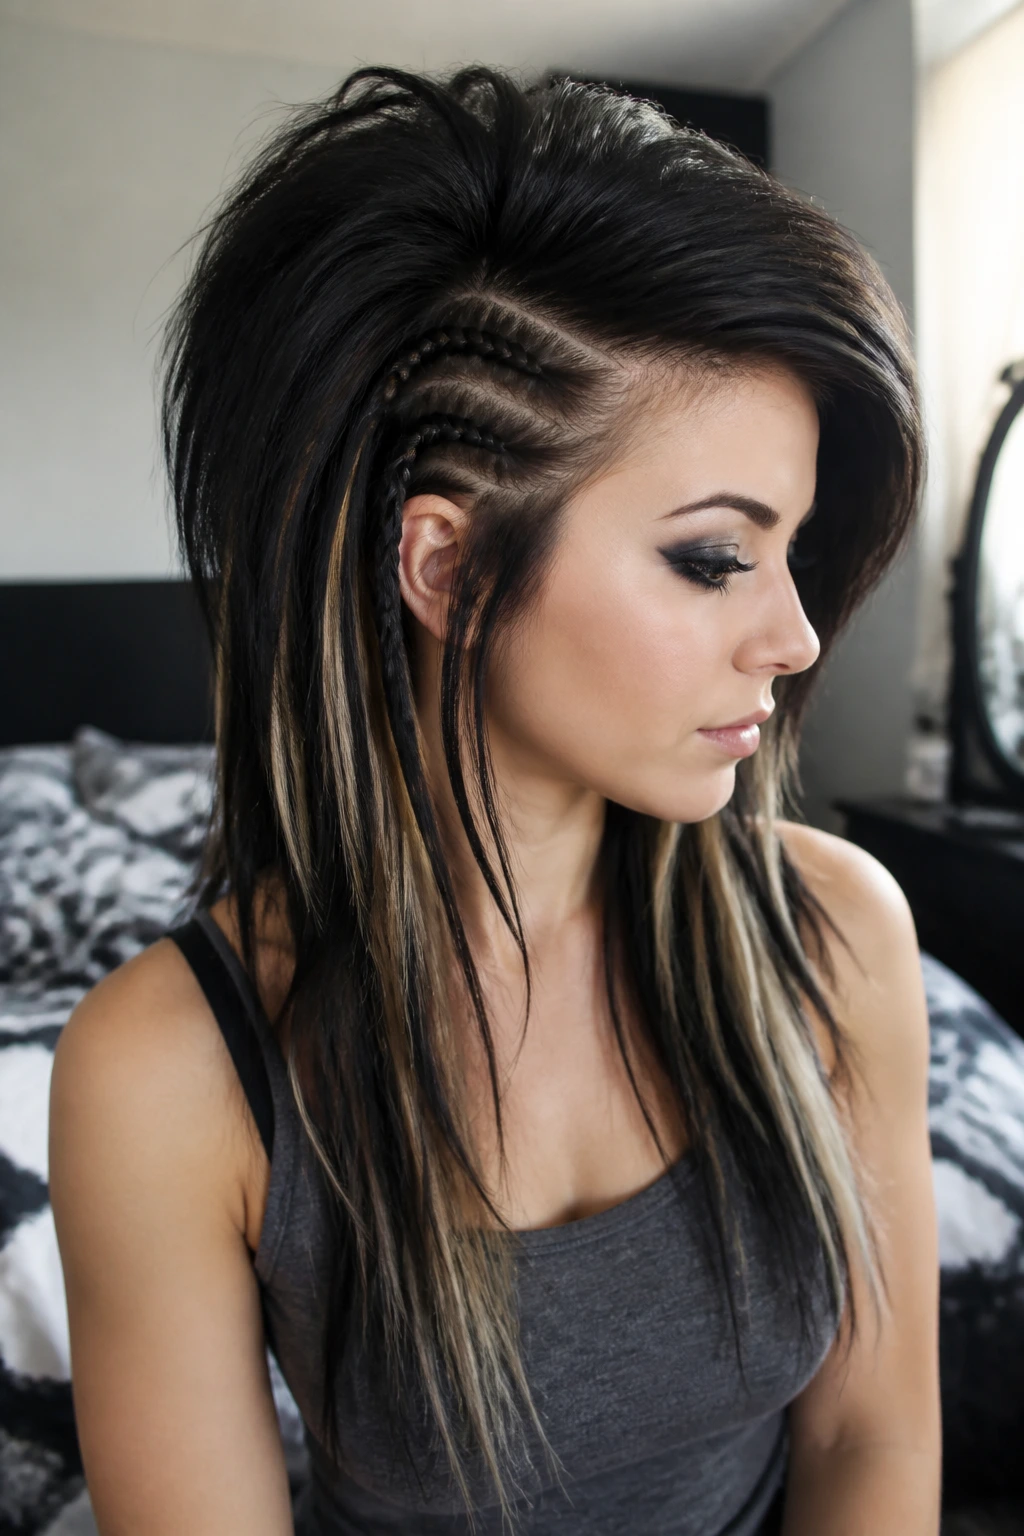
If you want to add a subtle, detailed texture to your style, try adding a few small braids to the under-layers of your hair. This style allows you to maintain your classic, voluminous crown while showing off a bit of intricate detail underneath.
Start by teasing your crown to build your signature volume, smoothing the top layer down with your fingers. Then, take two or three small sections of hair from the bottom layers near your neck and braid them tightly, securing the ends with clear elastics.
As you move, the braids will peek through your natural hair, adding a lovely, unexpected detail to your style. It is a fantastic way to update a simple, voluminous look with minimal effort.
24. The Wrapped Bandana with Swooping Side Fringe
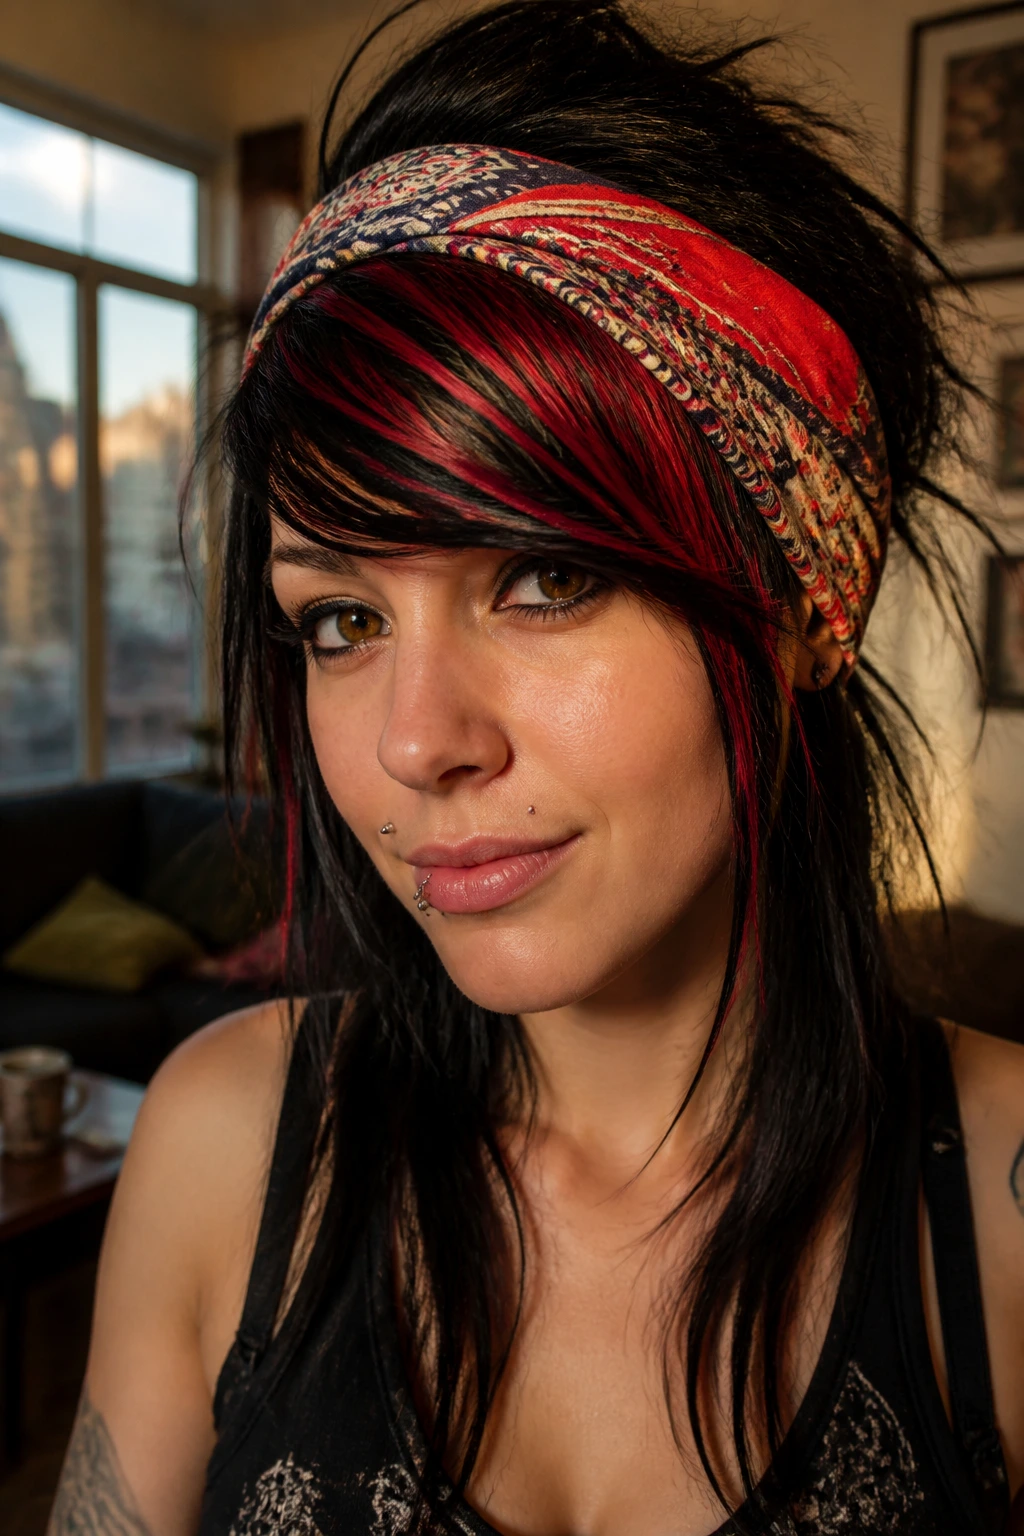
A colorful bandana is a fantastic accessory for busy mornings, as it can hide messy roots, flat crowns, or unwashed hair instantly while adding a bold, retro element to your look.
Why Bandanas Are Styling Lifesavers
Bandanas cover the entire crown of your head, meaning you do not have to spend any time teasing or styling that area. They allow you to focus all your styling effort on your fringe and face-framing layers, making your morning routine incredibly fast and easy.
How to Style It
Fold a square bandana diagonally to create a triangle, then wrap it around your head, tying the ends securely at the nape of your neck. Adjust the bandana so it sits just behind your bangs, letting your fringe sweep across your forehead in a low, dramatic curve. Pull a few side layers forward around your ears to complete the look.
25. Spiky Pixie Shag with Pomade Definition
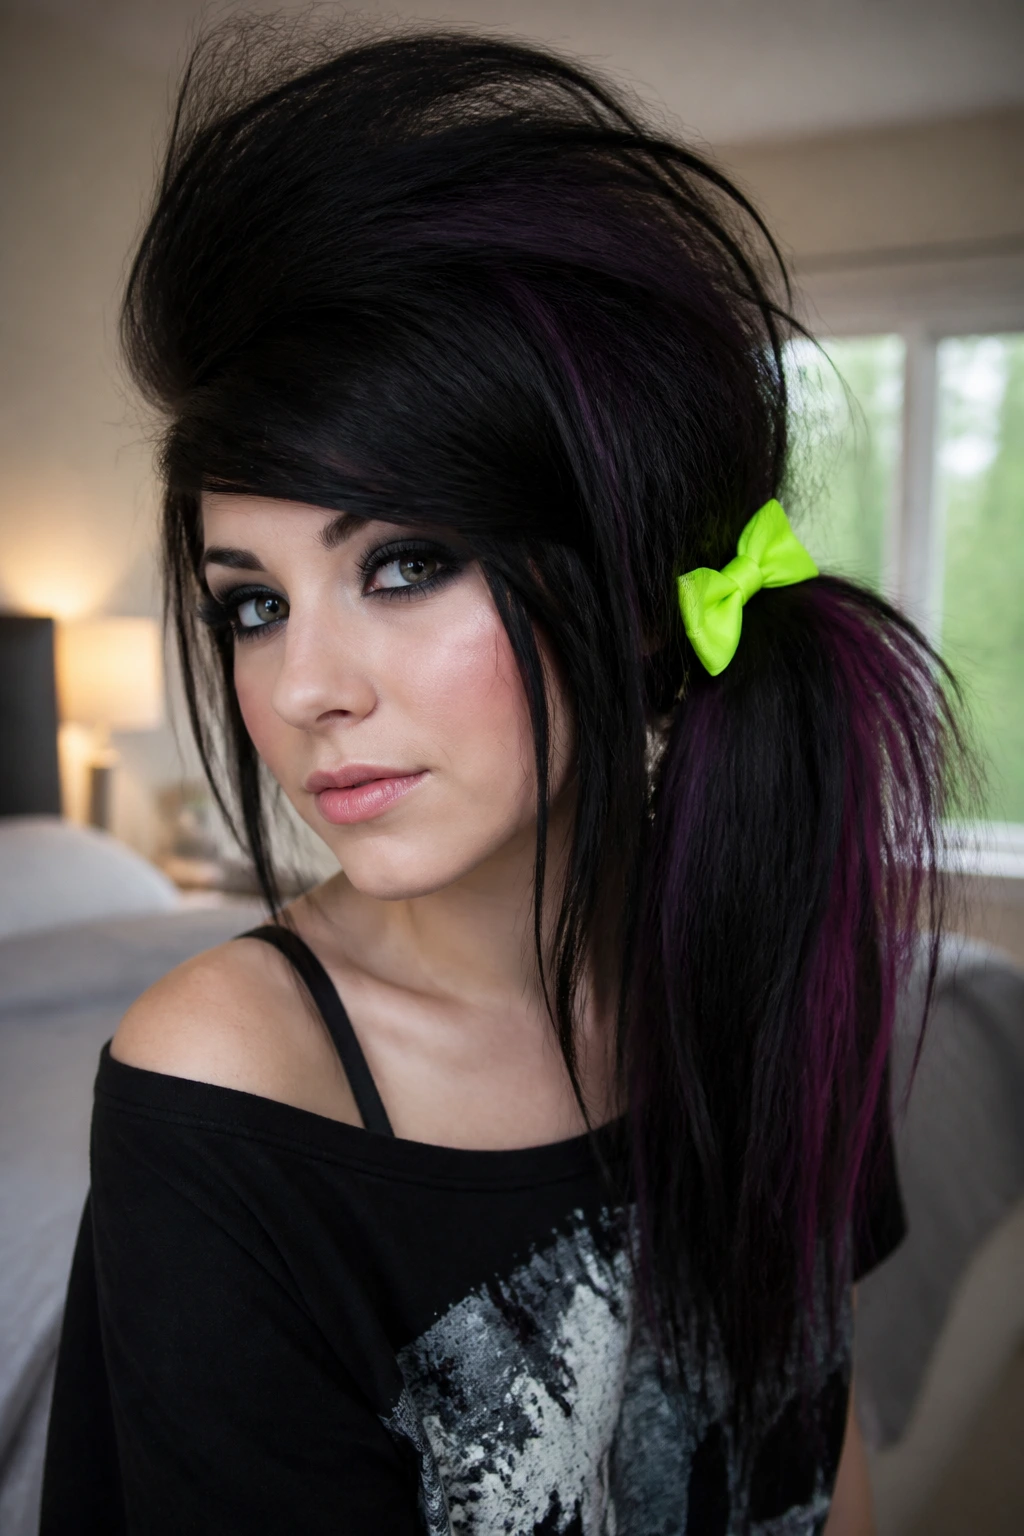
For those with very short, heavily layered cuts, a spiky pixie shag is the ultimate low-maintenance styling option. This style relies on a good styling wax or pomade to define your layers and create a sharp, textured look in seconds.
Simply rub a pea-sized amount of styling wax between your palms to warm it up, then run your hands through your hair, pulling the layers outward and upward to create texture and height. Use your fingertips to twist the ends of individual sections into sharp, defined spikes.
It is a fast, high-impact style that requires no heat or tools, making it the perfect choice for busy mornings when you want to look sharp and alternative in under two minutes.
Wrapping Up
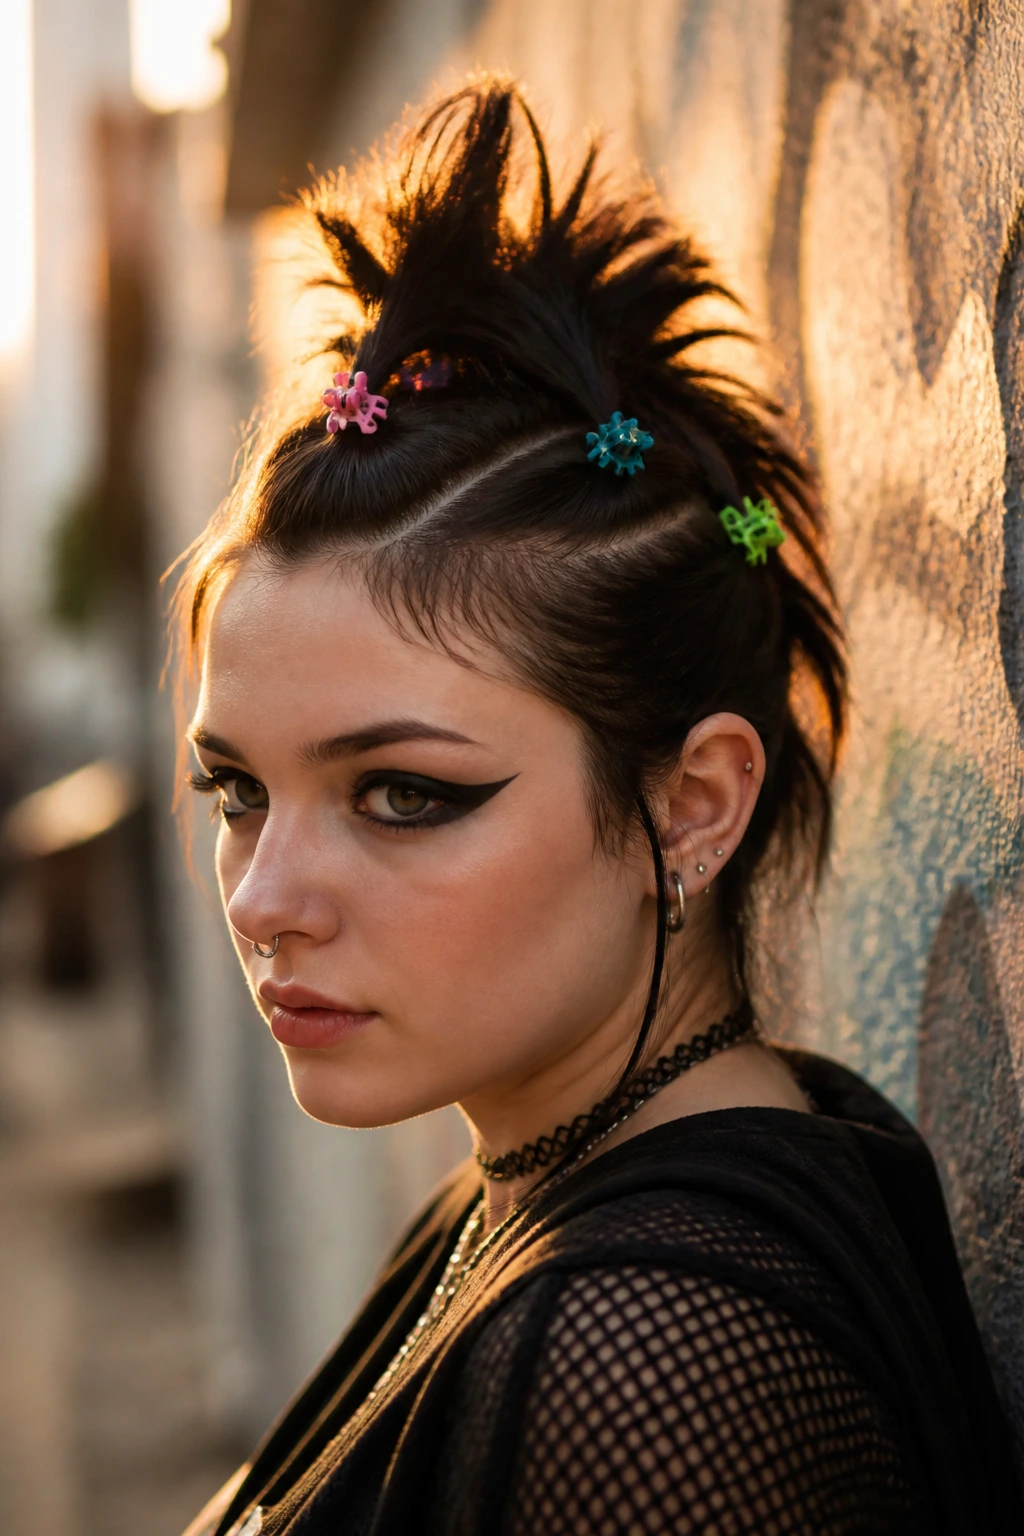
Maintaining a bold, alternative look does not mean you have to spend your morning fighting with a flat iron and a teasing comb. The secret to styling scene hair for busy mornings is to work with your hair’s natural texture, using accessories, clever cuts, and targeted styling to create the illusion of a complex, high-effort style in minutes.
By focusing your attention on key areas—like your bangs and your face-framing layers—you can keep your style looking sharp and deliberate without wasting time on the rest of your hair. Remember, a little bit of natural messiness and texture actually adds to the lived-in, authentic charm of alternative styles.
Keep a few key tools and accessories on hand, like dry shampoo, colorful clips, and a reliable styling wax, so you can always pull together a fantastic look in seconds. With these fast, practical styling tips, you can show off your personal style with confidence every single day, no matter how busy your morning gets.
