Getting your hair ready for school at seven in the morning is rarely about artistic expression. It is usually a frantic dash to tame bedhead before the bus arrives. But there is a secret weapon that turns that chaos into composure: the braid. Braided hairstyles have a unique way of looking like they took an hour of effort while actually holding up through gym class, library visits, and long afternoons at a desk.
If you are tired of the same high ponytail or basic three-strand plait, you have come to the right place. We are breaking down twenty-eight distinct ways to weave, twist, and knot your hair into styles that are both functional and genuinely impressive. Whether your hair is stick-straight, textured, fine, or thick, there is a pattern here that will change your morning routine forever.
1. The Classic Three-Strand Side Braid
This is the baseline for everything that follows. It is the style you learned as a child, yet it remains the most reliable option when you are in a rush. Pulling it to the side makes it feel less like a gym-class necessity and more like an intentional accessory.
Getting the Tension Right
The secret to a perfect side braid is not the weaving itself, but how you hold the strands. Keep your hands close to your head while you plait. If you let your hands drift too far down, the base of the braid will become loose and saggy, which means it will unravel by lunch.
Making It Look Fuller
- Gently tug at the outer loops of the braid once you have secured the end with an elastic.
- This technique, often called “pancaking,” adds instant volume to even the thinnest hair.
- Work from the bottom up to ensure you do not accidentally pull the whole thing apart.
2. Double Dutch Braids for Athletic Days
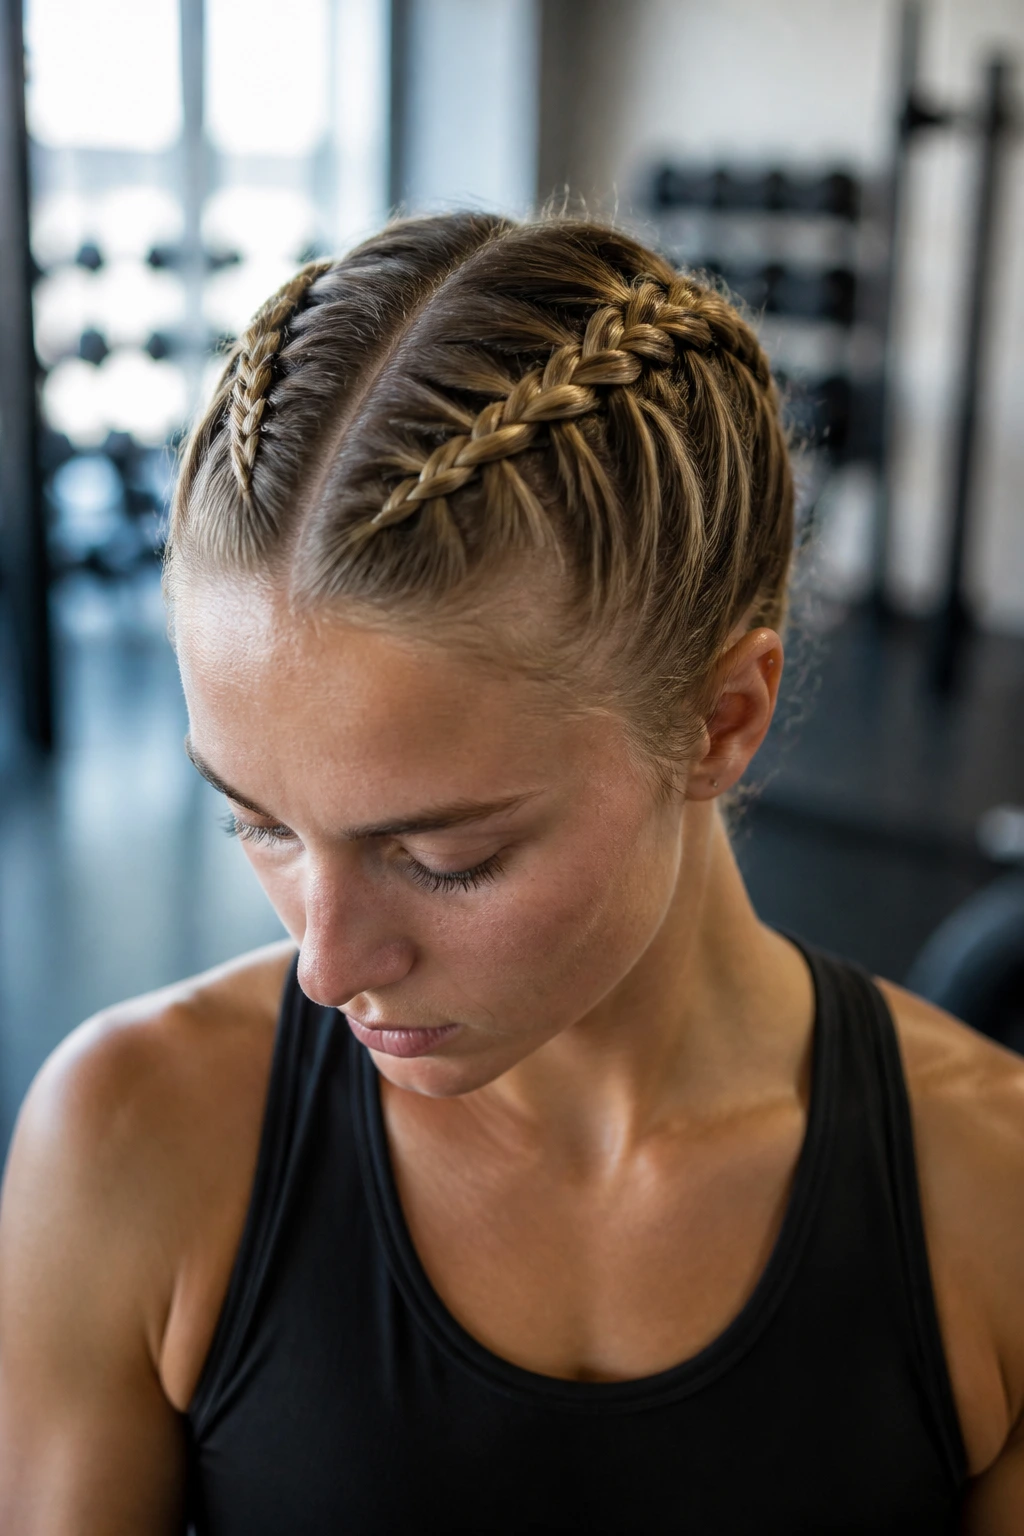
If you have a long day ahead that involves sports or just a lot of movement, Dutch braids are your best friend. Unlike French braids, which lay flat against the head, Dutch braids sit on top of the hair, creating a bold, raised effect that is incredibly secure.
The Physics of the Dutch Technique
Instead of crossing your strands over the middle, you cross them under. This simple reversal is what makes the braid stand out so prominently. It is a bit of a workout for your arms initially, but once your muscle memory kicks in, you will be able to do this while half-asleep.
Staying Secure
- Use a bit of texturizing spray before you start.
- This gives your hair some “grip” so that the smaller pieces do not slip out of your hands.
- Finish with a lightweight hairspray to tame any flyaways around the hairline.
3. The Messy French Side-Sweep
French braids often get a bad reputation for looking too formal or “school-picture” stiff. The trick is to keep the weave relaxed. You want the hair to feel soft and slightly undone, not pulled tight against your scalp with every strand perfectly in place.
Why This Works for Morning Rush
You do not need a mirror to do this well. Because the style relies on a “messy” aesthetic, uneven sections or a few stray hairs actually make it look better. It is the ultimate “I tried, but not too hard” hairstyle.
Key Details for the Look
- Start your French braid behind the ear and work across the back of your head.
- Leave out a few face-framing pieces to soften your look.
- Use a clear elastic at the bottom that blends into your natural hair color.
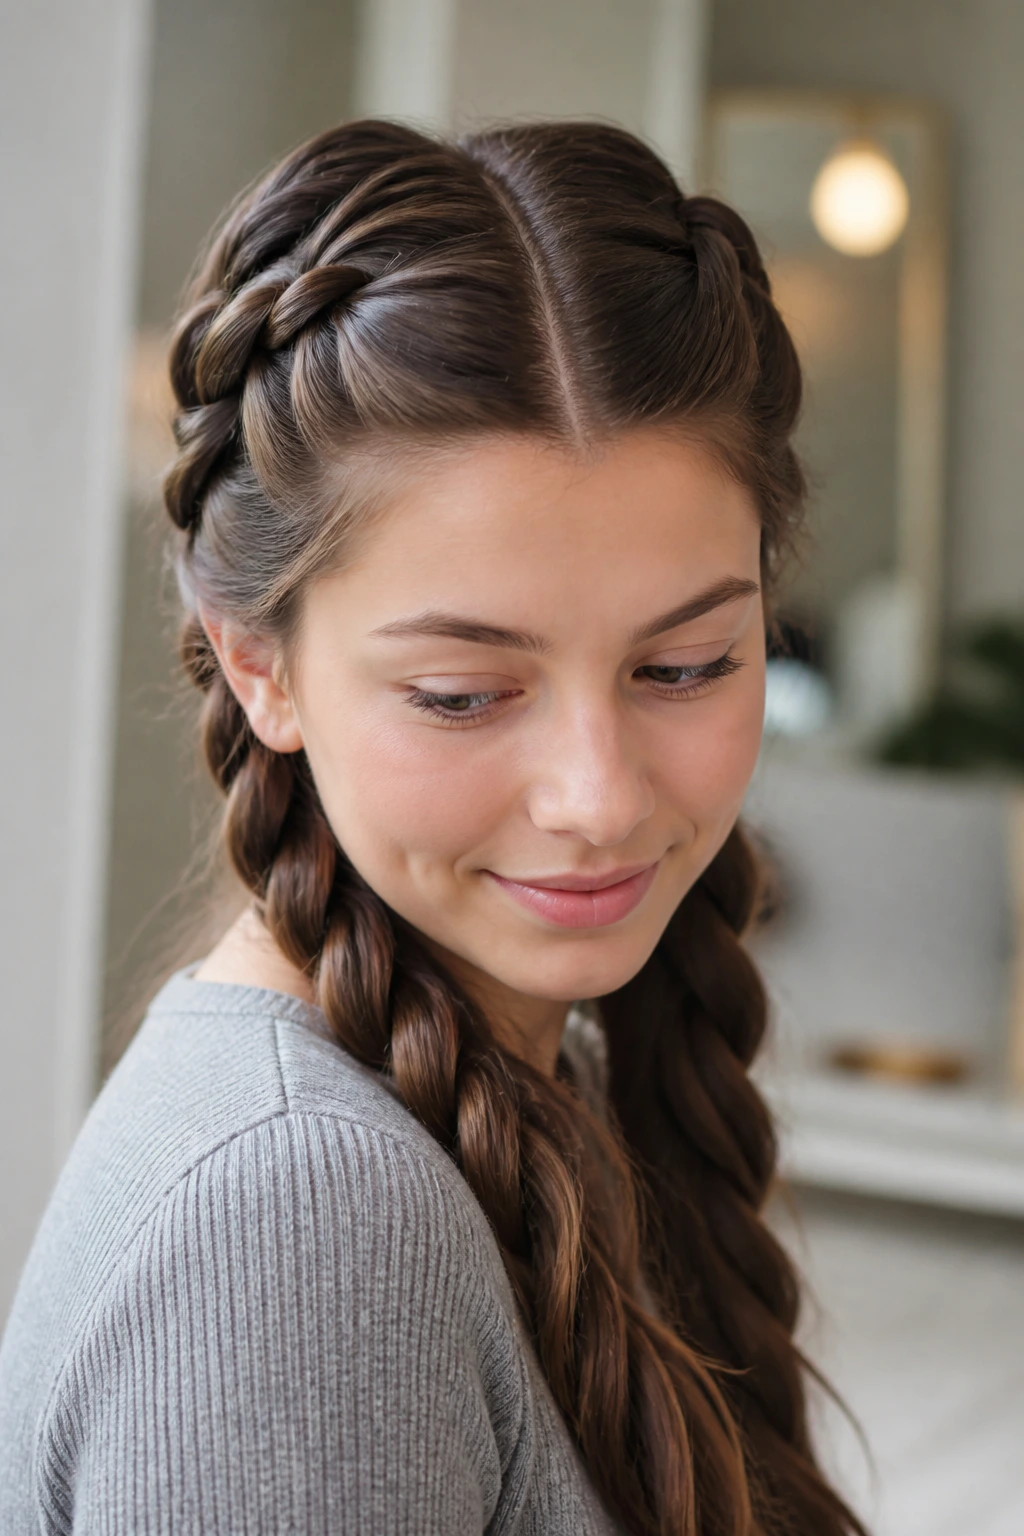
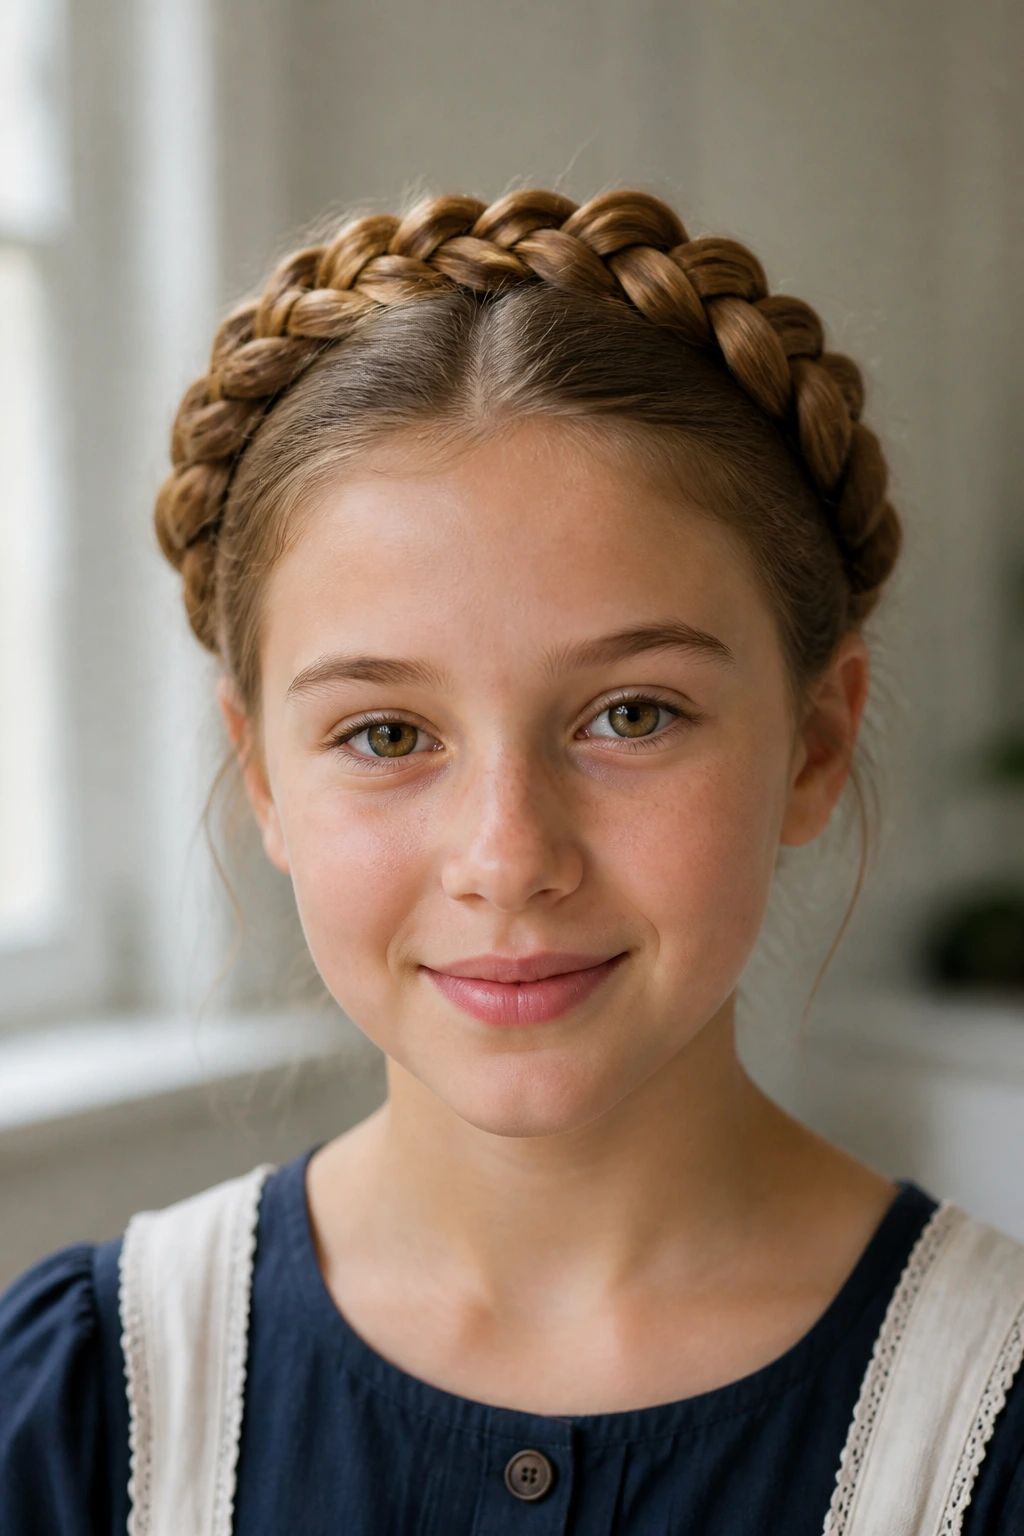
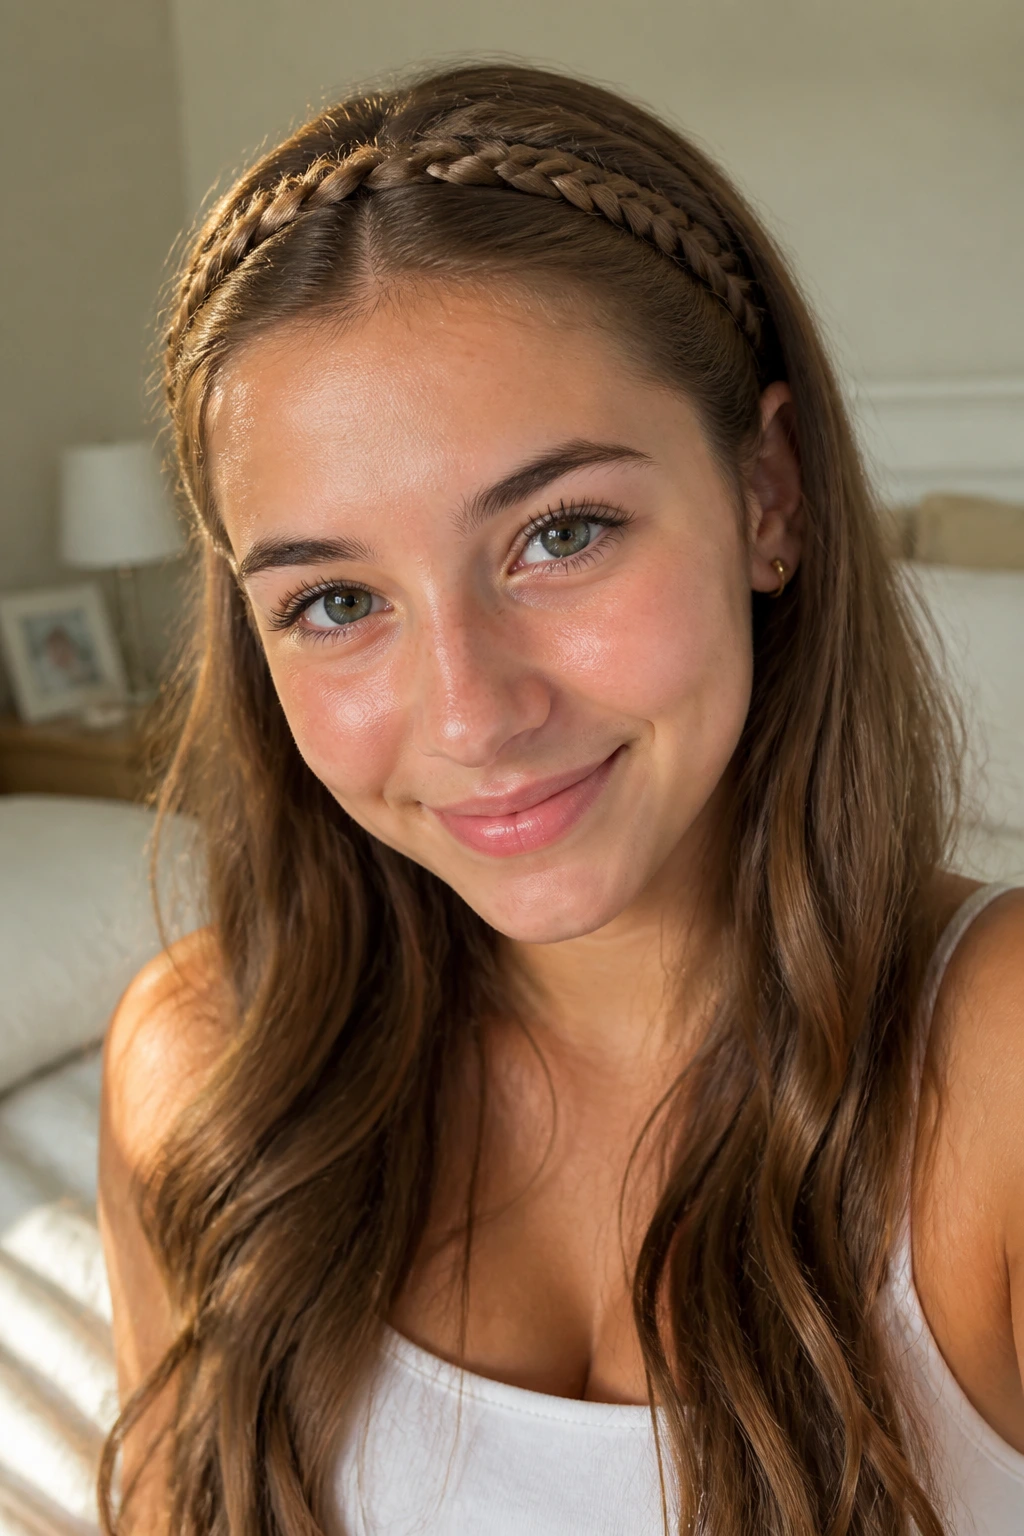
4. Half-Up Crown Braid
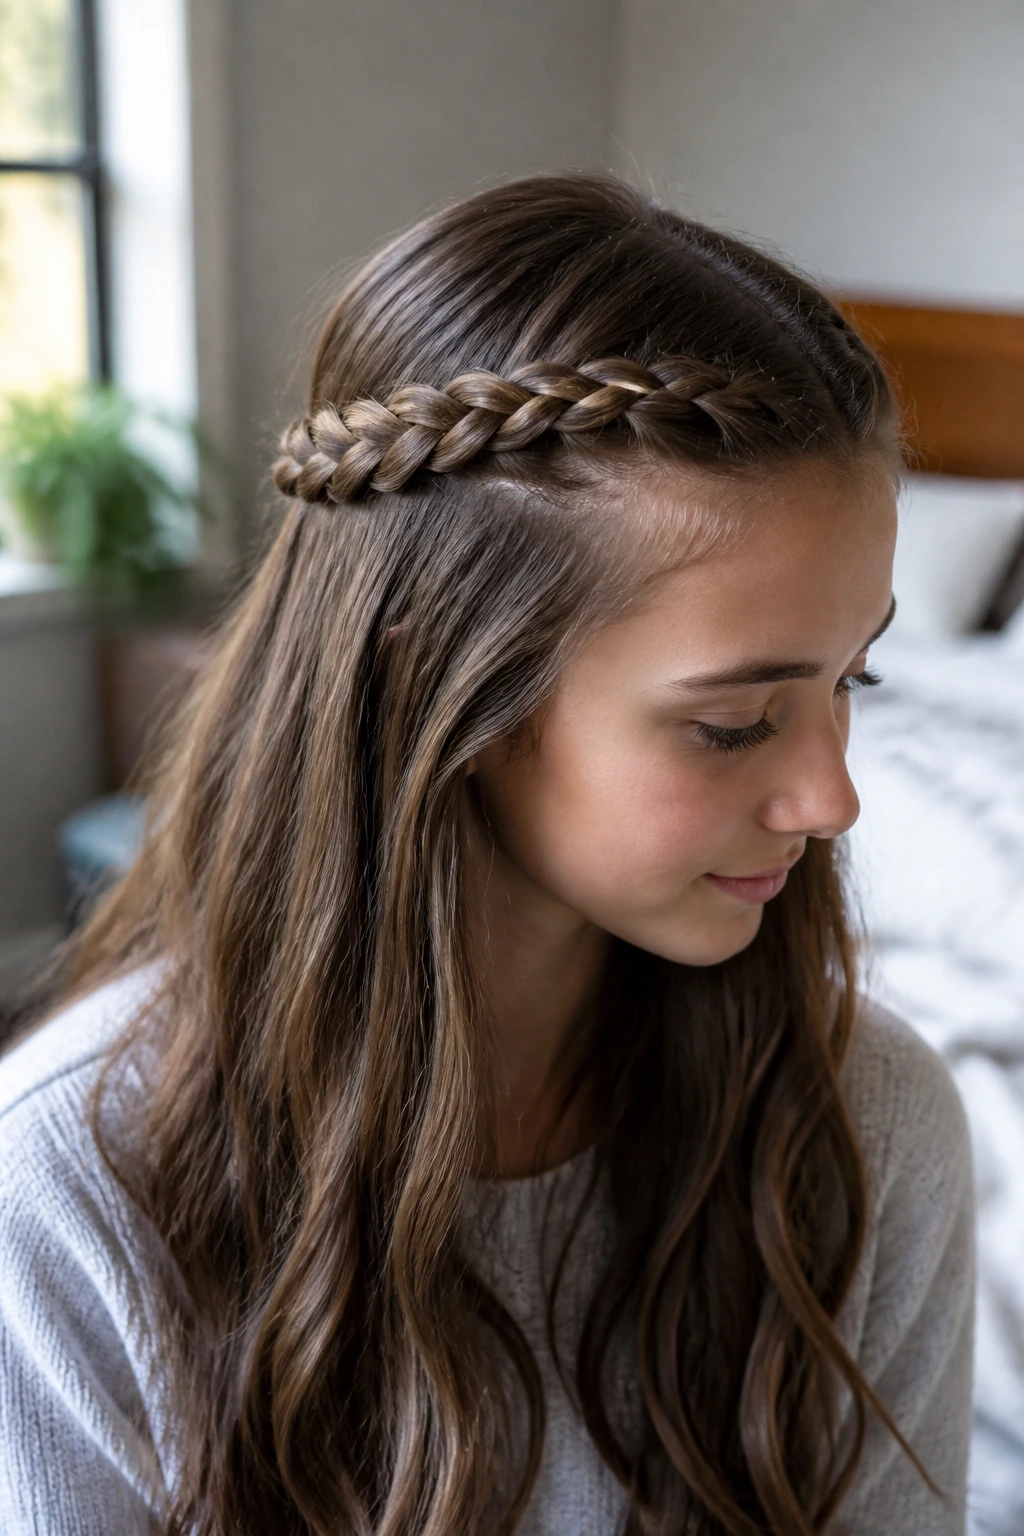
This style is perfect for days when you want your hair down but need to keep it out of your eyes. It gives you the drama of a headband without the headache that actual headbands often cause after eight hours in the classroom.
Mastering the Crown
- Take a two-inch section from both sides of your head.
- Create two simple three-strand braids and secure them with tiny, thin clear bands.
- Pull them toward the back and pin them together, overlapping the ends so the elastics are hidden.
Styling Variation
Try incorporating a ribbon into one of the strands as you braid. It adds a pop of color that matches your school spirit or your outfit without requiring any extra styling time.
5. The Fishtail Braid Illusion
The fishtail looks complex, like you spent hours weaving individual strands, but it is actually one of the simplest patterns once you understand the rhythm. It only uses two main sections, making it easier to handle if you have layers that tend to poke out of three-strand braids.
The Two-Strand Technique
Split your hair into two sections. Take a tiny piece from the outside of the left section and cross it over to the right. Repeat on the other side. That is it. The smaller the pieces you pick up, the more intricate the final braid looks.
Avoiding Tangles
- Brush your hair thoroughly before you begin.
- If you have naturally tangly hair, a light mist of detangler is a lifesaver.
- If the ends get knotty while you work, use your fingers to gently separate them rather than pulling hard.
6. Rope-Twist Pigtails
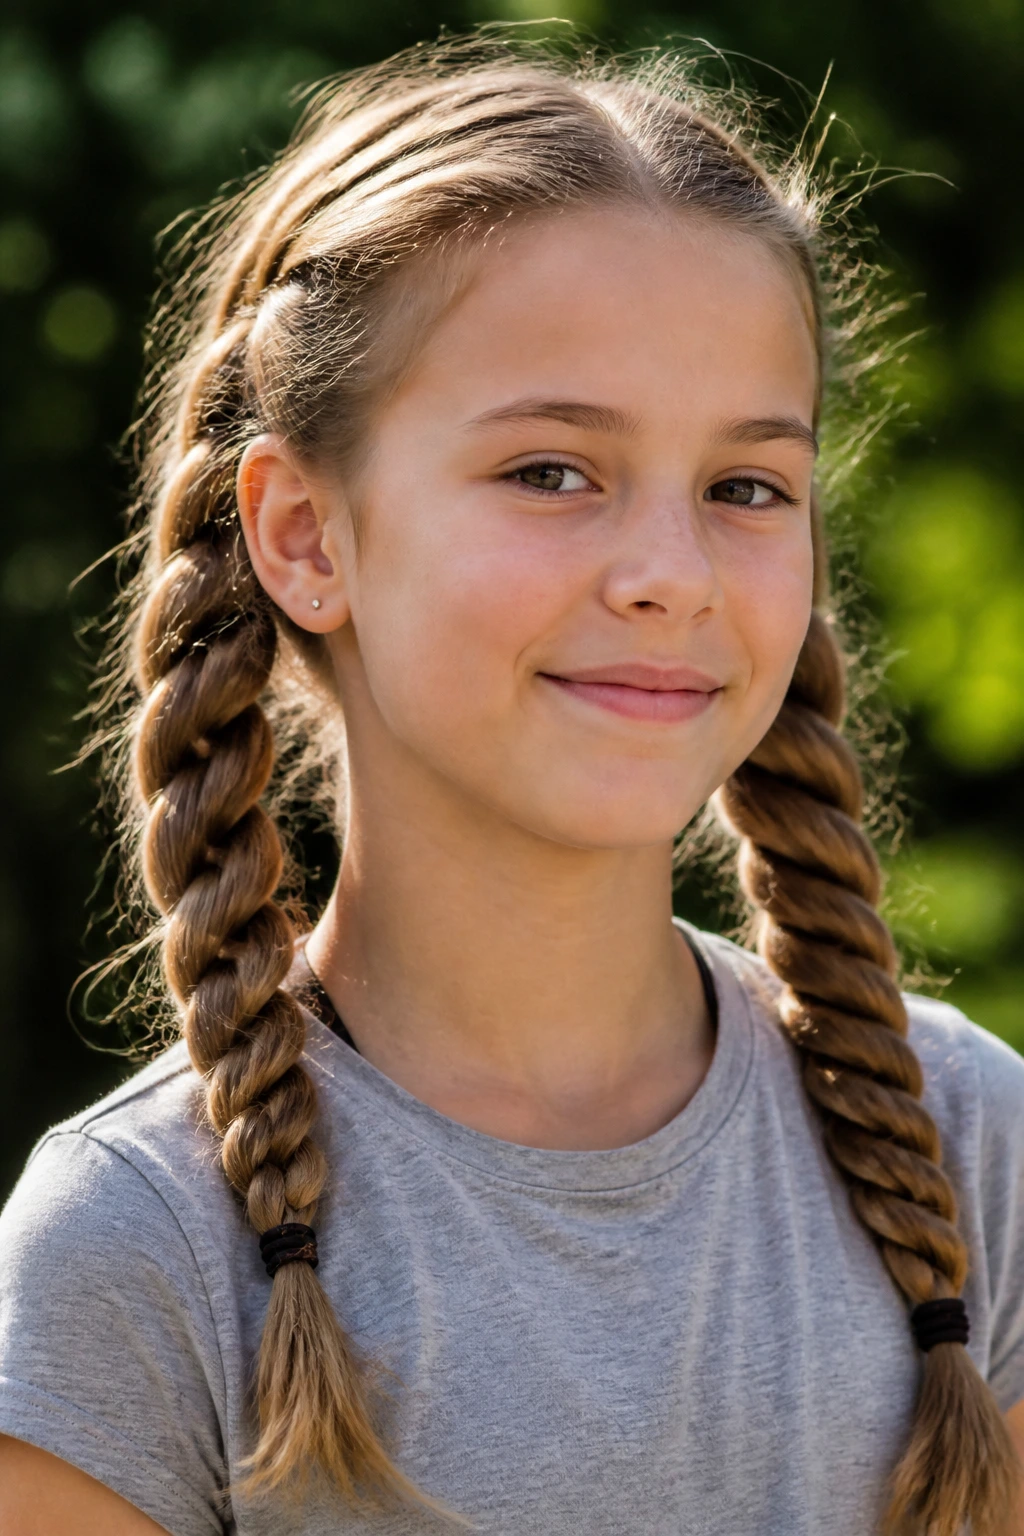
If braids feel too complicated, try the rope twist. It creates a spiral pattern that looks like a rope. It is cleaner and faster than a standard plait and holds up remarkably well against wind or humidity.
How to Execute the Rope
- Divide your hair into two pigtails.
- Split each pigtail into two even strands.
- Twist each strand to the right, then wrap them around each other to the left.
- Secure the end tightly, or the whole thing will unravel.
When to Choose This Style
Rope twists are excellent for thick, heavy hair. Because they are tighter than a standard braid, they distribute the weight of your hair more evenly, preventing that heavy “dragging” sensation you might get from a bulky braid.
7. The Waterfall Braid

This is for the days when you want something that looks elegant and intricate. It essentially involves braiding across the side of your head while letting sections of hair “drop” out of the braid with each step.
Why It Stays Put
It acts like a structural anchor. Because you are constantly picking up new hair and weaving it, the braid stays locked against your scalp. It is great for keeping long hair under control while still showcasing the length.
Best Hair Types
- This works exceptionally well on hair that is one length.
- If you have very choppy layers, the pieces might slip out, so use a bobby pin to secure any short bits that refuse to stay woven.
8. High Ponytail with a Braid Wrap
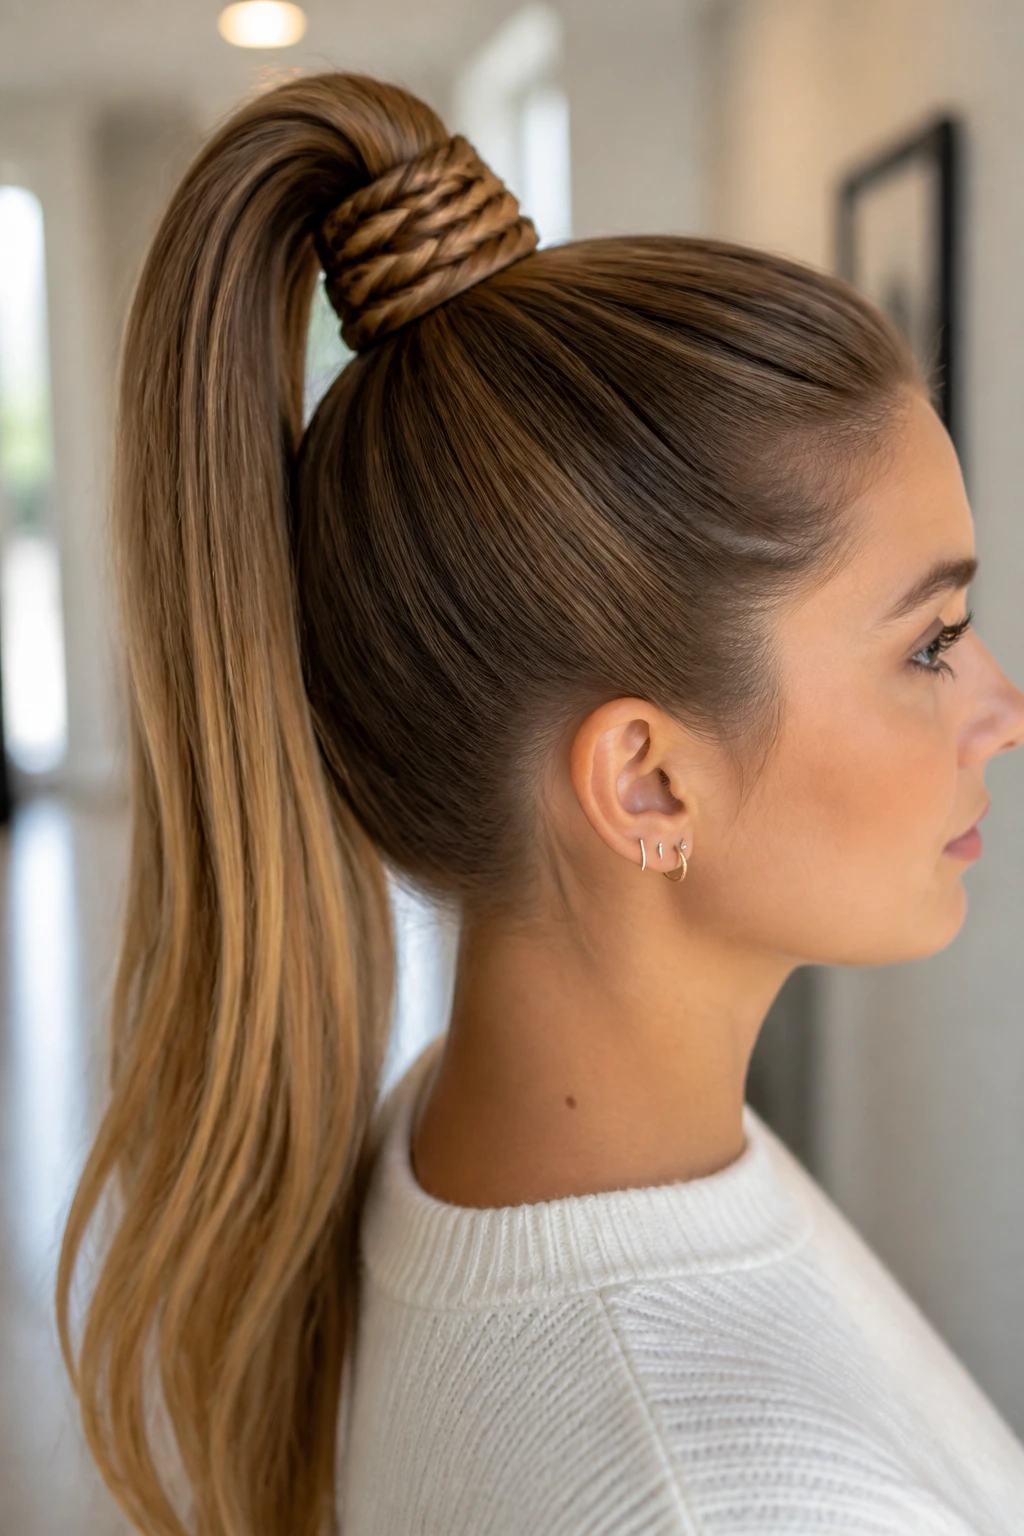
You probably wear a high ponytail at least twice a week. Instead of just wrapping a piece of hair around your elastic to hide it, try braiding that section first. It takes an extra thirty seconds but elevates the look from “gym class” to “polished.”
The Wrap Technique
- Leave a small, one-inch section of hair out before pulling the rest into a ponytail.
- Braid that section as tightly as possible.
- Wrap it around the base of the ponytail and secure the end underneath with a pin.
Pro-Level Tip
Use a dab of styling cream on the small section before braiding. It keeps the braid smooth and ensures no short hairs stick out, giving you that sleek, professional look.
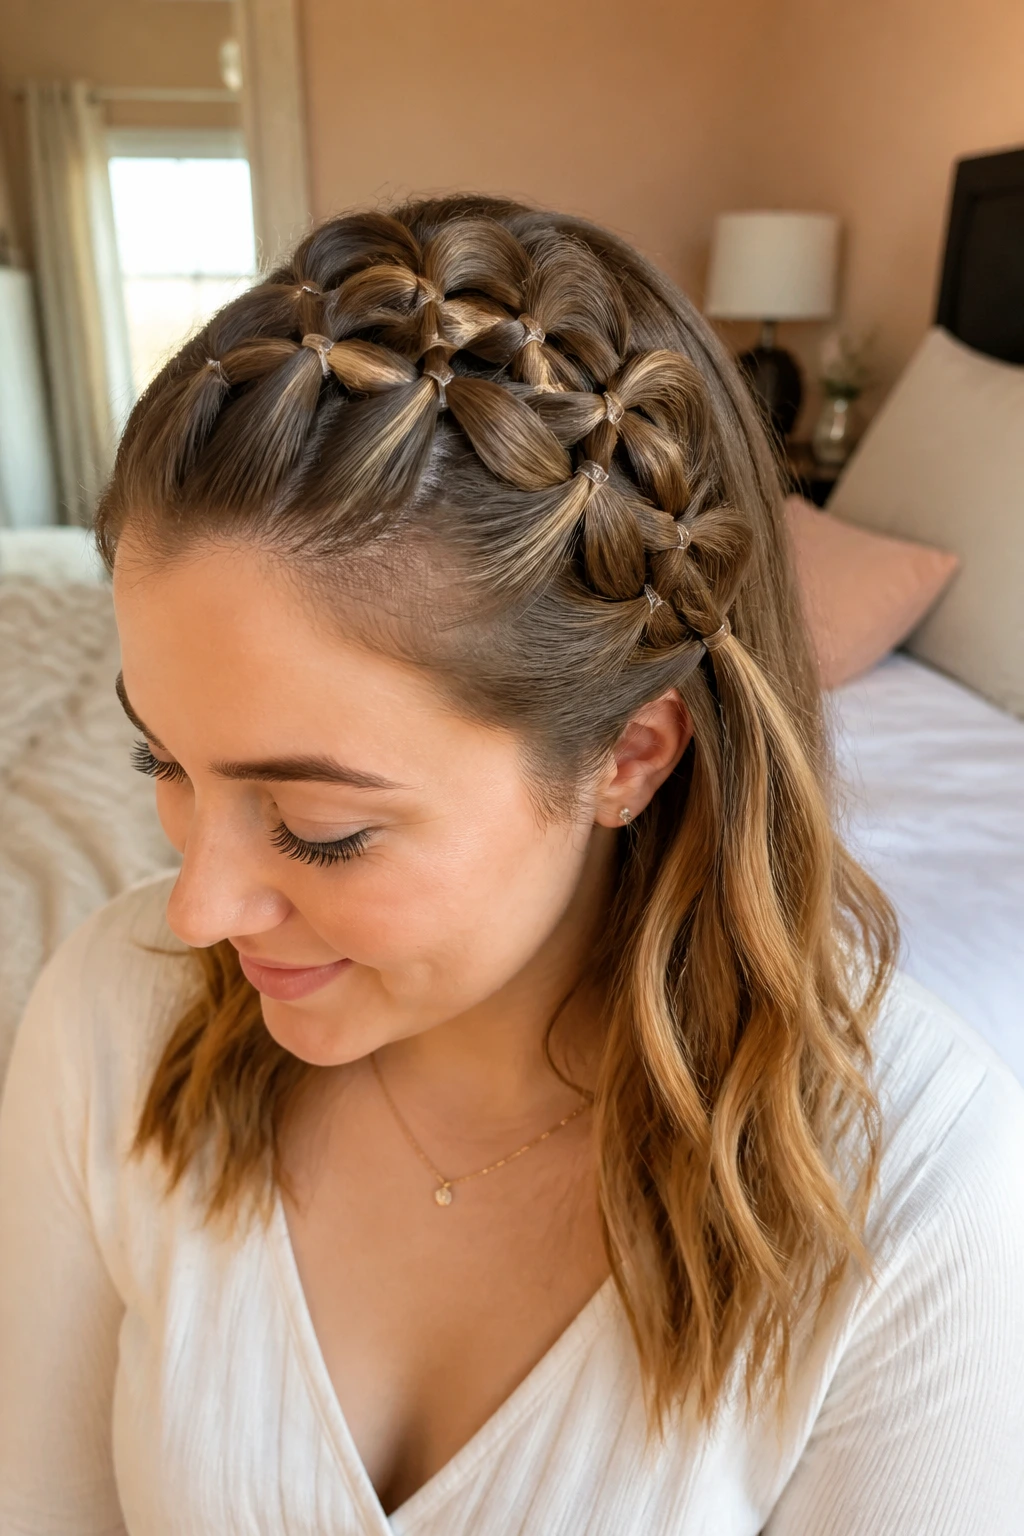
9. Pull-Through Braid
If you struggle with traditional braiding coordination, the pull-through “braid” is your answer. It is technically a series of small, connected ponytails, but the finished result looks like a thick, voluminous braid that is almost impossible to replicate with standard weaving.
The Construction
Start with a high ponytail and split it in half, securing those with a small elastic. Then, add another elastic a few inches down, pull the top ponytail through the bottom one, and continue the process down the entire length of your hair.
Volume Hacks
- Once you reach the bottom, pull the edges of each “loop” outward.
- This creates the appearance of a braid three times as thick as your natural hair.
- It is the ultimate hack for fine hair that needs a bit of a boost.
10. The Side-Part Dutch Headband
This is a sophisticated look that keeps all your hair off your face. It starts at a deep side part and wraps around your hairline like a halo. It is incredibly practical for busy days because once the braid is in, your hair is completely locked into place.
Precision Matters
Because this braid is right at your hairline, take your time parting the hair. Use the tail of a comb to get a crisp, clean line. A messy part here can make the whole style look unkempt.
Final Touches
- Tuck the end of the braid behind your ear and pin it discreetly.
- You can leave the rest of your hair down for a soft look or pull it into a low bun if you need it all up.
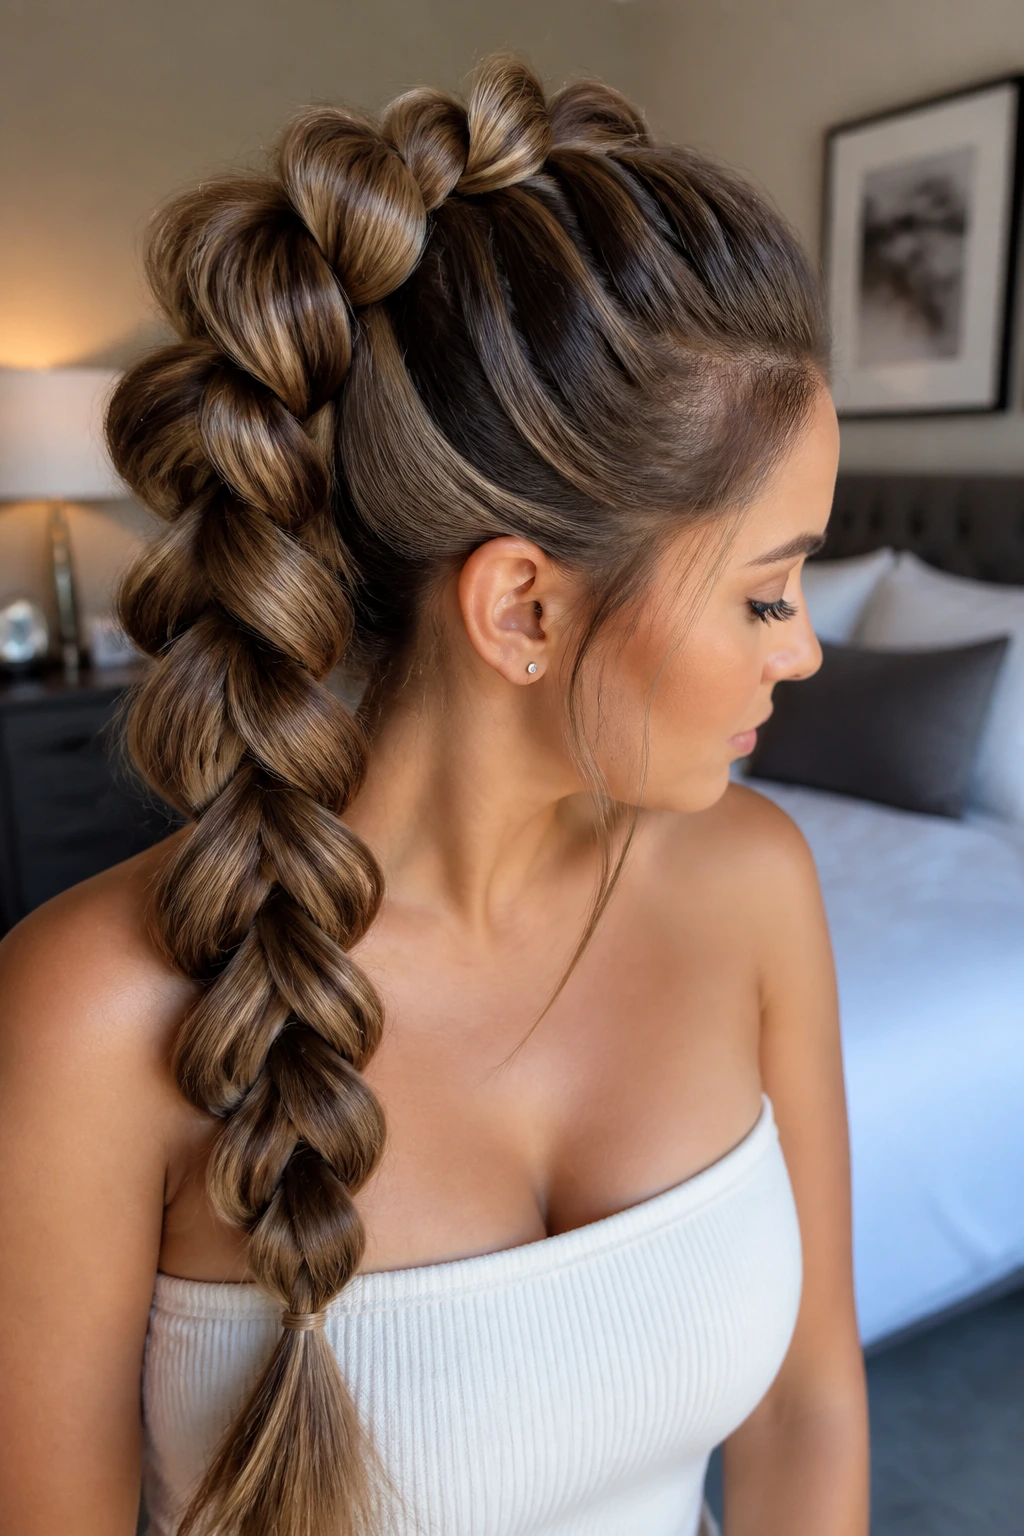
11. Bubble Braid Ponytail
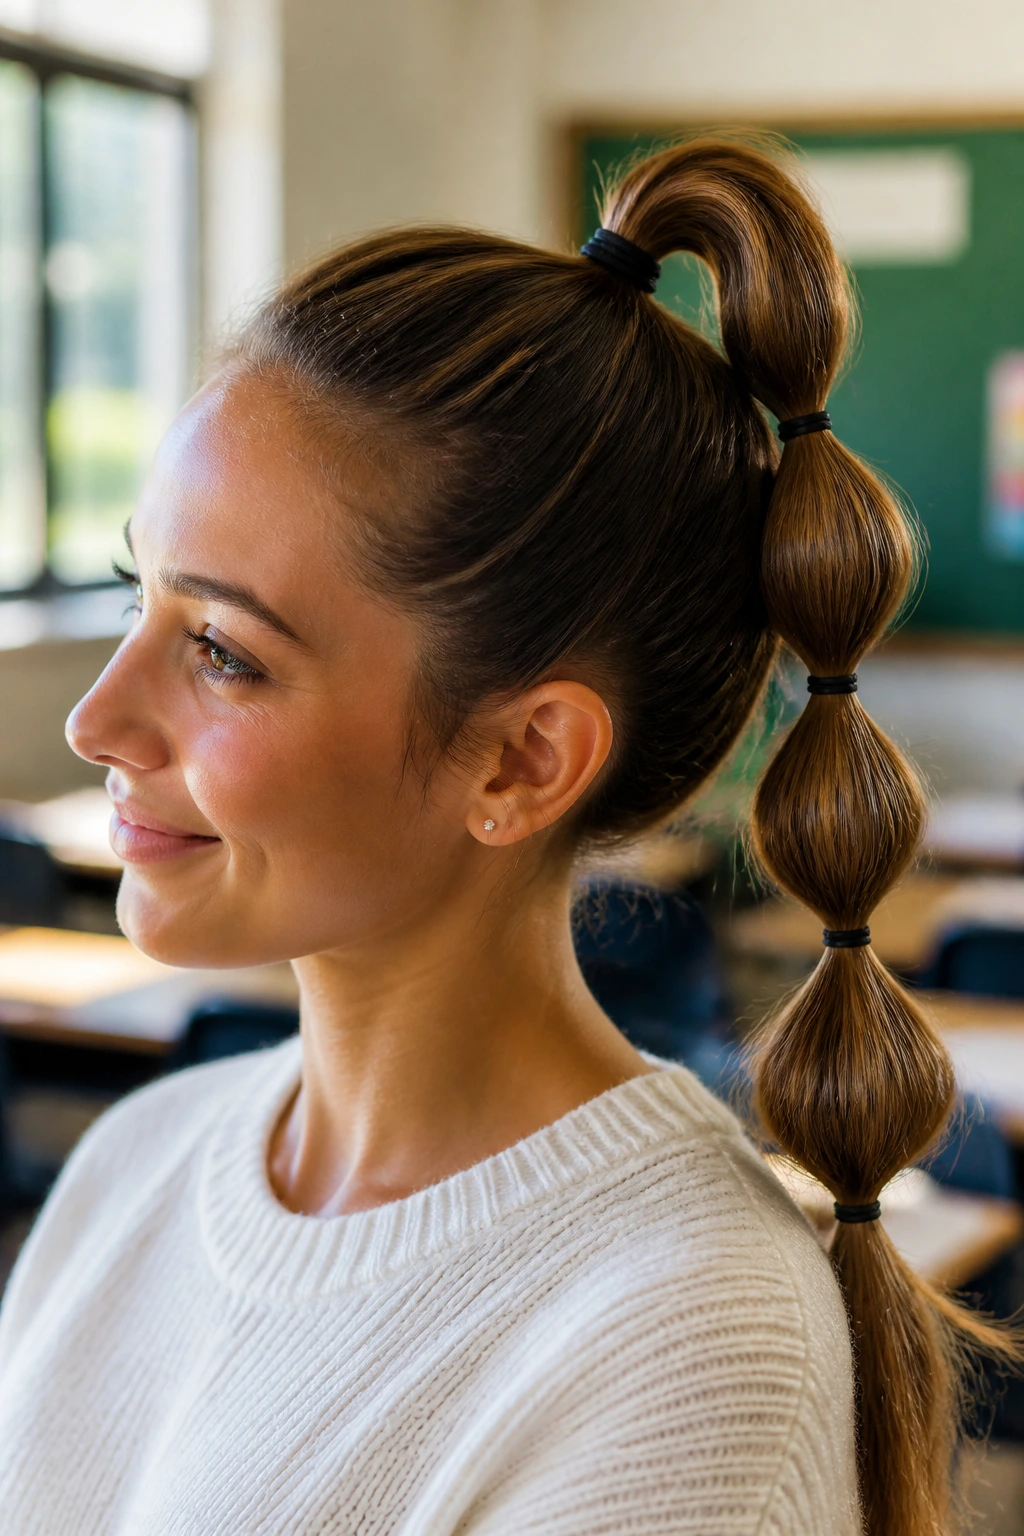
Bubble braids are trending because they are fun, youthful, and incredibly easy to execute. They are essentially ponytails with multiple elastics spaced out along the length.
Creating the “Bubble”
- Secure your hair in a high ponytail.
- Add an elastic every two inches down the length.
- Pull the hair in between the elastics outward to round them into bubbles.
Variety in Style
You can use clear elastics for a minimalist look or colorful bands if your school has a specific color day. It is a great way to showcase accessories without needing a degree in hair styling.
12. The Accented Micro-Braid
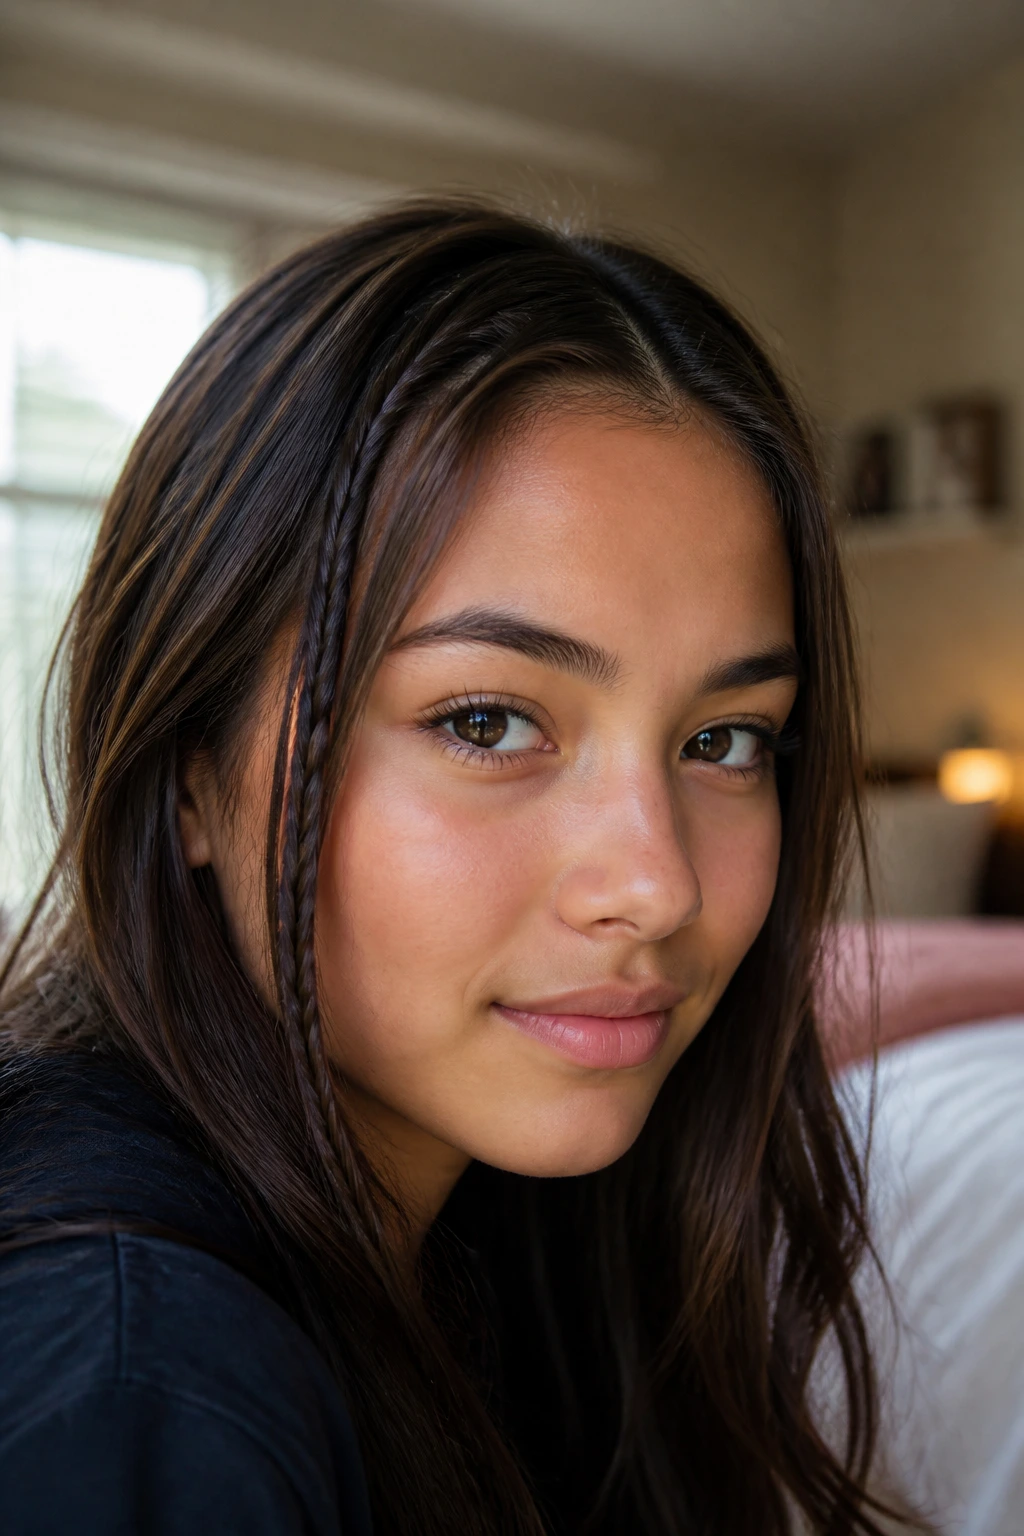
Sometimes you don’t want your whole head braided. Sometimes you just want a little detail. A micro-braid is a tiny three-strand braid that sits against your loose hair. It adds an unexpected texture without changing the shape of your hairstyle.
Where to Place It
- Try braiding just the very front section on one side of your part.
- It acts as a natural frame for your face and keeps those annoying wispy pieces out of your eyes.
Stylist’s Trick
Do not secure the end with a big, bulky band. Use a tiny, clear rubber band and cut it off at the end of the day to avoid snapping your ends.
13. The Braided Top Knot
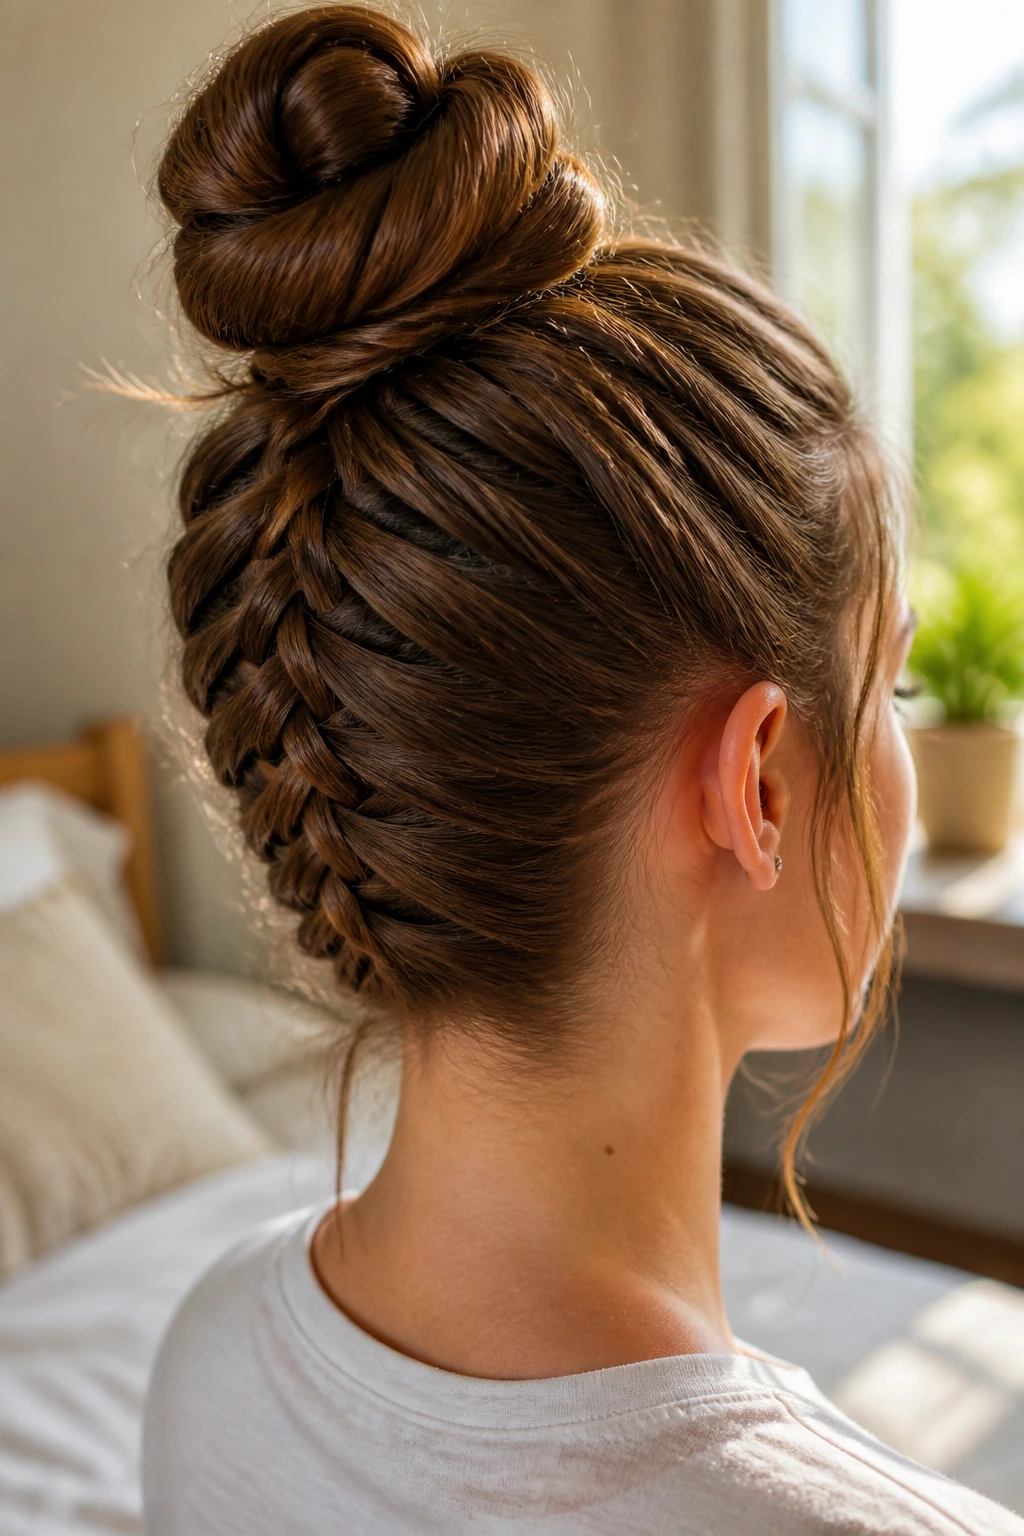
Combine two classic styles into one. Start by flipping your head upside down and braiding from the nape of your neck upward. Once you reach the crown, pull the rest of your hair into a bun.
Why It Works
It keeps your neck cool during the warmer months and is incredibly sturdy. The braid acts as a support system for the bun, preventing it from drooping during the day.
Making It Stay
Use large U-shaped pins instead of standard bobby pins to secure the bun. They hold much more hair and are less likely to poke into your scalp throughout the day.
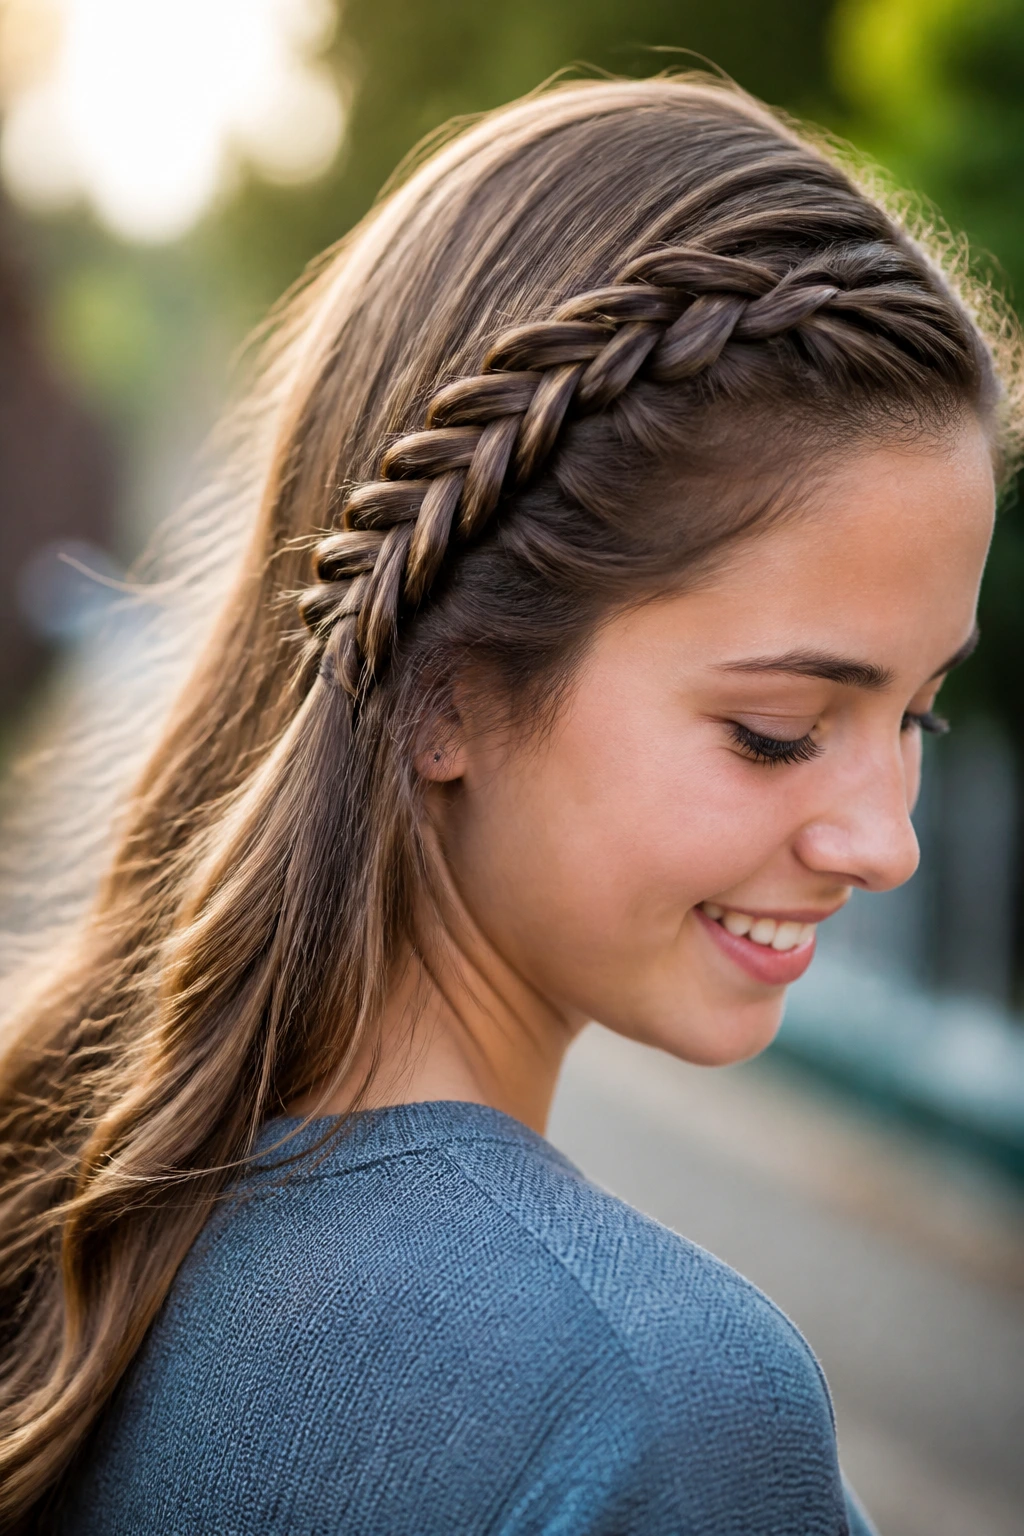
14. Double-Sided Twist Braid
If you are bored of the traditional plait, try the twist. It creates a more modern, textured appearance. It is especially effective on highlighted or balayaged hair because the different colors pop against the twisted pattern.
Technical Steps
- Take two sections of hair from the top and twist them inward.
- As you move down, pick up small pieces of hair and add them into the existing twists.
- It feels a bit like a French braid but requires only two main strands.
Maintenance
This style stays tight for hours. If you are worried about it coming loose, a quick spritz of sea salt spray will give your hair enough texture to grip itself and stay in place without needing extra pins.
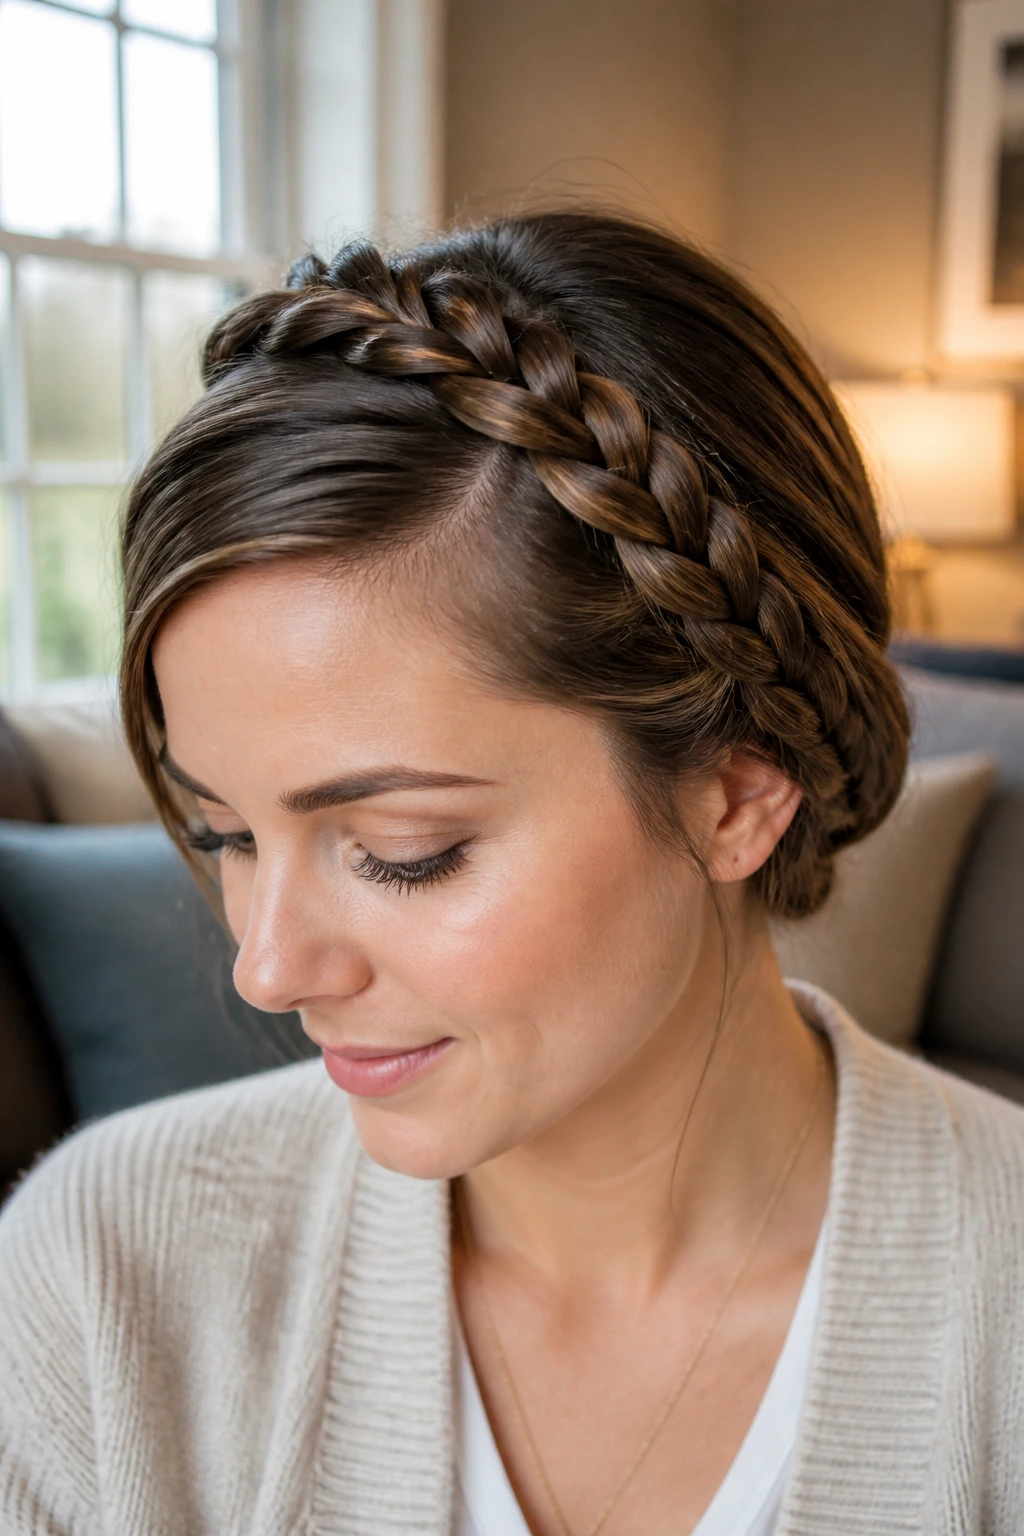
15. The “Milkmaid” Crown
This is a classic for a reason. By creating two braids and wrapping them over the top of your head, you get a clean, tidy, and sophisticated look that is perfect for presentation days or special events at school.
Getting the Wrap Right
- Ensure your two braids are of equal length.
- Cross them over the top of your head so that the end of the right braid meets the base of the left one, and vice versa.
- Tuck the ends under the main body of the braid and secure them with a sturdy pin.
Comfort
If your head feels tight, you have pulled the braids too hard. Loosen the weave slightly before pinning. This style should feel comfortable enough to wear for a full eight-hour school day.
16. The Half-Braided Top Bun
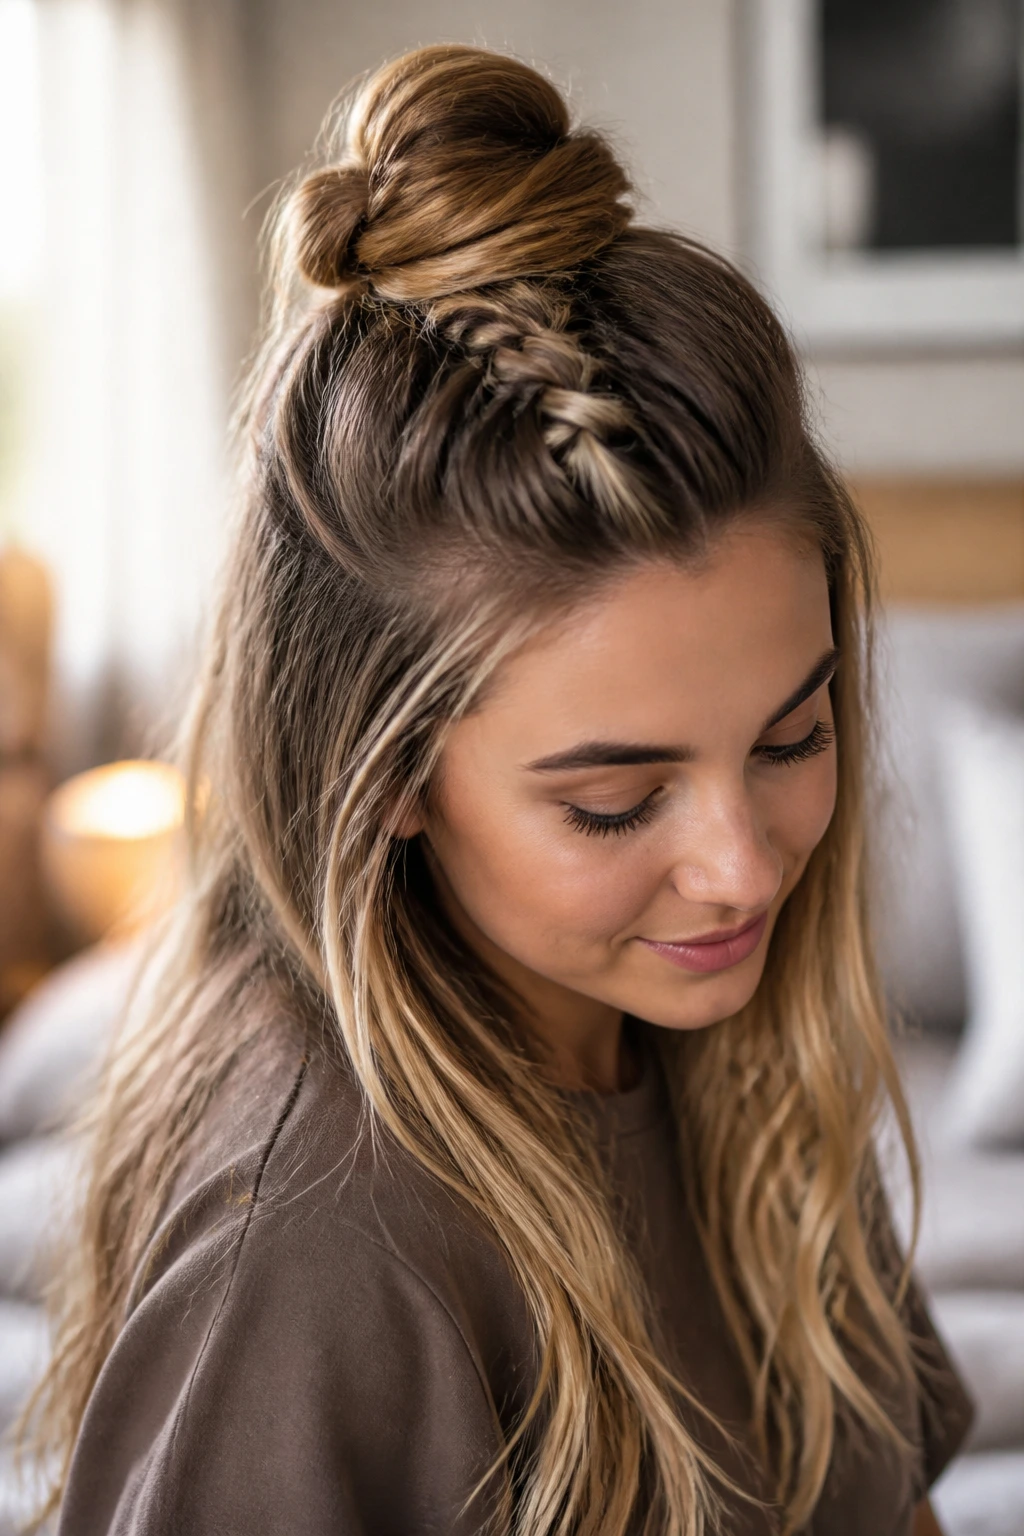
This is a variation of the standard half-up look. Instead of just pulling half your hair into a bun, you braid that top section before winding it into the bun.
Why This Style Succeeds
It provides a bit of extra height and volume at the crown. If you have a flatter hair texture, this is a perfect way to fake a bit of lift without needing backcombing or harsh products.
Styling Tip
Use a silk scrunchie for the bun section. It is gentler on your hair than elastic bands and adds a soft, intentional touch to the final look.
17. The Bohemian Fishtail Side Braid
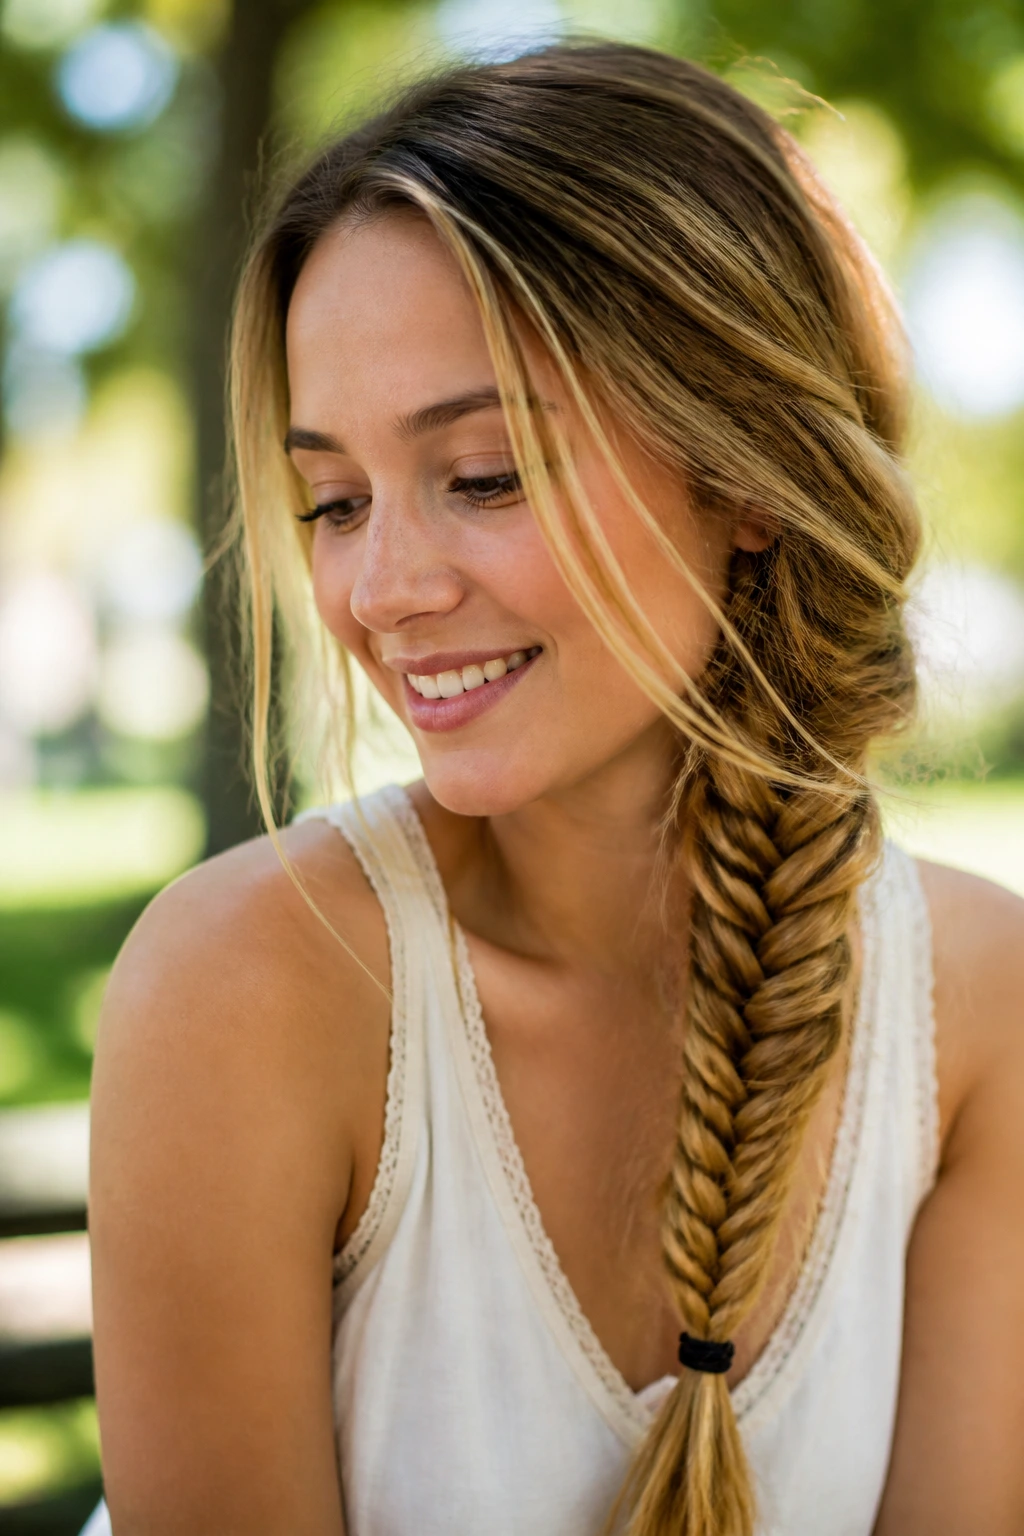
This takes the standard fishtail and makes it “lived-in.” It is great for those days when your hair has a bit of natural wave or second-day texture.
Creating the Boho Effect
- Once your fishtail is finished, gently pull apart the entire length.
- Use your thumbs and forefingers to pull the loops in opposite directions.
- You want the braid to look slightly frayed, as if you’ve been walking through a meadow all morning.
Finishing the Ends
Do not tuck the end under. Leave a little tail out for a relaxed, bohemian vibe. It feels less structured and more personal.
18. Braided Pigtails with a Middle Part
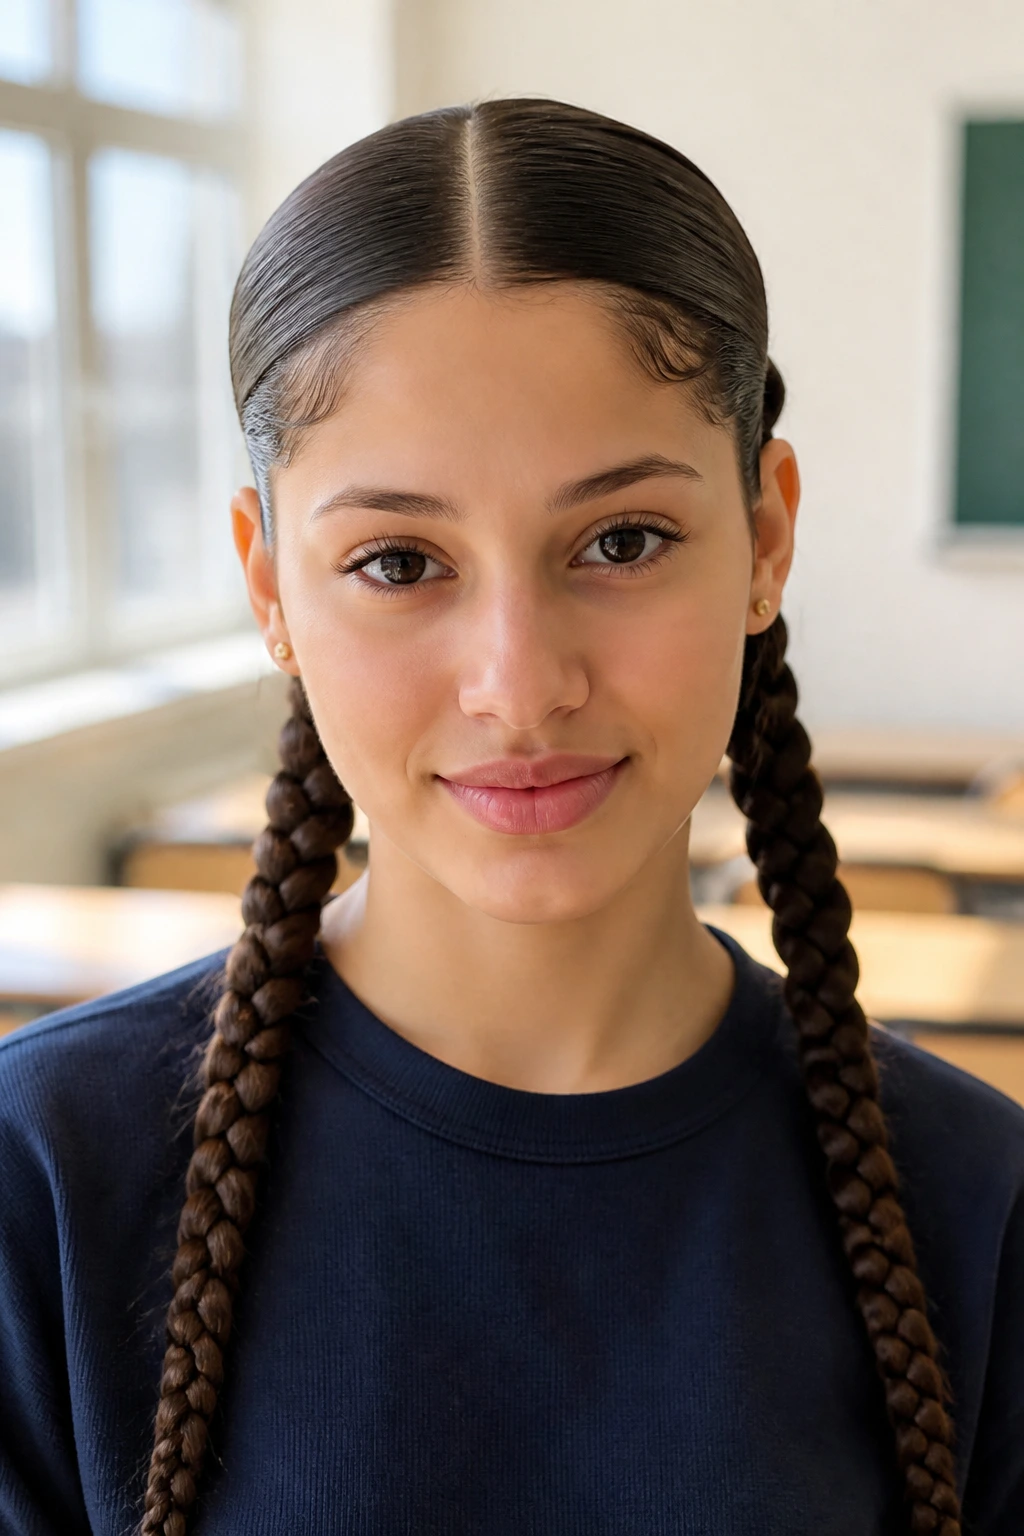
Pigtails are often dismissed as being “too young,” but with a sleek middle part and tight, clean braids, they look remarkably chic and trendy. They are the ultimate “gym-to-class” style.
The Parting Secret
Use the handle of a rat-tail comb to ensure your part is perfectly straight. Even a small diagonal slant can make the pigtails feel lopsided.
Keeping It Sleek
Use a small amount of pomade or light gel on your fingertips as you braid. It smoothes down the cuticle and gives the braids a high-shine, professional appearance that lasts until the final bell rings.
19. The Knotted Pull-Through
Similar to the standard pull-through, the knot technique uses individual sections that are looped over one another. It mimics the look of a complex Celtic knot.
Why It Stands Out
It is physically impossible to achieve this look with a standard braid. It provides a flat, woven appearance that is very durable. Because every section is secured with its own elastic, one broken band will not ruin the entire style.
Best Hair Lengths
This is best suited for hair that is at least shoulder-length. Shorter hair tends to pop out of the loops, which can create a frizzy mess rather than a sleek knot.
20. The Braided “Mohawk”
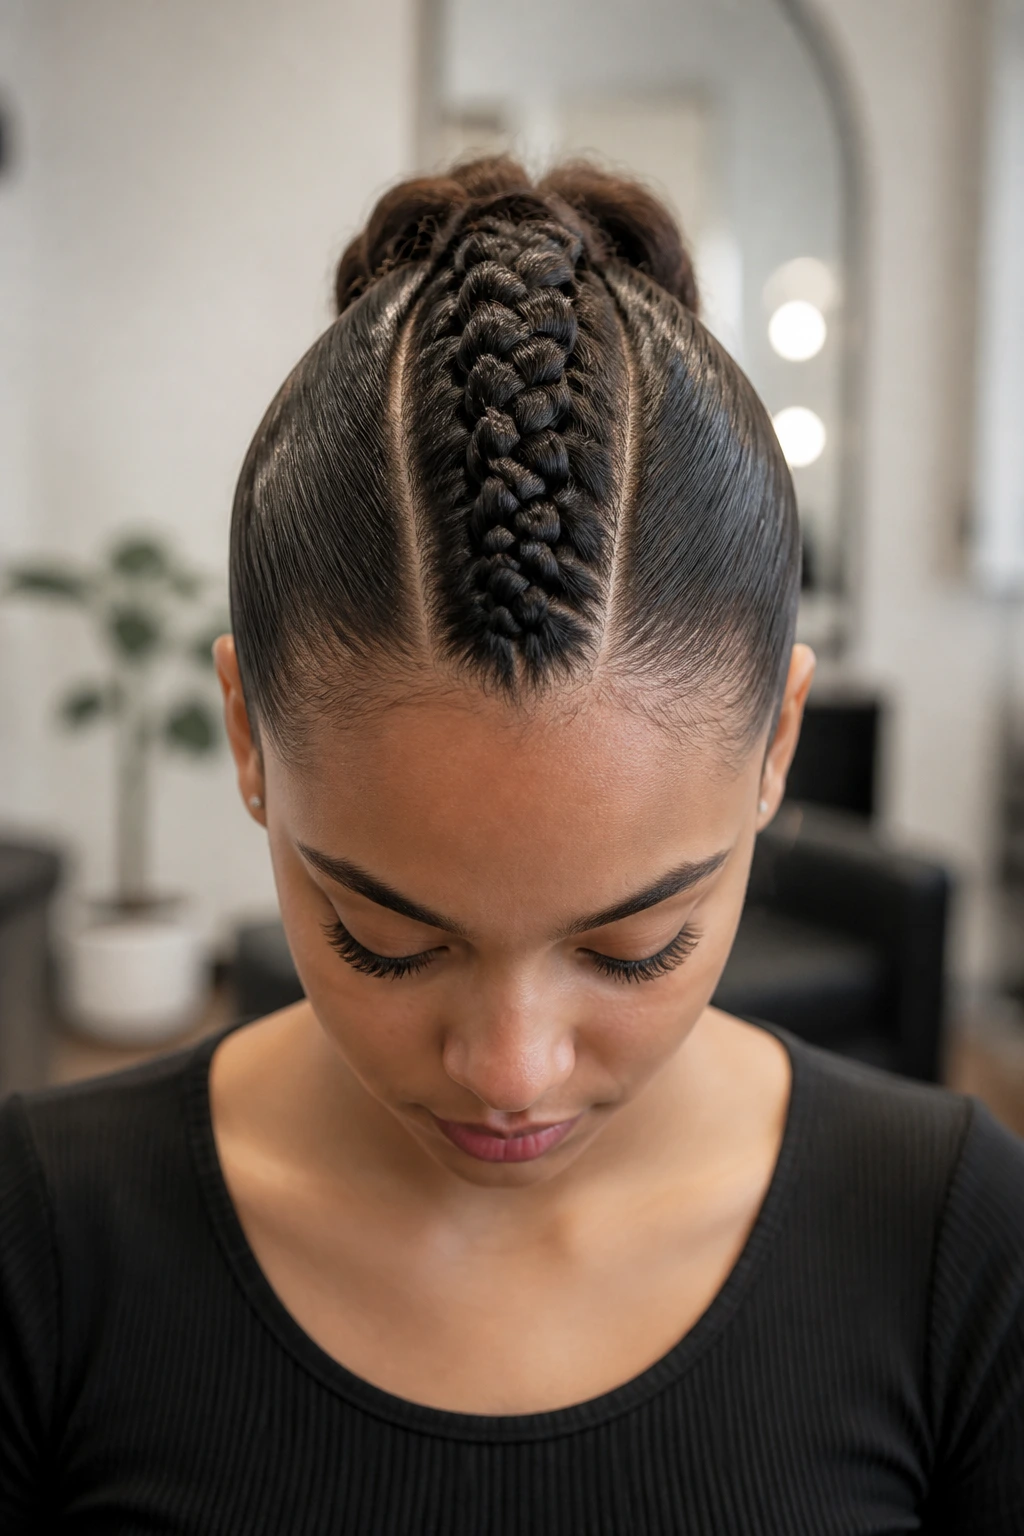
This is a bold, cool-girl look that is surprisingly easy. Instead of a traditional braid, you create a series of small, tight Dutch braids down the center of your head, tucking the ends into a low bun or a sleek ponytail.
The Centerline
This style depends entirely on how clean your center section is. Make sure to section off your hair precisely so that the central Mohawk strip is uniform in width from the forehead to the nape.
Adding Volume
If you want the Mohawk to look bigger, use a bit of dry shampoo at the roots before you begin. It adds instant grit and height that makes the center section stand out.
21. Side-Swept Rope Braid
If you have long hair, this is a quick way to keep it out of your way. Simply sweep your hair to one side, create a rope twist, and secure.
The Twist Pattern
The rope twist looks significantly more complex than it is. The key is to keep the two main strands taut. If they are loose, the twist will lose its shape and look like a mess.
Why Use This Over a Plait
It is much less bulky. A three-strand plait made with thick hair can be quite heavy and thick; a rope twist stays streamlined and slim, making it much more comfortable for long wear.
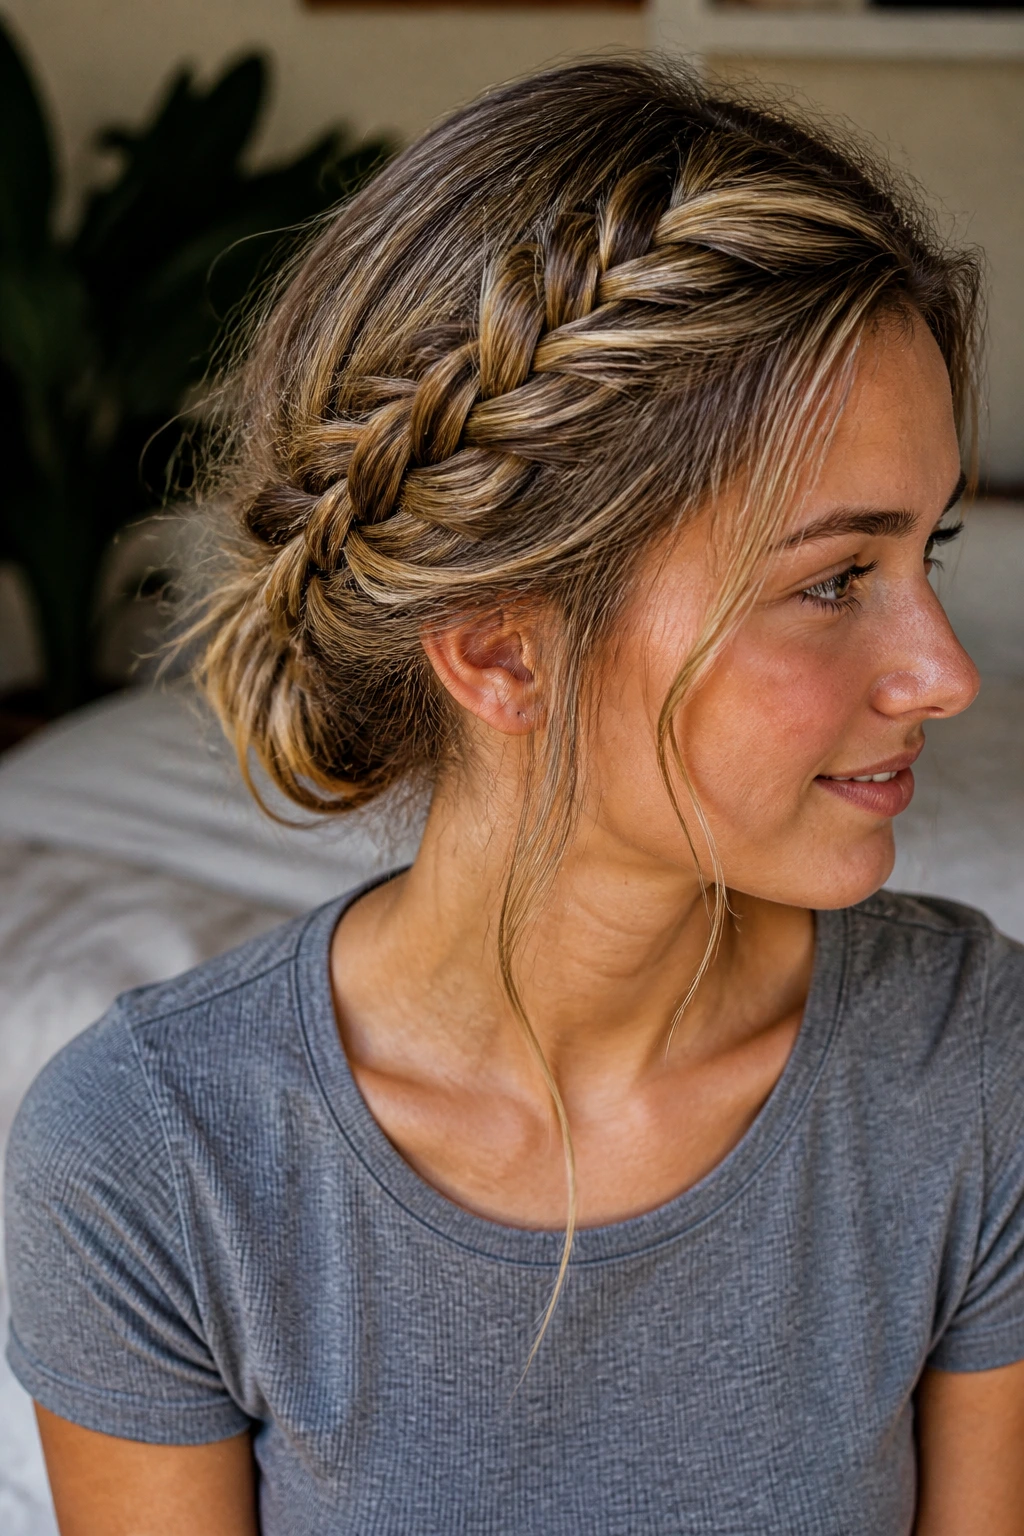
22. The Crown-to-Bun Combo
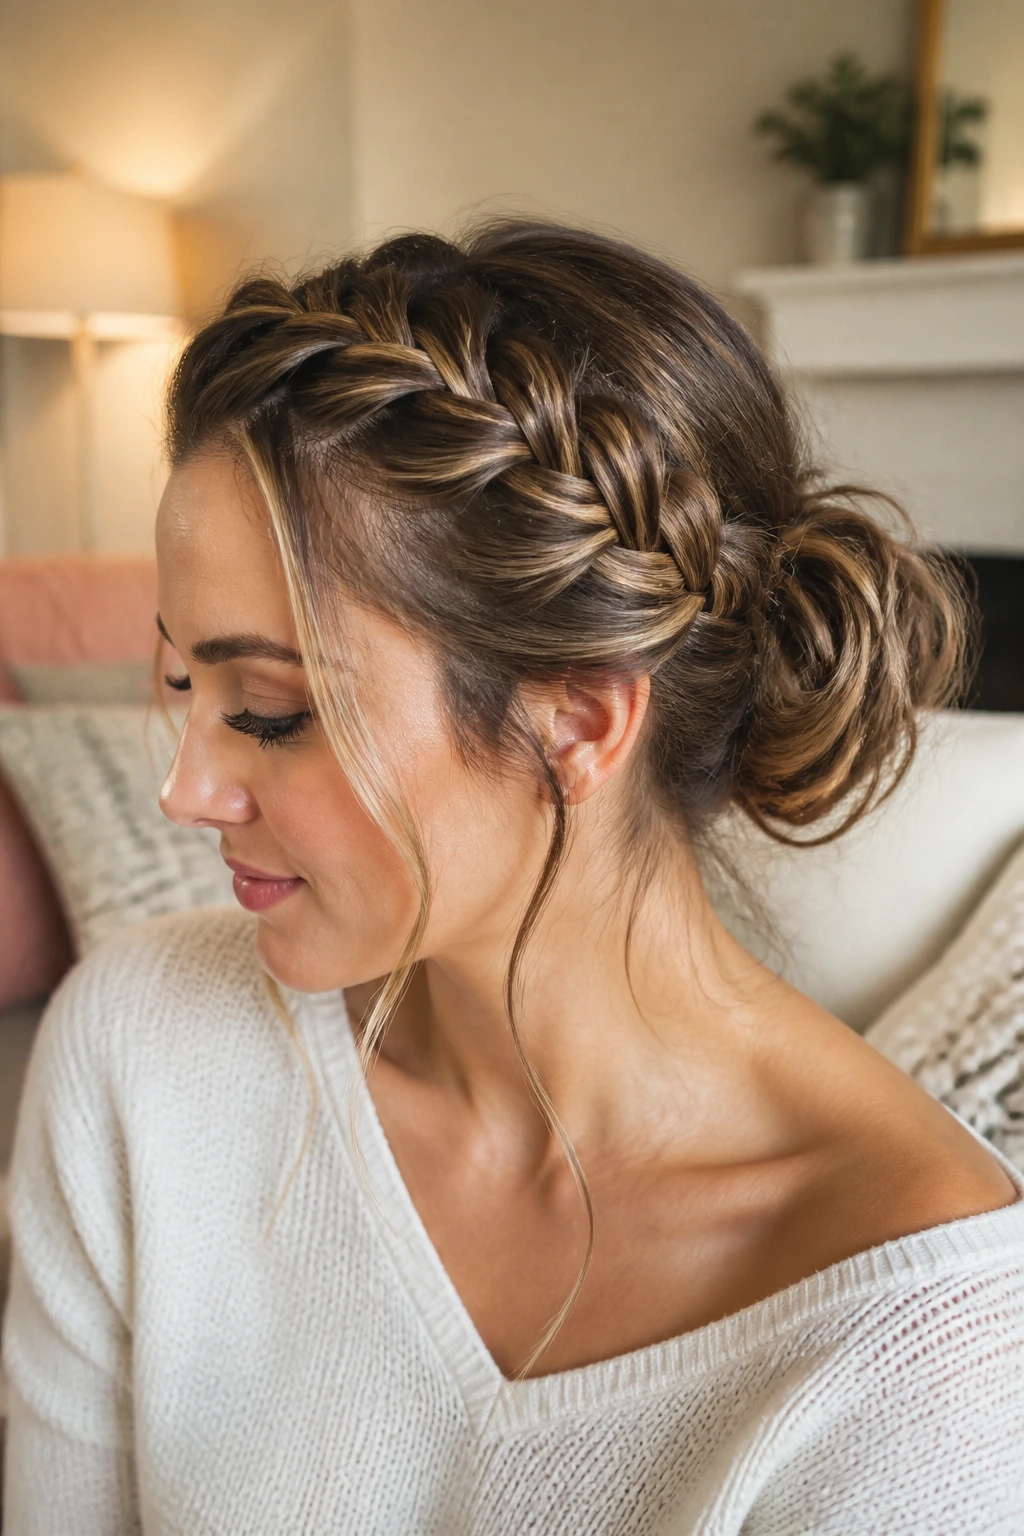
This style takes a Dutch braid starting at the temple and feeds it directly into a messy bun at the back. It is the perfect bridge between a formal look and a casual, relaxed vibe.
Integrating the Braid
As you braid toward the back, do not stop at the nape. Keep the braid going until you reach the bun, then wrap the end around the bun itself. It makes the style look cohesive.
Messy Bun Strategy
Do not try to make the bun perfect. Let a few loose strands escape. The contrast between the tight, structured braid and the soft, loose bun is what makes this style so visually interesting.
23. Double-Braided Headband
Create two parallel braids starting at your part and moving toward your ears. This gives the illusion of a double headband without the uncomfortable pinch behind your ears.
Managing Two Braids
- Pin the first braid slightly back, and place the second one right behind it.
- Ensure they are spaced out enough so you can see the individual pattern of each braid.
- If they are too close, they will just look like one messy blob.
Styling Variation
Try using two different braiding styles—a Dutch braid for the front and a simple three-strand for the back—to add depth and contrast to your look.
24. Fishtail Pigtails
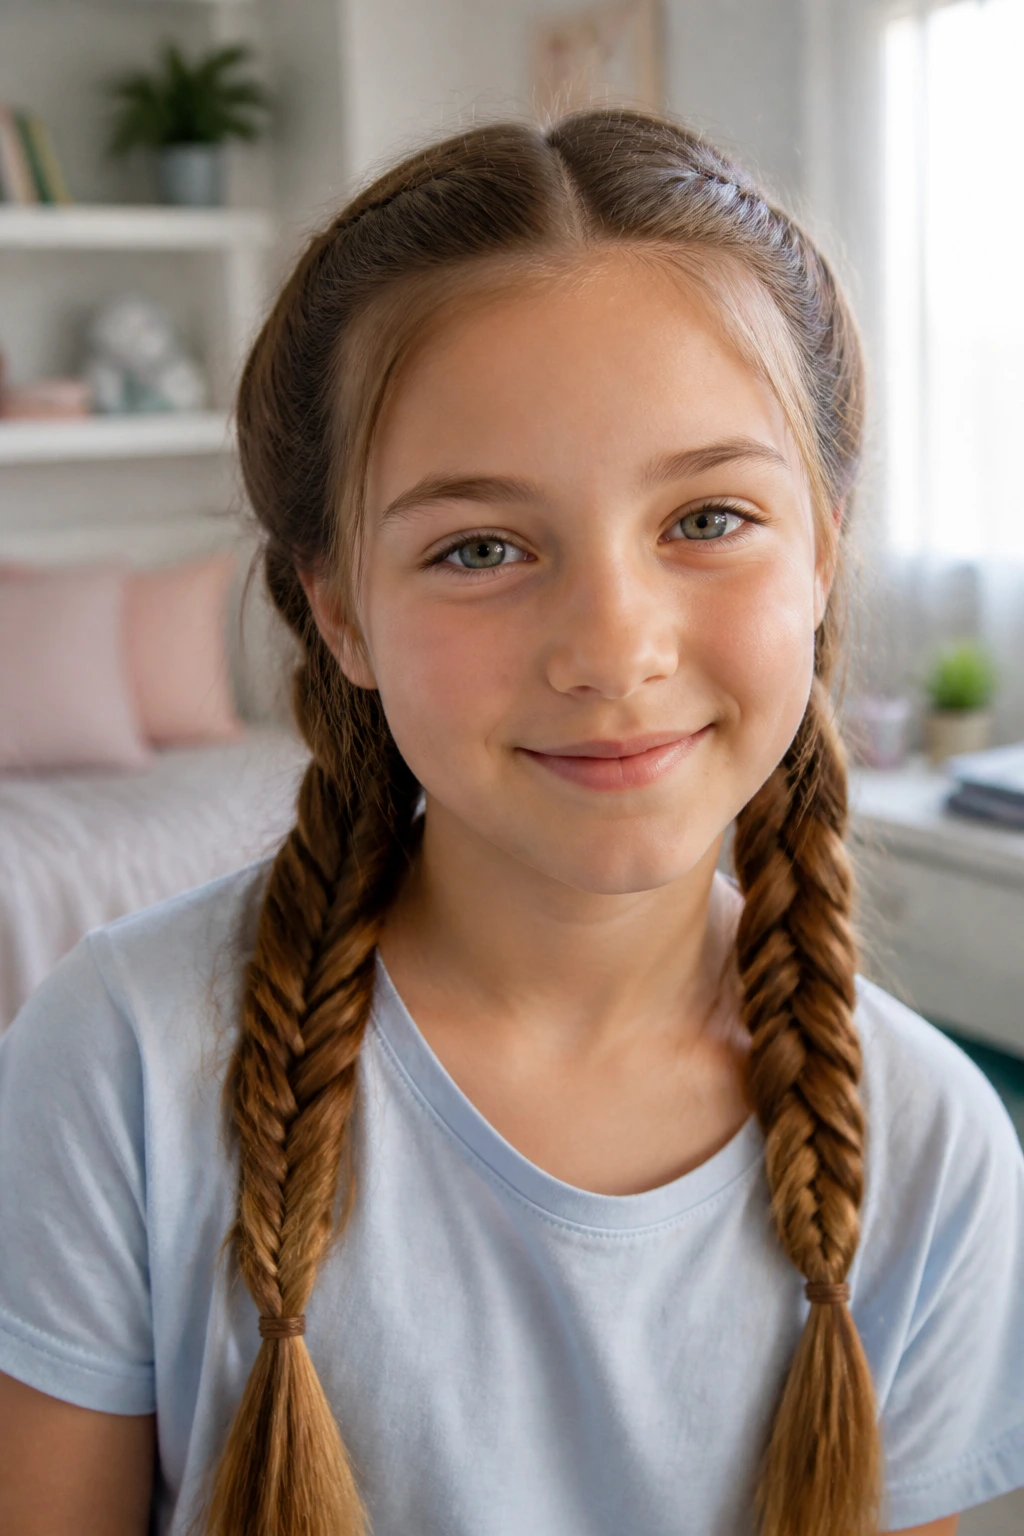
Take the classic pigtail and replace the three-strand plait with a fishtail. It is a slightly elevated version of a standard look and shows that you put just a little more effort into your morning routine.
Why They Work
They are tighter than standard plaits, meaning they will not frizz up during a busy day. They are the perfect balance of “put-together” and “casual.”
Quick Fixes
If you do not have time for a full-length fishtail, do the first three inches as a fishtail and finish the rest as a standard three-strand braid. Nobody will notice the transition, and you will save minutes every morning.
25. The Braided Low Ponytail
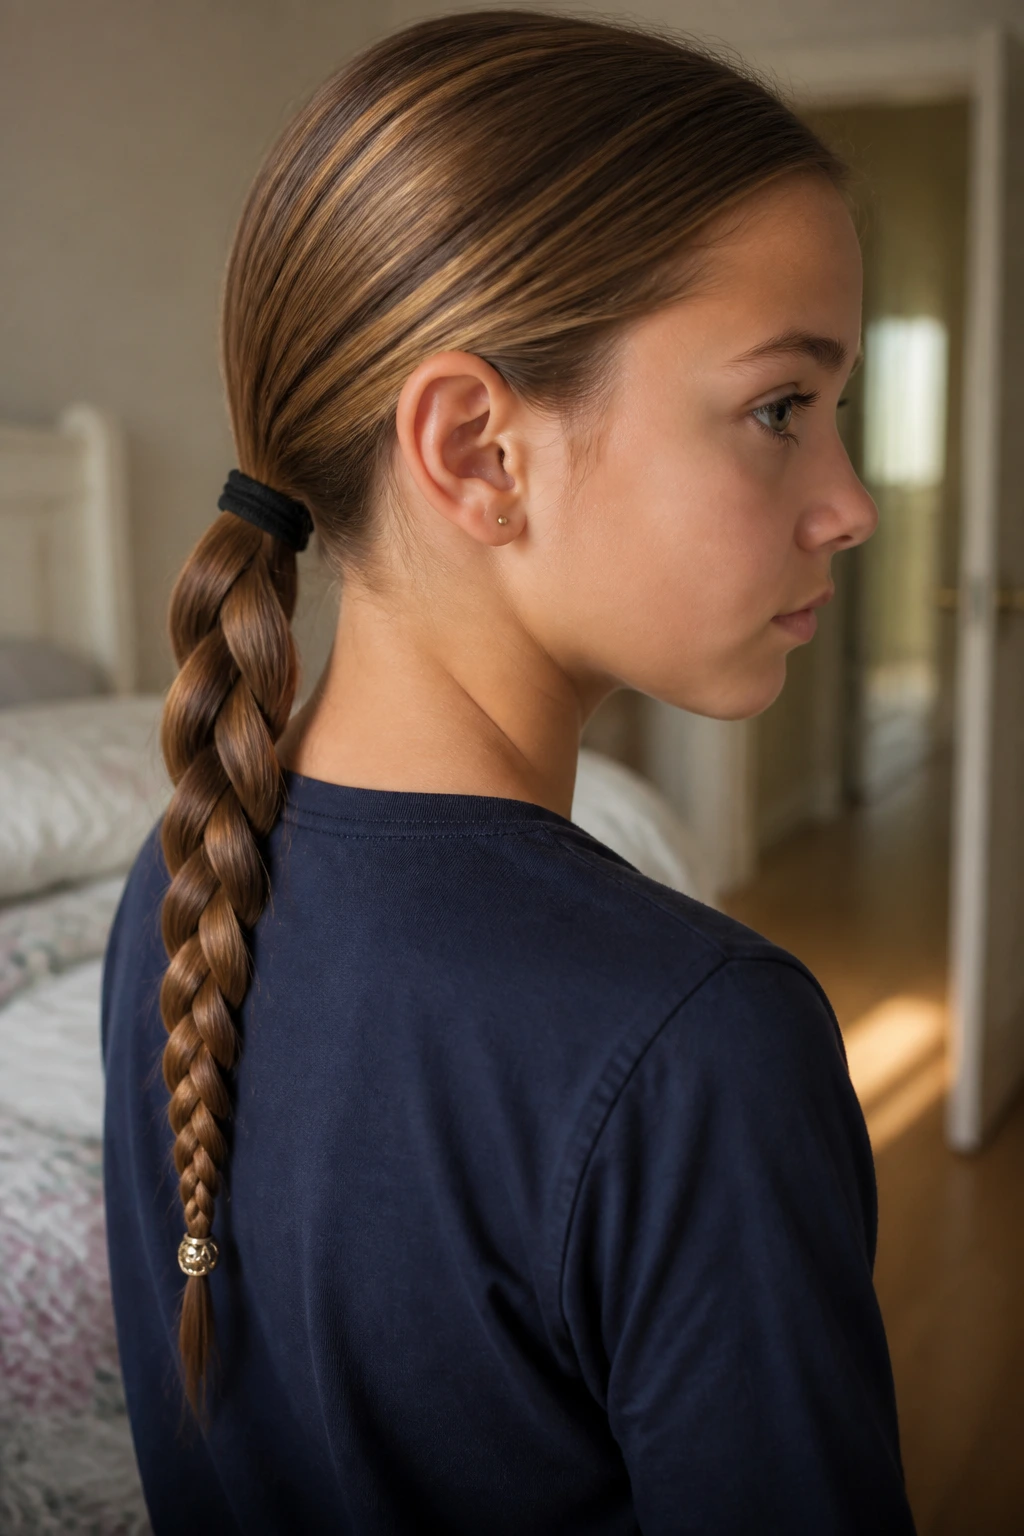
This is a great, understated style. Create a low ponytail, then braid the length of it. It is simple, effective, and looks great with every school outfit.
The Base Elastic
Use a thick, sturdy elastic for the base of the ponytail. Since the weight of the braid will be pulling on it all day, a thin band might snap.
Embellishments
Add a small charm or a decorative bead at the bottom of the braid. It is a subtle way to add personality to your style without being distracting in class.
26. The Scarf-Braided Plait
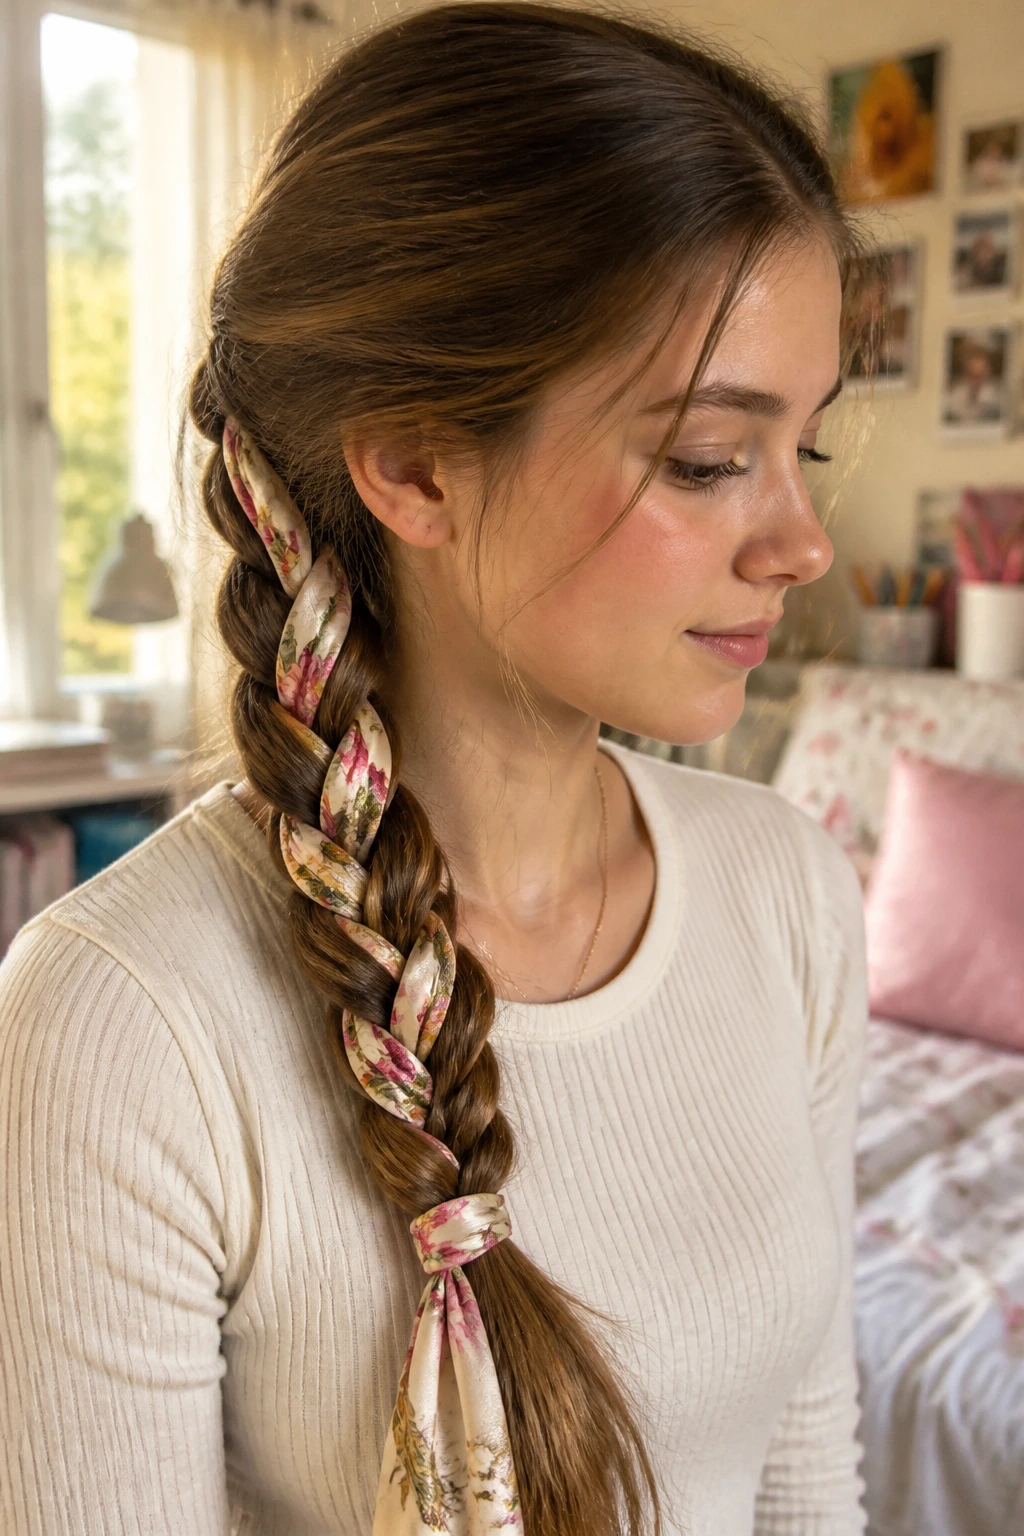
Take a silk or cotton scarf and incorporate it into your three-strand braid as if it were a third strand of hair. This is the ultimate “no-effort, high-impact” hairstyle.
Integrating the Scarf
- Tie the scarf around your ponytail base.
- Divide your hair into two sections, and use the scarf as the middle strand.
- Braid as normal.
Texture Benefits
The scarf adds volume, color, and a sense of luxury to a standard braid. It is also excellent for protecting your hair from breakage, as the fabric creates less friction than rubber bands.
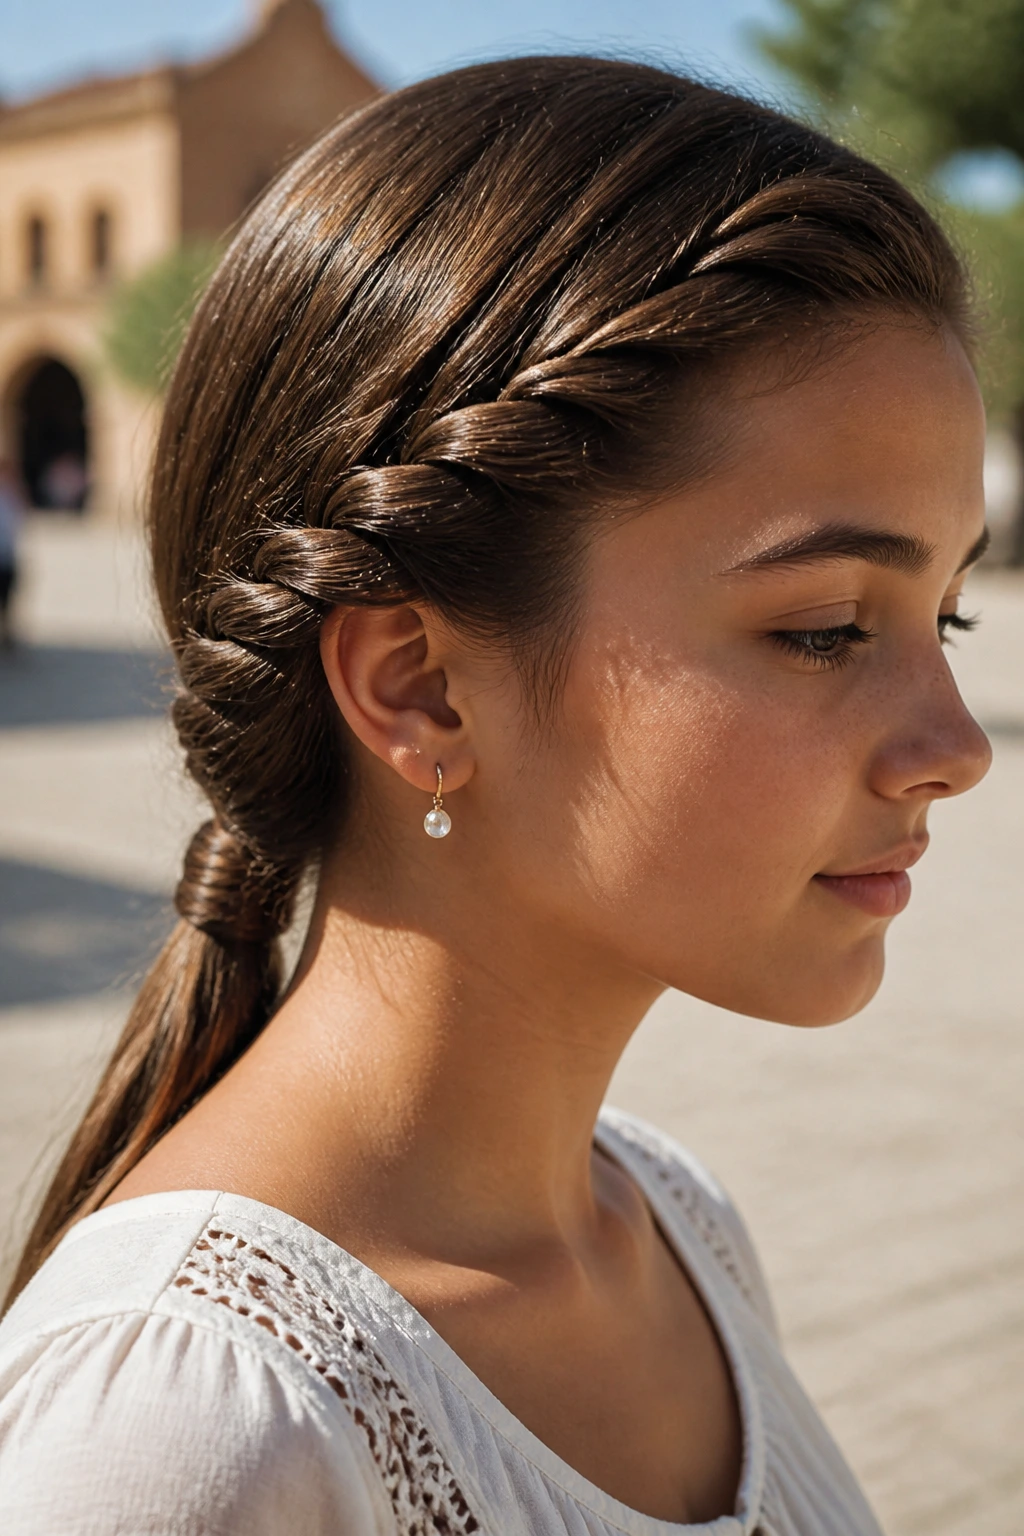
27. The Side-Part Dutch Twist
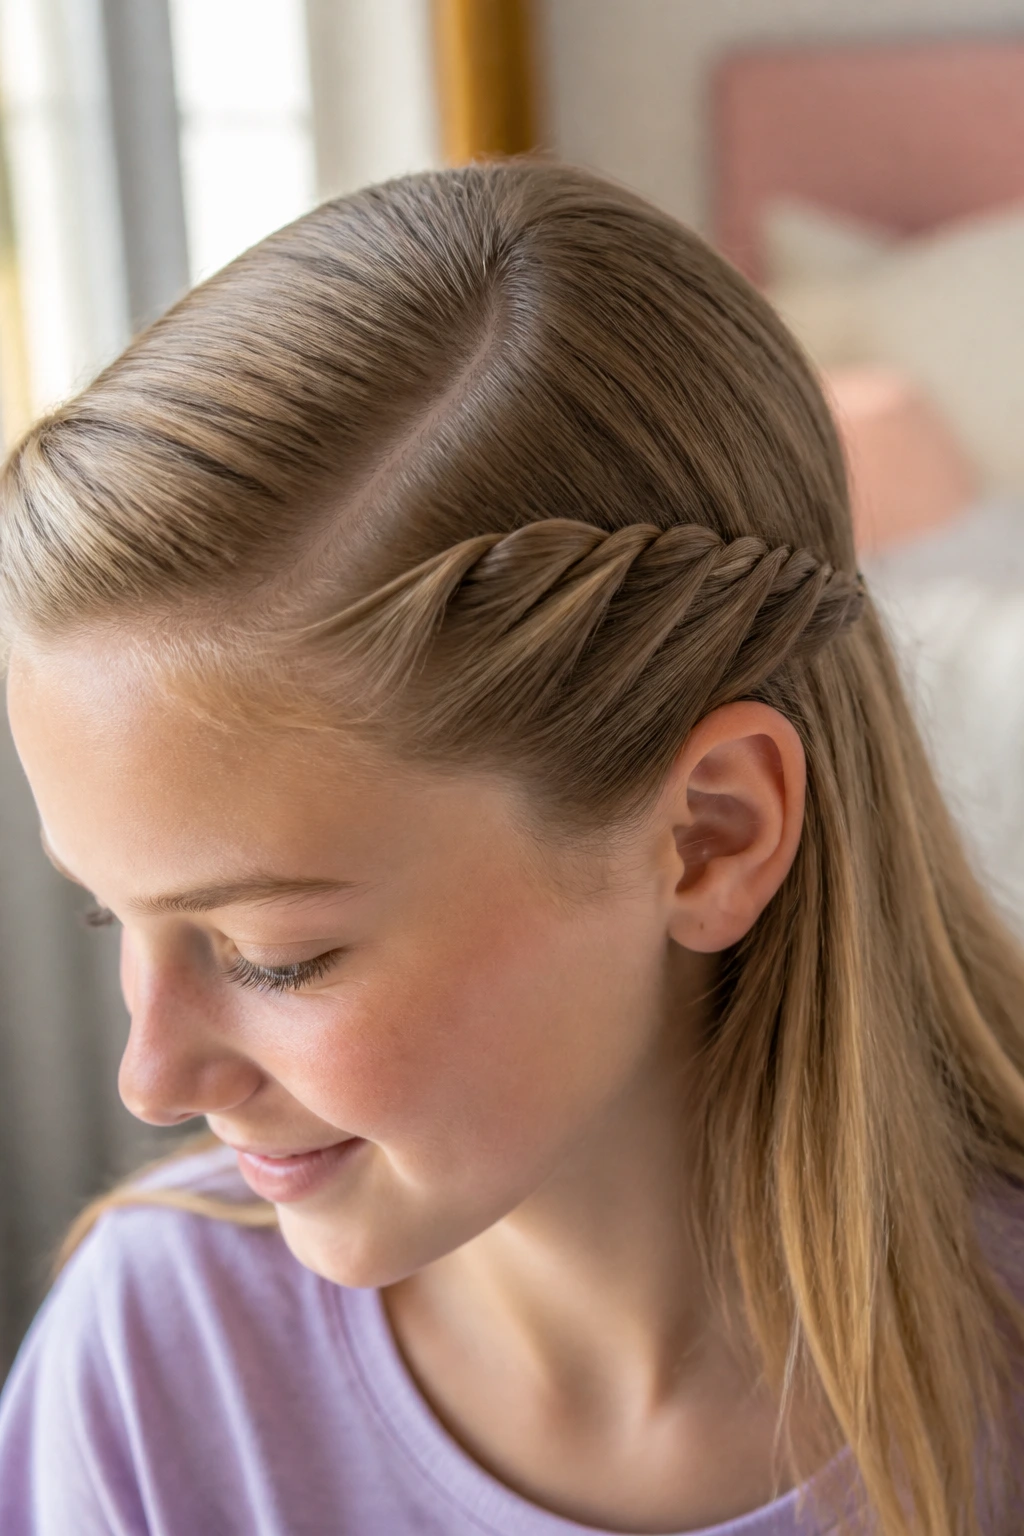
Similar to the headband, this twist starts at the part and carries across the hairline, but uses the two-strand rope twist technique instead of a braid.
Benefits of the Twist
It is significantly faster to do than a braid. If you have five minutes before the bus, this is your go-to style. It keeps the hair just as secure as a braid but with a cleaner, more minimalist silhouette.
Pinning the End
Hide the end of the twist by tucking it under the hair behind your ear and using a bobby pin that matches your hair color. It will look like your hair magically stays off your face on its own.
28. The Infinity Braid
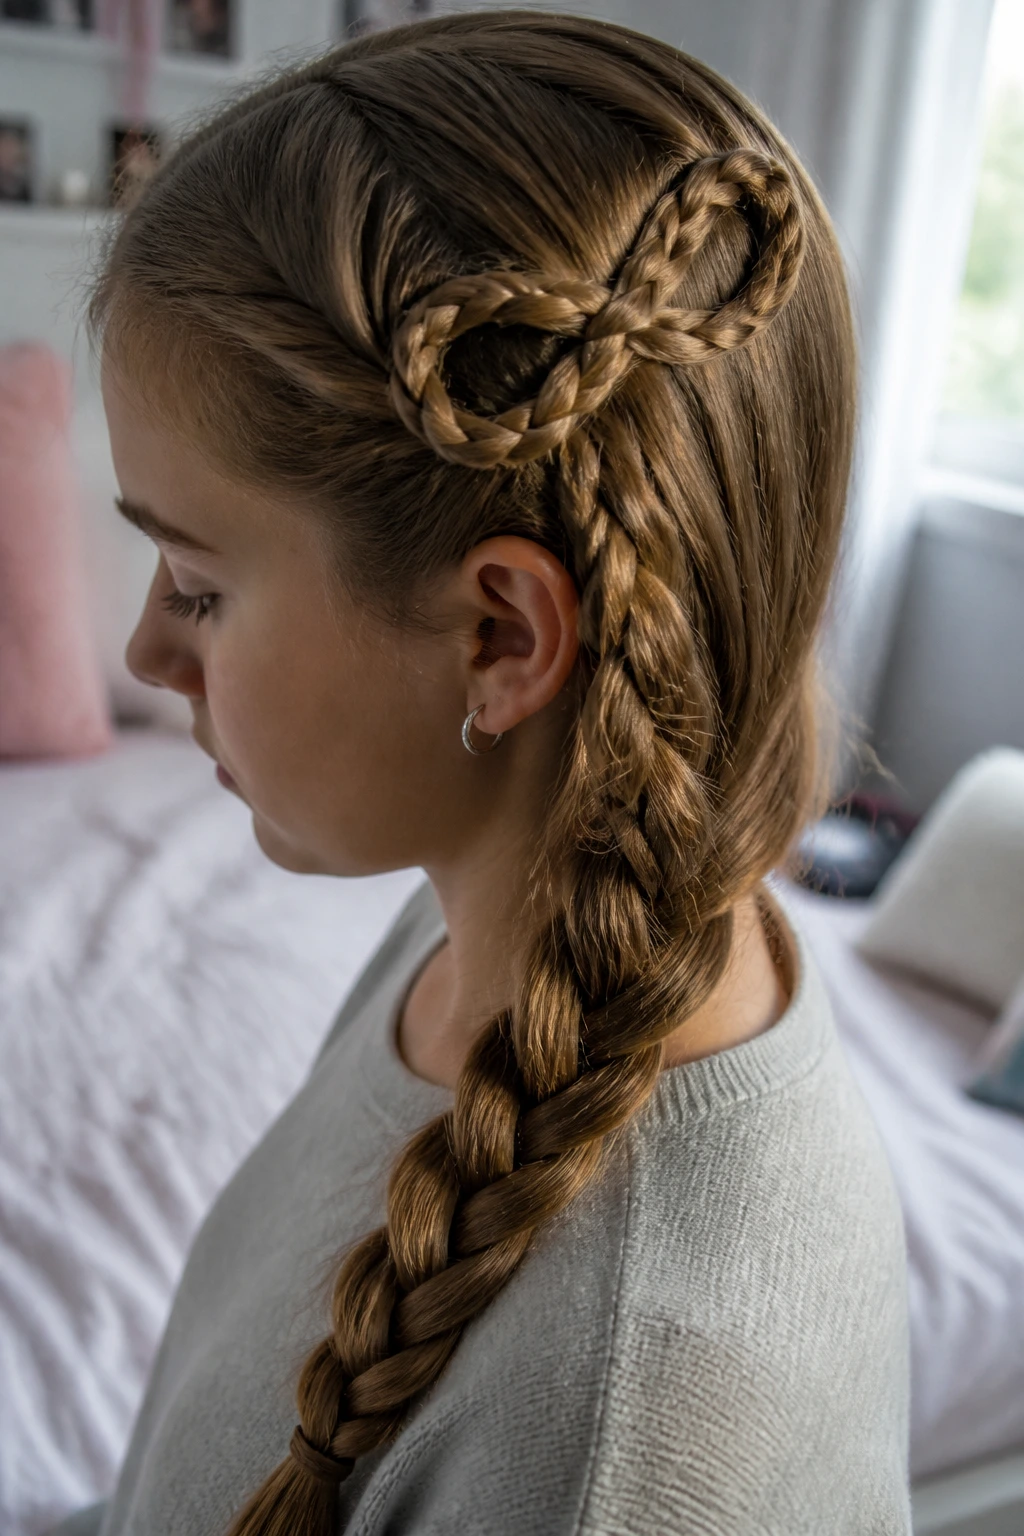
This is the most advanced pattern on the list, but it is well worth learning. It involves weaving hair in a figure-eight pattern. It looks like a continuous chain and is a massive conversation starter.
The Figure-Eight Movement
You are essentially wrapping your hair around two fingers in a continuous loop. It takes practice to keep the tension even, but the result is a beautiful, woven chain that looks like a piece of art.
Learning the Pattern
Watch a video tutorial or look at a diagram for this one, as the hand movement is hard to visualize with words alone. Once you nail it, you will have the most unique hair in the hallway.
Wrapping Up

Finding the right hair routine for school days is all about balancing speed with style. Most of these patterns, once you have practiced them a few times, will take less than ten minutes to complete. Do not feel pressured to master all twenty-eight at once. Pick three that you genuinely enjoy and rotate them throughout the week.
Remember, the goal is not perfection. A slightly loose, soft braid often looks much more natural and intentional than one pulled tight enough to give you a headache. Treat these styles as tools to make your mornings smoother, not as a checklist you have to complete. When you find that one pattern that feels “like you,” keep it in your rotation and watch how much more confident you feel walking through the school doors.