Finding the right rhythm for curly hair often feels like a daily negotiation between control and chaos. If you have been living with coils, waves, or tight ringlets for any length of time, you know that the “simple” styles promised in most guides usually require thirty minutes of prep, four styling products, and a degree in structural engineering. Real life, however, calls for methods that work with your natural texture rather than against it. Whether you are dealing with second-day frizz or a mid-week hair slump, the secret lies in mastering a few foundational techniques that respect your hair’s unique curl pattern.
1. The High Pineapple Ponytail
This is the holy grail of curly styling for a reason. By gathering your curls at the very top of your head, you protect the definition of your coils while creating an intentional, voluminous look. The key here is not to pull too tight; you want the curls to cascade forward over your forehead like a fountain. Use a silk or satin scrunchie to prevent breakage, as cotton elastics often tug at the delicate hair shaft and cause unwanted frizz.
Why This Works for Curls
The “pineapple” isn’t just a style; it’s a protective mechanism. When you sleep or lounge with your hair piled high, you minimize the friction that occurs between your hair and your pillowcase.
- Keep the base loose to avoid flattening the roots.
- Use a single velvet scrunchie for a gentle hold that won’t leave a deep dent.
- Let a few shorter layers frame your face naturally rather than pinning them back.
Pro tip: If your curls feel a bit flat at the roots after a few hours, gently shake your head forward and fluff the base with your fingers to restore volume without disturbing the ends.
2. Half-Up Top Knot
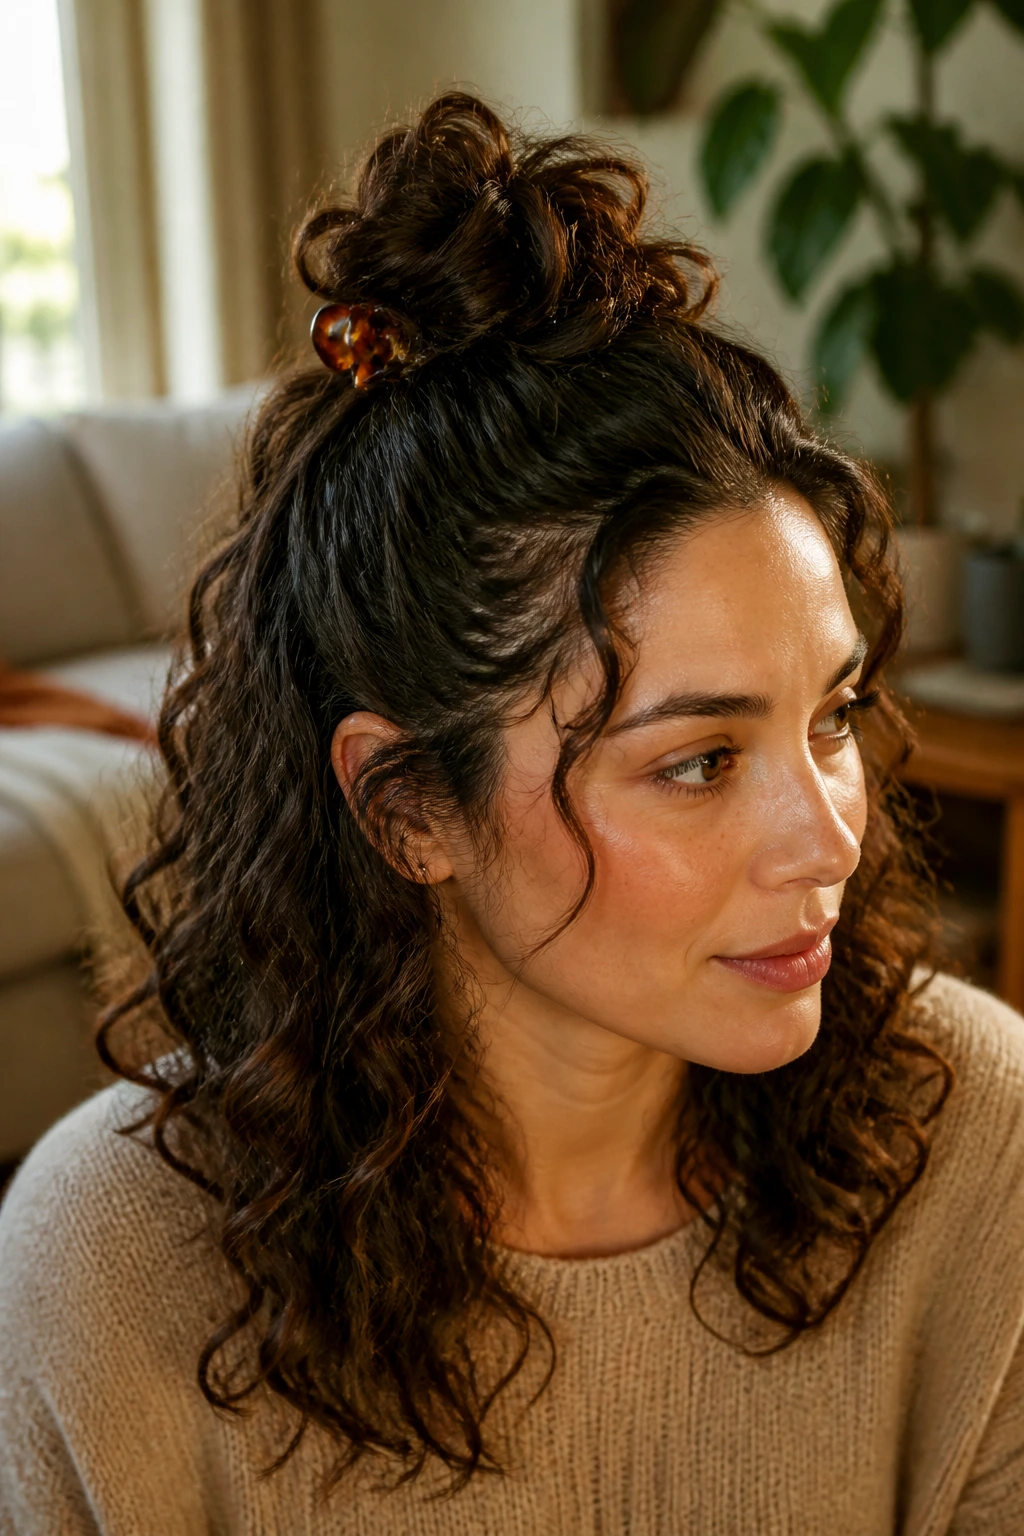
Sometimes you want your hair off your face, but you don’t want to lose the bounce of your length. The half-up top knot is perfect for this. It draws attention to your eyes and provides a sophisticated contrast between the pulled-back front and the cascading curls in the back. Unlike a standard bun, a curly top knot thrives on being slightly messy and undone.
Achieving the Perfect Shape
Start by parting your hair horizontally from the tops of your ears. Gather the crown section, twist it, and wrap it into a loose coil. Secure it with a small claw clip rather than a tight band. Claw clips are significantly better for curly hair because they provide grip without the crushing tension of an elastic, which often snaps fragile strands.
3. The Low Side-Swept Braid
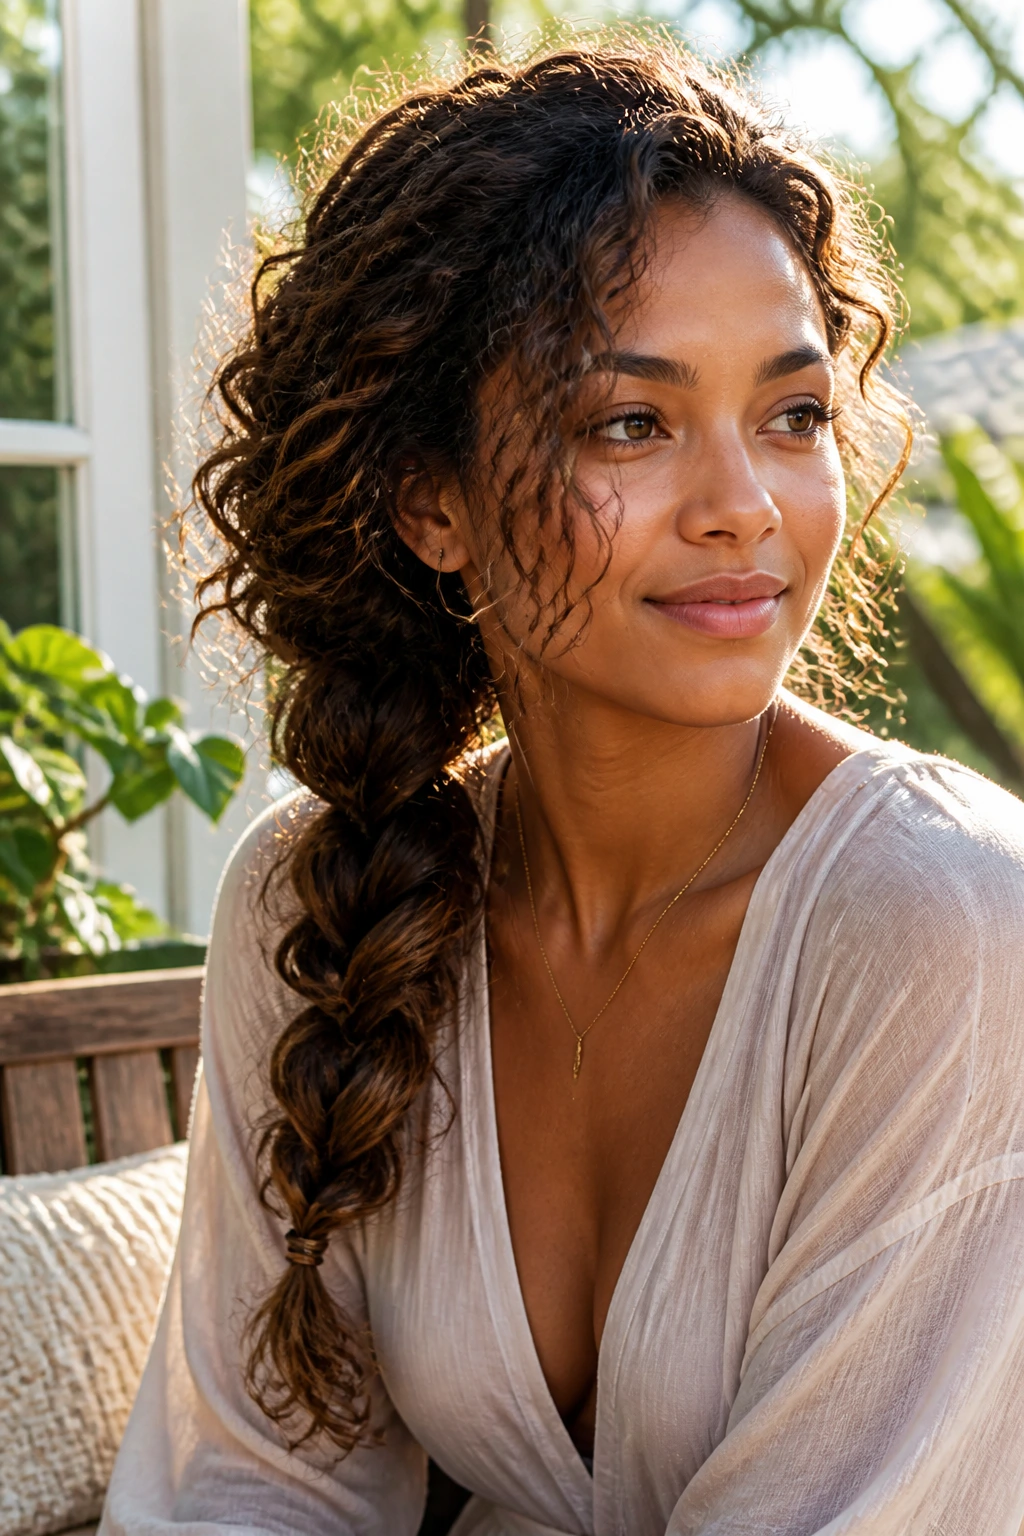
Braiding is a classic way to manage curly hair, but doing a full head of plaits can be daunting. A single side-swept braid is manageable in under five minutes. Start your braid behind one ear and weave it diagonally toward the opposite shoulder. By pulling your hair to one side, you create a sense of fullness and drama that works beautifully for both casual afternoons and more formal settings.
Styling for Texture
Because curly hair has so much built-in texture, you do not need to braid tightly. In fact, a loose, slightly pancaked braid looks far more natural. Once you have secured the end, gently tug on the outer loops of the braid to give it a lived-in, bohemian aesthetic. If a few ringlets escape, let them be; they add to the softness of the look.
4. Double Dutch Braids with Defined Edges
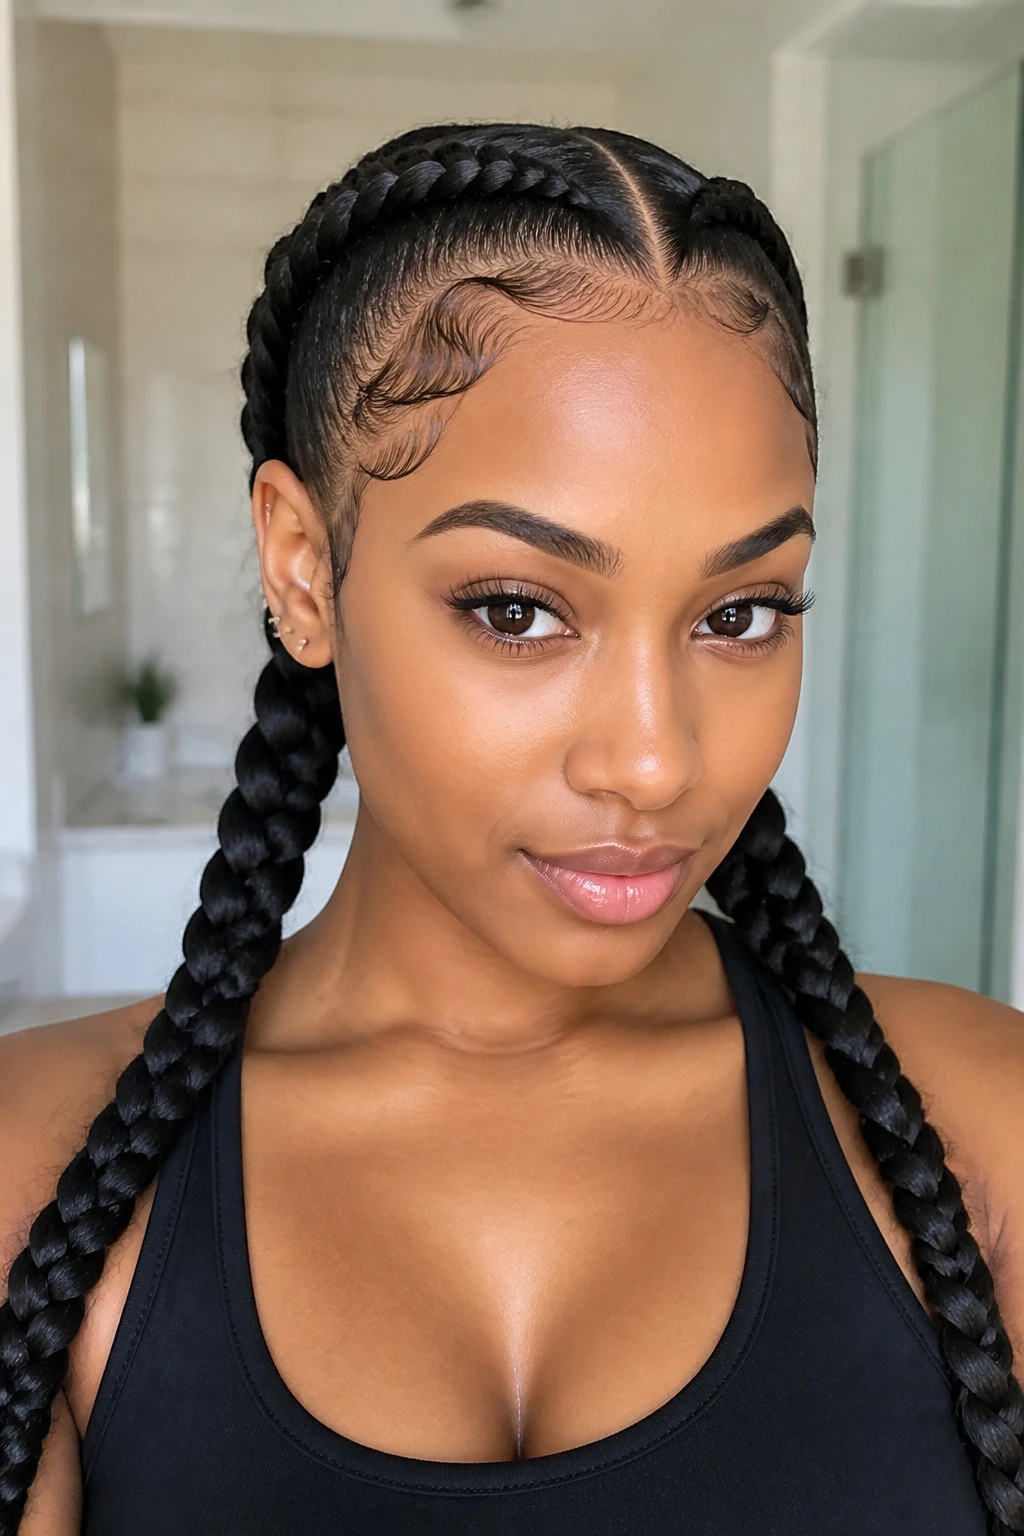
If you have a bit more time, double Dutch braids offer a secure, polished way to keep your hair completely out of your face for days at a time. This style is exceptional for protecting your ends, especially during humid weather or when you know you will be sleeping in environments that might cause friction.
Maintaining the Definition
The secret to this look is using a lightweight gel or mousse while your hair is damp. As you braid, ensure you are picking up small, even sections of hair. Once you reach the nape of your neck, finish with a standard three-strand braid.
- Apply a touch of oil to your fingertips to reduce flyaways as you move along the scalp.
- Focus on keeping the tension consistent so the braids sit flat against the head.
- Use small clear elastics to secure the ends for a seamless finish.
5. The Messy Bun with a Headband
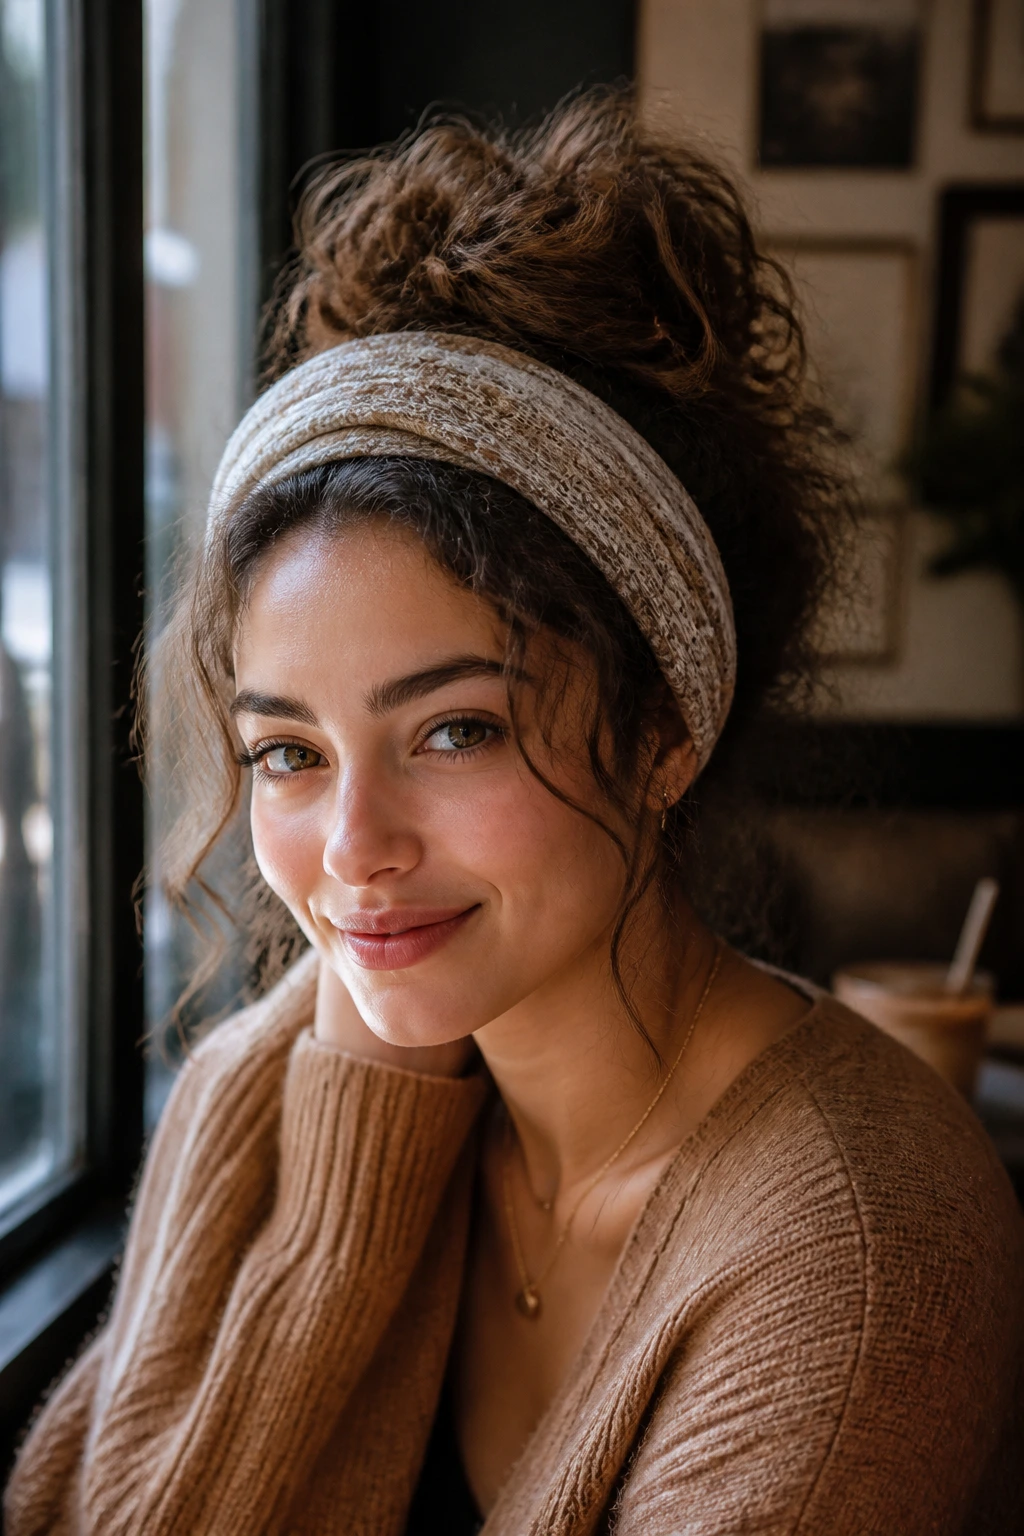
Sometimes your hair just refuses to cooperate. When the curls are not sitting right, a messy bun is your best defense. Pair it with a wide, fabric-covered headband to push back the hairline and create an instant style statement. The headband acts as a frame, pulling the focus away from any frizz near the roots and highlighting the volume of your bun.
Why Headbands are Essential
For those with curly hair, headbands are more than just accessories; they are structural tools. A wide velvet or silk headband can flatten out unruly cowlicks while making a simple bun look like a curated choice rather than a last-resort measure. Choose colors that contrast with your hair to make the look pop, or stick to neutrals for a more understated, chic appearance.
6. Loose Twist at the Nape
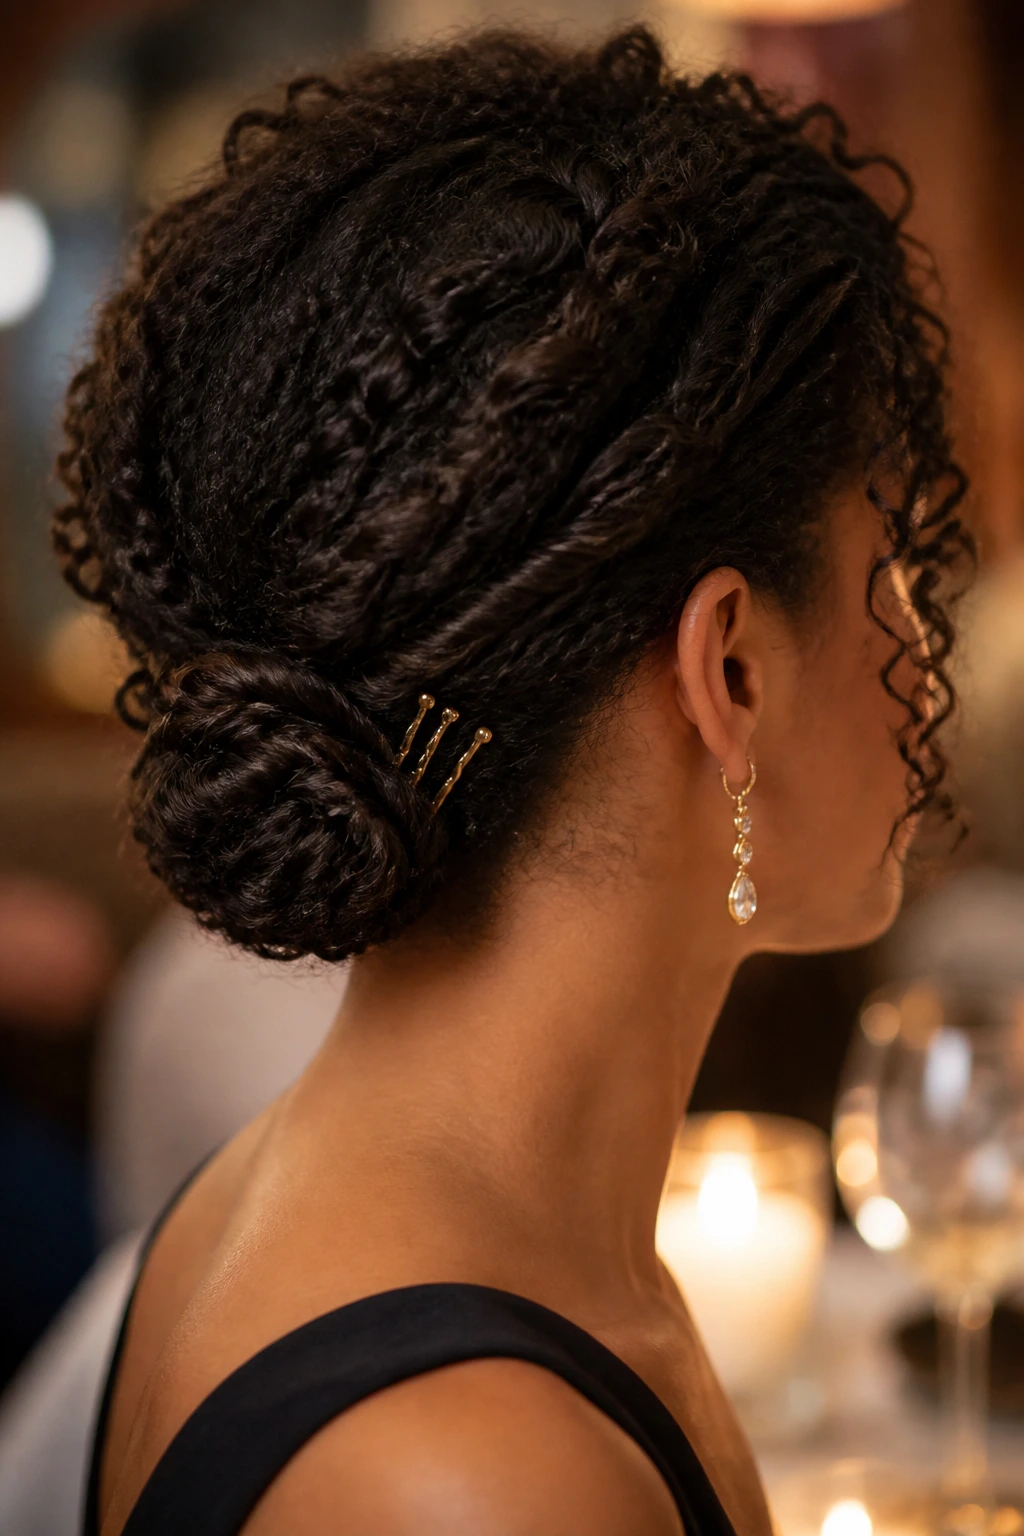
A low, loose twist is an elegant option for work or dinner. Gather your hair at the nape of your neck and twist the entire length into a single, rope-like structure. Coil it into a small bun at the base and secure it with large, decorative U-shaped hairpins. These pins are surprisingly secure for curly textures because they catch on the coils, holding the weight of the hair in place without needing a thousand bobby pins.
The Role of Texture
Because your hair is curly, you don’t need a perfectly sleek foundation. The natural irregularities in your curl pattern will actually help the hairpins grip better. If you have fine or medium-density hair, try lightly spraying the hairpins with a bit of dry shampoo before inserting them; the extra grit makes a world of difference in preventing the twist from sliding down over the course of the day.
7. The Deep Side Part
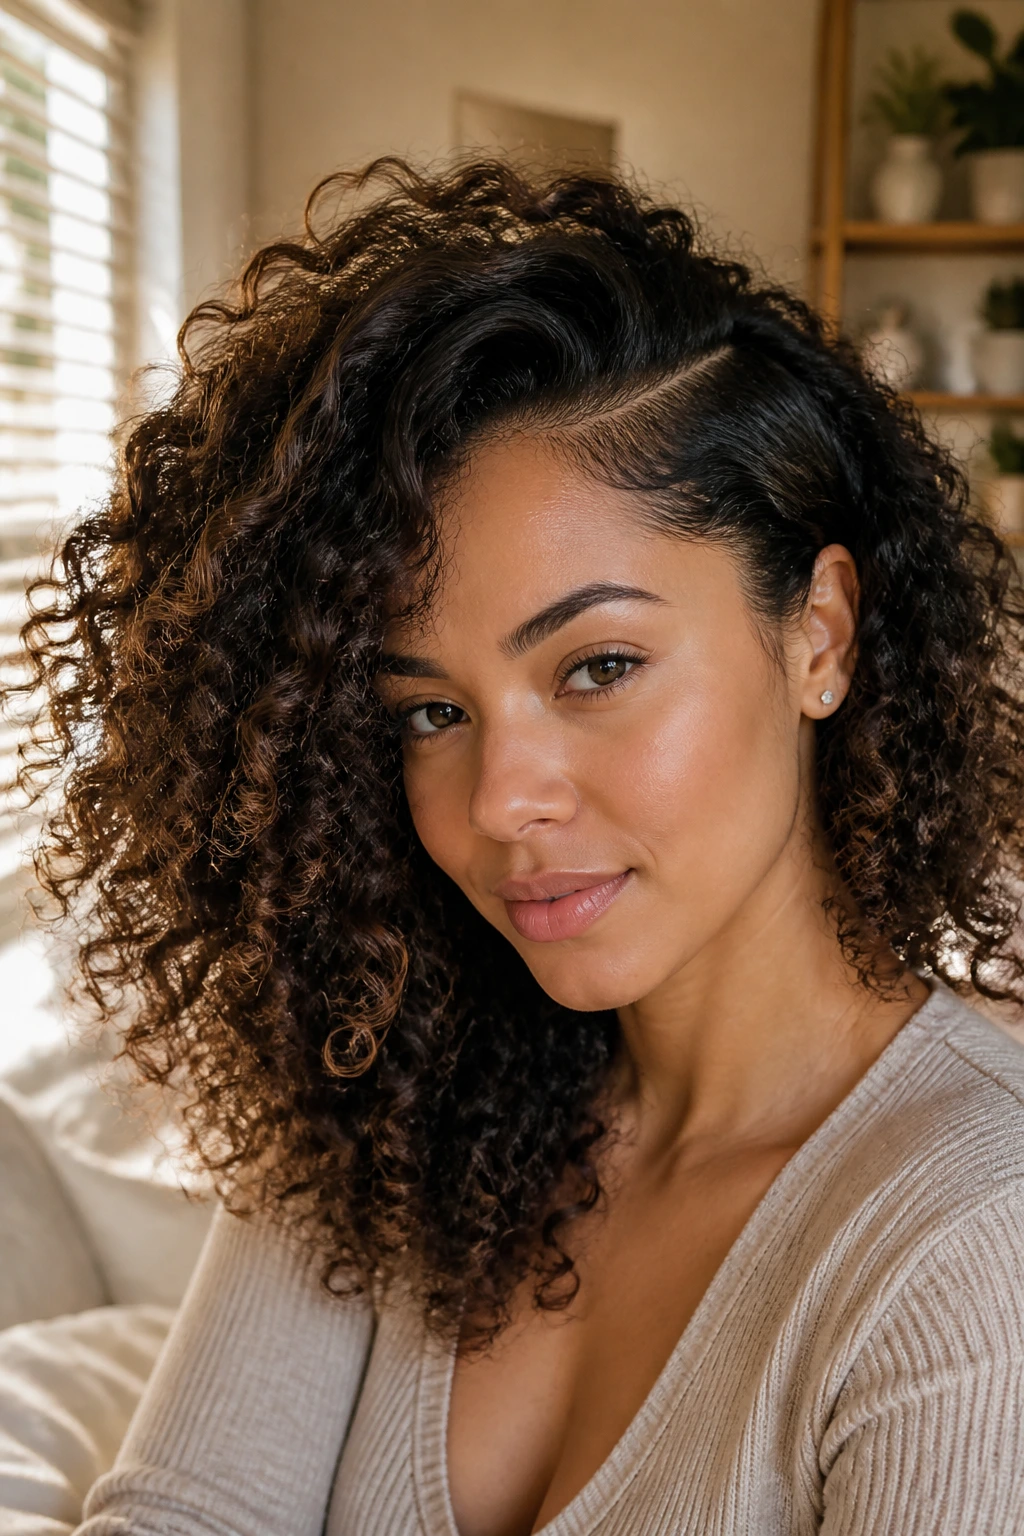
Sometimes the simplest change is just a shift in perspective. If you usually part your hair down the middle, try moving it significantly to the left or right. A deep side part adds immediate height to the roots on one side of your head, creating a dramatic, retro-inspired silhouette that requires zero heat or complicated styling.
Creating Height
Use the end of a rat-tail comb to create a clean line. Once you have shifted the hair, use your fingers to fluff the roots on the heavy side. If your hair tends to fall flat, a quick spray of a sea salt mist or a light texturizing spray while the hair is damp can encourage the curls to stand up and stay put throughout the day.
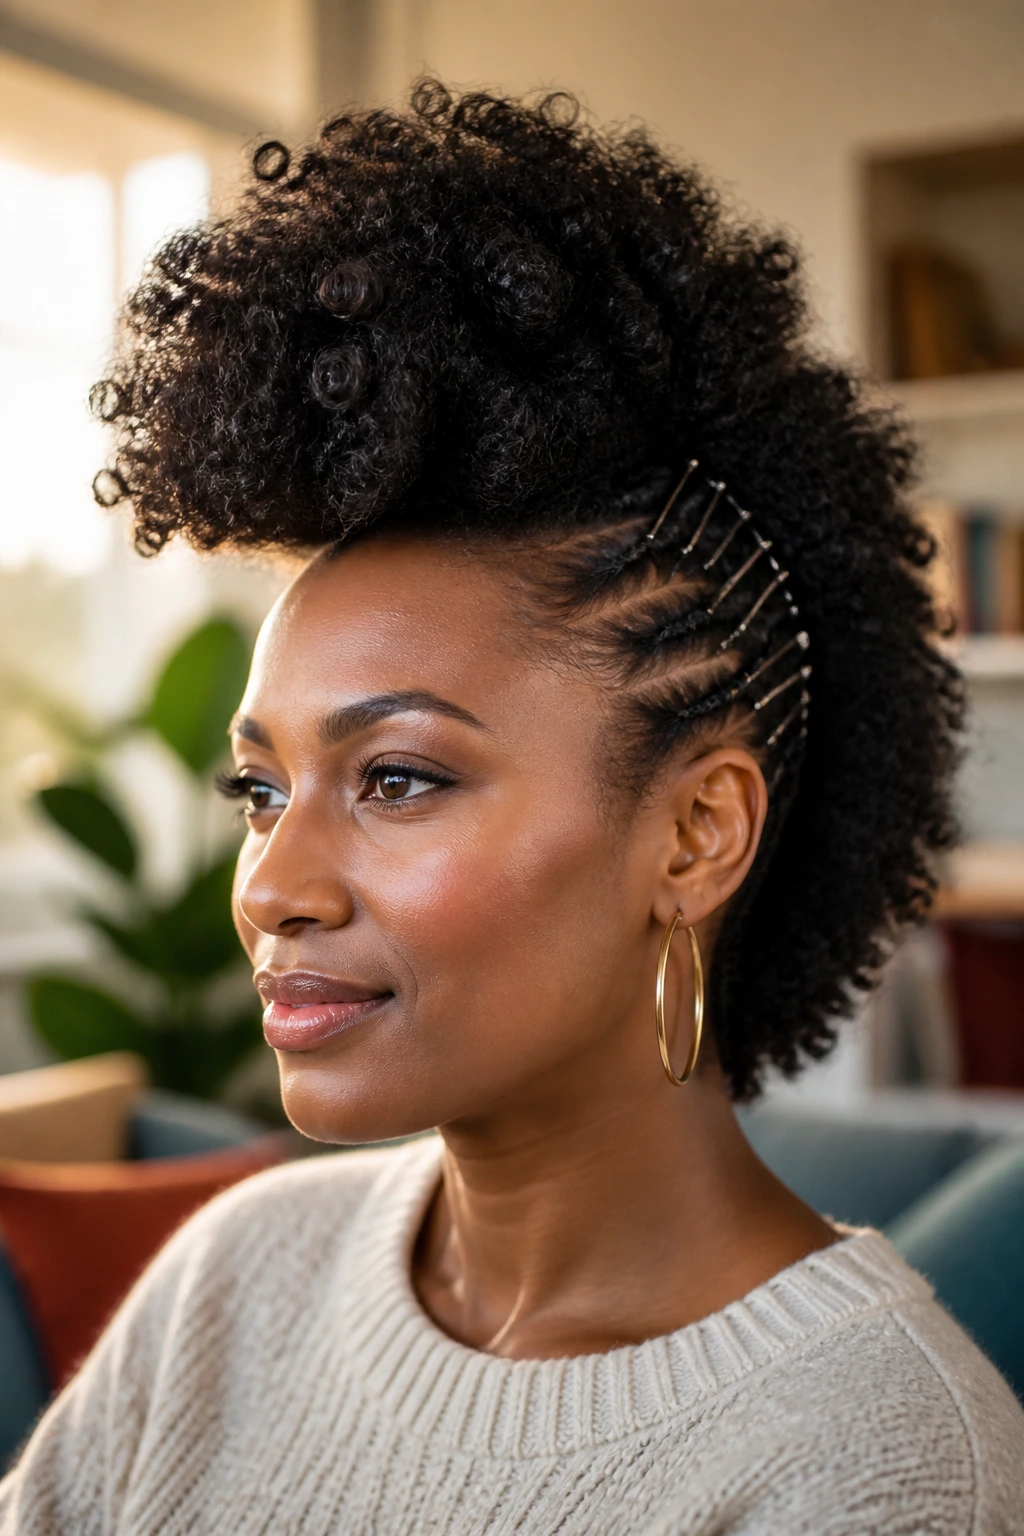
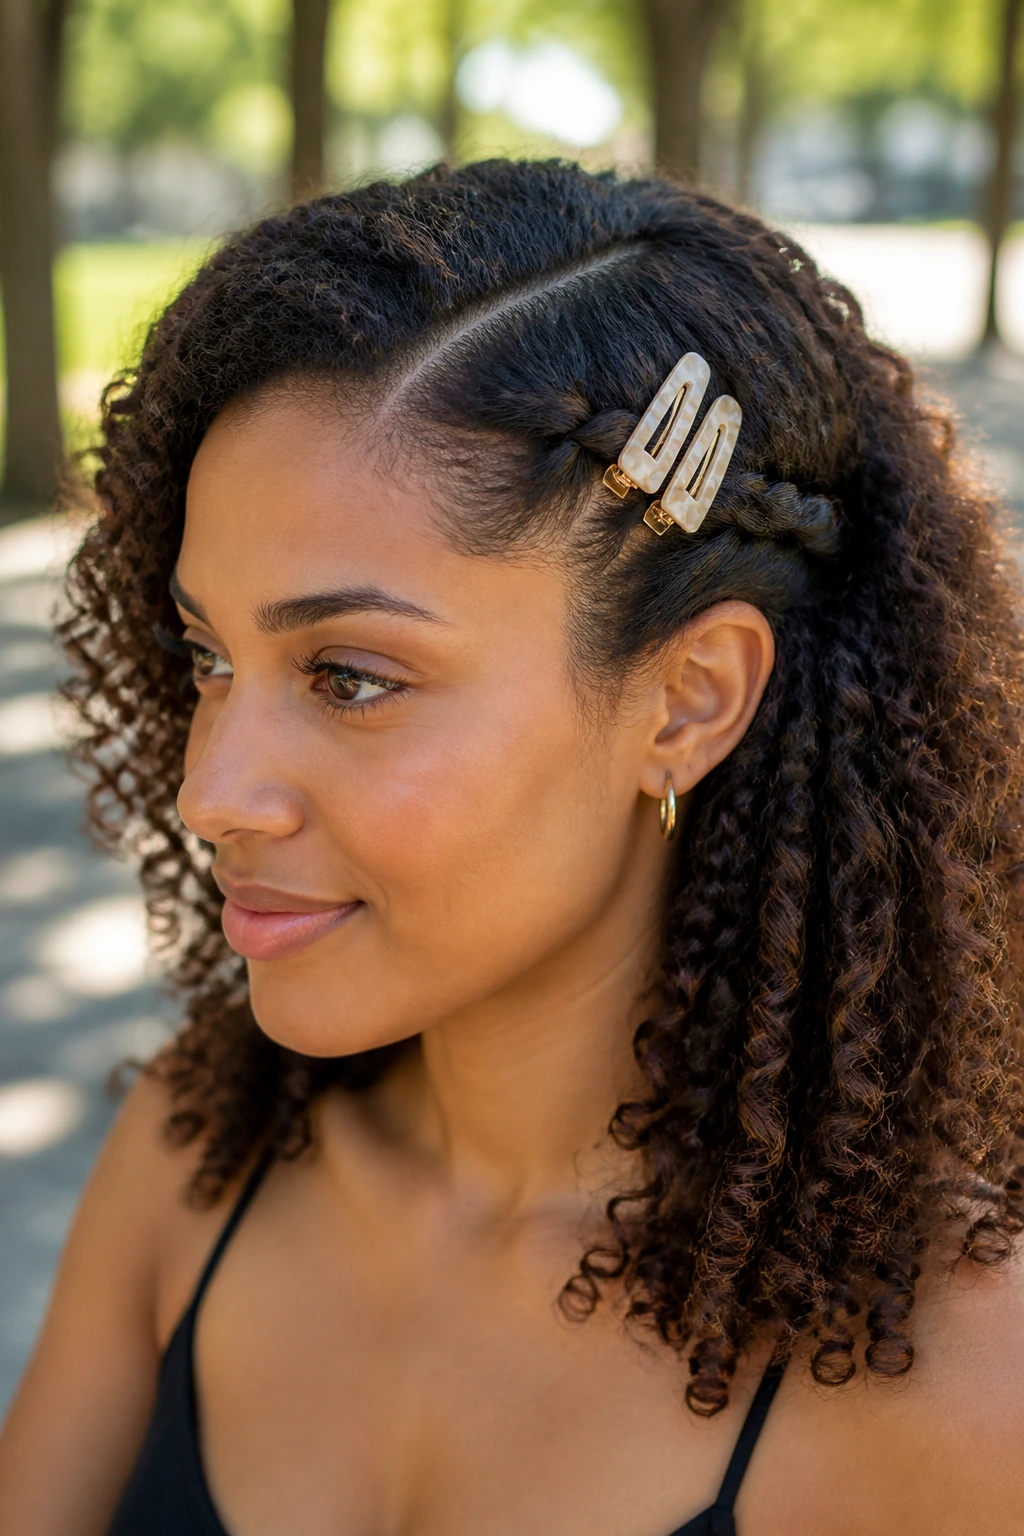
8. Bobby Pin Accents
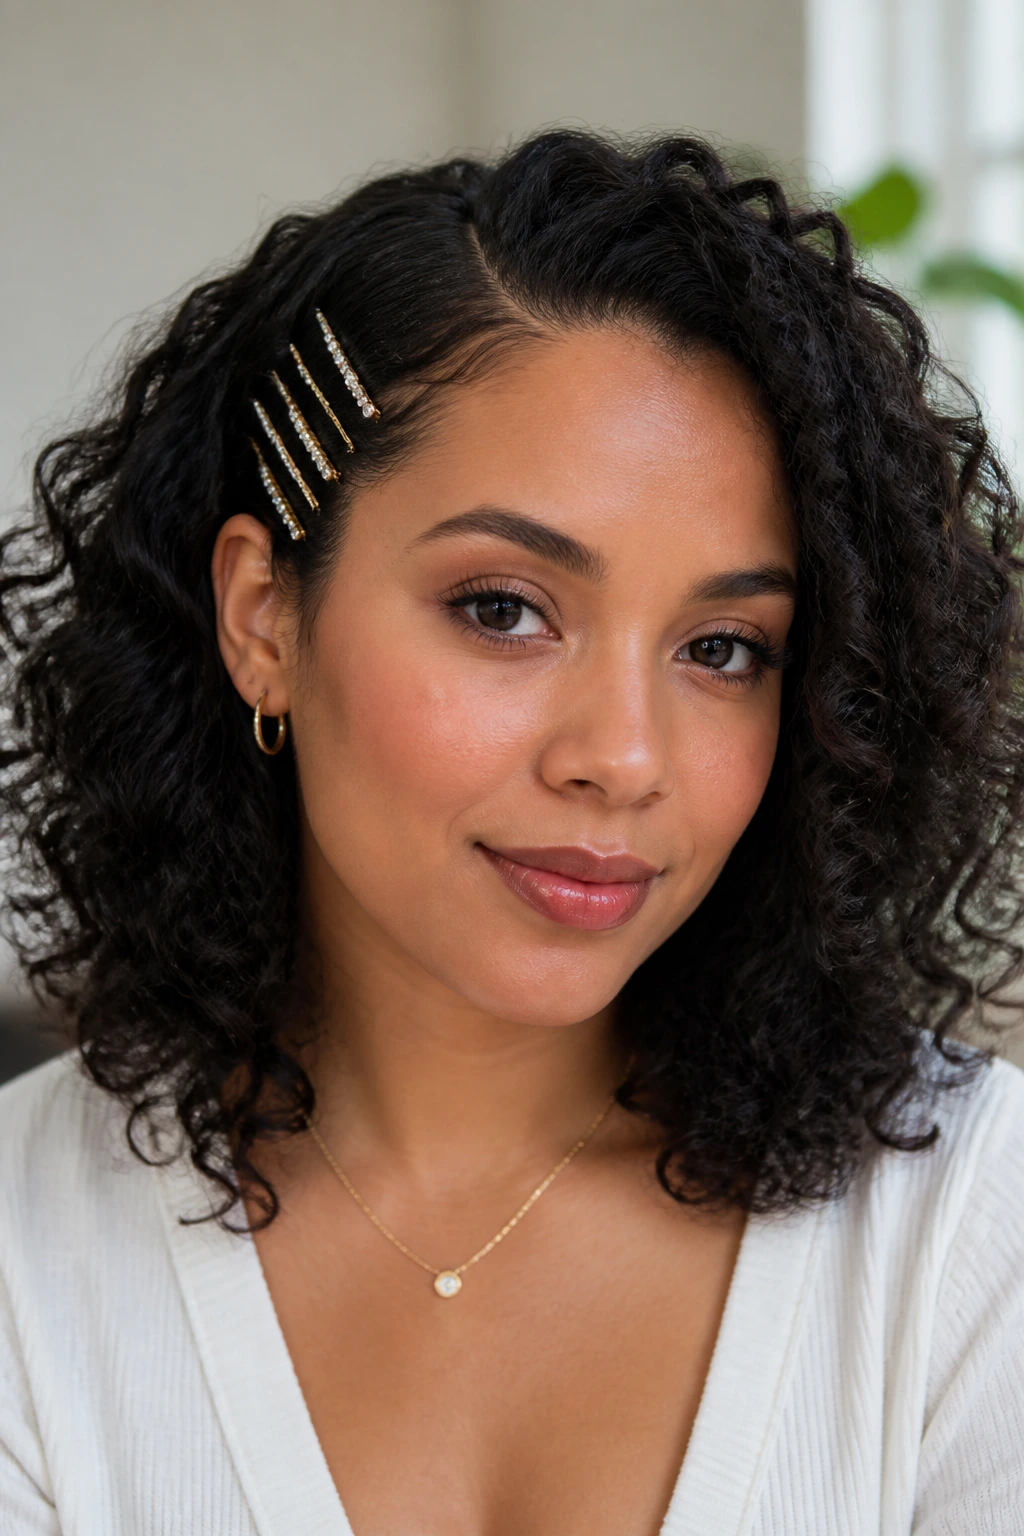
You don’t need to do a full style to change your look. Using a row of decorative bobby pins along one side of your head can transform a wash-and-go day into something intentional. Place three or four pins horizontally just above your ear to pin back a section of your hair. This keeps your curls away from your face while showing off the pattern of your hair.
Choosing the Right Pins
Avoid cheap, jagged-edged pins that can snag your curls and cause breakage. Look for coated, rounded-tip pins designed for delicate styling. You can find beautiful gold, tortoiseshell, or matte finish pins that elevate a simple pinning job into a refined accessory choice. If you have heavy hair, use a small clear elastic to secure a tiny ponytail first, then pin the hair over it for extra security.
9. The Crown Braid
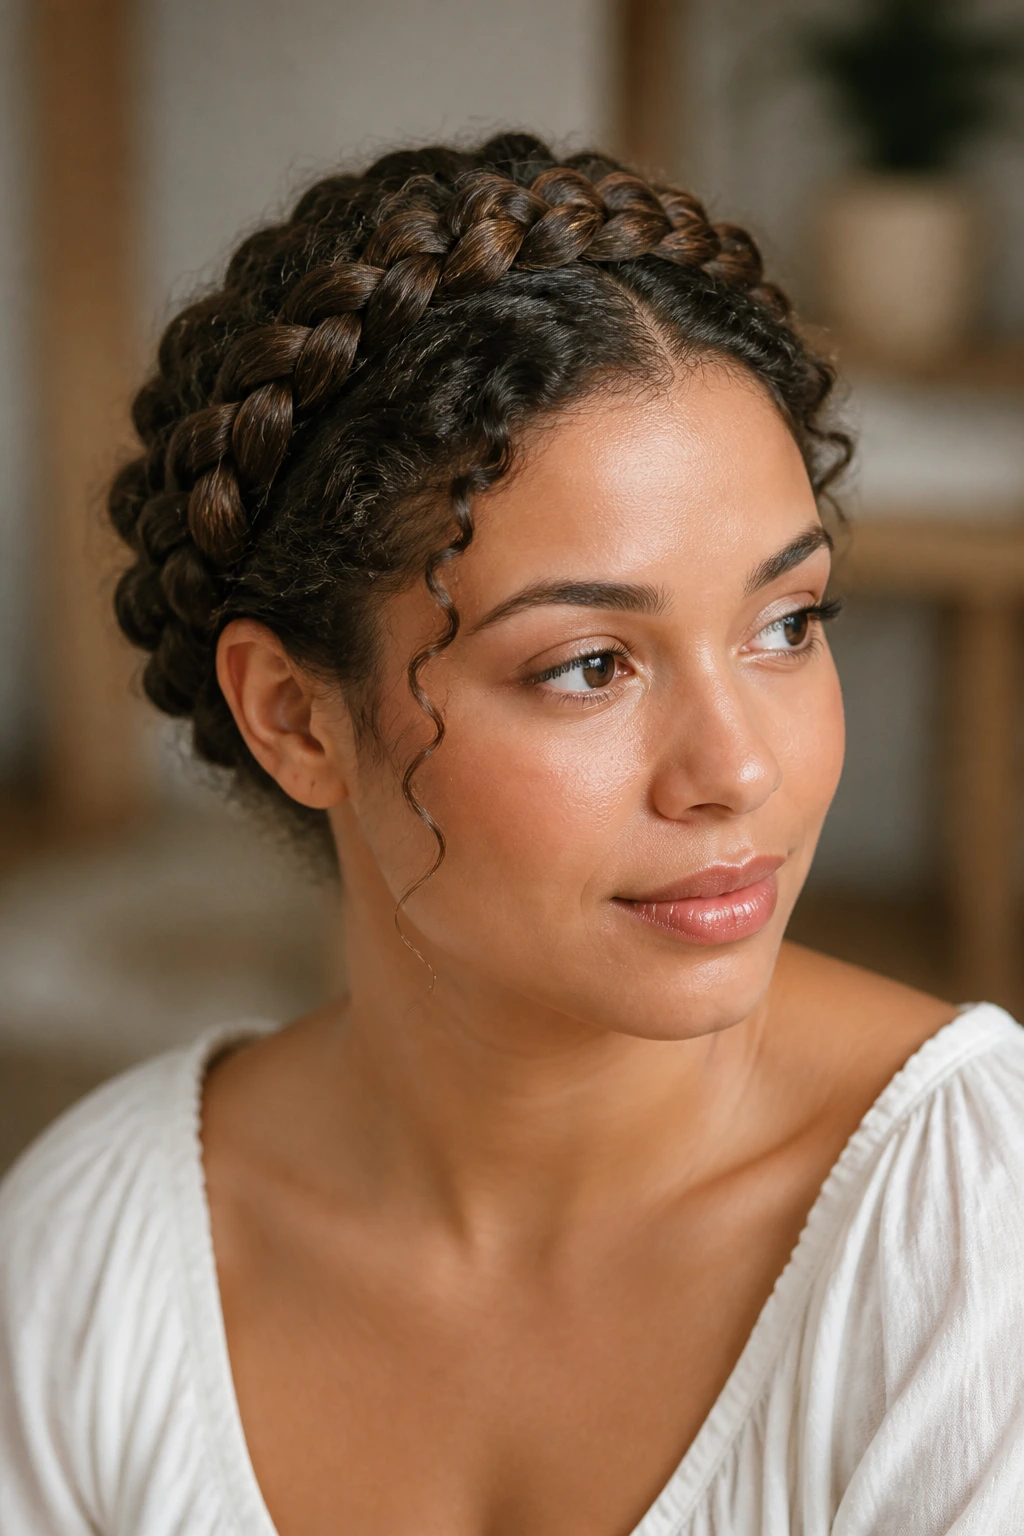
This look is intimidating to some, but it is actually quite straightforward if you break it into two smaller sections. Instead of one long braid going all the way around, part your hair in the middle, create two pigtails, and braid each one. Take the left braid and wrap it over the top of your head, pinning it behind your right ear, then do the opposite with the right braid.
Tucking and Hiding
Once the braids are pinned in place, tuck the ends of each braid under the other to hide the elastics. Use small, hidden bobby pins to secure the braids against your scalp. This style is incredibly versatile—it can be neat and structured for a wedding or loose and messy for a weekend walk. The texture of curly hair provides enough grip that this style often stays in place longer than it would on straight hair.
10. High Puff with Silk Scarf
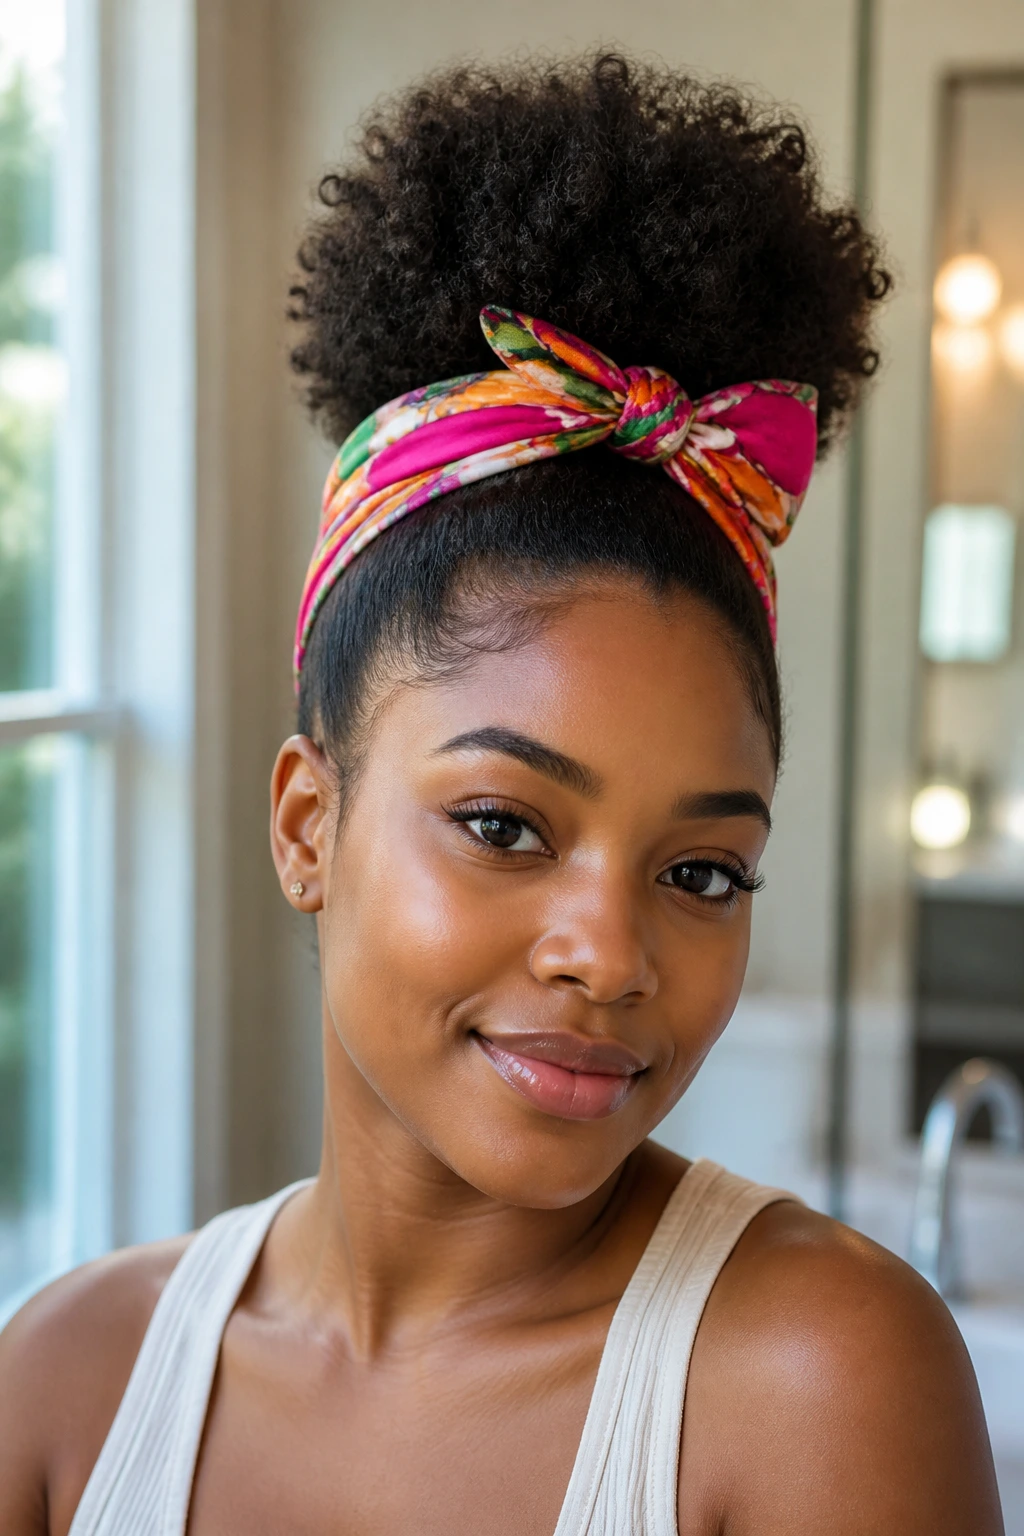
When your curls are feeling dry or you’re between washes, a high puff secured with a vibrant silk scarf is a lifesaver. This style puts your curls on full display while keeping your edges clean and protected. The scarf acts as both an accessory and a tool to compress the hair at the nape of your neck, which helps define the shape of the puff.
Styling the Scarf
Fold a large square silk scarf into a long triangle or strip. Start from the nape of your neck and wrap it around the base of your high puff, tying the ends at the top or front. You can tuck the ends in for a clean look or leave them loose for a more playful, bohemian feel. This is a fantastic way to introduce color and pattern to your outfit while keeping your hair healthy.
11. Low Ponytail with a Wrap
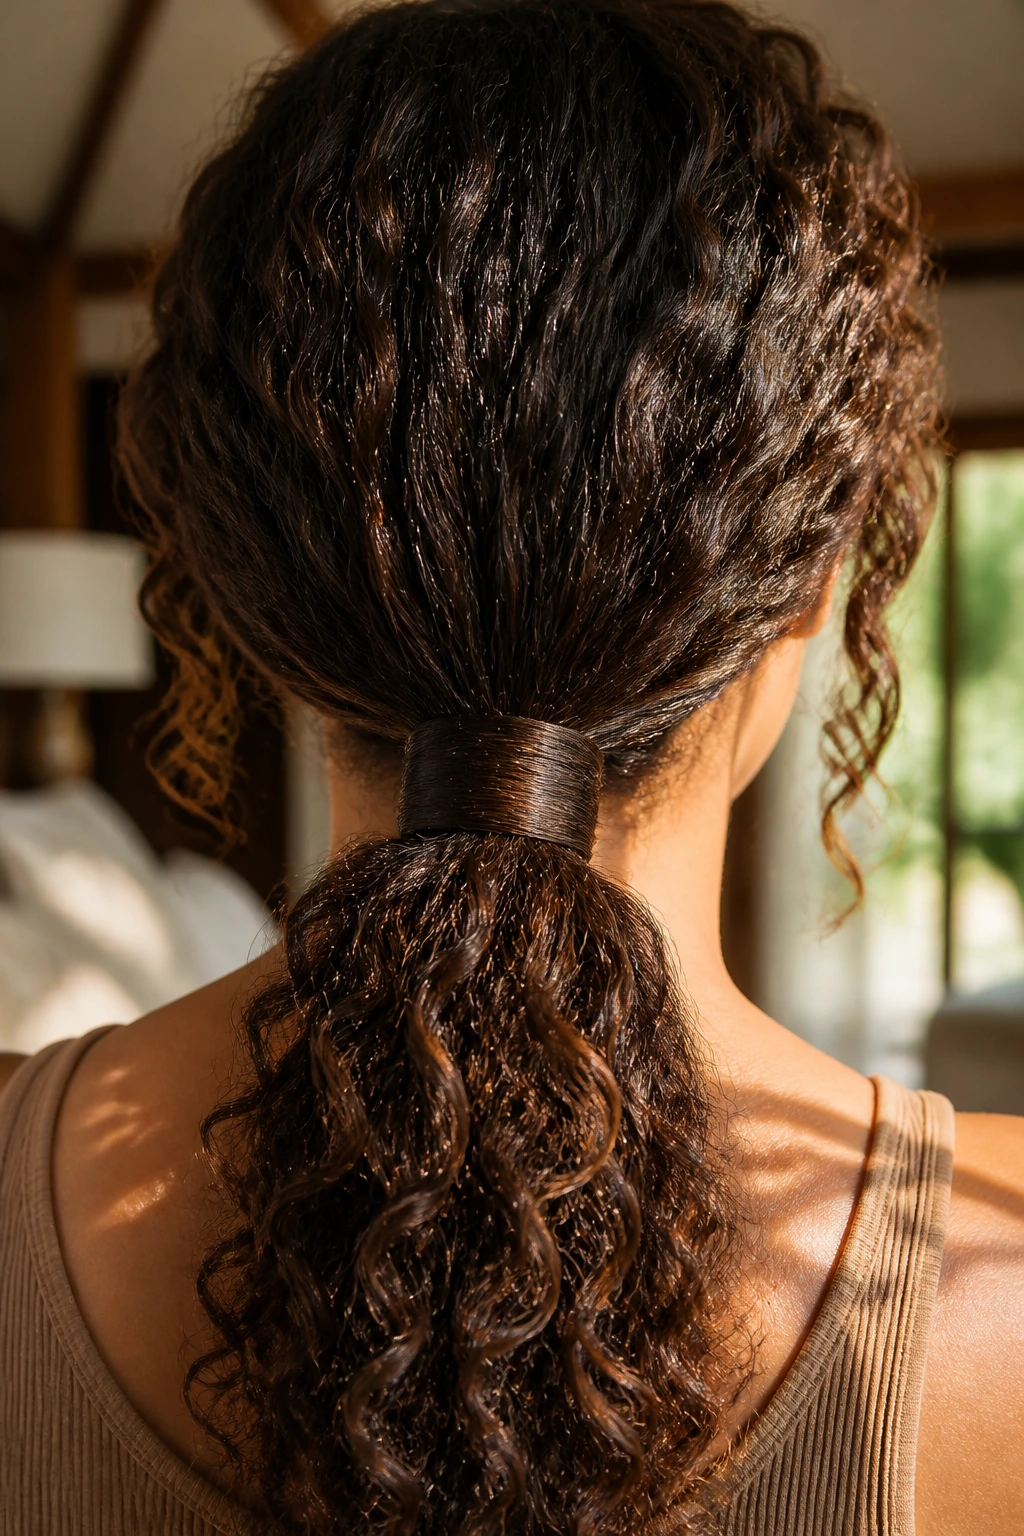
A sleek low ponytail is the perfect canvas for a bit of creativity. After gathering your hair at the base of your neck, take a small section of hair from the underside of the ponytail and wrap it around the elastic band until it is completely hidden. Secure the end with a tiny, inconspicuous bobby pin underneath the ponytail.
Refining the Look
For an even cleaner effect, use a moisturizing cream or a tiny bit of pomade on your palms to smooth back the hair around your temples before you secure the band. This creates a high-contrast look between the smooth, controlled base and the wild, voluminous curls flowing out of the ponytail. It is a timeless style that works for almost any occasion.
12. Half-Up with a Decorative Claw Clip
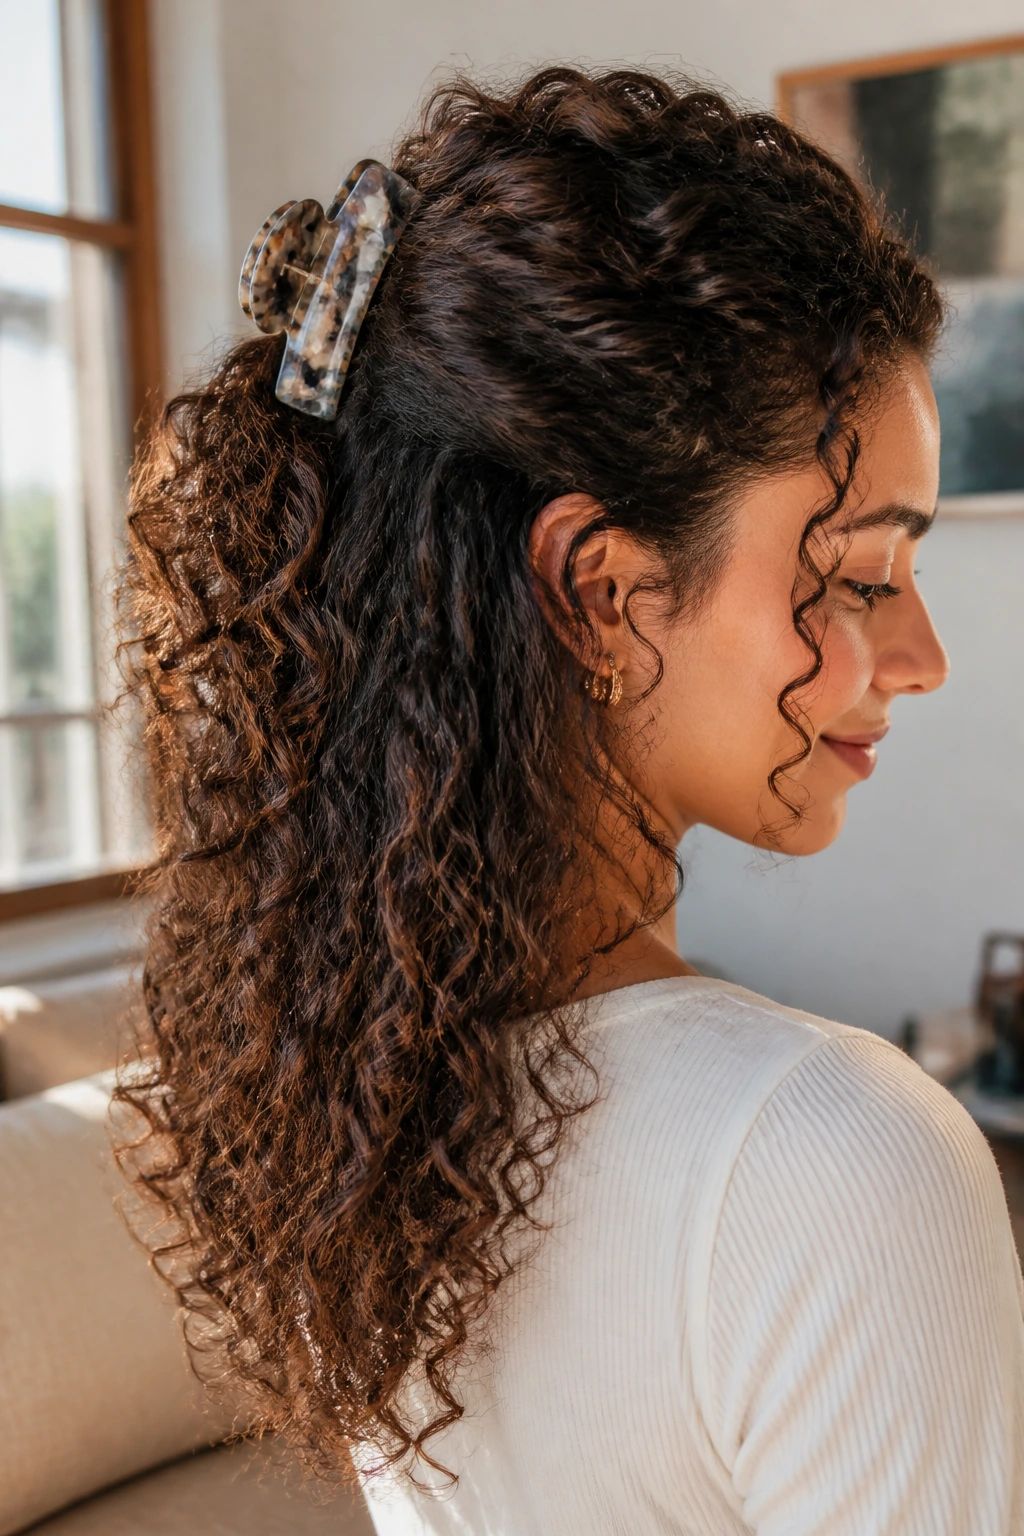
The humble claw clip has made a massive comeback, and for good reason—it is the ultimate curly hair tool. For a simple half-up look, gather the top half of your hair and twist it slightly toward the back of your head. Instead of using an elastic, secure it with a large or medium claw clip.
Choosing Your Clip
Choose a clip with rounded teeth to ensure it glides through your curls rather than pulling them. If you have thicker hair, look for “jumbo” sizes that are specifically designed for high-density hair. This style is particularly effective if you have had a long day and want to transition from a loose, down-style to something more structured without having to re-style your hair from scratch.
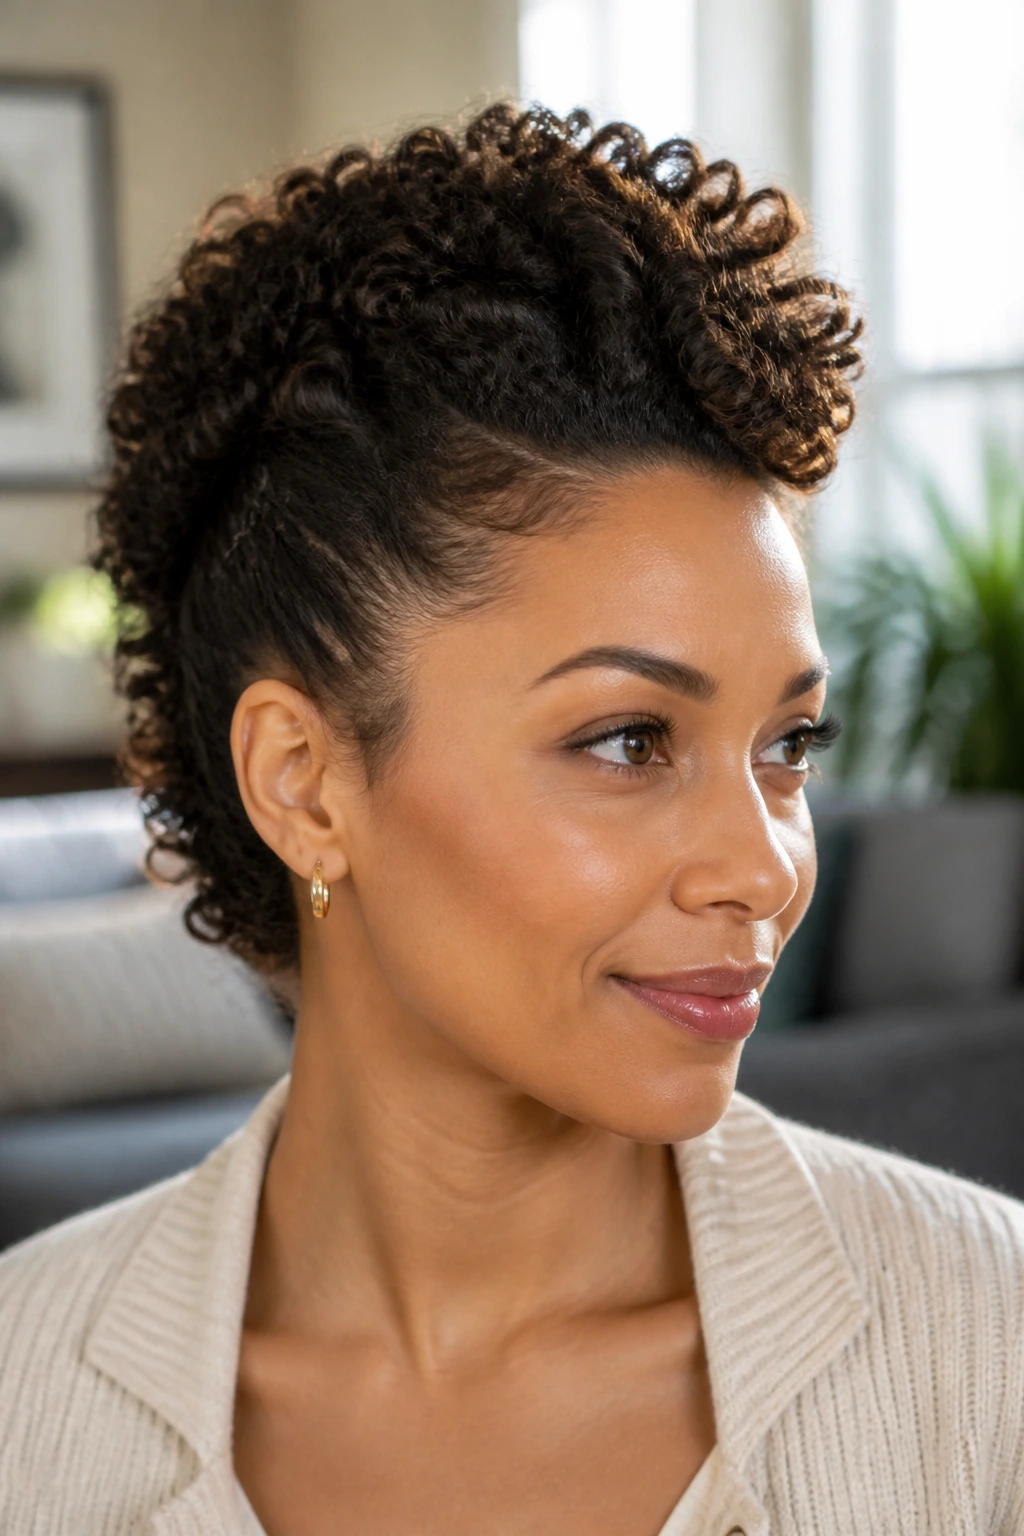
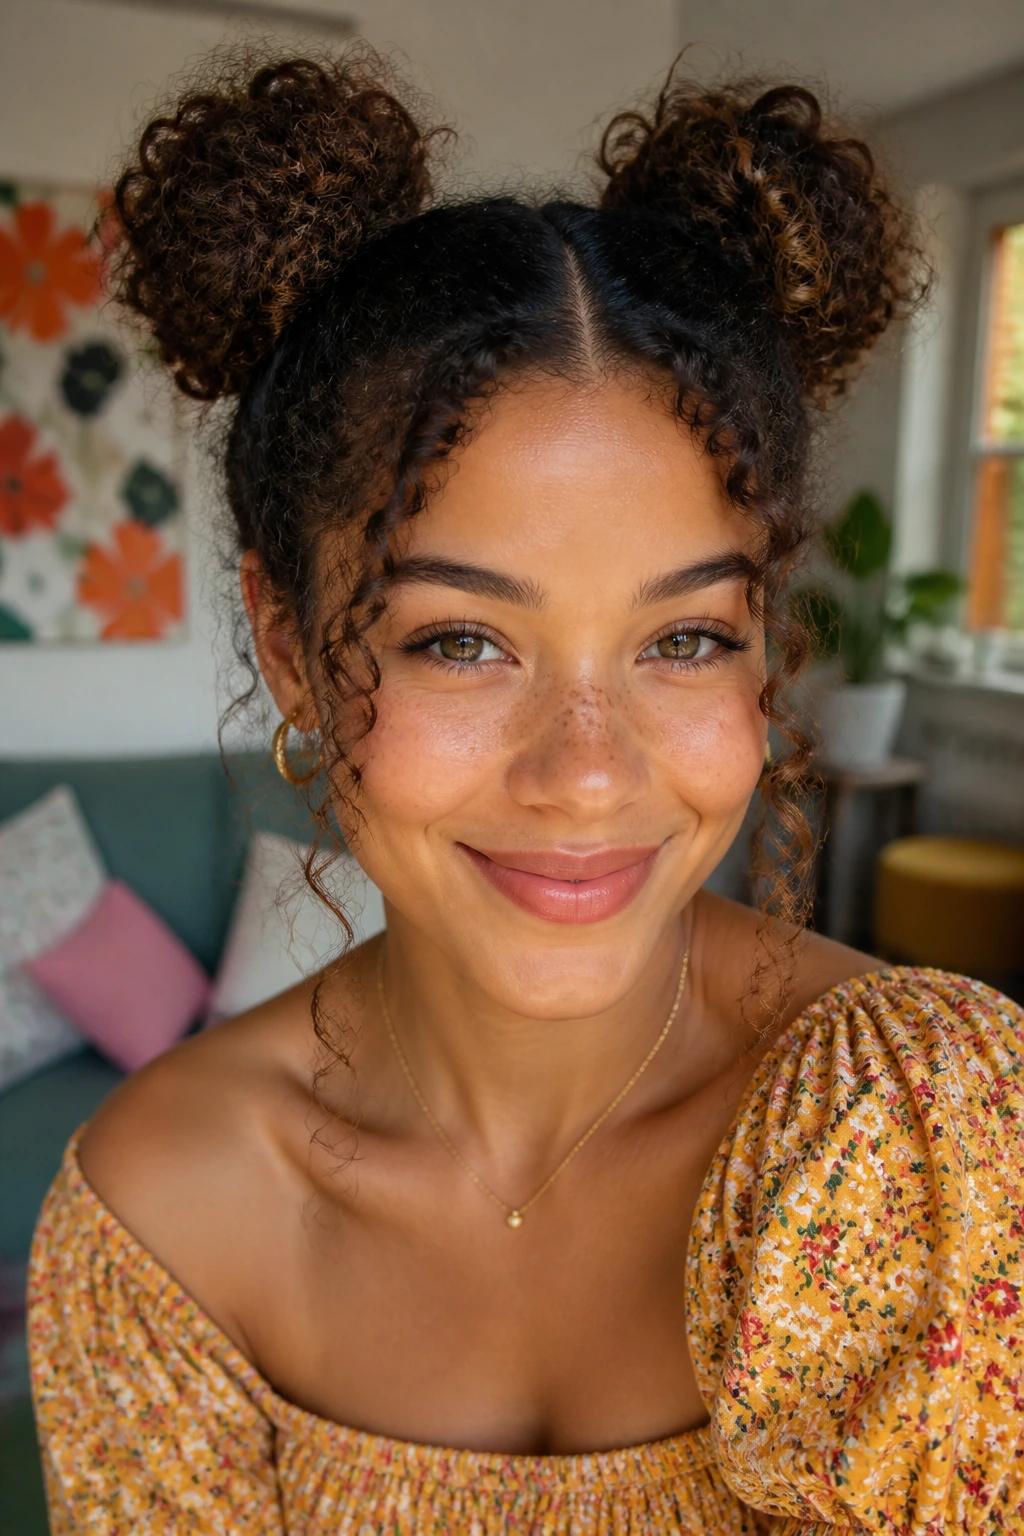
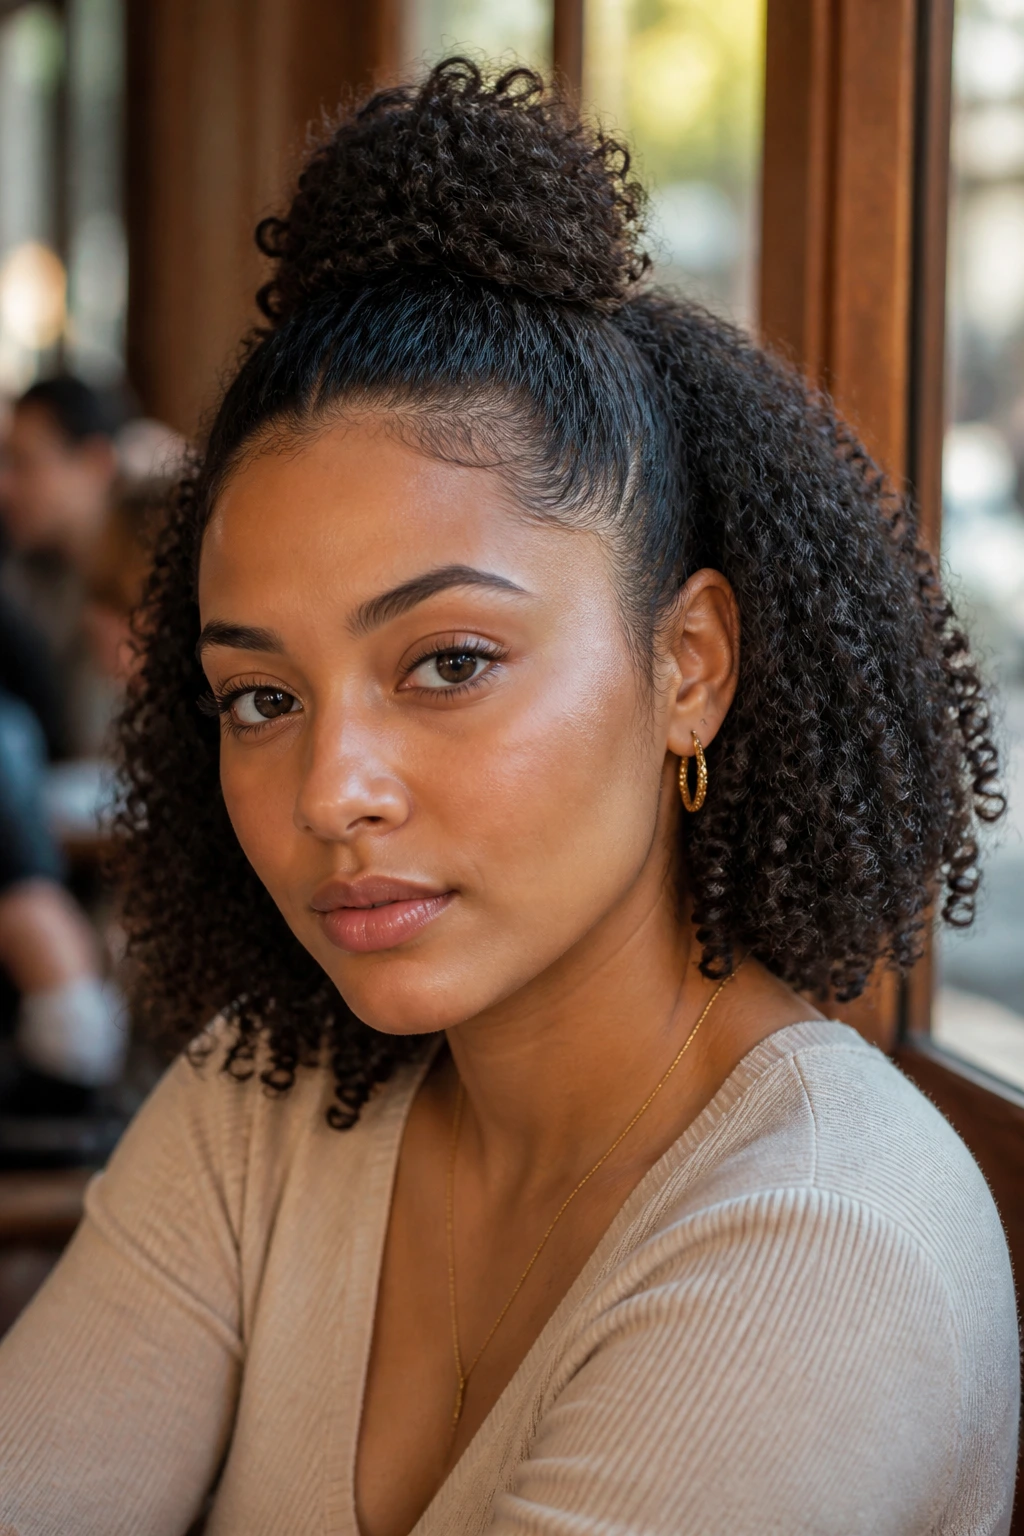
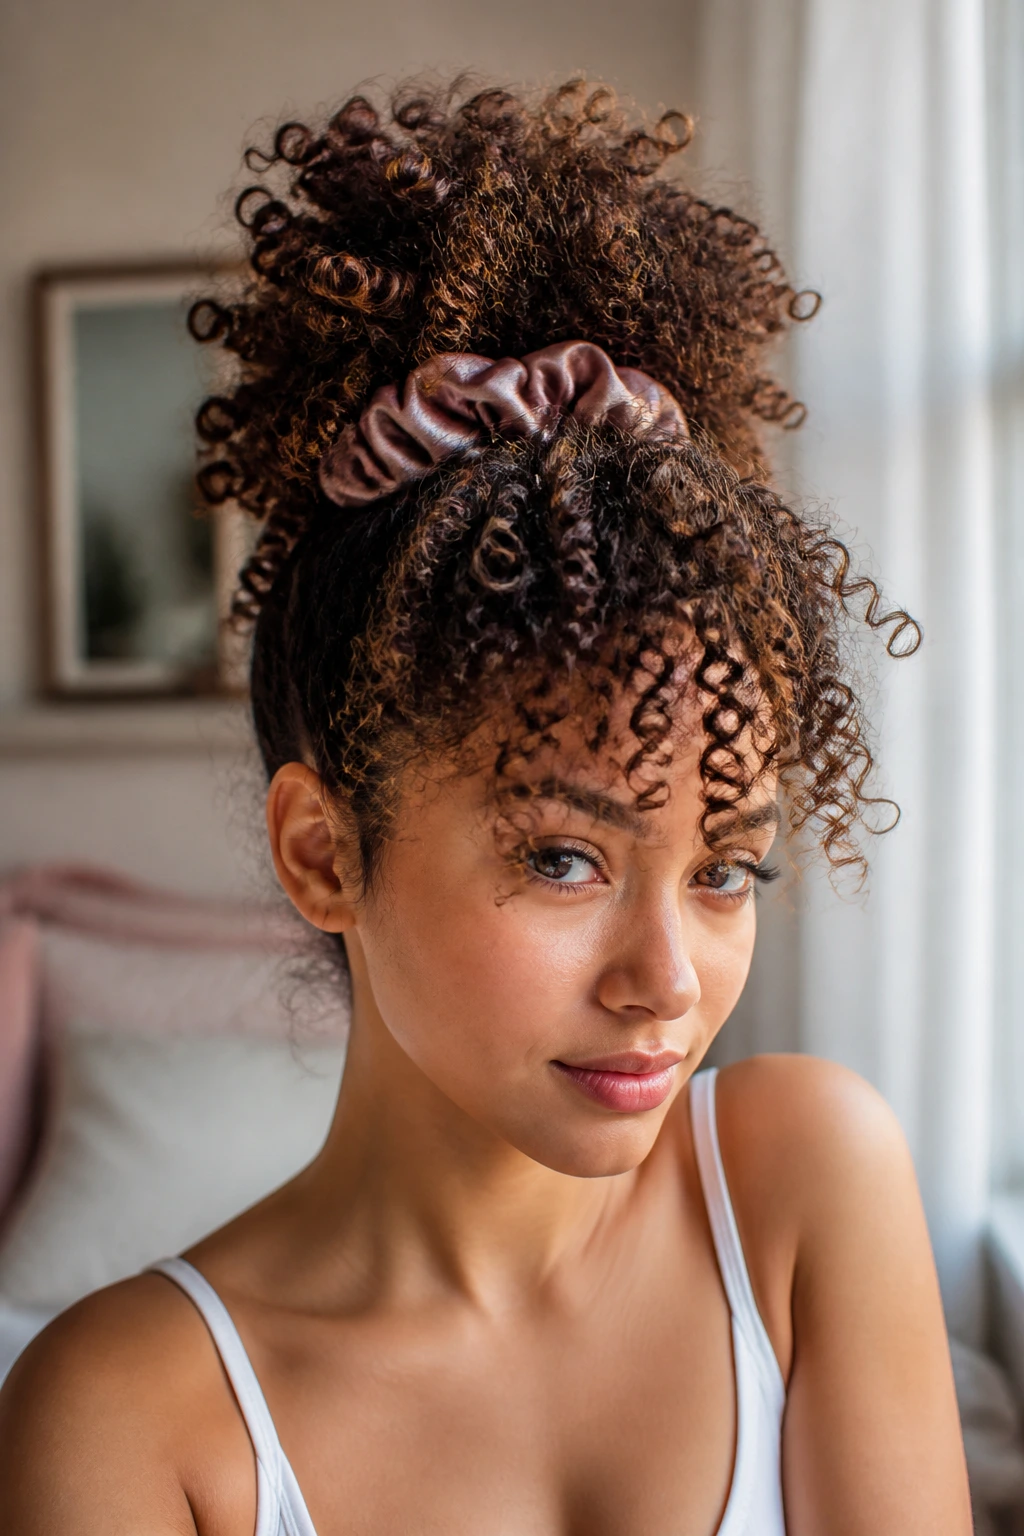
13. The Pineapple Bun
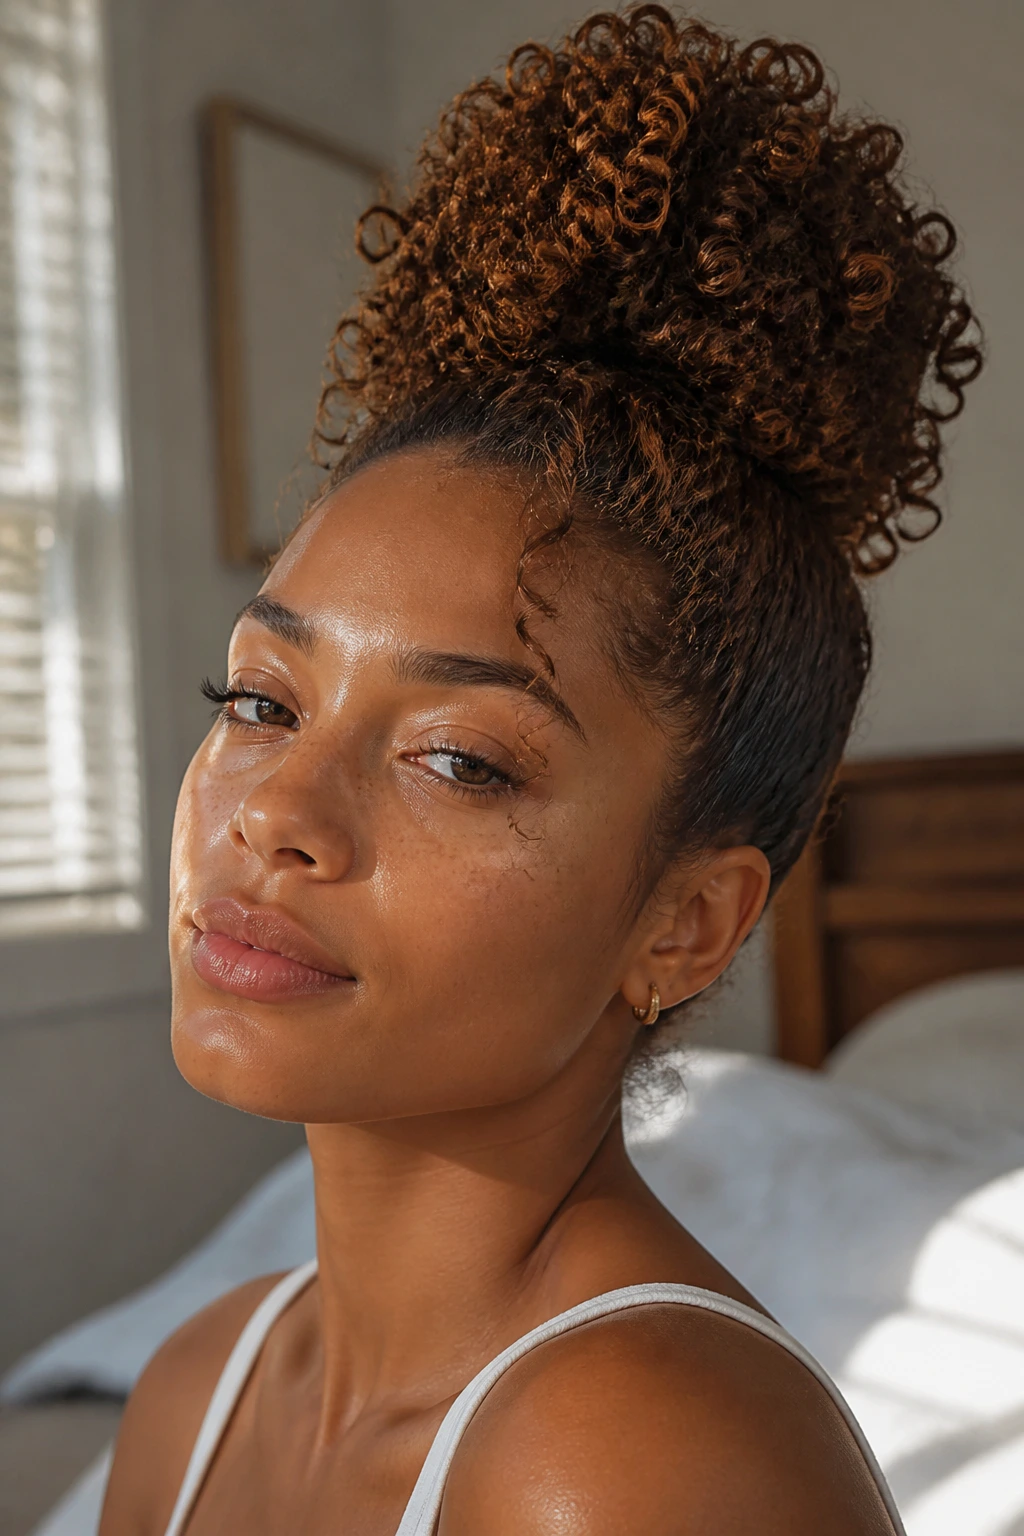
If you want the benefits of the “pineapple” method but need something that looks a bit more put-together, go for the pineapple bun. It involves the same gathering at the crown, but instead of letting the hair cascade loose, you twist the ends and tuck them around the base to create a voluminous, soft bun.
Texture and Volume
This look relies on volume, so don’t be afraid to pull at the bun once it is secured to make it wider and softer. The curls should look like they are blooming out of the center. Use two or three large hairpins to anchor the shape rather than a tight band, which can often crush the curls and make the bun look flat and lifeless.
14. Sides Pin-Up
Sometimes you want your curls to look like a short, edgy cut without actually grabbing the scissors. The “sides pin-up” involves pulling the hair tight at the temples and pinning it back toward the center of the back of your head. This pulls the sides close to the scalp, creating a faux-hawk or a voluminous “short” look that highlights your jawline.
Why This Style Succeeds
This is a high-impact, low-effort style. By pinning the sides back, you force all your volume toward the top and center. It is an excellent way to manage hair that has become a bit too frizzy or unmanageable near the ears and allows you to experiment with a shorter shape without any commitment. You can dress it up with rhinestone pins or keep it simple with classic black ones.
15. The Low Bun with Face-Framing Tendrils
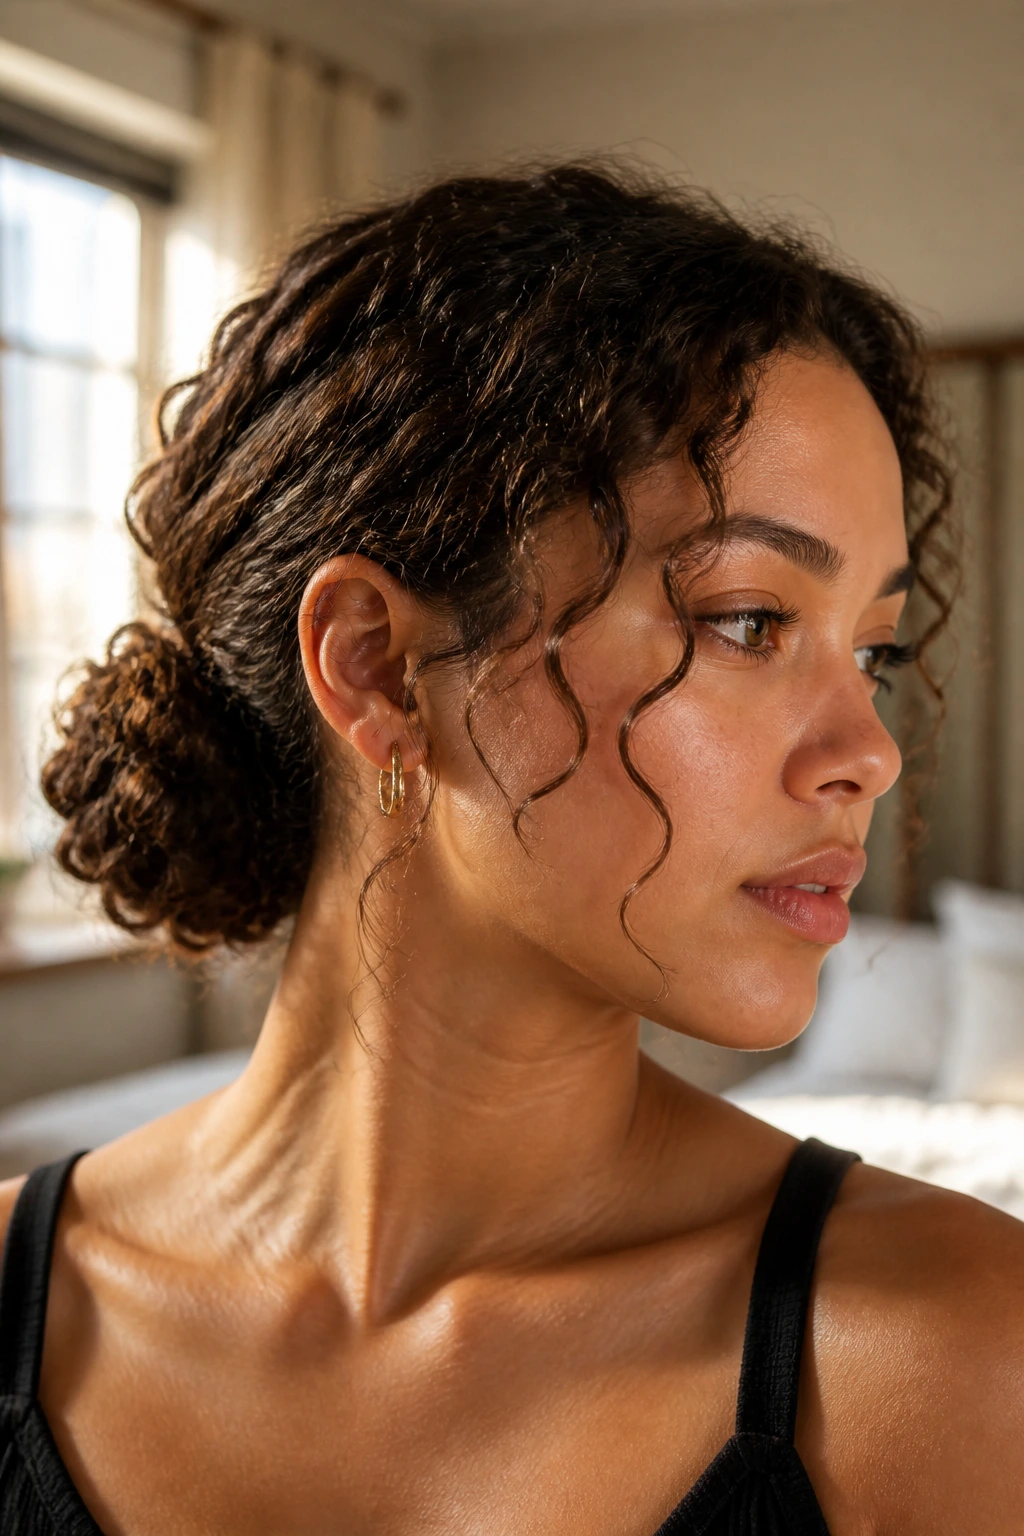
There is an effortless elegance to a low bun where a few loose ringlets are allowed to escape around the face. To achieve this, gather your hair at the nape of the neck but intentionally pull out two small sections near your temples before securing the bun. Use your fingers to coil those sections so they sit in neat, defined ringlets.
The Importance of Softness
This style is all about balance. The bun provides the necessary structure and control, while the loose tendrils soften your facial features. It is a fantastic option if you are wearing statement earrings, as the pulled-back hair ensures nothing distracts from the jewelry. Just remember to use a moisturizing leave-in on those loose pieces so they remain shiny and defined rather than turning into frizz.
16. The Side-Parted Low Pony
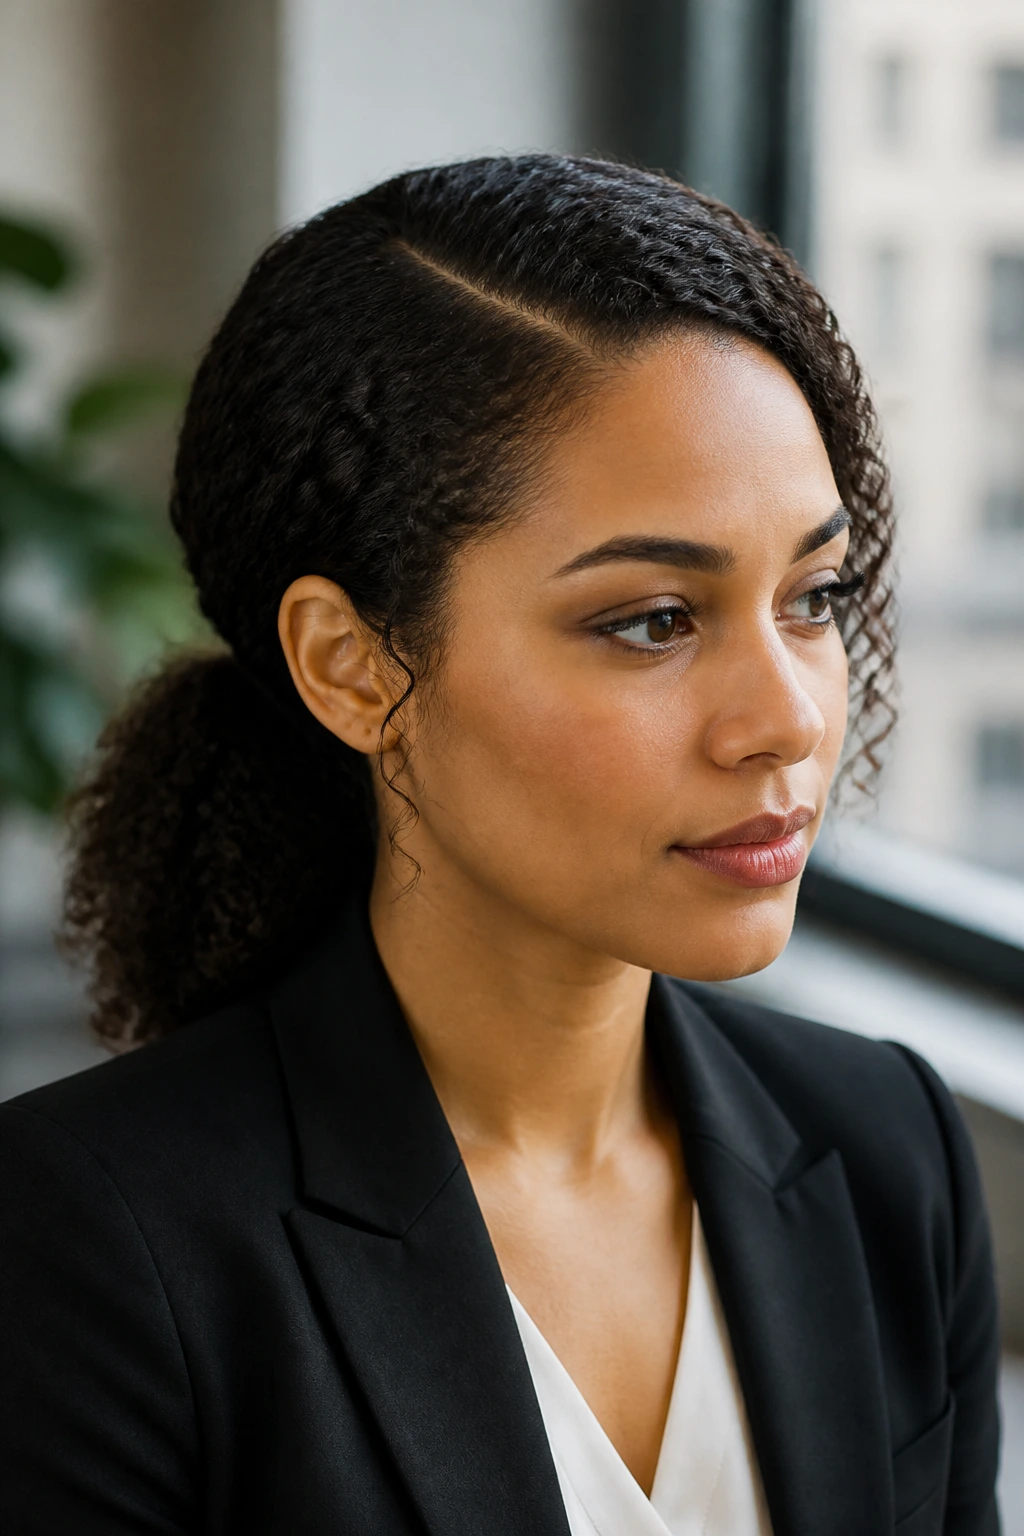
Changing the part is good, but combining it with a low pony is better. This style looks professional, polished, and takes almost no time. After creating a clean side part, gather your hair to the side opposite the part. This creates a gentle curve across your forehead that feels intentional and stylish.
Smoothing the Roots
If your hair is prone to flyaways, use a light-hold gel on the top sections to flatten the hair along your scalp. You want to maintain the contrast between the smooth top section and the voluminous, curly tail. This is a great “business-casual” look that holds up throughout the day and doesn’t require constant re-touching.
17. The Twisted Headband Look
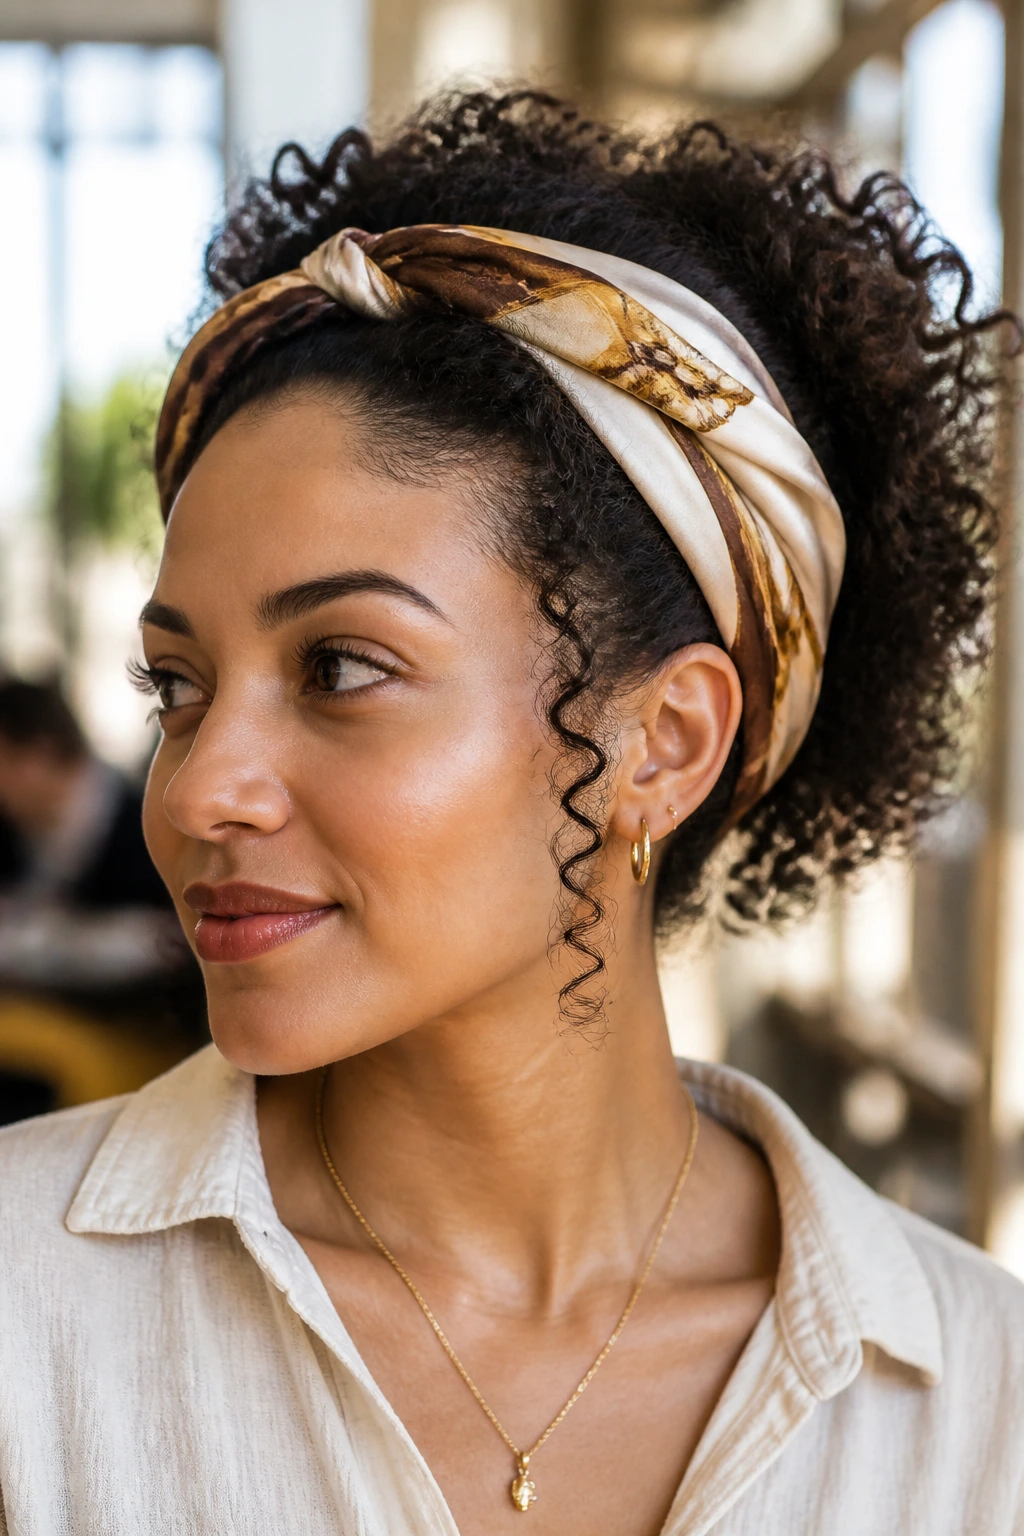
If you have a silk scarf, you can turn it into a headpiece that incorporates your hair. Instead of just laying the scarf over your curls, twist your hair into two sections at the front, wrap the scarf around them, and tuck the ends. This keeps the hair off your face while highlighting the texture of your curls behind the scarf.
Why It Lasts
This method essentially “locks” the front of your hair in place, which is where most curls tend to lose their definition first. By integrating the scarf into the style, you create a look that is both functional and incredibly stylish. It is an ideal way to get through a high-humidity day without worrying about your hair falling flat or expanding into an uncontrolled cloud.
18. The Loose Top Knot

Unlike the half-up version, a full top knot is all about height and drama. Flip your head upside down, gather all your curls to the very top, and secure with a loose band. The goal here is not perfection; it is height. Let the curls spill out over the elastic, and use bobby pins to pin down any stray pieces that are hanging too far back.
Managing the Weight
Because curly hair can be heavy, the most important part of a high top knot is the anchor. If one band isn’t enough, don’t keep tightening it. Instead, use a second band to “hug” the base, or use large hairpins to secure the base of the bun to the hair at your scalp. This distributes the weight more evenly and prevents your scalp from feeling like it is being pulled too hard.
19. The “Fro-Hawk” with Pins
A “Fro-Hawk” is one of the most iconic ways to wear curly hair. You don’t need to shave the sides of your head to get the look. Simply pull the hair from both sides toward the center of your head and pin it down in a line from your hairline to the nape of your neck.
Sculpting the Shape
Once the sides are pinned, use your fingers to pull and fluff the hair in the center to increase the height and width of the “hawk.” This style works best on second or third-day hair when the curls have lost a little bit of their initial bounce and have gained more body. It is a bold, artistic look that feels entirely different from the soft, romantic styles typically associated with curly hair.
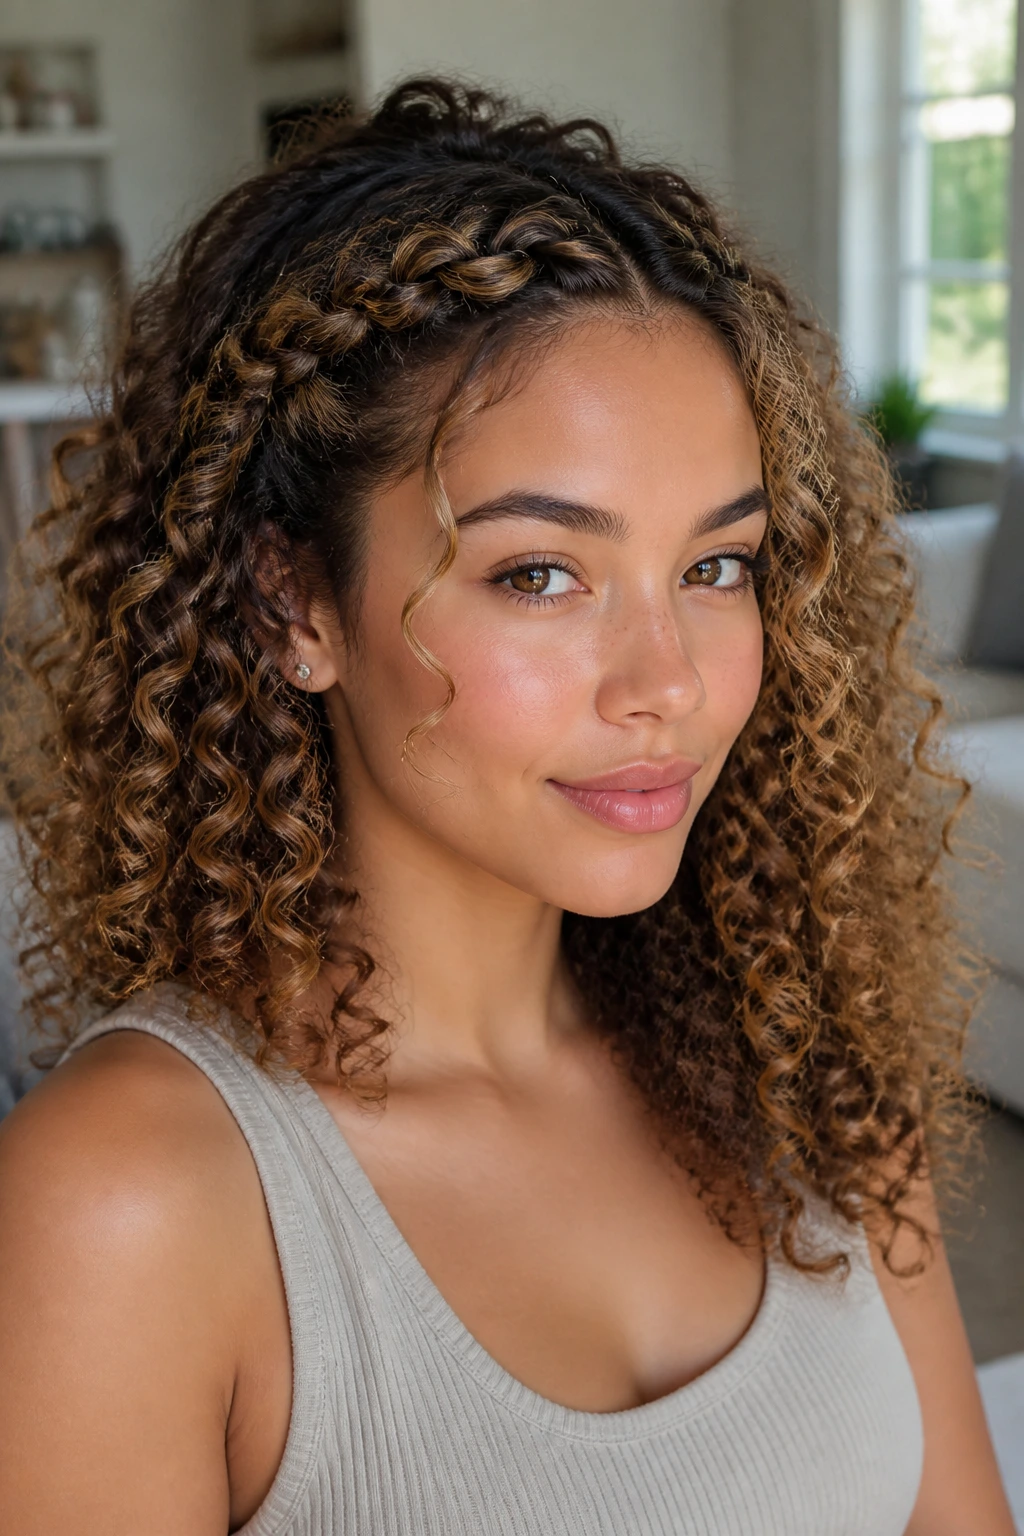
20. Half-Up with Braided Crowns
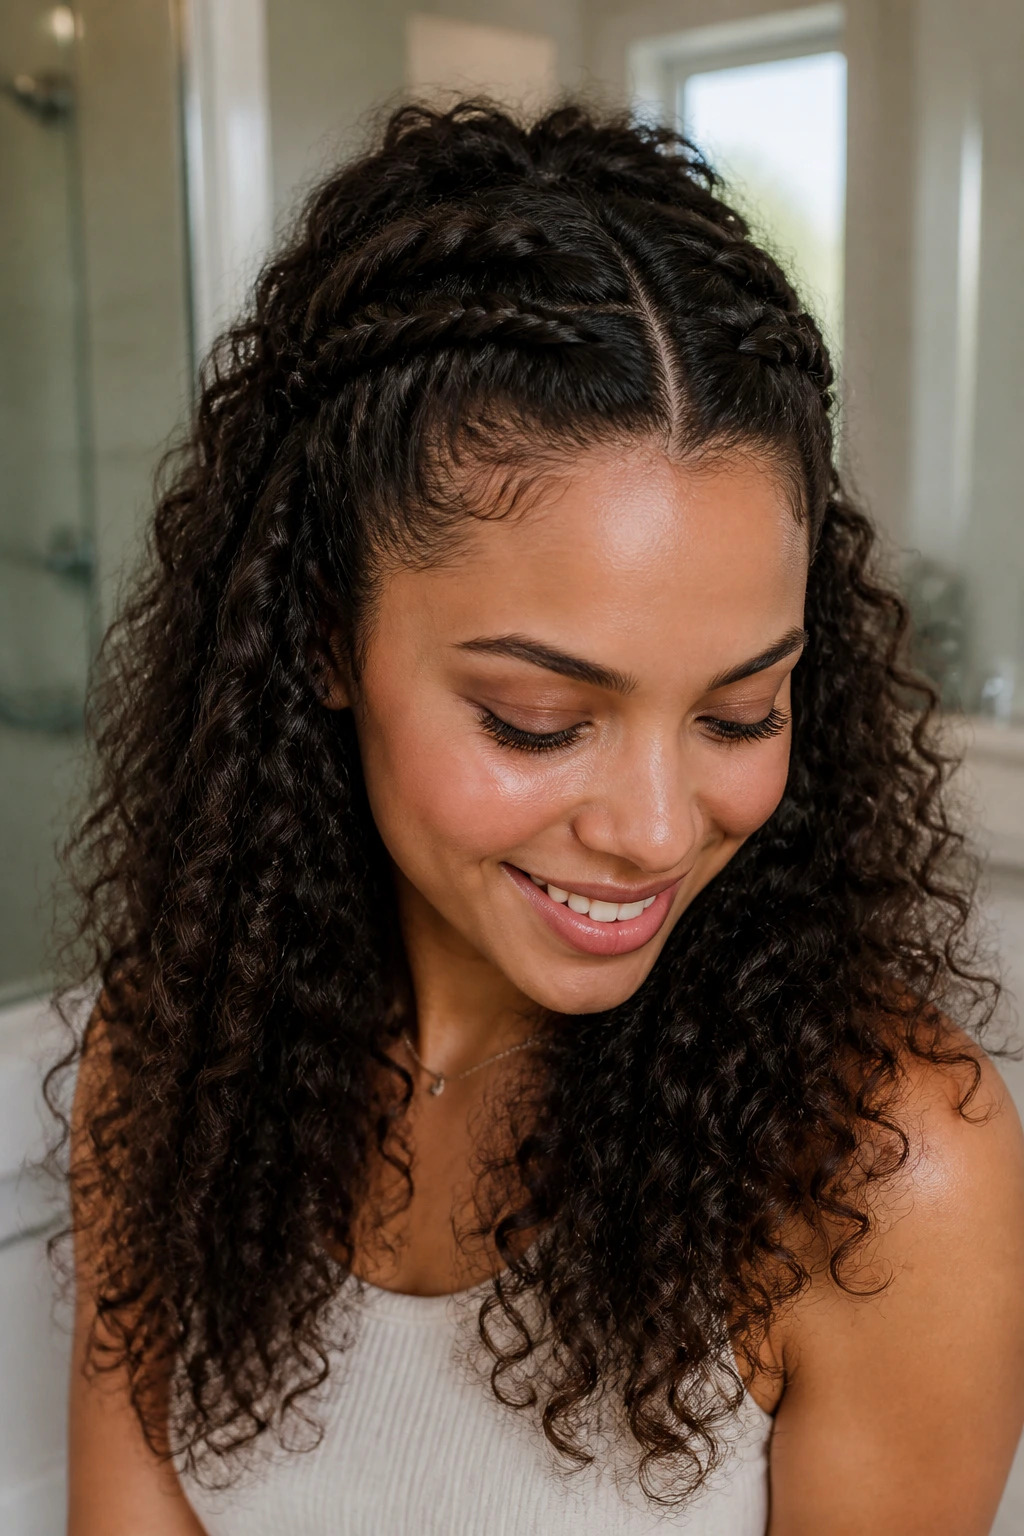
Take the half-up concept and add a small braid to the sides before securing it. By braiding two thin sections from your temples back toward the center and pulling them into a small half-pony, you add a layer of detail that makes the hair look much more complex than it actually is.
Combining Techniques
The braid acts as a “frame” for the rest of your hair. This is perfect for those days when the hair around your face is looking a bit tired. The braids pull that section taut, giving it immediate definition and sheen, while the rest of your hair is left free to show off its natural texture. It is a quick way to look like you spent an hour on your hair when it really took five minutes.
21. Low Bun with a Ribbon
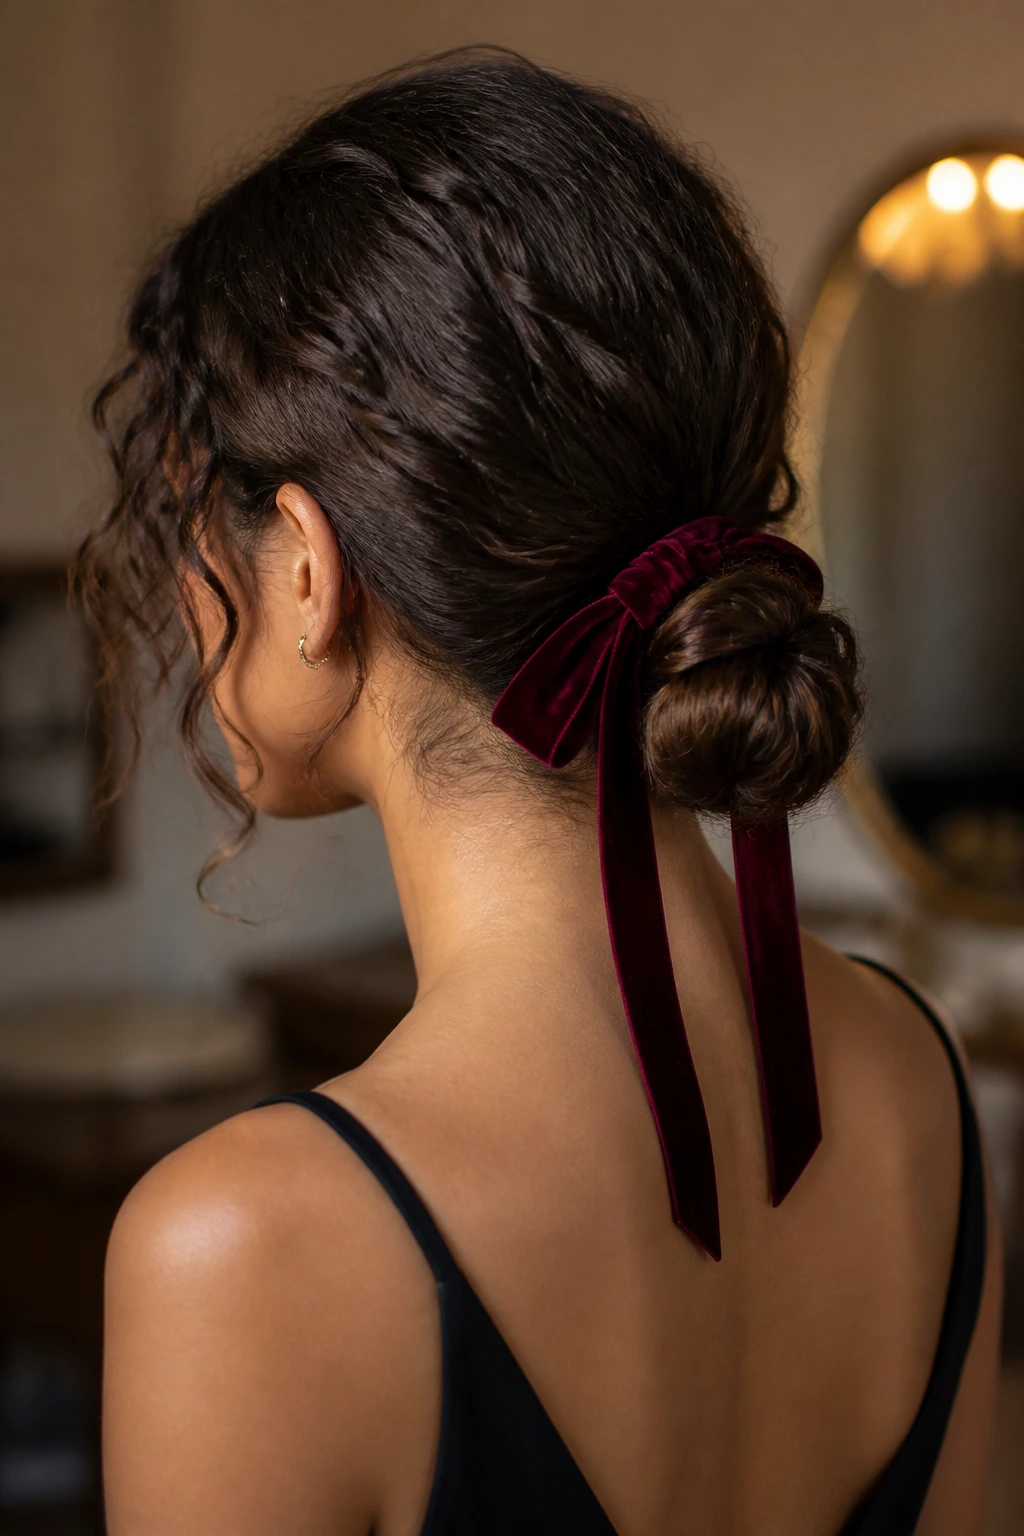
A simple velvet or silk ribbon tied around a low bun adds a touch of whimsy and luxury. After securing your bun with pins or a thin band, take a long ribbon and wrap it around the base two or three times, finishing with a bow. The ribbon should be long enough that the ends hang down against your neck.
The Effect of Texture
The juxtaposition of a smooth, soft ribbon against the coarse or delicate texture of your curls is visually stunning. This is a very easy way to elevate a basic, “I-just-need-to-get-this-done” bun into something that looks like it belongs on a runway. It also hides any unsightly elastics or bobby pins that might be holding the bun together.
22. The Wet-Look Slick Back
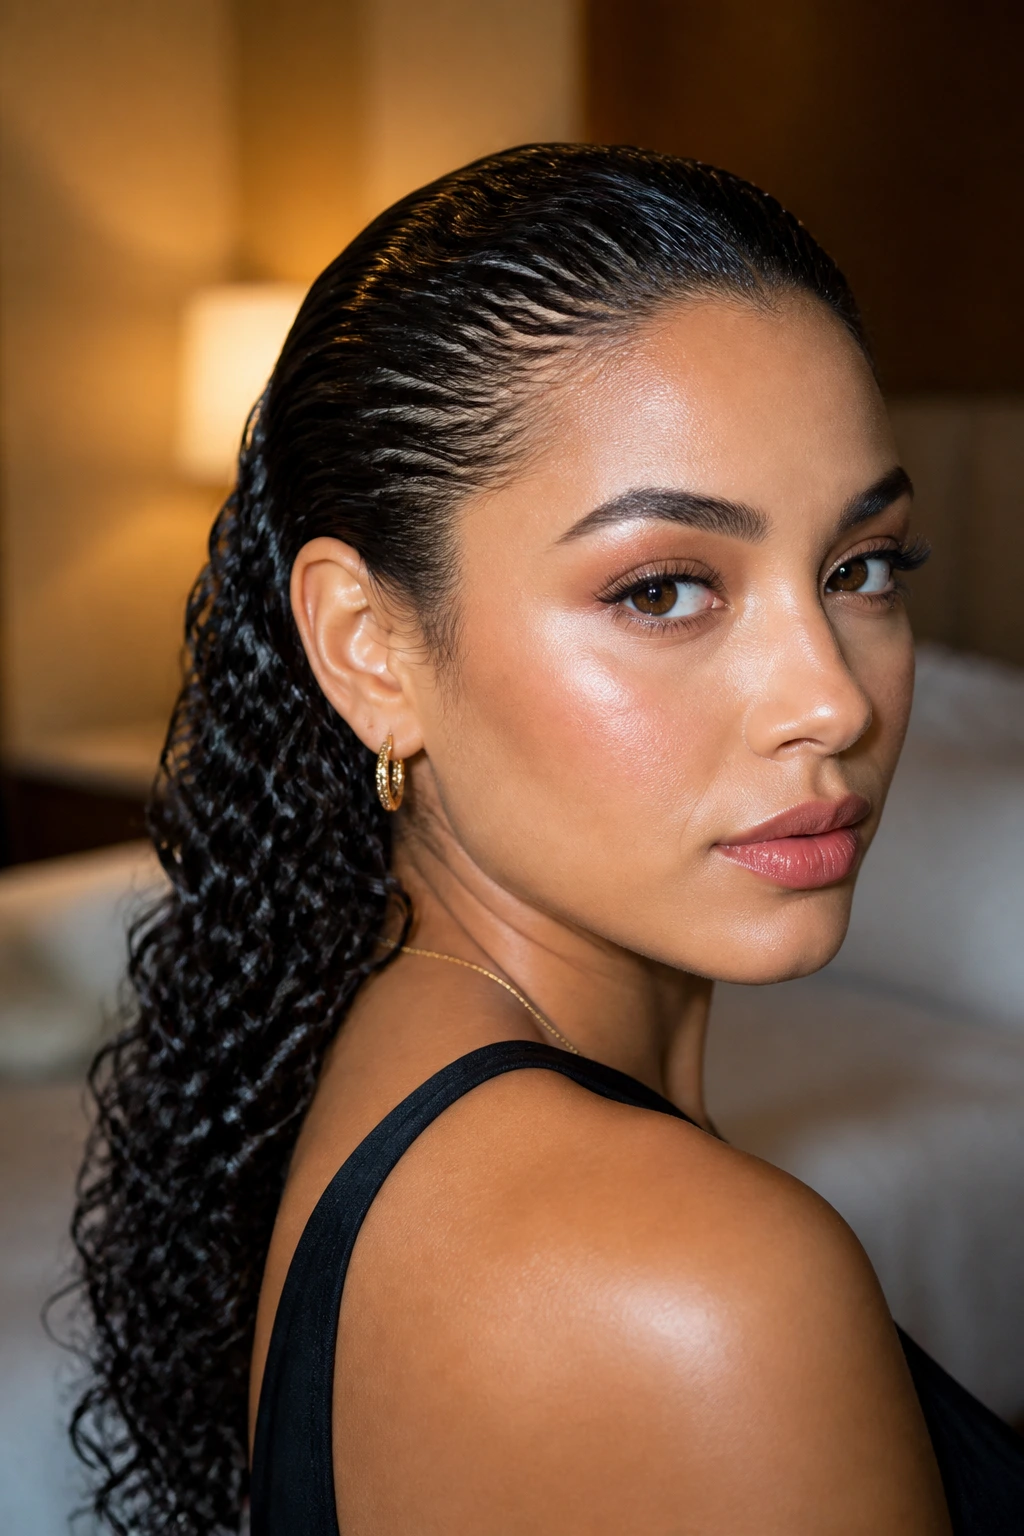
The “wet look” is a fantastic way to handle curls that have become a little unruly. Use a firm-hold gel on damp hair and use a wide-tooth comb to pull the hair straight back from your forehead, tucking it behind your ears. Let the rest of the hair remain damp and defined, or diffuse it slightly for a drier finish.
When to Use This Style
This is an excellent option for formal events or evening outings. It creates a sleek, high-fashion profile that is completely different from the usual “bouncy” curly look. Because the hair is slicked down at the roots, it prevents any frizz from blooming during the day, making it one of the most reliable styles for high-stakes occasions.
23. Double Buns (Space Buns)
For a playful, youthful look, try double buns. Part your hair down the center and create two high ponytails. Twist each one into a bun and secure it. You can make them tight and neat or loose and messy.
Styling the Part
The clean center part is what makes this look work. Use a tail comb to ensure the line is precise. If you want to lean into the fun side of this style, add some glitter to your roots or use colorful scrunchies. It is a great way to show off your curl pattern while keeping the hair completely contained and secure.
24. The Low Chignon
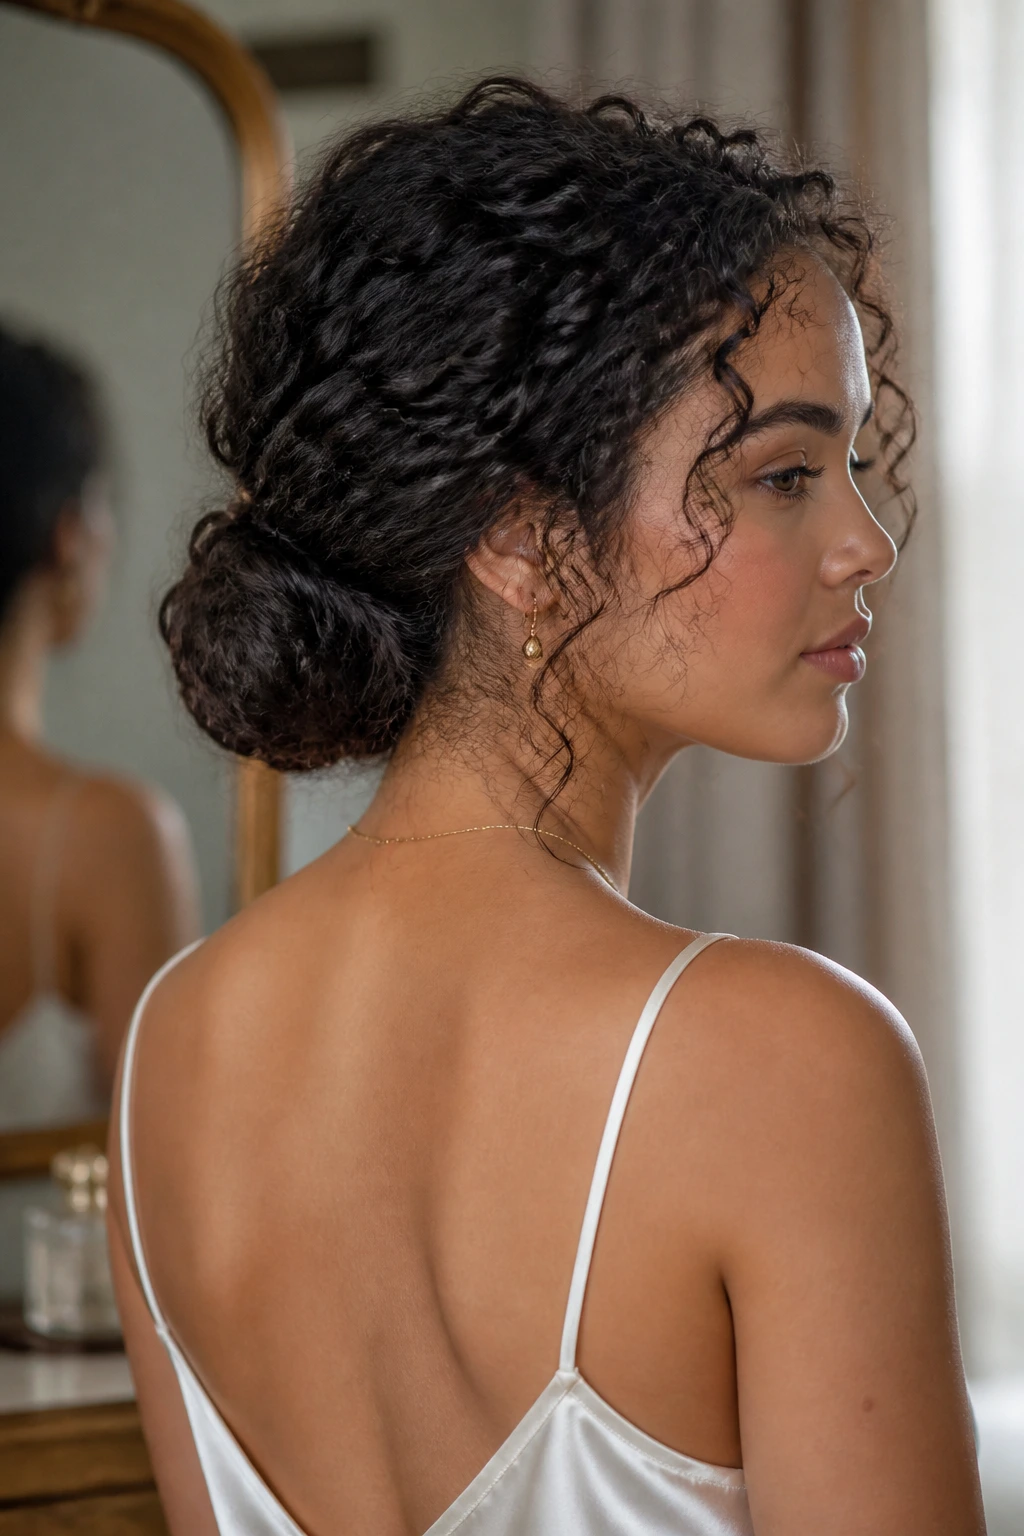
A chignon is a more structured, polished version of a bun. Gather your hair at the nape of the neck, roll the ends under themselves to create a horizontal loop, and pin it in place. It is a classic, timeless look that works exceptionally well with the natural body and texture of curly hair.
The Graceful Finish
The key to a good chignon is the “roll.” Instead of just twisting the hair, you are essentially folding it upon itself. This gives the style a rounded, sophisticated shape that looks professional. It is the perfect style for a wedding, a gala, or just a day where you want to feel a bit more refined.
25. The Half-Up Mini-Puff
For shorter curls or hair that is currently at an awkward length, a half-up mini-puff is a great solution. Gather the hair from the crown and pull it into a small, tight puff at the top. It adds height exactly where you need it and prevents the hair from hanging in your eyes.
Volume Control
Because this is a smaller section of hair, the puff will be denser. You don’t need a lot of product here—just enough to smooth the edges. It is a very “street-style” look that pairs perfectly with large hoop earrings or bold makeup, keeping the hair itself as an accent rather than the main focus.
26. Braided Bangs
If you have longer hair or are trying to grow out bangs, braiding the front section of your hair back into the rest of your mane is an excellent way to keep it out of your face. Create a French or Dutch braid starting at the hairline and weave it back until it blends into the rest of your curls.
Integrating the Braid
The trick is not to make the braid too tight. You want it to sit gently against your scalp. Once you reach the crown, you can pin the end of the braid underneath a loose section of hair so it disappears. This is an incredible way to manage layers that might otherwise be frizzy or unruly, giving you a clean and organized front profile.
27. The Side Twist with Clips
Instead of a braid, you can create a similar look with a side twist. Take a section of hair from your hairline, twist it away from your face, and add a little more hair to the section as you move backward. Secure it with two or three decorative clips.
Why Twists Work
Twists are often faster than braids and can look more modern. If you are not a confident braider, this is a much more forgiving technique. The twist will naturally hold its shape because of the natural texture of your hair, and by adding the clips, you ensure that it doesn’t loosen up over the course of the day.
28. The Low Loose Pony with a Headband
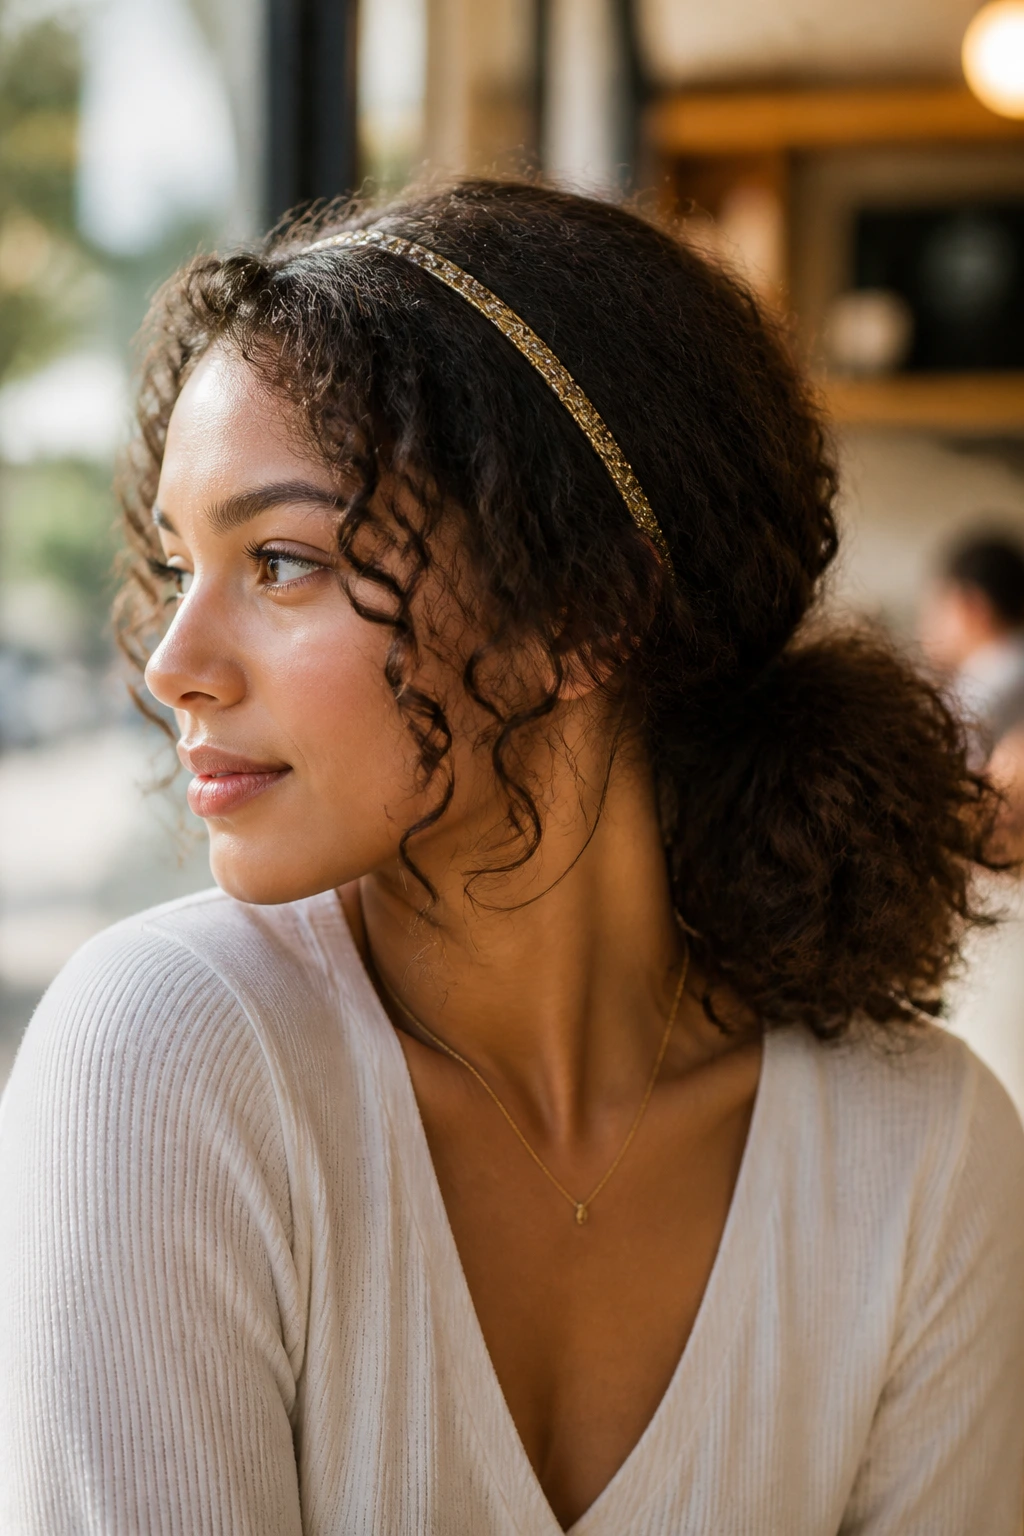
Sometimes, you just want to let the curls do their thing. A low, loose ponytail paired with a thin, decorative headband is the ultimate “weekend” style. It keeps the hair slightly contained but allows the bulk of your curls to be seen and appreciated.
Finishing the Look
Choose a headband that is thin enough not to compete with the hair but interesting enough to provide some contrast—like a thin metallic or jeweled band. This style is about ease and comfort. It is perfect for lounging, running errands, or meeting friends for coffee when you want to look put-together without feeling like you spent any time on your hair at all.
The Bottom Line
Curly hair styling is less about following a rigid manual and more about understanding what your hair needs to thrive. Most of these styles rely on working with the texture you already have, using accessories to provide structure, and embracing the idea that curls look best when they have a bit of room to breathe. Stop fighting the frizz and start finding the shapes that make your natural pattern shine. If you start with a healthy base—moisturized, detangled, and protected—any of these simple styles will look intentional, healthy, and entirely your own.