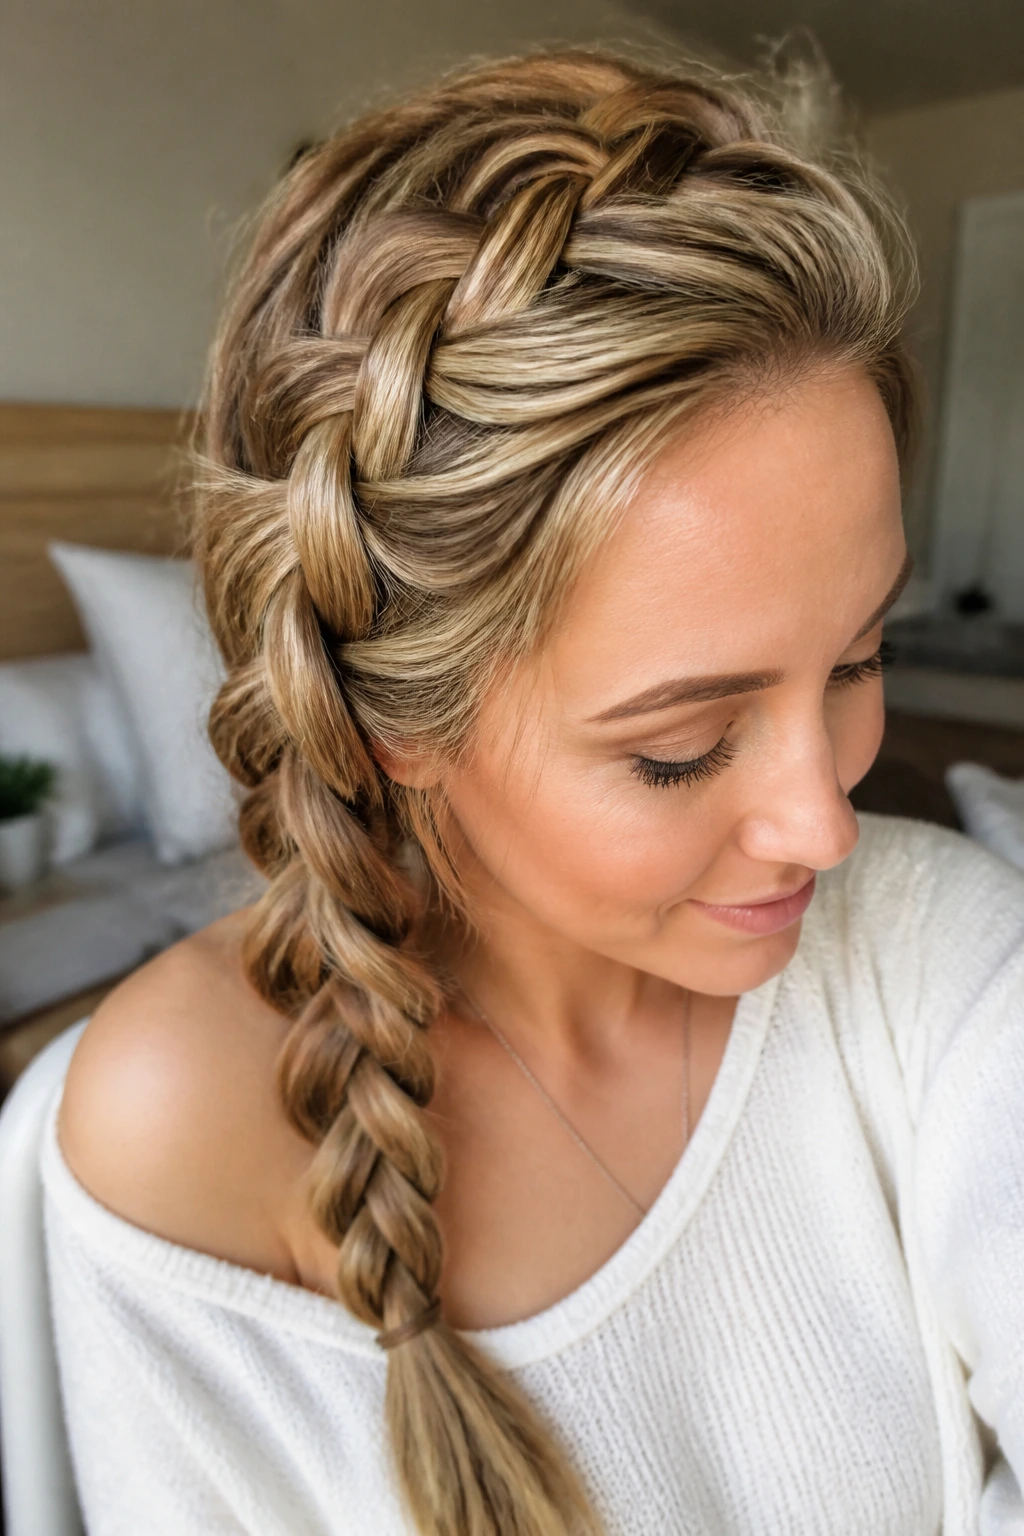
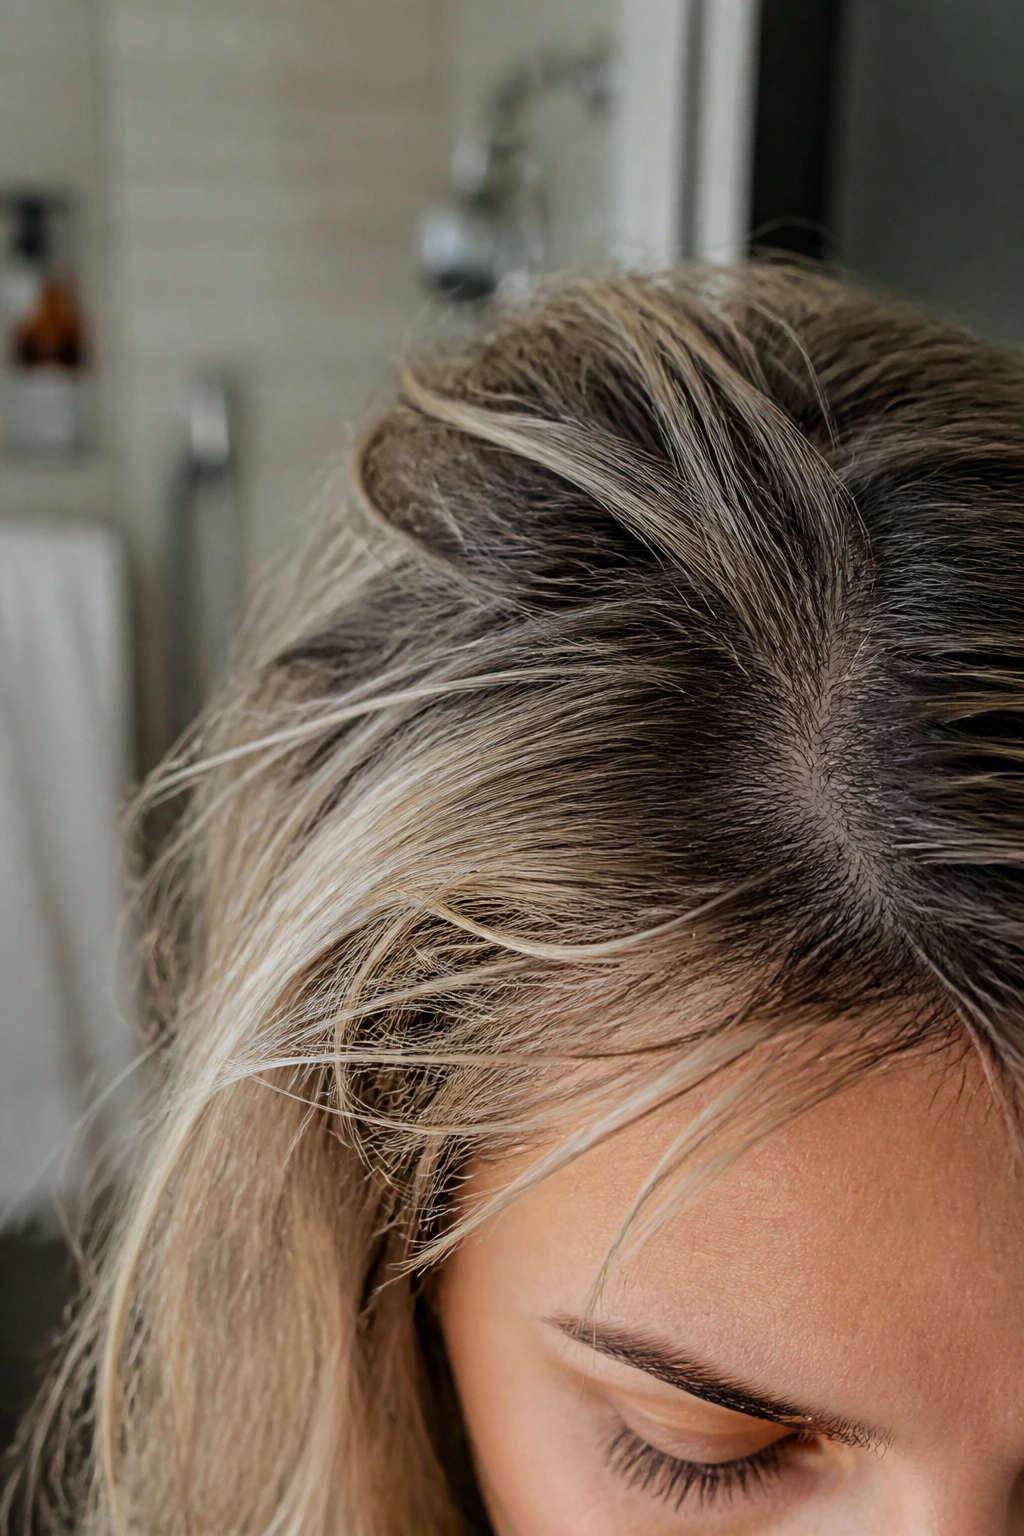
The secret to styling thin hair is realizing that you aren’t fighting a losing battle against gravity; you are simply managing volume in a different way. When you have fine or thinning hair, a tight, precision-engineered braid can often look sparse, revealing more scalp than you would prefer. The solution lies in the art of the “loose” French braid. By intentionally softening the tension and pulling at the edges of the plait, you create an optical illusion of density that makes the hair appear twice as thick as it actually is.
Thin hair often lacks the natural grip required for intricate, long-lasting styles. If your strands are silky or prone to slipping, the process begins long before you touch your hairbrush. Texture is the primary currency of a great braid. Without it, your hair will simply slide through your fingers, leaving you with a limp, sad-looking plait. Once you embrace the necessity of grip-enhancing products, the world of braided styles opens up, allowing you to move away from the flat, plastered-down looks that often dominate thin-hair styling advice.
The Importance of Pre-Braiding Texture
Before you even think about weaving strands together, you need to alter the surface of the hair shaft. Fine hair is naturally slick. To give your braid the “sturdy” feel required for that signature loose look, you must use a texturizing spray or a light dry shampoo. I find that a dry texturizing spray is significantly better than hairspray for this purpose because it adds grit without the stiff, crunchy shell that hairspray often leaves behind. You want the hair to feel slightly “dirty” or lived-in, even if you just washed it twenty minutes ago.
How to Build Grit from Scratch
- Apply a generous amount of dry texturizing spray from roots to ends, concentrating on the mid-lengths where the braiding will happen.
- Use a wide-tooth comb or your fingers to distribute the product; don’t brush it smooth, as you want to maintain the slight tangle that helps hair lock into place.
- If your hair is extremely slippery, a tiny dusting of volumizing powder at the roots provides the anchor point you need to keep the start of the French braid from sliding down your scalp.
Always work in sections. If you spray the whole head at once, you might miss the inner layers. Focus on the sections you intend to grab as you progress. This preparation isn’t just a suggestion; for thin hair, it is the fundamental structural foundation of the entire style.
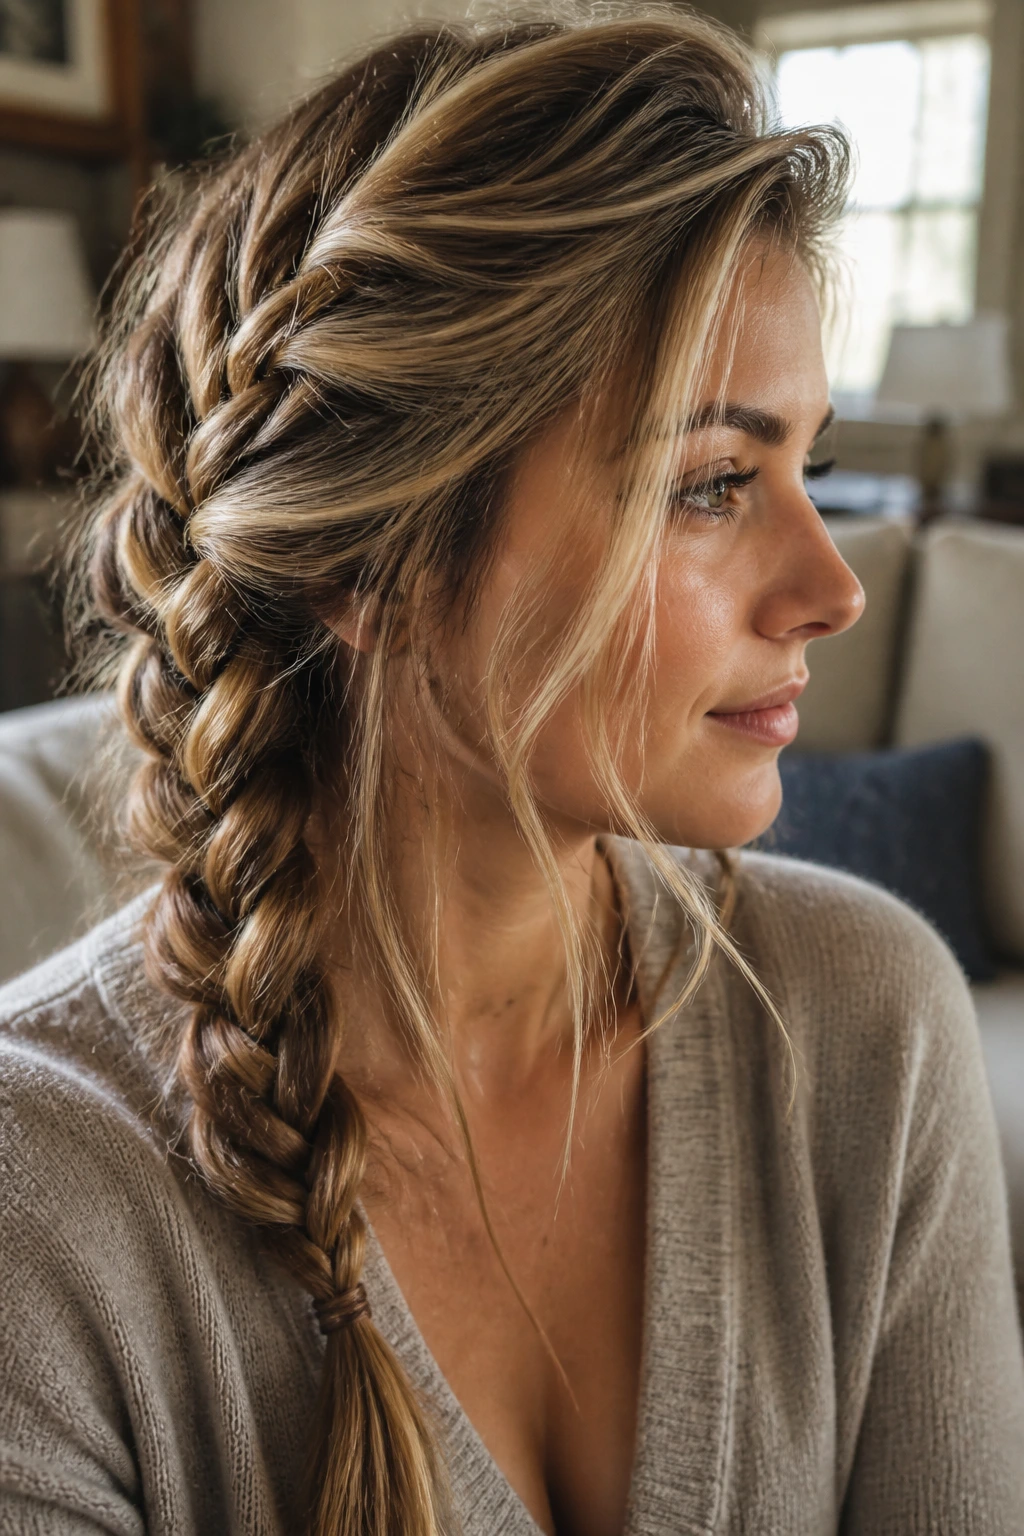
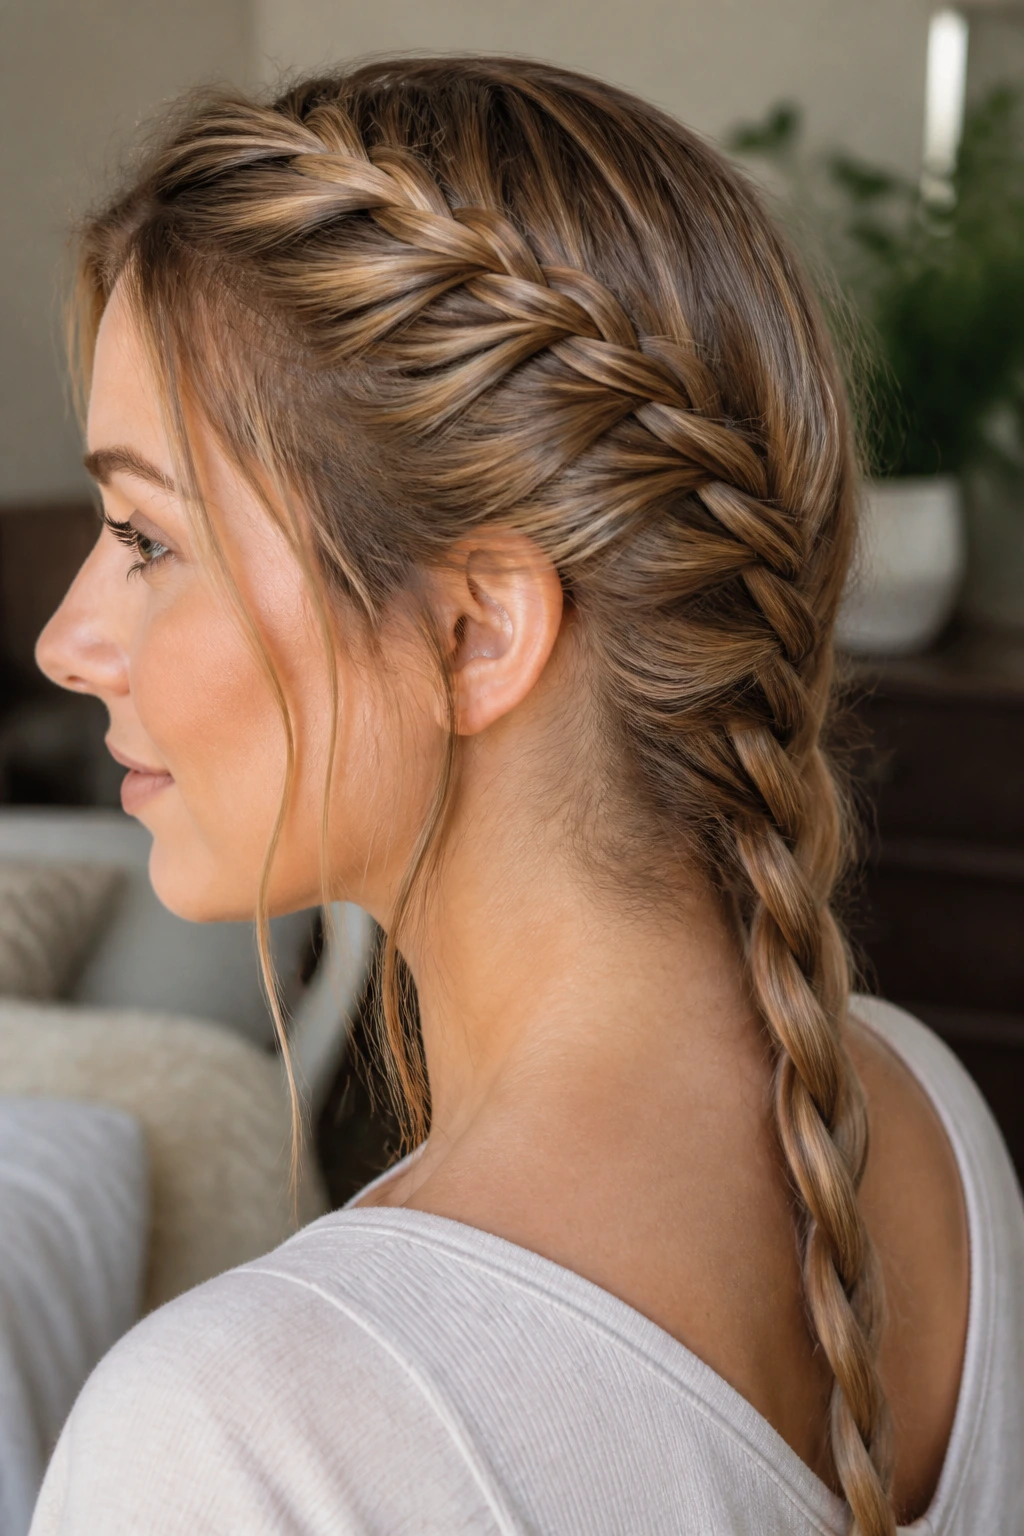
1. The Classic Loose Side-Sweep
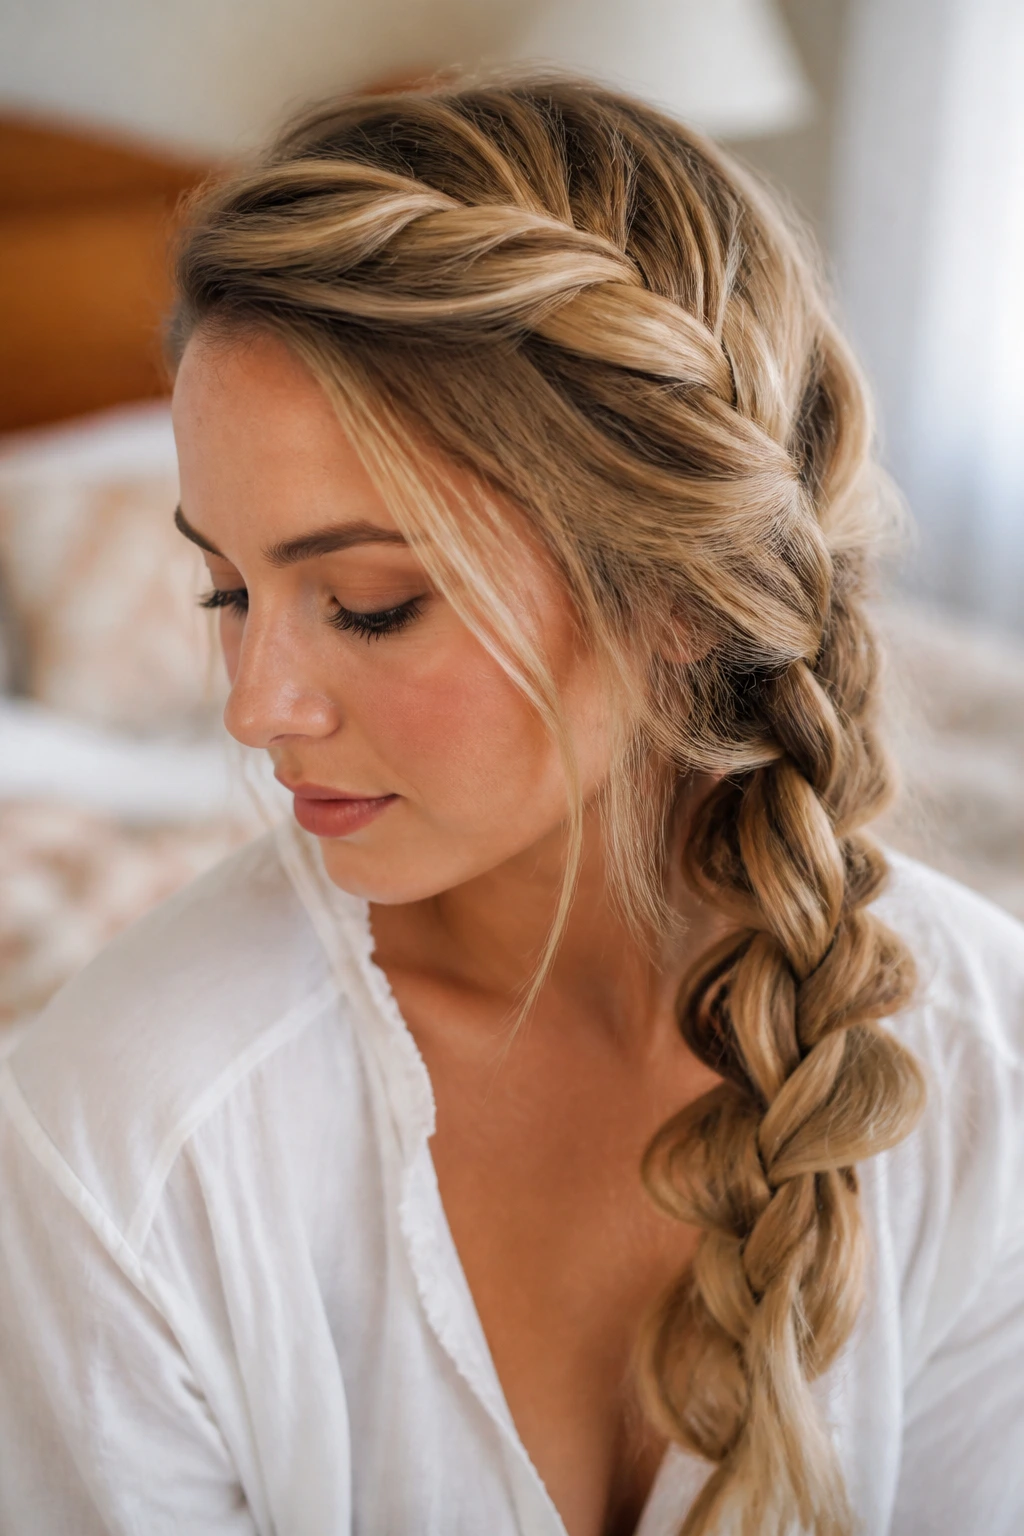
The side-swept French braid is perhaps the most forgiving style for thin hair because it bunches the hair to one side, creating a thicker appearance through sheer accumulation. Instead of pulling the hair back flat against the head, you sweep it over your shoulder, which hides the lack of density on the opposite side. This style works best when you keep the French technique loose—don’t pull your arms tight. You want the braid to look like it has “grown” out of your hair rather than being pulled into submission.
Mastering the Tension
The trick here is to keep the “cross-over” motion very relaxed. As you pull each new section of hair into the braid, give it a tiny, gentle tug away from the scalp. This creates small, soft bubbles of hair that frame the face. Because your hair is thin, these small gaps don’t look like bald spots; they look like deliberate, romantic texture. Once you reach the end, secure it with a clear elastic, then go back through the braid and “pancake” it by pulling the outer loops outwards until the braid looks twice as wide as when you started.
2. The Half-Up Bohemian Crown
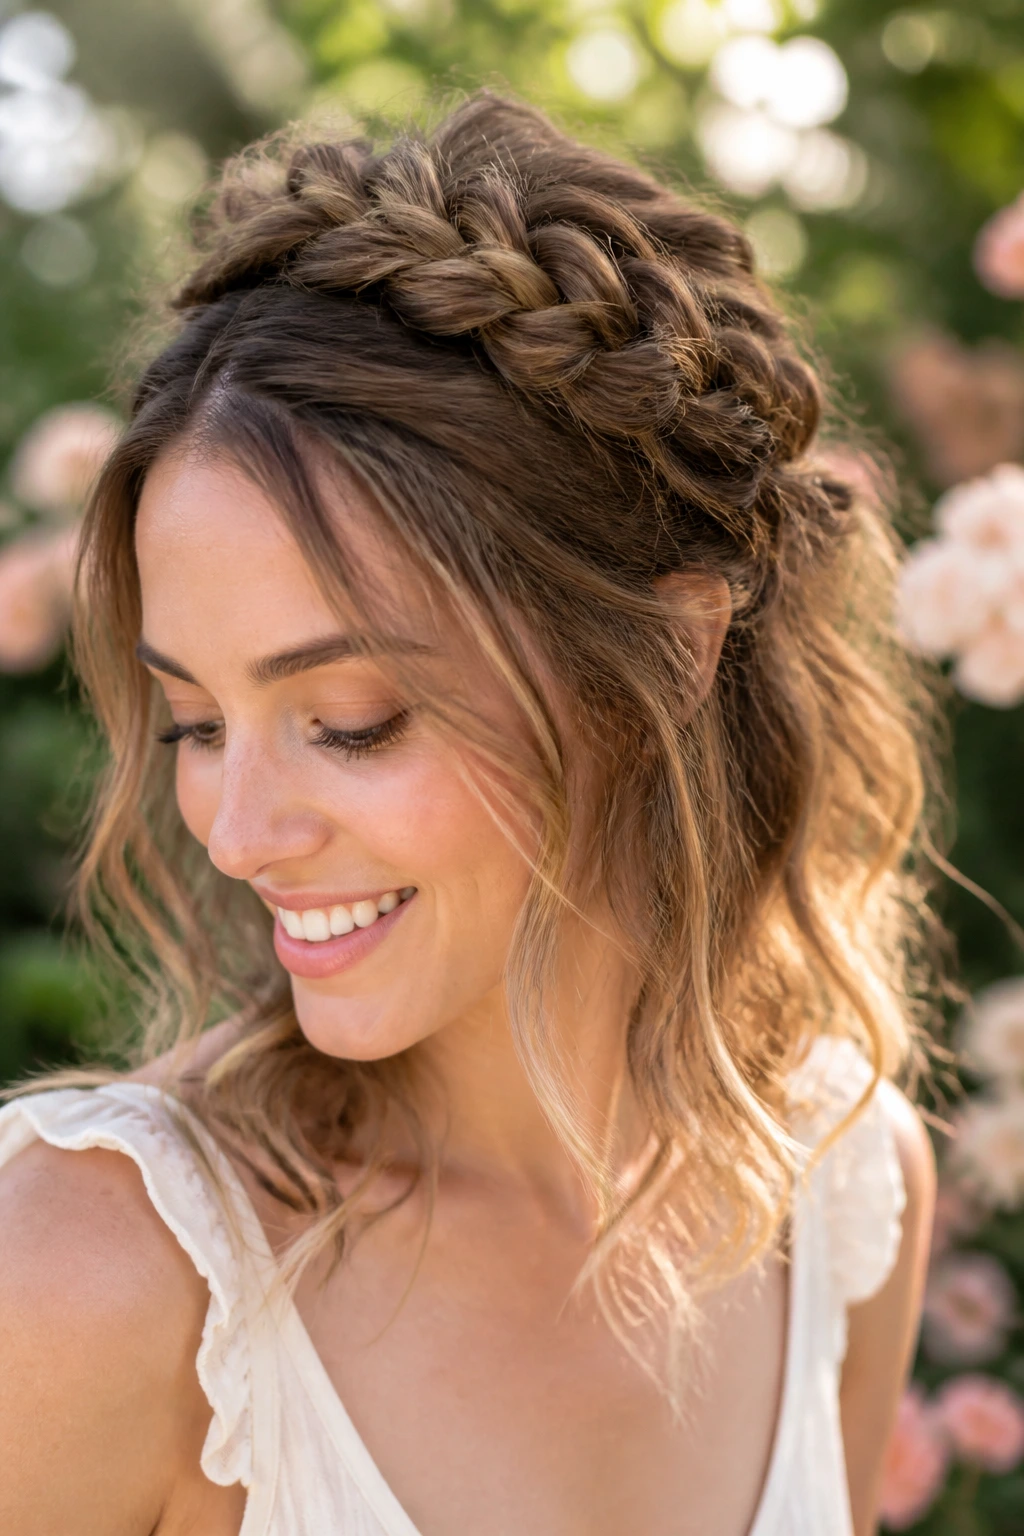
Sometimes, you don’t need a full-head braid to get the look you want. A half-up crown braid is brilliant for thin hair because it allows you to showcase your length while creating a focal point of volume at the crown. By only braiding the top half of the hair, you keep the bottom layer hanging loose, which prevents that “rat-tail” look that can happen if you pull all your thin hair into one single, skimpy plait.
Why It Works for Fine Strands
- It utilizes the hair from the temples, which is often where thin hair is most visible.
- The loose weave creates a “halo” effect that draws the eye upward.
- It allows you to use a volumizing mousse in the loose sections to balance out the braided crown.
Pro tip: Curl the ends of your loose hair with a 1-inch wand before you start braiding. The wave pattern creates a natural visual expansion that makes the hair seem more substantial, effectively camouflaging the thinner areas around your shoulders.
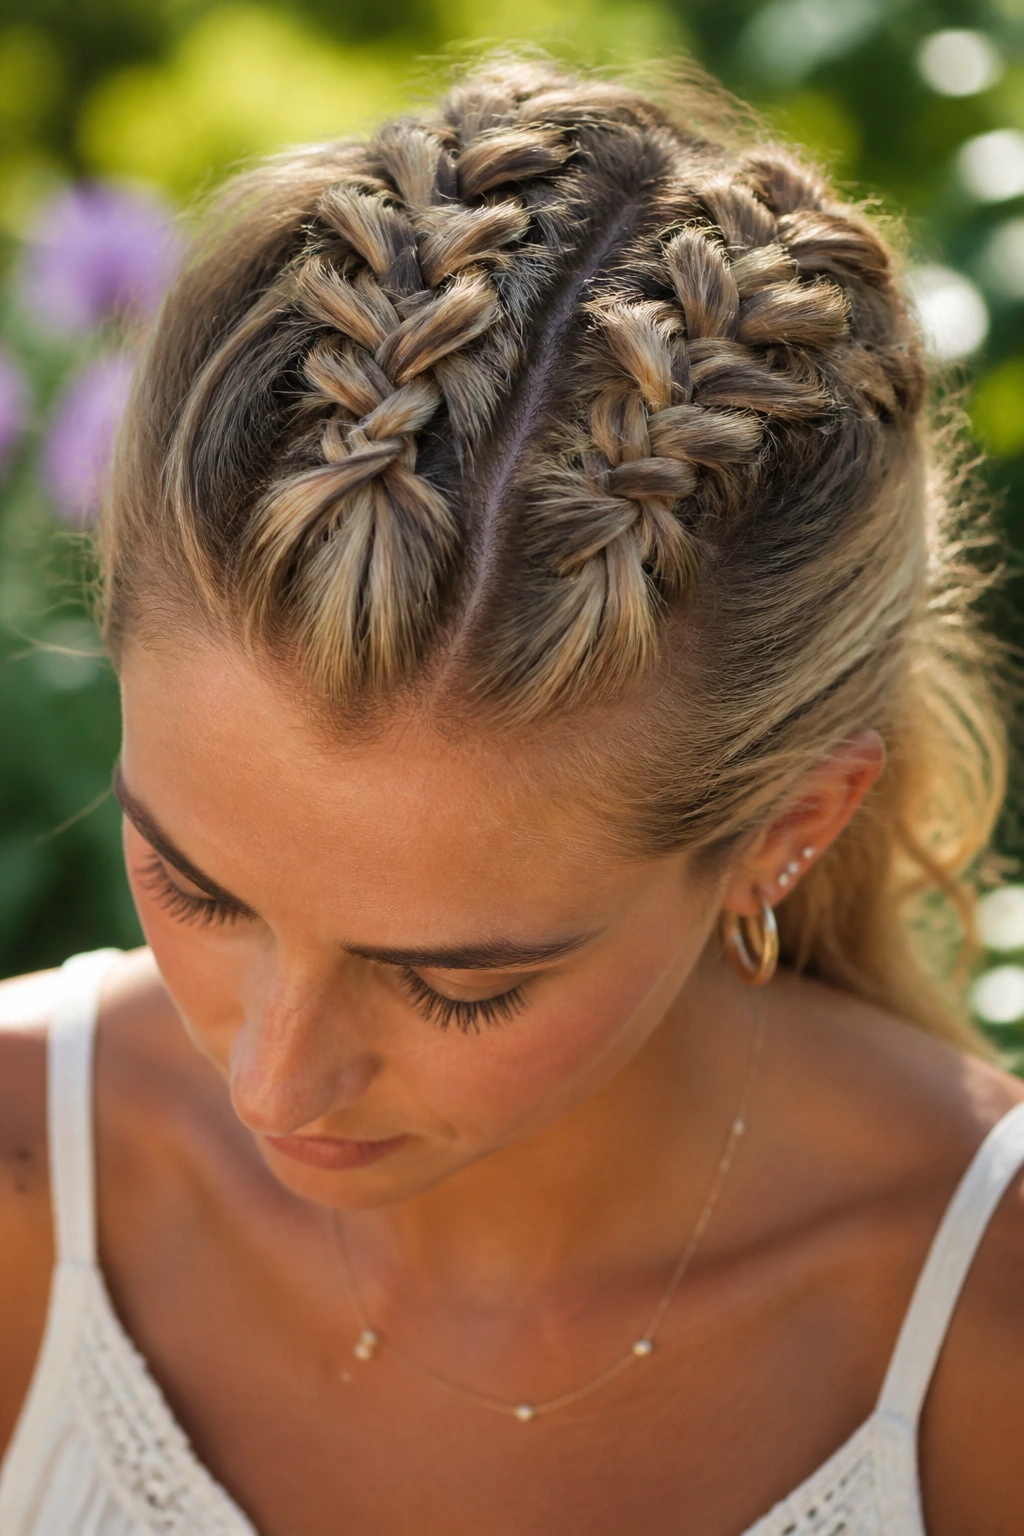
3. The Double-Braid Low Pigtail
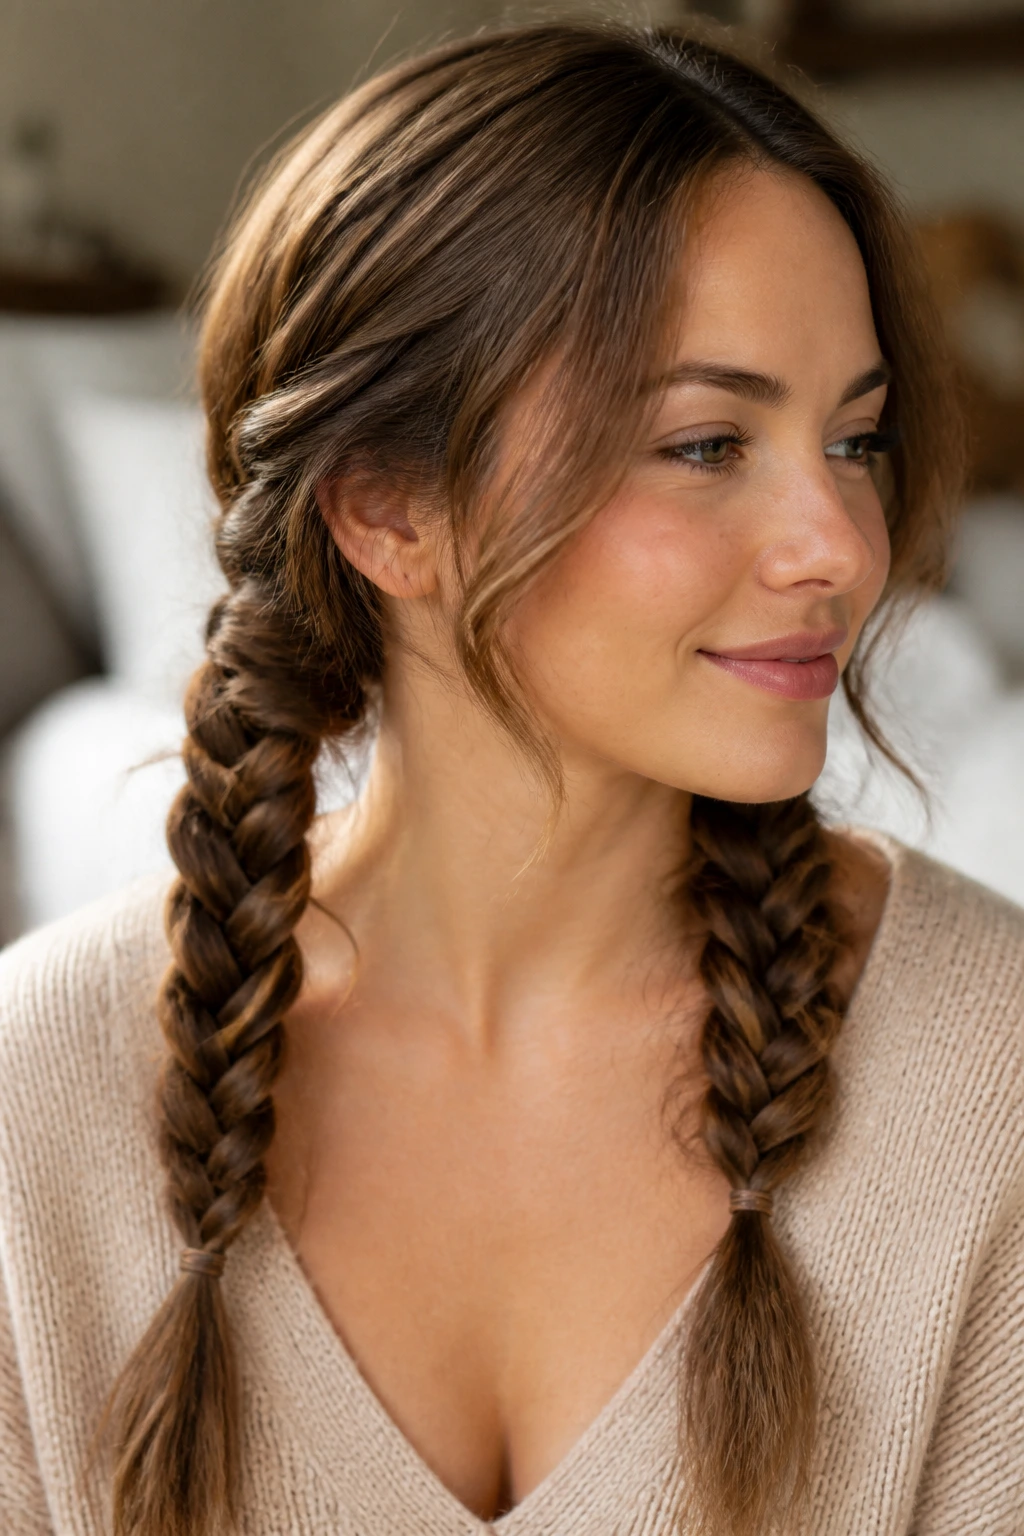
If you want the maximum illusion of thickness, split your hair into two sections and do two French braids. While it might sound counterintuitive—splitting thin hair into two sections—the result is actually quite striking. Two smaller, loose braids often look “fuller” than one singular, lonely braid that struggles to have any presence. When you finish the braids, pull them apart aggressively to soften the look, and let them hang over your shoulders.
Balancing the Appearance
When wearing double braids, avoid a center part that is too stark. Use the end of a rattail comb to create a slight zig-zag or a soft, messy side part. A straight, sharp center part highlights the scalp in thin hair, whereas a messy, irregular part masks the scalp completely. This is a subtle adjustment, but in the world of thinning hair, these small details are everything.
4. The Messy French-to-Fishtail Hybrid
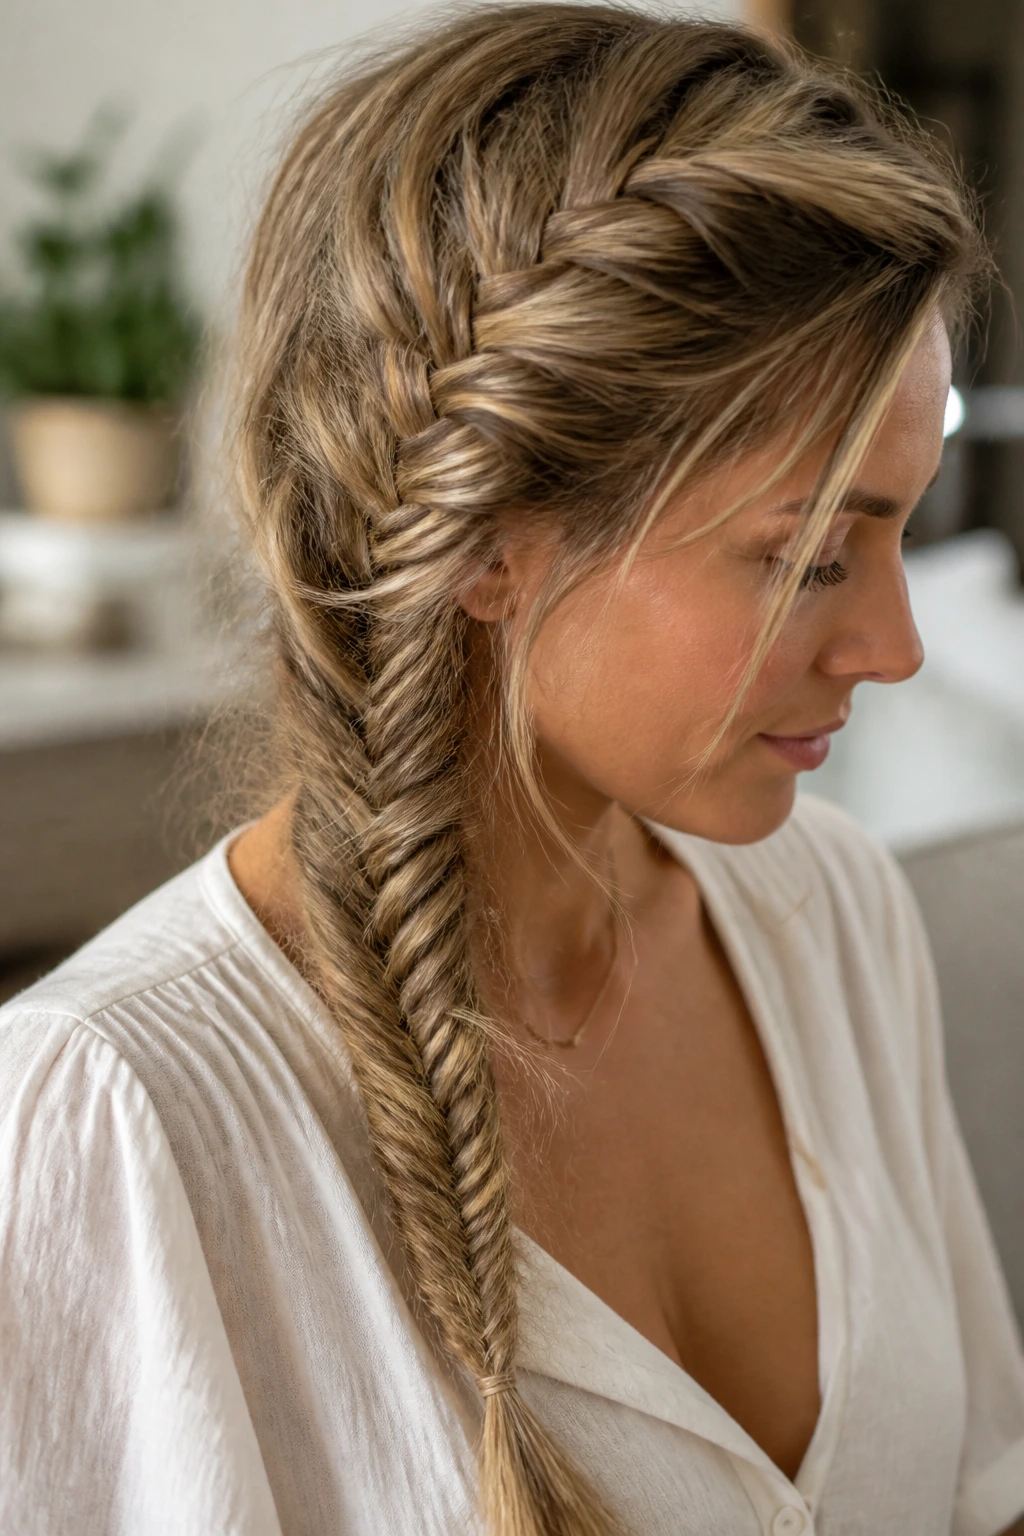
This is for when you want the look of a complex, thick braid without needing thick hair. Start by French braiding the top third of your hair—keep the tension very loose—and then transition into a fishtail braid for the remaining length. The transition point hides the change in hair volume, and the fishtail braid creates a beautiful, intricate pattern that looks dense even when there isn’t much hair there to work with.
The Mechanism of the Fishtail
- The fishtail relies on many tiny sections, which naturally creates a more compact, textured look.
- By starting with a loose French base, you ensure the hair stays off your neck.
- Warning: Do not try to make the fishtail tight. A tight fishtail on thin hair looks like a rope. Pull the sections wide as you work your way down.
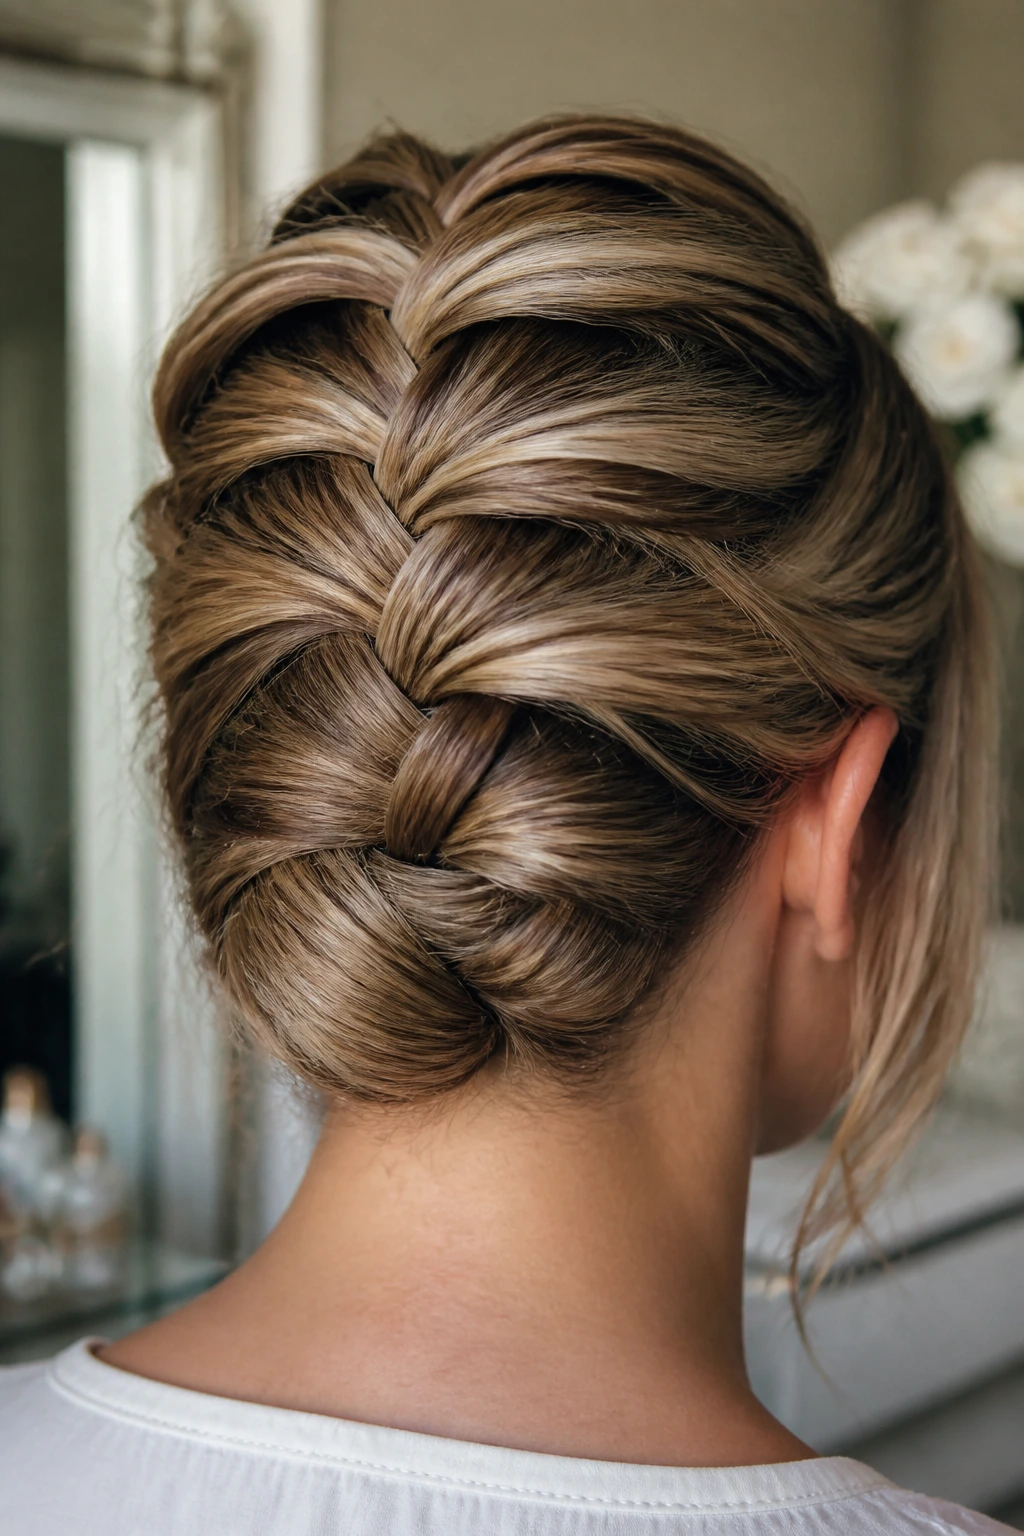
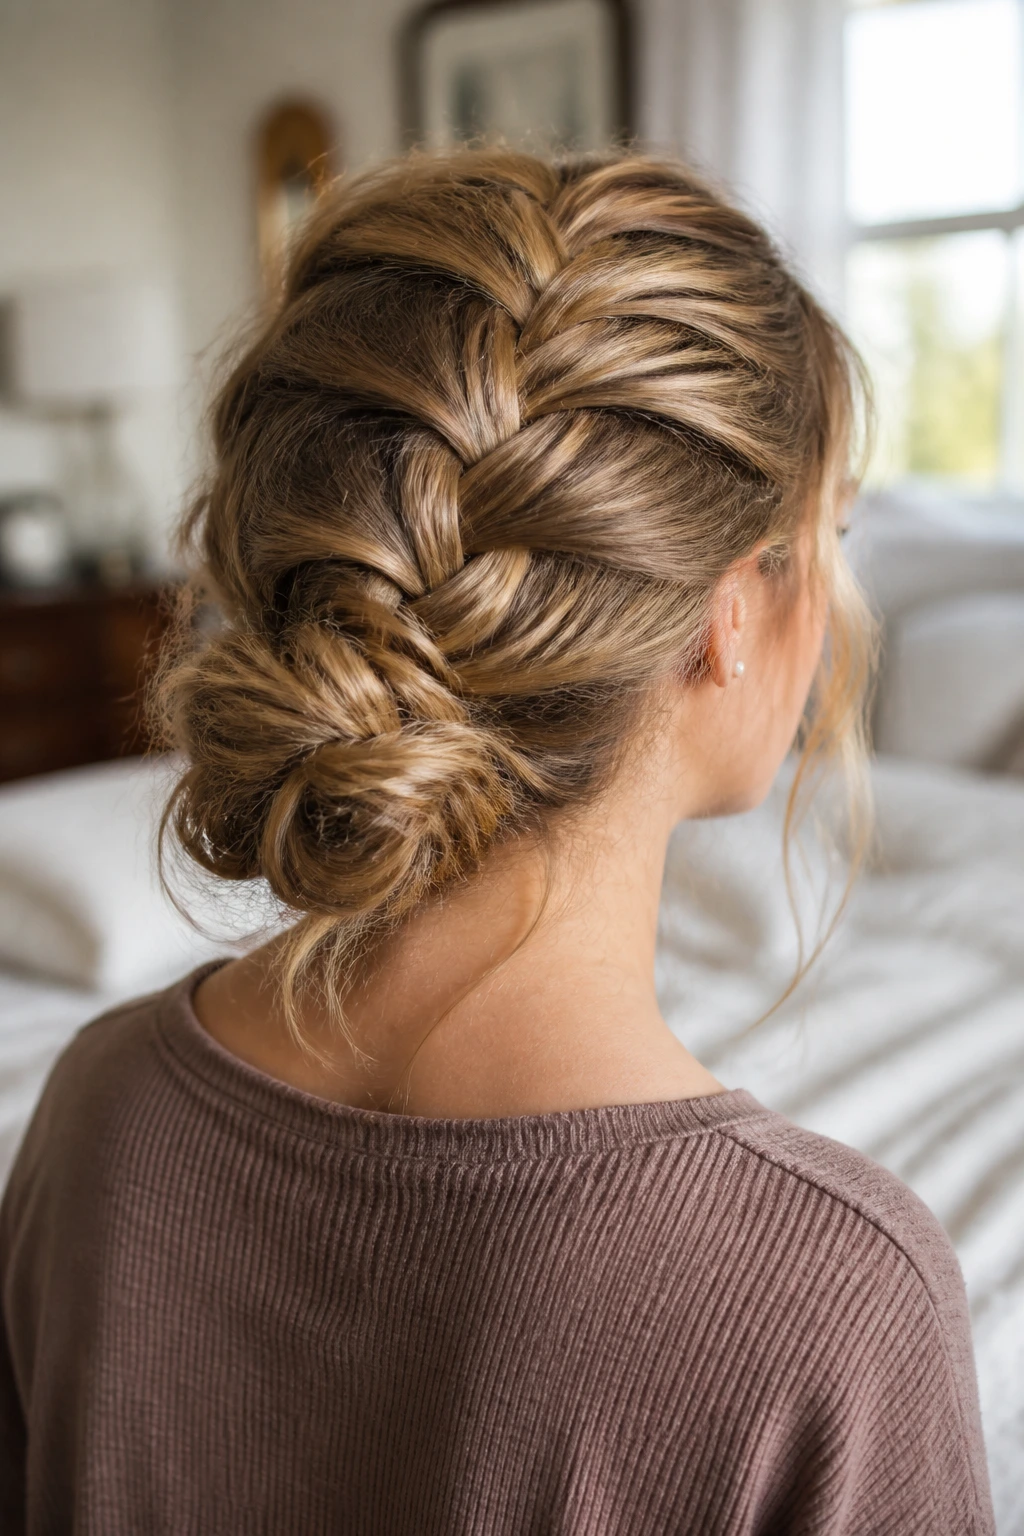
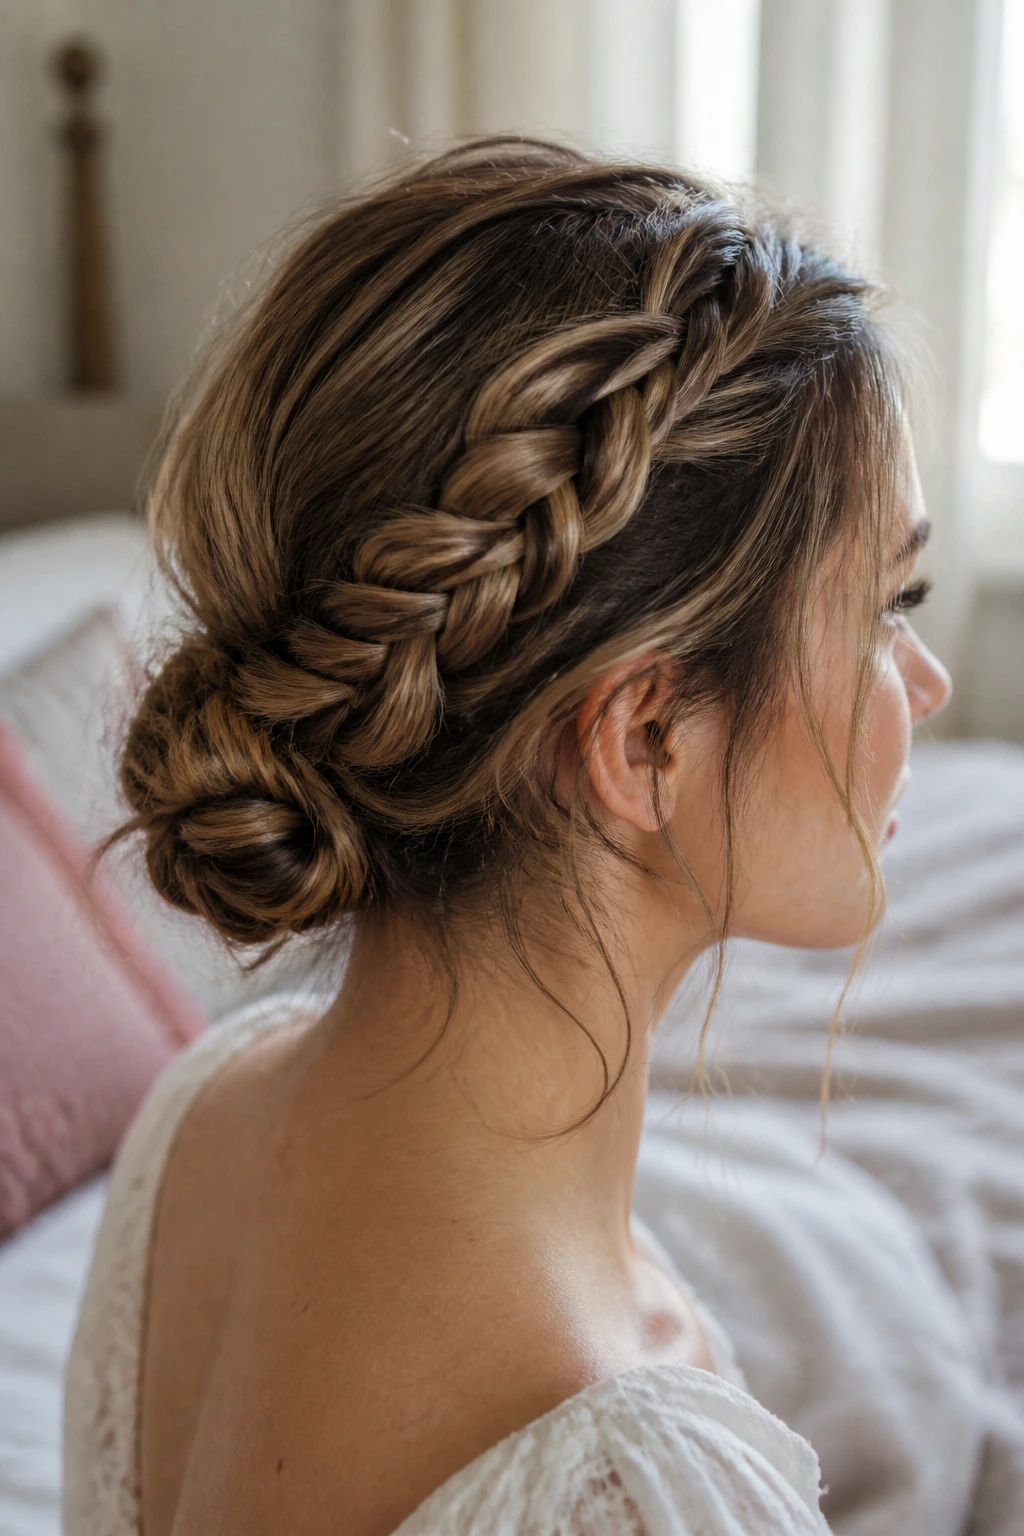
5. The Wrapped French Low Bun
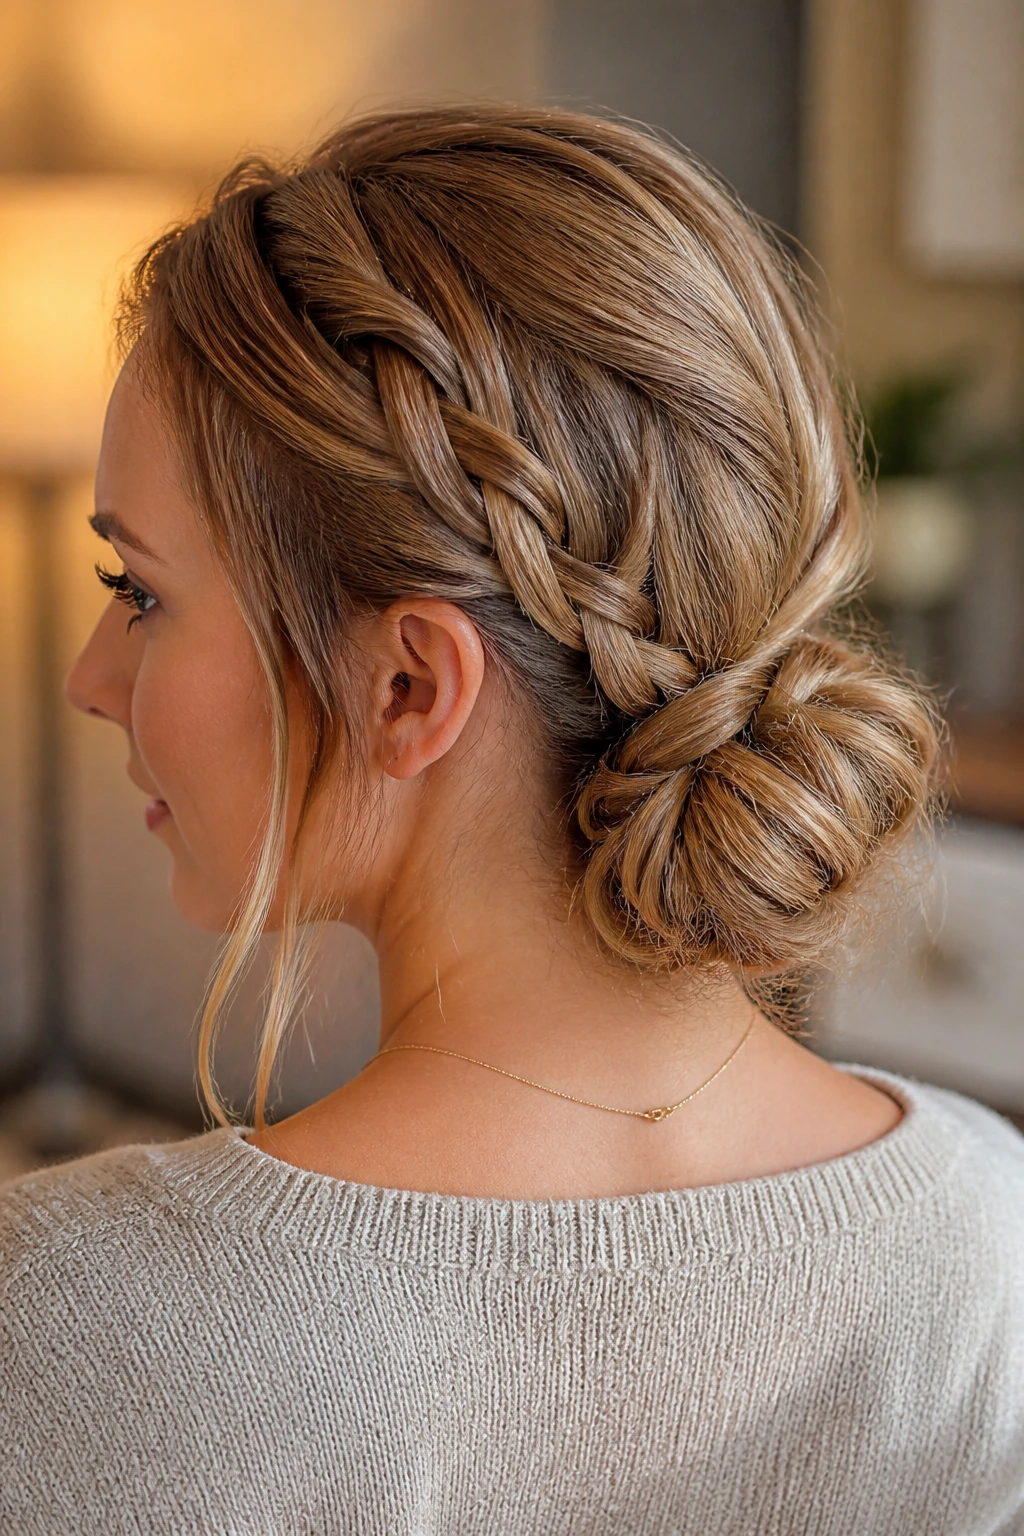
If you are tired of braids that just hang there, turn them into a bun. Start a loose French braid at the nape of your neck, working your way up slightly before securing the ends and wrapping the braid into a low, messy bun. This is an incredibly sophisticated look that disguises the ends of your hair—which are often the thinnest part—inside the coil of the bun.
Achieving the “Thick Bun” Look
To make the bun look substantial, pull the hair out of the braid loops before you start coiling it. Use U-shaped pins rather than bobby pins to secure the bun. Bobby pins tend to flatten the hair, effectively erasing all the volume you just worked so hard to create. U-pins allow the hair to remain “fluffy” and voluminous, which is exactly what you want for a thin-hair aesthetic.
6. The Side-Part “Waterfall” French Braid
This style is a masterclass in deception. By parting your hair deeply to one side, you sweep a large volume of hair over to the “braid side.” The French braid then follows the hairline, acting as a decorative border. Because the majority of your hair is directed toward this single braid, the braid itself looks exceptionally dense and well-fed, despite the overall volume of your hair being lower.
Why This Style Succeeds
- It frames the face, which provides a sense of fullness around the cheeks.
- The “waterfall” nature of the braid allows you to leave the back of the hair loose, which creates a better silhouette than pulling it all back.
- It requires minimal “pancaking” because the sheer amount of hair gathered into the braid does the heavy lifting.
7. The Relaxed Reverse French Braid
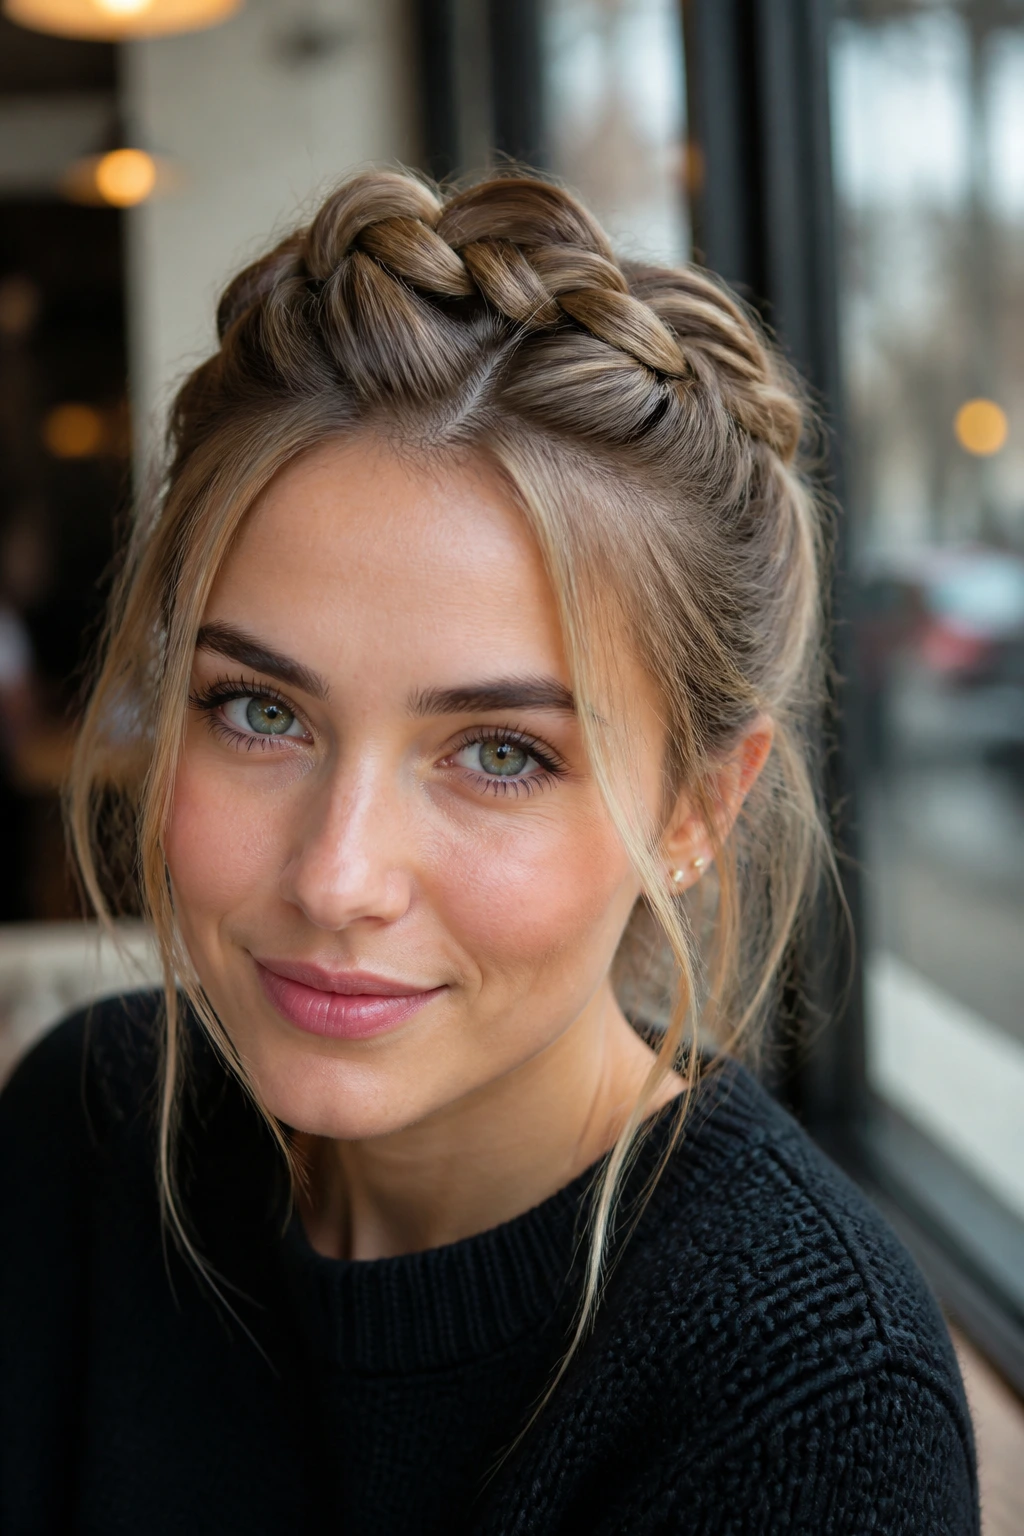
Most people are used to braiding hair over their fingers, but a reverse braid—where you tuck the strands under rather than over—creates a 3D effect. The braid sits “on top” of the hair, projecting outward rather than lying flat against the scalp. This outward projection is a massive win for thin hair, as it creates an immediate sense of depth that a flat, traditional French braid simply cannot match.
Technique for Maximum Volume
- Start at the front hairline.
- Cross the strands under the center piece, not over.
- Every time you cross under, pull the outer edges of that section gently before placing it into the braid.
- Secure the end, and then—the most critical step—stretch the loops to their maximum width. The 3D nature of the reverse braid means even if the hair is thin, the structural “height” of the braid makes it look like you have a thick, luxurious plait sitting atop your head.
8. The Accented French Faux-Hawk
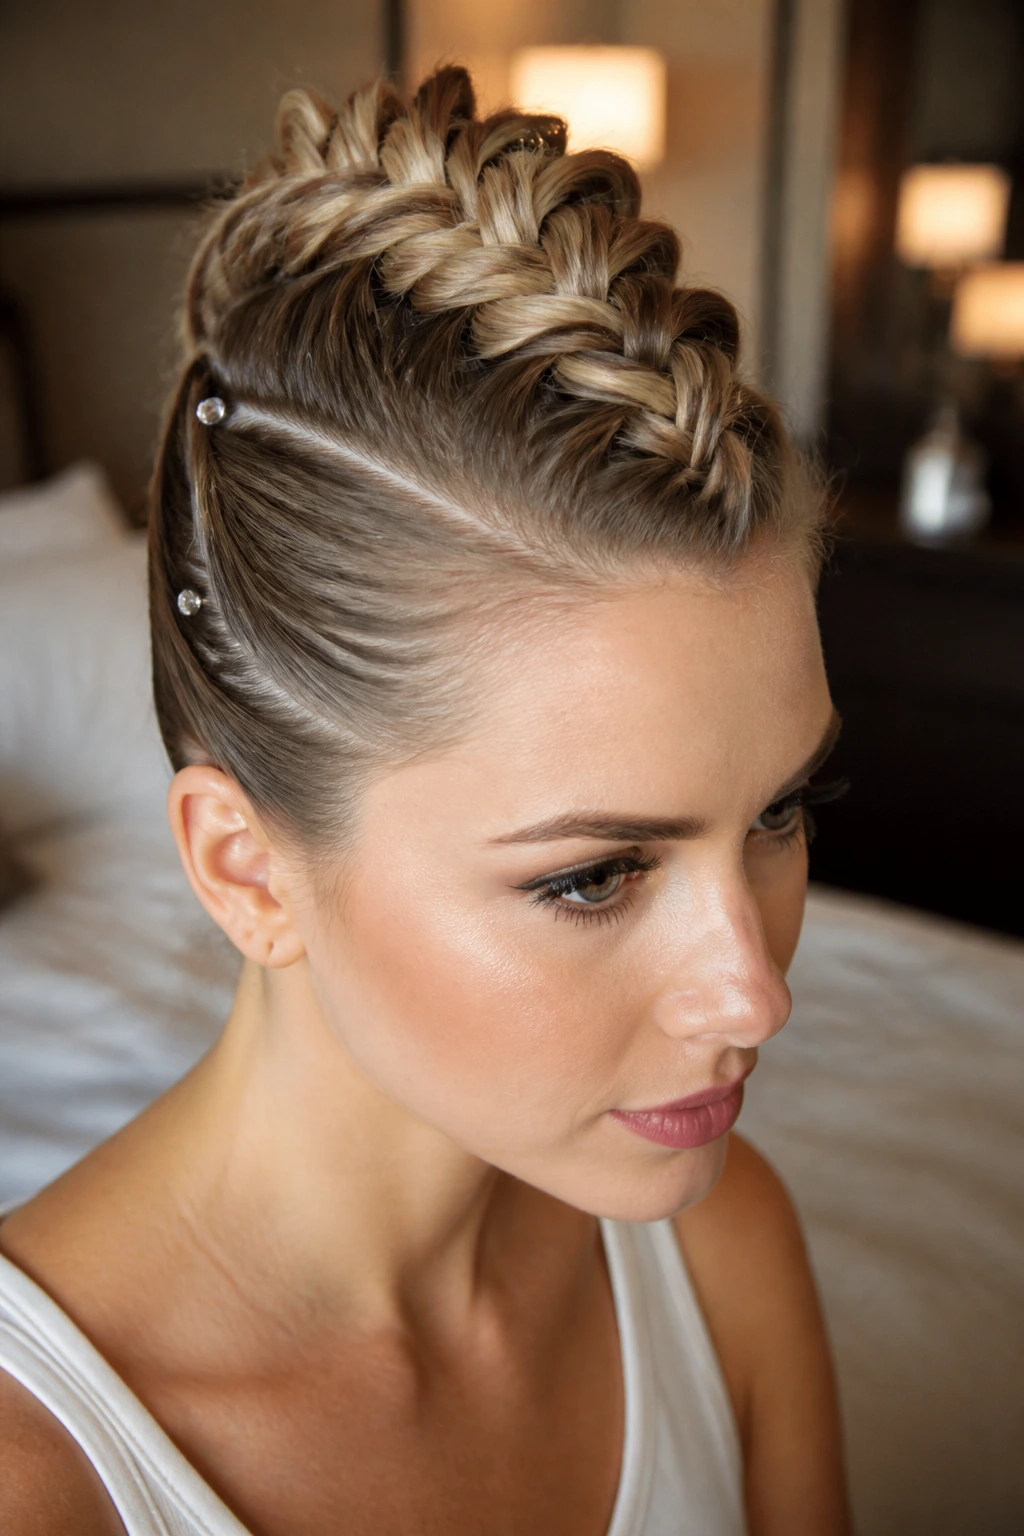
This is a bold choice. You are essentially creating a French braid right down the center of the head, but you only take small sections from the sides. The key here is to keep the side hair tight (or even pinned back) while the center braid is massive and loose. The contrast between the sleek, tight sides and the big, voluminous center braid makes your hair look like a fashion statement rather than a “thin hair” problem.
How to Style the Faux-Hawk
- Use a matte paste on the side sections to keep them perfectly smooth against the scalp.
- Tease the roots of the center section before you begin braiding.
- Once finished, spray the braid with a light-hold finishing spray to keep the volume in place without adding weight.
9. The Messy “Undone” Side French Braid
There is a specific aesthetic to the “undone” look that works perfectly with thinning hair. If your braid is too clean, the gaps between your strands become visible. If the braid is messy, those gaps look like intentional, bohemian texture. Use your fingers to pull random, small hairs out of the braid once you are done. Don’t worry about symmetry; the chaos is the point.
The Power of Imperfection
- Let the short, wispy hairs around your face hang free.
- If you have layers, don’t try to force them into the braid—let them poke out.
- This “unstructured” approach takes the pressure off the braid to be thick, because the visual focus is shifted to the wispy, romantic texture surrounding the braid.
10. The French Braid into a High Ponytail
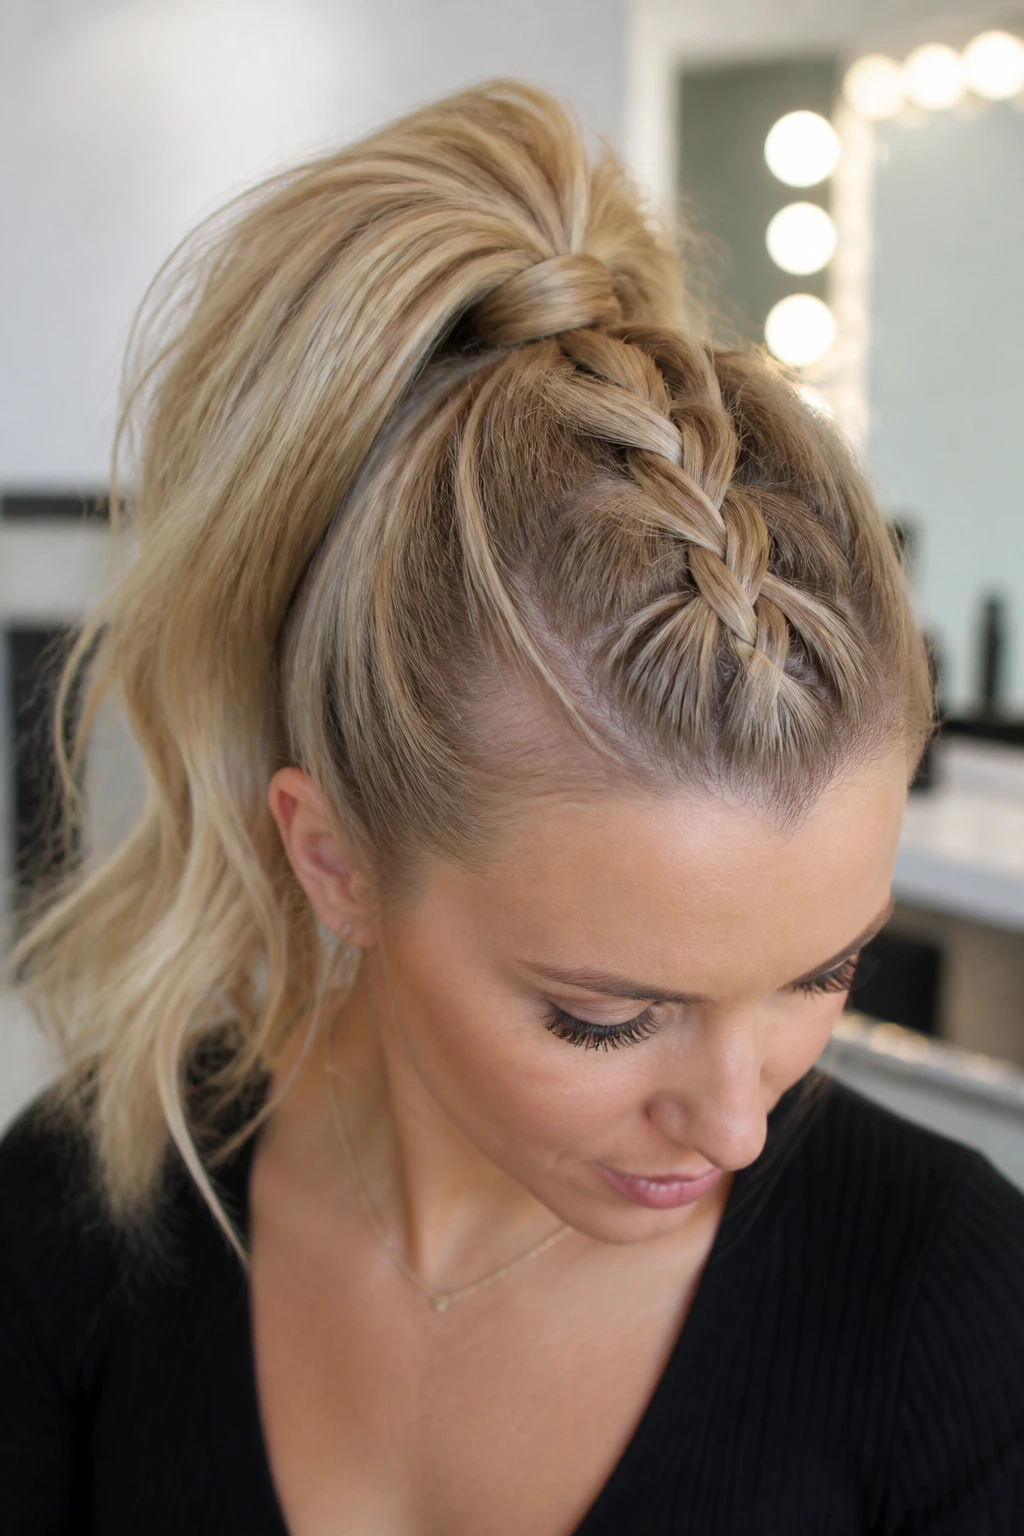
Combining a French braid with a ponytail is a classic move, but for thin hair, you should secure the ponytail first. Create a small French braid starting at the forehead and working toward the crown. Once you reach the crown, stop and secure the braid into the base of a high ponytail. This keeps the hair lifted at the roots, which is the most important area to maintain volume.
Maintaining the Lift
- Don’t pull the ponytail tight. Keep the base slightly loose.
- Tease the hair inside the ponytail to make it appear thicker.
- Wrap a small strand of hair around the elastic to give the style a polished finish that screams “full hair” rather than “thin hair.”
11. The French Braid Chignon with Accessories
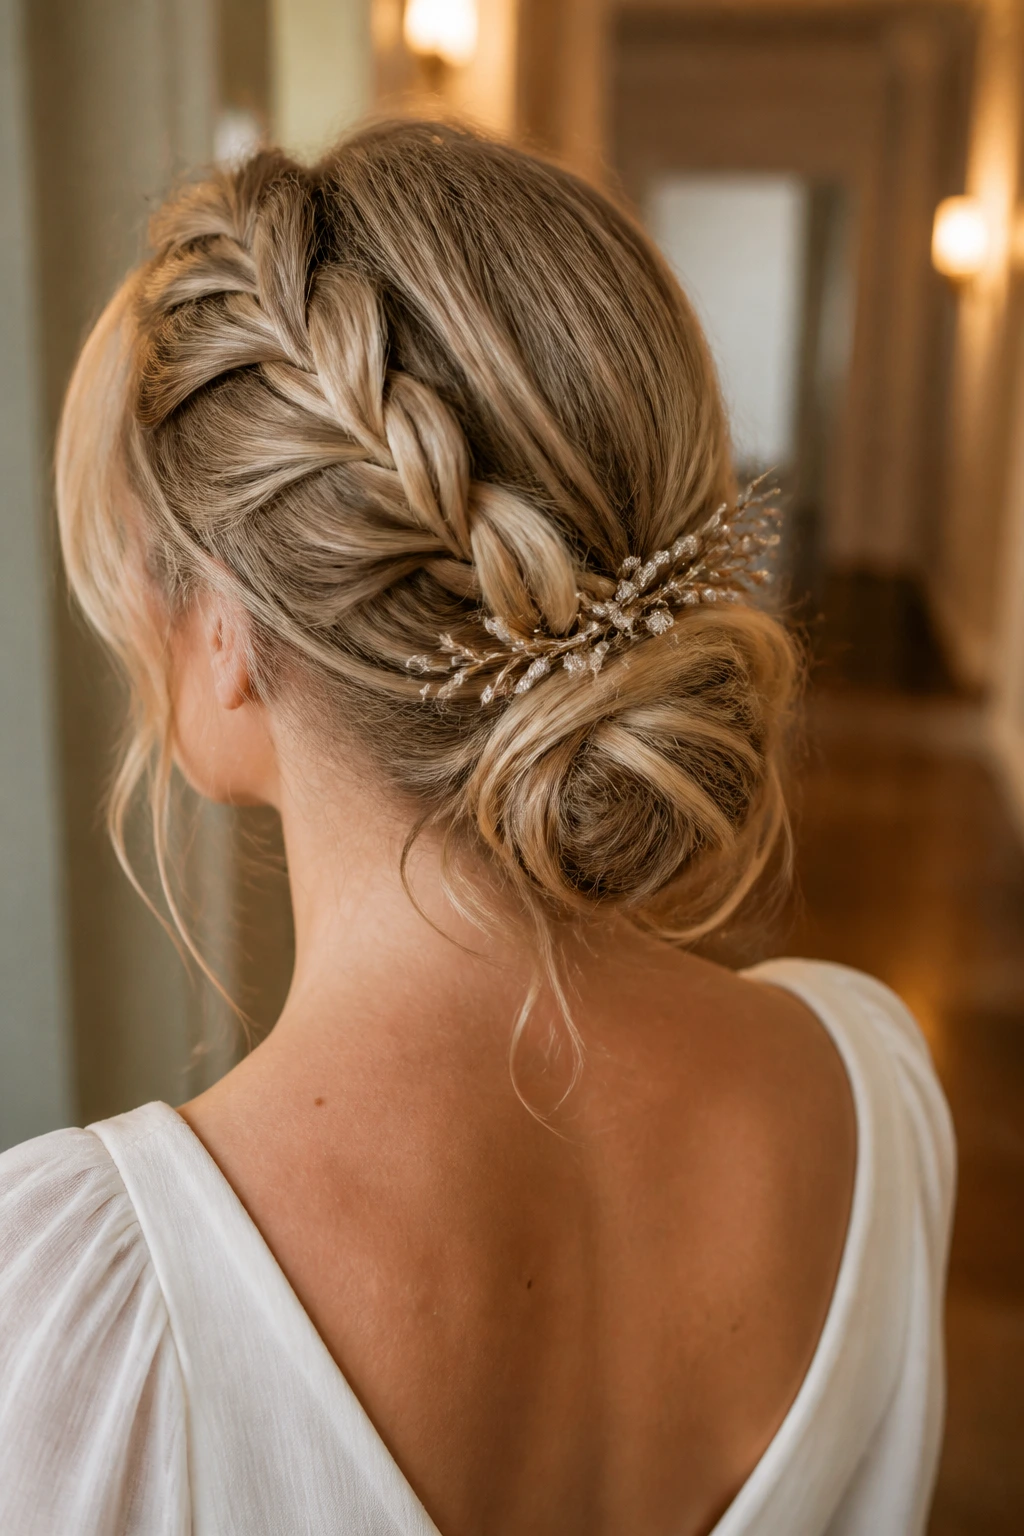
Sometimes the easiest way to deal with thin hair is to use accessories as a focal point. A loose French braid that leads into a messy, twisted chignon at the nape of the neck is a timeless look. When you add a decorative hair comb, a silk ribbon, or a velvet clip at the base of the chignon, you draw the eye toward the accessory rather than the density of the braid.
Choosing the Right Accessories
Choose clips and combs that are lightweight. Heavy metal accessories can weigh down thin hair and pull the braid apart over the course of the day. Silk bows or lightweight acetate clips are better options, as they hold the hair without putting unnecessary strain on the delicate strands.
12. The Wide-Pancake Side Plait
This is the ultimate “cheat” for thin hair. You do a very basic, loose French braid, but you focus 80% of your energy on the “pancaking” process. Pancaking is the technique of physically pulling on the edges of each loop of the braid to make it look flatter and wider. On thin hair, you want to pull as much as you possibly can until the braid is almost horizontal.
Rules for Safe Pancaking
- Hold the center of the braid with one hand and tug gently with the other.
- Do not pull from the very end; move up the braid one loop at a time.
- If the hair starts to slip out, use a small bobby pin to secure the base of the loop to the head.
13. The Half-French, Half-Twist
If you struggle with the dexterity required for a full French braid, try a mix. Start with a French braid for a few inches, then transition into a simple two-strand twist. The twist is often easier to pull apart and “fluff up” than a three-strand braid, making it a great way to add thickness to the bottom half of your hair without the complexity of traditional plaiting.
The Transition
Ensure the transition is seamless. When you finish the French portion, don’t tie it off. Simply divide the hair into two parts and start twisting. If you notice a “gap” where the braid stops and the twist begins, just tuck a small piece of hair from the twist back into the last loop of the braid to marry the two sections together.
14. The French Braid with Inverted Ends
This is a small detail, but it changes everything. When you finish your loose French braid, tuck the very end of the braid underneath the plait itself and pin it. This hides the “tails” of the hair—which are almost always the thinnest part—and makes the braid look like it just ends naturally in a thick, blunt finish. It’s a trick used by professional stylists to make a thin ponytail or braid look significantly more robust.
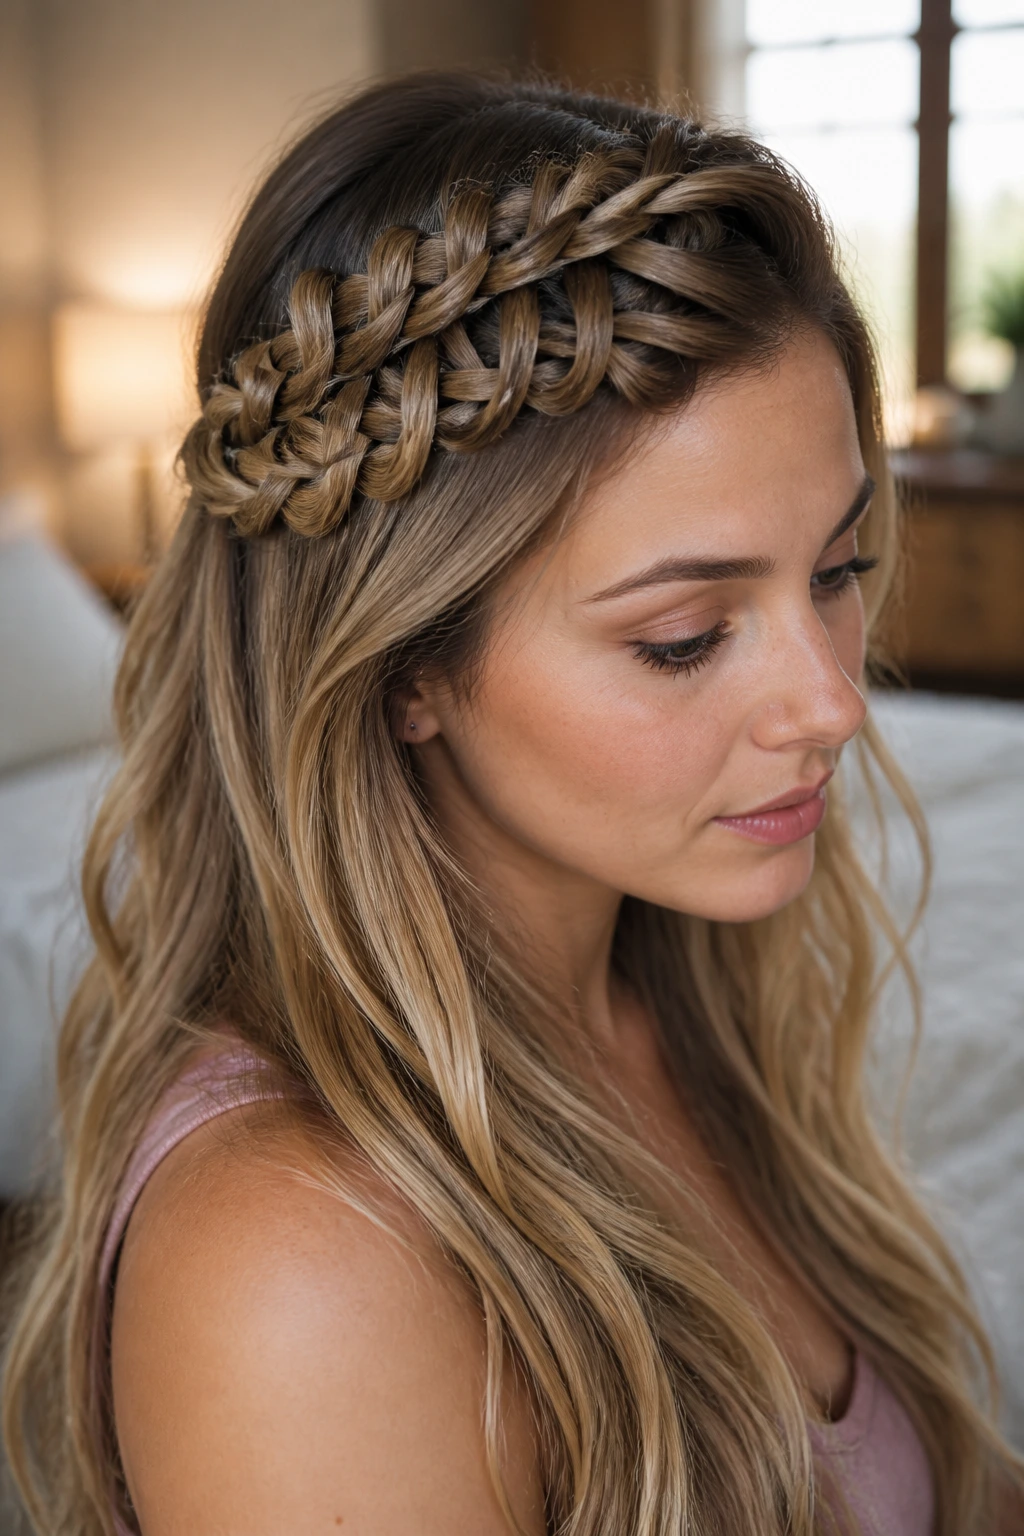
15. The Deep Side-Parted French Crown
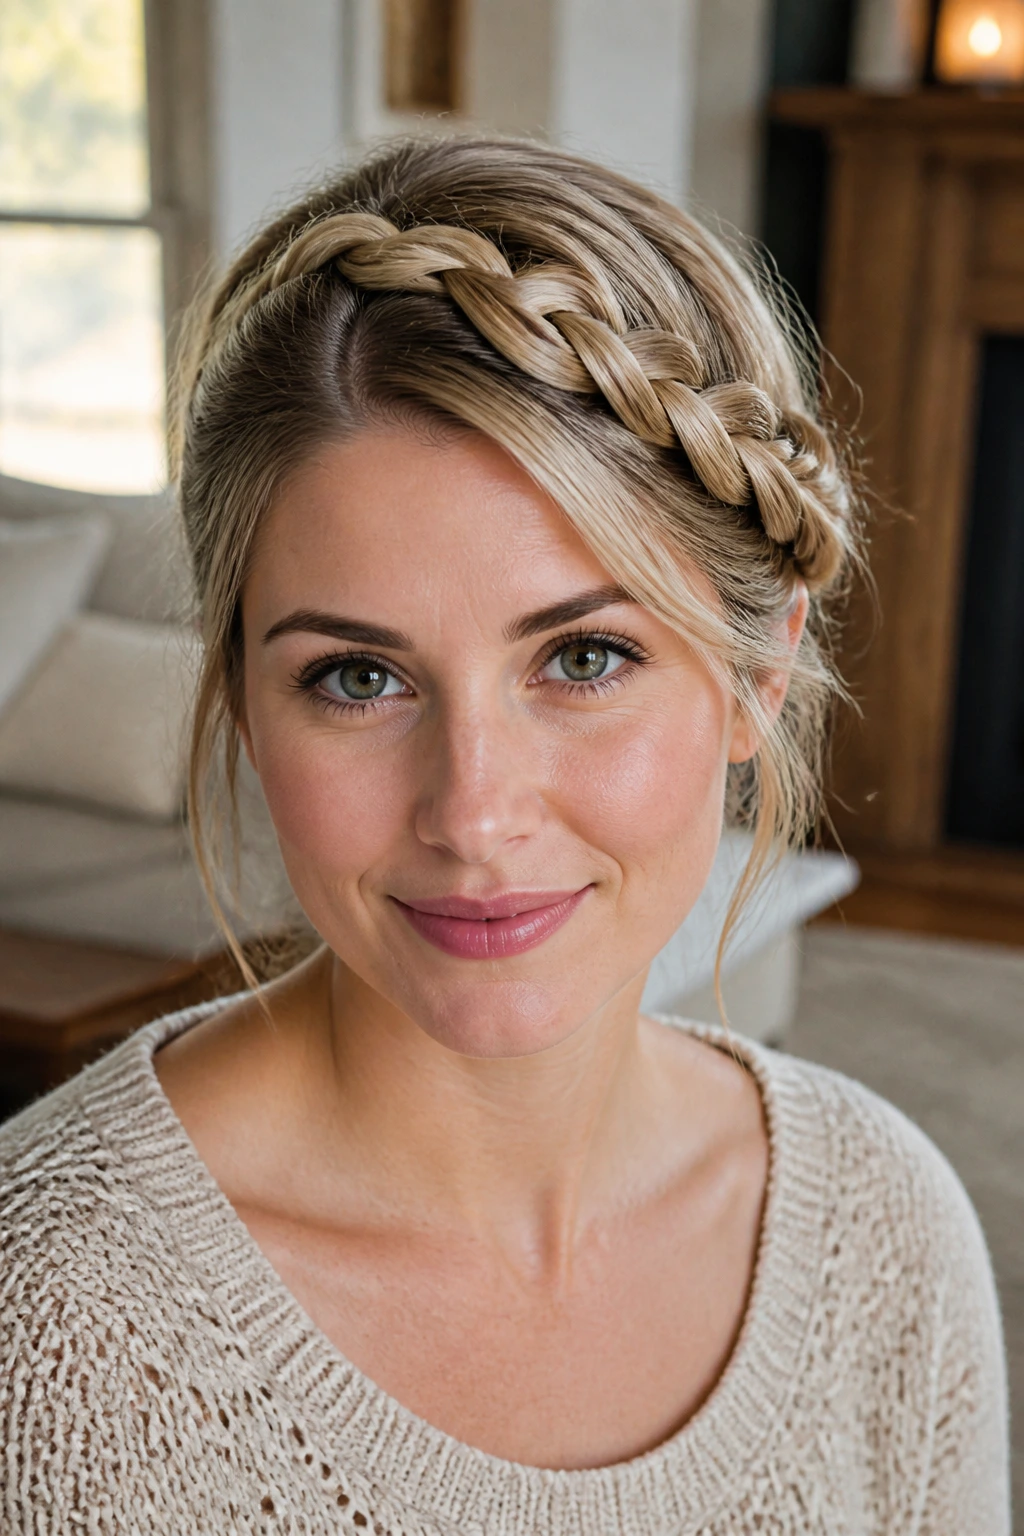
This style takes the French braid and wraps it around the head like a headband. Because thin hair has less weight, this style is actually easier for you than for those with thick, heavy manes. The key is to start behind the ear and braid across the forehead, keeping the tension very light so the braid doesn’t pull your skin or your hair roots.
Ensuring Stability
- Use a small amount of texturizing pomade on your fingertips as you braid to help the hair grip.
- Once the braid is pinned, spray it with a flexible-hold hairspray.
- If your hair is very fine, add two or three small clear elastics along the length of the braid to ensure it doesn’t unravel during the day.
16. The French Braid with “Volume Bubbles”

“Bubbling” is a technique where you pull hair out of the braid in larger, more exaggerated sections. Instead of small, tight loops, you are aiming for large, pillowy sections. This makes the hair look like it has a high-density, airy quality. It is a very soft, romantic look that is perfectly suited for thin hair.
The Bubble Technique
Start by braiding normally, but keep your hands extremely relaxed. As you complete each crossover, take the outer edge of that loop and pull it out by about half an inch. Repeat this for every loop. By the time you reach the bottom, the braid should have a very soft, rounded profile that completely masks the thinness of the hair strands.
17. The French-Braid Pompadour
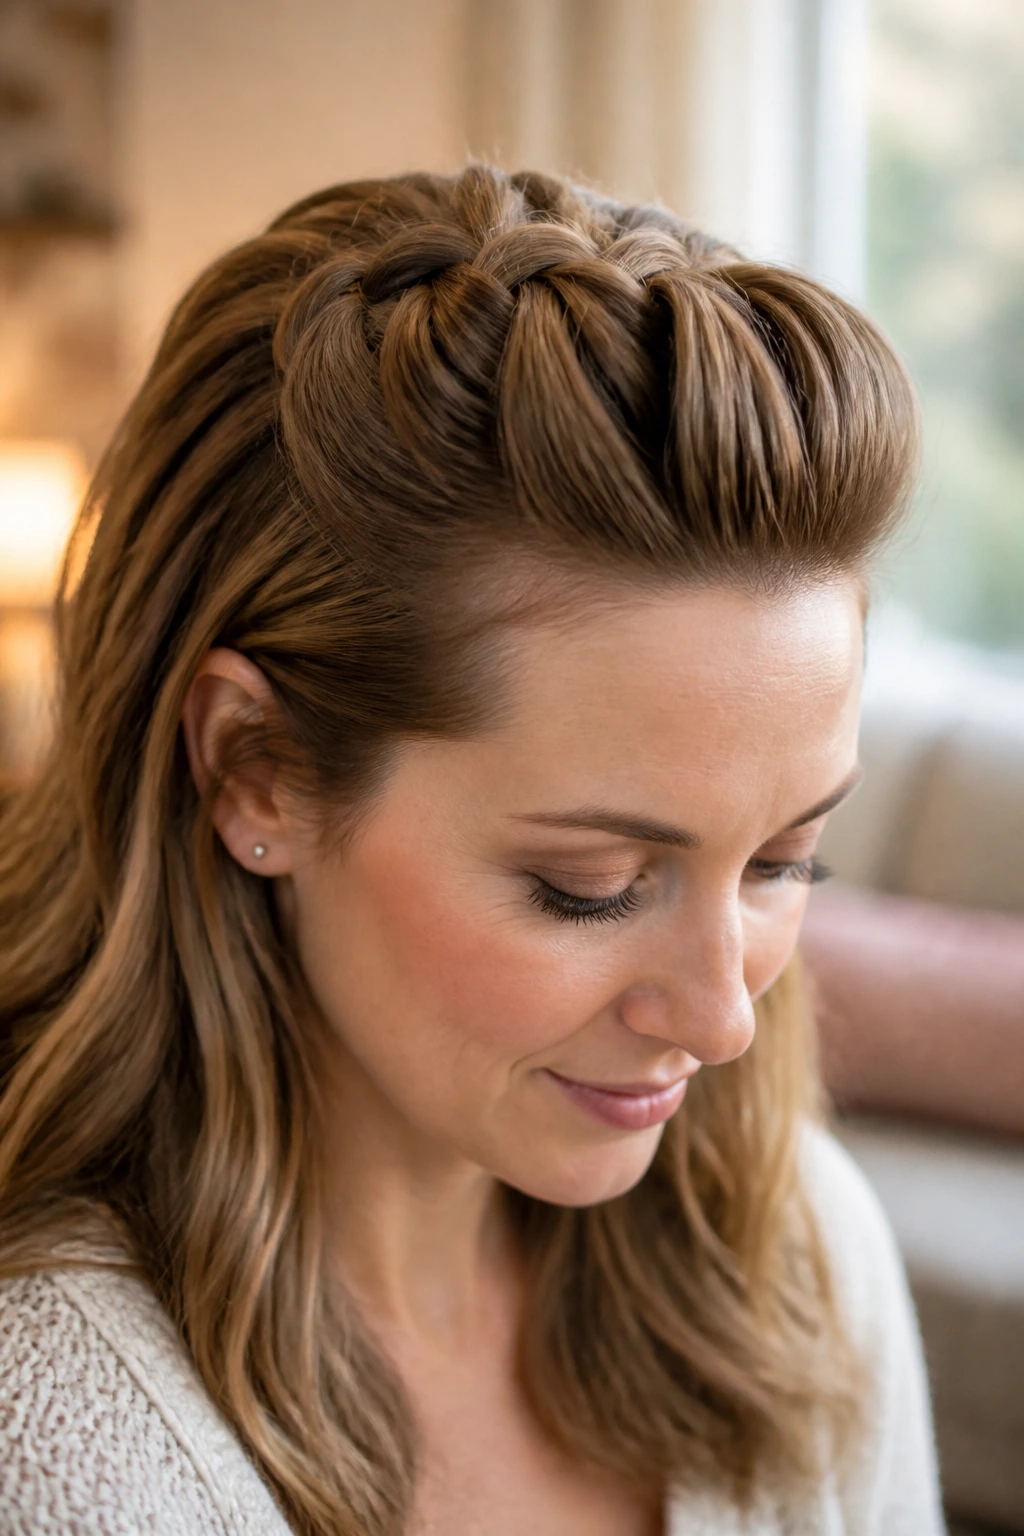
For a look that adds height at the front, gather the hair at the top of your head and create a loose French braid that pushes the hair forward into a slight pompadour shape. This adds significant volume to the forehead area, which is usually where thin hair feels most problematic. You can pin the braid back behind the crown, letting the rest of your hair flow loose.
18. The Loose French Braid with Ribbon Weaving
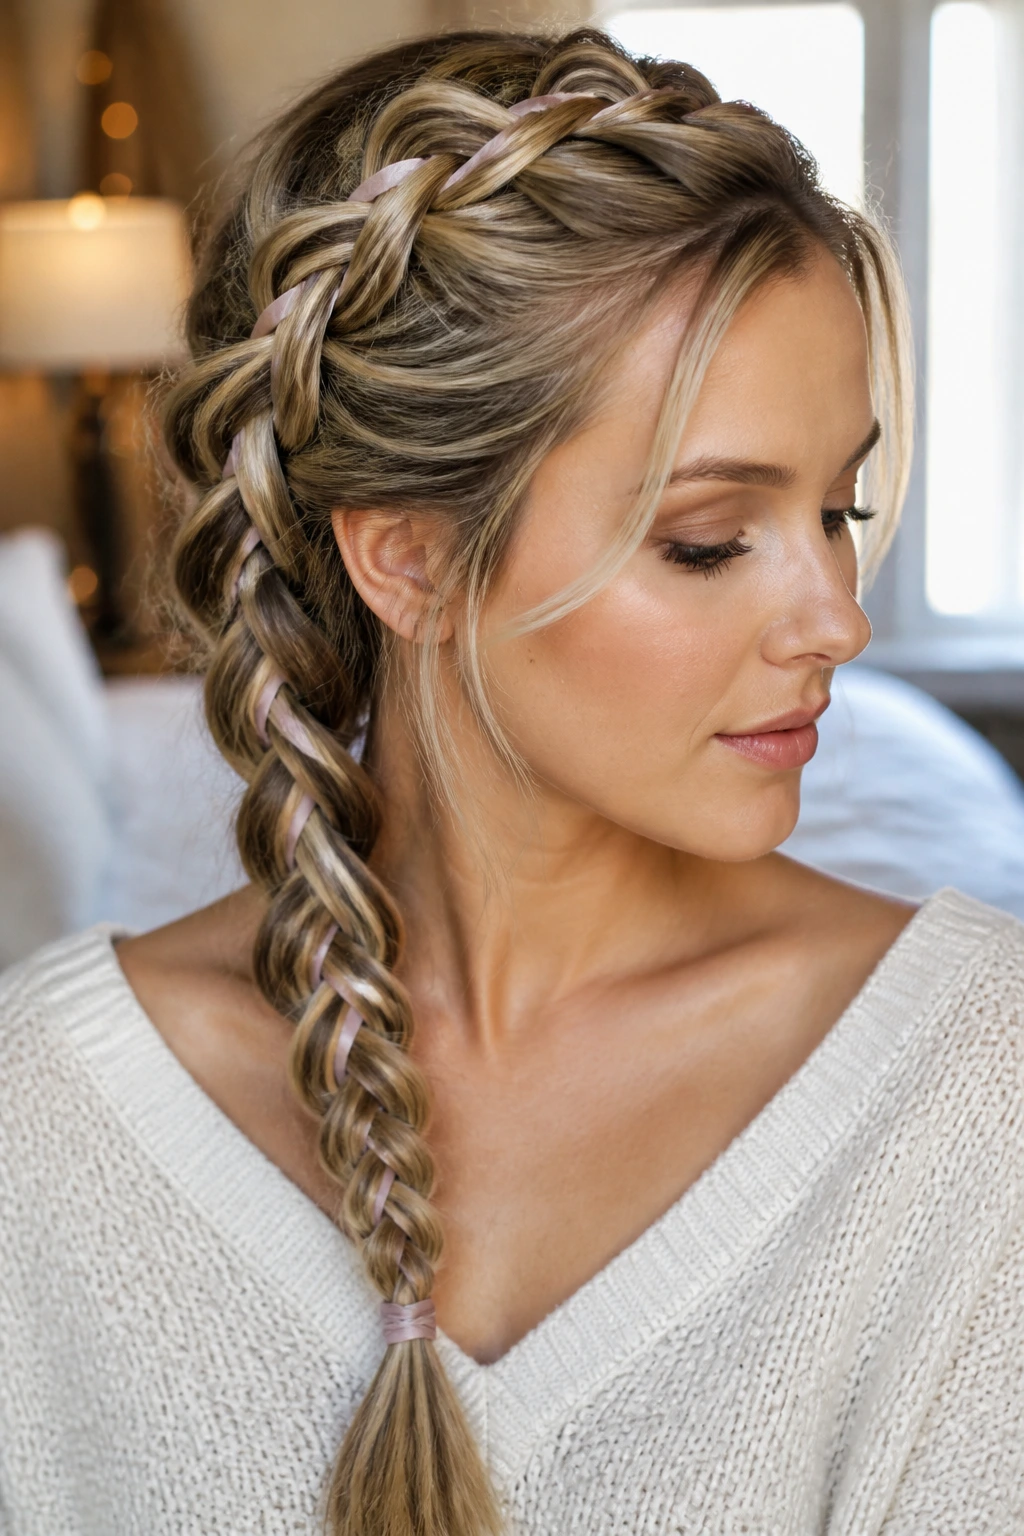
Adding a ribbon into your braid is not just a style choice; it’s a structural one. The ribbon acts as a synthetic “strand” that adds permanent bulk to your braid. Because the ribbon doesn’t thin out at the ends like natural hair, it ensures that your braid maintains its thickness from top to bottom.
How to Weave the Ribbon
- Start the ribbon at the first crossover point and anchor it with a bobby pin.
- Weave the ribbon into the braid as you would a normal strand of hair.
- Choose a thin velvet or silk ribbon to keep the weight light and the look elegant.
19. The “Messy Bun” French-Braid Hybrid
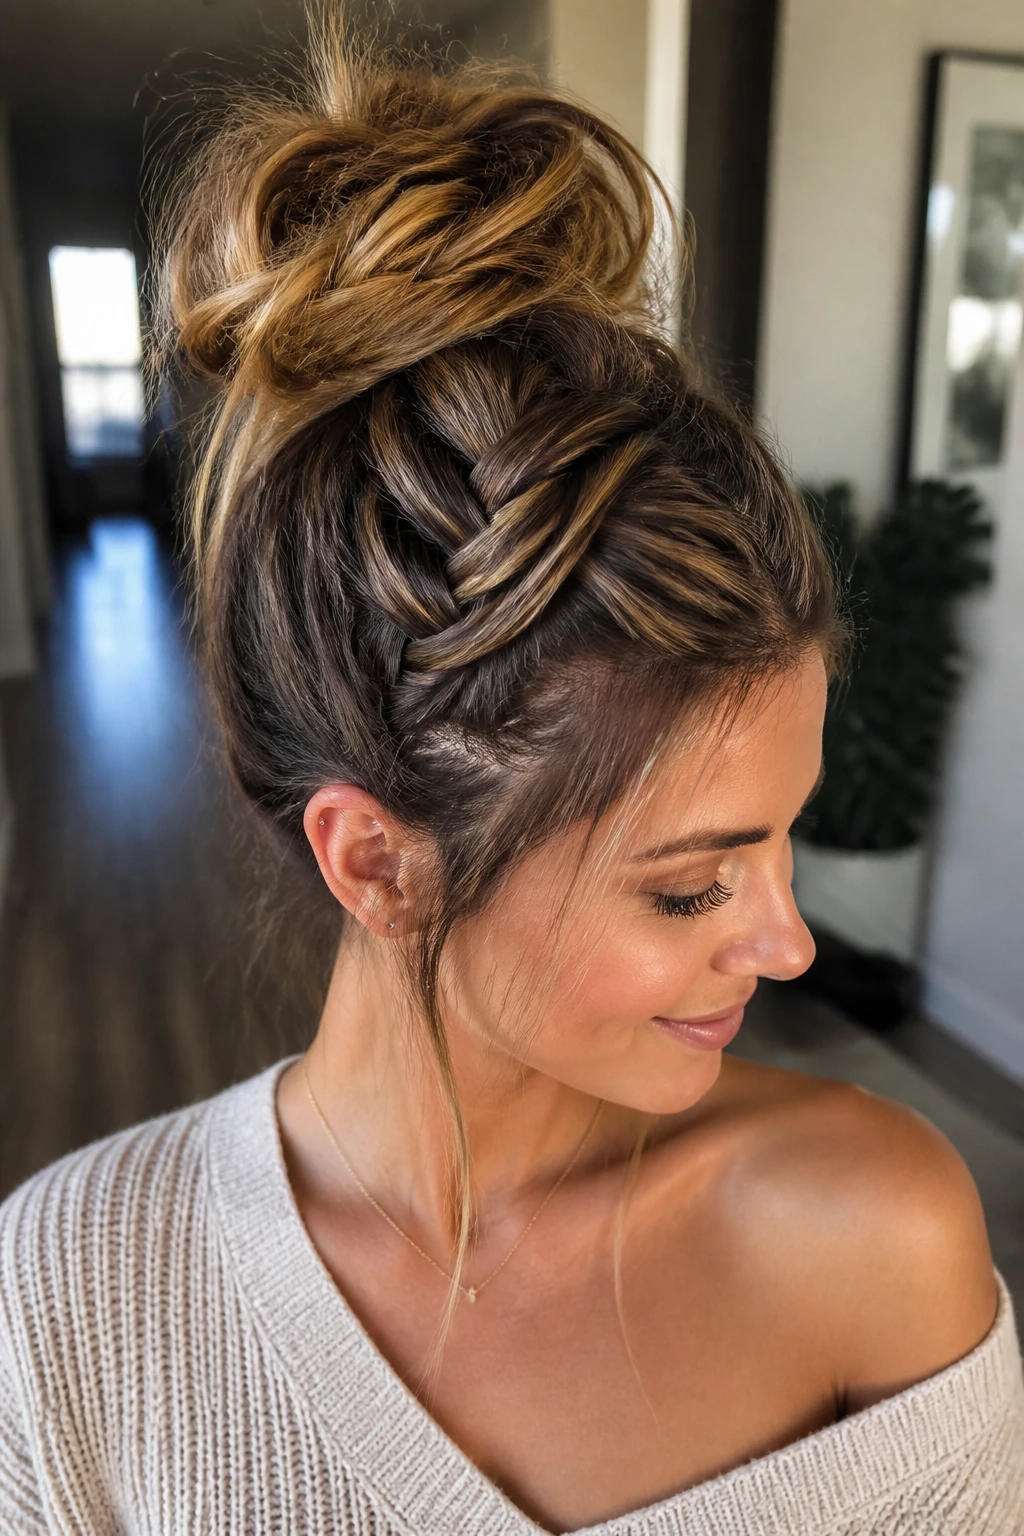
This is the ultimate “I didn’t have time” style. Create a quick, loose French braid from the front to the back, stop at the mid-crown, and gather everything into a messy topknot. The French braid adds a nice detail at the front, while the topknot creates a focal point for volume at the top of the head. It’s perfect for busy days when you still want to look intentional.
20. The Side-Swept French Braid with Loose Curls
If you have a curling iron, use it. Curling your hair before braiding provides that essential extra volume and texture that thin hair often lacks. A side-swept French braid paired with loose, lived-in curls is a classic, red-carpet-worthy style that works for almost any occasion. The curls add a softness that blends beautifully with the loose loops of the French braid.
21. The French Braid into a Low, Textured Tail
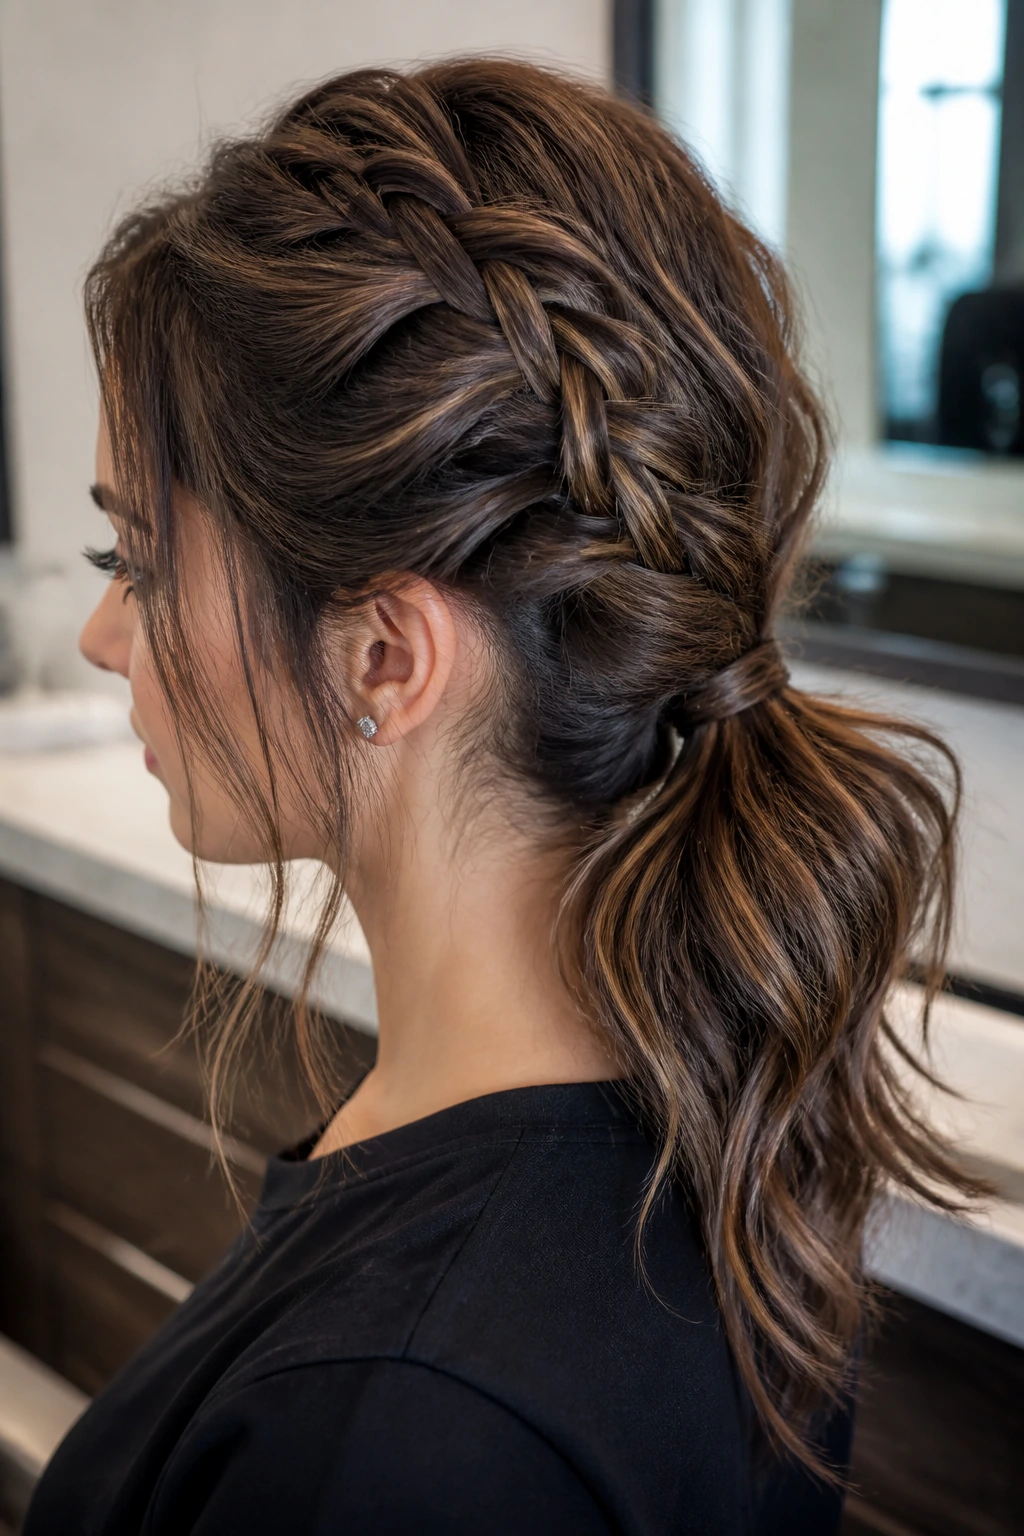
Sometimes simplicity is best. A loose French braid that runs from the crown to the nape, finishing in a low ponytail, is a very clean, professional look. To keep it from looking thin, tease the ponytail itself. Take a teasing brush and backcomb the underside of the ponytail, then smooth the top layer over. It’s a simple trick, but it adds enough volume to the tail that the thinness isn’t immediately obvious.
22. The French Braid with Face-Framing Pieces

Never pull all your hair back. For thinning hair, face-framing pieces are a non-negotiable part of the aesthetic. They soften the transition between your hairline and your braid, and they draw the eye toward the face rather than the scalp. Leave some soft tendrils out at the front and curl them slightly; it makes the whole style look curated rather than sparse.
23. The “Boho” Triple-French Braid
If one braid is thin, try three. By creating three small, loose French braids side-by-side, you create a beautiful “striped” effect across the crown of the head. This adds a level of complexity that distracts the eye from the volume of the individual strands. You can then gather these three braids into a single low ponytail or bun.
24. The Reverse French Braid into a Bun
We touched on the reverse braid earlier, but here is a specific application: a reverse French braid that goes from the nape of the neck up to the crown, ending in a messy bun. This is fantastic because the back of the head is the area we most often struggle to see, and this style provides a built-in “fullness” to the back of your head that is impossible to achieve with a standard pull-back style.
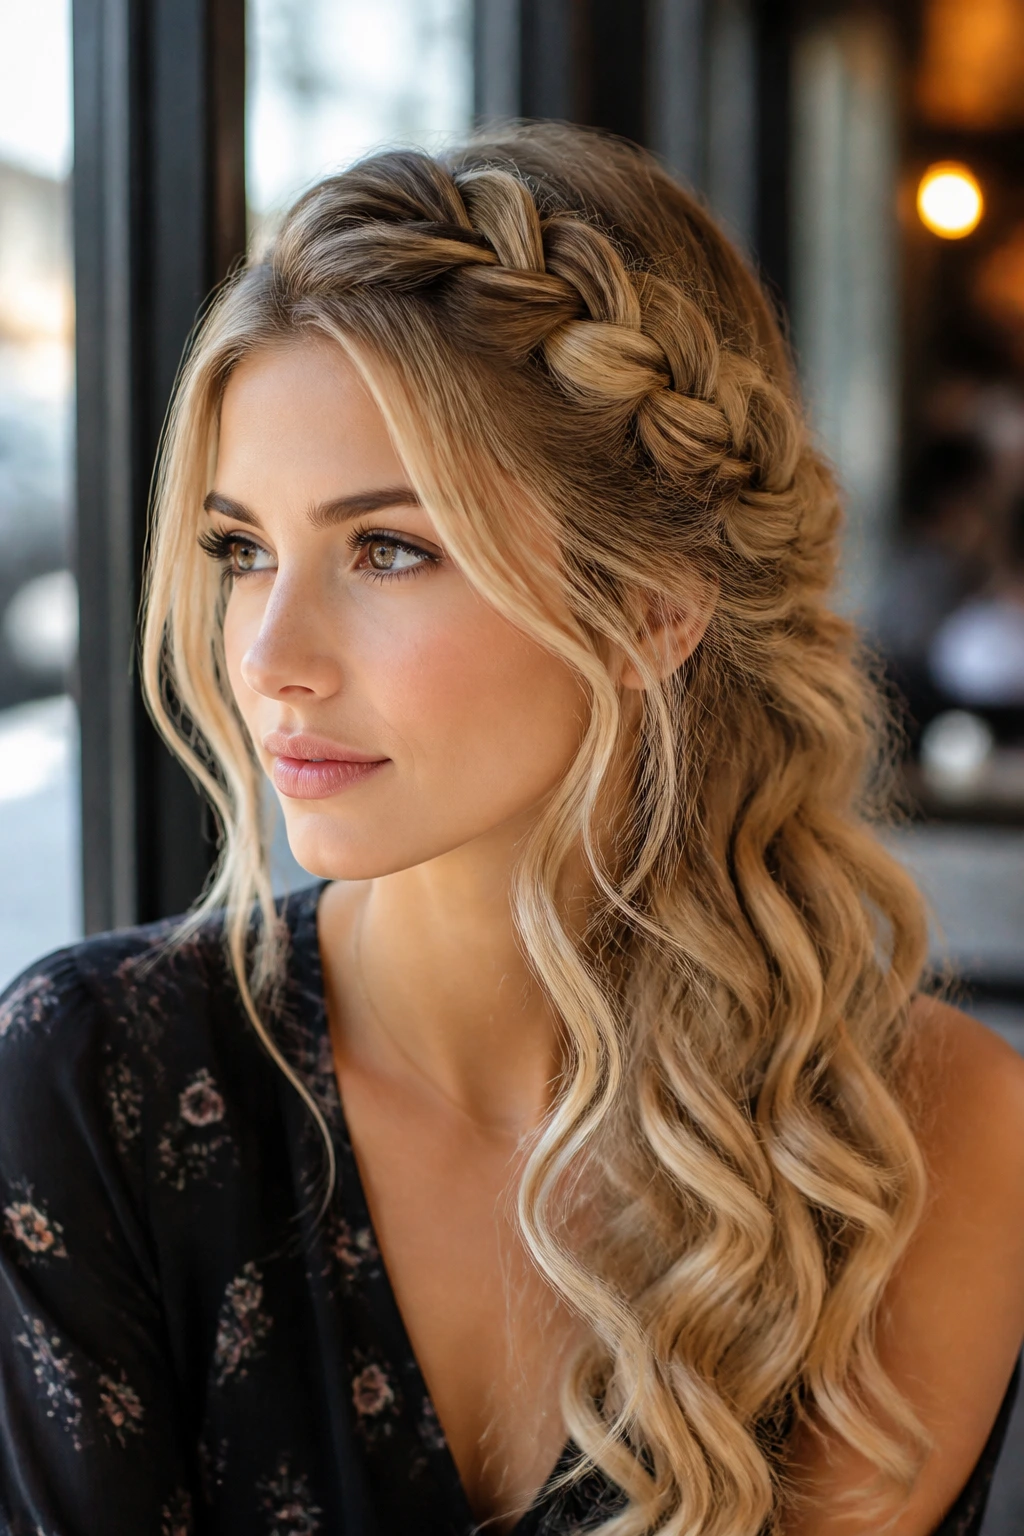
25. The French-Braid Headband with Loose Waves

If you want the hair to look full, loose waves are your best friend. Create a small French braid that acts as a headband, then curl the rest of your hair in loose, beachy waves. The braid holds the front section of the hair back, while the waves create a massive amount of volume around the face and shoulders.
26. The Loose French-to-Side-Braid
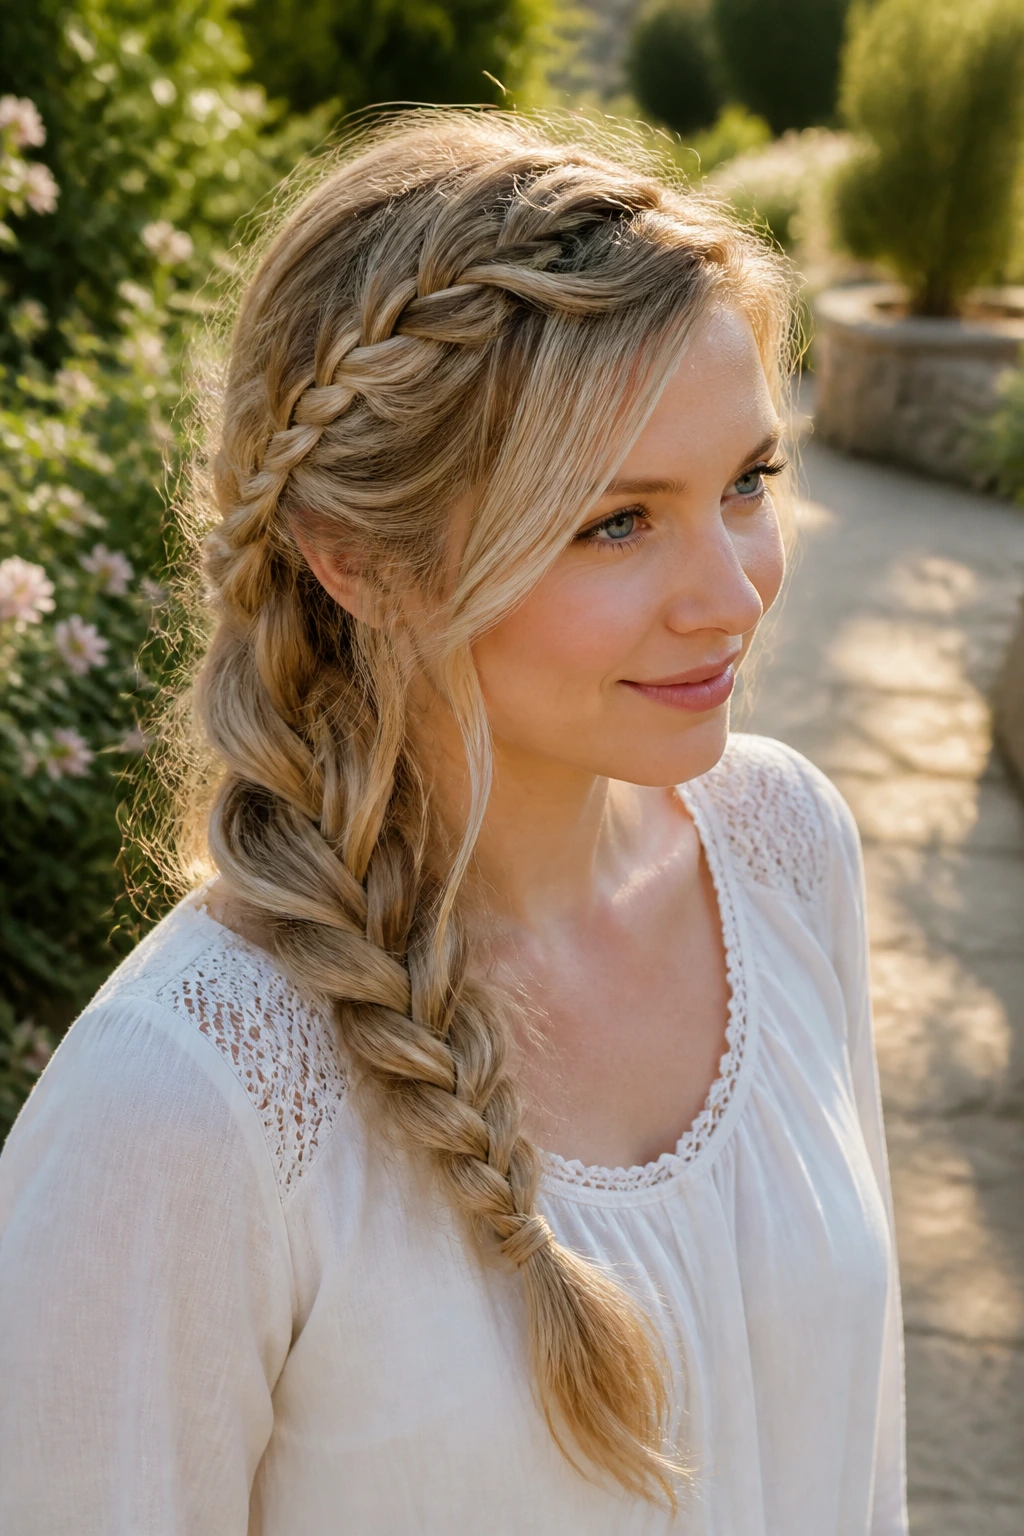
This style is perfect for those who want a long, romantic look. Start a French braid at one temple, bring it across the head, and then let it drop to the side. It’s a very fluid, natural-looking style that takes advantage of the way thin hair likes to move and drape.
27. The Double French Braid with a Twist

After you finish your two French braids, instead of just tying them off, twist them together into a single rope before securing. The twisting motion forces the hair to bunch up, creating an illusion of thickness that a simple plait cannot achieve. It also adds a nice, intricate detail to the end of the braid.
28. The French-Braid Chignon with Wispy Edges
Finish your loose French braid by rolling the ends under and pinning them into a small chignon at the nape. The key here is the “wispy edges.” Let small pieces of hair fall out naturally around the ears and the neck. This softness makes the style look deliberate, romantic, and perfectly suited for fine or thin hair textures.
Final Thoughts
The art of braiding thin hair is ultimately about manipulating the perception of volume. By choosing styles that utilize texture, strategic partings, and the “pancaking” technique, you can transform your hair from a source of frustration into a beautiful, styled asset. Remember that your goal isn’t to force your hair into a heavy, thick style, but rather to embrace the lightness of your strands while using these techniques to give them the presence and fullness you desire. The best braid is the one that makes you feel confident and put-together—regardless of what your hair texture is on any given day.