Getting ready in the morning shouldn’t feel like a high-stakes performance art project. We all want our hair to look like we spent an hour in a salon chair, but most of us are lucky if we have fifteen minutes between the coffee pot and the front door. The secret to a polished, everyday look isn’t a complex, multi-step process or a bathroom cabinet full of expensive tools. It’s about knowing the clever shortcuts that bridge the gap between “I just rolled out of bed” and “I have my life together.” These hacks are the kind of tricks that have been passed down in dressing rooms and shared in late-night text chains for a reason—they work, they save time, and they preserve the health of your hair by reducing your reliance on constant heat styling.
1. Using Dry Shampoo Before You Actually Need It
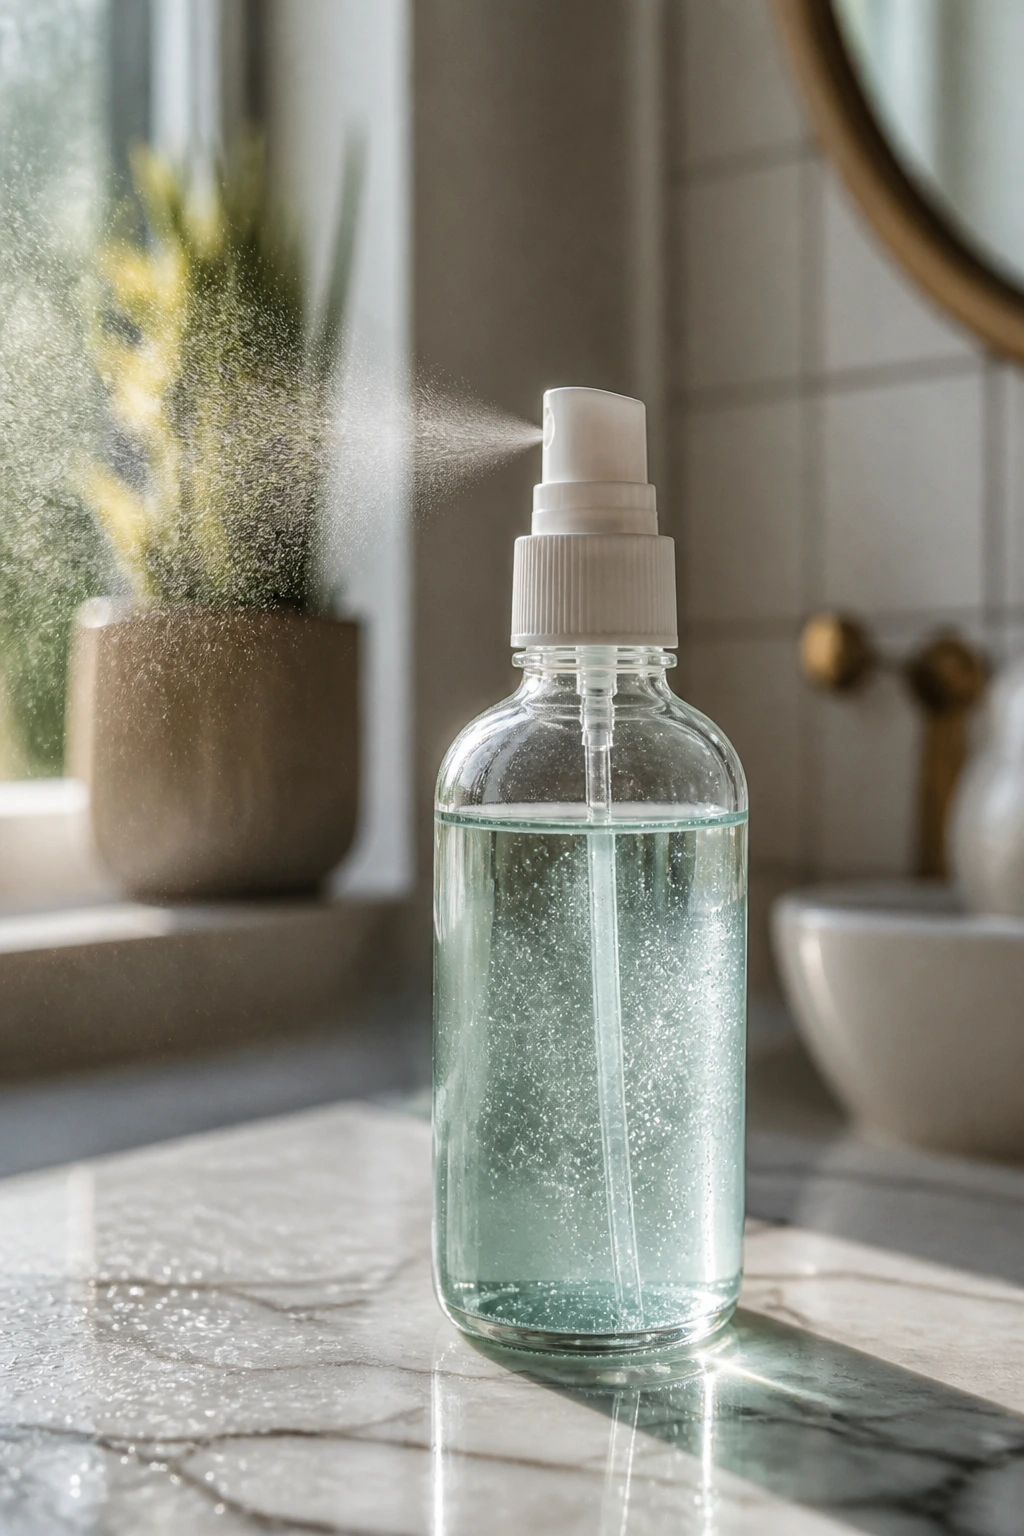
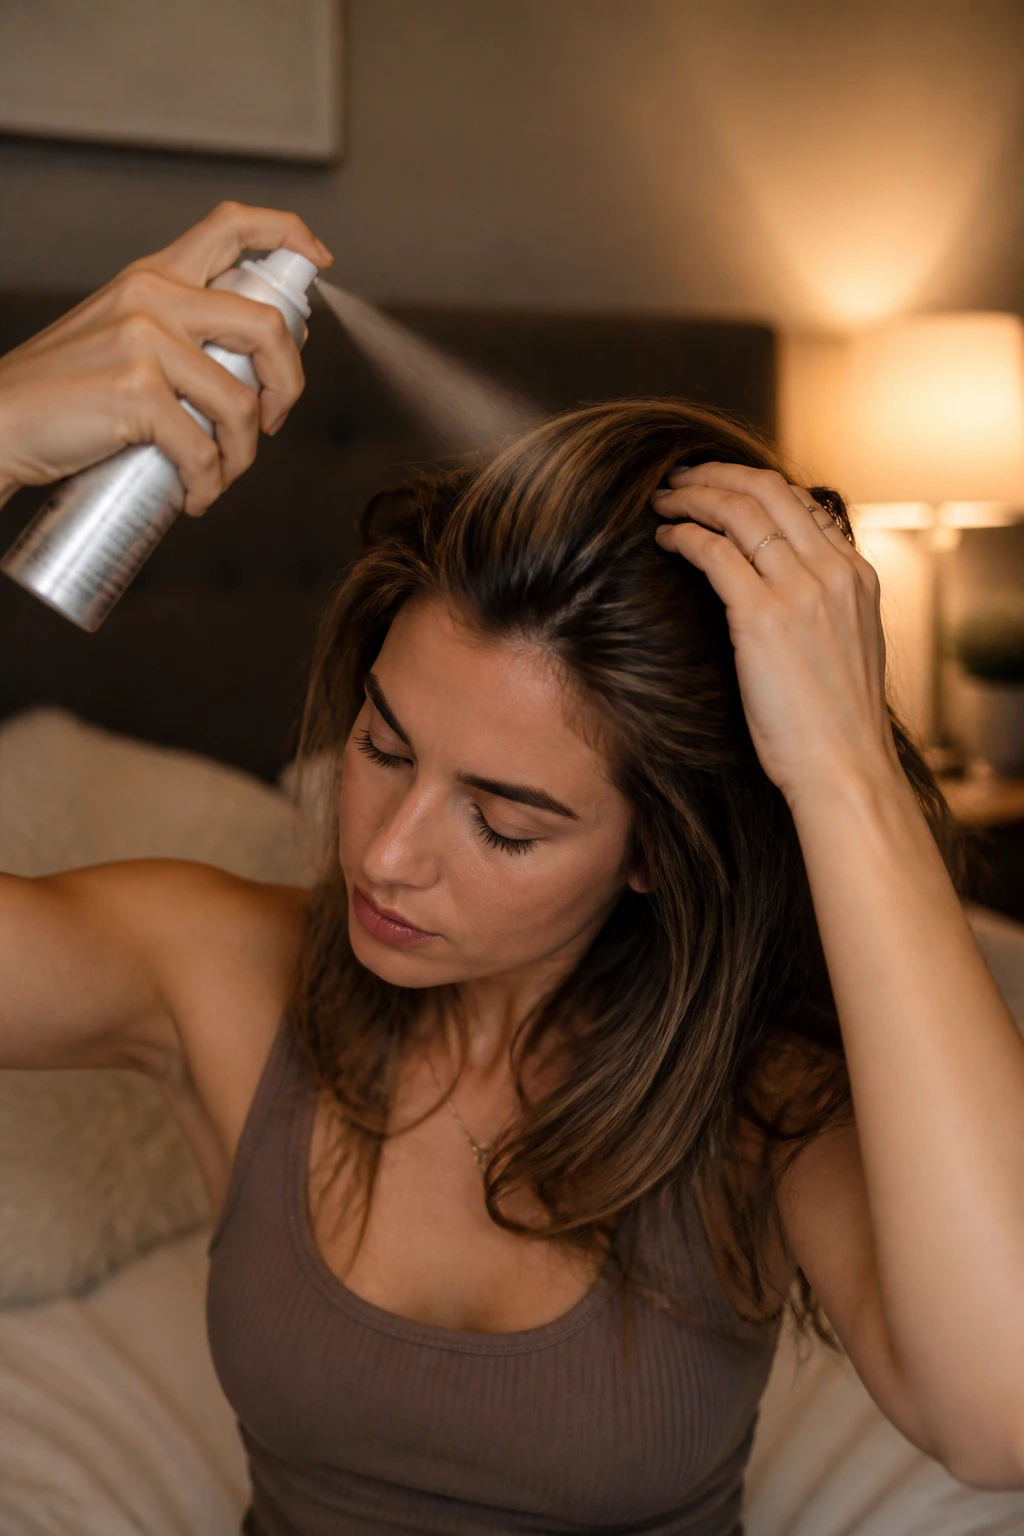
Most people reach for dry shampoo the moment they spot an oily root, but that’s a reactive approach. The real pro move is to apply it at night before you go to sleep. As you toss and turn, the dry shampoo has hours to absorb excess oils as they are produced, preventing that flat, greasy look from ever taking hold in the first place. You wake up with volume and a scalp that feels clean, rather than trying to mask the evidence of a lazy morning.
Why This Works
When you wait until the morning, you’re often rushing the application, which leads to white, powdery residue and uneven coverage. By applying it before bed, you give the product time to settle and disappear into the hair shaft. You’ll find you need to use less product overall, which is a major win for your scalp health, as buildup can lead to itching or flaking if overdone.
How to Get the Best Results
- Focus the spray primarily on the crown and the hairline where oil accumulates most rapidly.
- Use your fingertips to massage the product in thoroughly, just as you would with a liquid shampoo.
- If you notice any leftover white cast, use a boar-bristle brush to distribute the product from roots to mid-lengths.
Pro Tip: If your hair is very dark, look for tinted dry shampoos or formulas designed specifically for brunette tones to avoid the dreaded “dusty” appearance.
2. The Silk Pillowcase Switch
If you find yourself waking up with a head full of knots and frizz, your pillowcase is likely the culprit. Cotton is a thirsty, textured fabric that grabs onto individual hair strands, causing friction that leads to breakage and messy bedhead overnight. Switching to a silk or high-quality satin pillowcase creates a smooth surface for your hair to glide over while you sleep, which means you spend significantly less time detangling in the morning.
The Science of Less Friction
Silk is composed of long, smooth fibers that prevent the “catch and pull” effect typical of cotton weave patterns. This is particularly vital for those with curly or textured hair, as it preserves the curl pattern and prevents the moisture-stripping that leads to dehydration. It’s an investment that pays dividends by keeping your blowout or style intact for an extra day or two.
What to Look For
- Check the momme weight of the silk; anything above 19 is considered high quality and durable.
- Ensure the material is 100% mulberry silk to get the full benefits of its natural protein structure.
- If silk is out of your budget, a high-density polyester satin provides almost identical benefits regarding friction reduction.
3. Overnight Heatless Curls with a Robe Belt
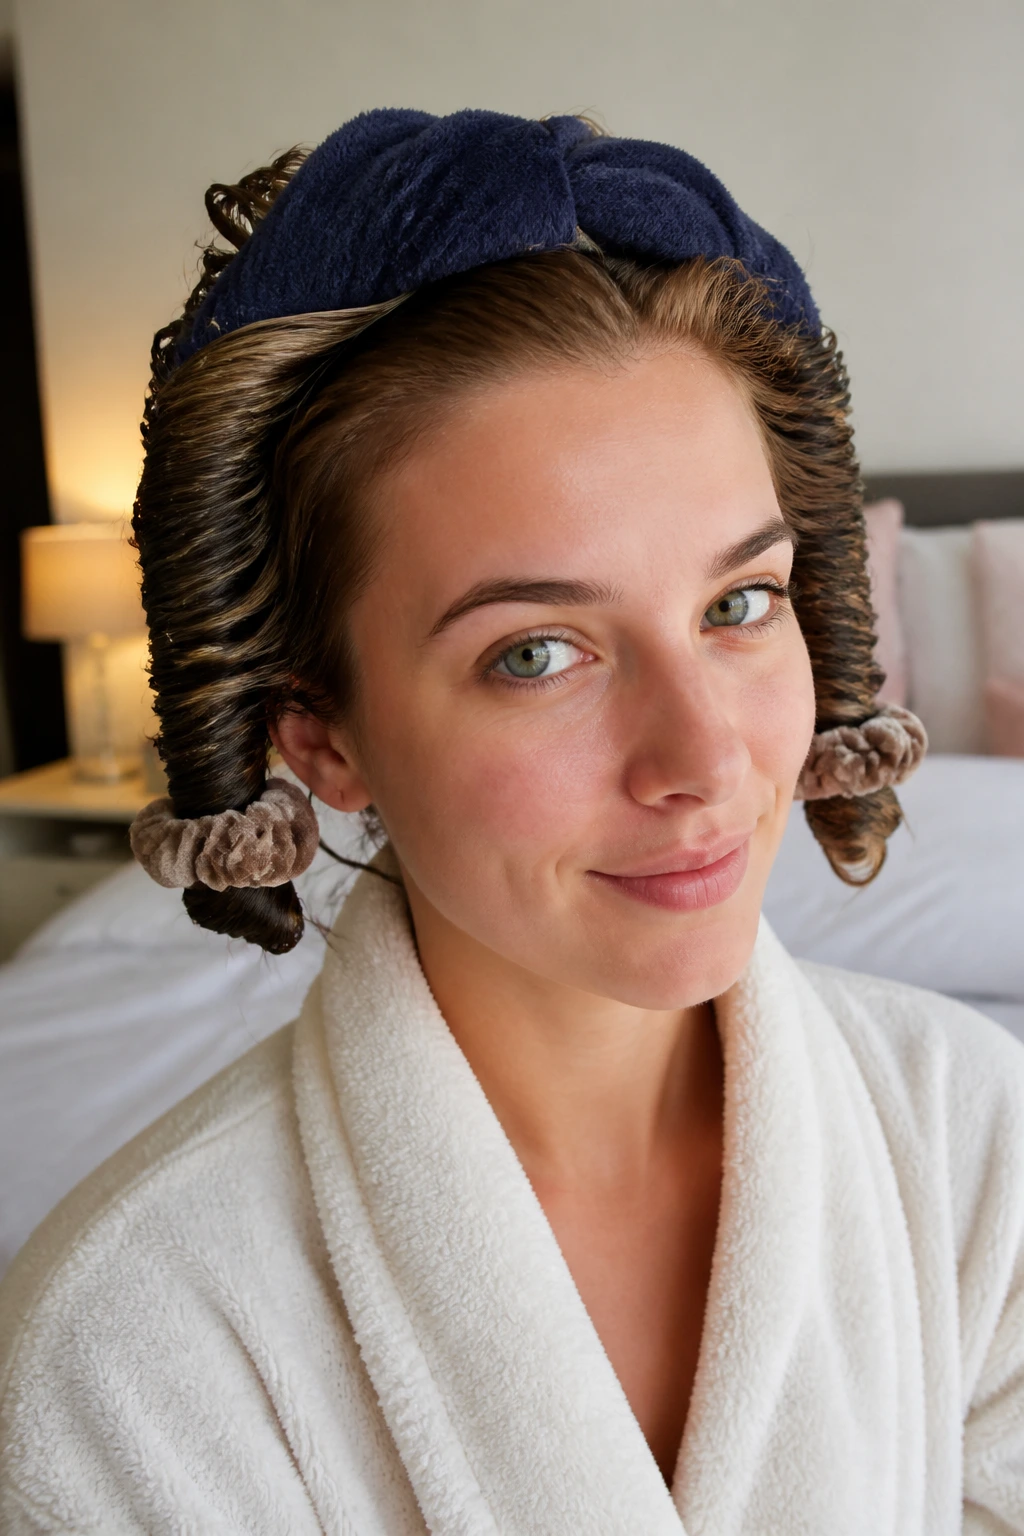
You do not need a curling iron to achieve soft, bouncy waves. This method has become popular because it effectively uses the natural weight of your hair and the passage of time to set the shape without a single degree of heat damage. Simply part your damp hair down the middle, place the belt of a thick bathrobe across the top of your head like a headband, and wrap your hair sections around it.
Getting the Tension Right
The key to success here is the tightness of the wrap. If you wrap the hair too loosely, you will end up with minimal bend. If you pull it too tight, you might find it uncomfortable to sleep on. Aim for a firm, consistent tension that holds the hair against the fabric belt, securing the ends with small, soft scrunchies to prevent creasing at the bottom.
Troubleshooting Common Issues
- Hair feels too wet: If you start with soaking wet hair, it won’t dry by morning and the style will fall flat instantly. Aim for hair that is about 80% dry—damp enough to be pliable but dry enough to hold a set.
- Back of the head flatness: Use a small hair clip to secure the top of the robe belt to your head before you start wrapping so it doesn’t shift around while you sleep.
4. Using Toothbrushes for Flyaway Control
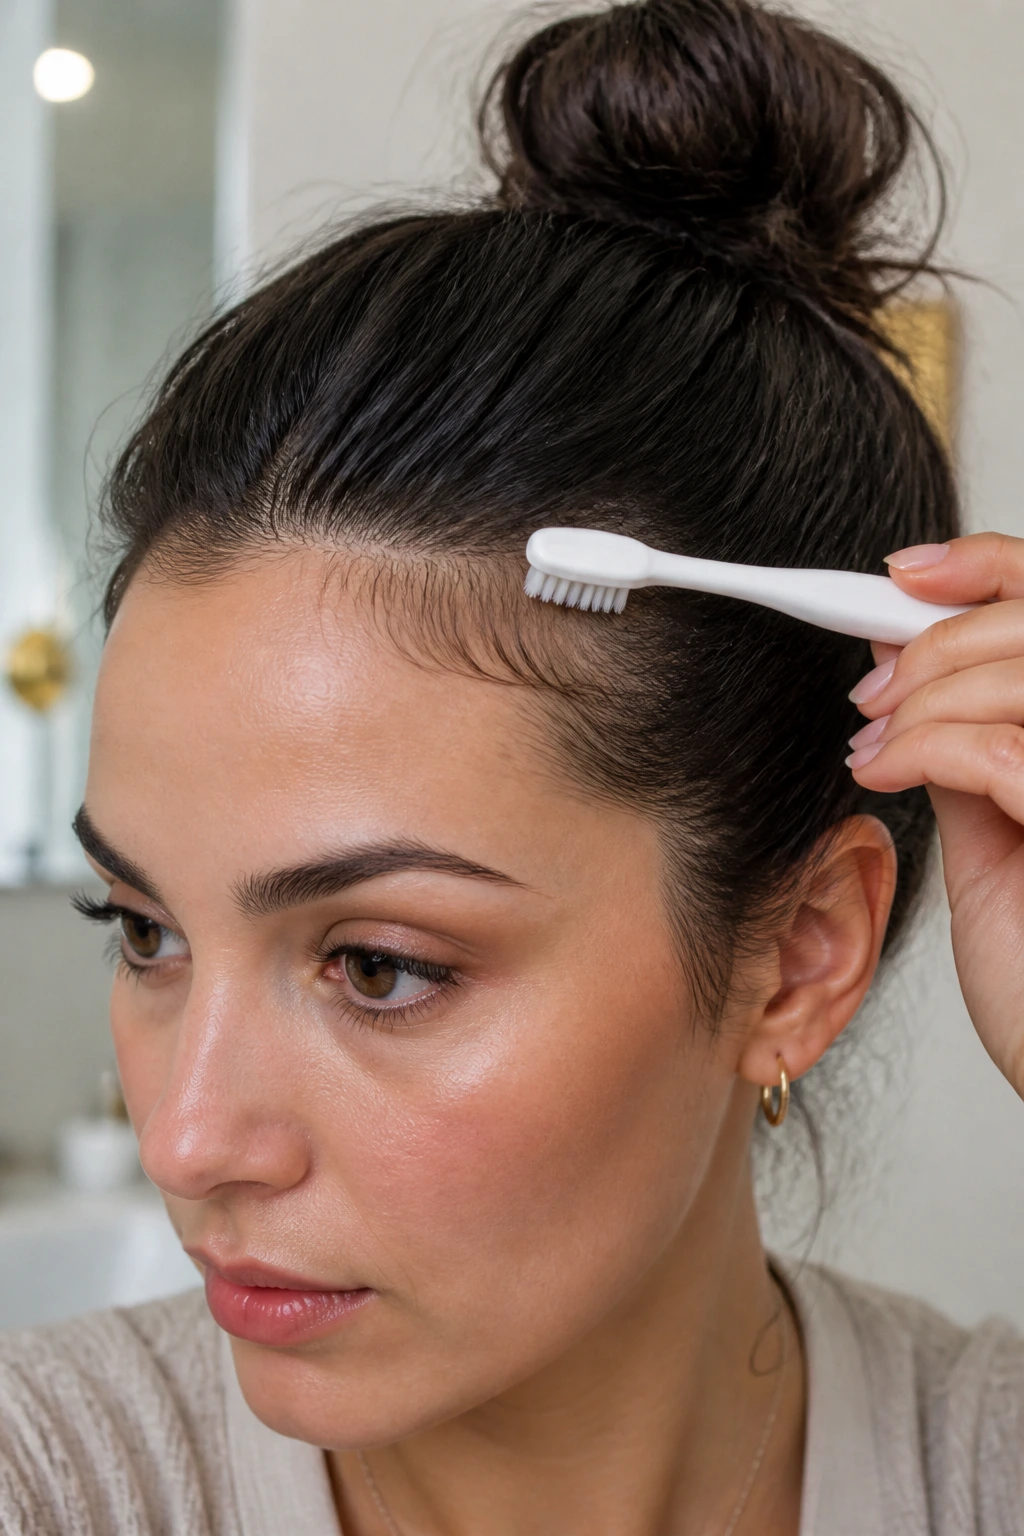
Sometimes the smallest tools deliver the biggest results. When you have those annoying, short baby hairs that refuse to lay flat, dragging a large brush through your hair will only make them stand up more due to static. Instead, take a clean, unused toothbrush, spray it with a light-hold hairspray, and gently brush those flyaways down.
Why This Precision Matters
A full-size hairbrush is a blunt instrument that affects far more hair than you want to move. A toothbrush allows you to target those specific, stubborn strands right along the part or the hairline without disturbing the rest of your style. It is the best way to achieve a “sleeked back” look without the heaviness of gels or pomades that can make your hair look wet or greasy.
Practical Tips
- The hairspray check: Use a flexible-hold spray rather than a “freeze” or “strong hold” version. You want the hair to move naturally, not look like it’s been lacquered to your skull.
- Cleaning your tools: Keep a designated toothbrush in your vanity kit. After a few weeks of use, wash it with warm, soapy water to remove the buildup of hairspray so it doesn’t get sticky.
5. The Messy Bun “Secret” Elastic
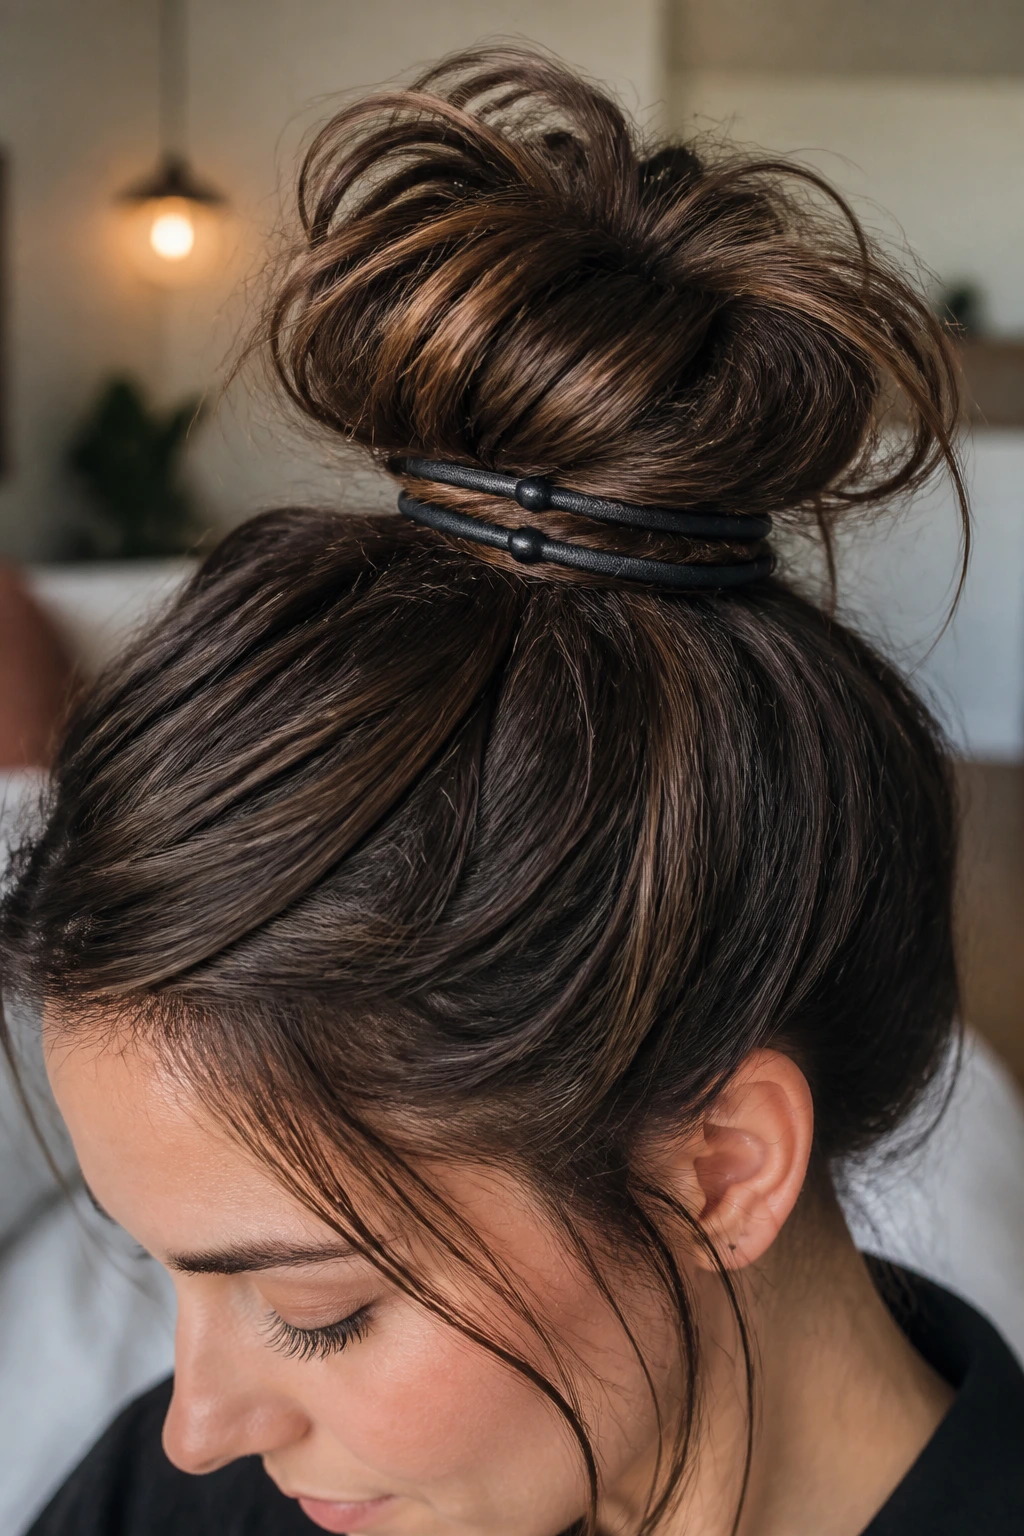
The perfect messy bun often looks effortless, yet it seems impossible to replicate when you are in a rush. The trick isn’t in how you twist your hair, but in the base structure. By using two elastics—one to secure a tight, high ponytail, and another to hold the bun itself—you create a foundation that won’t sag or droop by noon.
Creating Volume from Nothing
Once your bun is secured, the real magic happens when you pull. Gently tug on the loops of the bun and the hair around your face to create a “lived-in” aesthetic. If the bun feels too round or artificial, pull a few small pieces out near your ears and the nape of your neck to soften the overall silhouette.
Making It Stay
If your hair is very fine or slippery, sprinkle a little texture spray or salt spray through the lengths before you put your hair up. This gives the strands some “grip” so that the ponytail stays at the height you want rather than sliding down toward your neck.
6. Bobby Pin “V” Technique
We have all dealt with bobby pins that slide out of our hair the moment we look away. The reason they slip is usually down to the orientation: the wavy side should always face down, against the scalp. To take it a step further, use two pins to create an “X” or a “V” shape at the intersection point.
The Physics of the Hold
When you cross pins over each other, you are creating a locking mechanism that secures the hair strands between the metal. This is the secret to keeping an updo secure for hours, even during a busy day. The friction created by the overlapping metal makes it significantly harder for the pins to migrate out of the hair.
Hiding the Evidence
If you are worried about the pins showing, match the color of the bobby pin to your root color as closely as possible. If you have blonde or light brown hair and only have black pins, take a quick swipe with a bit of eyeshadow that matches your hair color over the pin to camouflage the metal instantly.
7. Salt Spray for Natural Texture
When you don’t have time to use a curling iron, sea salt spray is your best friend. It mimics the effect of a day at the beach, providing grit, volume, and a natural-looking wave pattern. Simply spritz your hair while it’s slightly damp, scrunch the ends toward the roots with your hands, and let it air dry while you finish your coffee.
Why It’s Better Than Heat Styling
Air drying is the healthiest way to style your hair. By relying on salt spray instead of a curling iron, you are eliminating heat damage, which prevents split ends and keeps your hair shiny over the long term. It’s a “lazy” style that actually looks better the more “imperfect” it is.
Avoiding the Crunch
Some salt sprays can leave hair feeling stiff or crunchy. Look for formulas that include nourishing oils like argan or coconut to balance the drying nature of the salt. If you find your hair feels too dry after spraying, follow up with just a tiny drop of lightweight hair oil on the ends to bring back the movement.
8. The Ponytail “Push-Up” Trick
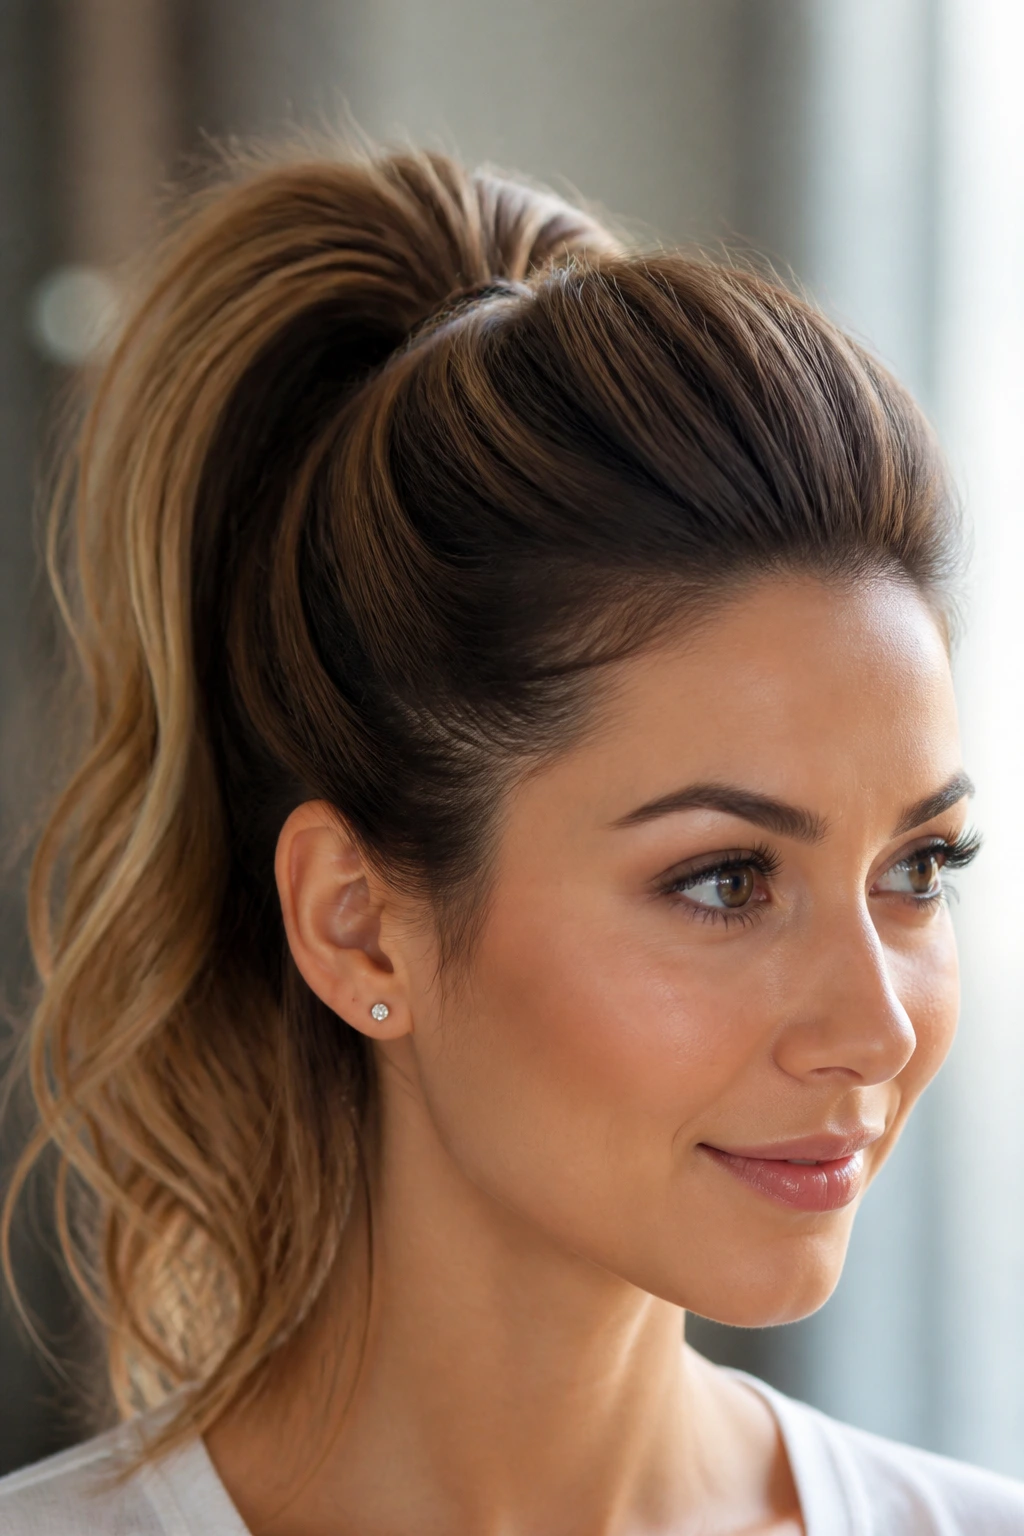
A flat ponytail can make any hairstyle look tired. To give your ponytail an instant lift, use a small claw clip hidden underneath the base of the hair. Gather your hair into a ponytail, secure it with an elastic, and then clip the base of the ponytail upward into the hair hidden just above the elastic.
Creating the Illusion of Length
This simple trick adds height and volume, making your ponytail look much thicker and longer than it actually is. It works by separating the top layer of the hair from the bottom, creating a tiered effect that adds depth. It’s one of those subtle changes that people will notice but won’t be able to pin down as a “hack.”
When to Use This
This is perfect for second-day hair when your roots might have lost a little volume. The clip holds the hair away from the scalp, effectively “fluffing” the ponytail so it sits proudly at the crown of your head instead of drooping against the nape of your neck.
9. Stretching Hair with Braids
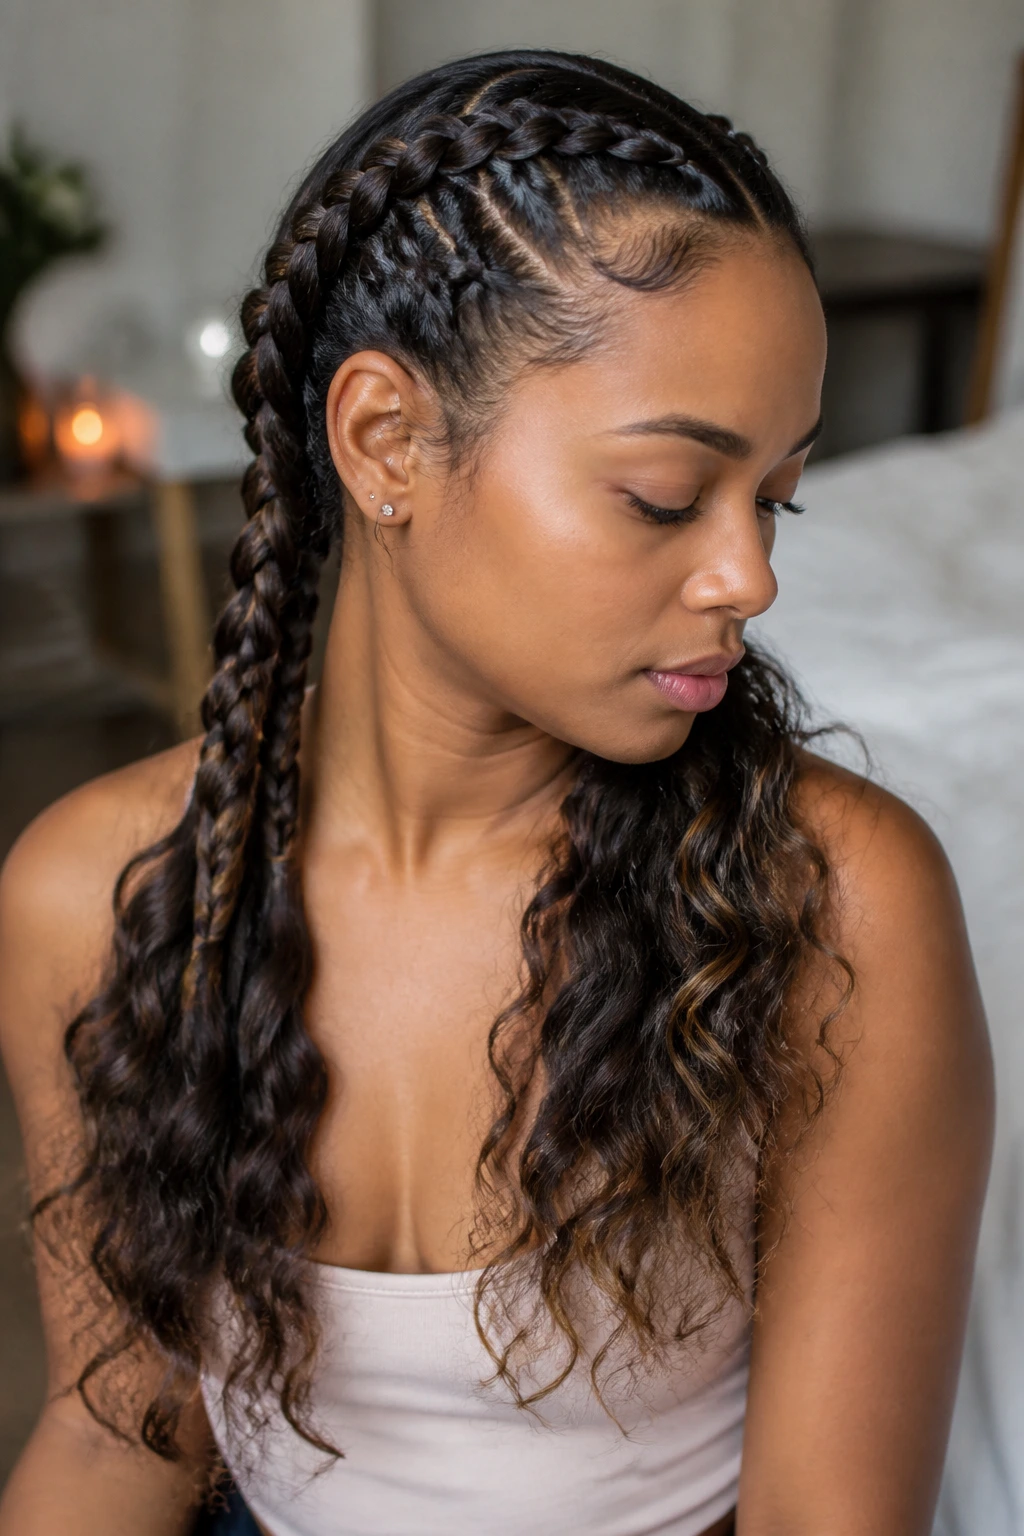
If you want waves without using heat, the “French braid” method is the gold standard. Braid your hair while it is still about 20% damp, starting from the hairline and working all the way to the ends. When you wake up and undo the braids, you will have consistent, uniform waves that last the entire day.
The Benefit of Braiding from the Scalp
Many people make the mistake of braiding only the bottom half of their hair. By starting at the scalp, you ensure that the wave pattern is consistent from top to bottom. It creates a seamless look that mimics a professional “crimped” wave style but remains soft and wearable for everyday office or social settings.
Customizing Your Wave
- For loose, beachy waves: Use two thick braids and keep the tension moderate.
- For tighter, more defined waves: Use four or six smaller braids and keep the tension firm.
- For volume at the roots: Braid the hair in the direction you want it to fall—if you want a deep side part, braid the front sections toward that side.
10. The Microfiber Towel Swap
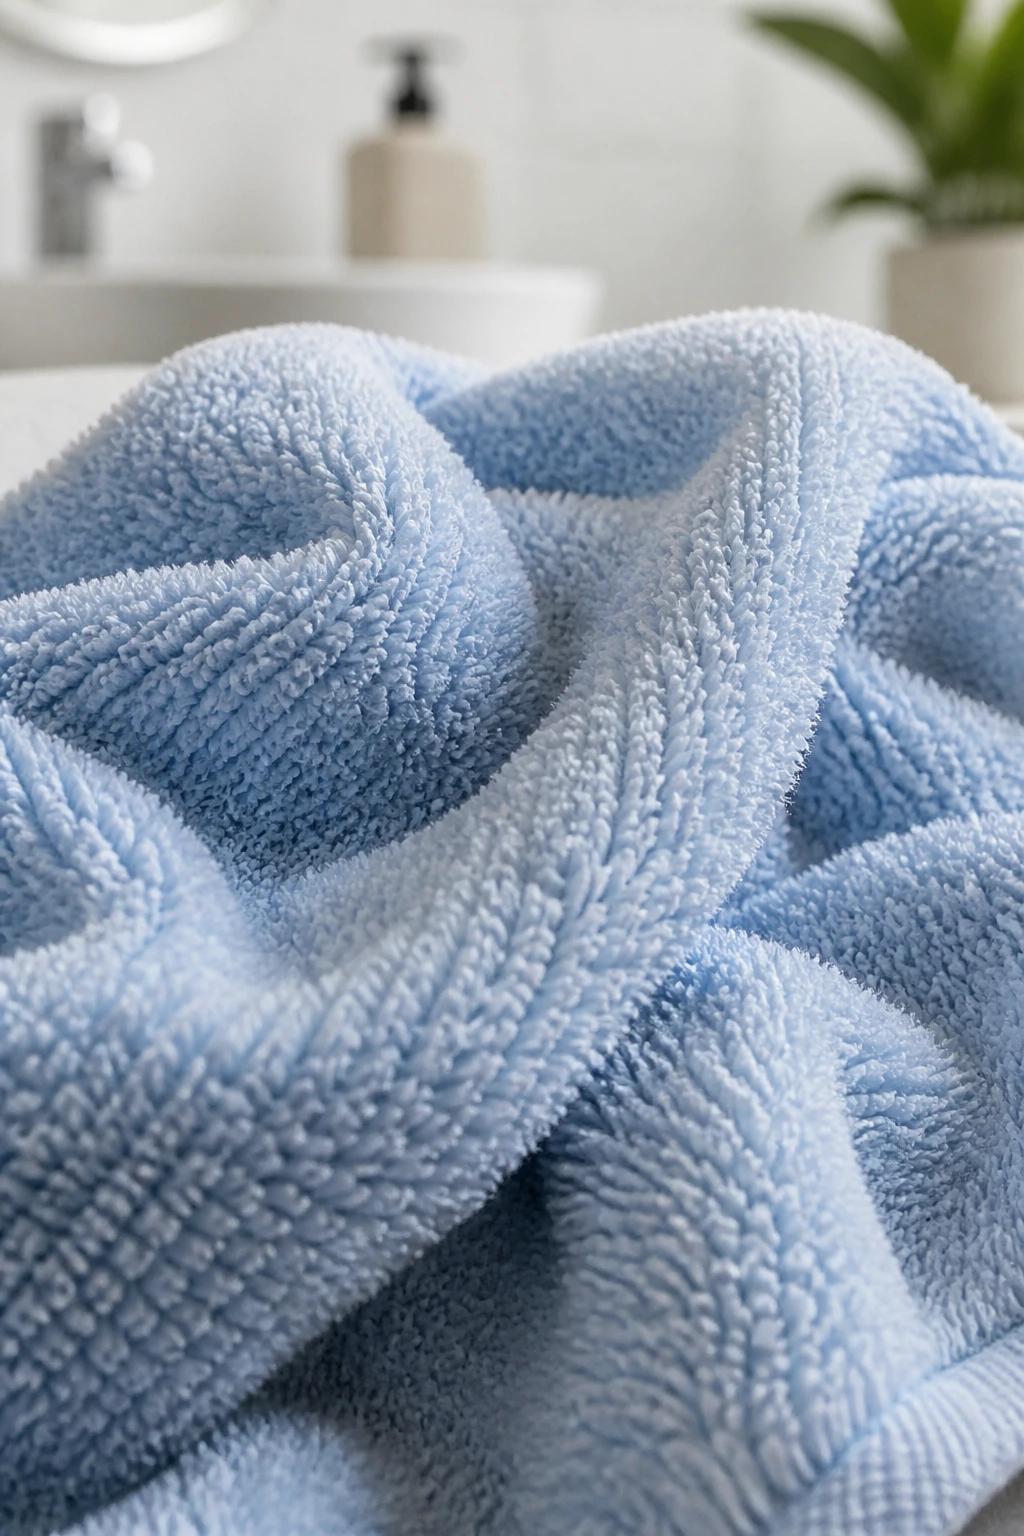
Your choice of towel has a bigger impact on frizz than you might realize. Standard terrycloth bath towels are rough and absorbent in a way that strips too much water from the hair, disrupting the cuticle and leaving you with a fuzzy, frizzy halo before you even start styling. Switch to a dedicated microfiber hair towel or an old cotton T-shirt.
Why Microfiber Changes Everything
Microfiber is much gentler on the delicate structure of wet hair. Because it doesn’t have the looped texture of a bath towel, it creates less friction as you dry your hair. It’s also significantly more absorbent, which means you spend less time blow-drying—and as we know, less blow-drying equals less heat damage in the long run.
The T-Shirt Alternative
If you don’t have a microfiber towel, an old, soft cotton T-shirt is arguably better. The smooth jersey fabric is incredibly gentle, and the lack of texture ensures that your hair remains undisturbed while it absorbs the excess moisture. It’s a low-cost, high-impact swap that changes the texture of your hair from the very first use.
11. Using Eyeshadow for Root Touch-Ups
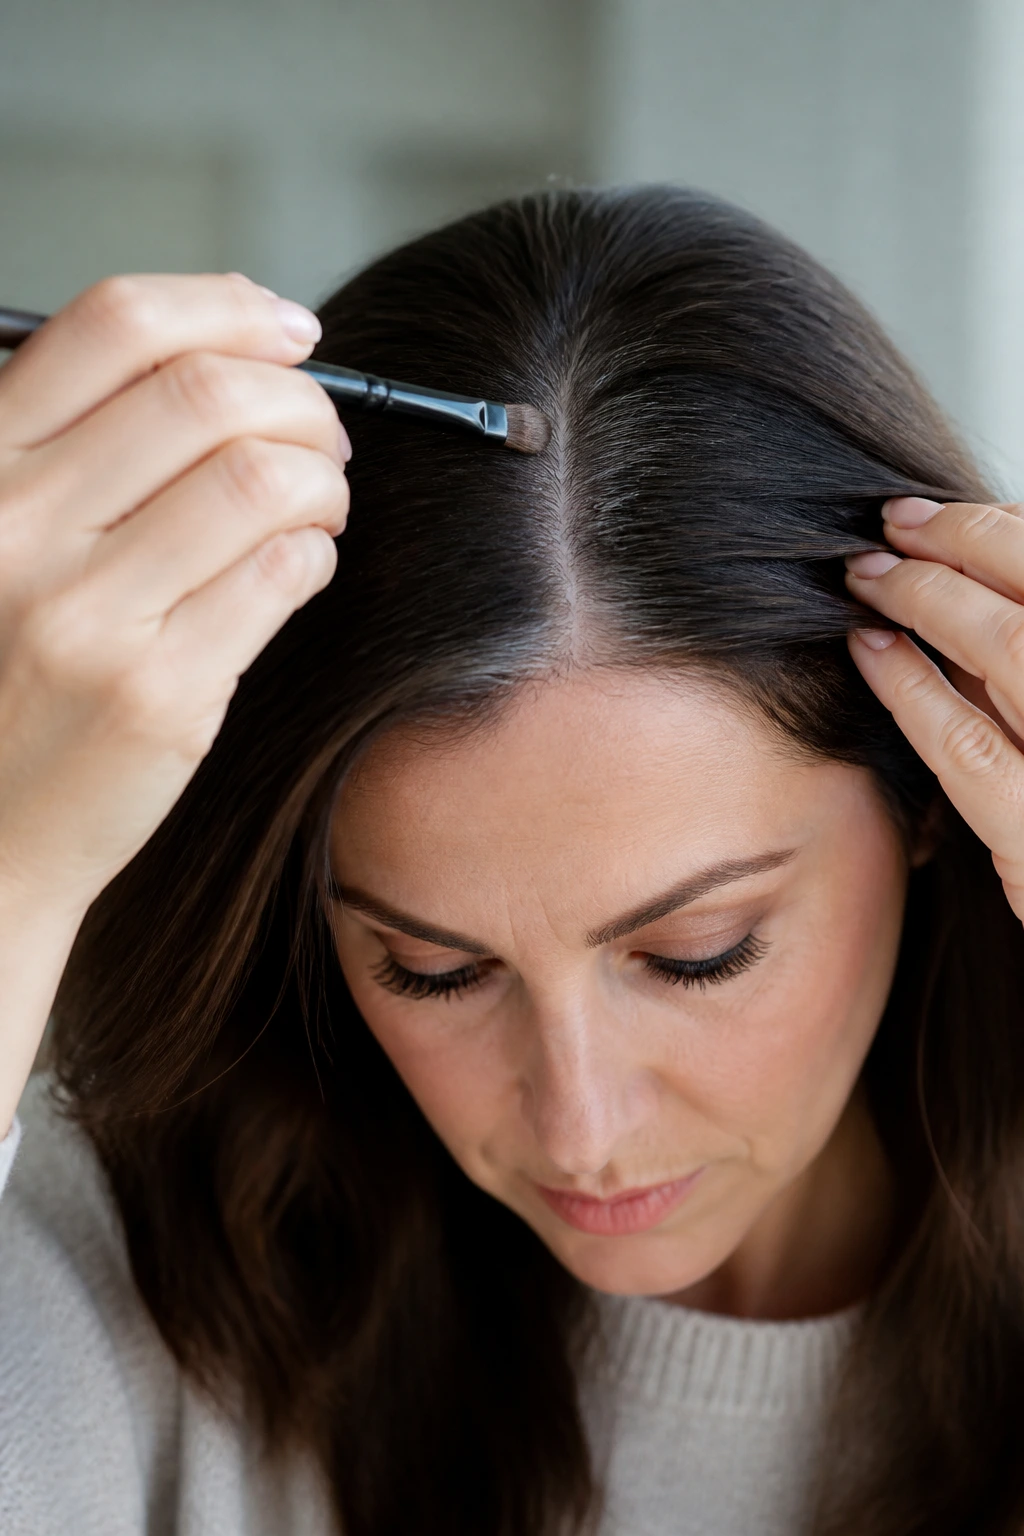
Root growth can be a source of stress, especially when you are a few weeks overdue for a color appointment. Before you reach for a box dye or an expensive root spray, look into your makeup bag. A matte eyeshadow that matches your hair color can work wonders to blend in gray roots or hide a thinning part.
Precision Application
Using a small, fluffy eyeshadow brush, tap a bit of pigment onto your roots where the growth is showing. Because you are using a makeup brush, you have total control over where the color goes, unlike aerosol sprays that can sometimes get on your forehead or the surrounding hair. It’s a targeted solution for a specific problem.
What to Watch For
- The finish matters: Ensure the eyeshadow is matte. Shimmery or glittery shadows will catch the light and make your scalp look metallic, which is the opposite of what you want.
- Color matching: It is often best to go one shade lighter than your natural hair color if you are in between shades. A color that is too dark will create a harsh, unnatural line.
12. Pre-Shampoo Detangling
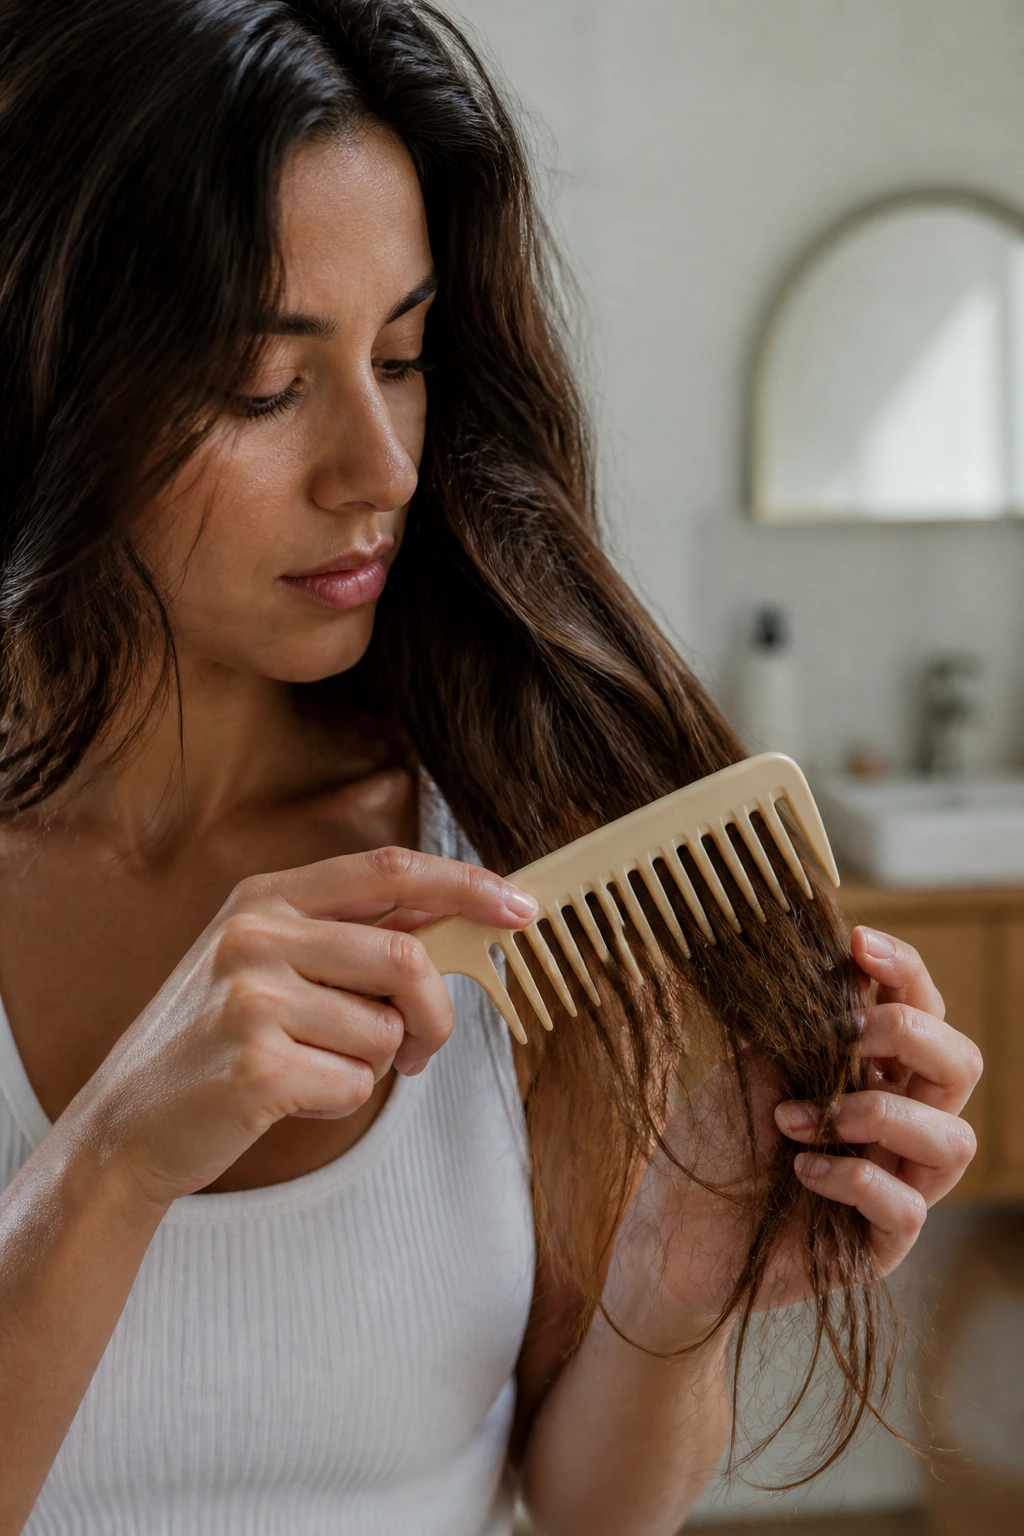
We tend to wait until after we’ve showered to comb our hair, but that is actually the most dangerous time. Hair is at its most fragile and elastic state when it is wet. If you have significant knots and you try to pull a comb through them in the shower, you are virtually guaranteed to cause unnecessary breakage and snap your hair strands.
The “Dry Detangle” Strategy
Take thirty seconds to brush your hair thoroughly before you step into the shower. This ensures that when you apply your conditioner, the product can be distributed evenly through the hair without having to fight through tangles. You will find that you lose significantly less hair in the shower drain if you remove the knots while the hair is still dry.
Tools to Use
- A wide-tooth comb or a detangling brush specifically designed for dry hair.
- Start at the ends and work your way up to the roots to avoid “rat-nesting” the knots further up the hair shaft.
13. Avoiding “The Line” with Headbands
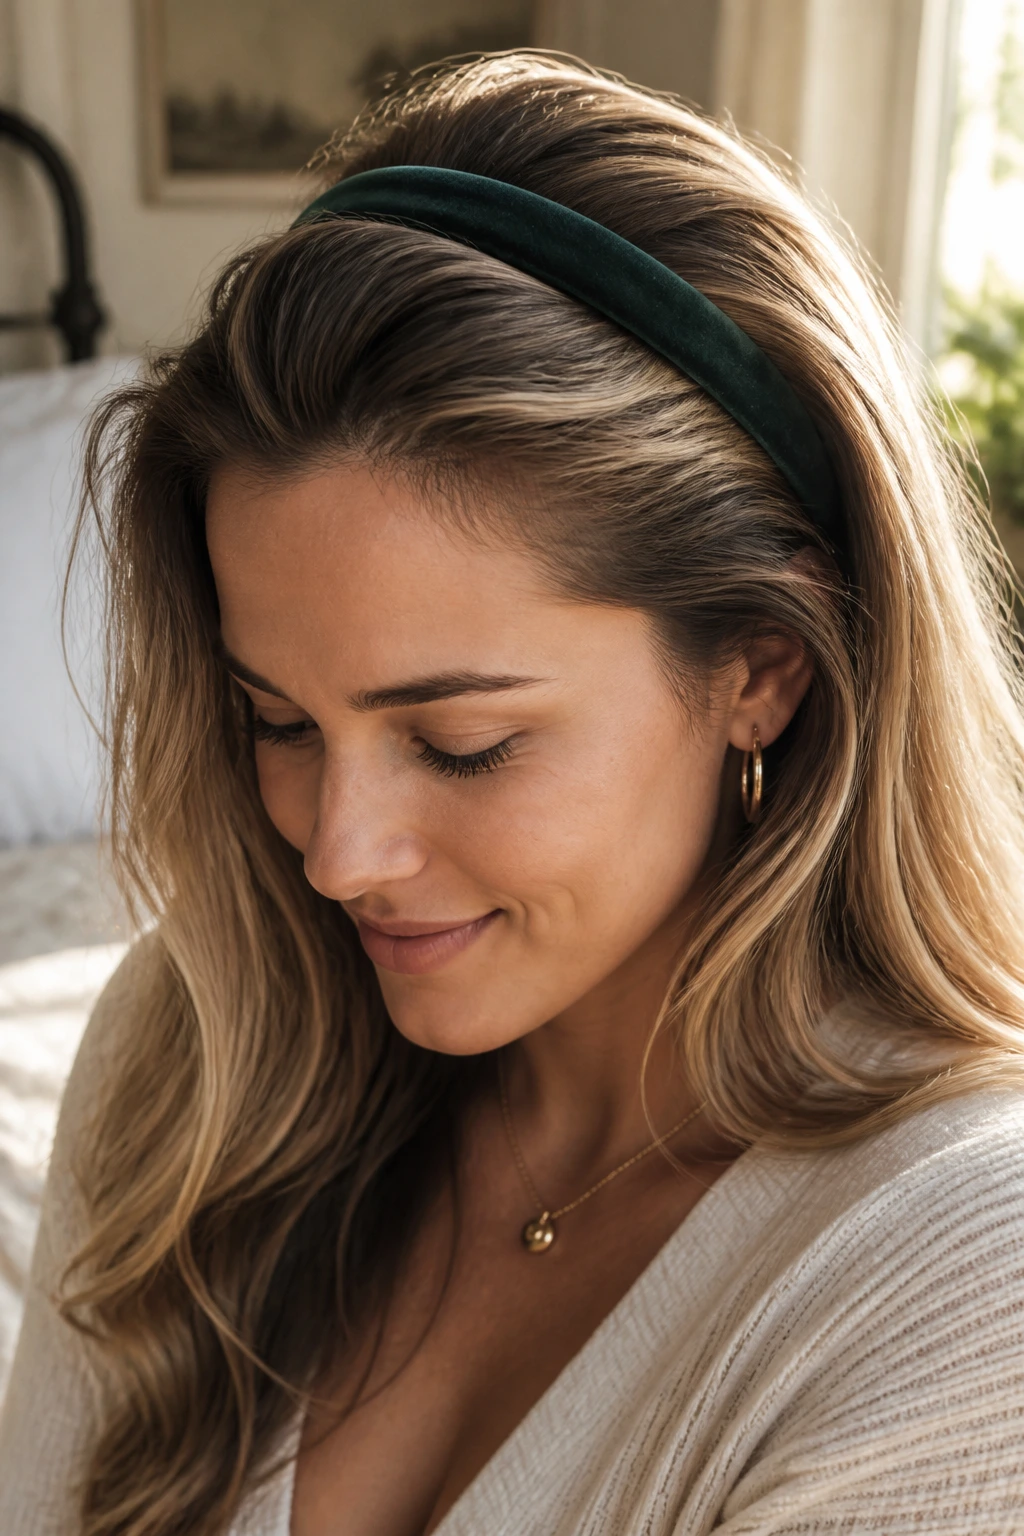
Headbands can be a lifesaver on busy mornings, but they often leave an unattractive indent or “line” across your hair after you take them off. The trick to avoiding this is to slide the headband on at an angle or to push the hair forward slightly after putting the headband in place.
The “Fluff” Technique
Once the headband is seated, use your fingers to gently pull forward a few strands of hair behind the band. This creates a little bit of volume and “hides” the tight line where the band sits. It keeps the hair looking full rather than plastered flat against the skull, which is what usually makes a headband look dated or too “nursery school.”
Choosing the Right Material
Velvet or silk-lined headbands are much gentler than the plastic or metal varieties. They don’t grip the hair as tightly, which means they won’t leave that harsh indent, and they’re much more comfortable for all-day wear.
14. The “Half-Up” Knot
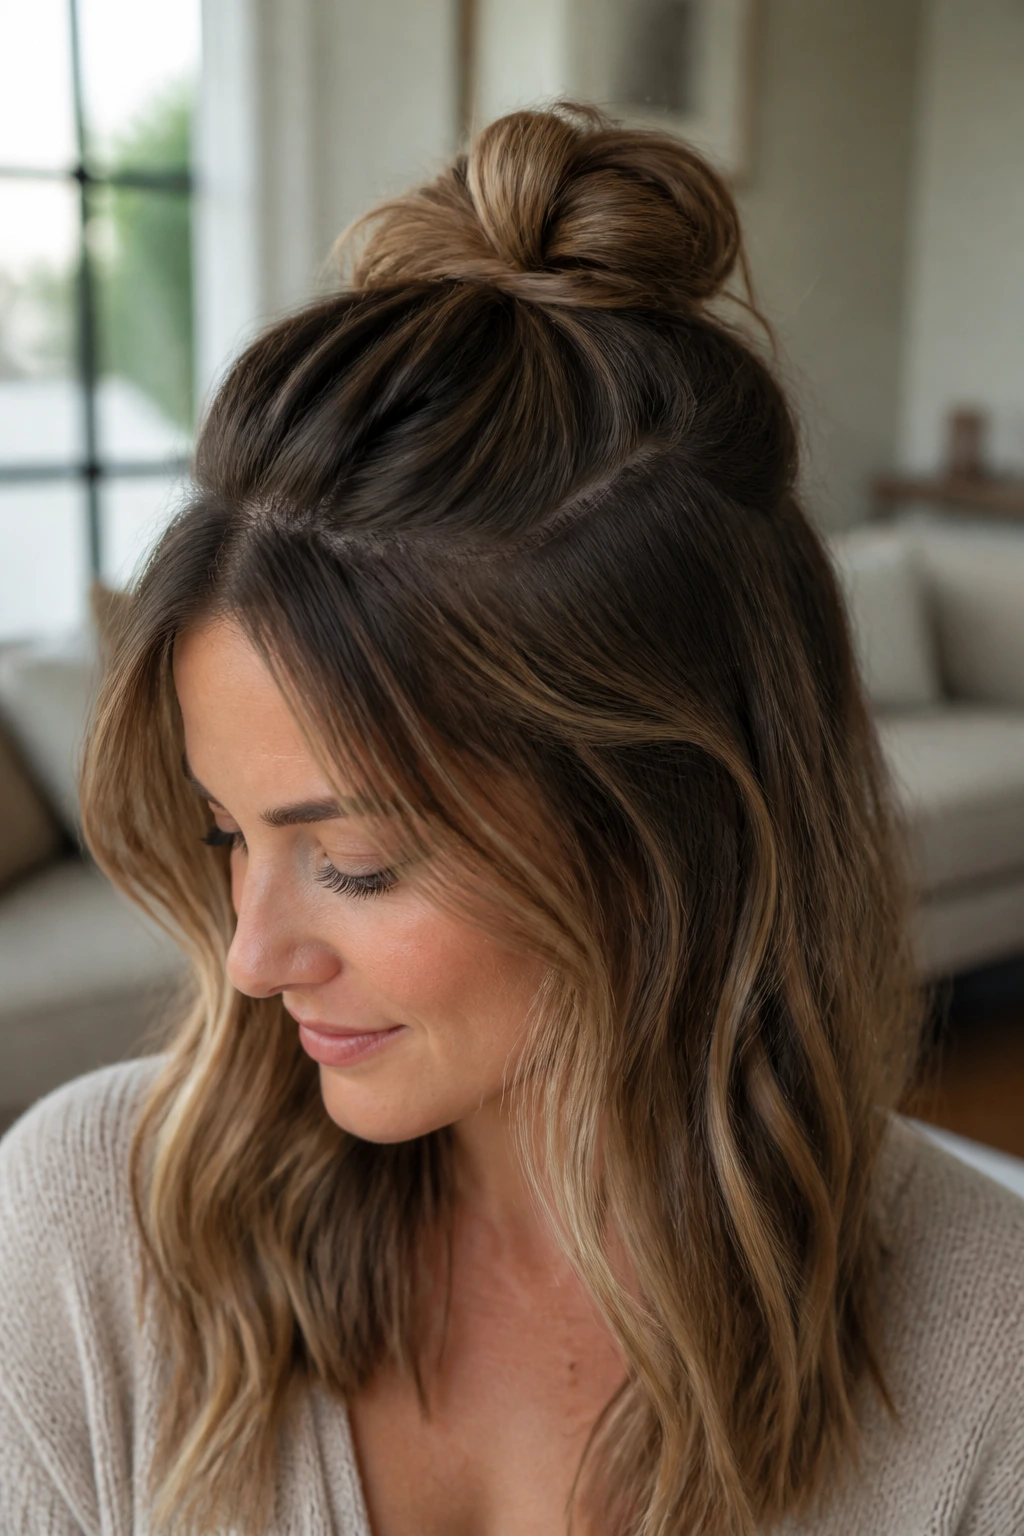
When you have fine hair, a full top-knot can look a bit sparse. The “half-up” knot is the perfect compromise. It gives you the face-framing benefits of a top-knot while keeping your overall hair volume looking full and thick. It’s an ideal look for second-day hair because it focuses on the top section where oils tend to accumulate.
Achieving the Balance
The secret is to gather only the top third of your hair. Secure it in a small bun, and then take a few strands from the sides of your face to leave loose. This keeps the look intentional and soft, rather than looking like you just pulled your hair up in a hurry to keep it out of your eyes while you clean the house.
Elevating the Look
Use a stylish clip or a decorative hair pin to secure the knot instead of a standard elastic. It shifts the style from “casual gym wear” to “put-together brunch look” in five seconds flat.
15. Cold Water Rinsing
It sounds miserable, especially in the winter, but a blast of cold water as the final step in your shower routine does wonders for hair shine. The cold water helps to seal the cuticle of the hair, making it lie flat and reflect light more effectively. It’s the easiest way to get that “glass hair” finish without needing a specialized shine serum.
How Cold Is Cold Enough?
You don’t need to turn your shower into an ice bath. Even just turning the temperature down for the final thirty seconds of your rinse is enough to trigger the effect. It’s a small, manageable change that yields visible results in the overall luster of your hair.
The Health Benefit
By sealing the cuticle, you are also helping to trap moisture inside the hair shaft, which keeps it hydrated throughout the day. This is particularly beneficial if you live in a dry environment where moisture is easily leached from your hair.
16. The Overnight Bun for Straight Hair
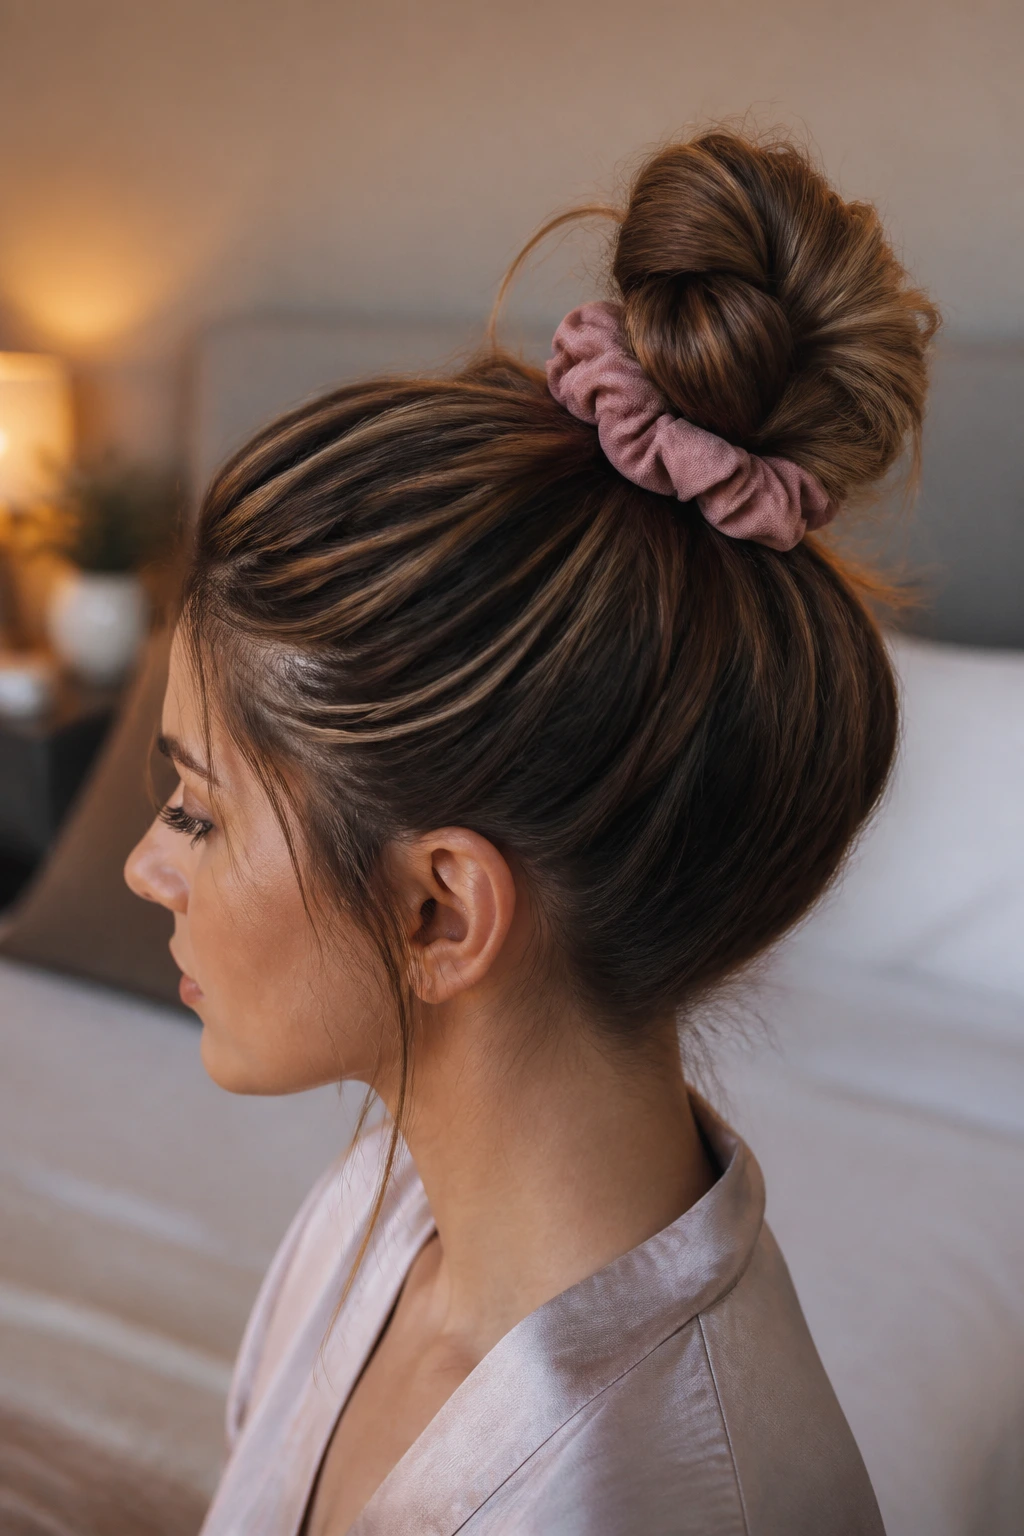
If you wake up with straight, fine hair that lacks body, put it into a very loose, high bun (the “pineapple” method) before bed. Use a soft fabric scrunchie, not a tight elastic, to hold it in place. By keeping the hair lifted off the scalp while you sleep, you prevent it from being compressed, meaning you wake up with significantly more root volume.
Why Tight Elastics Are the Enemy
A tight elastic leaves a crease and restricts blood flow at the roots. A fabric scrunchie, however, provides just enough hold to keep the hair in place without leaving a permanent dent. You’ll find that when you let your hair down in the morning, it has a natural, airy quality that stays for several hours.
The Added Benefit
This also helps keep the hair away from your face while you sleep, which is helpful if you have oily skin, as it prevents the oils from your face from transferring to your hair throughout the night.
17. Using Hair Oil on the Ends Only
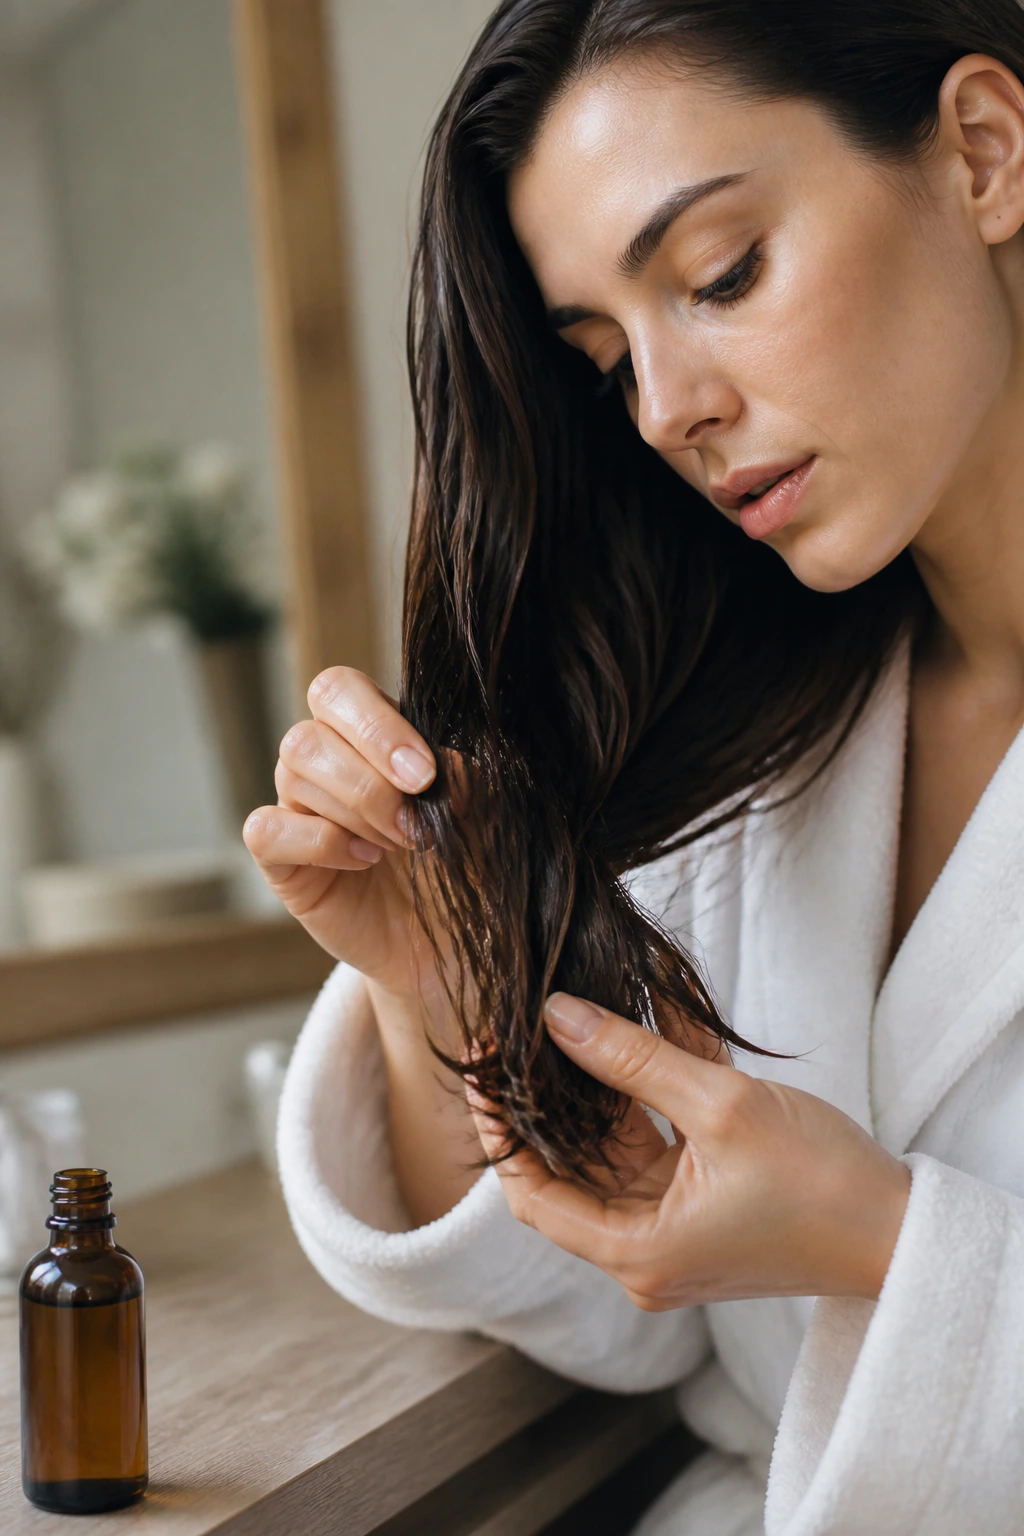
We often make the mistake of using hair oil all over, which leads to a greasy finish that looks like you haven’t washed your hair in a week. Hair oil is a tool for the ends, where the hair is oldest, driest, and most prone to splitting. It is rarely, if ever, needed at the roots.
The “Two-Inch” Rule
Apply your oil starting at the very tips and working your way up no more than two inches. If you have any residue left on your hands after that, wipe it on your palms, not your hair. This ensures that you get the conditioning benefits of the oil without sacrificing the volume or lightness of the hair near your scalp.
Choosing the Right Oil
- For fine hair: Look for lightweight oils like jojoba or almond oil.
- For thick or coarse hair: Heavier oils like argan or coconut oil are better at controlling frizz and adding the necessary moisture.
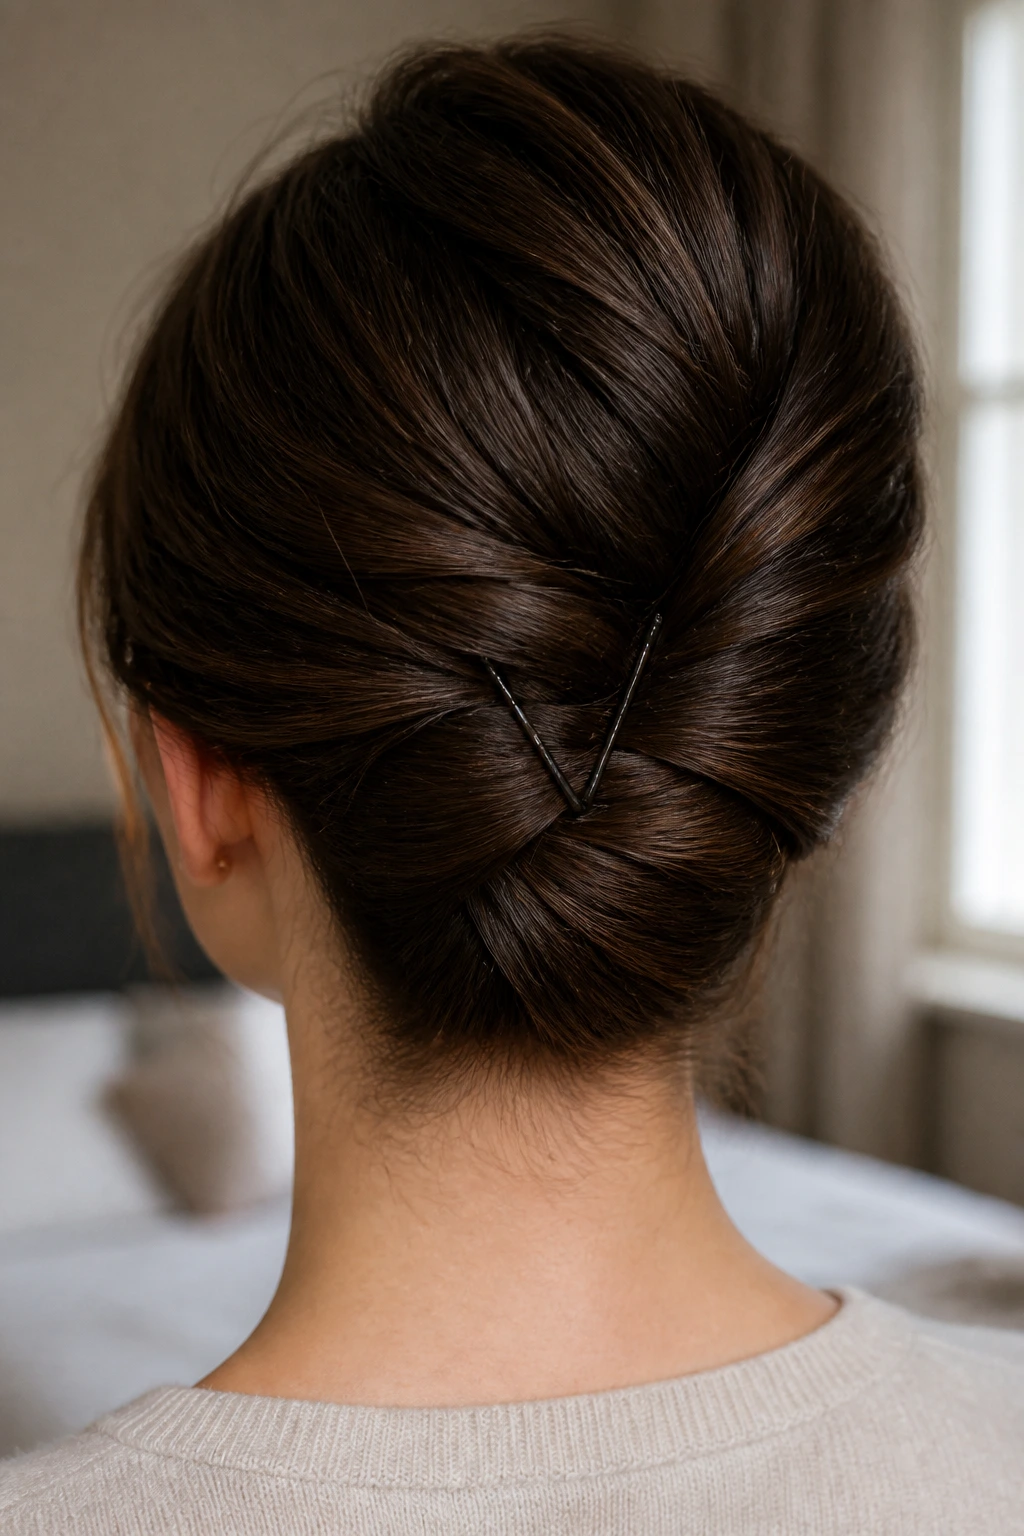
18. The “Twist and Tuck” Updo
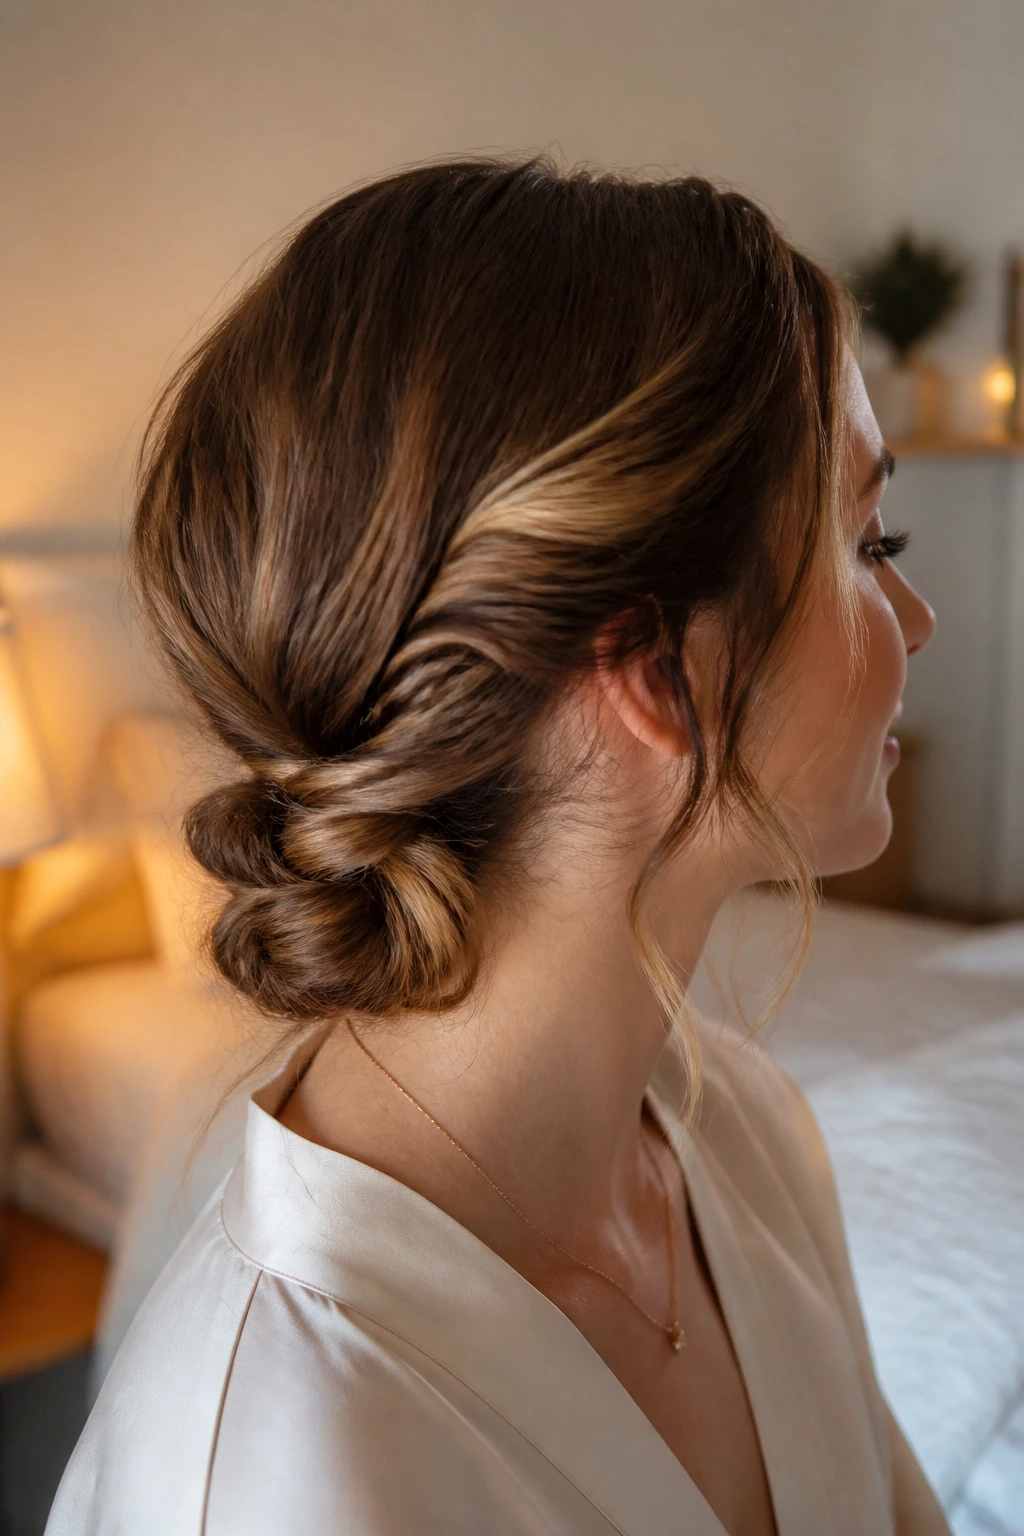
For those days when your hair is simply not cooperating, the “twist and tuck” is the ultimate savior. Simply gather your hair into a low, loose ponytail, twist it into a rope, and then tuck the end back into the base of the hair at the nape of your neck, securing it with a few pins.
Why This Looks Sophisticated
This style looks deceptively like a complex French twist, yet it takes less than a minute to execute. It pulls the hair away from the face, which is universally flattering, and it’s a great way to hide split ends or dry, unstyled hair on a busy morning.
Making It Your Own
You can customize this by leaving a few pieces loose around your temples, or by adding a decorative headband. Because the technique is so simple, it acts as a blank canvas for accessories. It’s the kind of hairstyle that says, “I have my day under control,” even if you’re actually just running five minutes behind.
The Bottom Line

At the end of the day, having a great hairstyle isn’t about owning the most expensive products or having a degree in cosmetology. It is about understanding the basics of how your hair reacts to moisture, friction, and heat. By incorporating these small, simple hacks into your routine, you’ll find that your hair starts to look better naturally. The goal is to spend less time fighting with your hair and more time enjoying it—and once you get these basics down, that transition becomes almost effortless.