



Imagine the alarm going off at 6:30 AM. You have exactly forty minutes to get dressed, eat something resembling breakfast, pack your bag, and somehow make your hair look presentable before the bus arrives or first period begins. For years, the standard solution was either a hasty ponytail or a frantic session with a flat iron that left your ends smelling singed. But there is a better way. Enter the world of custom wig making for school days—a strategy that saves your natural hair from daily heat damage while giving you an extra thirty minutes of sleep every single morning.
The beauty of a school-friendly wig lies in its construction. These are not the heavy, suffocating theater wigs of the past, nor are they the high-maintenance, glue-dependent units that require an hour of melting and styling before you can step outside. The perfect school wig is light, secure, budget-friendly, and completely glueless. You want something you can slip on in under sixty seconds, secure with a quick snap or band, and wear through gym class, lunch, and after-school study groups without a single worry about sliding or shifting.
Making your own wig might sound like a project reserved for professional stylists, but it is actually highly accessible once you learn a few basic stitching techniques. By controlling the cap style, the hair density, and the security features, you can build a collection of units that look incredibly realistic under the harsh, unflattering fluorescent lights of a high school or college classroom. Let us look at twenty practical, step-by-step methods and styling concepts to create the ultimate weekday hair rotation.
1. Glueless Headband Wig Construction
Stitching your own headband wig is one of the fastest entry points into home wig making. This construction relies on a breathable dome cap and a thick, comfortable elastic band sewn directly to the front perimeter, eliminating the need for lace cutting or hairline plucking.
Why the Headband Wig Wins the Morning Rush
This style bypasses the most difficult part of wig wearing: the hairline. Because a built-in fabric headband sits at your natural hairline, you do not have to worry about matching lace to your skin tone or styling baby hairs when you are half-awake.
Essential Supplies for Construction
- A stretch-mesh dome cap that matches your head size
- Two bundles of synthetic or human hair wefts (12 to 14 inches works best for school)
- A 3-inch wide black elastic headband or athletic band
- Heavy-duty nylon thread and a curved C-shaped sewing needle
- Two small wig combs for internal security
Pro tip: Sew the elastic headband with a slight tension so it grips your head firmly, but avoid pulling it too tight while stitching, which can cause headaches during a six-hour school day.
2. The Half-Wig on a Dome Cap
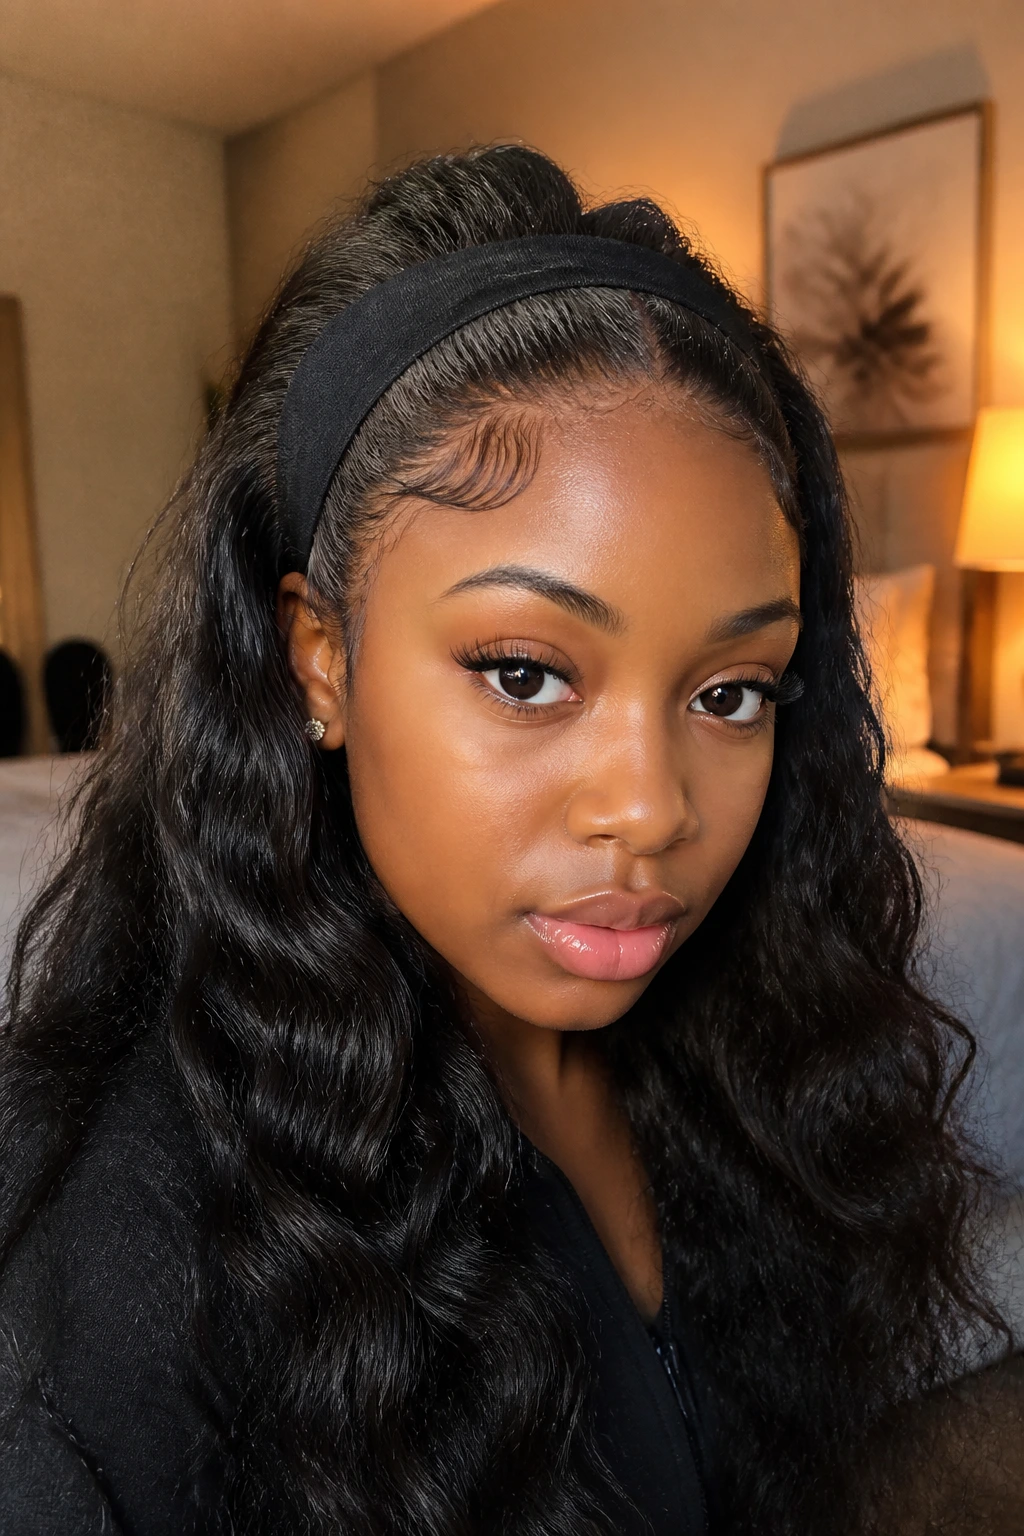
You do not always need a full coverage unit to look put together. A custom half-wig allows you to leave the front section of your natural hair out to blend seamlessly with the added wefts, giving you a highly realistic parting space with minimal effort.
This construction requires a specialized cap or a standard dome cap that you carefully cut back. The secret to a flawless half-wig is matching the texture of the extensions to your natural hair. If you have coily hair, choose coily bundles; if your hair is naturally straight, opt for matching straight or lightly textured wefts. When you make this unit on a dome cap, you sew the wefts in a U-shape, stopping about two inches behind where your natural hairline starts.
To wear it, you simply braid or slick down the back of your natural hair, slide the front comb of the half-wig into place just behind your hairline, and blend your natural front leave-out over the edge. It takes less than two minutes to install, and because your actual scalp is showing at the front, no one will ever guess you are wearing a wig.
3. Crochet Braided Wig with Pre-Loop Twists
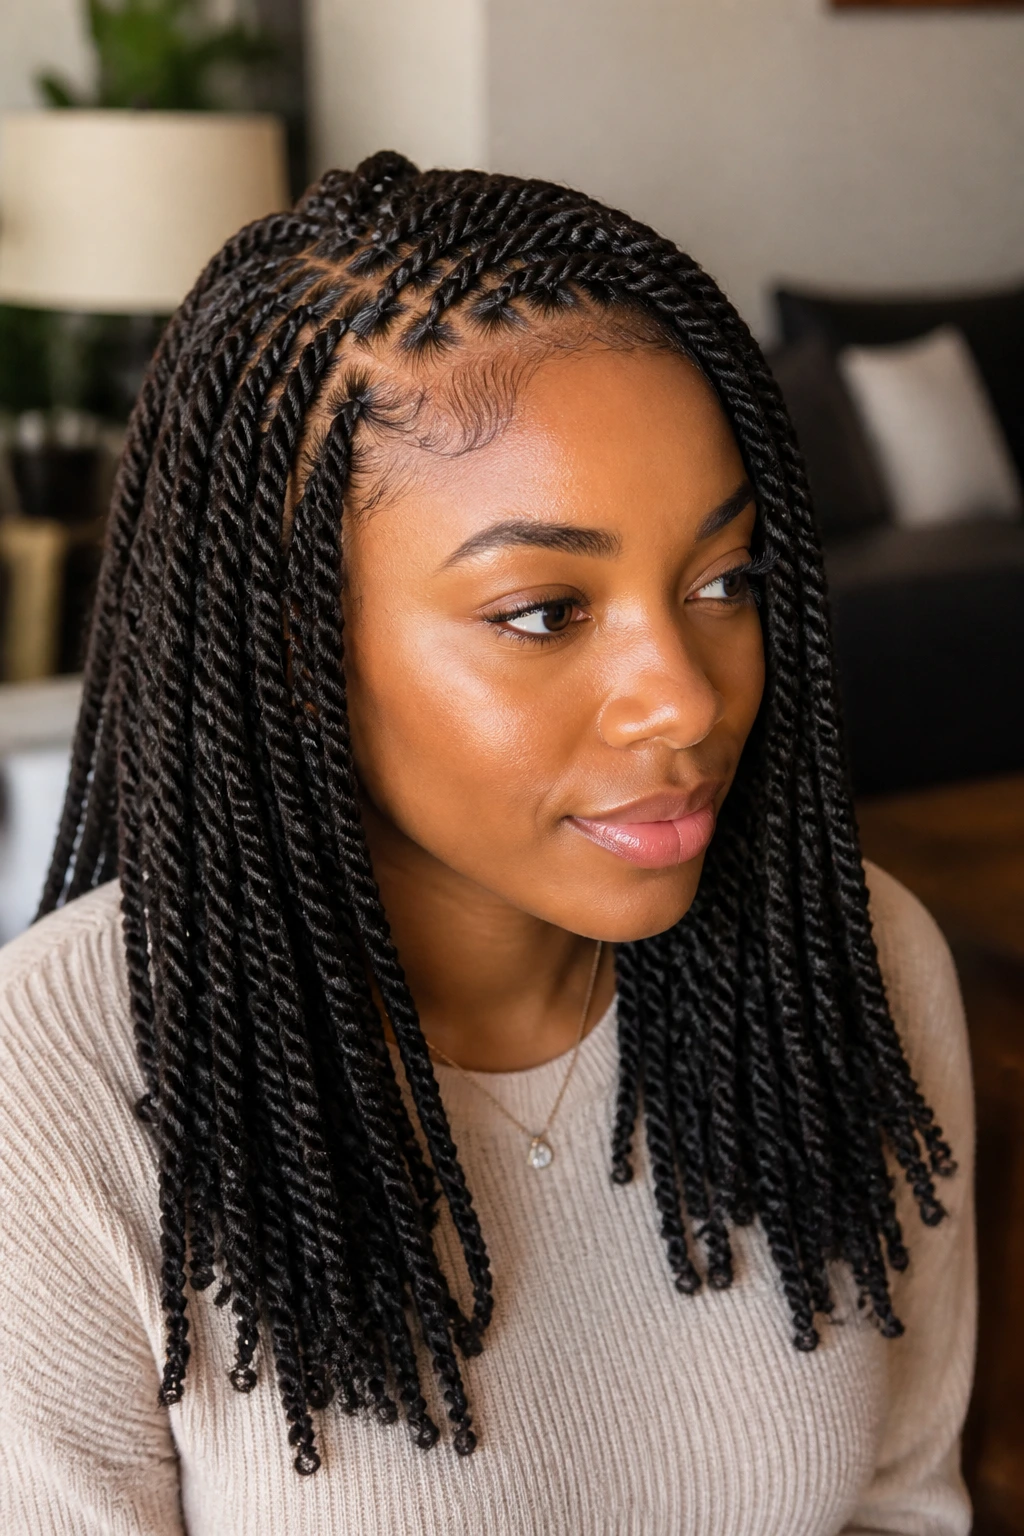
If you love the look of protective braids but hate sitting in a salon chair for six hours on a Sunday, a crochet wig is your ultimate loophole. It allows you to create a beautiful, textured braided style on a removable cap that you can wear all semester long.
How do you build a wig that looks like a fresh set of individual braids? You start with a specialized crochet wig cap, which features pre-made cornrow-like tracks made of sturdy mesh or cotton cord. Using a latch hook, you loop pre-braided or pre-twisted synthetic hair through these tracks, spacing them closely at the crown to hide the cap underneath.
Creating a Realistic Parting on a Crochet Unit
- Space your crochet loops about half an inch apart on the back and sides of the cap to keep the unit lightweight.
- Group the loops much closer together near the parting line to ensure the cap material is completely hidden.
- Use the “invisible knot” or “no-knot” crochet method along the part to make the twists look like they are growing straight from your scalp.
4. Machine-Sewn Bob with Blunt Cut Closure
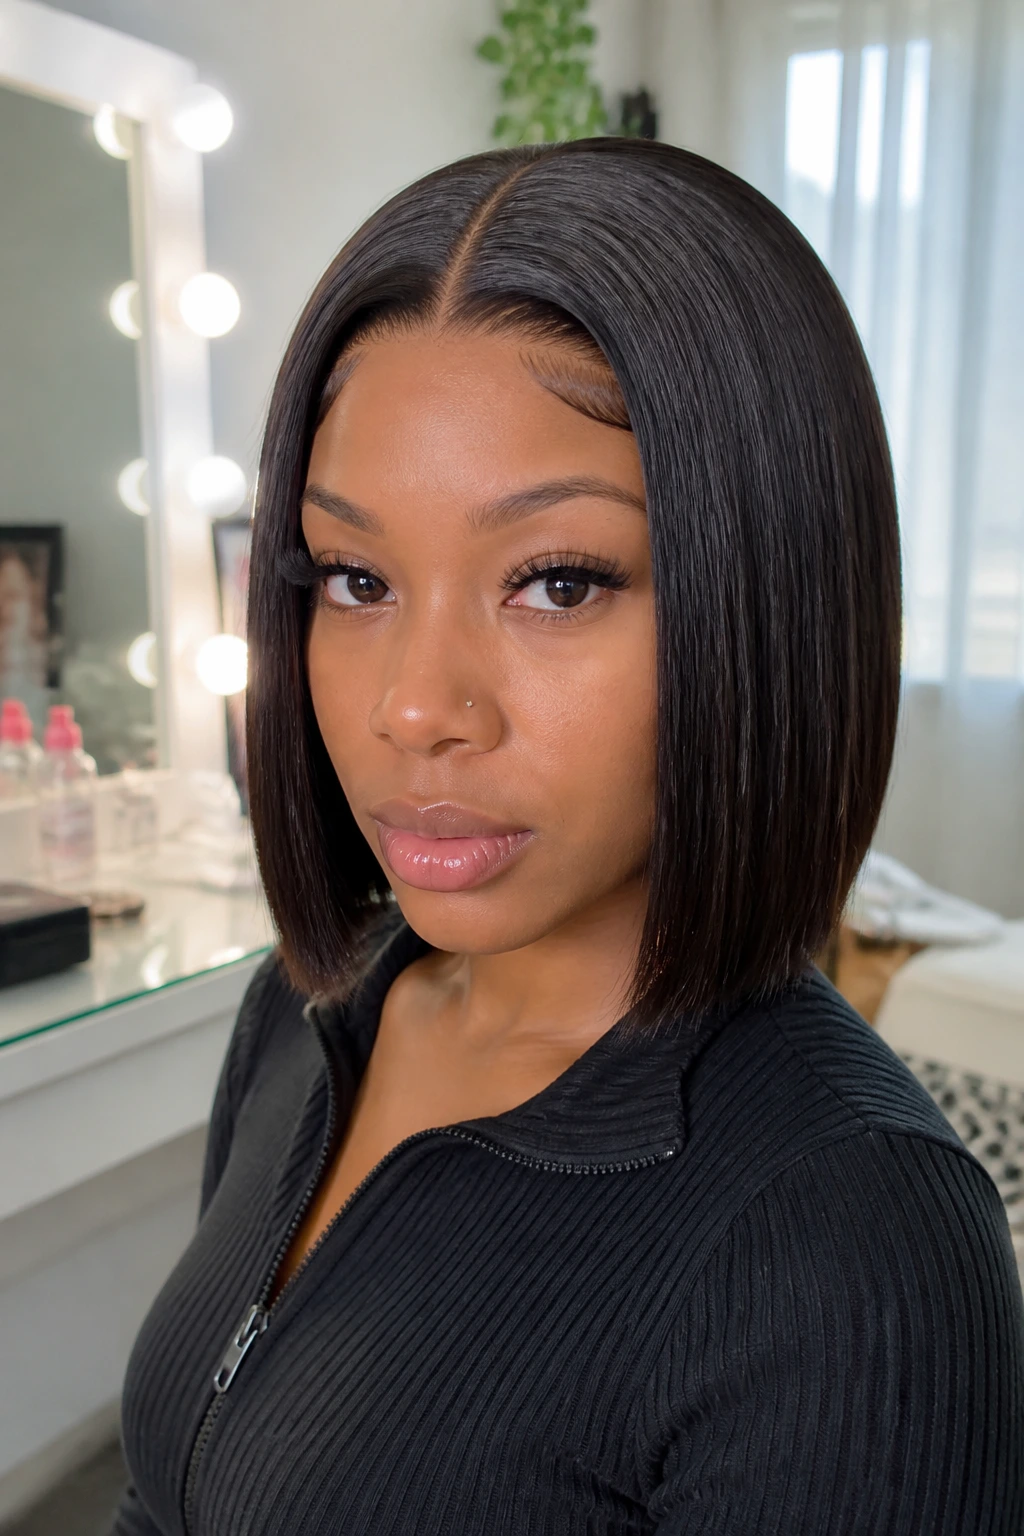
A sleek, short bob is the classic low-maintenance school style. It does not rub against your collar, it does not tangle during gym class, and it stays looking neat from homeroom to the final bell.
For years, I struggled with hand-sewing wigs because the thread would eventually loosen after a few washes. That was until I tried using a domestic sewing machine. By placing your wig cap over a plastic block and drawing your guidelines with chalk, you can feed the cap and the wefts directly through a standard zig-zag stitch on your machine, creating an incredibly durable bond.
- The machine stitch locks the wefts down so securely that you can cut the tracks without worrying about shedding.
- A 4×4 lace closure at the top gives you a simple, natural-looking middle part that requires zero daily styling.
- The blunt cut bob shape requires minimal brushing and stays looking fresh even if you throw it in your backpack over the weekend.
The result is a uniform, professional-grade unit that holds up to repeated washing and conditioning throughout the school year.
5. Hand-Tied U-Part Wig with Leave-Out
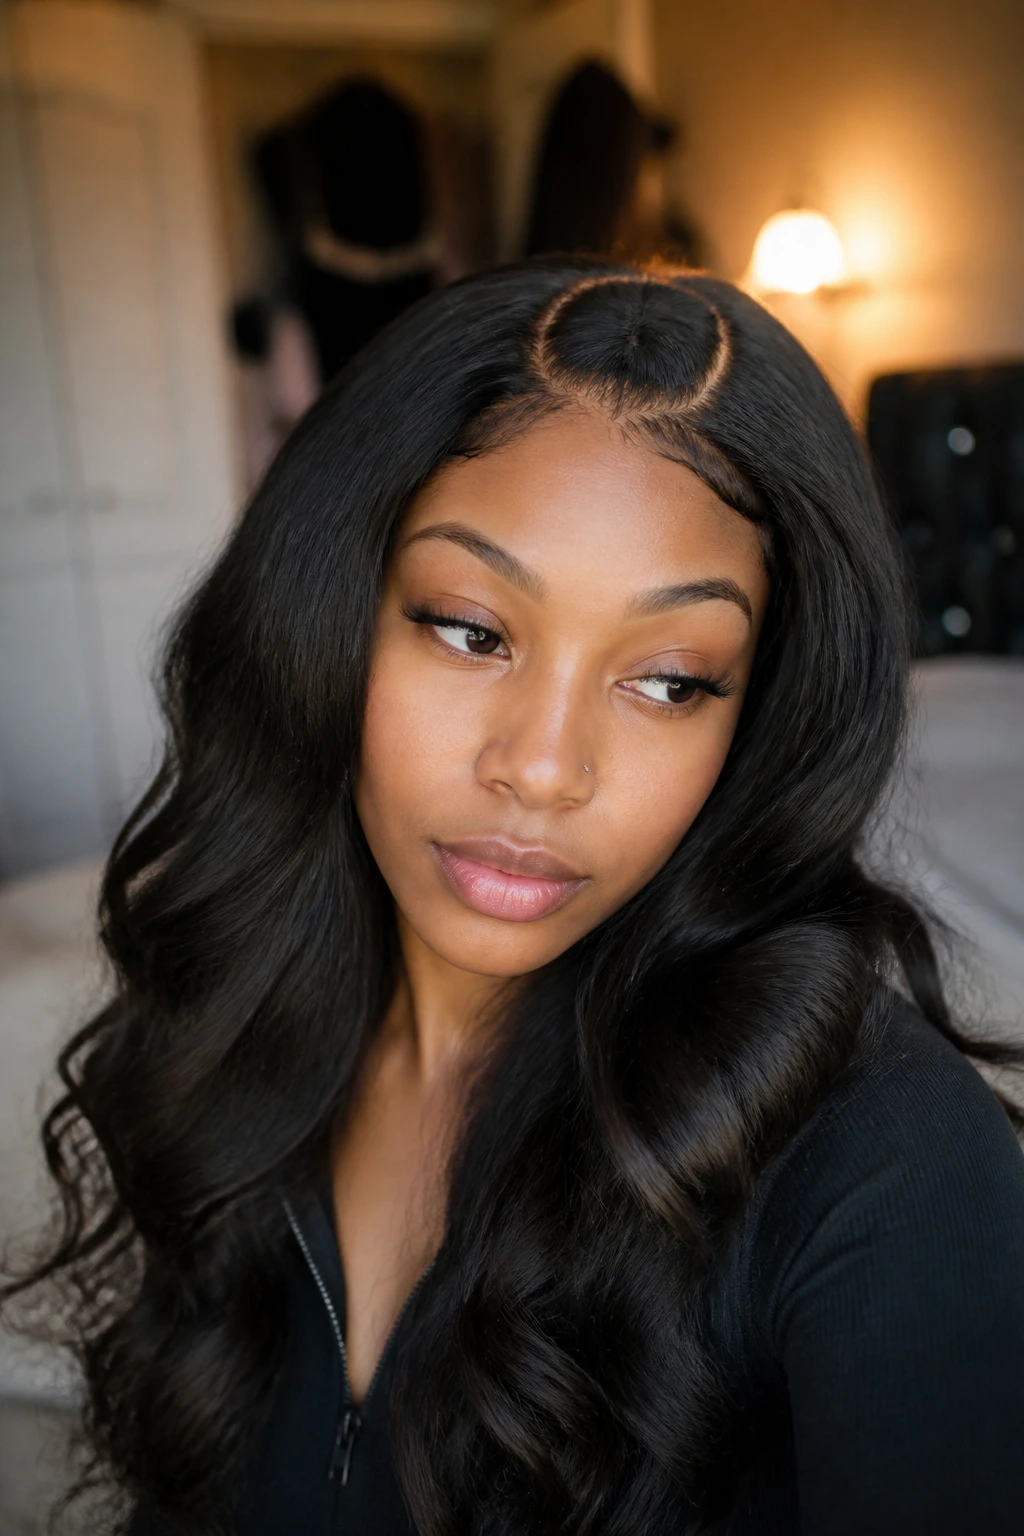
For those who prefer a more traditional approach, the hand-tied U-part wig remains a staple. This method uses a classic spandex cap with a U-shaped opening cut out at the top, allowing your real hair to be parted and blended over the tracks.
To make this, you must sew your tracks in a continuous, curved pattern around the U-part opening. Always sew a double-fold stitch at the corners of the U-shape to reinforce the area that experiences the most tension during daily wear.
Use a sturdy nylon thread that matches the color of your cap. When you reach the edge of the U-part, fold the weft over neatly rather than cutting it; this simple trick prevents shedding and keeps the hair thick right up to the parting line.
Once the sewing is complete, sew two small wig clips on either side of the U-opening. These clips will anchor the wig to your natural braids underneath, keeping the unit completely flat and secure even if you are running late for class.
6. Elastic Band Method for Lace Frontals
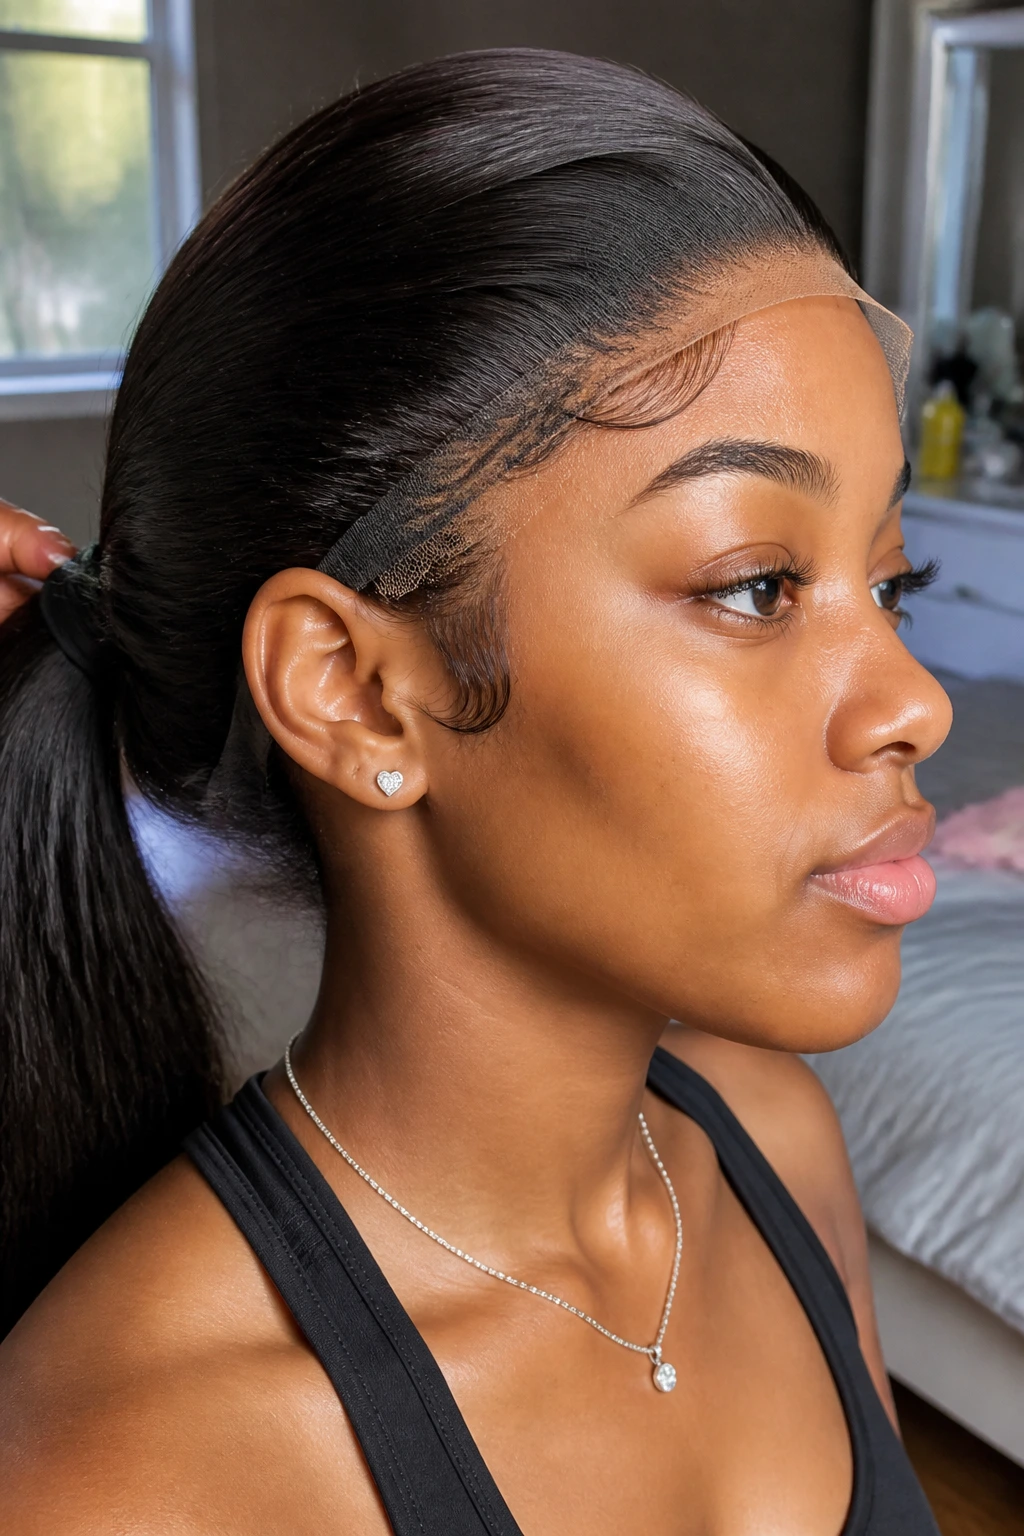
Lace frontals offer the most realistic hairline, but daily gluing is a recipe for damaged edges and clogged pores. The elastic band method turns a standard lace frontal wig into a completely glueless daily unit.
Instead of applying liquid adhesive or freeze spray every morning, you sew a thick, adjustable elastic band from ear to ear across the back of the wig cap. This band acts as an anchor, pulling the frontal flat against your forehead with tension rather than glue.
| Feature | Glued Frontal | Elastic Band Glueless |
|---|---|---|
| Application Time | 15 – 20 minutes | Under 60 seconds |
| Edge Health | Risk of friction and thinning | Completely safe for hairline |
| Longevity | Lifts with sweat or rain | Stays secure through physical activity |
| Daily Removal | Requires solvent/alcohol | Slips off easily at bedtime |
For busy students, the choice is obvious. The glueless elastic band method gives you the aesthetic of a melted frontal without any of the sticky, time-consuming mess.
7. Synthetic Wet-and-Wavy Bundle Assembly
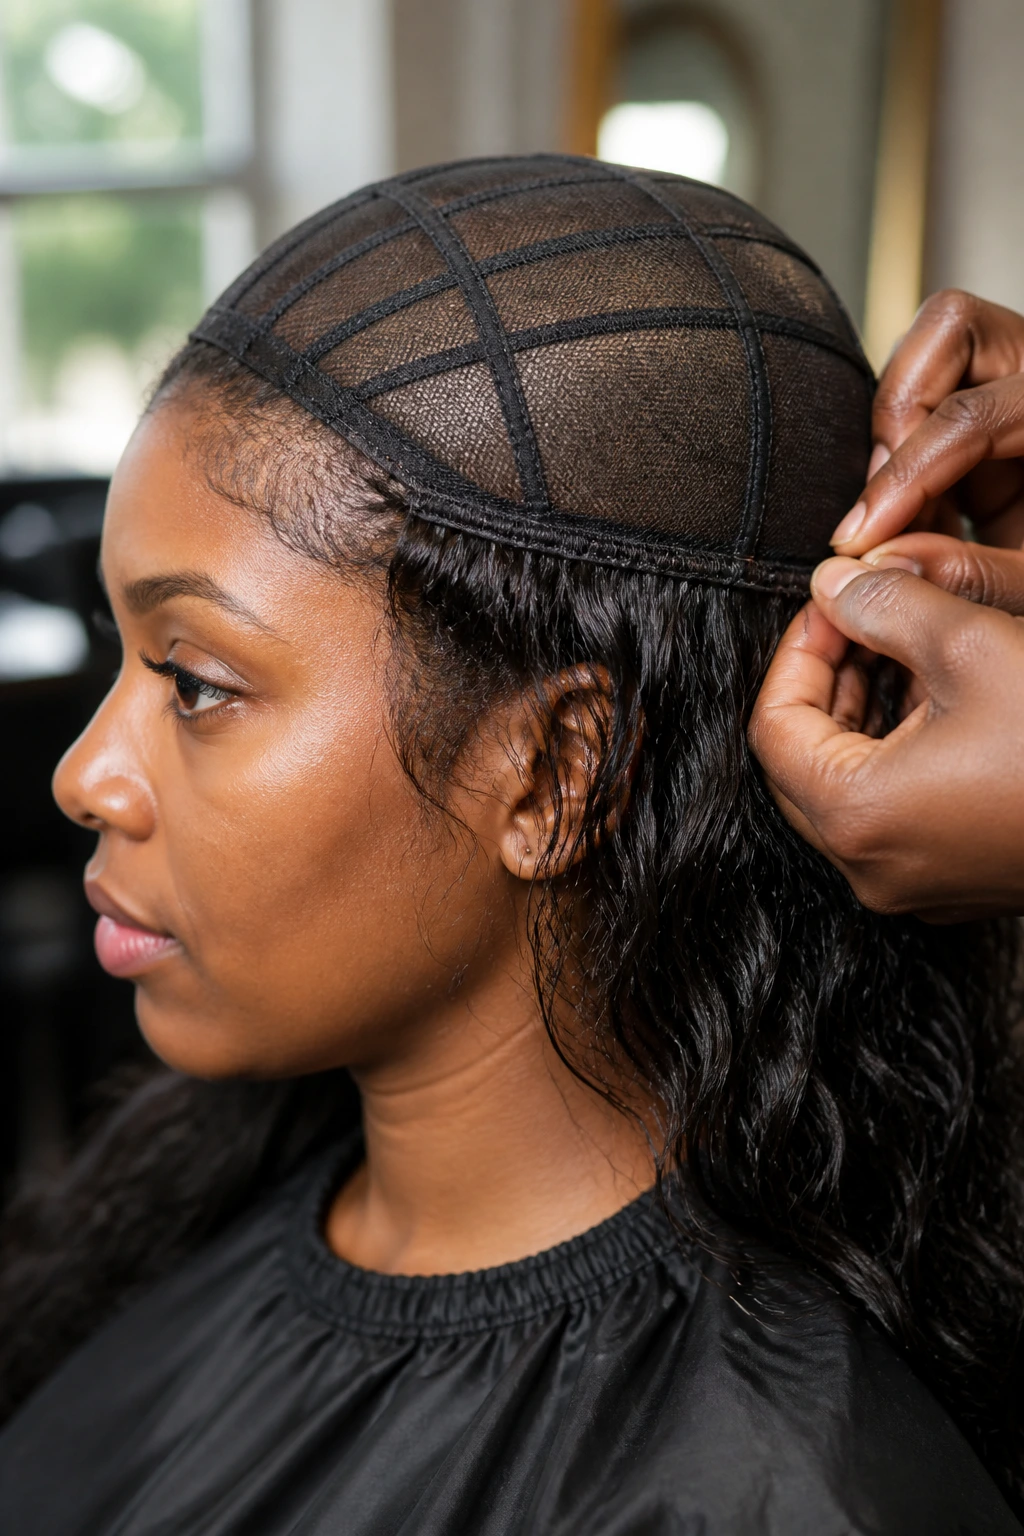
You do not need to spend hundreds of dollars on raw human hair to get a gorgeous daily wig. High-quality synthetic wet-and-vavy bundles offer an incredibly affordable, low-maintenance alternative that actually holds its style better than human hair in humid weather.
Why Synthetic Curly Hair is Built for School
Synthetic fibers have a “style memory.” This means that once the curls are baked into the fiber during manufacturing, they will pop back into shape after every wash, requiring zero curling irons or rollers from you.
Step-by-Step Construction Guide
- Secure a mesh cap to a canvas head block using T-pins.
- Sew your wet-and-wavy synthetic wefts starting at the nape of the neck, keeping the rows about an inch apart.
- Use a T-part closure at the top to give the illusion of a natural scalp parting.
- Mist the finished wig with a mixture of water and fabric softener to keep the synthetic fibers soft and static-free.
Pro tip: Never use heavy oils or grease on synthetic hair; it will only weigh the fibers down and make them look unnaturally shiny under school lights.
8. The Drawstring Ponytail Wig Hybrid
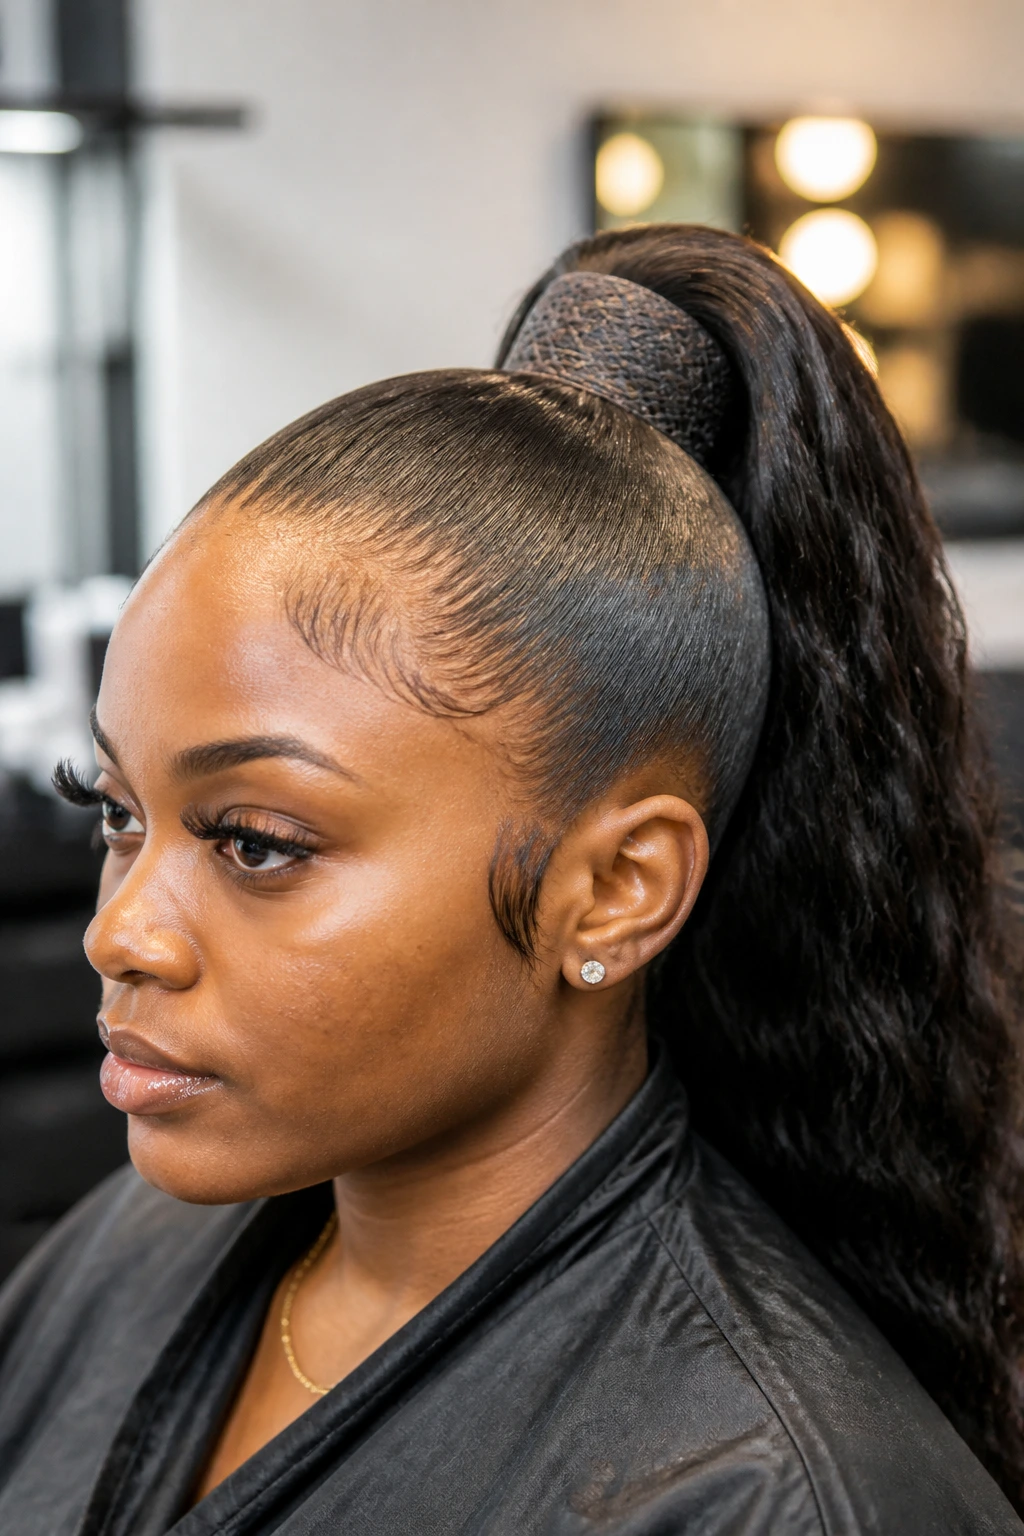
Sometimes you want your hair completely off your neck, especially during warmer months or heavy study sessions. A drawstring ponytail wig hybrid gives you the high-puff or sleek ponytail look with zero strain on your natural scalp.
This unit is built on a small, circular mesh netting rather than a full cap. You sew curly or textured wefts in concentric circles around the netting, starting from the outer edge and working your way to the very center.
Once the wefts are secured, you thread a sturdy nylon drawstring cord through the perimeter of the net, attaching a plastic toggle stopper at the end.
To wear it, you simply slick your natural hair back into a small, tight bun, place the circular net over your bun, slide the internal combs in for security, and pull the drawstring tight. It takes less than a minute, keeps your neck cool, and looks incredibly polished and clean.
9. Glueless T-Part Lace Wig Customization
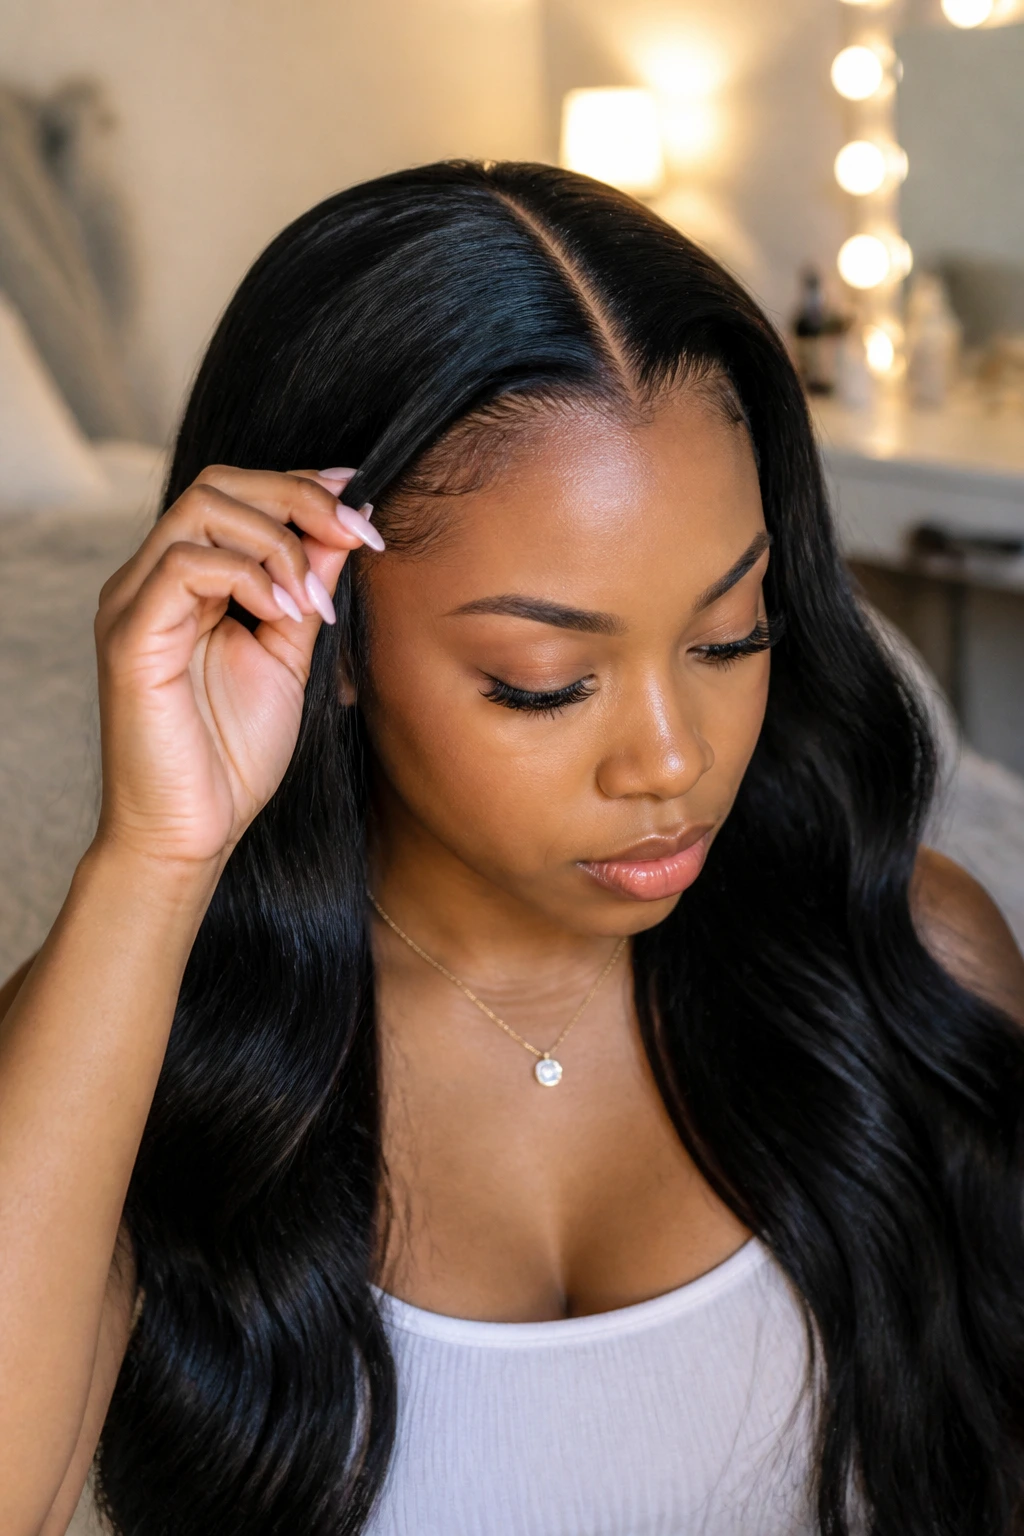
T-part wigs are incredibly popular because they are highly affordable, but they often arrive with a dense, unnatural parting space. With a little customization, you can turn a budget-friendly T-part into a premium-looking daily unit.
The first step is plucking the part. Use a pair of sharp slant-tip tweezers to carefully pluck individual hairs along the narrow lace parting line. Always pluck in the direction the hair is knotted to avoid tearing the delicate lace.
Next, apply a small amount of your favorite liquid concealer or foundation to the underside of the lace using a small, flat makeup brush. This simple step colors the lace to match your scalp tone perfectly, making the parting space look realistic even up close.
Finally, sew a silicone-lined grip band inside the cap. This band grips your skin or natural hair without sliding, ensuring your customized T-part stays perfectly centered throughout the day.
10. Hot Glue Gun Wig Construction for Quick Styles
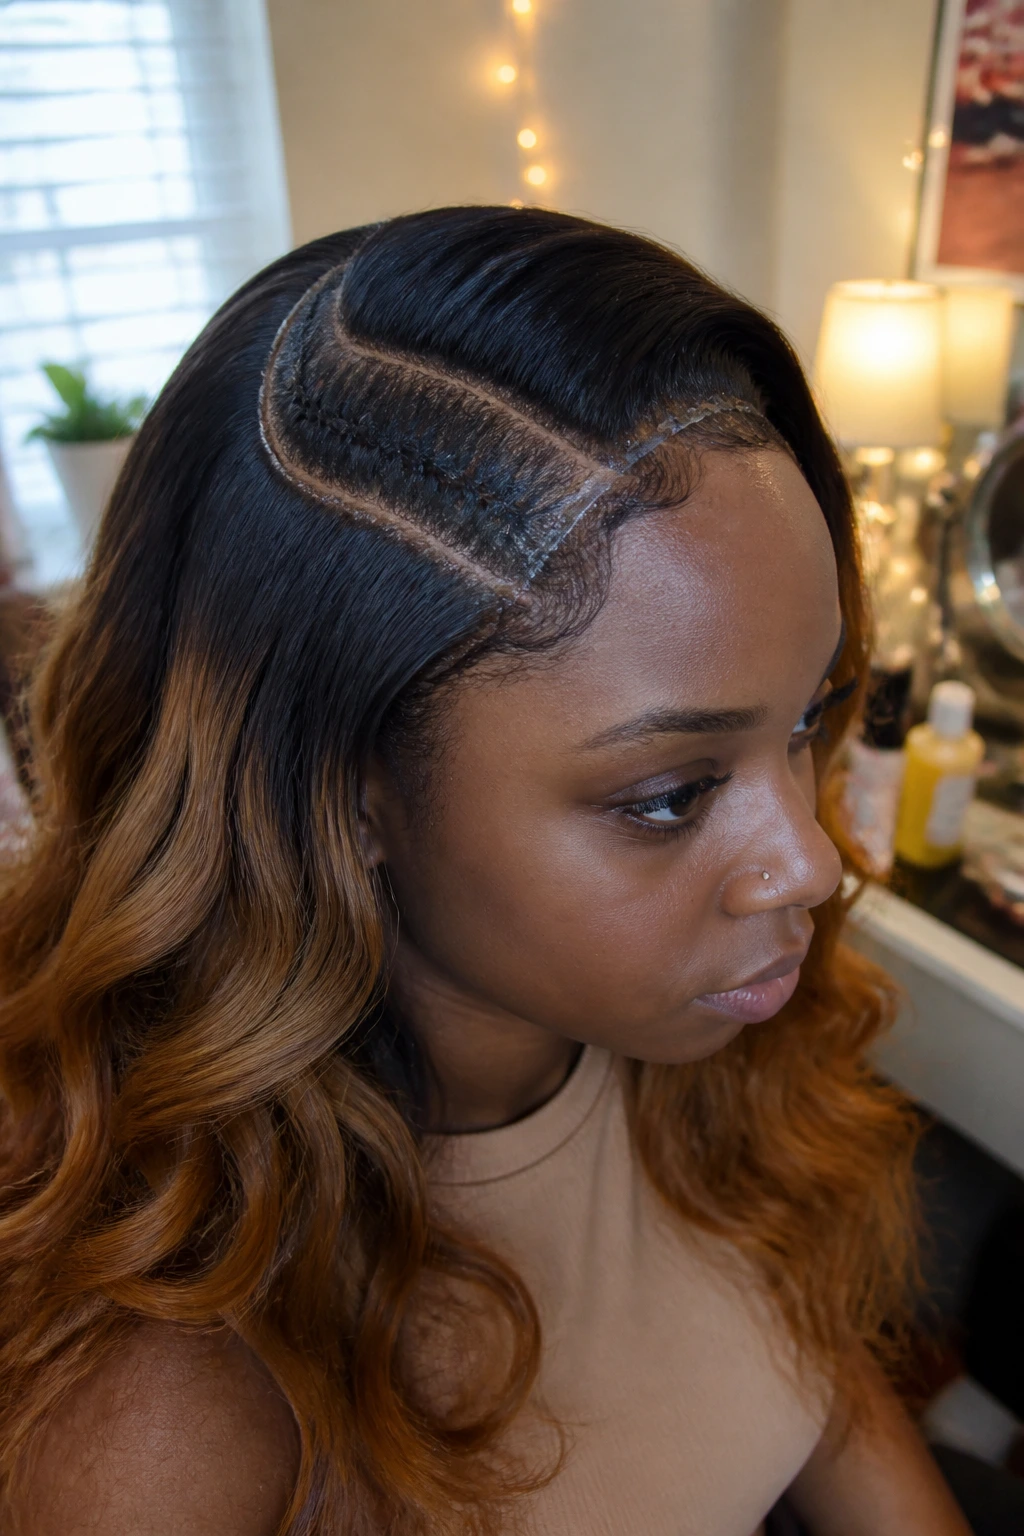
When you need a new wig made by tomorrow morning, hand-sewing is out of the question. The hot glue gun method is a favorite among DIY beauty enthusiasts for building sturdy, quick-turnaround wigs in under an hour.
I was skeptical about using hot glue on hair tracks at first. I assumed the heat would melt the wefts or that the glue would crack and fall apart after a week. But if you use high-quality, fabric-specific glue sticks and a dual-temperature glue gun set to “low,” the bond is surprisingly flexible and incredibly strong.
- Pin your wig cap securely to a canvas dome head.
- Apply a thin, even bead of hot glue directly to the track of your hair weft.
- Immediately press the wet track onto the cap, holding it firmly for five seconds to set.
- Continue wrapping the wefts in a circular pattern until you reach the crown.
This method is perfect for synthetic bundles or older human hair tracks that you want to repurpose into a quick, temporary style for a school event or presentation.
11. Low-Density Pixie Cut on a Mesh Cap
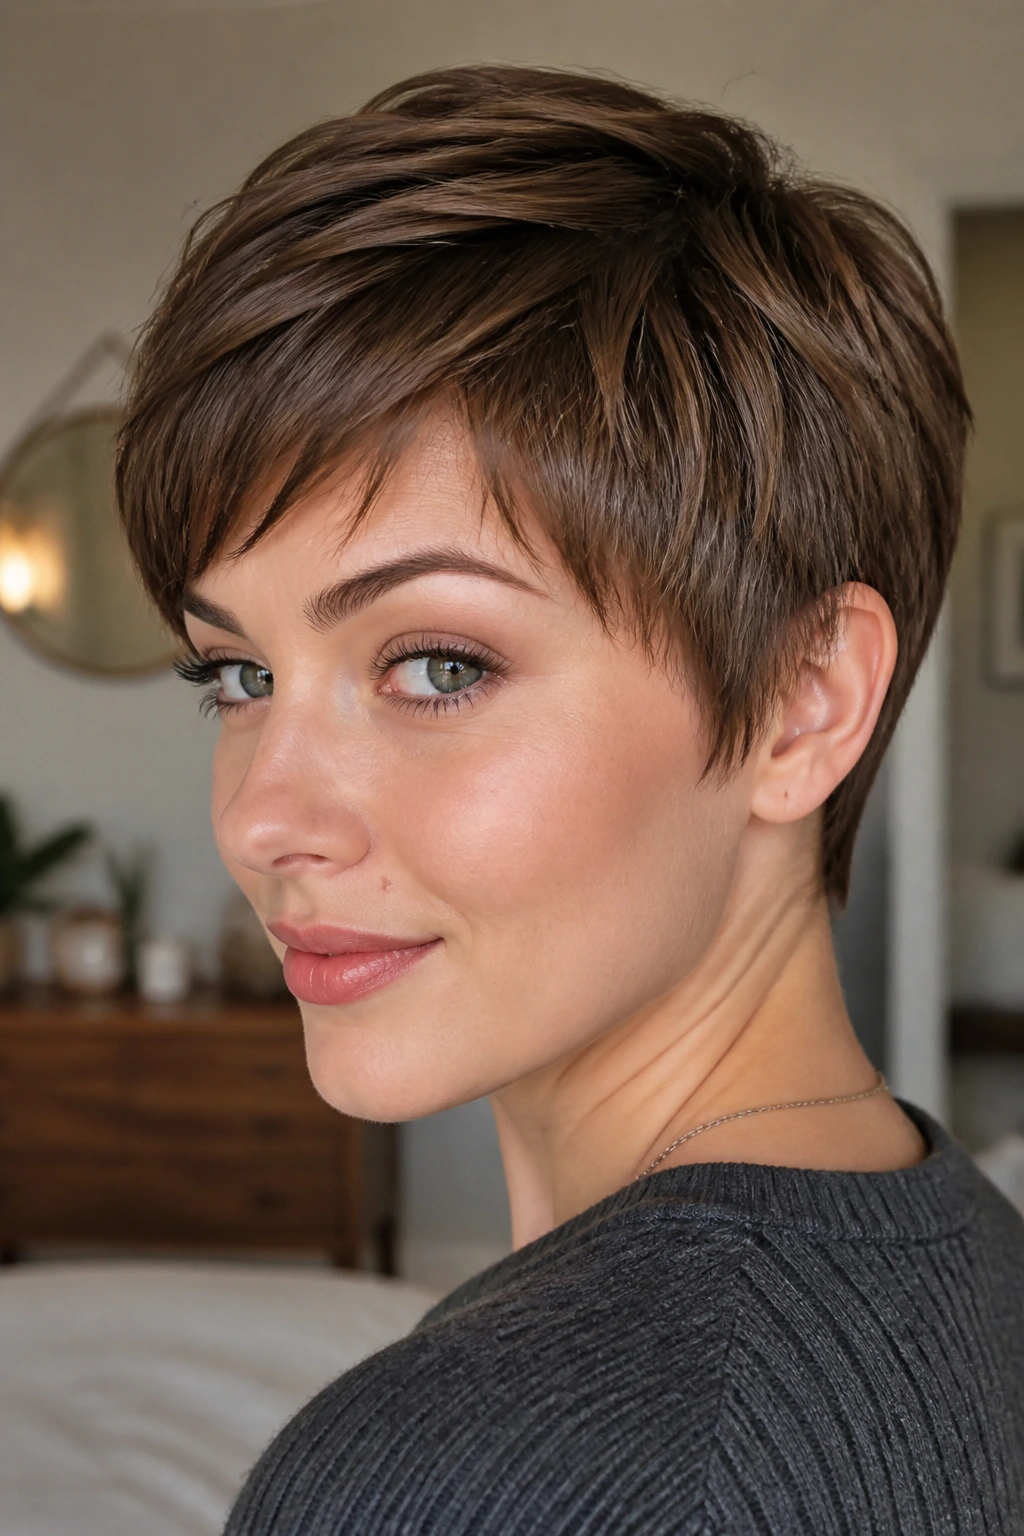
Heavy, thick wigs can feel hot and itchy when you are sitting in a crowded lecture hall. A low-density pixie cut wig is feather-light, keeps your neck cool, and requires absolutely zero daily styling beyond a quick shake-and-go.
To construct this style, you want to use a highly breathable, open-weft mesh cap. This type of cap allows maximum airflow to your scalp, which is essential if you are active on campus. Sew short, pre-curled human hair wefts closely together at the back, but space them out toward the top to keep the volume natural and flat to your head shape.
Because a pixie cut relies on its shape, you will want to customize the cut while the wig is on your head. Trim the sideburns and the back neckline to match your natural hairline, then use a razor comb to soften the layers around the face. The beauty of this unit is its effortless nature—you can slide it on, run some styling foam through it with your fingers, and step out the door looking chic and put together.
12. Clip-In V-Part Wig Construction
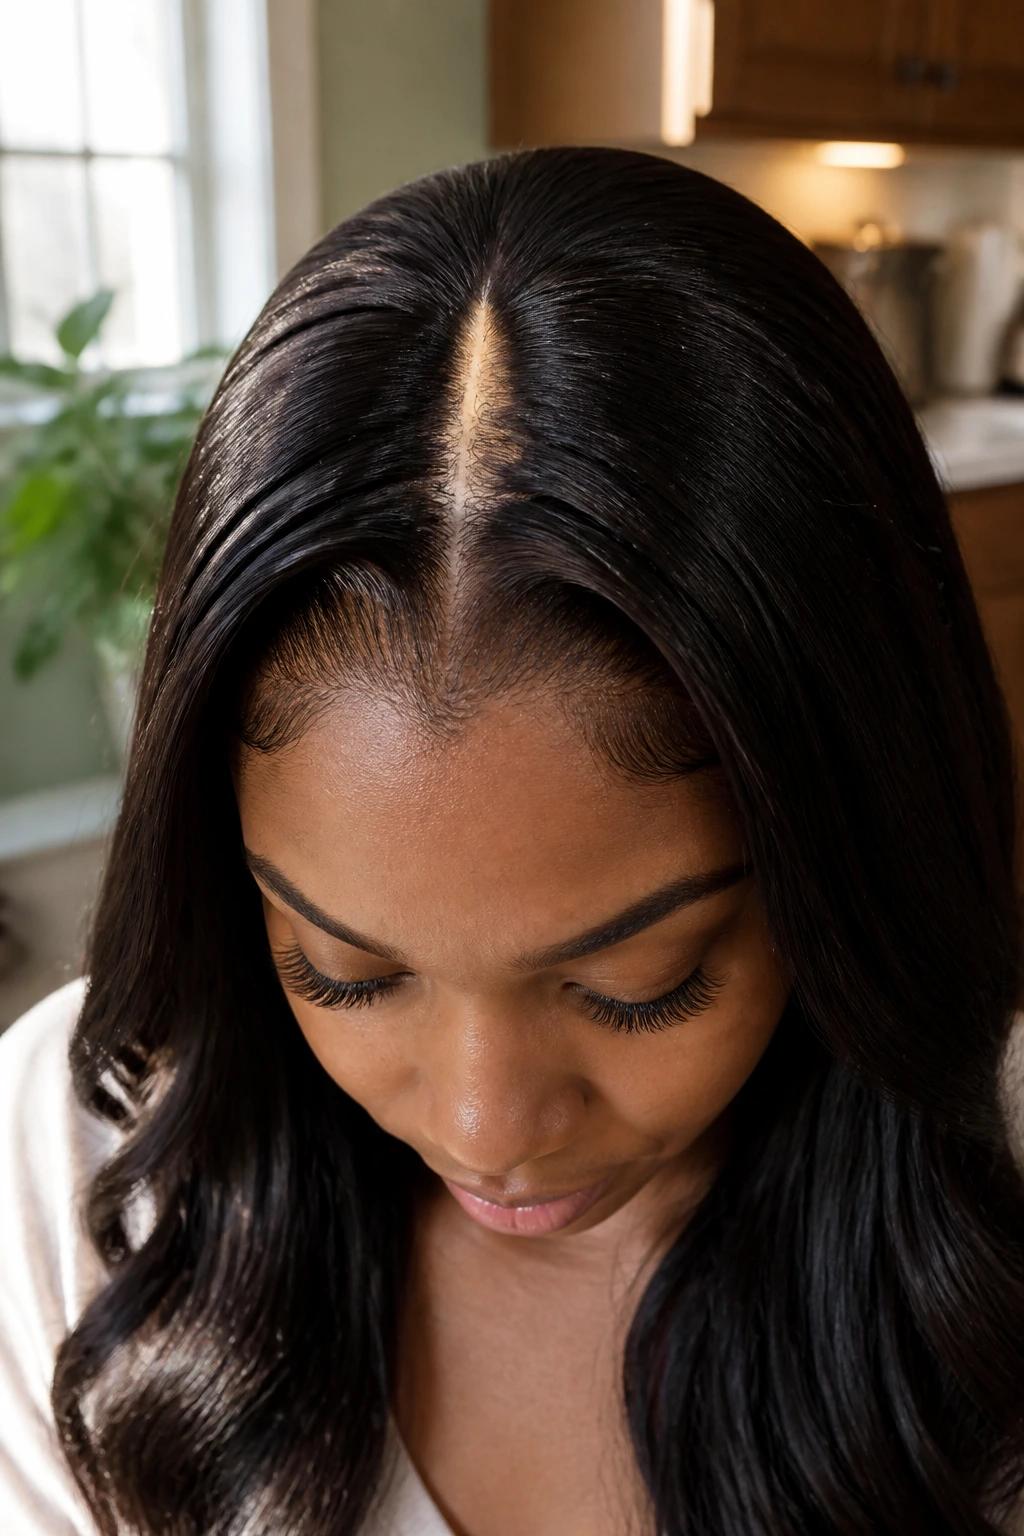
If you love the concept of a U-part wig but hate having to braid your hair down or leave a large section of hair out to cover the tracks, the V-part wig is your modern solution.
Unlike the wider U-shape, a V-part wig features a very narrow, sharp V-shaped opening at the top. This design requires almost zero leave-out—in many cases, you only need to pull a few strands of your natural part through the opening to completely hide the wig edge.
[Standard U-Part Cap]         [Modern V-Part Cap]
   /=============               /=============
  /  [  U-Part  ]              /      V /
 /   [  Leave-  ]             /      Part/
/____[   Out    ]___         /_________/________
(Requires more leave-out)    (Requires minimal leave-out)
To build this, you sew your wefts along the angled lines of the V-cutout. Sew tiny, silicone-backed snap clips right along the edge of the V-shape. When you put the wig on, these clips snap firmly into your natural hair, pulling the tracks incredibly flat to your scalp so there is no awkward hump or bump at the crown.
13. Pre-Plucked Bleached Knot Daily Wear Wig
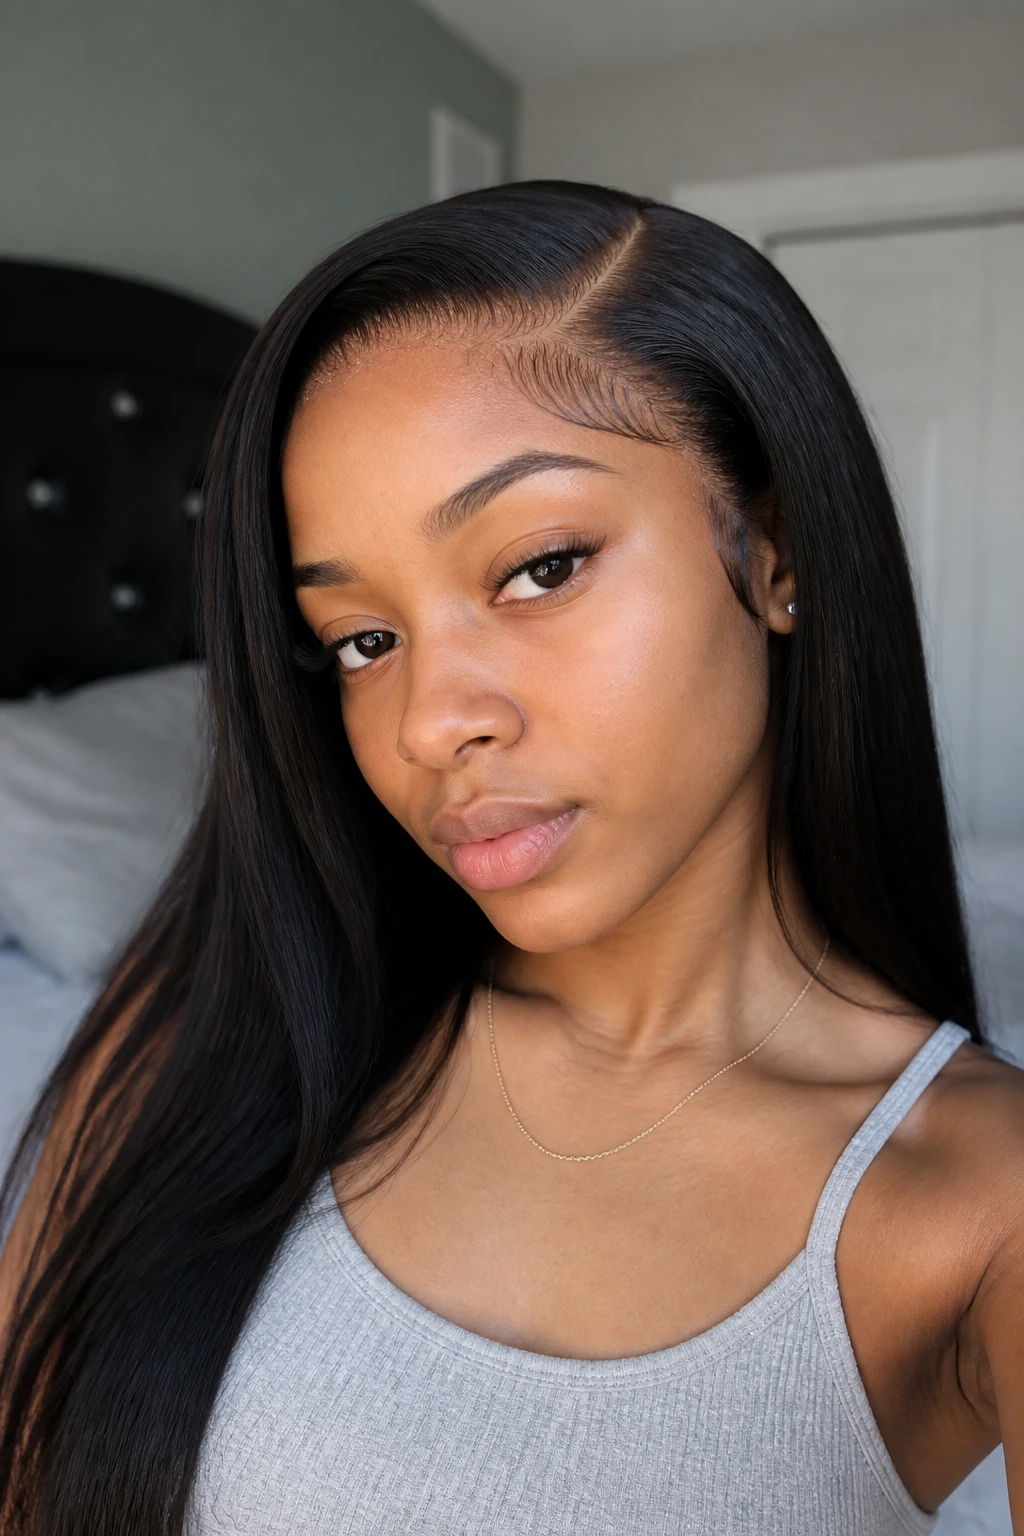
If you decide to invest in a human hair lace wig for school, the most important step happens before you ever put it on. Bleaching the knots on your lace closure or frontal is what makes the difference between a wig that looks like a hat and one that looks like your actual scalp.
Every single strand of hair on a lace unit is hand-tied through the mesh, leaving a tiny black knot at the base. To make these disappear, mix professional powder bleach with a 20-volume developer until it reaches the consistency of thick cake batter. If the bleach is too runny, it will seep through the lace and dye the hair roots, leaving you with patchy orange spots.
Carefully pat the bleach onto the underside of the lace, covering all the knots. Let it sit for fifteen to twenty minutes, checking it constantly, then rinse it thoroughly with a neutralizing shampoo. Follow up with a purple toning shampoo to remove any brassy tones. Once dry, the knots will be virtually invisible, giving you a clean, natural scalp look that can withstand any up-close conversation at school.
14. Wrap-Around Messy Bun Wig on a Claw Clip
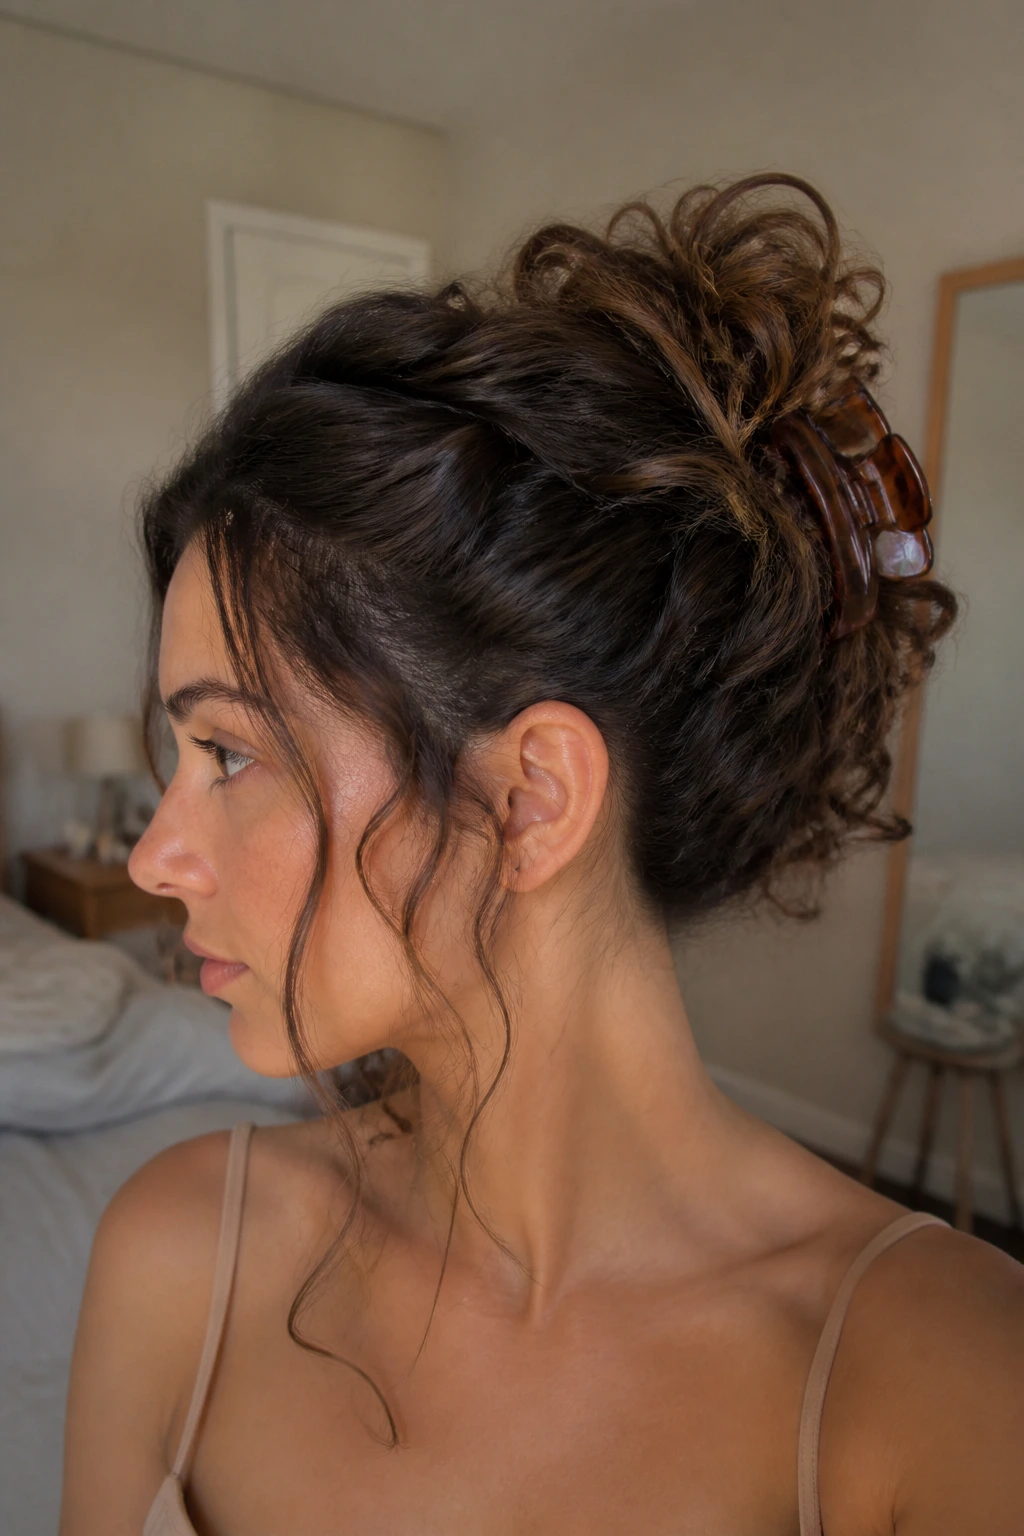
For those morning alarms you completely sleep through, you need an emergency option. A messy bun wig built onto a sturdy claw clip is the ultimate backup plan for bad hair days.
This is a fantastic way to recycle older, tangled synthetic curly wigs. Cut the wefts away from the old cap, wash them, and gather them into a thick, loose bundle.
Take a standard plastic claw clip that matches your hair color, and wrap the wefts around the base of the clip, securing them with heavy thread or hot glue.
To wear it, simply pull your natural hair back into a bun or a claw-clip twist, then snap your custom messy bun clip directly over it. Pull a few curls loose around your face to soften the look. It takes literally ten seconds, looks effortlessly stylish, and completely hides any grease or bedhead you did not have time to wash.
15. Chunky Box Braided Lace Wig Construction
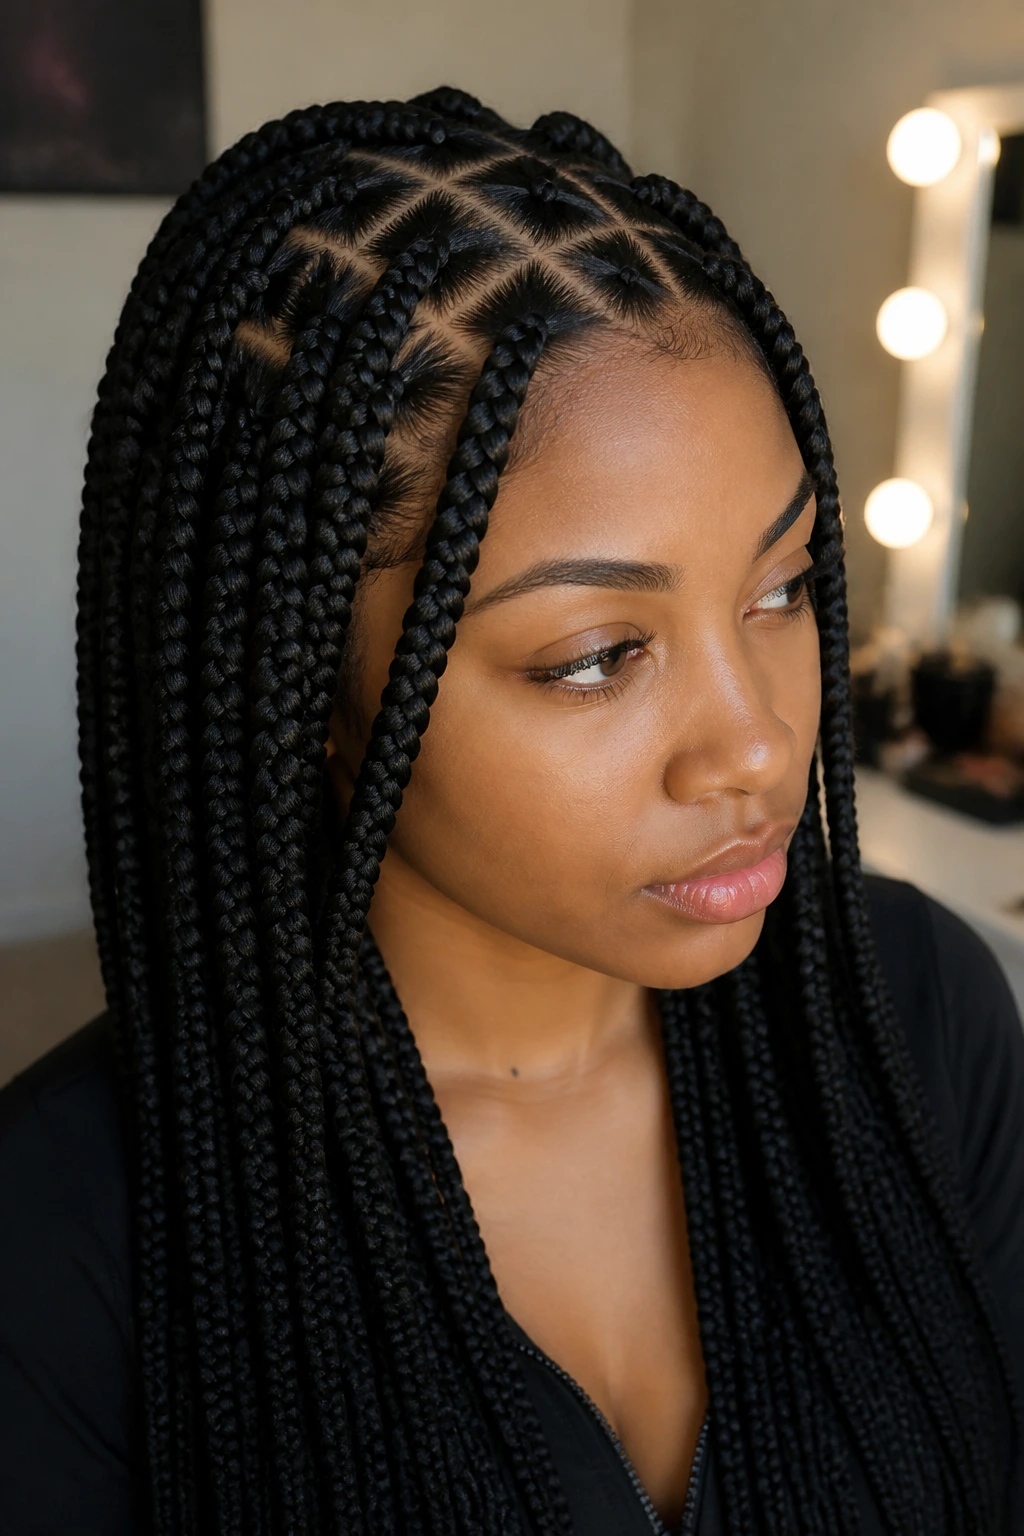
Braids are a beautiful, classic school style, but they can be heavy and pull on your delicate hairline. Building a box braided wig on a full-lace or lace-front cap gives you the look of individual braids without the tension or the scalp pain.
To make this, you will need a specialized lace wig cap and several packs of pre-stretched braiding hair. Place the cap on your canvas block and map out your grid pattern using a white eyeliner pencil. This keeps your parts neat and symmetrical.
- Use the knotless feed-in braiding method directly on the lace portion of the cap to make the braids lay flat.
- For the back of the cap (the non-lace portion), you can sew pre-braided crochets to save hours of hand-braiding.
- Dip the ends of the completed braids in boiling water to seal them and give them a smooth, professional finish.
Because the weight of the braids is distributed evenly across the cap rather than pulling on individual sections of your real hair, you can wear this style all day without any discomfort.
16. The Heat-Free Flexi-Rod Synthetic Wig
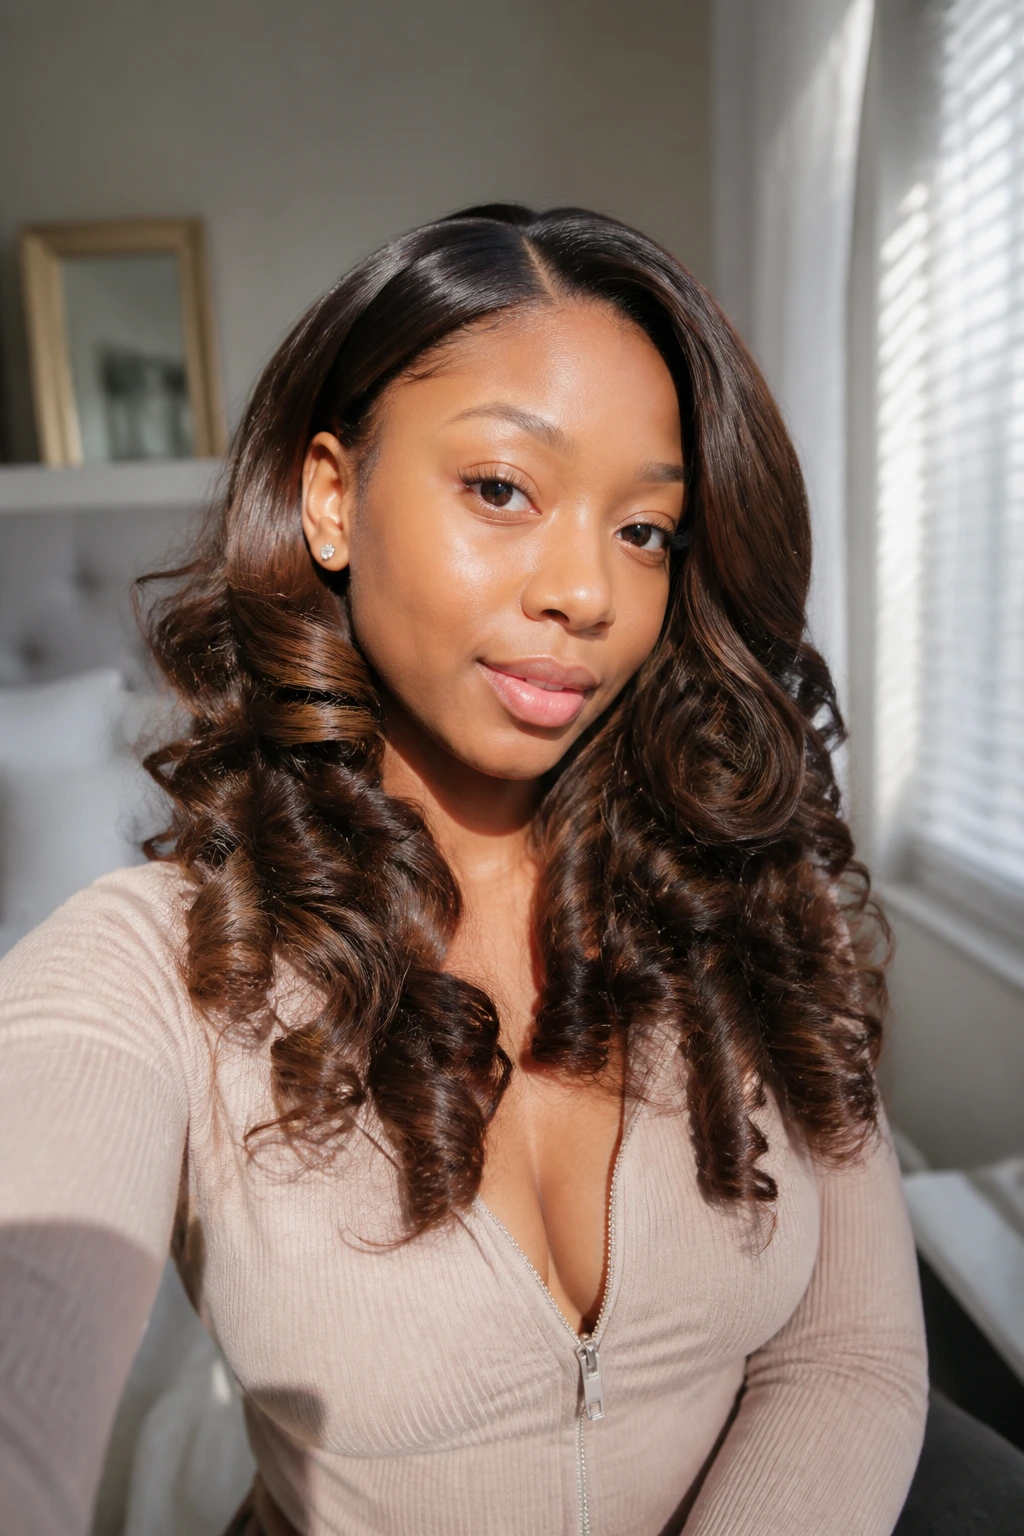
Using heat tools on synthetic wigs is a fast track to ruining the fibers. But you can still get gorgeous, bouncy curls on a synthetic unit using a simple heat-free steaming technique that locks in curls forever.
Start by constructing a straight synthetic wig using your favorite cap and bundles. Once the unit is complete, wrap sections of the hair around soft foam flexi-rods. The smaller the rod, the tighter the curl; use larger rods for a soft, blowout look.
Once the entire wig is rolled, place it inside a large plastic storage bin. Using a handheld clothes steamer, carefully steam the inside of the box for ten minutes, allowing the hot moisture to soften the synthetic fibers.
Leave the wig to cool and dry completely overnight before removing the rods. The steam gently resets the polymer bonds in the synthetic hair, leaving you with perfect, bouncy curls that will not fall out even if you get caught in a rainy walk between classes.
17. Double-Drawn Bob Wig with Bangs (No Lace)
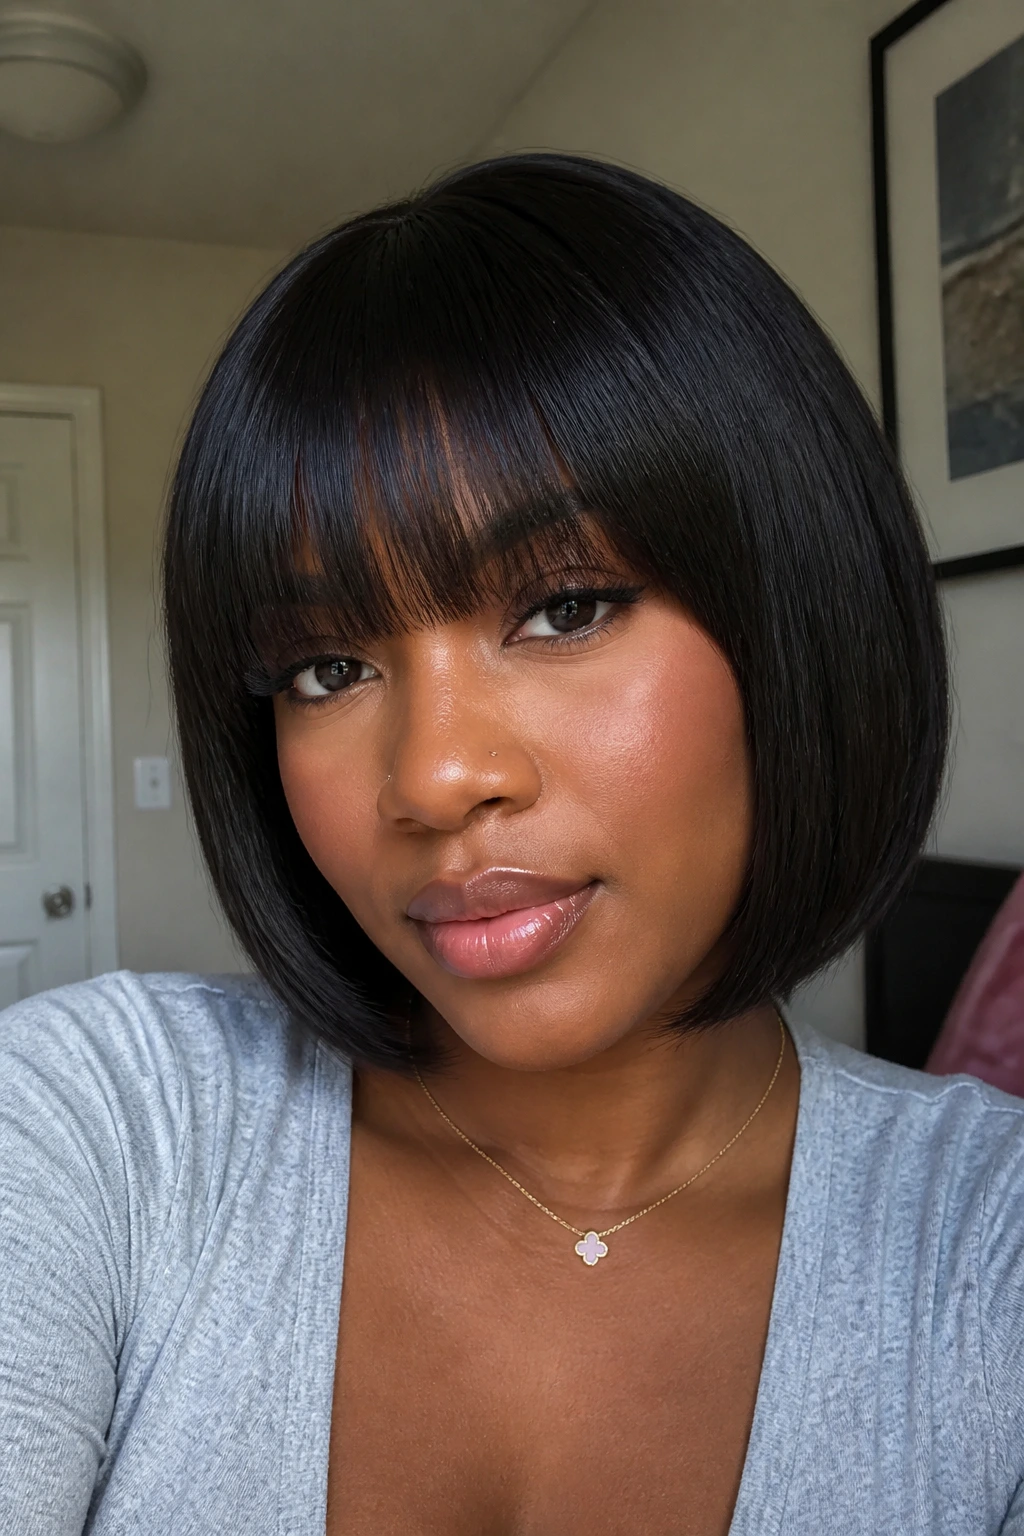
Lace can be a lot of work. If you do not want to deal with plucking, bleaching, tinting, or melting, a classic bob wig with full bangs is your best friend.
=========================================
  BOB WITH BANGS: THE ZERO-LACE FORMULA
=========================================
[ Fringe/Bangs ] --> Completely hides the front rim
[ Double-Drawn ] --> Uniform thickness from root to tip
[ Closed Cap   ] --> No exposed lace, no glue required
=========================================
By choosing double-drawn hair—which means the shorter hairs have been removed so the bundles are the same thickness from top to bottom—you get a incredibly full, luxurious look.
Because the bangs cover the front edge of the wig cap, you do not need any lace at all. This means you can use a basic, inexpensive closed cap. It slips on like a beanie, requires zero glue, and looks instantly polished and edgy. It is the perfect throw-on-and-go unit for early morning classes.
18. Ventilation Hack for Parting Space Expansion
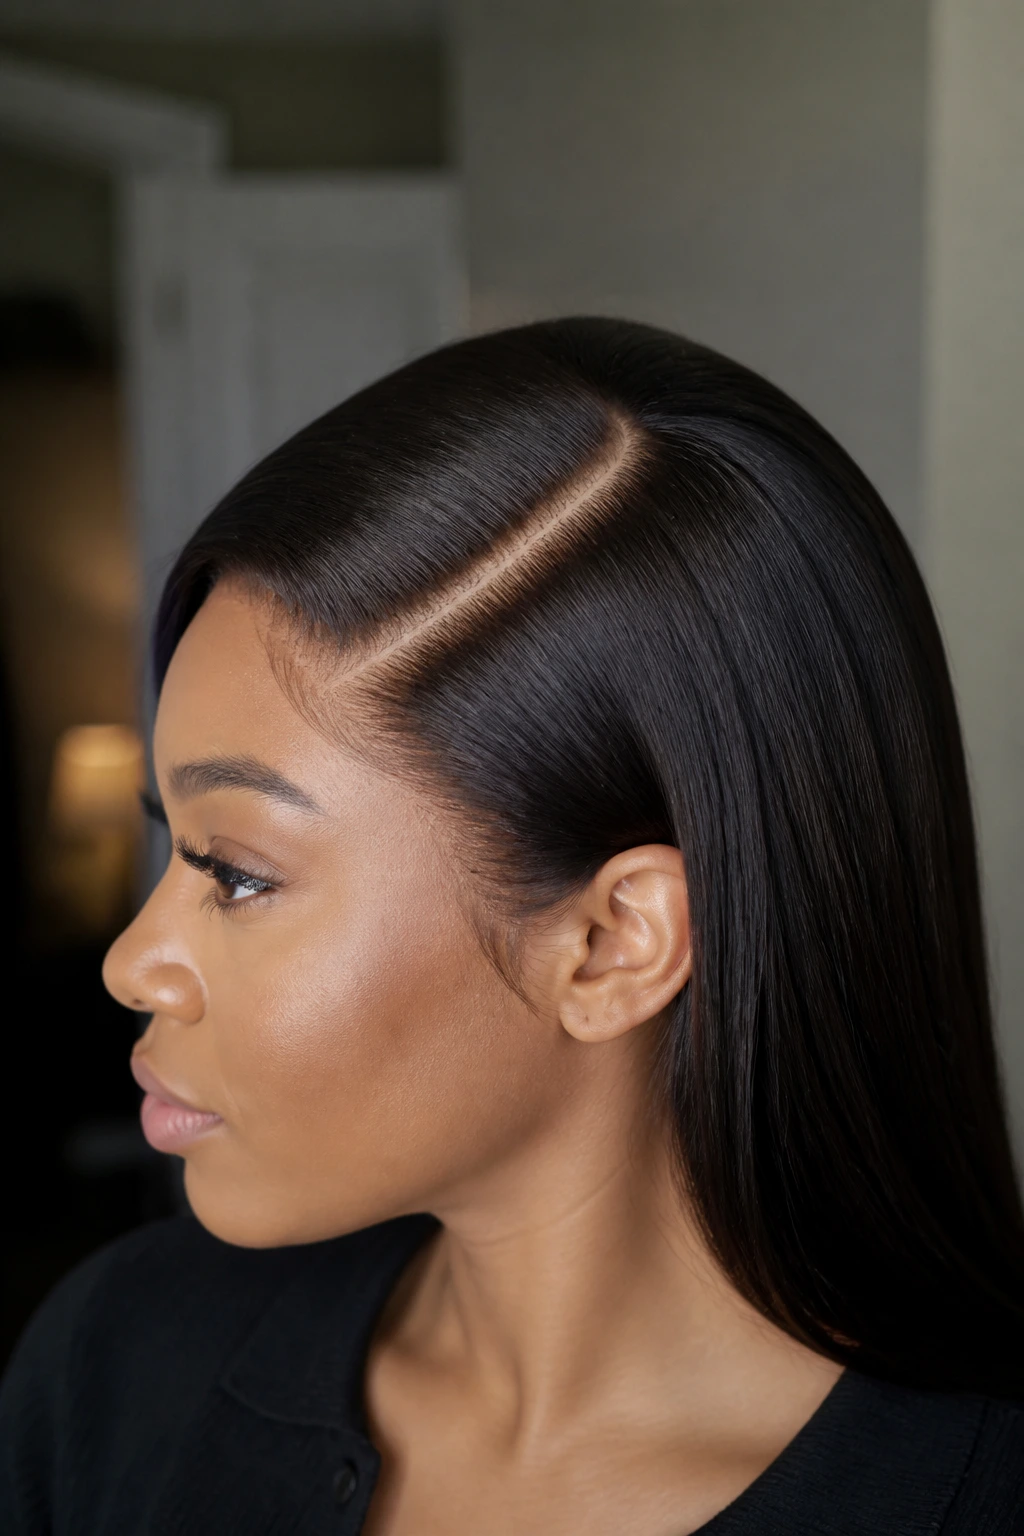
Many inexpensive wigs come with a tiny, stiff parting space that looks obviously fake. You do not have to discard these units; you can easily expand the parting space yourself using a simple manual ventilation technique.
Ventilating is the art of hand-tying individual hairs into lace using a tiny needle with a hook on the end. While ventilating an entire wig takes weeks, expanding a parting space only takes an hour or two on a rainy Sunday afternoon.
- Cut away a small, narrow strip of the stiff cap fabric right next to the existing part.
- Sew a small piece of soft, transparent lace fabric into the gap you just cut.
- Using a ventilating needle, pull 1-2 strands of hair from a matching weft through the lace holes, tying them in a single knot.
- Repeat this process along the new part line to create a wider, more natural-looking scalp area.
This small upgrade can make a twenty-dollar wig look like a high-end salon piece, saving you money while keeping your school style looking incredibly professional.
19. The Bandfall Wig with Attached Scarf
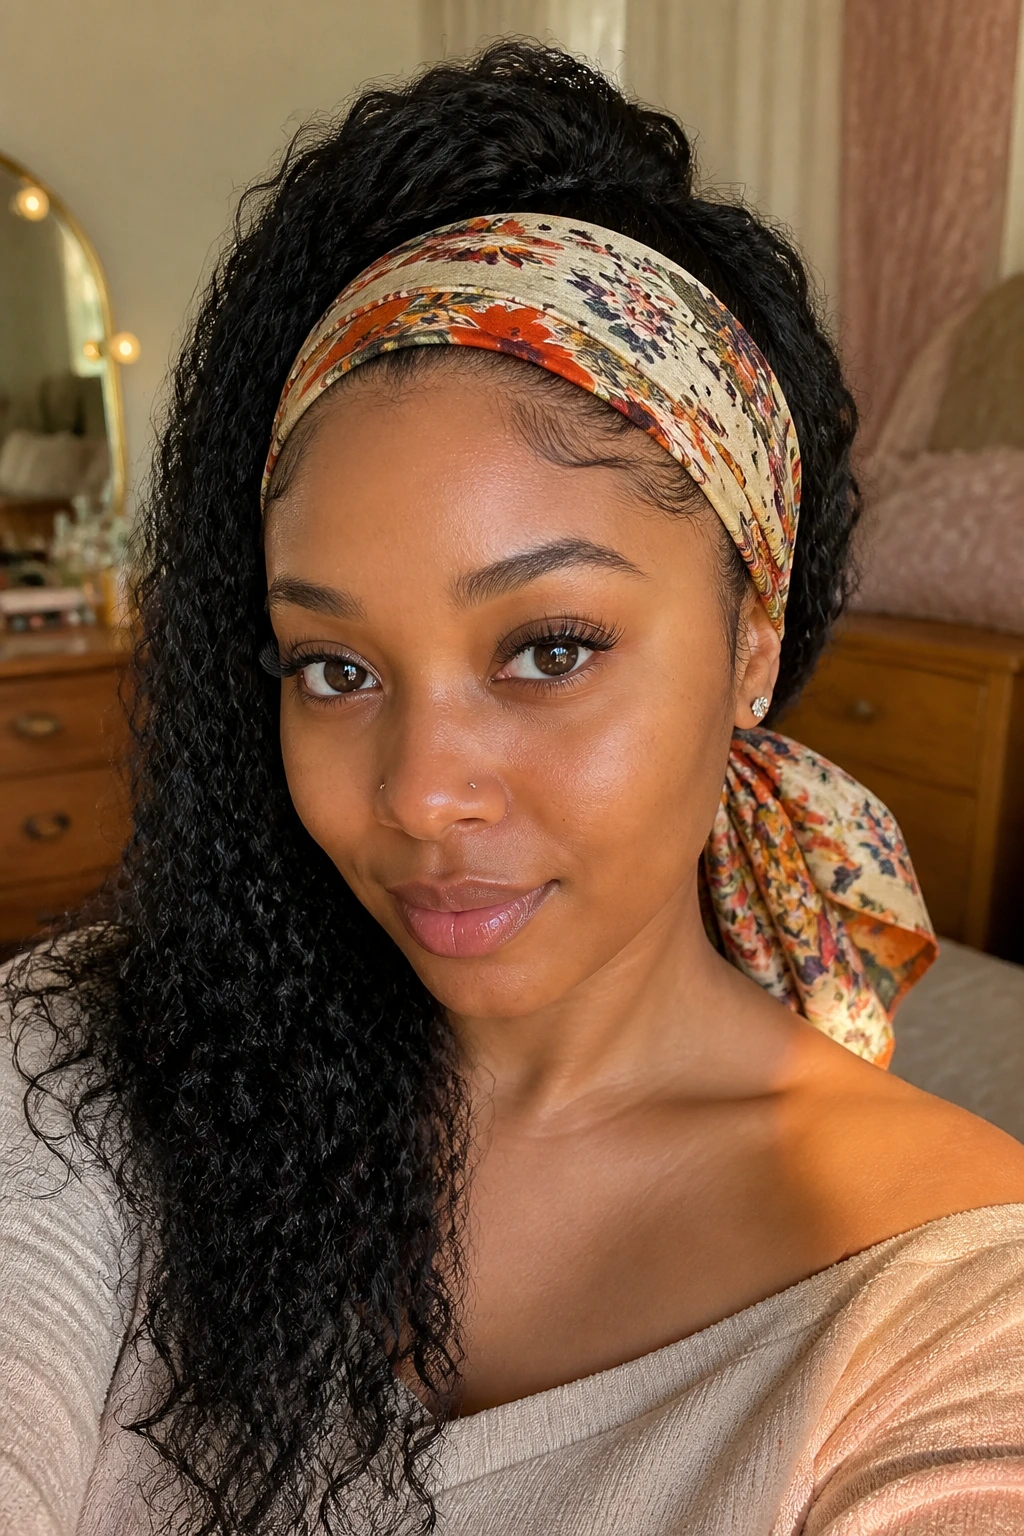
A bandfall wig is a unique construction where the front of the wig is replaced with a comfortable headband, designed to be worn with your favorite headscarves or decorative wraps. It is the ultimate boho-chic look for school.
To build this, you sew your hair wefts onto a comfortable, breathable open-cap, leaving the front two inches of the cap completely bare.
To this bare front edge, you sew a soft, wide fabric band. You can then wrap a colorful silk or cotton scarf around this band, tying it at the nape of your neck.
This style is incredibly useful for deep conditioning days. You can slather your natural hair in a rich treatment mask, braid it down, put on your bandfall wig, and head to school. No one will know you are running a deep conditioning treatment under your stylish headscarf, and you get to rinse out beautifully soft, healthy hair when you get home.
20. Coily Microlink-Style Hand-Threaded Wig
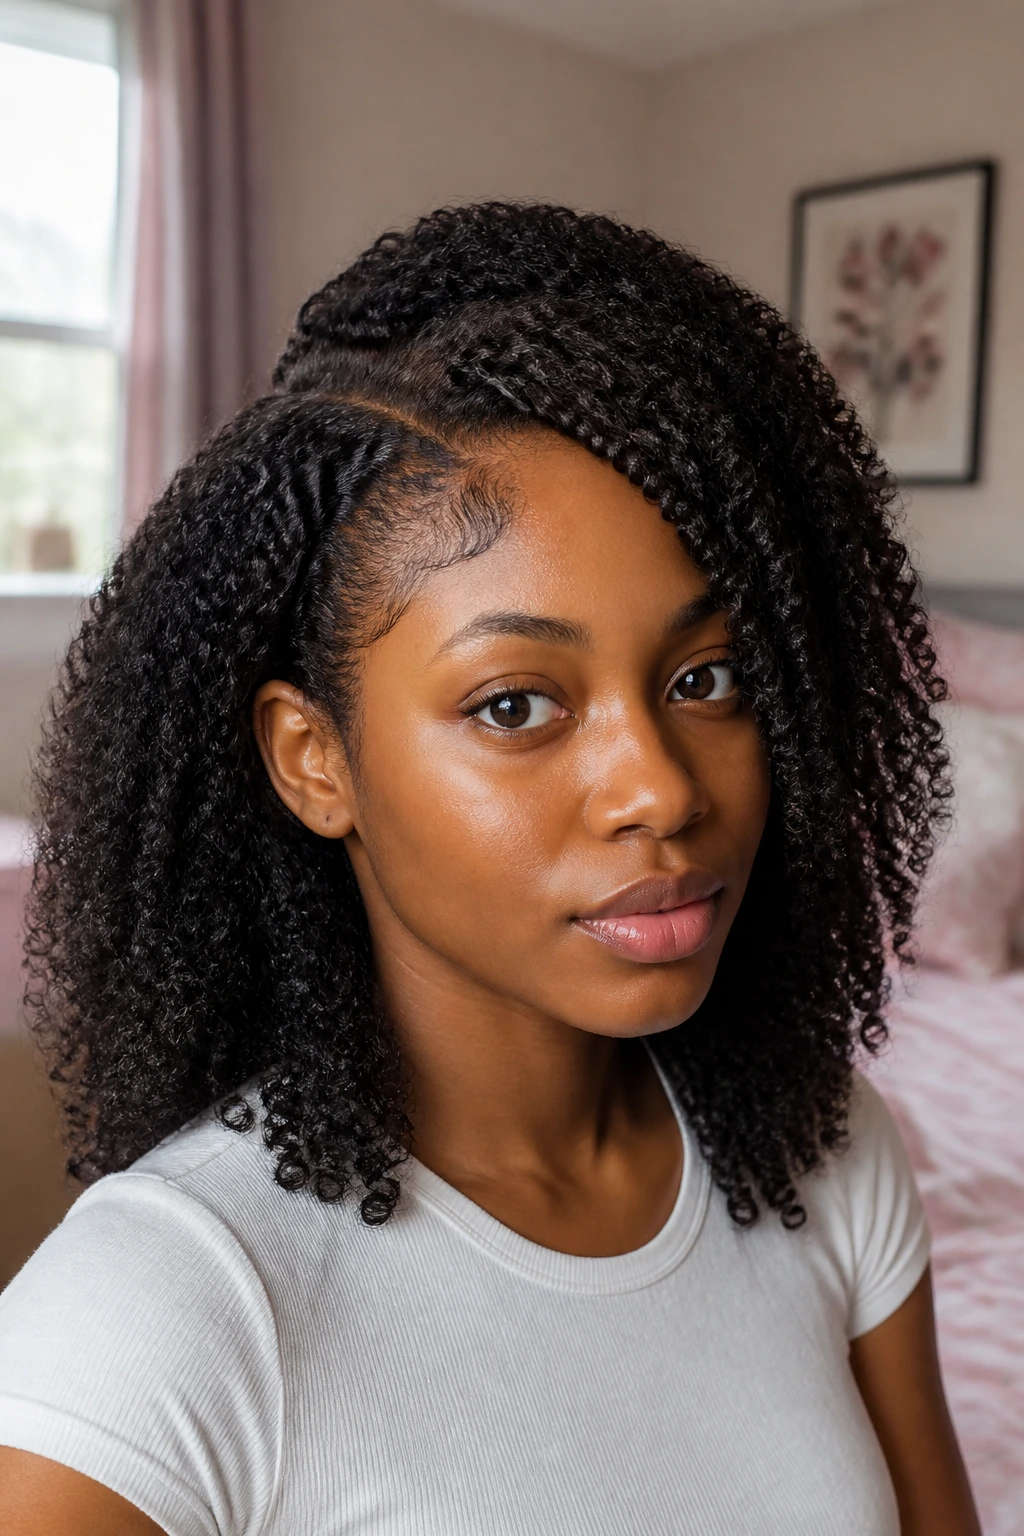
If you want the ultimate in natural texture and movement, hand-threading coily bulk hair into a mesh cap mimics the look of natural hair better than any wefted wig ever could.
This technique uses bulk human braiding hair (hair that is not attached to a track). Using a latch hook or a threading needle, you loop small clumps of the coily hair directly through the mesh holes of a dome cap, securing them with a tiny, secure double knot.
Because there are no hard, stiff weft lines, the hair moves completely naturally. You can part it anywhere, pull it up into a high puff, or wear it in a half-up, half-down style without any tracks showing.
It takes a bit more time to construct initially, but the result is a beautiful, highly versatile unit that looks and behaves exactly like your natural curls—giving you the ultimate protective style for your busy school year.
The Bottom Line
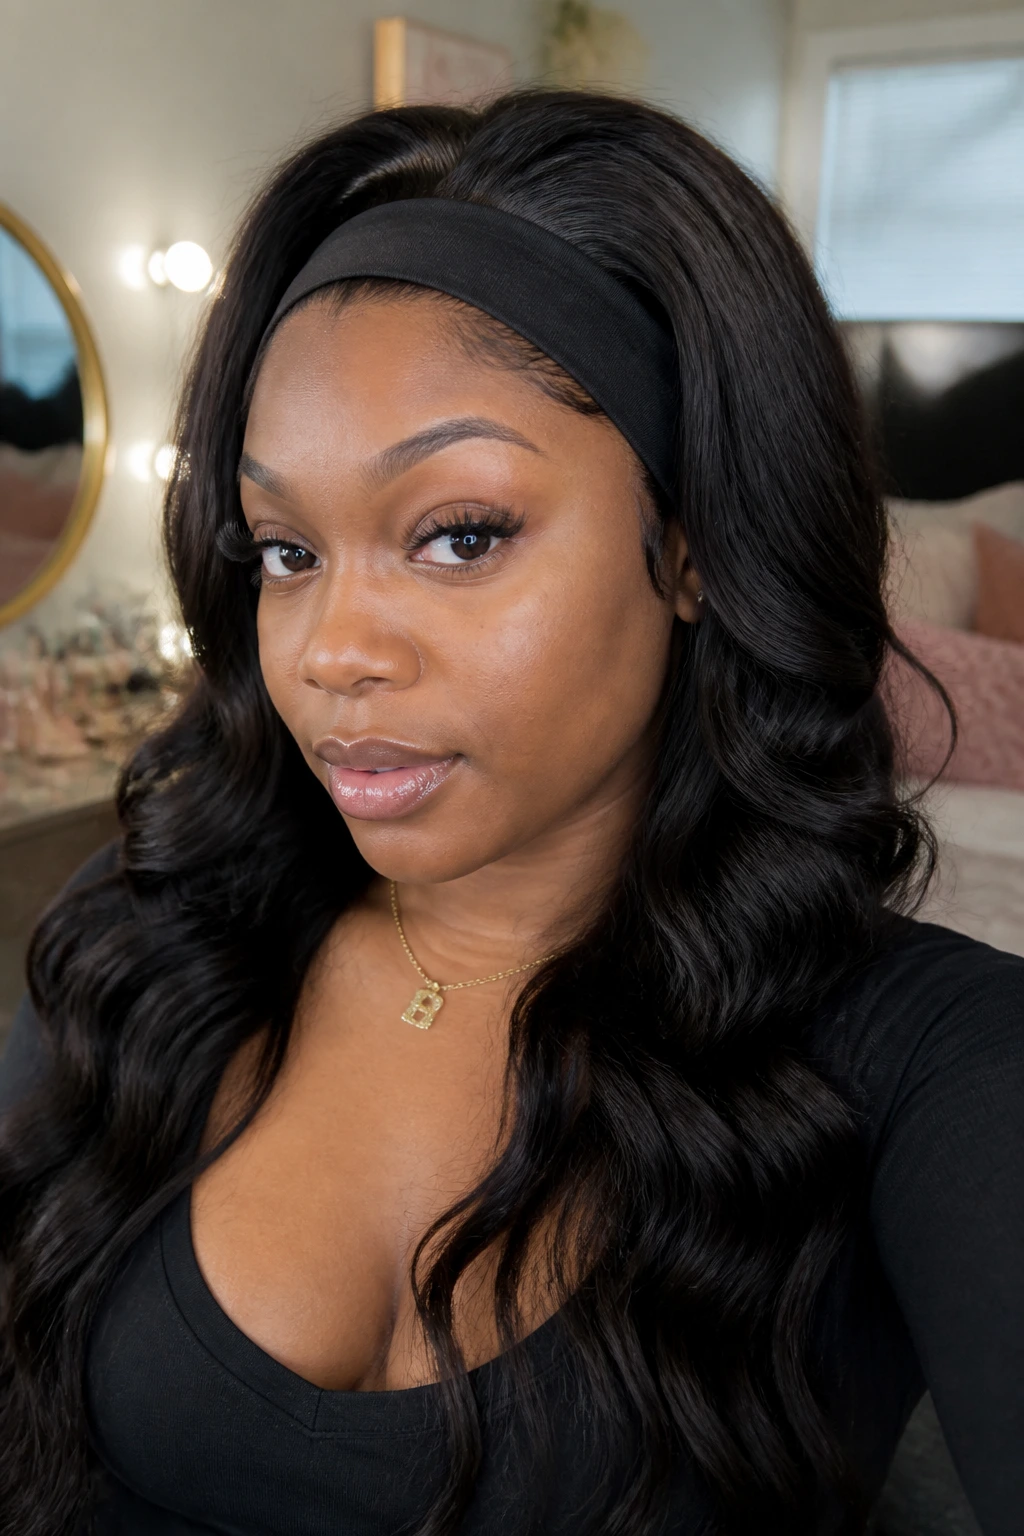
Building your own wig collection for school is not just about saving money—it is about reclaiming your mornings and protecting your natural hair from the wear and tear of daily styling. By investing a few hours of construction time over the weekend, you create a wardrobe of reliable, glueless units that slip on in seconds and stay secure through any busy school day.
Start with a simple style like the headband wig or the classic bob with bangs, and build your confidence from there. Once you experience the freedom of getting ready in under five minutes without ever touching a flat iron, you will never look back. Your natural edges will thank you, your sleep schedule will thank you, and you will step onto campus every single day looking effortlessly put together.
