You are running late. The alarm clock failed to do its job, the coffee pot is acting stubborn, and your hair looks like a bird’s nest that went through a windstorm. Most of us have been there, staring into the bathroom mirror with ten minutes to get ready and absolutely zero patience for complex styling. This is exactly why two goddess braids have become such a staple for anyone who values time but refuses to sacrifice a put-together look. They are elegant, incredibly secure, and surprisingly easy to master once you stop thinking of them as a salon-only endeavor.
The beauty of the goddess braid—often called feed-in braids or jumbo cornrows—lies in its versatility. These aren’t your tight, scalp-straining plaits from childhood. They are thicker, fuller, and usually enhanced with a bit of extension hair to give that signature, voluminous goddess look. On a busy morning, a clean, symmetrical parting down the middle with two substantial braids running back toward your nape acts as a visual anchor. It screams intentionality even when you were practically sprinting out the door.
We often overcomplicate styling because we look at professional photos and assume we need an hour and a toolbox full of specialized equipment. The reality is much simpler. With a little practice, you can get these done in under fifteen minutes. If you are worried about the longevity of the style, you can even braid your hair the night before and wake up to a look that only needs a quick refresh. Let’s look at how to master these styles, whether you are a beginner or a veteran braider looking for new ways to elevate your morning routine.
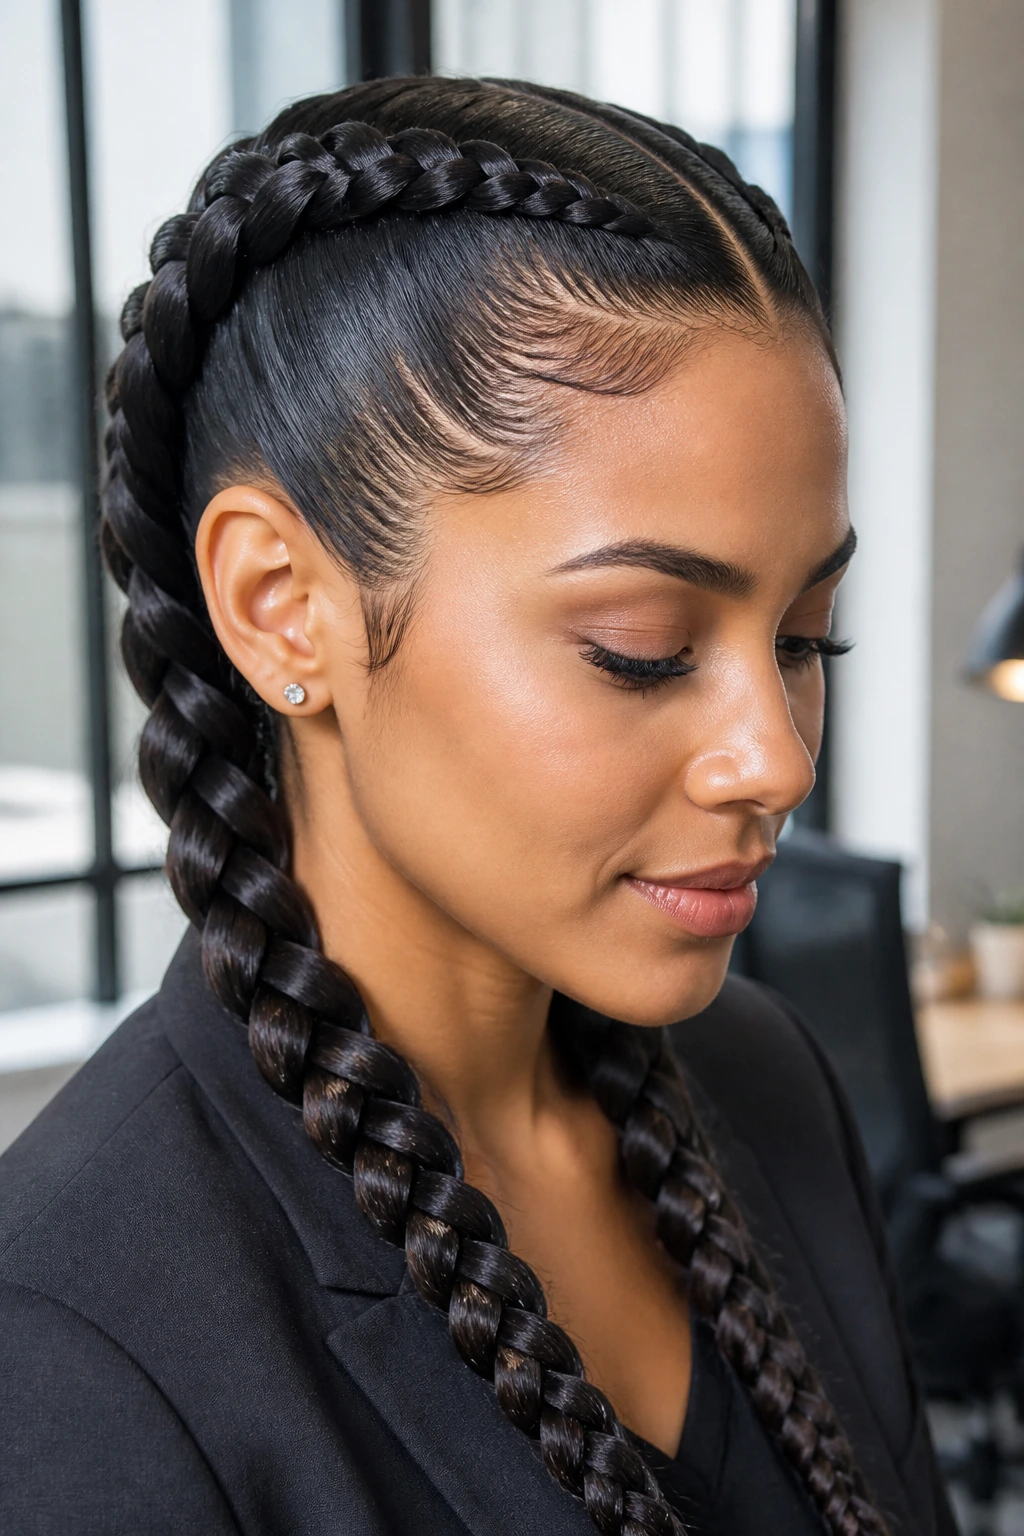
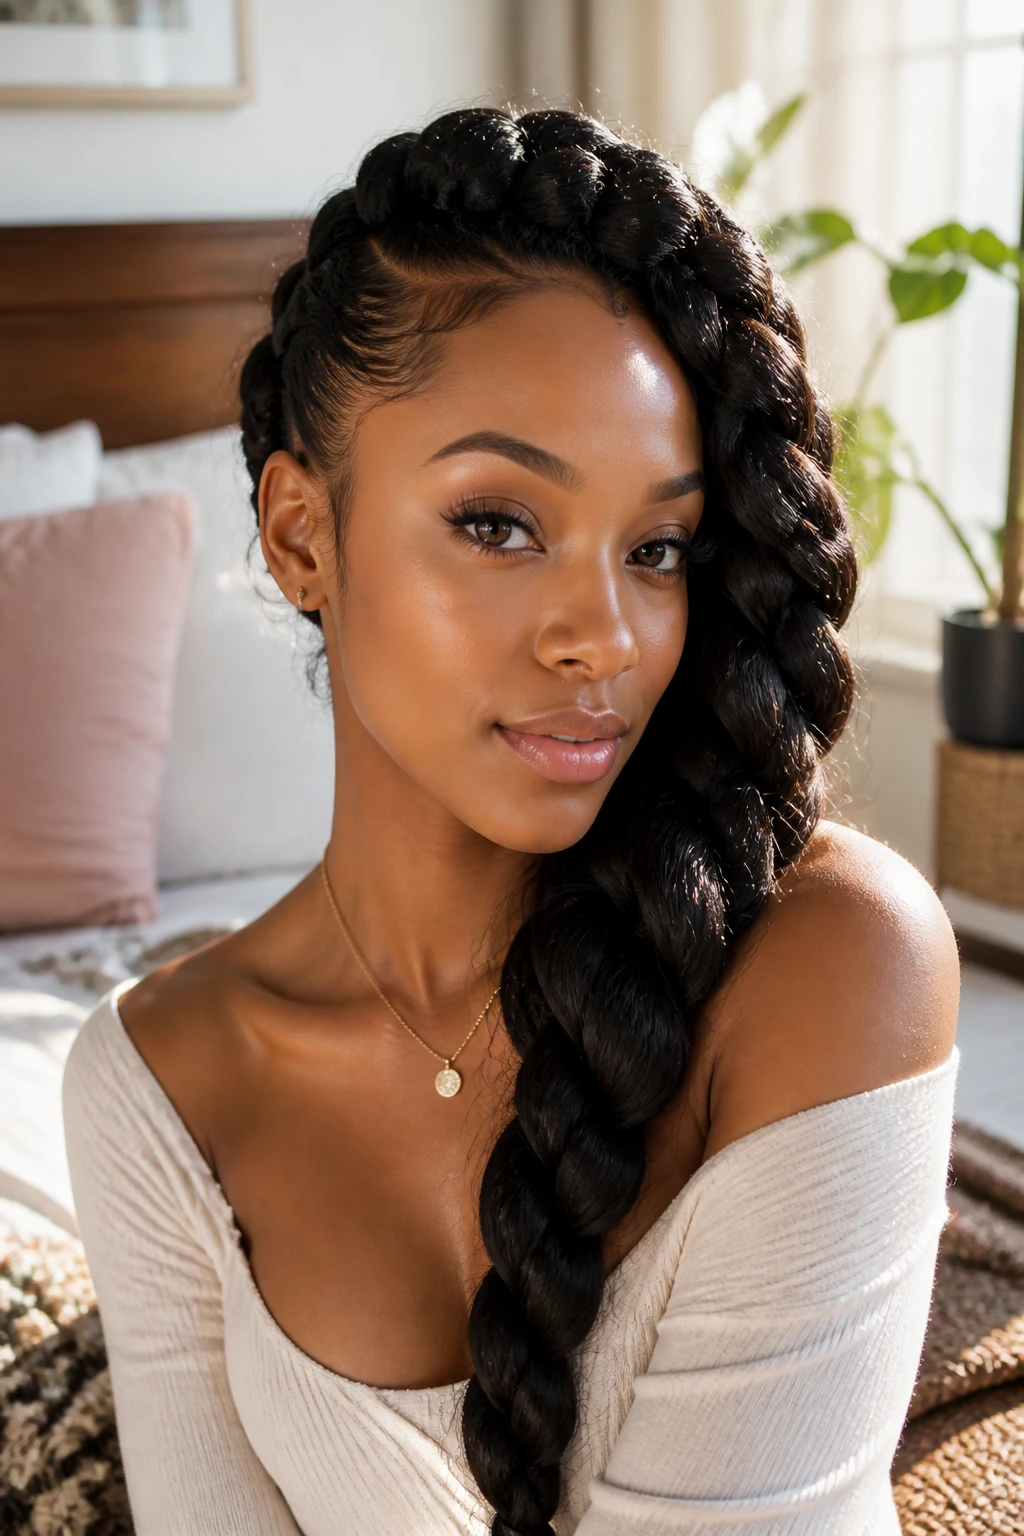
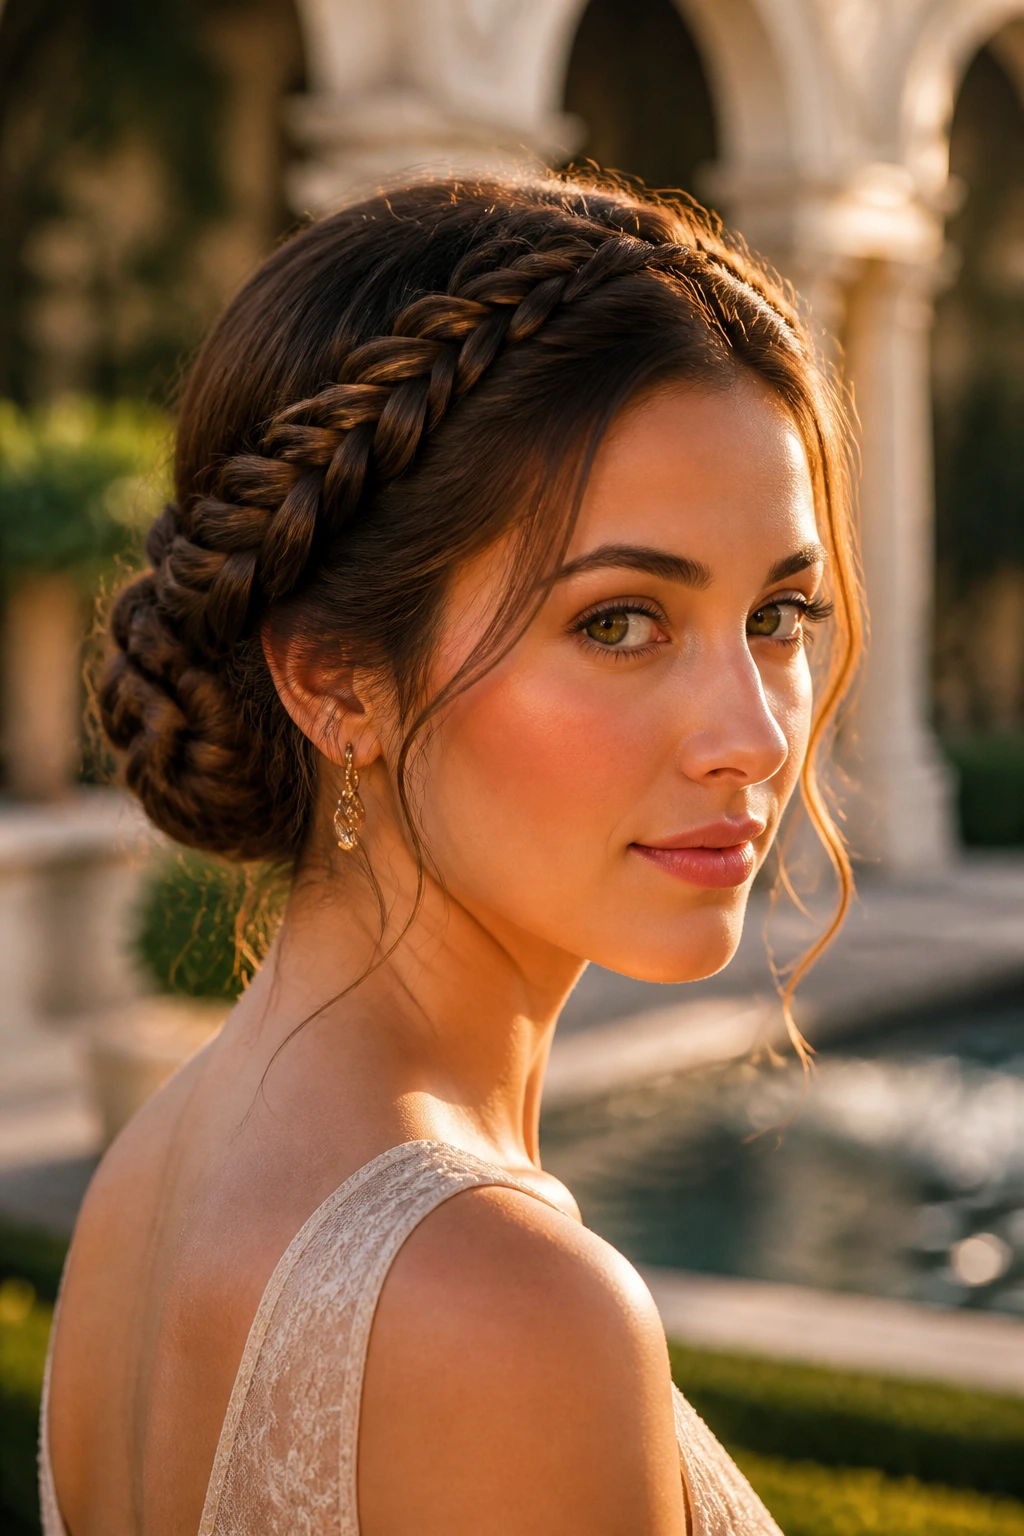
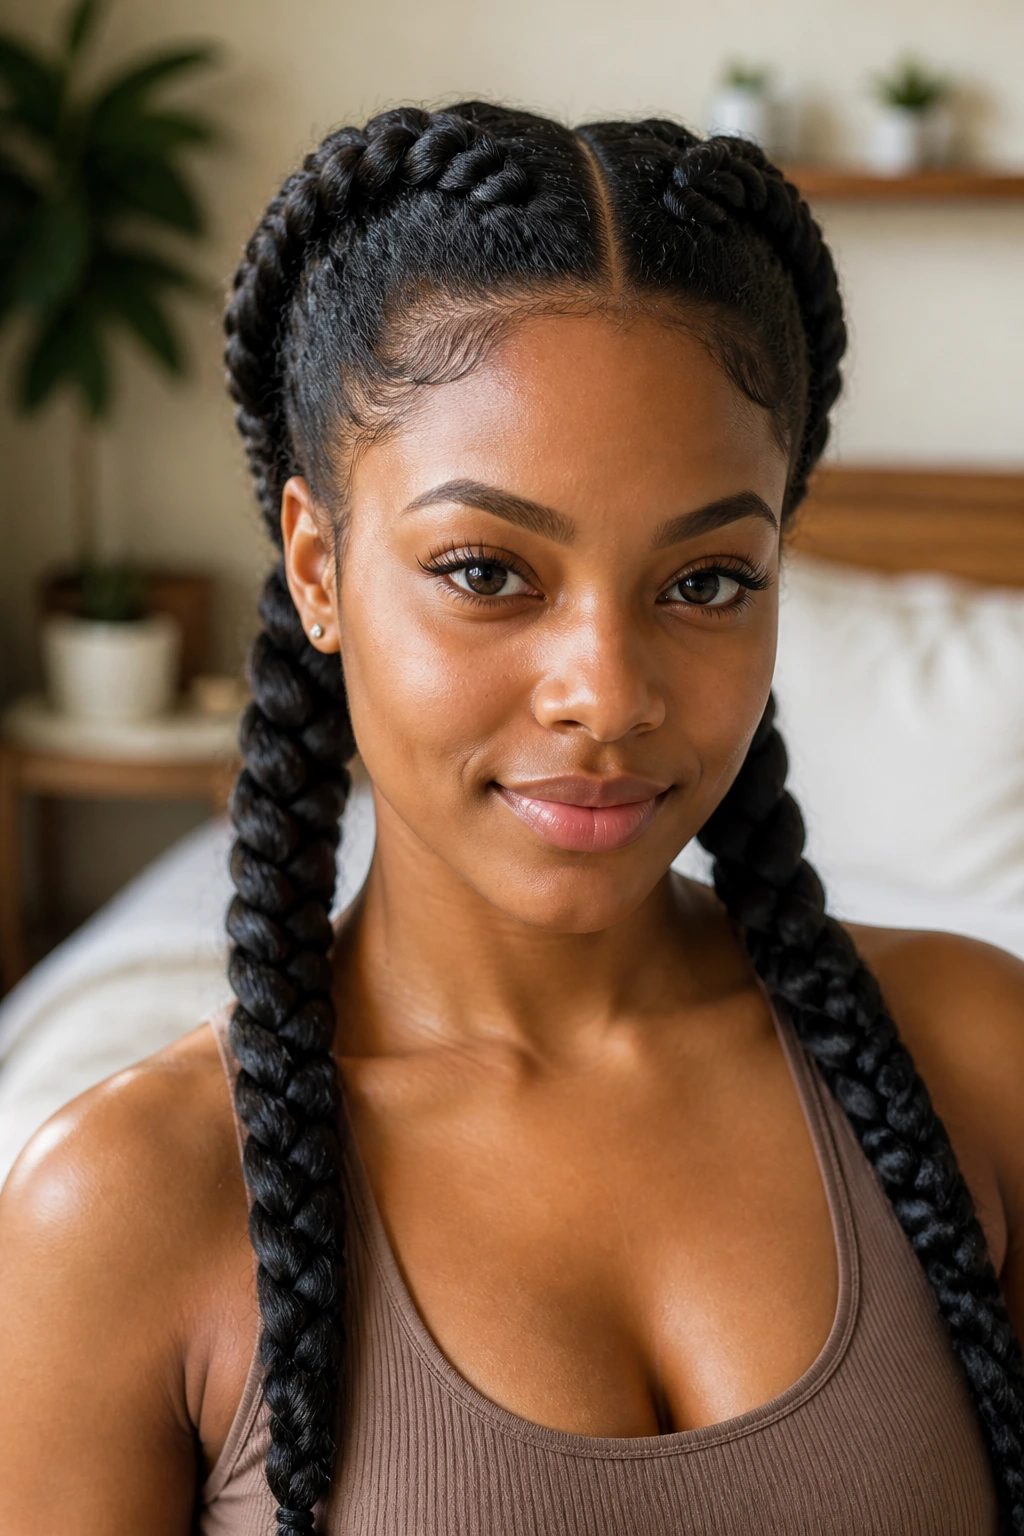
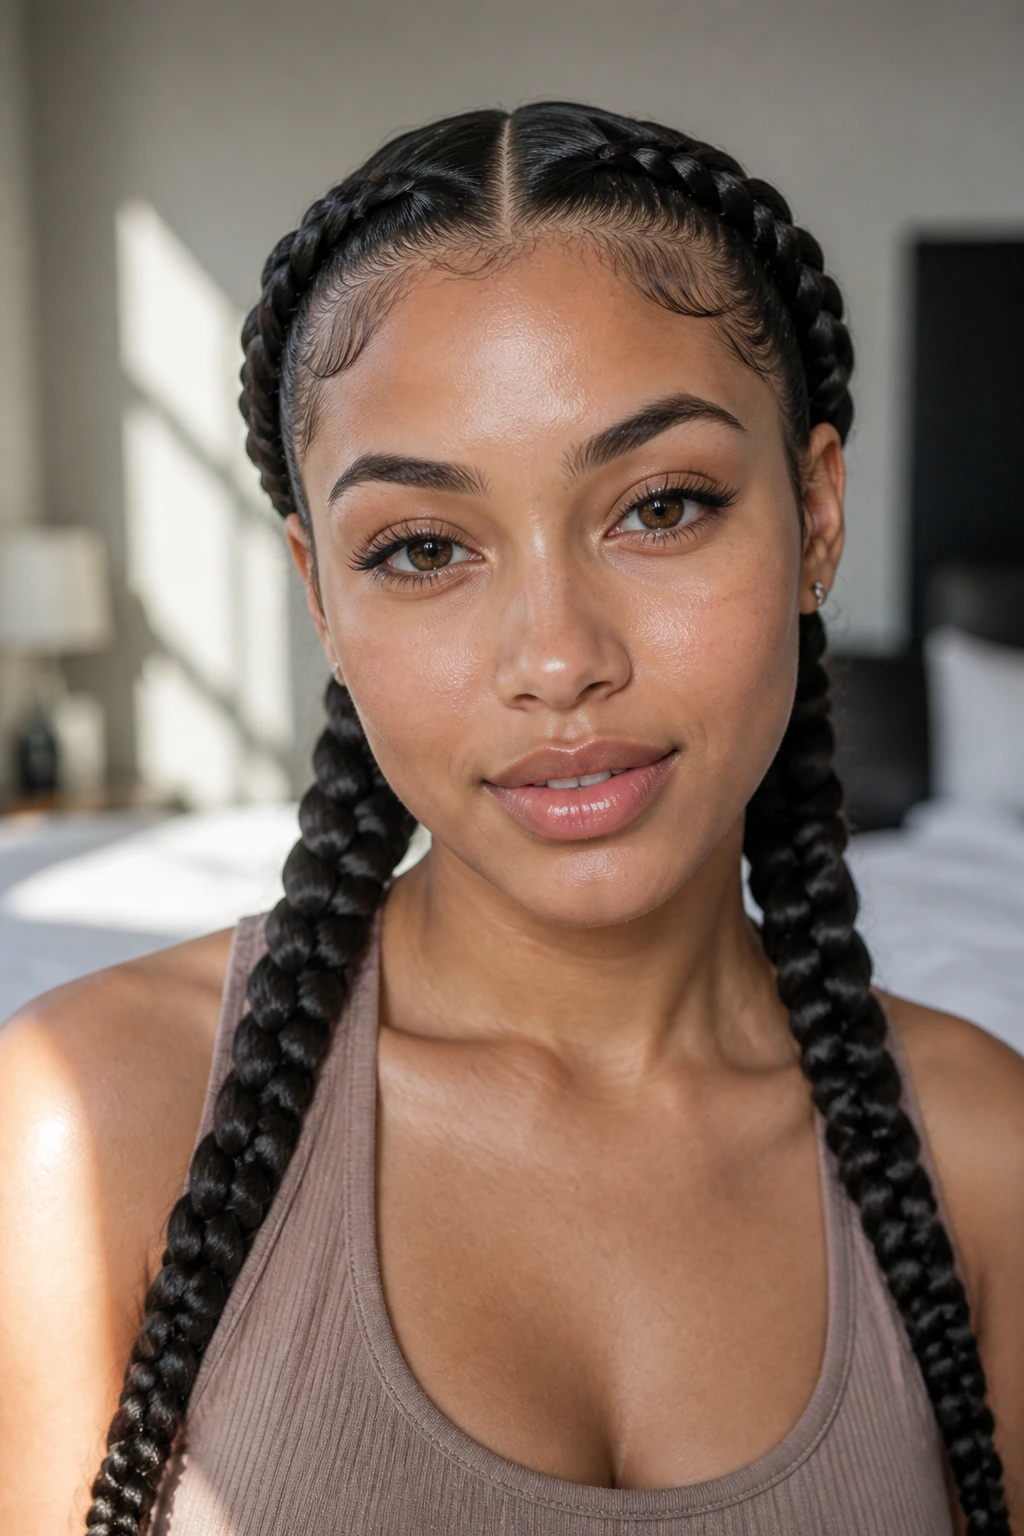
1. The Classic Center-Part Goddess Braids
This is the foundational look for a reason. A crisp, clean center part creates a perfect frame for your face, and the two braids drape naturally over the shoulders. It is the style that works in a corporate office just as well as it does at a weekend brunch.
What Makes This Style Timeless
The symmetry here is the star. When you part your hair exactly down the middle, you create a sense of balance that feels inherently polished. If you struggle with parts, use the handle of a rat-tail comb to ensure the line is sharp from your forehead all the way to the nape of your neck.
How to Style for Busy Mornings
- Start with damp or moisturized hair to prevent breakage.
- Divide your hair into two even sections and secure one side with a clip.
- Add a small amount of edge control or braiding butter to the hairline for a sleek, finished look.
- Braid toward the back of the head, adding extensions as you move if you want extra length.
- Secure the ends with a clear elastic or dip them in hot water to seal if using synthetic hair. Pro tip: If you have baby hairs, use a soft toothbrush to swoop them after the braids are finished; it adds a touch of sophistication in seconds.
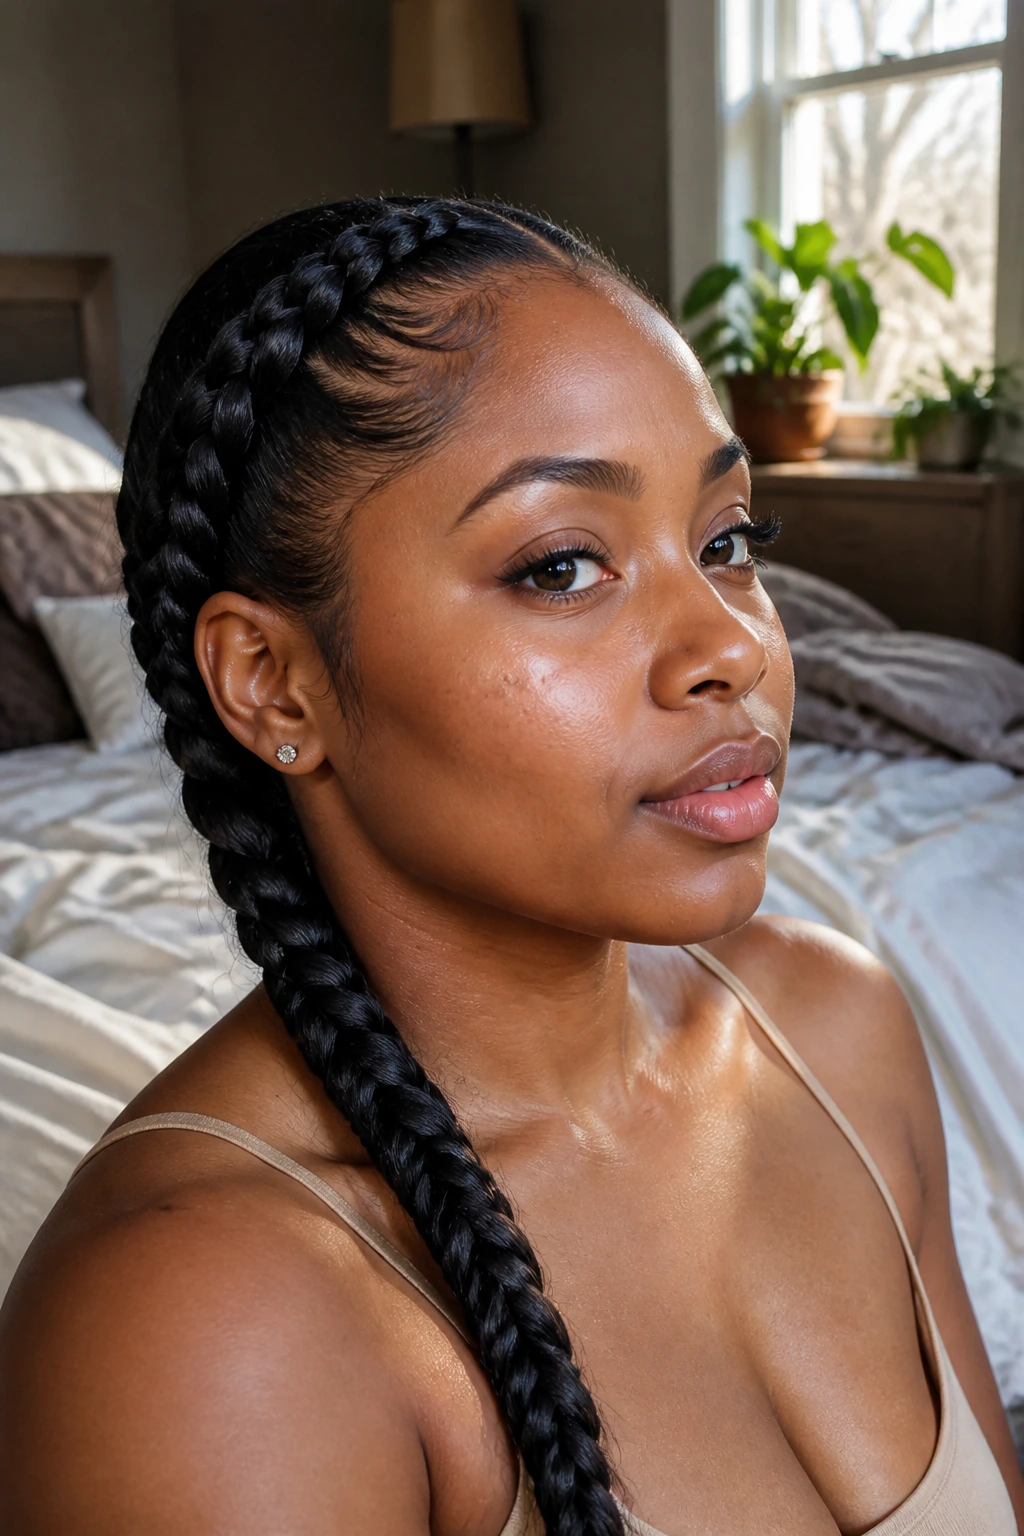
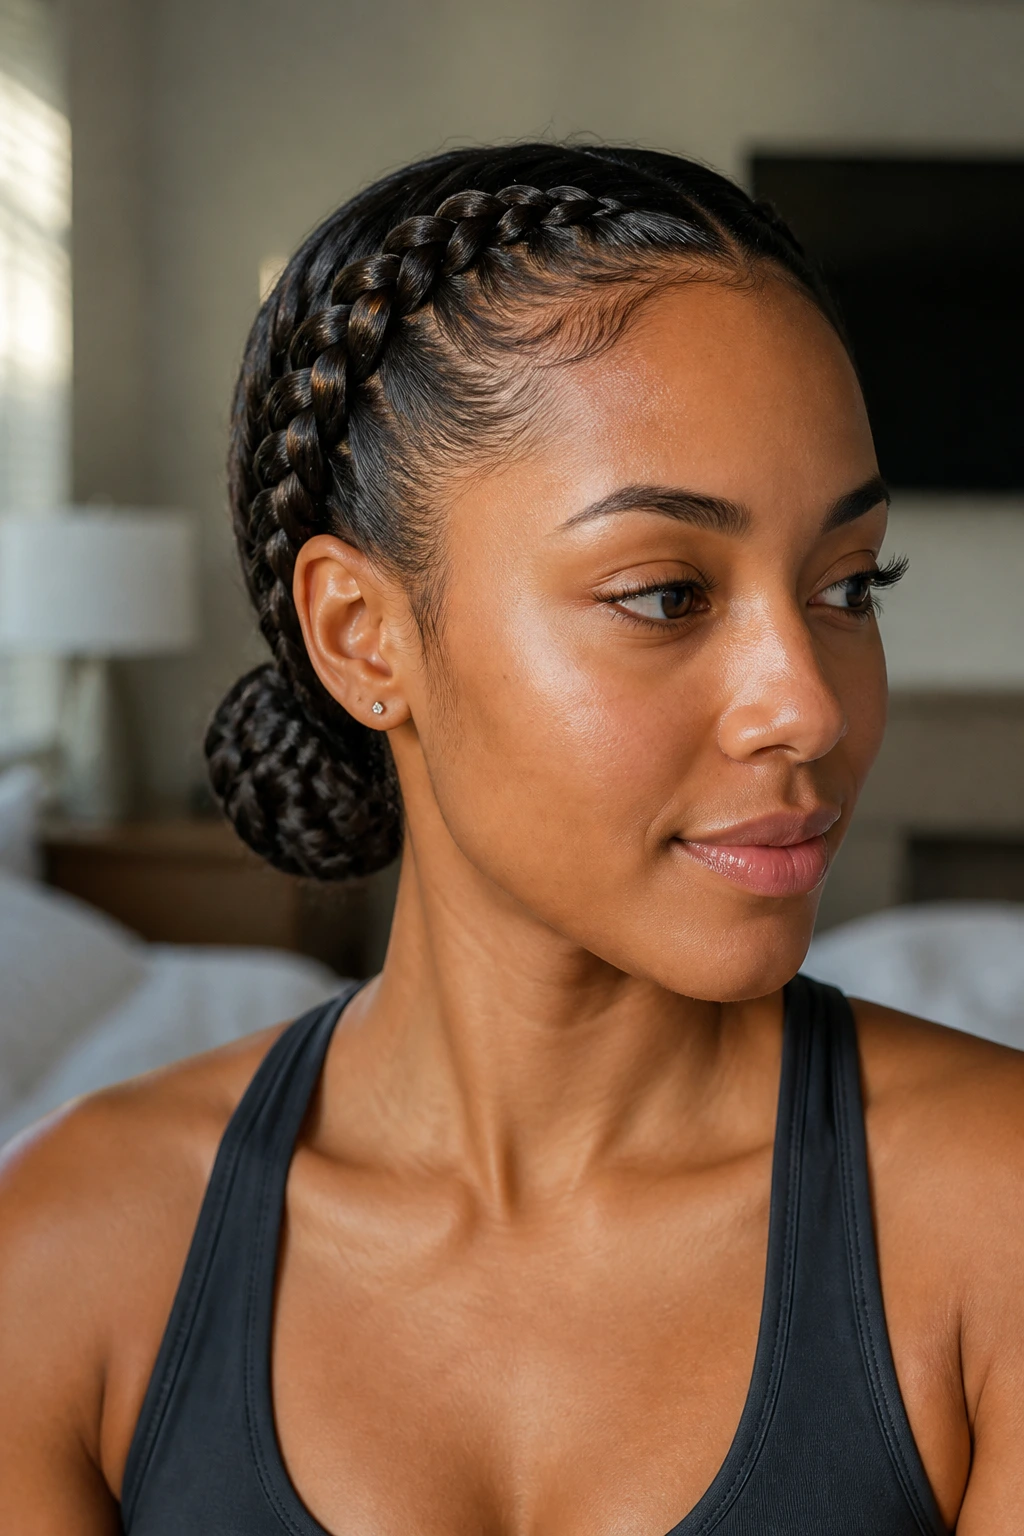
2. The Sleek High-Gloss Finish
Sometimes you need your hair to look like it has been professionally polished. This style relies on the right product choice—a lightweight shine spray or a touch of mousse—to keep flyaways at bay throughout the day.
Why It Works for Professional Settings
When you have a presentation or a meeting, frizzy edges can distract from your overall look. By focusing on a high-gloss finish, you ensure your hair stays sleek from 8:00 AM until you walk through the door in the evening.
Key Tools for a Smooth Look
- A firm-hold edge control gel (look for one that doesn’t flake).
- A fine-tooth comb for creating the parting.
- A silk scarf to tie down your edges while you finish your coffee or morning routine.
- A light-reflecting spray to add a final touch of polish.
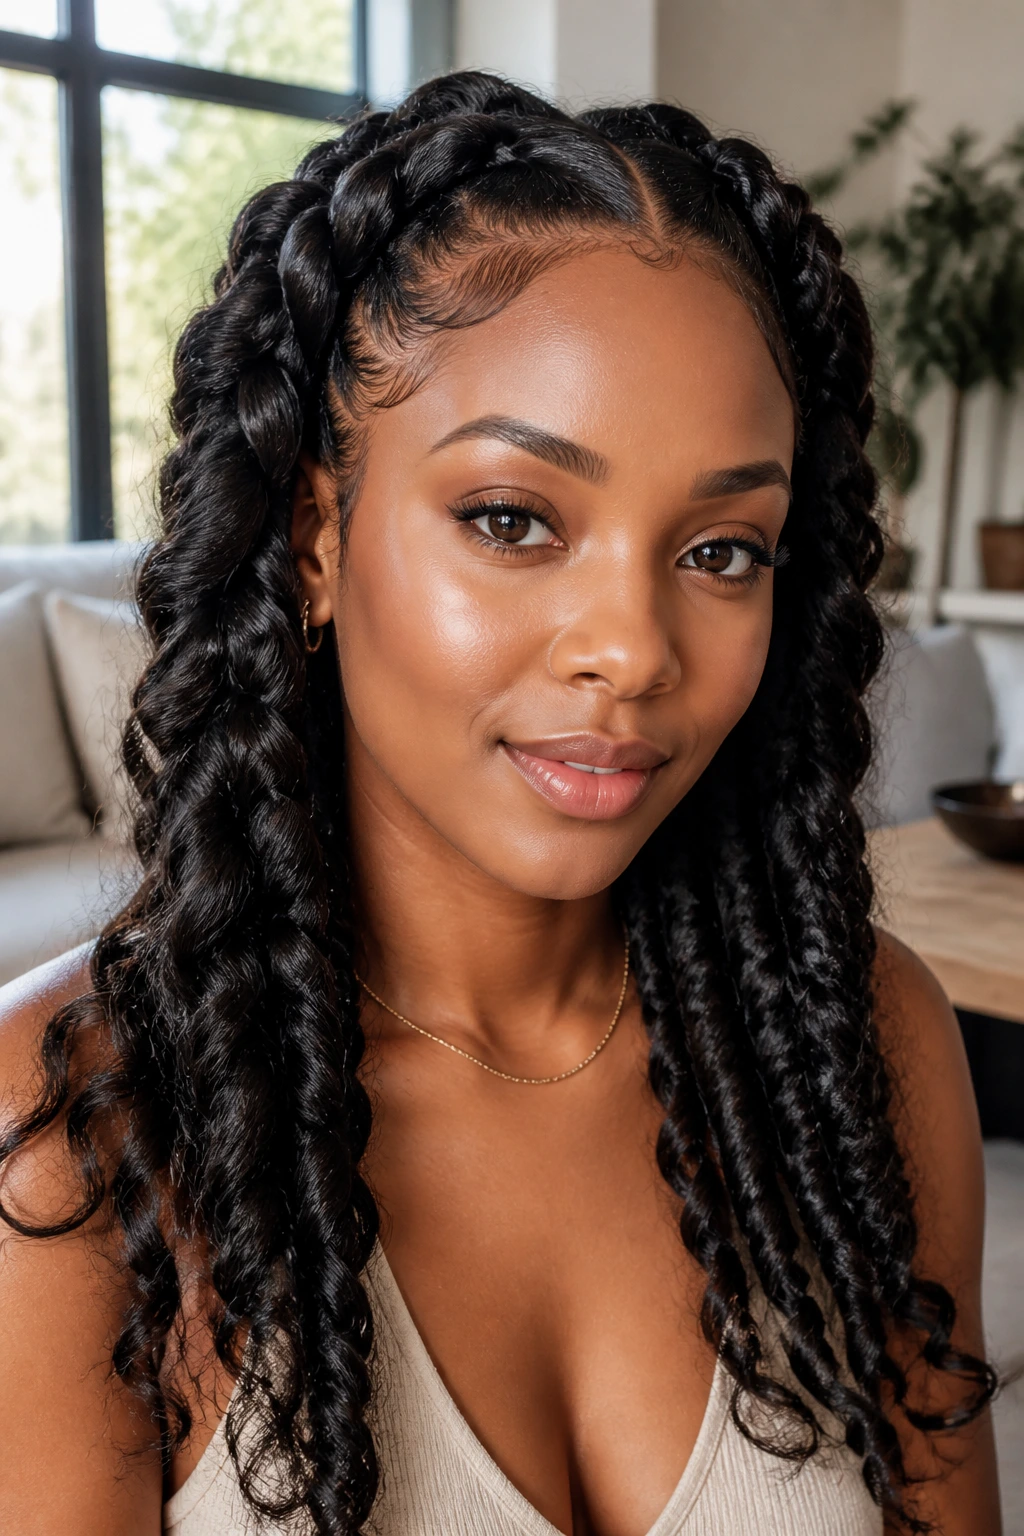
3. The Twisted Goddess Braid Variation

If you are bored with standard three-strand plaiting, twists provide a refreshing change of pace. These are often called “Senegalese” or “rope” twists, and they offer a softer, more bohemian aesthetic compared to traditional tight braids.
Why They Feel Less Formal
Twists have a softer texture that sits differently against the scalp. They feel less rigid and tend to move more naturally when you turn your head. They are a great way to soften your features if you have a very angular jawline.
How to Execute the Technique
- Part your hair in two sections as you would for normal braids.
- Instead of crossing three strands, divide each small section into two and wrap them around each other.
- Add hair at the root as you move downward to ensure the twist stays tight to the scalp.
- Focus on keeping the tension consistent so the twist doesn’t become uneven halfway down.
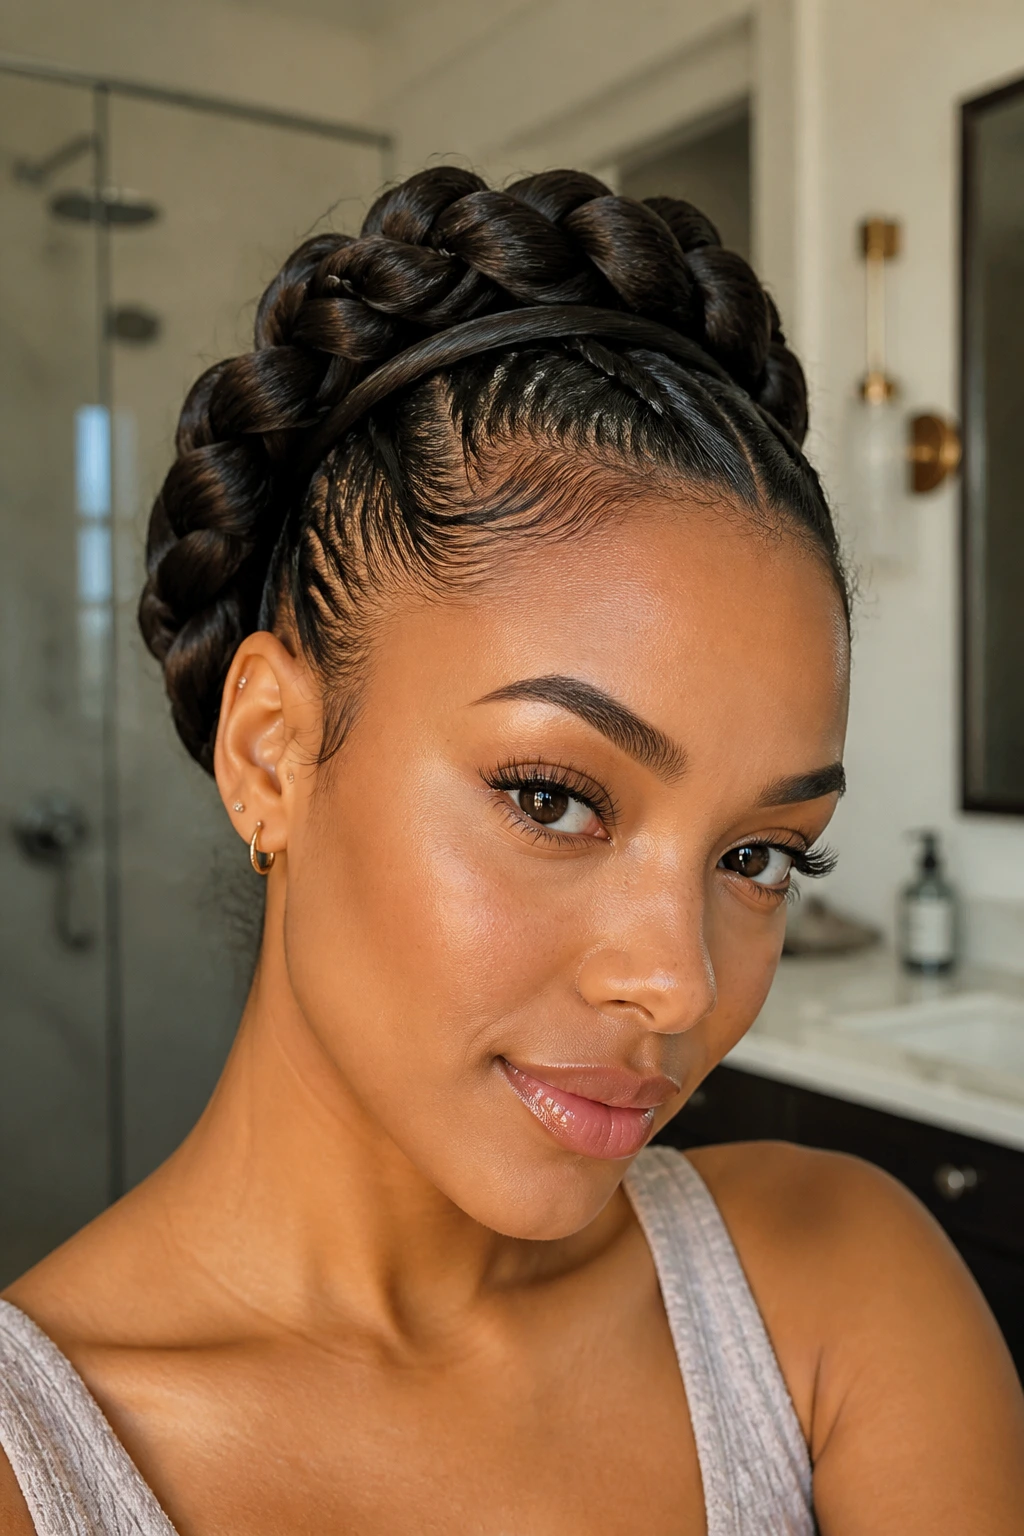
4. The Chunky Feed-In Braid
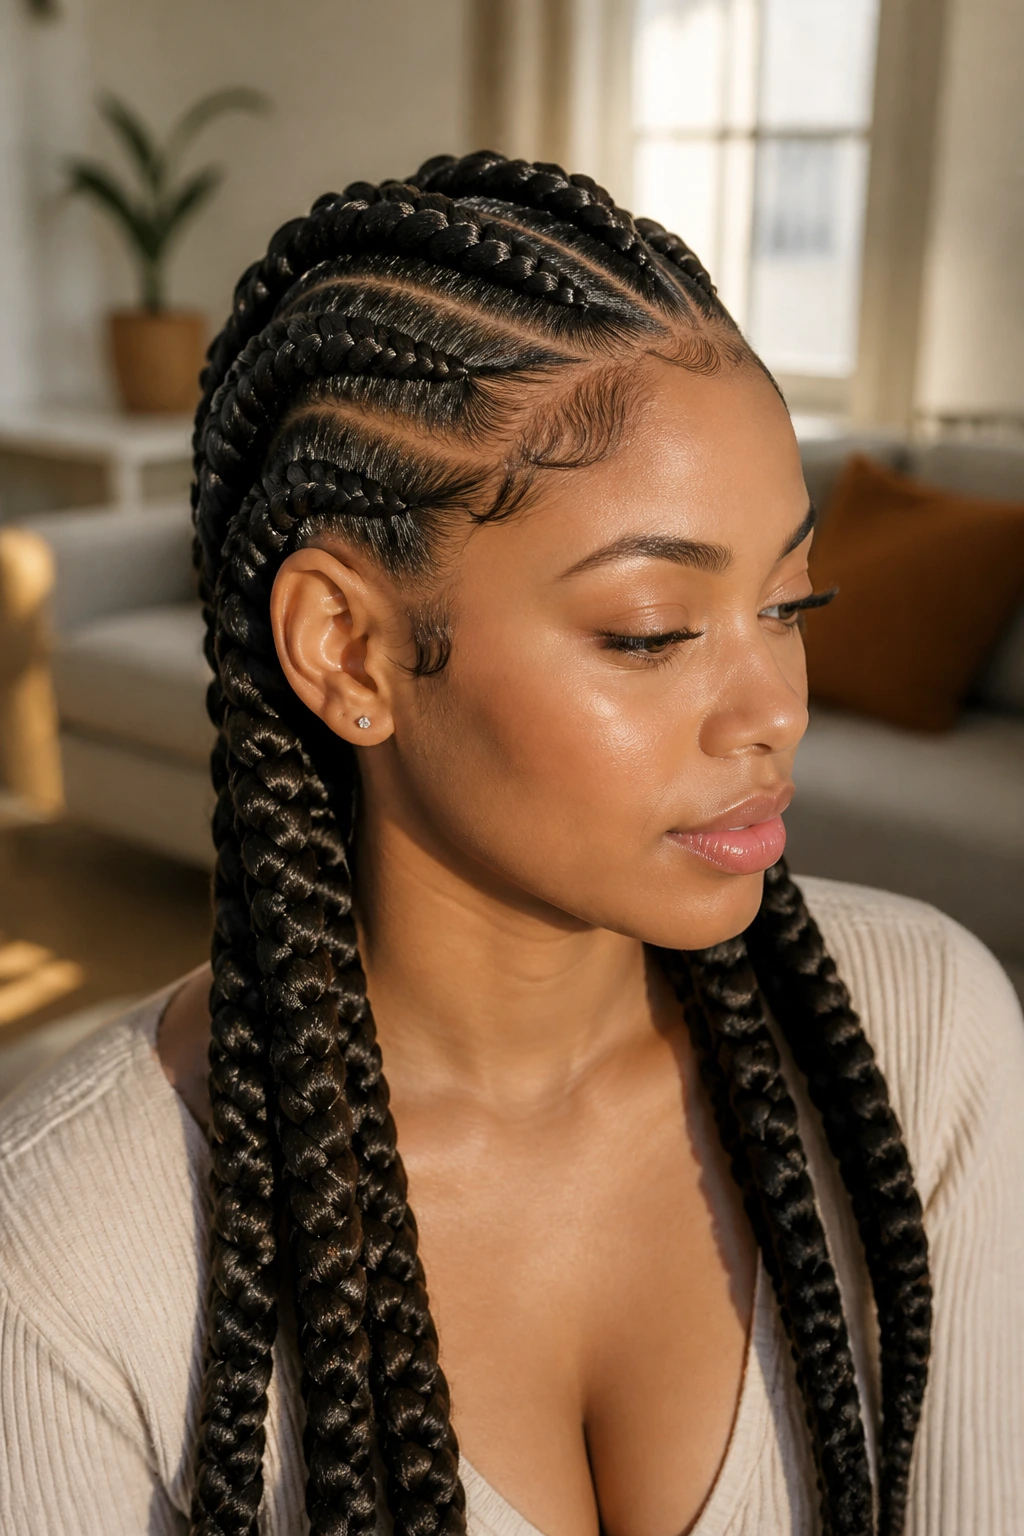
Feed-in braids are a game changer because they allow you to start with your natural hair at the hairline and gradually add volume. This mimics the look of a natural growth pattern and prevents that “wiggy” or bulky look at the forehead.
The Science of the Feed-In
By feeding in smaller strands of extension hair, you reduce the strain on your edges. Most people make the mistake of adding too much hair too quickly. Start thin, and as the braid moves toward the back of your skull, add thicker pieces.
Benefits of the Chunky Look
- It reduces the total time needed to braid since you are working with fewer, thicker sections.
- The volume creates a dramatic effect that requires less jewelry to stand out.
- It is significantly more comfortable for those with sensitive scalps.
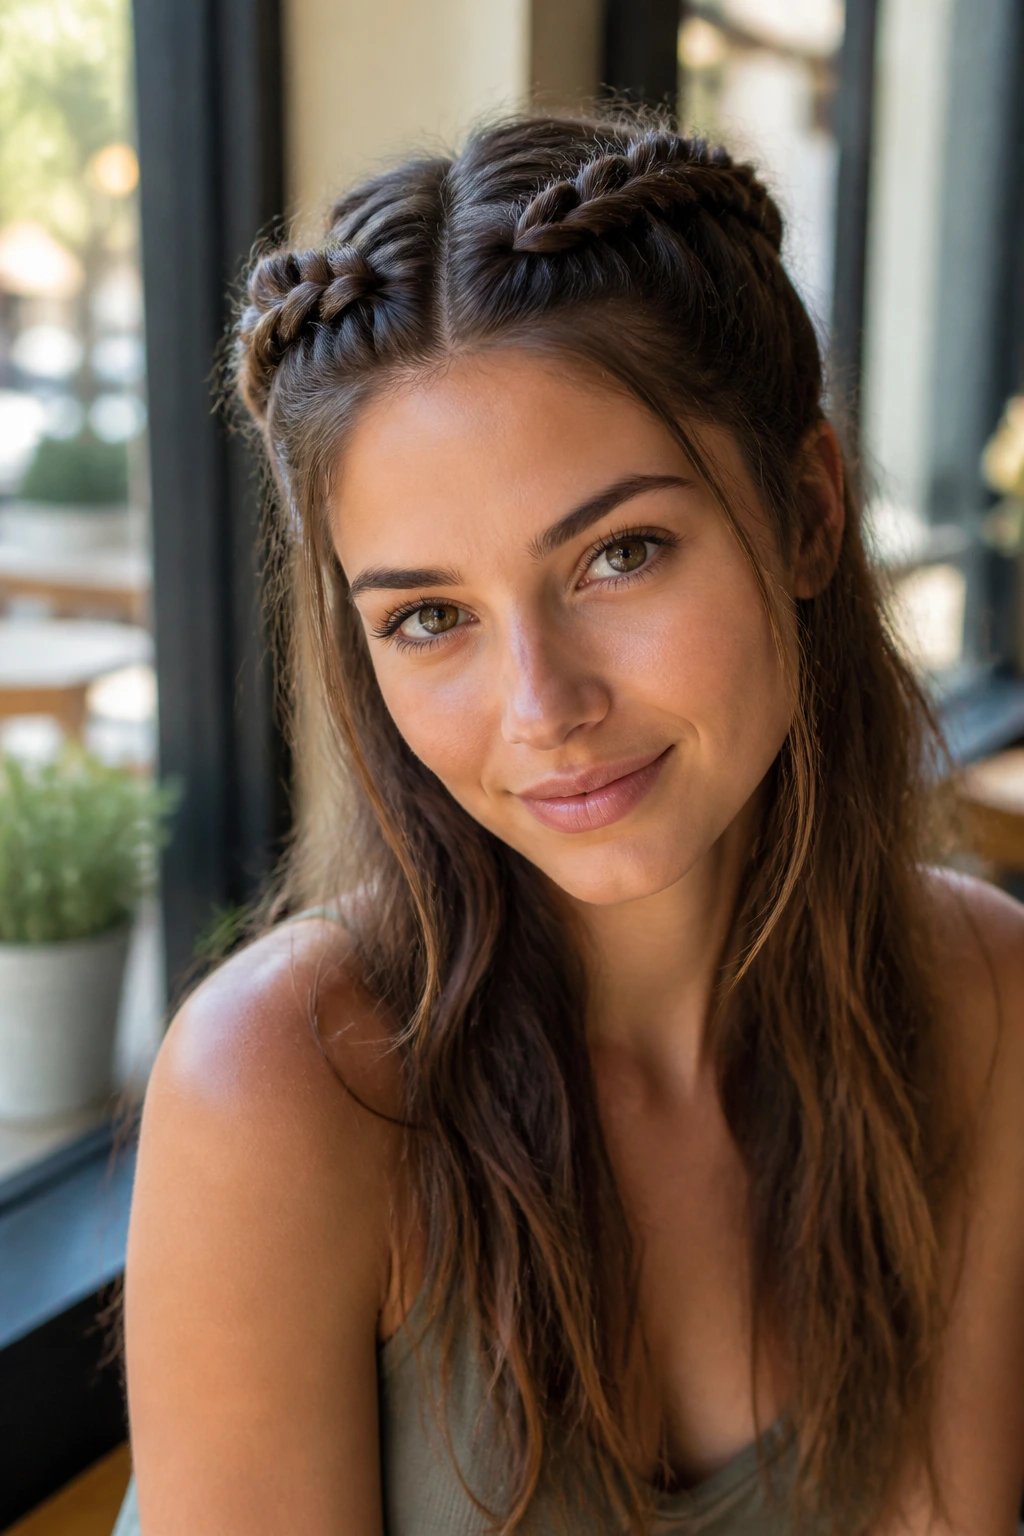
5. The Messy Bohemian Goddess Braid
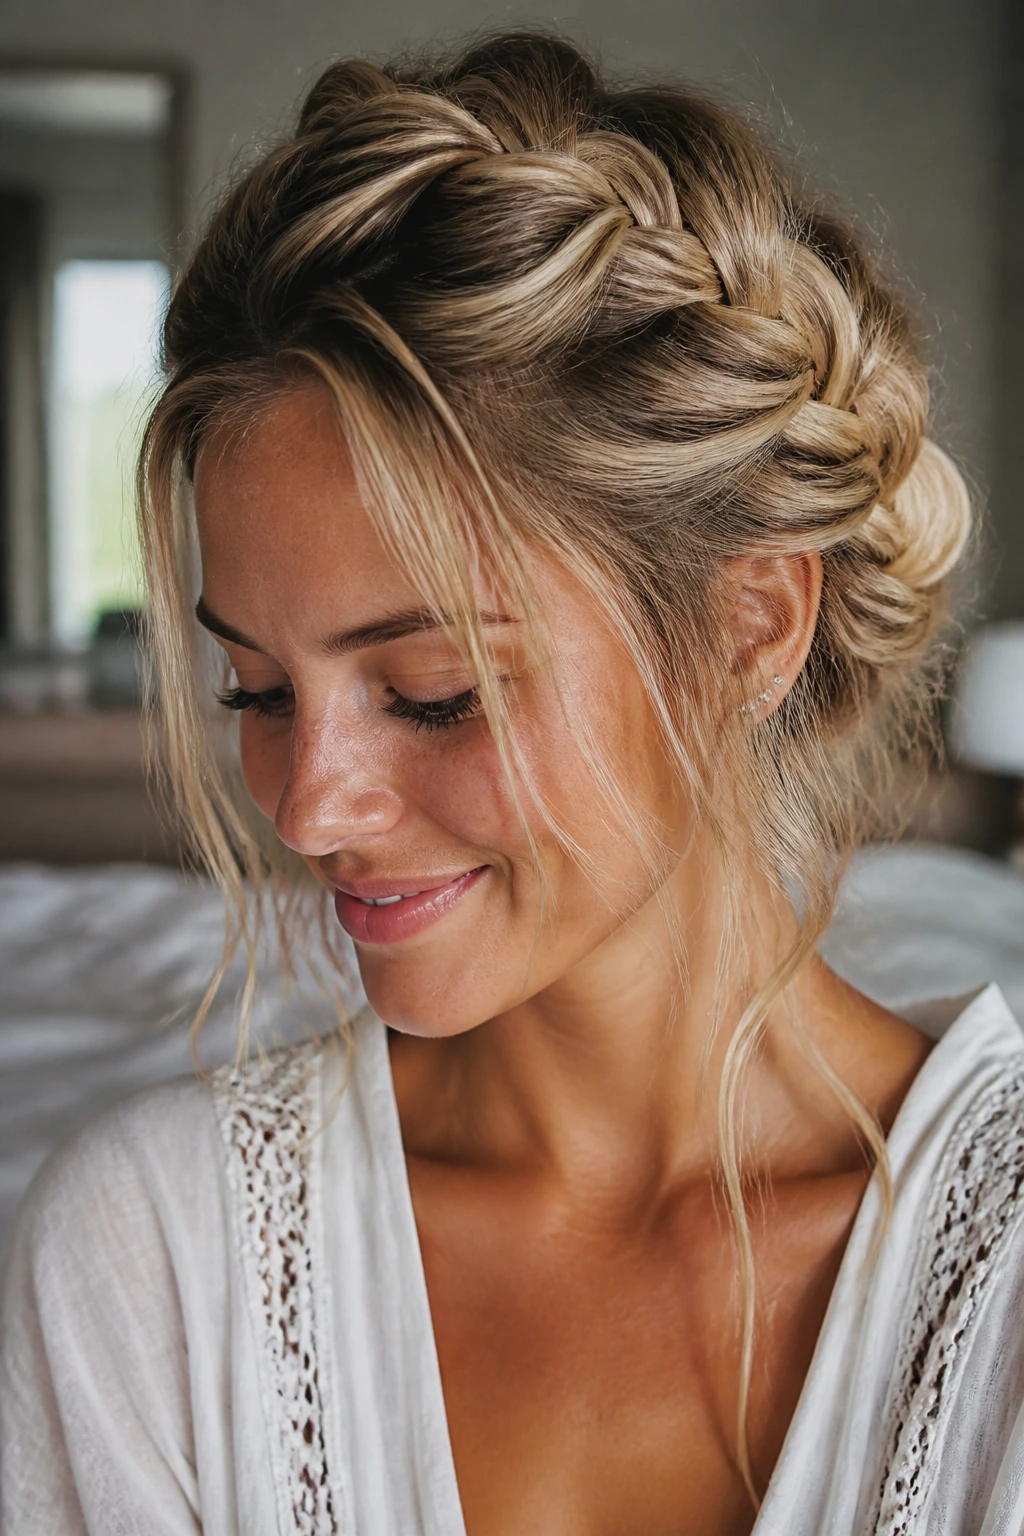
Not every look needs to be razor-sharp. Sometimes, a slightly lived-in, textured look is exactly what your morning needs. This style embraces the stray hairs and textures that a “perfect” braid usually tries to hide.
Why It’s Great for Casual Days
This style is very forgiving. If you don’t get the part perfectly straight, it doesn’t matter. The slightly distressed look makes it feel effortless, like you just woke up looking this cool.
How to Achieve the Look
- Gently pull on the loops of the braid once you have finished.
- Leave out a few face-framing tendrils near your temples.
- Use a dry texture spray to add volume to the braids themselves.
- Don’t worry about the edges being slicked; let them be natural.
6. Goddess Braids with Beaded Ends
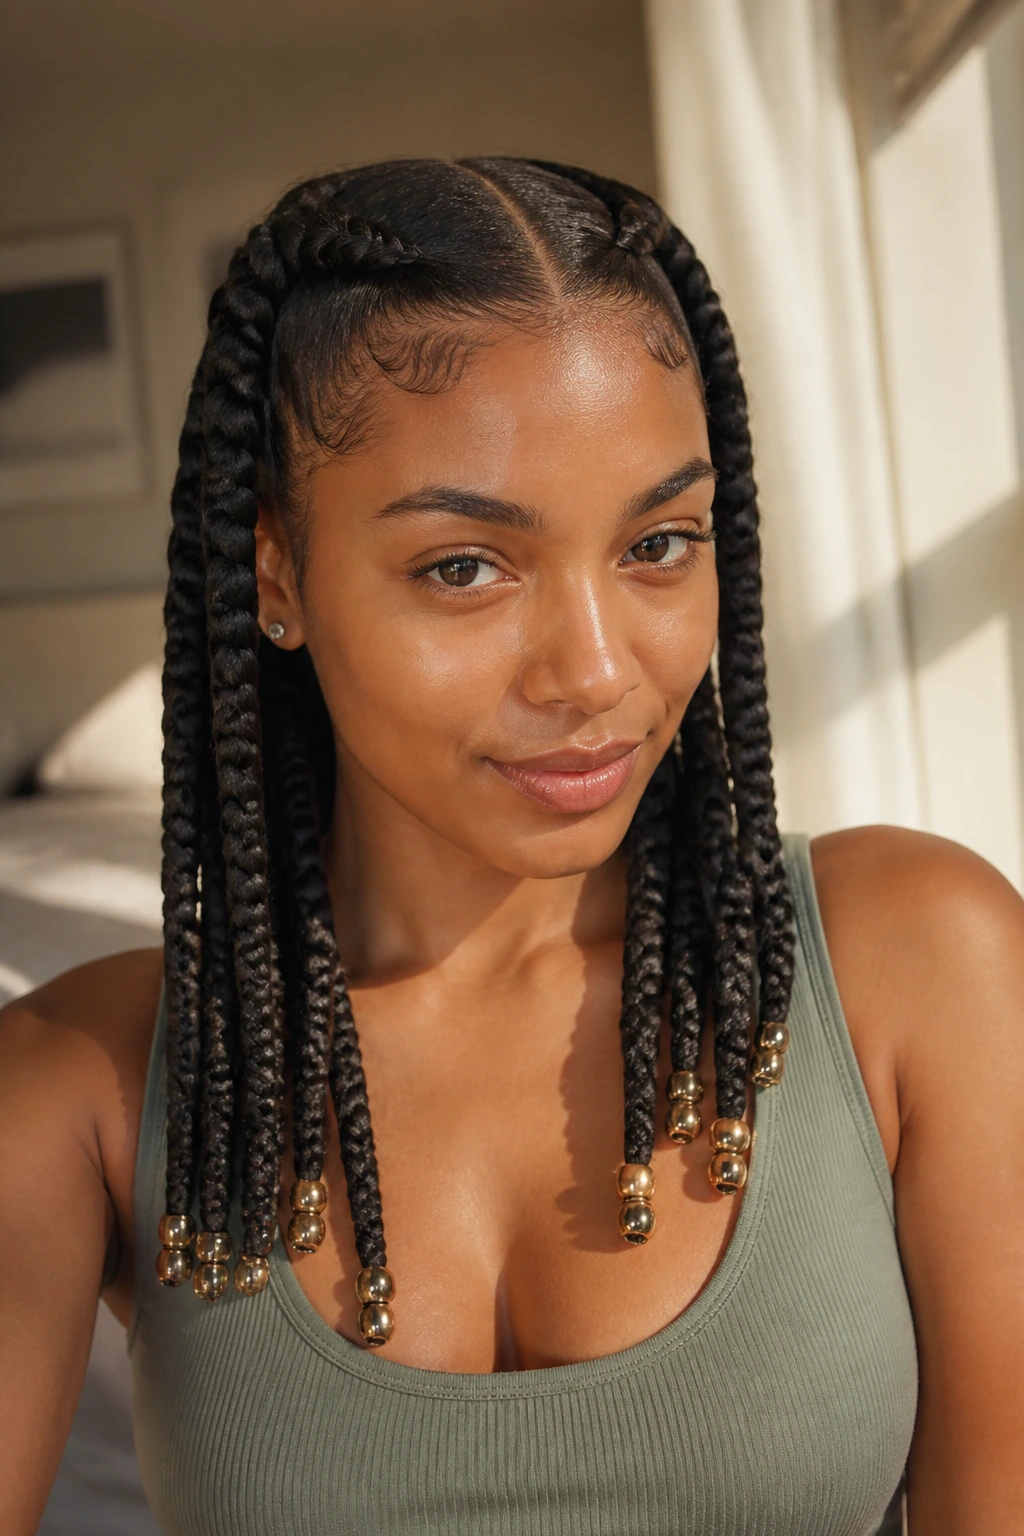
Adding a little metallic flair to the ends of your braids is the easiest way to elevate the style without spending more time on the actual braiding process. Beads catch the light and add a rhythmic sound as you move.
Styling for Interest
You don’t need a lot of beads to make an impact. Three or four clear or gold-toned beads at the bottom of each braid are plenty. It’s a subtle touch that makes the style look much more deliberate.
Selecting the Right Beads
- Ensure the hole is large enough for the thickness of your braid.
- Opt for lightweight materials like wood or acrylic rather than heavy glass or metal to avoid pulling on your hair.
- Clear beads are universal and match any outfit you might have laid out for the day.
7. The Deep Side Part Goddess Braid
A center part isn’t for everyone. A deep side part can be incredibly flattering, especially if you have a round face, as it adds verticality and drama to your appearance.
Creating the Illusion of Height
By starting the part far over to one side, you create an asymmetrical silhouette that draws the eye upward. This style often makes the hair look thicker on one side, which provides a beautiful, sweeping effect as the braids fall over your shoulder.
Troubleshooting the Side Part
If you find your hair wants to flop back into the middle, use a bit of gel and a clip to train the roots to lay flat in the new direction for about five minutes while you get dressed.
8. The Half-Up Goddess Braid
If you have long hair and find that two giant braids feel a bit heavy on your neck, try a half-up style. This keeps the hair off your face while still allowing for length and movement.
Why It’s Perfect for Hotter Days
Having two thick braids resting on your back can trap heat. By pinning the ends together at the back or letting them hang down partially, you improve airflow and feel much cooler during your morning commute.
How to Secure the Half-Up Look
- Braid only to the crown area.
- Use a decorative hair pin or a small claw clip to secure the two braids together.
- This creates a half-up, half-down look that is both practical and stylish.
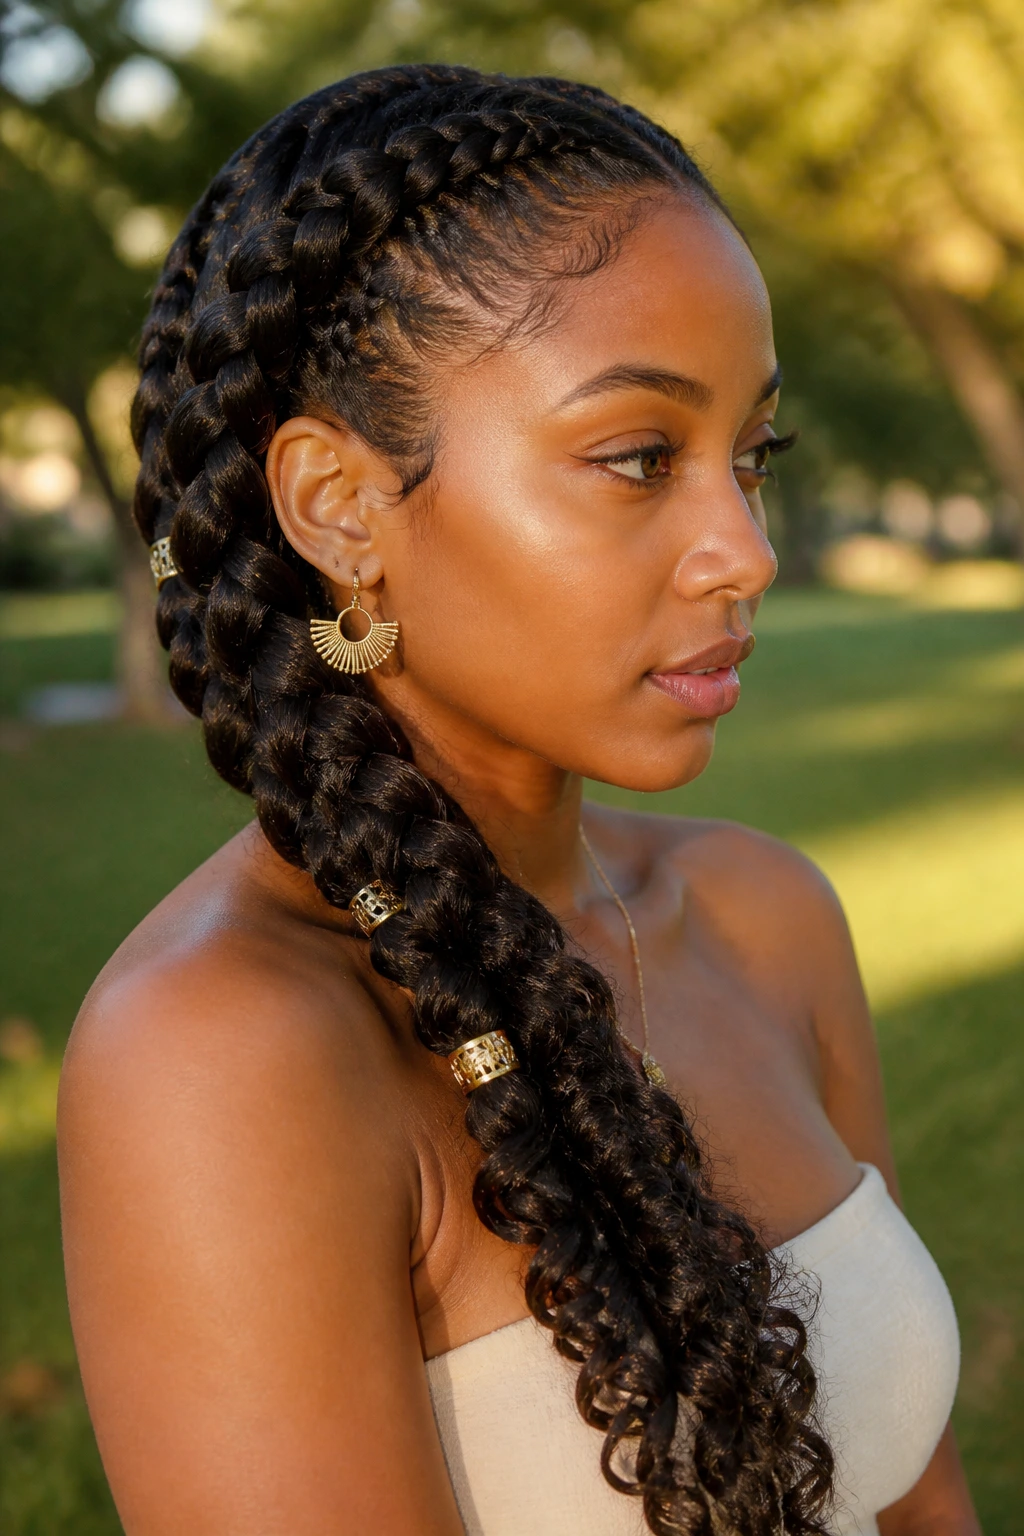
9. The Minimalist Gold-Cuff Braid

If beads feel too casual, consider gold or silver cuffs. These small metal rings clip onto the braid and provide an instant “expensive” look with zero effort.
Why Cuffs Are a Time-Saver
You can add these while you are on the train or in your car. They don’t require you to re-braid anything; they simply snap onto the existing structure.
Where to Place Them
- Space them out randomly along the length of the braid for an organic look.
- Or, keep them concentrated near the scalp to highlight your part.
- They are also excellent for hiding any small imperfections or uneven spots in your braiding.
10. The Tight-Knit Protective Braid
For those weeks when you just want to protect your natural ends and not think about your hair, the tight-knit goddess braid is your best friend. This version is braided very close to the scalp with minimal room for movement.
The Protection Factor
By keeping the hair tight and controlled, you reduce friction against pillows and clothing. This is the ultimate “set it and forget it” style for those with a busy schedule.
Essential Care
- Keep your scalp hydrated with a light oil or spray.
- Try not to leave the braids in for more than two weeks to avoid buildup.
- Remember to tie your hair up at night with a silk bonnet to keep it looking fresh for longer.
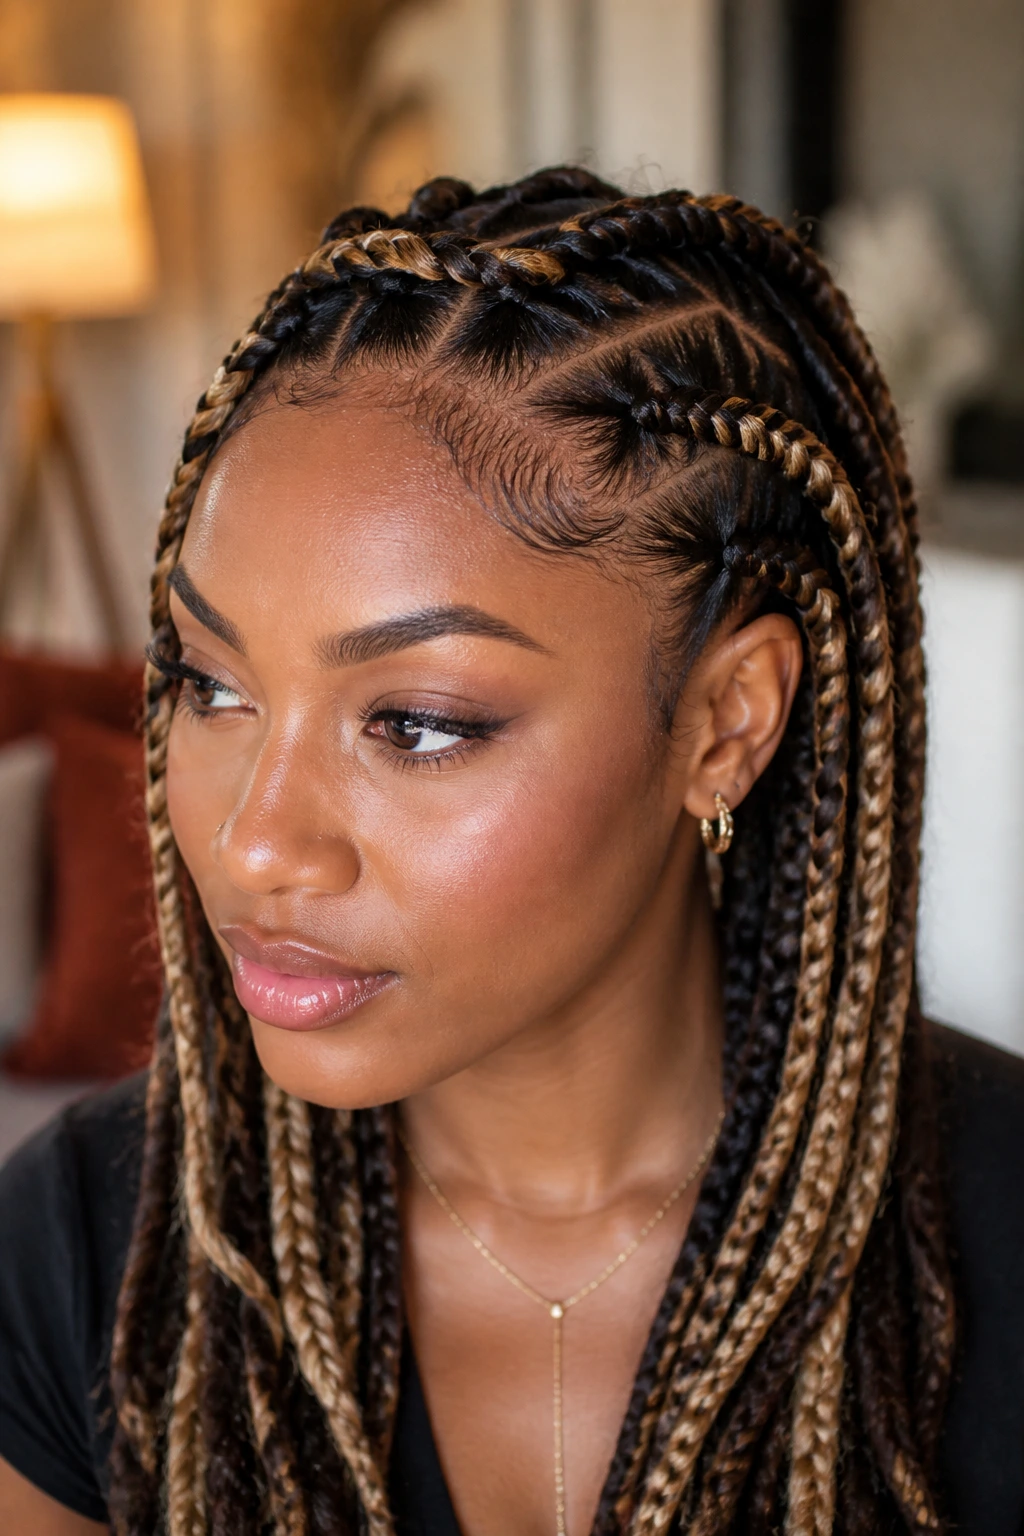
11. The Ombre Goddess Braid
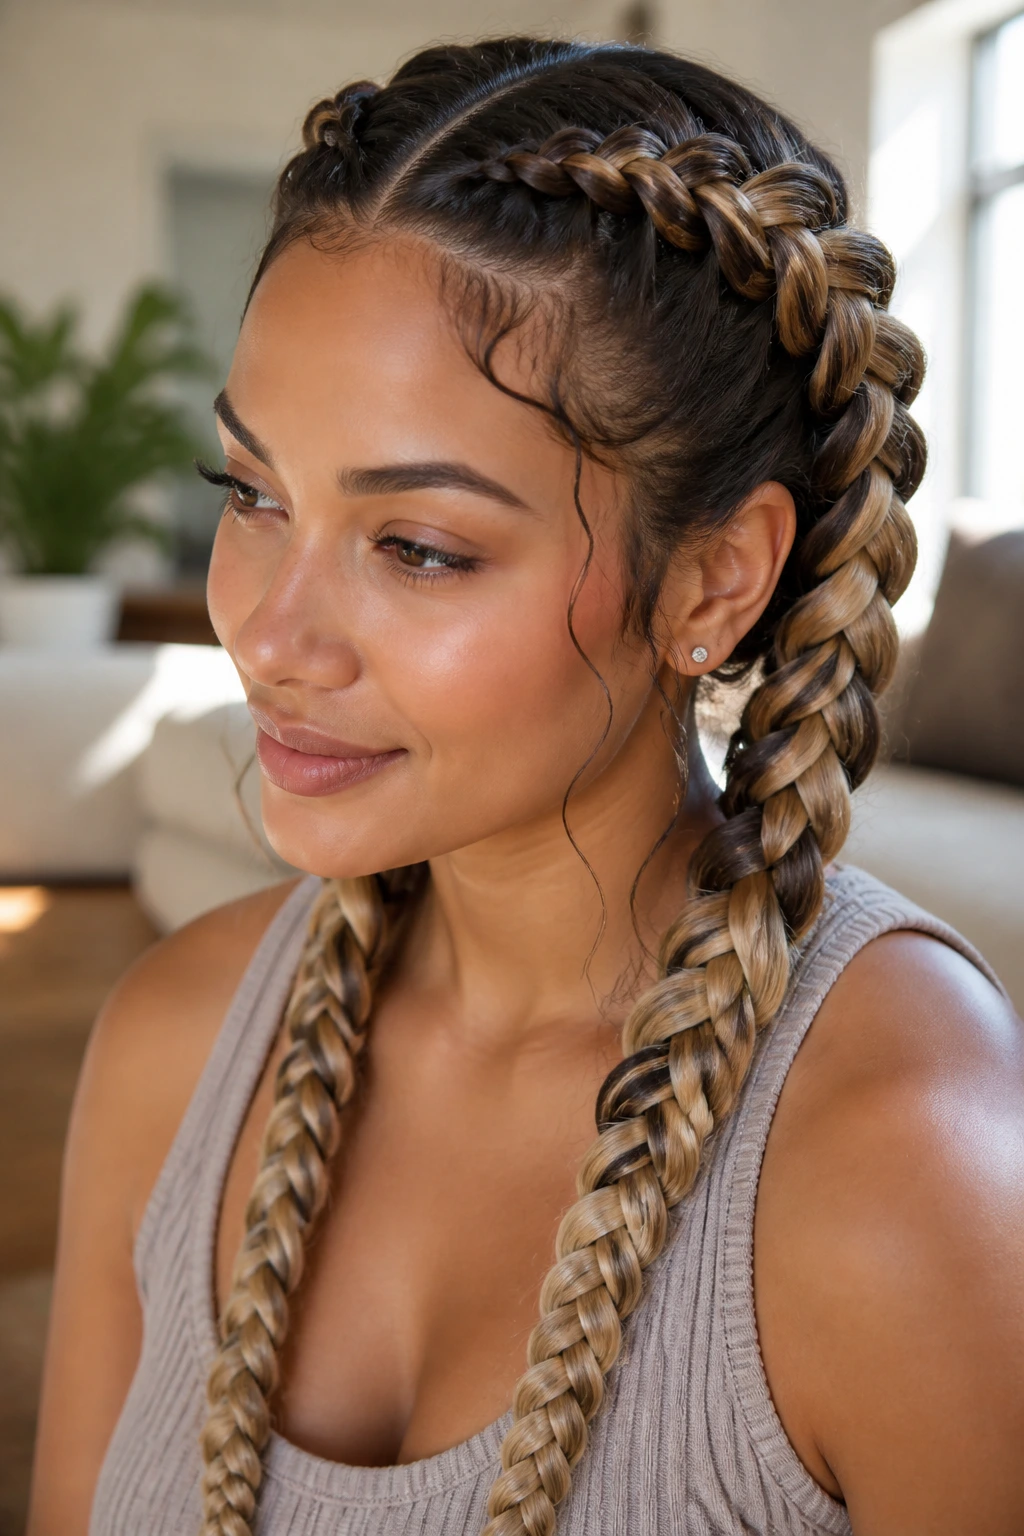
Sometimes the change isn’t in the technique, but in the color. Using extensions that fade from one color to another, such as black to honey blonde, adds depth to the braids without you needing to do anything extra.
Why Color Adds Dimension
A single color can sometimes look flat in a tight braid. An ombre effect highlights the texture of the hair as it twists and turns, making the braid look more intricate than it actually is.
Tips for Selecting Extensions
- Choose shades that complement your skin tone.
- If you are a beginner, synthetic hair is cheaper and often comes pre-stretched, which saves you a step.
- Always check that the extensions are heat-resistant if you plan on using hot water to seal them.
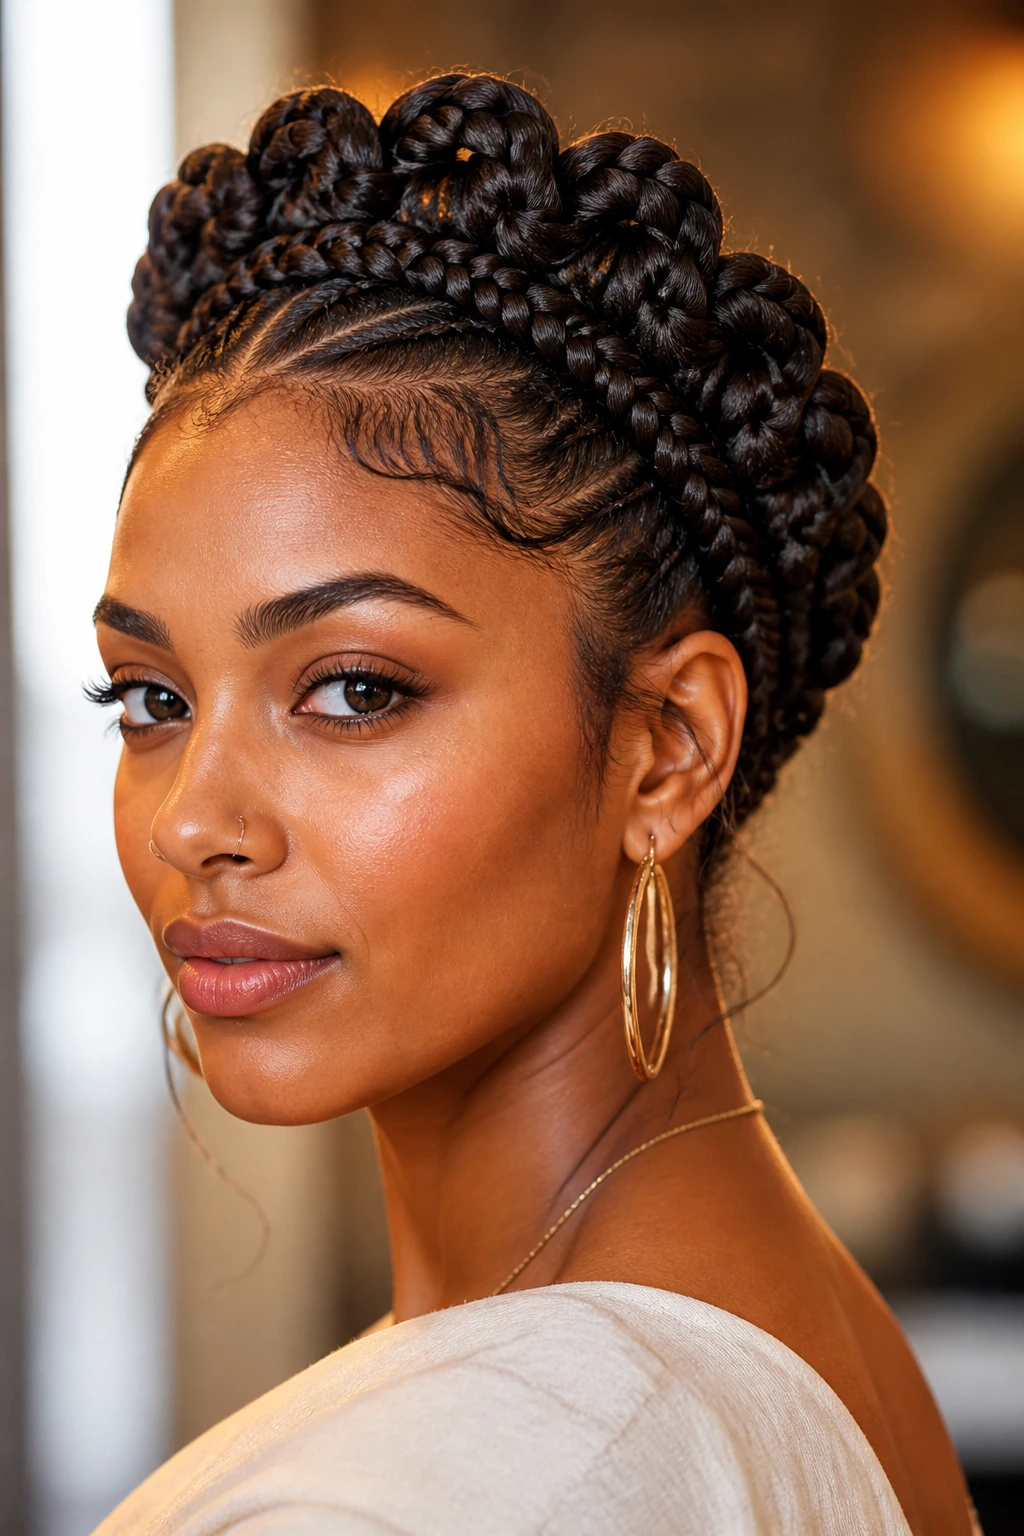
12. The Double-Wrapped Goddess Braid
This style involves wrapping one of your braids around the base of the other, or simply keeping them very close together to create a singular, large, crown-like effect. It is regal and very distinct.
The Regal Aesthetic
This look is reminiscent of traditional crown styles but uses the two-braid structure to achieve the volume. It is a fantastic option for events where you want to look a bit more formal than usual.
How to Achieve the Shape
- Braid your hair in a way that allows them to meet at the nape.
- Pin them slightly to the side rather than letting them hang straight down.
- This creates a dramatic, sculptural silhouette that stays out of your way while you work.
13. The Sleek Bun Goddess Braid
If you are really running behind and need your hair to be entirely out of the way, twist your two finished goddess braids into a low, elegant bun at the nape of your neck.
Versatility for Any Activity
This transforms a day-style into something suitable for a workout or a high-intensity morning. It is clean, minimalist, and keeps your hair from tangling while you move.
How to Pin the Bun
- Cross the two braids at the nape.
- Wind them around each other to form a circular shape.
- Use large, sturdy bobby pins to secure the ends to the underside of the bun so they stay invisible.
14. The Face-Framing Tendril Goddess Braid

Not all hair needs to go into the braid. Leaving a few thin, wispy pieces out around your face can soften your overall look and prevent the style from feeling too severe.
Why This Softens the Look
Tight braids can sometimes make a face look very “open.” If you prefer a bit of mystery or softness, leaving two thin sections of hair out at the front is a quick fix.
The Best Way to Style the Tendrils
- Use a small curling iron to give the tendrils a slight wave.
- This creates a romantic, feminine contrast to the structured braids behind them.
- Keep them thin—if they are too thick, they will look like you forgot to braid them.
15. The Wrapped-Root Goddess Braid
In this style, you wrap a thin piece of hair around the base of the braid where it meets your hairline. This mimics the look of a wrap-around ponytail and makes the style look very high-end.
The Attention to Detail
Small details like a wrapped base suggest you took twenty minutes to style your hair, even if the whole process took you ten. It is a visual trick that pays off every single time.
How to Master the Wrap
- Leave one small, thin strand of hair out of the braid at the start.
- Once the first few inches are braided, take that strand and wrap it tightly around the base of the braid.
- Tuck the end of the strand into the braid using a bobby pin or by weaving it under the existing hair.
16. The Criss-Cross Parting Braid

If you are feeling adventurous and have an extra three minutes, change your center part into a zigzag or a criss-cross pattern. This adds immediate personality to a classic style.
Adding Geometric Interest
A zigzag part breaks up the uniformity of the two braids and creates a dynamic look. It is an excellent way to show off a little creativity without needing a complex braiding pattern.
Using the Right Tools
- Use the metal tip of a comb to draw your zigzag.
- Don’t worry if it isn’t perfect; the “handmade” look adds charm.
- If you have trouble getting the lines straight, keep it to just two or three large zigzags rather than many small ones.
17. The High-Volume Texture Braid
This style is all about the hair you choose. Opting for a kinky or curly braiding texture rather than straight hair gives you an instant boost of volume.
Choosing the Right Texture
If your natural hair is curly or textured, choose synthetic hair that matches that curl pattern. It will blend seamlessly with your roots and require less edge control to stay smooth.
Why It Saves Time
You don’t need to spend time straightening your hair to match the braids. The volume of the kinky texture hides any inconsistencies in your natural hair, making it a perfect low-maintenance choice.
18. The Crowned-Loop Goddess Braid
Instead of letting the braids hang down, loop them up toward the top of your head like a tiara. This keeps your hair completely off your neck and creates a very distinct, structured silhouette.
Elevating the Style
This is a more mature take on the braid. It looks wonderful when paired with statement earrings or a high-collared shirt, as it draws all the attention to your face and neck.
Securing the Loops
- Use long, U-shaped hair pins rather than standard bobby pins for better hold.
- Ensure the loops are pinned securely at the temples.
- If the loops feel too heavy, use an extra pin at the back of the head to anchor them.
19. The Minimalist Under-Braid

Sometimes called “dutch goddess braids,” this style keeps the braids close to the scalp and tucked under rather than sitting on top. It creates a flatter, more streamlined look that is perfect for wearing hats or scarves.
Compatibility with Accessories
If you are heading out on a chilly day and want to wear a beanie, these braids are ideal because they don’t add too much bulk. They lay flat against the scalp, allowing your hat to fit comfortably.
Achieving the “Under” Look
- Practice the reverse-braiding technique where you cross strands under rather than over.
- This takes a little more practice, but the result is a much tighter, more secure braid that looks professional and clean.
20. The Highlighted Goddess Braid
If you are hesitant to dye your own hair, use highlighted extensions. By adding hair that has blonde or auburn streaks in it, you get the benefit of a color change without any chemical damage to your natural locks.
Creating Depth Without Dye
The contrast between your natural dark roots and the lighter extension hair adds depth and character. It makes the braids pop against your scalp and is a great way to experiment with color on a whim.
Matching Your Tone
- If you have cool undertones, opt for ash blonde or silver highlights.
- For warm undertones, go with caramel, honey, or copper.
- Even if the highlights are just a shade or two lighter, the impact on the overall look is significant.
21. The Side-Swept Goddess Braid
In this variation, you pull both braids to one side of your head. This creates a cascade of hair over one shoulder, which is both elegant and incredibly practical for busy days.
Changing the Silhouette
By moving the weight of your hair to one side, you change your entire profile. It feels less like two distinct braids and more like one large, side-swept style.
Styling for Balance
- Ensure the parting at the nape is clean so it looks intentional when you pull the hair to the side.
- Use a large hair tie or a decorative scrunchie to keep the braids bundled together at the side.
- This is a very comfortable way to wear long braids for the entire day.
22. The “No-Extension” Natural Braid
If you are in a rush and don’t have access to extensions, you can still achieve a goddess-like look using only your natural hair. This relies on your hair’s natural volume and a good amount of holding product.
Working with What You Have
Your natural hair is often more comfortable and lighter than extensions. While it won’t have the same length, it can look just as chic if you focus on keeping the braids thick and the parts clean.
The Secret to Natural Volume
- Use a thickening mousse on damp hair before you begin.
- Braid slightly looser than usual to allow the hair to expand.
- Don’t worry about length; a shorter, thicker braid is just as stylish as a long, thin one.
Final Thoughts
At the end of the day, your hair is just another tool to help you feel ready for whatever the day holds. Whether you choose a classic center-part style or something a bit more adventurous like a zigzag part with gold cuffs, the goal is always to reduce the time you spend in front of the mirror while maximizing how you feel about your appearance.
Don’t be afraid to experiment with these styles during the slower moments of your week so that you have them down to a science when you are genuinely in a hurry. You might find that your favorite version isn’t the most intricate one, but the one that feels most like you. Once you get the rhythm of the feed-in technique, you will have a reliable, beautiful, and time-saving option sitting in your back pocket, ready for every single busy morning to come.